Mike Slapattack
-
Posts
215 -
Joined
-
Last visited
Content Type
Profiles
Forums
Events
Gallery
Everything posted by Mike Slapattack
-

1965 Acadian Beaumont Sport Deluxe Coupe
Mike Slapattack replied to Mike Slapattack's topic in WIP: Model Cars
Thats very cool! I'm glad you're enjoying the project and I'm looking forward to yours. I'm currently designing a 3D printed '65 grille, but I may he doing a '67 grille in the future that I'll be selling copies of. -
1965 Acadian Beaumont Sport Deluxe Coupe
Mike Slapattack replied to Mike Slapattack's topic in WIP: Model Cars
Ah haha it happens to me too! I may be able to help you with your Beaumont build, I'm currently designing a grille to be resin 3D printed. I'll be selling them! I'm designing it to fit the Revell kit perfectly.
-
1965 Acadian Beaumont Sport Deluxe Coupe
Mike Slapattack replied to Mike Slapattack's topic in WIP: Model Cars
I think you may be mixing me up with someone else, I wasn't the one who built the wagon. I appreciate the interest though! -
1965 Acadian Beaumont Sport Deluxe Coupe
Mike Slapattack replied to Mike Slapattack's topic in WIP: Model Cars
I agree, they didn't go over the top, just gave it a tasteful Pontiac esque look. It was meant to be a cheaper alternative to the Tempest/LeMans as those were still being imported and subject to the pre Auto Pact tariffs. -
Nice detail work. The interior painting and engine wiring are all very tidy.
-
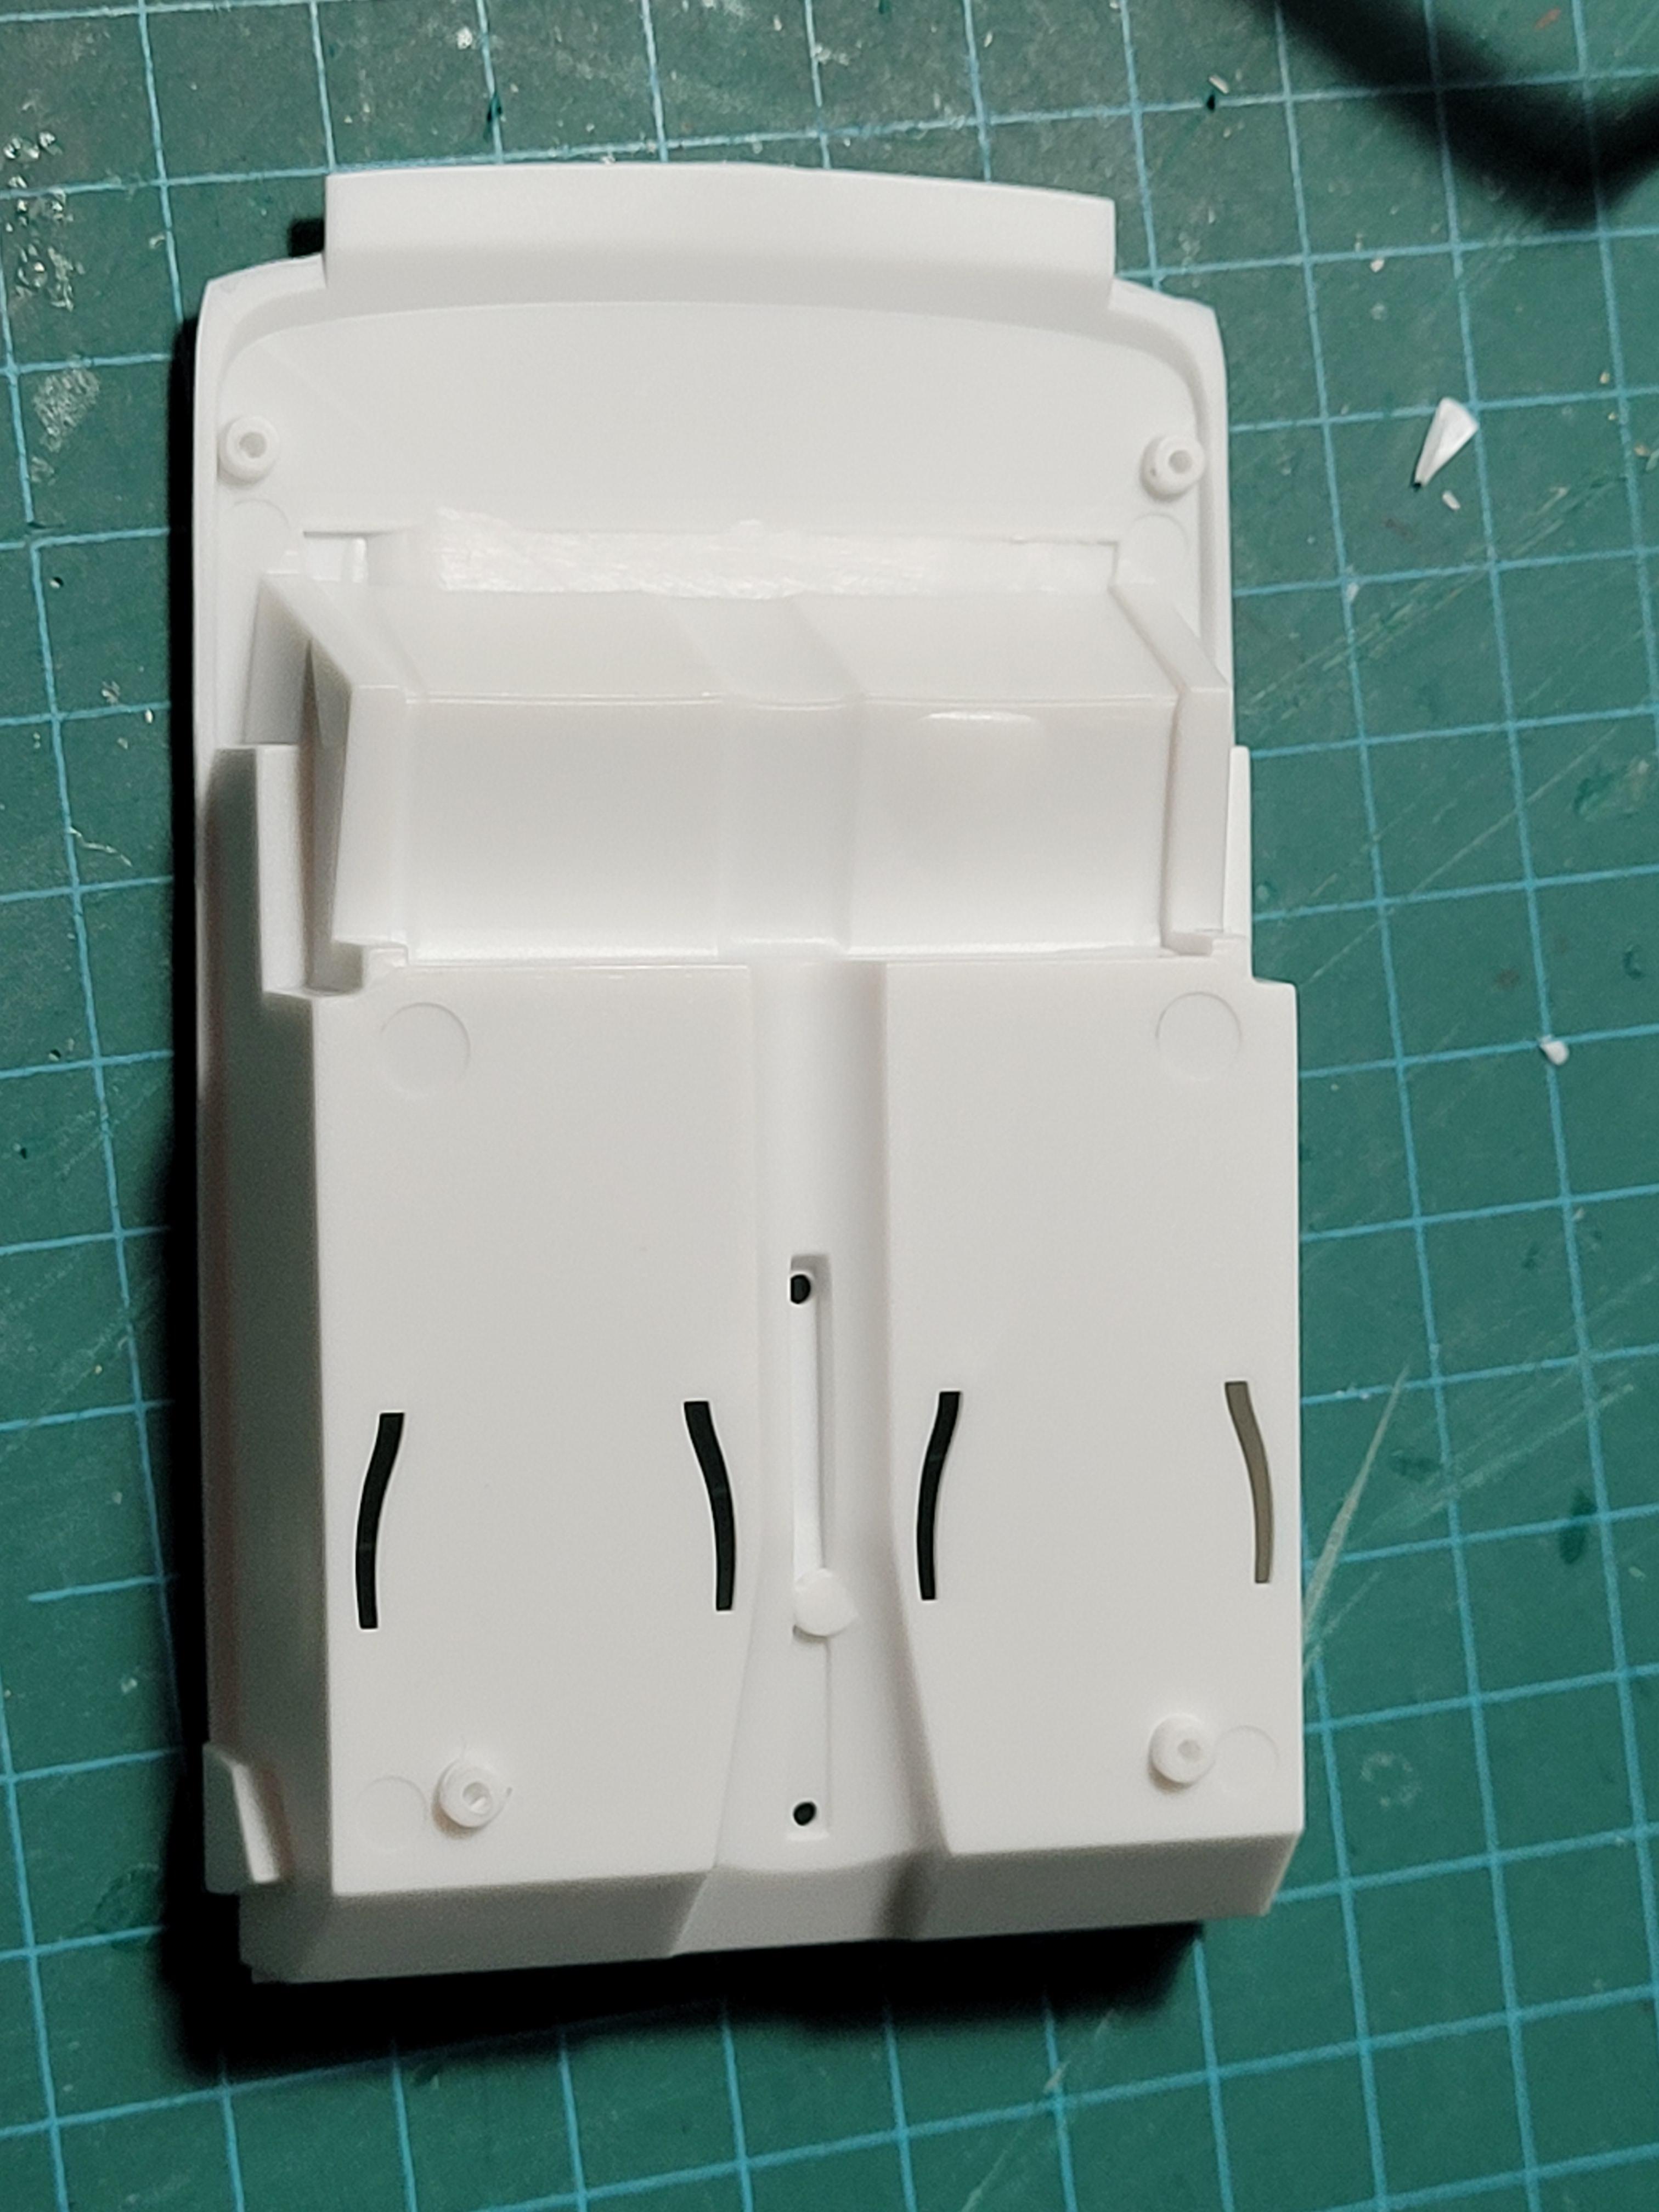
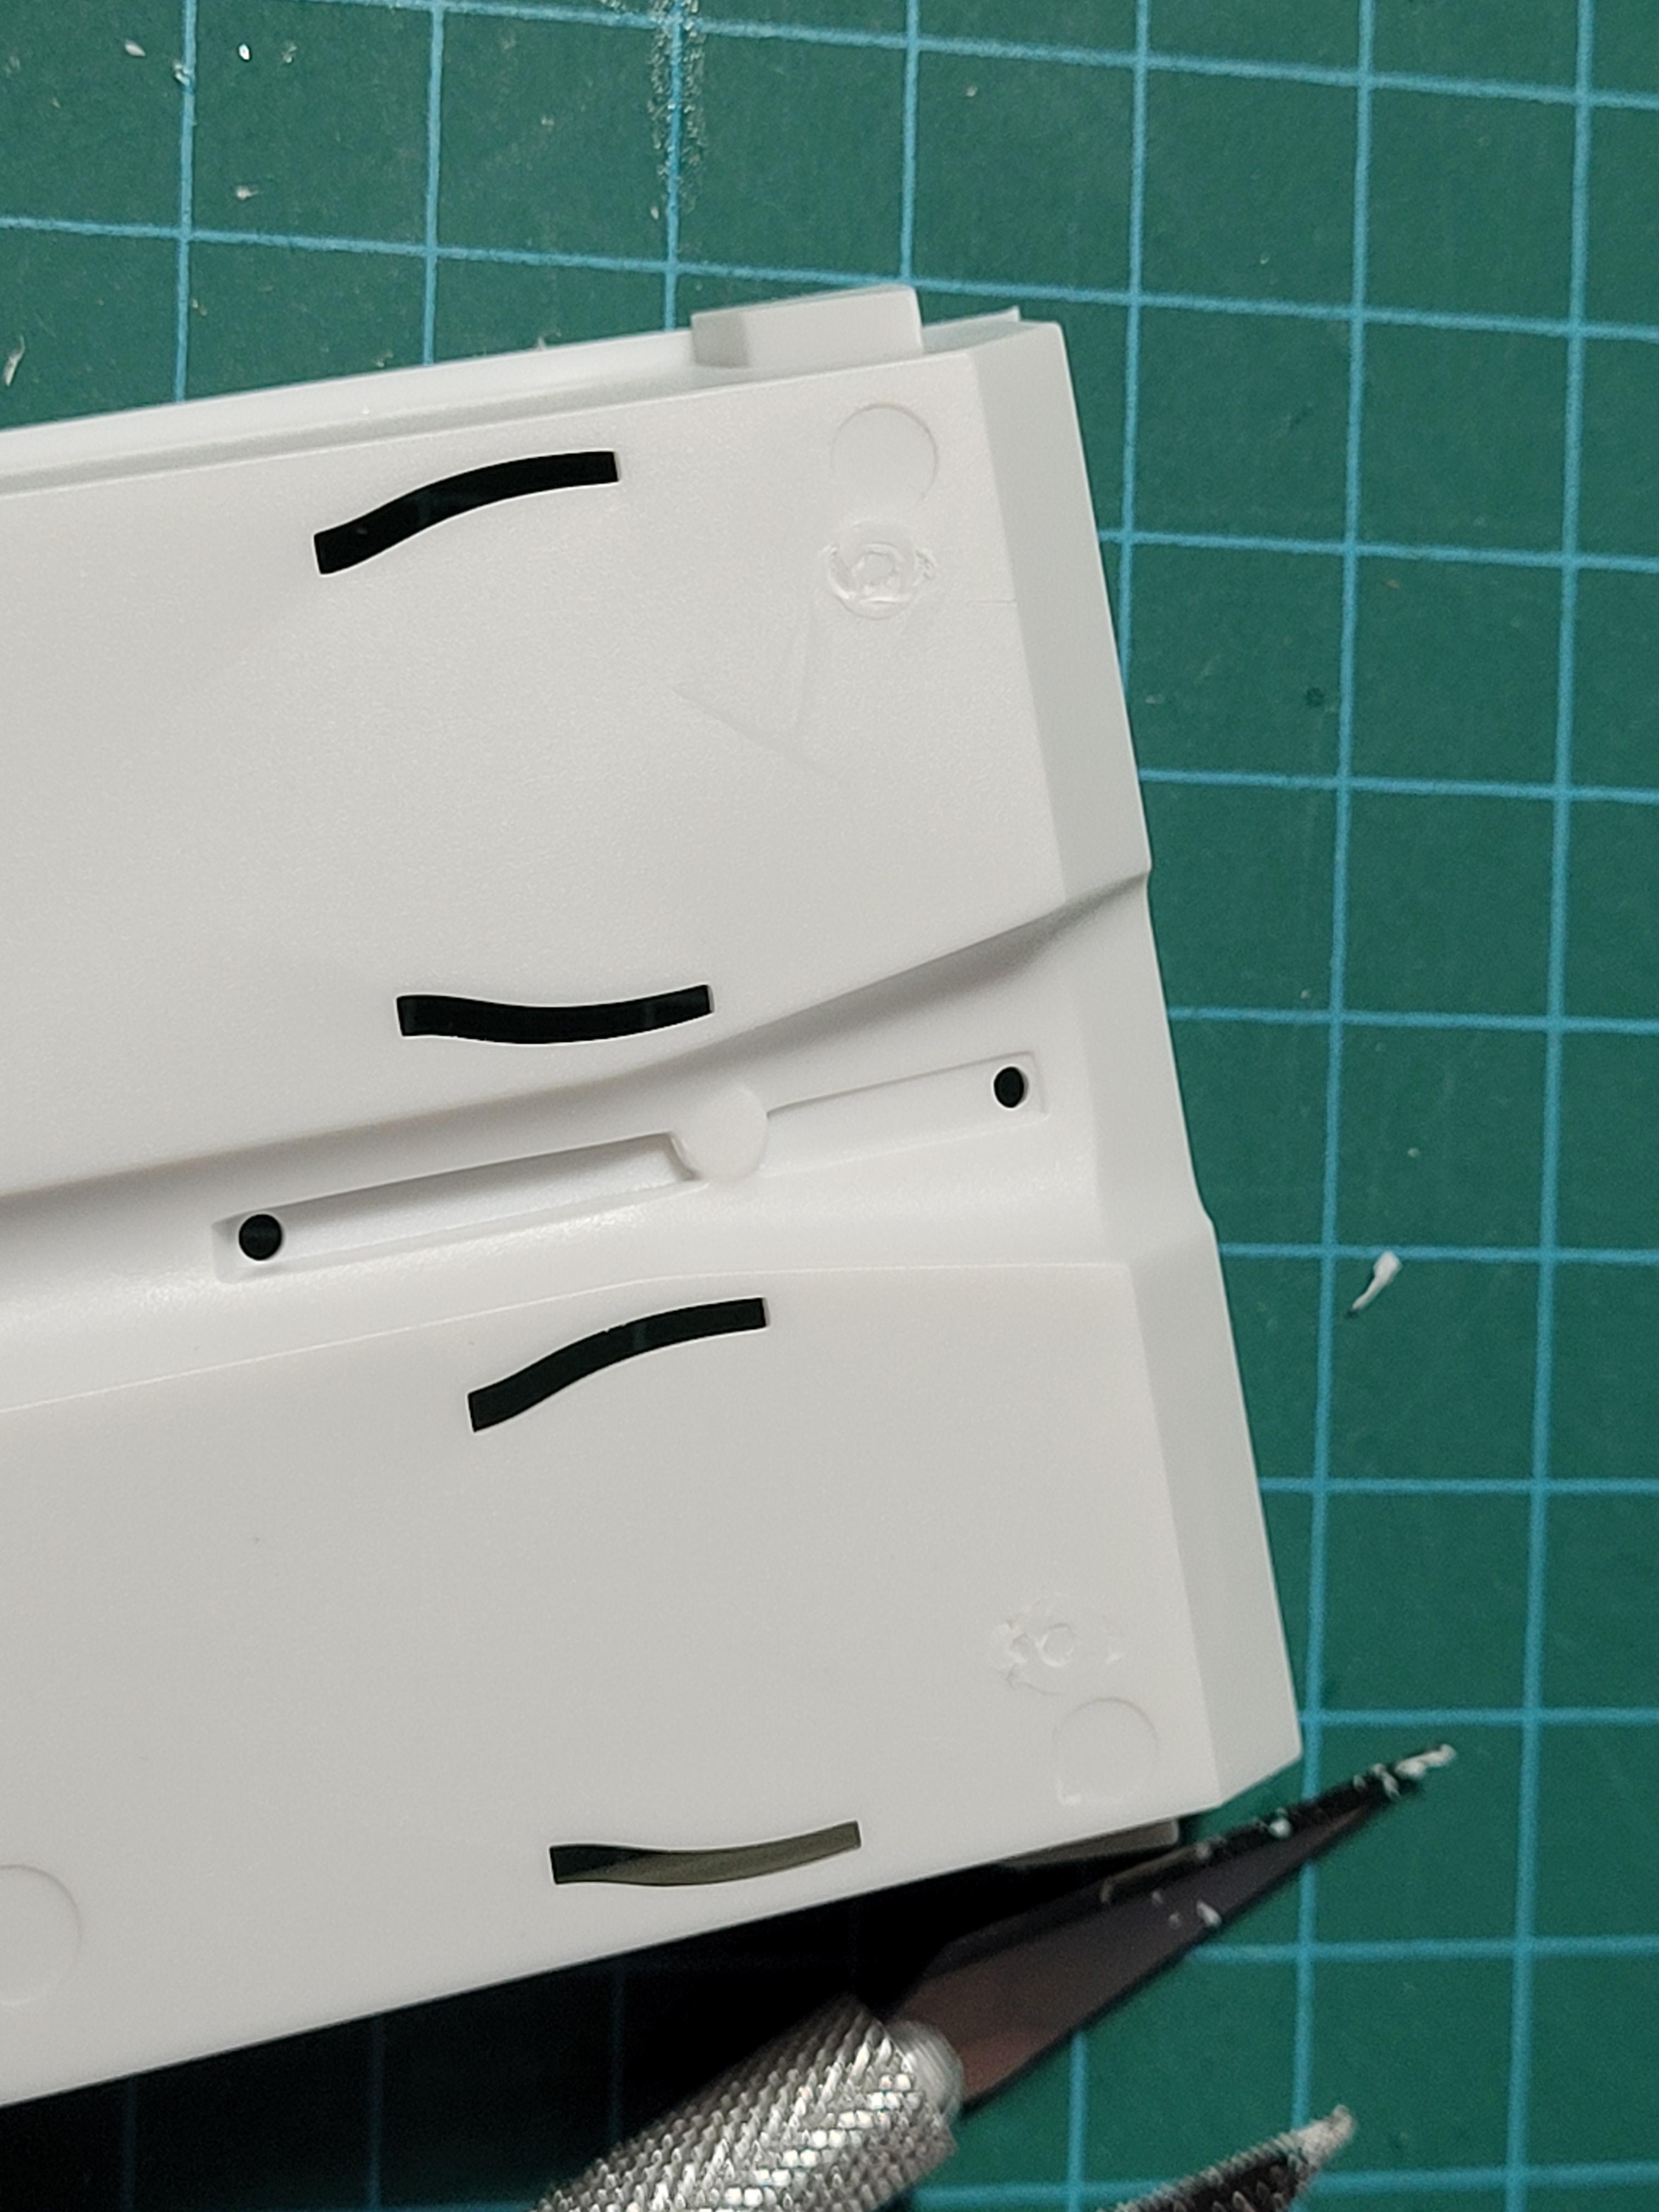
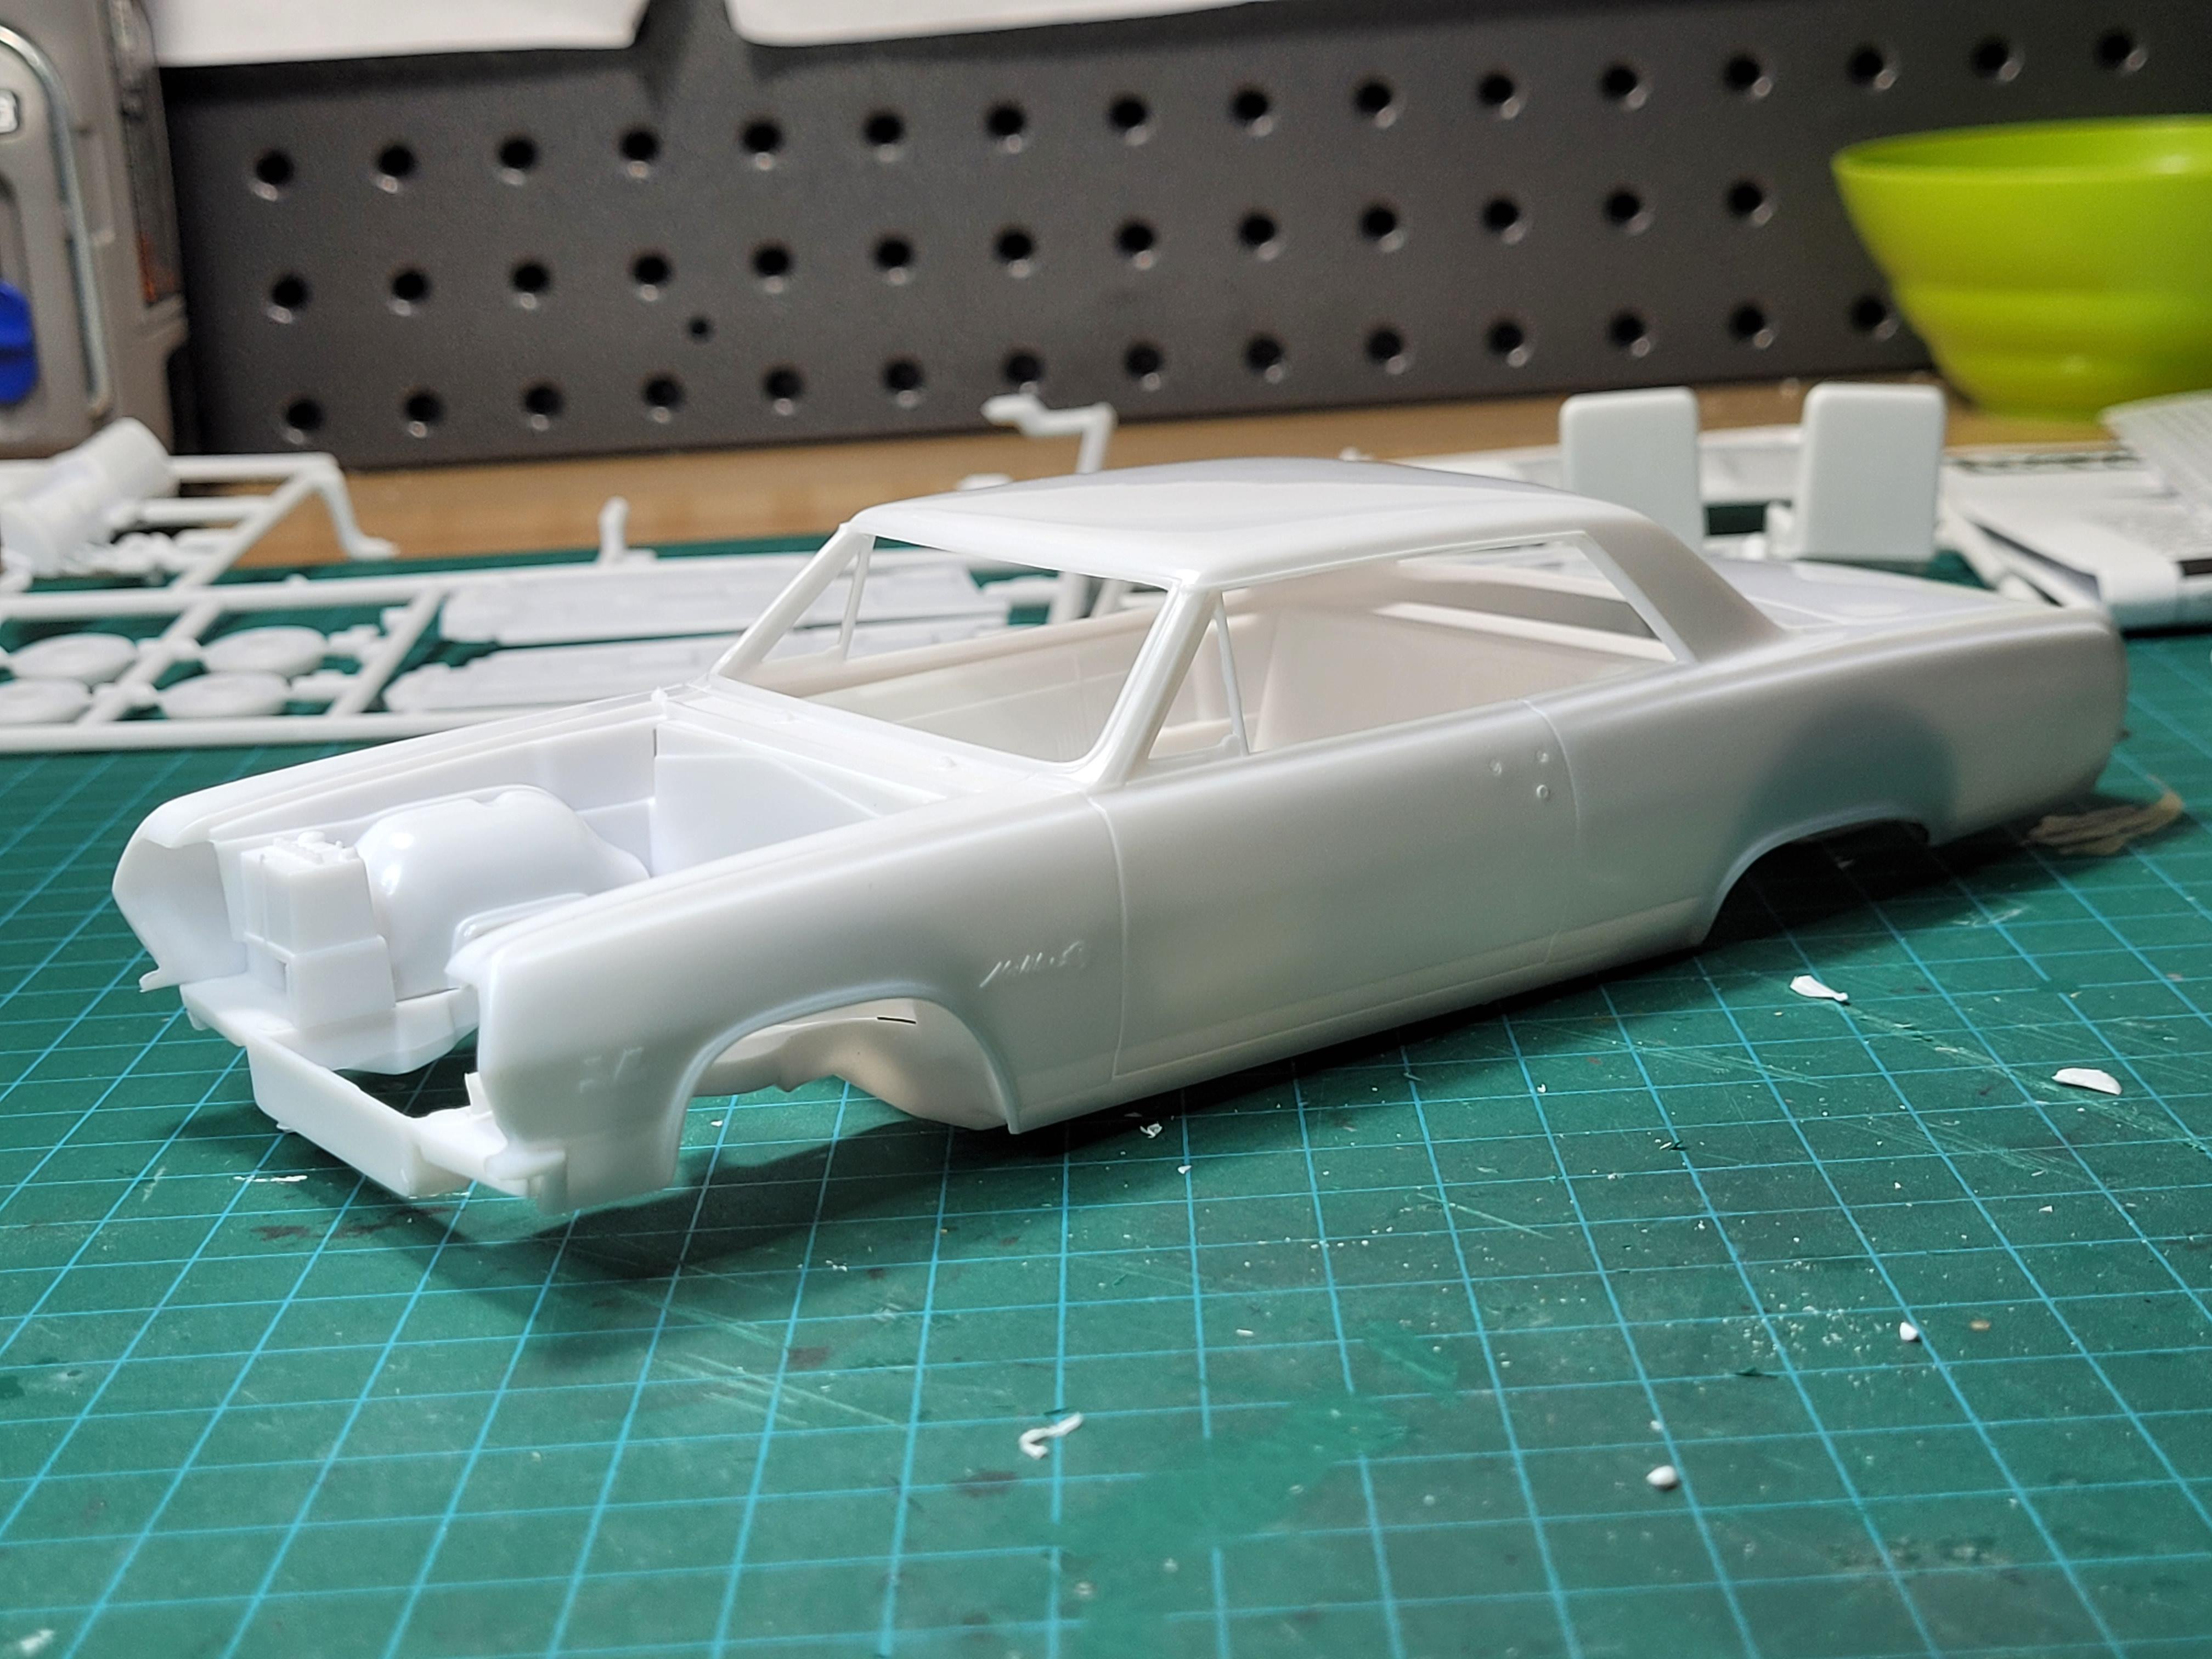
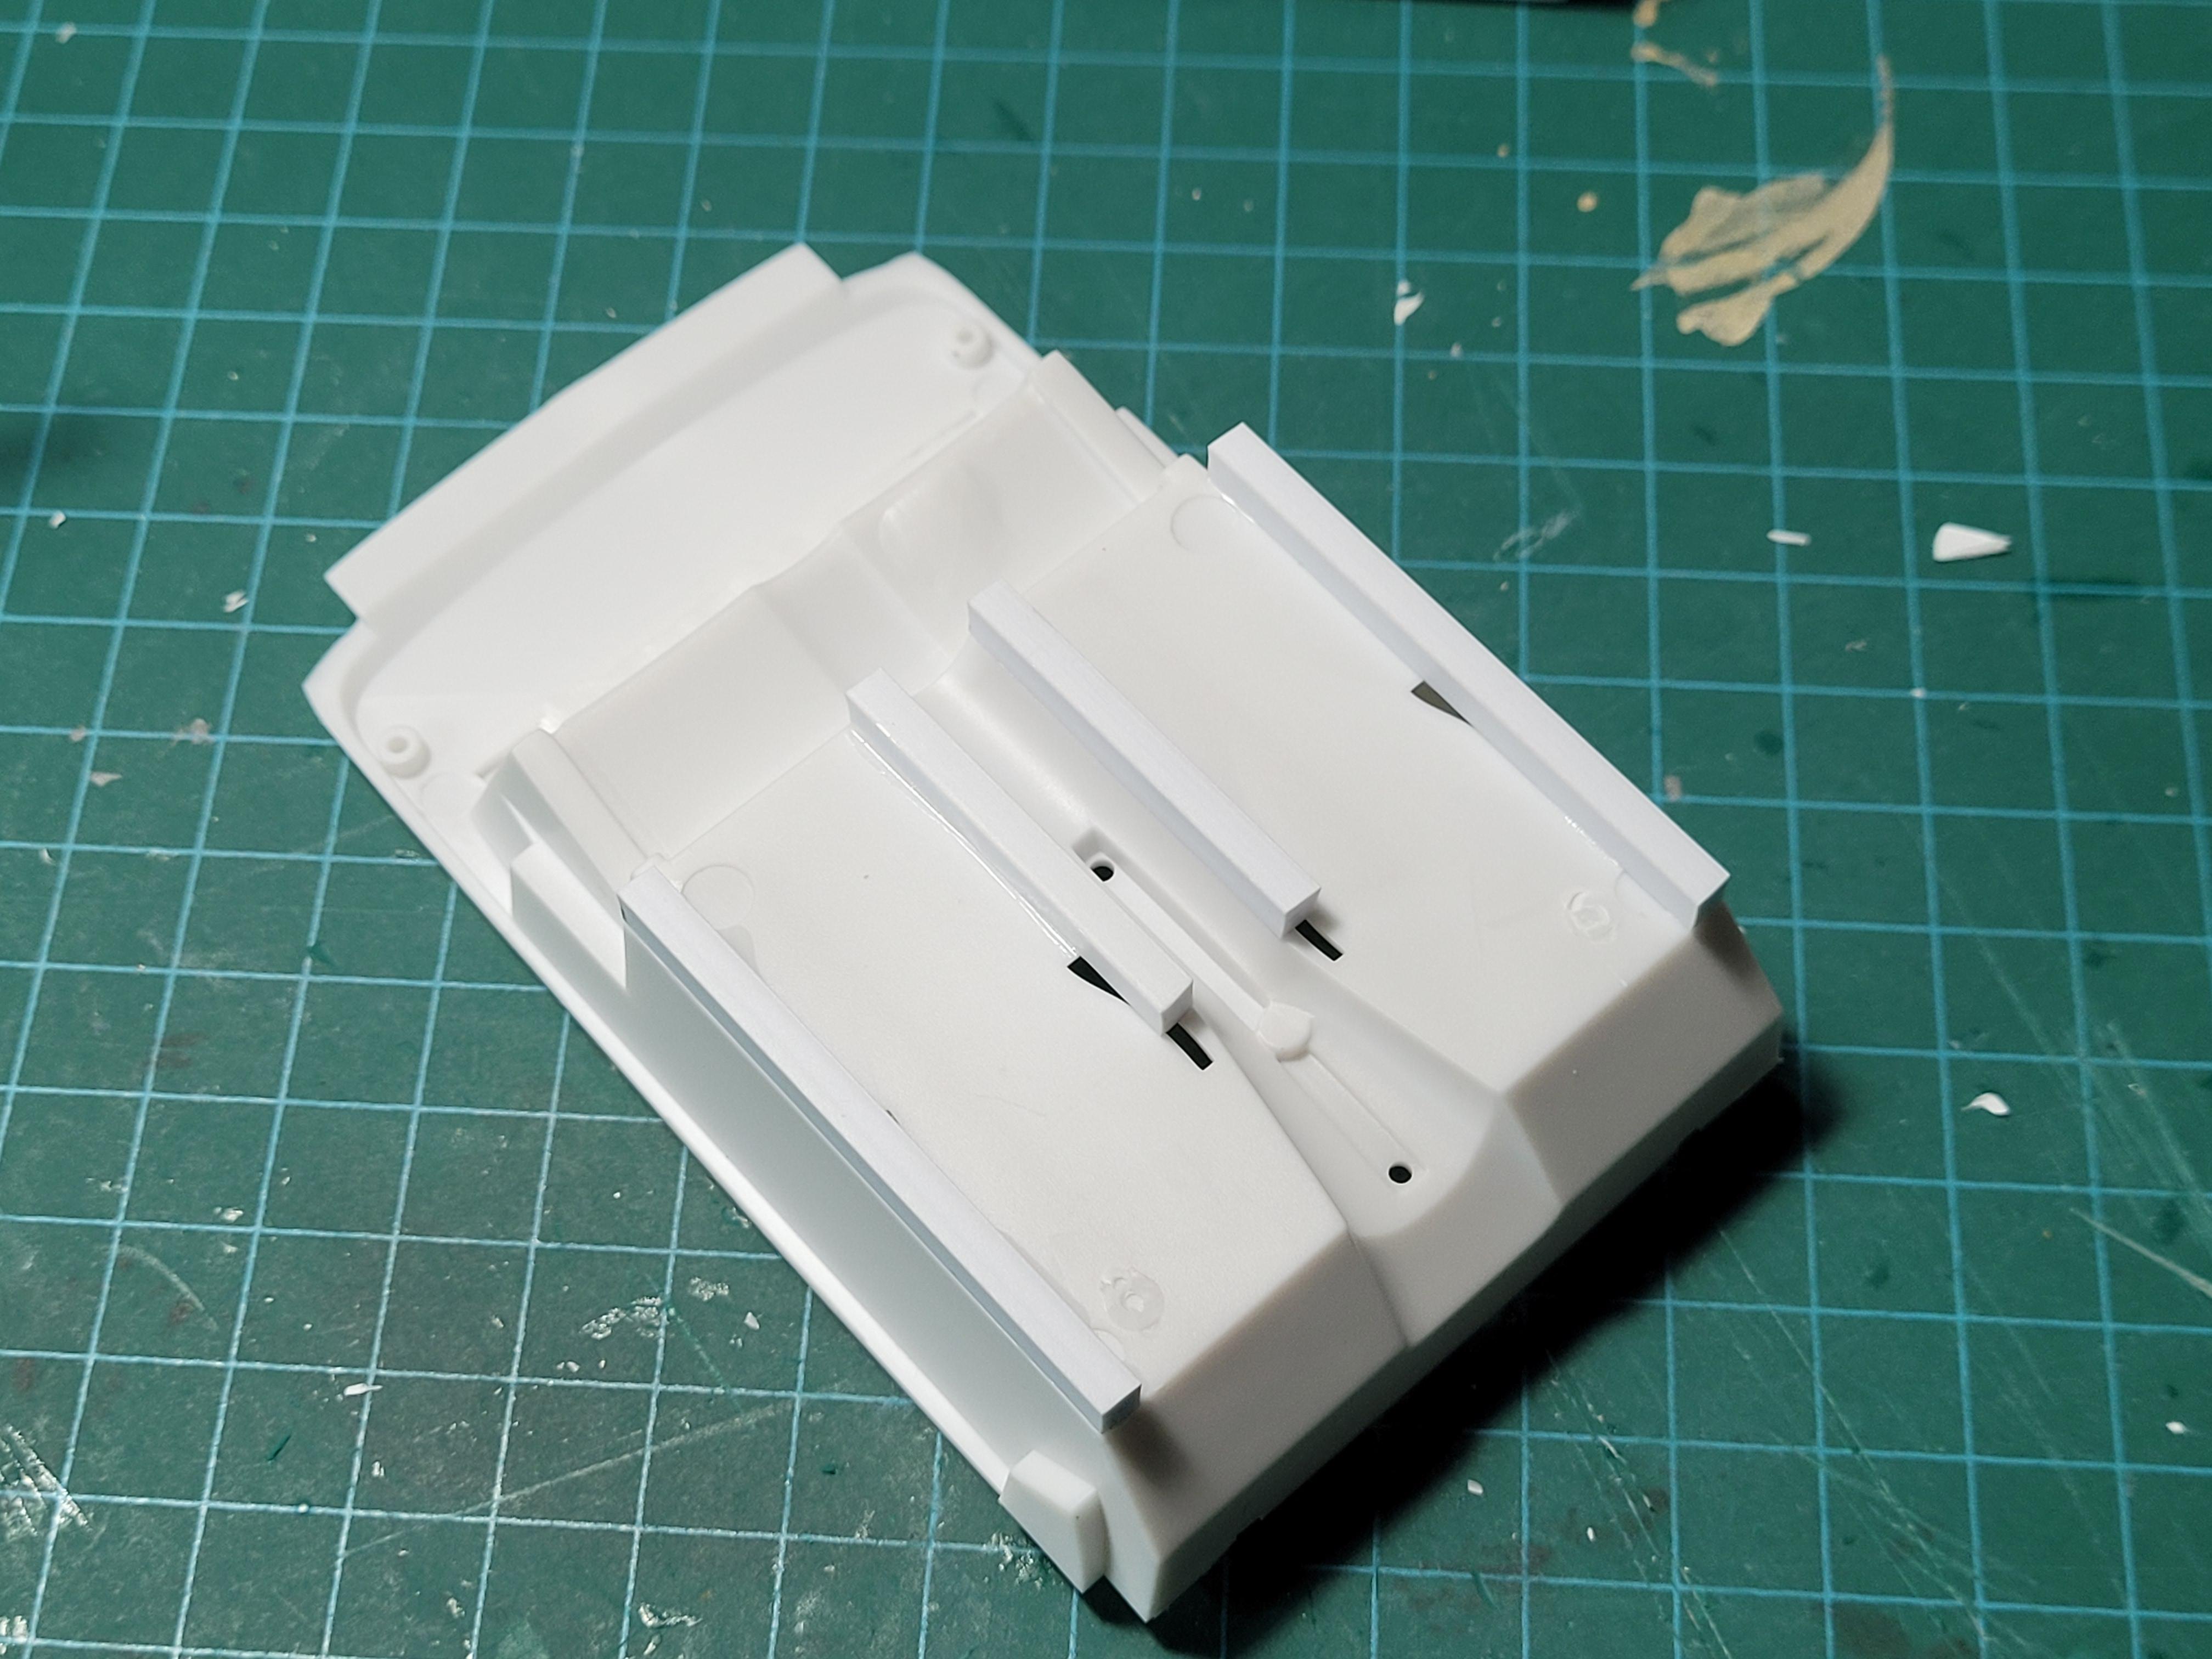
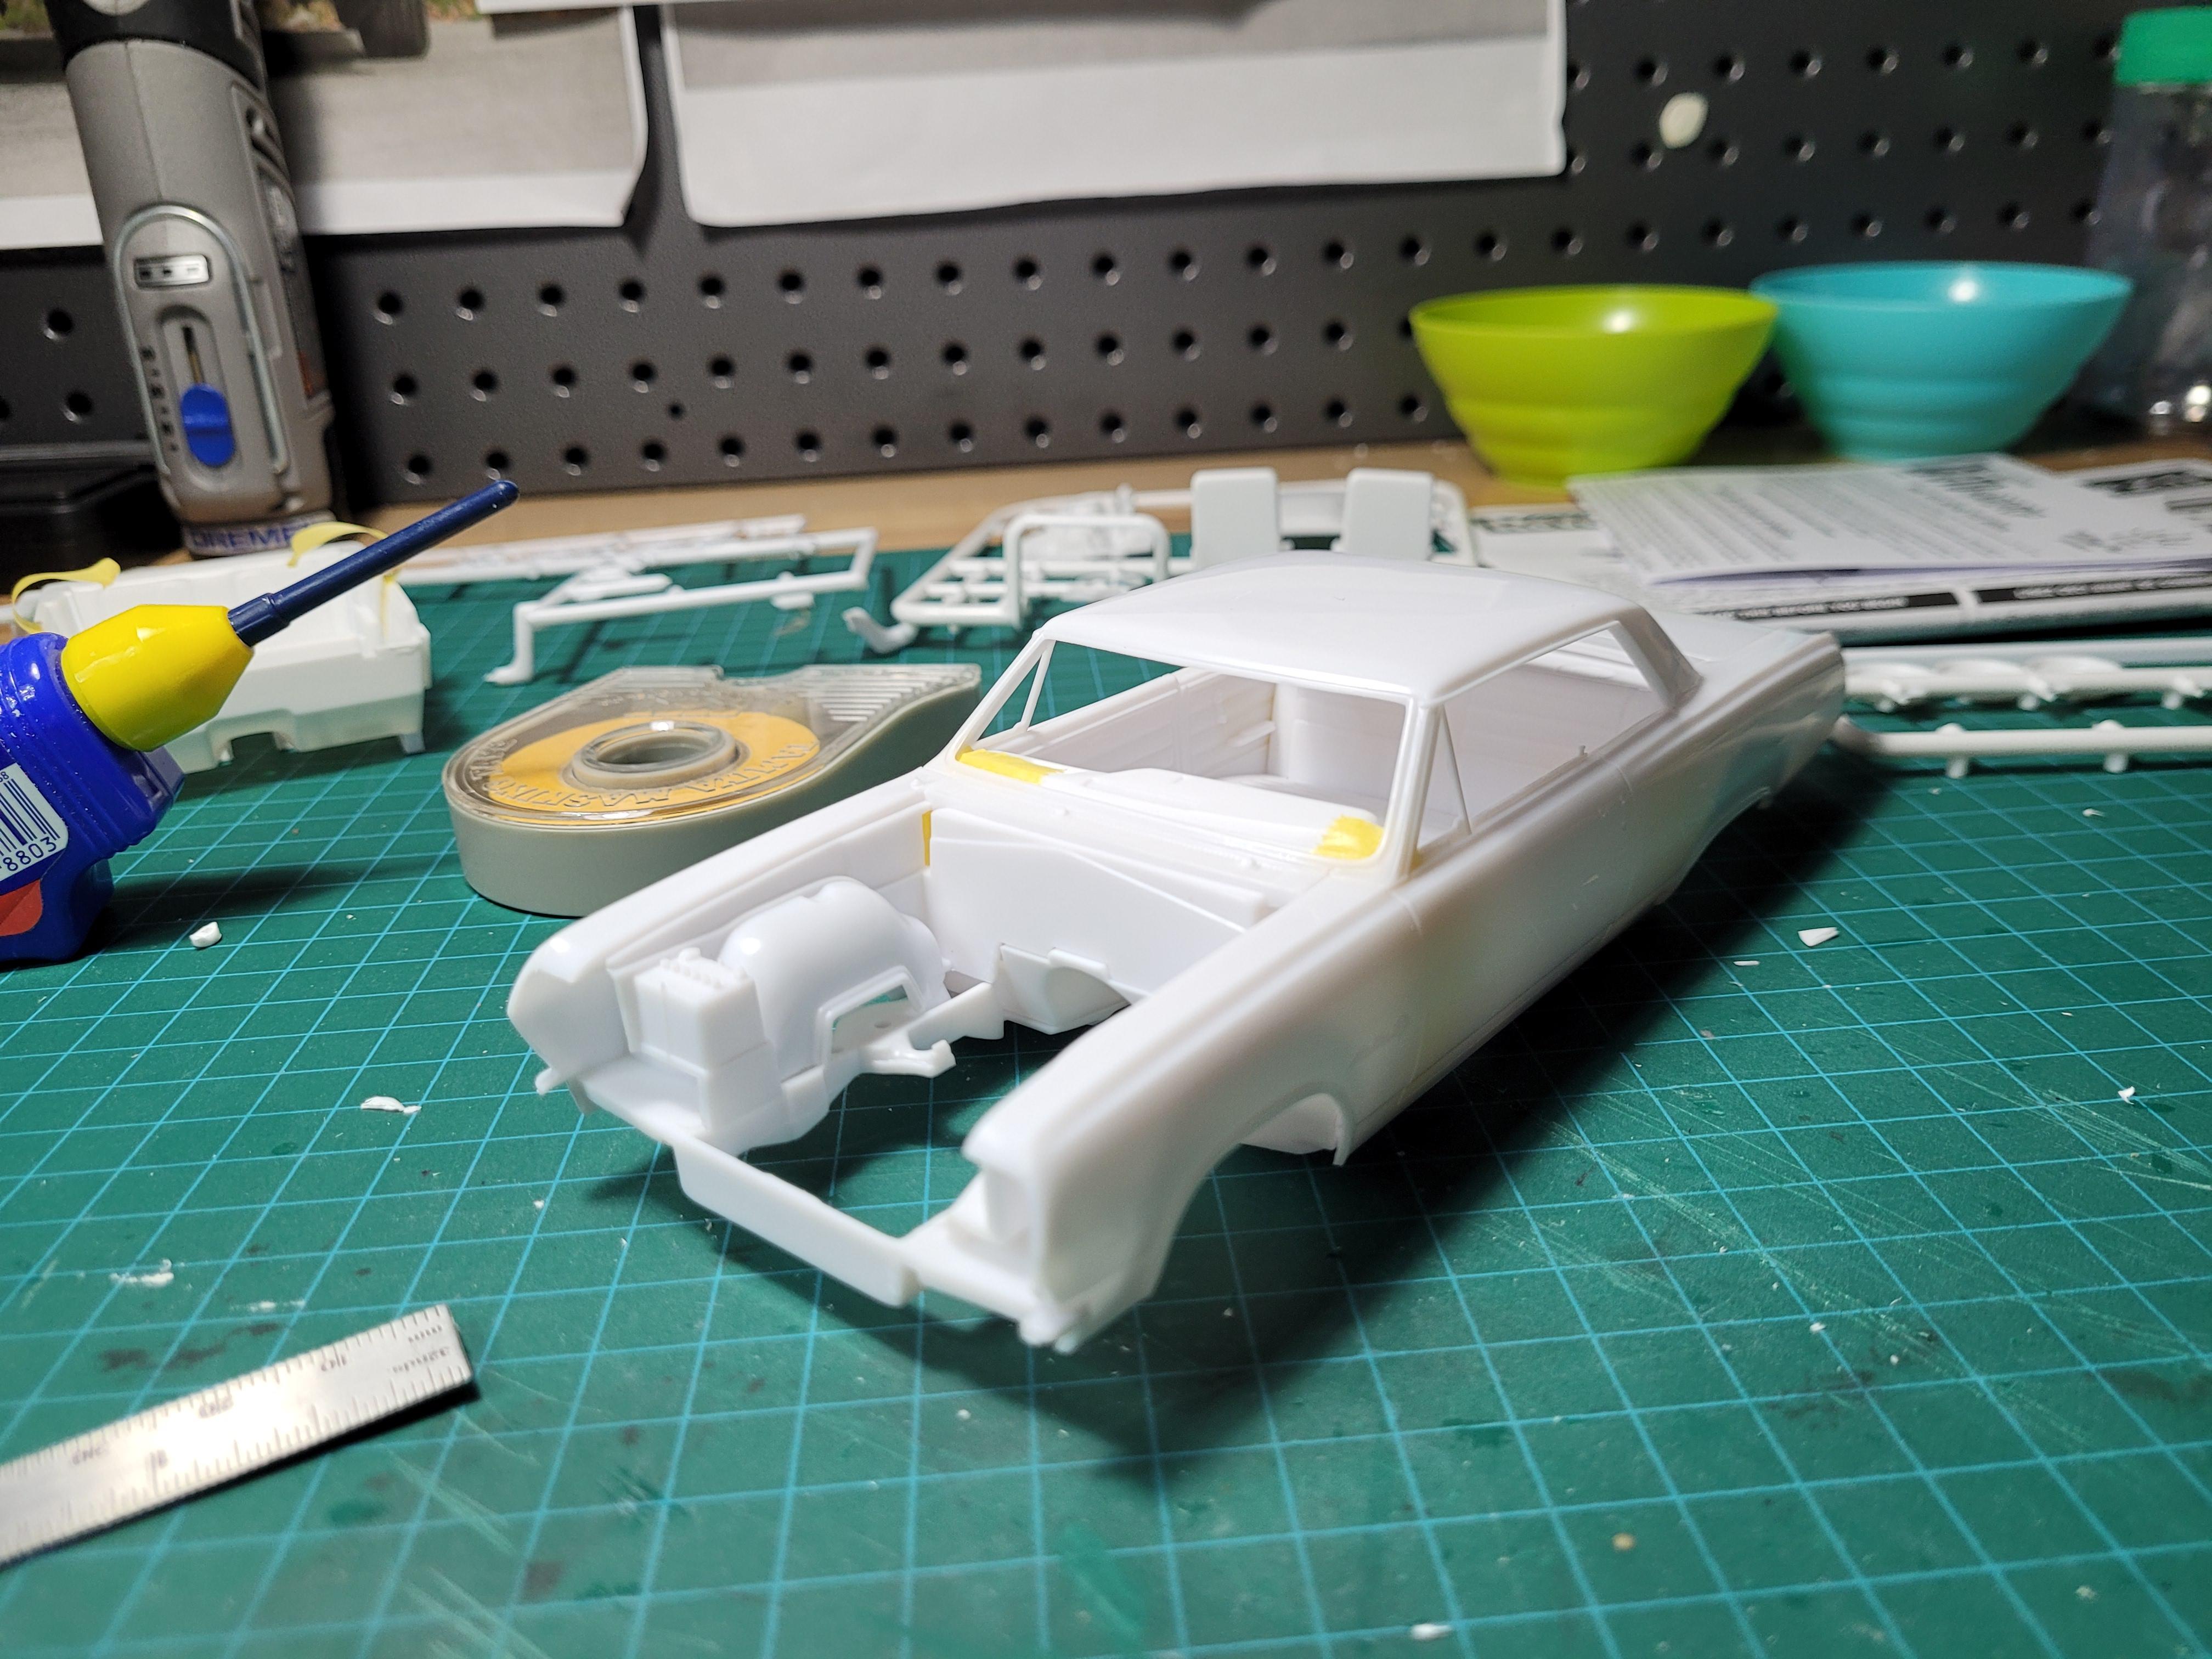
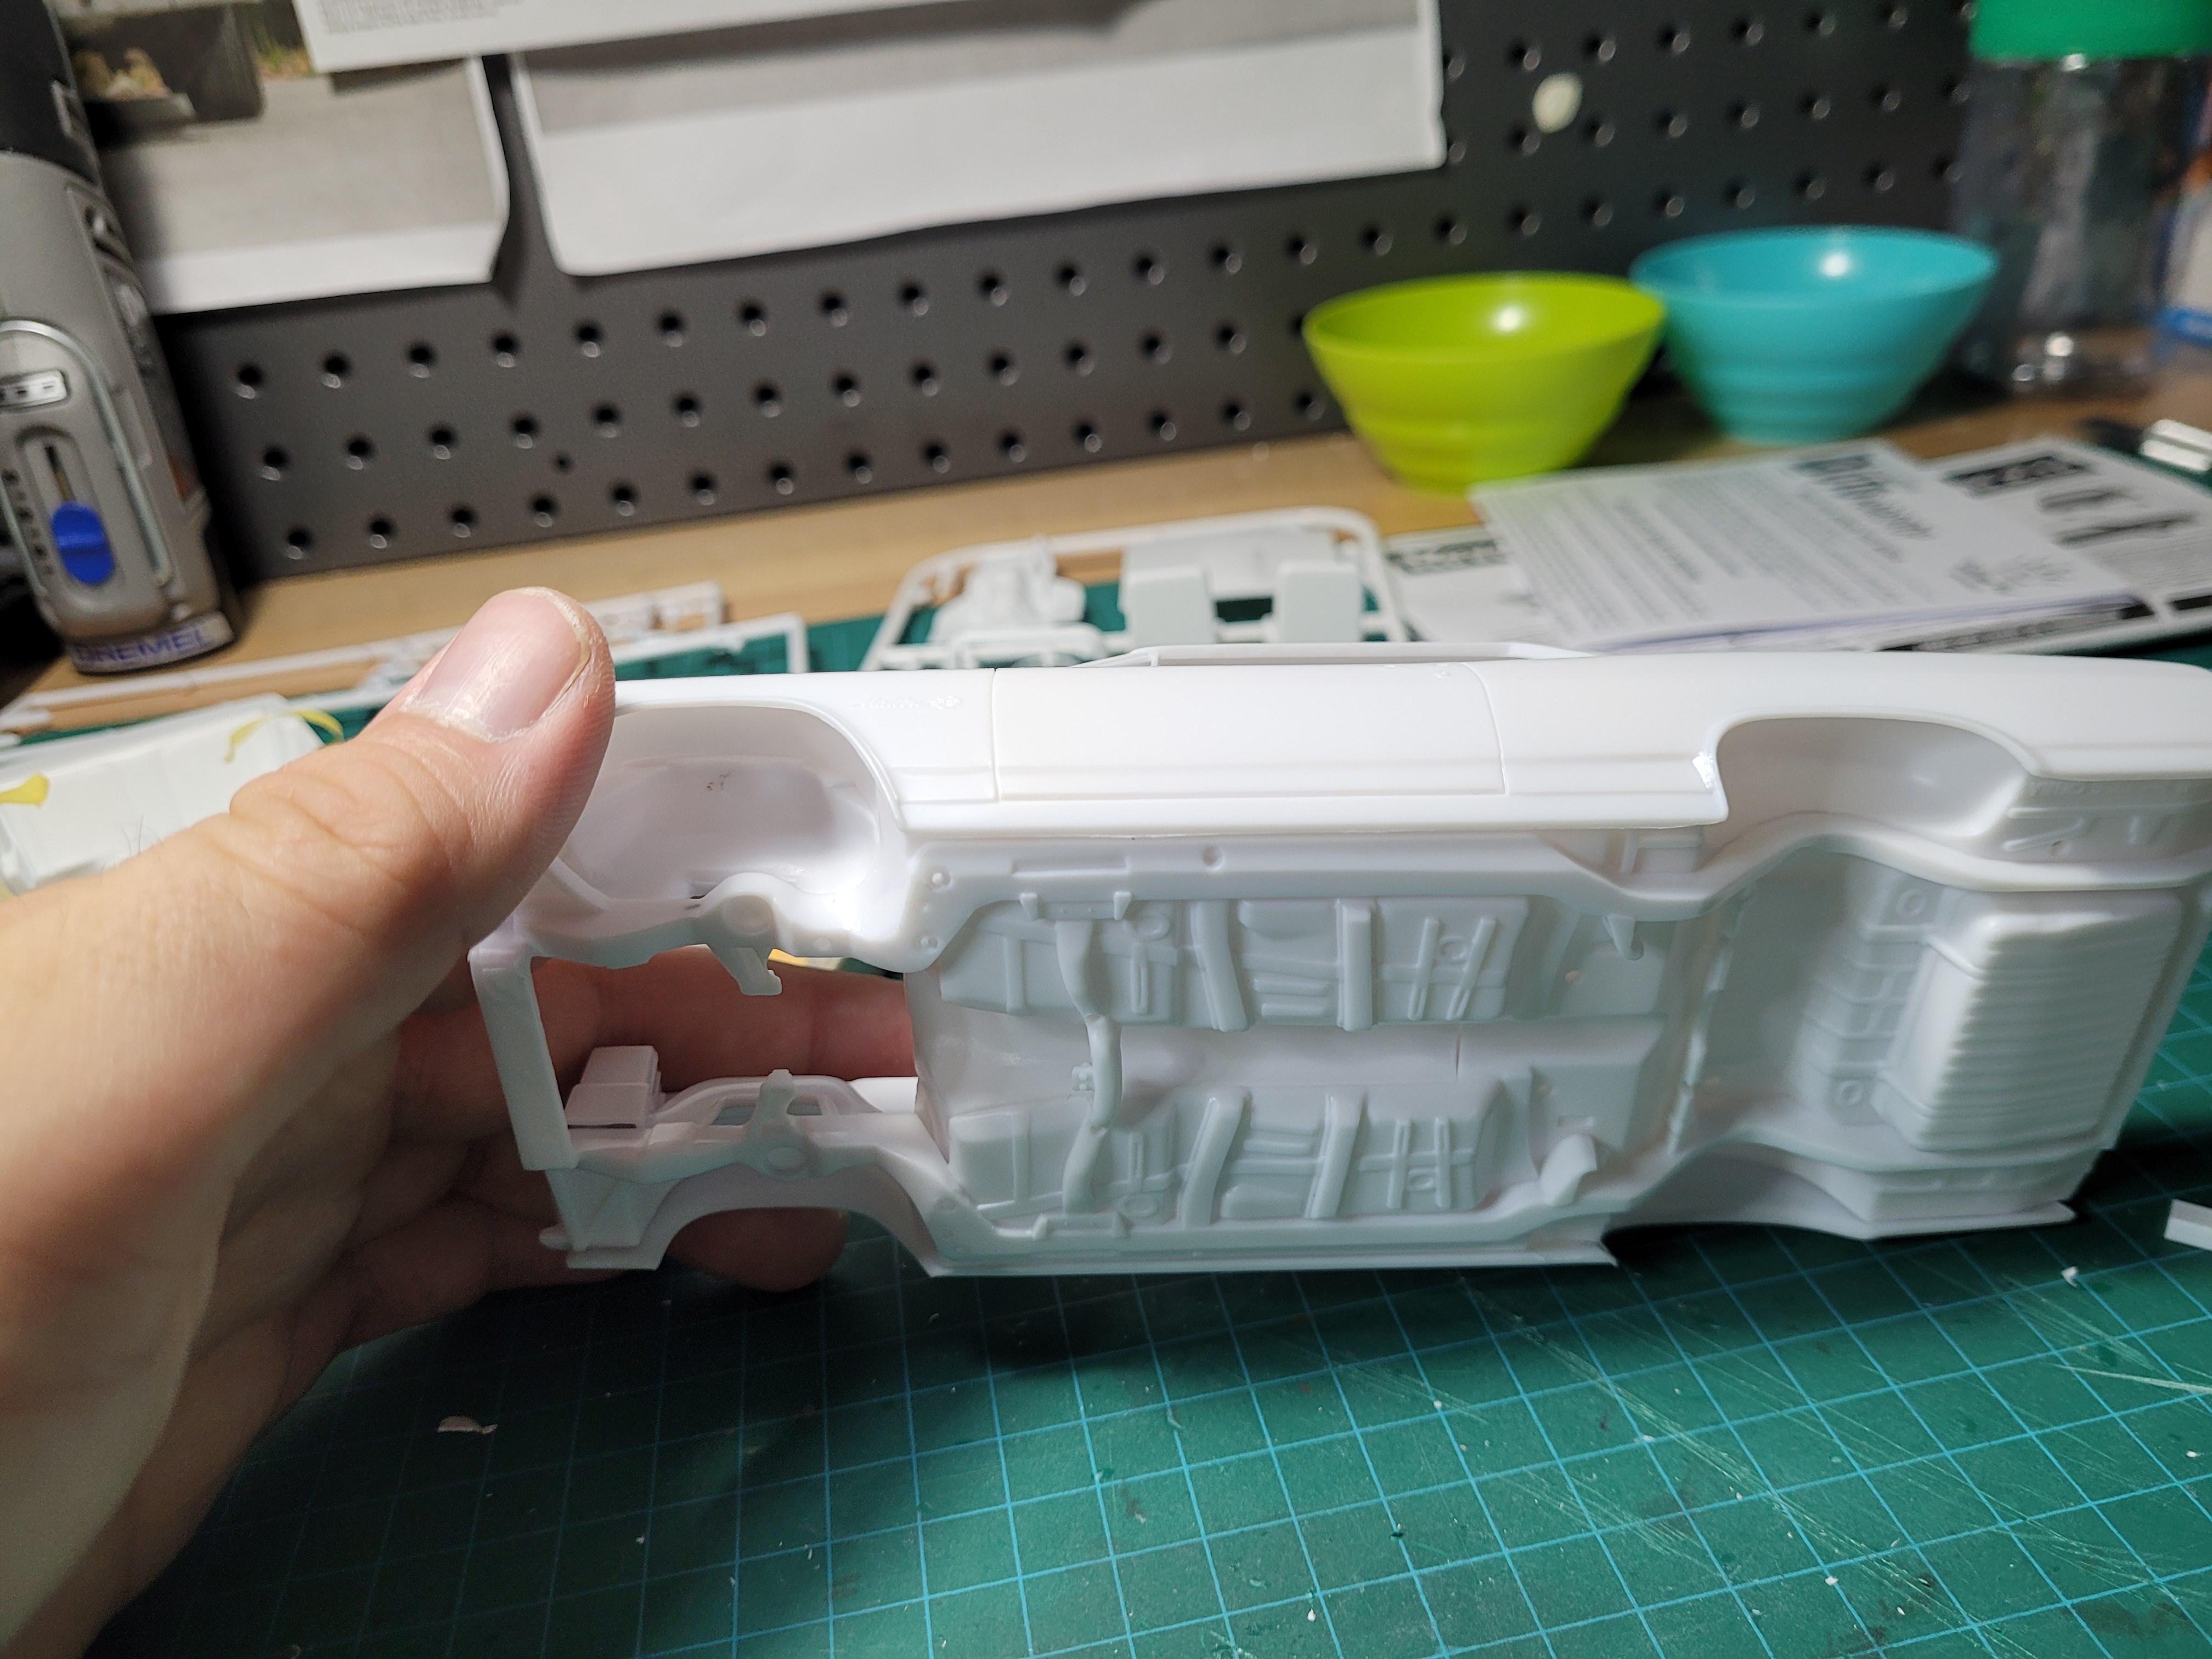
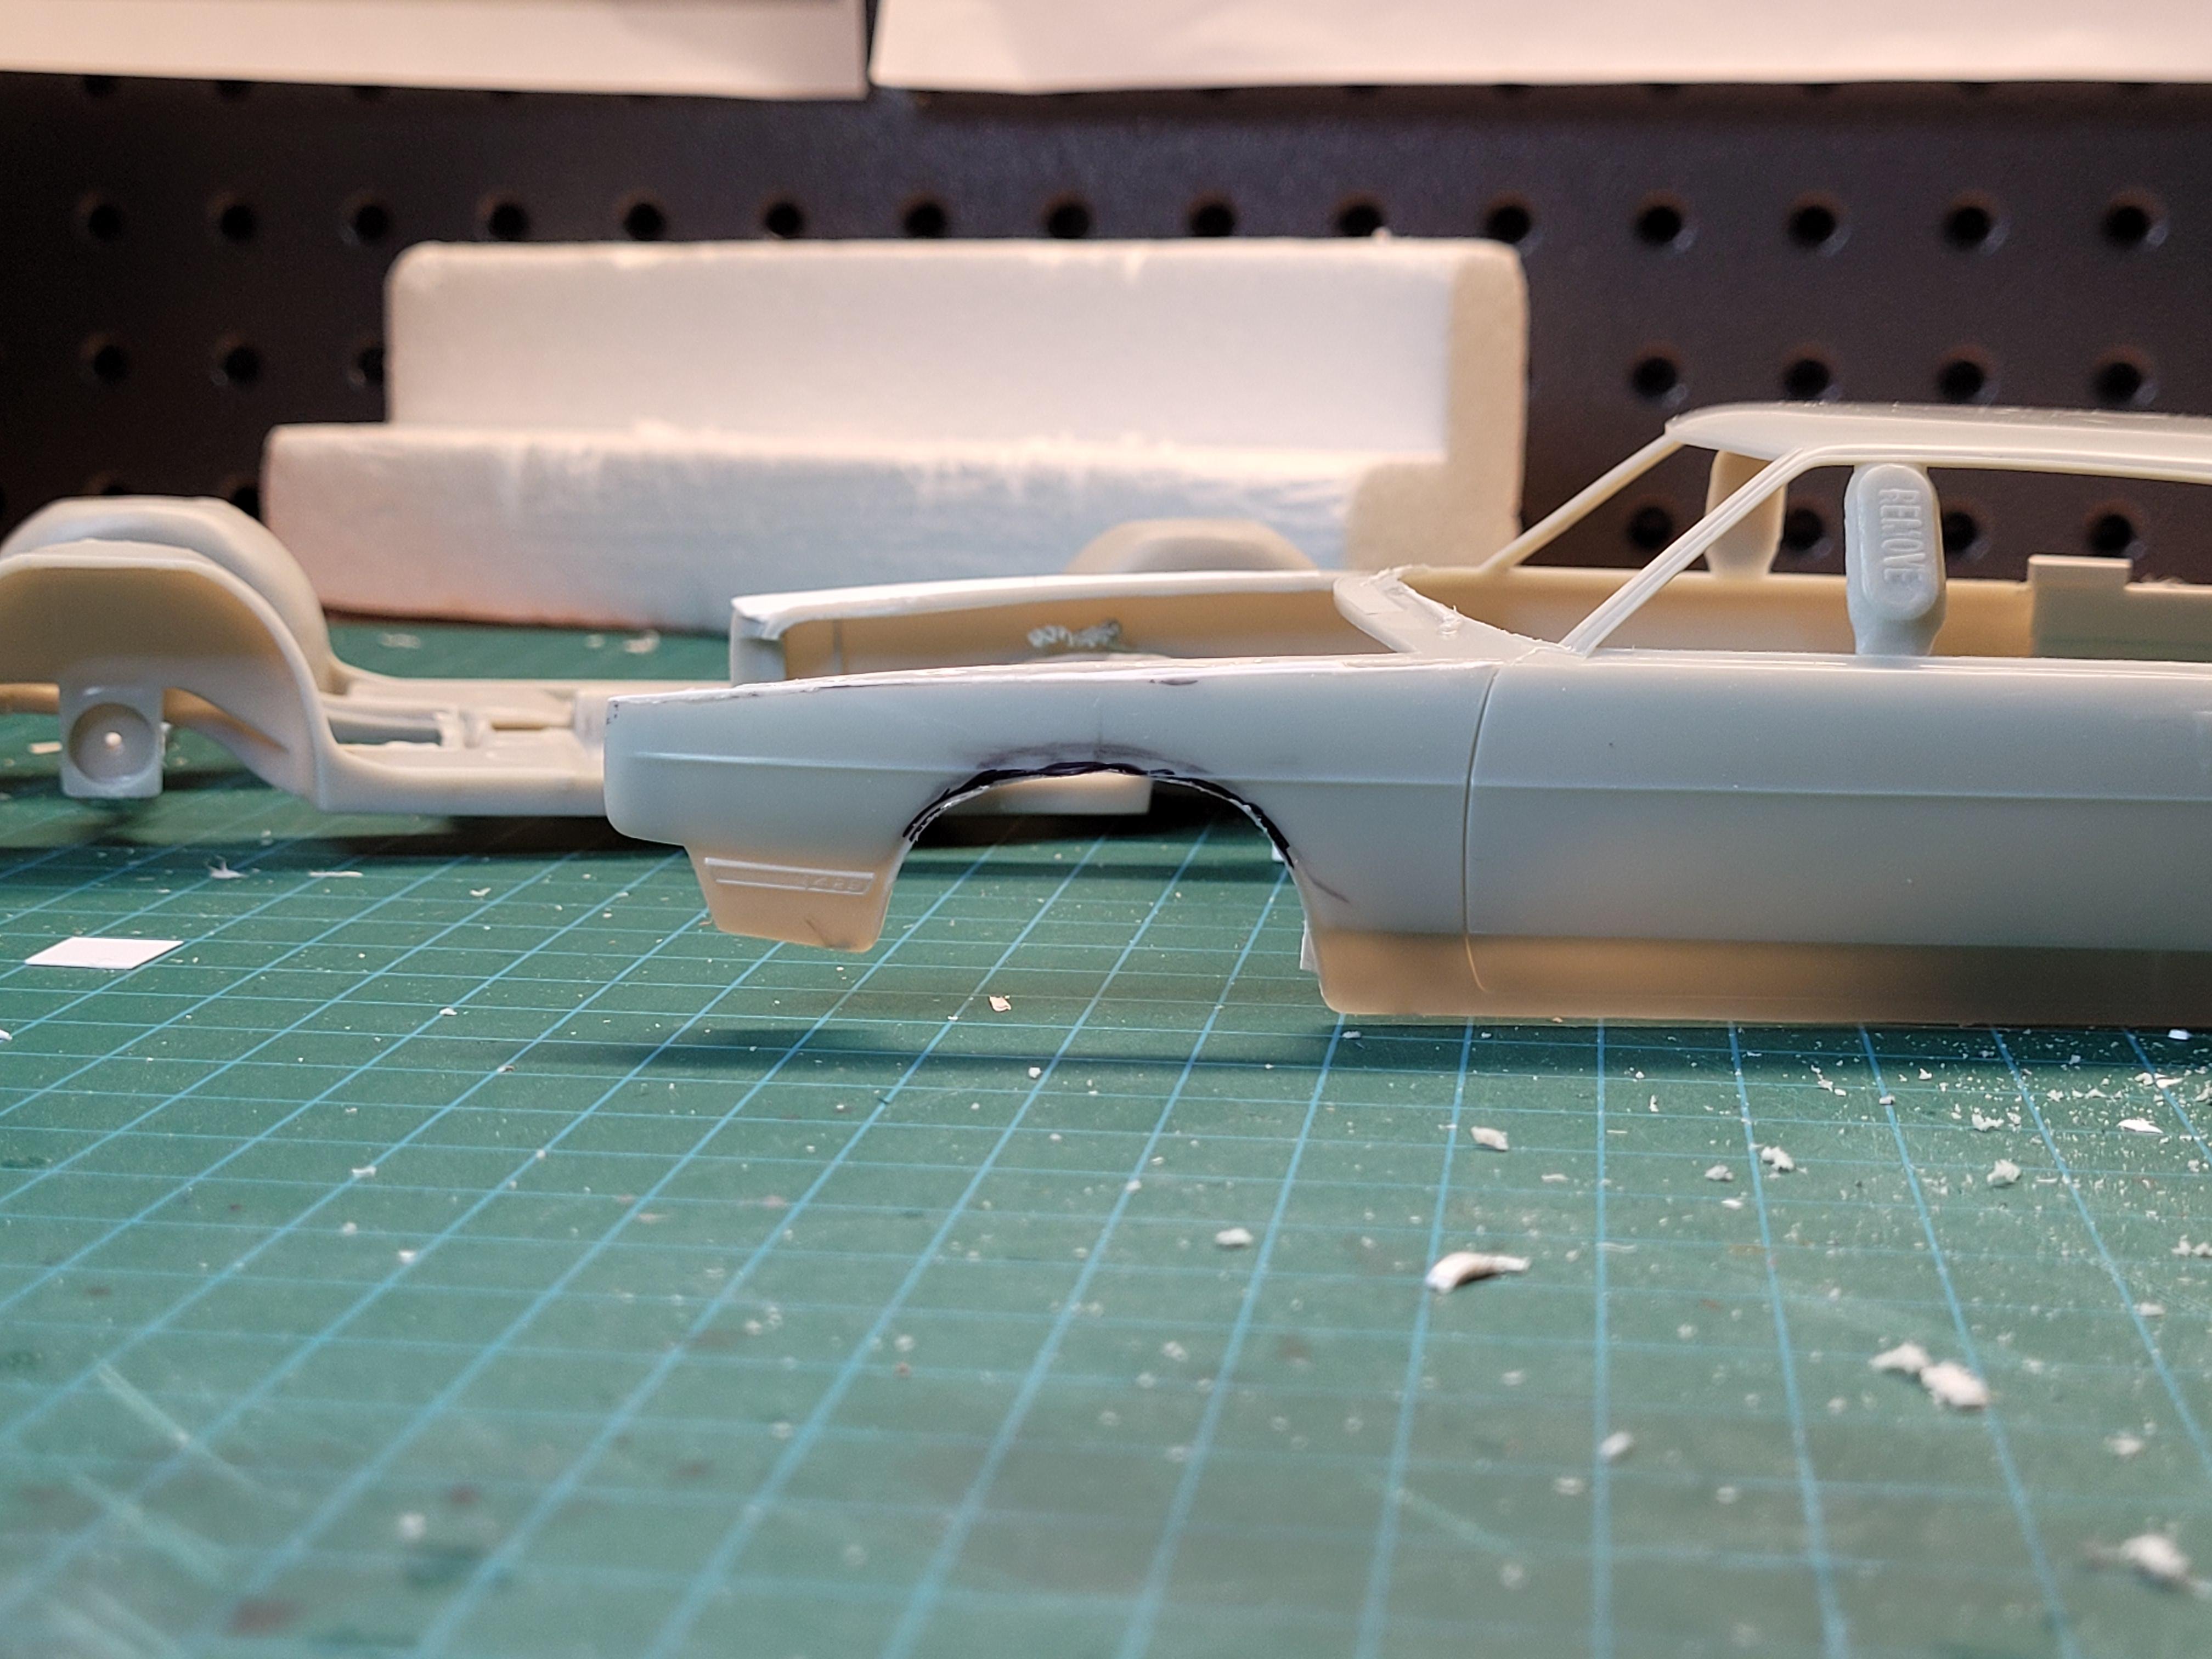
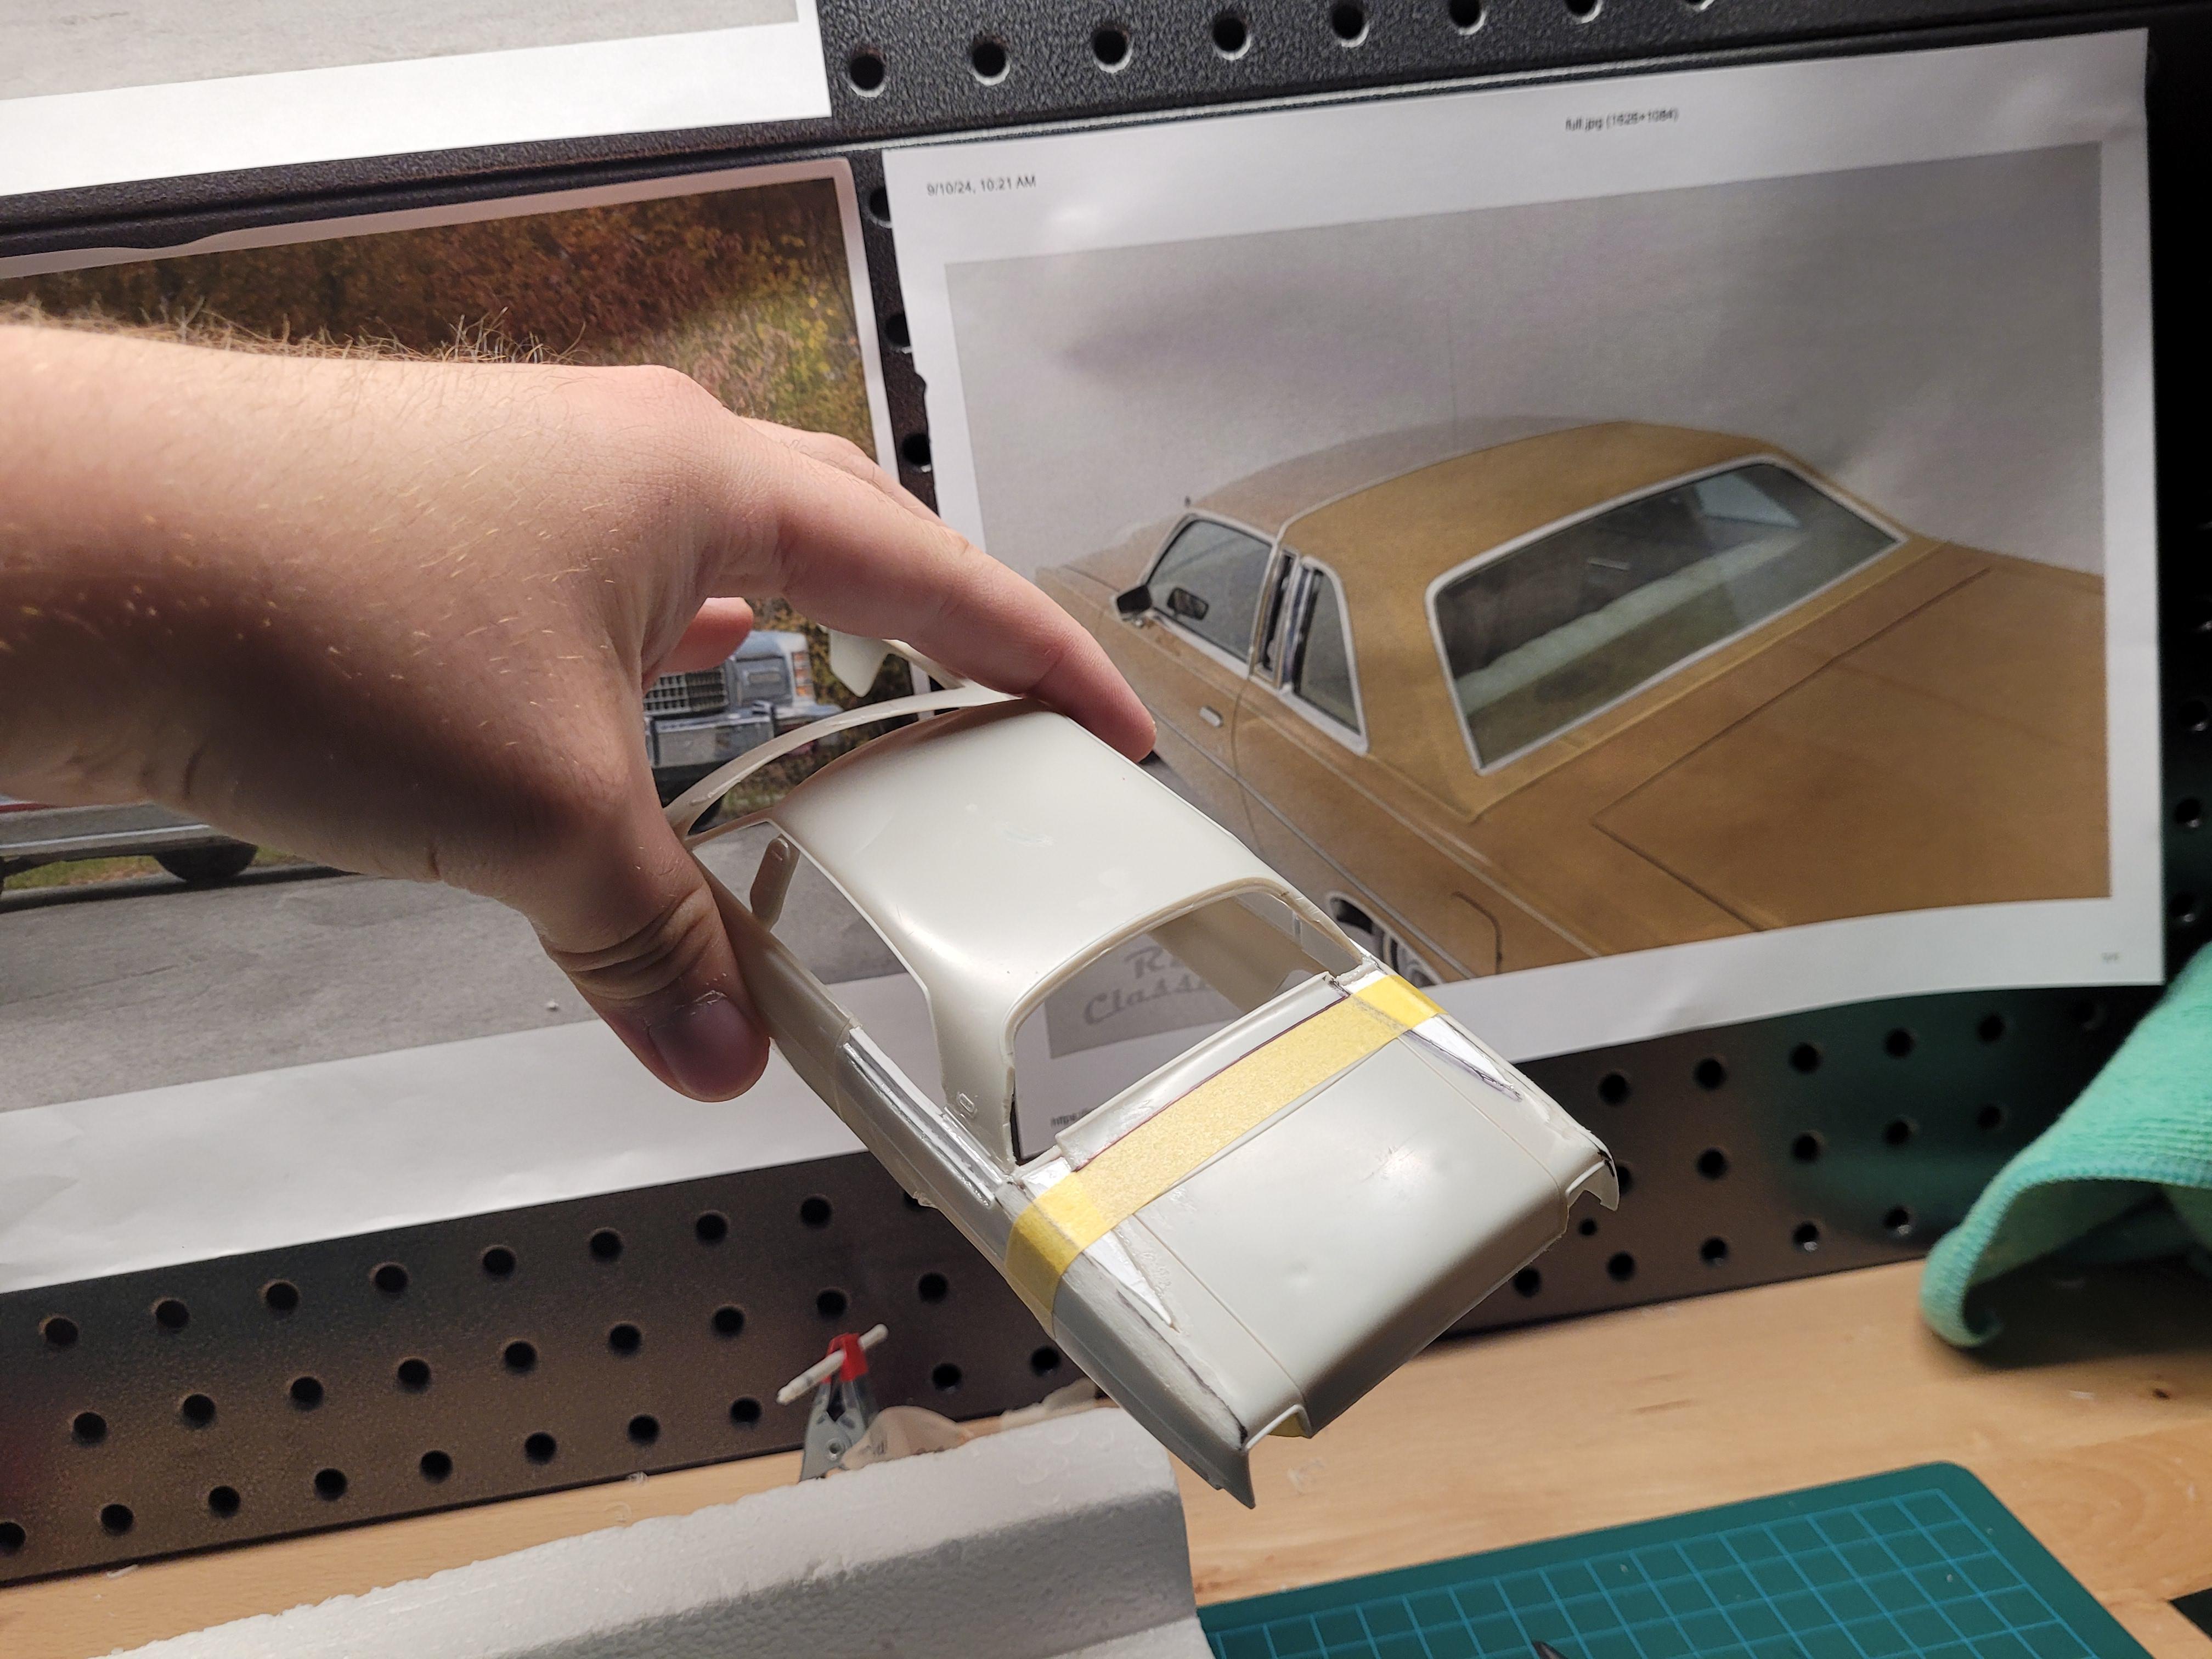
Someone's probably done this conversion before, but I decided to take my own approach! The fundamentals of this build will be the Revell 1965 Chevrolet Chevelle and the AMT 1965 Pontiac GTO. Essentially an Acadian Beaumont is a Chevelle with an interior mostly sourced from the Tempest, LeMans, or GTO (depending on the specification) with a few Chevelle parts sprinkled in. In the case of the Sport Deluxe, it is essentially a GTO interior with a Chevelle center console, so the first order of business is getting the GTO interior tub into the Chevelle body. After trimming off the locating pegs on both parts, I did a test fit and found that the GTO interior tub is too shallow for the Chevelle. No big deal, I'll boost it up with some styrene! As you can see both tubs now line up perfectly. Another test fit you can see below confirms this issue is solved.
-
You'll be able to make one just like that with my resin kit eventually!
-
Wow this is really coming together! I love the mod-podge headlights, I've never attempted making headlights out of a clear gel medium but my local dollar store started carrying a wide array of Mod Podge products and I want to try it out. Keep up the work and tips!
-
Revell 1965 Chevelle Malibu SS Convertible (Resin)
Mike Slapattack replied to kelson's topic in WIP: Model Cars
Love the colour combo! Similar to what I'm doing on my current project. -
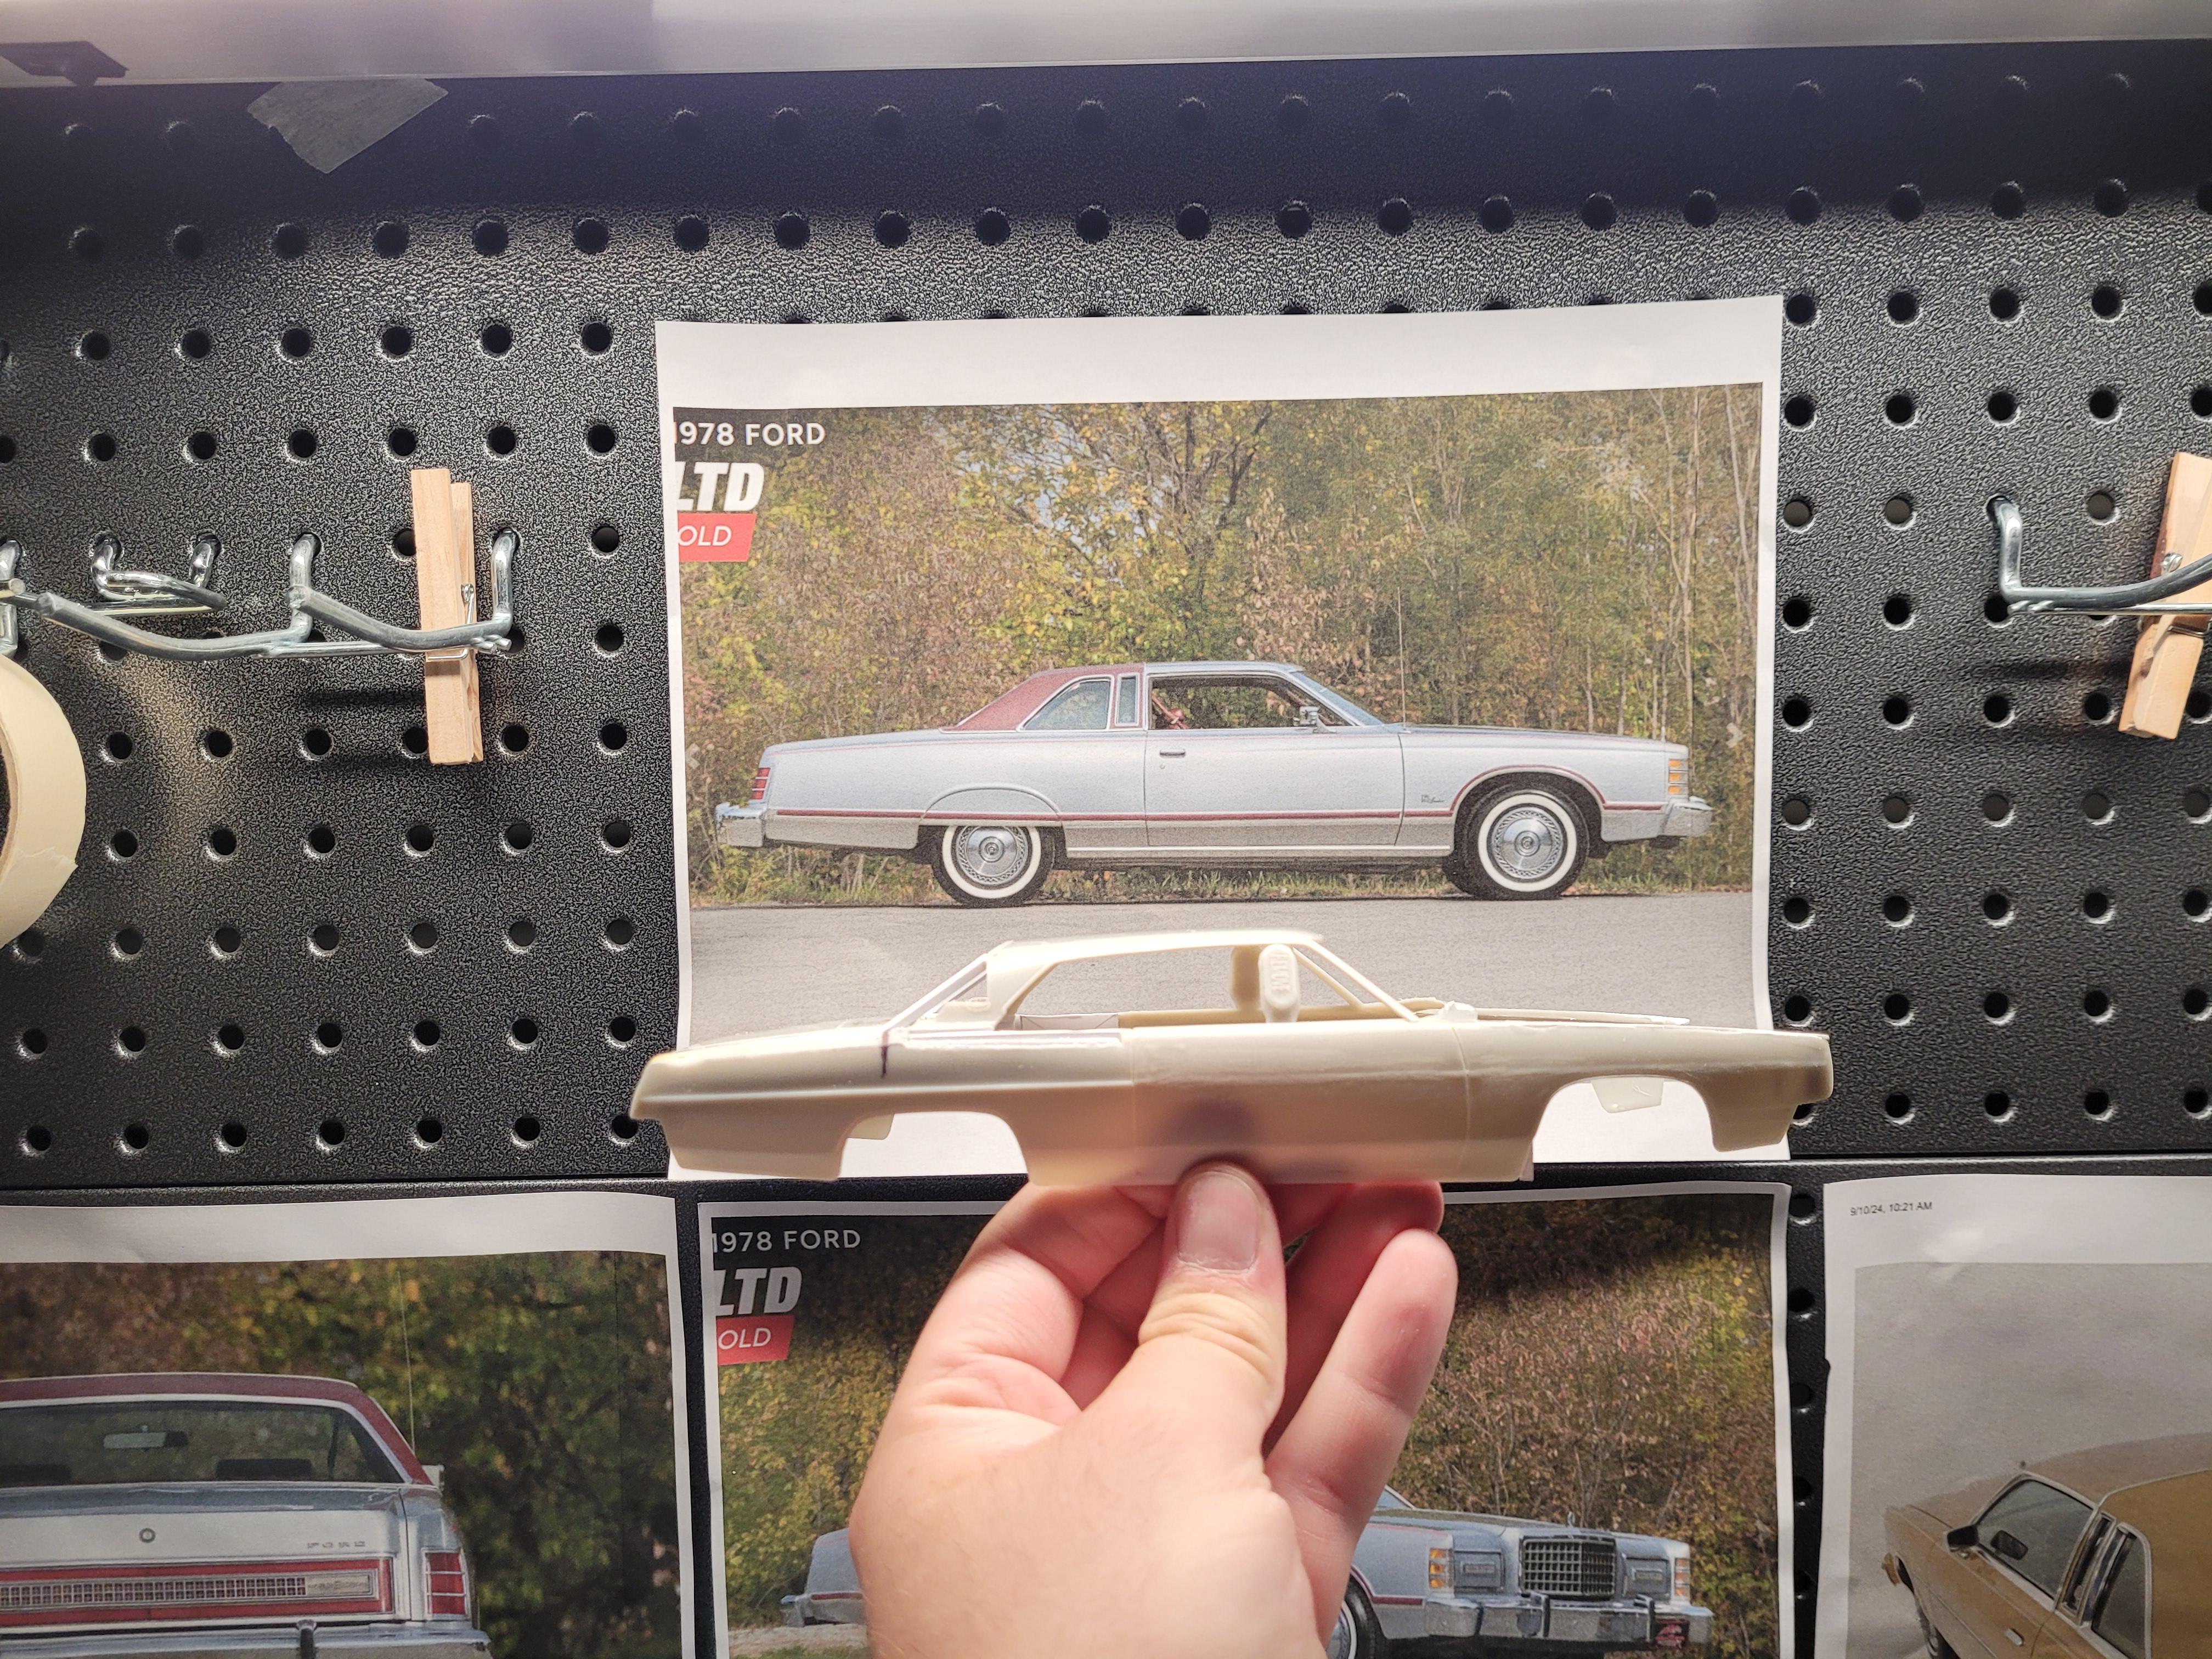
Yep! That's the goal. The styling stayed essentially the same from '75 to '78 before downsizing to the Panther platform for '79.
-
Looking great! I recently tried one of these Molotow pens for the first time and was very impressed.
-
Very cool! Love land yachts.
-
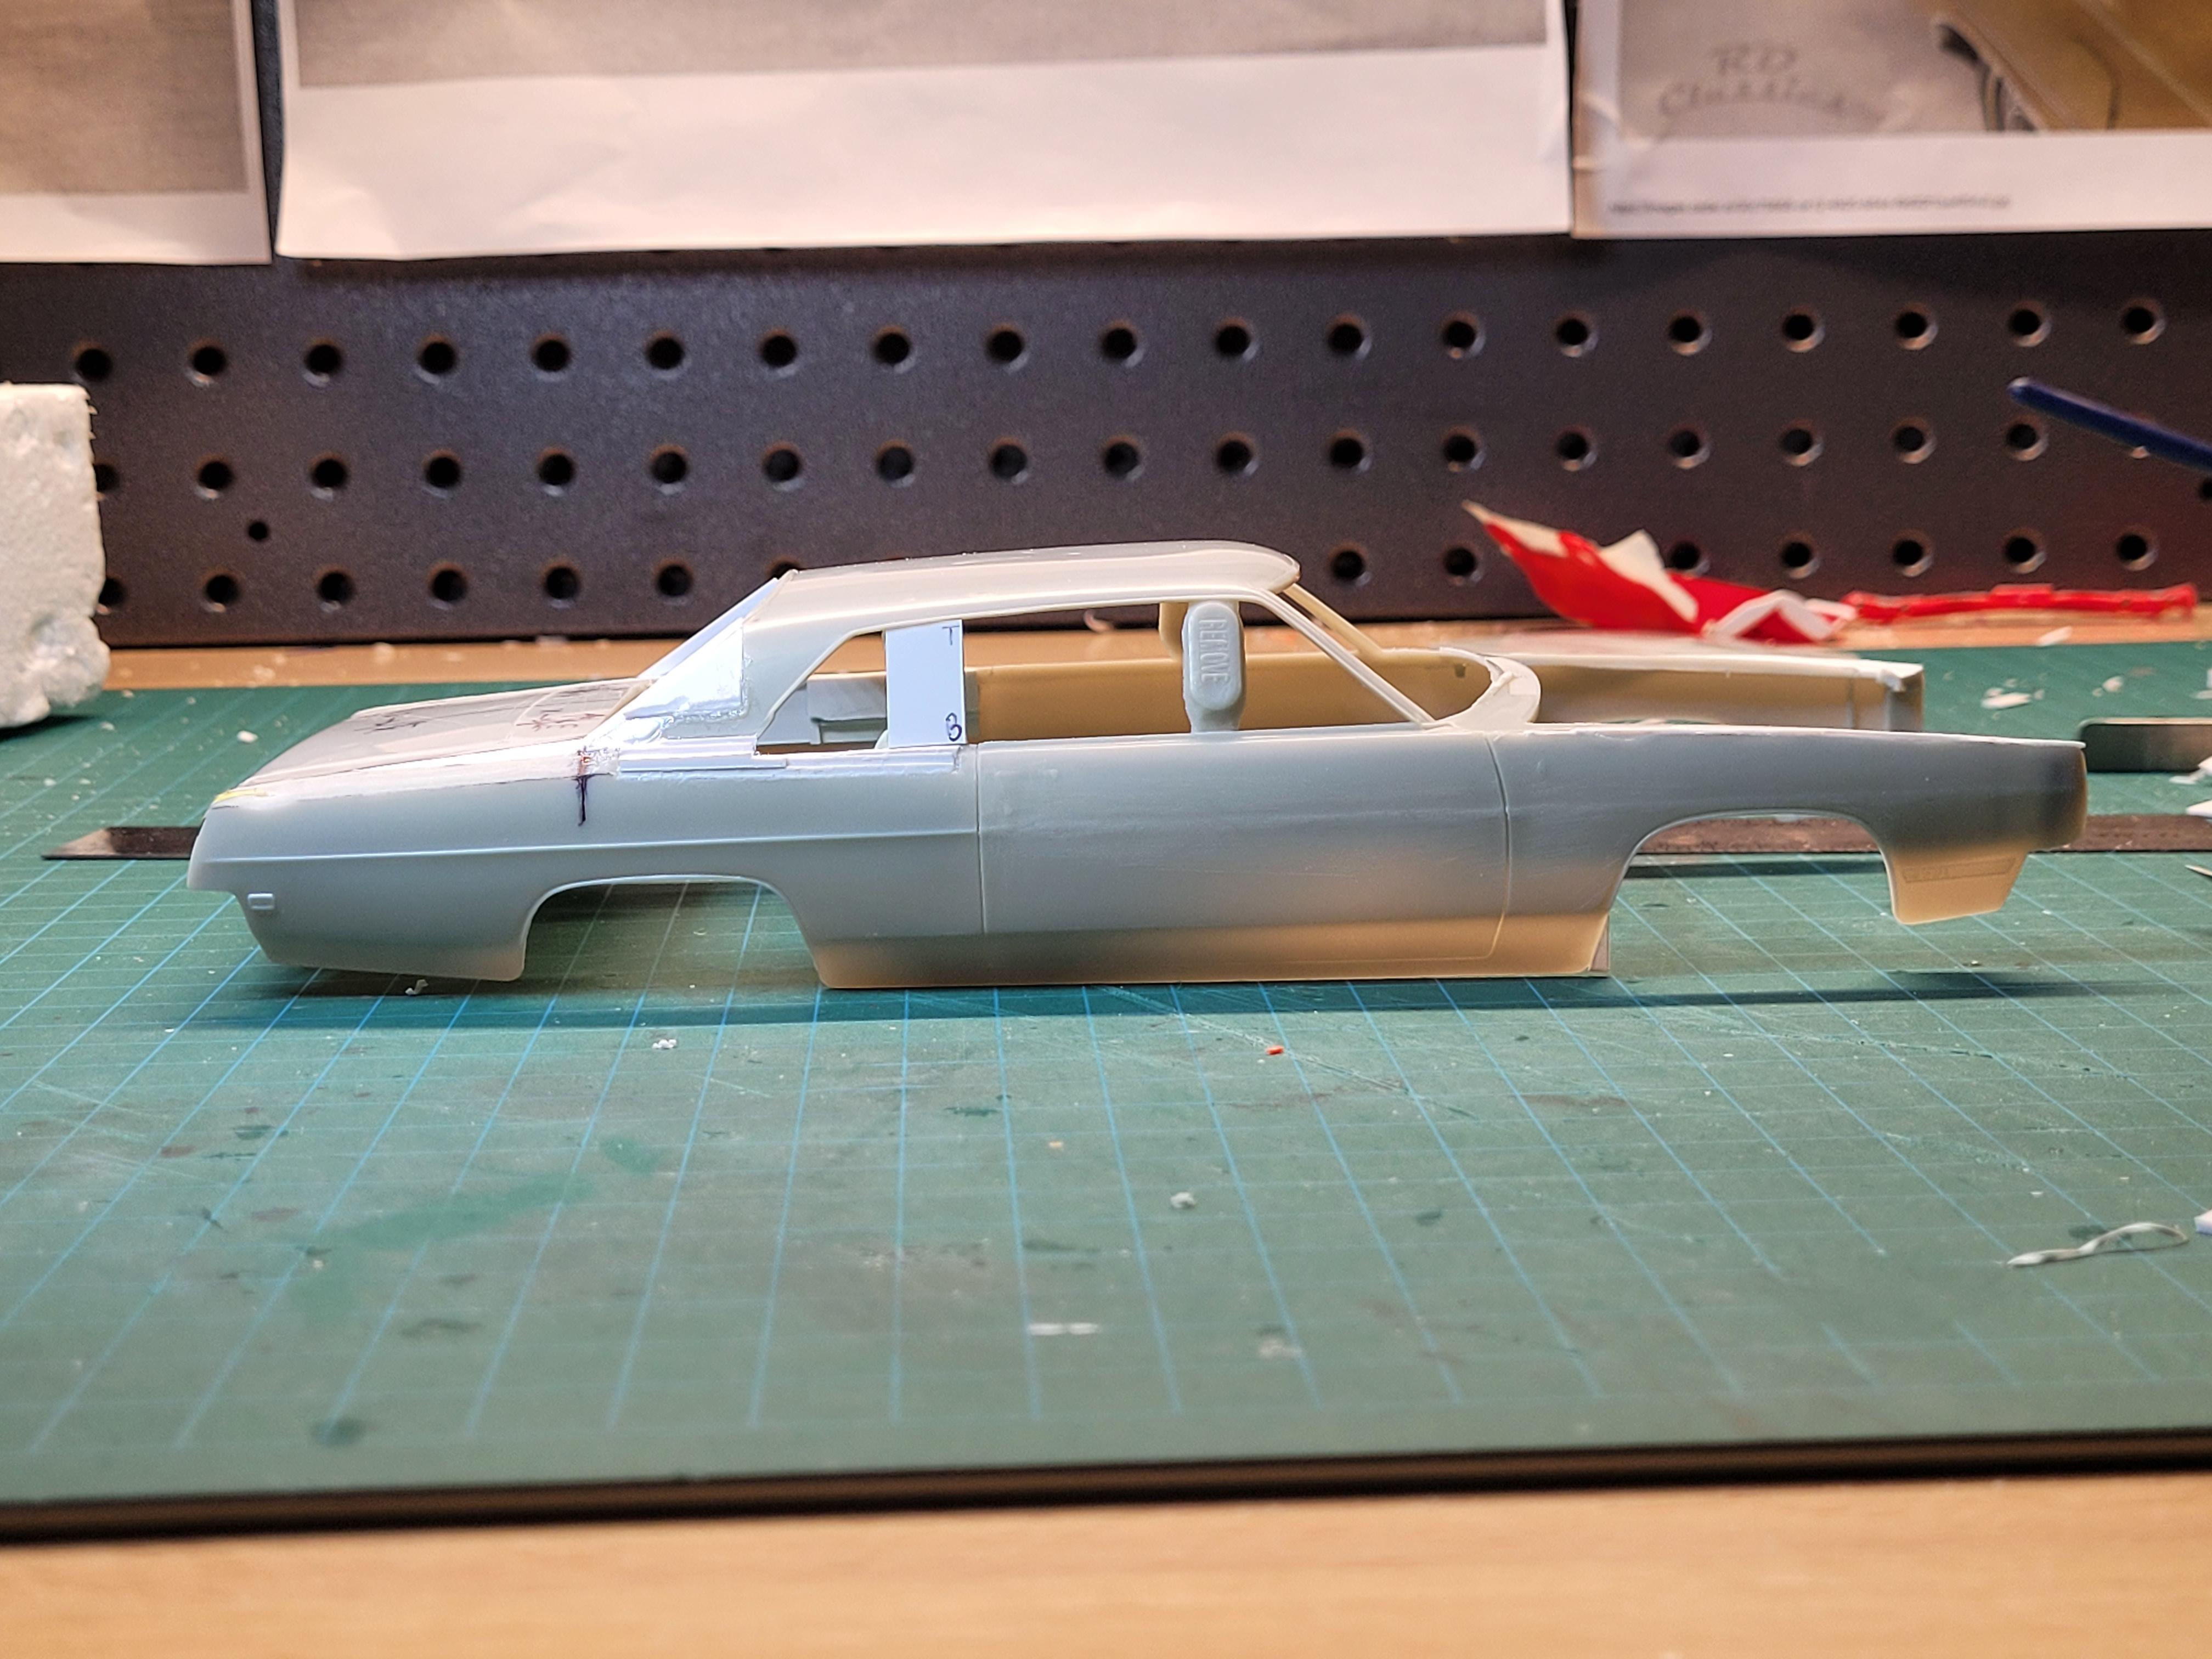
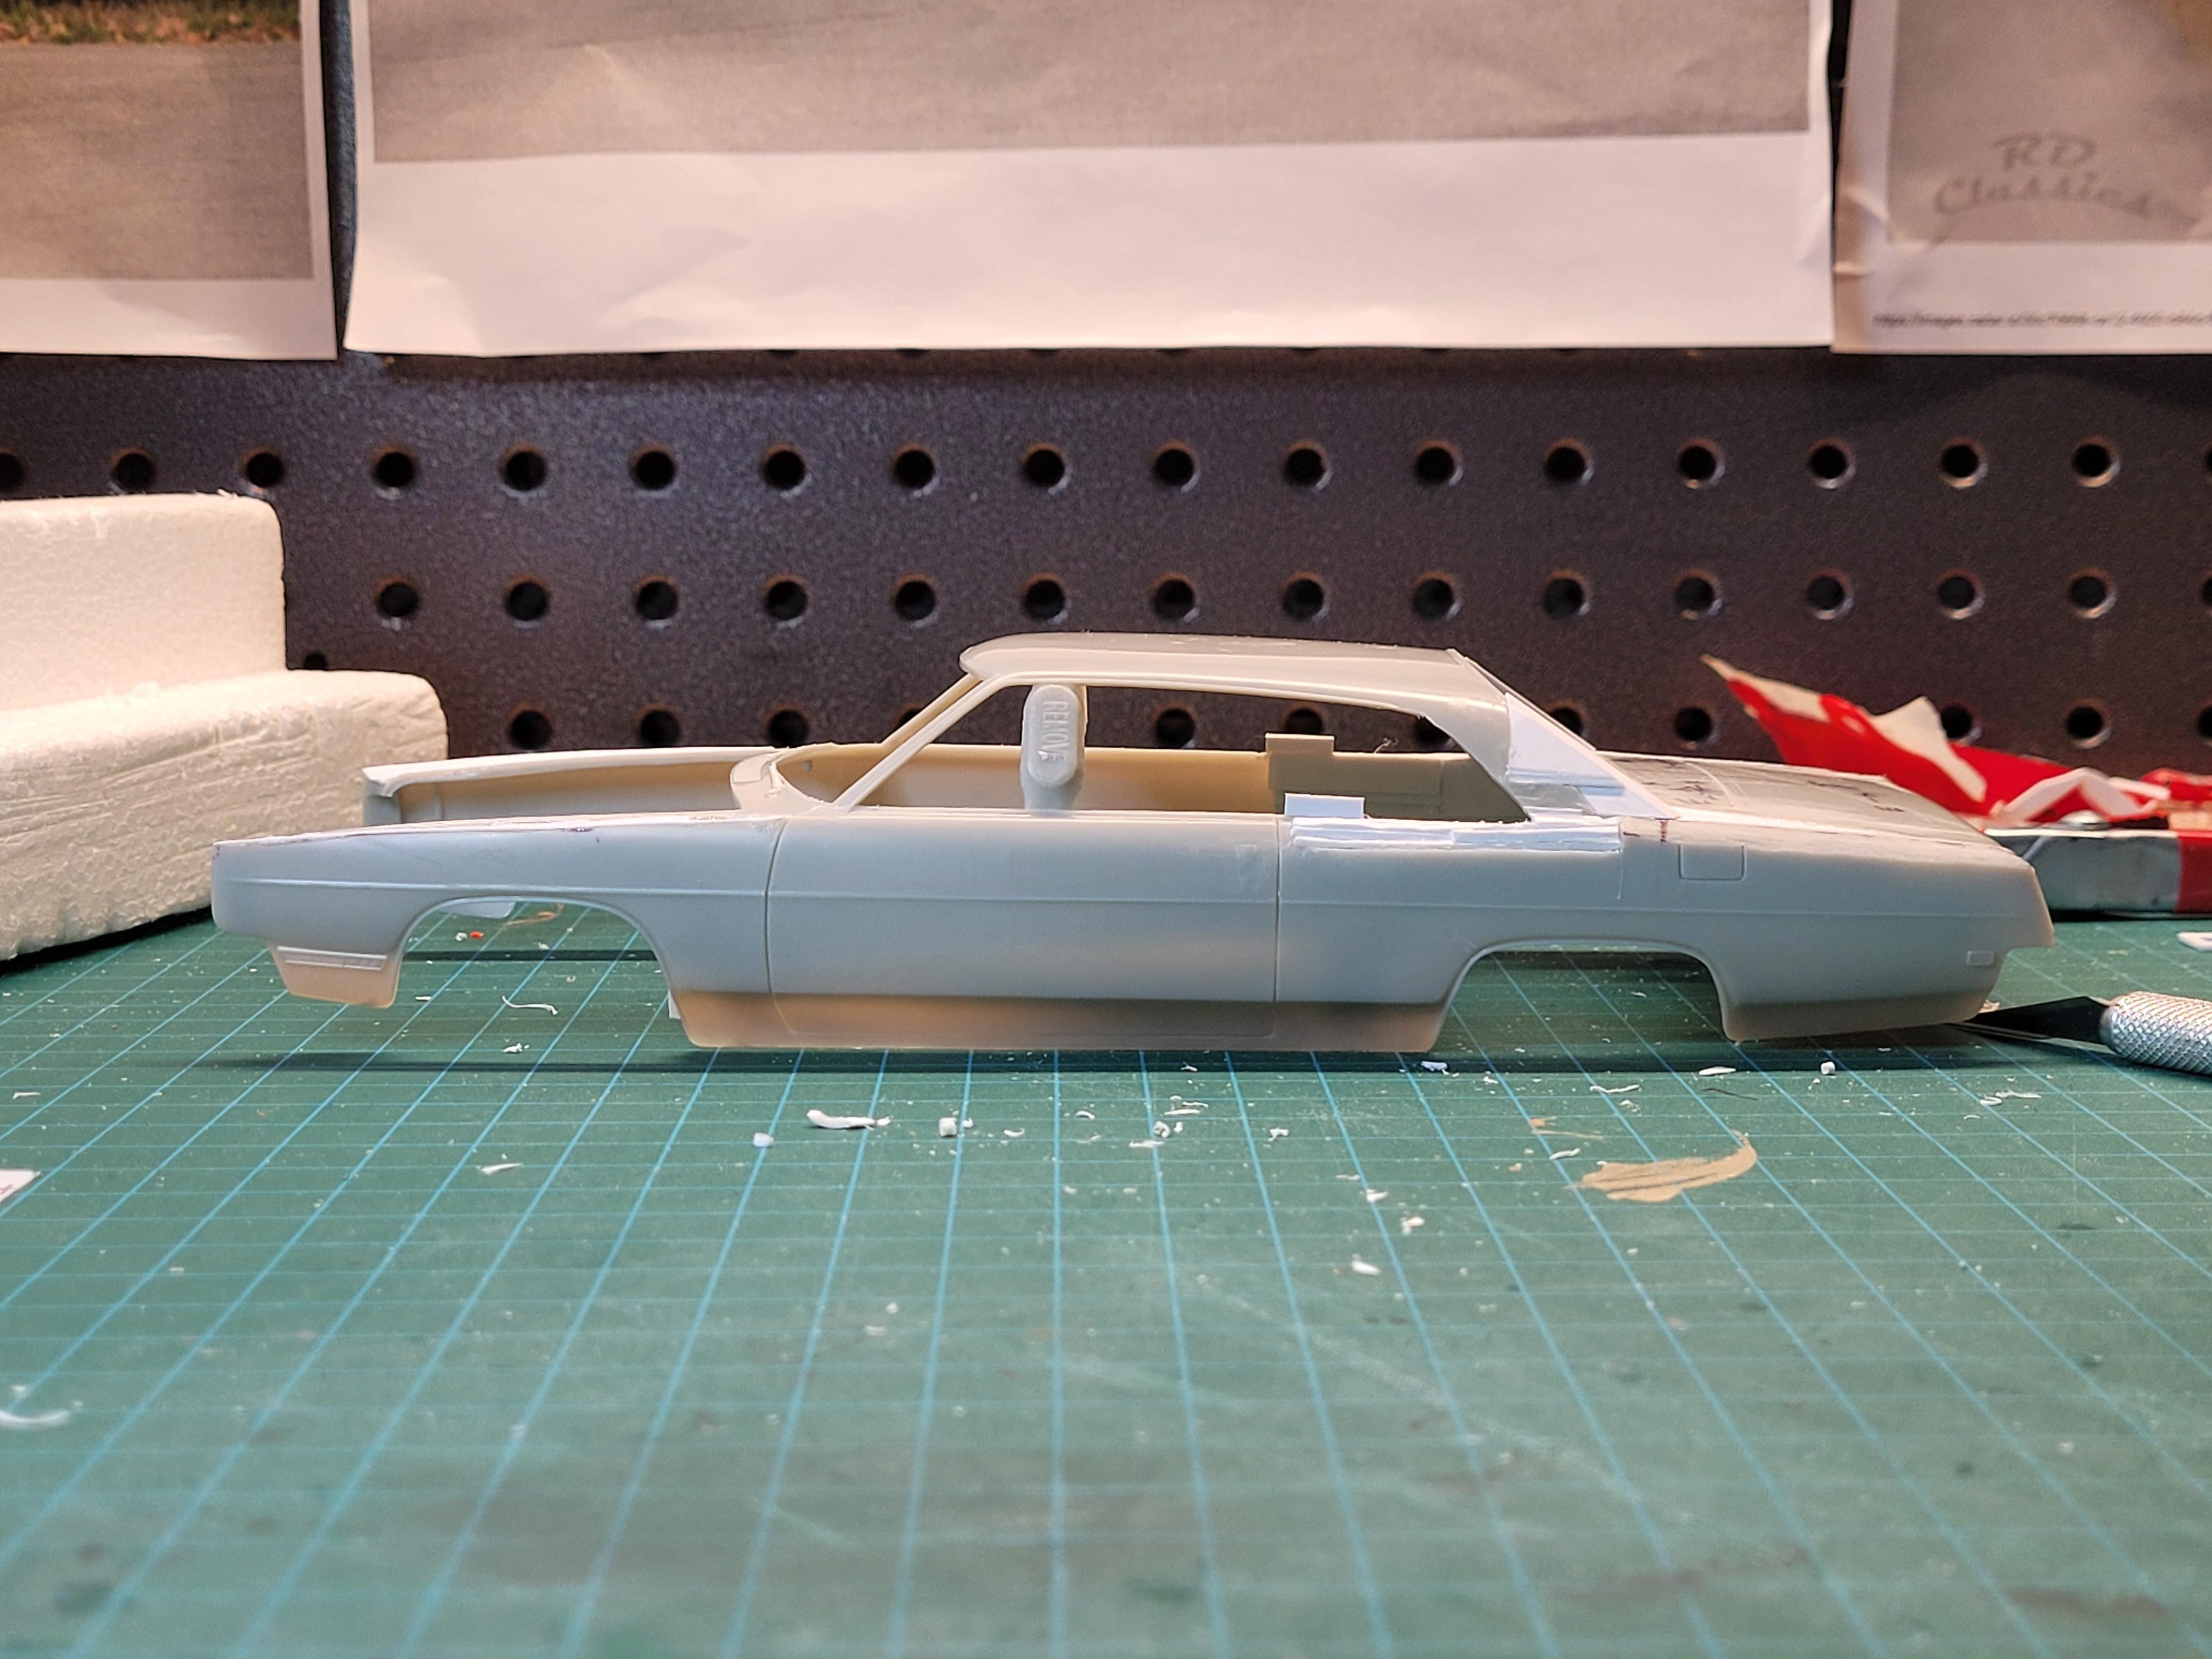
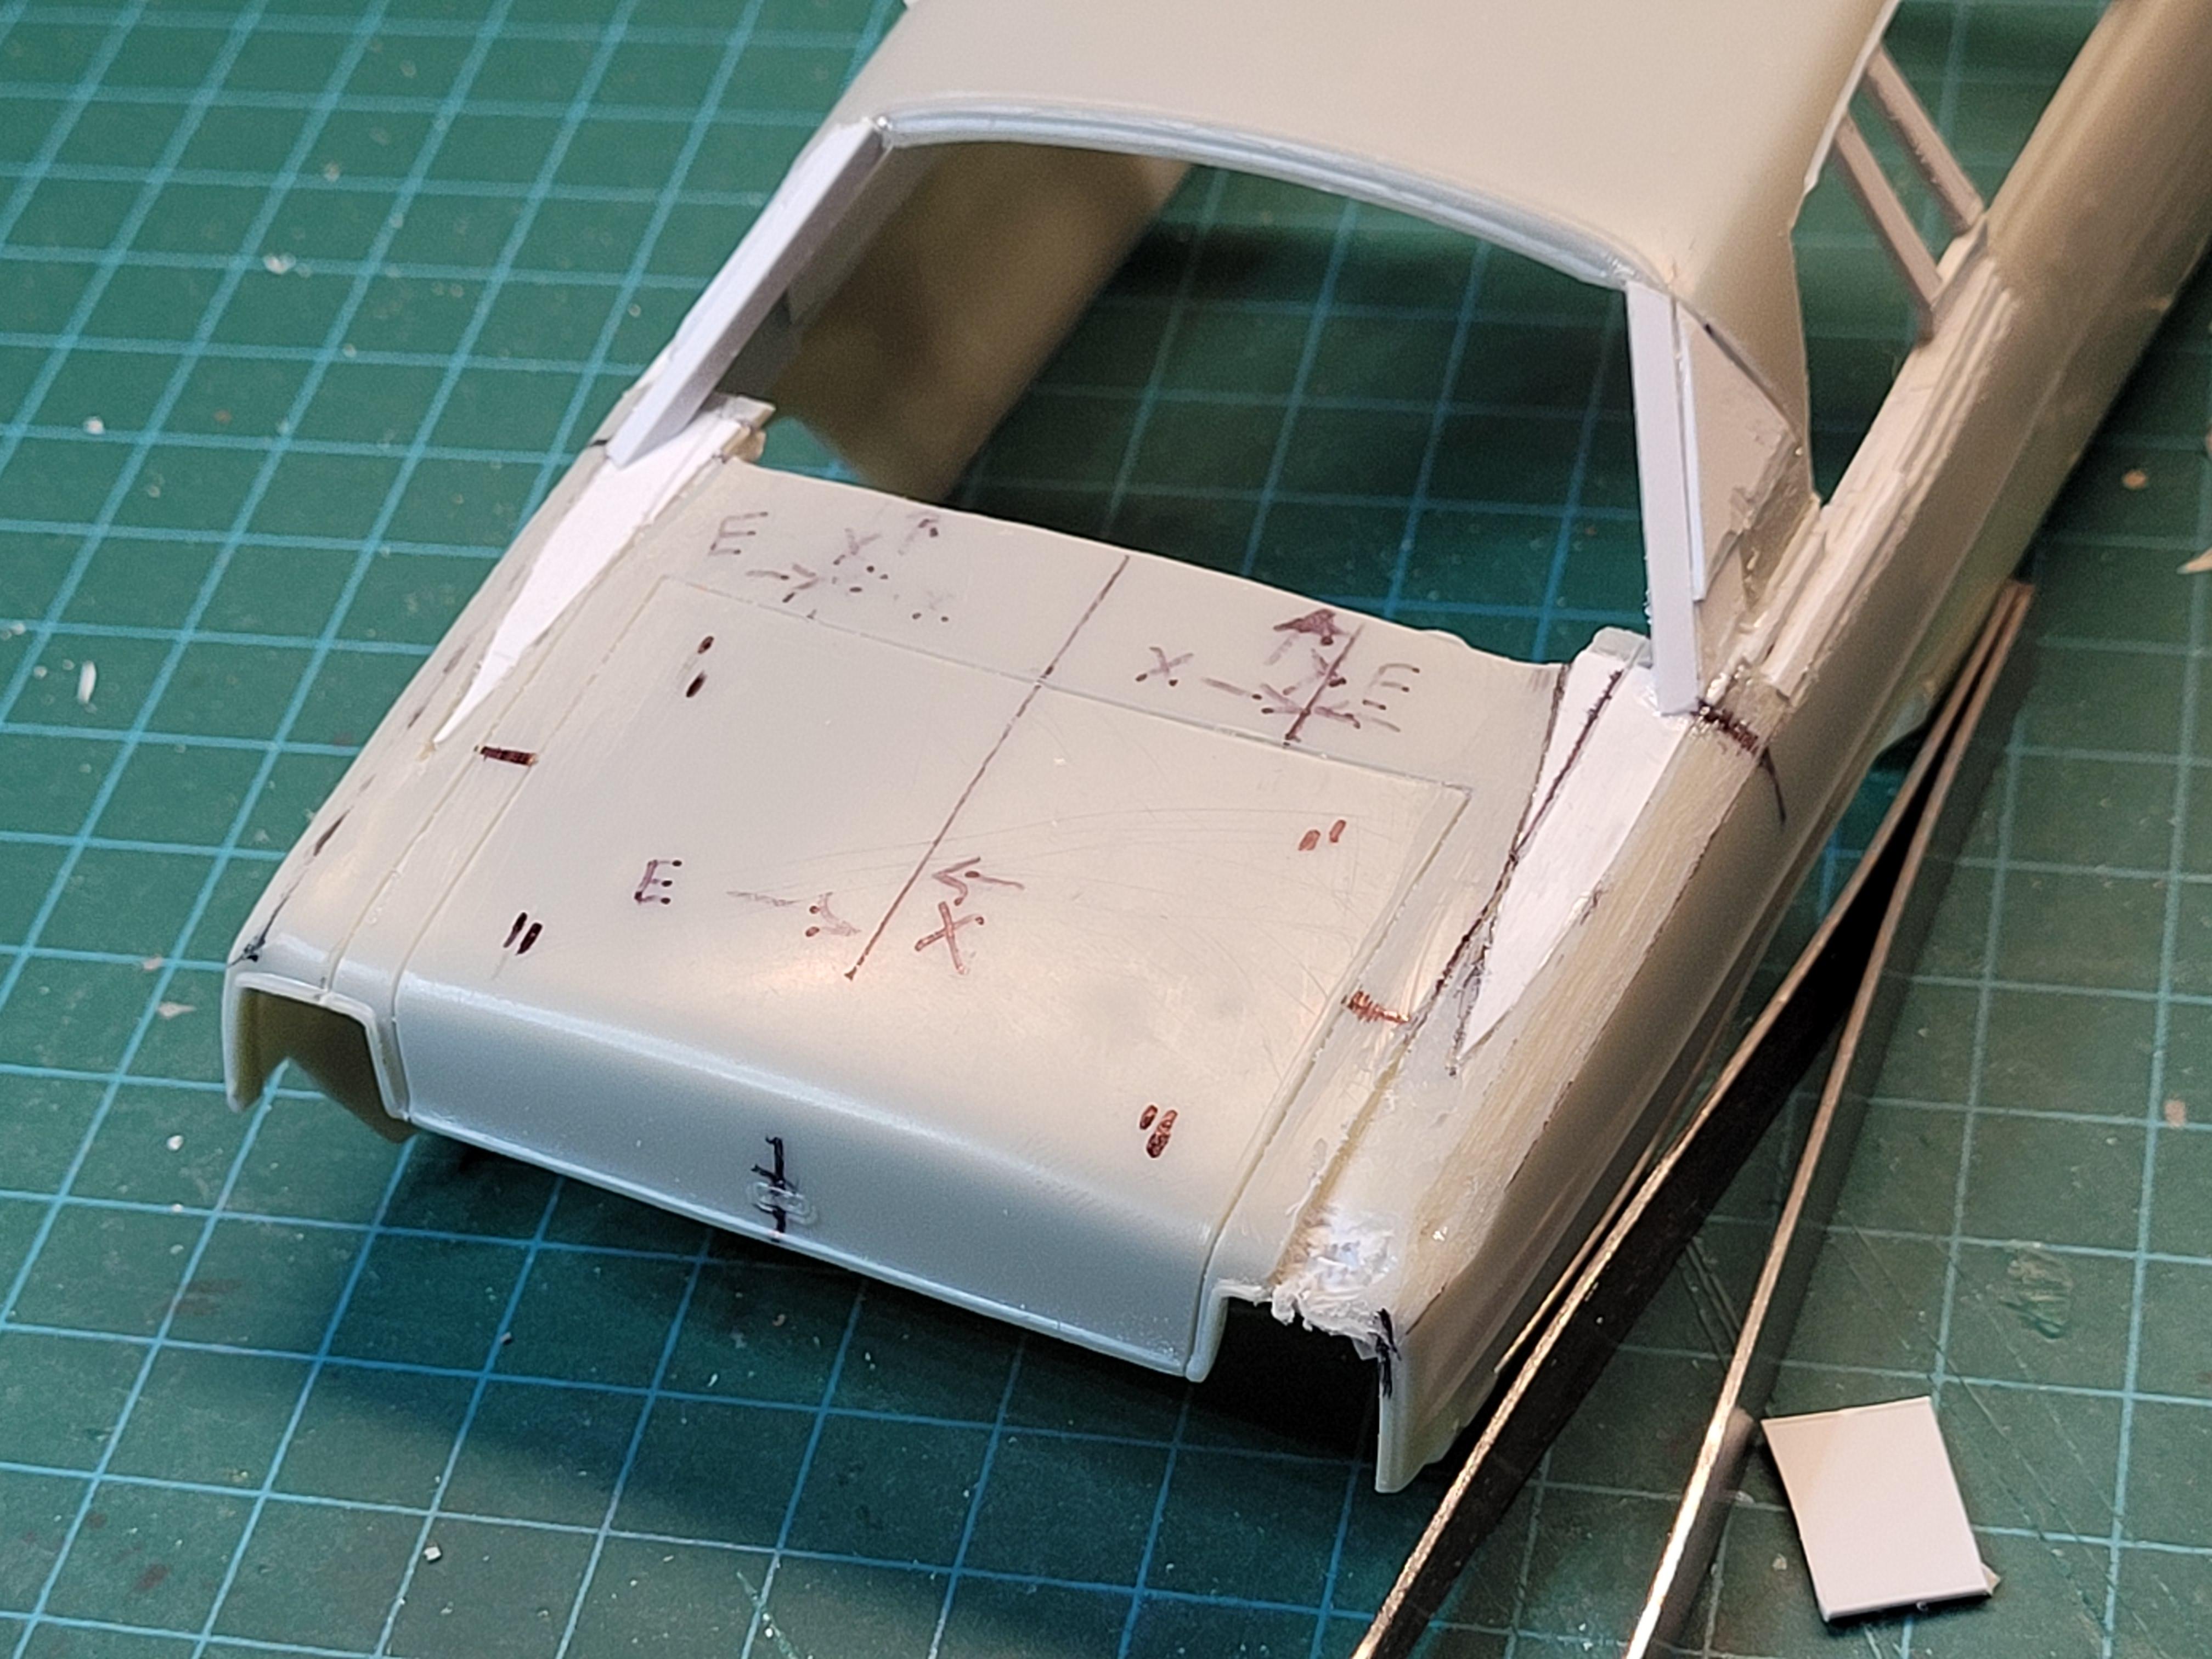
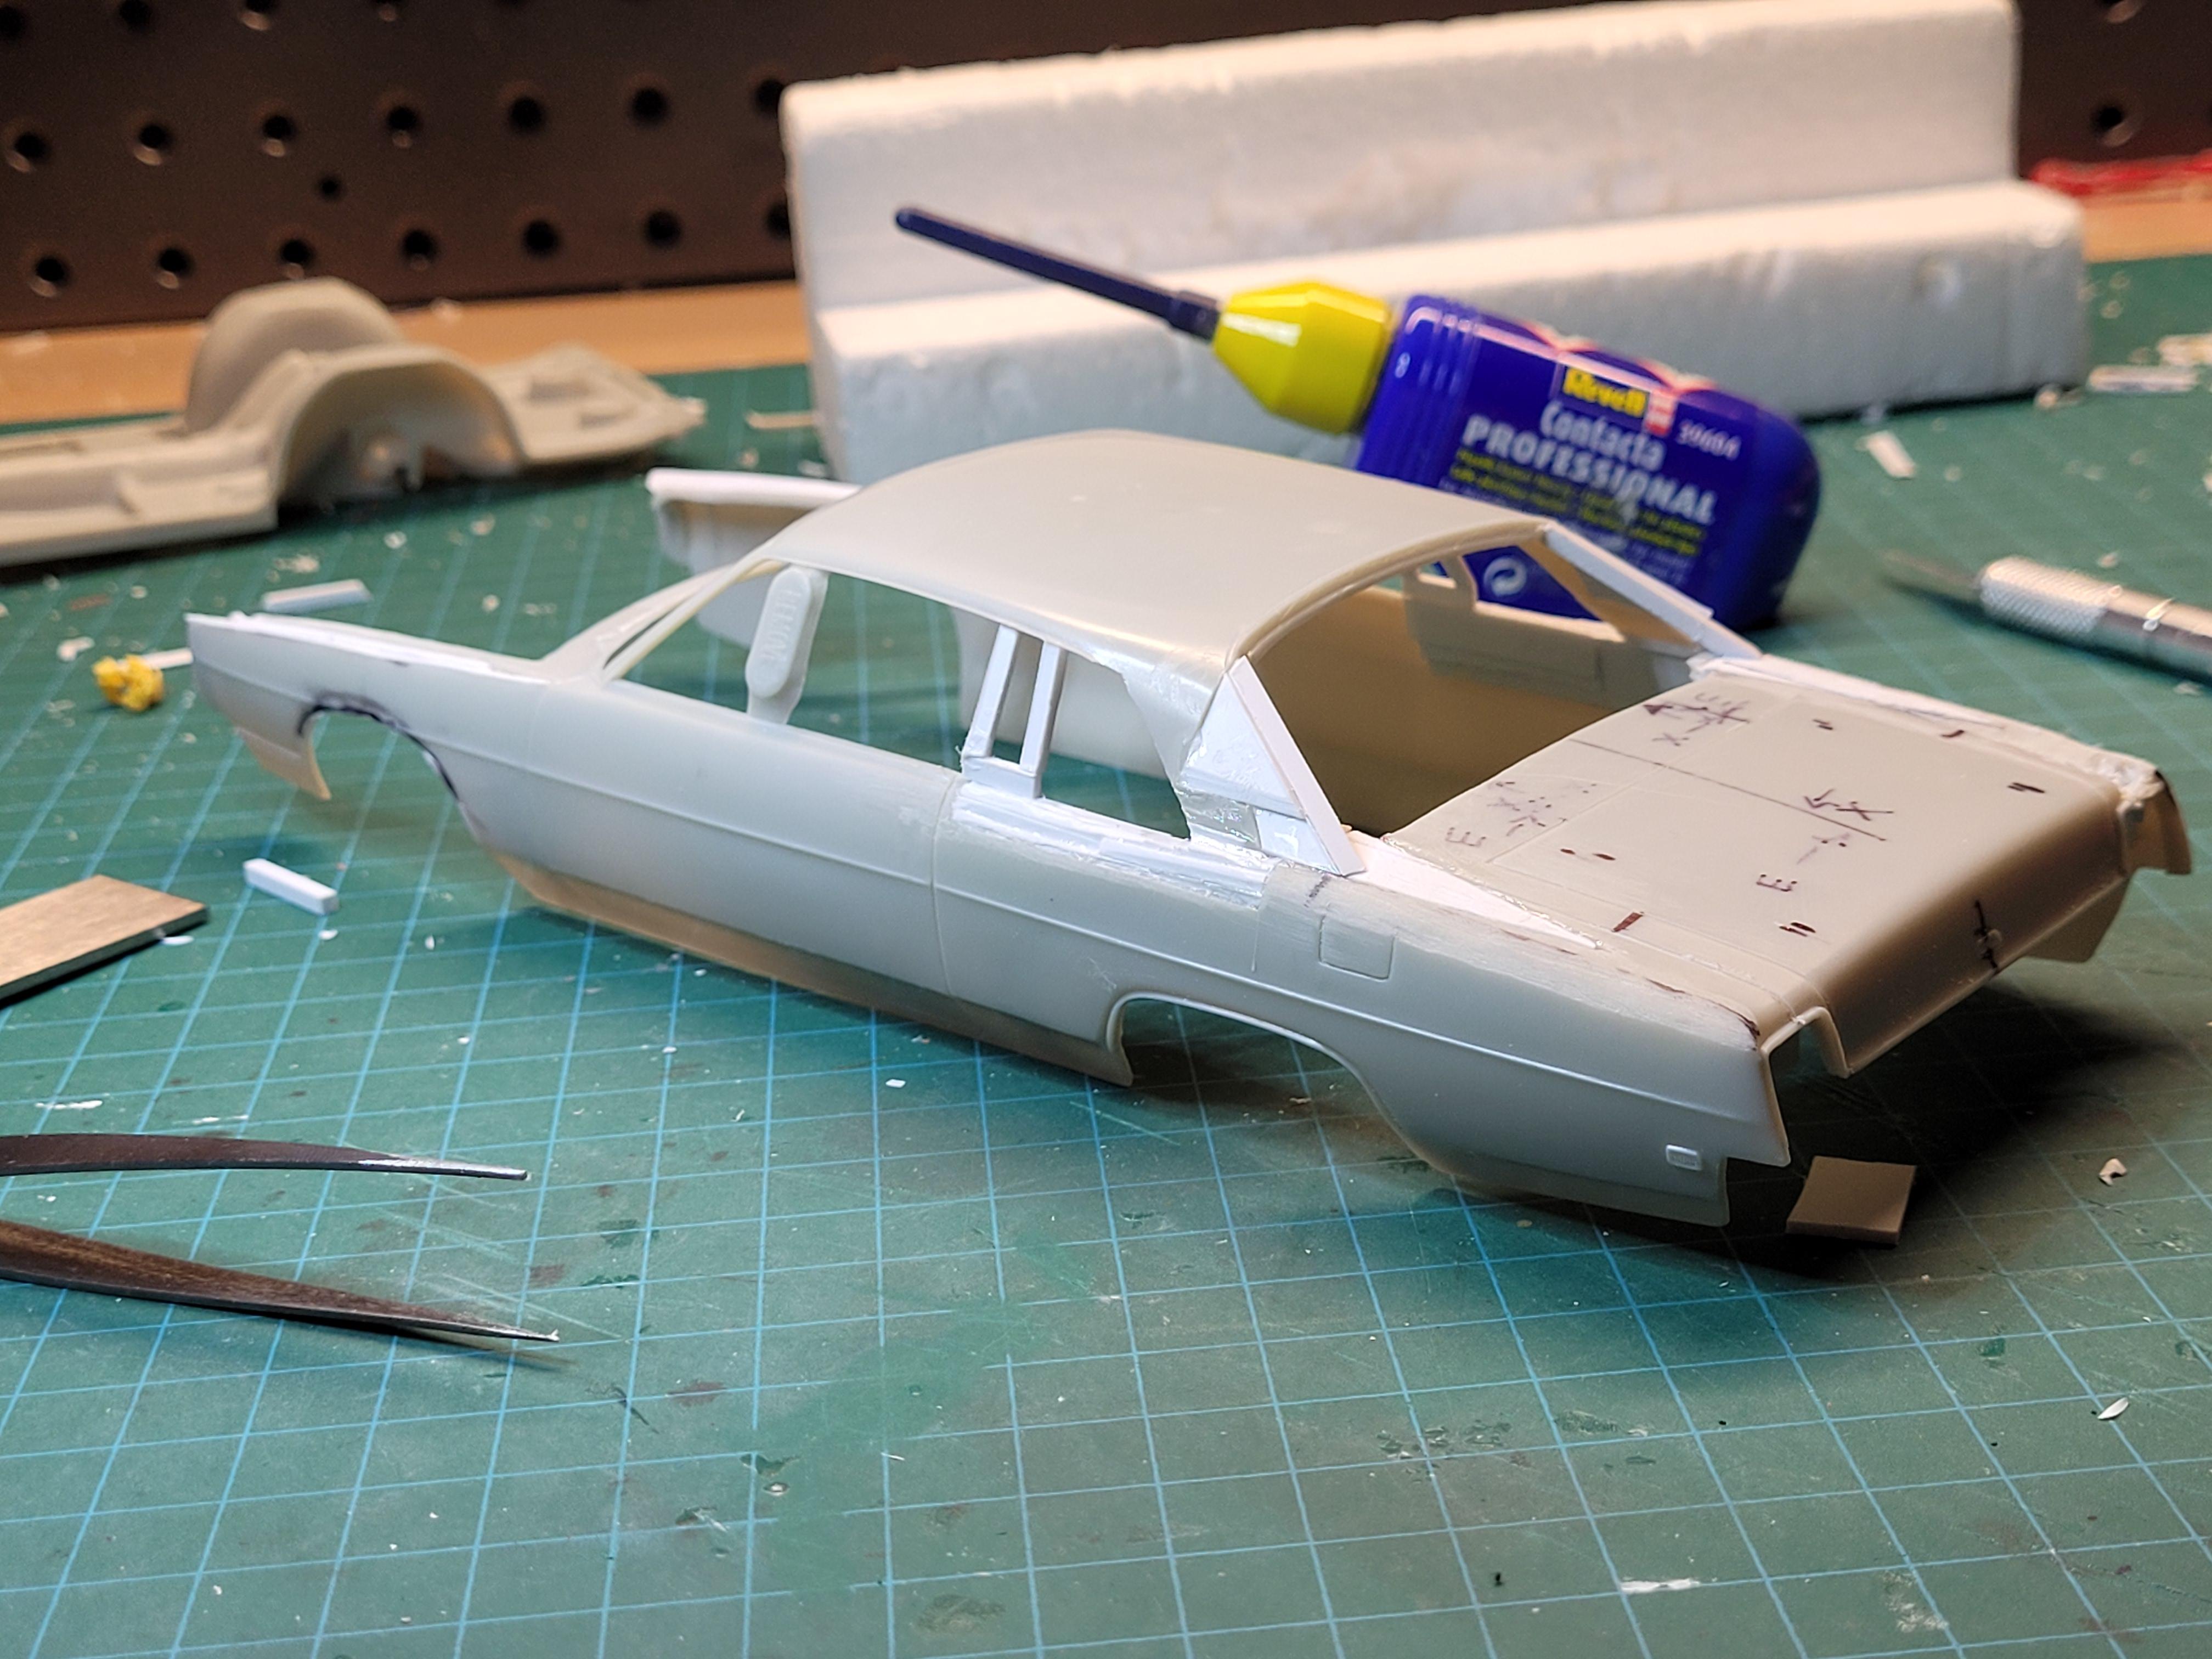
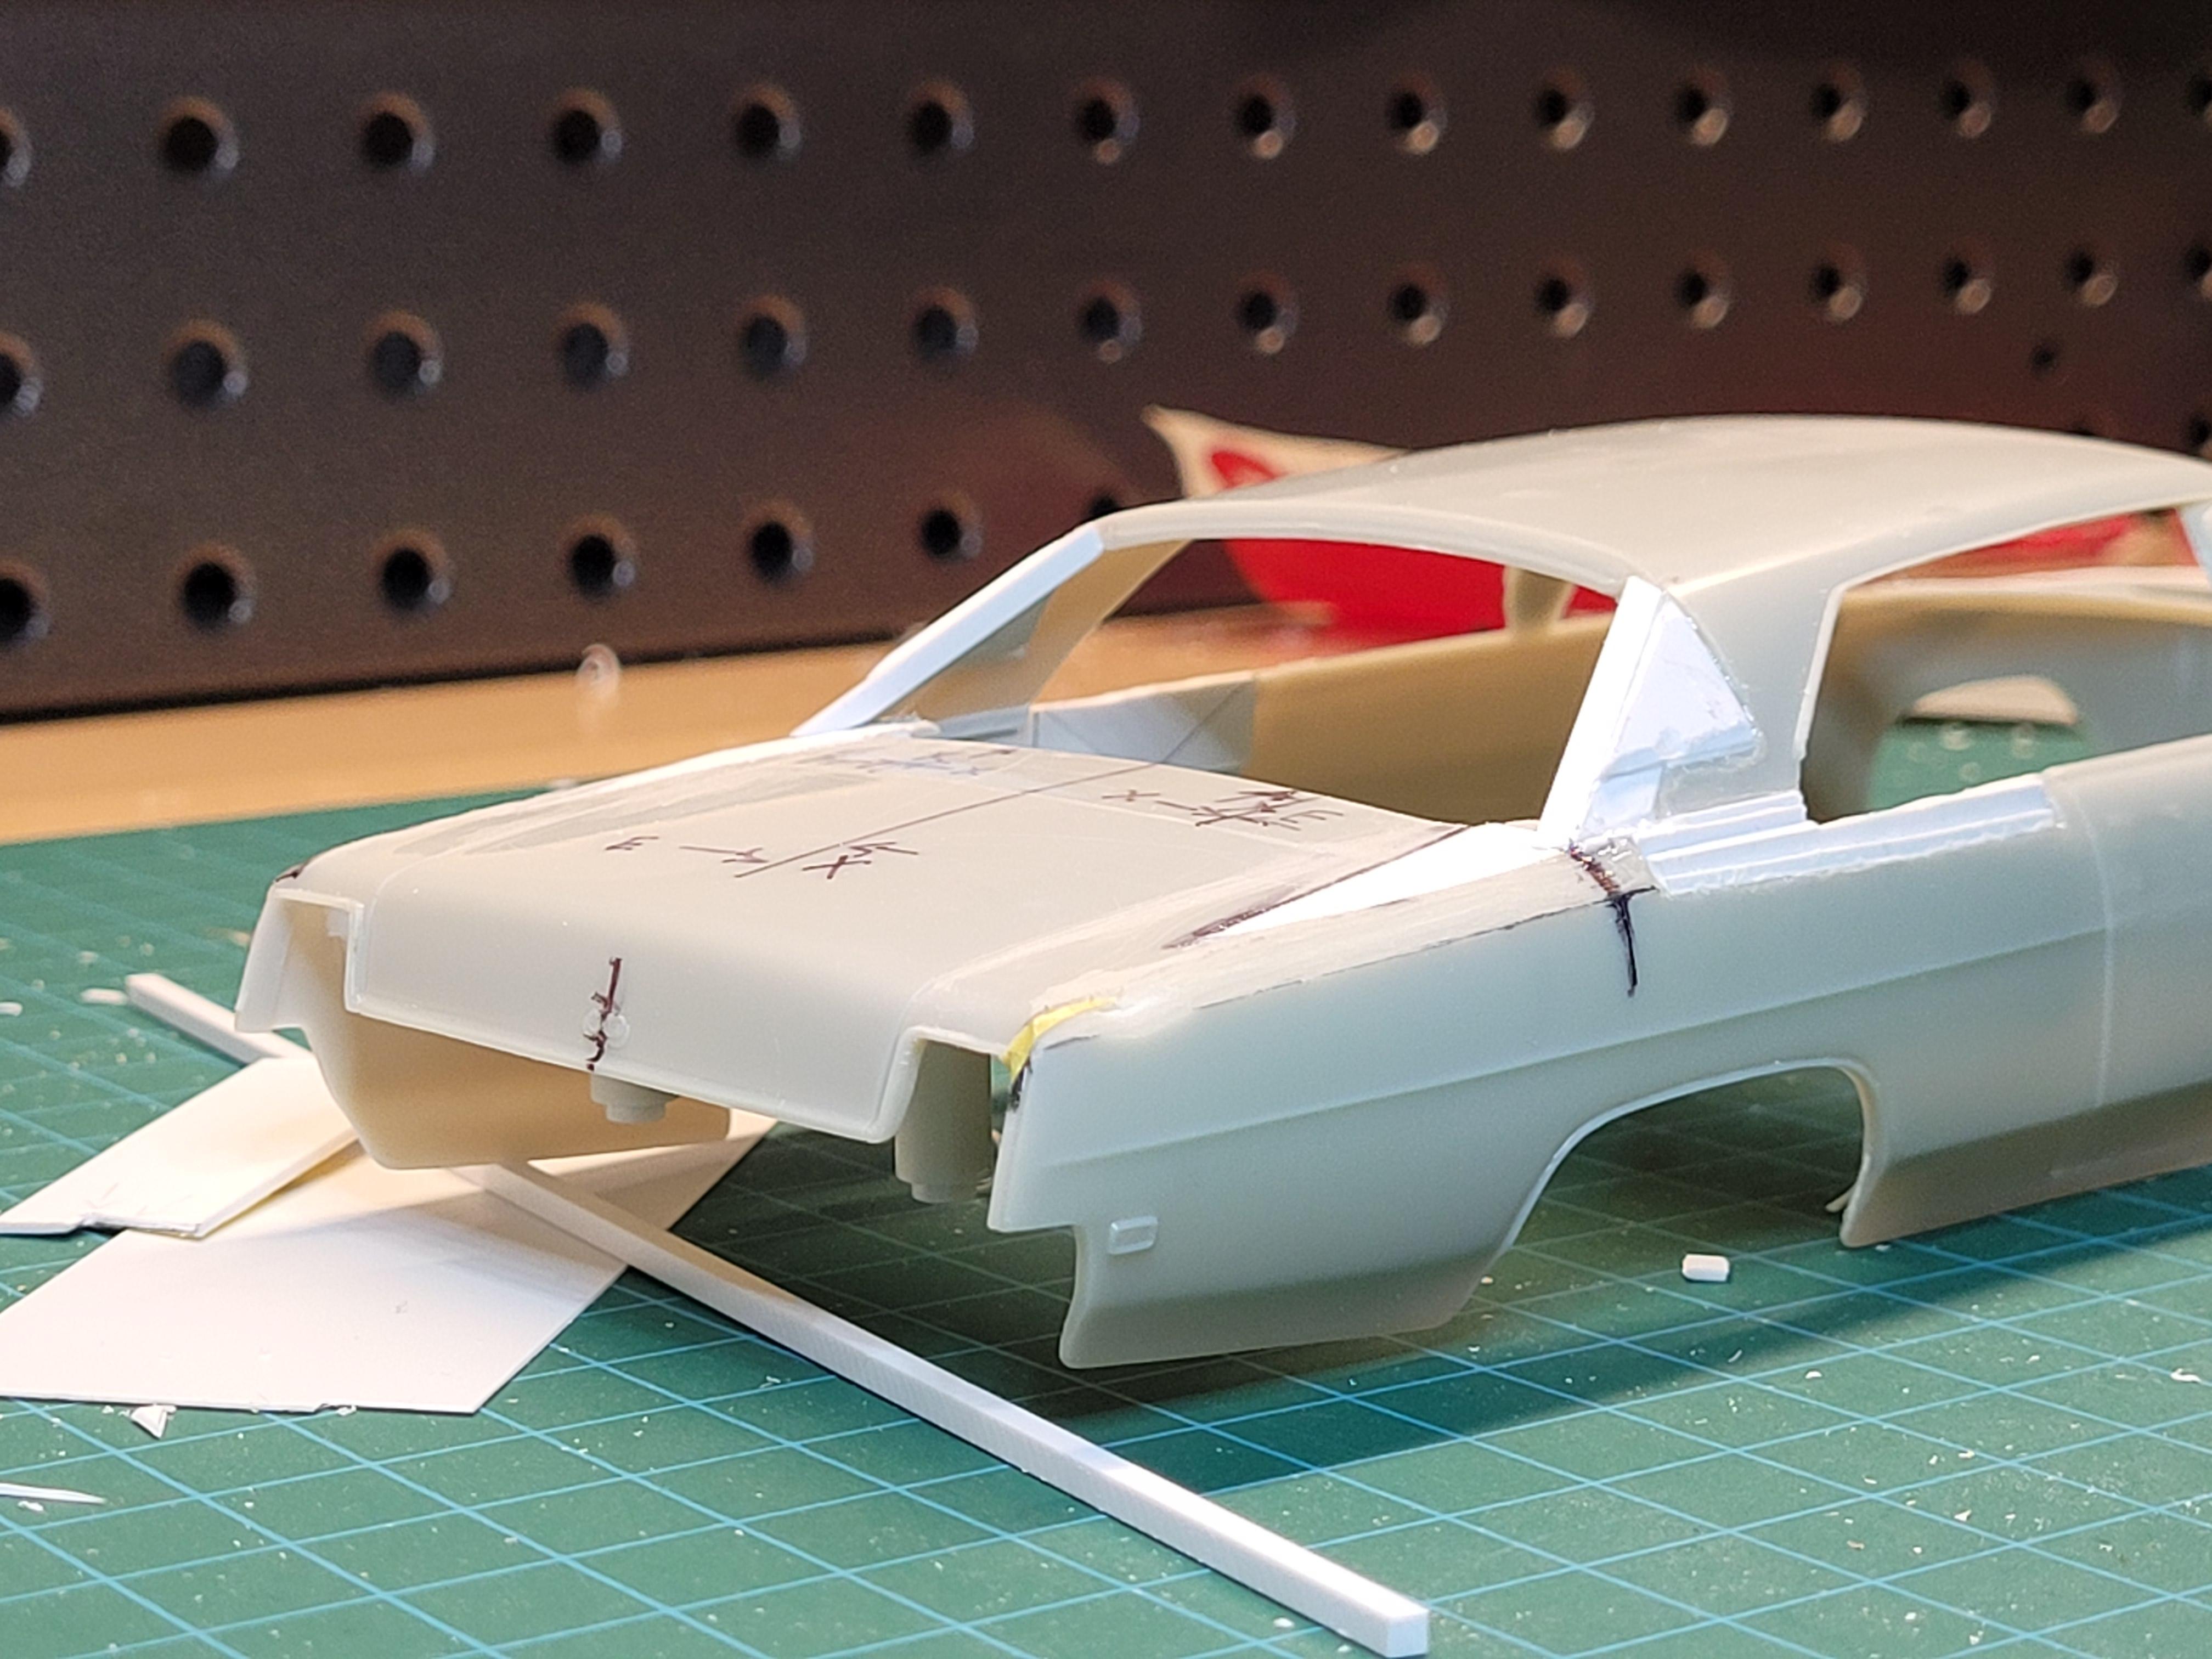
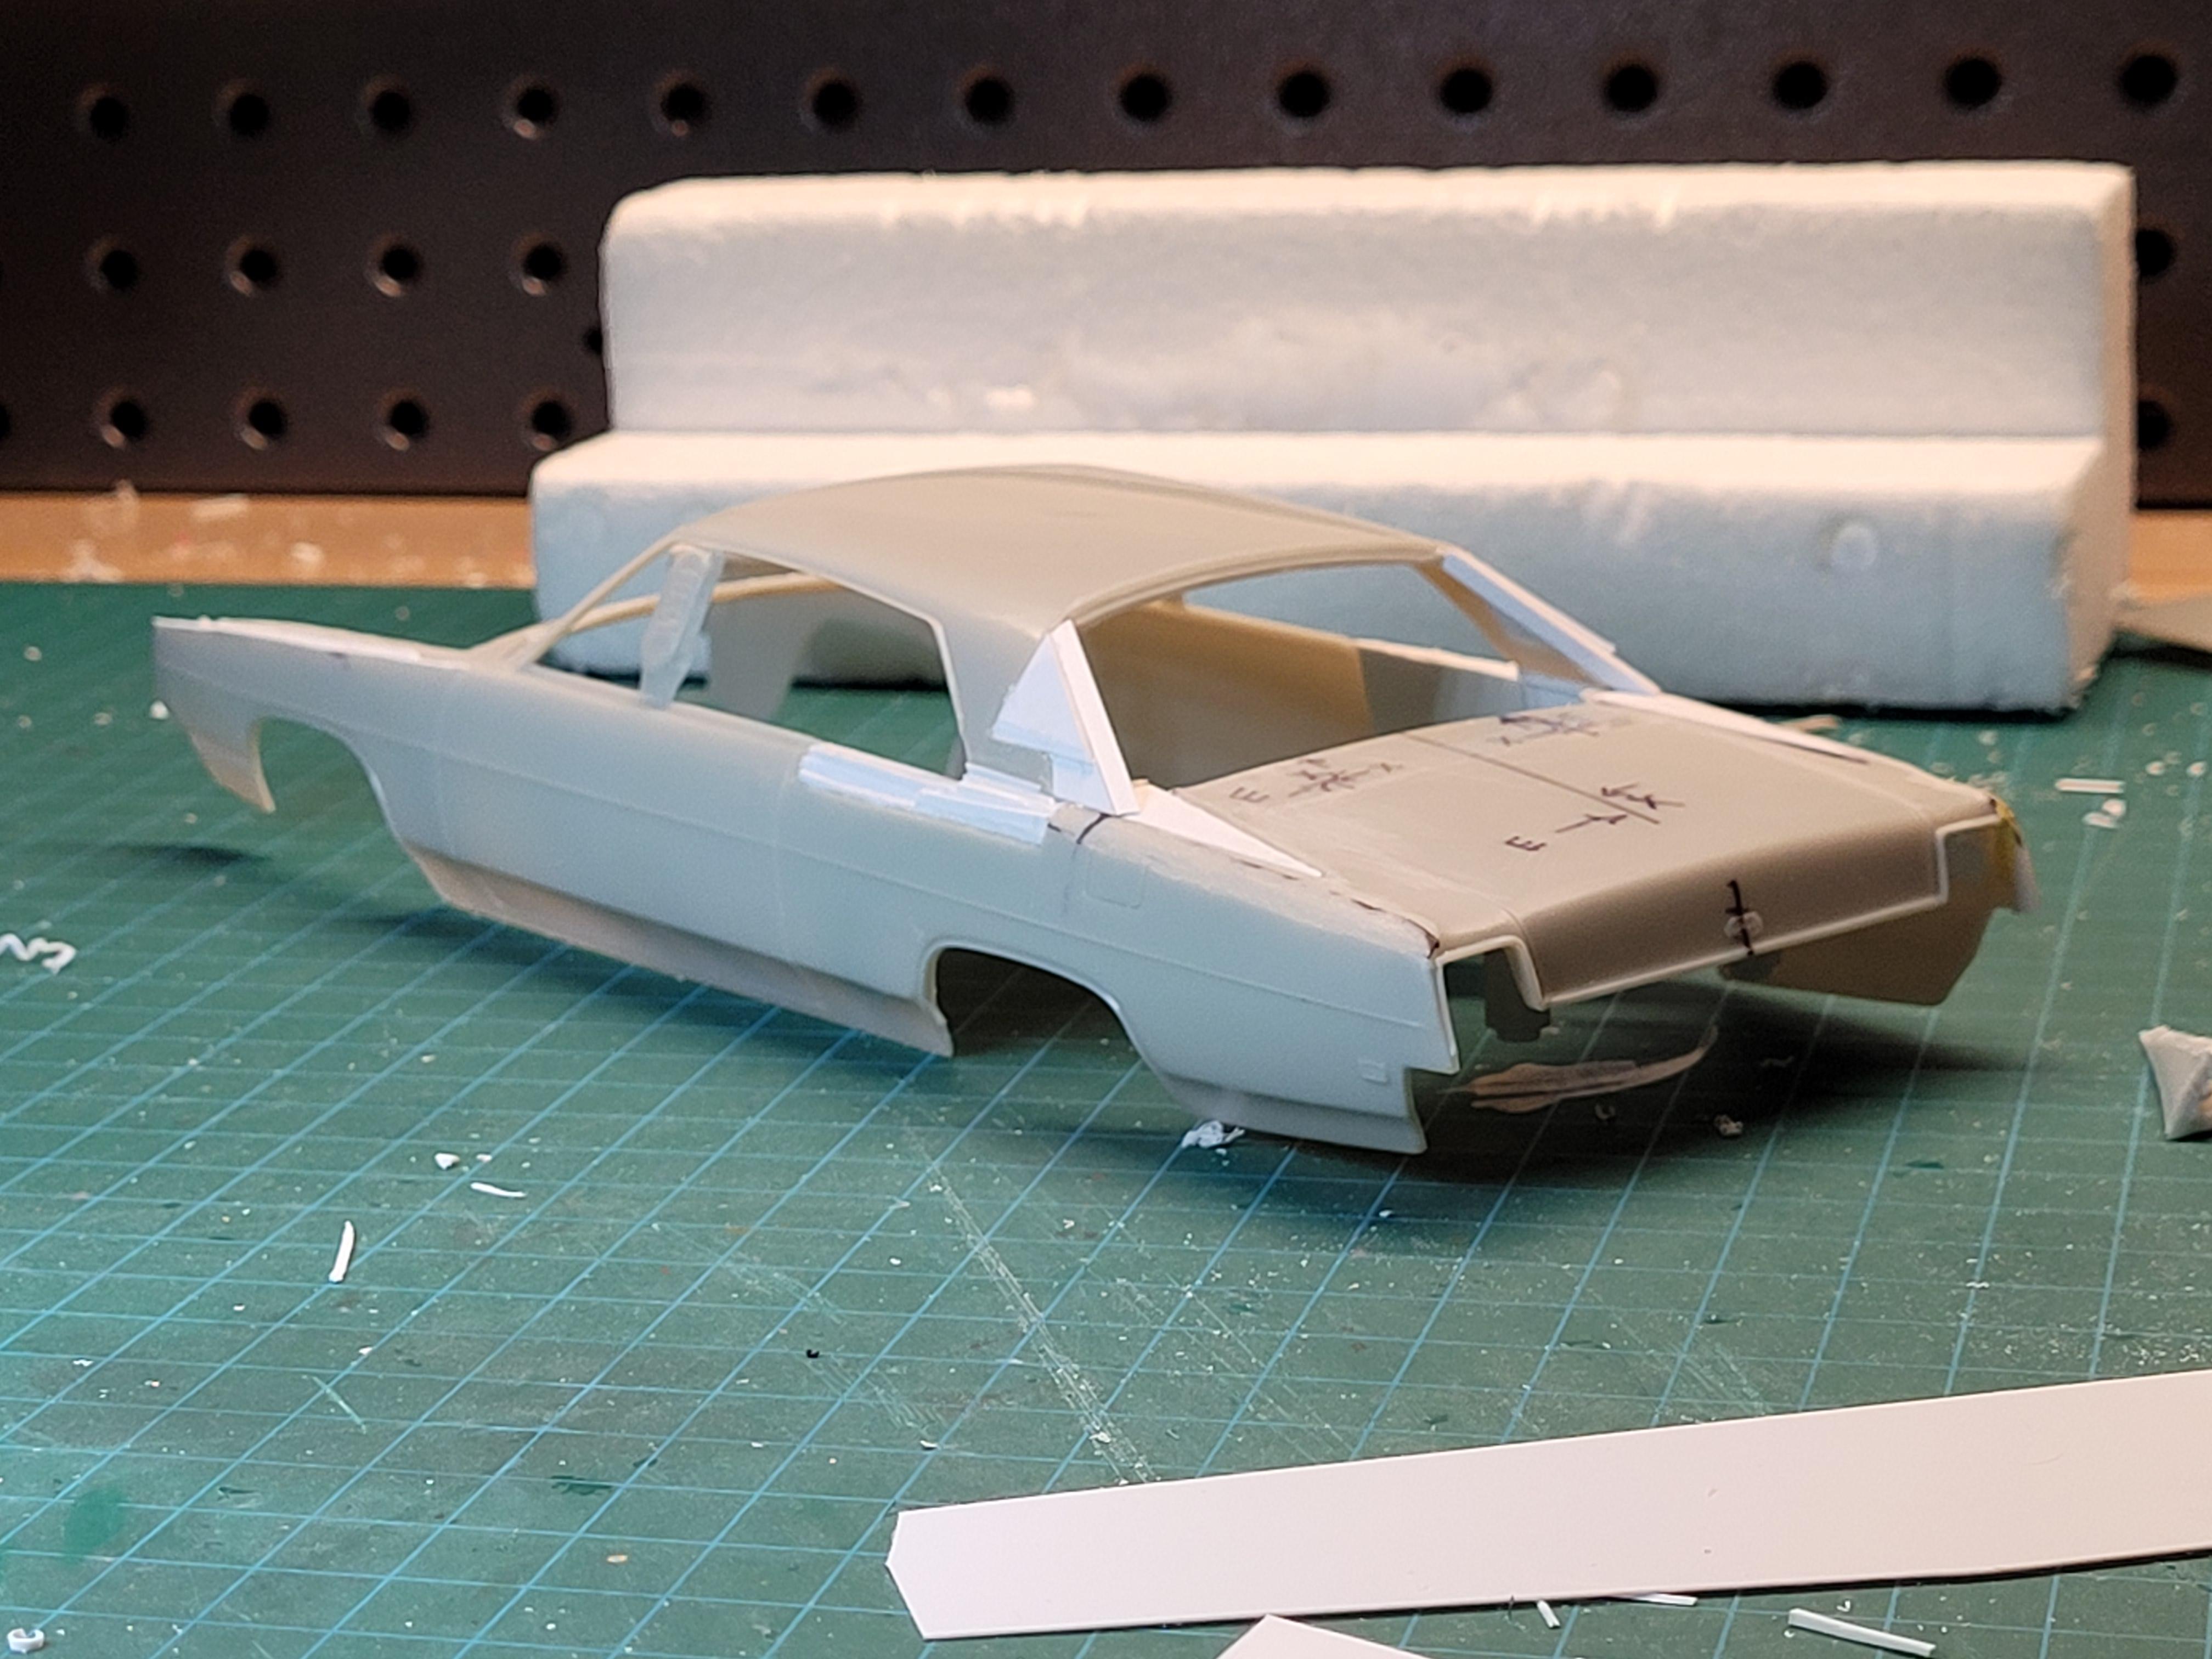
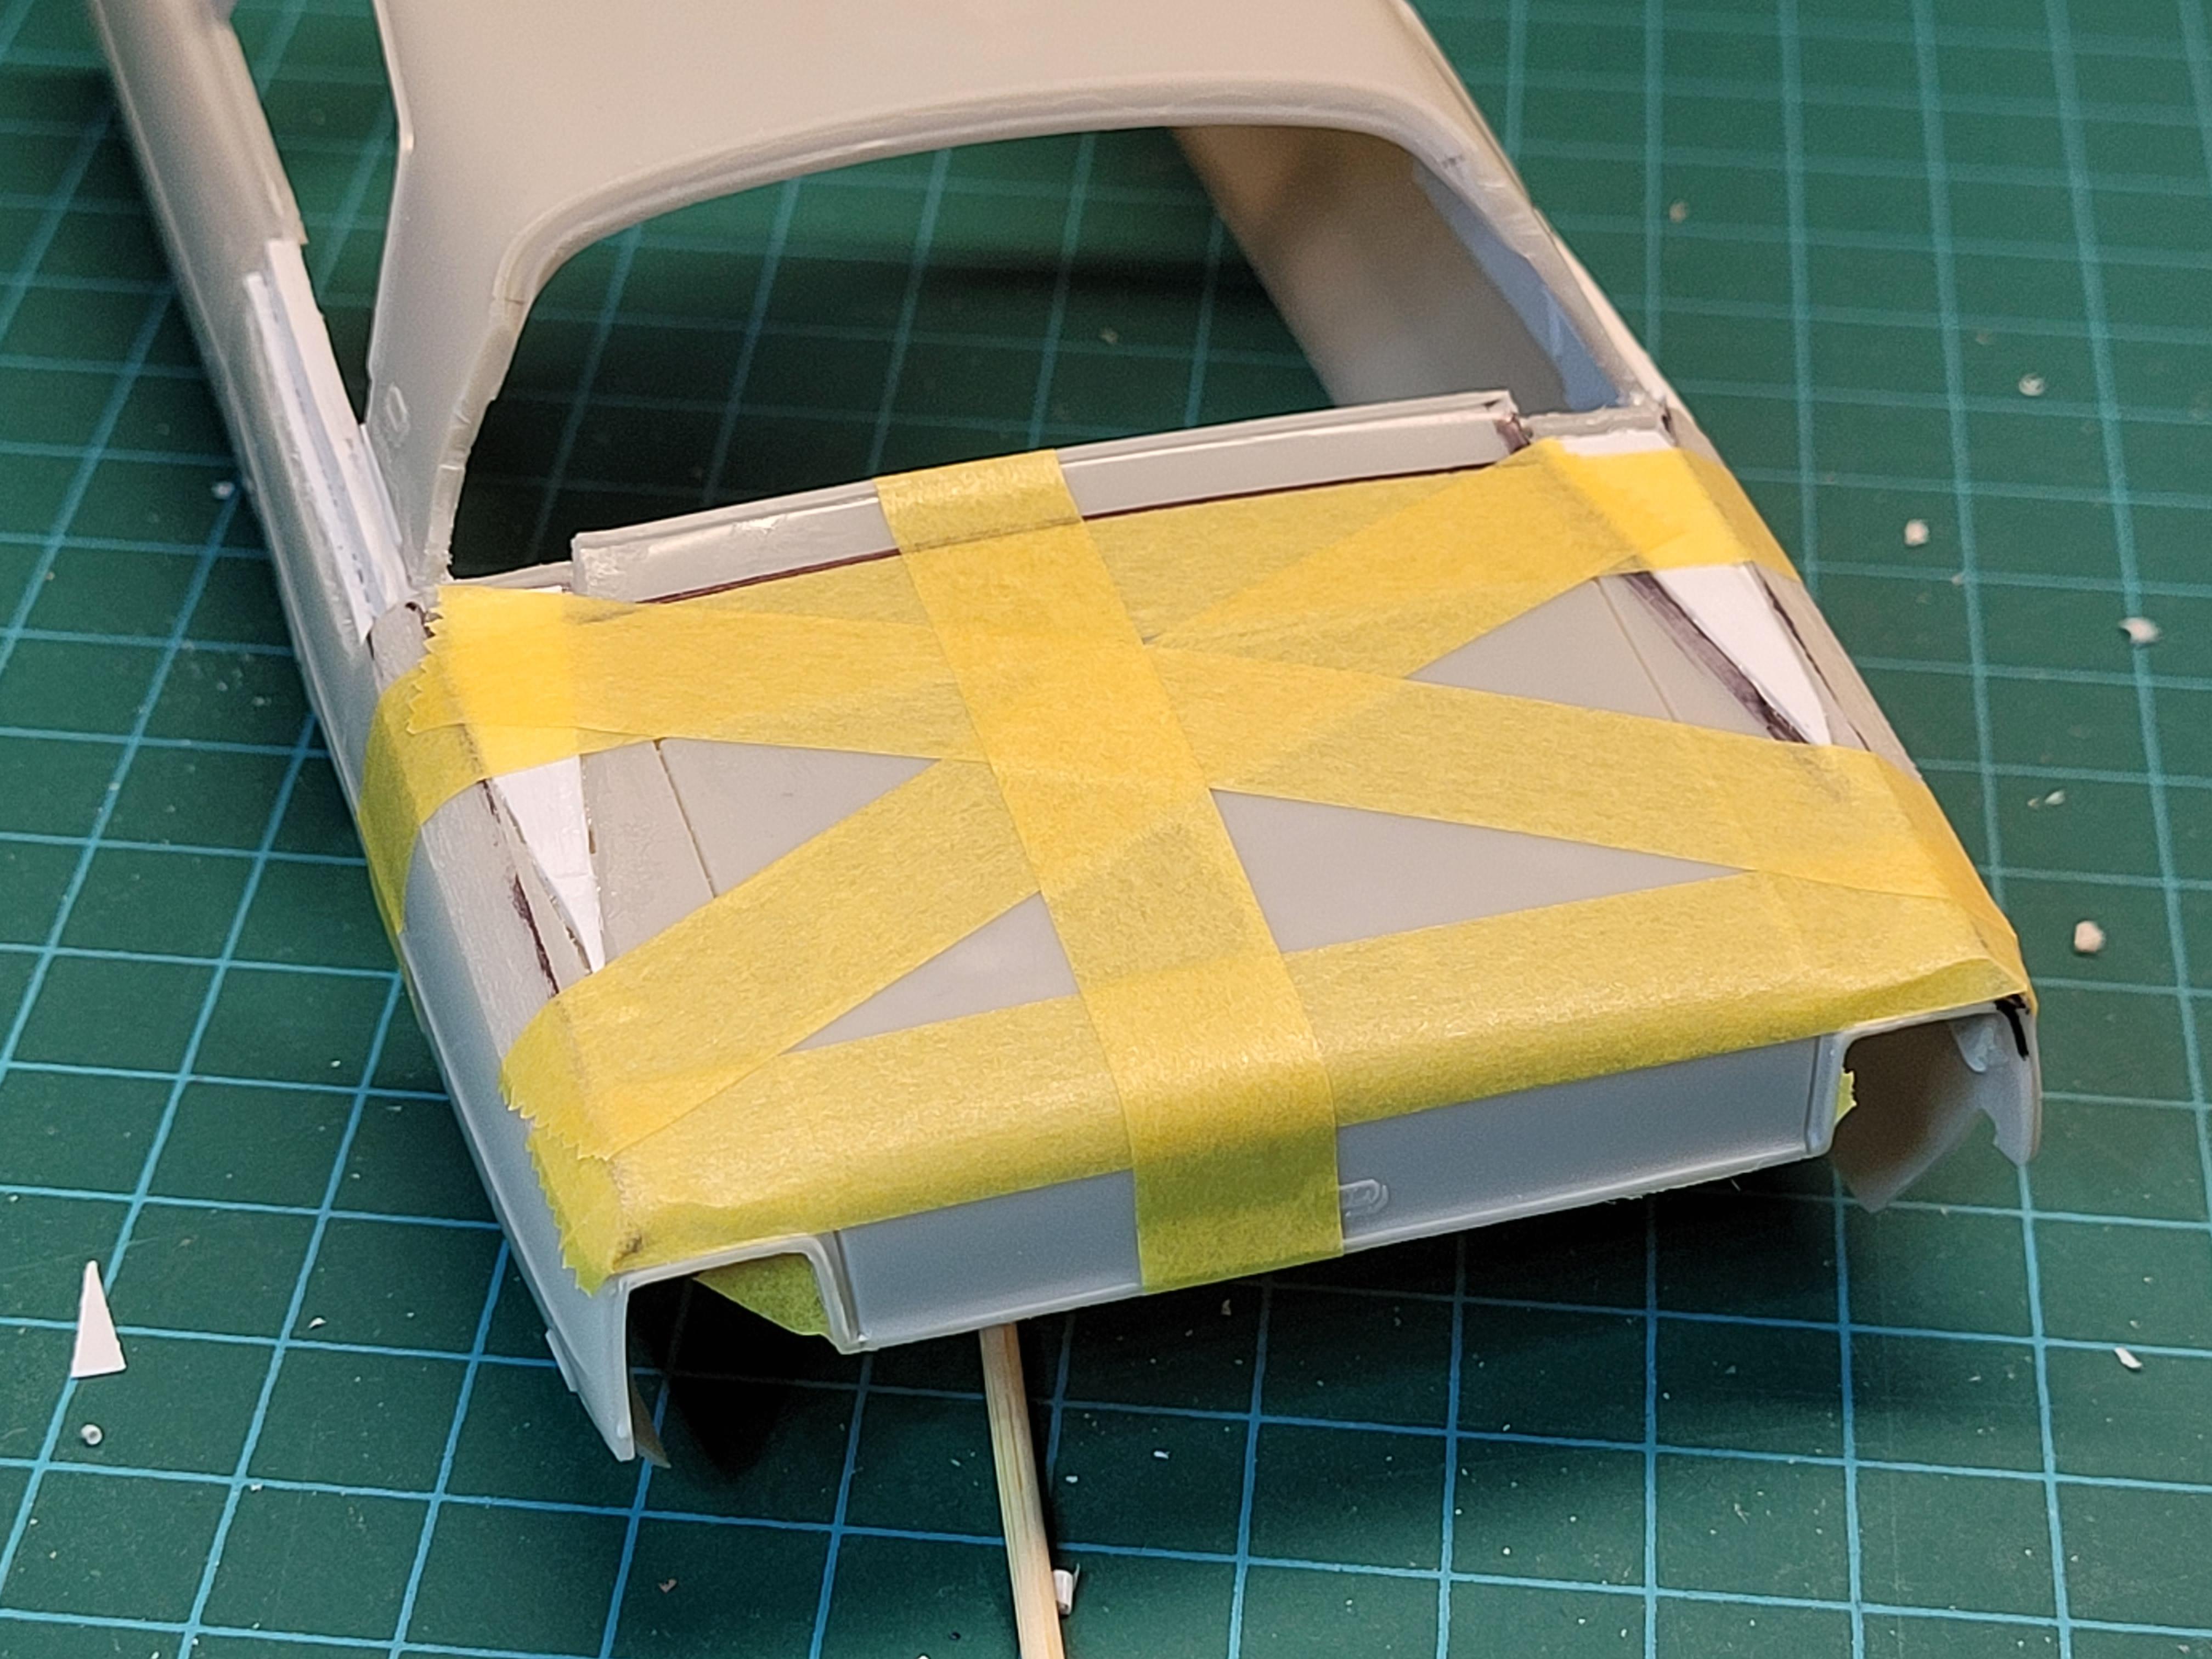
Here's some work from September 11th. That day consisted of extending the rear side windows back, building a new B-pillar, and adding more material to the bottom of the decklid in preparation for carving out the new shape. I also made an attempt at expanding the front wheel arches with a Dremel tool.
-
Superb work!
-
Thanks Stef! It's super satisfying to get to break out the razor saw so much ?
-
Farm Floater Truck 1/24th scale
Mike Slapattack replied to Randy D's topic in WIP: Model Trucks: Big Rigs and Heavy Equipment
That engine detailing is superb! -
WIP: Custom AMT 1:25 1964/65 Chevy El Camino
Mike Slapattack replied to JNordgren42's topic in WIP: Model Cars
Everything is right down to the reflections on the leather seats! -
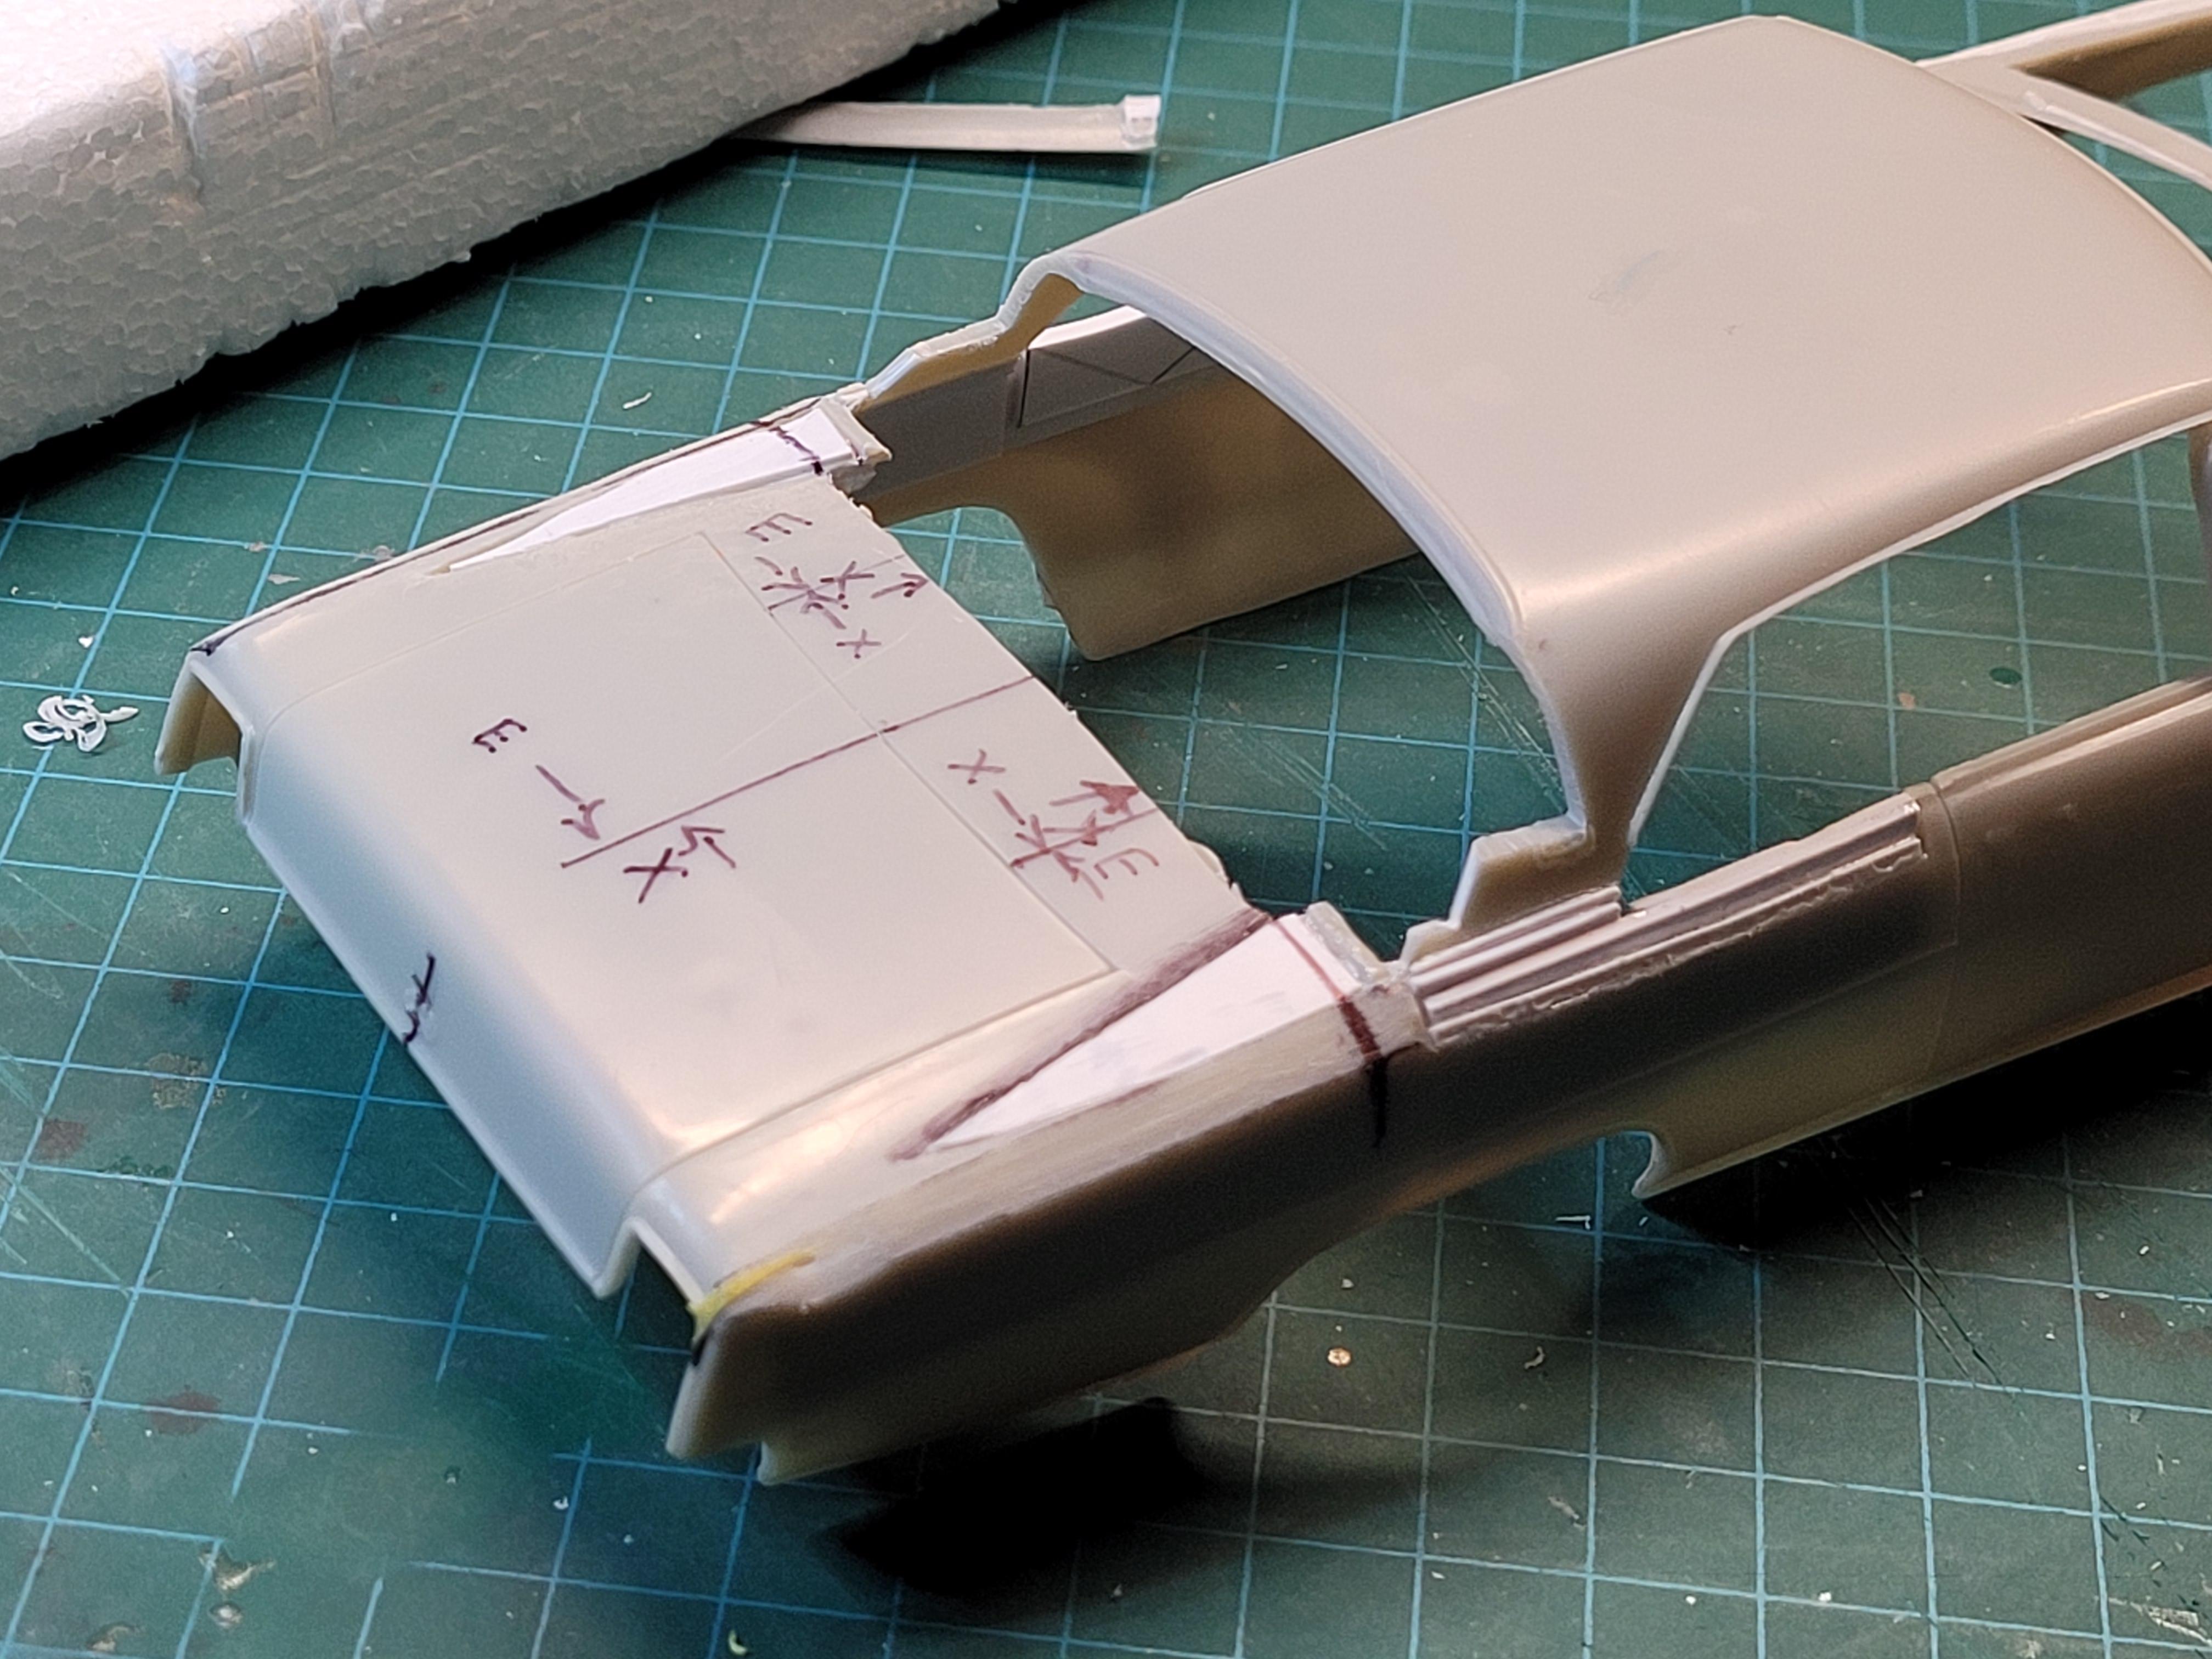
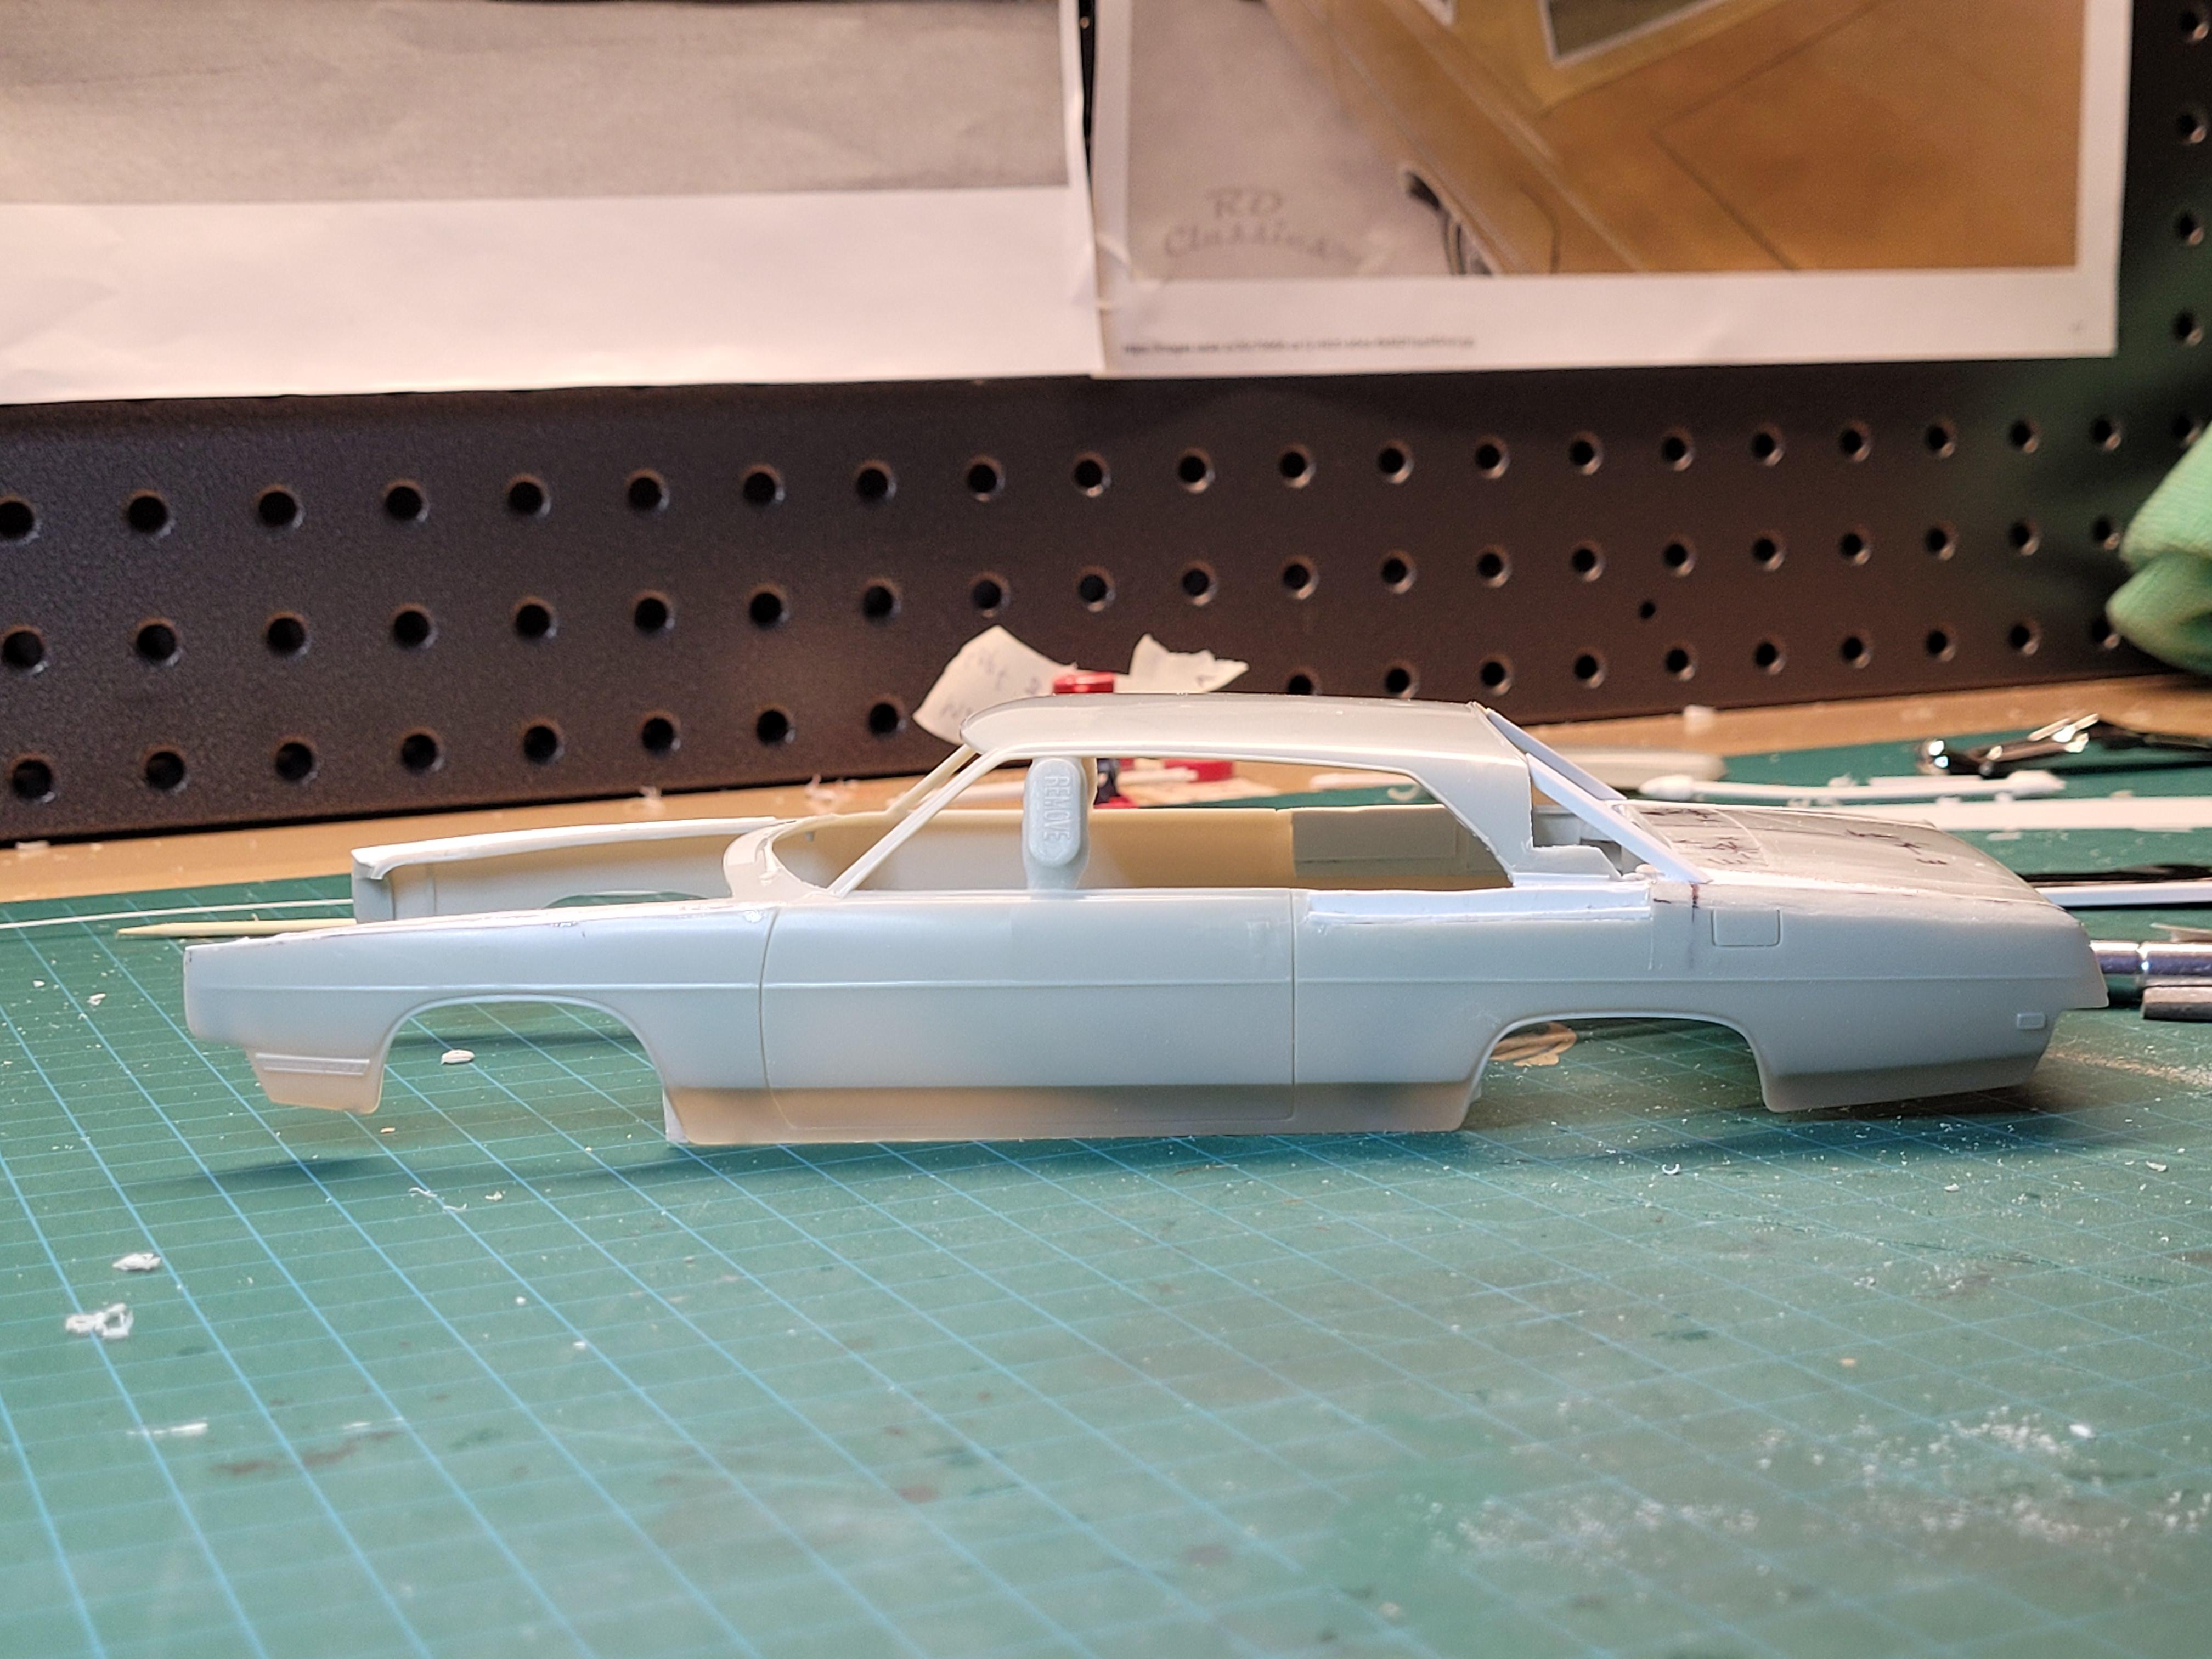
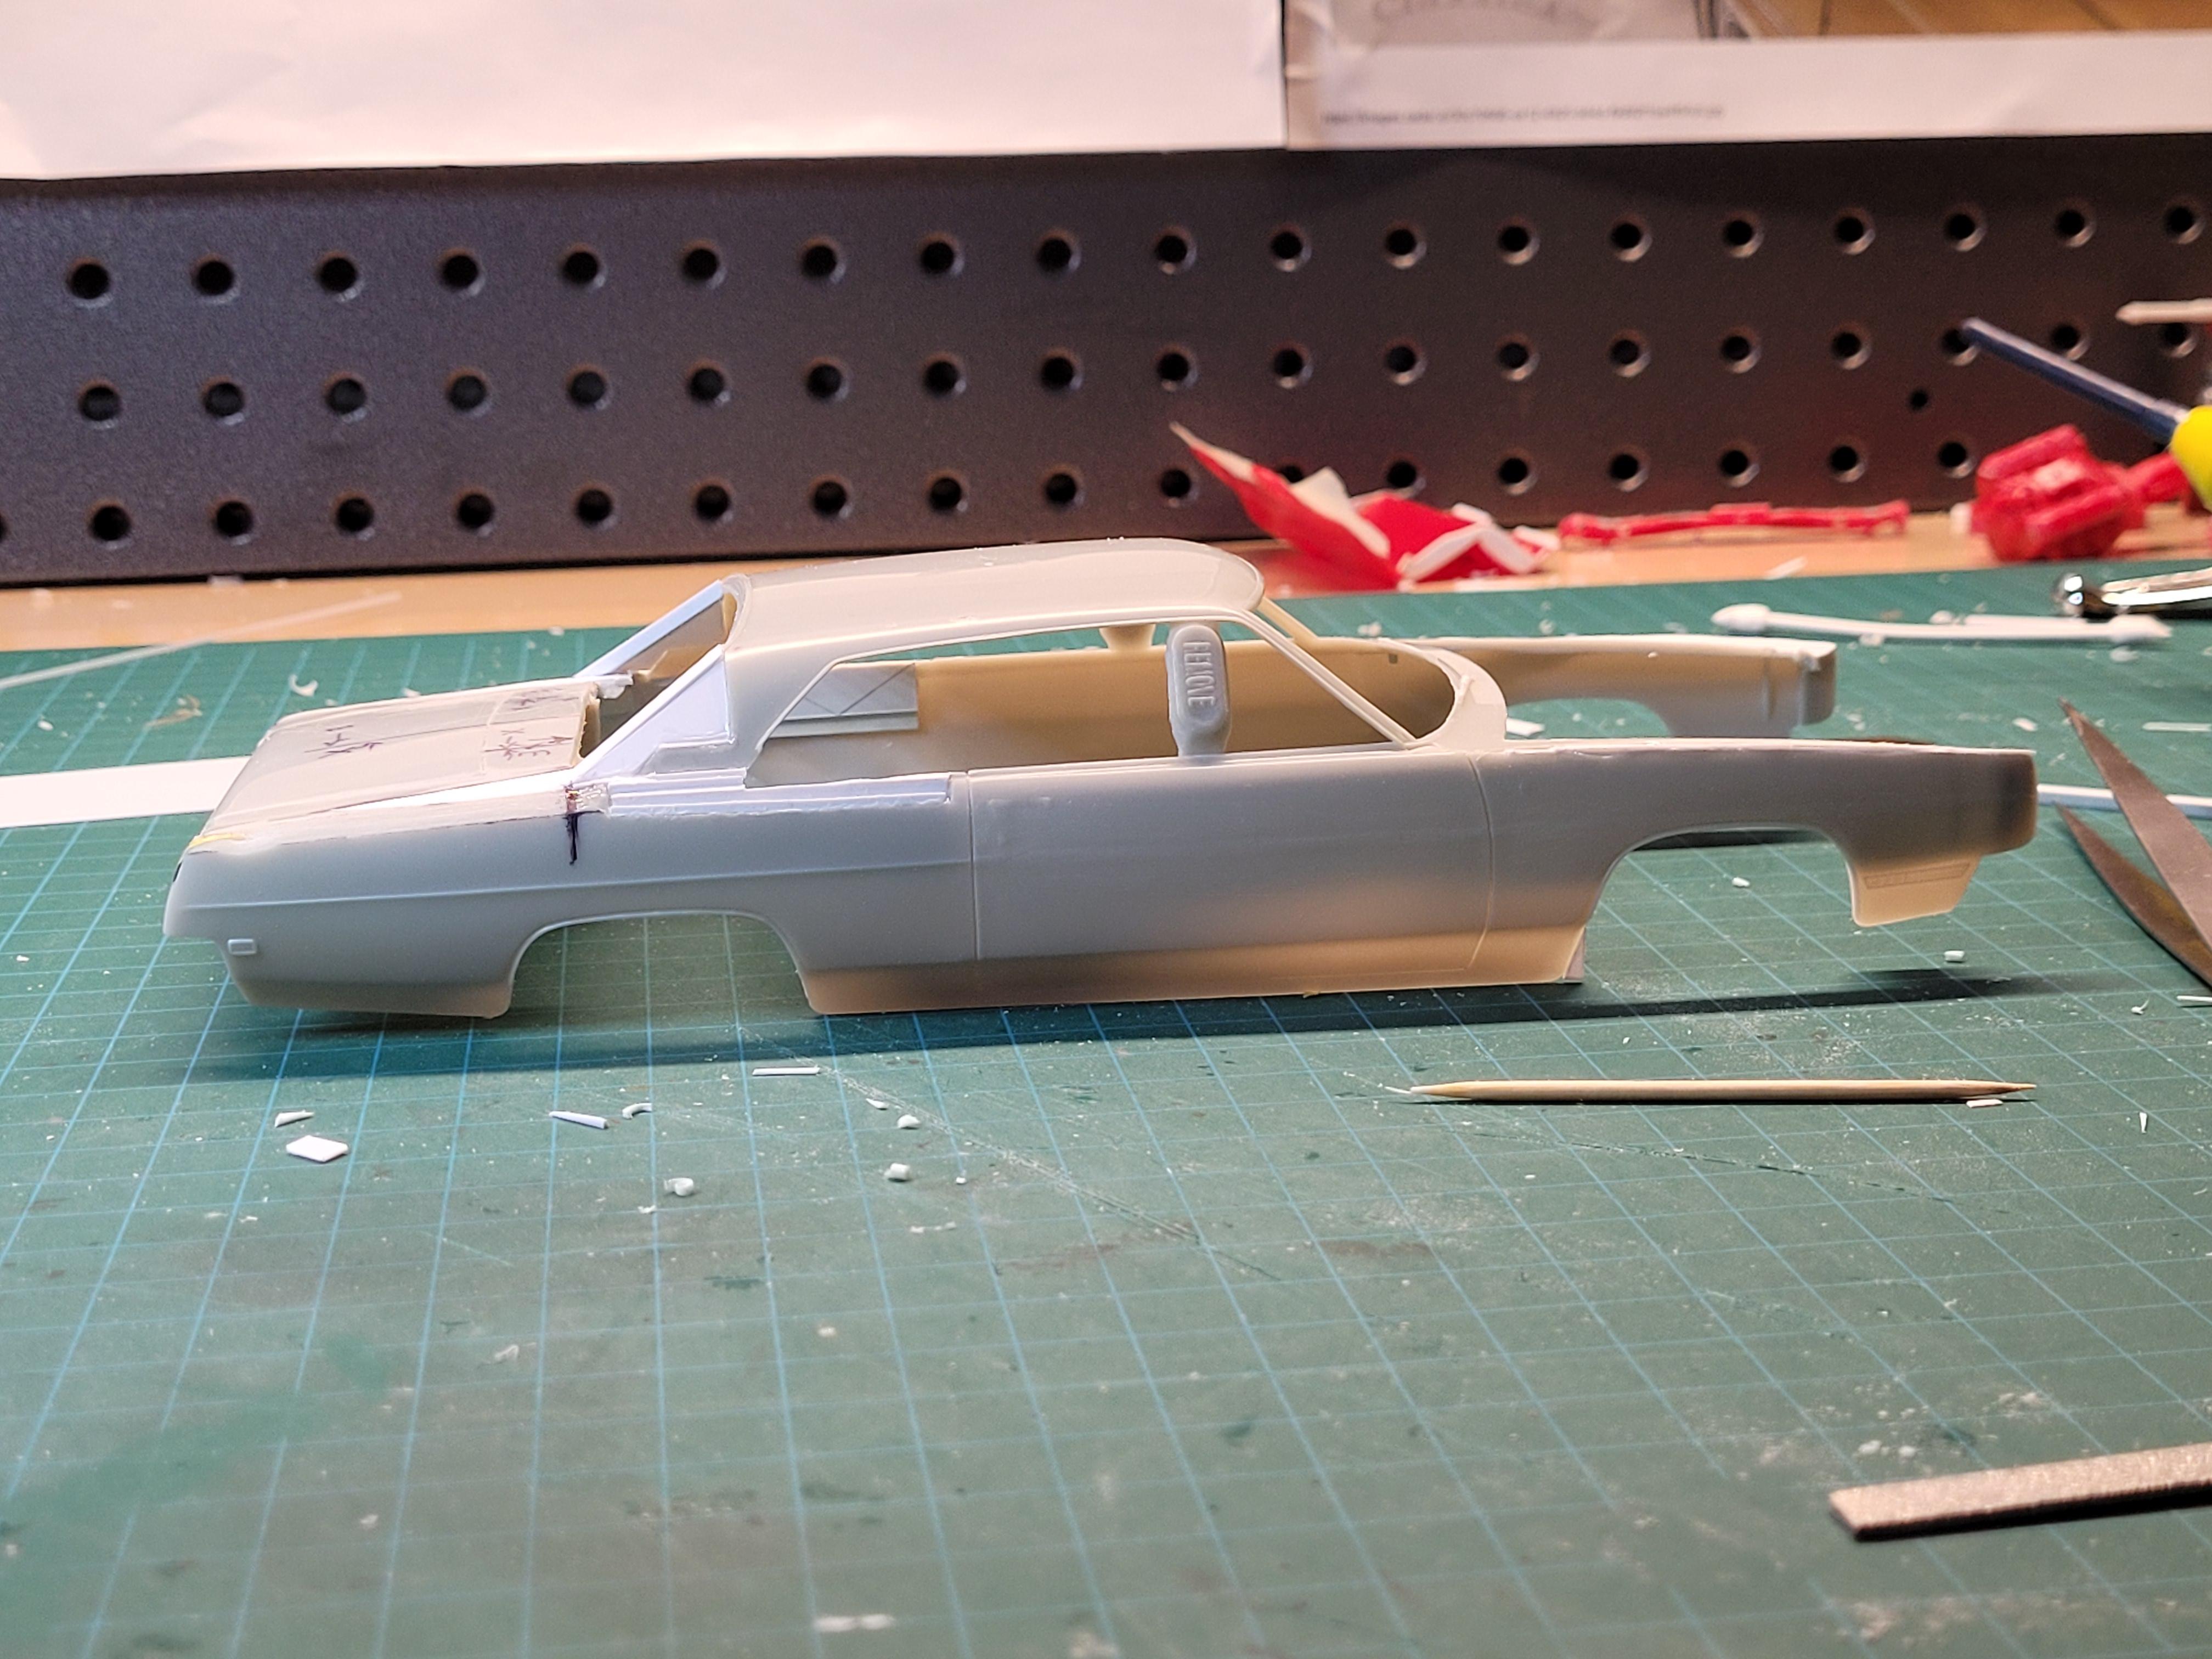
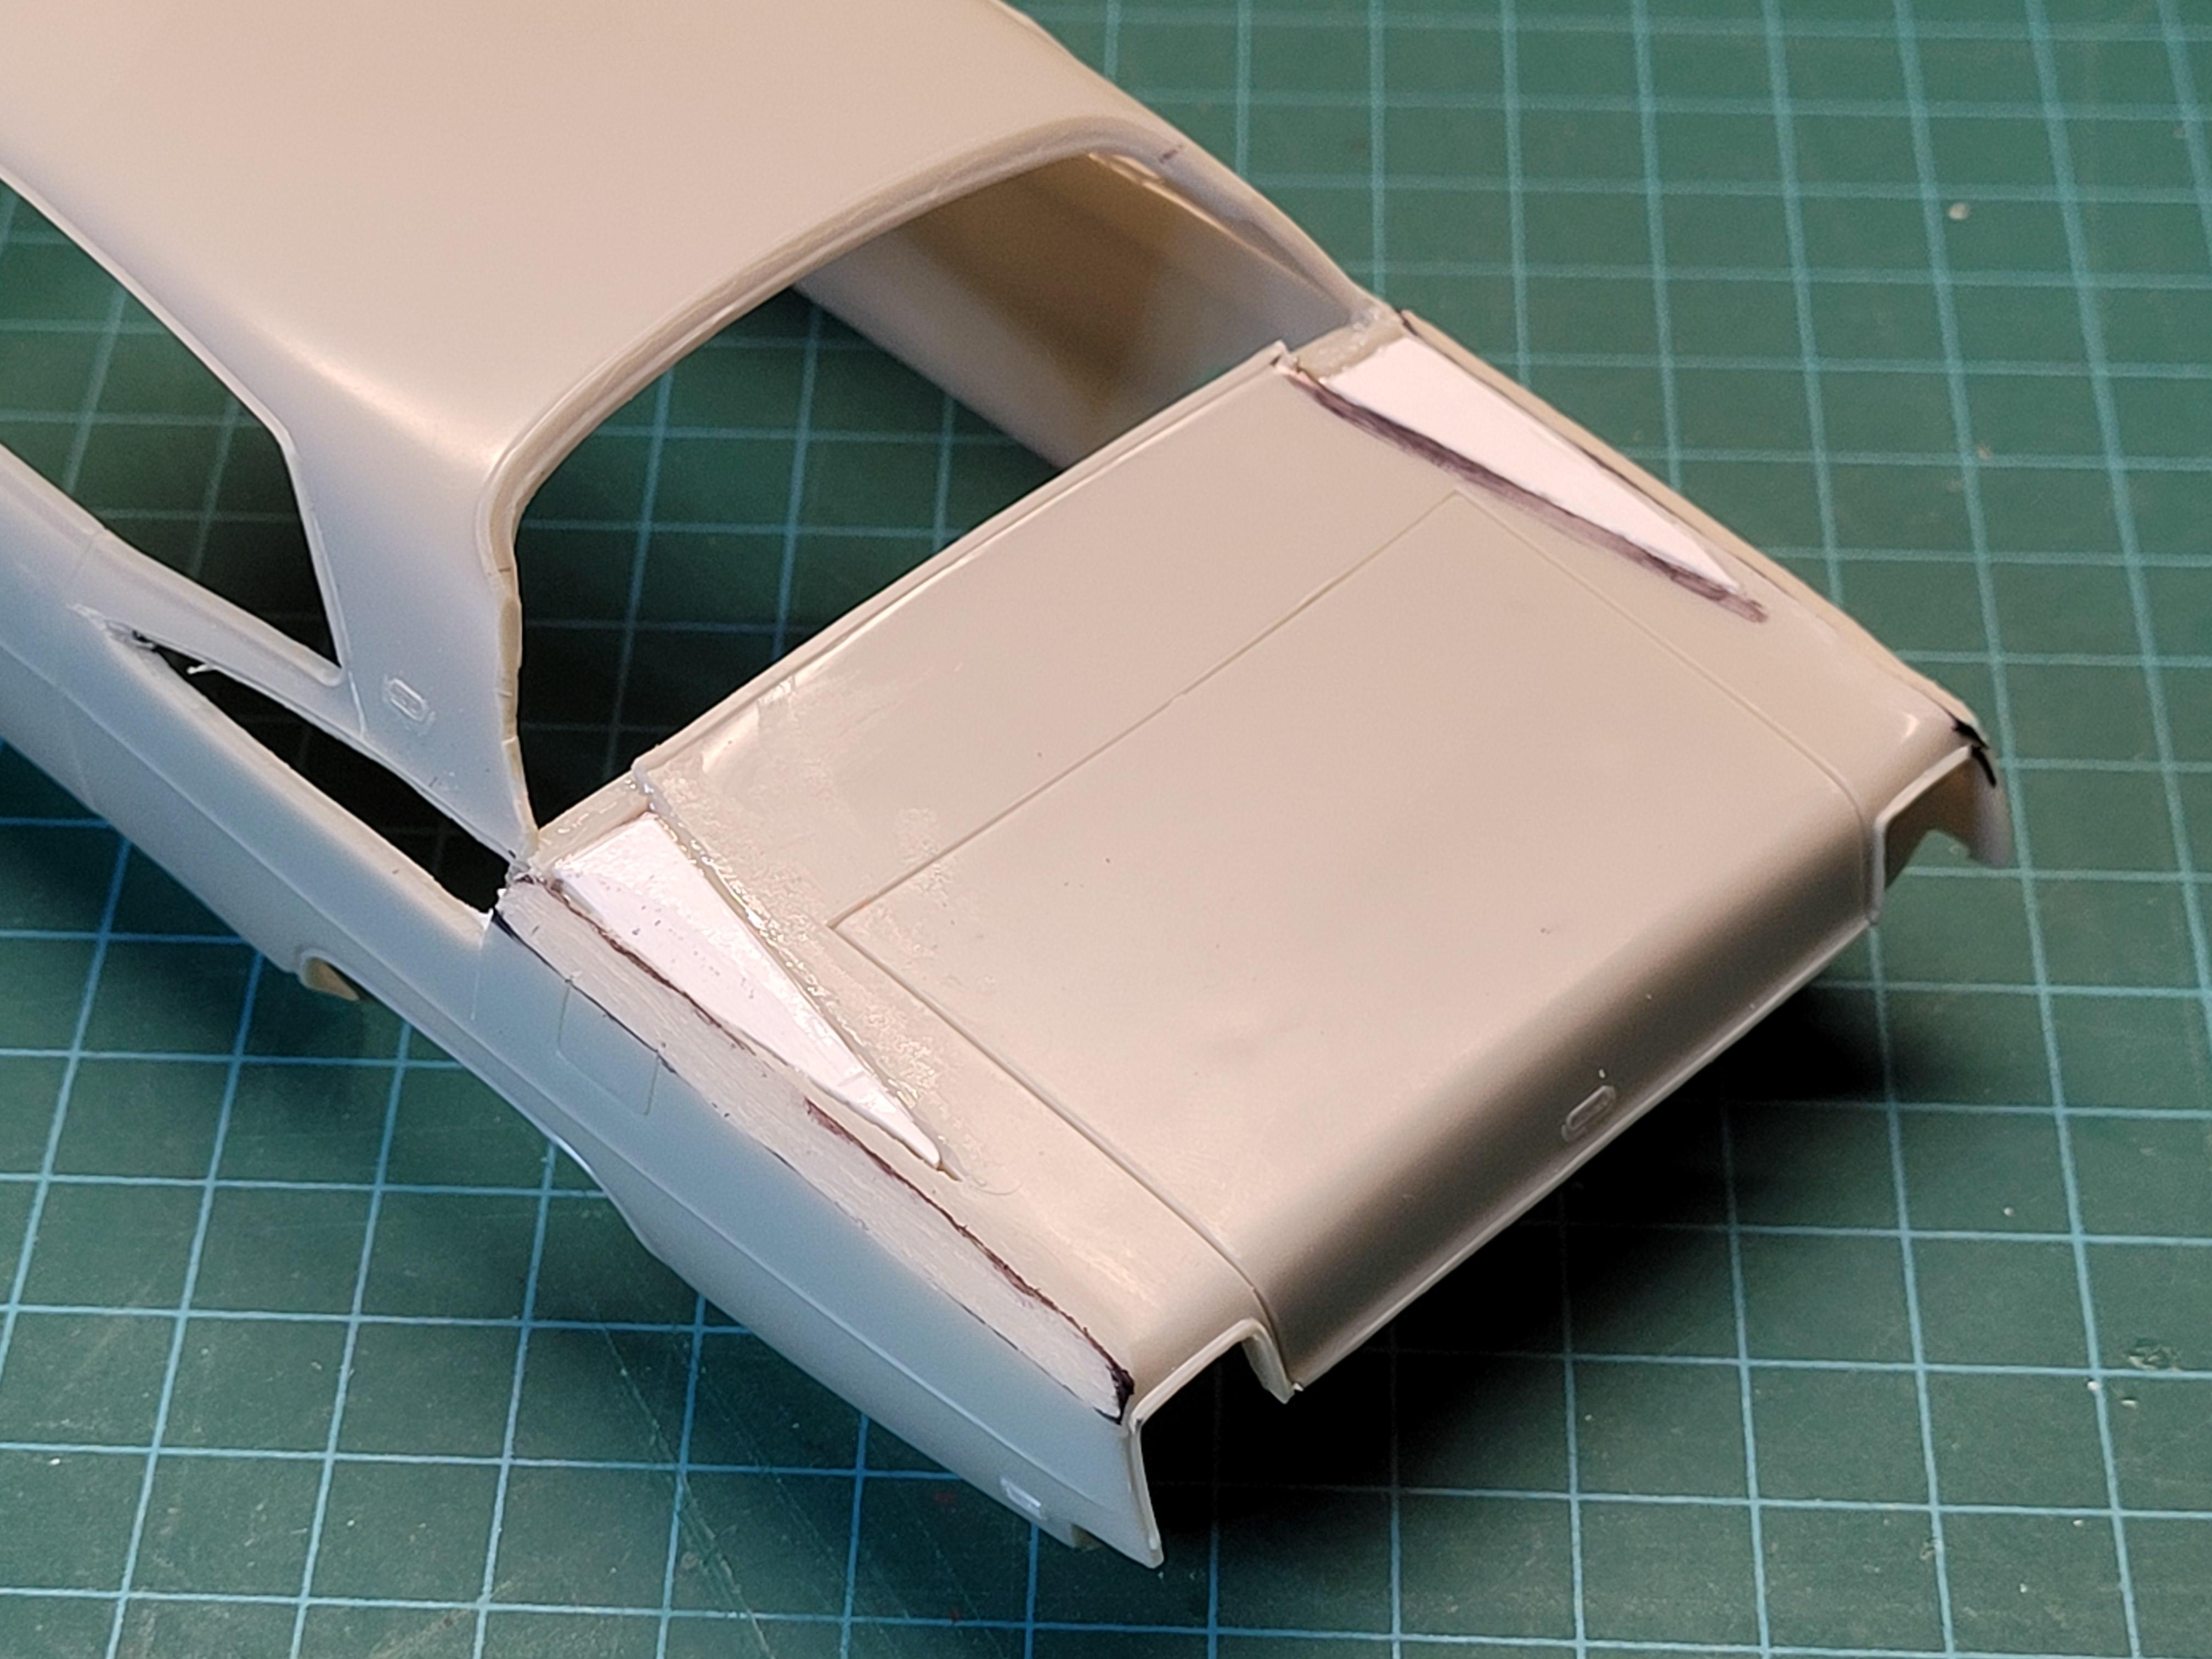
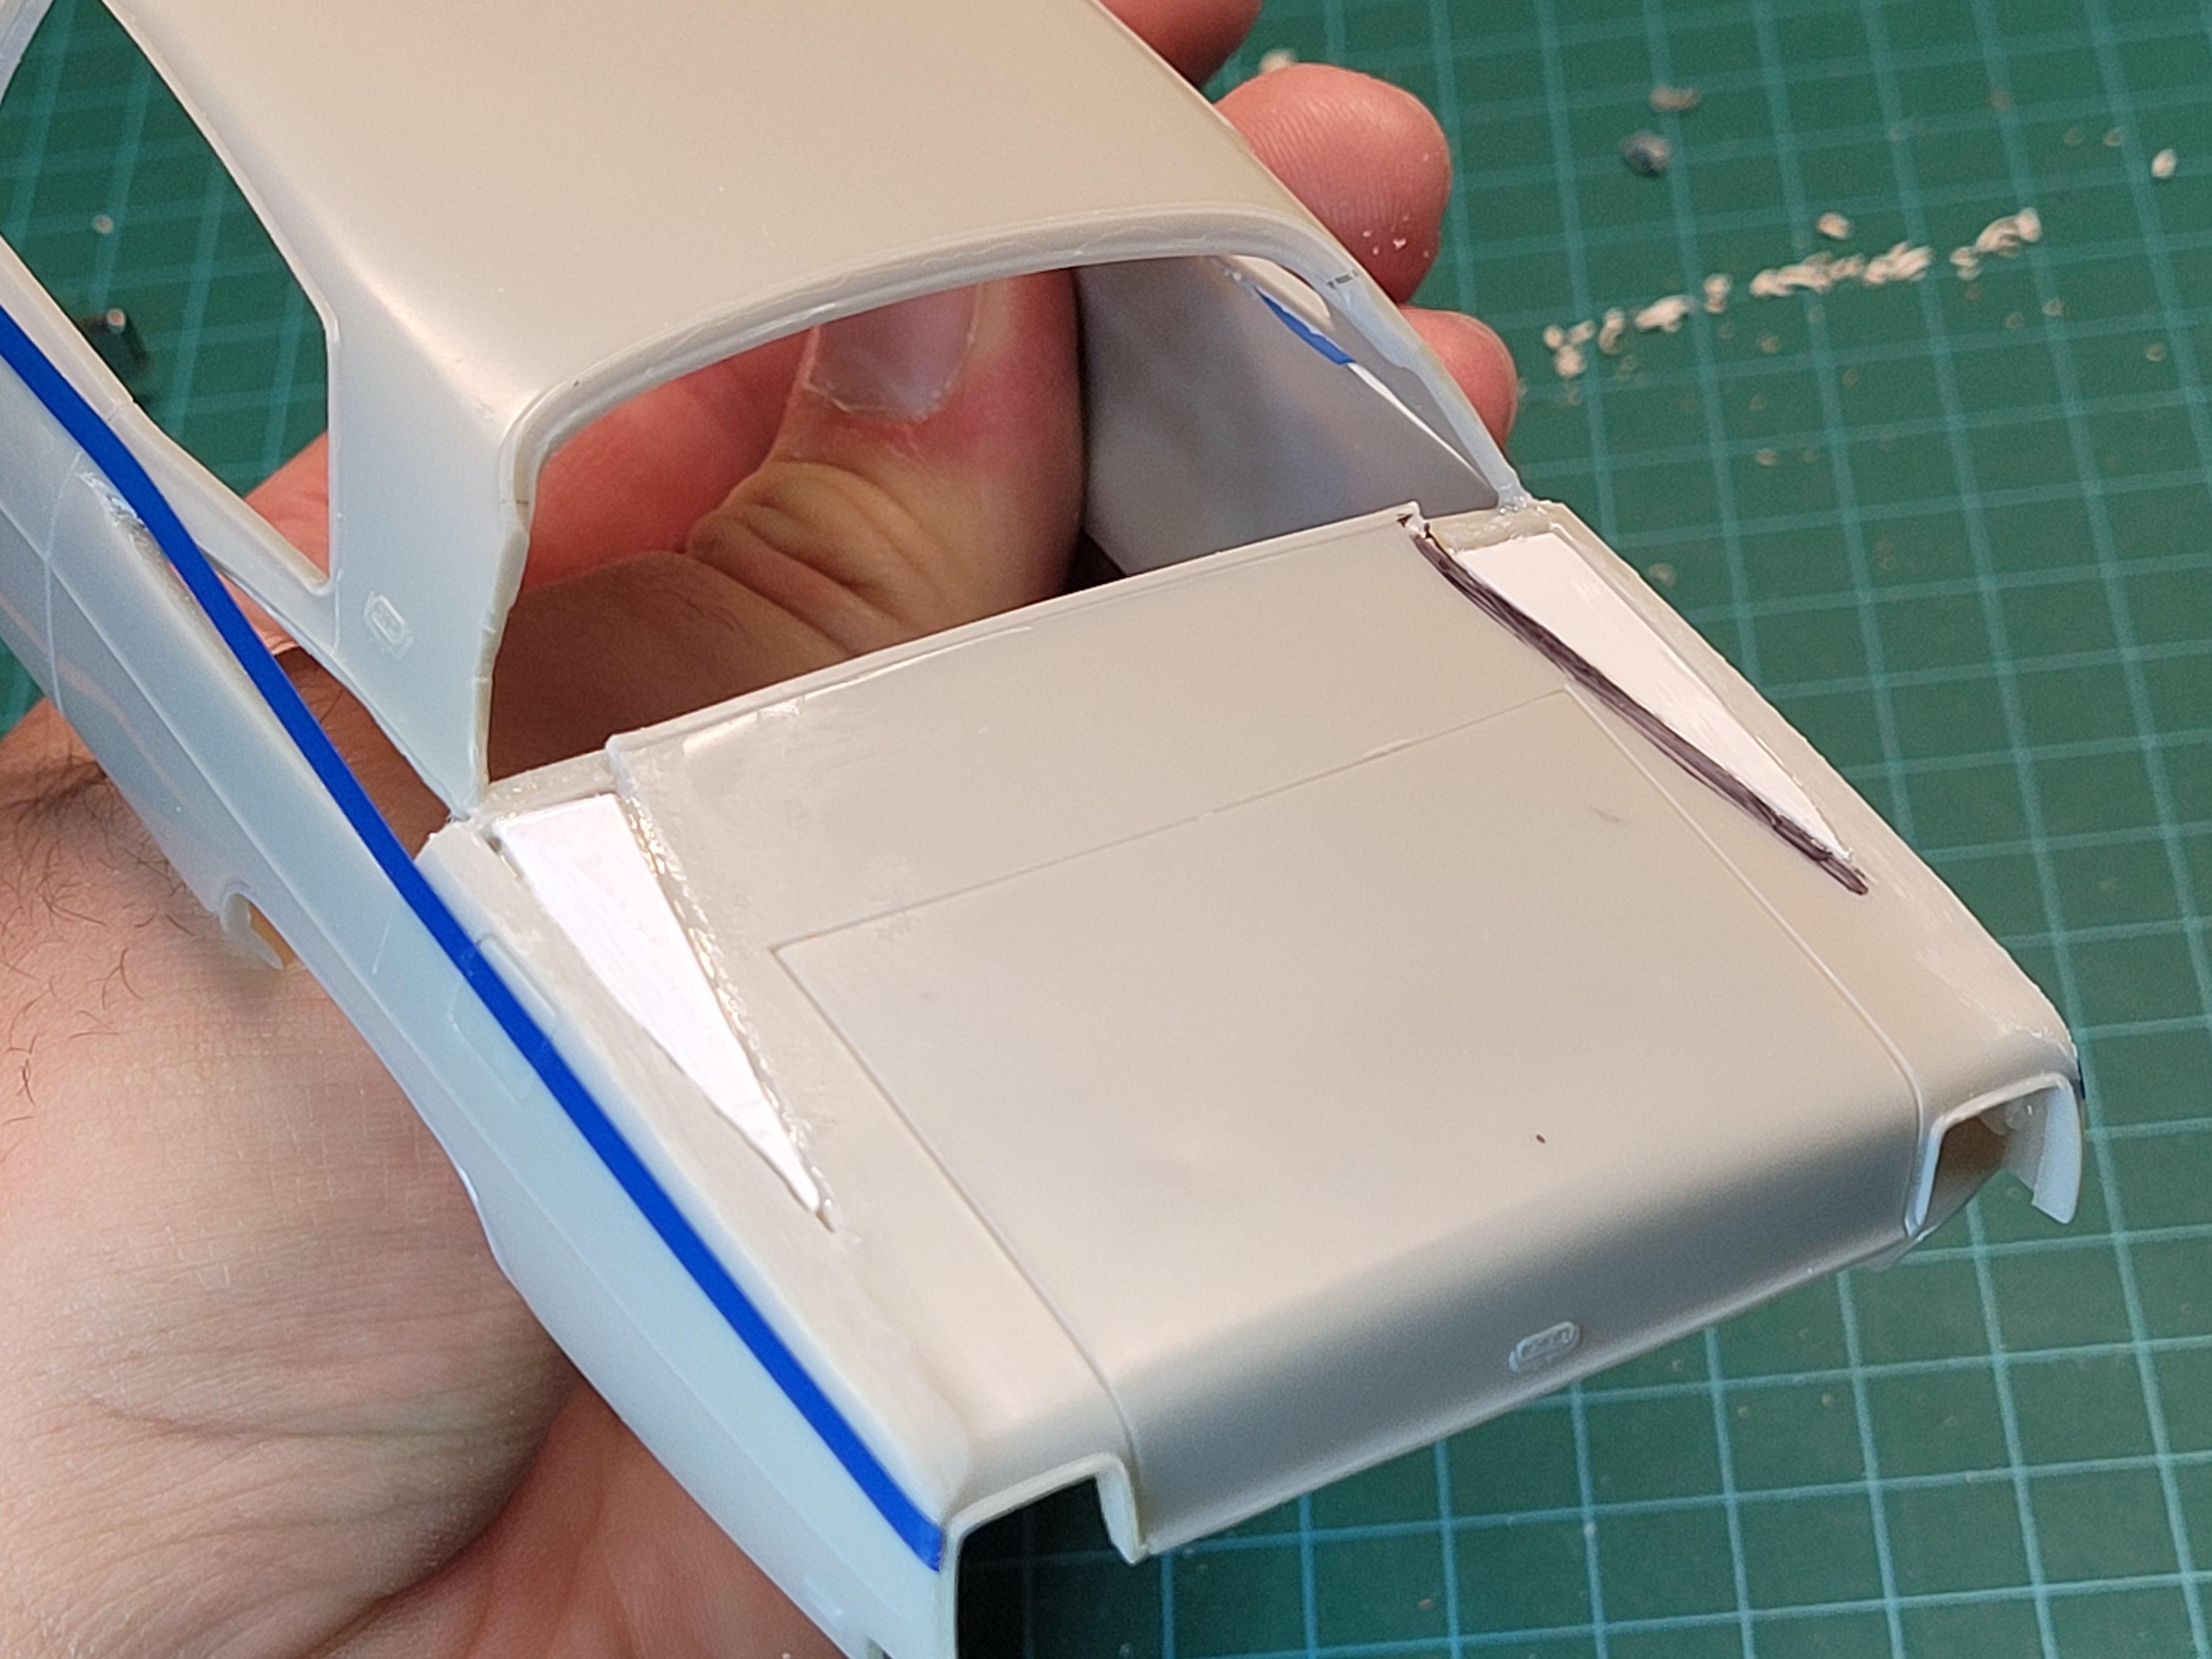
Here is the final group of photos from September 10th, just some trimming and cleaning up of the previous work.
-
More progress from September 10th. This was the process of cutting back the decklid and creating a new rear roofline.
-
'Grandpa Special' 1/25 1974 Challenger
Mike Slapattack replied to Mrchickenstrips's topic in WIP: Model Cars
I love this, I've always been a fan of the more grandpa spec versions of cars. -
Great detail!
-
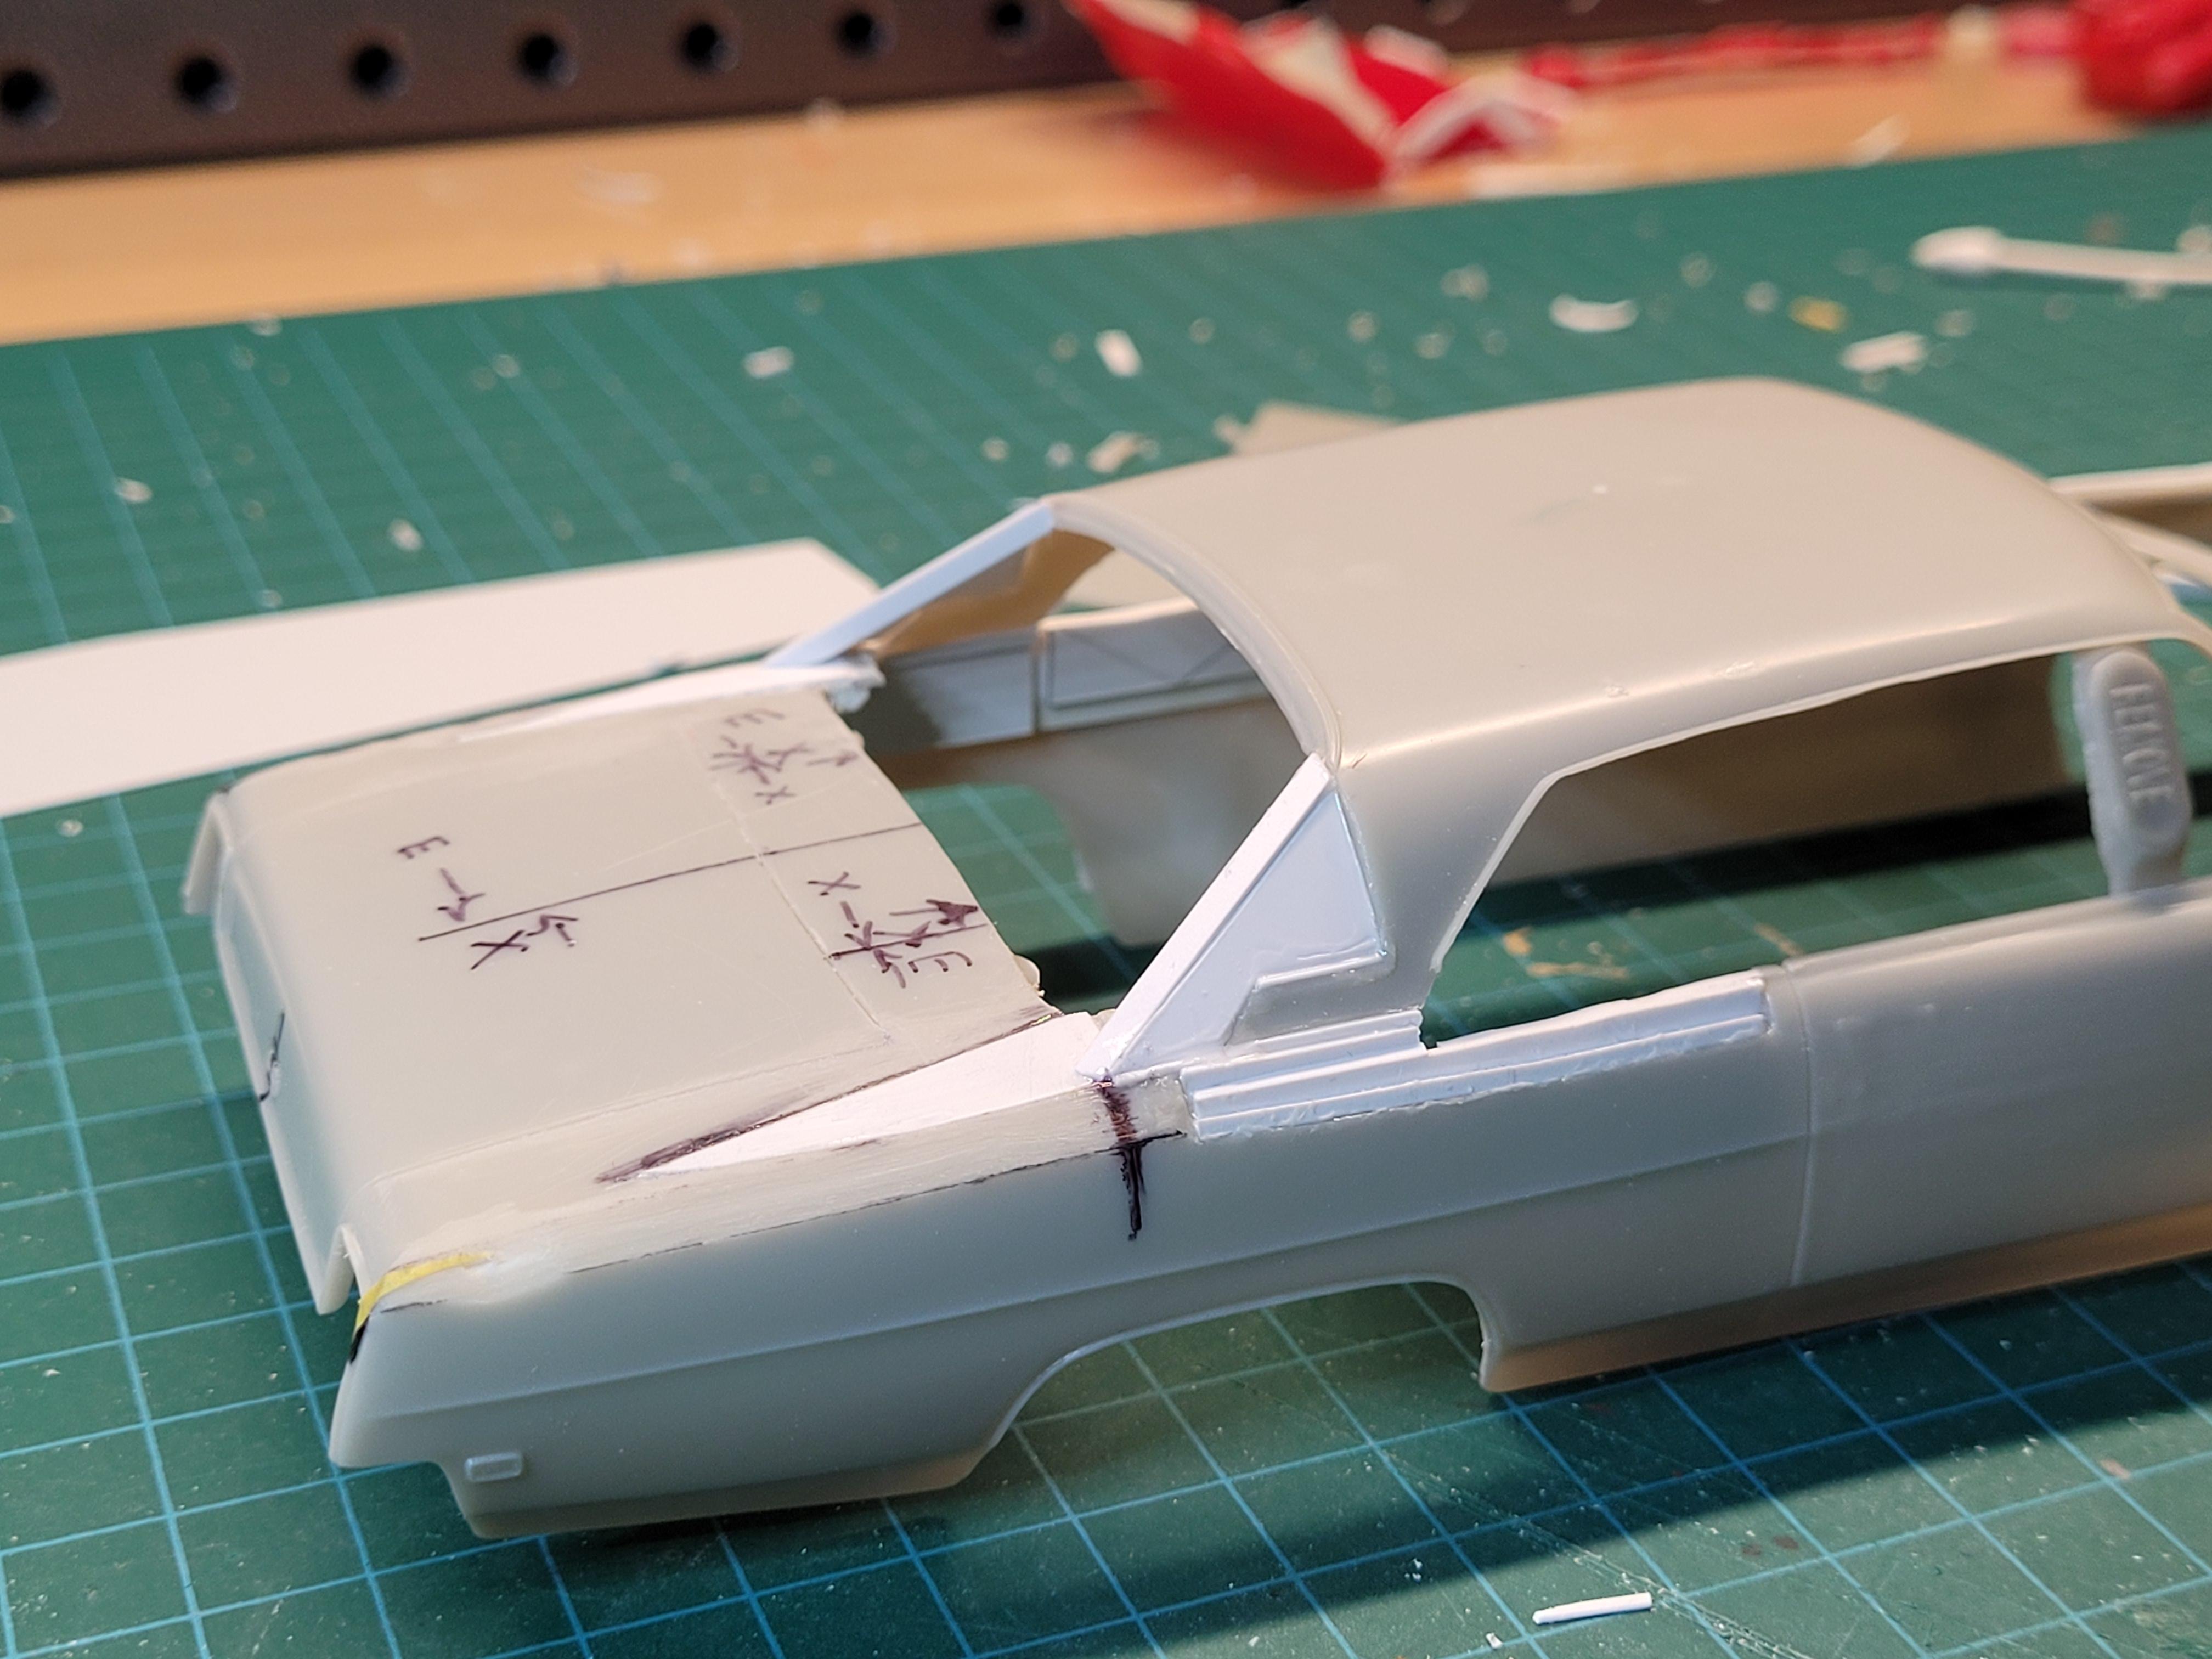
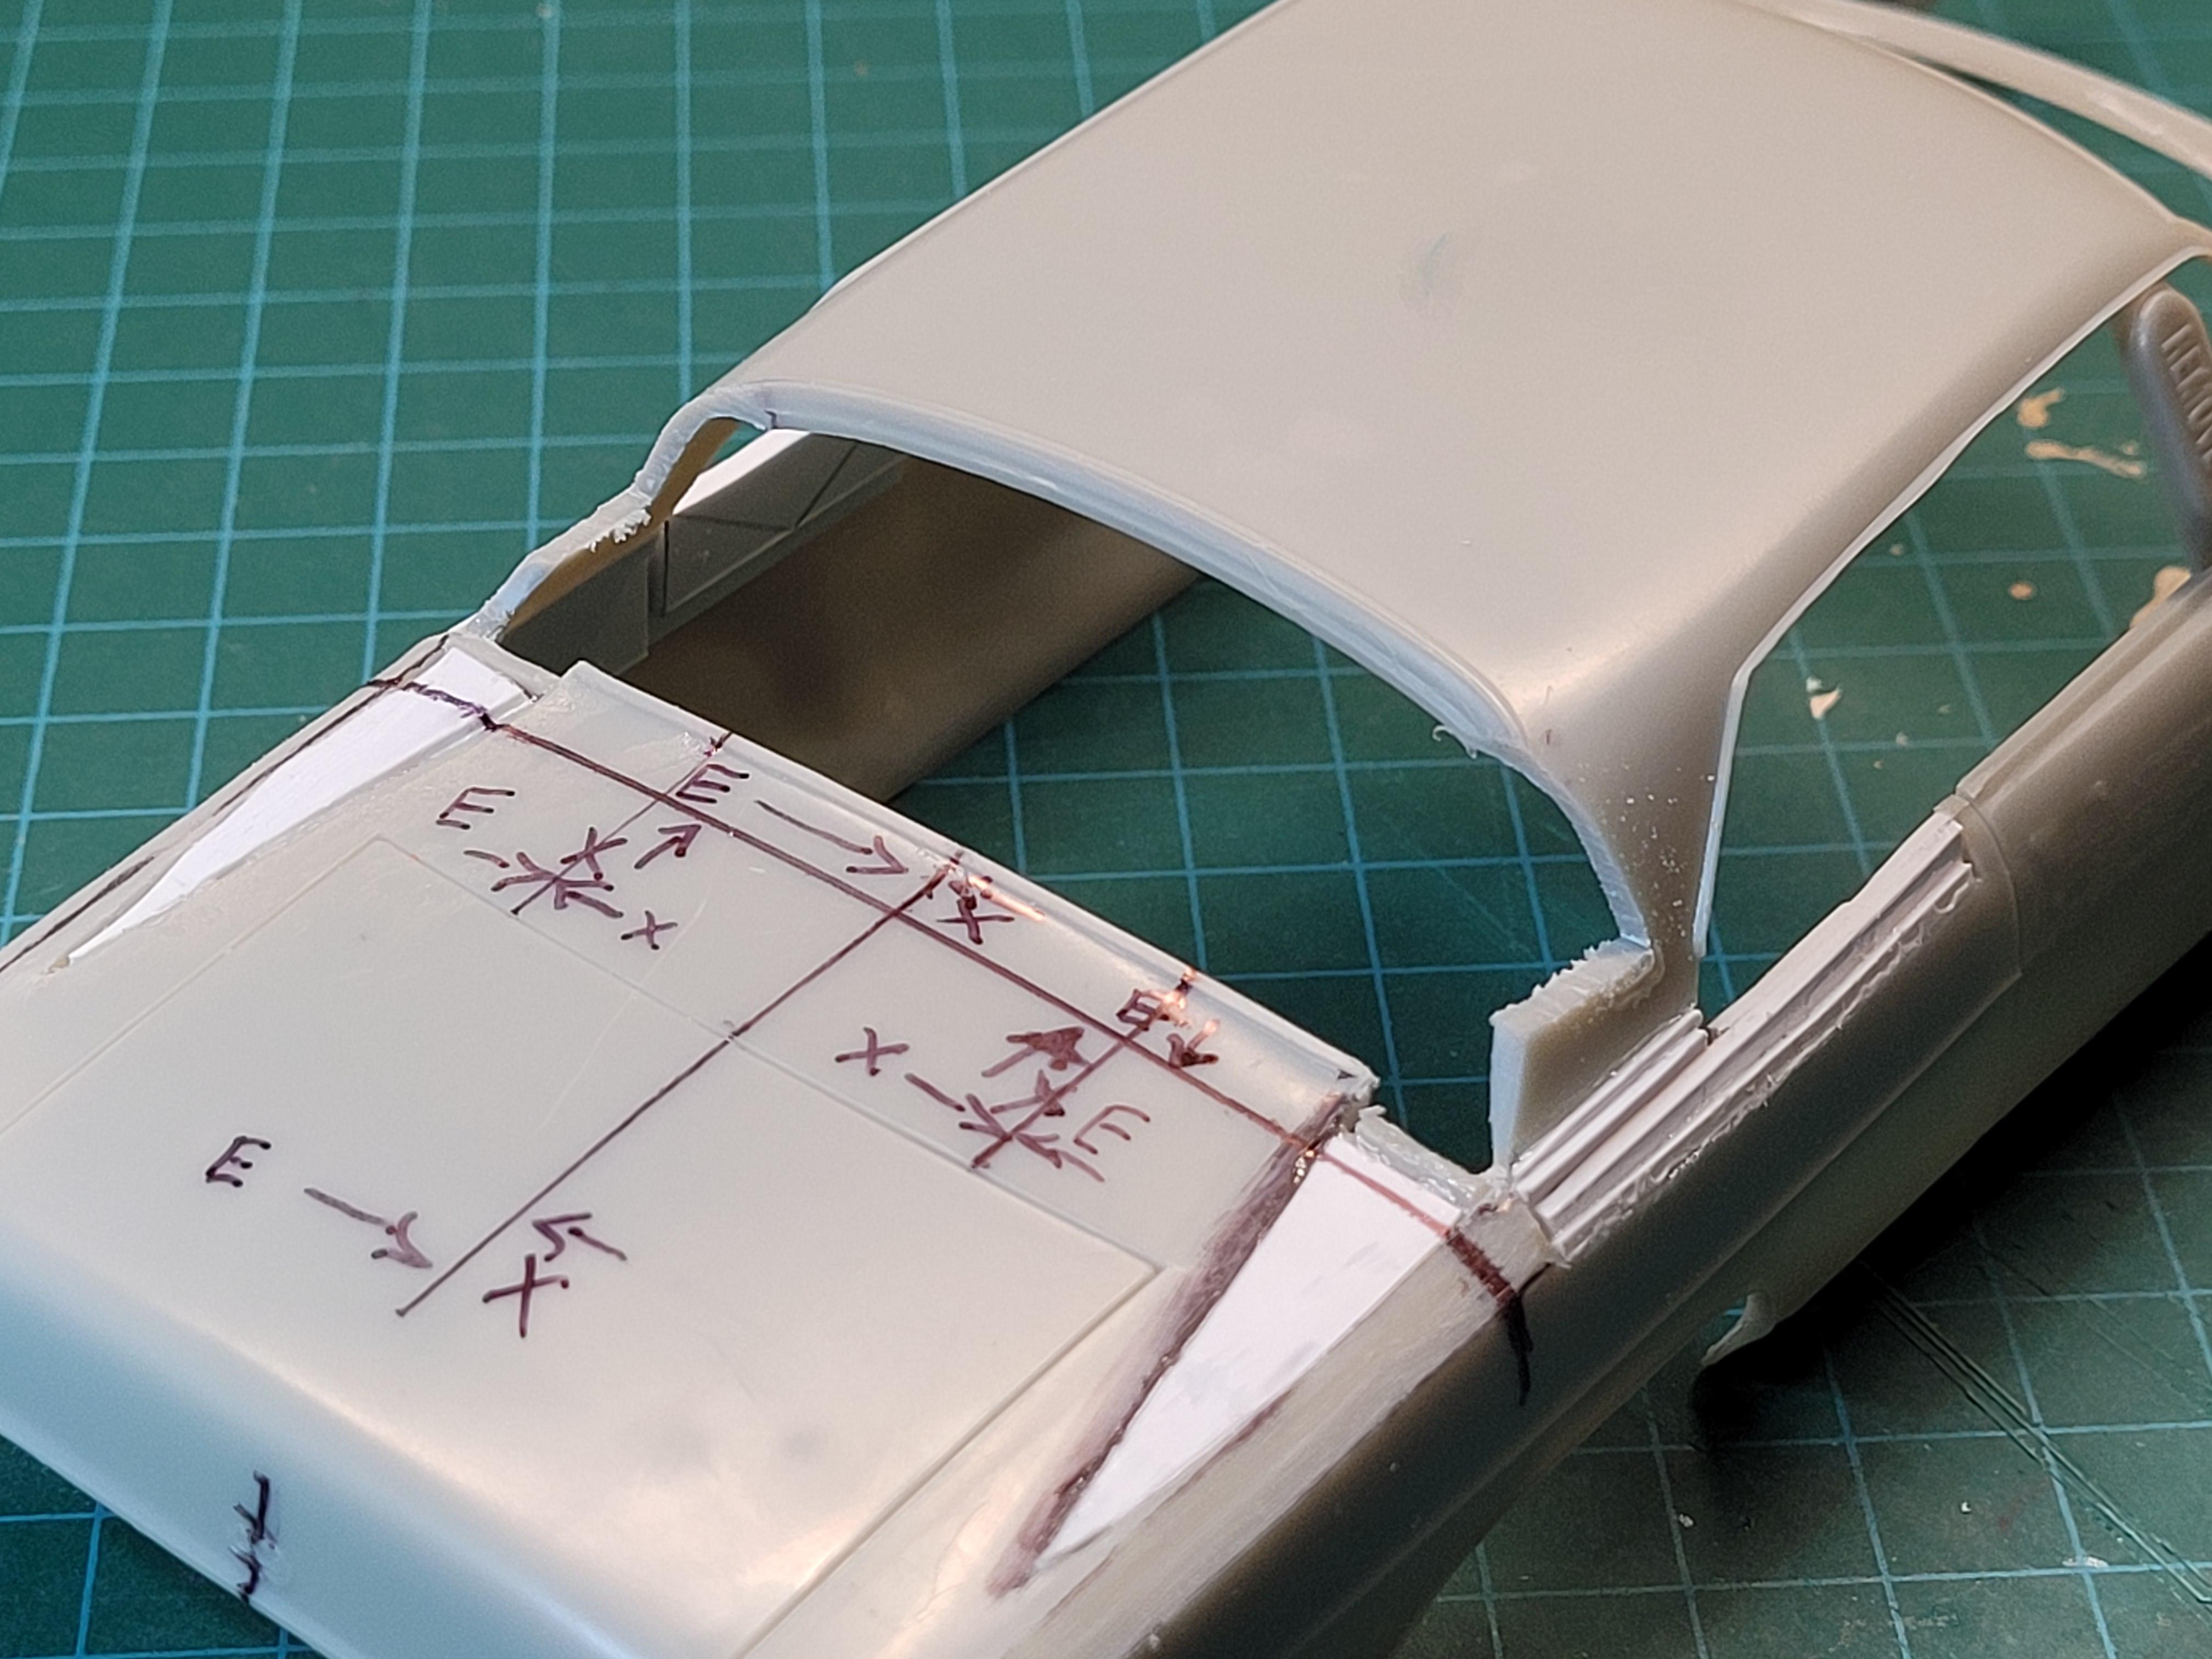
Here's some progress from September 10th. A Small thing, making some reference marks for cutting on the decklid and trimming back the rear pillars.
-
The exhaust manifolds have a realistic texture, is that molded detail or did you do that?
-
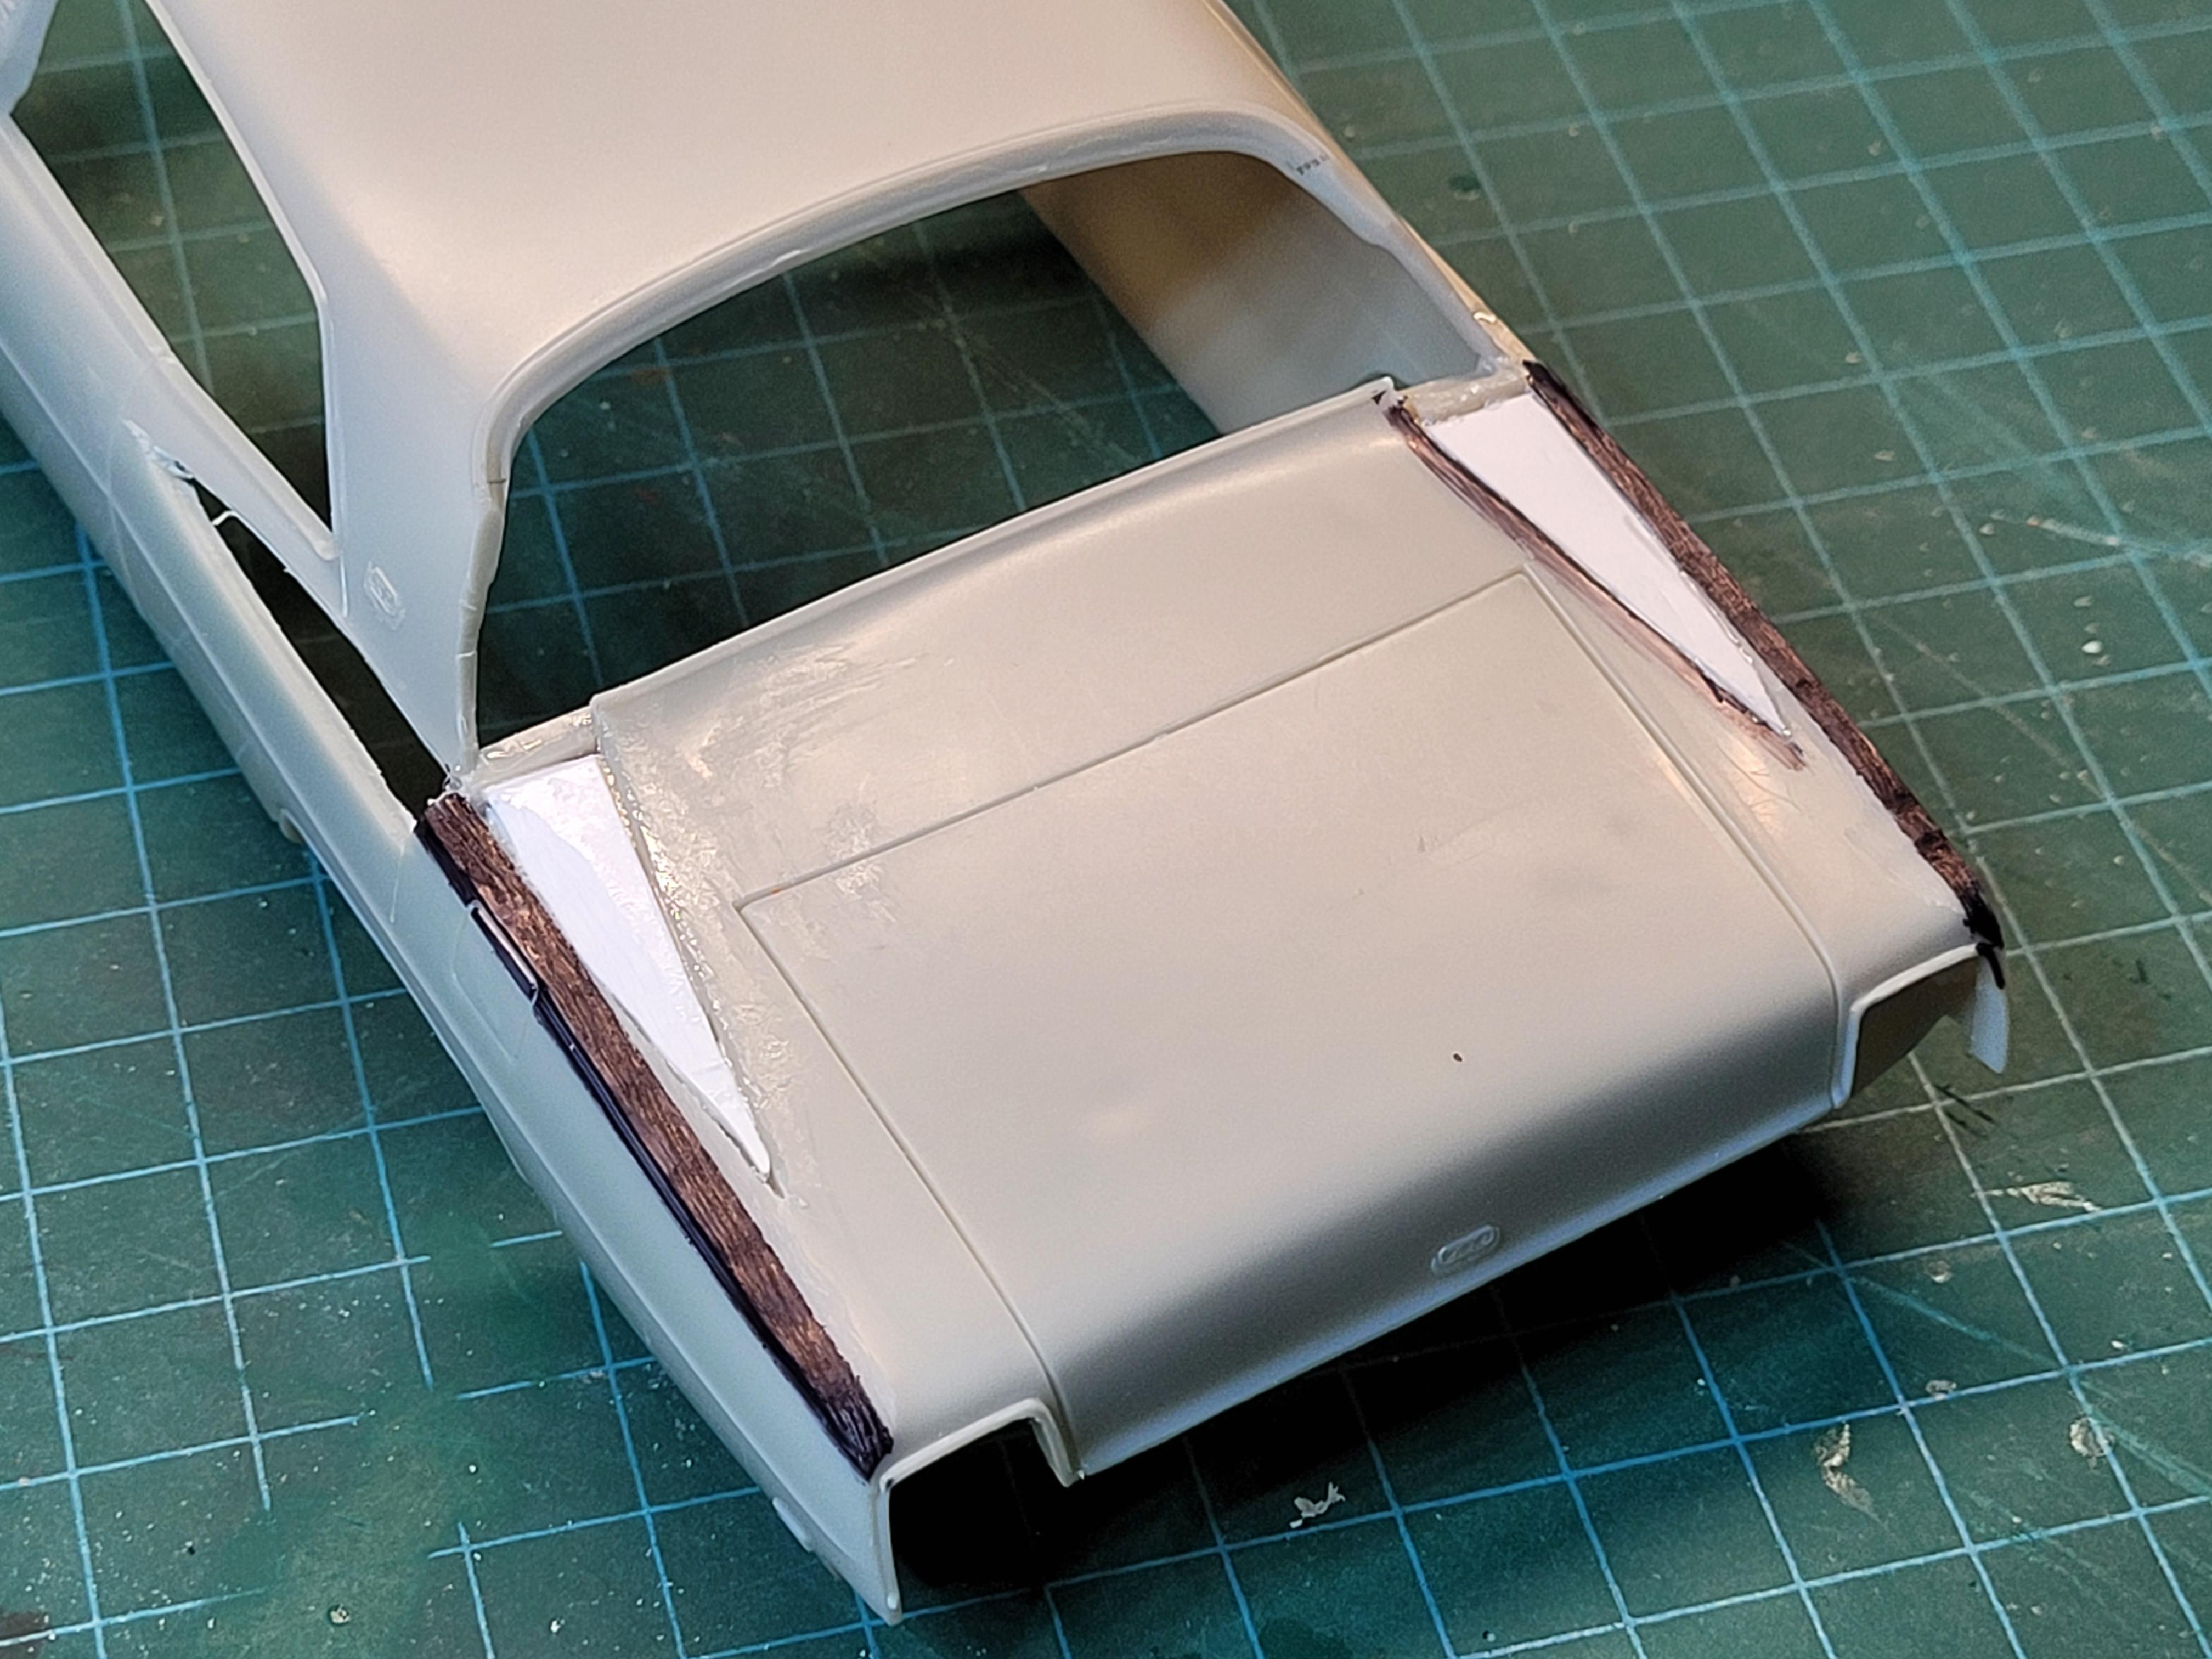
Here's some of what I got done on September 9th. This was reshaping the tops of the rear quarter panels of the car. I added structural material beneath the decklid to avoid burning through. Learning as I go!
-
I was not aware of this, but personally I enjoy the work, plus casted resin requires less prep work than 3D prints.