.jpg.9ee98fa07bf5bb97eeb55bd8c1147223.jpg)
RACINE ISHRAQUR RAZA
-
Posts
441 -
Joined
-
Last visited
Content Type
Profiles
Forums
Events
Gallery
Everything posted by RACINE ISHRAQUR RAZA
-
.thumb.jpg.752d8d04df8181b3ee4974c788ea69c0.jpg) @Leica007Thank you for that, but I'm okay for now. I bought two of the newer reissued '82 Dodge van kits and each of them come with two roof glass. One transparent and one tinted.
@Leica007Thank you for that, but I'm okay for now. I bought two of the newer reissued '82 Dodge van kits and each of them come with two roof glass. One transparent and one tinted. -
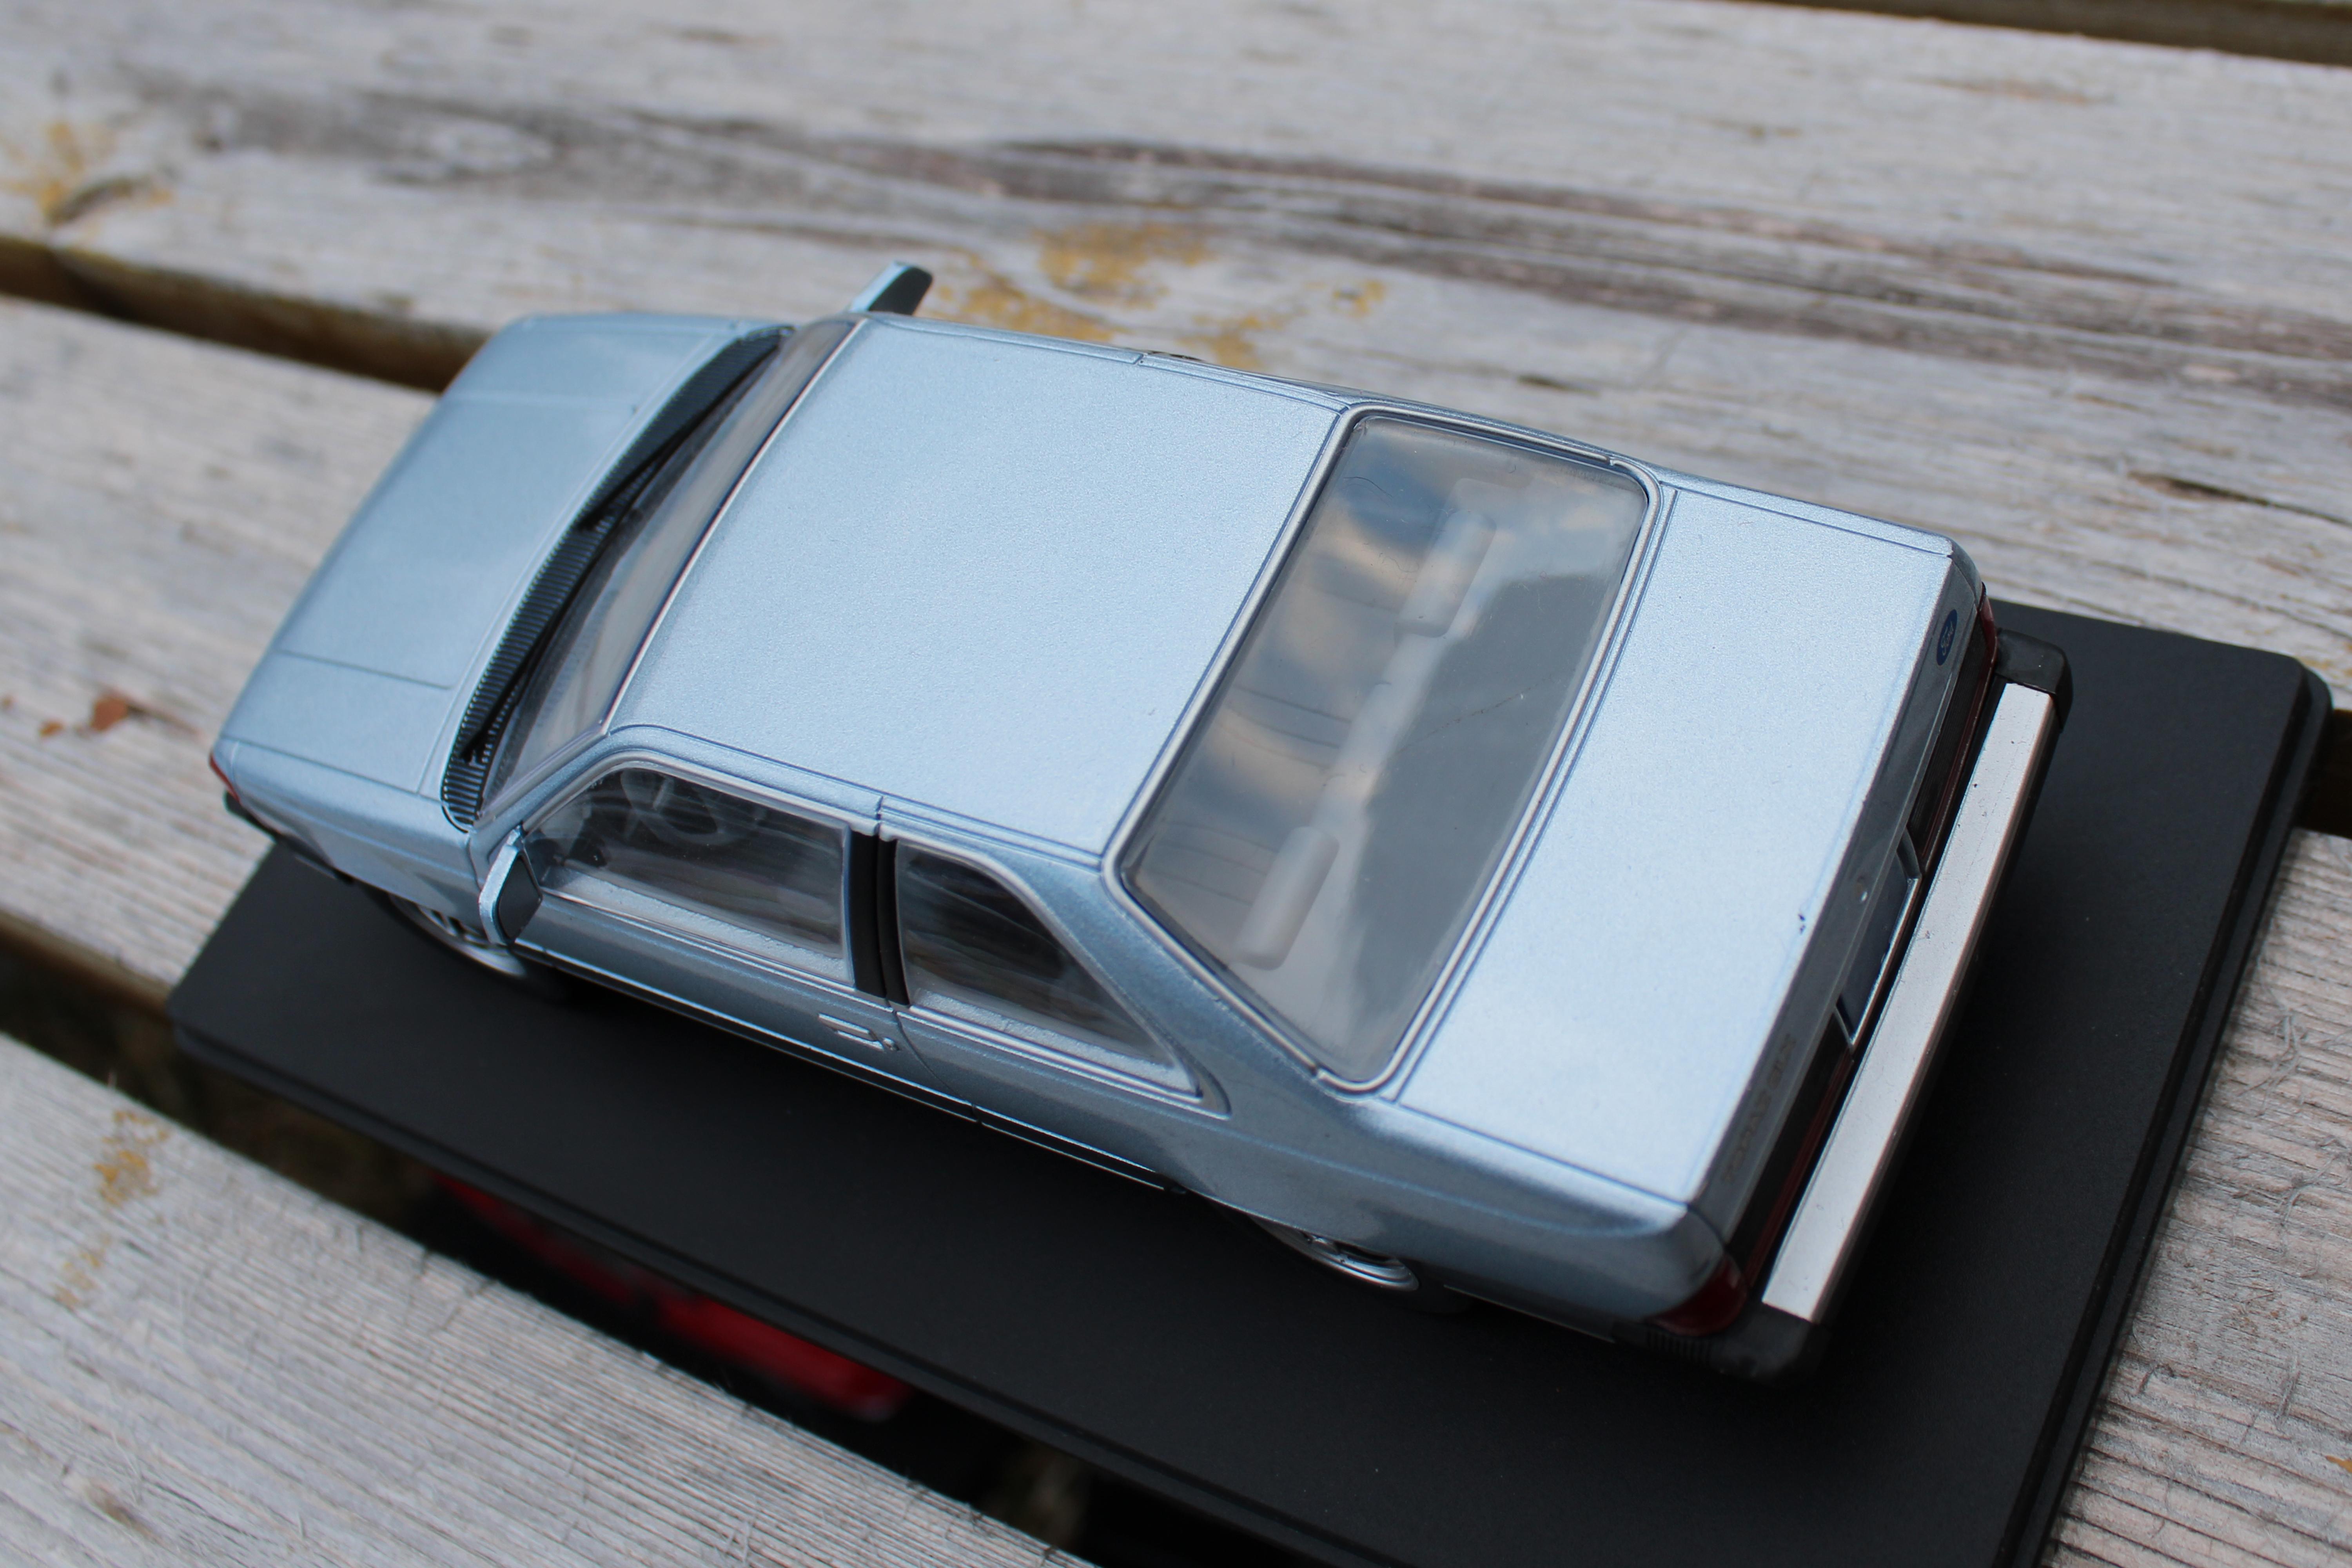
1988 Oldsmobile Cutlass Ciera
RACINE ISHRAQUR RAZA replied to RACINE ISHRAQUR RAZA's topic in Diecast Corner
@ZenThese cars showed up on ebay late last year. Maybe they'll show up again in future. For anyone wishing to own one, I would recommend checking ebay at least once a month and you might get lucky. -
That is amazing!
-
1970 Ford Galaxie 500 four door sedan
RACINE ISHRAQUR RAZA replied to RACINE ISHRAQUR RAZA's topic in Model Cars
Thank you all for the compliment! @XYHARRYThanks! I wanted this car to wear a shade of paint that was quite popular during the 1970s. One day I would love to build a replica of this stunning '73 Galaxie from Charlie's Angels which has a little more toned down green. The only way to build the '73 would be to get the model from a resin caster, but I wish a plastic kit existed.
-
Thank you everyone for the compliment! Much appreciated!
-
Nice build!
-
Thank you everyone for the compliment! Much appreciated!
-
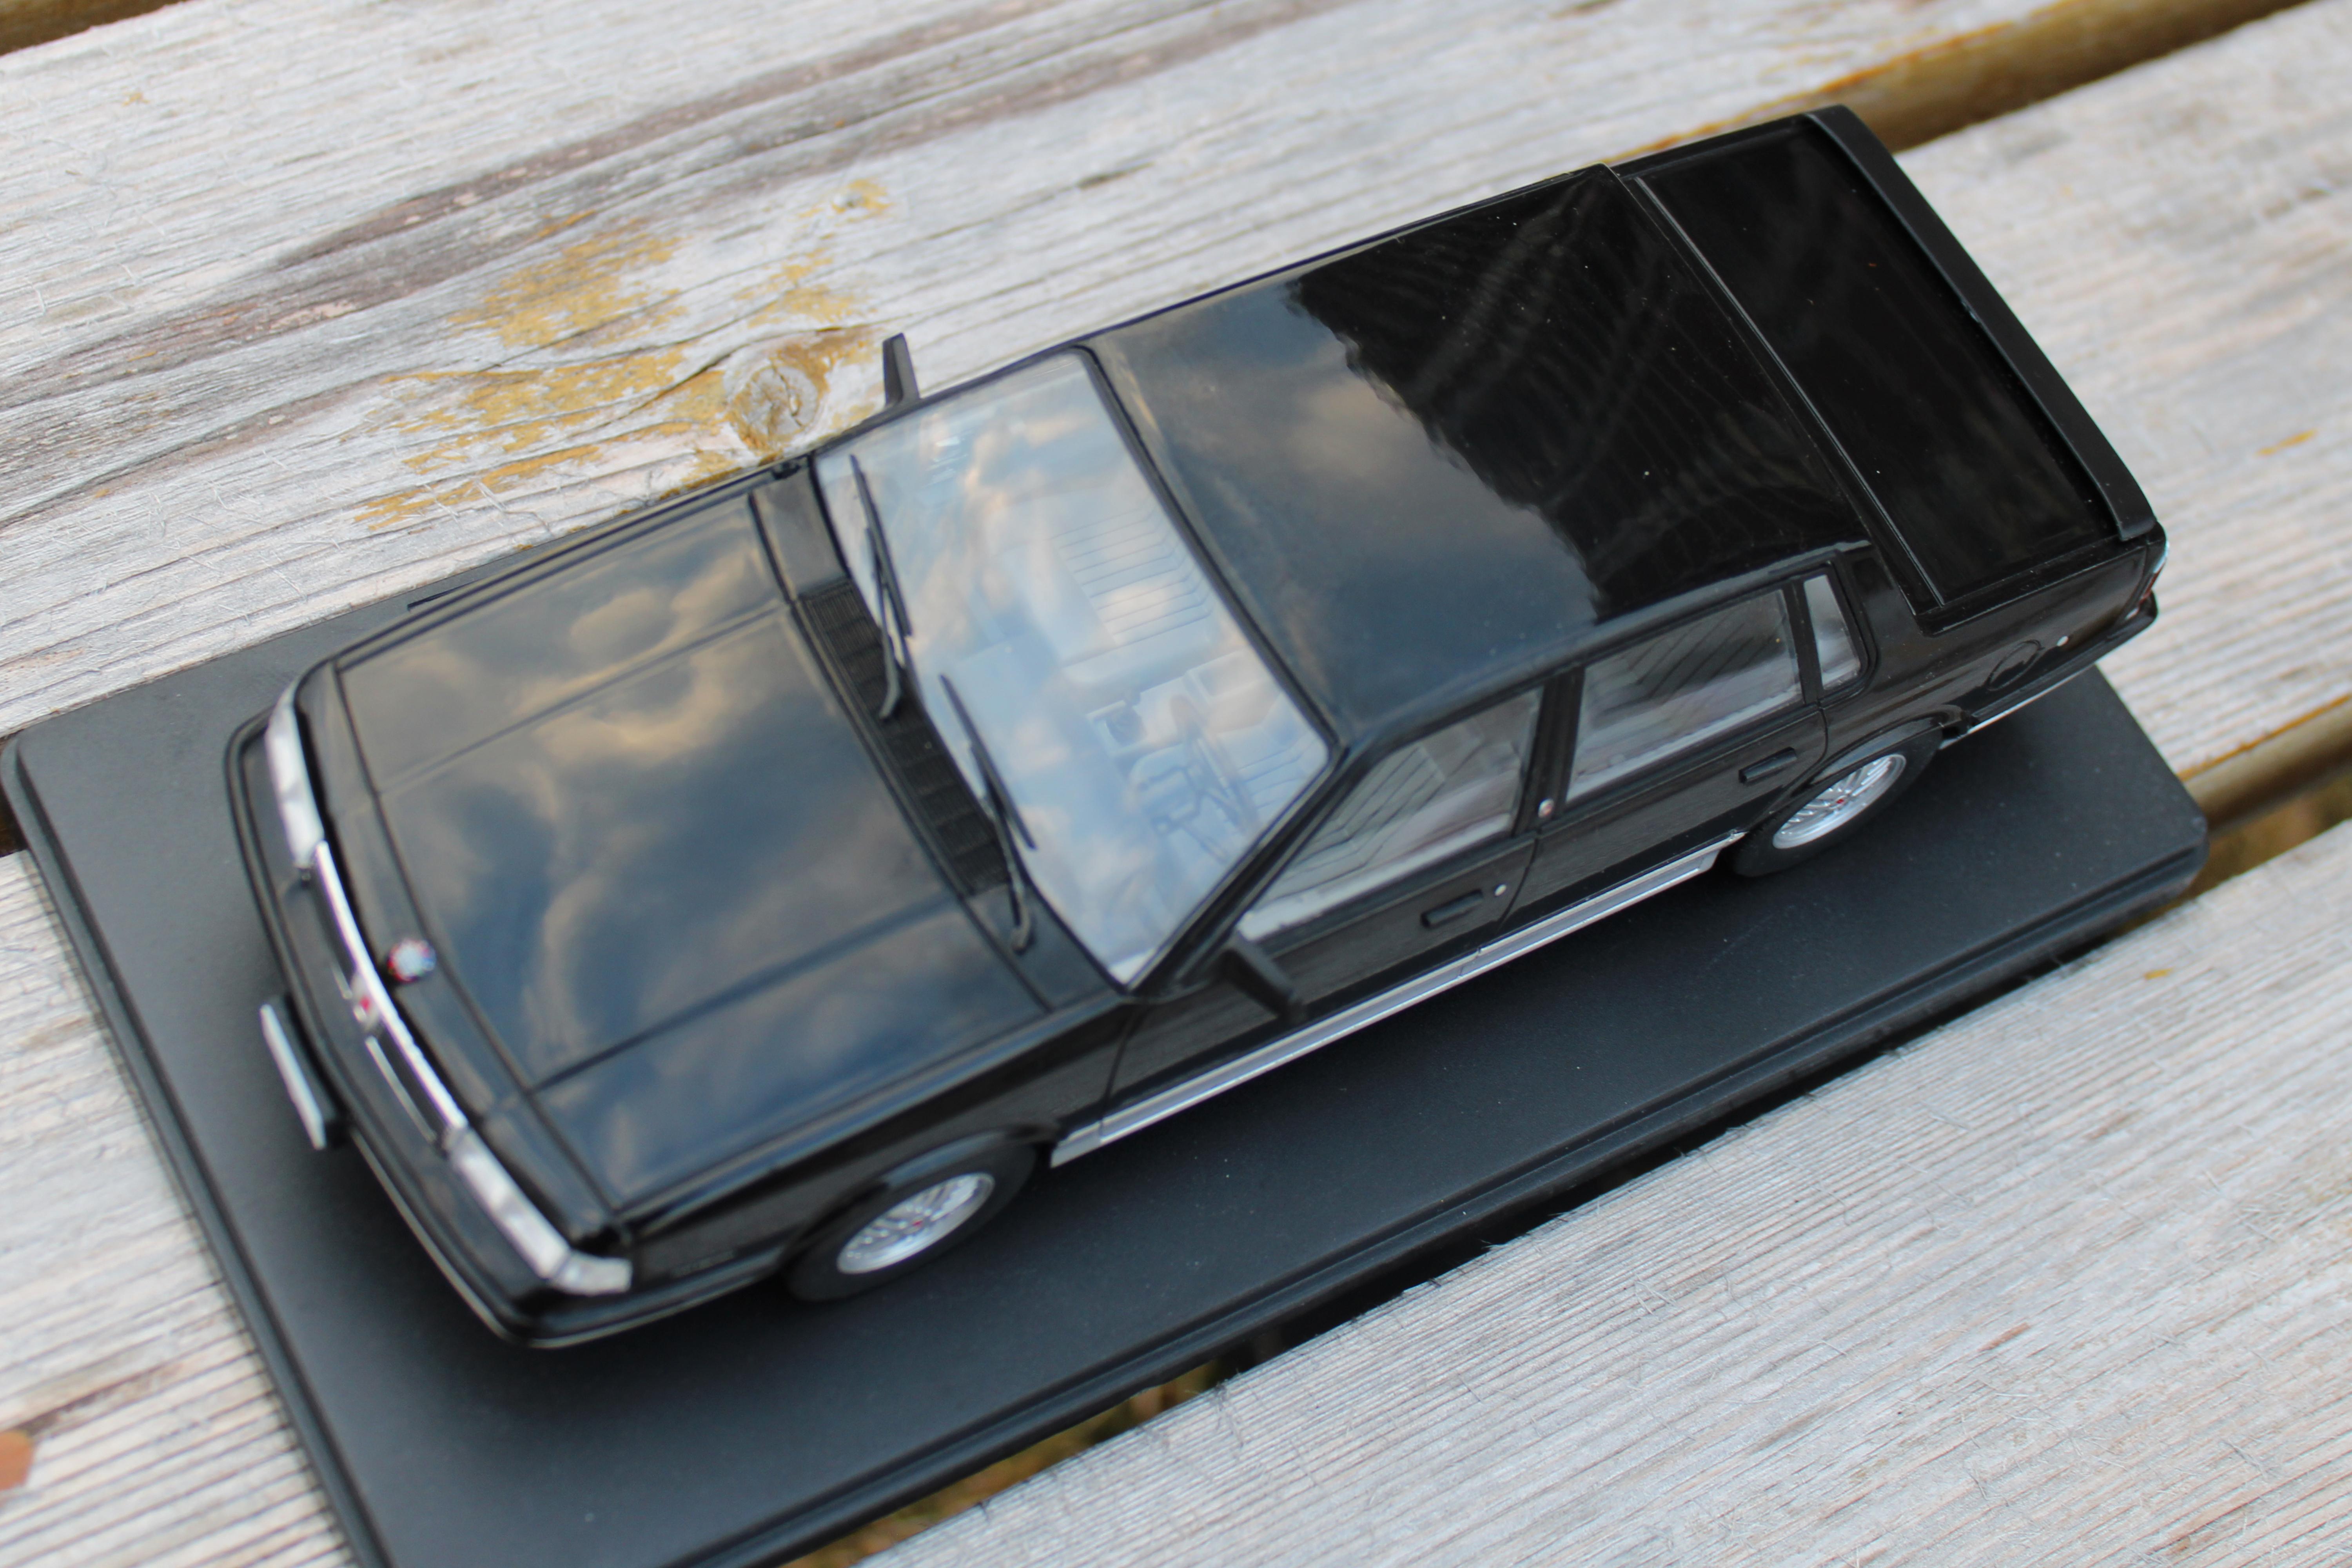
1988 Chevrolet Caprice Classic LS Brougham
RACINE ISHRAQUR RAZA replied to RACINE ISHRAQUR RAZA's topic in Model Cars
Thanks for the compliment! Much appreciated! -
Awesome build and I like that idea! Maybe one day I'll try it too.
-
I bought this car early this year. Limited Edition Unforgettable Cars in 1:24 scale die cast. These come with a magazine that tells the story of cars in Mexico, but I can't read it. Probably the whole thing is in Spanish. The title of the magazine is AUTOS INOLVIDABLES Colecciona Los Modelos Mas Populares. Note - I did not build or modify the car in anyway. The only thing I'll do is install license plates. People who are fans of these cars knows how difficult it is to find models of many once popular 1970s, 80s, and 90s American automobiles, so I'm sharing these pics so you fans know they do exist now. Other than this model the 1975 Dodge Royal Monaco may be available from the awesome resin model business known as Too Many Projects on facebook.
-
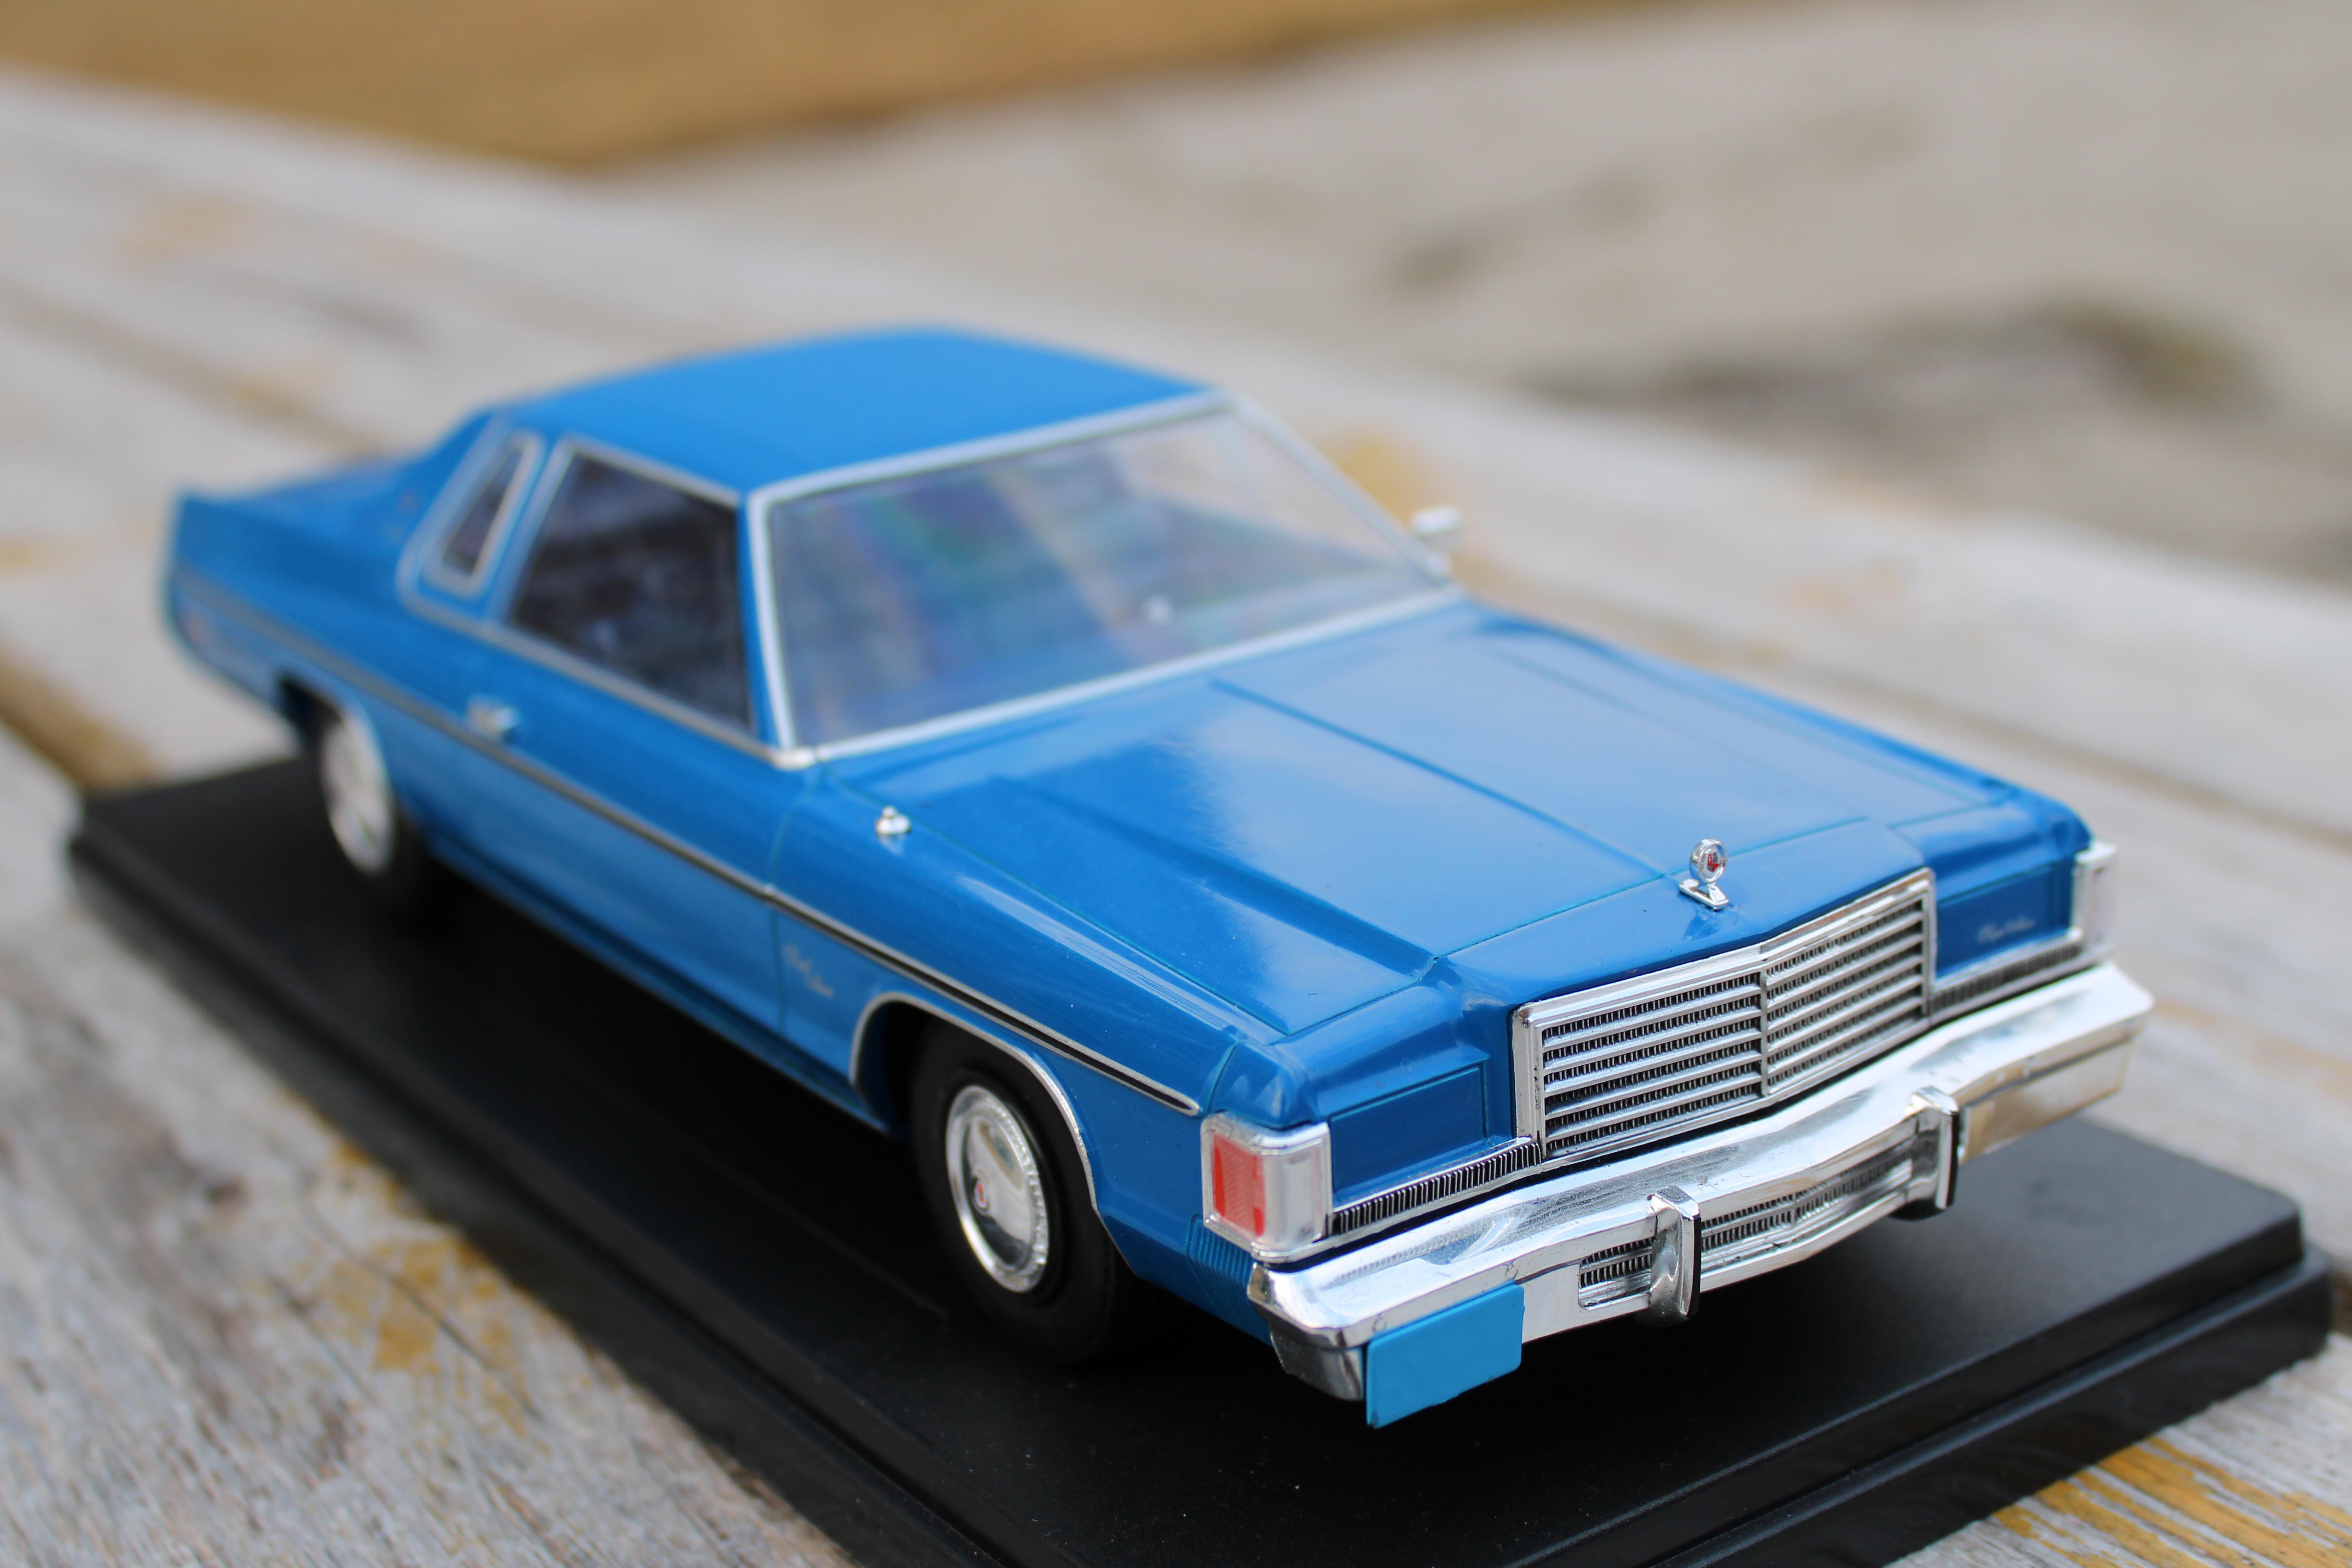
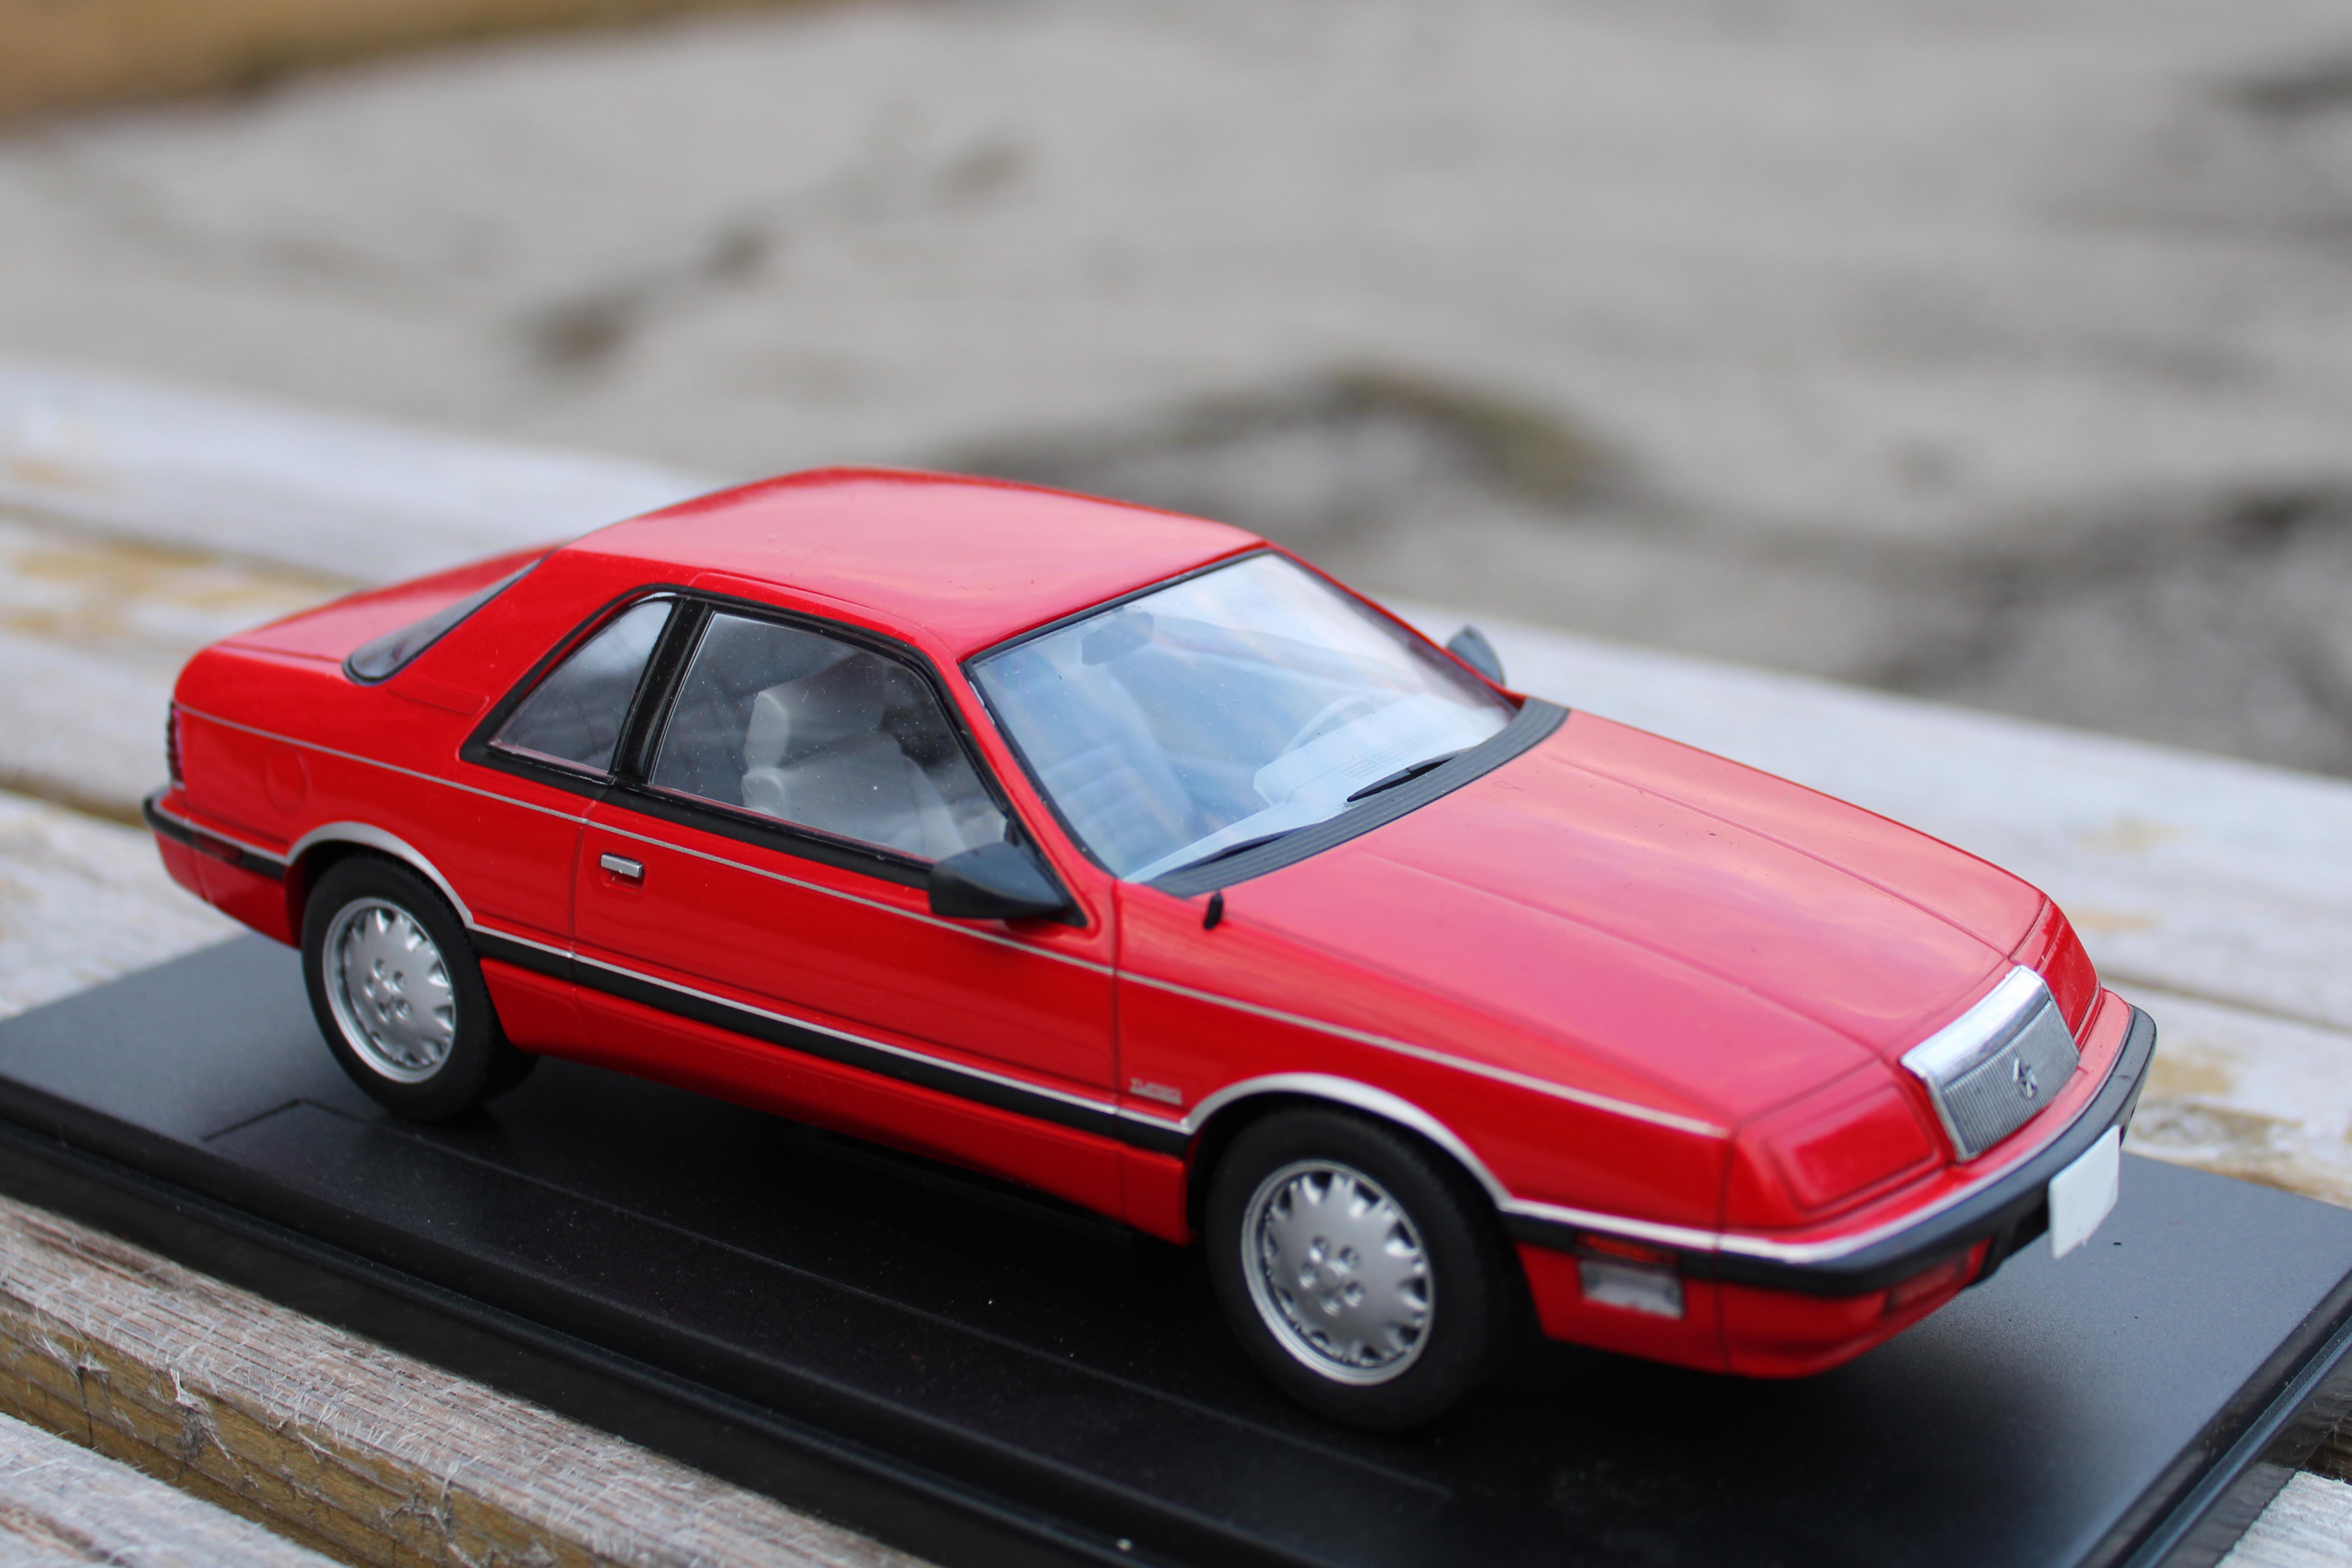
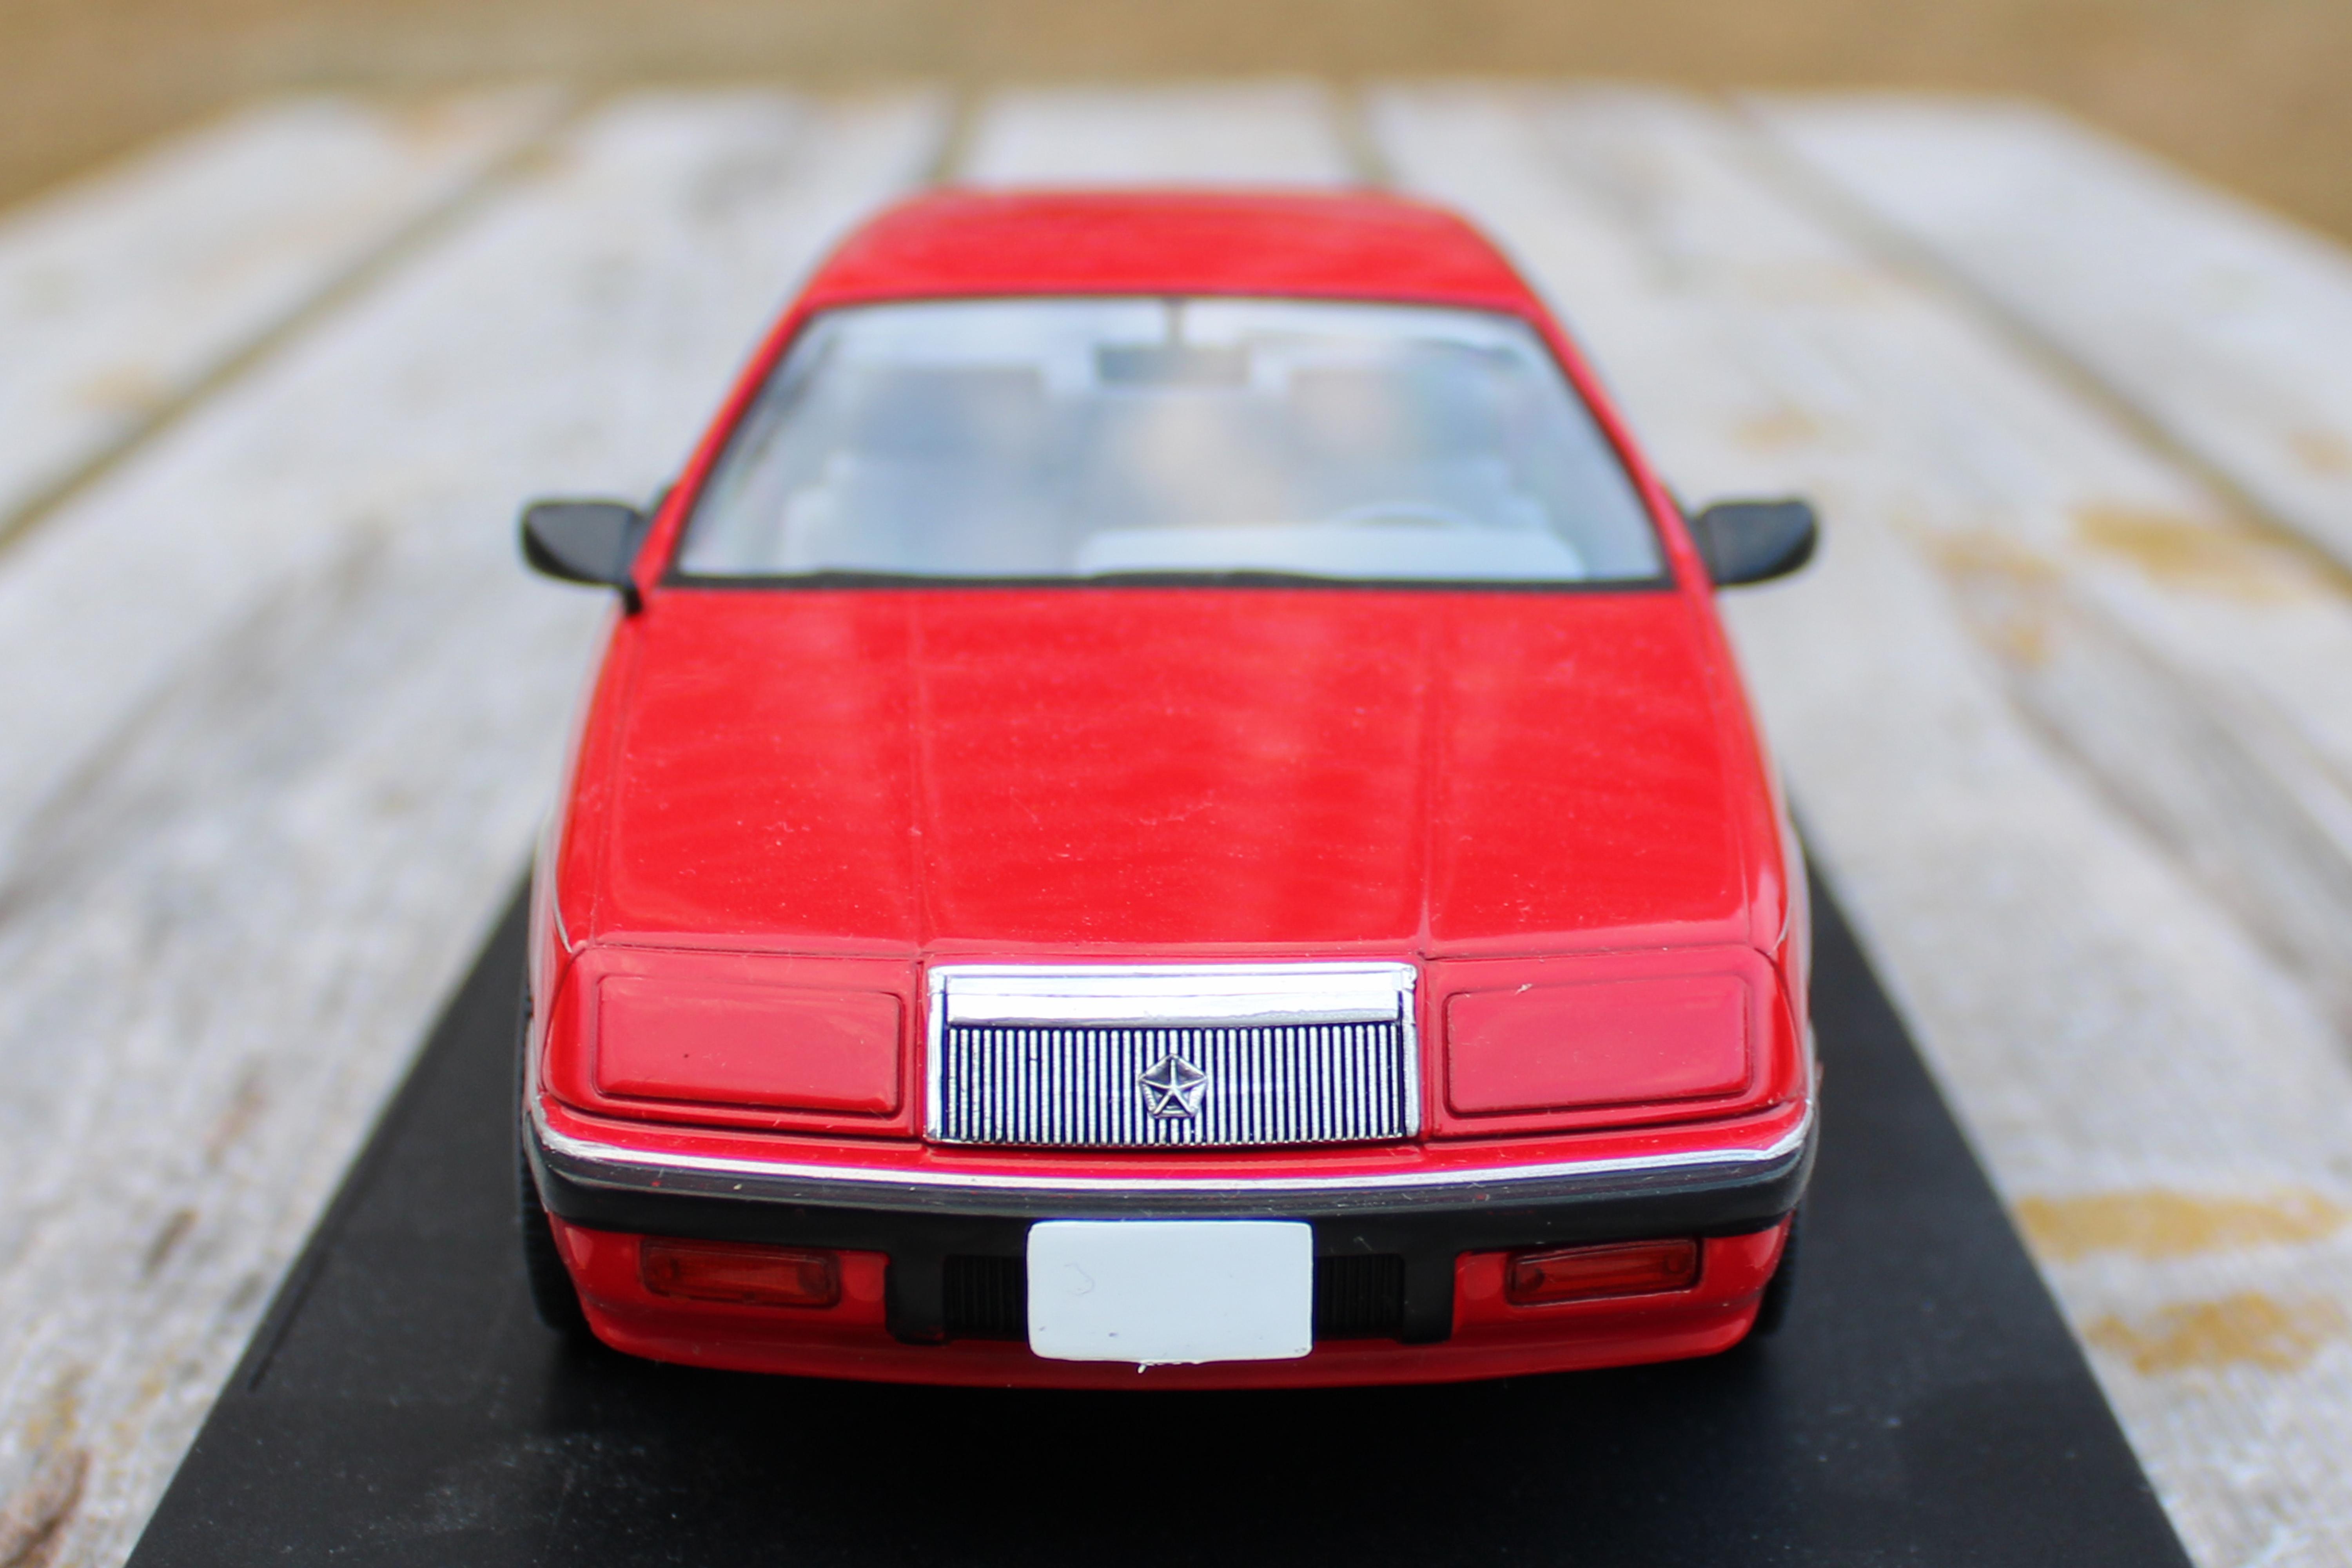
I bought this car early this year. Limited Edition Unforgettable Cars in 1:24 scale die cast. These come with a magazine that tells the story of cars in Mexico, but I can't read it. Probably the whole thing is in Spanish. The title of the magazine is AUTOS INOLVIDABLES Colecciona Los Modelos Mas Populares. Note - I did not build or modify the car in anyway. The only thing I'll do is install license plates. People who are fans of these cars knows how difficult it is to find models of many once popular 1970s, 80s, and 90s American automobiles, so I'm sharing these pics so you fans know they do exist now. Diolex Production on ebay run by Oleks Dmitr based in the Ukraine made a resin kit of that 1989 Chrysler LeBaron body style. Now he's known as just Diolex and lives in Germany and ships from there. In Mexico this car was known as Chrysler Phantom and that's what it says on the deck lid of this model and on the box.
-
Oh, in Mexico this car is called Ford Topaz GLX. That's what it says on the deck lid and the box. In North America our cars were called Ford Tempo or the more expensive and optioned Mercury Topaz which had slight visual differences.
-
I bought this car early this year. Limited Edition Unforgettable Cars in 1:24 scale die cast. These come with a magazine that tells the story of cars in Mexico, but I can't read it. Probably the whole thing is in Spanish. The title of the magazine is AUTOS INOLVIDABLES Colecciona Los Modelos Mas Populares. Note - I did not build or modify the car in anyway. The only thing I'll do is install license plates. People who are fans of these cars knows how difficult it is to find models of many once popular 1970s, 80s, and 90s American automobiles, so I'm sharing these pics so you fans know they do exist now. The 1988 Oldsmobile Cutlass Ciera was never made as a kit and I've never seen a resin model of one either. In Mexico this car was known as Chevrolet Cutlass Eurosport.
-
I bought this car early this year. Limited Edition Unforgettable Cars in 1:24 scale die cast. These come with a magazine that tells the story of cars in Mexico, but I can't read it. Probably the whole thing is in Spanish. The title of the magazine is AUTOS INOLVIDABLES Colecciona Los Modelos Mas Populares. Note - I did not build or modify the car in anyway. The only thing I'll do is install license plates. People who are fans of these cars knows how difficult it is to find models of many once popular 1970s, 80s, and 90s American automobiles, so I'm sharing these pics so you fans know they do exist now. The 1984 Ford Tempo was made in kit form by Monogram as a Budweiser Funny Car, but not in this attractive stock form.
-
Nice build!
-
75 Chevy van custom
RACINE ISHRAQUR RAZA replied to Limeyglue's topic in Model Trucks: Pickups, Vans, SUVs, Light Commercial
Awesome build! -
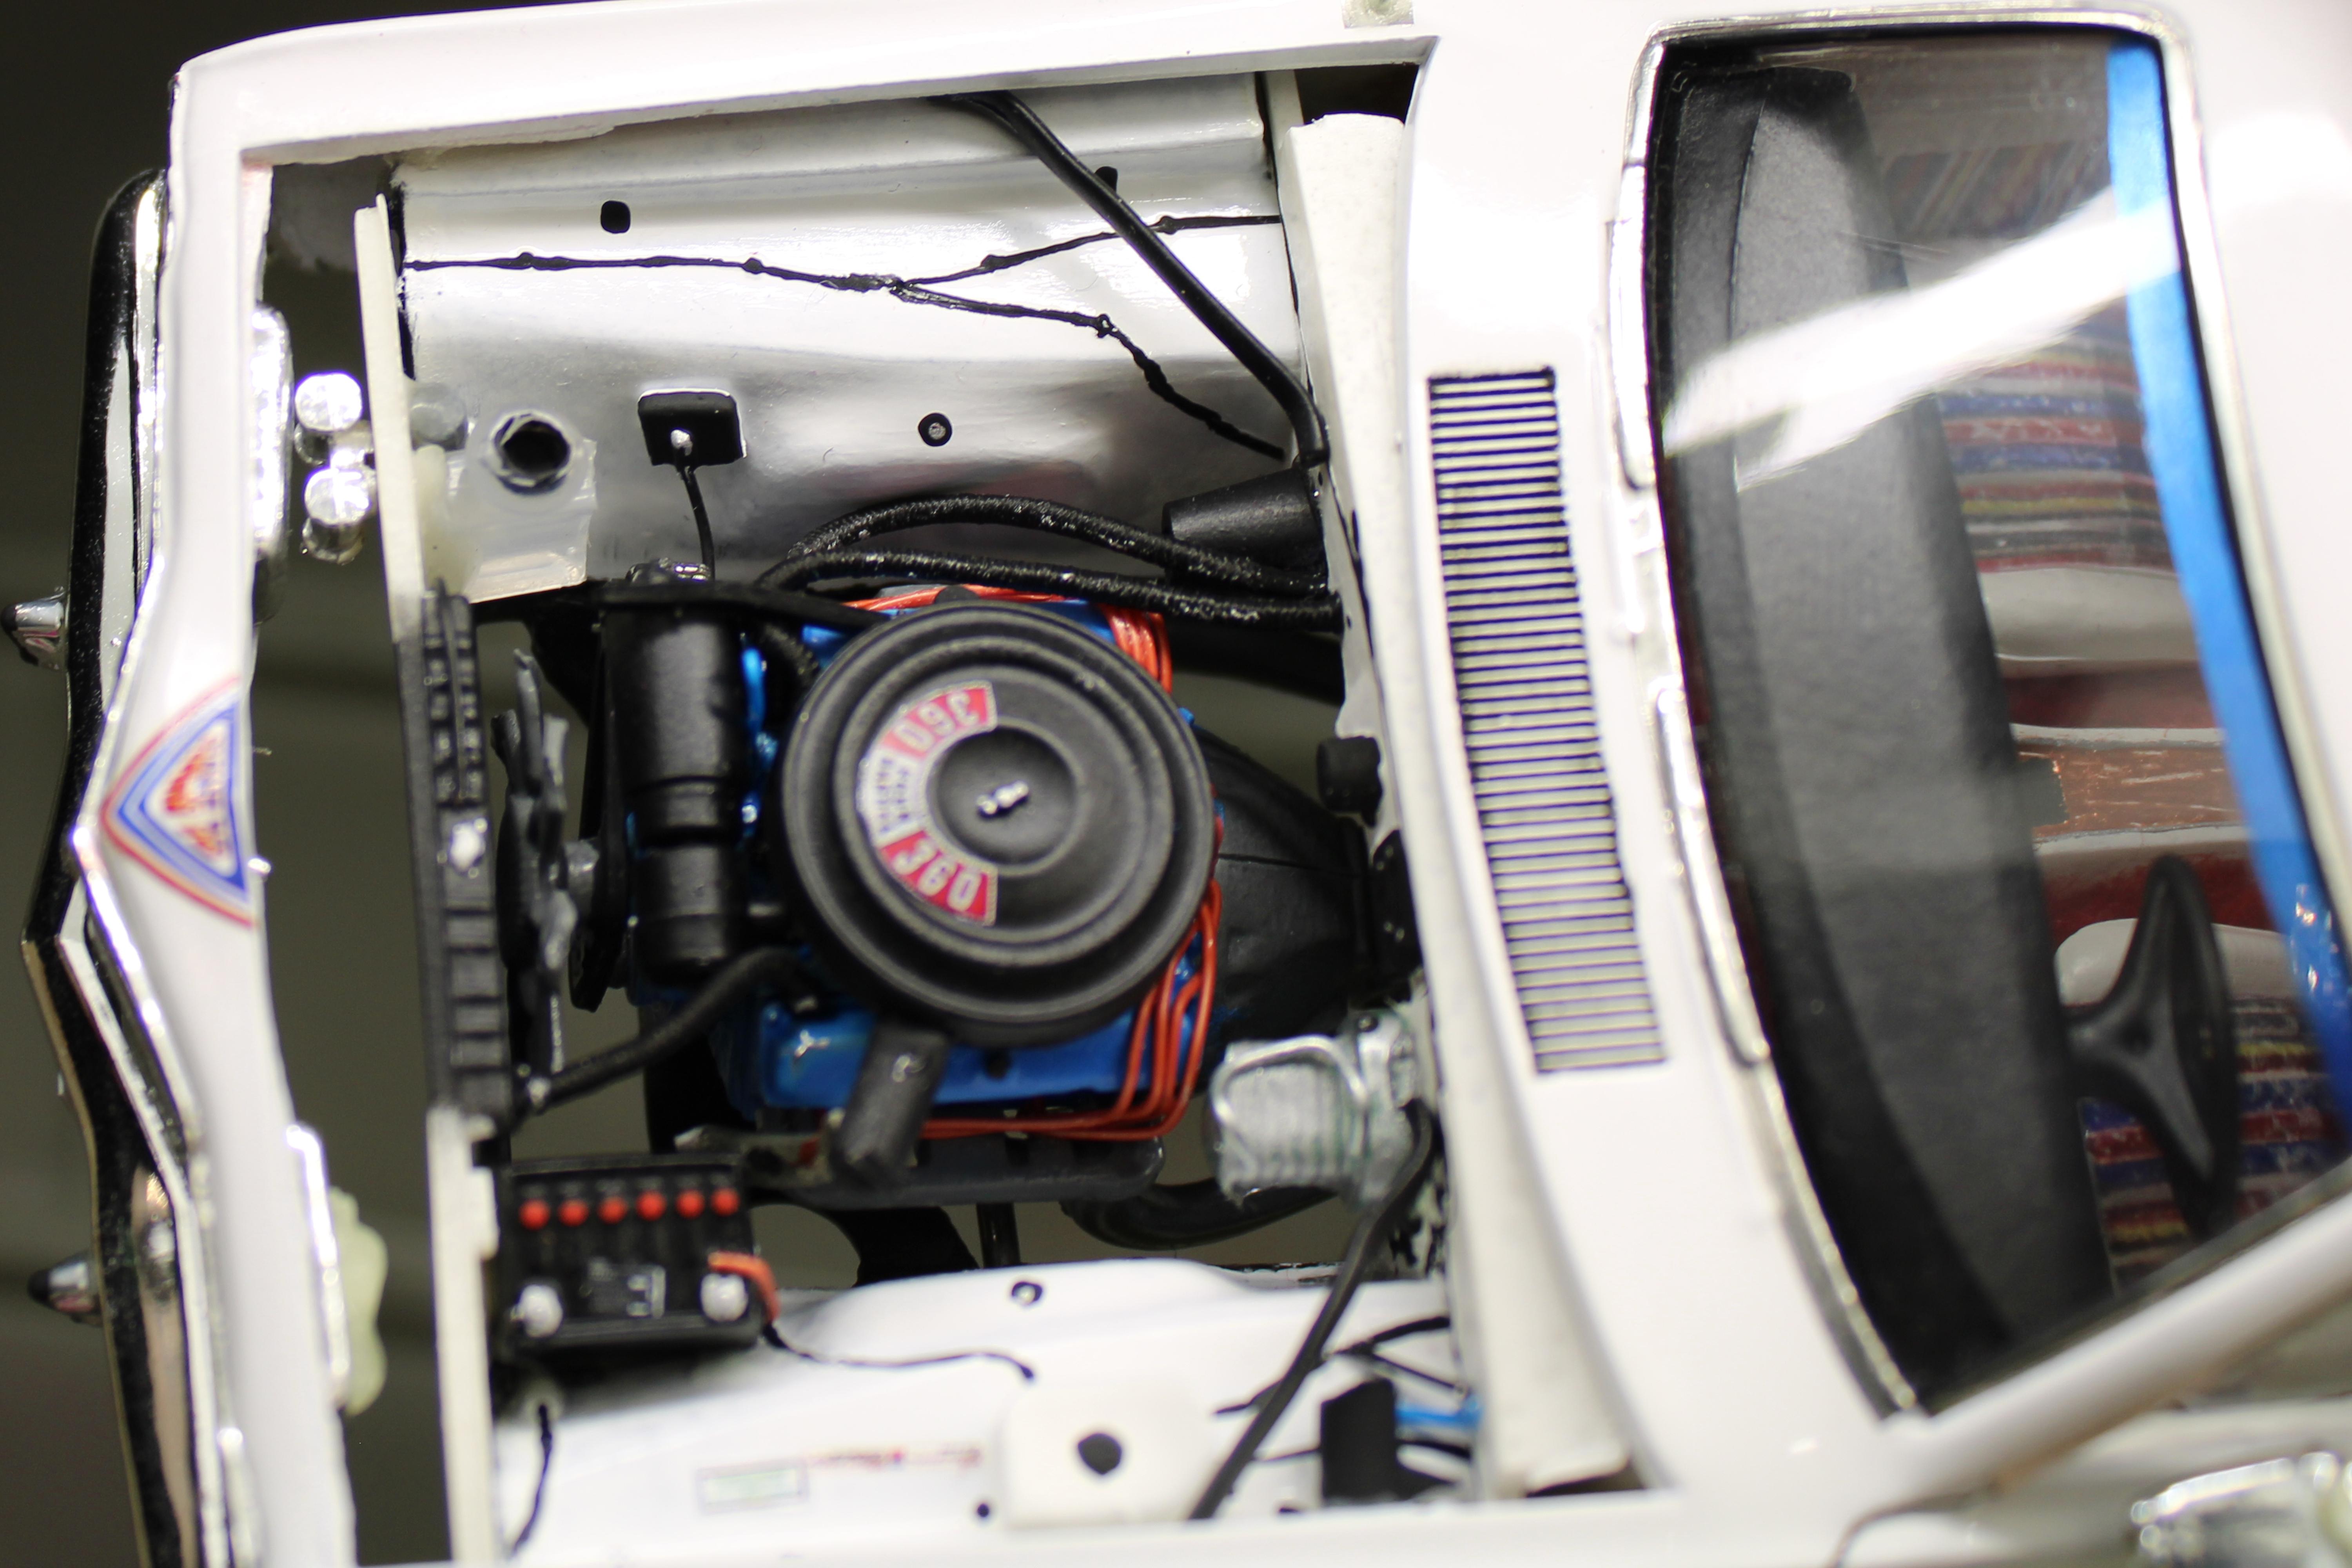
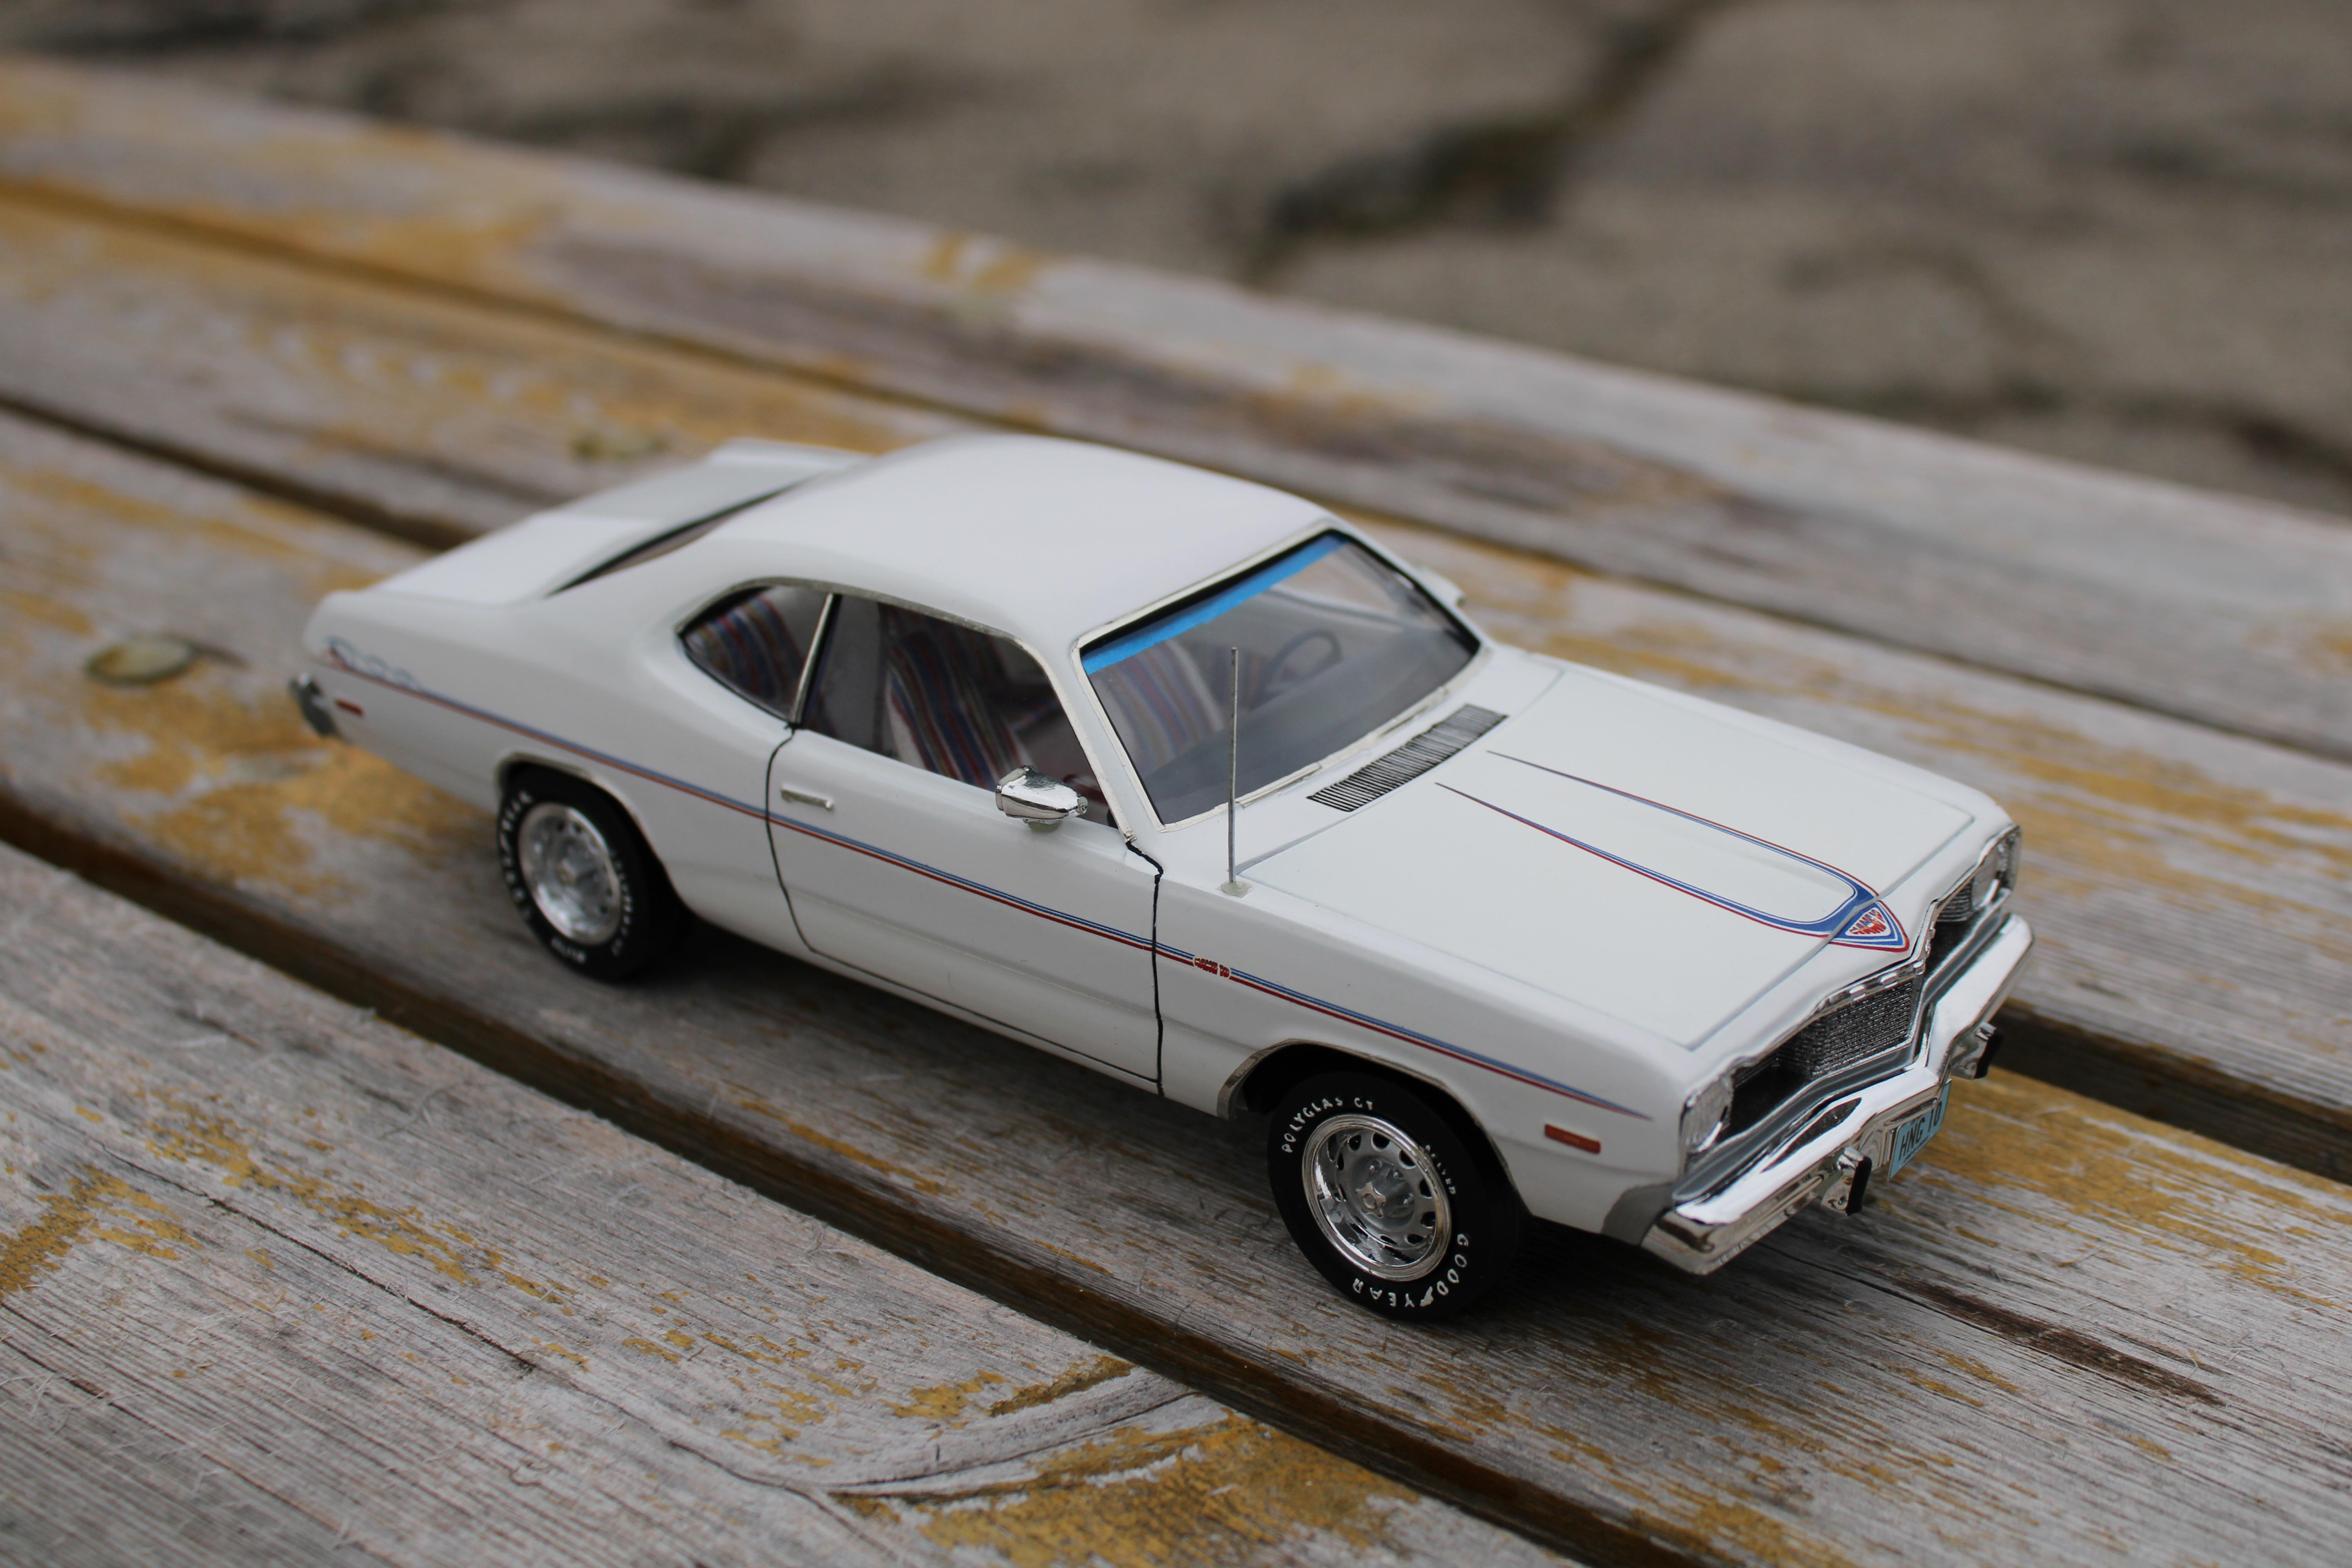
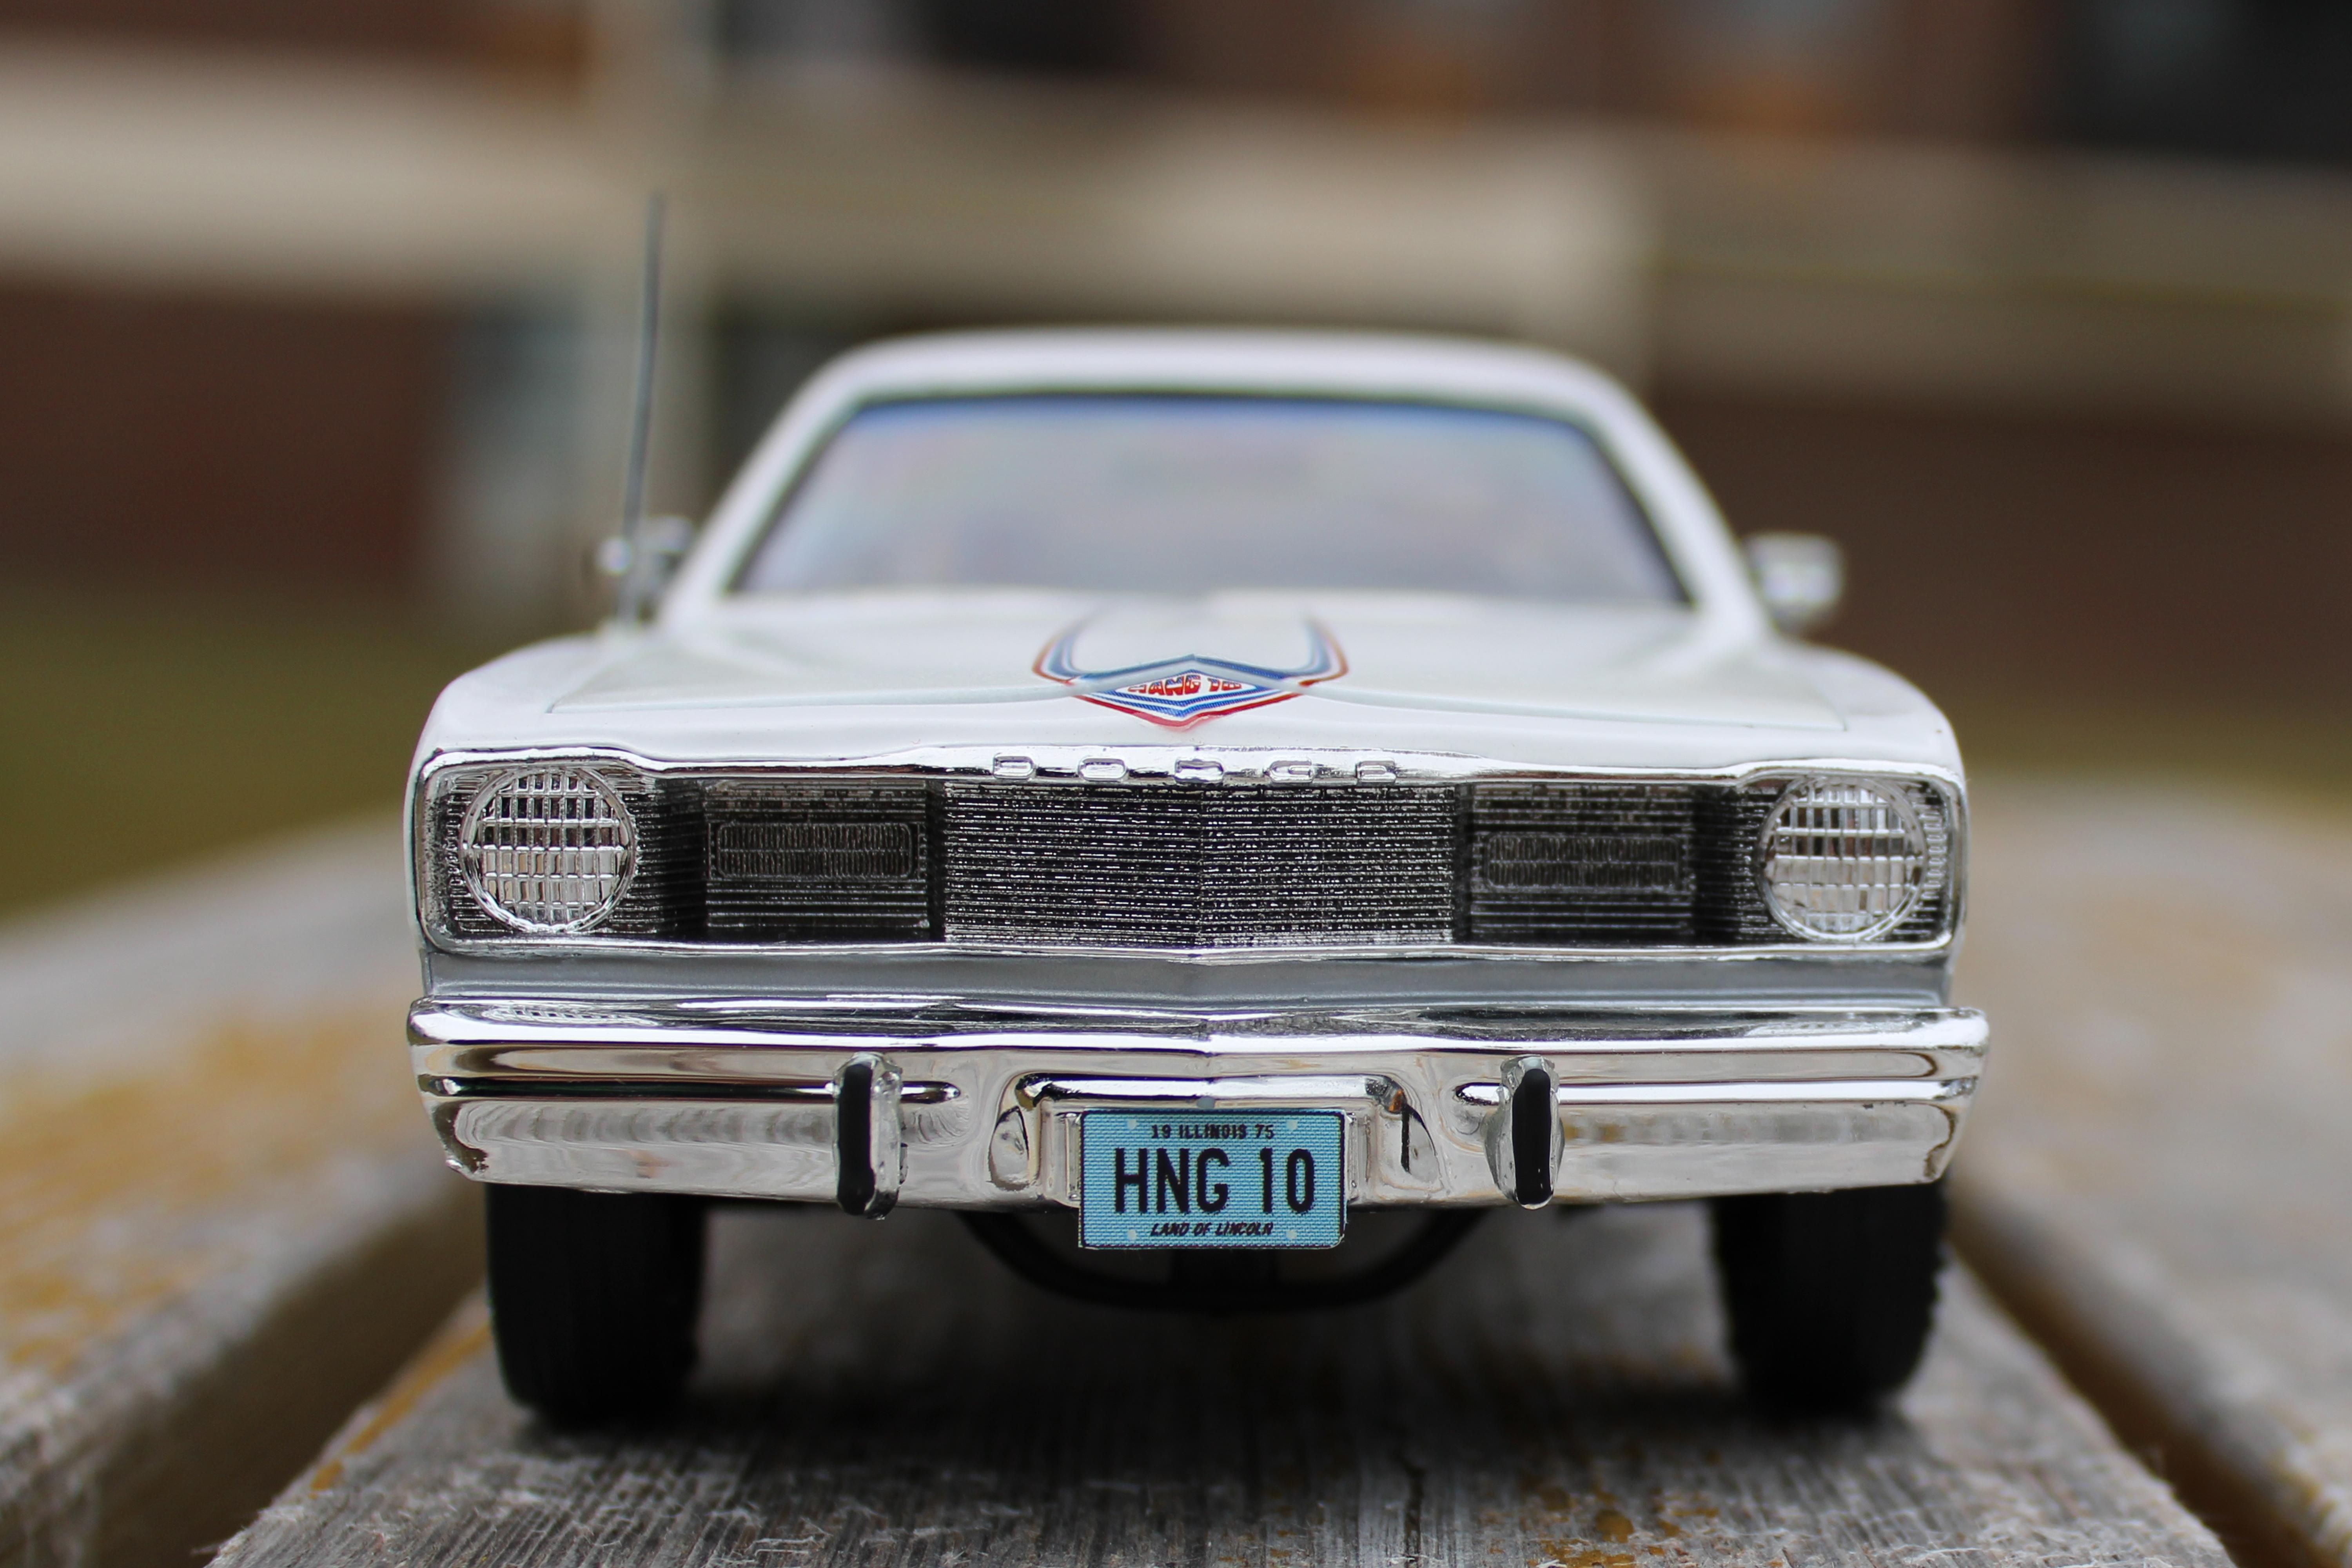
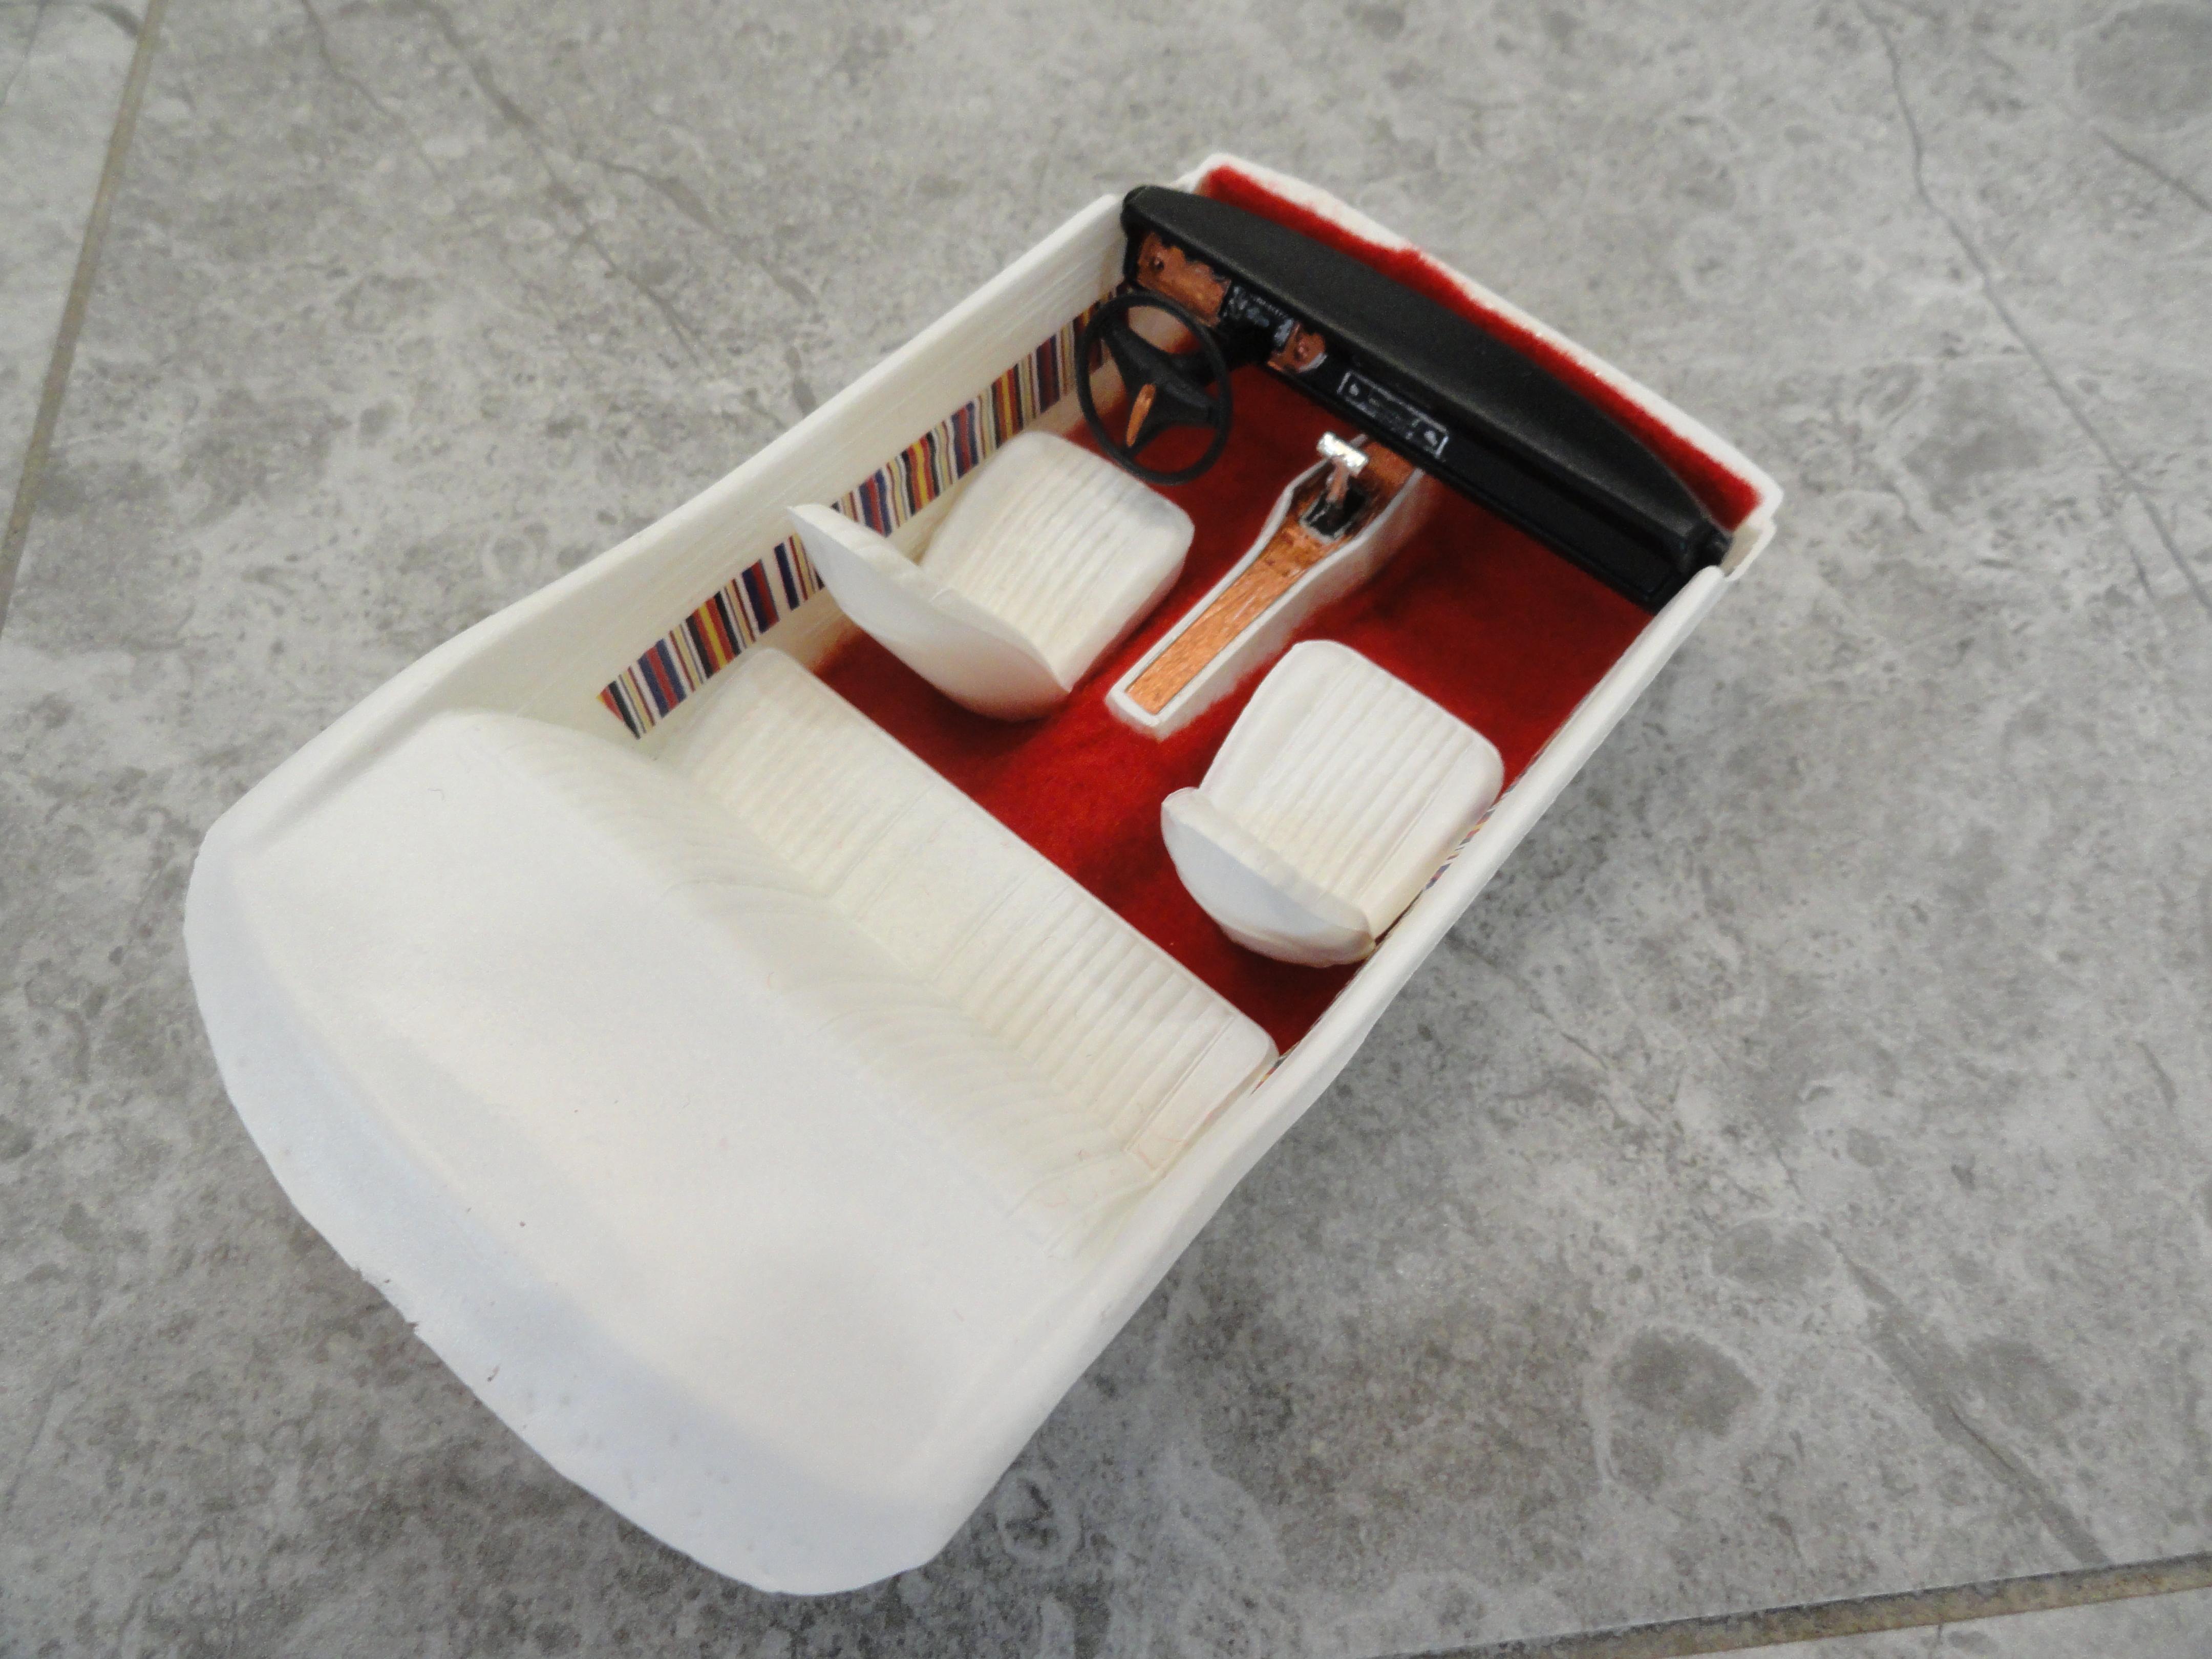
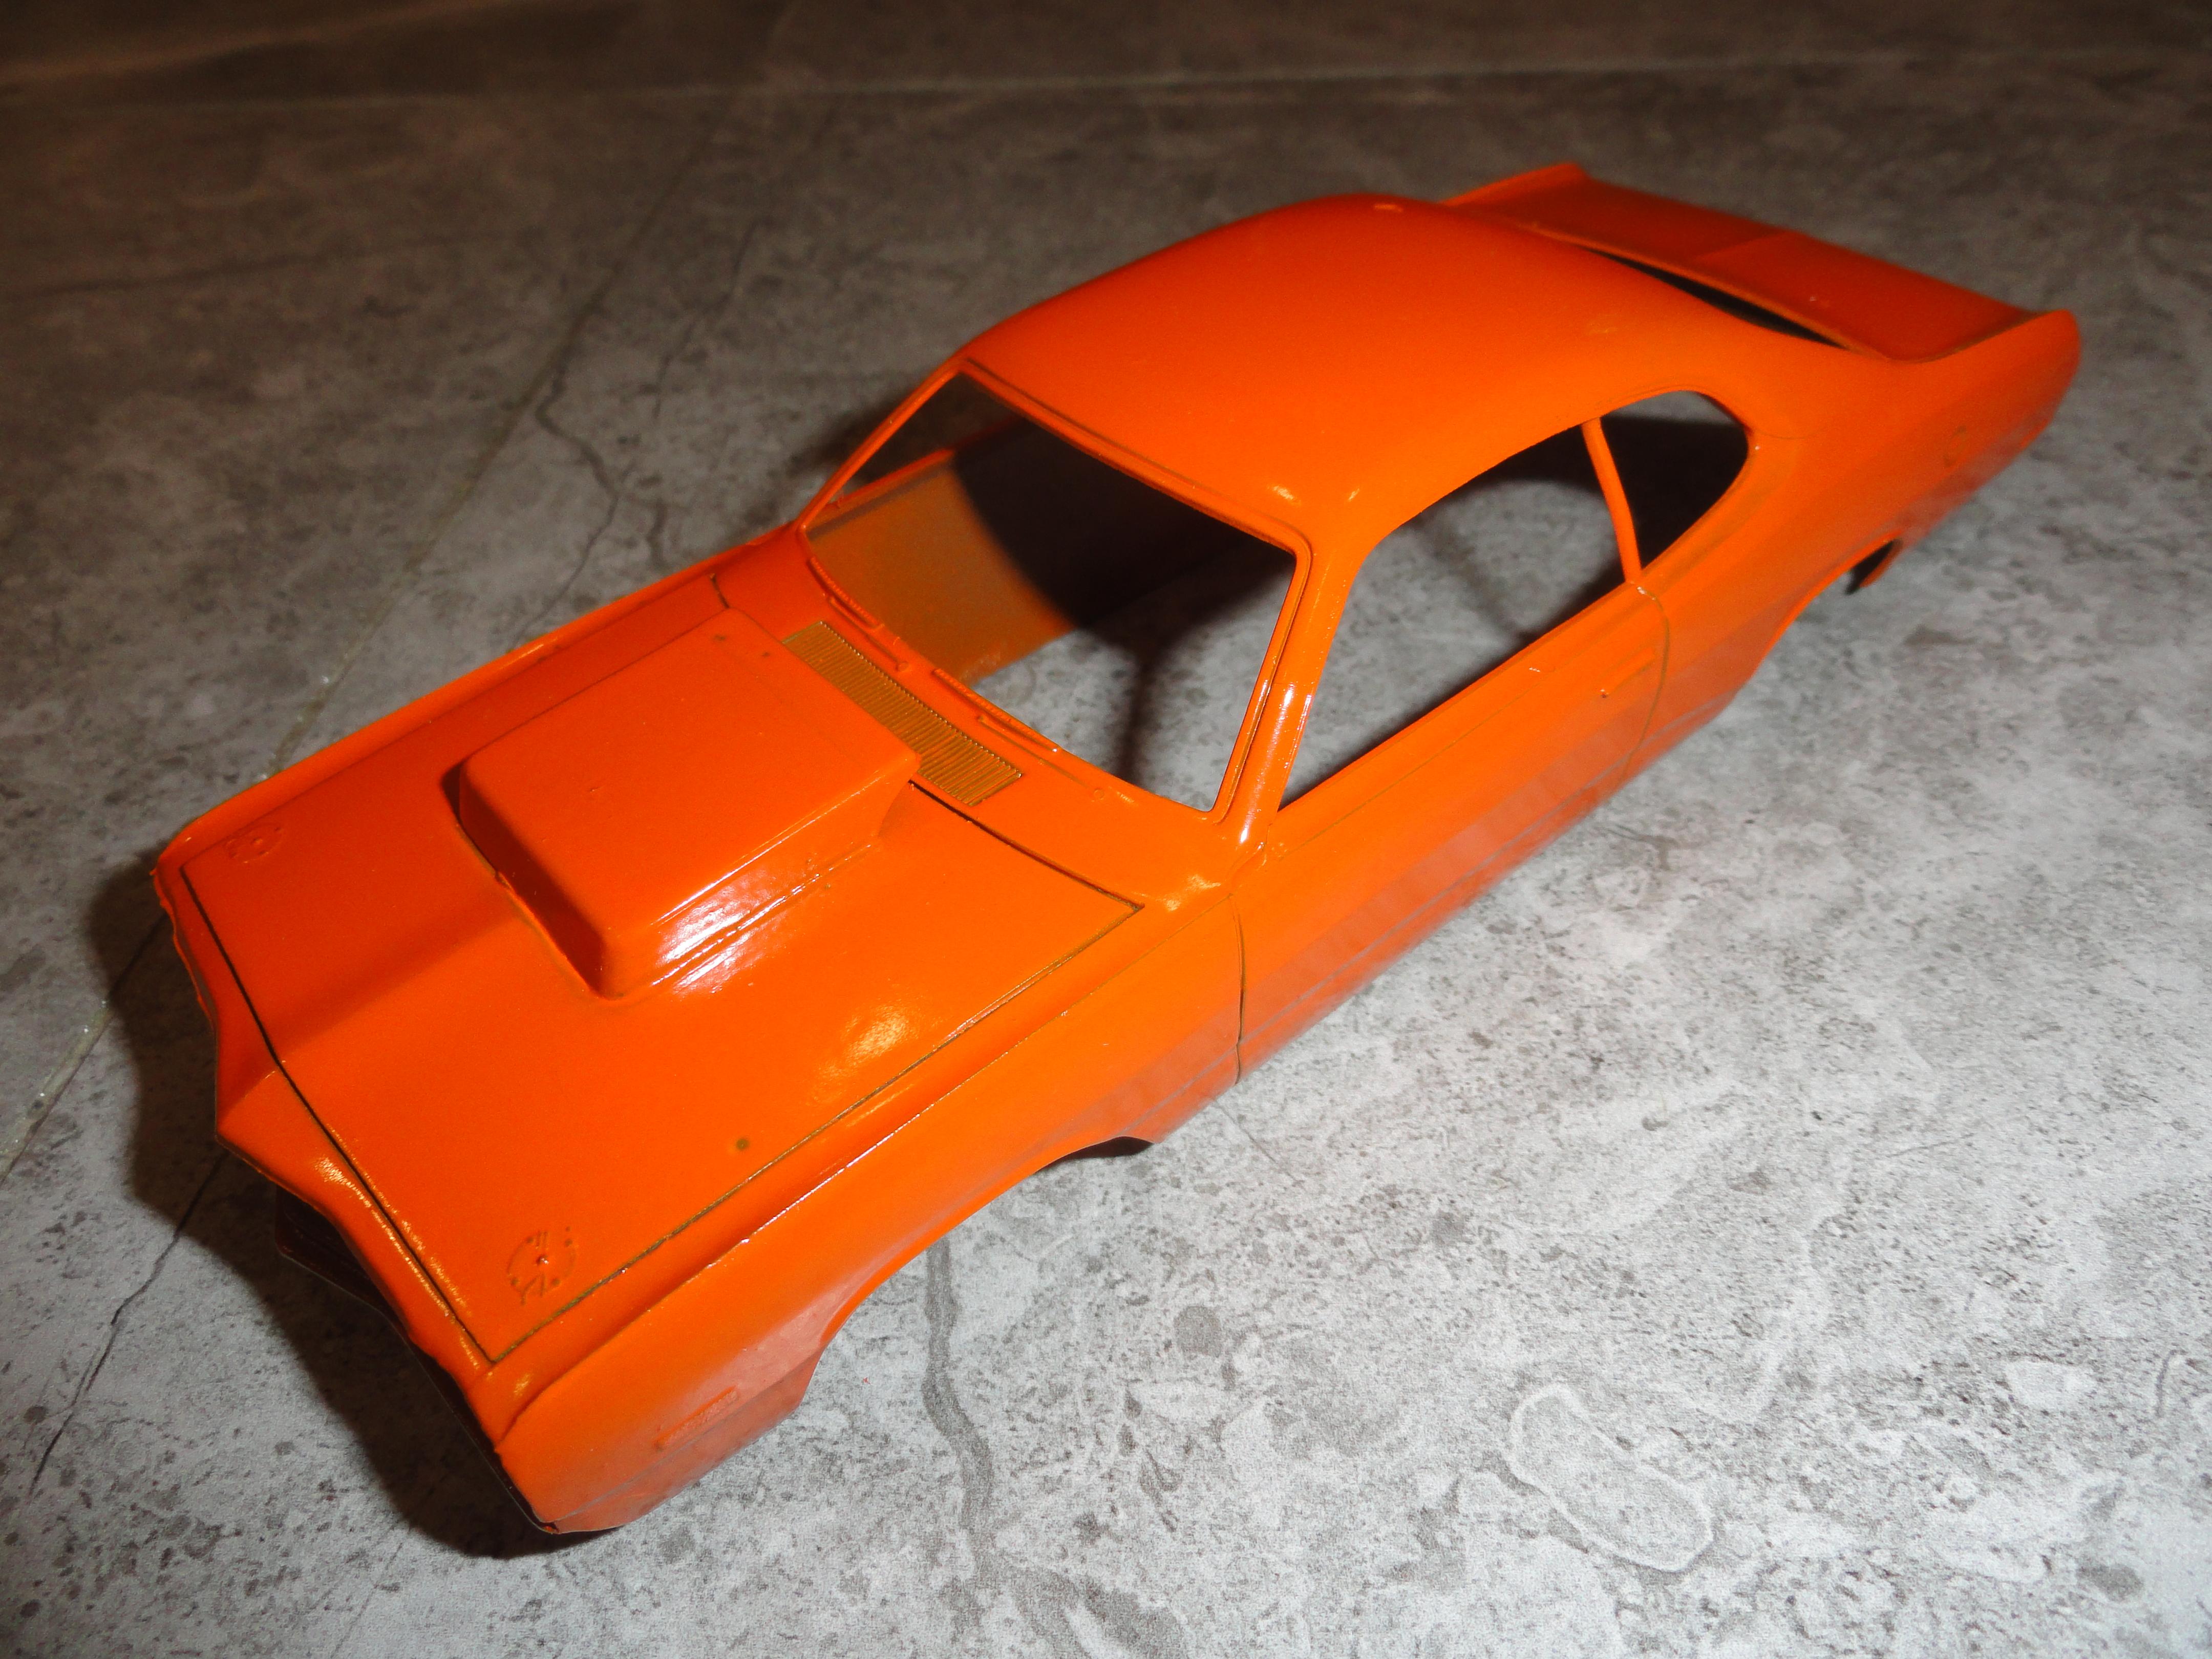
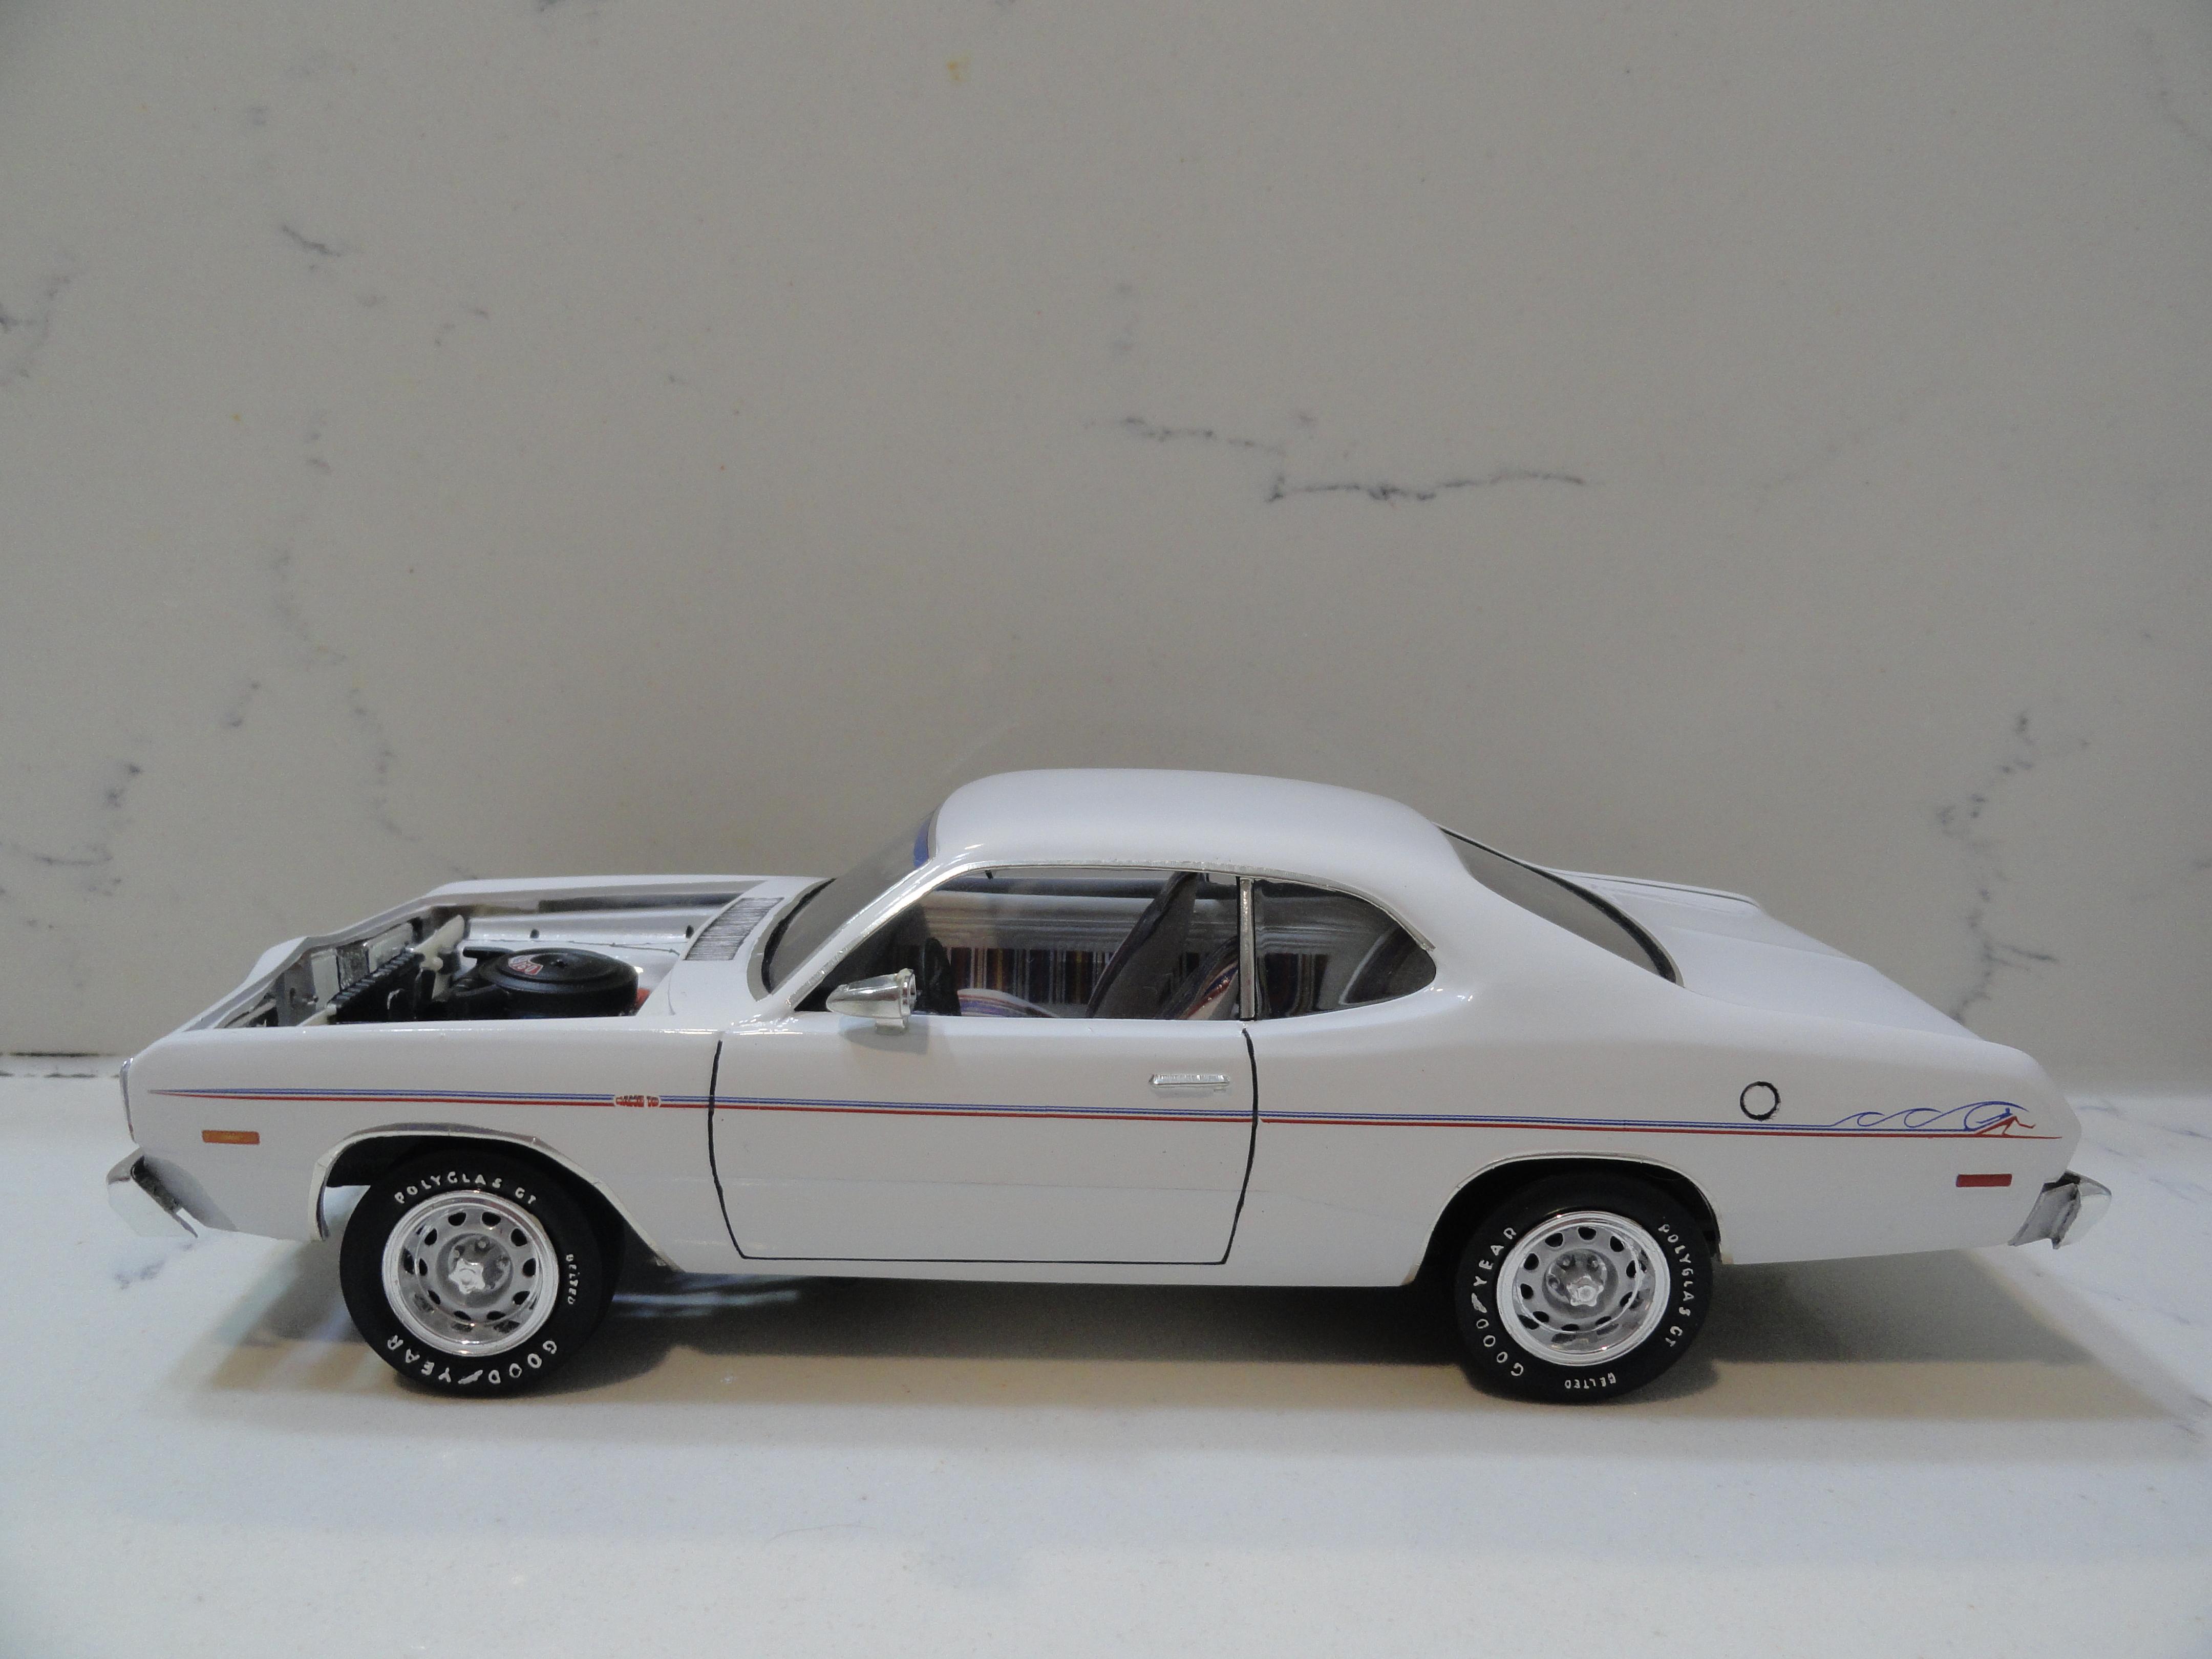
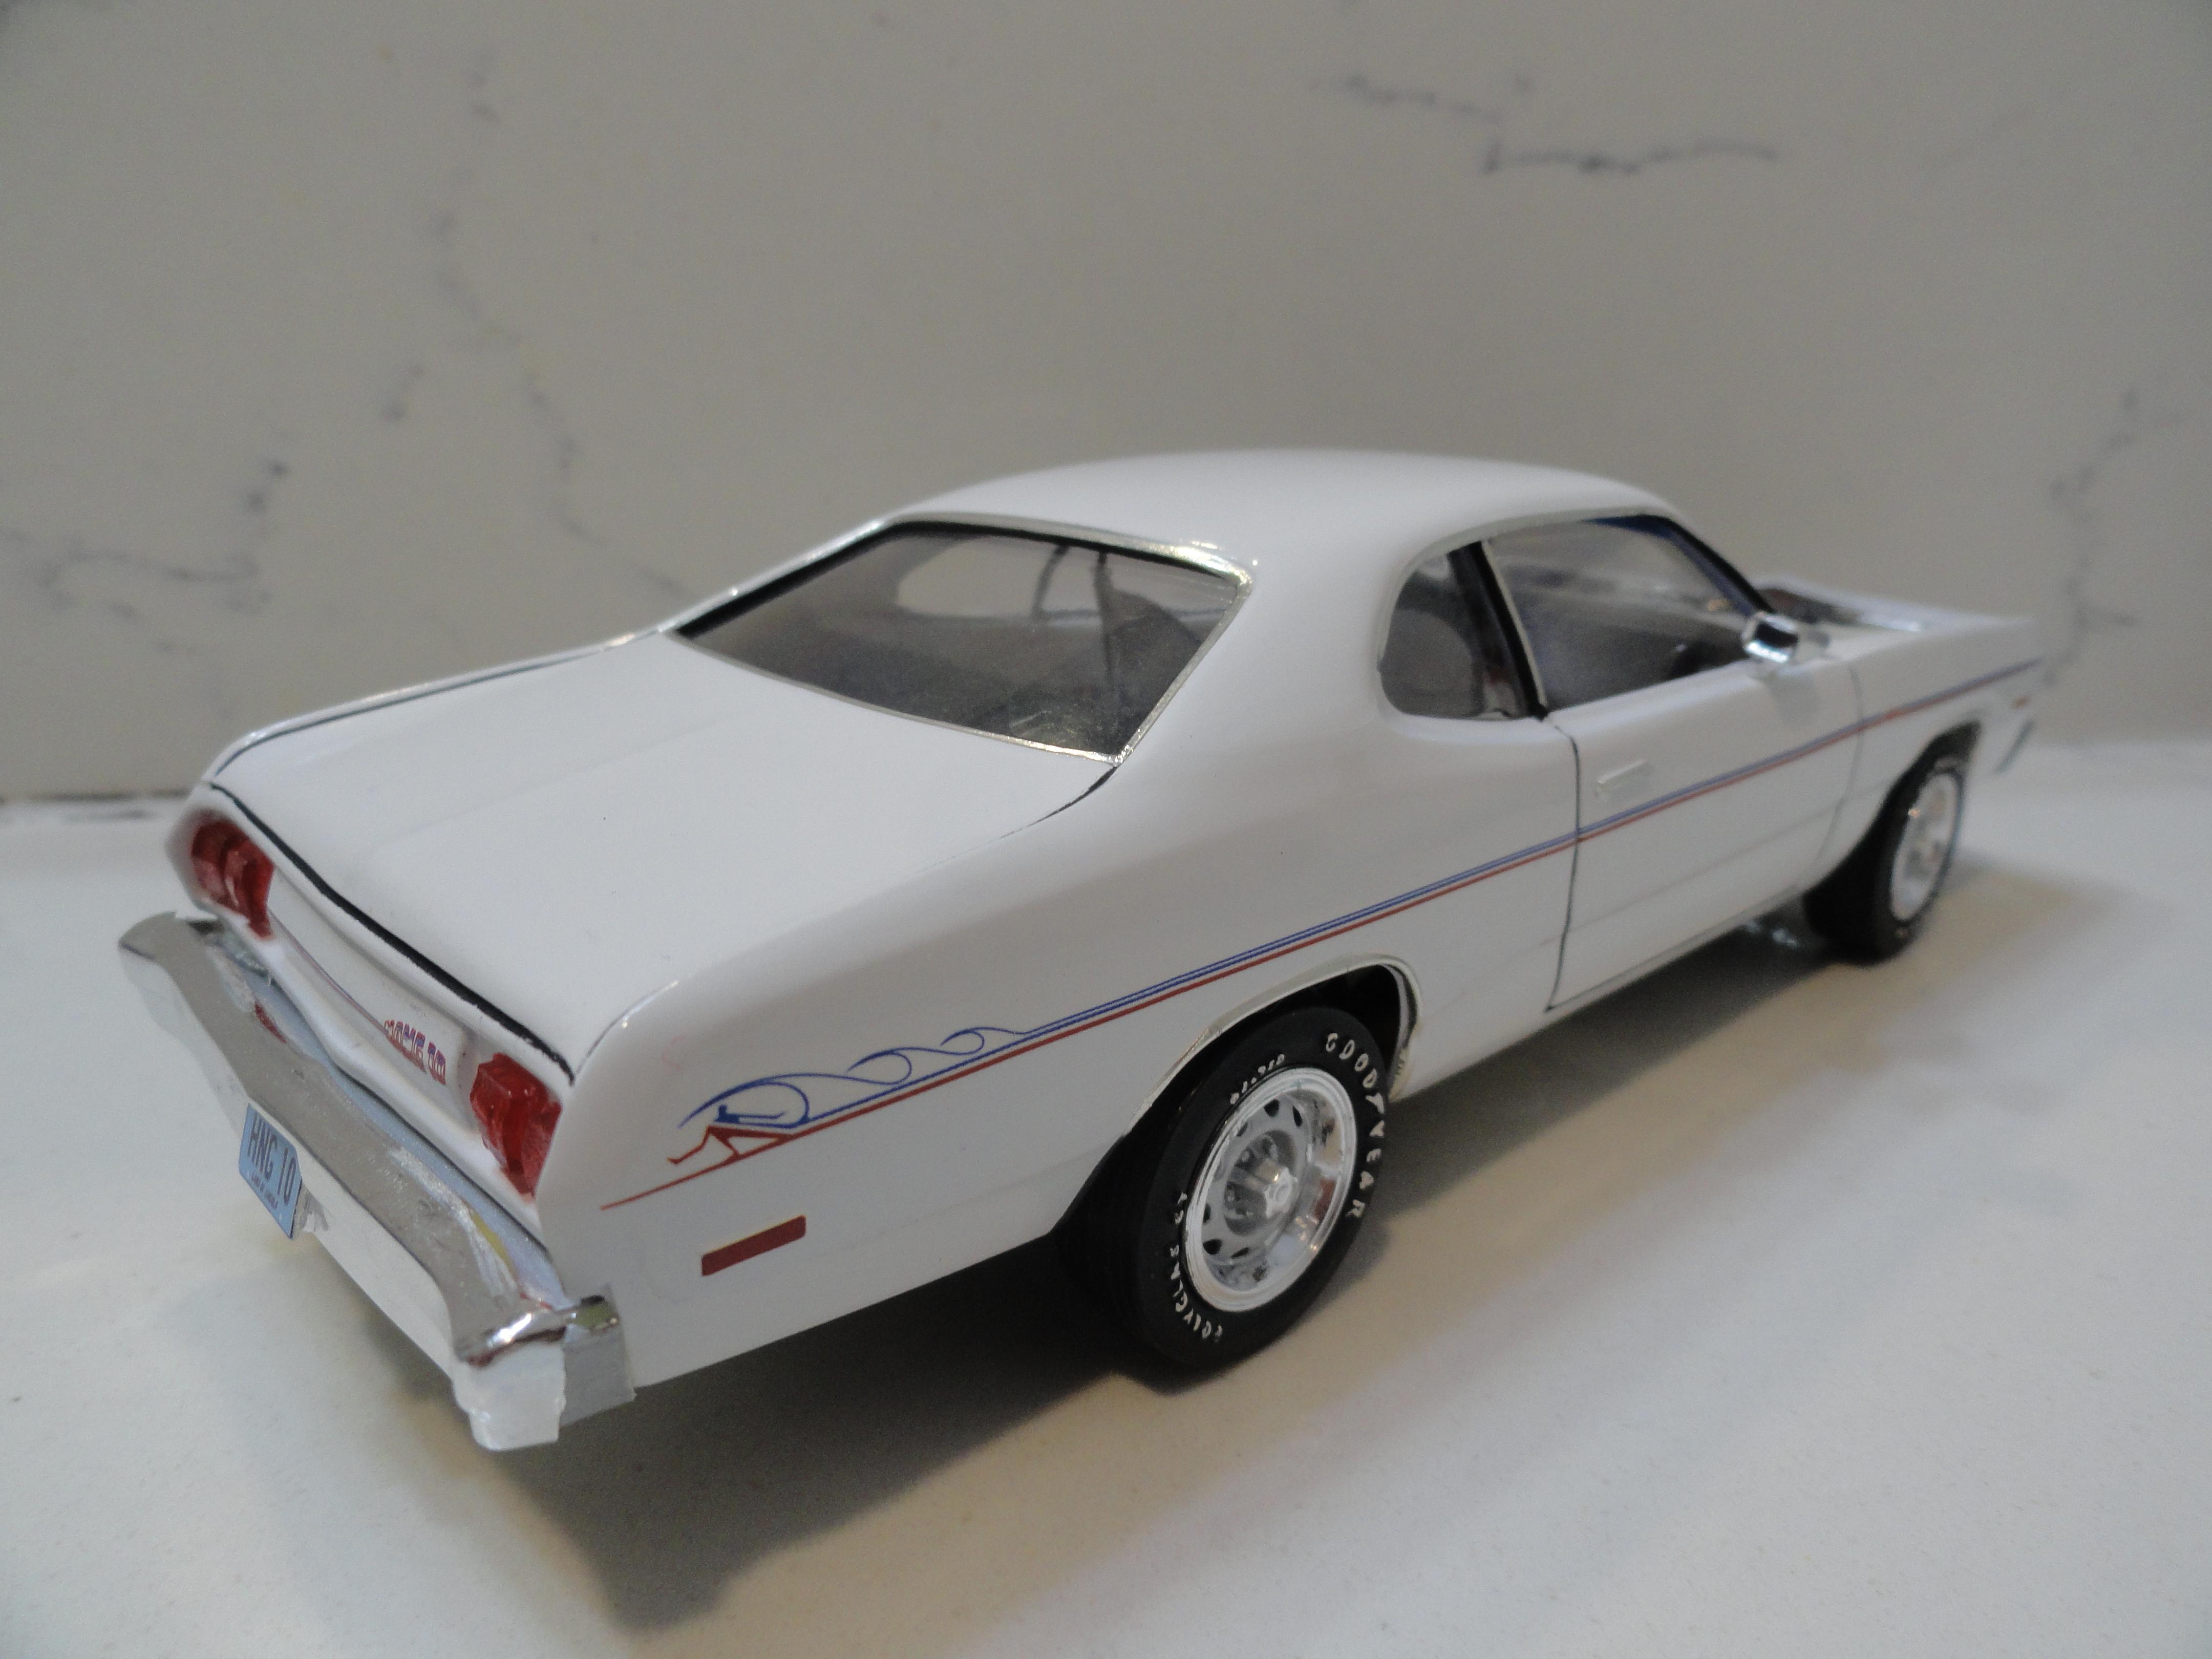
Presented is my MPC 1/25 scale 1974 Dodge Dart Hang 10 replica. I tried to make the interior look inviting just like the real cars. The exterior decals were included in the kit. The interior decals are from Ray's Kits based in the Netherlands. A bunch of parts were scratch built to make the model look more complete. This model was created from that unfinished orange Dart that another builder started. The orange paint was nicely applied, but I really wanted a Hang 10, so it got repainted.
- 10 replies
-
- 11
-

-
1974 Ford Maverick with Luxury Decor Option(LDO)
RACINE ISHRAQUR RAZA replied to RACINE ISHRAQUR RAZA's topic in Model Cars
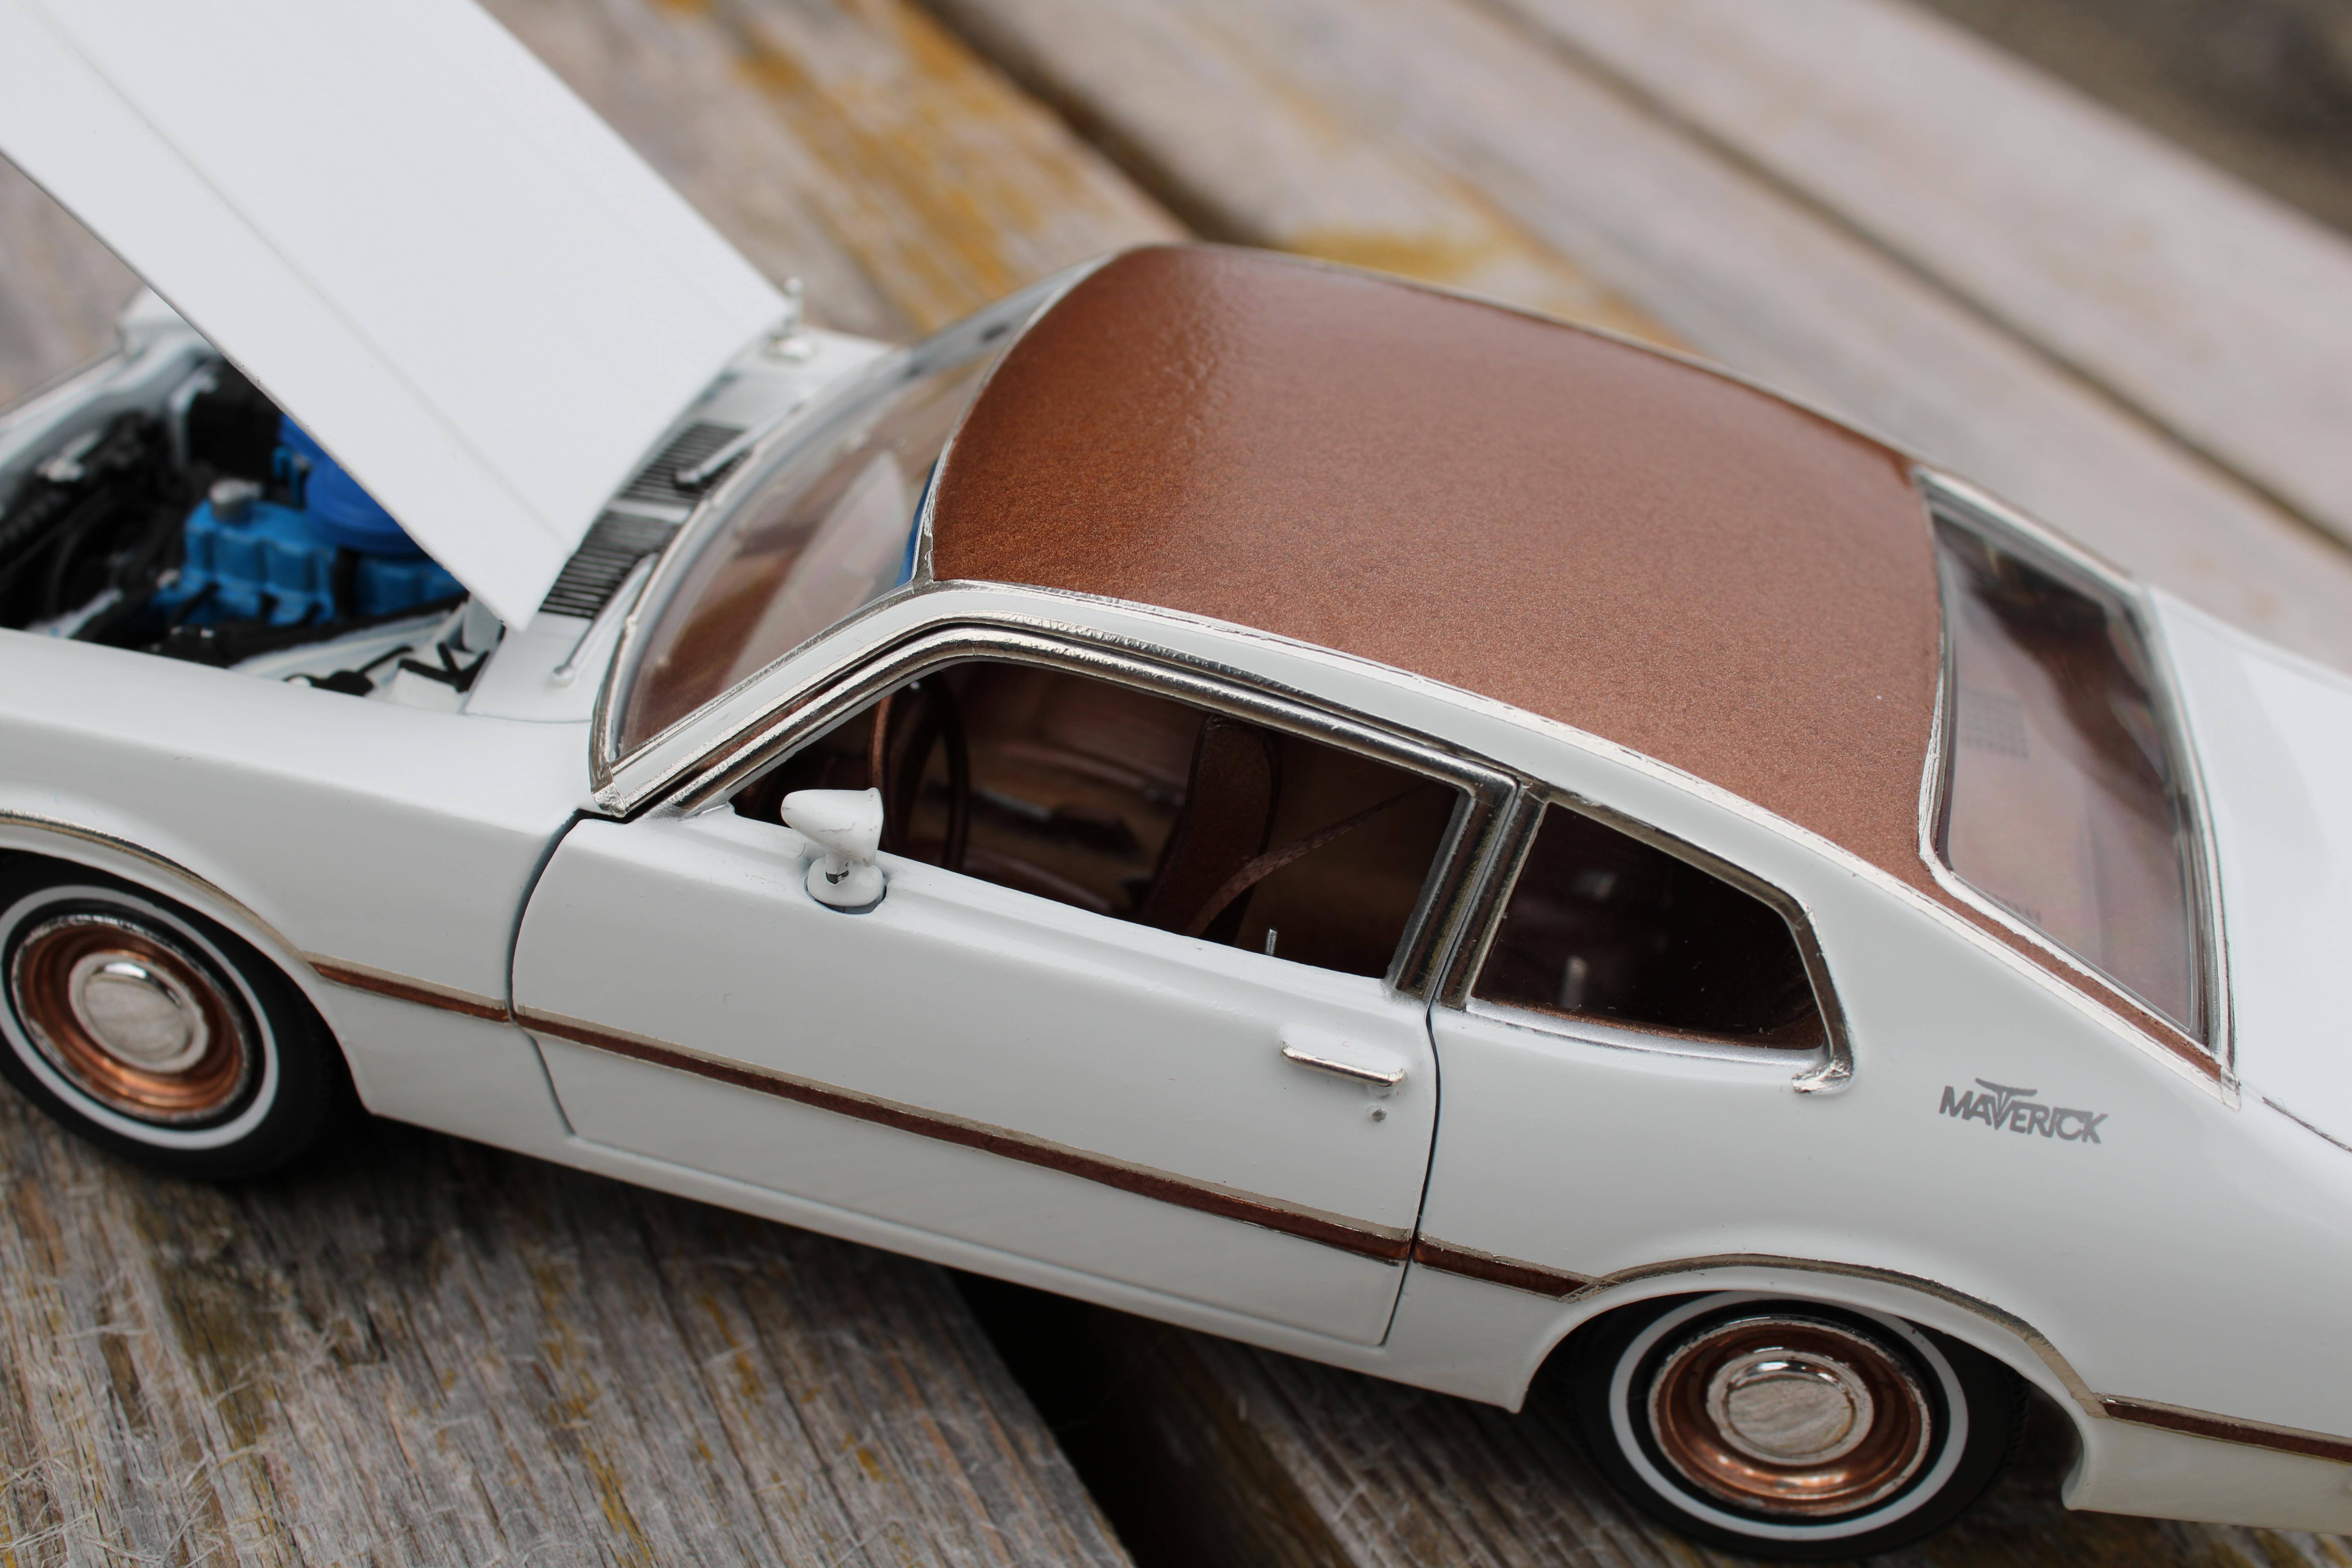
One more picture to show how I spray painted the body side moldings after a lot of masking. Once the paint was dry I finished all the moldings with Bare Metal Foil.
-
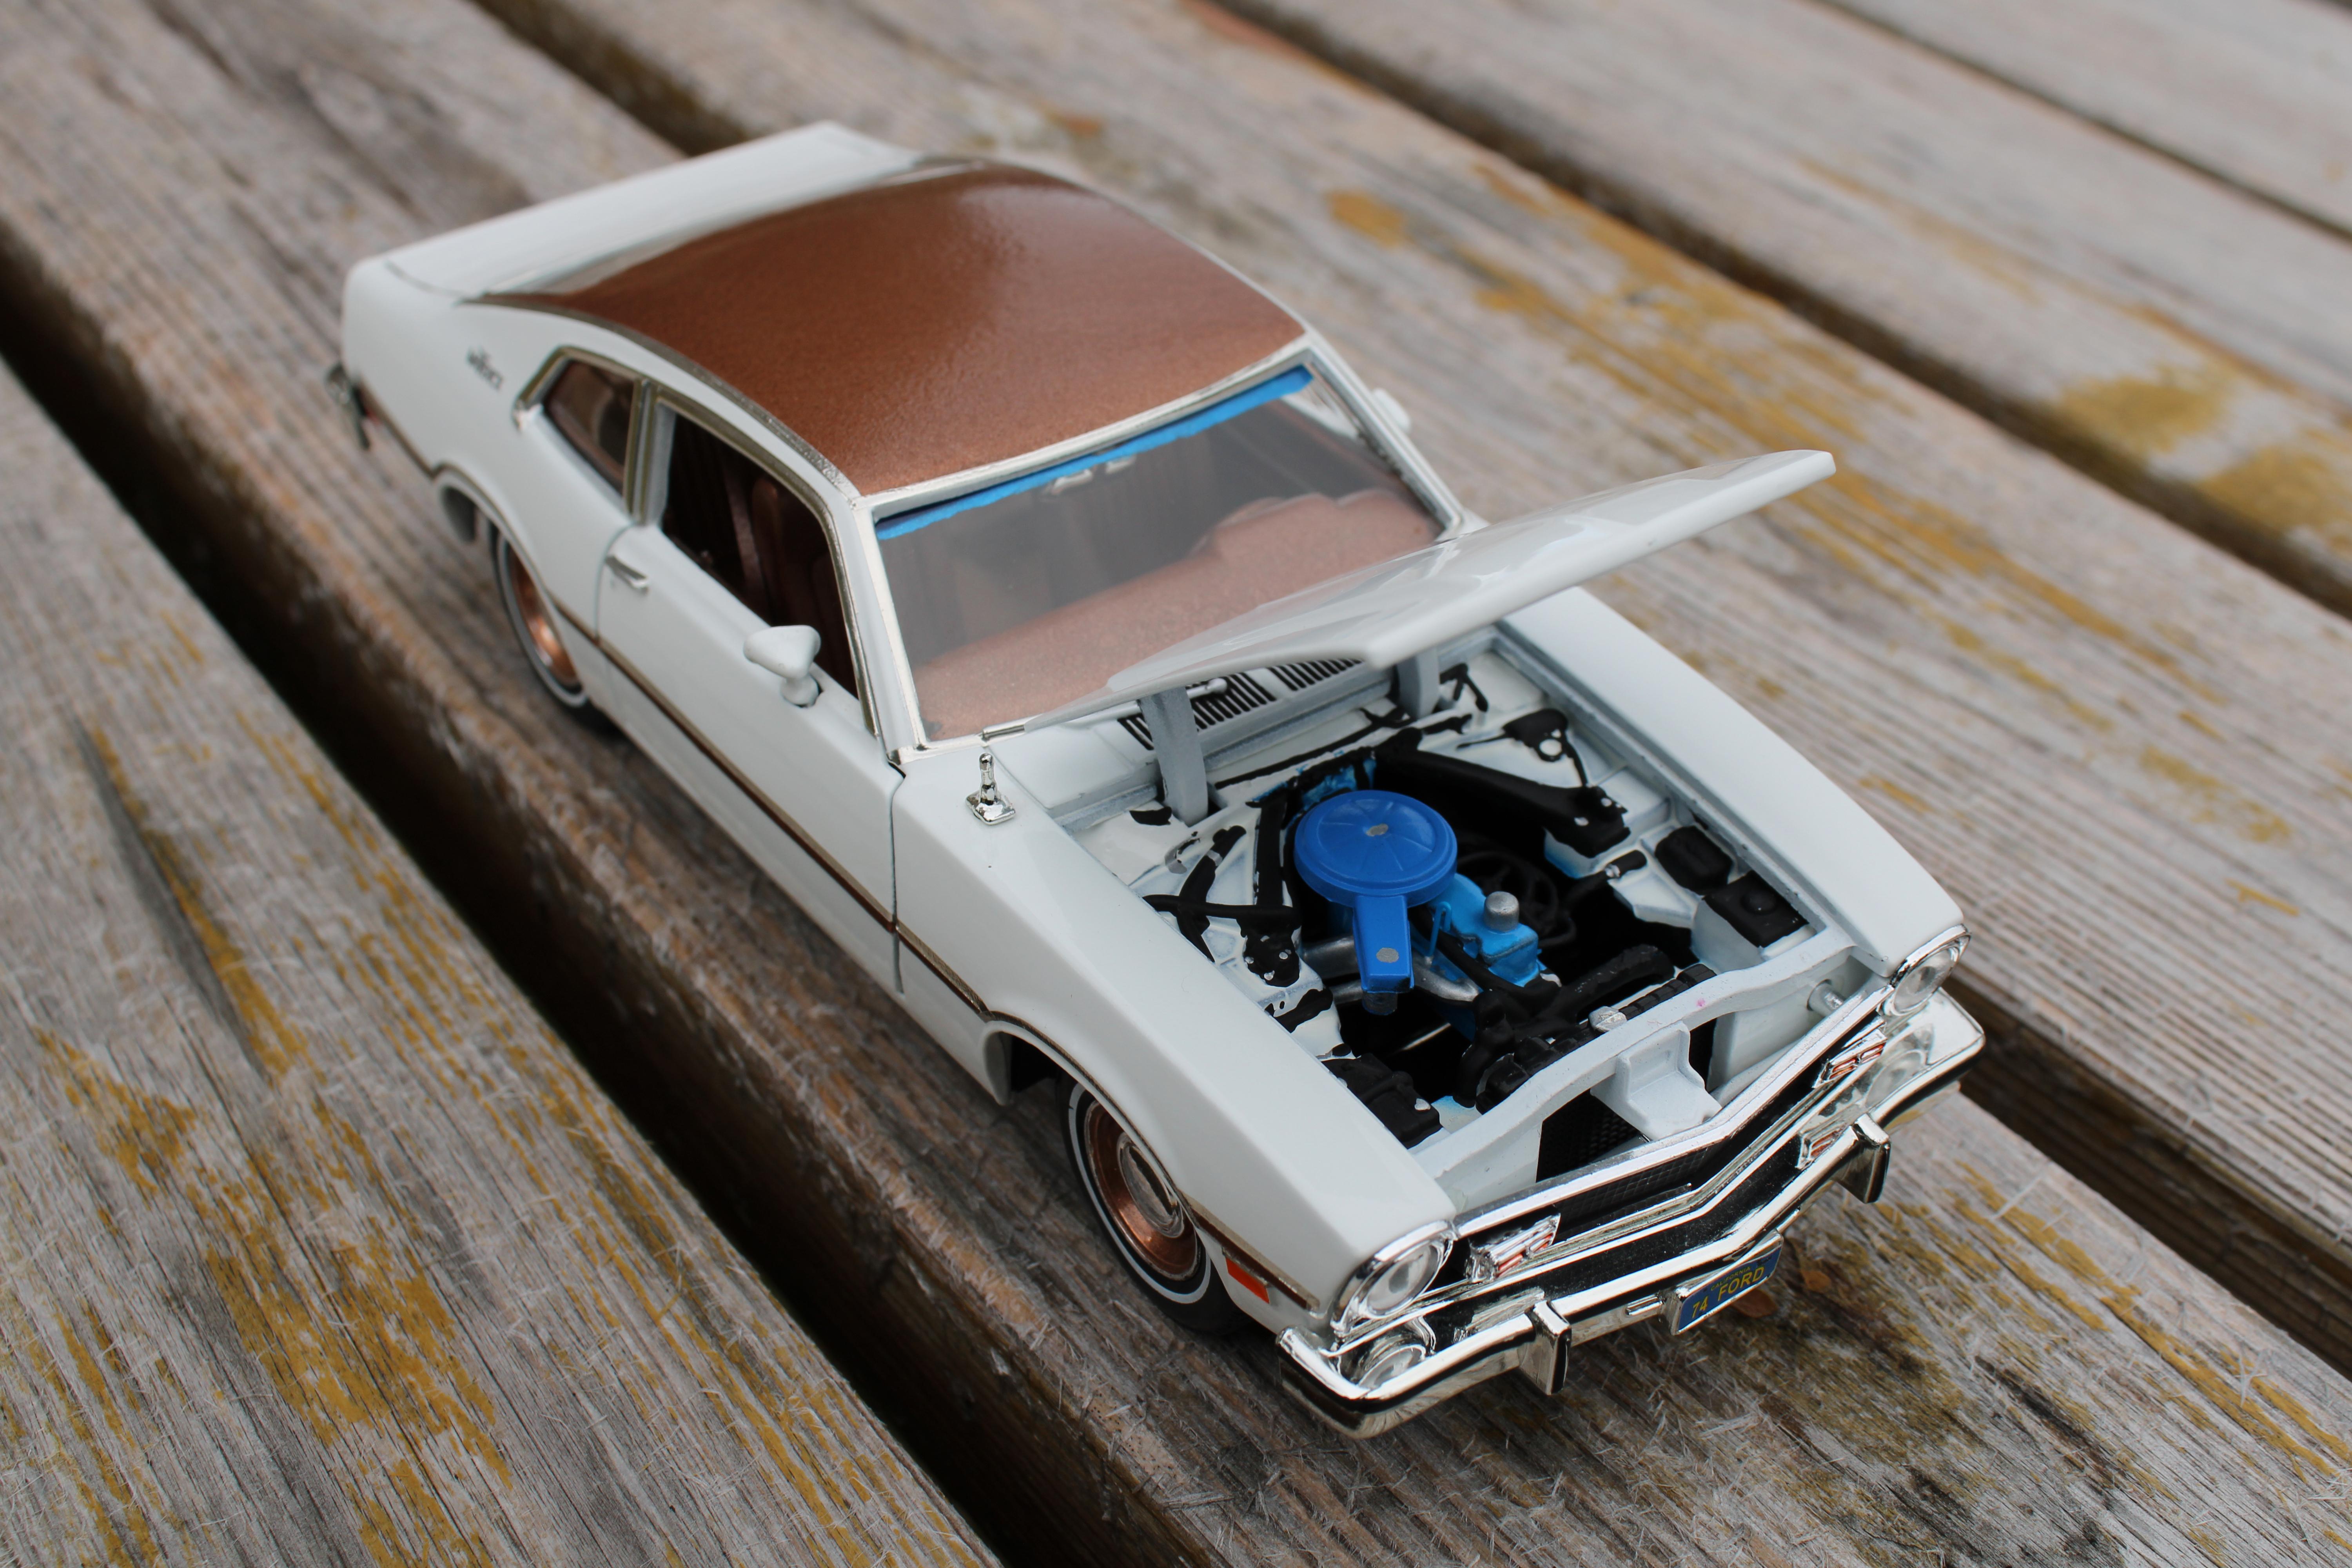
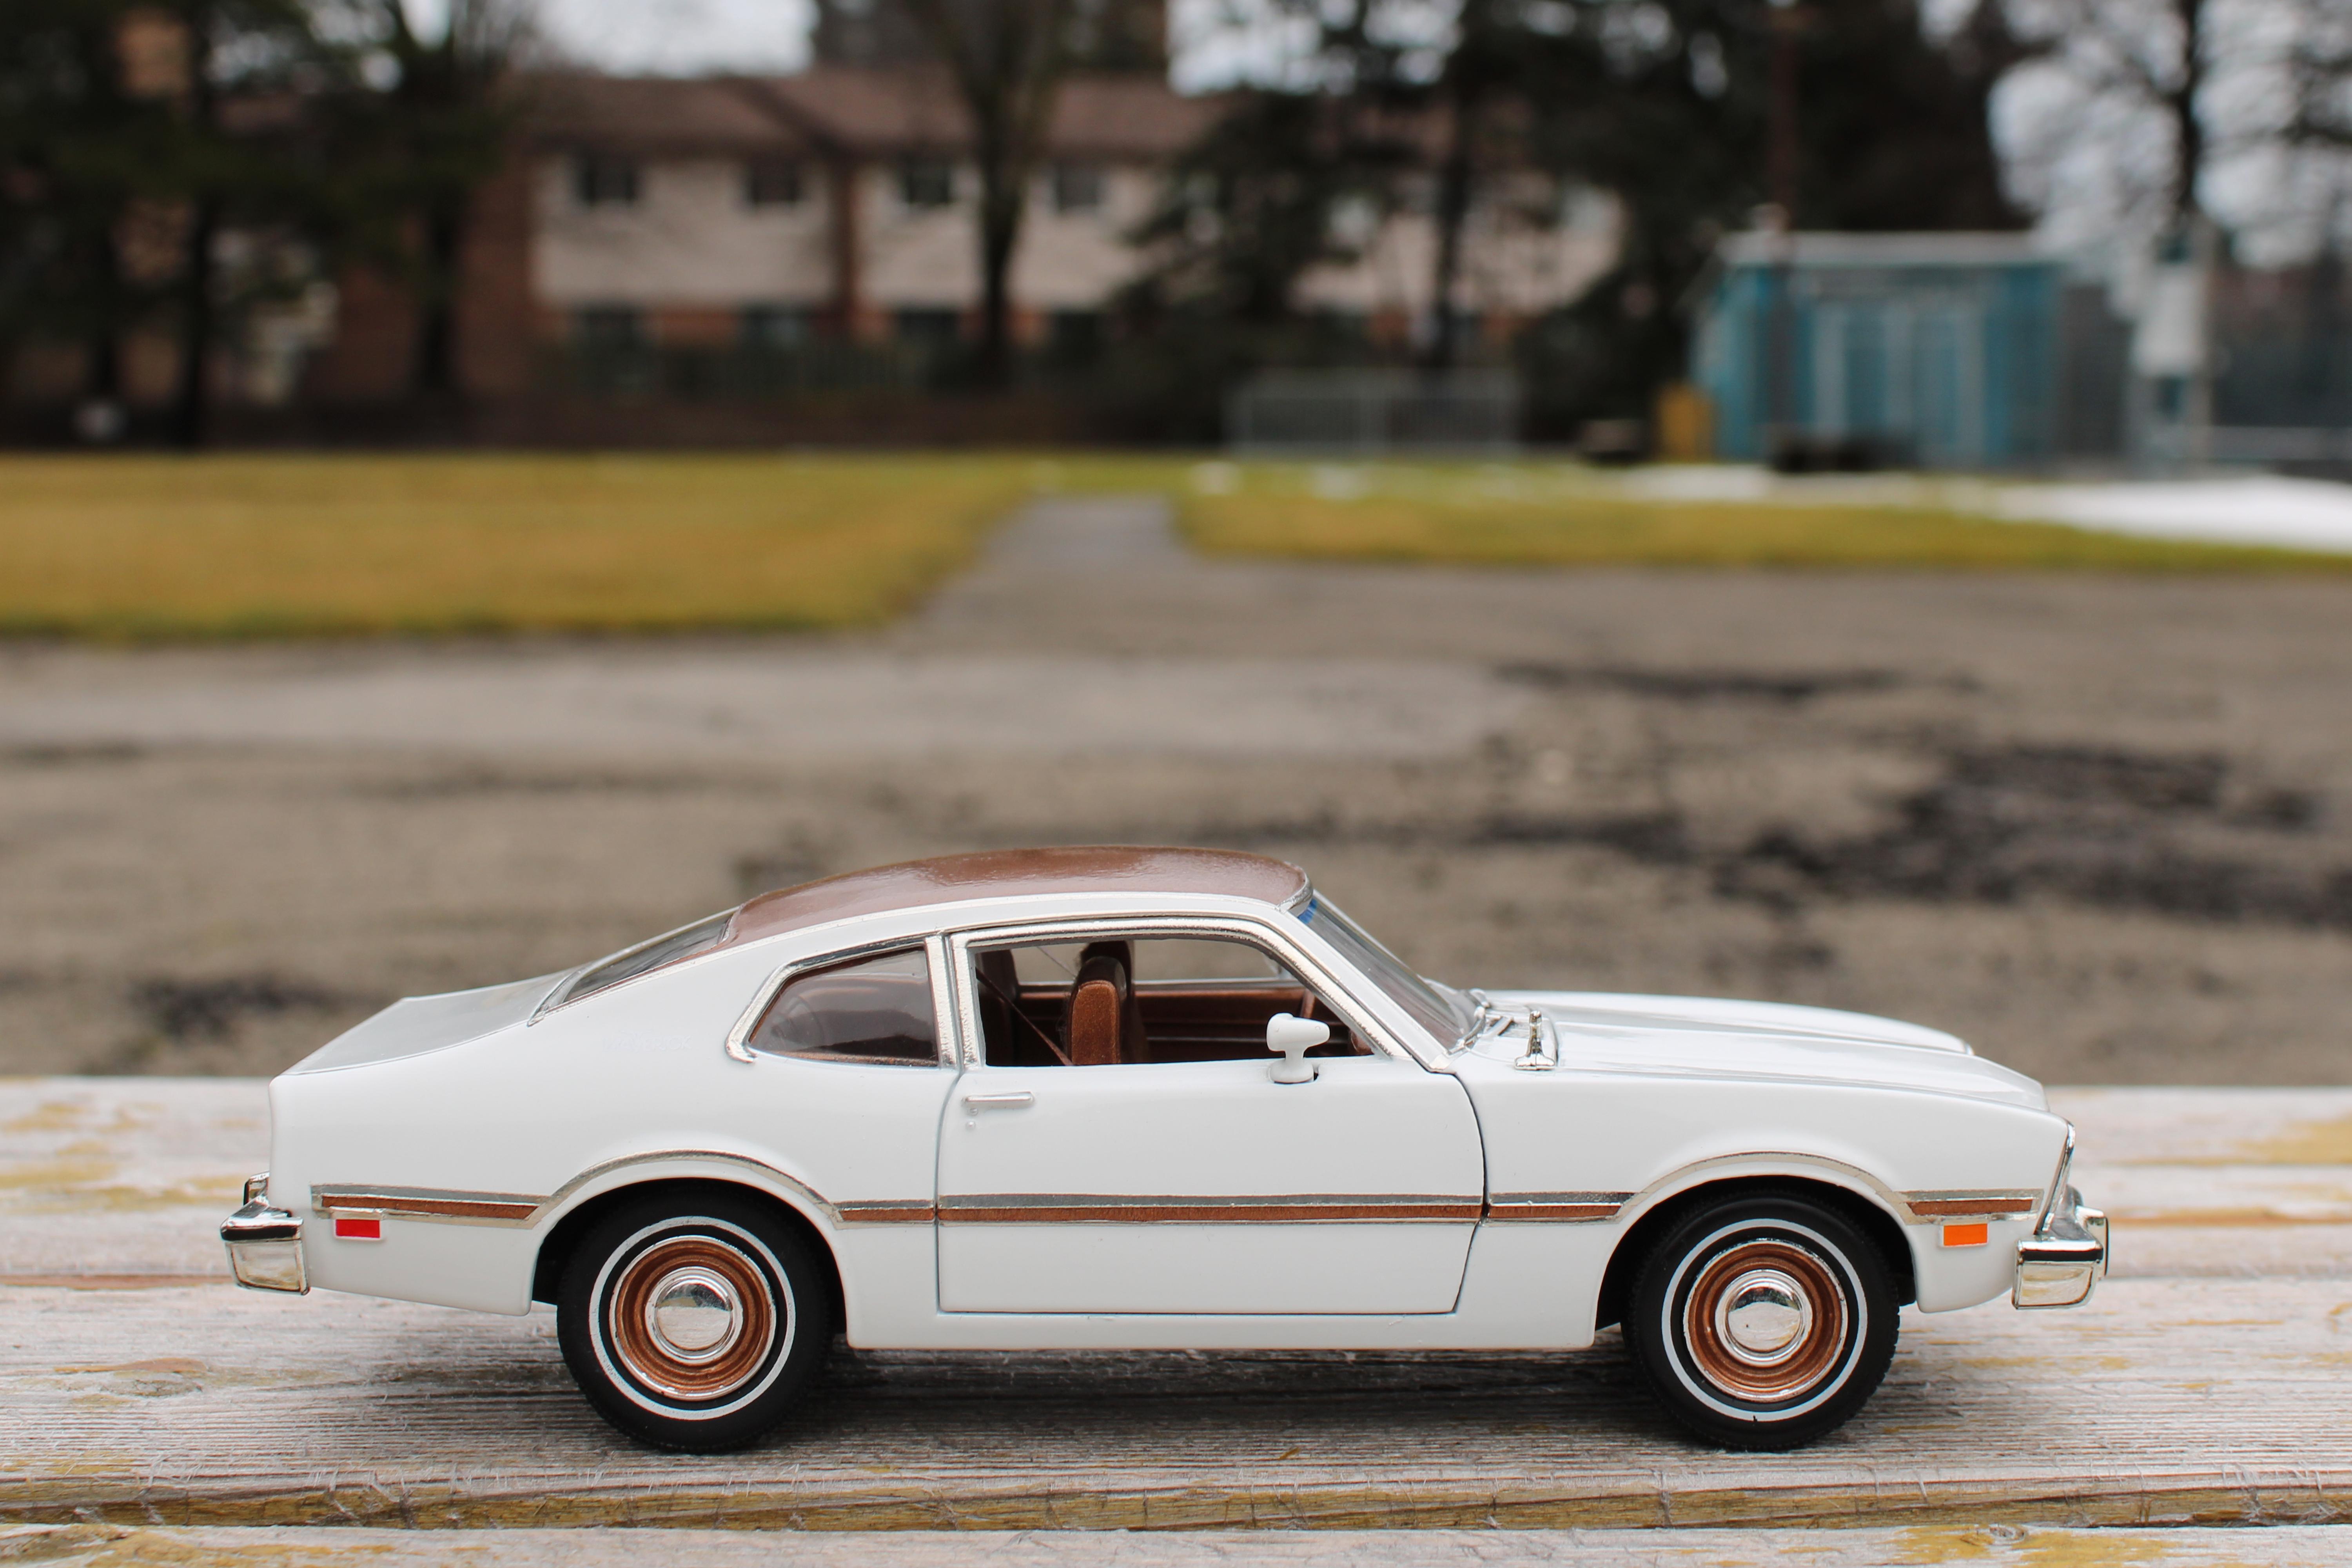
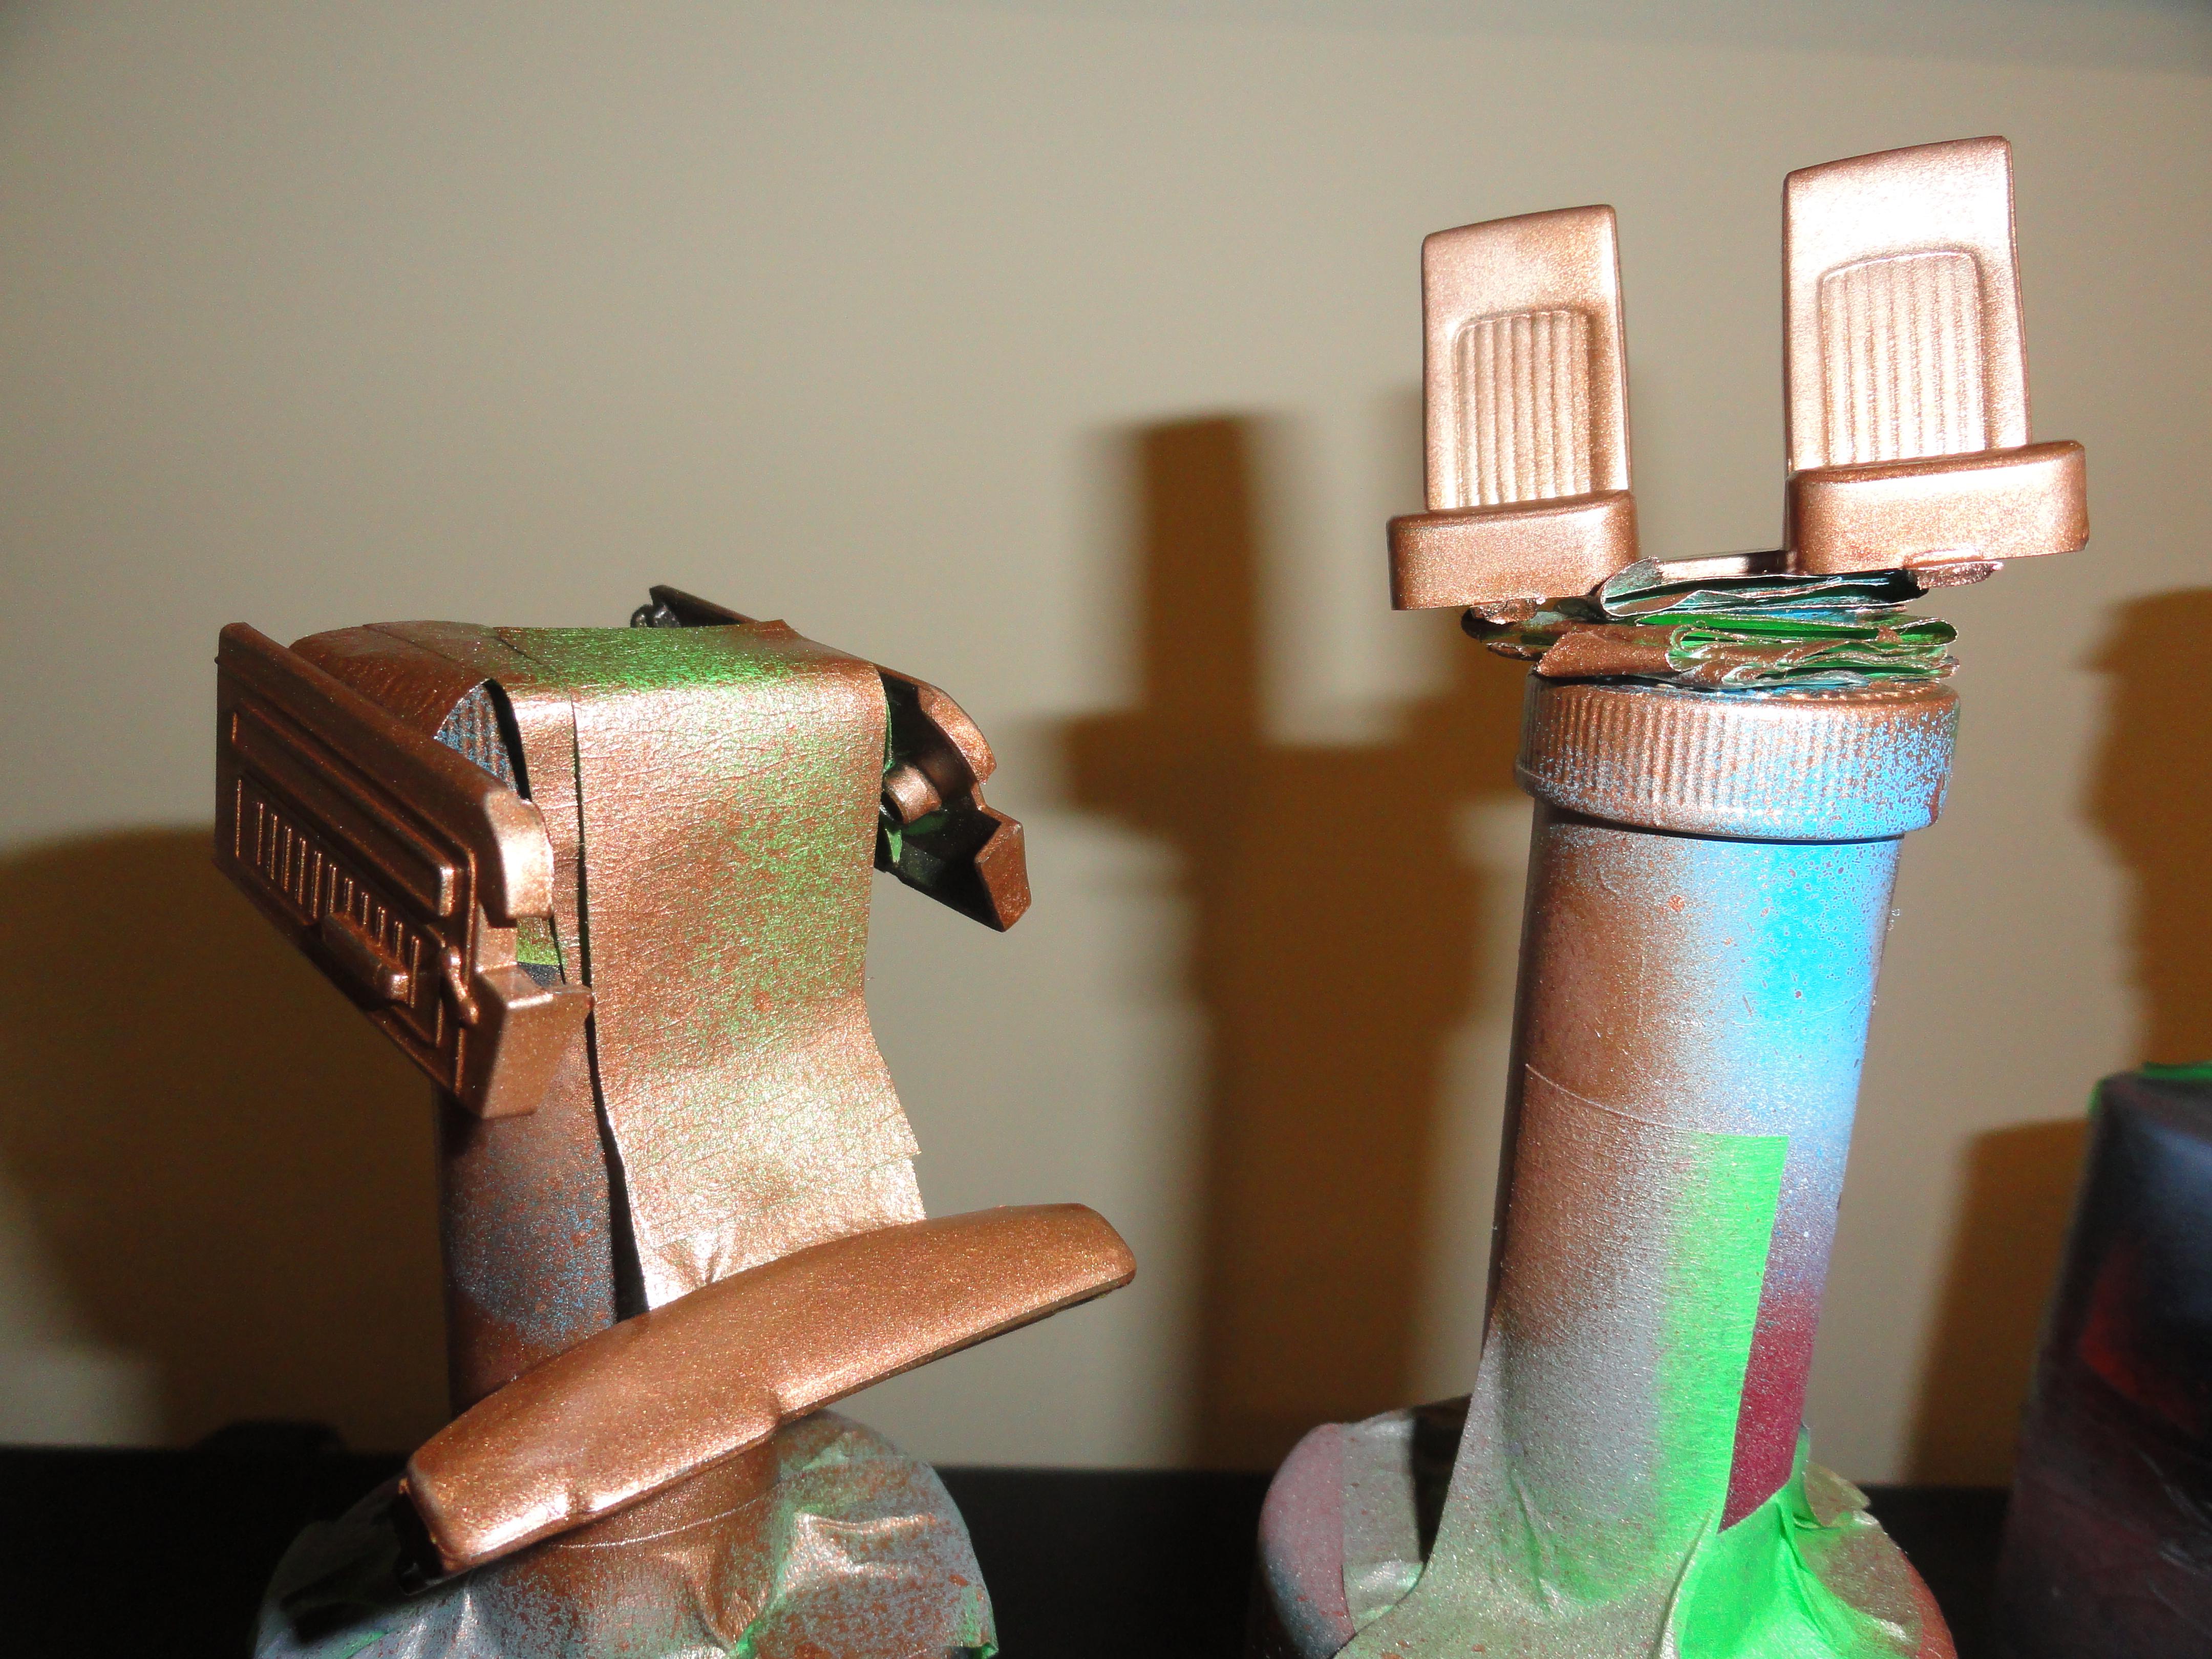
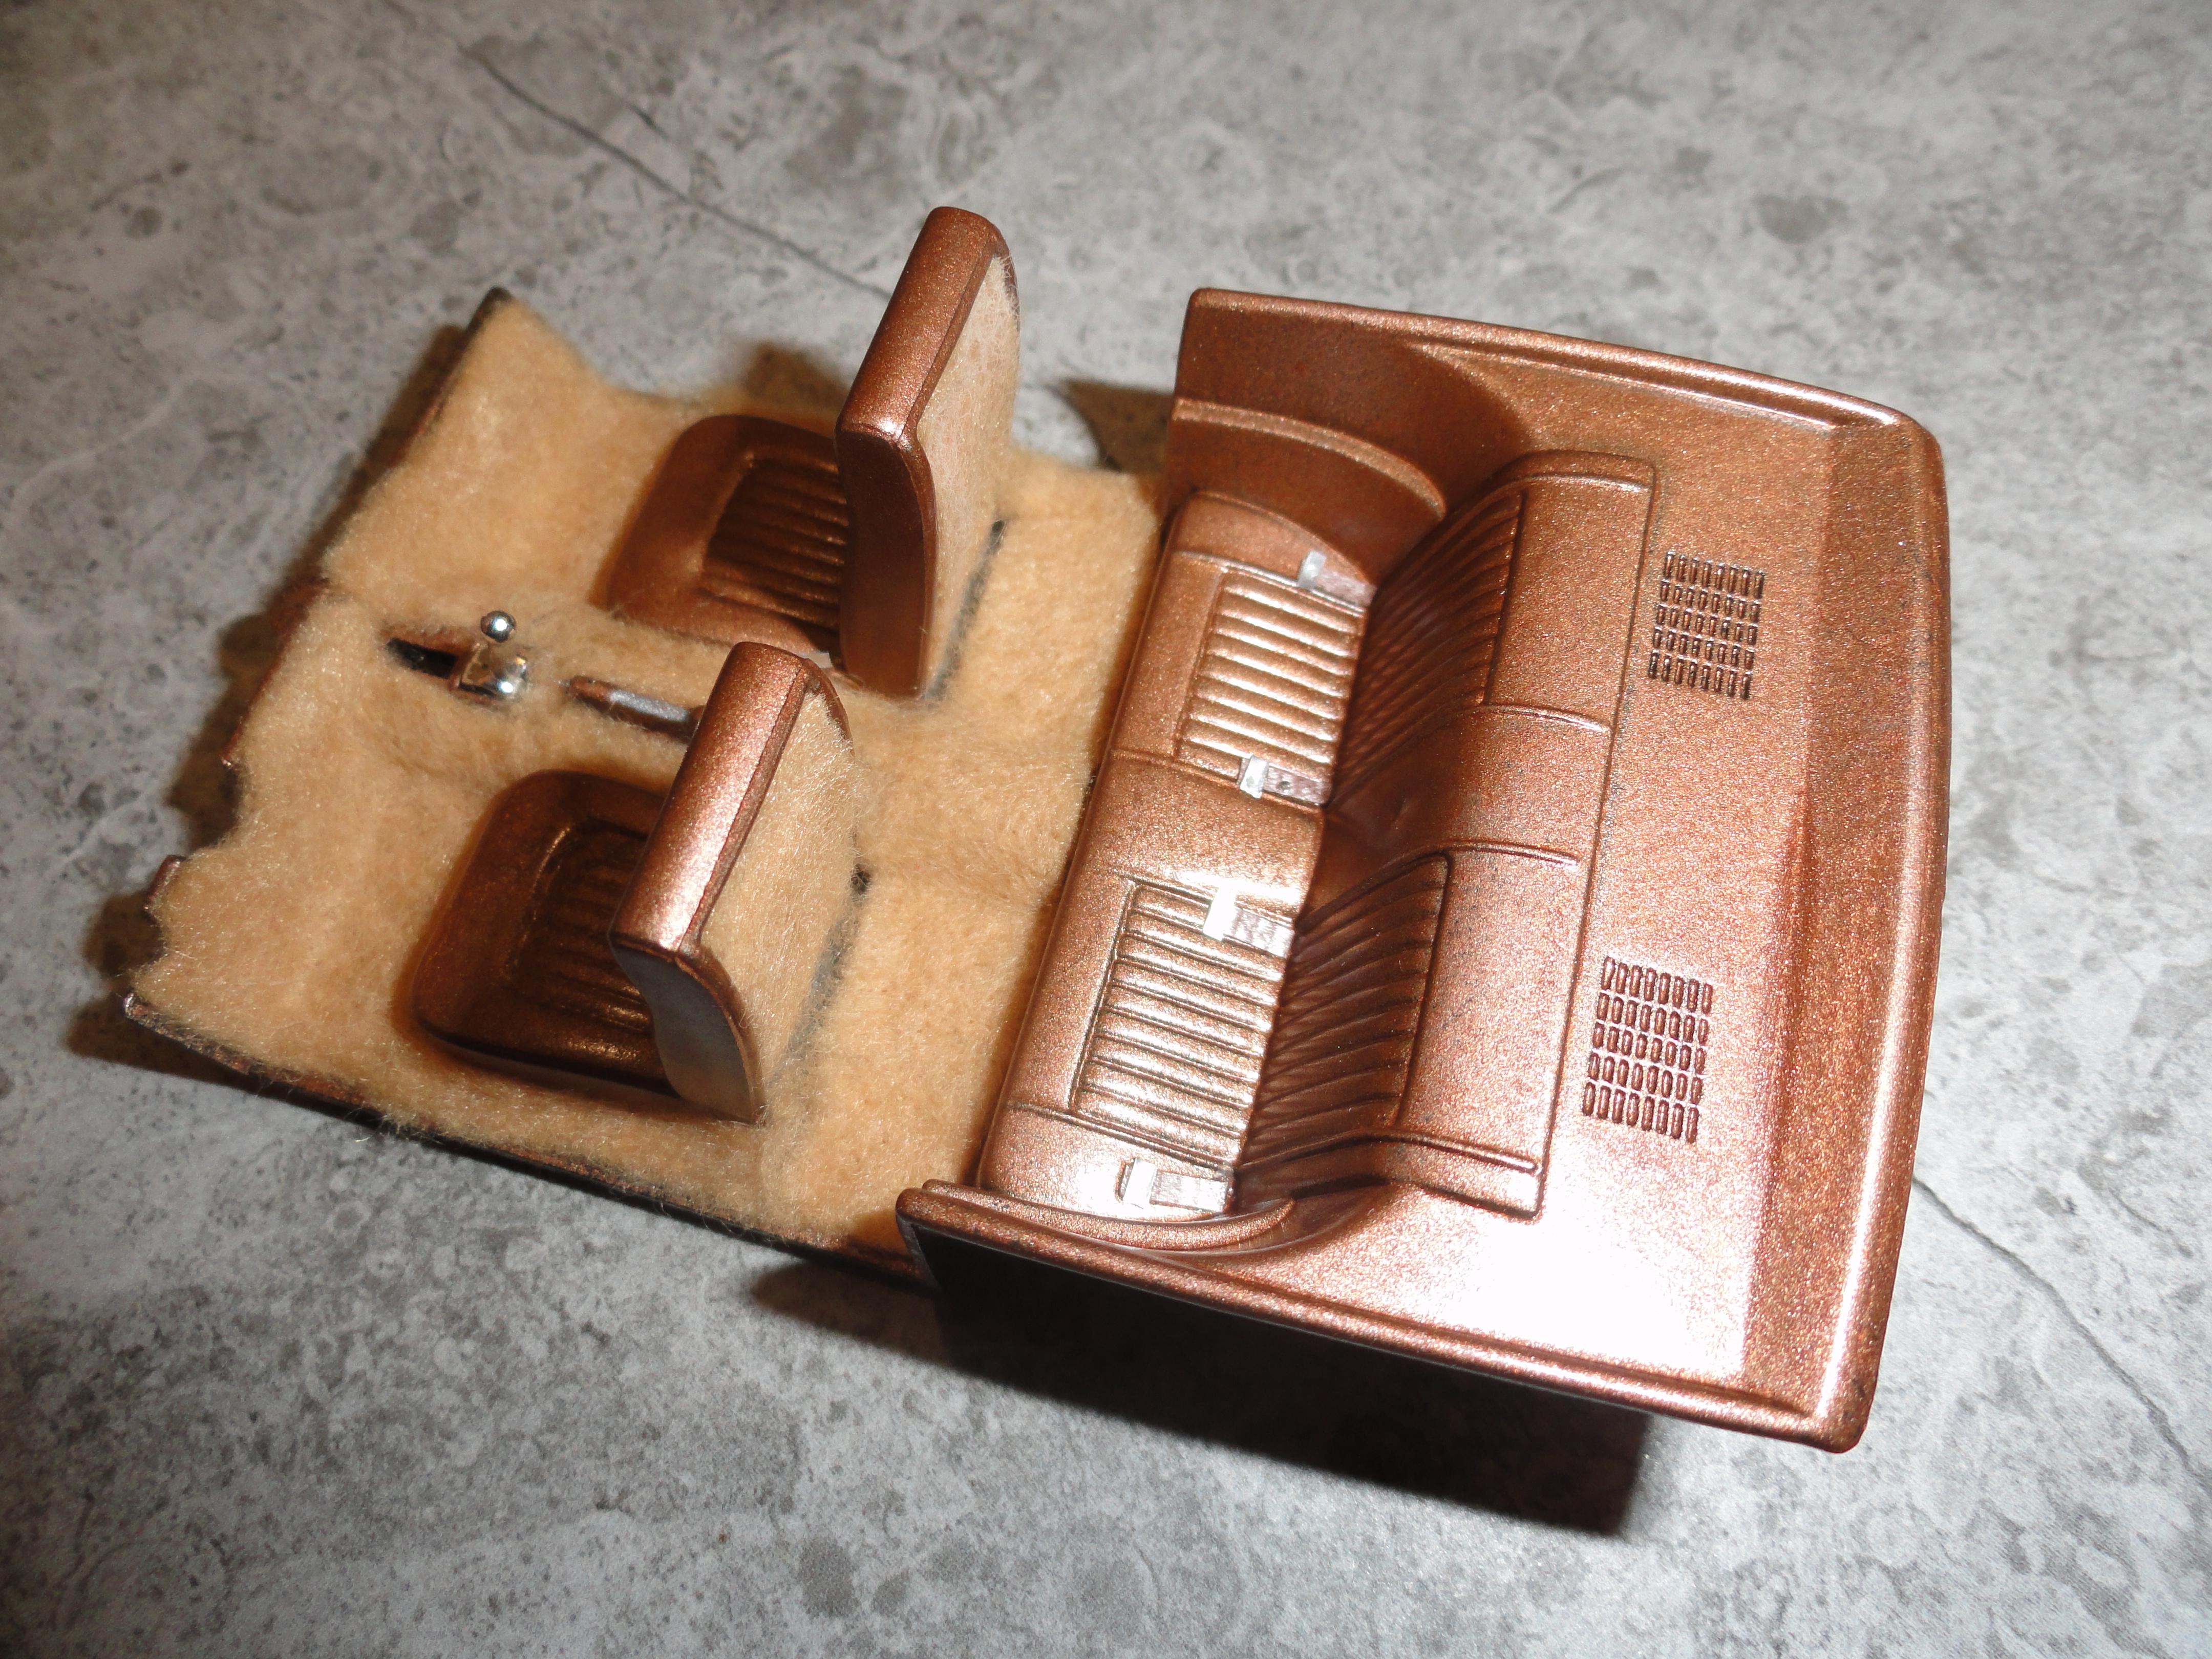
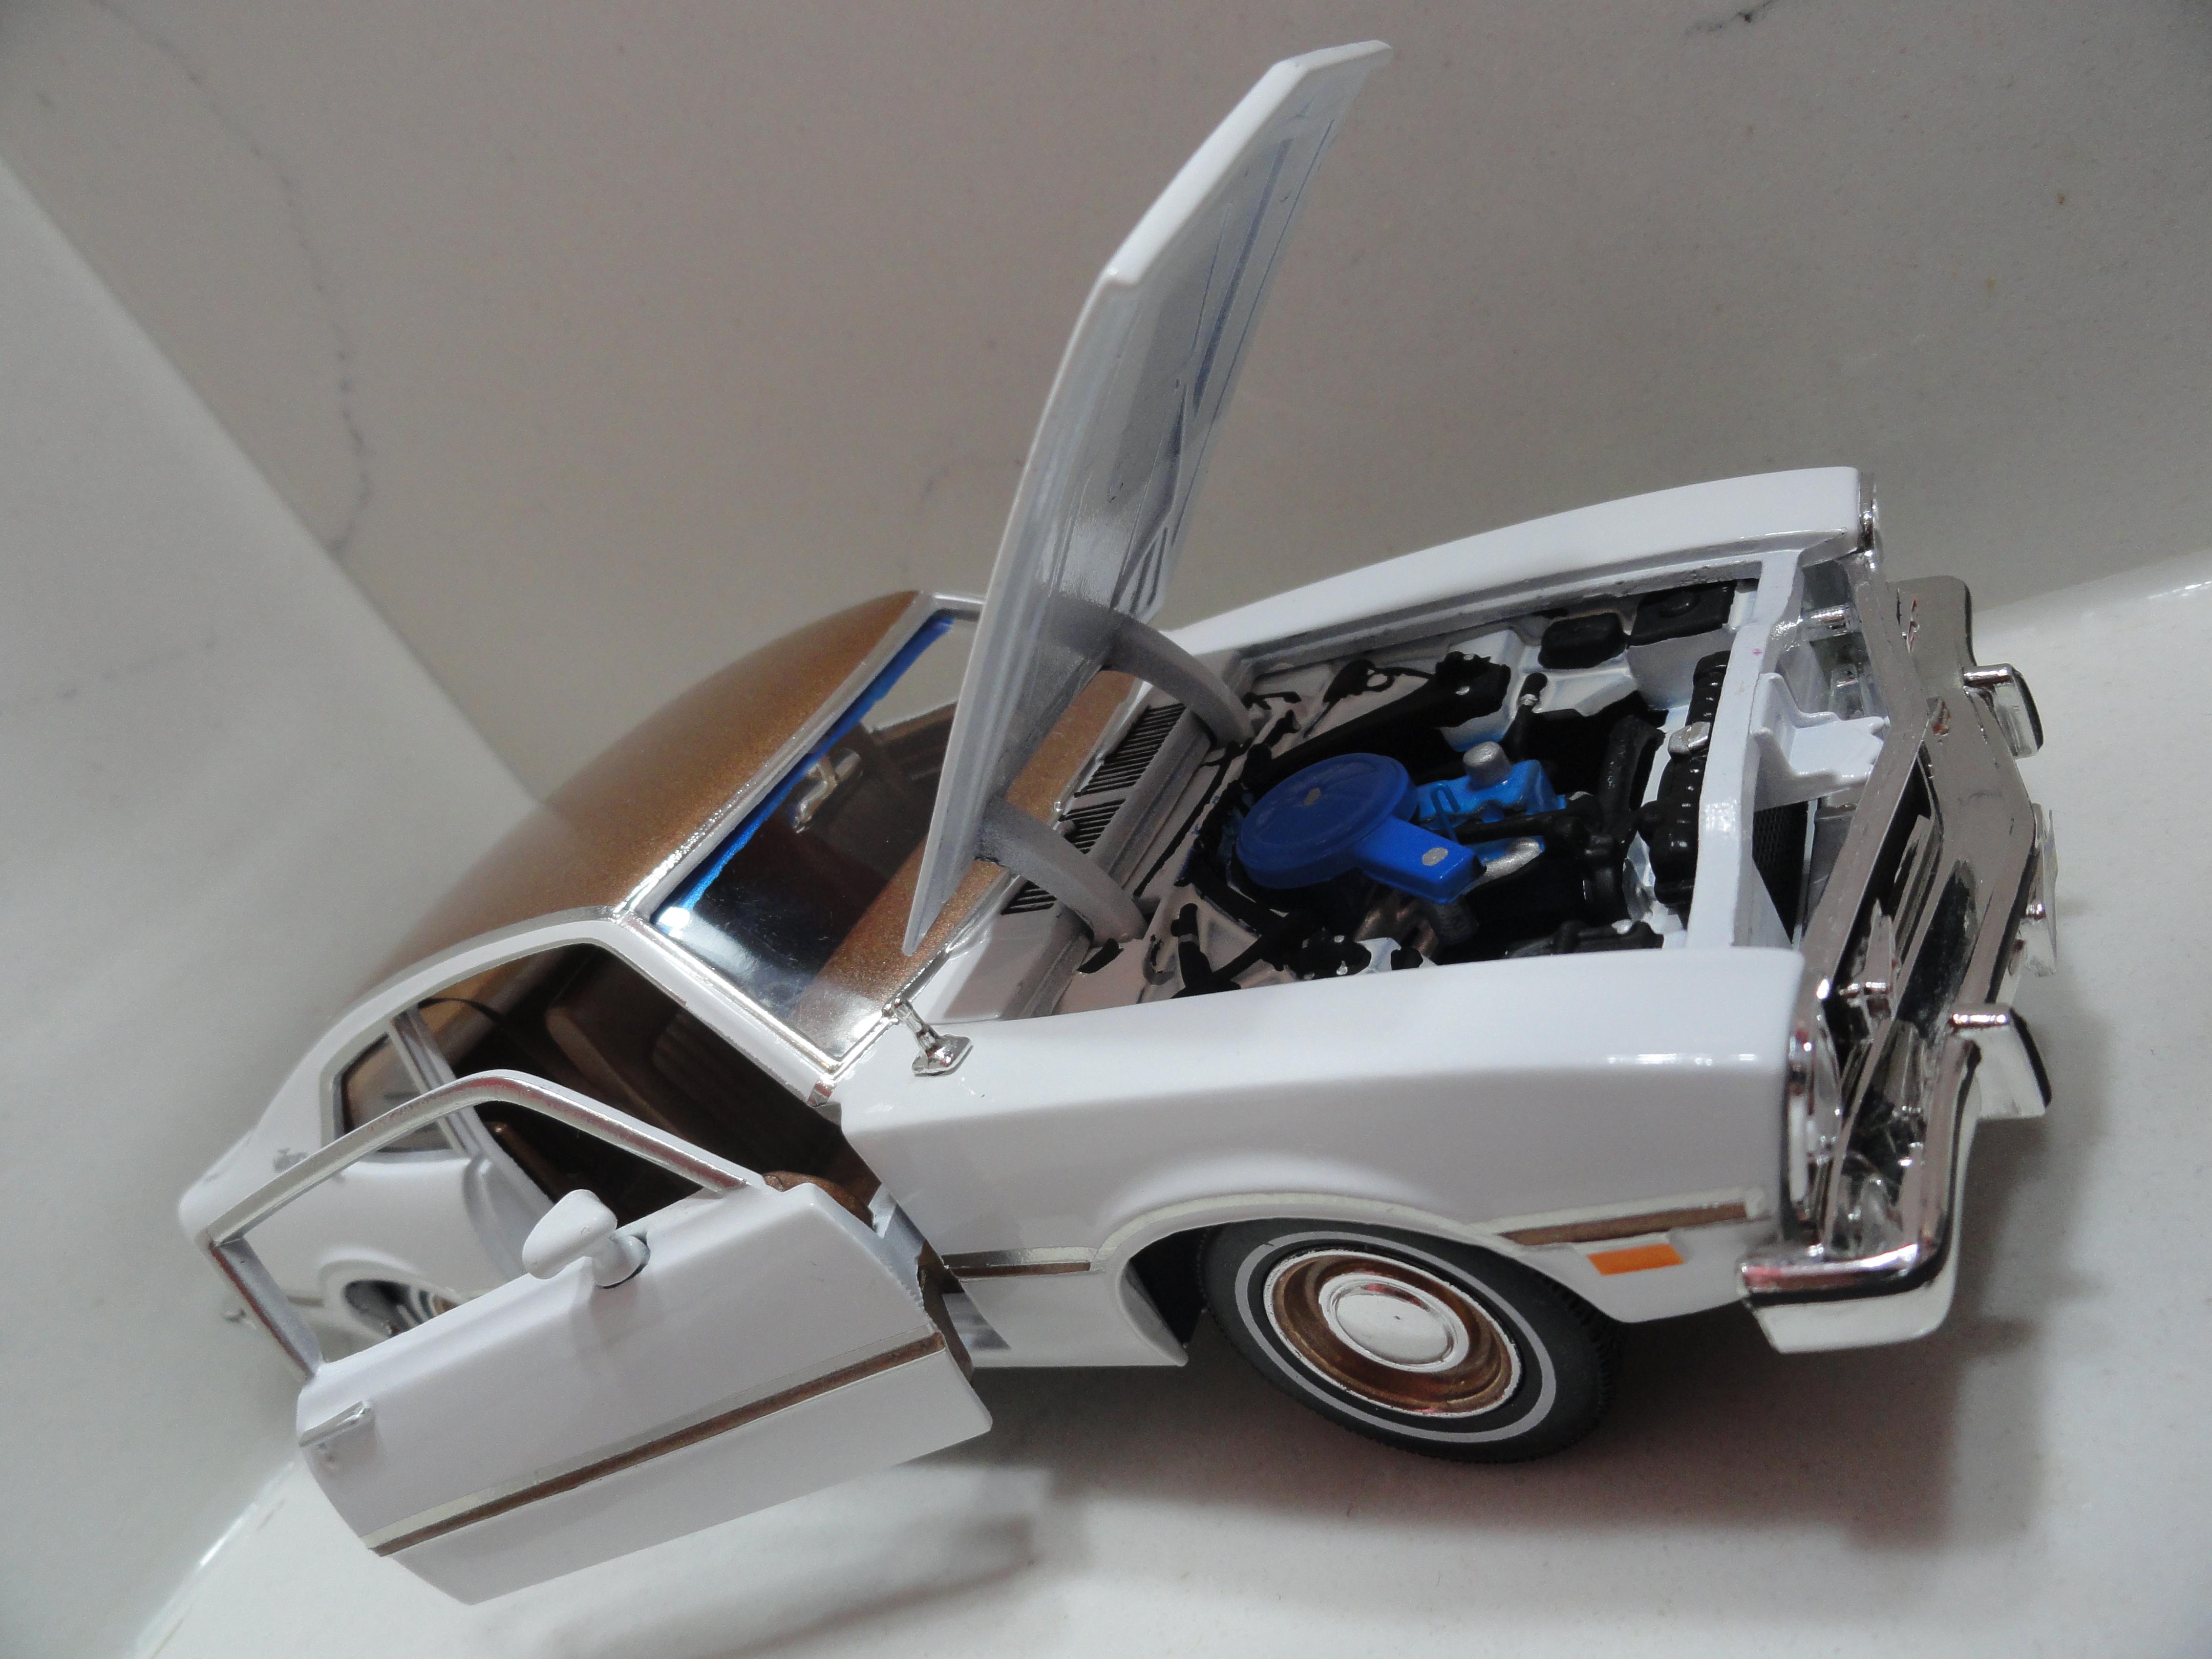
1974 Ford Maverick with Luxury Decor Option(LDO) in white with Saddle Bronze Poly vinyl top & body side moldings. This is a 1:24 scale die cast model car by Motormax. On the LDO, just to do the vinyl top and the body side moldings along with special painted wheel covers required a lot of masking. For the interior I did full carpeting. The LDO interior is painted in Saddle Bronze Poly. Motormax never made the LDO, but did make a Maverick Grabber, so I might get one of those with the cool stripes in the near future. The LDO received the unique vinyl top, body side moldings, wheel color matched to the vinyl top, soft plush interior in matching color, deep pile carpeting, seat belts, roof liner, dome lamp, mushroom shaped door lock on the door inserts, and simulated matching paded vinyl wrapped tail-light panel. The side moldings along with vinyl top moldings are finished in Bare Metal Foil. I worked on the floor & subframe similar to how I painted the bottom of some MPC and AMT model kits. Much of it is molded in one piece so I masked the wheel wells and spray painted the floor, followed by doing all the rest with a brush. All the paint in the various cans were diluted with a lot of paint thinner. When dry you don't see a lot of brushwork that way. I finished by spraying brown spray paint over the floor pieces but from far away and on top of them, so that when the paint particles land & makes contact with the floor, it looks like dust, but this is simulated dust that won't rub away when the car is handled in any way. Now it almost looks like a car that was driven fresh from the local new car dealership and taken on a long road trip all over Canada and USA.
-
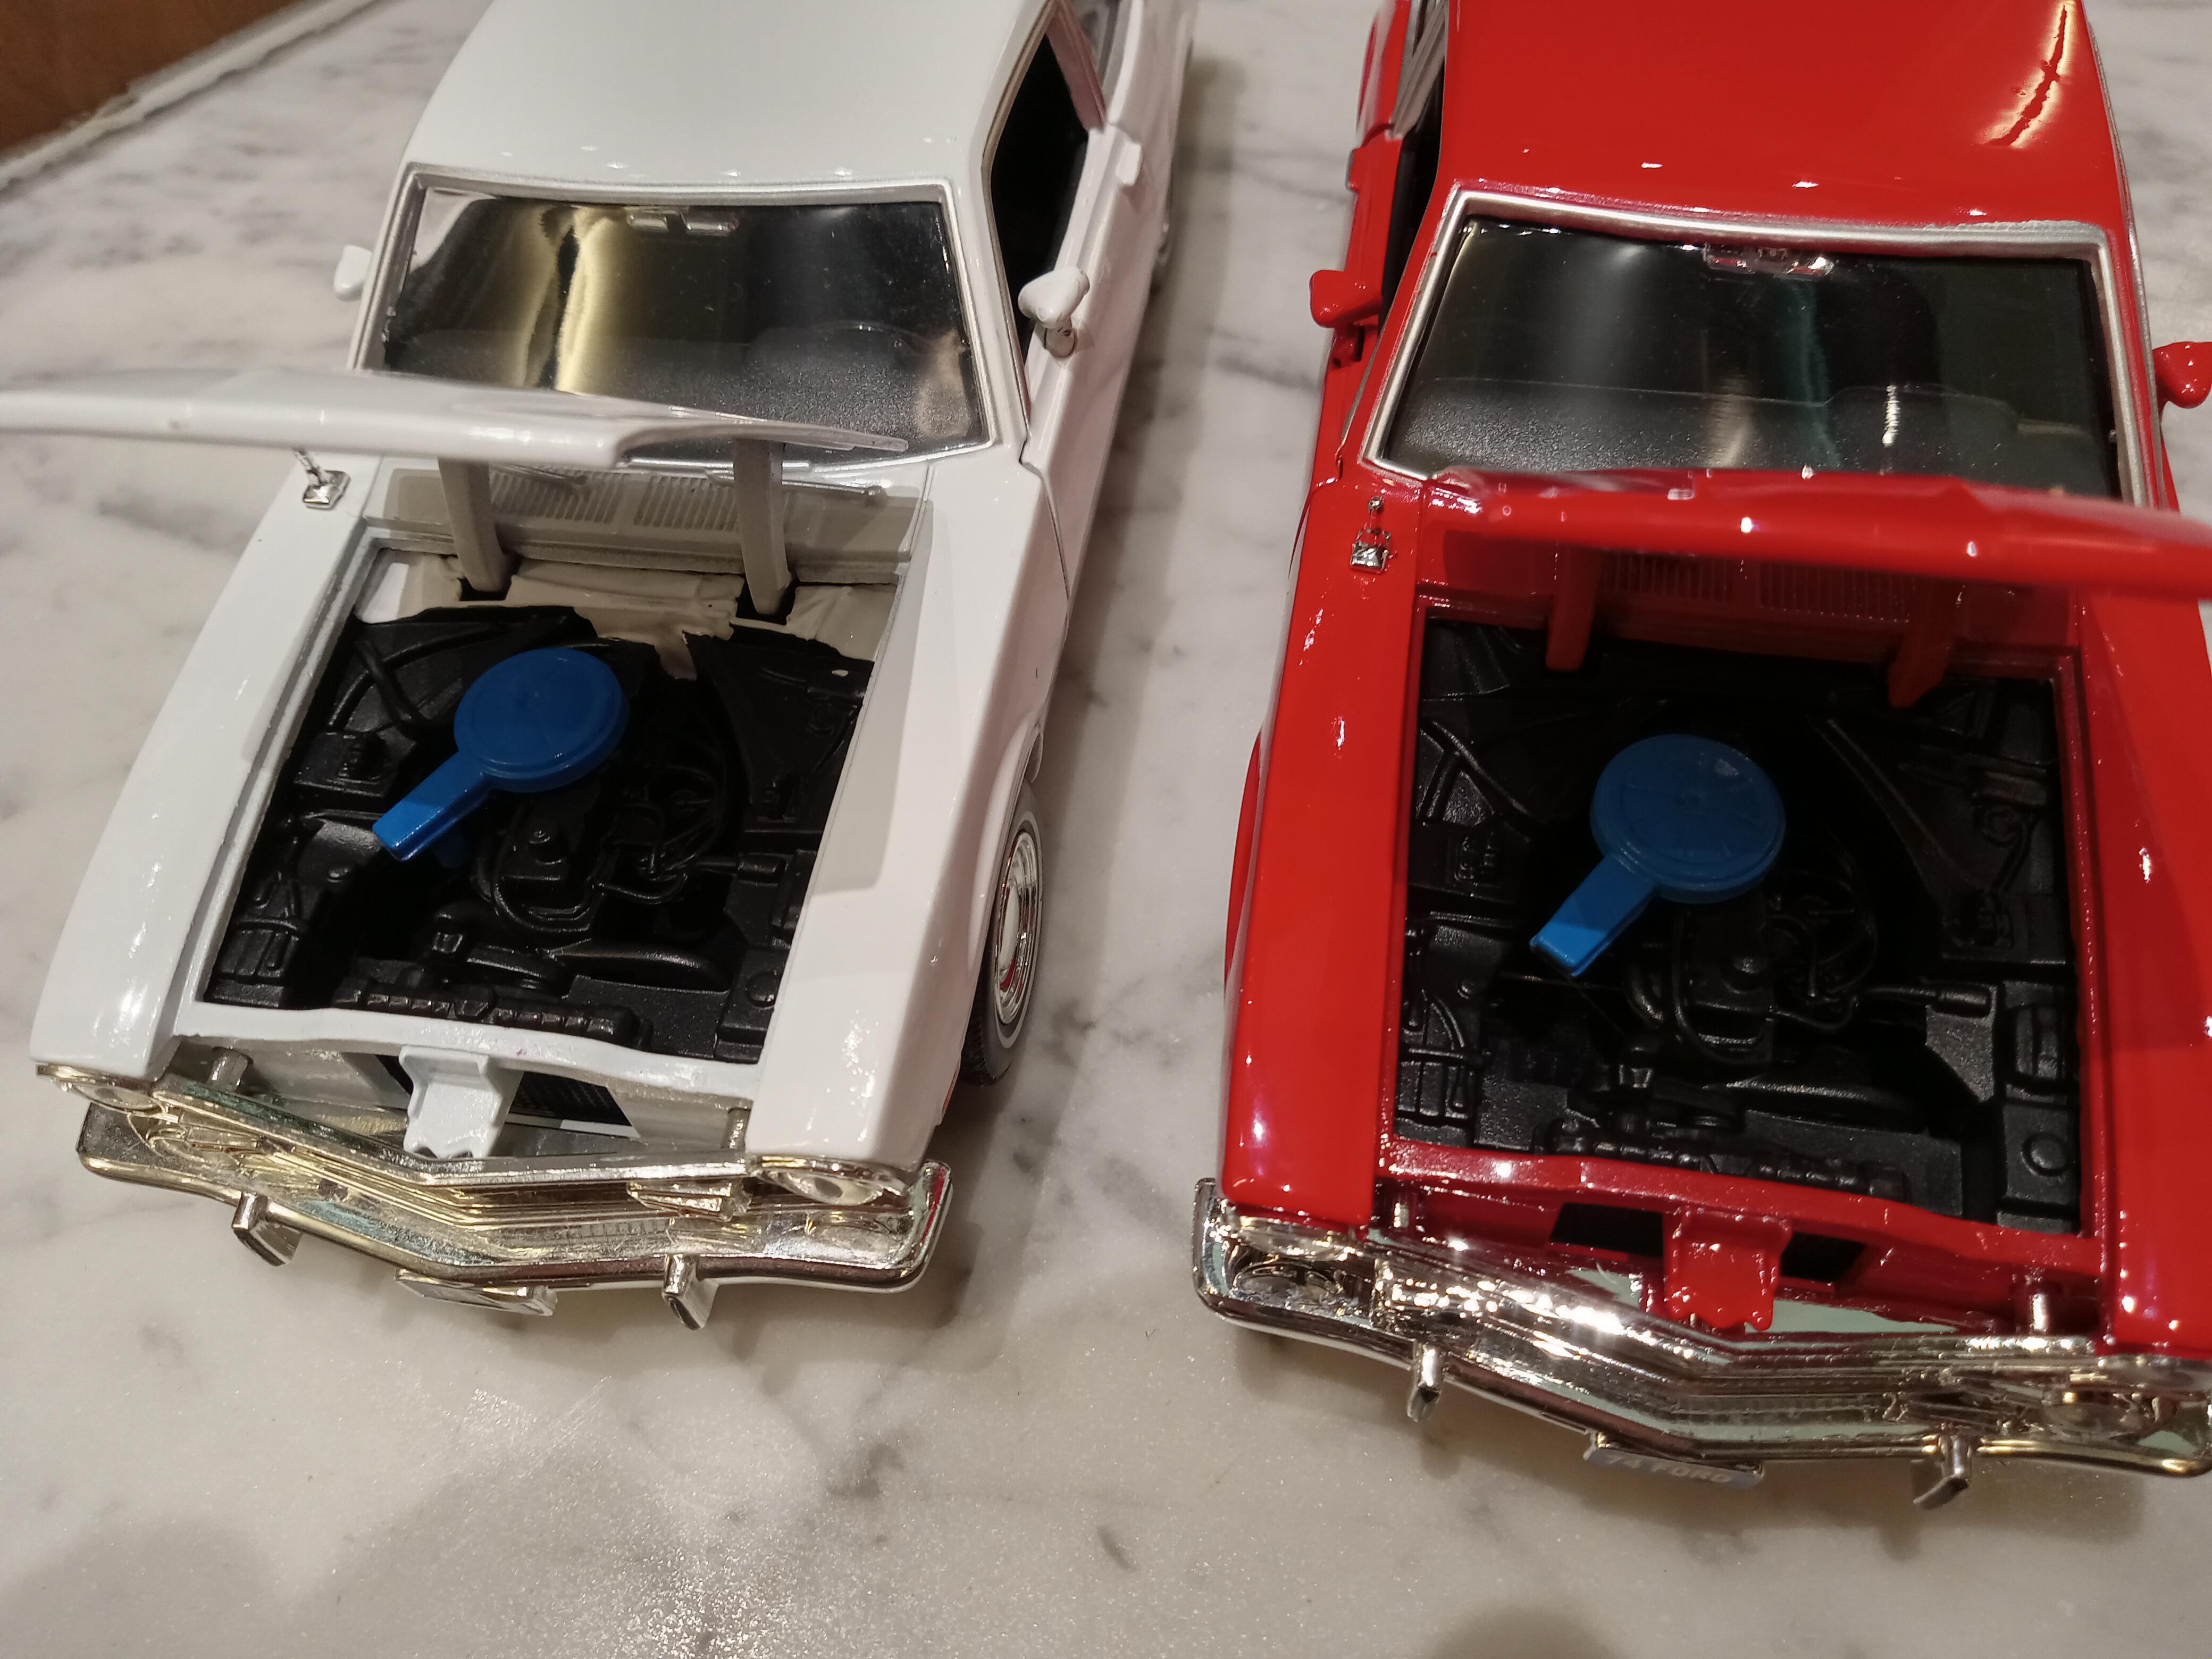
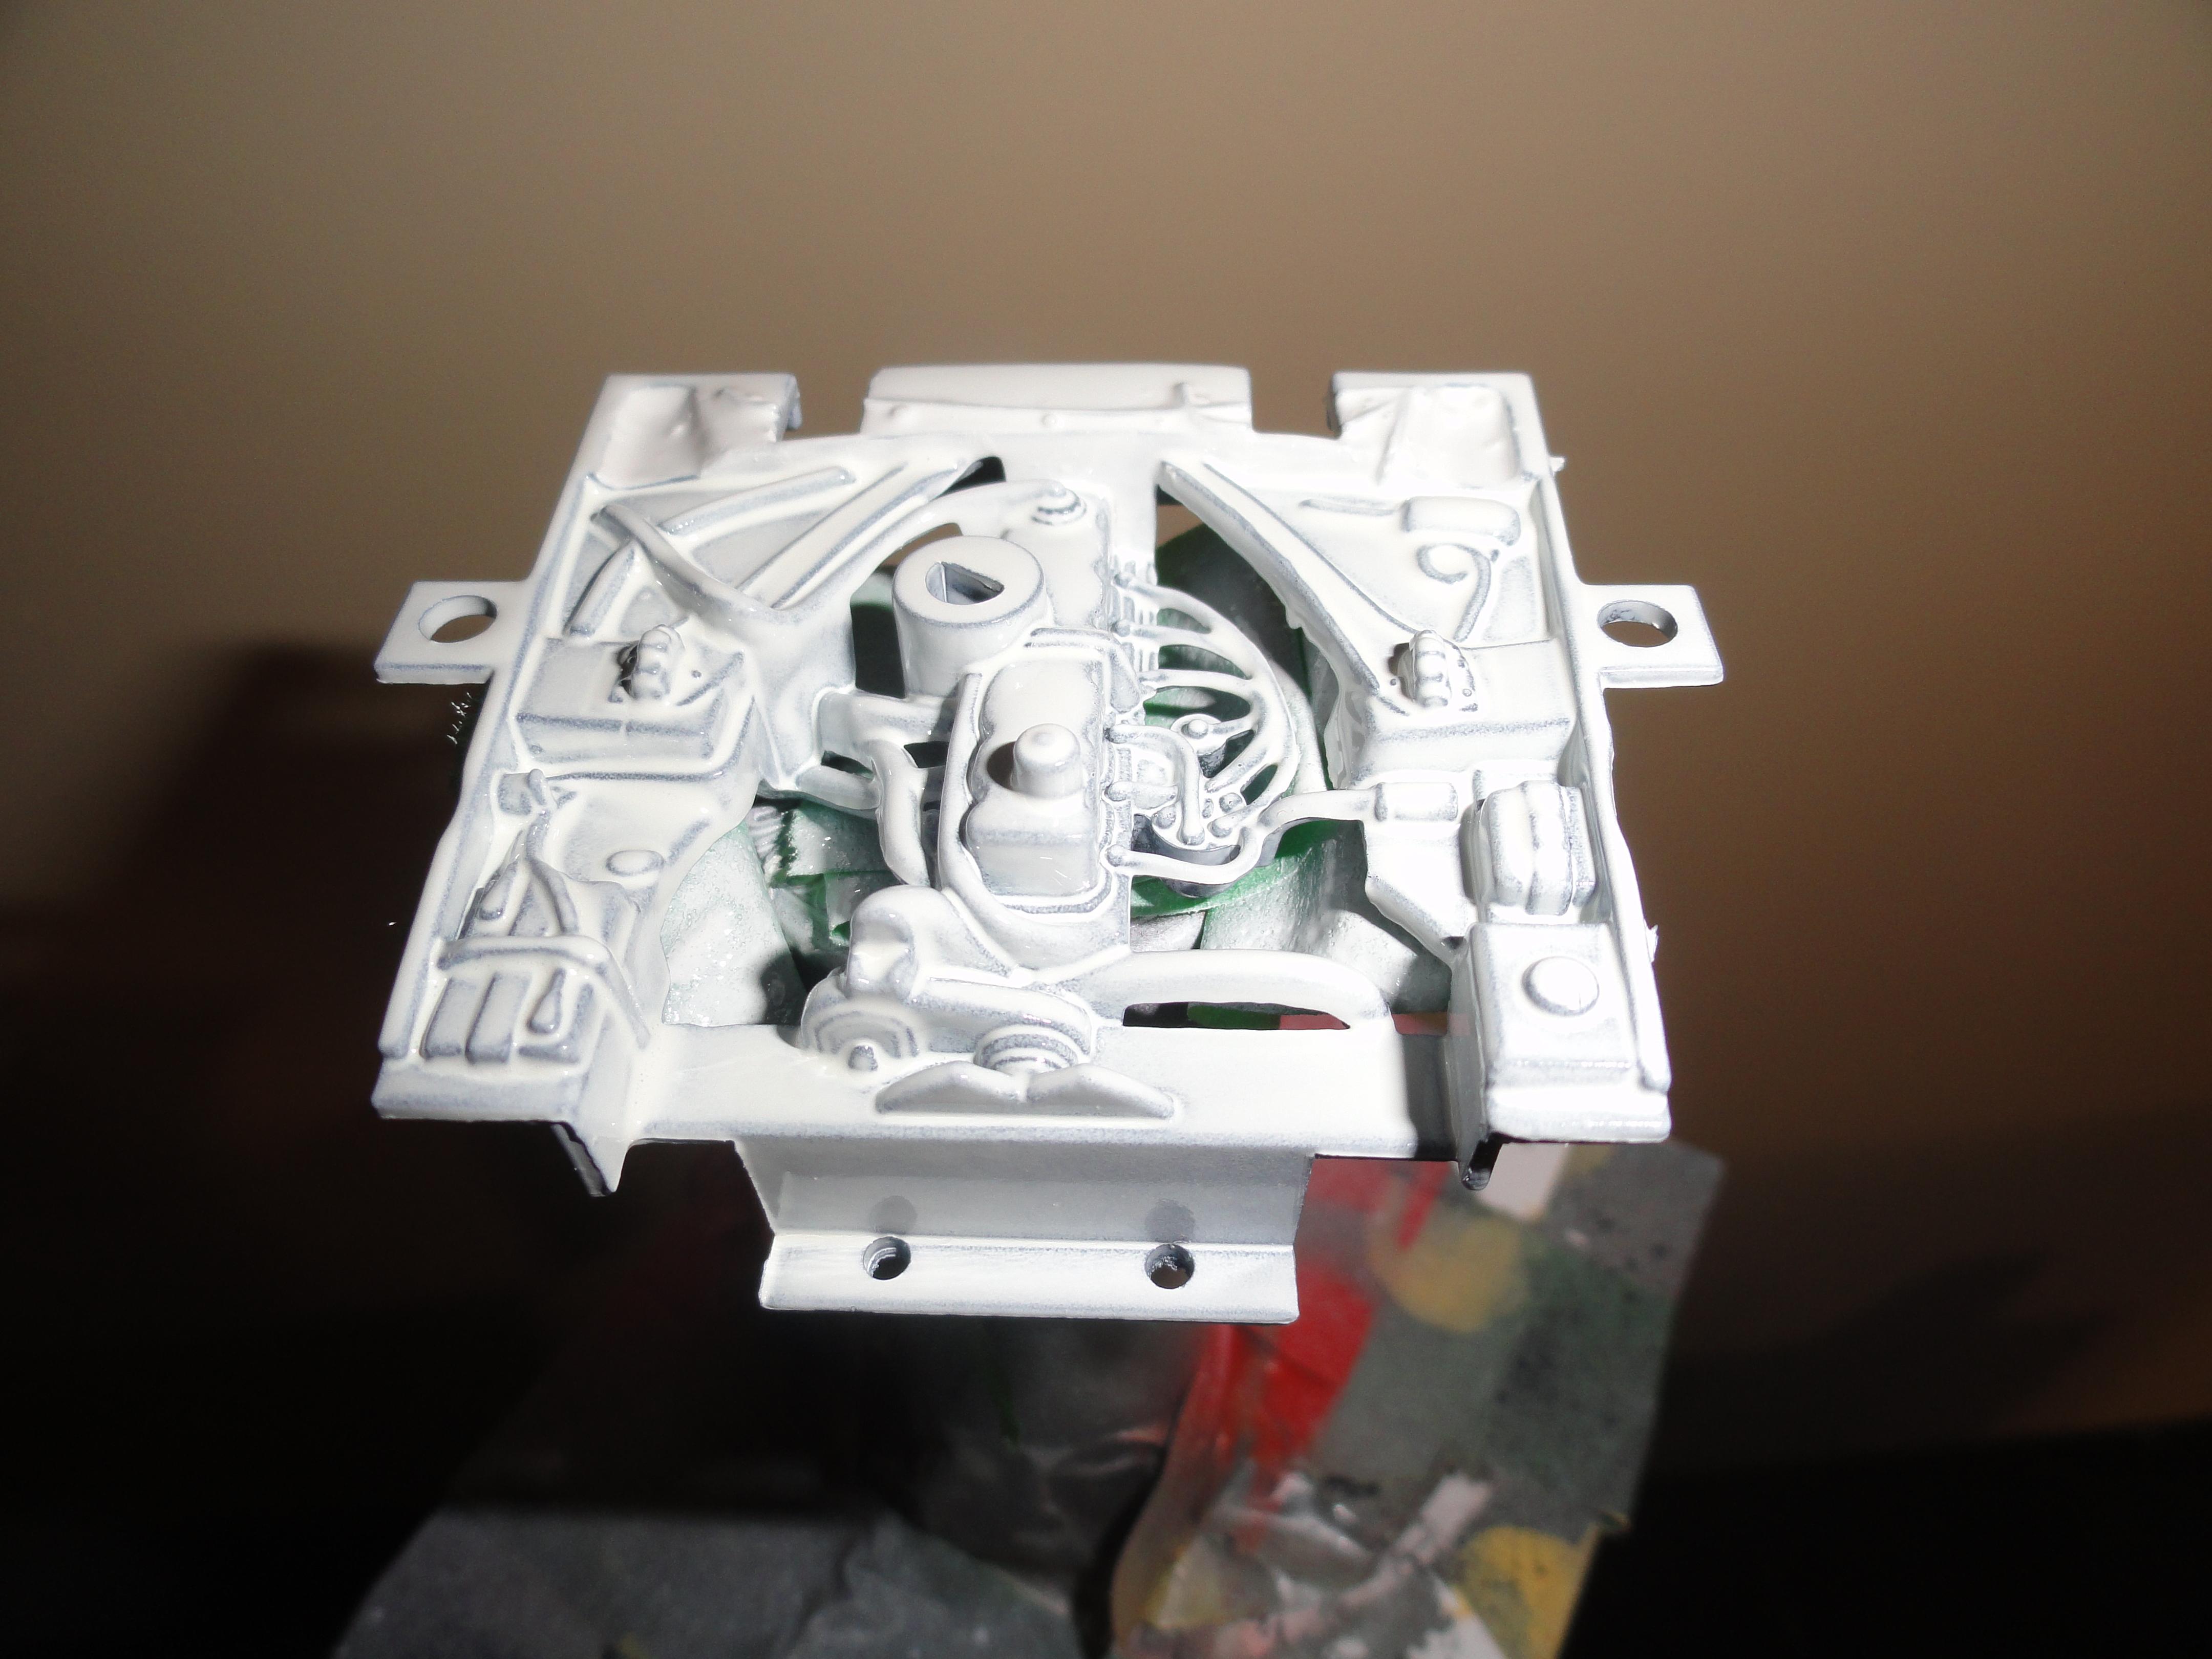
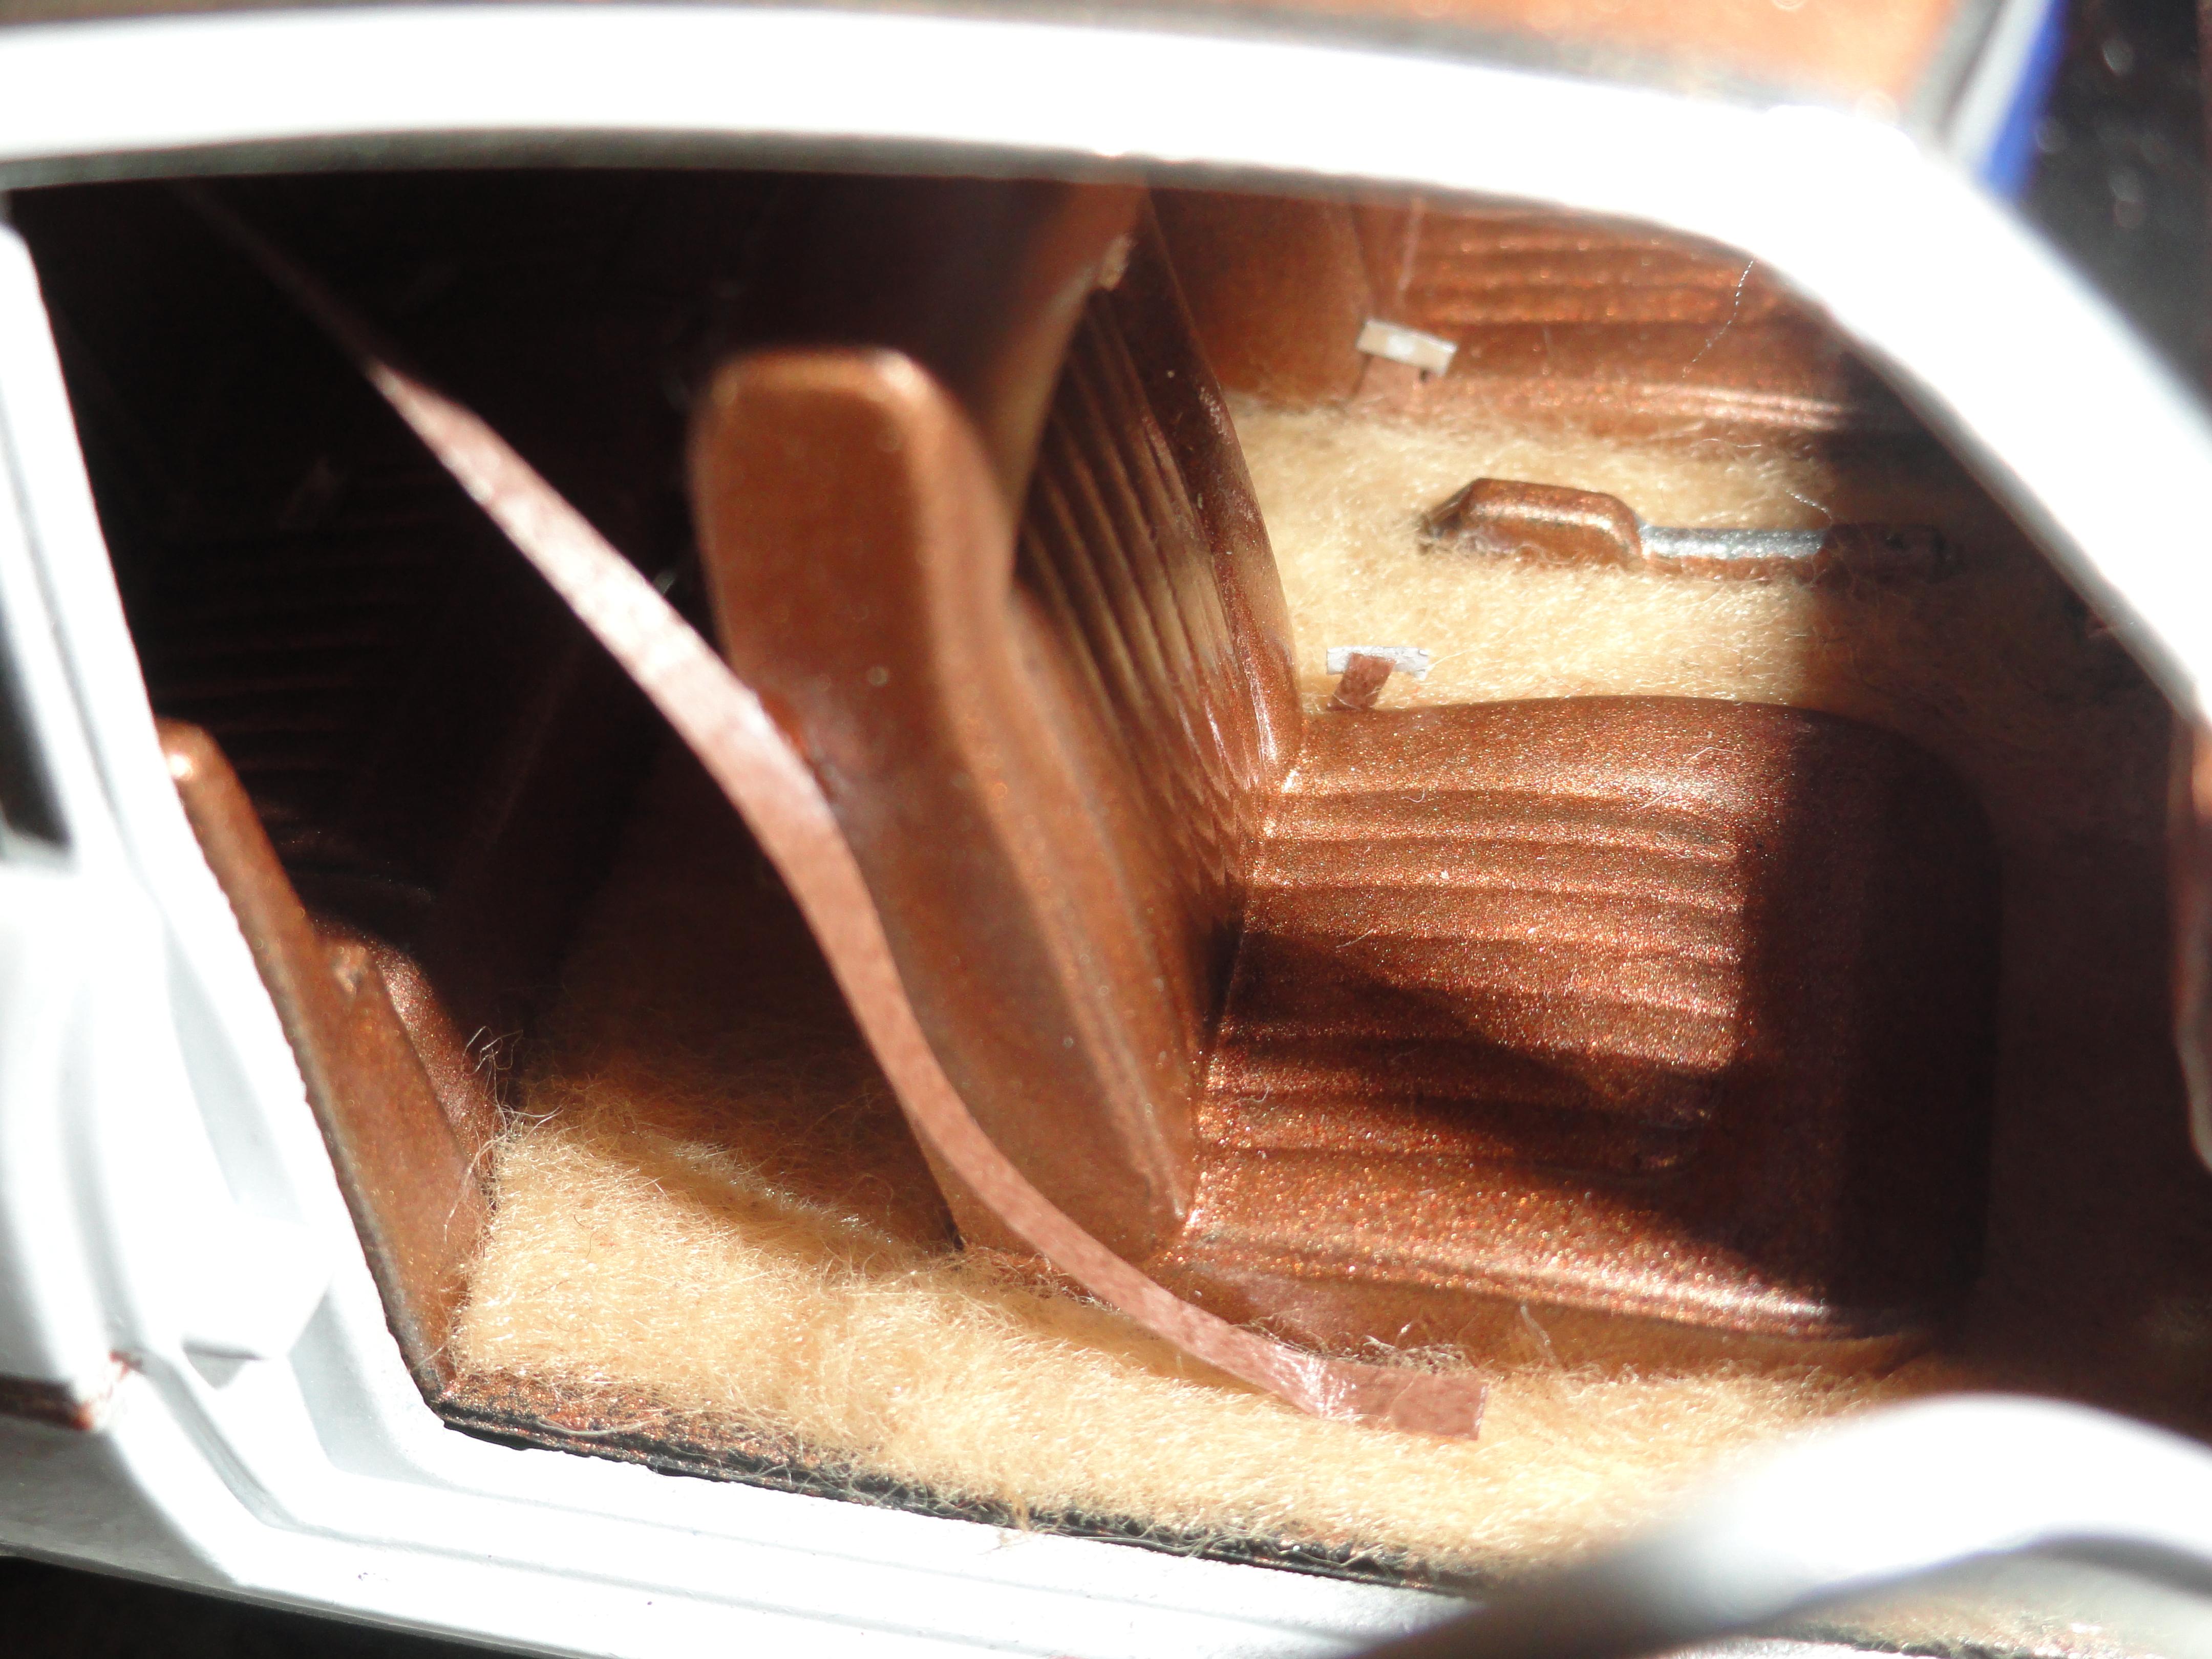
This 1974 Ford Maverick 2 Door Sedan base model in red exterior/black interior is a 1:24 scale die cast model car by Motormax. For some cars we got no choice but to get a die cast. I know of a plastic '74 Maverick by Palmer, but that's very likely a horrible kit like most Palmer stuff, and other than that there's the older Jo-Han Maverick. I took my Motormax model apart and worked on it as if that was a kit by detailing the car to the best of my ability. The bottom of the car is molded in one piece like some 1960s & 1970s AMT model car kits. Much of the engine is also molded in one piece, but the radiator & the air cleaner can be separated which allows you to paint & detail the engine with the help of a little masking tape & brush. Motormax did the window moldings by painting them in silver paint. I applied Bare Metal Foil on top of those to make them more realistic. The interior got carpeting and seat belts too. I've included a few before and after shots that shows you how the car got transformed into a slightly more finished looking product. This car got a detailed engine bay, floors and subframe, windshield tint, accelerator, brake & clutch pedal, detailed dash & door insert trim with Molotow Chrome pen, and all exterior chrome window moldings wrapped with Bare Metal Foil. Scratch built engine oil dipstick and seat backs as those were missing. Front grille painted flat black for an enhanced appearance. With a little bit of work these average die cast replicas can be turned into nice presentation models.
-
@XYHARRYThanks for the compliment! The group shot of the old vans on the table was taken five years ago. Since then I've restored a bunch of these already. This red/blue '72 was originally that Truckin' USA van on the table that has the missing front bumper and the roof glass. I'll be posting more completed shots of custom vans in future weeks. @ChrisRThanks!
-
1974 Chevrolet Caprice Classic
RACINE ISHRAQUR RAZA replied to RACINE ISHRAQUR RAZA's topic in Model Cars
@exnymanThank you for the compliment and also for sharing those great memories of your dad's new car. That would be an interesting project and I wish you best of luck in building that car's replica. -
1974 Chevrolet Caprice Classic
RACINE ISHRAQUR RAZA replied to RACINE ISHRAQUR RAZA's topic in Model Cars
Thank you everyone for the compliment! Much appreciated! @Falcon RancheroPromo models are great for doing a detailed up replica. One not so great thing about a lot of them is many that are highly sought after today were made for one year only when the real car was in production. Like the MPC made '71, '72, '73, '74, and '75 Impala/Caprice promos and even the kits are not the easiest things to find, and all we are left with today is the MPC '76 Caprice that has been reissued multiple times. -
Thank you everyone for the compliment! Much appreciated! @XYHARRYThanks! There will be many more Cadillacs from me in the near future, including one we rarely ever see on the road these days or even at most car shows.
-
Thank you everyone for the compliment! Much appreciated! @Falcon RancheroThanks! That's a great idea! I'll do that one day once I get a few more models completed.