VanGoGo
-
Posts
195 -
Joined
-
Last visited
VanGoGo's Achievements
MCM Friend (4/6)
-
looks great. really impressed with the detail of that kit
-
yes, 1/16
-
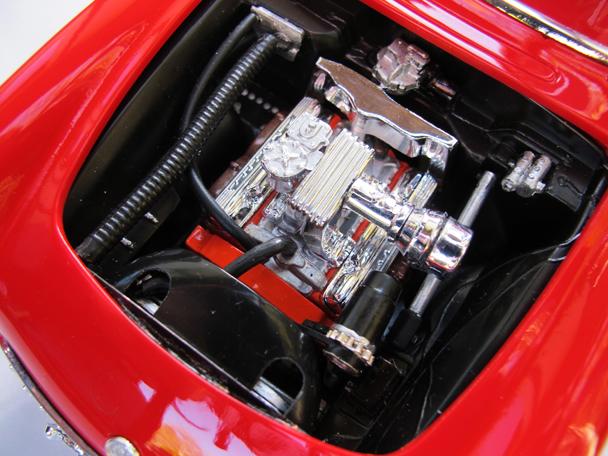
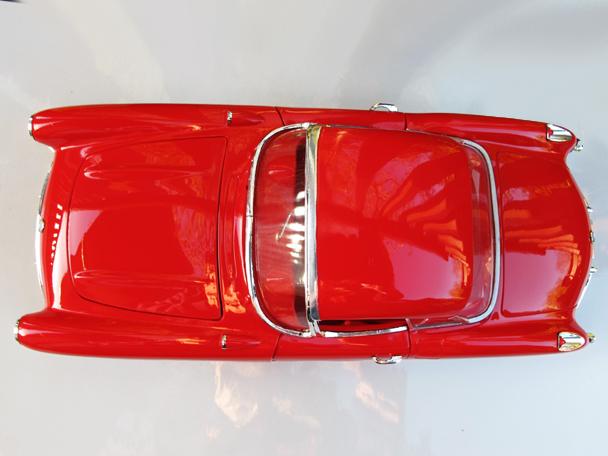
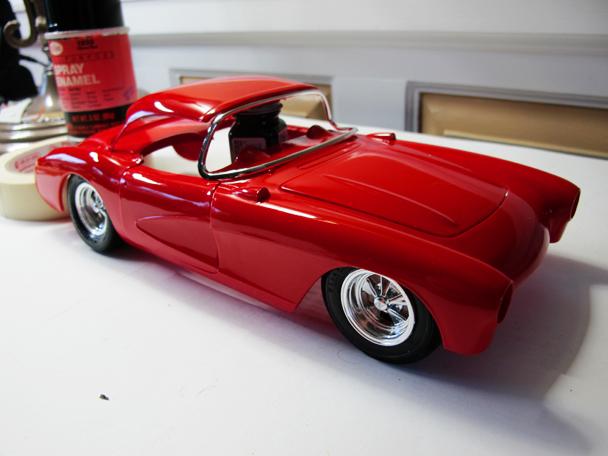
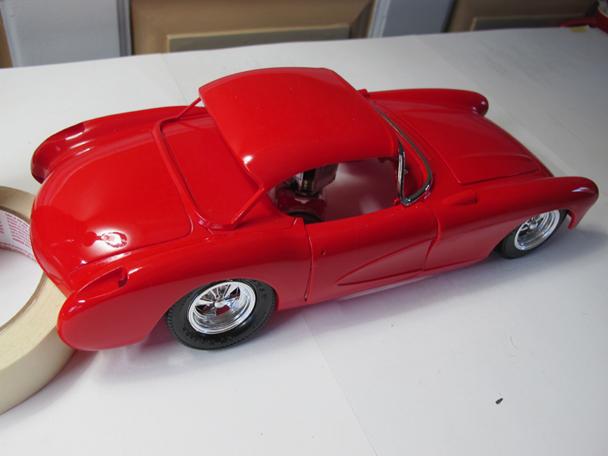
This kit is not quite done, but I decided to take pics today since its not raining. I did put some Cragars on it, other than that stock out-of-the box. This kit had nice detail and a few interesting features include working front suspension with springs, opening doors and hood, illuminating headlights and tail lights (1980s technology with dim bulbs and AA batteries) adhesive felt for carpet, and some options for the tops, wheels, and motor. No issues, fun to build 😃

- 25 replies
-
- 22
-

-

-

1/16 Ferrari Testarossa Koenig Special turbo
VanGoGo replied to Rich Chernosky's topic in Model Cars
Looks great, I did the standard Testarossa and can relate to your challenges! I like your use of screws to attach a warped body, and have resorted to that on a few cars...saves alot of frustration and really holds the pieces together. -
Who doesn't love a mock-up? Let's see yours!
VanGoGo replied to Belairconvertable's topic in WIP: Model Cars
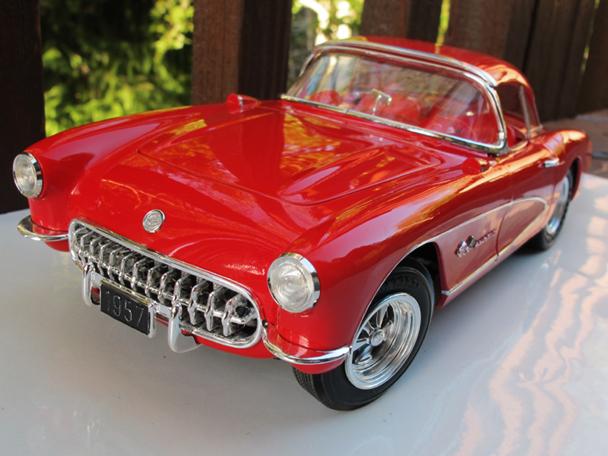
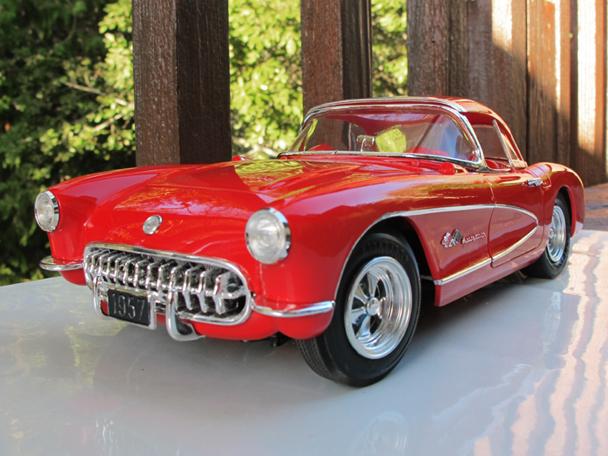
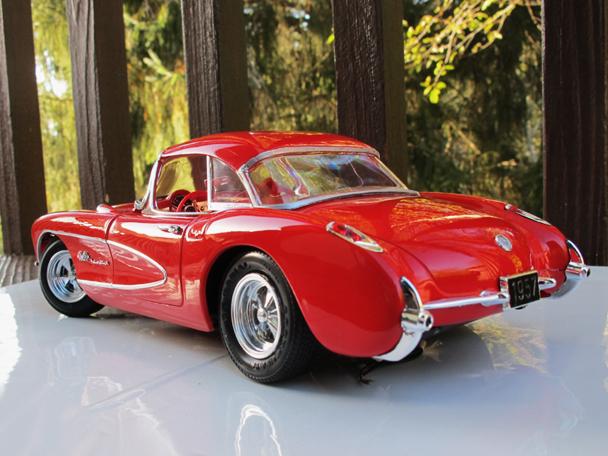
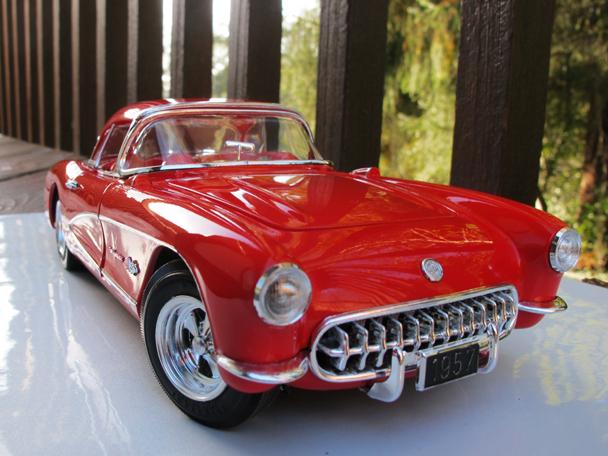
MPC 1957 Corvette, I used the 40 year old Testors spray paint on the body and very happy with the results. Its a very 'cherry' looking red. Going to throw some Cragars on it, and see what other goodies I have in the parts junkyard.
-
Who doesn't love a mock-up? Let's see yours!
VanGoGo replied to Belairconvertable's topic in WIP: Model Cars
I like how you think! I had seen some similar ideas online...don't think i have anything in my parts junkyard tho.
-
Very Cool!
-
Who doesn't love a mock-up? Let's see yours!
VanGoGo replied to Belairconvertable's topic in WIP: Model Cars
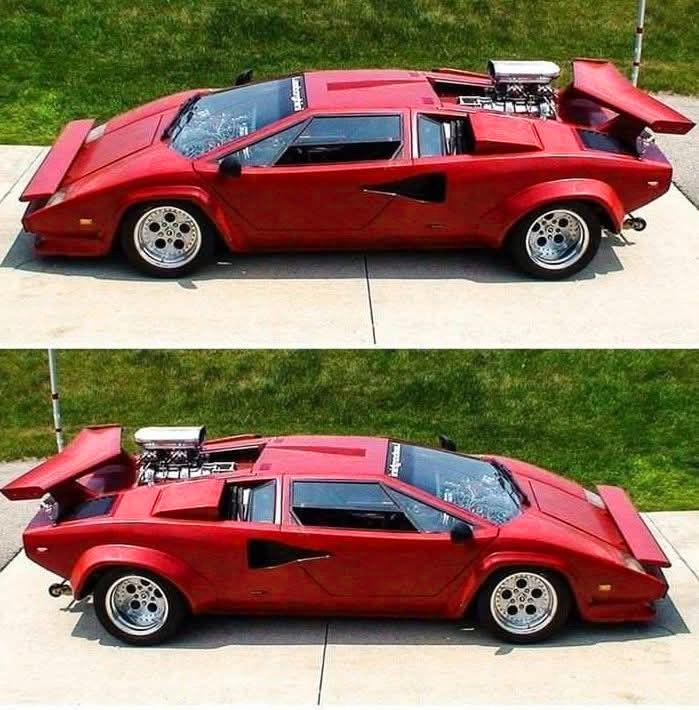
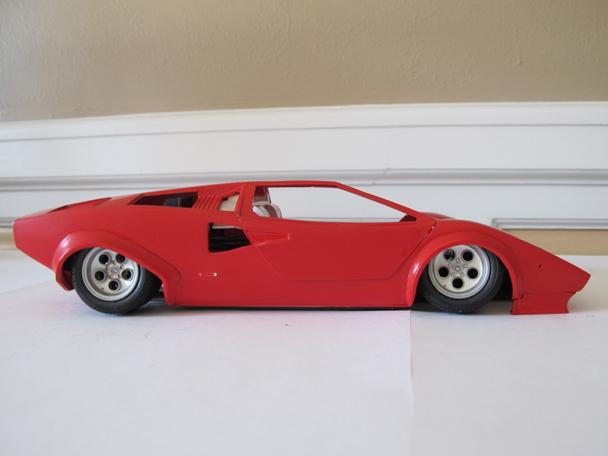
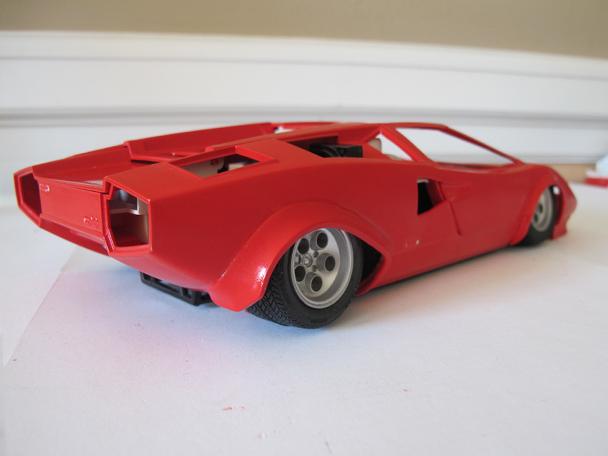
I bought this Lambo kit on eBay, turned out to be missing quite a few parts. I also had some 40 year old Testors paint that I want to use up, so figured this was a good guinea pig...also going to be a LOW guinea pig!
-
Looks great! I think early C3 Corvettes were the best looking body style ever made
-
Looks nice....similar to Mercurys "Competition Green"
-
Looks great!
-
Looks great...and its my favorite year Charger!
-
Looks nice, Ive never painted a car pink but it seems like it looks best on cars from the '50s. I have a '57 Corvette next in line on my workbench, I will probably be boring and go with red.
-
Looks great! In the early 80s I was building my 1:1 Nova, project taking more time than expected, waiting on mail order parts, etc., and my brother gave me the Nova kit (kinda as a joke)...it went together nicely and I loosly based it on the real car I was building...so I've always liked that kit. And of course it was the last model I built for over 40 years as I went thru my phase of building real cars.
-
Revell 1969 Camaro Z28 RS in 1/25 Scale. Black on Black.
VanGoGo replied to Dragonhawk1066's topic in Model Cars
Nice car! I have a weird disorder where my brain gets distracted whenever I see a Baldwin Motion Camaro...the hood in the background makes me drool!