Wild Child
-
Posts
129 -
Joined
-
Last visited
Content Type
Profiles
Forums
Events
Gallery
Everything posted by Wild Child
-

Ed Roth Cool '56 Ford
Wild Child replied to Wild Child's topic in Model Trucks: Pickups, Vans, SUVs, Light Commercial
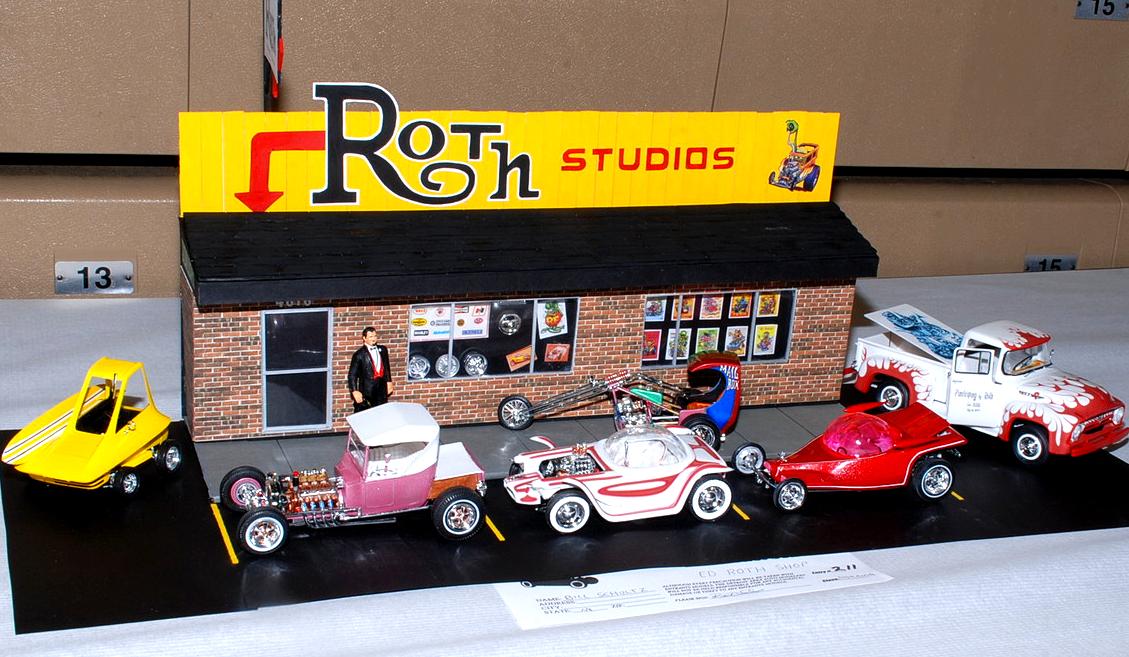
Thanks guys. When attempting this kit, you definately have to take alot of time on the decals though. Also, here is a pic of my Roth shop front with some of my cars.
-
Nice car, and I am sure no one would be 'Grumpy' over this one.
-
Nice car,...always love the magazine covers.
-
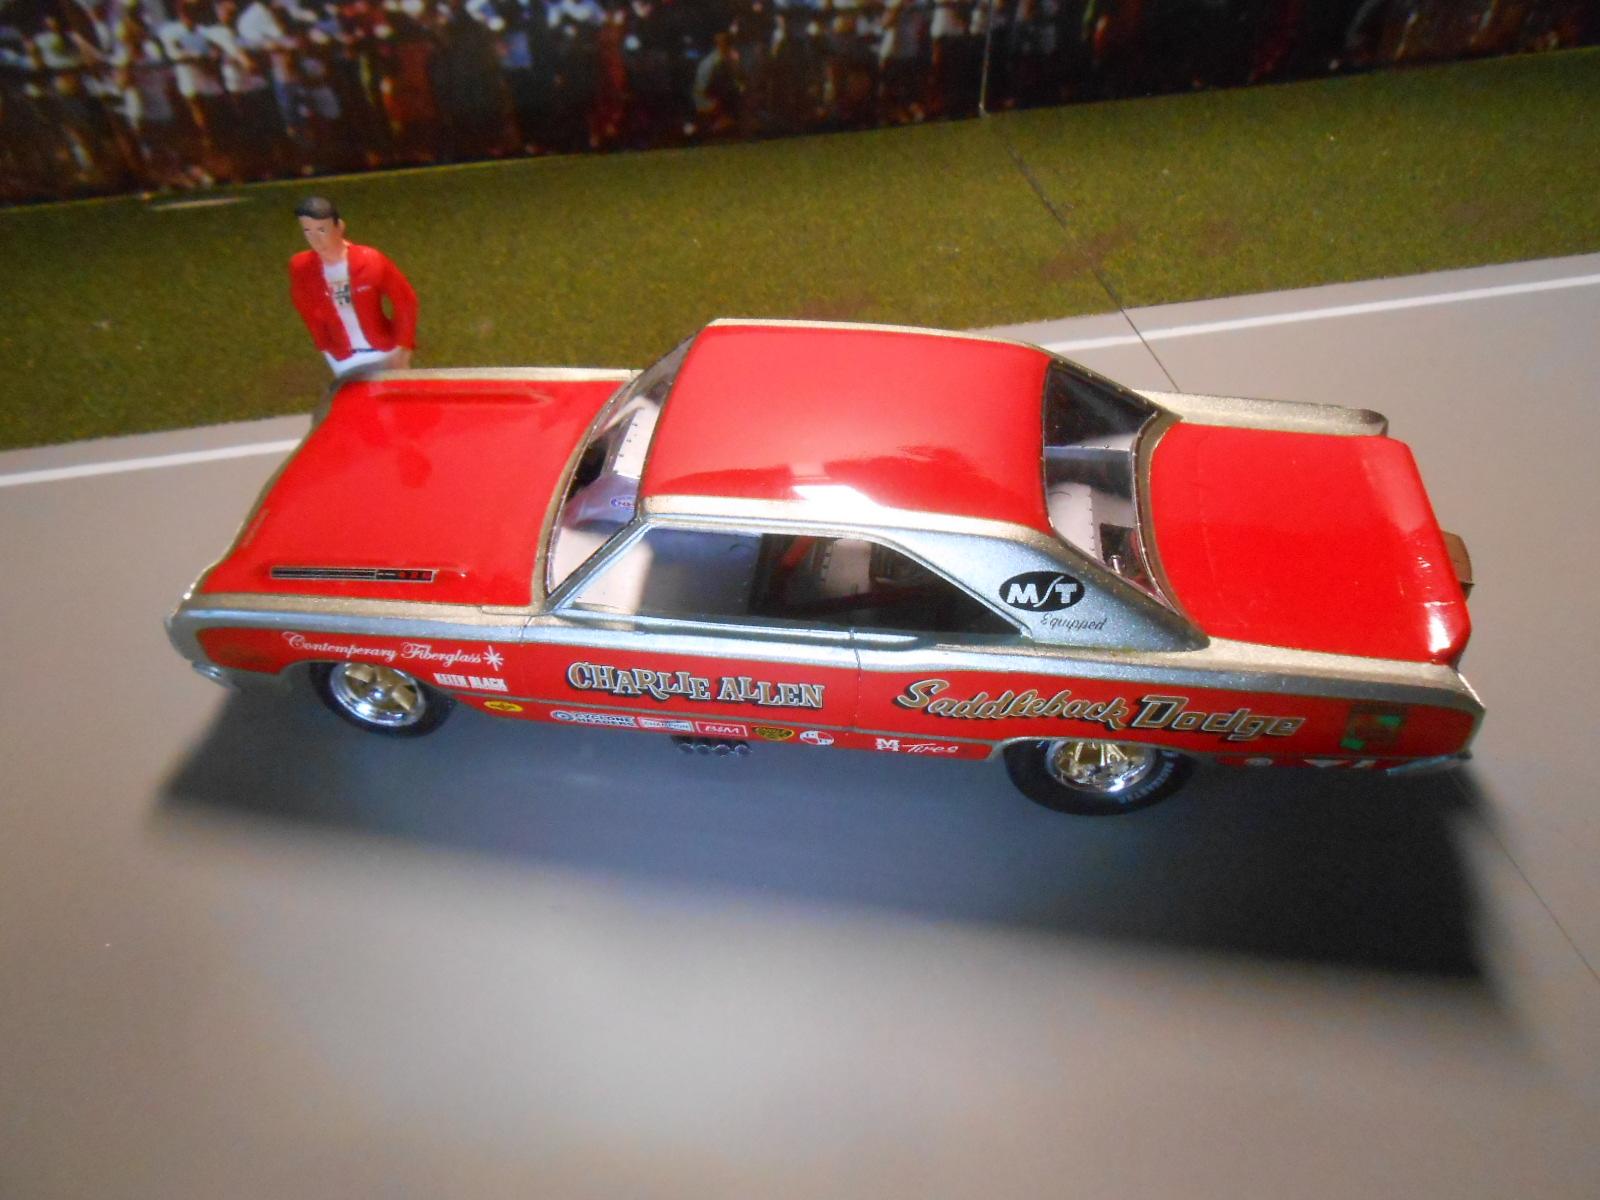
I had mentioned this topic once when I posted my Charlie Allan Dart Funnycar, and agree with MM. The decals on this Dart cracked like crazy, in particular the large red decals. When I contacted Becky, she sent me 2 sets to replace the ones I had. It took both sets to get them on, and even then it took a bit of patience. I have found that these decal sheets, as well as original box stock ones, get old and crack easy. Always buy from the producer, at least they are fresher than third party sellers, and you have someone to go back to if you have issues.
-
Monogram Indy car
Wild Child replied to BIGTRUCK's topic in Other Racing: Road Racing, Salt Flat Racers
I still think this is one of the coolest early cars I have seen! Nice job. -
Ken, Who makes the Fokker V23 you pictured here? That is a really neat one.
-
I have been on the lookout for other 1/28 D IV's Alan, but really never see many any longer. All these 1/28 WW1 kits seem to be drying up. Too bad though, they are neat to build. Even the others are not cheap any longer. When I think of all the planes I cut up for those custom builds I previously did (see other posts on Hanriot, Fokker D2, Sopwith 1 1/2 Strutter, etc), I can't help but wonder if I would do them again!
-
Thanks guys. Ricky, I agree that these Vegas were very accurate in scale and details.
-
Thanks Tony, I love this body style in a Funny Car also. In regards to the stance and rake of these early cars, often these cars differ from each other in reality. Some kits stock stance is ok right out of the box. For those that are a bit lower in the front, try mildly trimming the interior tin work in the firewall area where it rests on the frame. Little at a time, too much and the blower scoop could touch the windshield. Also, to raise it a little, add a piece of this plastic on each frame top (or the firewall tin work bottom) in the same area. I had to do this to my KS Pittman Firebird custom build as his was higher than normal. View post on Killer Firebird Funny Cars to see this car and the Brutus Firebird and let me know what you think. Concerning the rear, often these are extra high. Take the rear tin work, shave a little off the top area that rests on the body. This will lower it some. Too much and you risk the roof hitting the roll bar. If this occurs, just trim the roll bar mounting spots a little where it sits on the interior tin work. Just takes a little time to fit, trim, and re-fit....but the end results will make you happy.
-
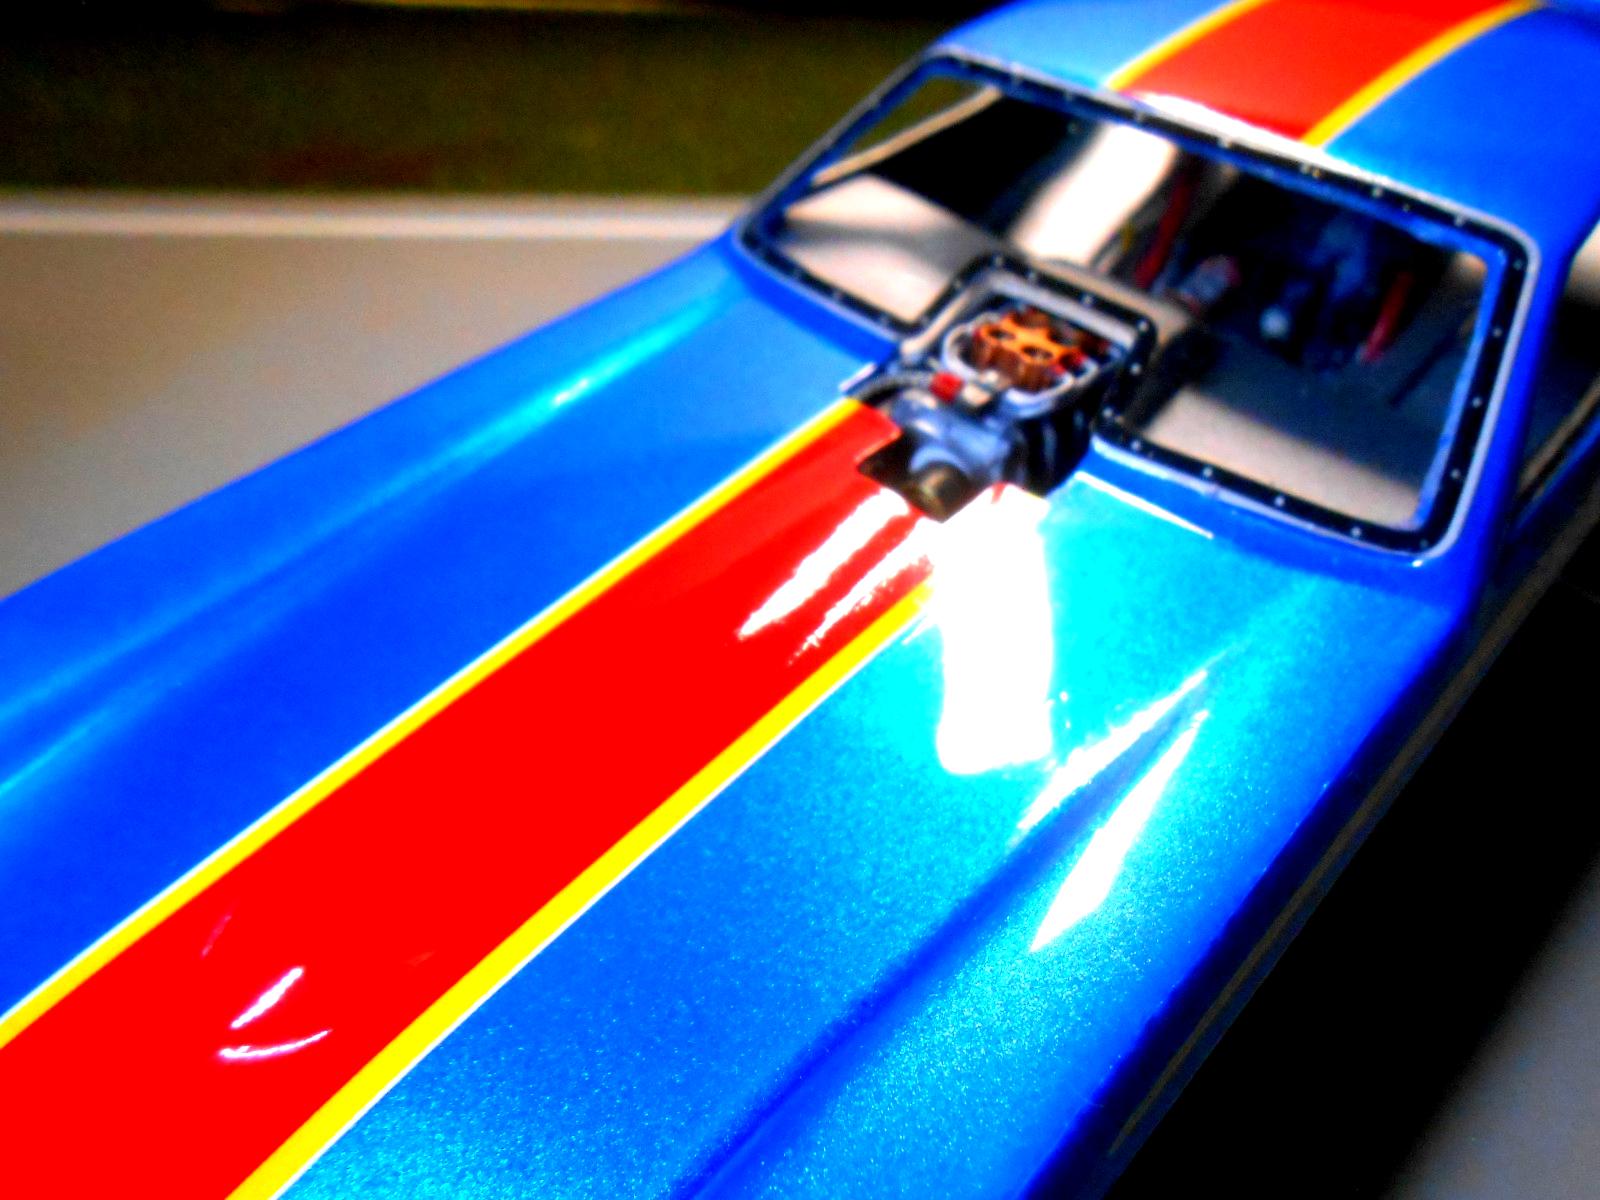
Thanks guys, I appreciate the kind comments. It is always fun to hear what fellow enthusiasts think, especially these cars often sit unseen in curio cabinets most of the time. And yes, I try to take extra care in the paint finishes as this is what most everyone, especially non model builders, always see foremost.
-
great looking truck. Love the design element, it really works!!!
-
1966 Ford F350 Ramp Truck
Wild Child replied to Chuck Most's topic in Model Trucks: Pickups, Vans, SUVs, Light Commercial
Cool truck. I love the weathering also. -
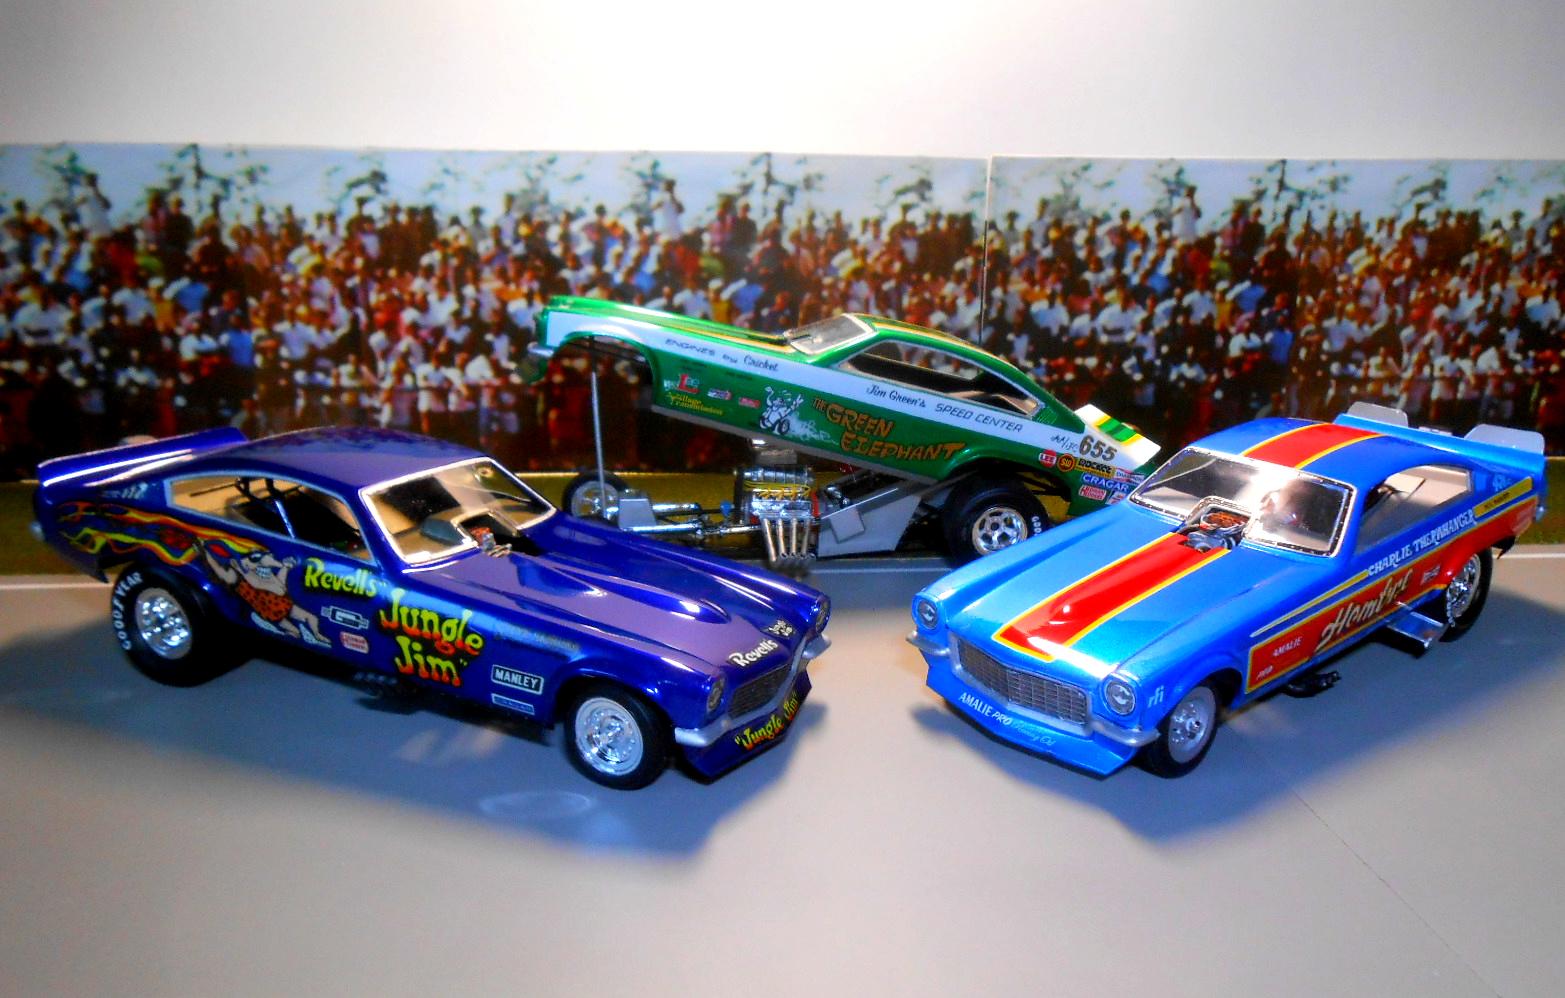
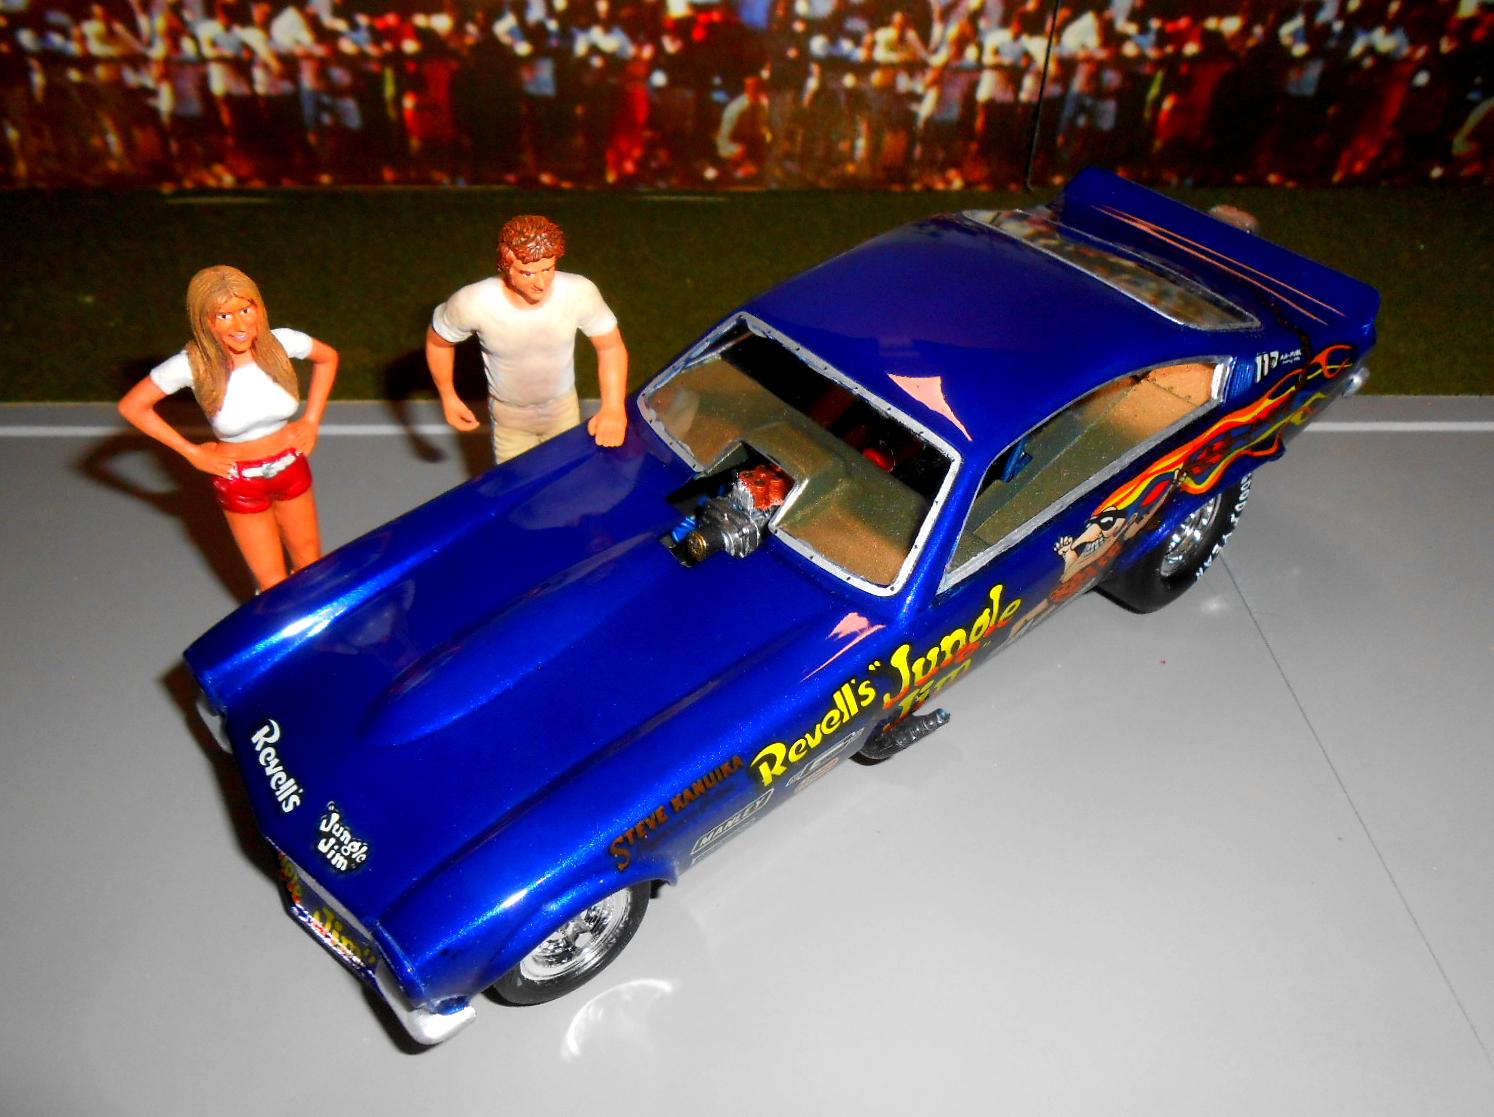
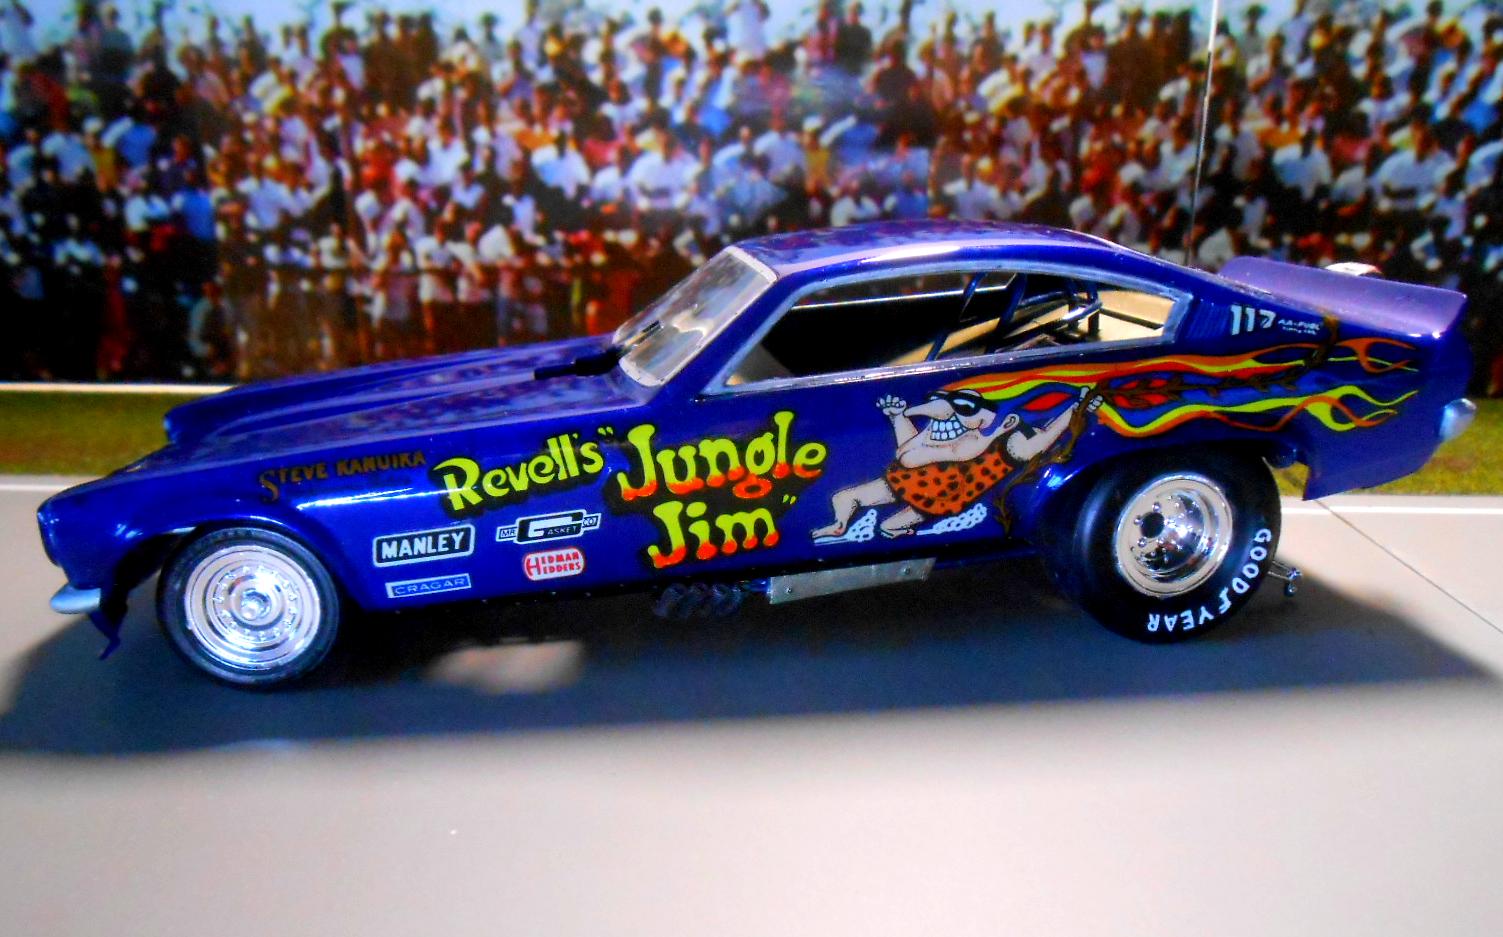
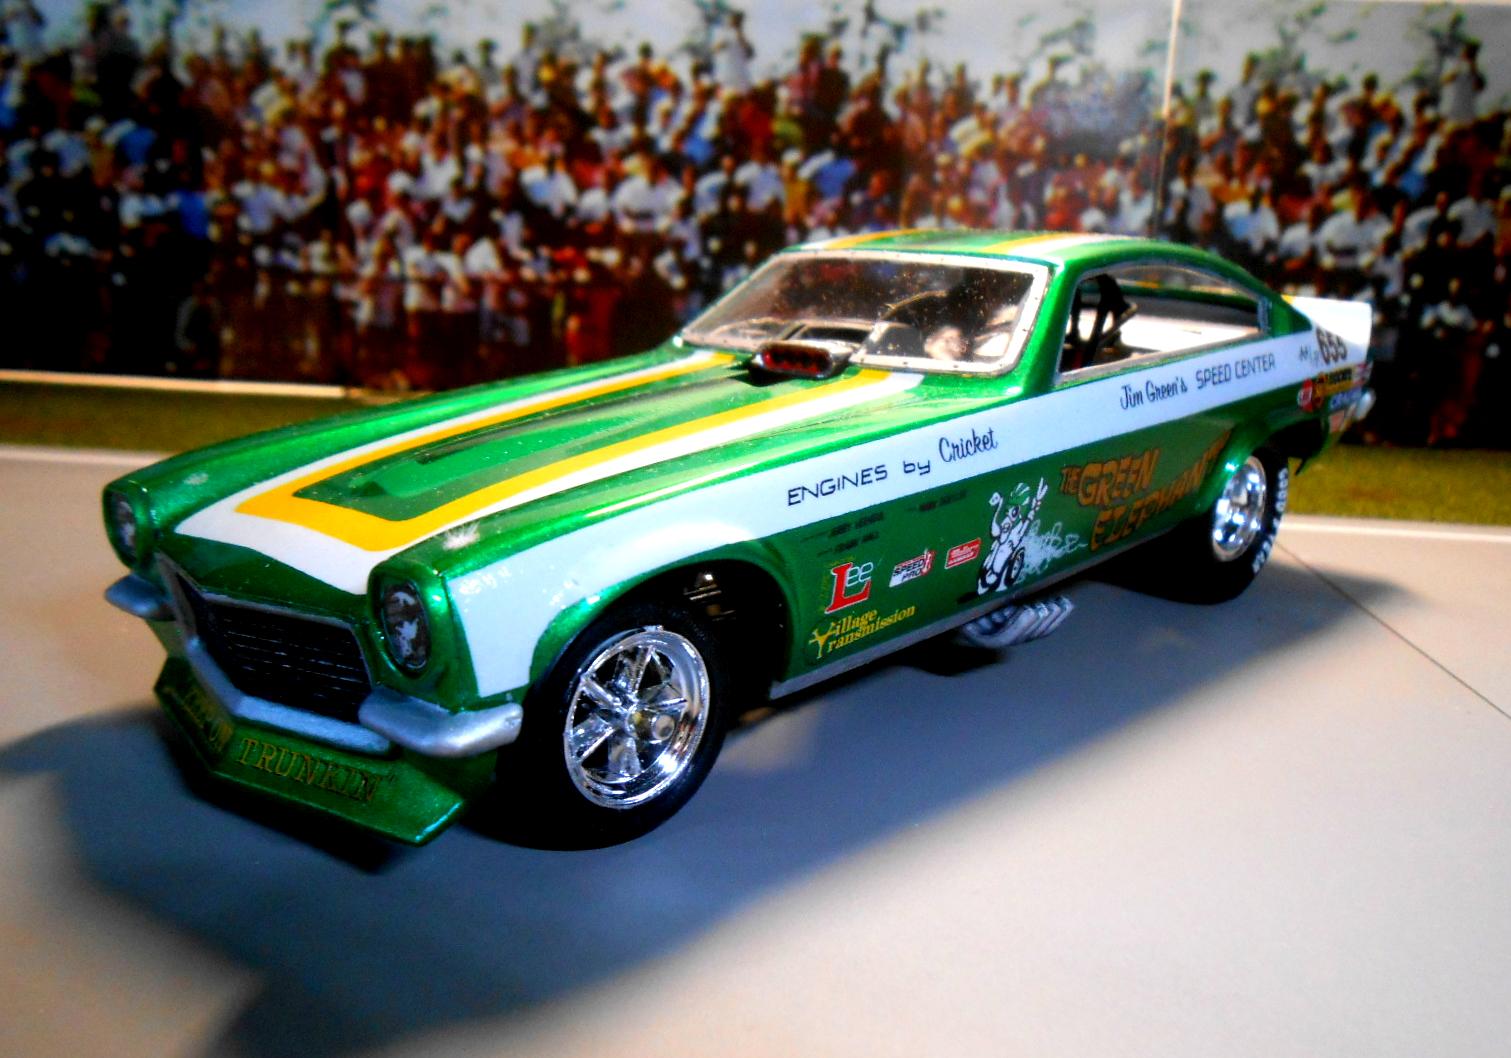
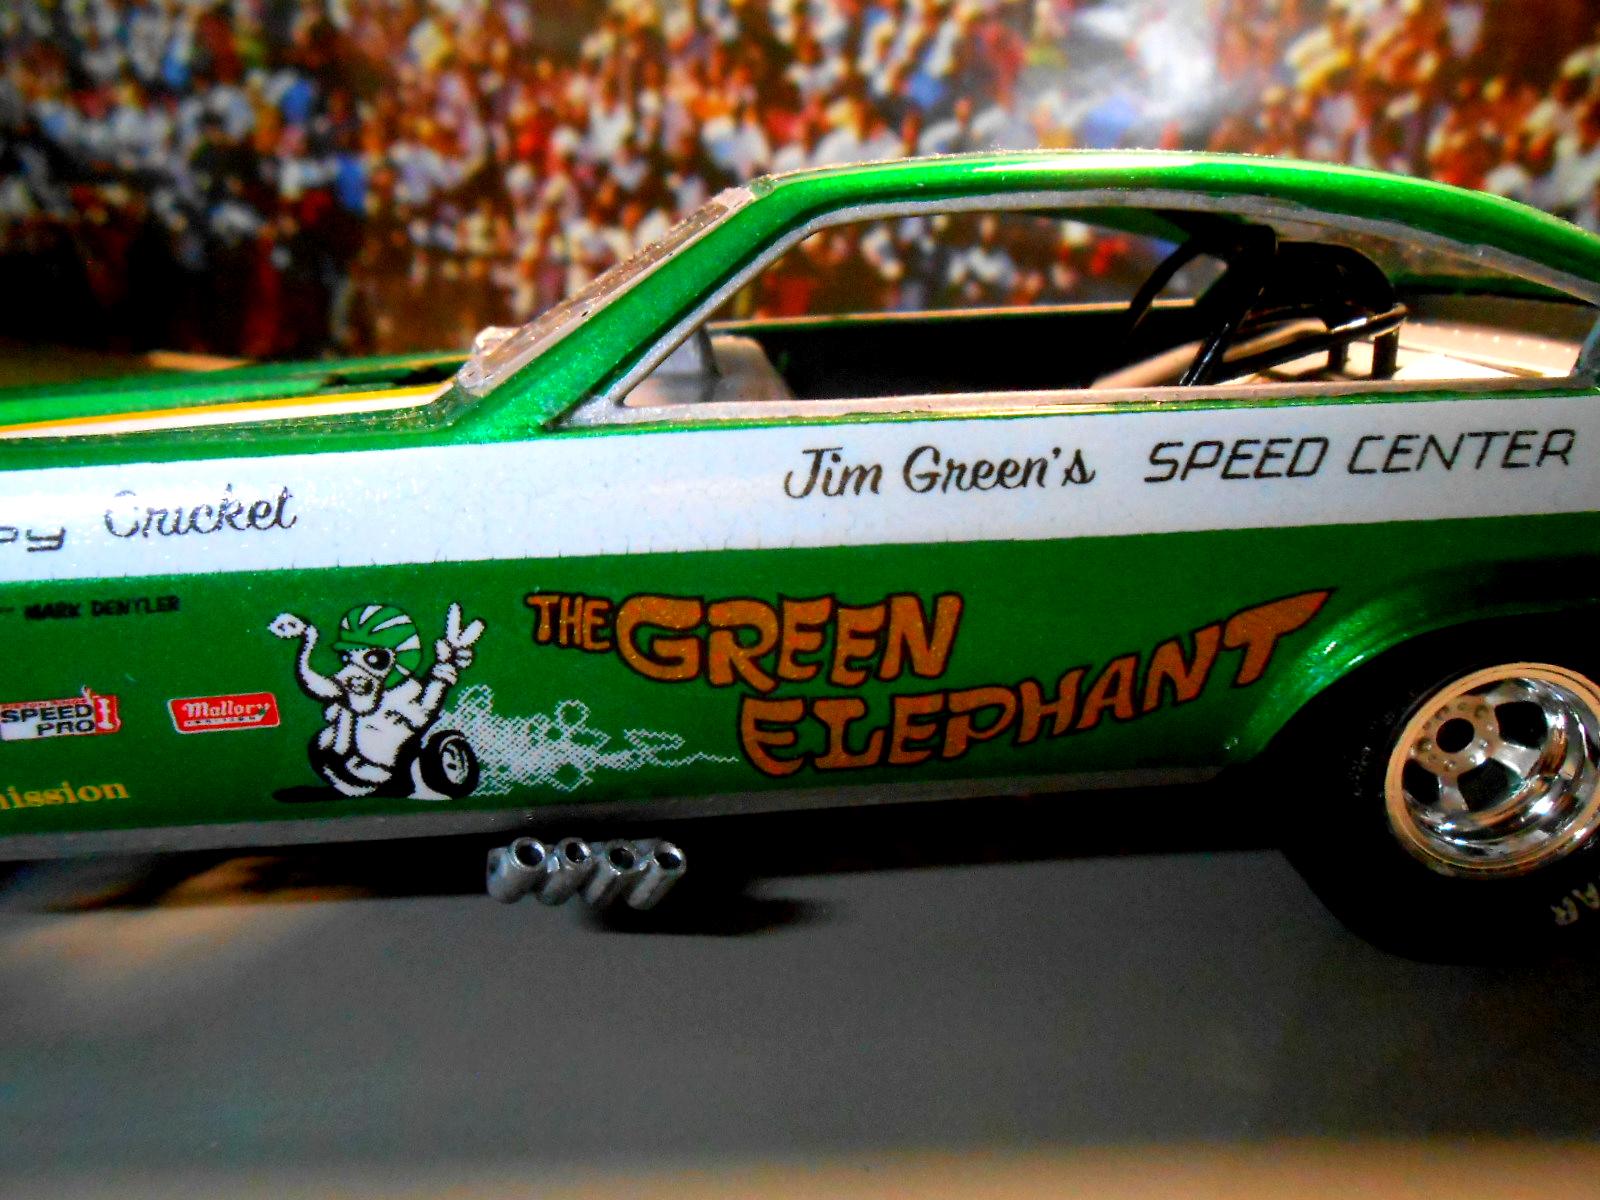
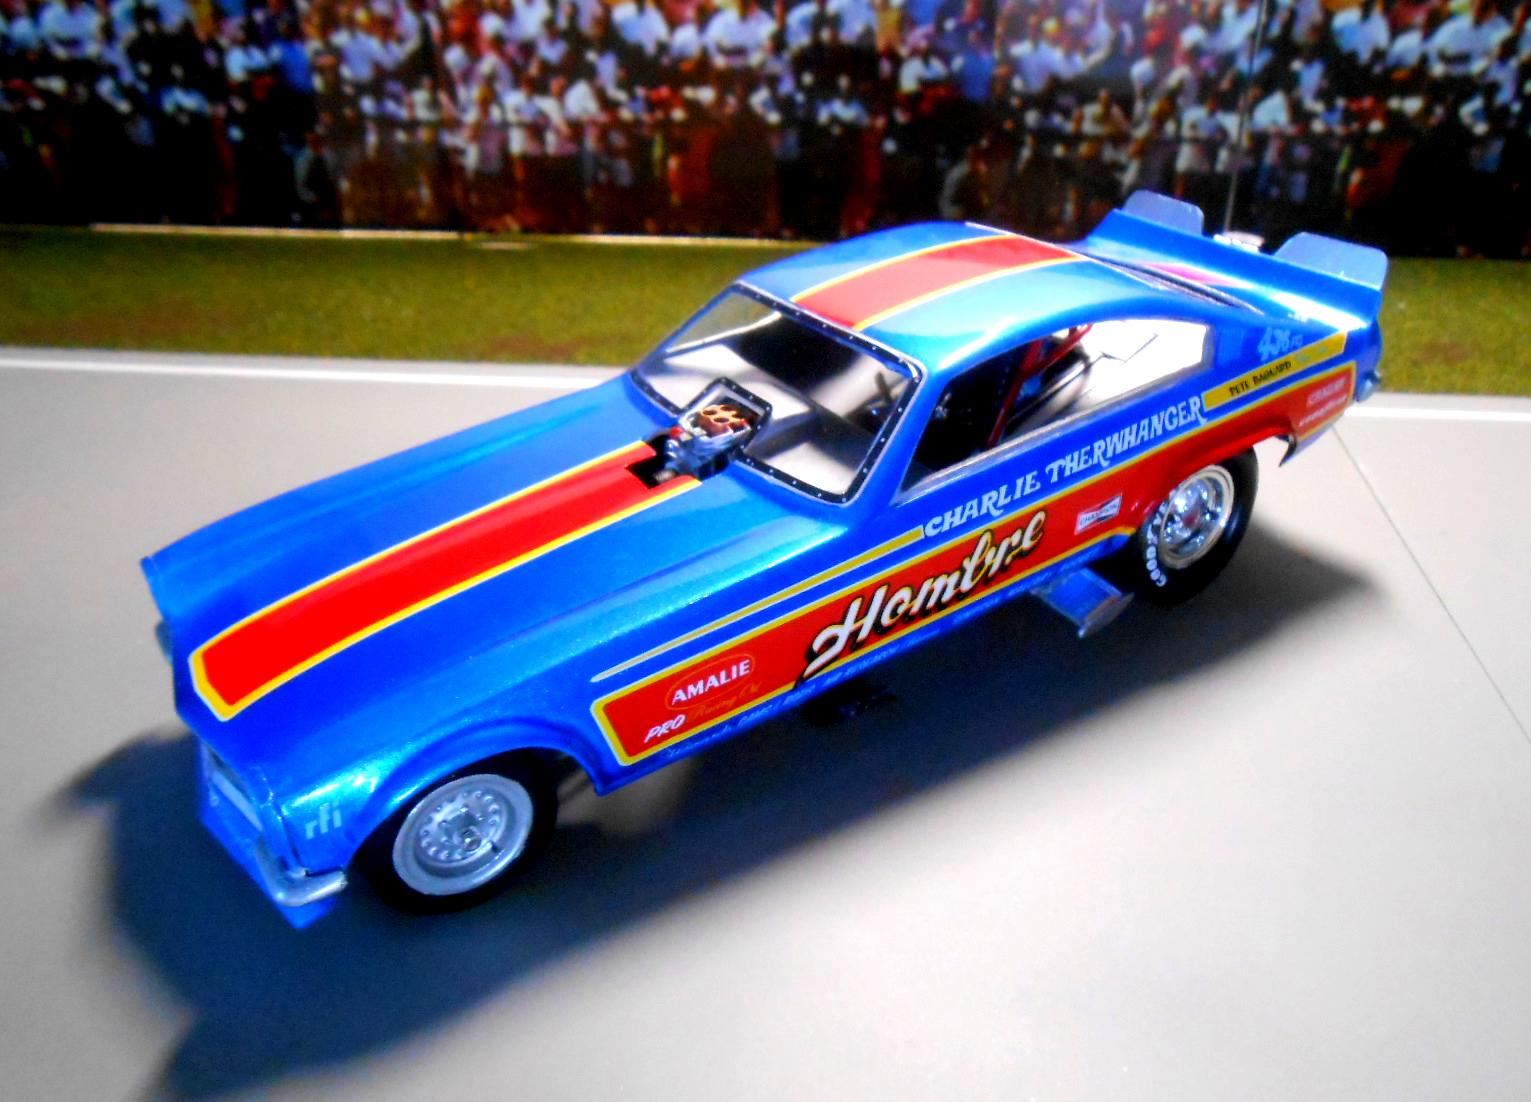
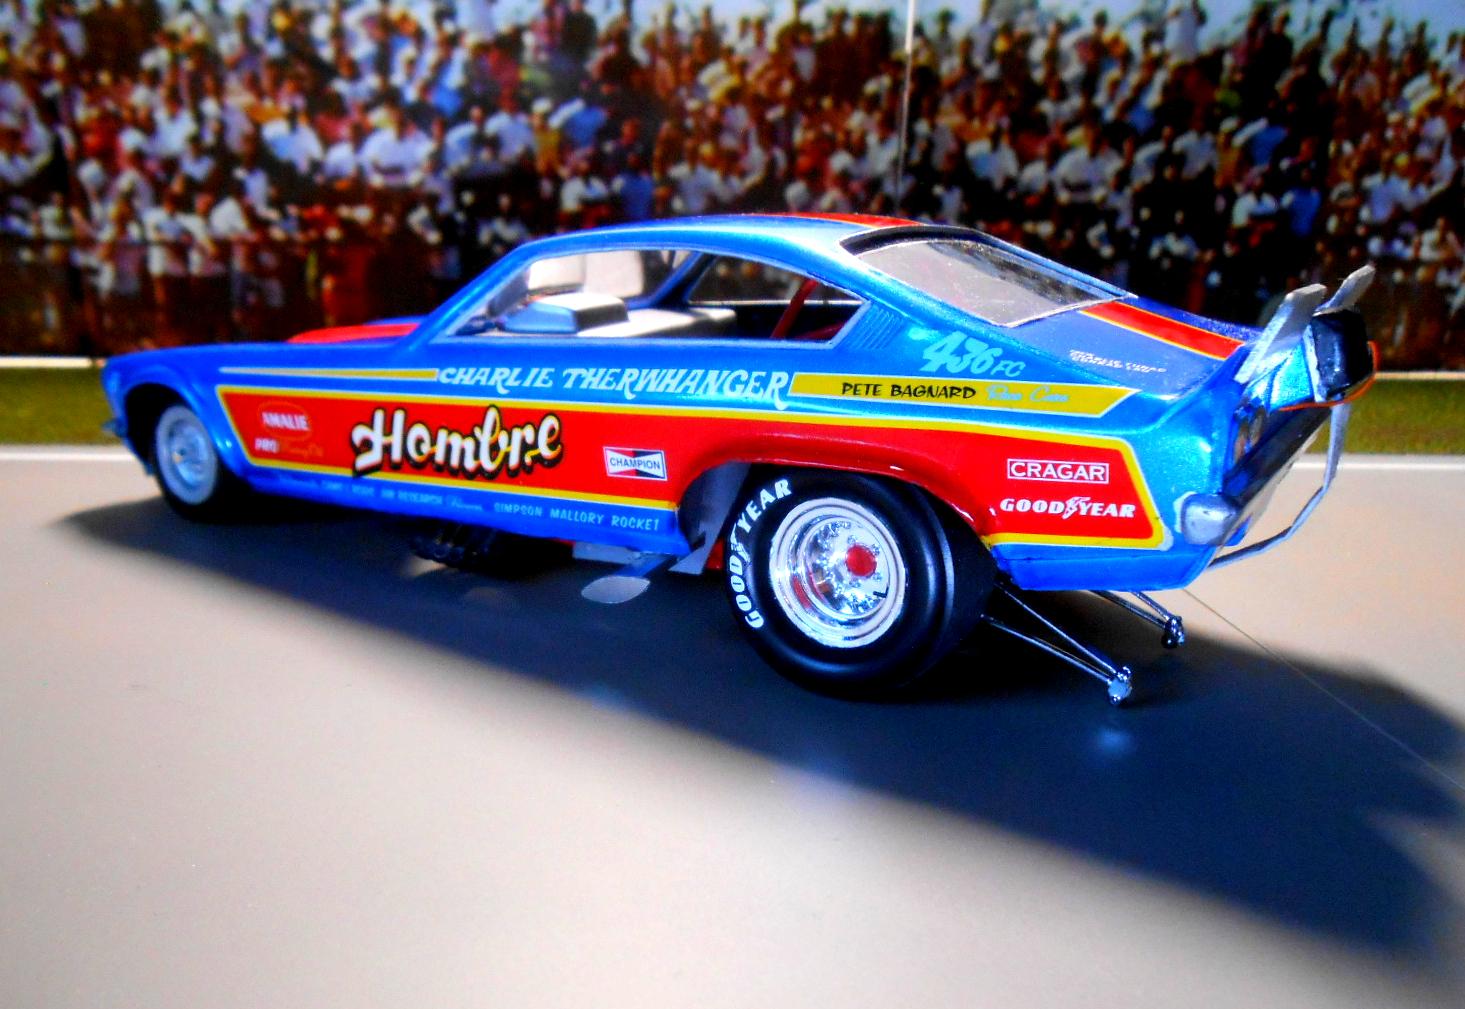
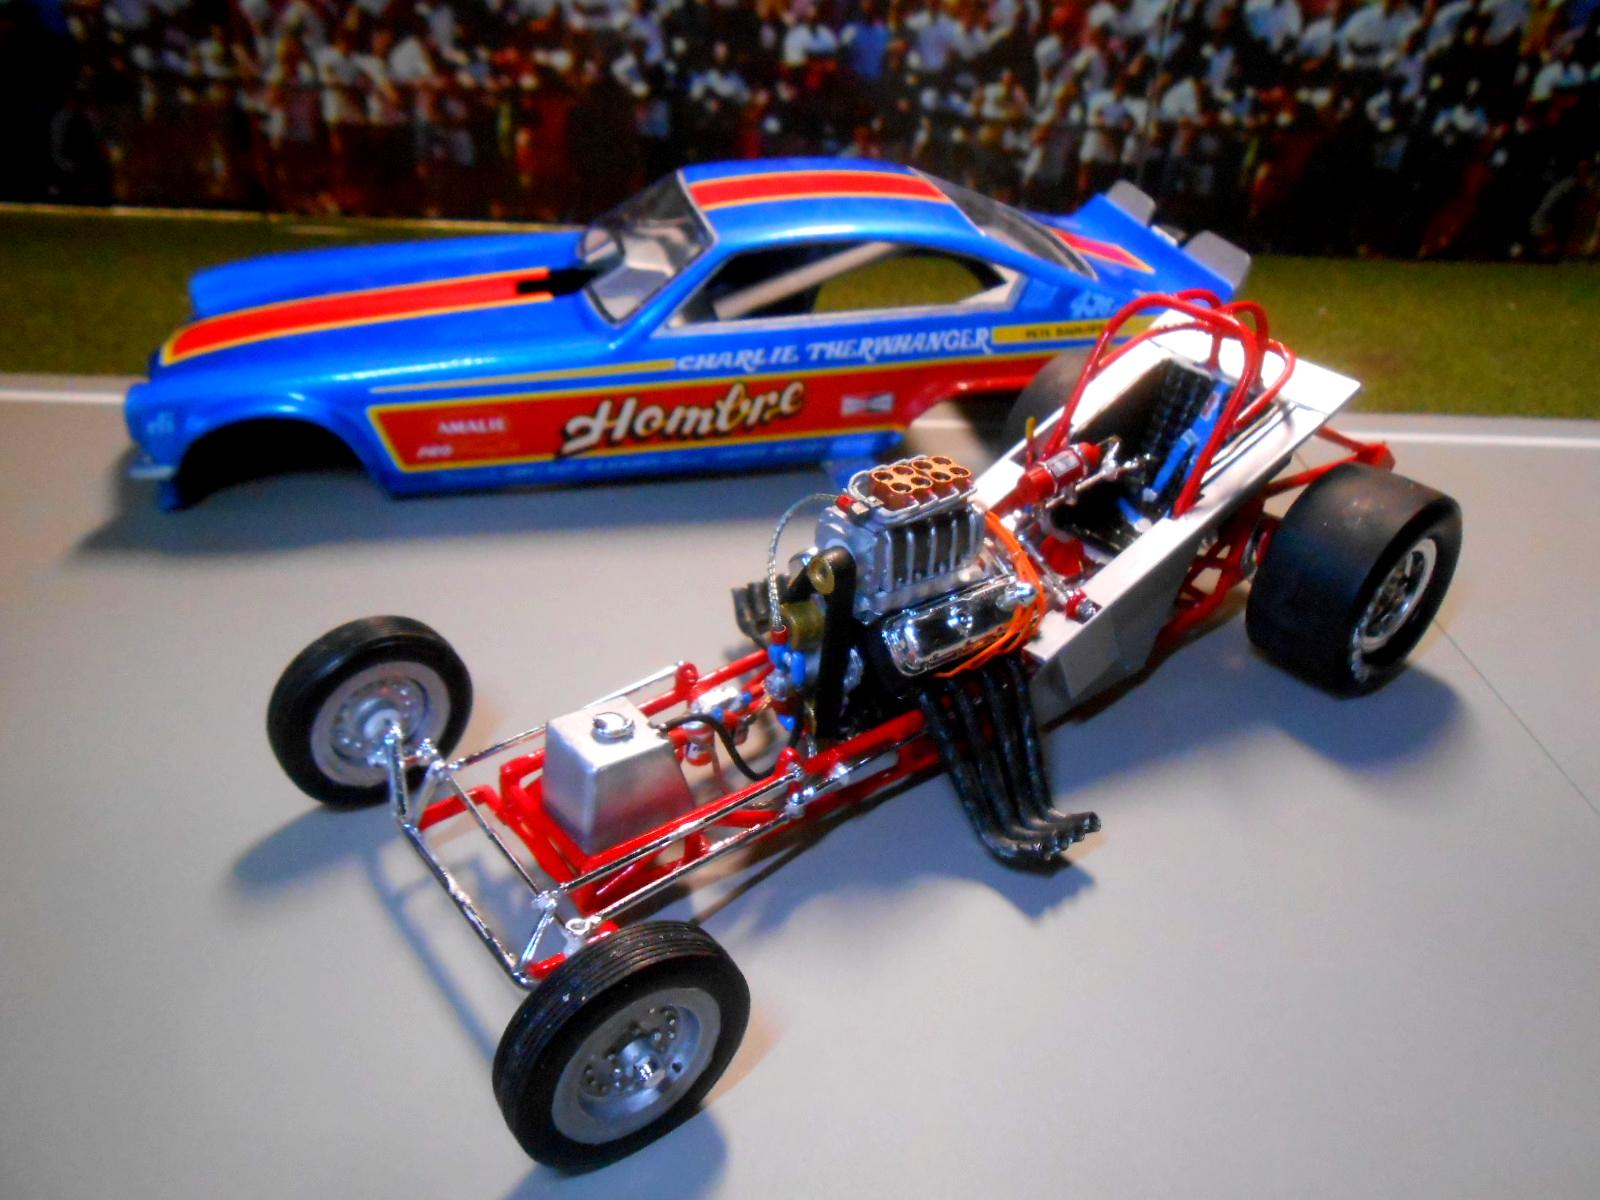
One of the most popular Funny Car kits of all time that most everyone who likes Funny Cars has built sometime in their life is the early Jungle Jim Vega. Years ago I built this car, and liked it so much that I decided to build a couple more. Using available Slixx decals, below are two other Vega builds ( Jim Green's 'Green Elephant' and Charlie Therwhangers 'Hombre') along with Jim's car. I have always thought these early Vega's look awesome as Funny Cars. All three cars have high detail engines and glossy paint finishes. Greens car has a blower scoop and different wheels added for correctness. The Hombre Vega needed a bit more work which included a complete motor change to a Big Block Chevy as well as custom made lower side air foils and larger rear spoiler extensions. Additionally, these cars have molded in rear windows in their box form which used a decal. Many original cars did have the back window, so these had to be carefully cut out and clear windows installed. This requires a bit of custom work, but the results look really nice. As a side note, the Jungle Jim decals in the original issue kits have solid yellow side lettering where the real car had some orange. Once the decals are applied, this can be fixed by adding a little testors orange and blended in for a more authentic look. Easy fix, and looks great. Cool Vega's are the bomb!
- 15 replies
-
- 18
-

-

-
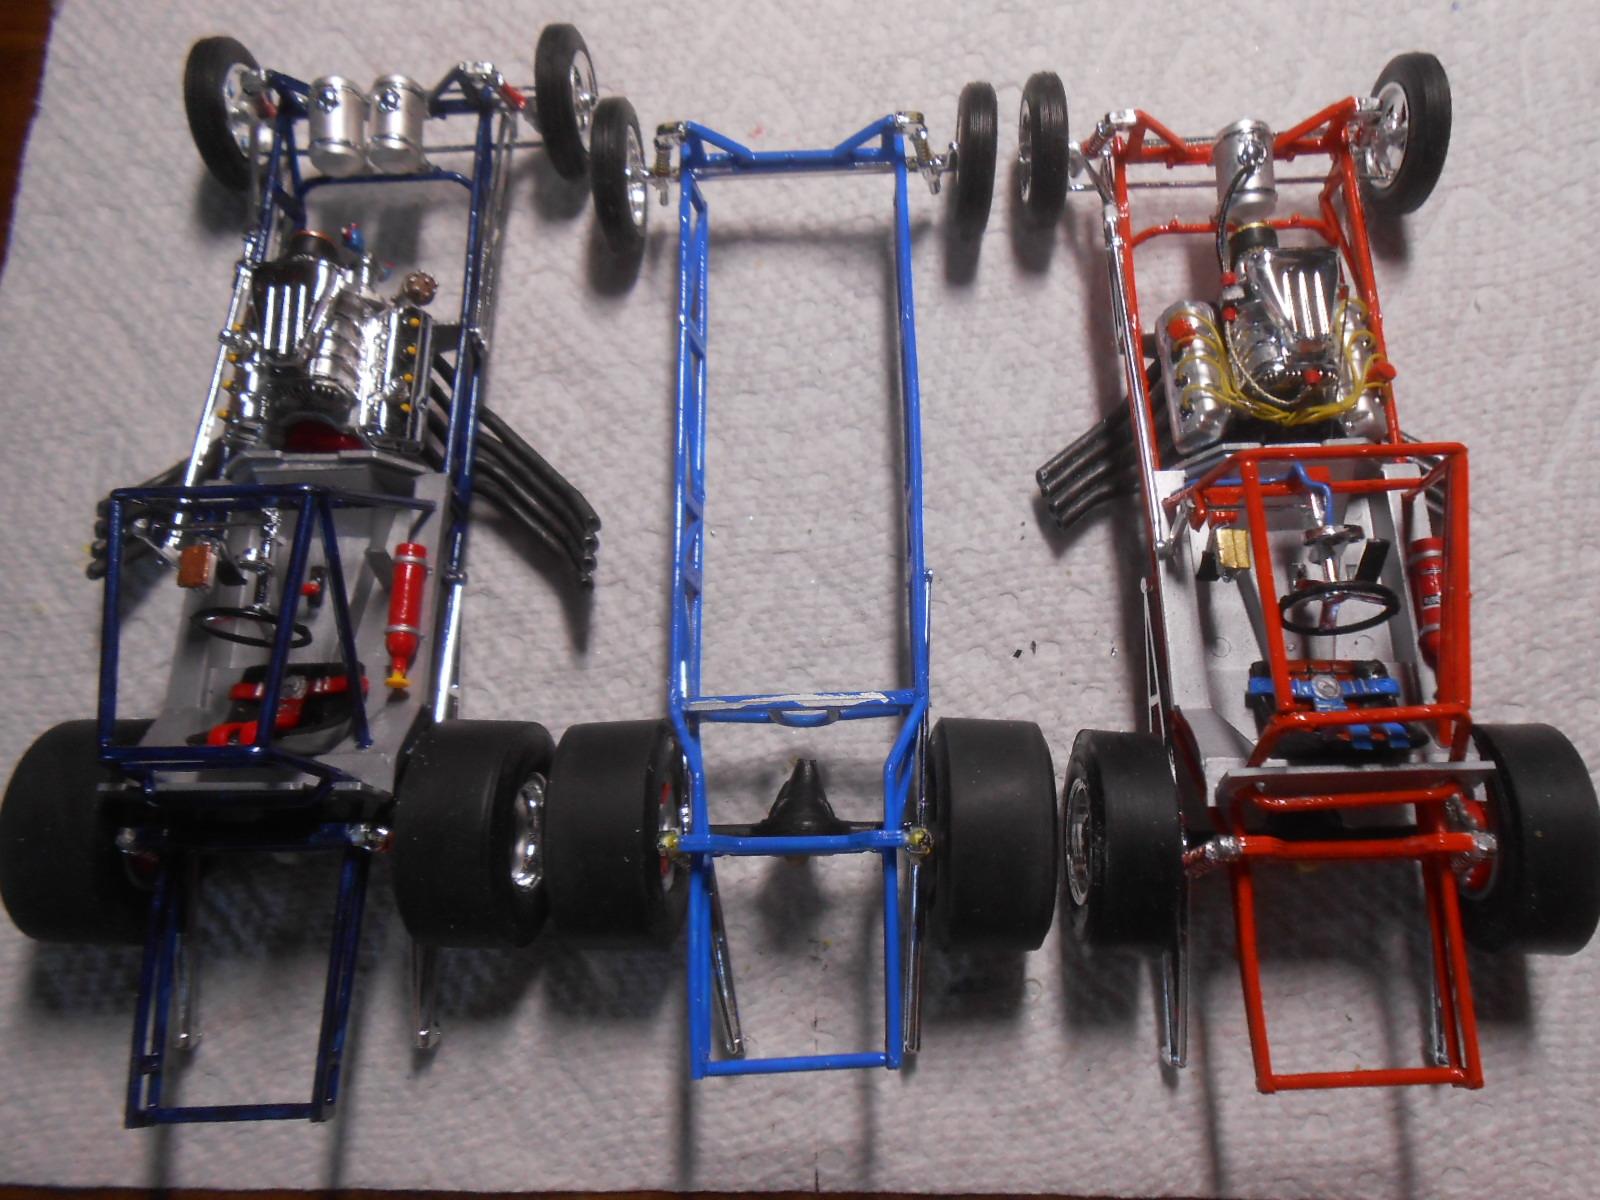
Thanks again guys. These are among my favorite. I am currently working on the Jess Tyree '69. This is a hard one as the paint scheme is extremely difficult to do without an airbrush. This pic is the Tyree frame (center) after modifications. Left one is standard Polar Lights chassis from a Cuda (slightly longer). Right one is from the Brutus Firebird, which I used the Cougar kit tires to fit the smaller Bird body. I modified the rear frame, wheelie bars and rearend to take the larger slicks for the Tyree car. As you build, you learn.
-
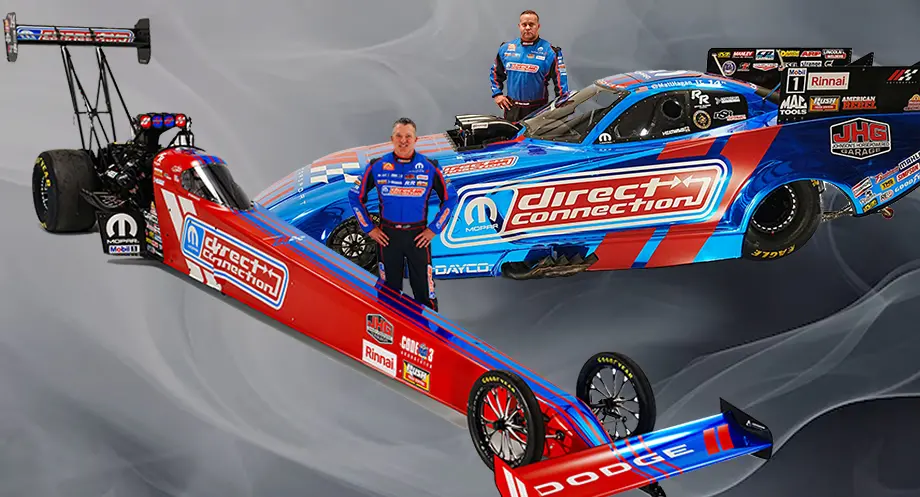
Thanks guys, great to see some later Dragster fans out there too. I agree that it would be cool to have a new Dragster out there, such as Tony Stewart's car shown here. I think our standard model companies are really struggling and keep re-issuing old kits in different boxes. Problem as I see it is cost. As kids, we could easily afford kits. This was their volume. Now, few kids build models as the costs are insane,...then add the building supplies. Hope to see more new Funnycars and Dragsters.
-
Monogram Indy car
Wild Child replied to BIGTRUCK's topic in Other Racing: Road Racing, Salt Flat Racers
Awesome car Ken. Love the vintage stuff. -
Thanks guys. What a difference in length, aye?
-
Cool Hornet-mobile. Yellow looks good in that car.
-
1971 Blue Max Mustang Funny Car and the Summer Battle Royale...
Wild Child replied to Coyote_6's topic in Drag Racing
Steve, good looking car. As a vintage Funny Car-aholic (most of my posts), my all time favorite Fords have always been this Mustang and the '69 Gas Rhonda car. Cool outside pics too. -
British Matilda
Wild Child replied to shoopdog's topic in All The Rest: Motorcycles, Aviation, Military, Sci-Fi, Figures
Nice Tank. Love seeing stuff other than the common Panzers, Tigers and Shermans. Cool. -
Kodiak Pontiac Grand Prix 2+2
Wild Child replied to Jim N's topic in Stock Cars (NASCAR, Super Stock, Late Model, etc.)
Nice build Jim. I love the Pontiac's, and I actually had a 2+2 through the 1980's. Drove great, lots of looks, but low on power as the cars went into production so fast, they were not legal to have the HO from the Monte SS. But still, I love the Nascar lower front spoiler on these cars a lot, certainly more than the production models. Cool car. -
Thanks guys. I really liked doing the comparison builds. Though I have a few others, these were my originals. The Bug is a real oddity, and on first glance may look a bit cheesy. But this is very similar to what it looked like. No seat belts, seat bolted to a wood 2x4 floor with very little body, and pipes blowing right at your left knee-cap. Go 113 mph in this with wind blowing the body around and wobbly wheels... might be a Ceder Point ride!
-
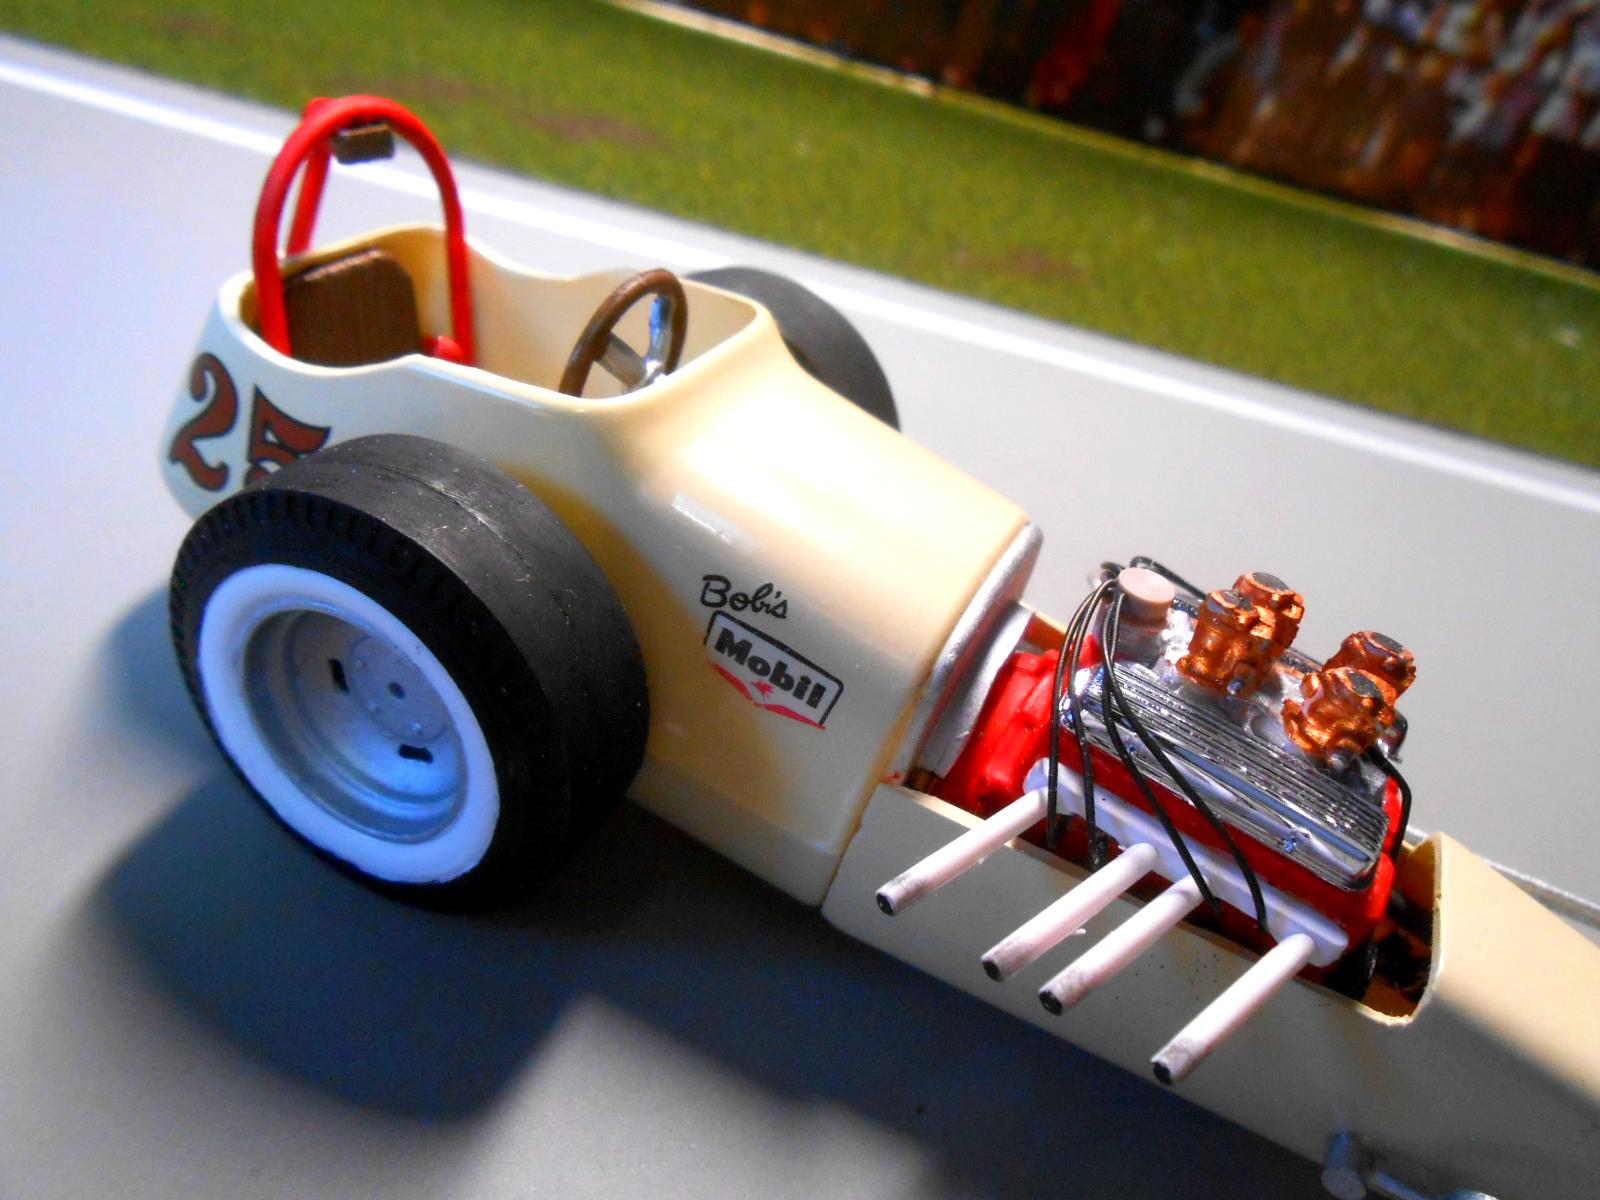
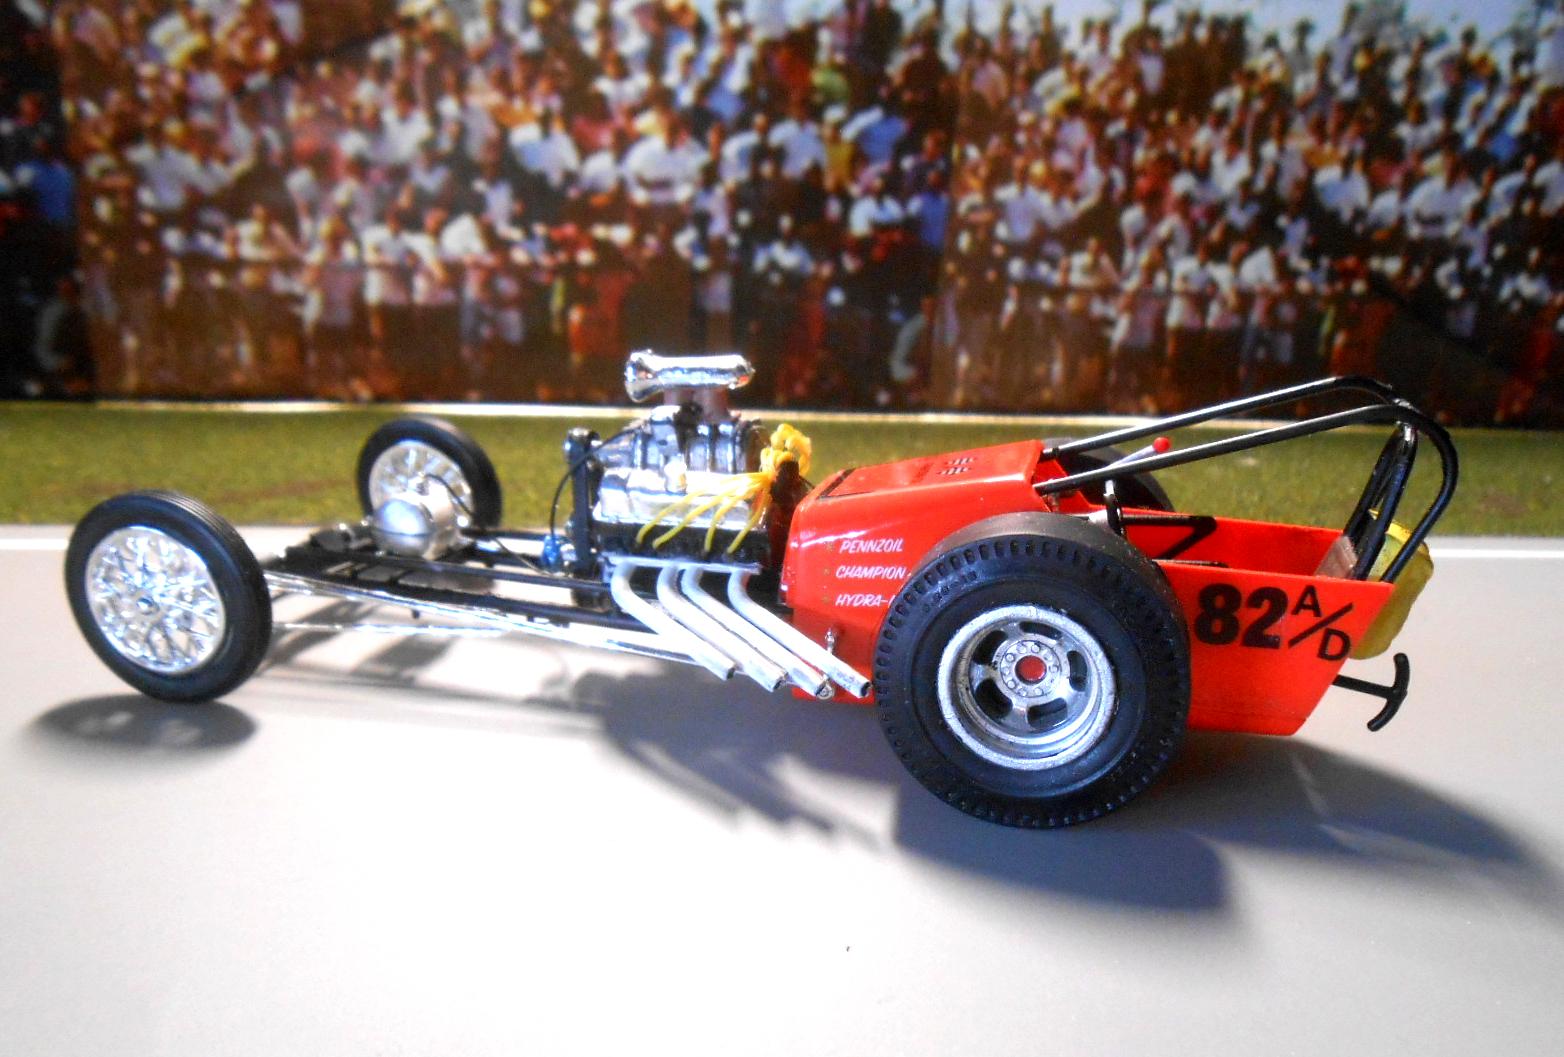
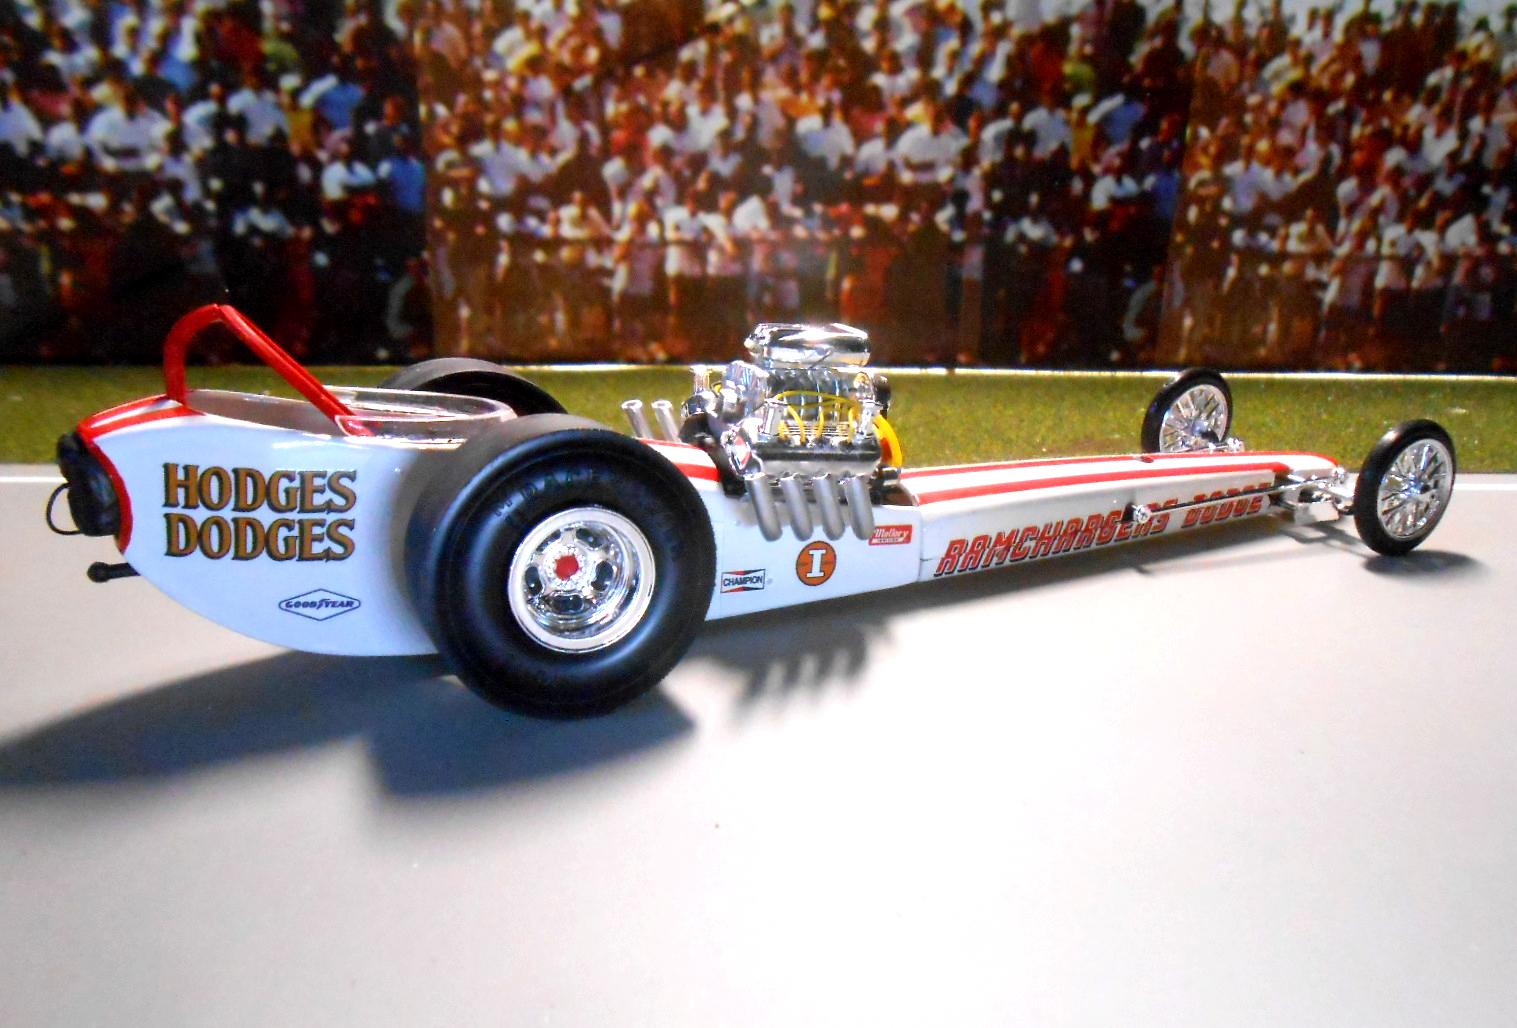
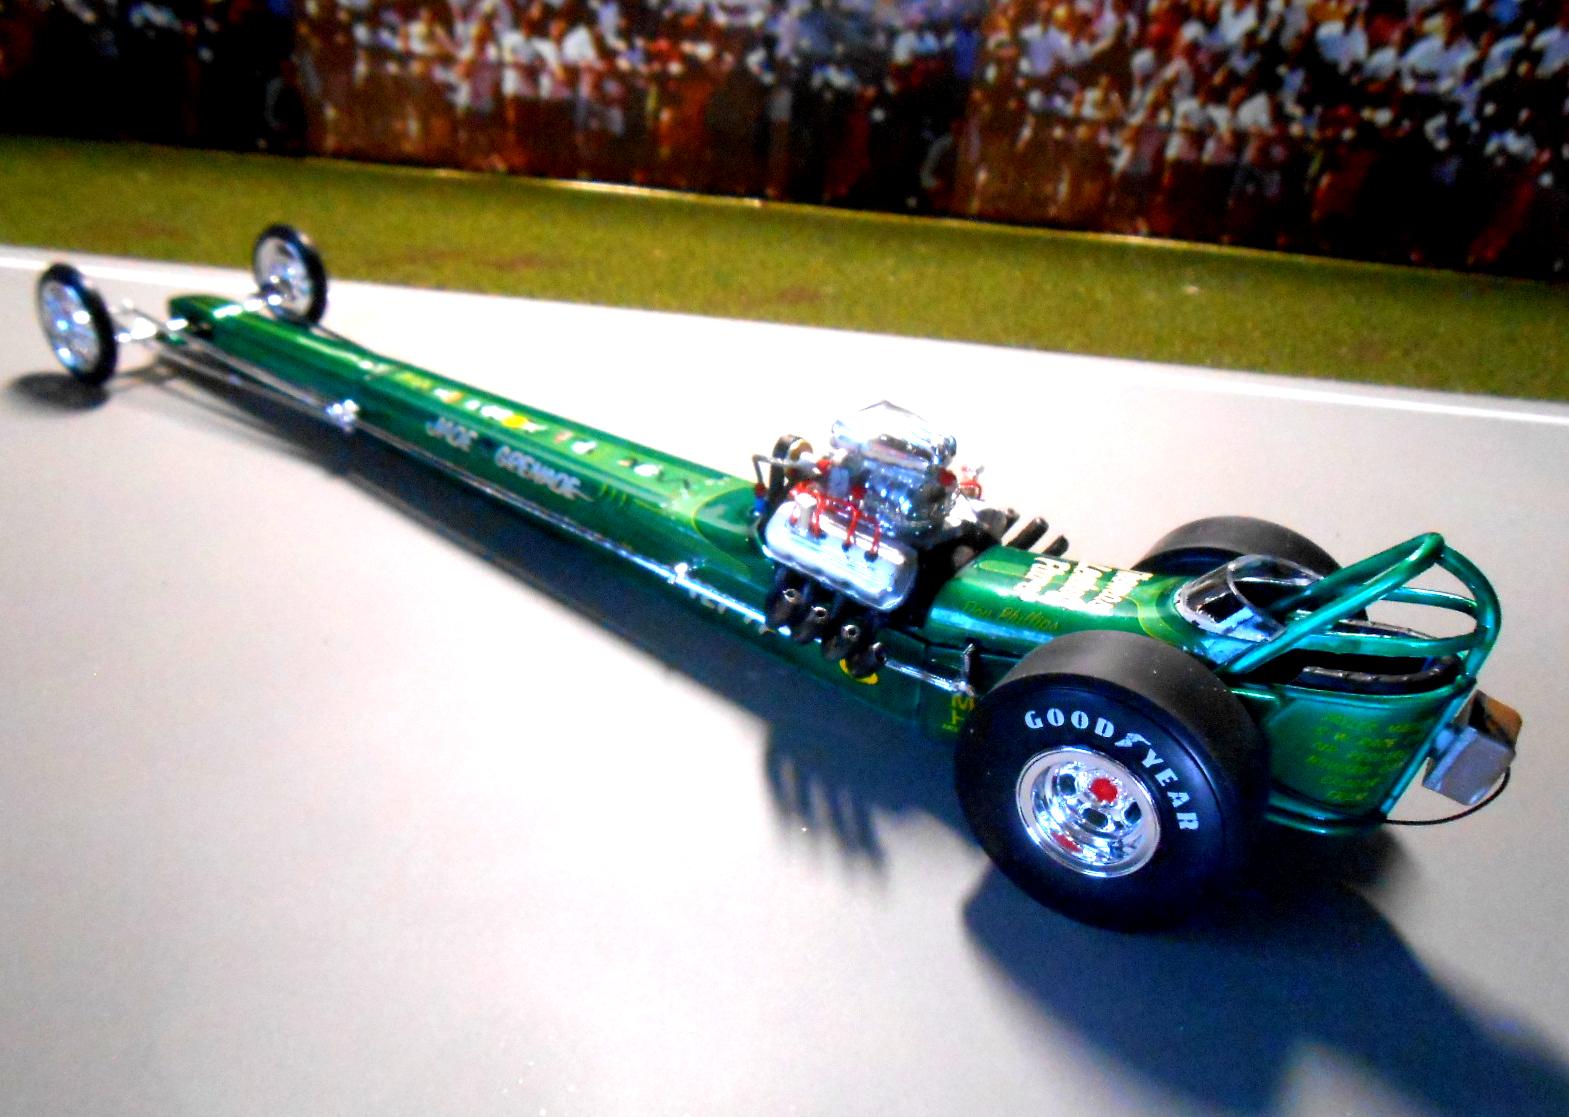
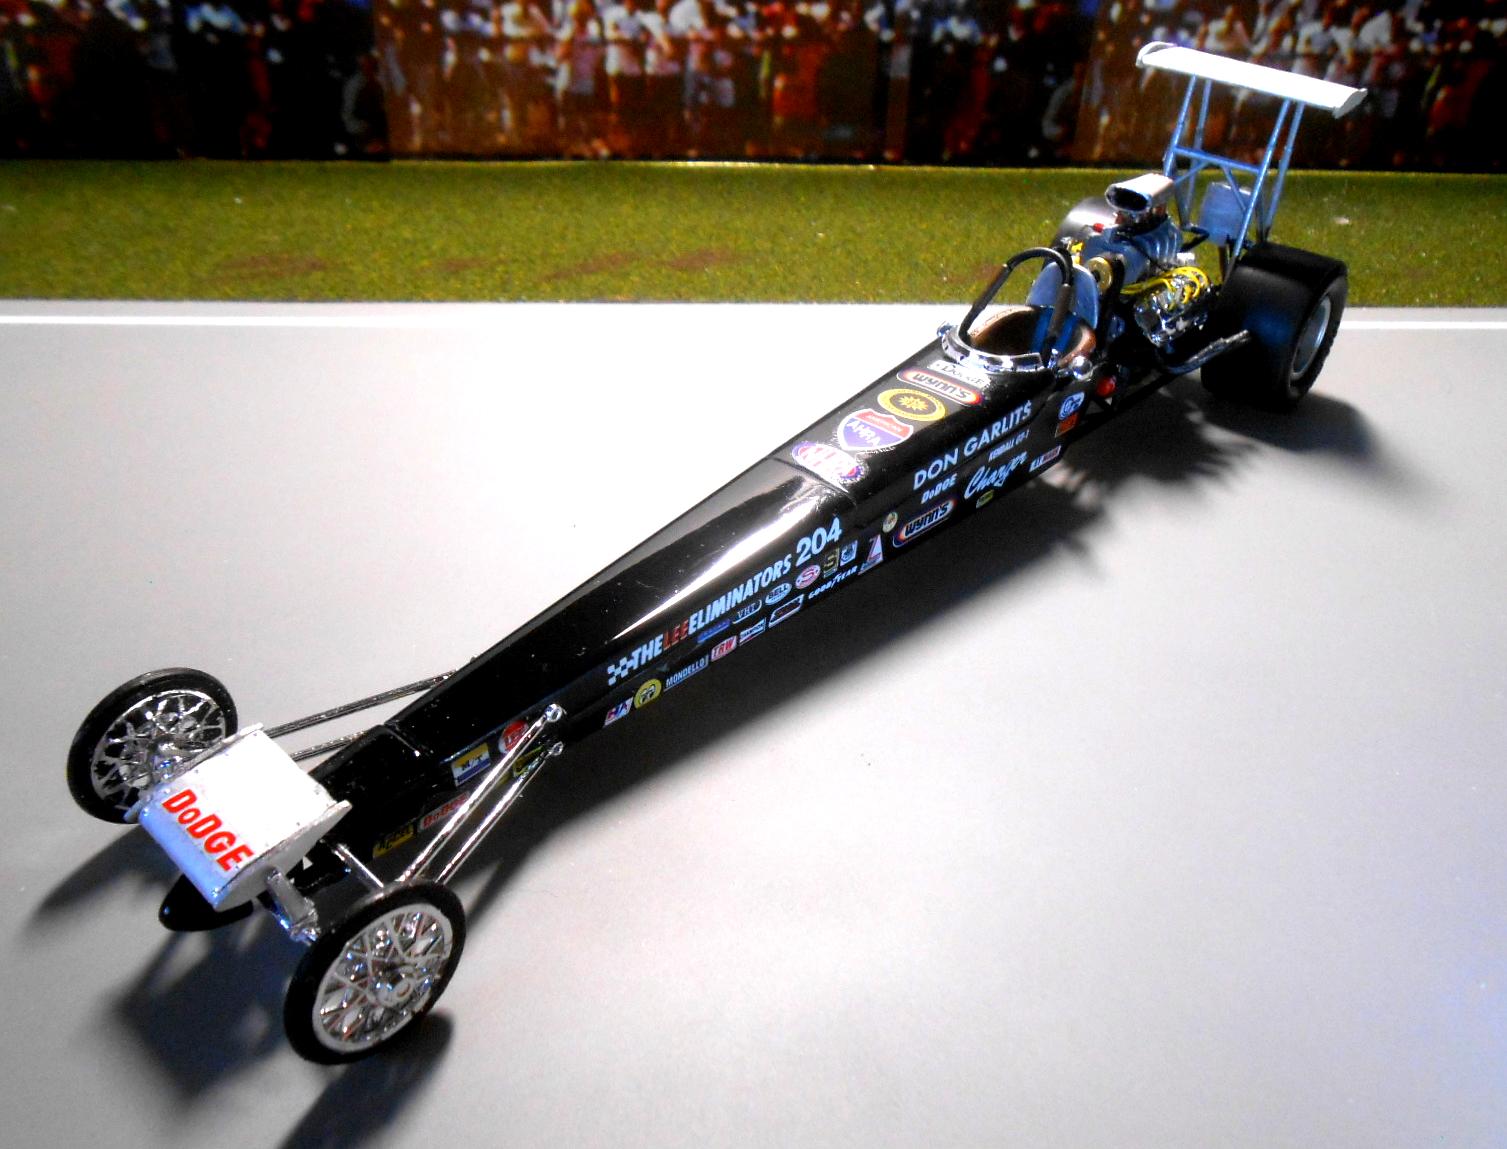
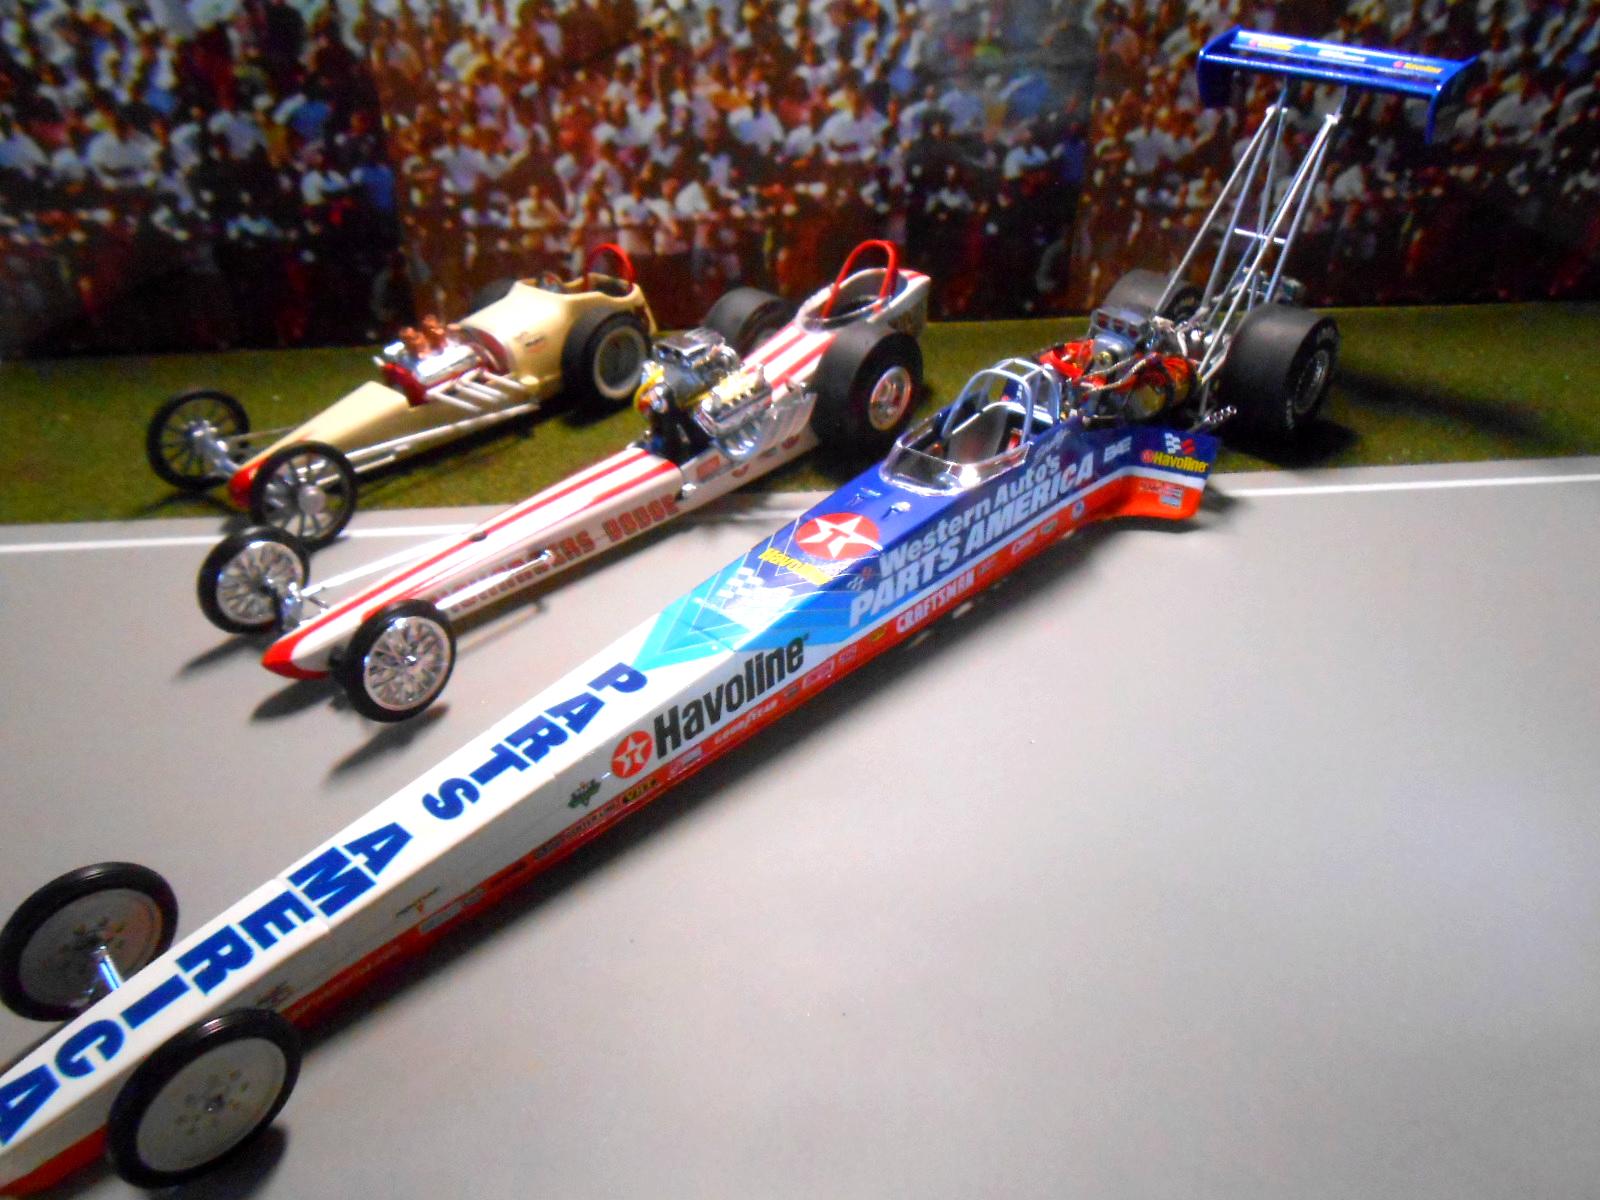
One of my favorite things I like to do with model building is to make sets (or groups) of cars for specific purposes, usually for mini displays. These are cars from my Early Dragster Evolution group diorama which focuses on the early front engine Dragsters. The first 3 cars were custom built to fit this theme. All the cars have high detail motors and interiors along with nice paint finished and period graphics. 1) The Bug- Officially recognized by NHRA as the first Rail Job (or Dragster), this car was originally built from an old Model A frame that had a pesticide sprayer on it used on the family orchards. Built in 1950, the flathead Ford could hit 113 MPH in the quarter mile. 2) Bob's Mobil Special- By 1955, the 'in thing' for Dragsters was to use leftover Indy or Midget car bodies for aerodynamics. Running a modified gas small block Chevy,I built this car from an old Atlantis Dragster with extra body parts molded in. 3) Straightaway Engineering- By 1960, it was determined that the aerodynamics offered by the full bodies did not offset the extra weight. This blown Pontiac powered car was typical of the era and could run 173 MPH. 4) Ramchargers- By 1965, new lightweight custom bodies began to emerge. Combined with the new 426 Hemi, these cars were now over 200 MPH. As an extra bonus, the new bodies gave race teams a new source of income...sponsor advertising. 5) Jade Grenade- By 1969, front engine Dragsters had hit their high water mark. The longer, more powerful cars were now capable of running over 225 MPH. 6) Swamp Rat 14- After a horrific transmission explosion in 1970, Don Garlitts came up with a new style rear engine Dragster that was both safer and faster than the old front engine slingshots. By 1972, most all the front engine cars were sitting in barns and fields gathering dust. A new era of Dragsters had begun. The last shot is my '98 Shelly Anderson rail (featured in another post) with two early cars. This is a great visual on how the Dragsters had evolved to that point. ENJOY
- 10 replies
-
- 11
-

.png.5611b92e15e067266480fc6b5fd59397.png)