Jason Foster
-
Posts
93 -
Joined
-
Last visited
Content Type
Profiles
Forums
Events
Gallery
Everything posted by Jason Foster
-
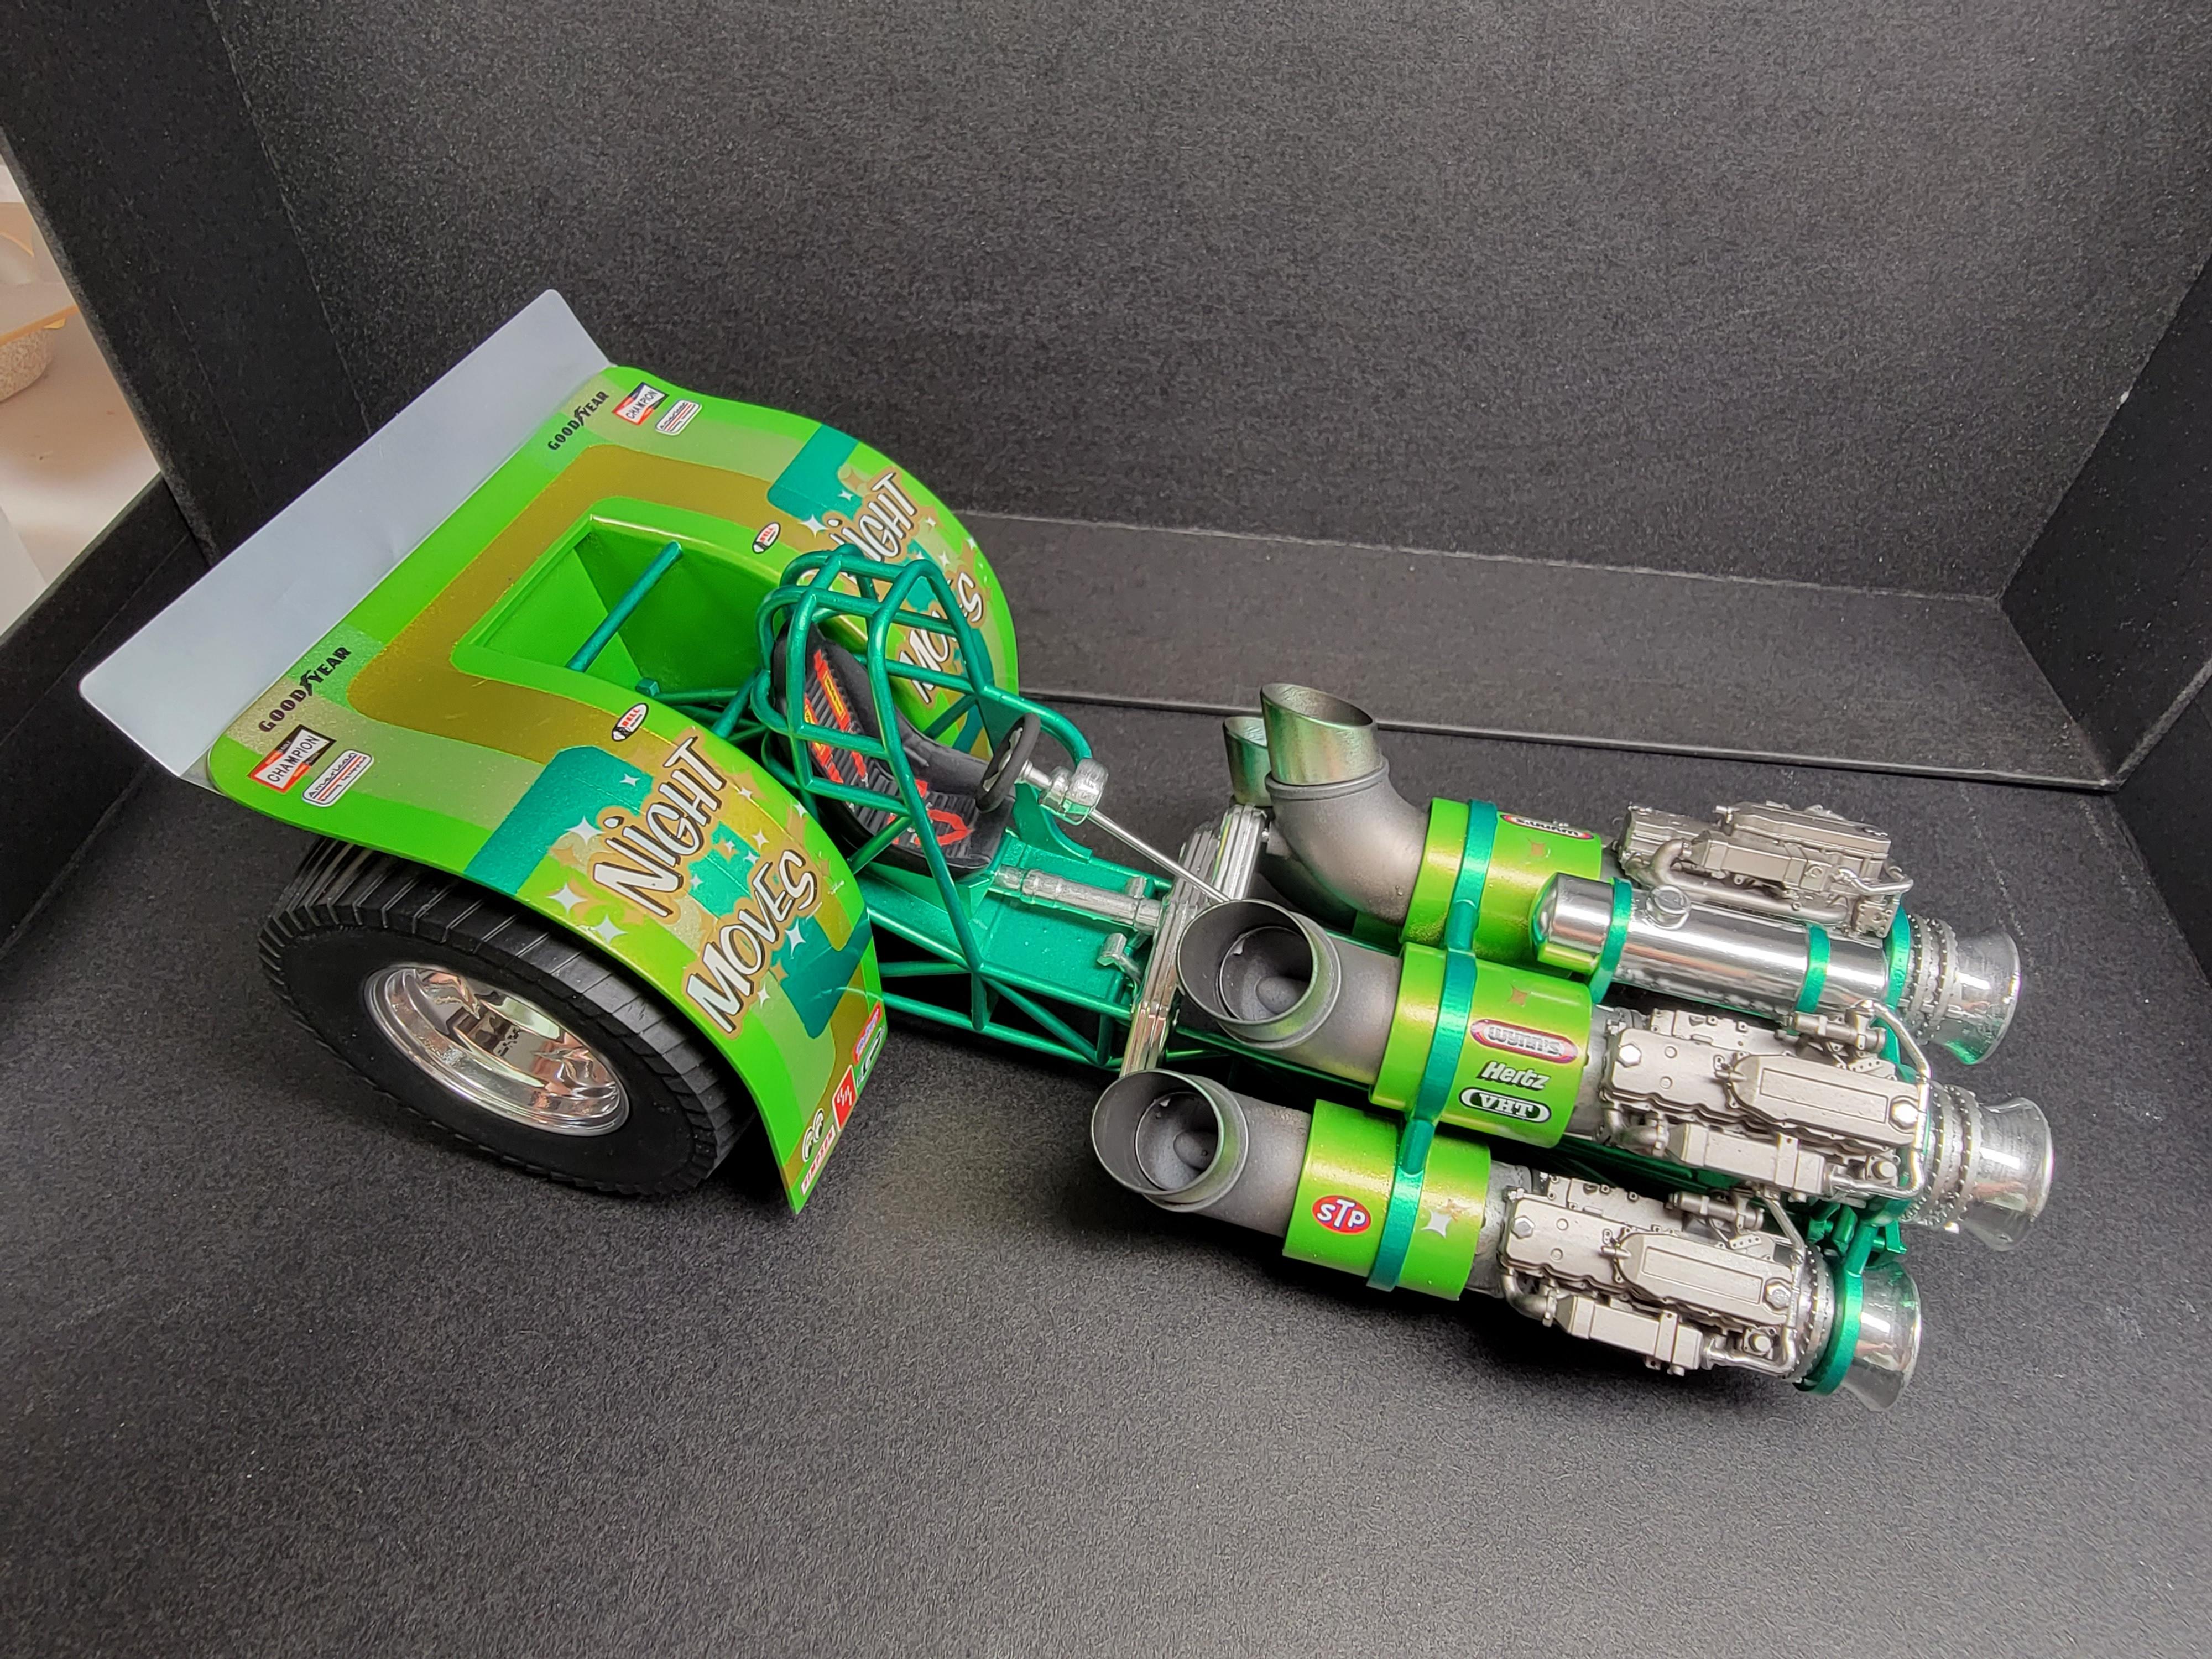
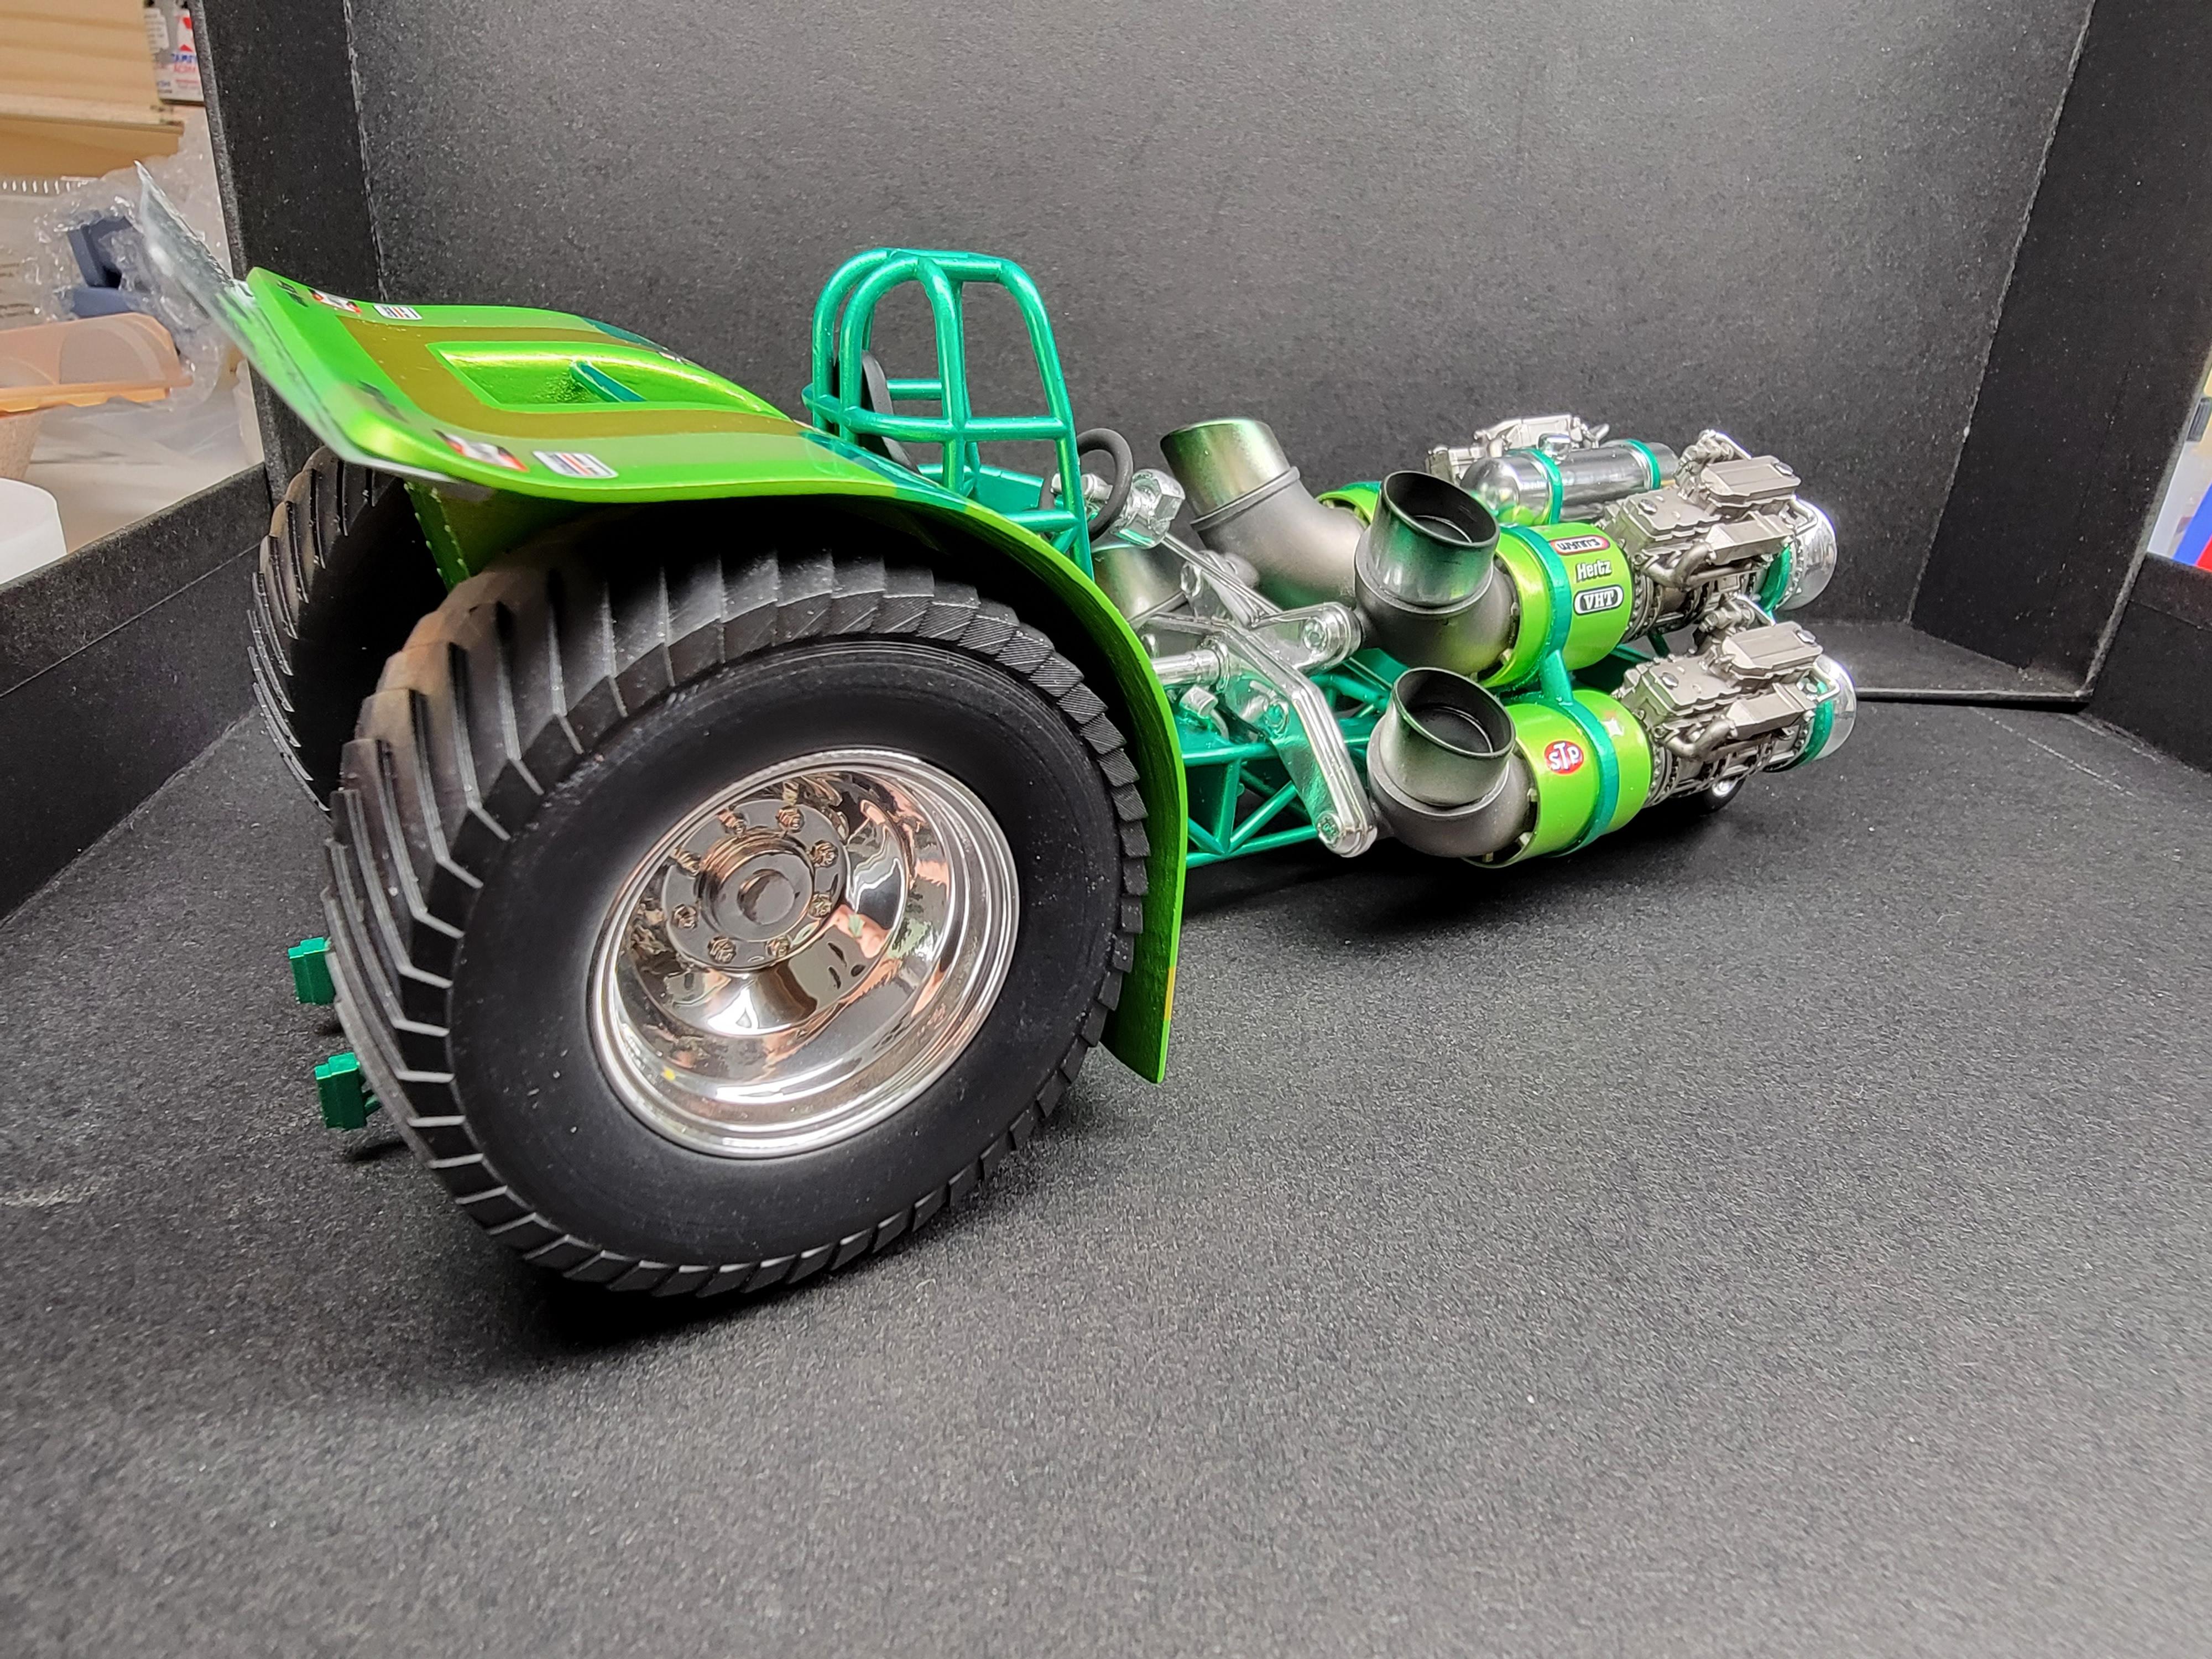
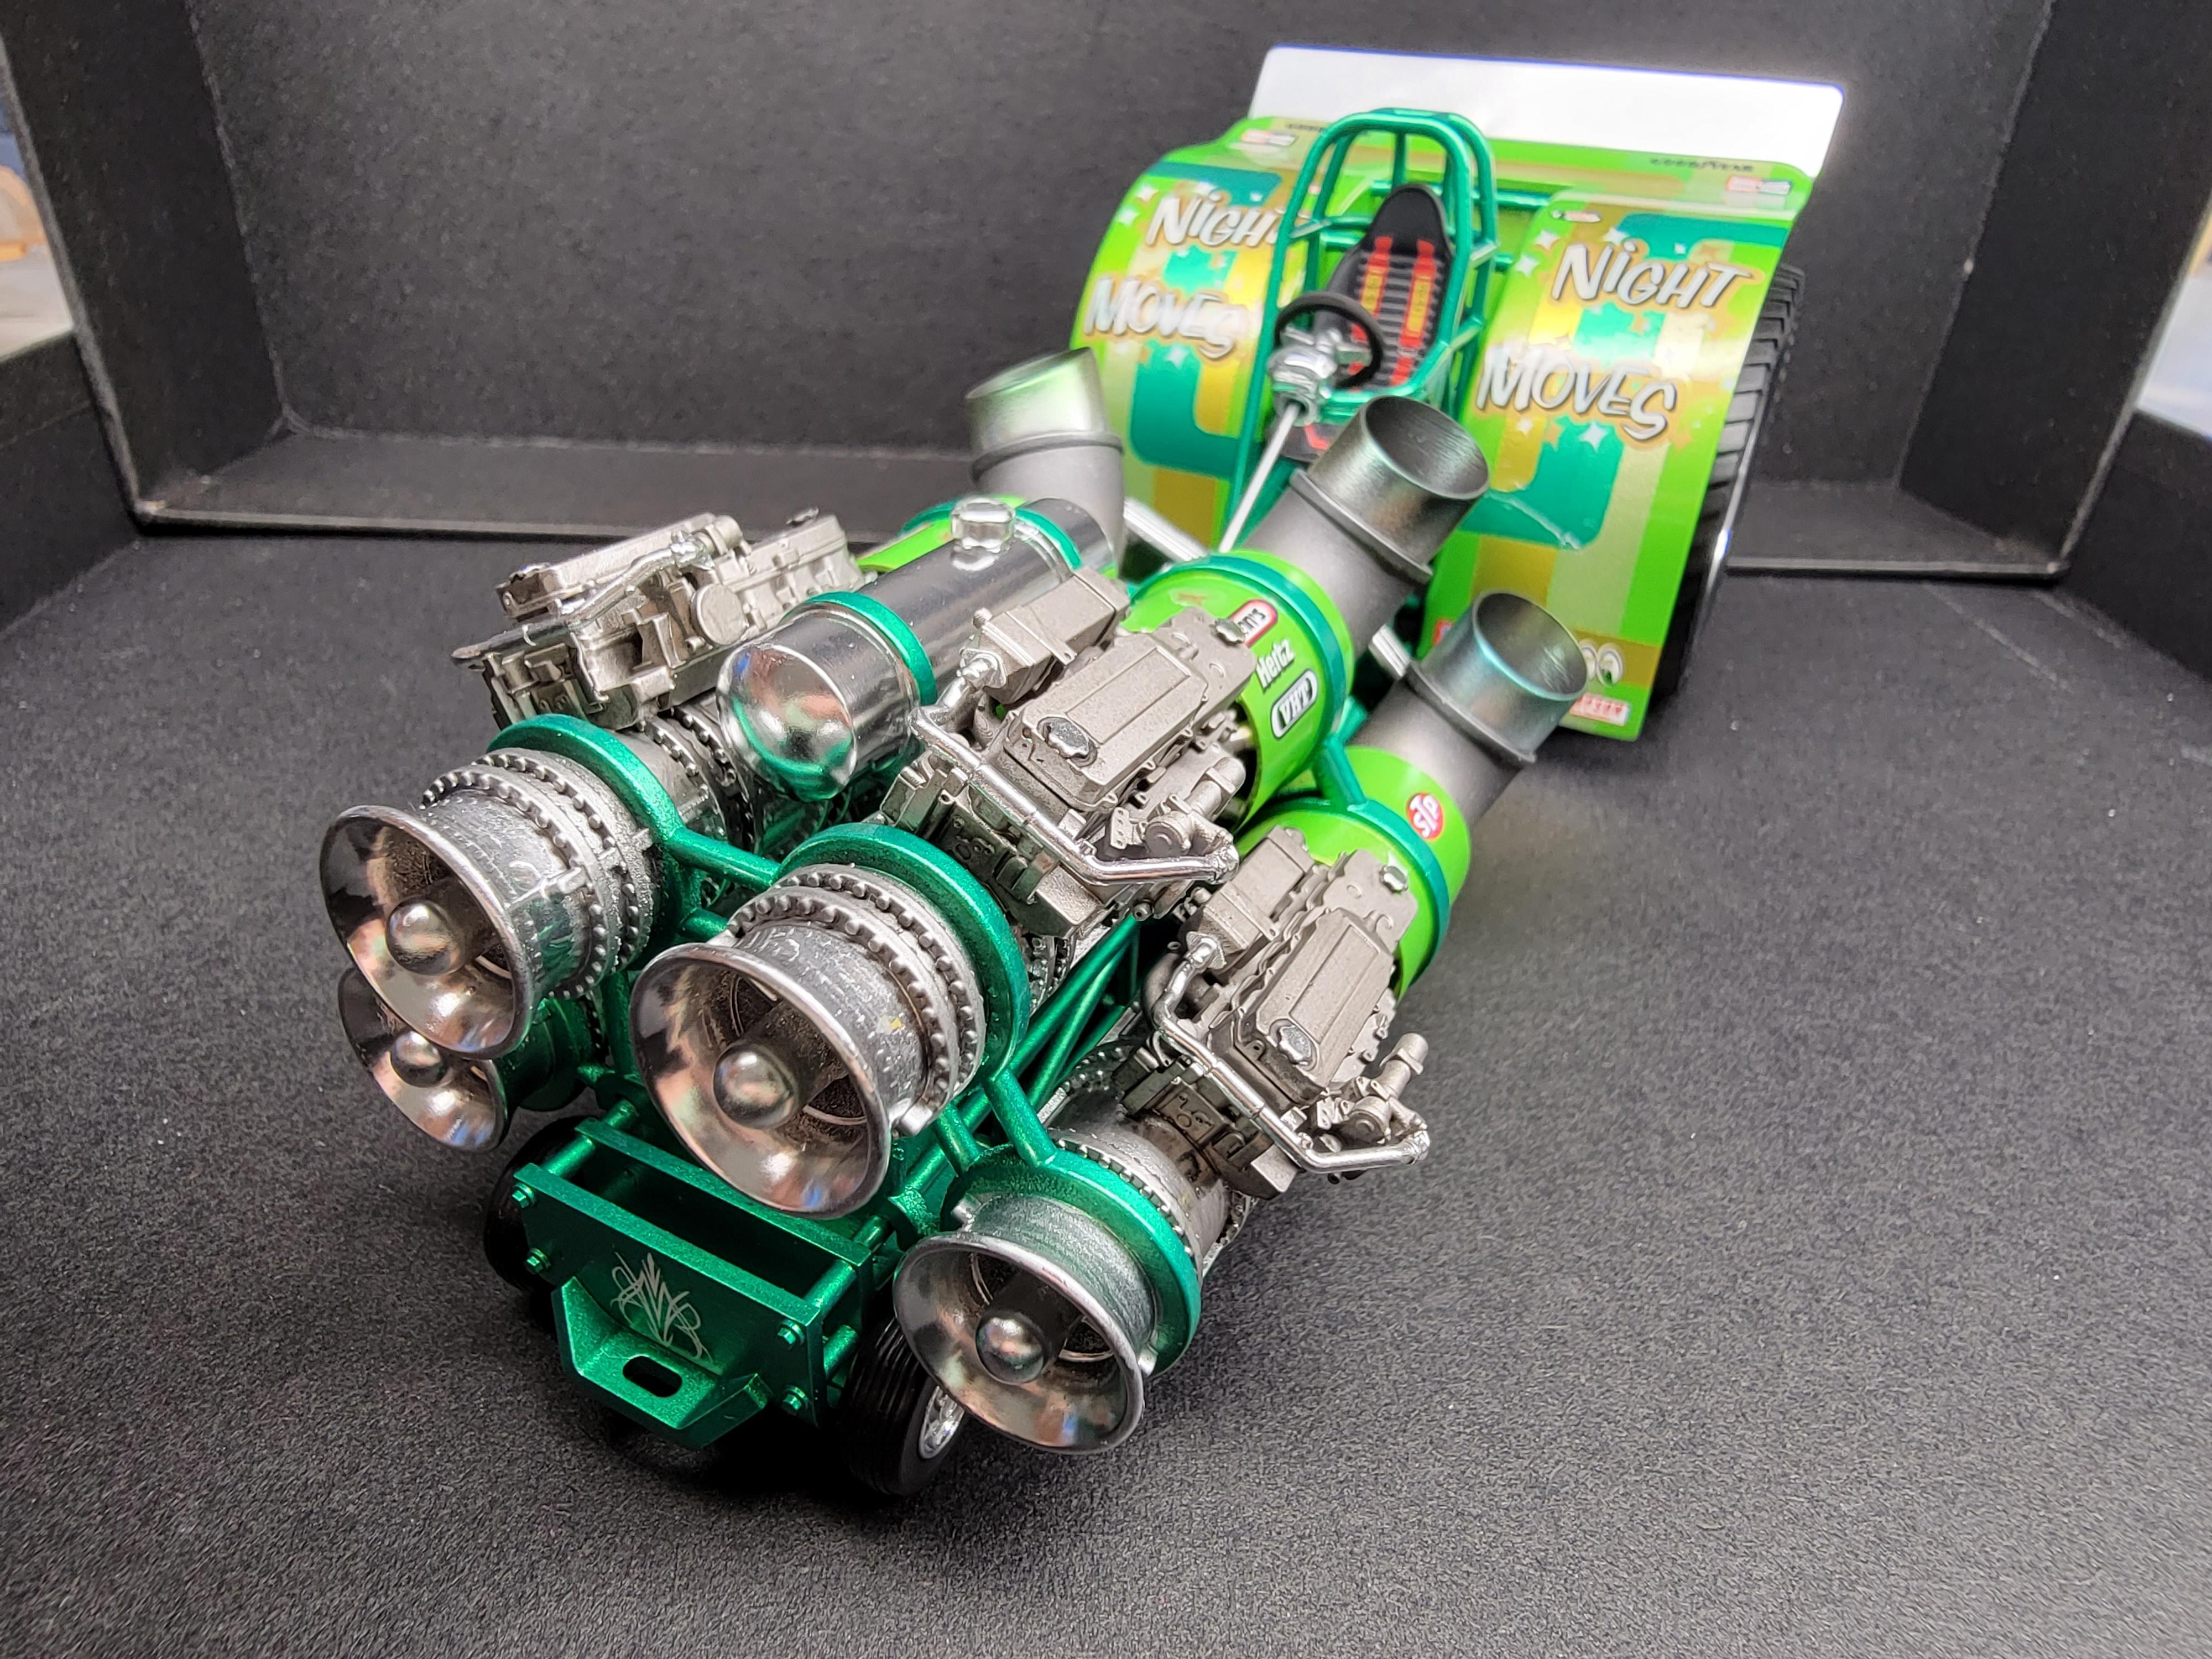
This kit comes from Custom Trophy Resin. Just finished it up last night and thought I would share. Love pulling tractors. Not something you see in scale very often.

-
1/25 Atlantis H1223 Mooneyes Dragster
Jason Foster replied to Casey's topic in Car Kit News & Reviews
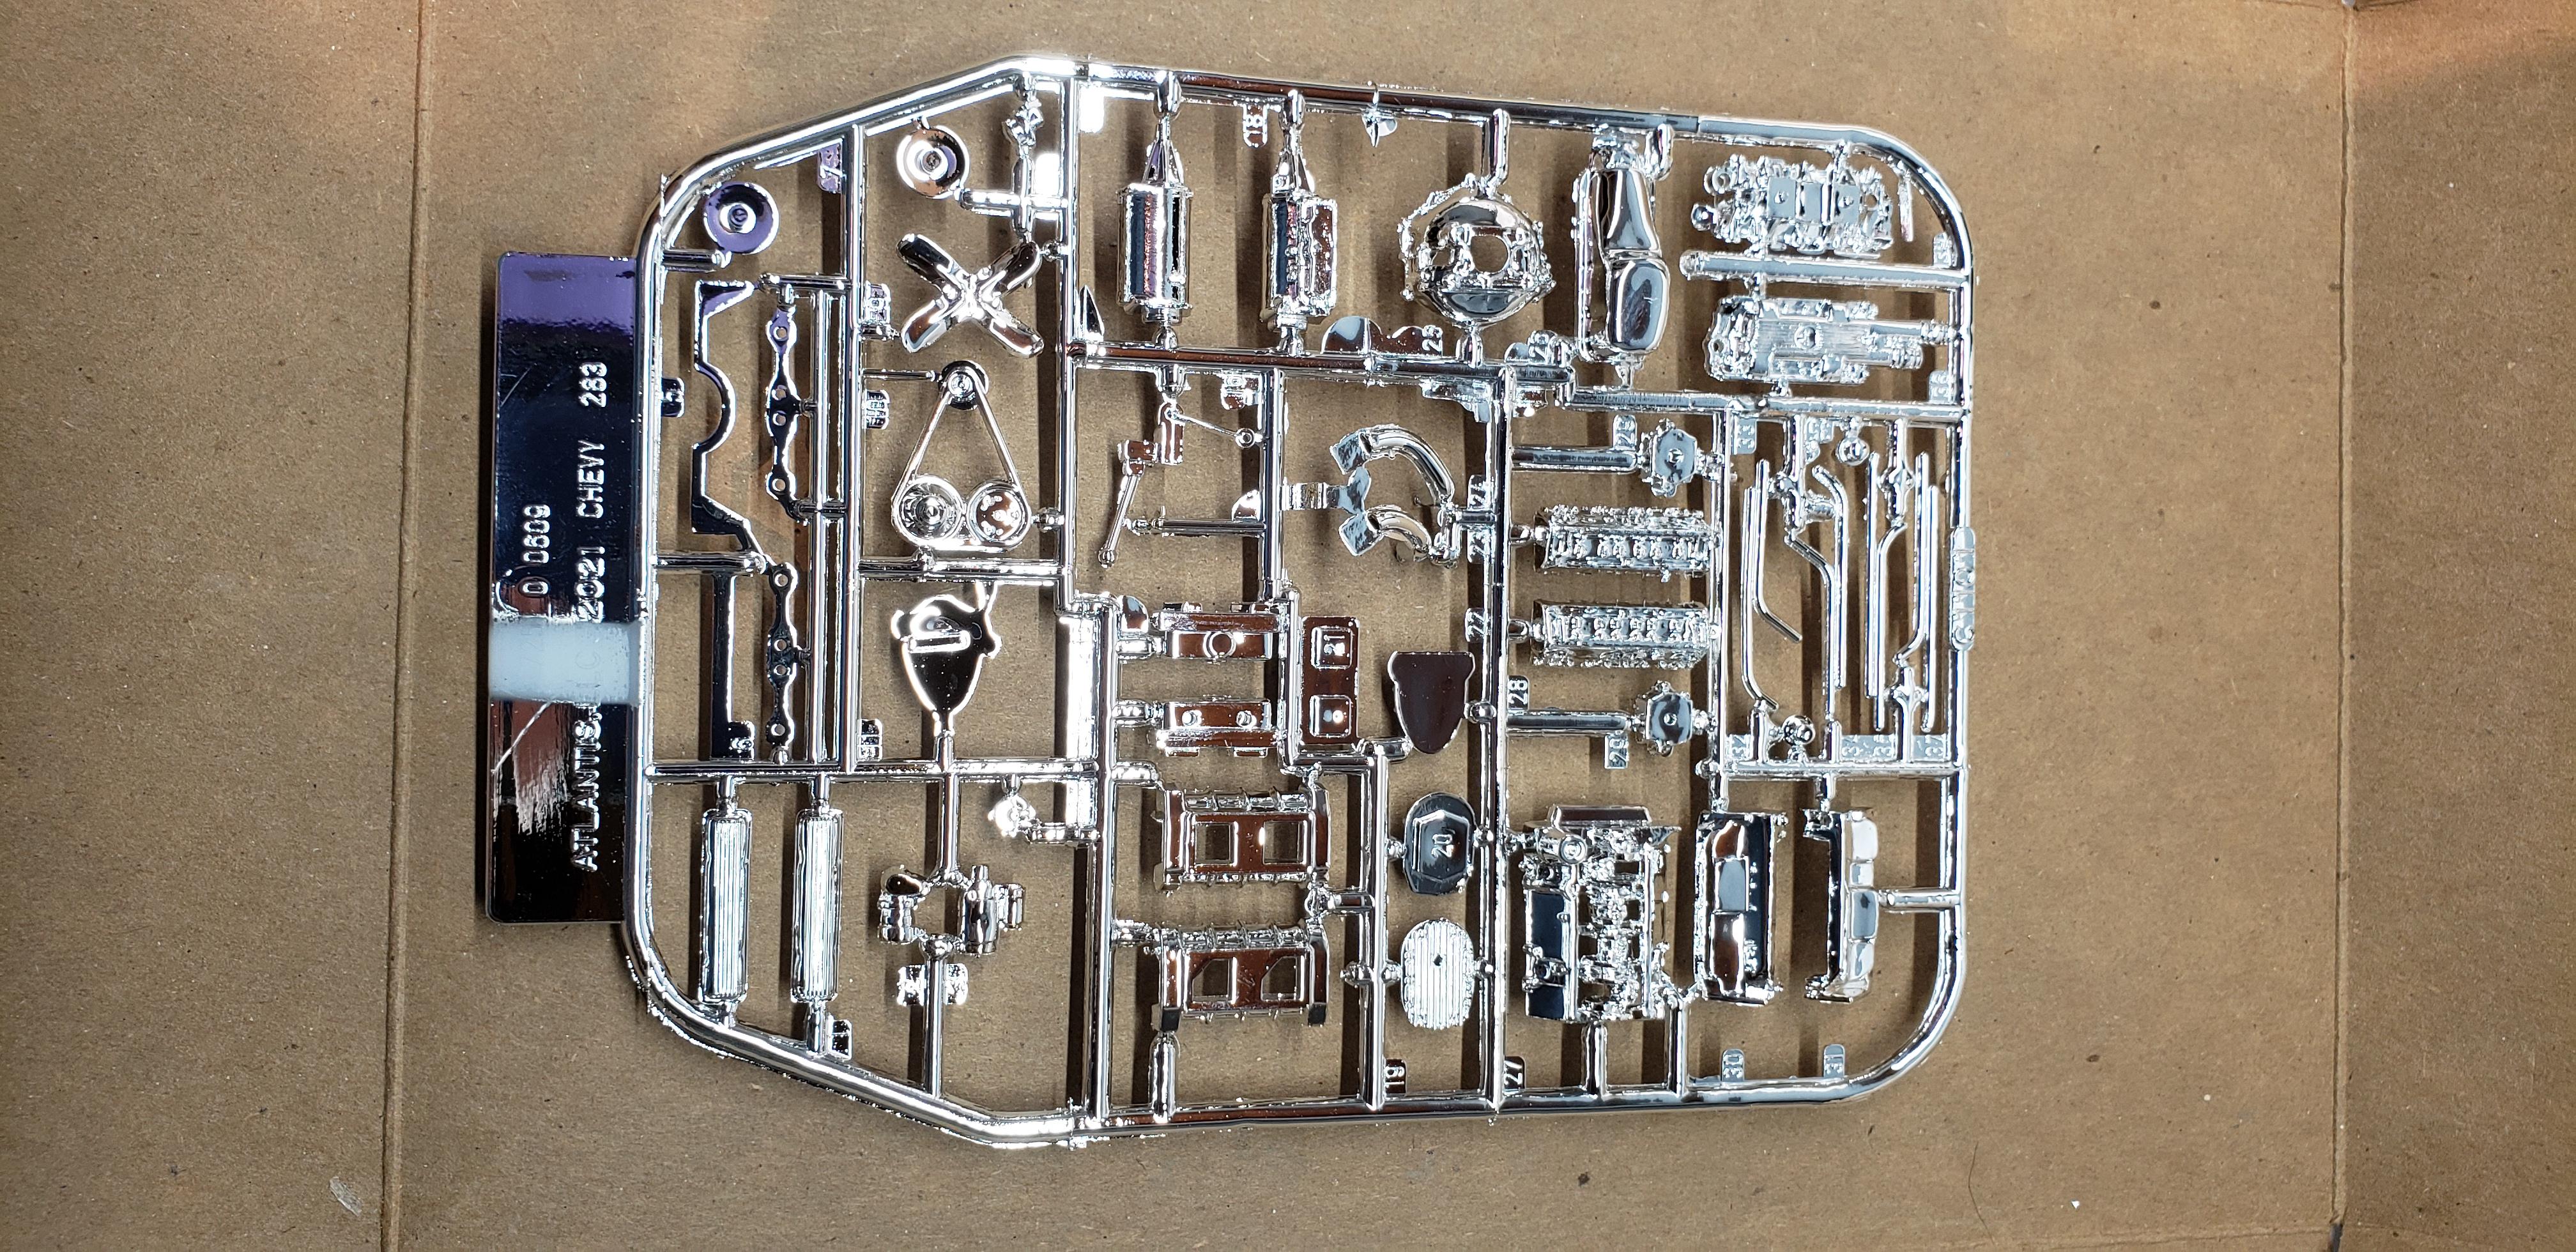
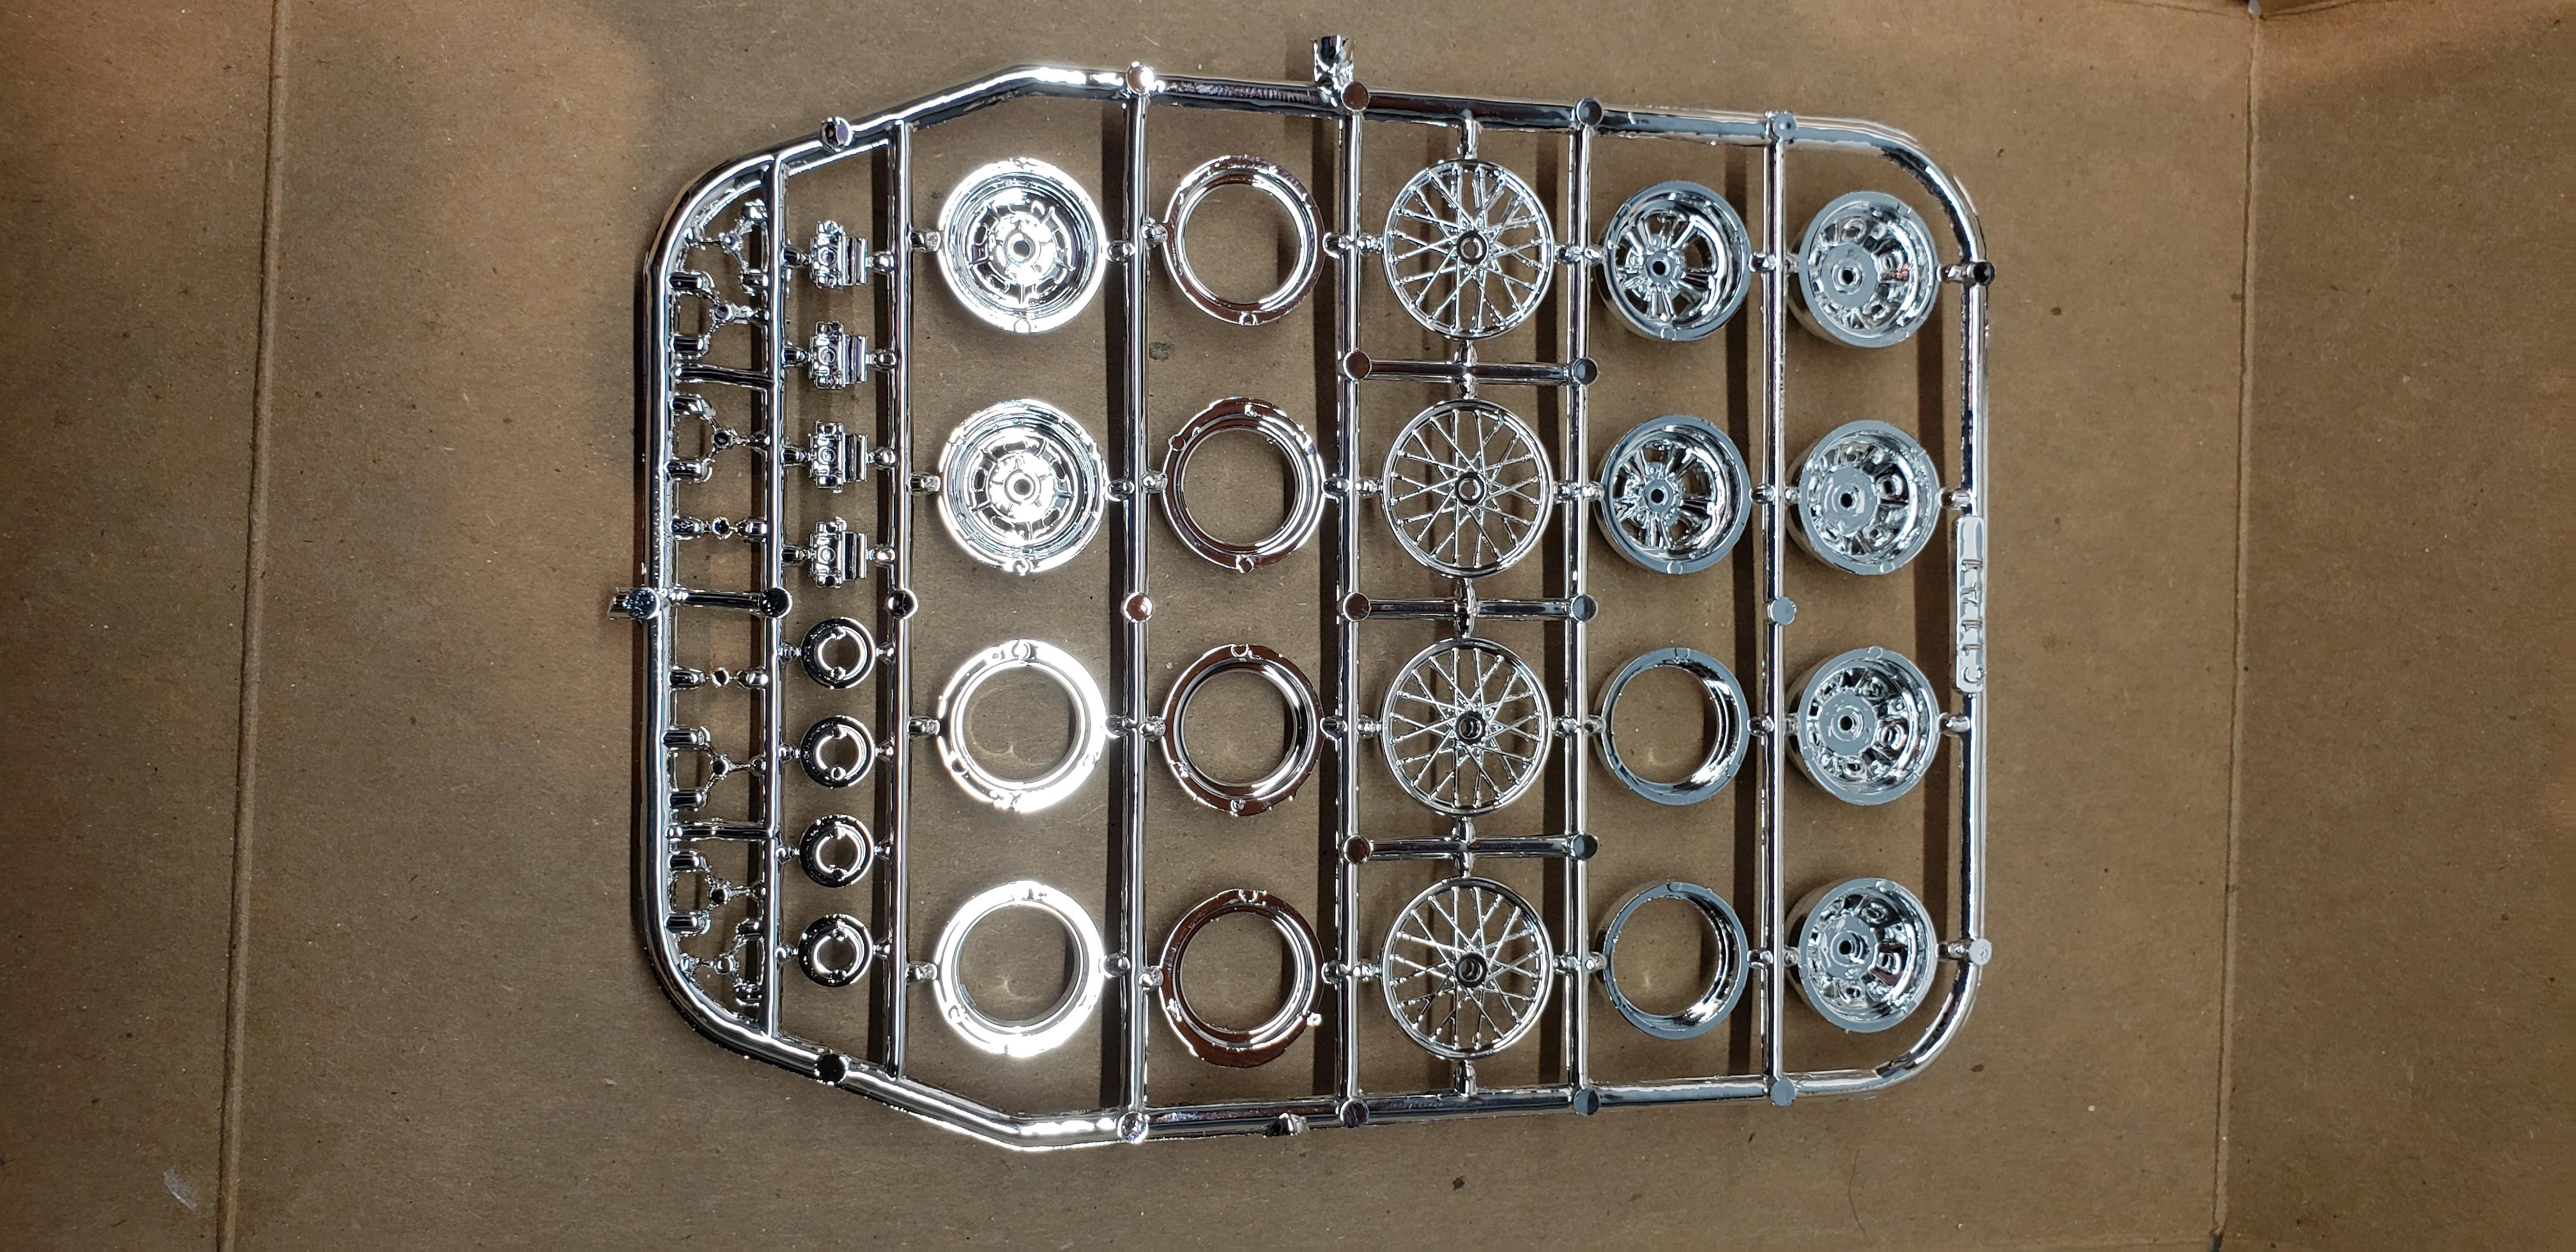
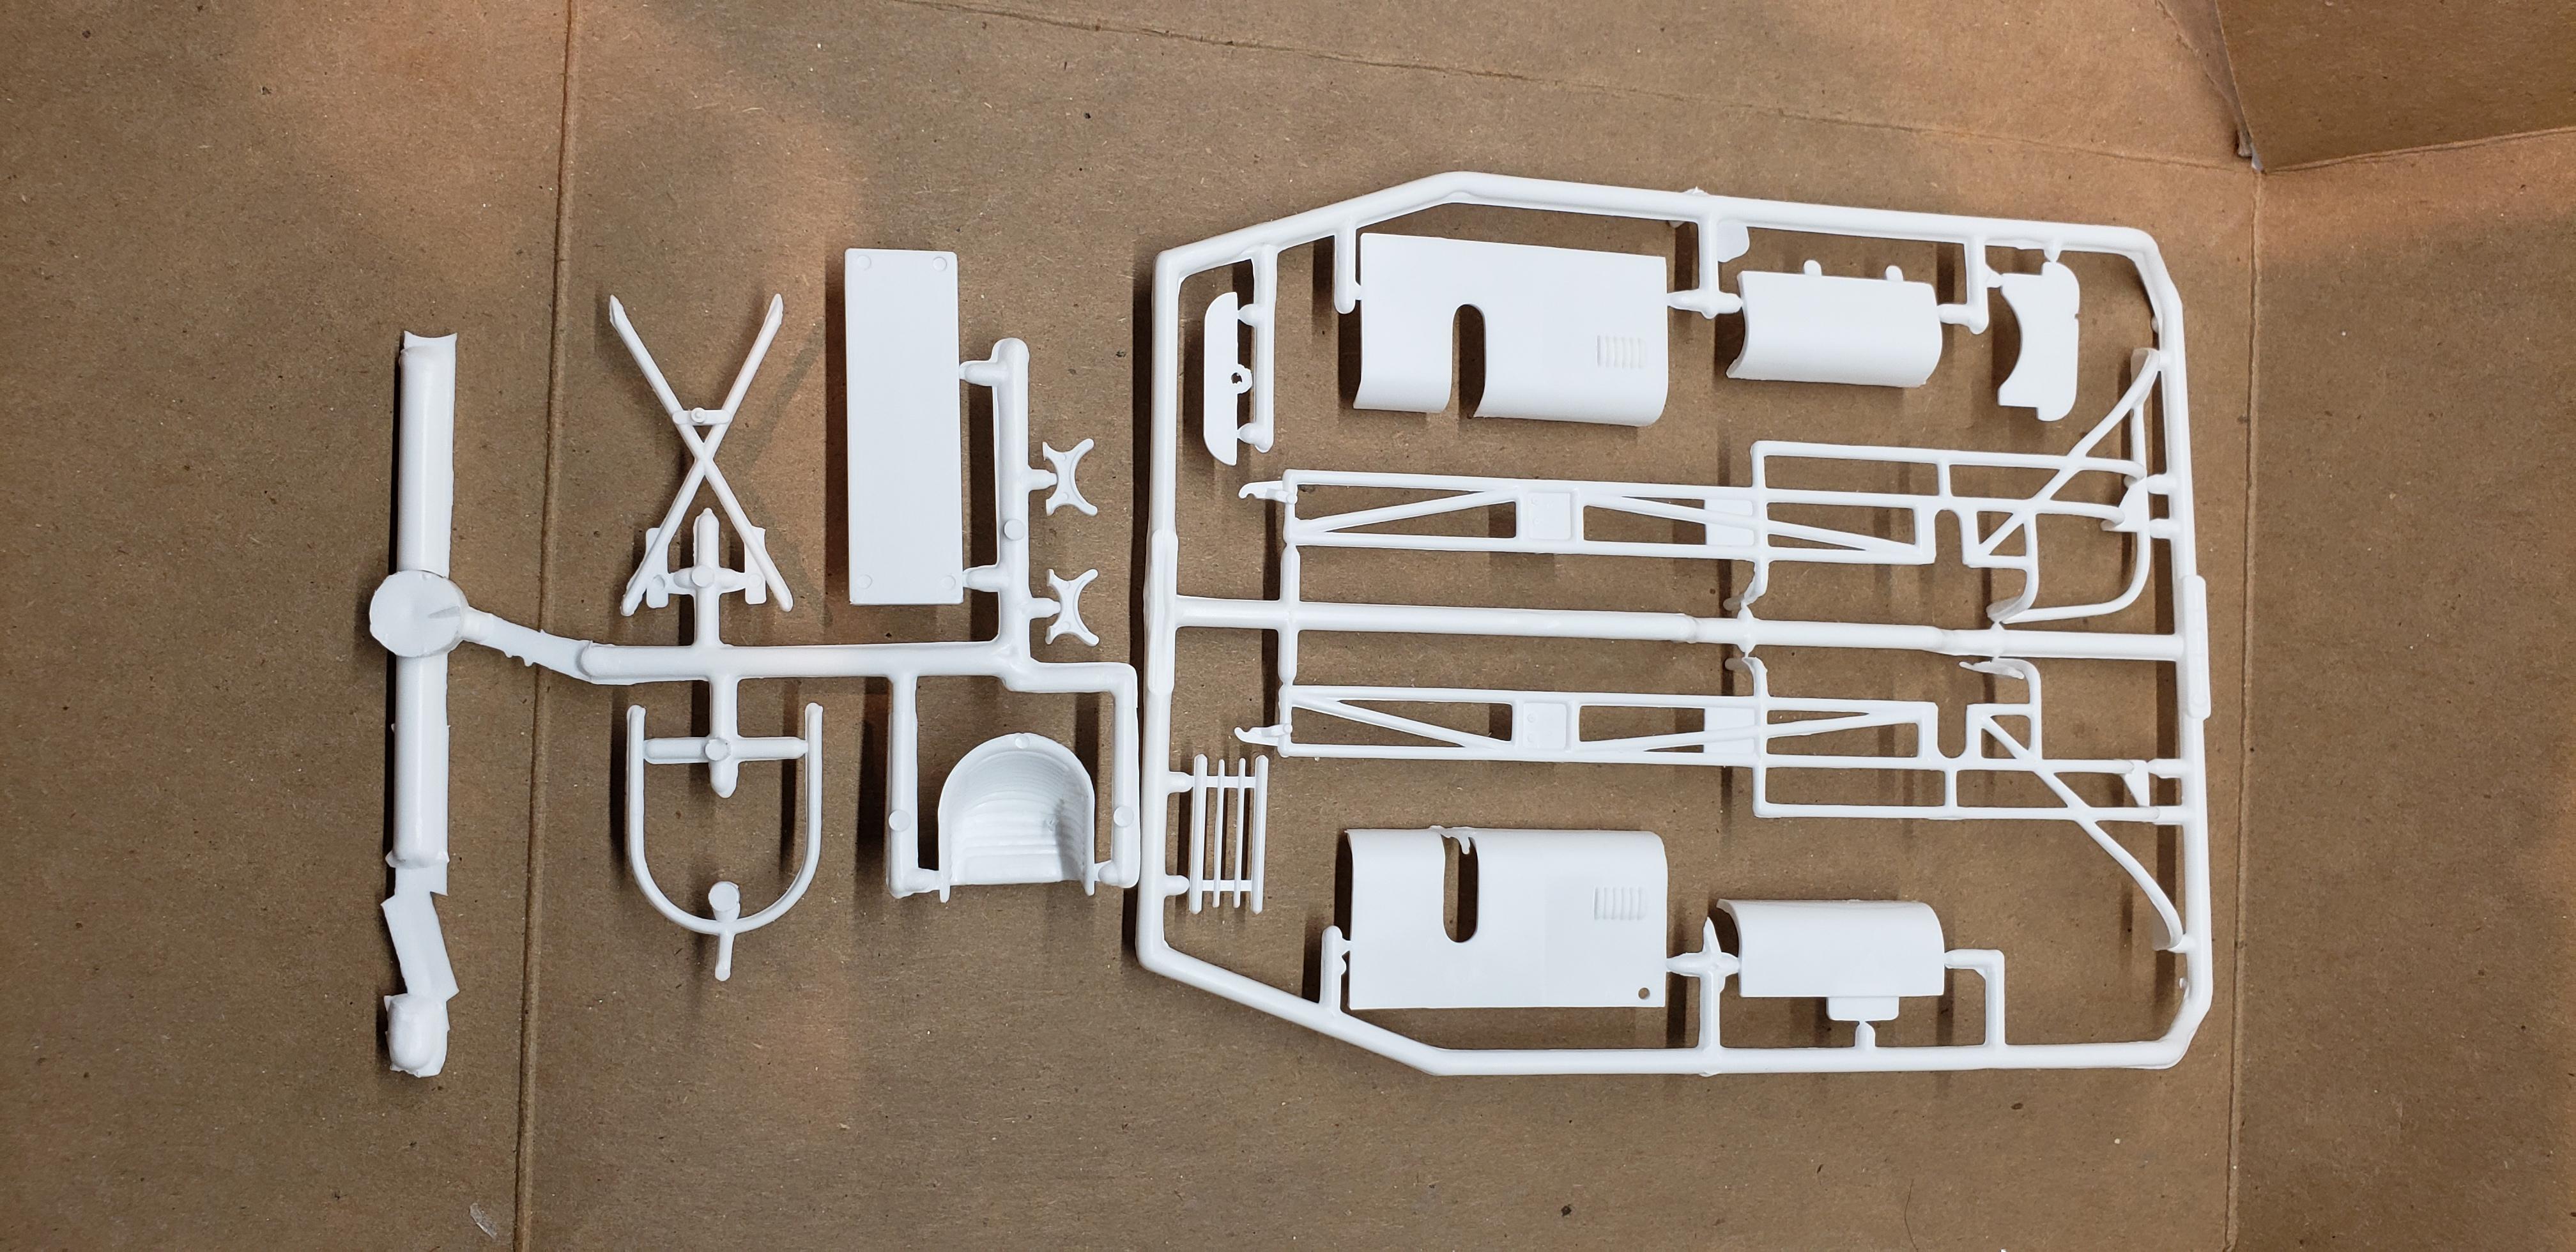
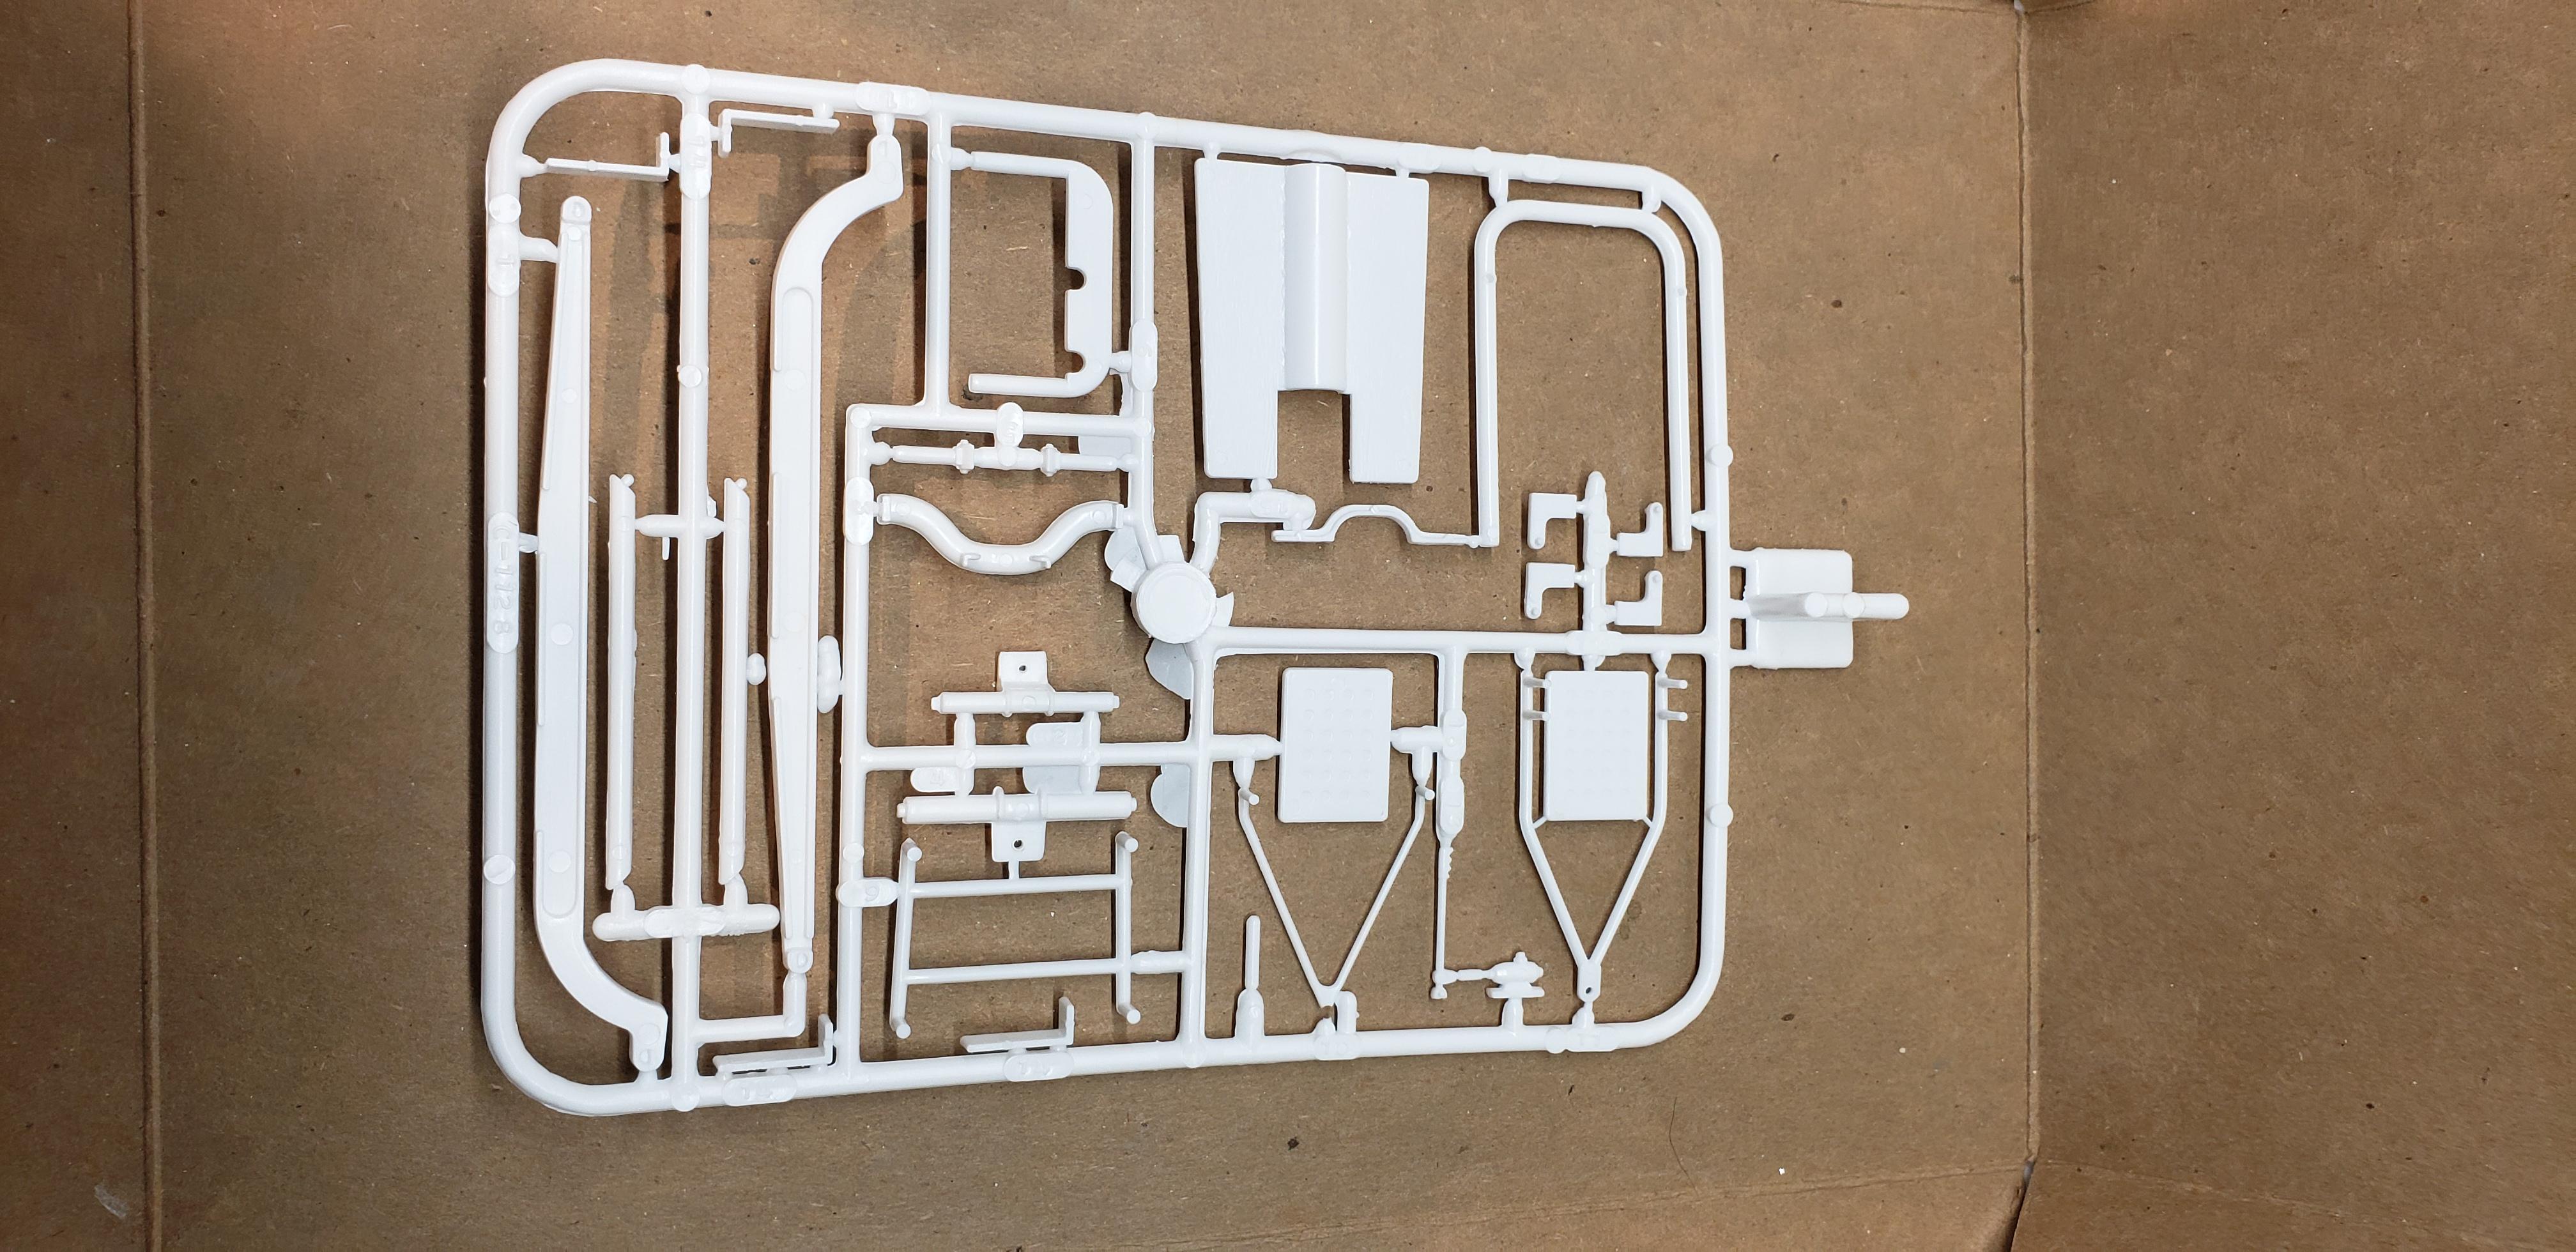
Here's what's in the box
-
My latest finished build. sm1 by Jason Foster, on Flickr sm2 by Jason Foster, on Flickr
-
It's 3/32 plaststruct tube. Part number 90603. It has a fairly thick wall, so it does not kink when bending. I use a lighter to heat and bend the tubing. I use a homemade jig made of thick sheets of styene to make the bends and cuts all the same. I need to make a tutorial on how to make the complete header. 20180214_144449 by Jason Foster, on Flickr 20180214_144947 by Jason Foster, on Flickr
-
The slicks are from the AMT M&H Racemaster Parts Pack. The wheels are from the Revell Willy Gasser 2000 issue. The wheels have no flanges but they press into the soft rubber slicks easily.
-
I use a medium strength lacquer thinner to thin down the nail polish.
-
Its a 50/50 mix of Testors 28105 Grabber Orange and 28108 Hugger Orange with an overcoat of the pictured nail polish. 20180212_131356 by Jason Foster, on Flickr
-
Here's one that's finally done. Is been in and out of the box over the last few years. Never could find the right color for it. Finally figured it out. Changed out the rear wheels and tires. Added a different scoop that was more to scale, and scratch built some zoomie headers. Thanks for looking. 20180212_101637 by Jason Foster, on Flickr 20180212_101719 by Jason Foster, on Flickr 20180212_101903 by Jason Foster, on Flickr 20180212_101803 by Jason Foster, on Flickr
-
Looks sharp! Is the white paint pearlescent?
-
First one done for the new year. Built straight out of the box. 20180130_222534 by Jason Foster, on Flickr
-
Decals for the MPC Wedge Dragster
Jason Foster replied to Jason Foster's topic in WIP: Drag Racing Models
Thanks for the info. I will see if she can help. -
Does anybody know of someone who makes reproduction decals for the MPC Spirit of 76 Wedge Dragster? I have an old kit and the decals are no good. Thanks.
-
This is my newly completed Too Much FED. Narrowed the rear wheels to fit different tires. Shorten the front nose 3/8". Narrowed the cowl an 1/8" and also laid it back. Scratch built zoomie headers. Scoops from the MPC jawbreaker kit. Flames were masked and painted to match the "Fooler Fueler" decals. Thanks for looking! 20180216_082257 by Jason Foster, on Flickr 20180216_082313 by Jason Foster, on Flickr 20180216_082416 by Jason Foster, on Flickr
-
Was looking for opinions on the wheel setup you see above. I started with a set of Z- man wheels. I took the large rear wheel and used it for the front and front was used on the back with a modified tire from the lindberg surf buggy. Let me know what you think. I'm liking it so far.
-
Re-chopping the Revell 48 Ford Update 4-13-16
Jason Foster replied to Jason Foster's topic in WIP: Model Cars
Misha I cut the bottom half of the hood off and molded it to the body. No sectioning or pancaking. I'm not sure if there's a customizing term for that or not. I did it partly so I could smooth the front end around the grill. Thanks for the comments guys. -
Re-chopping the Revell 48 Ford Update 4-13-16
Jason Foster replied to Jason Foster's topic in WIP: Model Cars
Small update today. Got most of the body work done now. Mocking up wheels. I think I'm going with these, there from the 58 Thunderbird. Cant remember what the grill is from, maybe somebody can help me out with that. Using the bumpers that came in the kit. Last pic has the drip rails installed and the silver base coat applied. Thanks for looking. -
Thanks for all the kind comments guys.
-
Here are some pics of my most recent completed project. Thanks for looking.
-
The proportions and color look perfect.
-
The paint on both of these cars looks amazing!
-
Re-chopping the Revell 48 Ford Update 4-13-16
Jason Foster replied to Jason Foster's topic in WIP: Model Cars
Next I rough out the window openings and door pillars. Needed to add some plastic to the back window. Top of the opening was too big and did not match the roof line. Some more sanding to radius the edges around the window openings and another coat of primer. Needs some more sanding and filler. Next up is to put the drip rail back on with some .010x.020 evergreen rectangular rod. Thanks for looking. -
Re-chopping the Revell 48 Ford Update 4-13-16
Jason Foster replied to Jason Foster's topic in WIP: Model Cars
Well here's what it looks like after some primer. No filler has been used yet. I also added plastic to recreate the door pillars. Next pic shows the first round of filler. Followed by a wet sanding. Then another coat of primer. -
Re-chopping the Revell 48 Ford Update 4-13-16
Jason Foster replied to Jason Foster's topic in WIP: Model Cars
Well here it is all glued together, minus the rear window frame Now were left with some sheet metal to patch....I mean plastic. Once the glue has dried. I hit the high spots with a 1/4" sanding drum. Followed by needle files and sanding sticks. Next up I'll shoot some primer to see where I'm at with the body work. -
Re-chopping the Revell 48 Ford Update 4-13-16
Jason Foster replied to Jason Foster's topic in WIP: Model Cars
So, now we need to bring the lower portion of the roof pillar in to match the upper roof section. I need to make a small wedge cut like so. Then bend the pillar in towards the center of the body. You can see the stress discoloration in the plastic where is was bent. Here's what it looks liked taped together Next will be to glue it together. -
Re-chopping the Revell 48 Ford Update 4-13-16
Jason Foster replied to Jason Foster's topic in WIP: Model Cars
Now that we have the top off. We need to cut some material off the rear roof to lower the back. I cut across the roof pillar, but not clear across to the edge of the rear window. I also made a vertical cut to seperate the roof top from the roof pillar. Like so. Then I scored on the inside of the roof, from one vertical cut to the other with a knife. This will allow me to bend the roof line up to match up with the laid down rear window. You will also need to bend the roof pillars outward to match up with the main body. Next I will modify the main body to match up with the roof. More to come.