Edward Gore
-
Posts
701 -
Joined
-
Last visited
Content Type
Profiles
Forums
Events
Gallery
Everything posted by Edward Gore
-
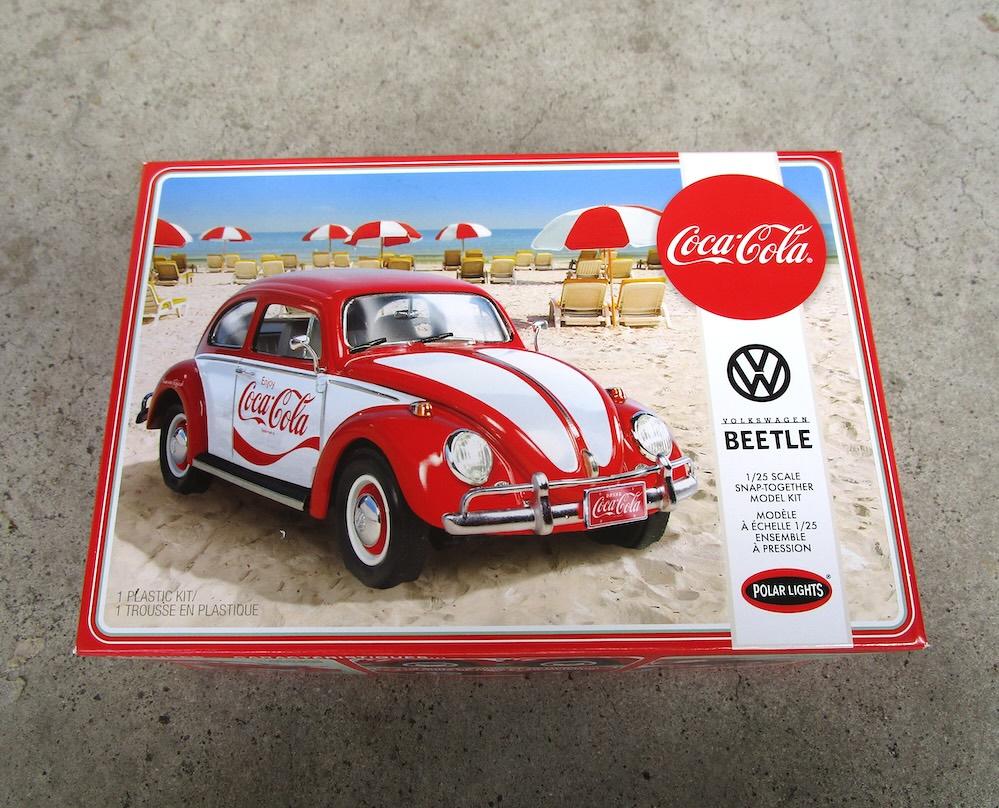
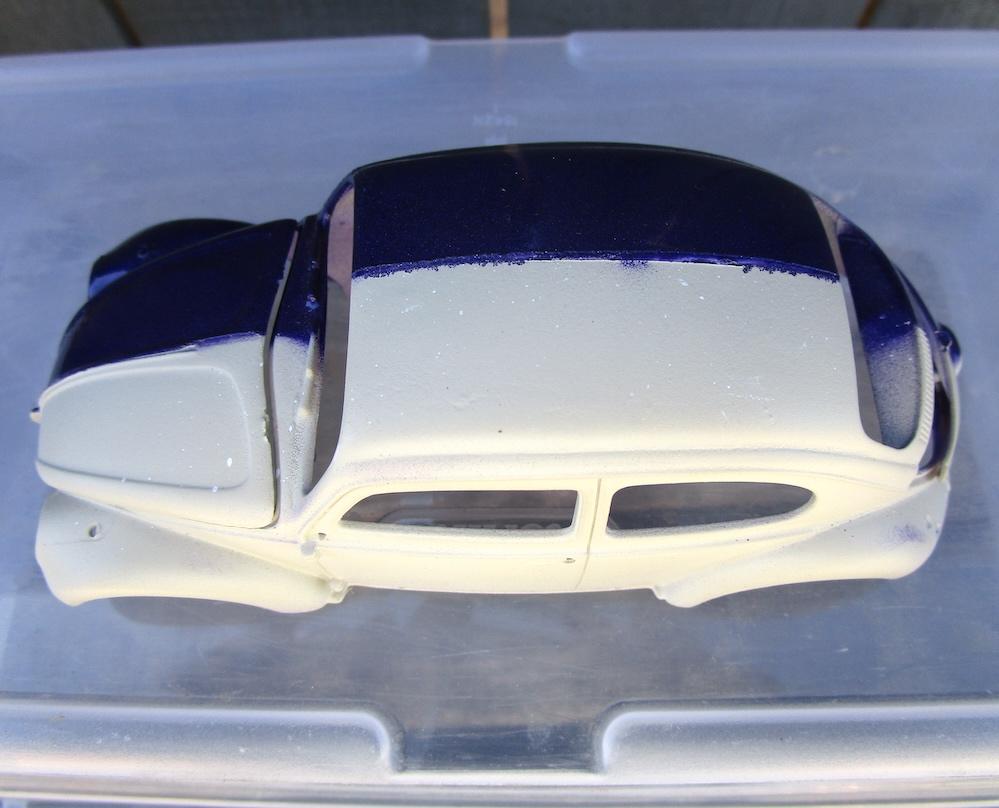
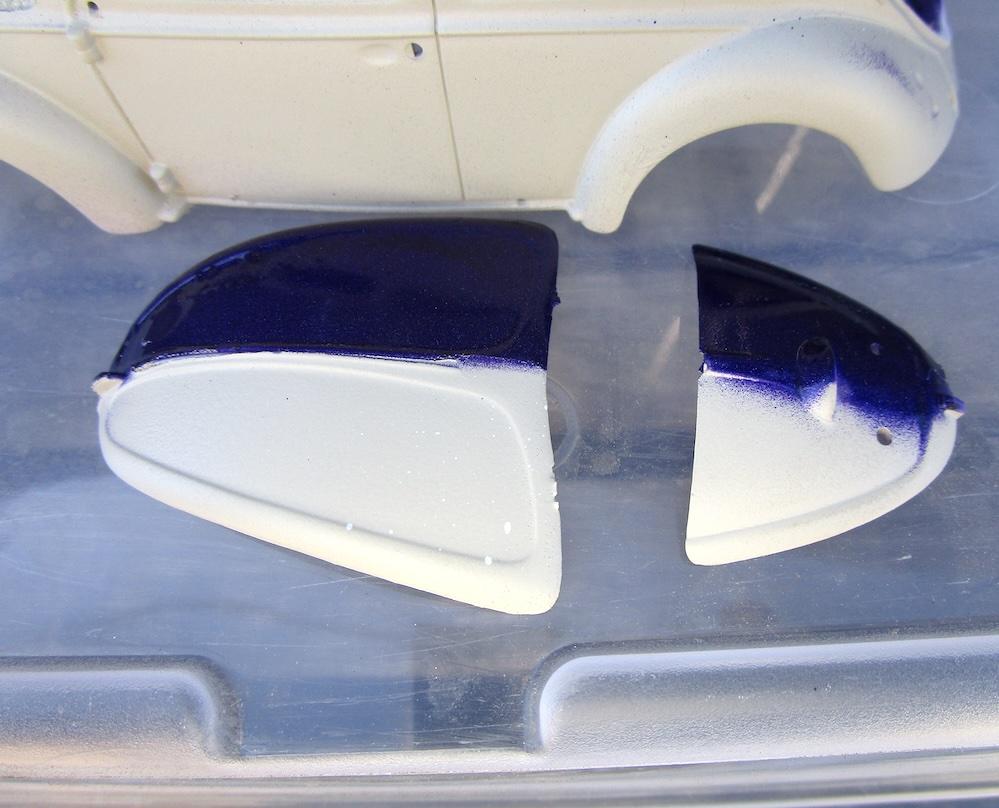
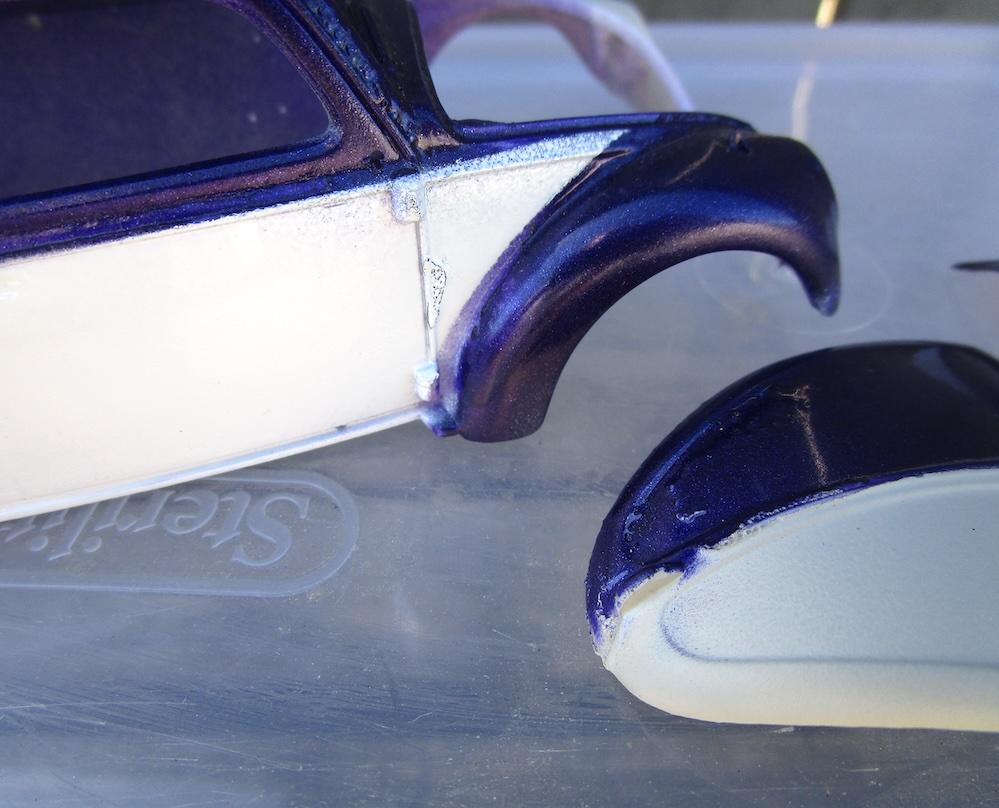
? That’s right there will be stripping and masking going on in here for your viewing pleasure ? Polar Lights POL960M/12 VW Beetle 1/25 scale My friend down the street was building this Beetle as a double memorial for two of his car club member who had passed. Each side represents their respective car to the extent of what is already included in the box. He laid down the paint pretty well but he used the wrong type of tape to mask. Once it bled he masked again to try to paint over the mistake but then it bled under the other way. Three times. He was so over it by then he just asked me to help out with that part of the build. It looked like something that I could handle but we’ll see.

-
Black Box Twin V8 Truck
Edward Gore replied to Dutzie's topic in WIP: Model Trucks: Big Rigs and Heavy Equipment
Awesome looking project! -
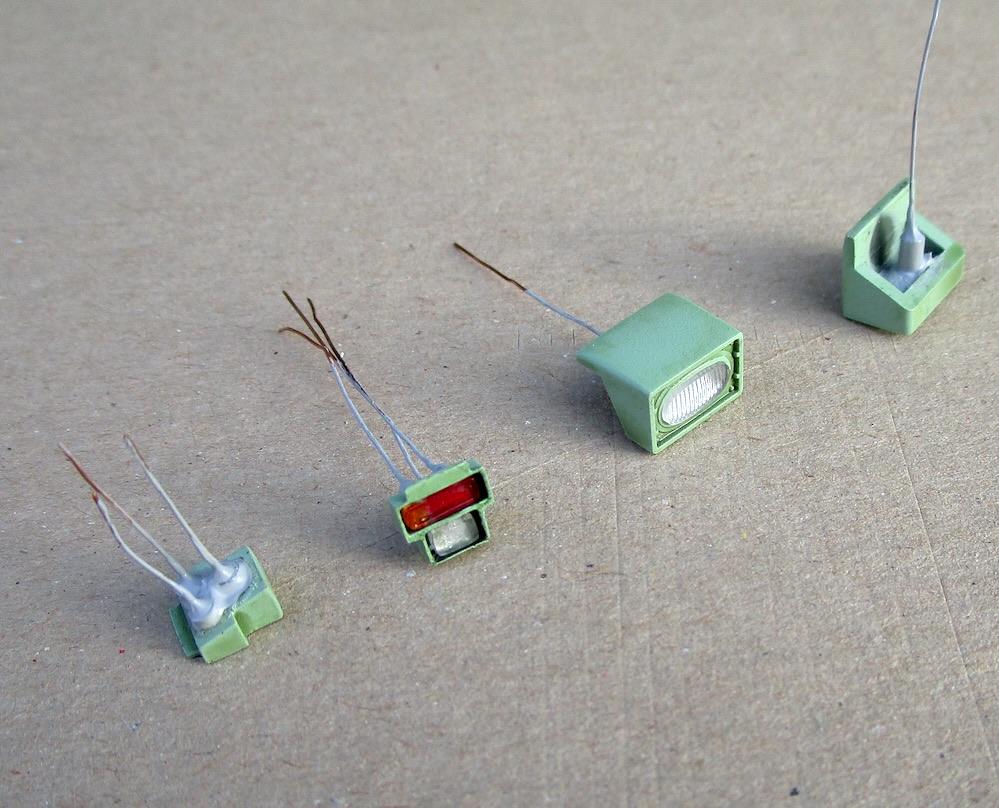
I used the light housings from the FUG kit. One of the oval lenses from the larger lights went flying to an unknown location on Earth so I had to improvise with Micro Kristal Klear. After spraying 'chrome' into the parabola, I layered in Kristal Klear until it was full to look like the sense that was lost. Then wire and sprue was glued into the back to look like boots and wire harnesses. This one on the right was filled with Kristal Klear . Thanks for looking....
- 88 replies
-
- 1
-

-
- trackmobile
- tractor
- (and 2 more)
-
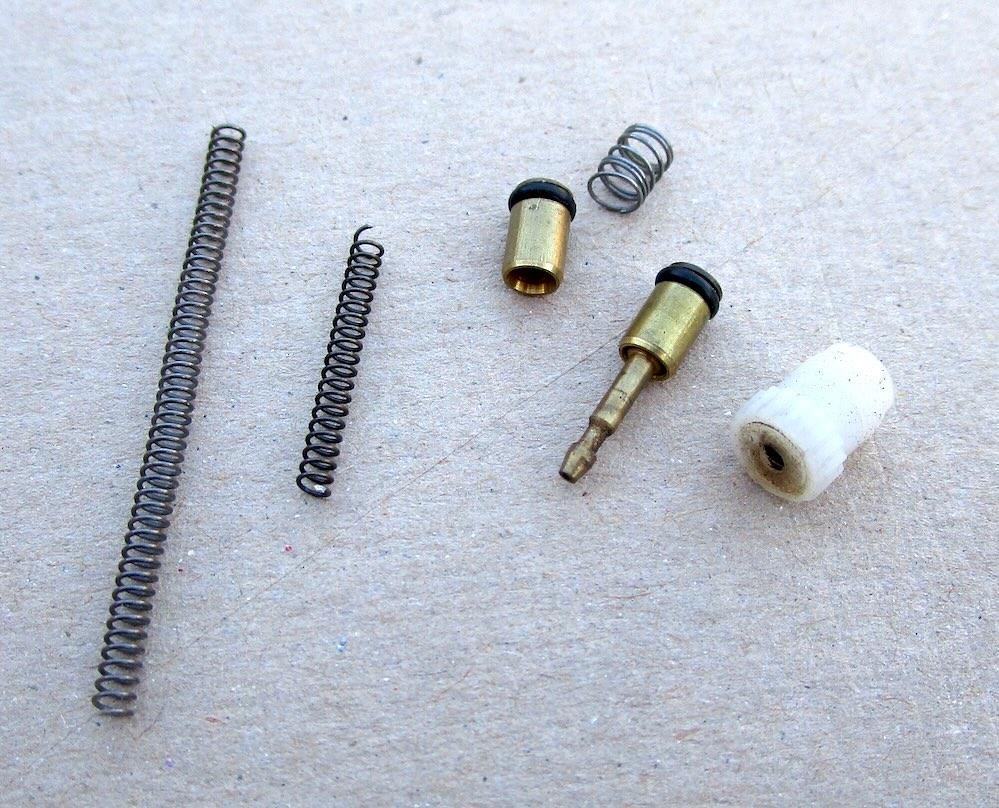
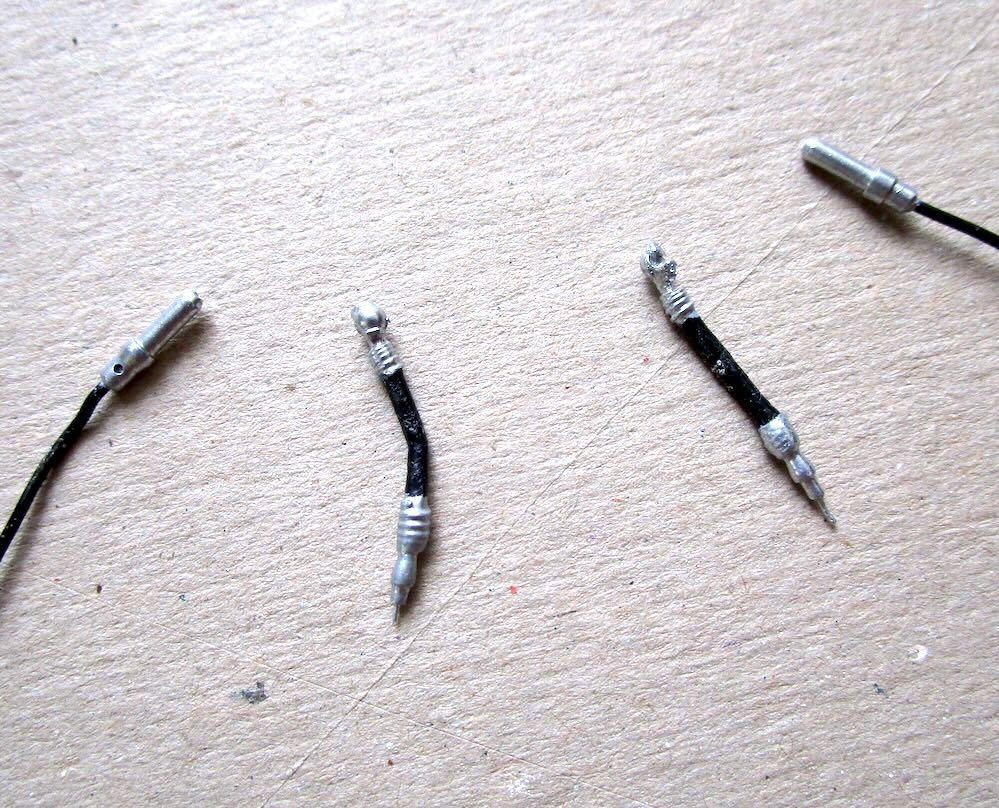
@NOBLNG @vincen47 Thank you for your compliments. I'm very happy that it worked out the first time and no part were lost flying across the room into oblivion. The springs represent the crimps for the connectors and couplers at the ends of the air lines and I think they look the part good enough. ?
-
@Gary Chastain @cifenet @gotnitro? Thank you for your comments. I'm very pleased on how those pieces and parts worked out.
-
Yes, WIP thread will be posted ?
-
Very nice finish. I watched your build thread on this model because I'm starting the CocaCola version kit this weekend.
-
International 4300 tractor
Edward Gore replied to Gary Chastain's topic in WIP: Model Trucks: Big Rigs and Heavy Equipment
Yes, nice work. I need to get some of those square blocks for building as well. -
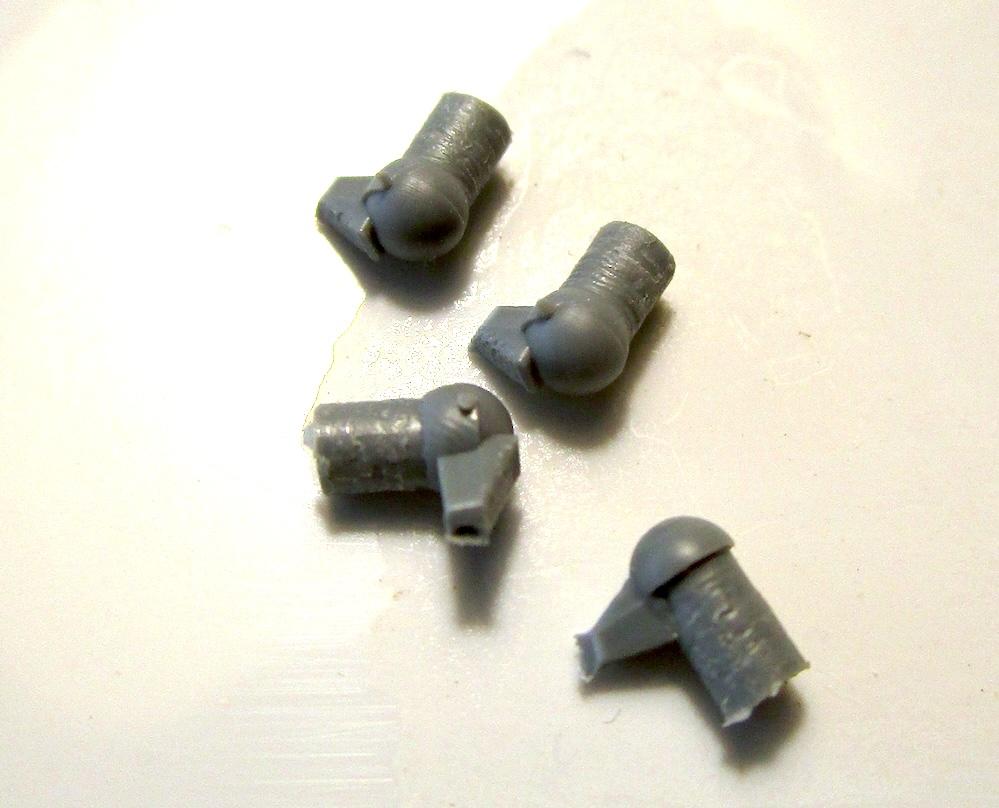
Back to the pilots and the air brake couplers. I made these from sprue bits and disposable lighter parts. Then painted thanks for looking...
- 88 replies
-
- 2
-
-
- trackmobile
- tractor
- (and 2 more)
-
Moebius Great Dane 53' Trailer
Edward Gore replied to hct728(Bob)'s topic in WIP: Model Trucks: Big Rigs and Heavy Equipment
Thanks for the heads-up, Bob -
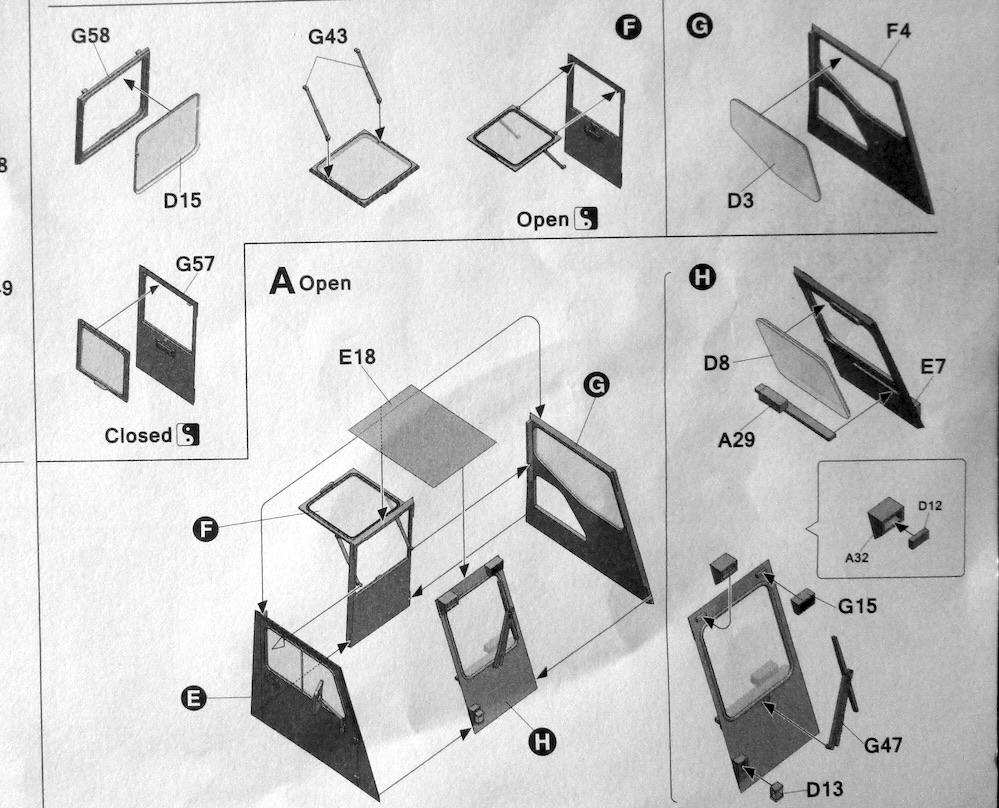
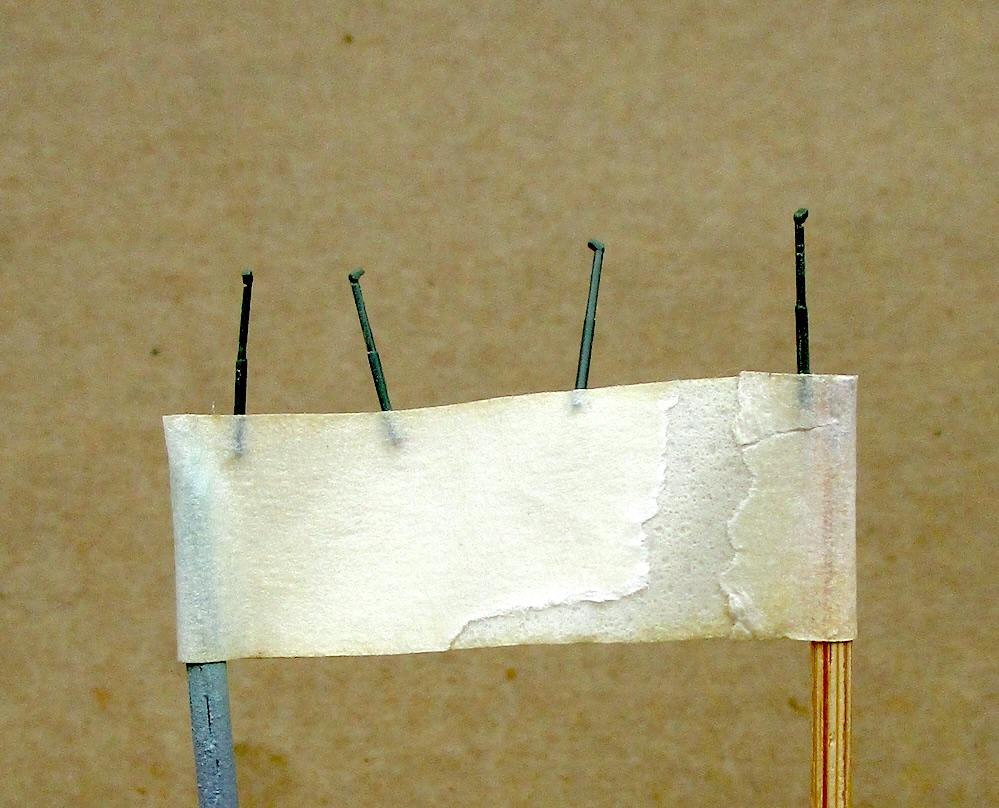
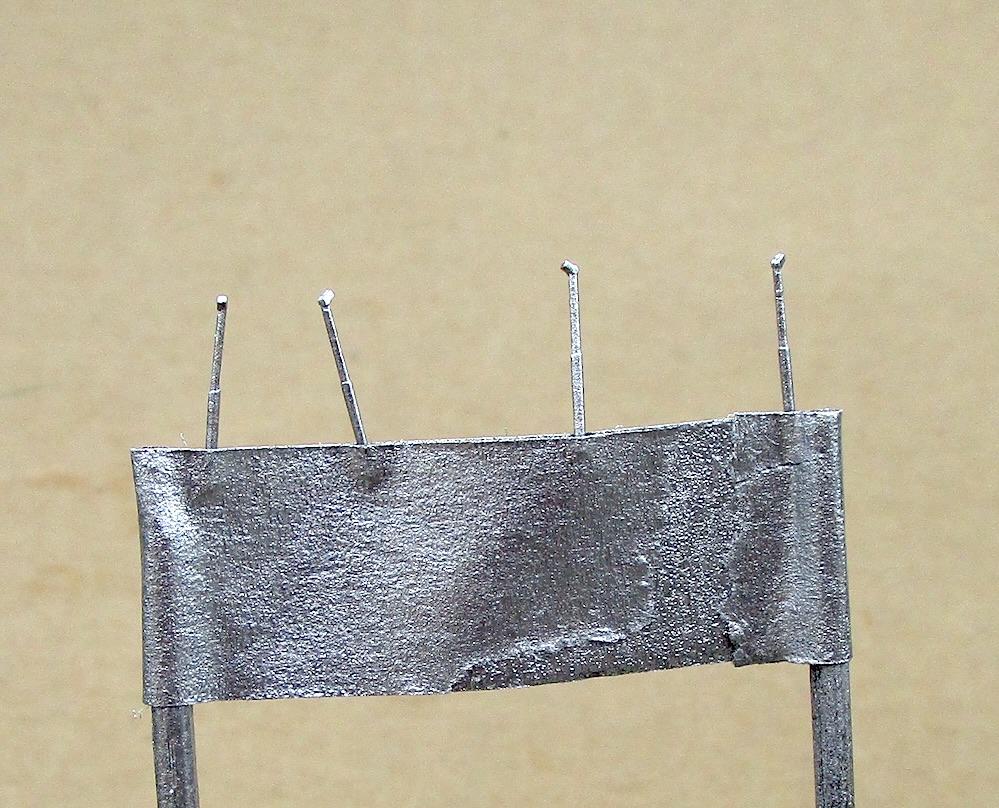
Cleaning the tiny G43 parts was actually more challenging than painting them. I’ll touch up the ends that are under the tape with the outer strut color by horse hair. thanks for looking...
- 88 replies
-
- 1
-
-
- trackmobile
- tractor
- (and 2 more)
-
The dark paint in the louvers added super realism.
-
M-20 Prime Mover
Edward Gore replied to Chariots of Fire's topic in WIP: Model Trucks: Big Rigs and Heavy Equipment
I'll be following along on this one -
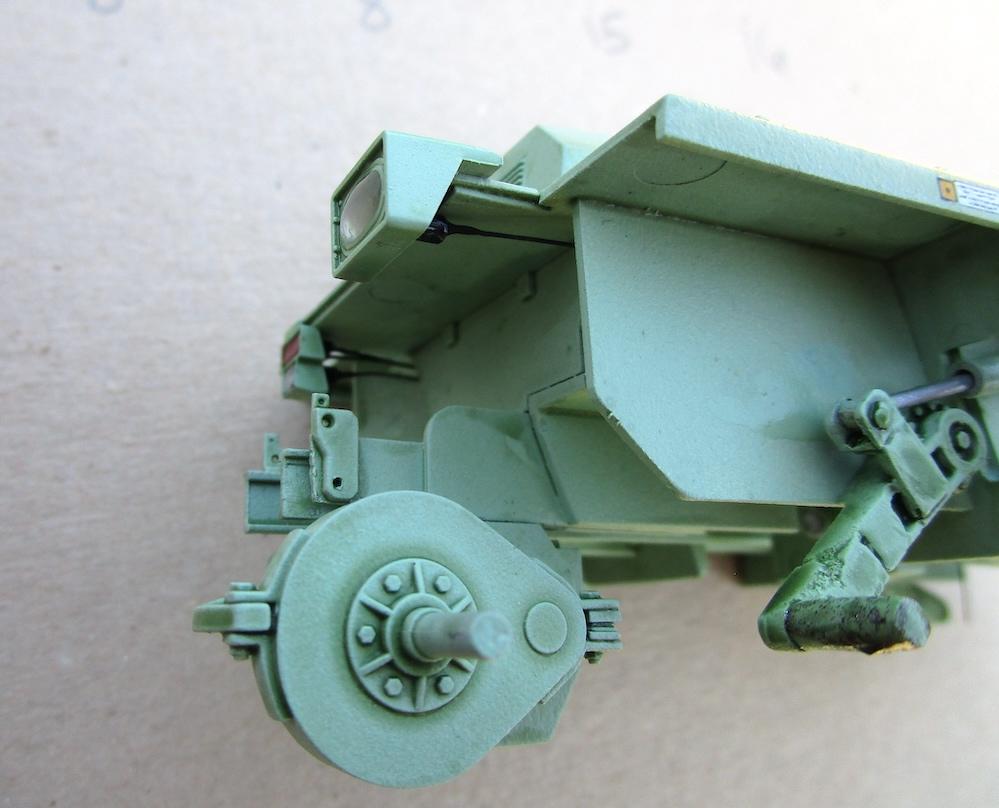
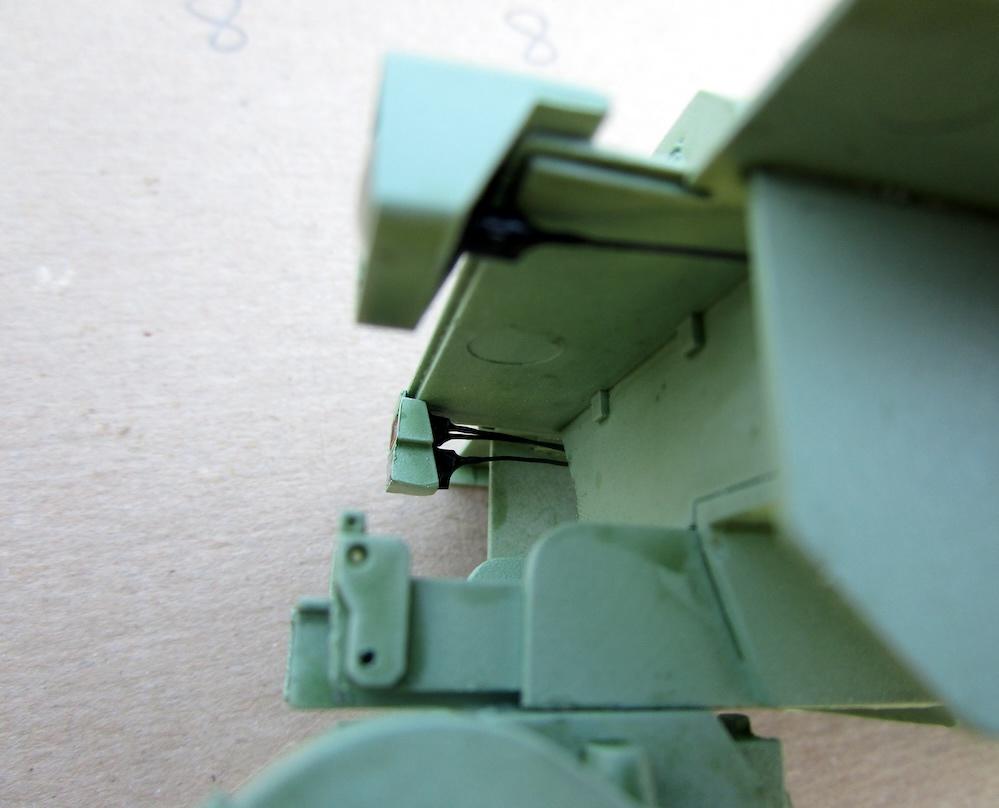
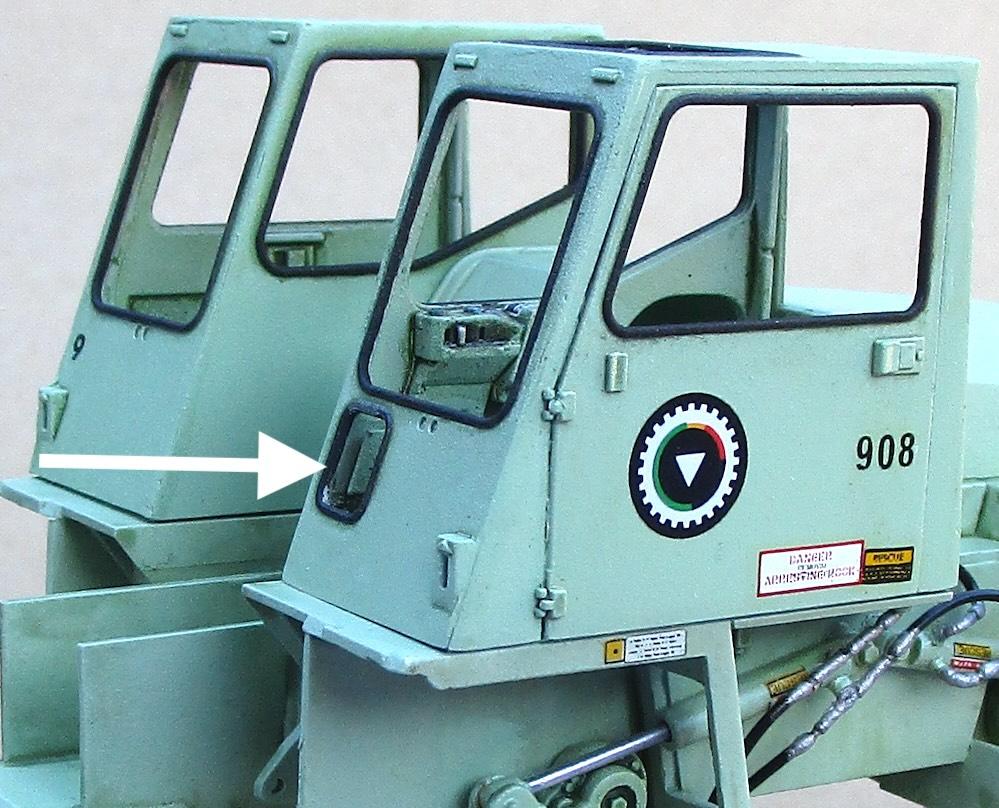
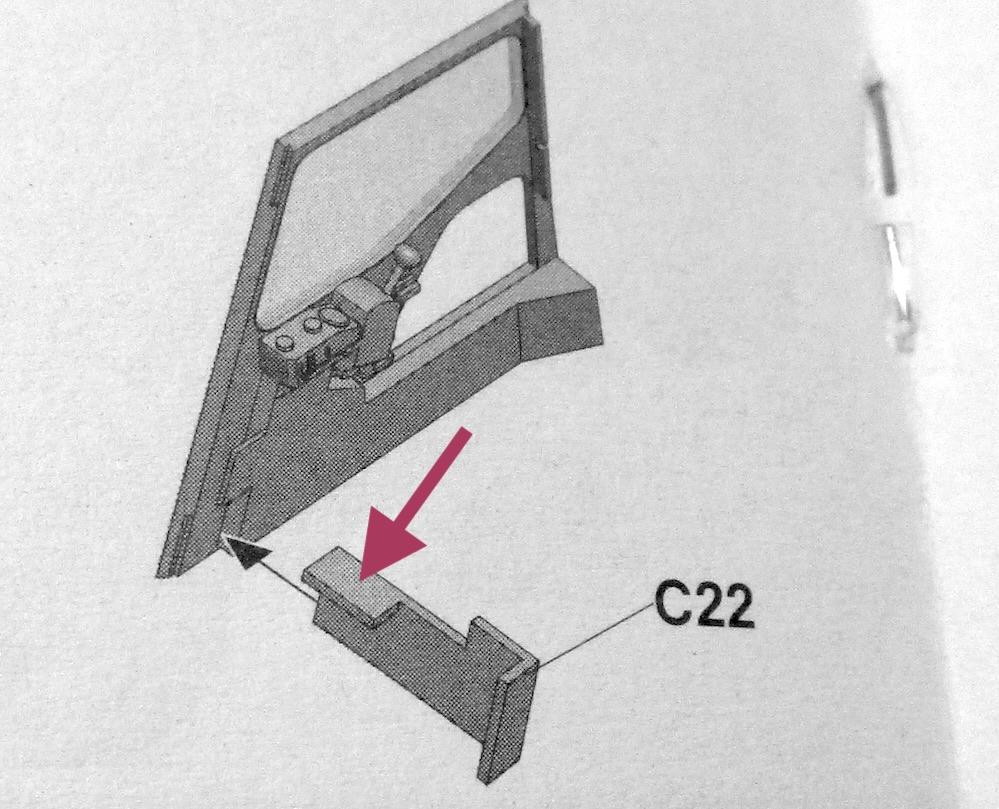
‘Glass’ part D6 didn’t fit because of part C22 at the arrow (see arrow) for clearance. I had to pull part C22 out then glued it back in after glueing in D6.
-
@cifenet, Thanks! I was going to install the 8 wheels for the photo but forgot ?
-
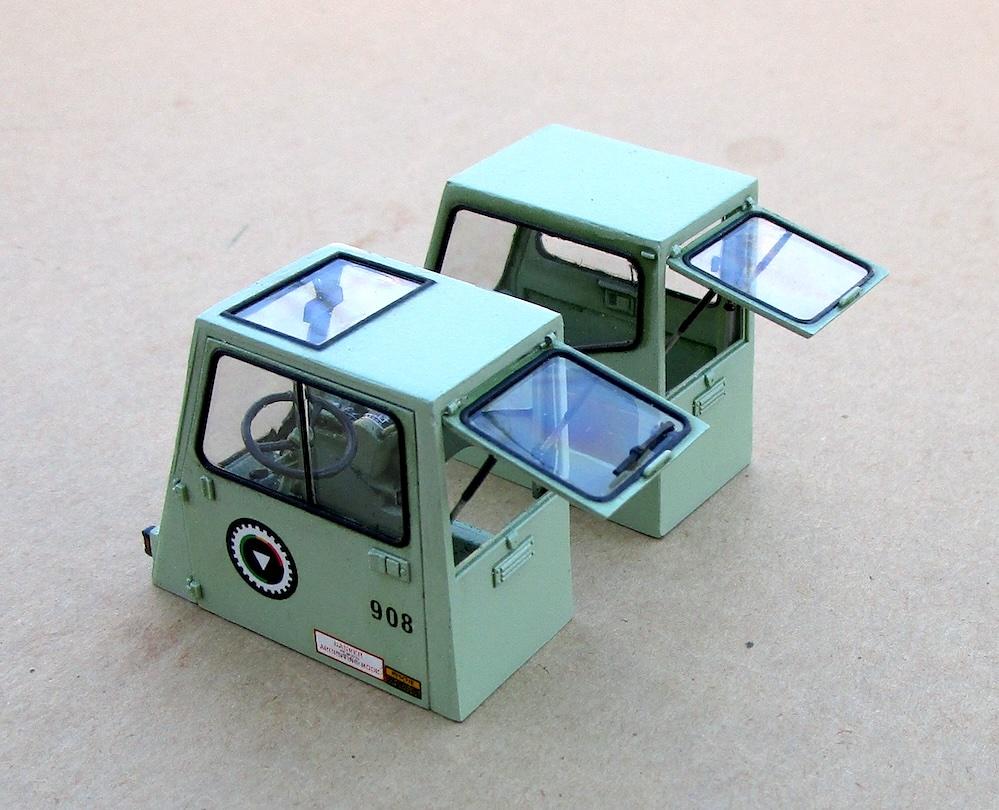
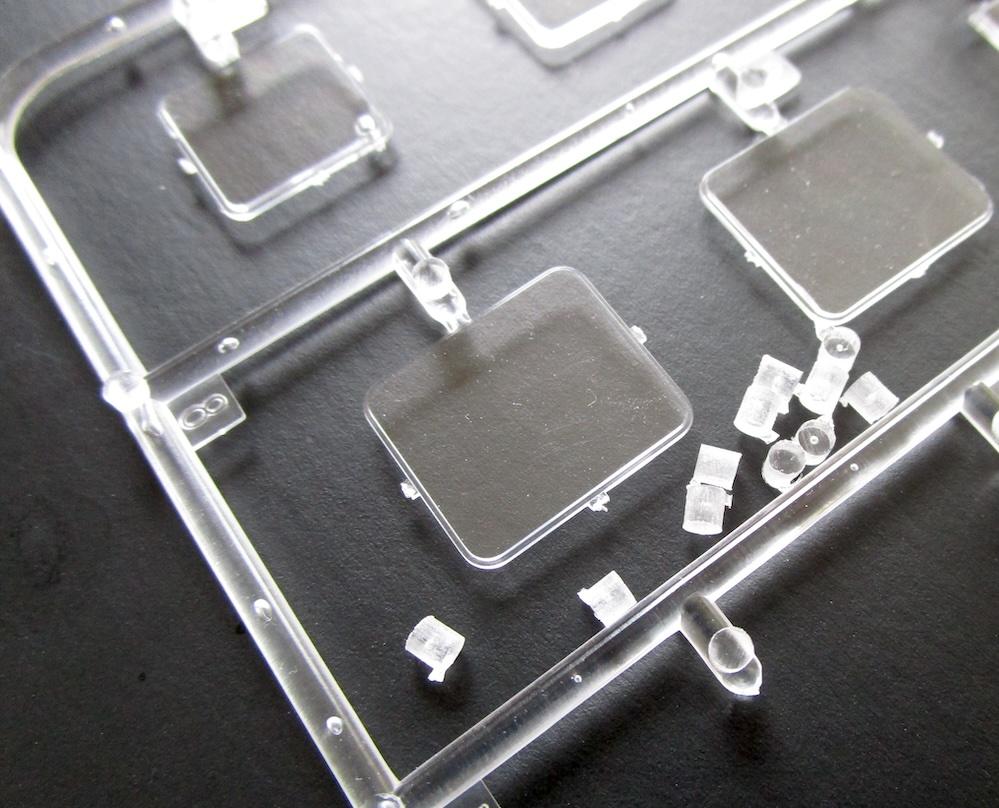
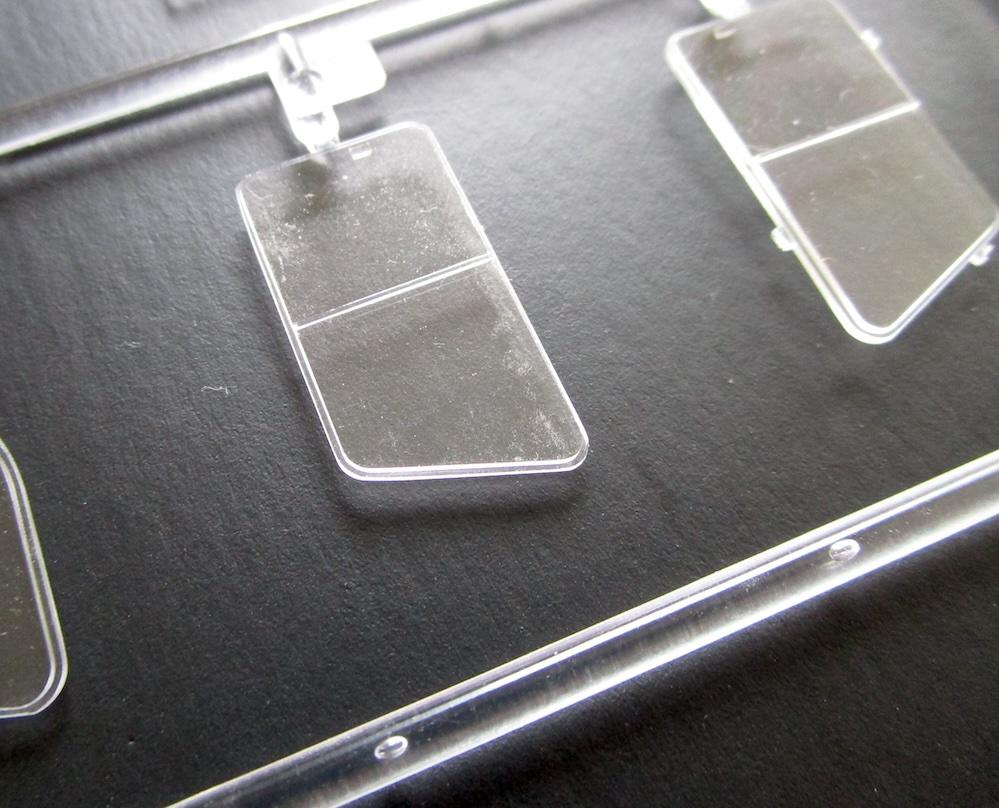
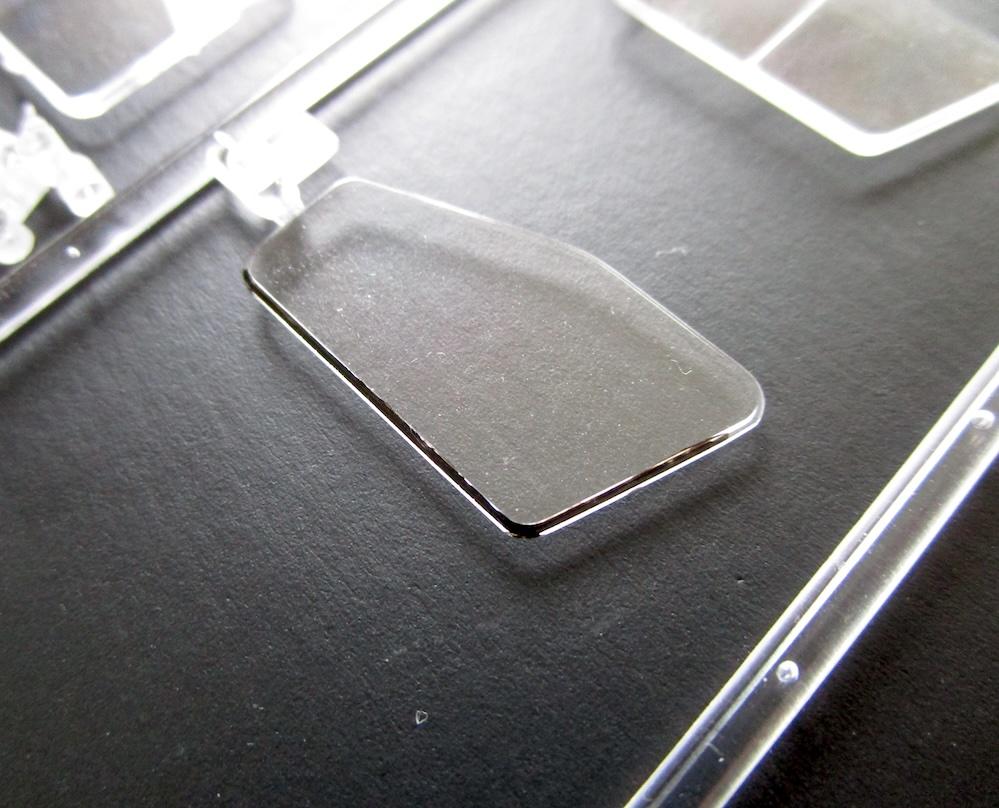
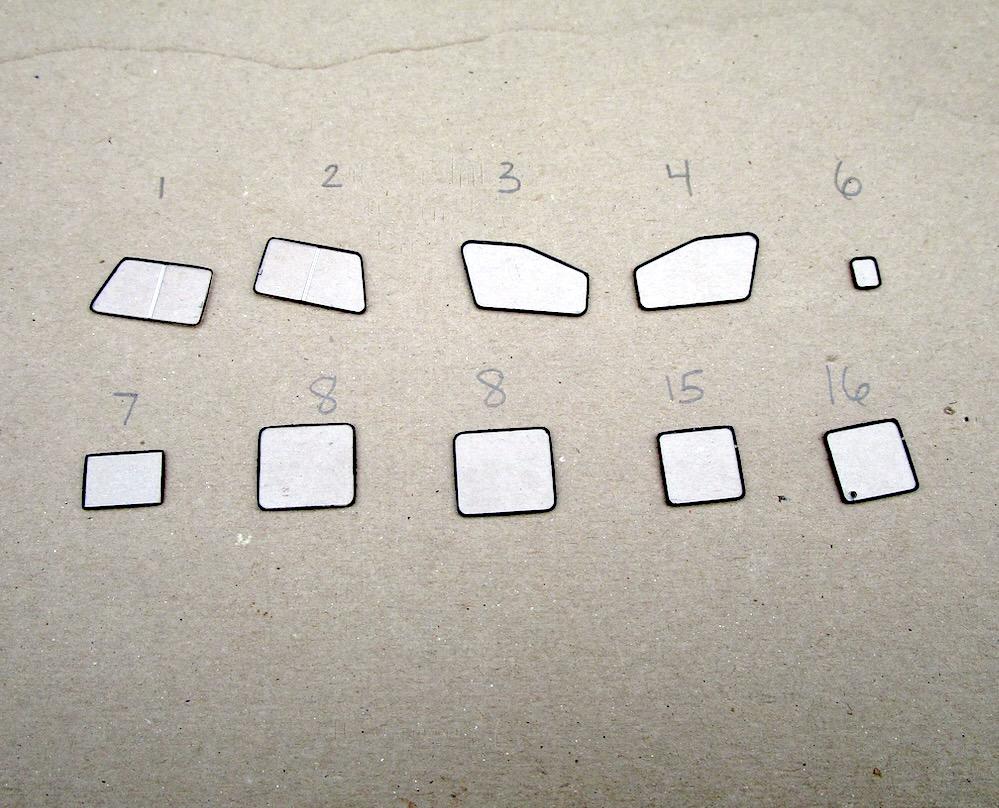
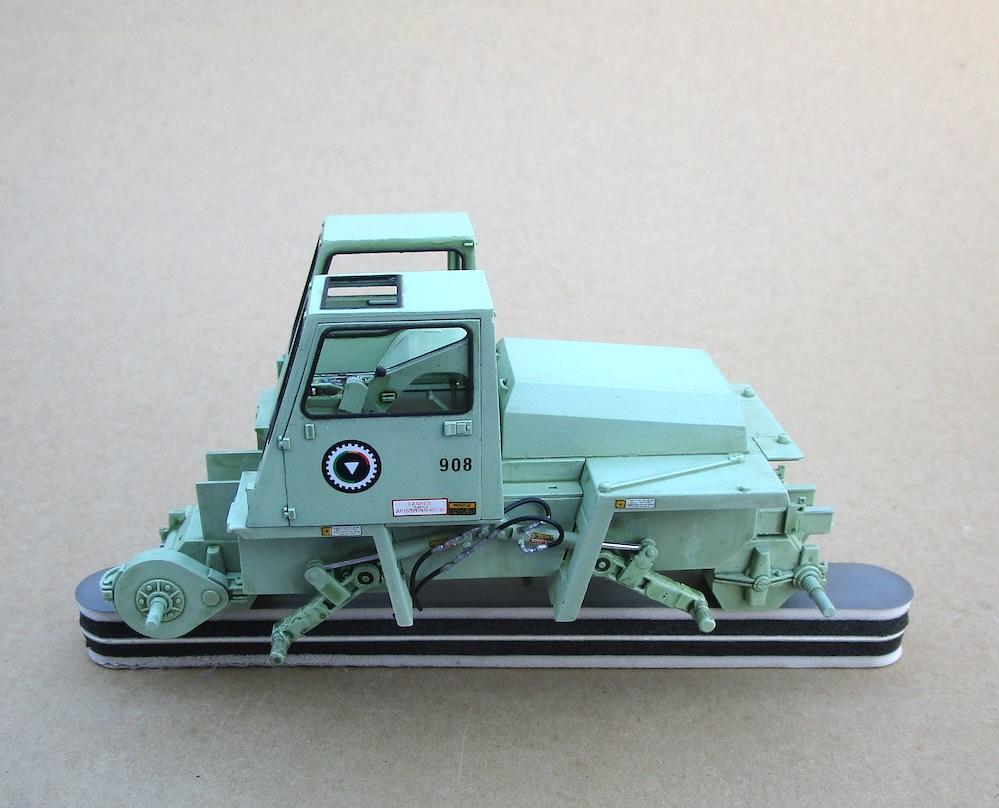
Started cutting all of the sprue bits from the ‘glass’ parts. There are a lot of them. Then sanding carefully with sanding boards. Then finally carefully painting the edges black. This will hopefully block the glass prism effect that would make it look toy and out of scale. This is just the dust from sanding the parts of all the sprue gates.
- 88 replies
-
- 1
-
-
- trackmobile
- tractor
- (and 2 more)
-
@Gary Chastain @DRIPTROIT 71 Very kind words, Gentlemen
-
Awesome compliment. Thank you
-
Nice finish and weathering
-
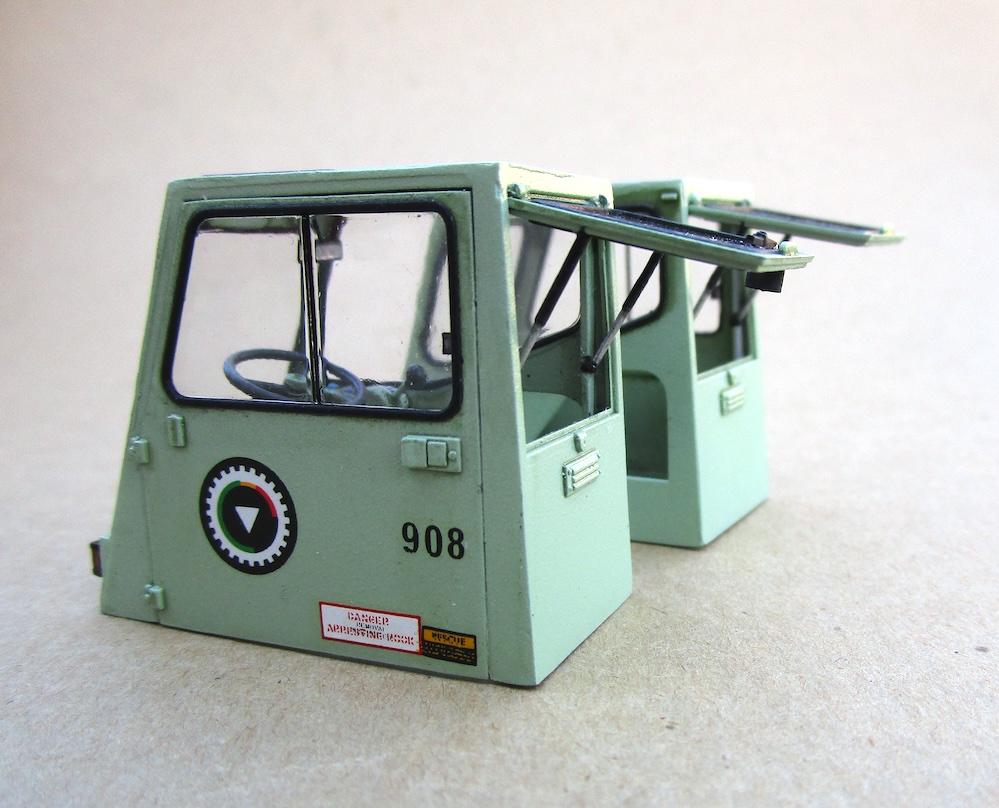
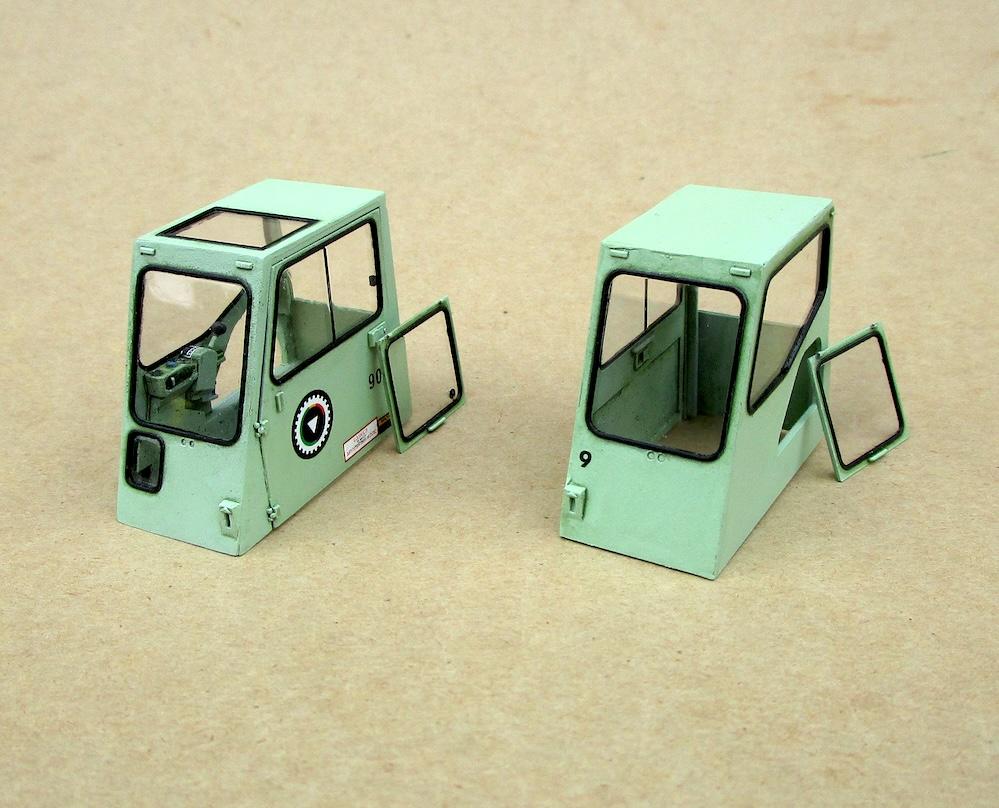
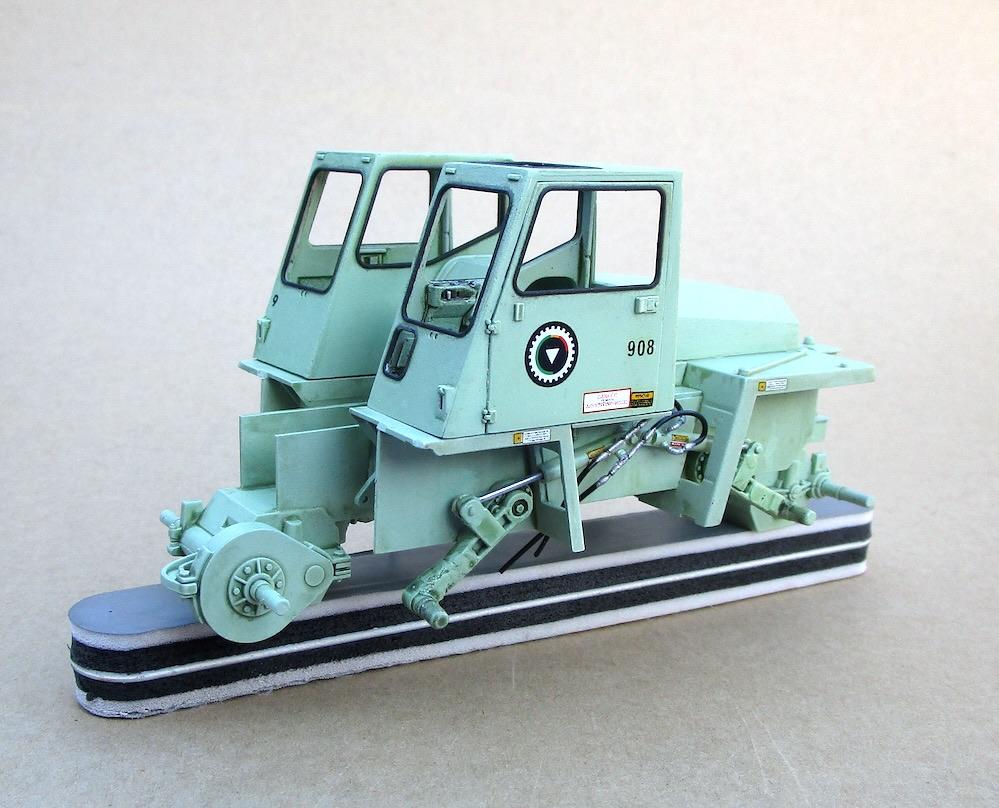
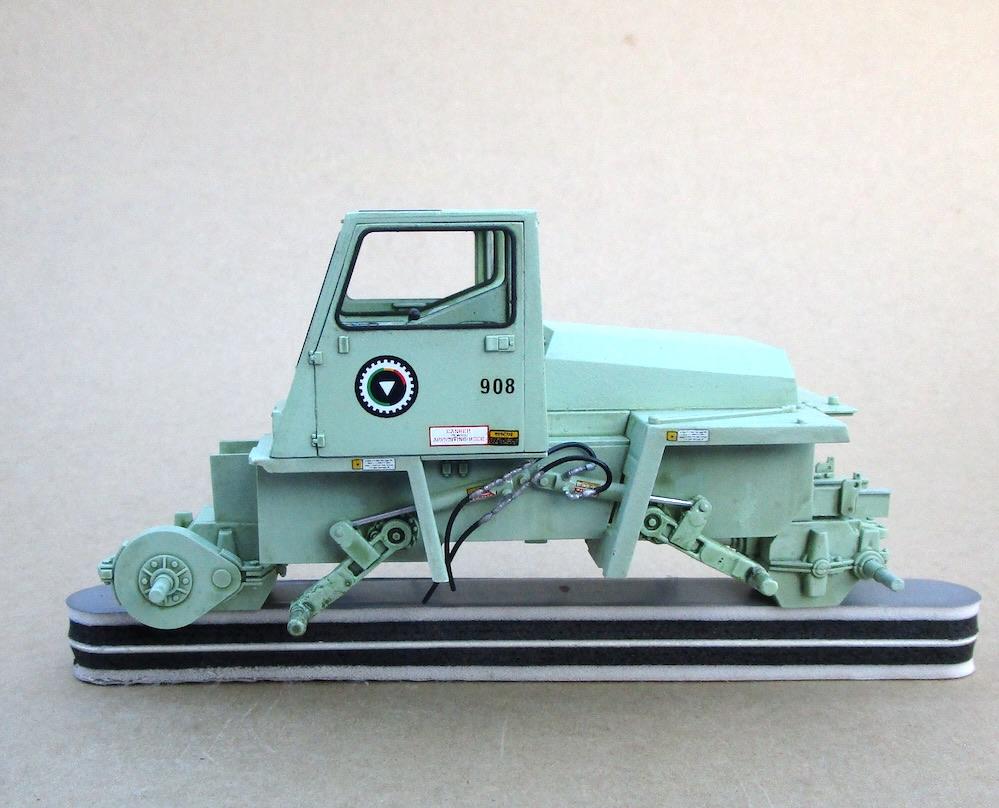
Dry fitting the cabs for progress assessment before glass parts are installed. Also added a few more decals to the cabs.
- 88 replies
-
- 1
-
-
- trackmobile
- tractor
- (and 2 more)
-
@Dutzie @James2 Thanks for checking in ?
-
@cifenet @Bainford @Jürgen M. Very kind words. Thank you so much for the compliments and for checking out my model build.
-
Off-road thing
Edward Gore replied to eldiablo78's topic in All The Rest: Motorcycles, Aviation, Military, Sci-Fi, Figures
Love this ? What dry transfers do you use? -
ongoing oilfield project
Edward Gore replied to cdntrucking's topic in WIP: Model Trucks: Big Rigs and Heavy Equipment
Very impressive scratch building ! -
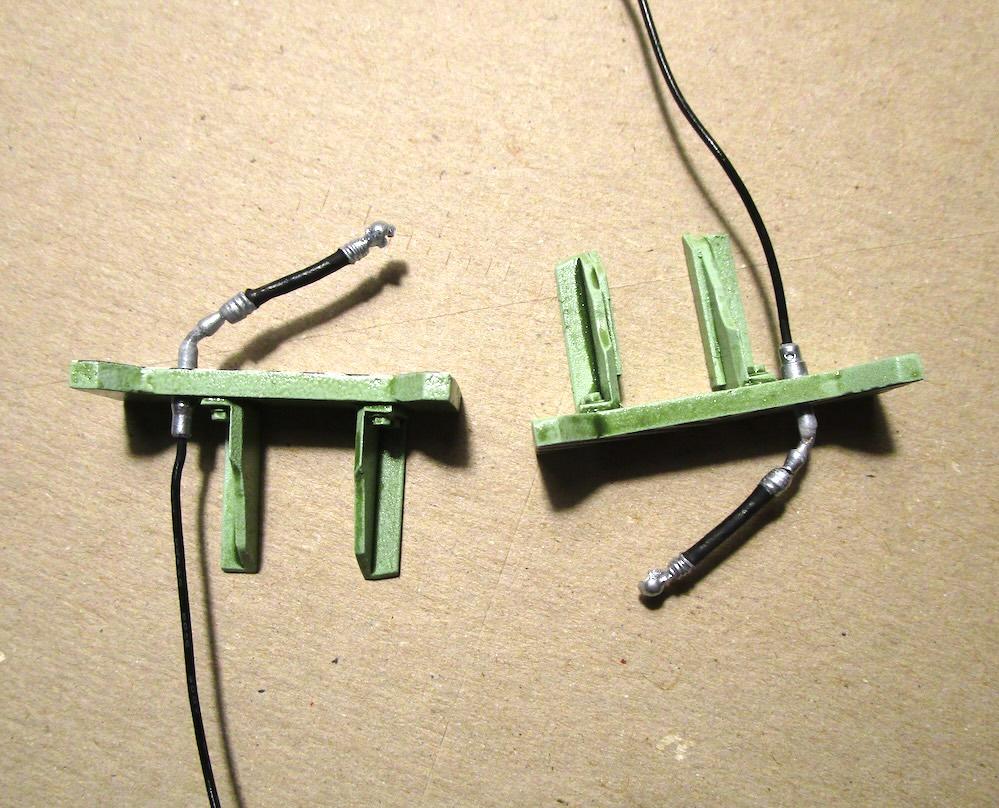
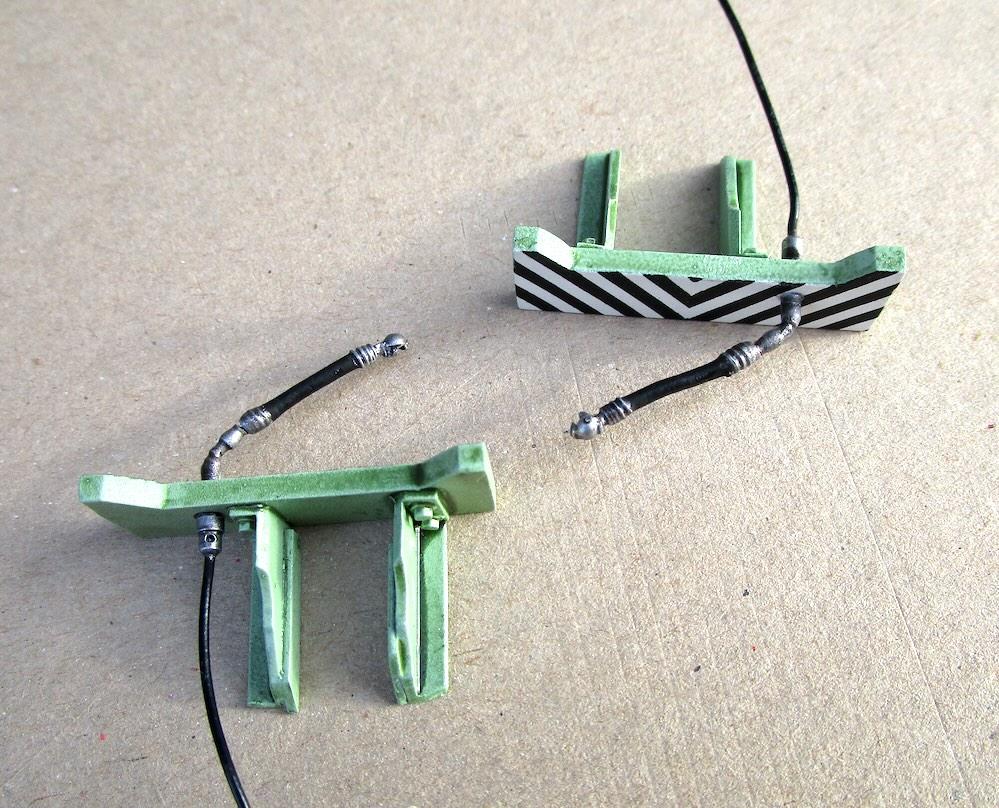
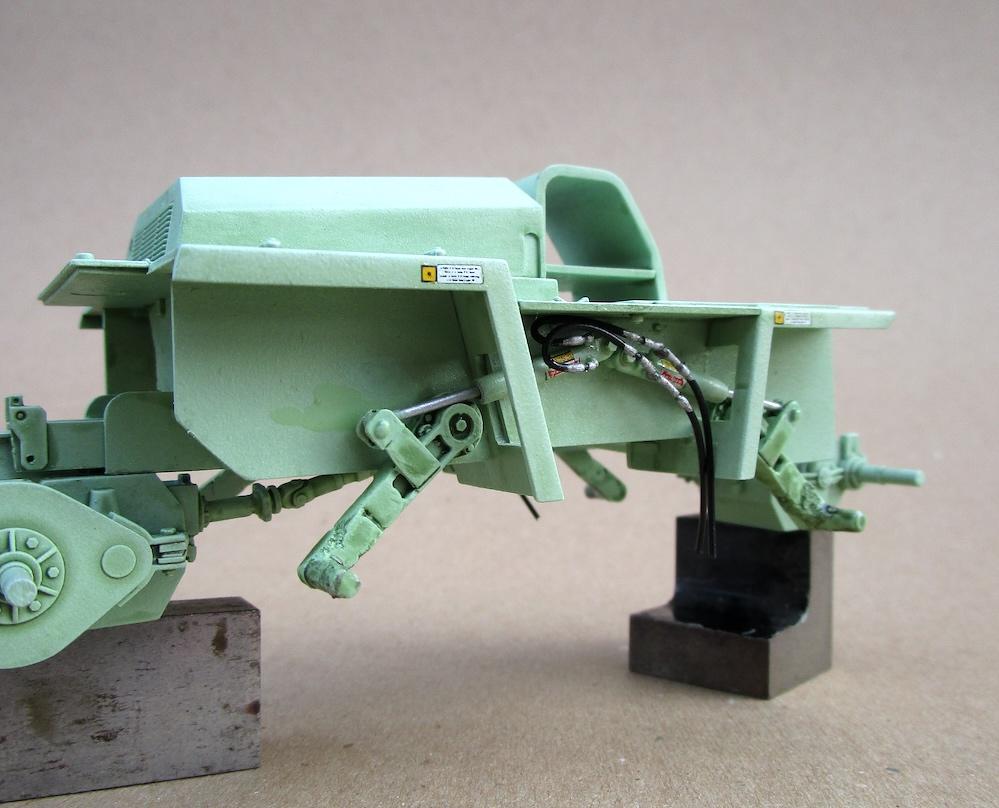
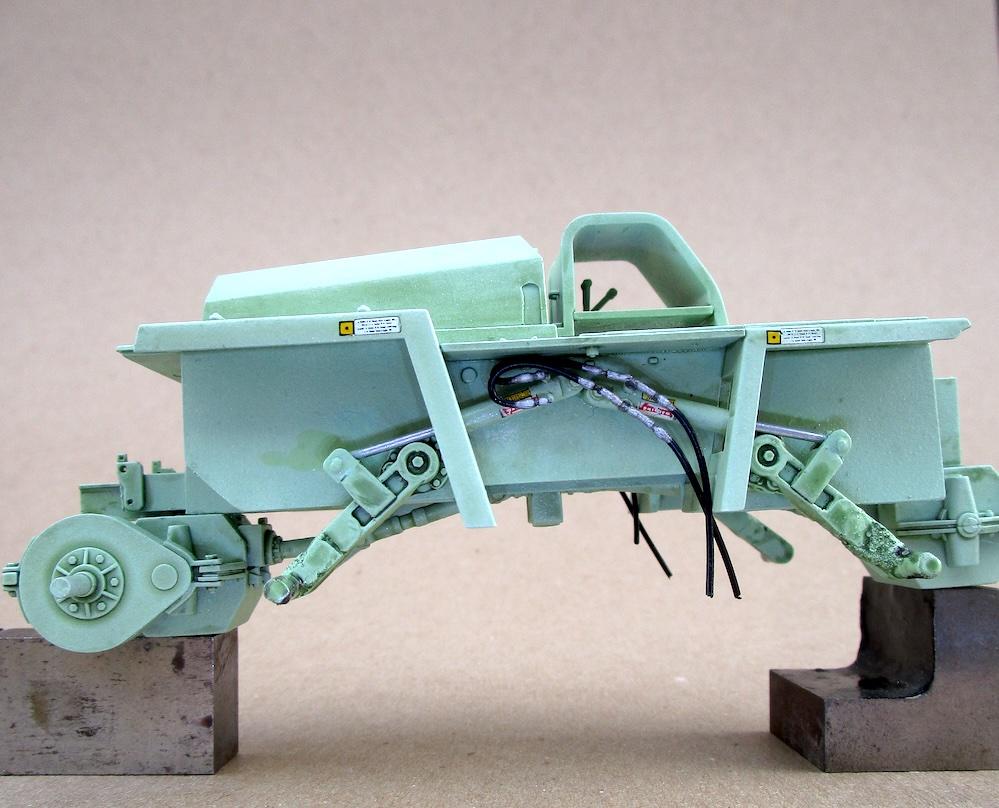
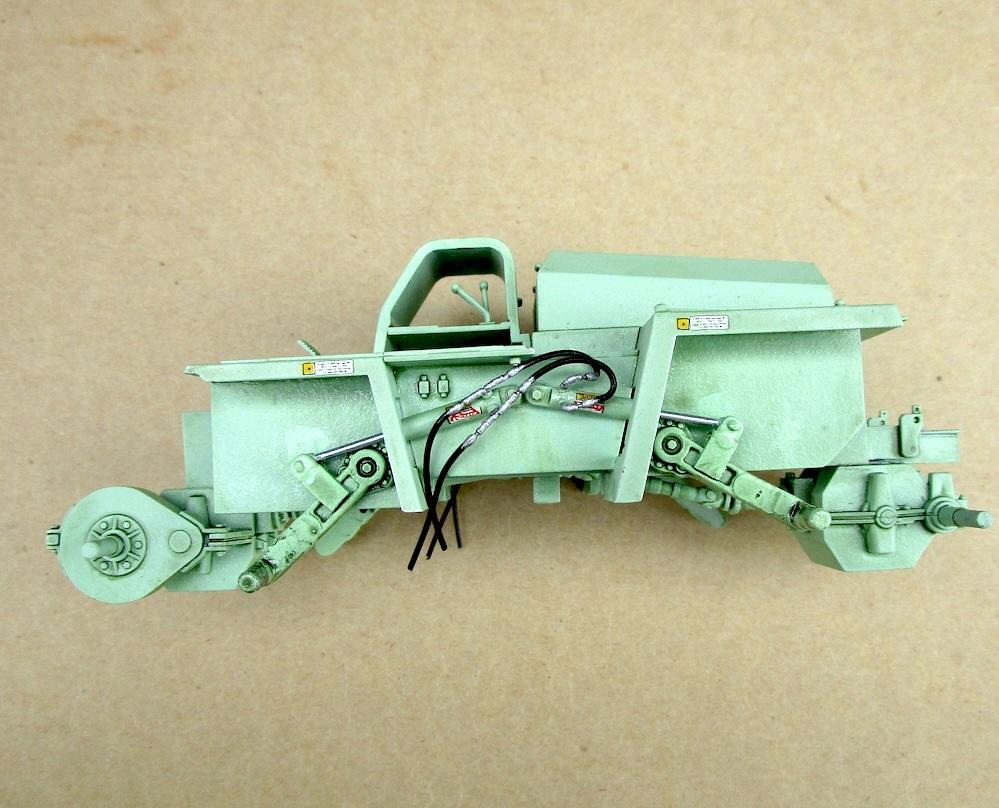
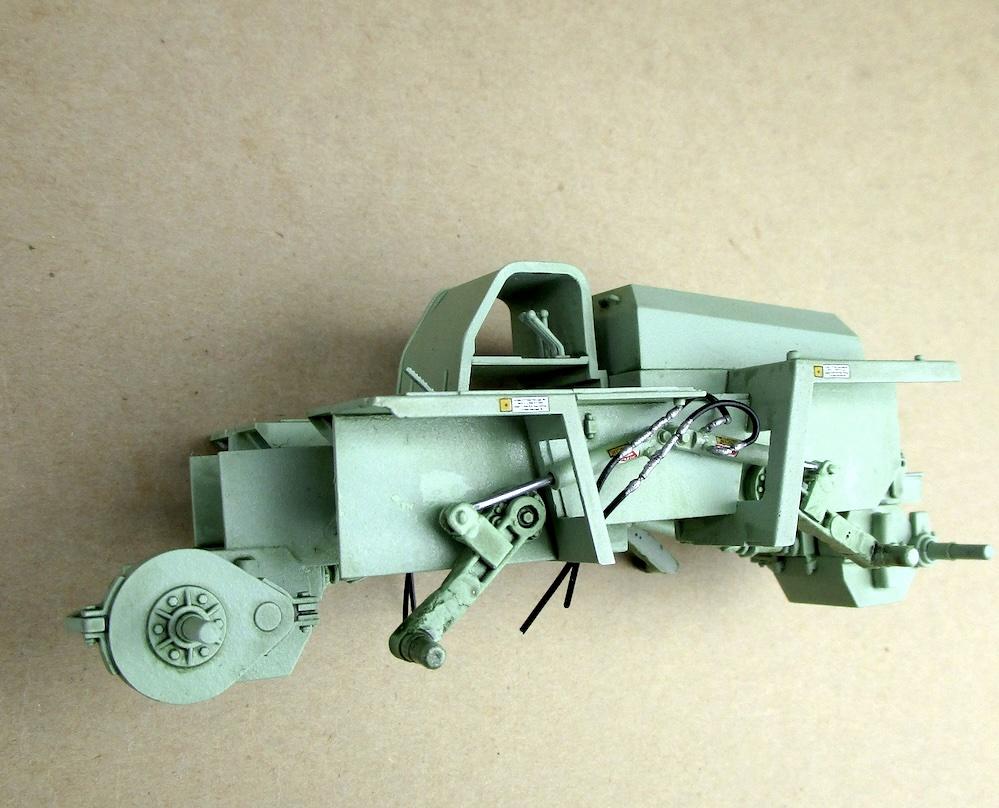
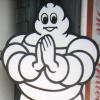
Gluing in the hydraulic lines for the road wheel arm cylinders. A few decals set onto position. Thanks for looking in ...
- 88 replies
-
- 1
-
-
- trackmobile
- tractor
- (and 2 more)