-
Posts
6,885 -
Joined
-
Last visited
Content Type
Profiles
Forums
Events
Gallery
Everything posted by Modlbldr
-
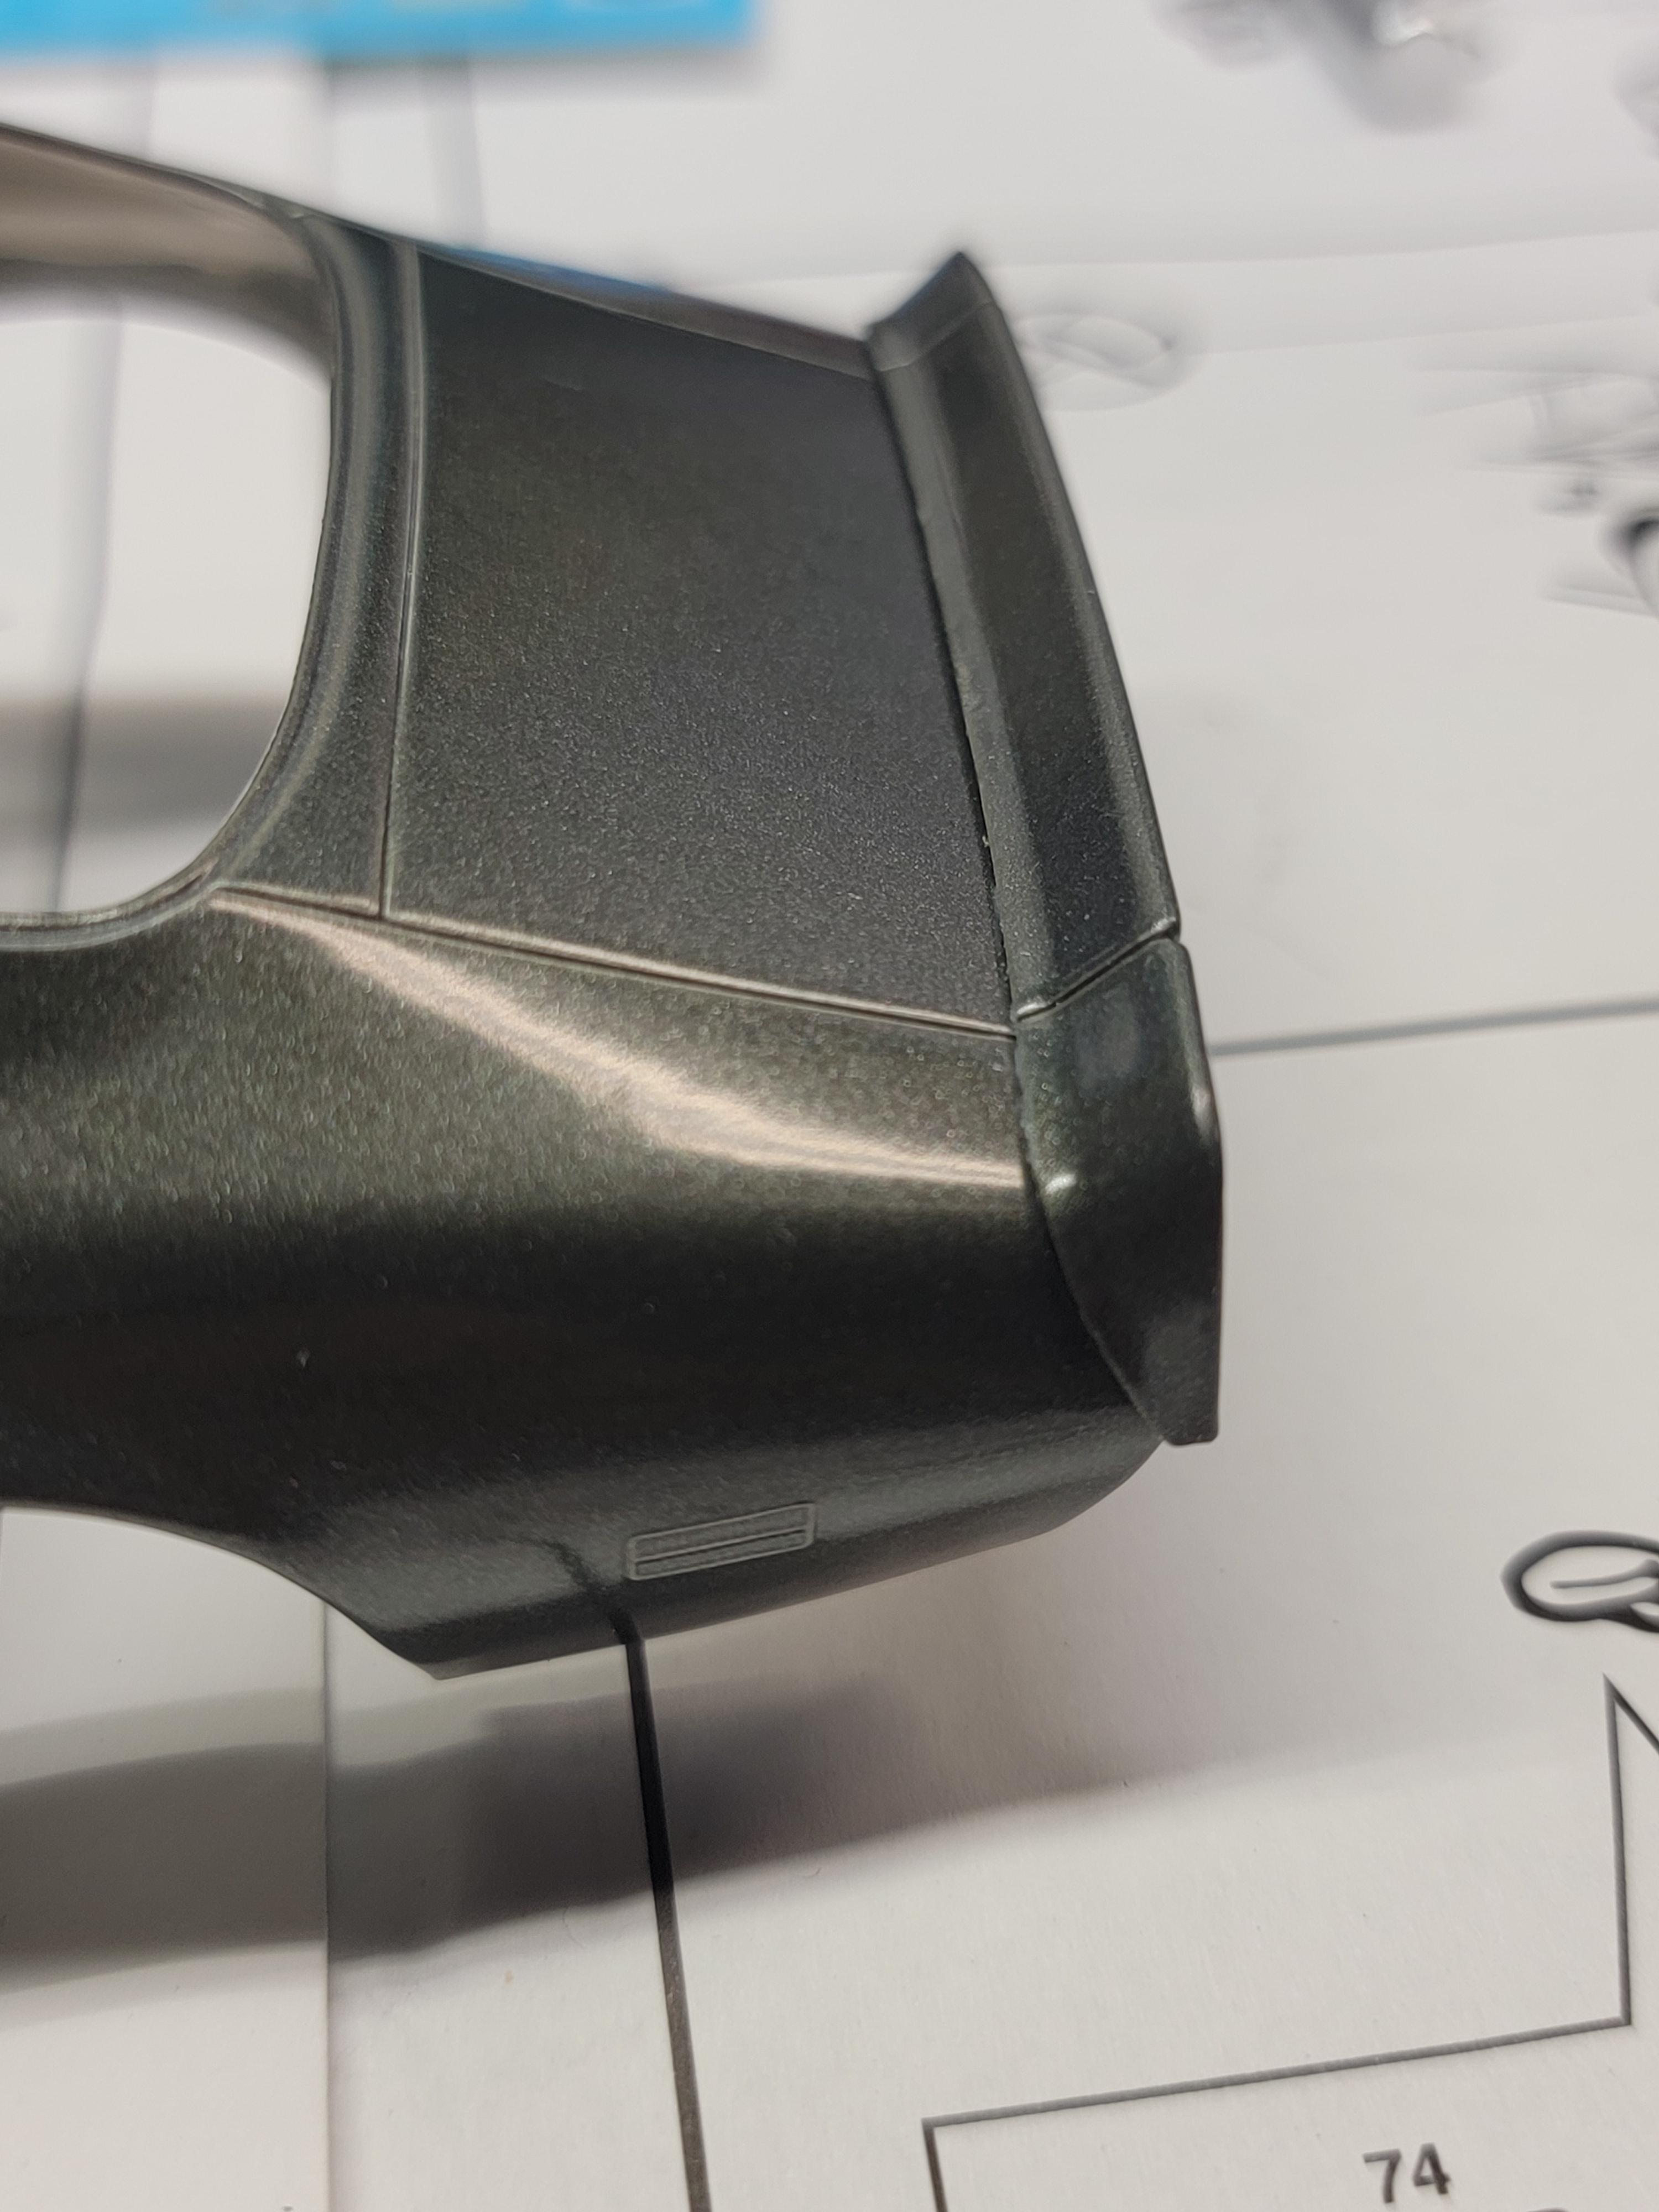
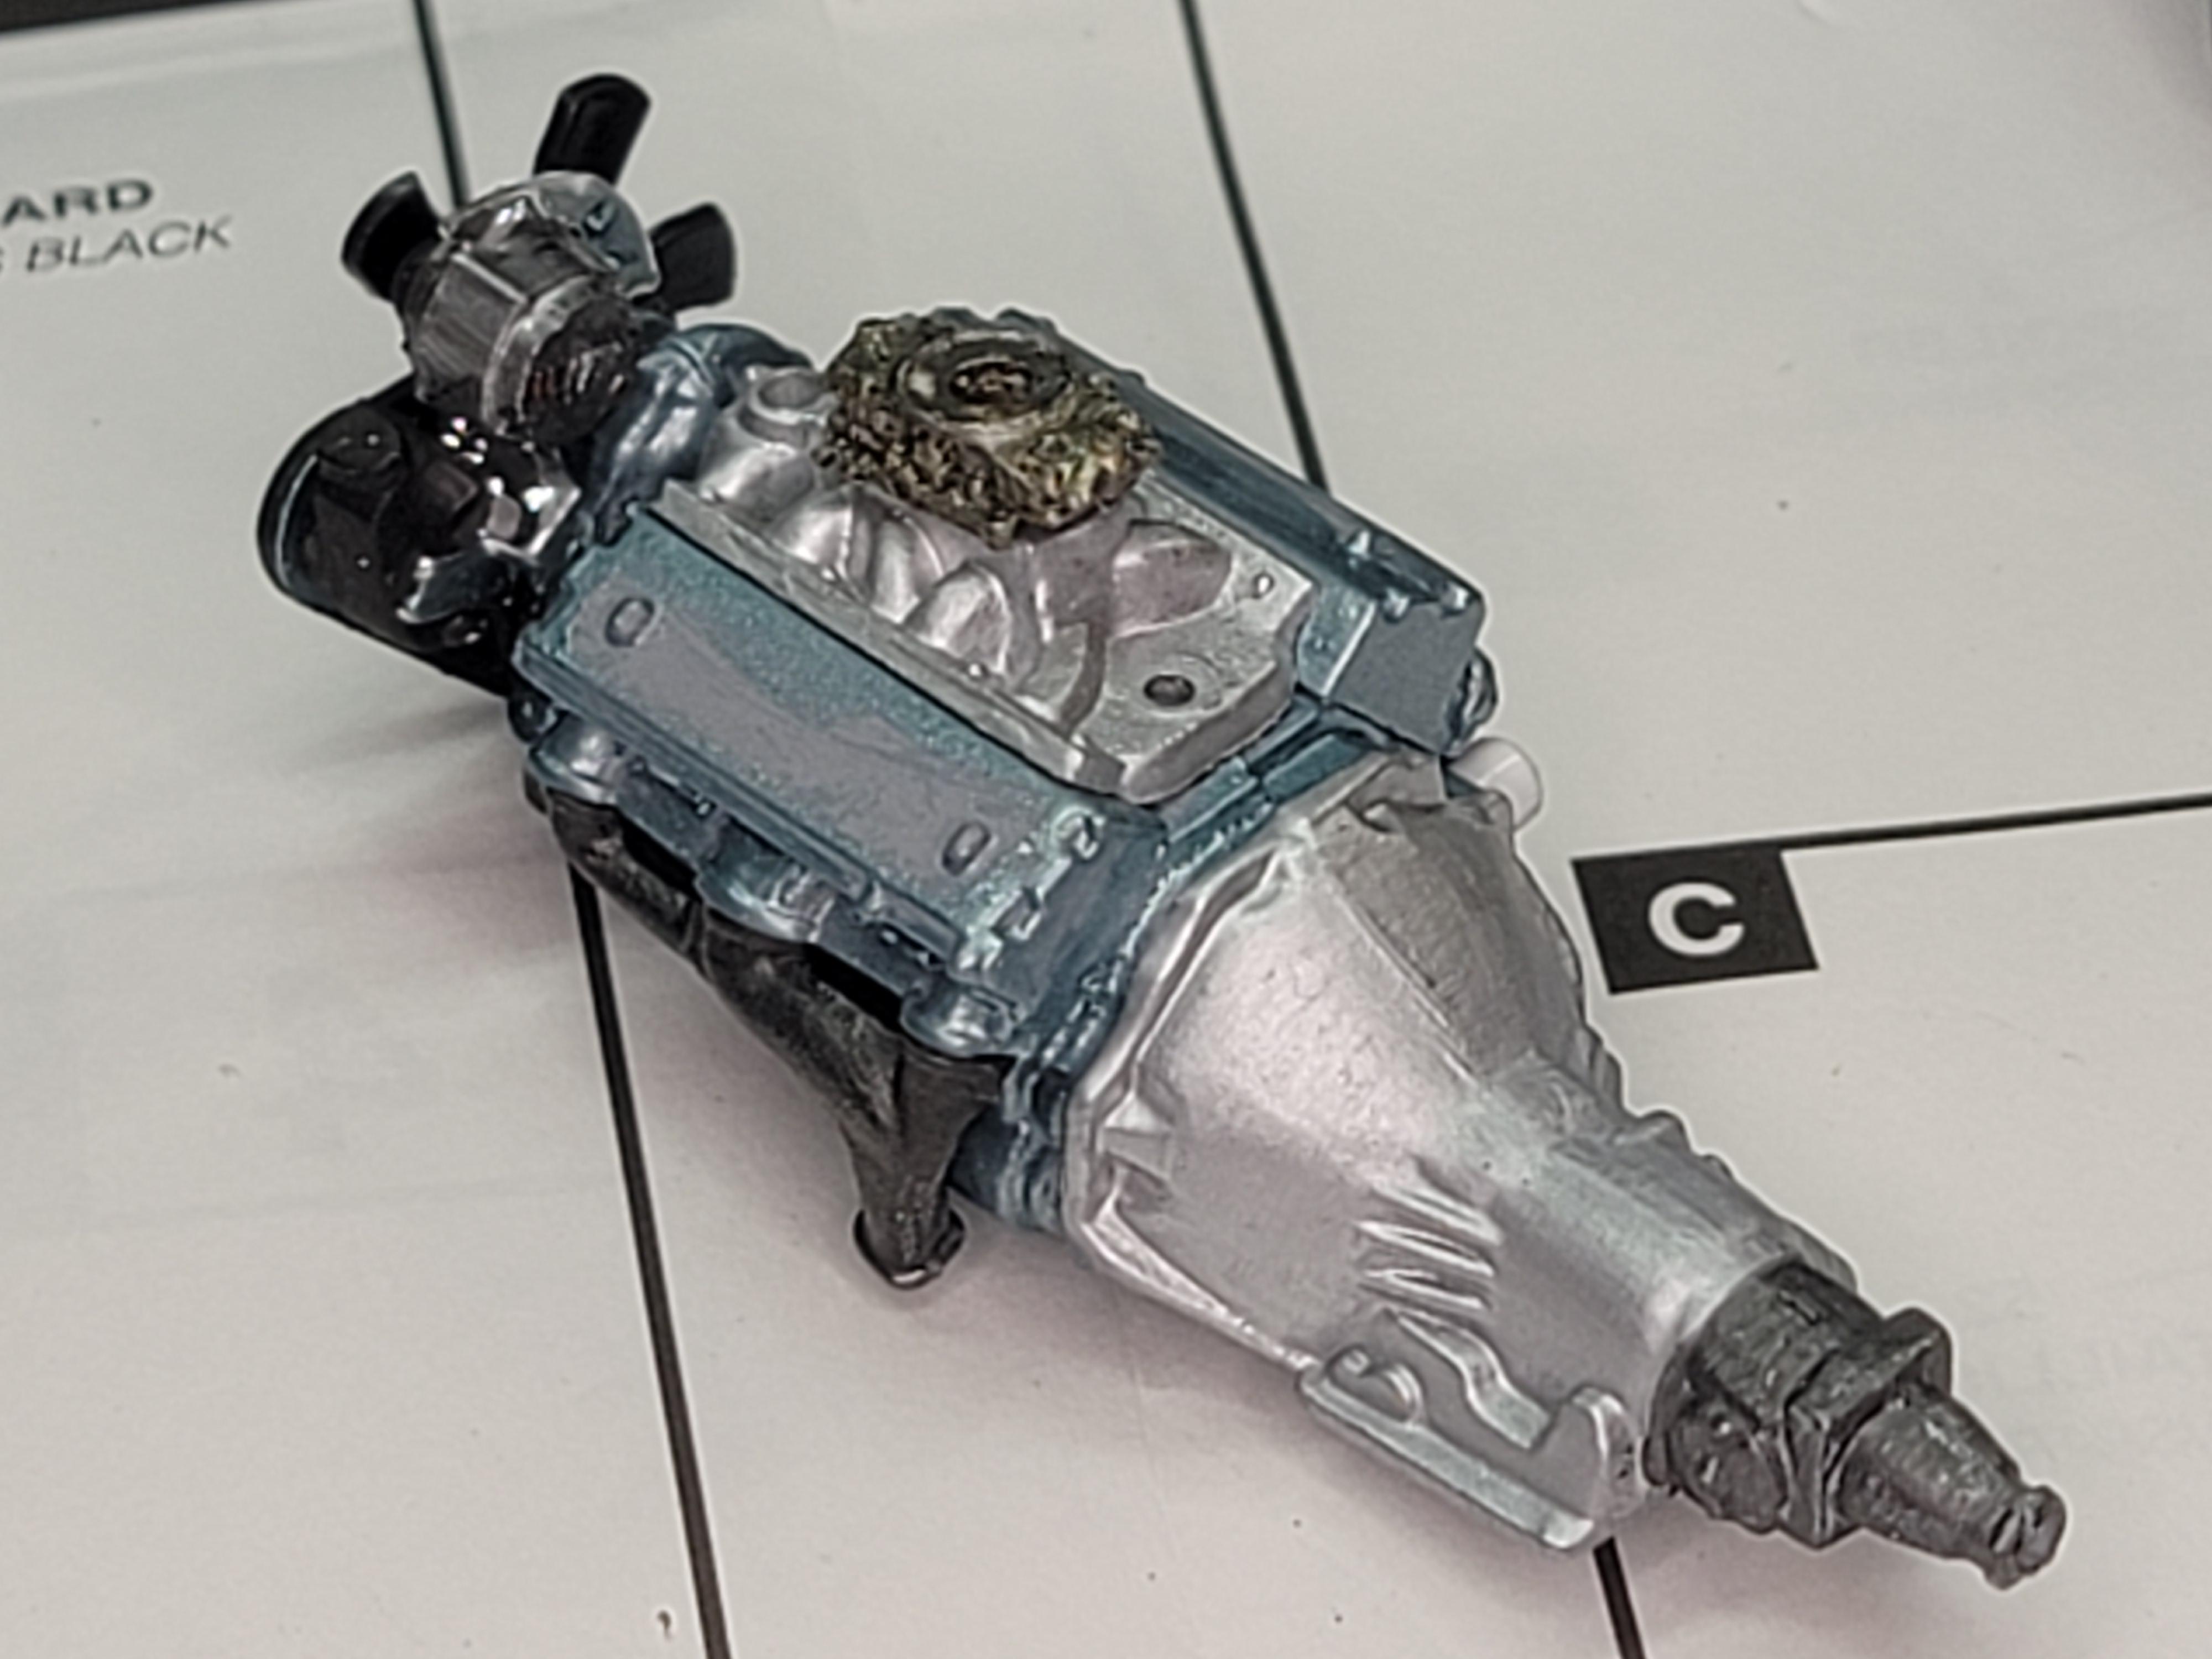
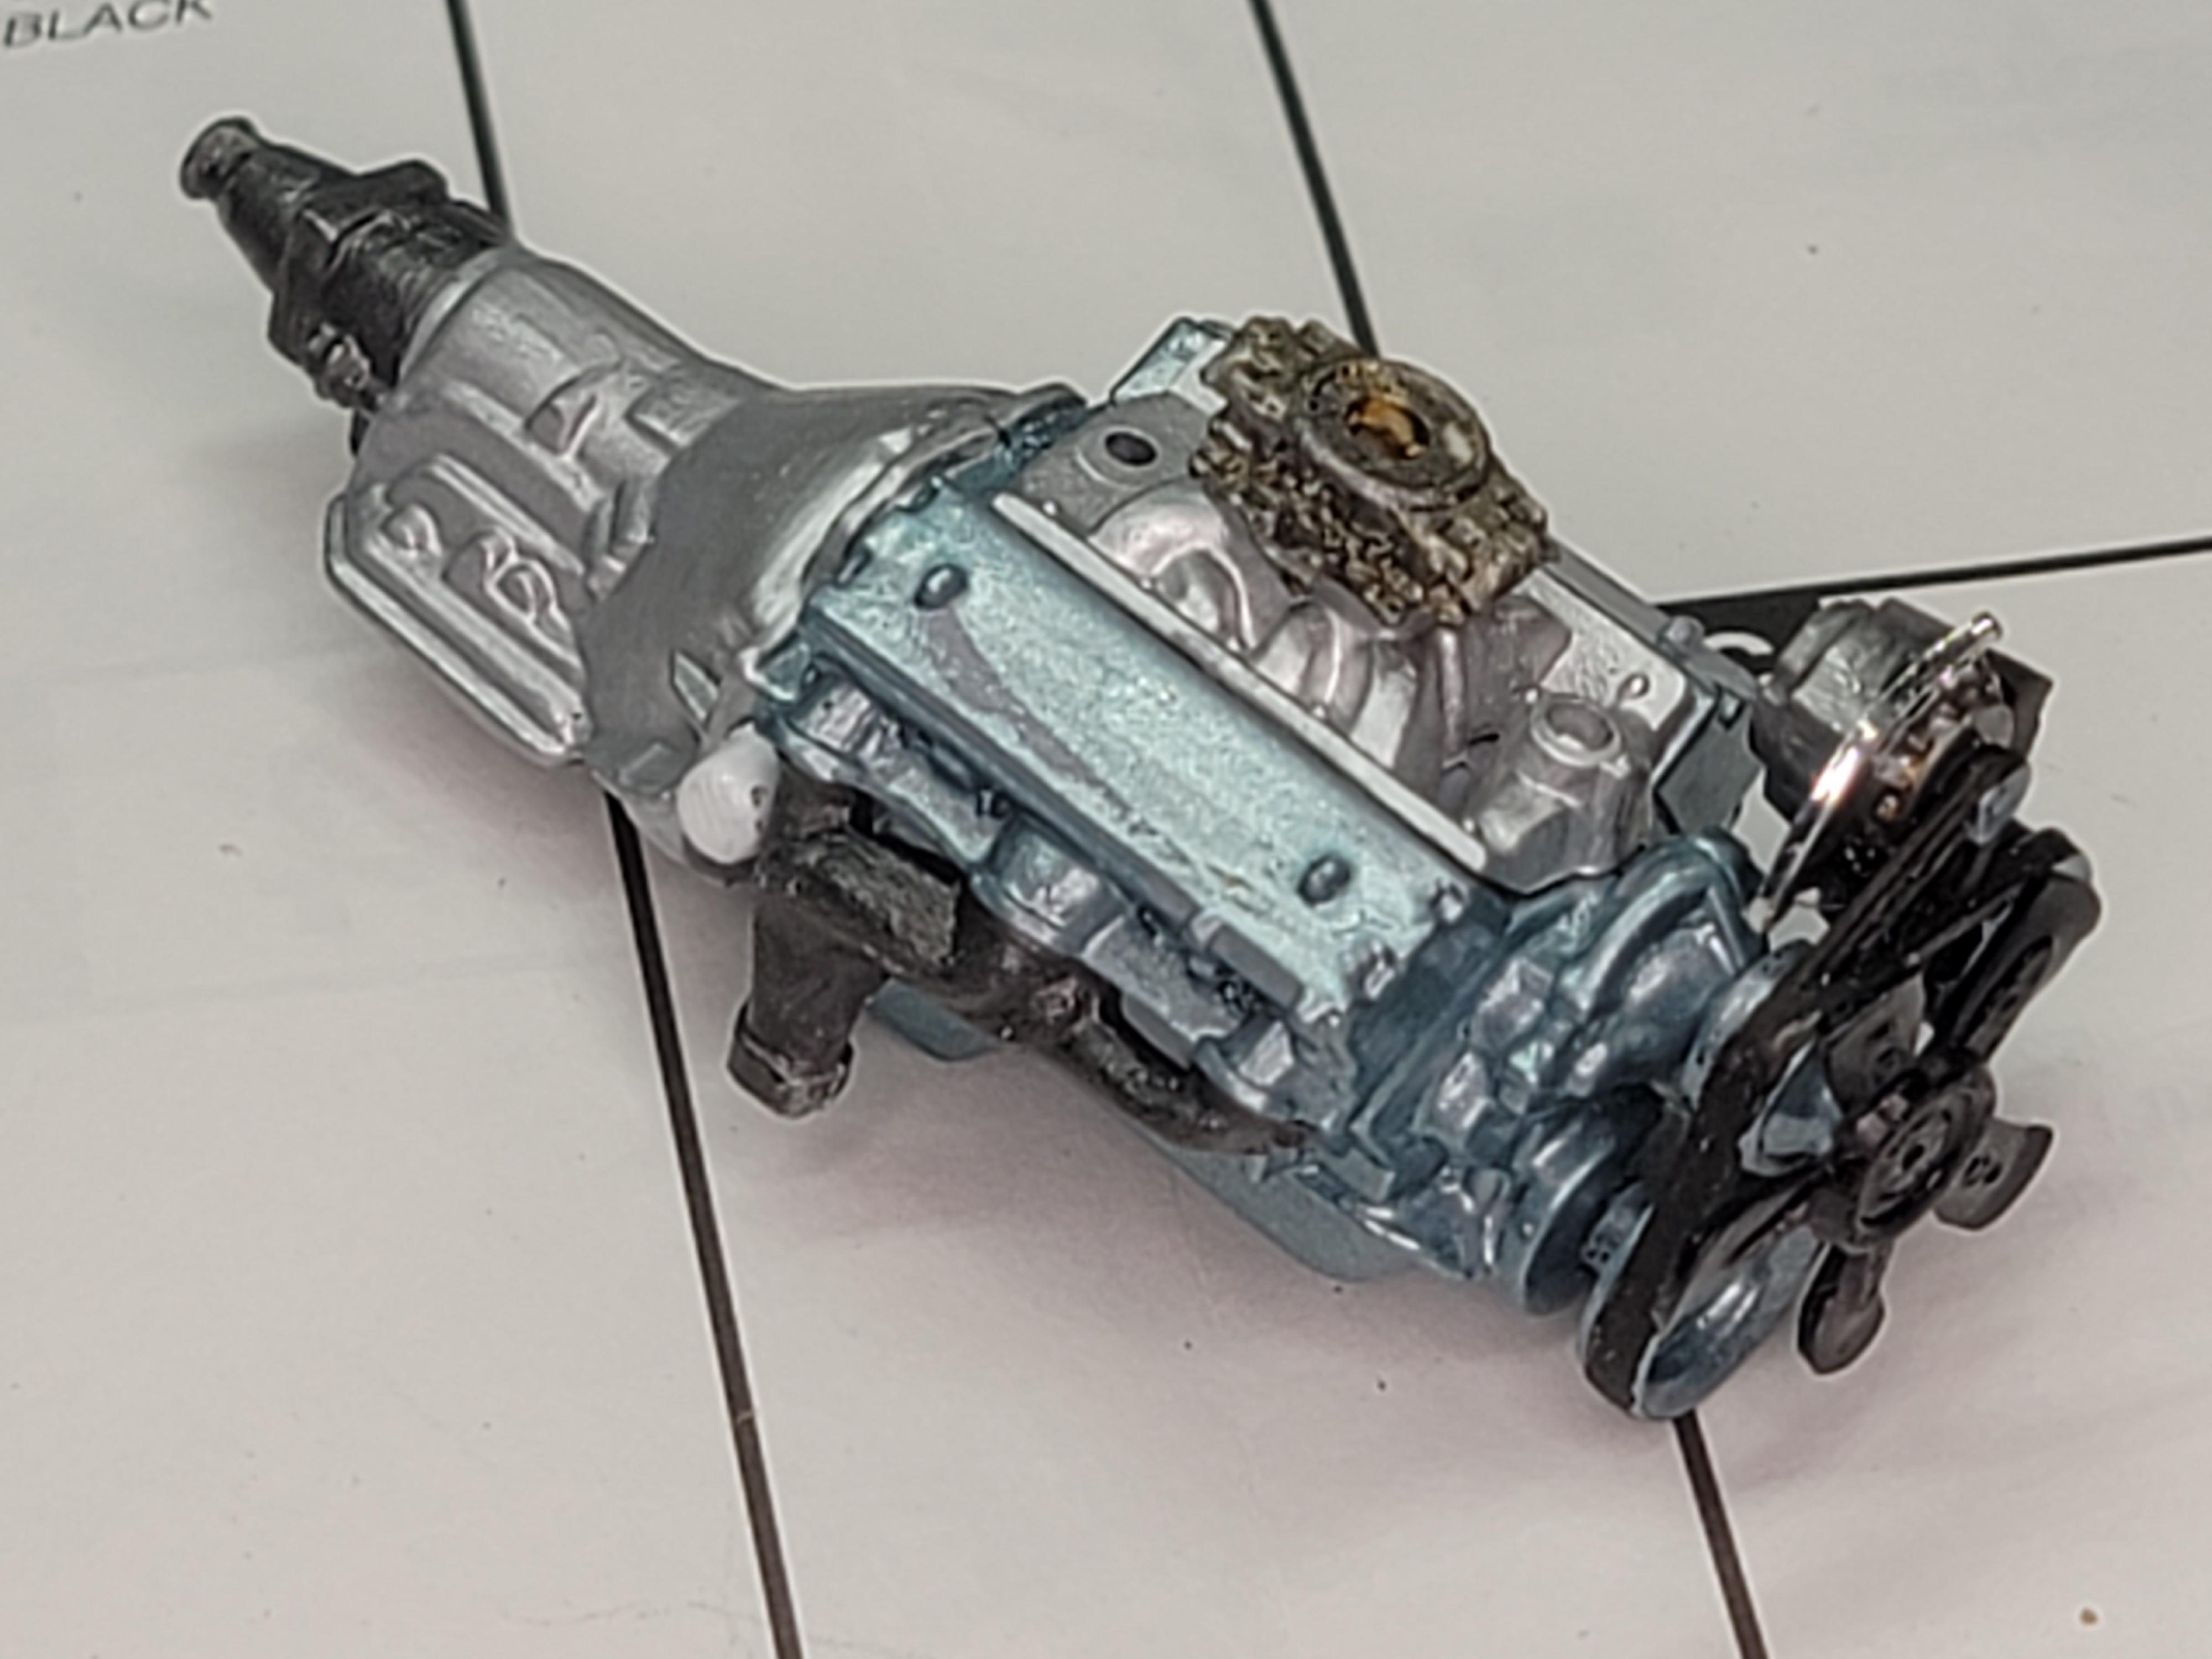
Got a bit of time at the bench tonight. Wired the plugs for the engine, installed the rear spoiler, and detailed a bit under the hood. Later-
-
Been a bit since I posted any updates. Got most of the engine done. Engine bay taped off and hit with some flat black. Finished the interior the other night. Now to get the body polished and the glass in. Later-
-
Wow! Some wild customizing. It looks amazing. I'll be watching to see the end results. Later-
-
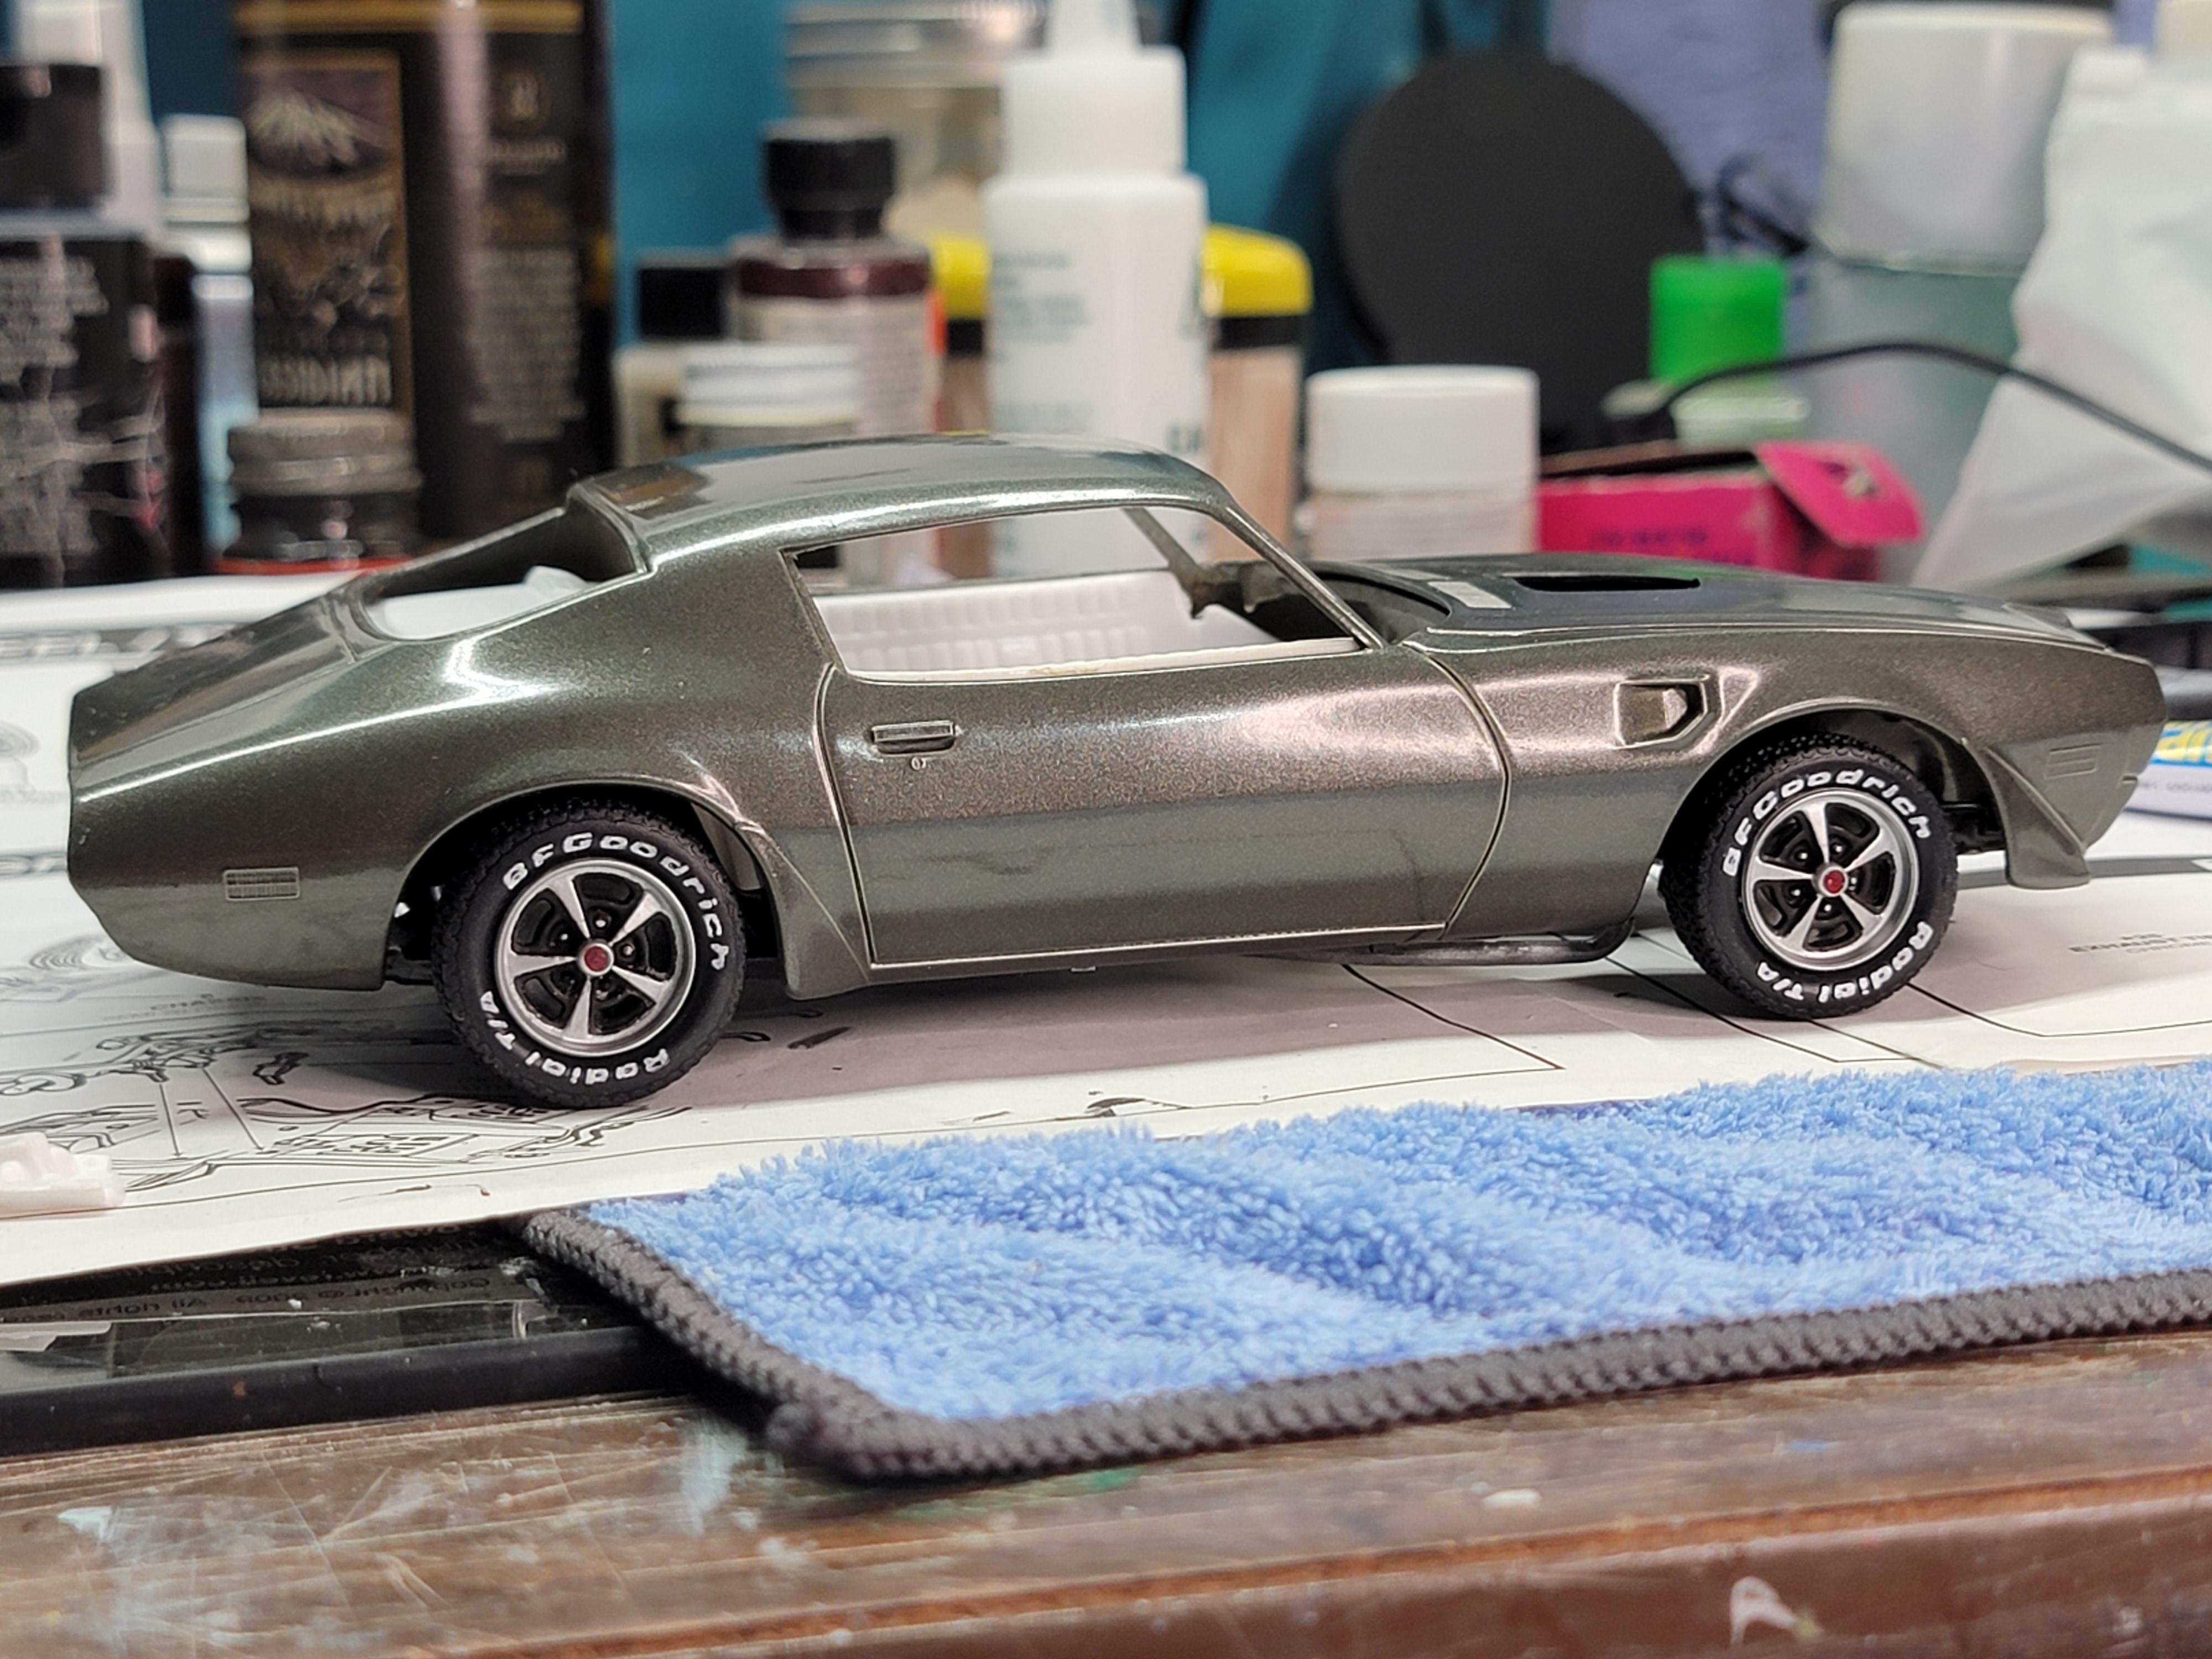
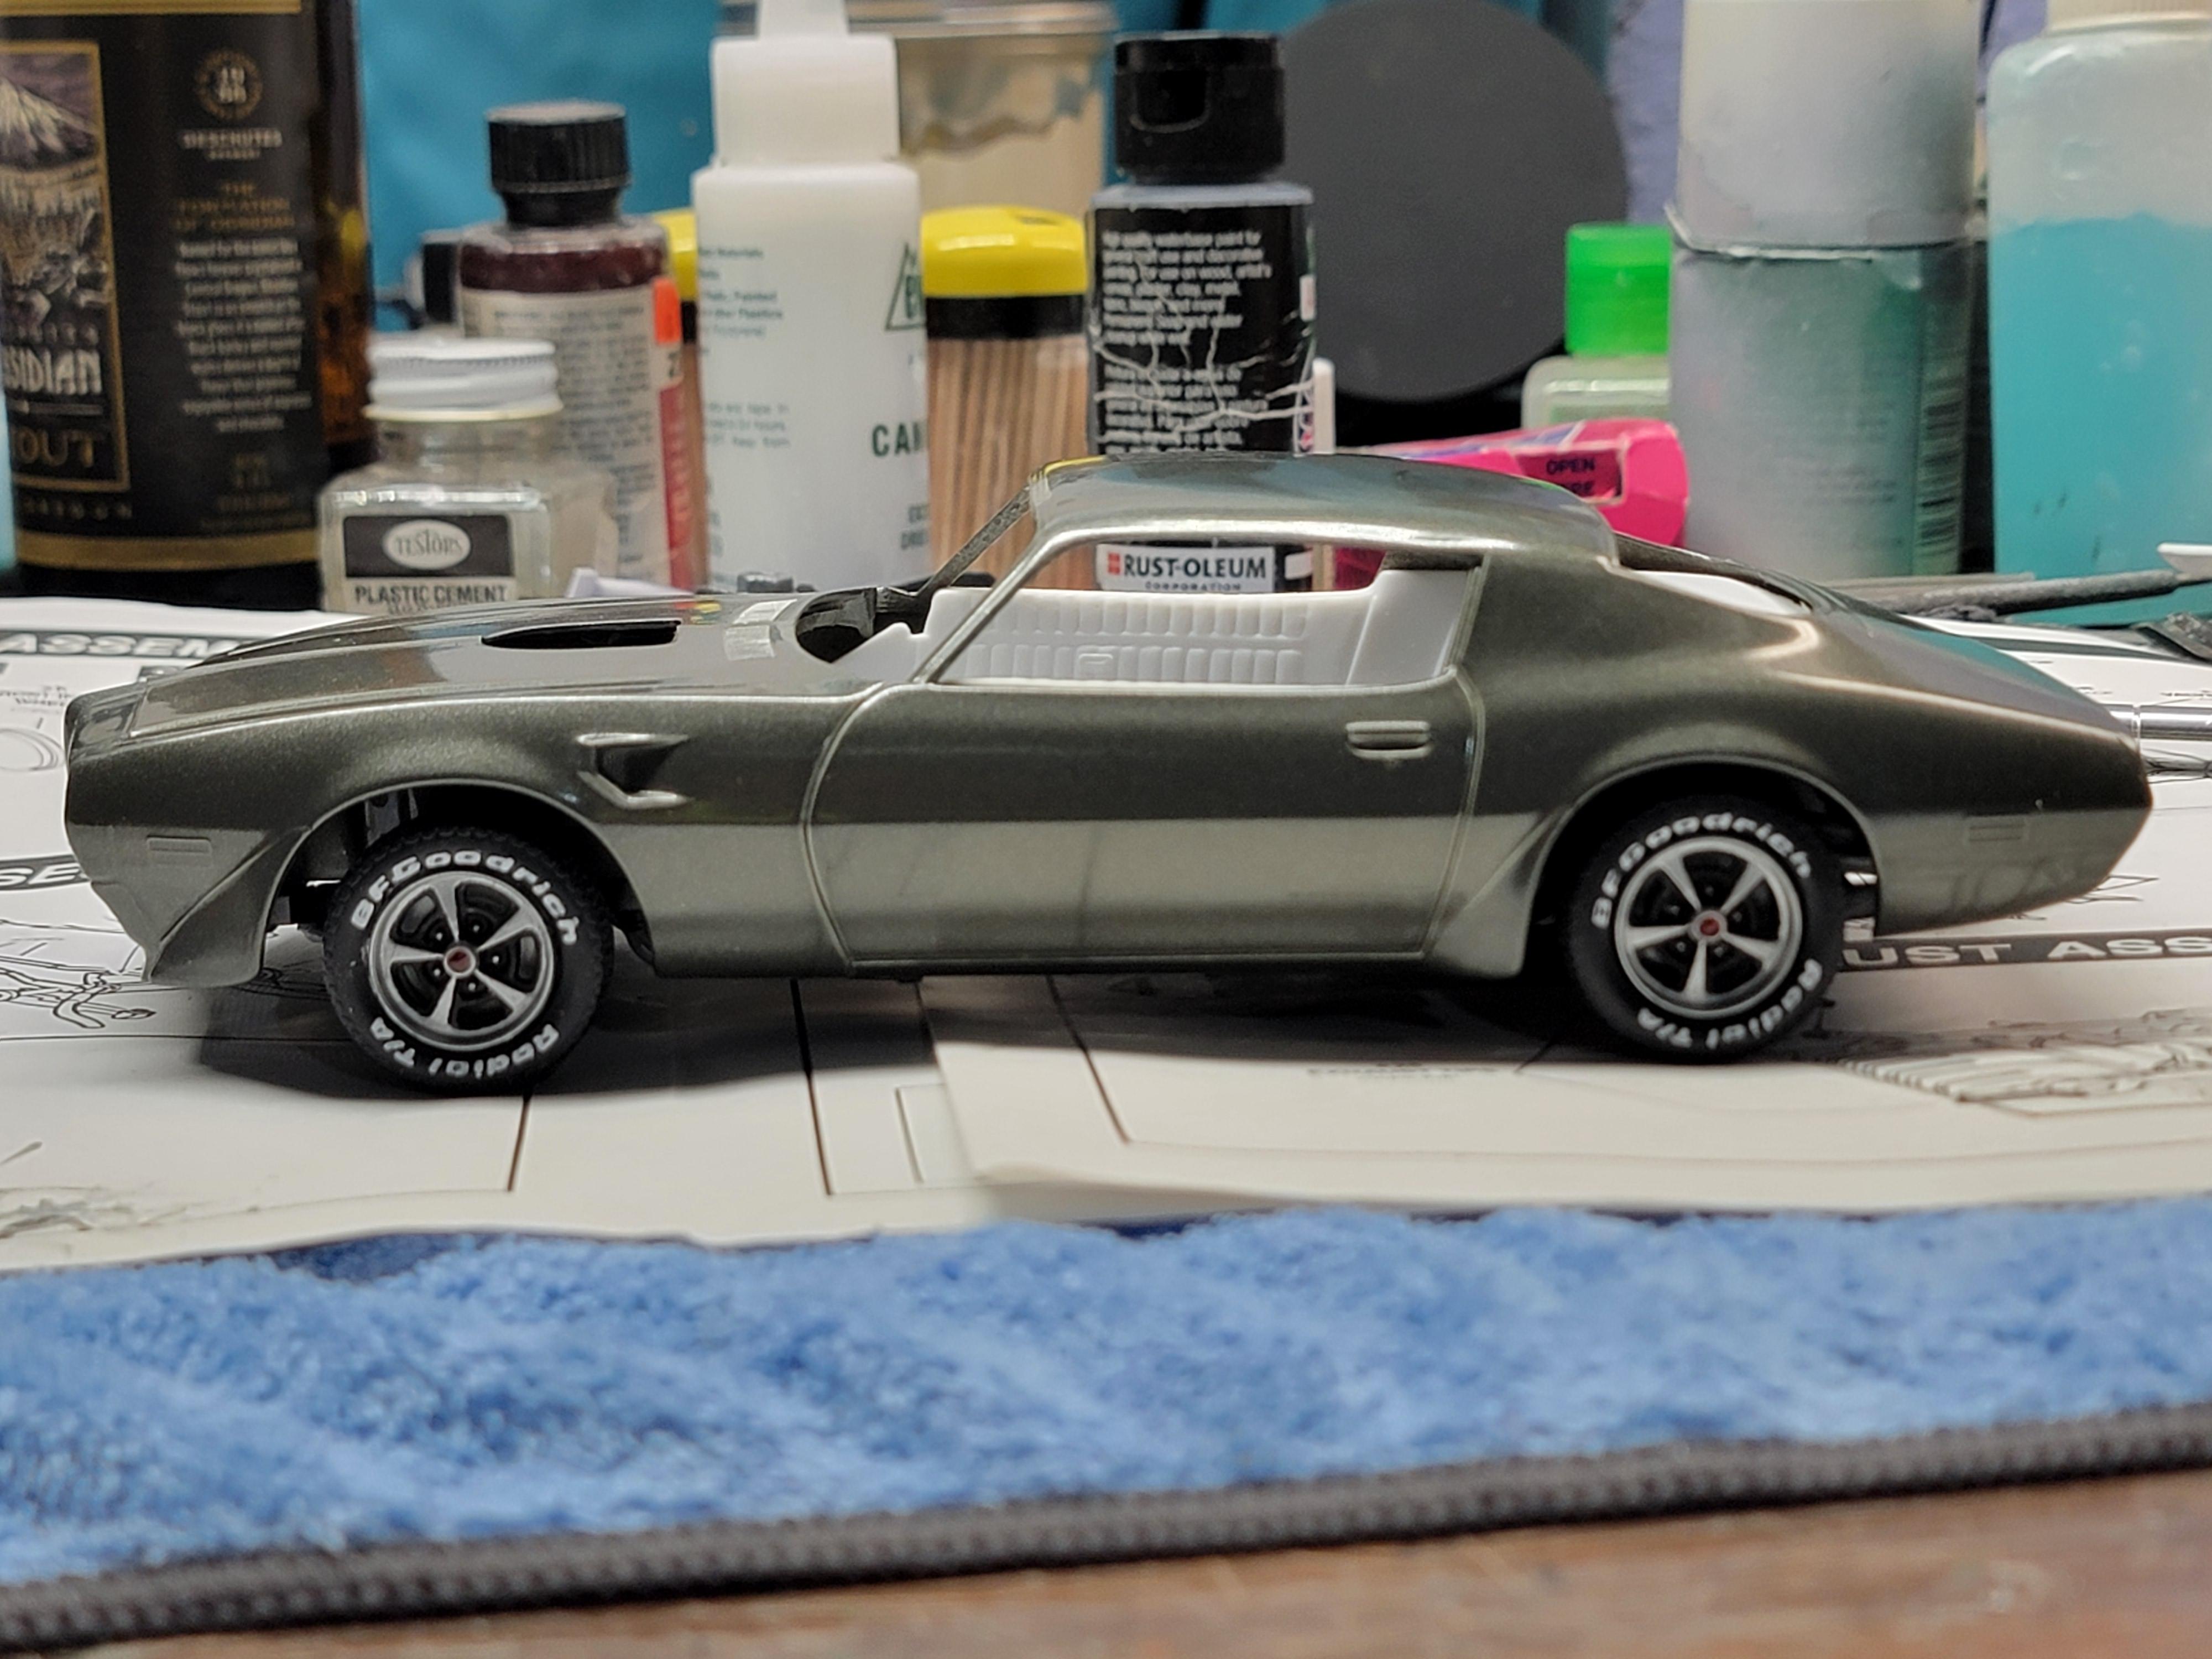
Got it mocked up to see how tge tires look in the wheelwells. They are a bit smaller than the kit ones but once the body is glued in place I believe they will look just fine. Later-
-
49 Mercury panel
Modlbldr replied to Modlbldr's topic in Model Trucks: Pickups, Vans, SUVs, Light Commercial
Thanks everyone! It was a quick, fun build. Later- -
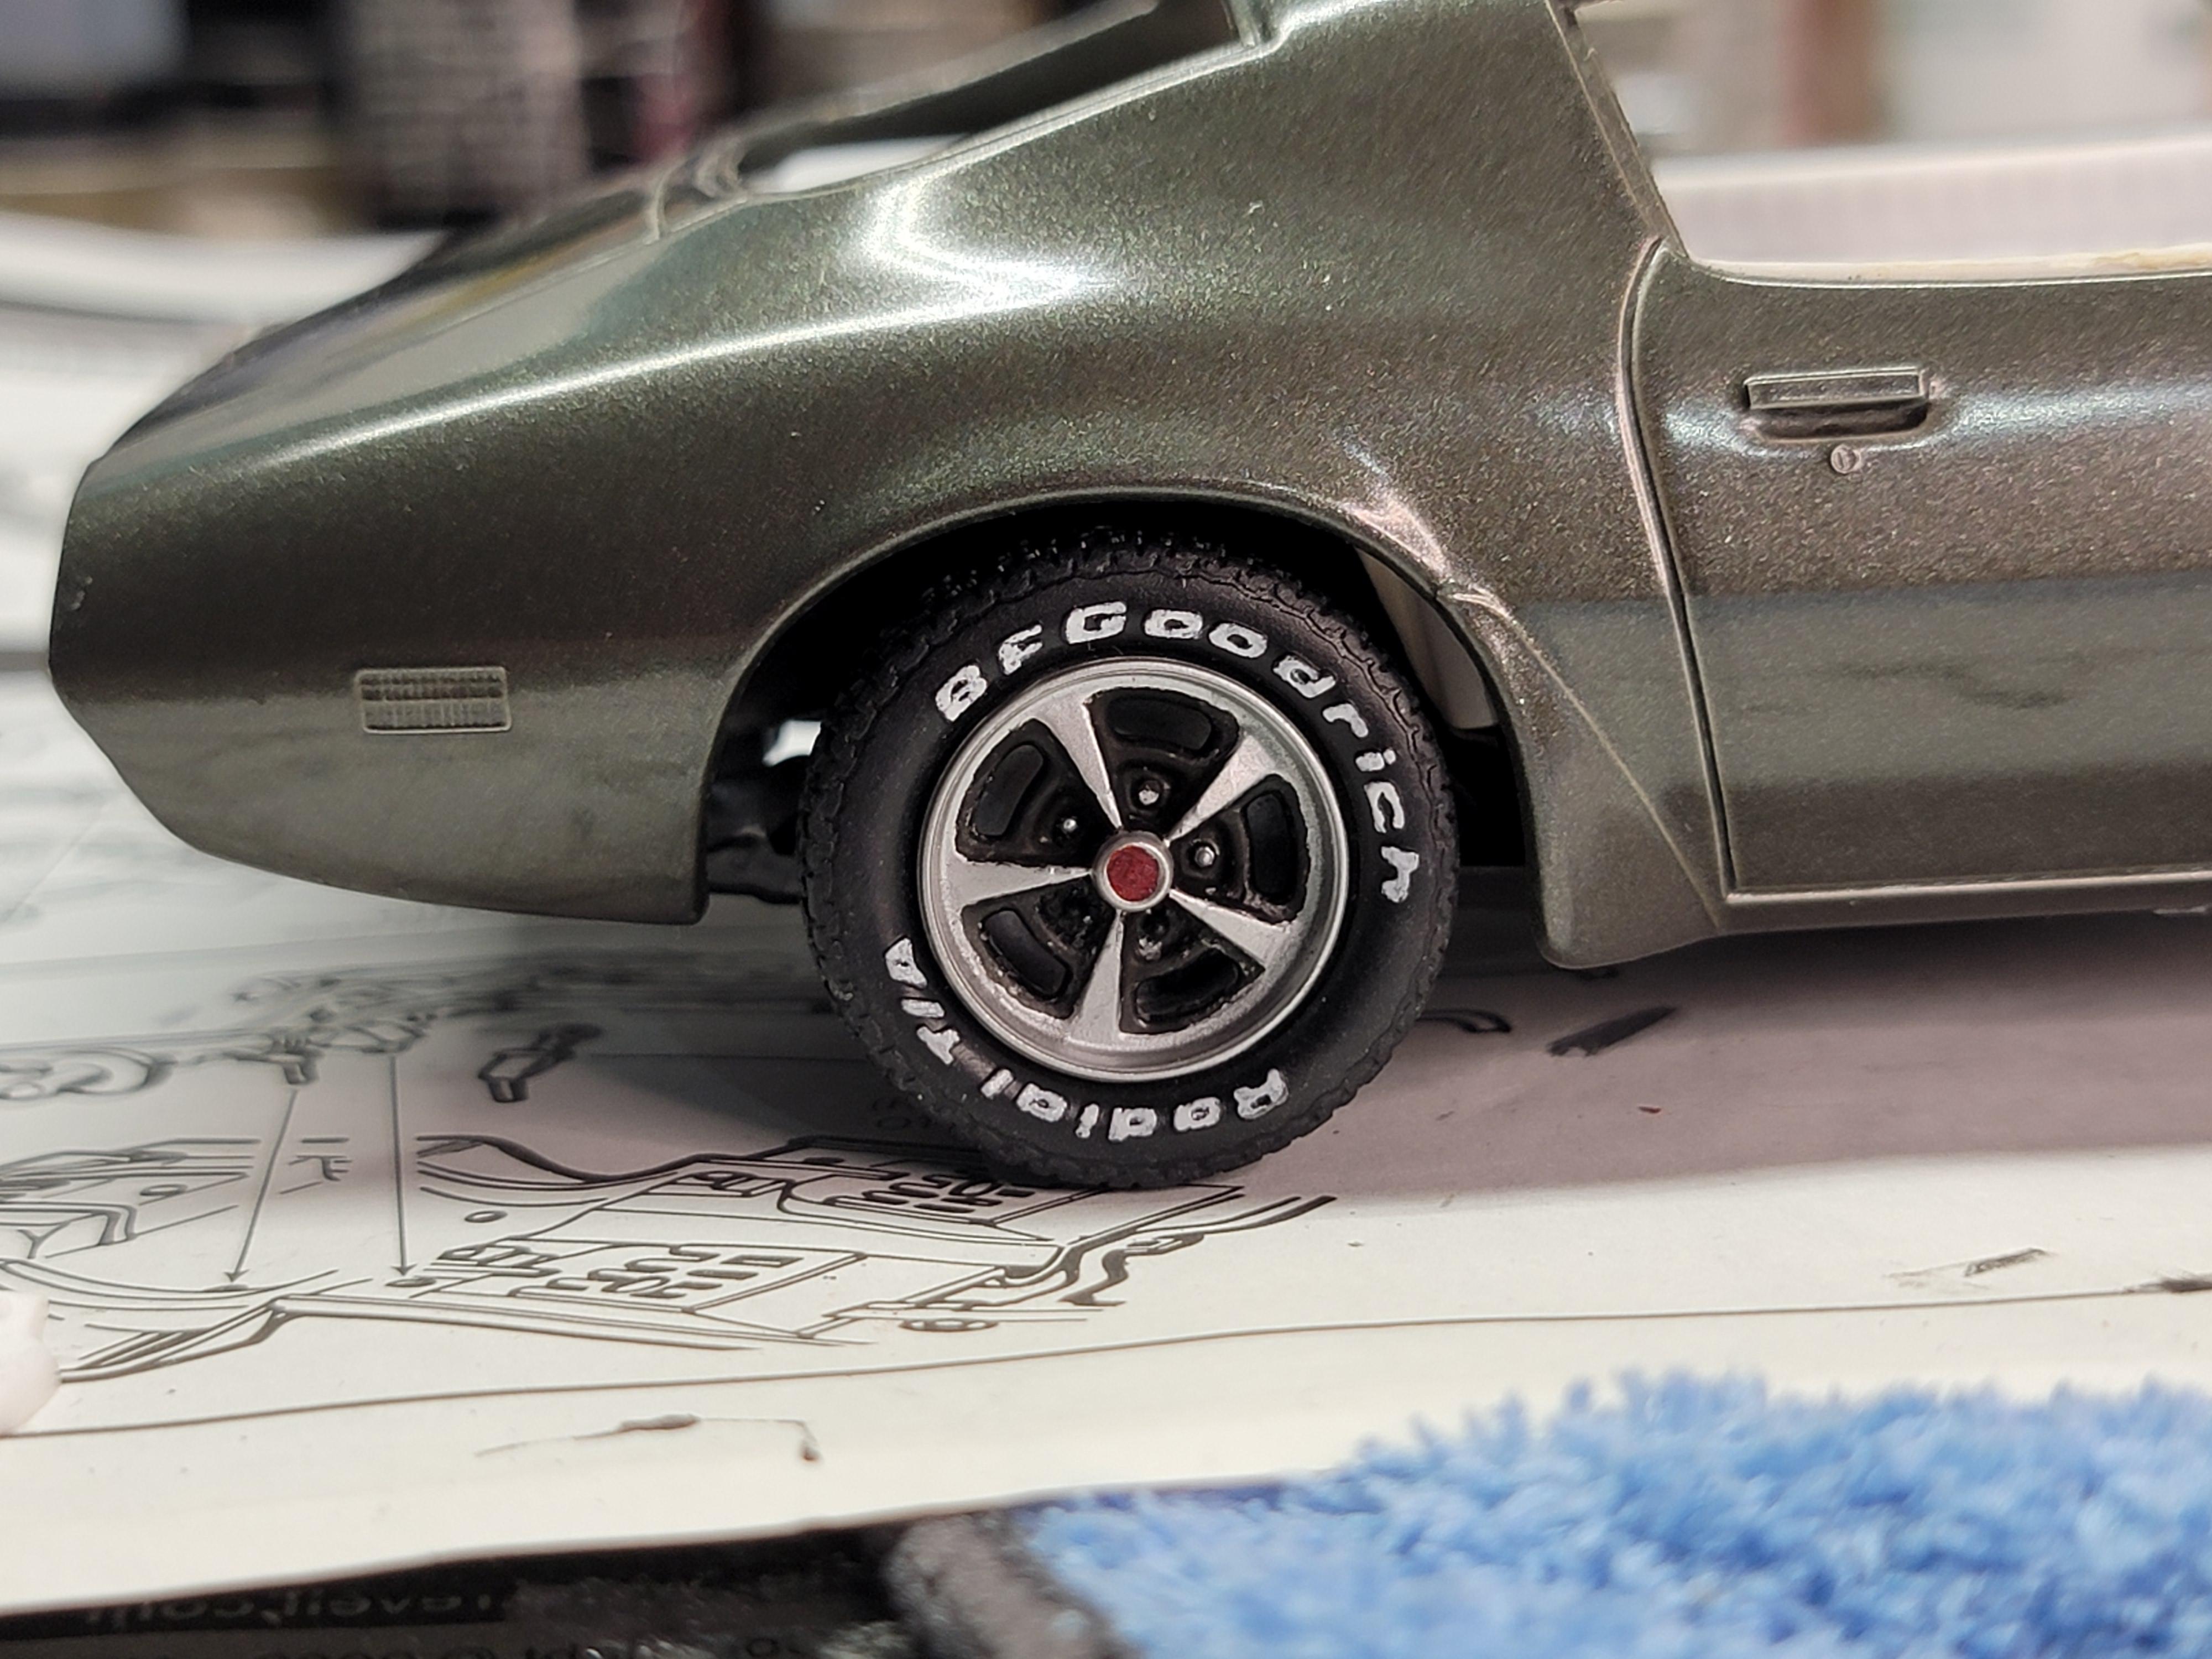
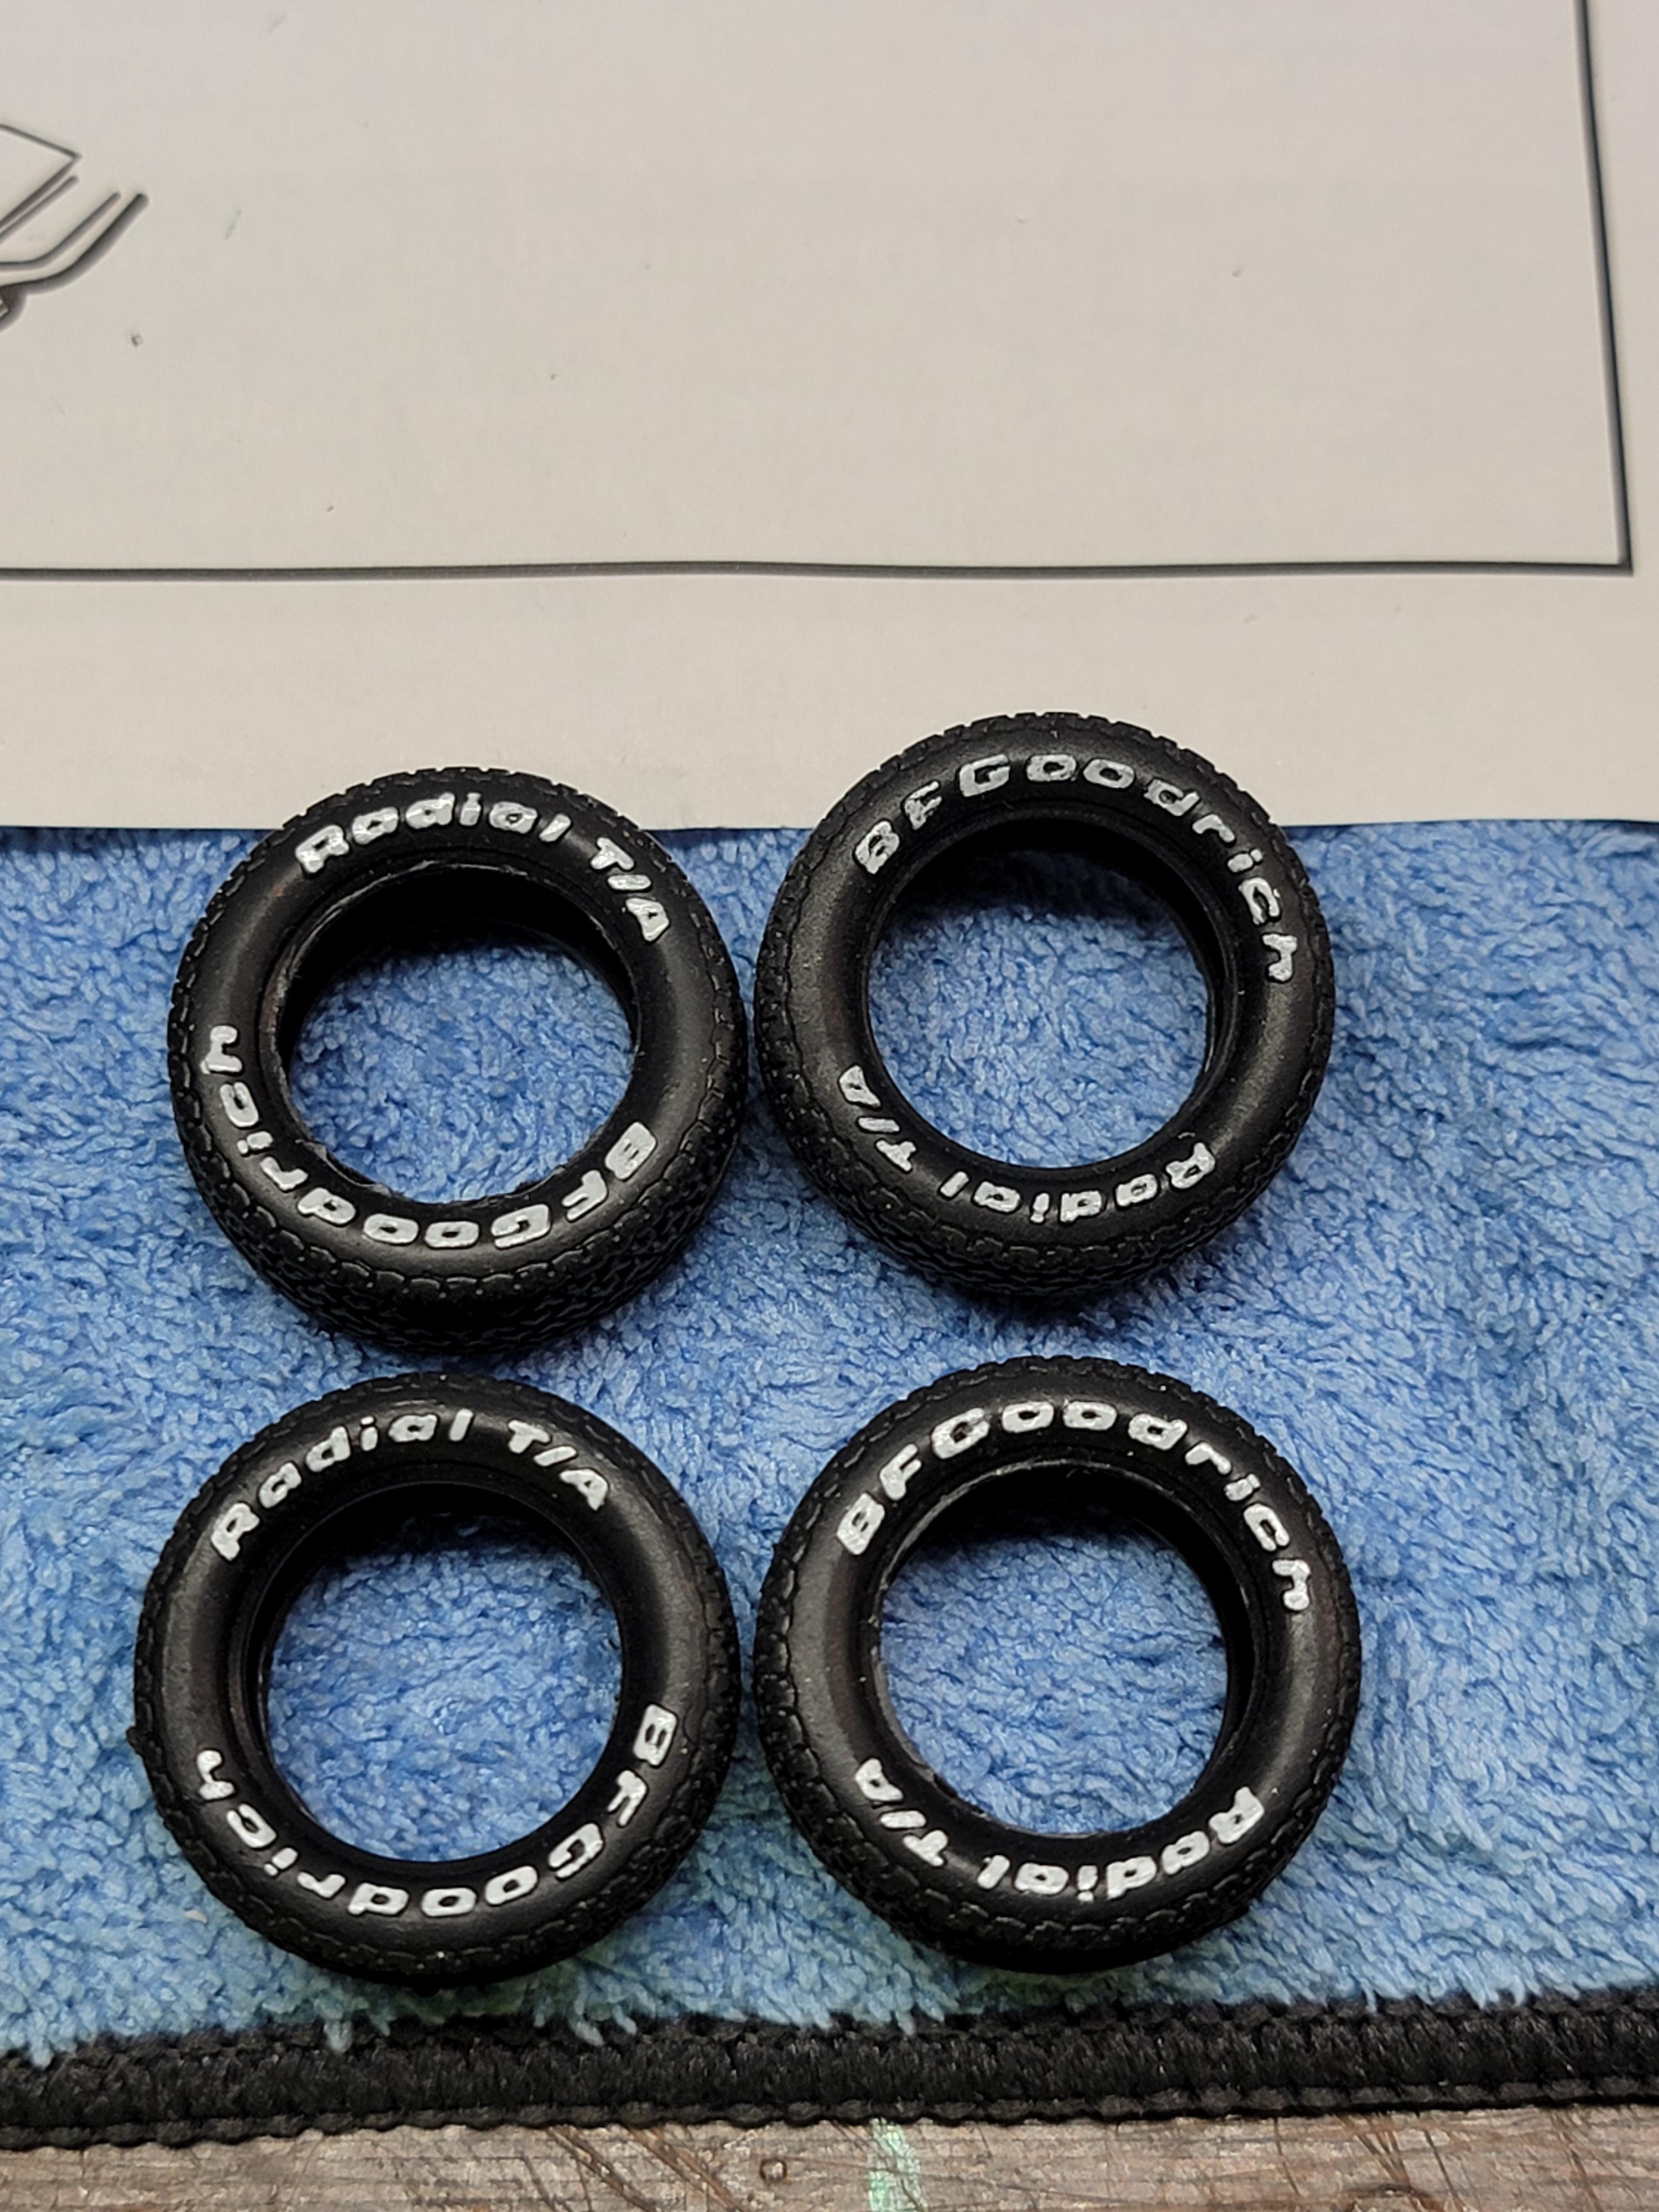
So, here is a pic of the body. It was decently painted when I got it and I don't know what the paint is. So, I can't touch it up. I replaced the tires in the kit with some BF Goodrich Radial T/A's. They are smaller than the kit tires but look really close to fitting in the wheelwells the way the 1:1's did. Just finished handpainting the white letters. Got the engine painted with some Model Master Pontiac engine blue. That's about all for now. Later-
-
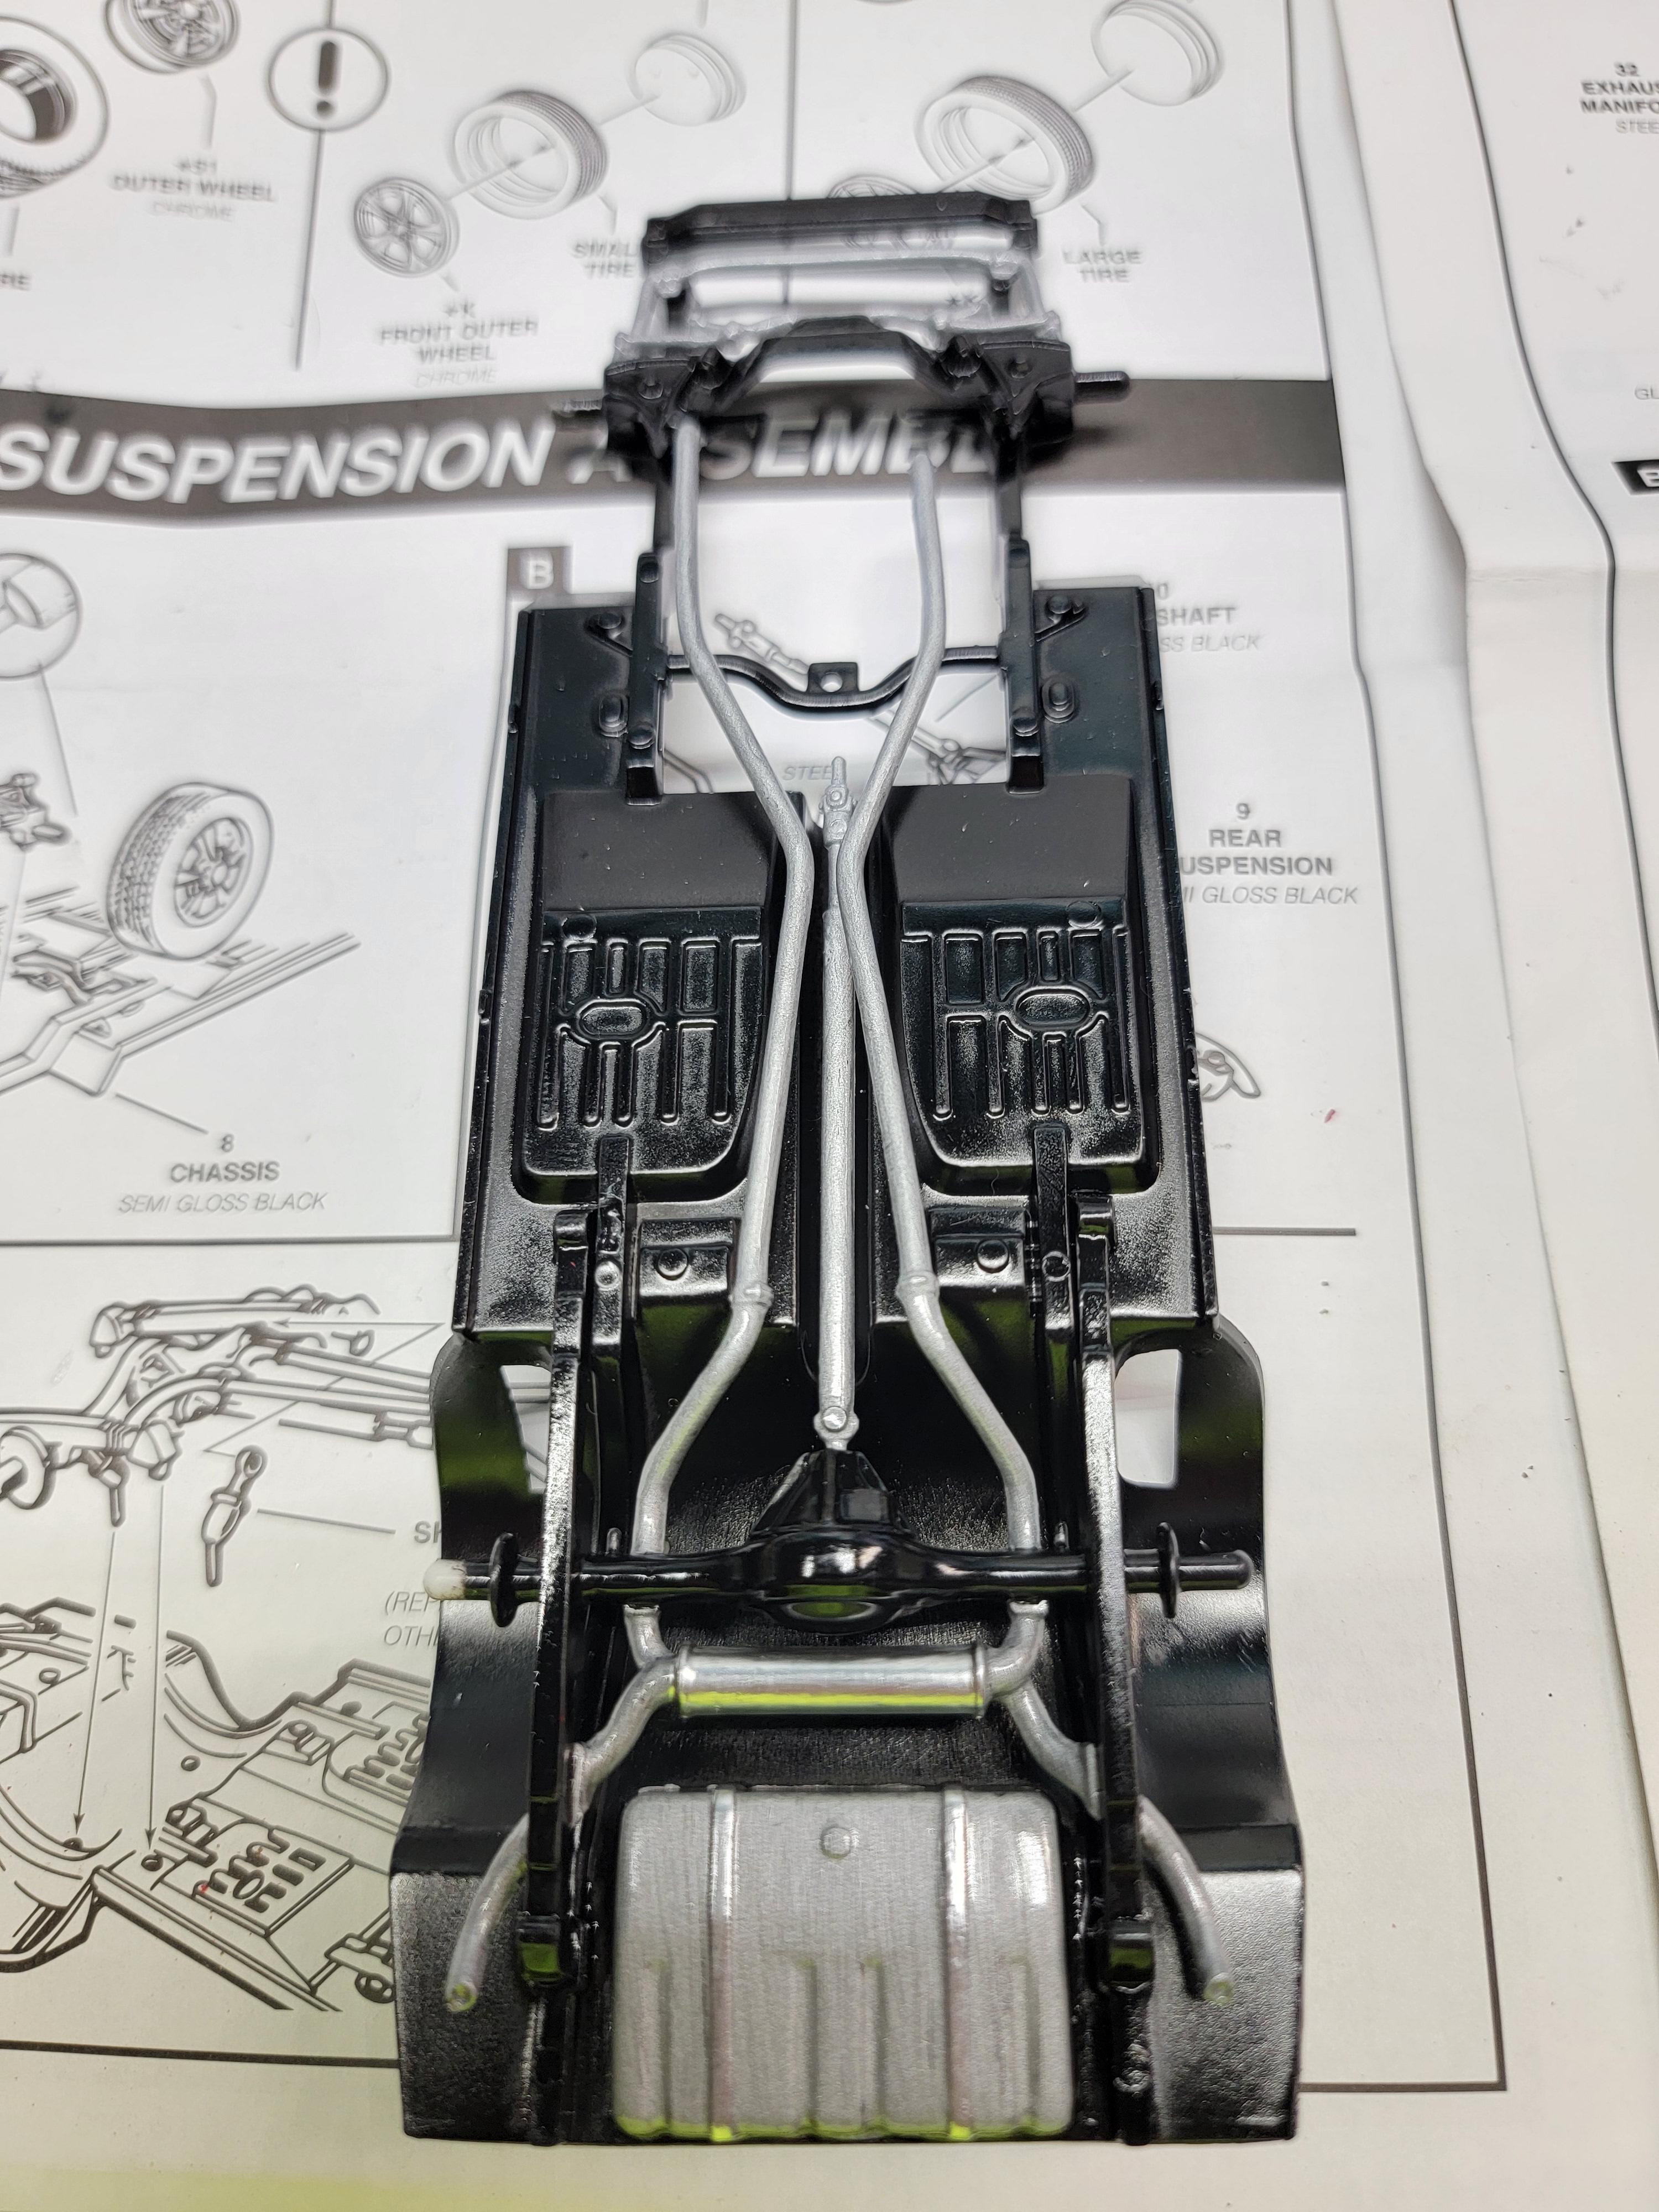
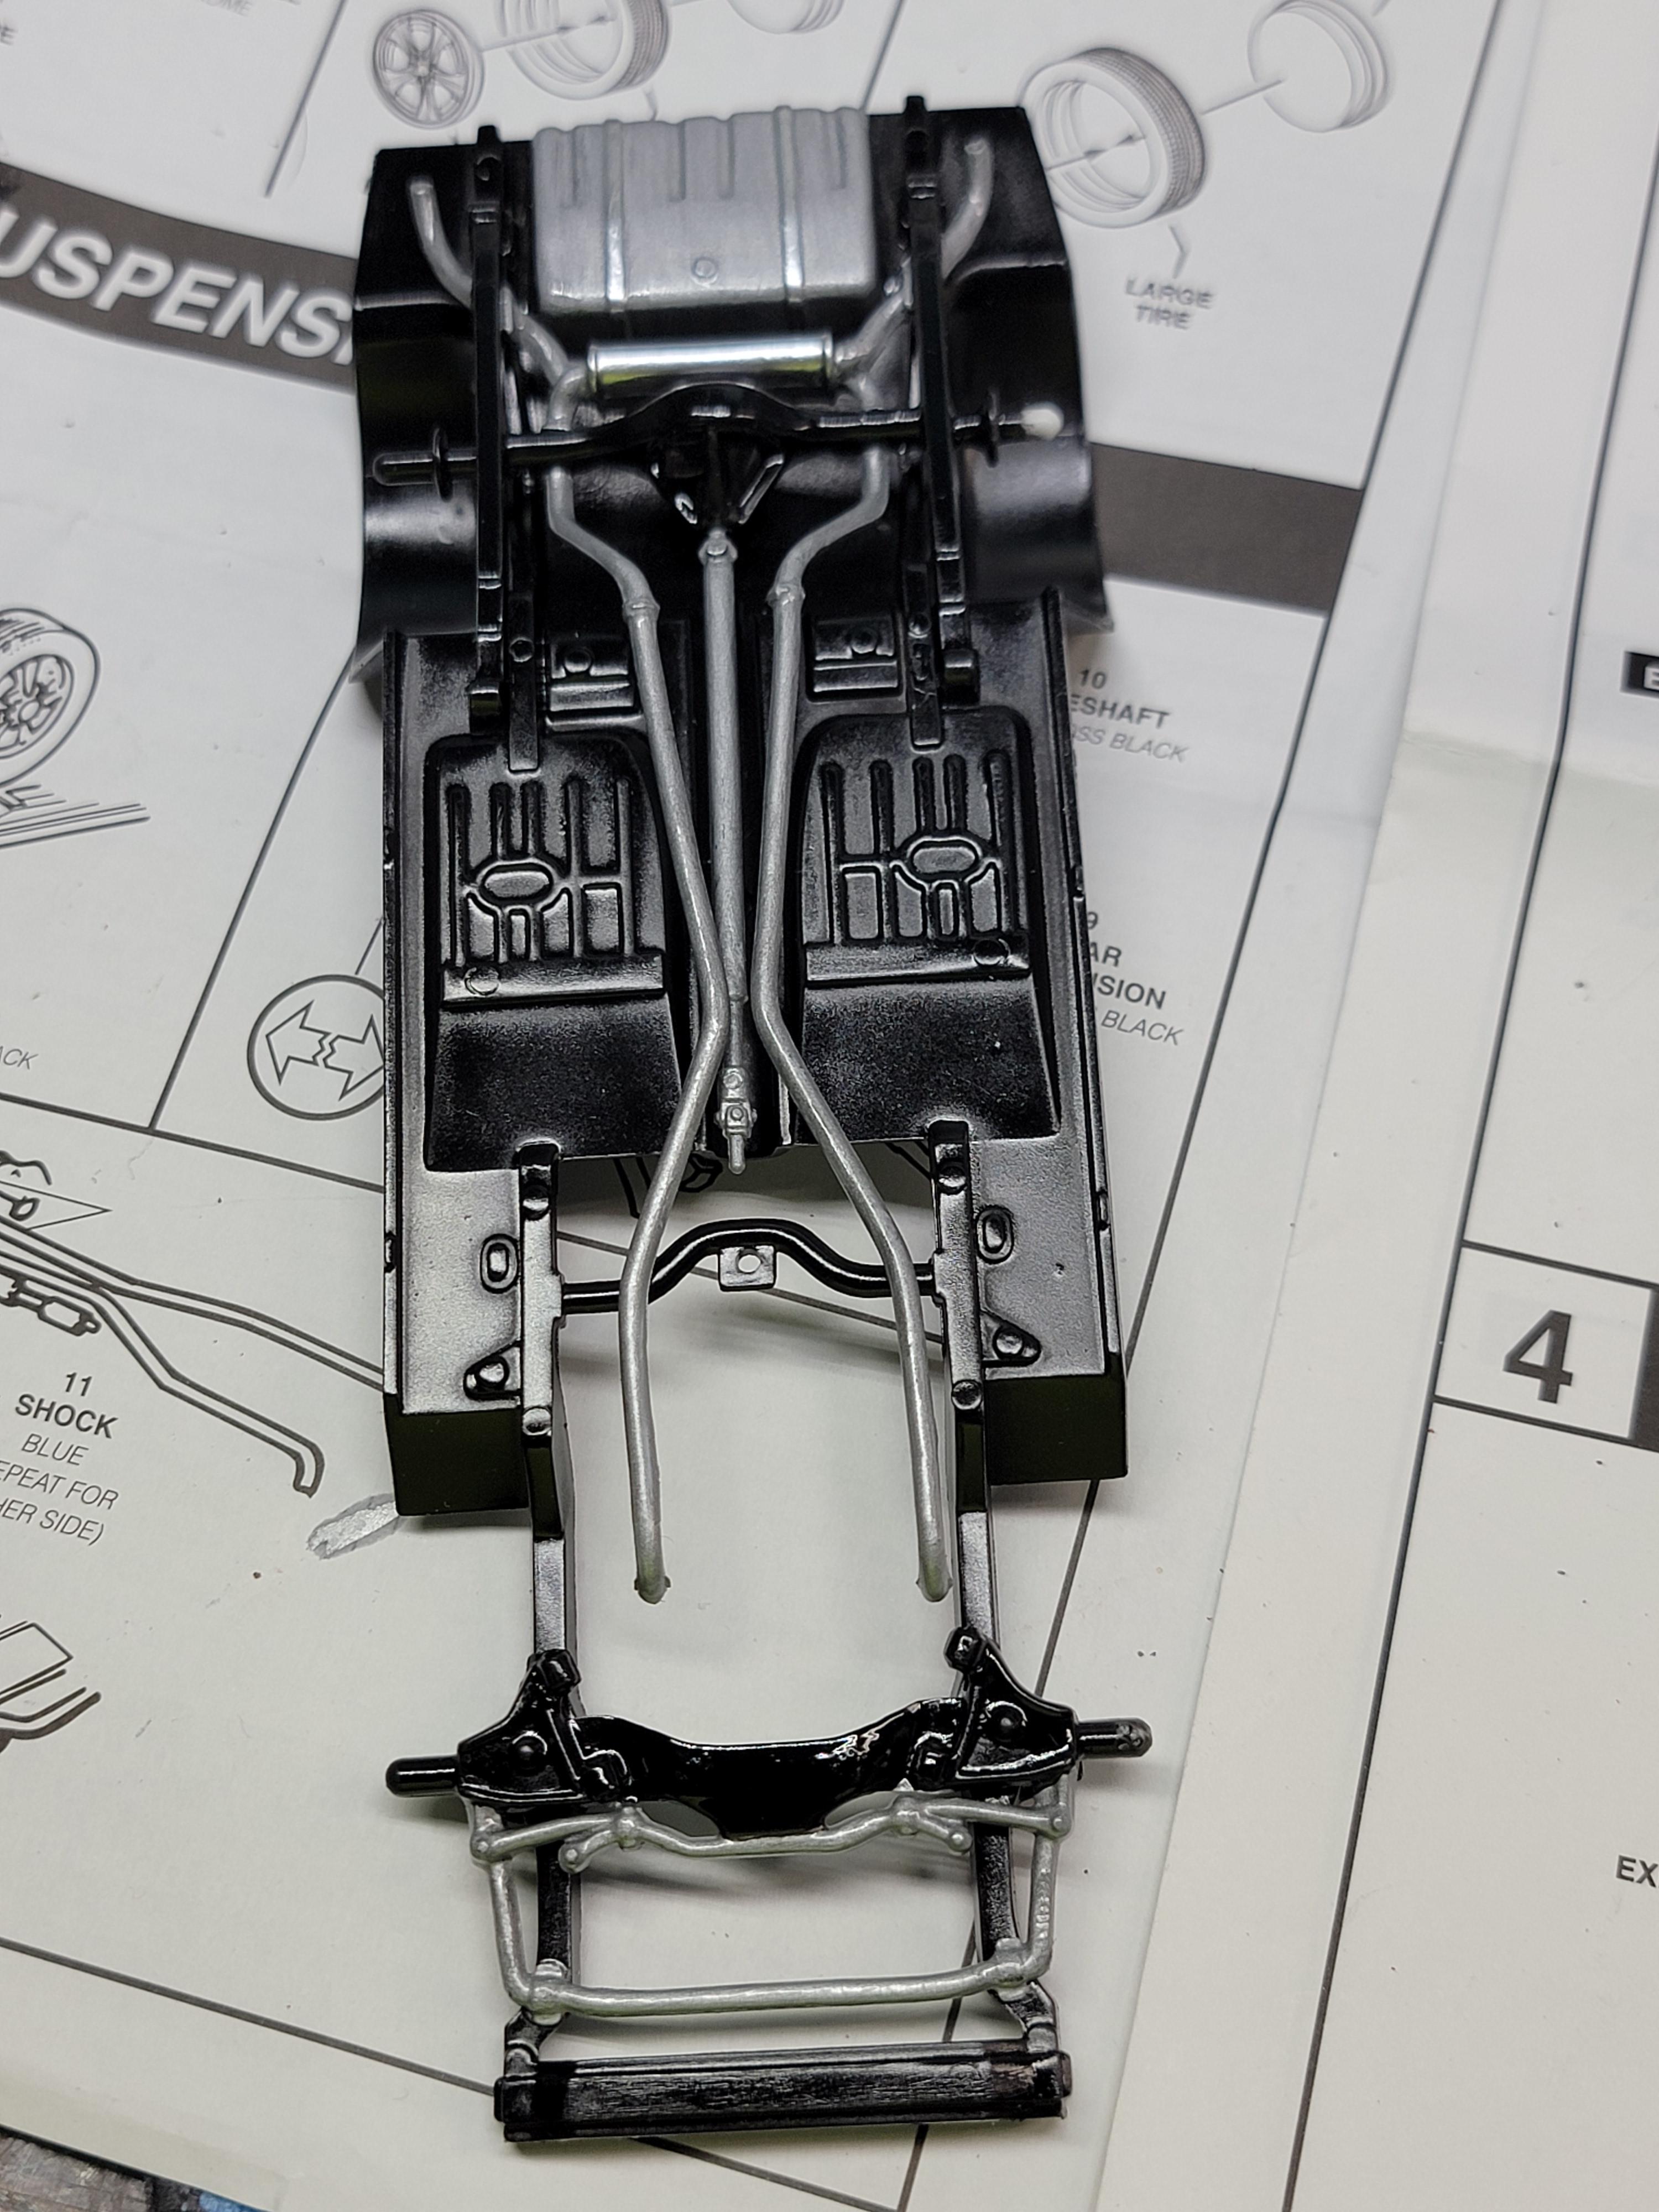
I started this project recently. The body was already painted a nice shade of green when I got it but I haven't taken any pics of the body yet. I will do the interior in something close to Buckskin. I started detailing the wheels and painting the chassis and engine. Got the chassis assembled tonight. More pics on my next bench session. I was in need of the white decals since mine are damaged. It looks like Duane Garner has come through for me. Later-
-
I am in need of the white decals for the Revell 70 Pontiac Firebird. Mine are damaged. I have stuff to trade. Later-
-
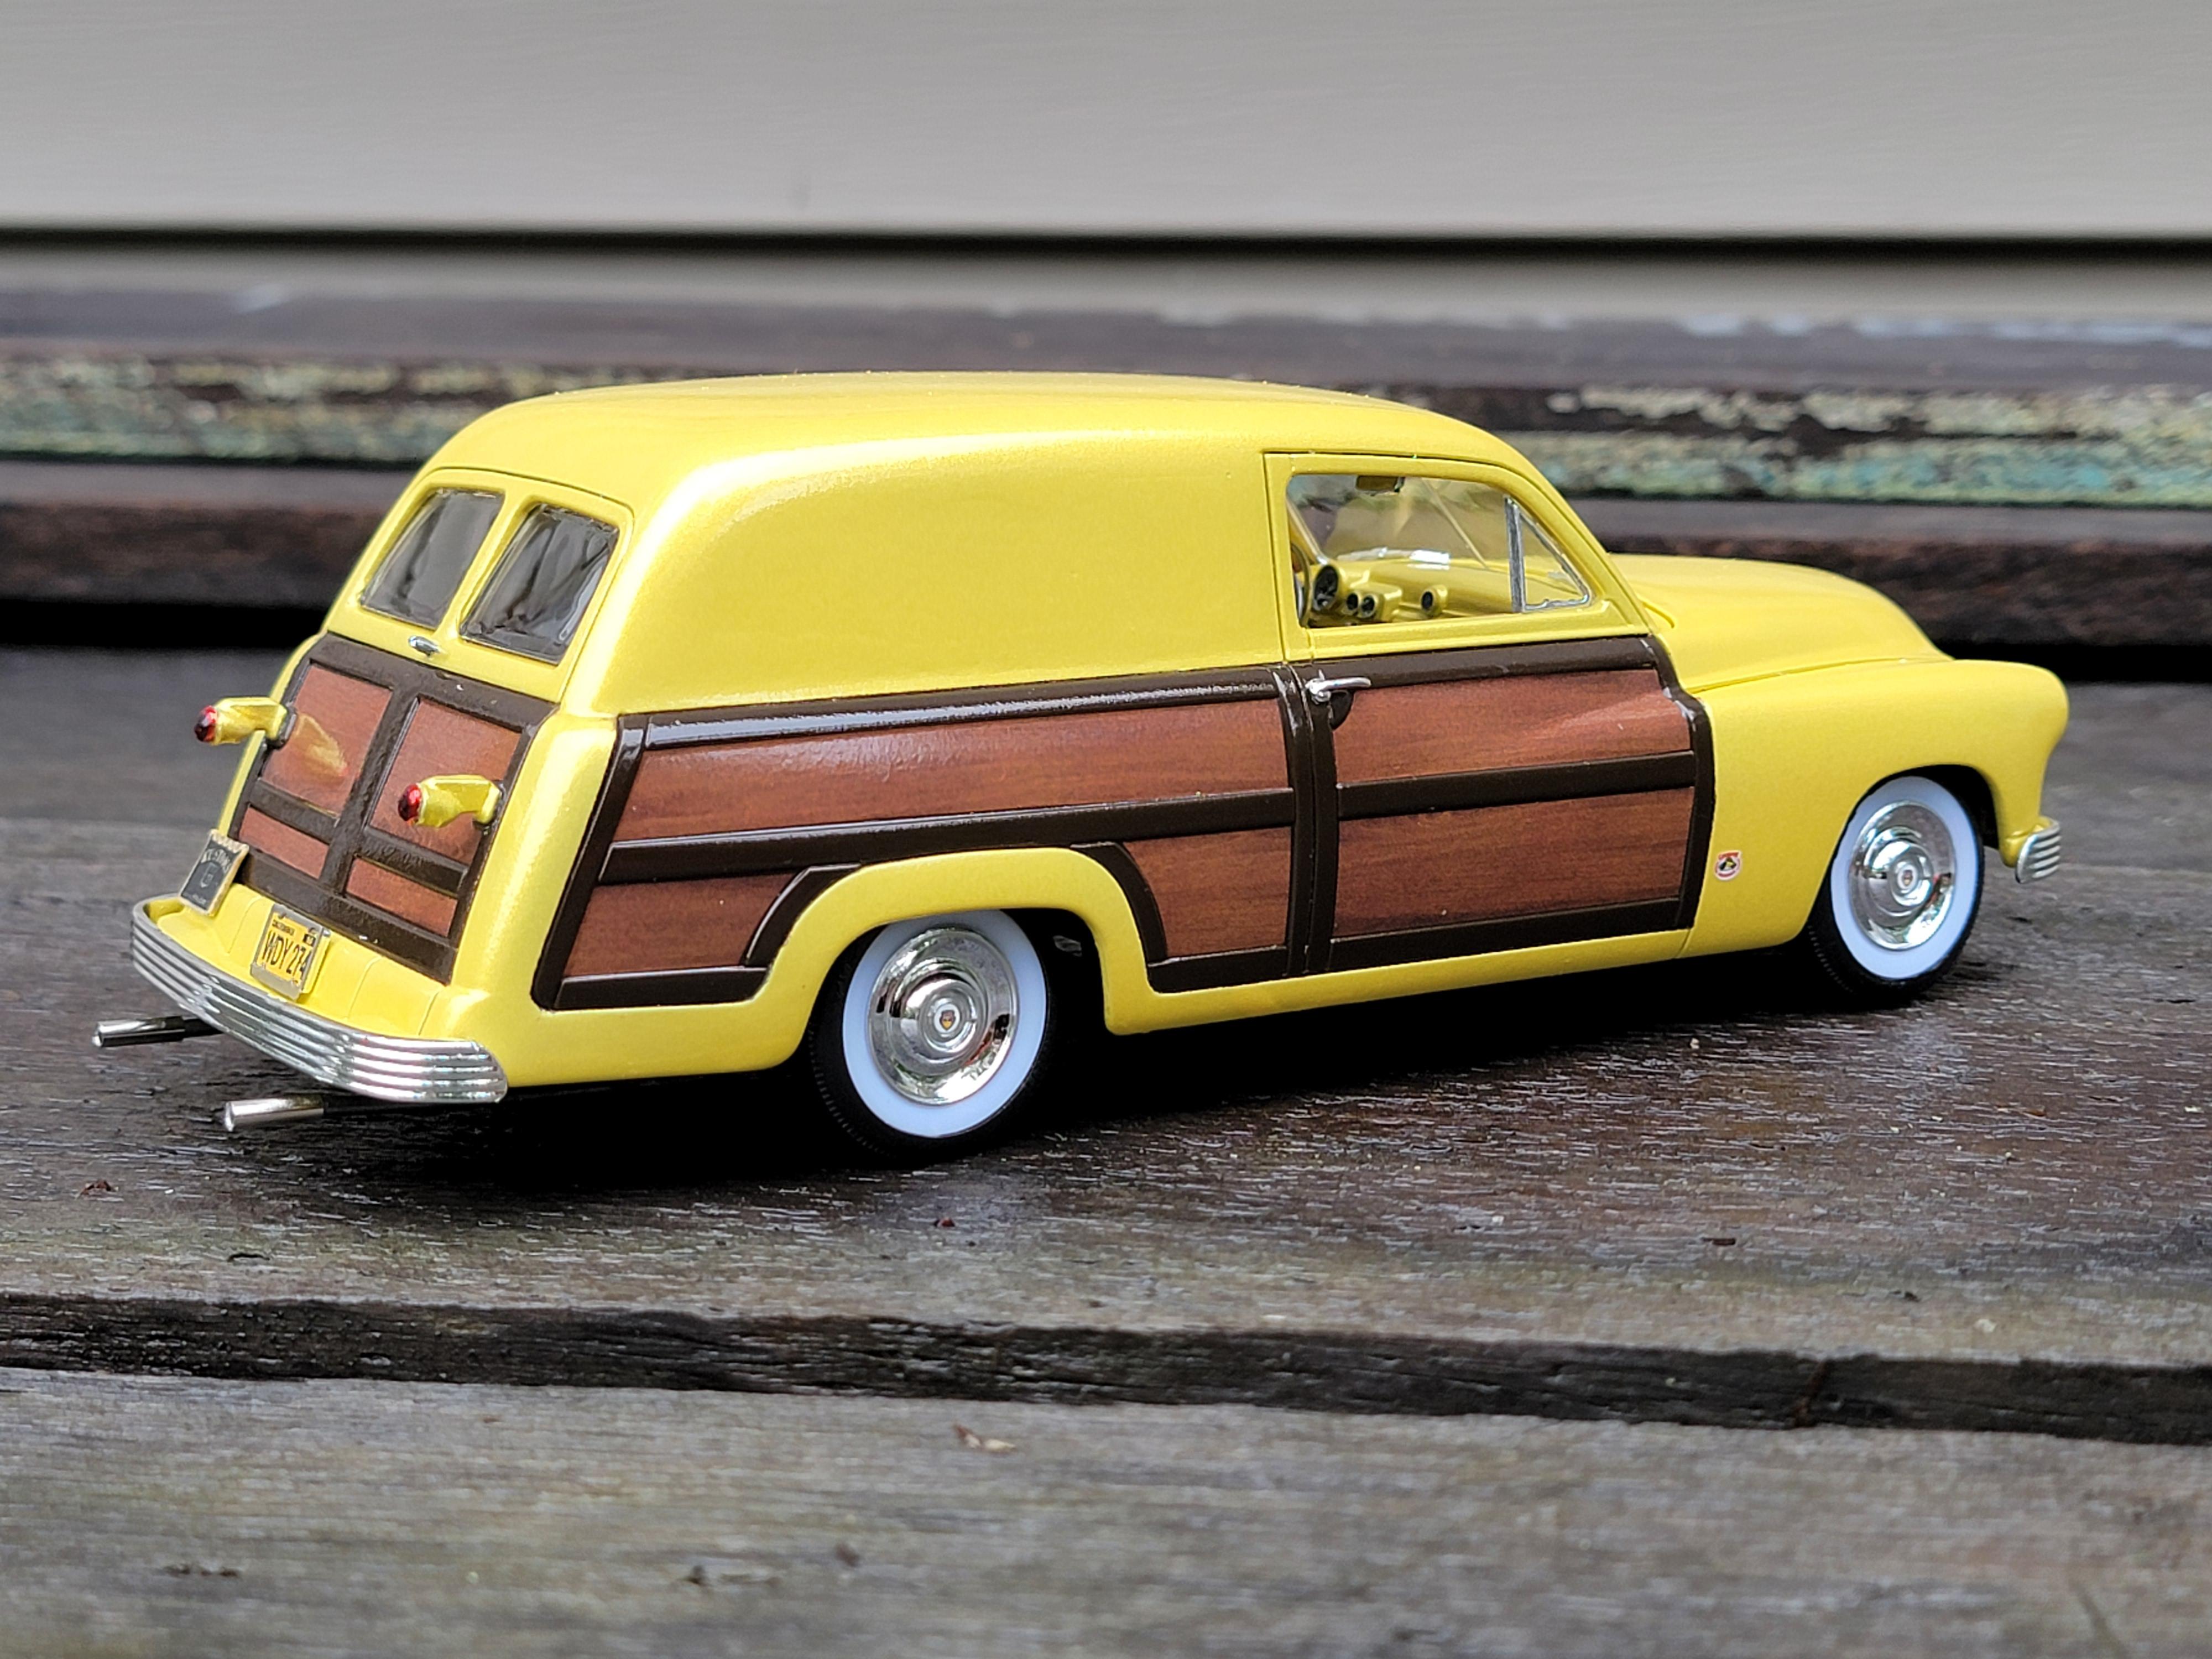
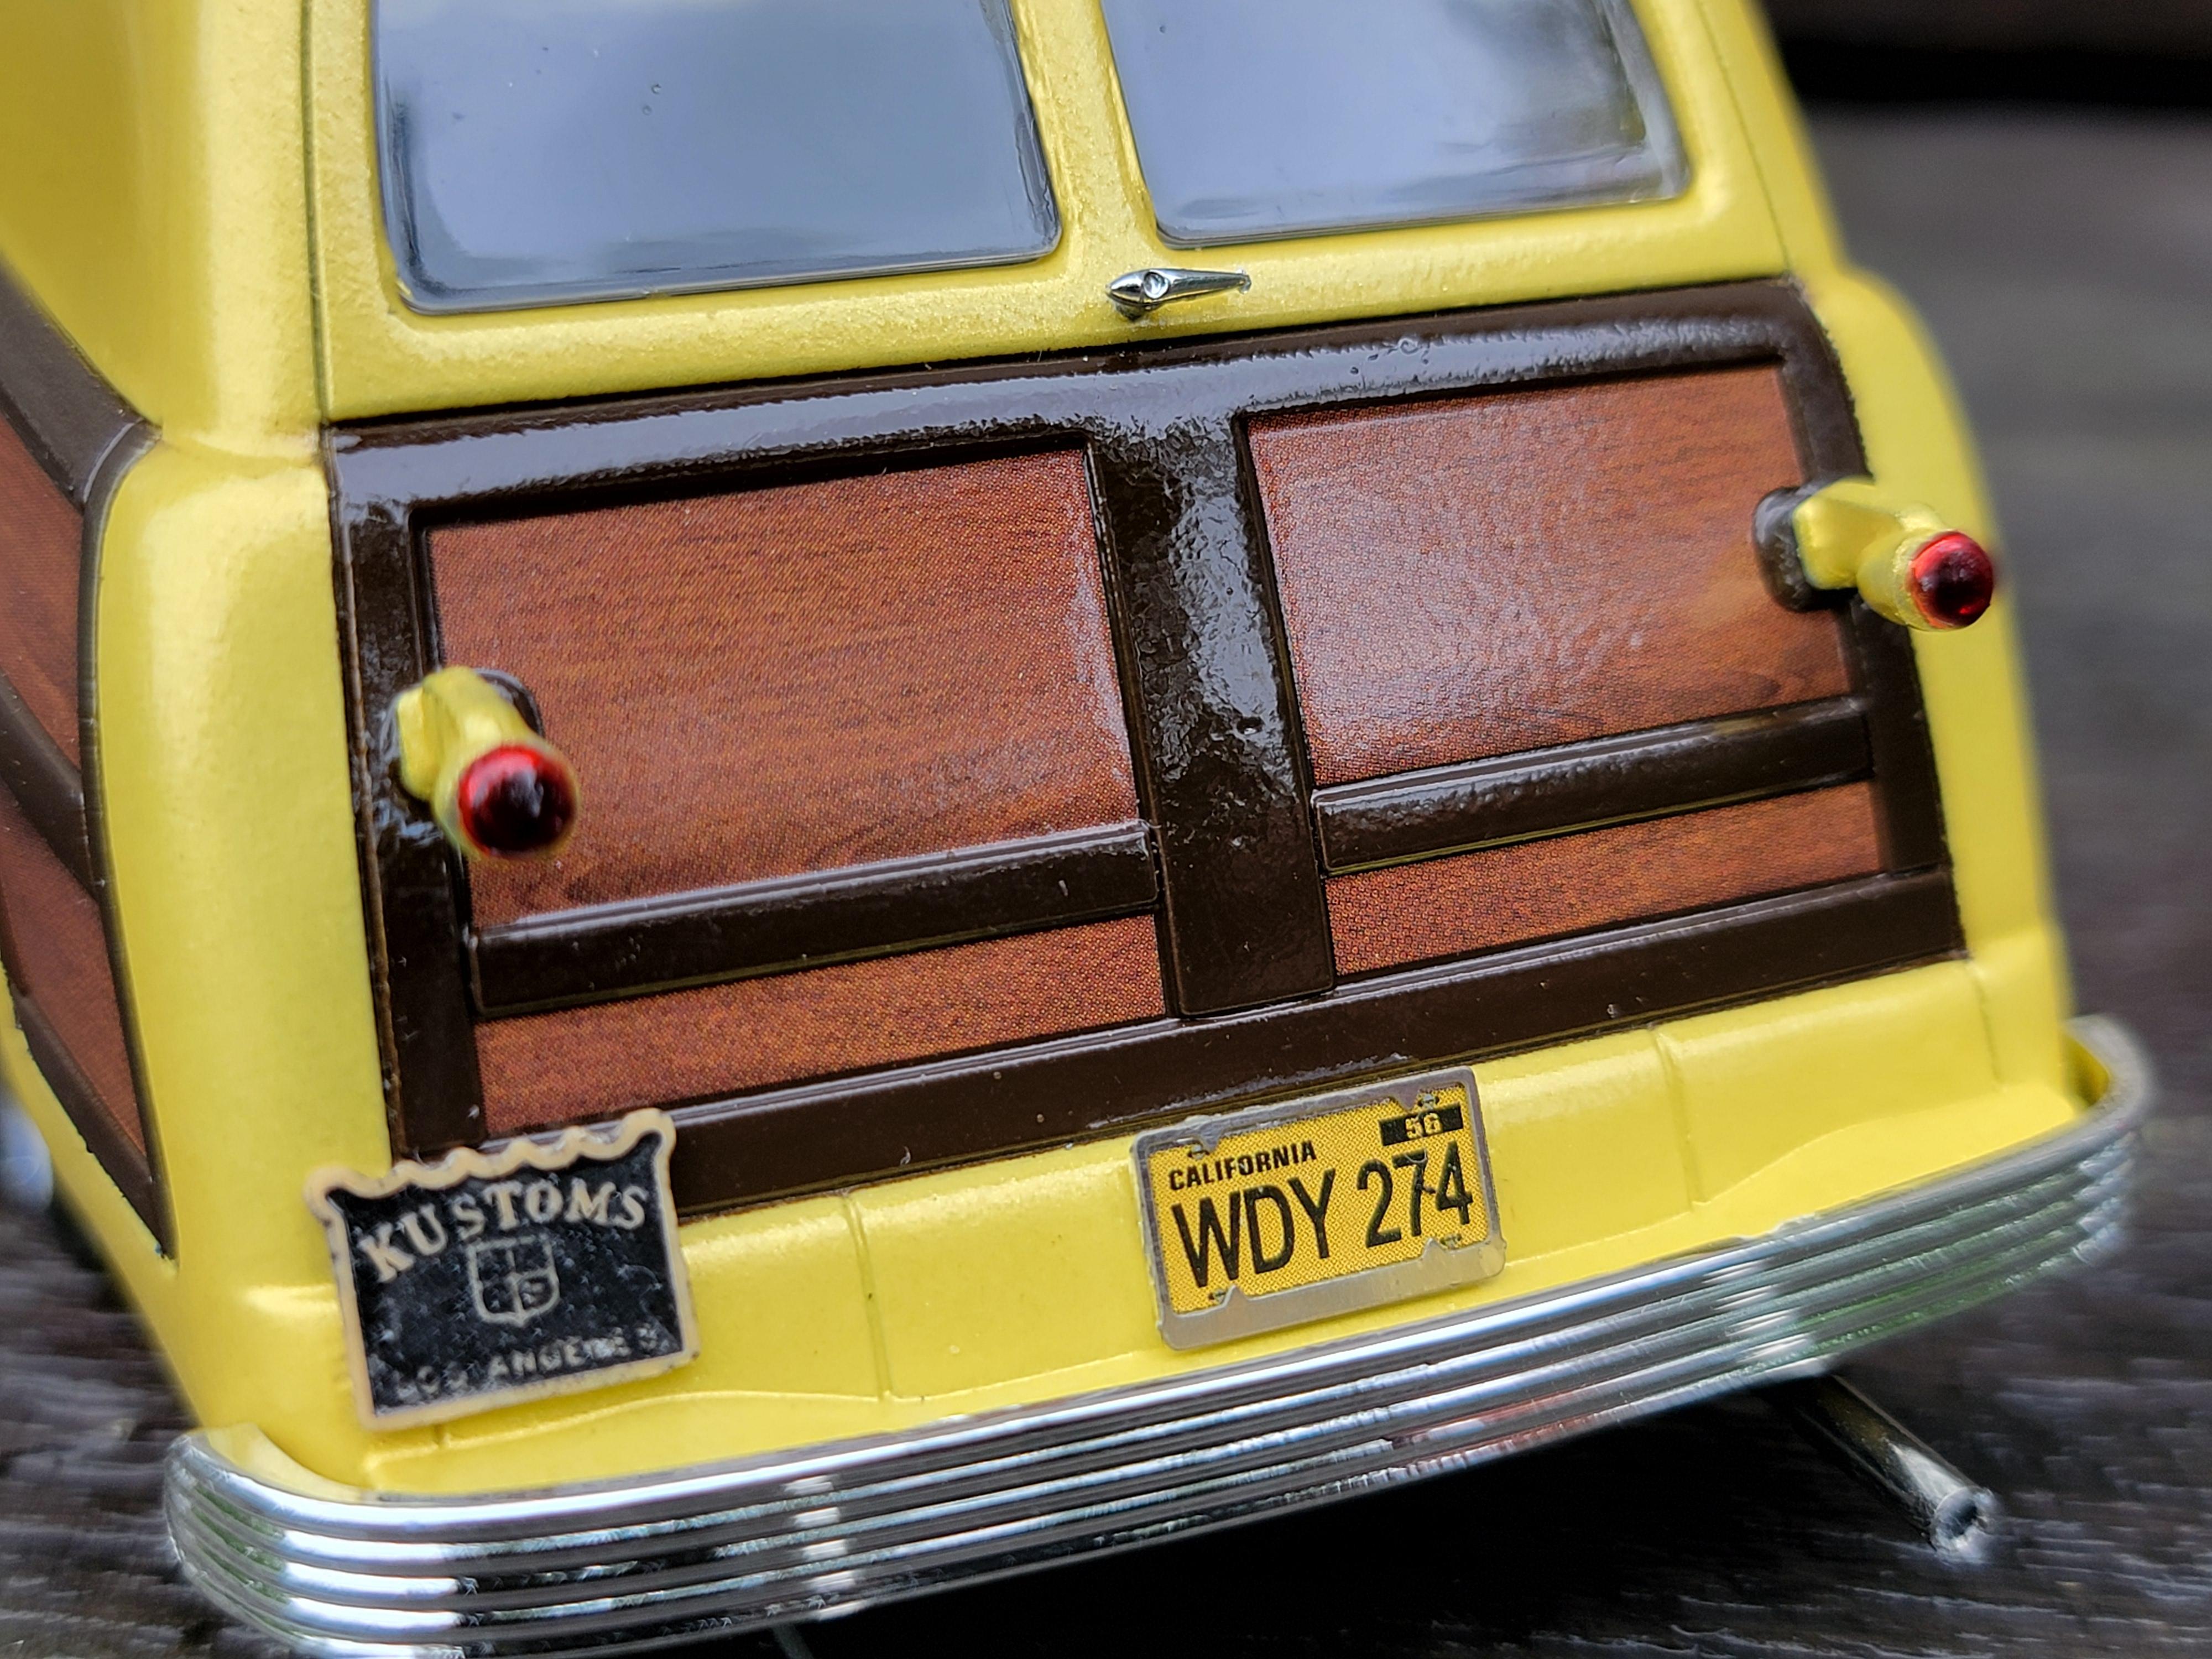
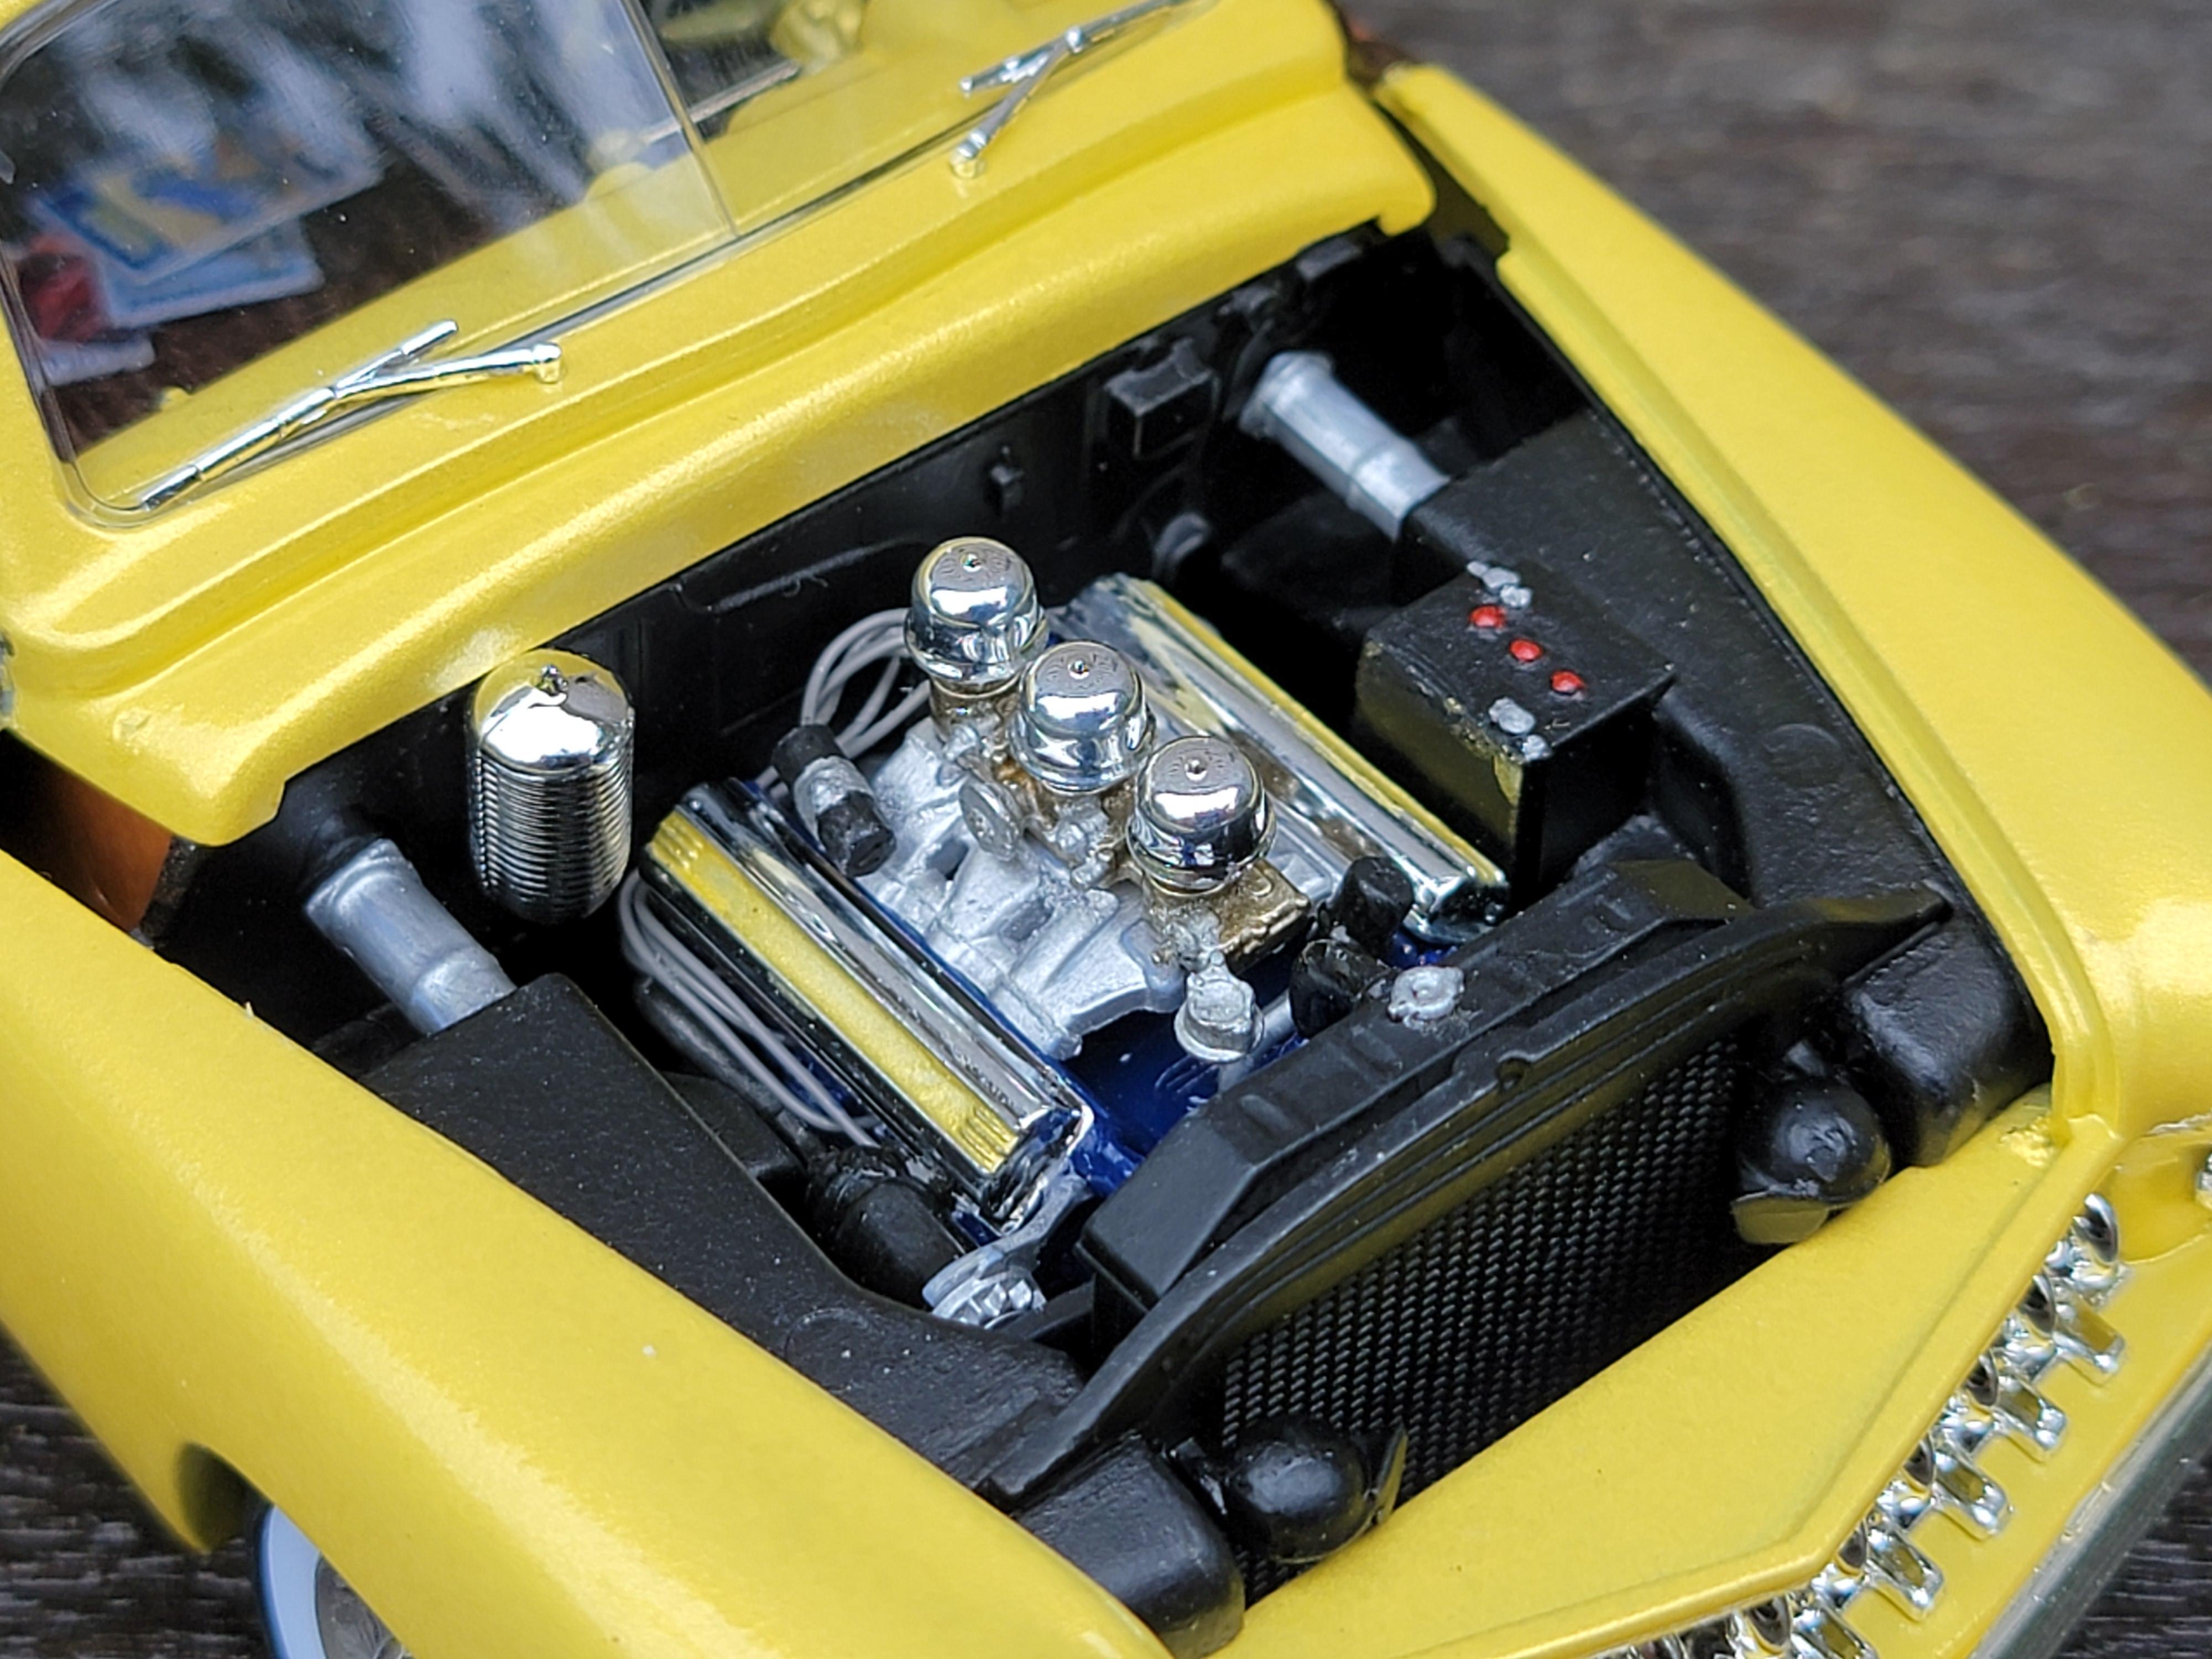
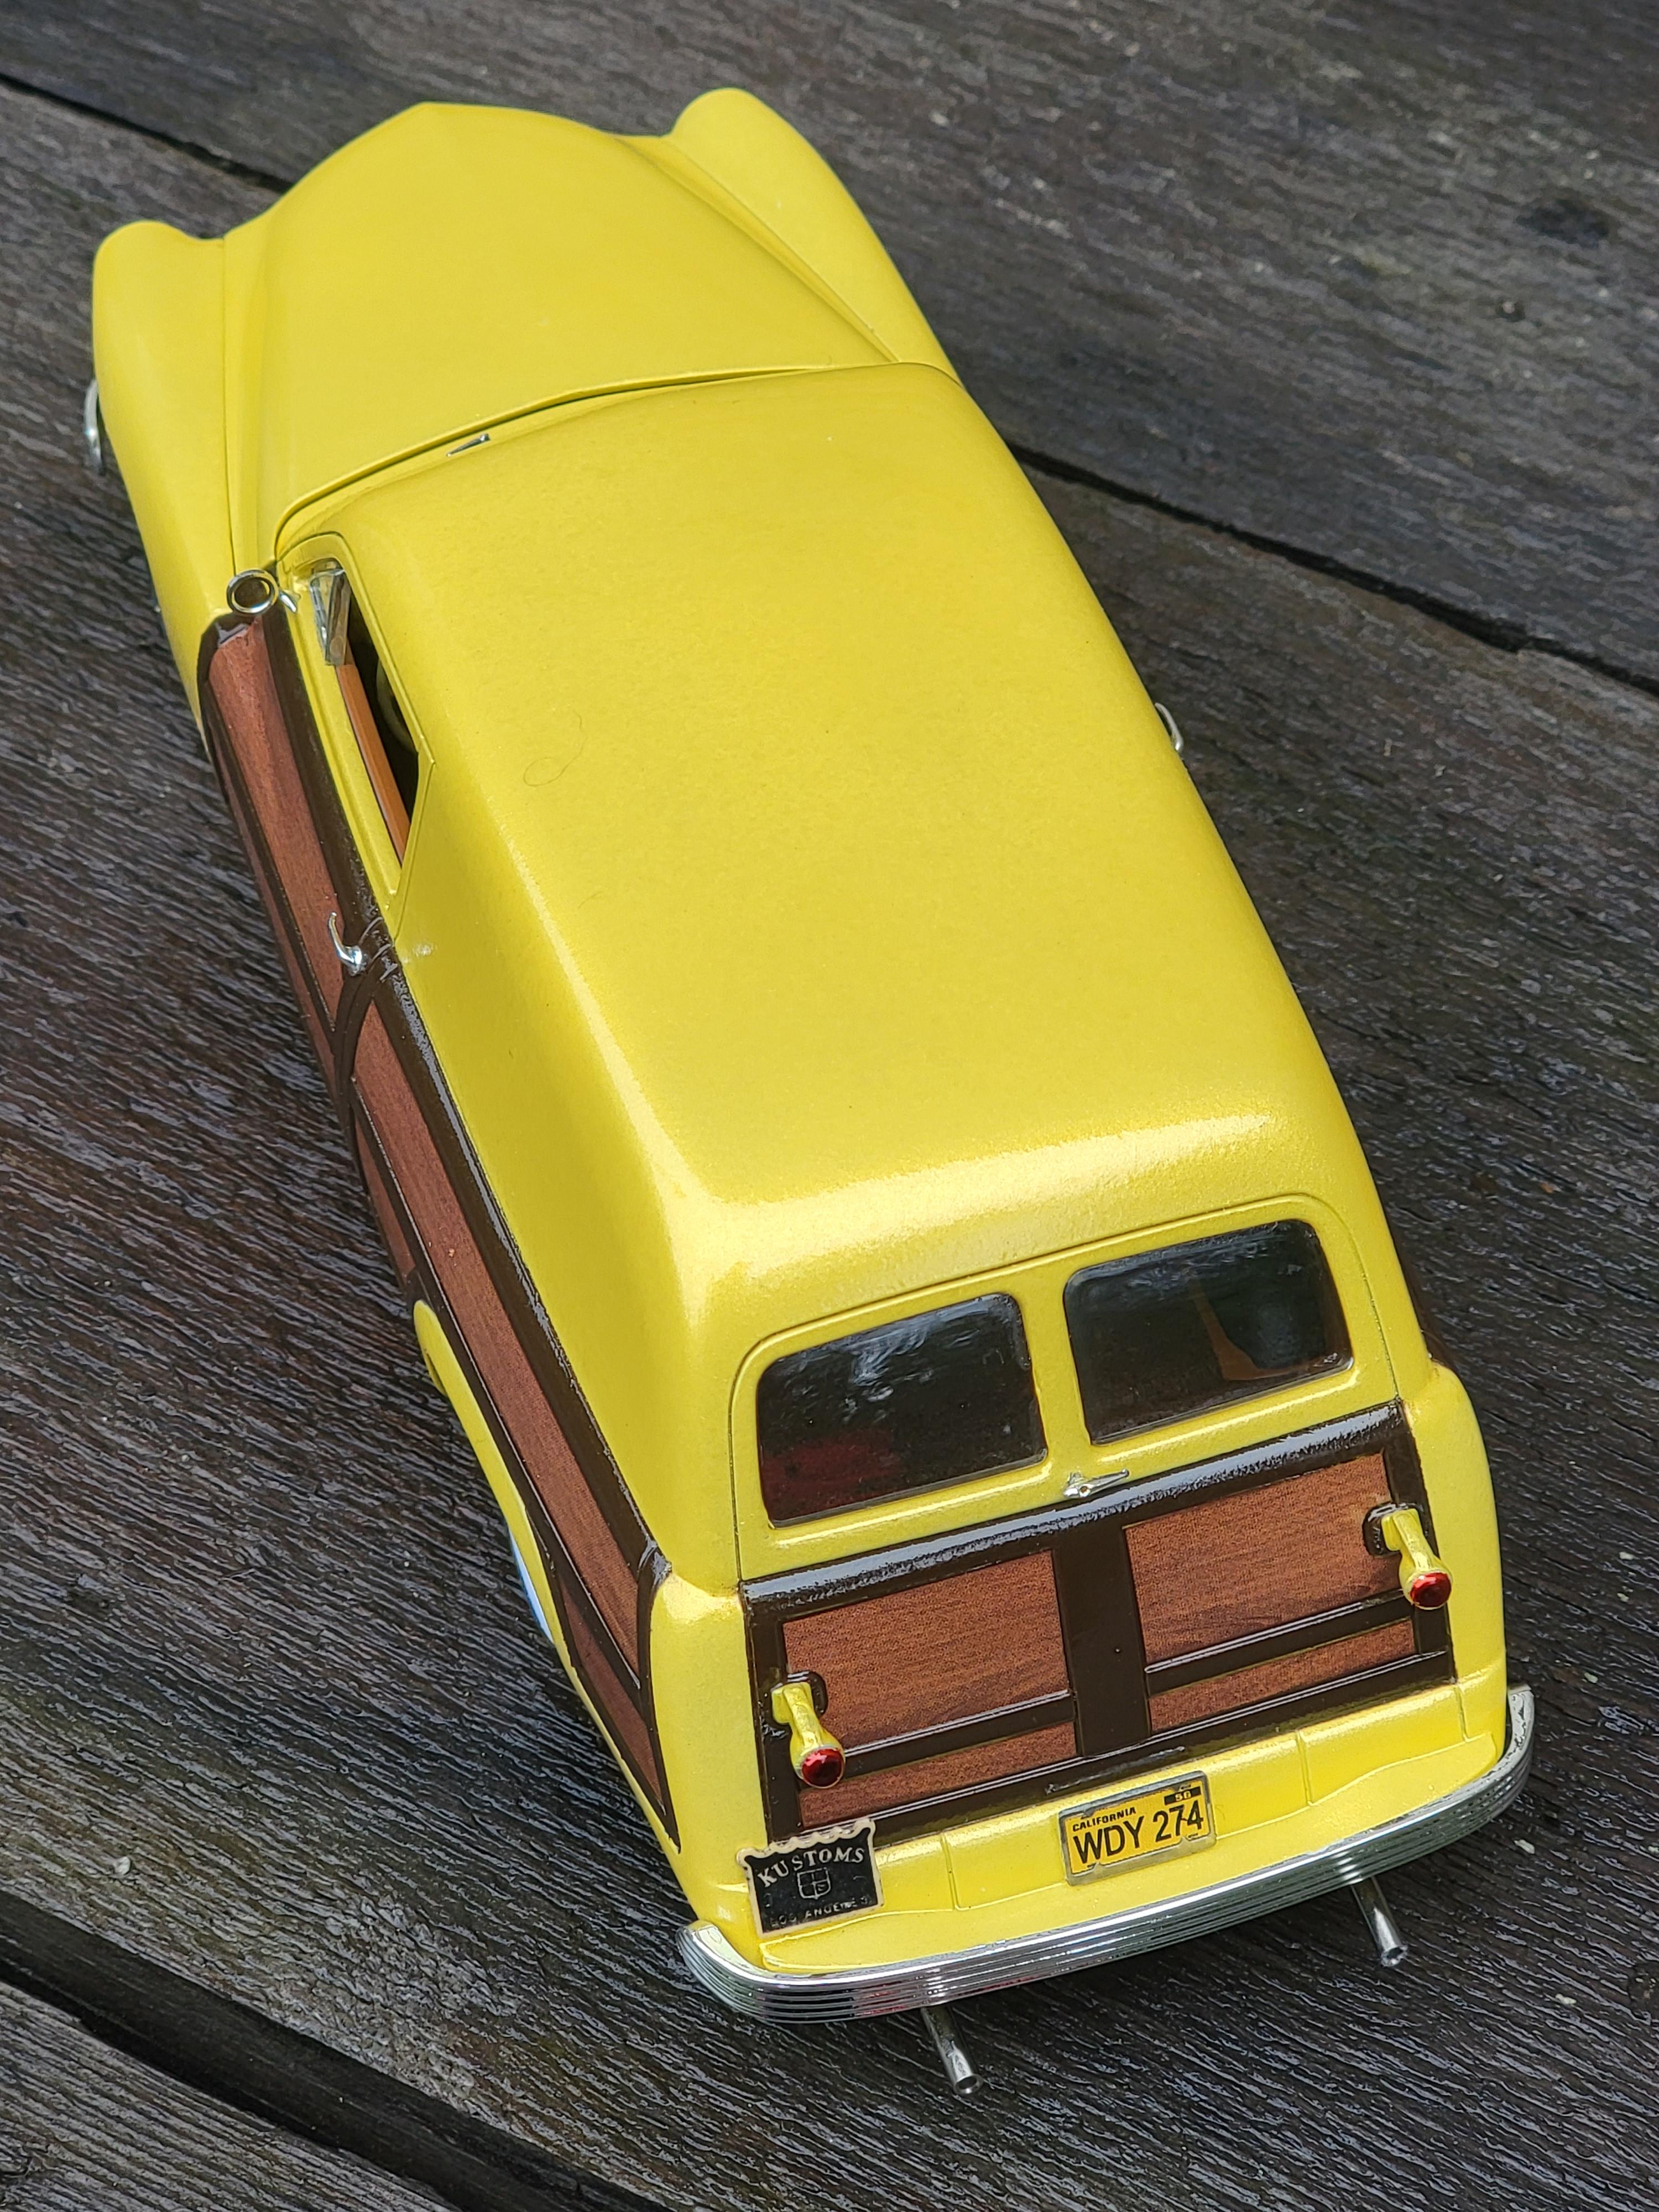
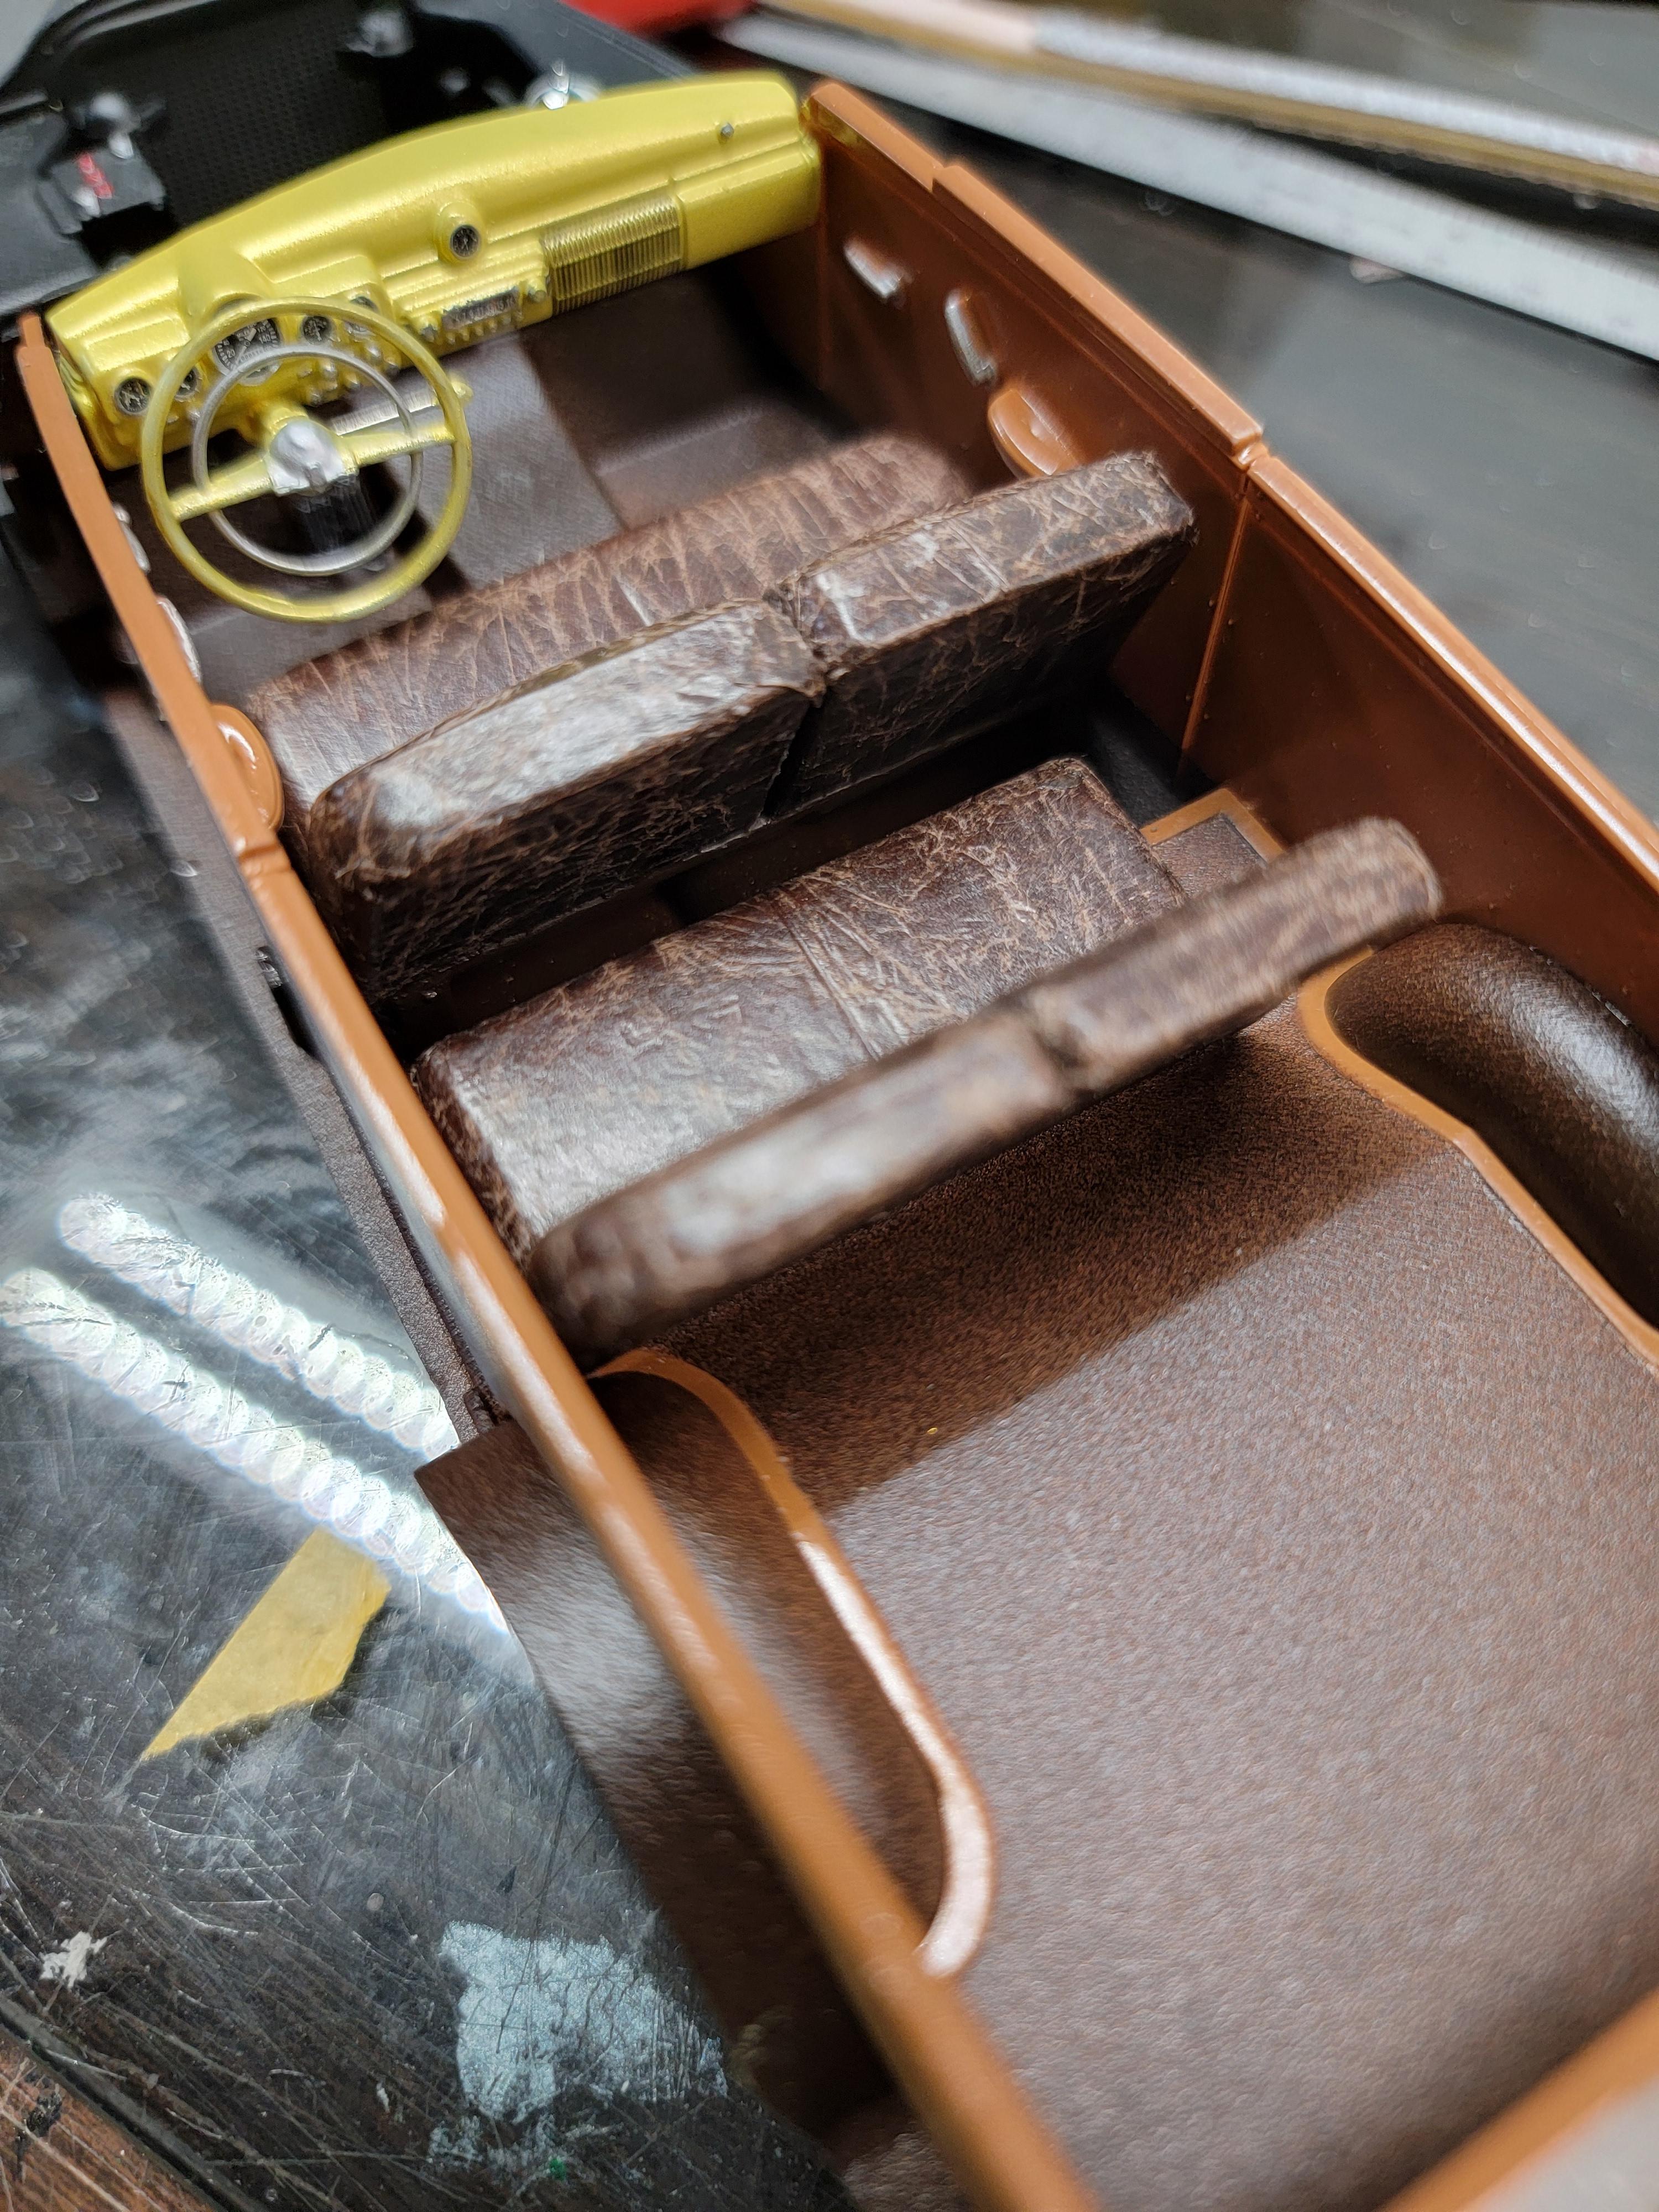
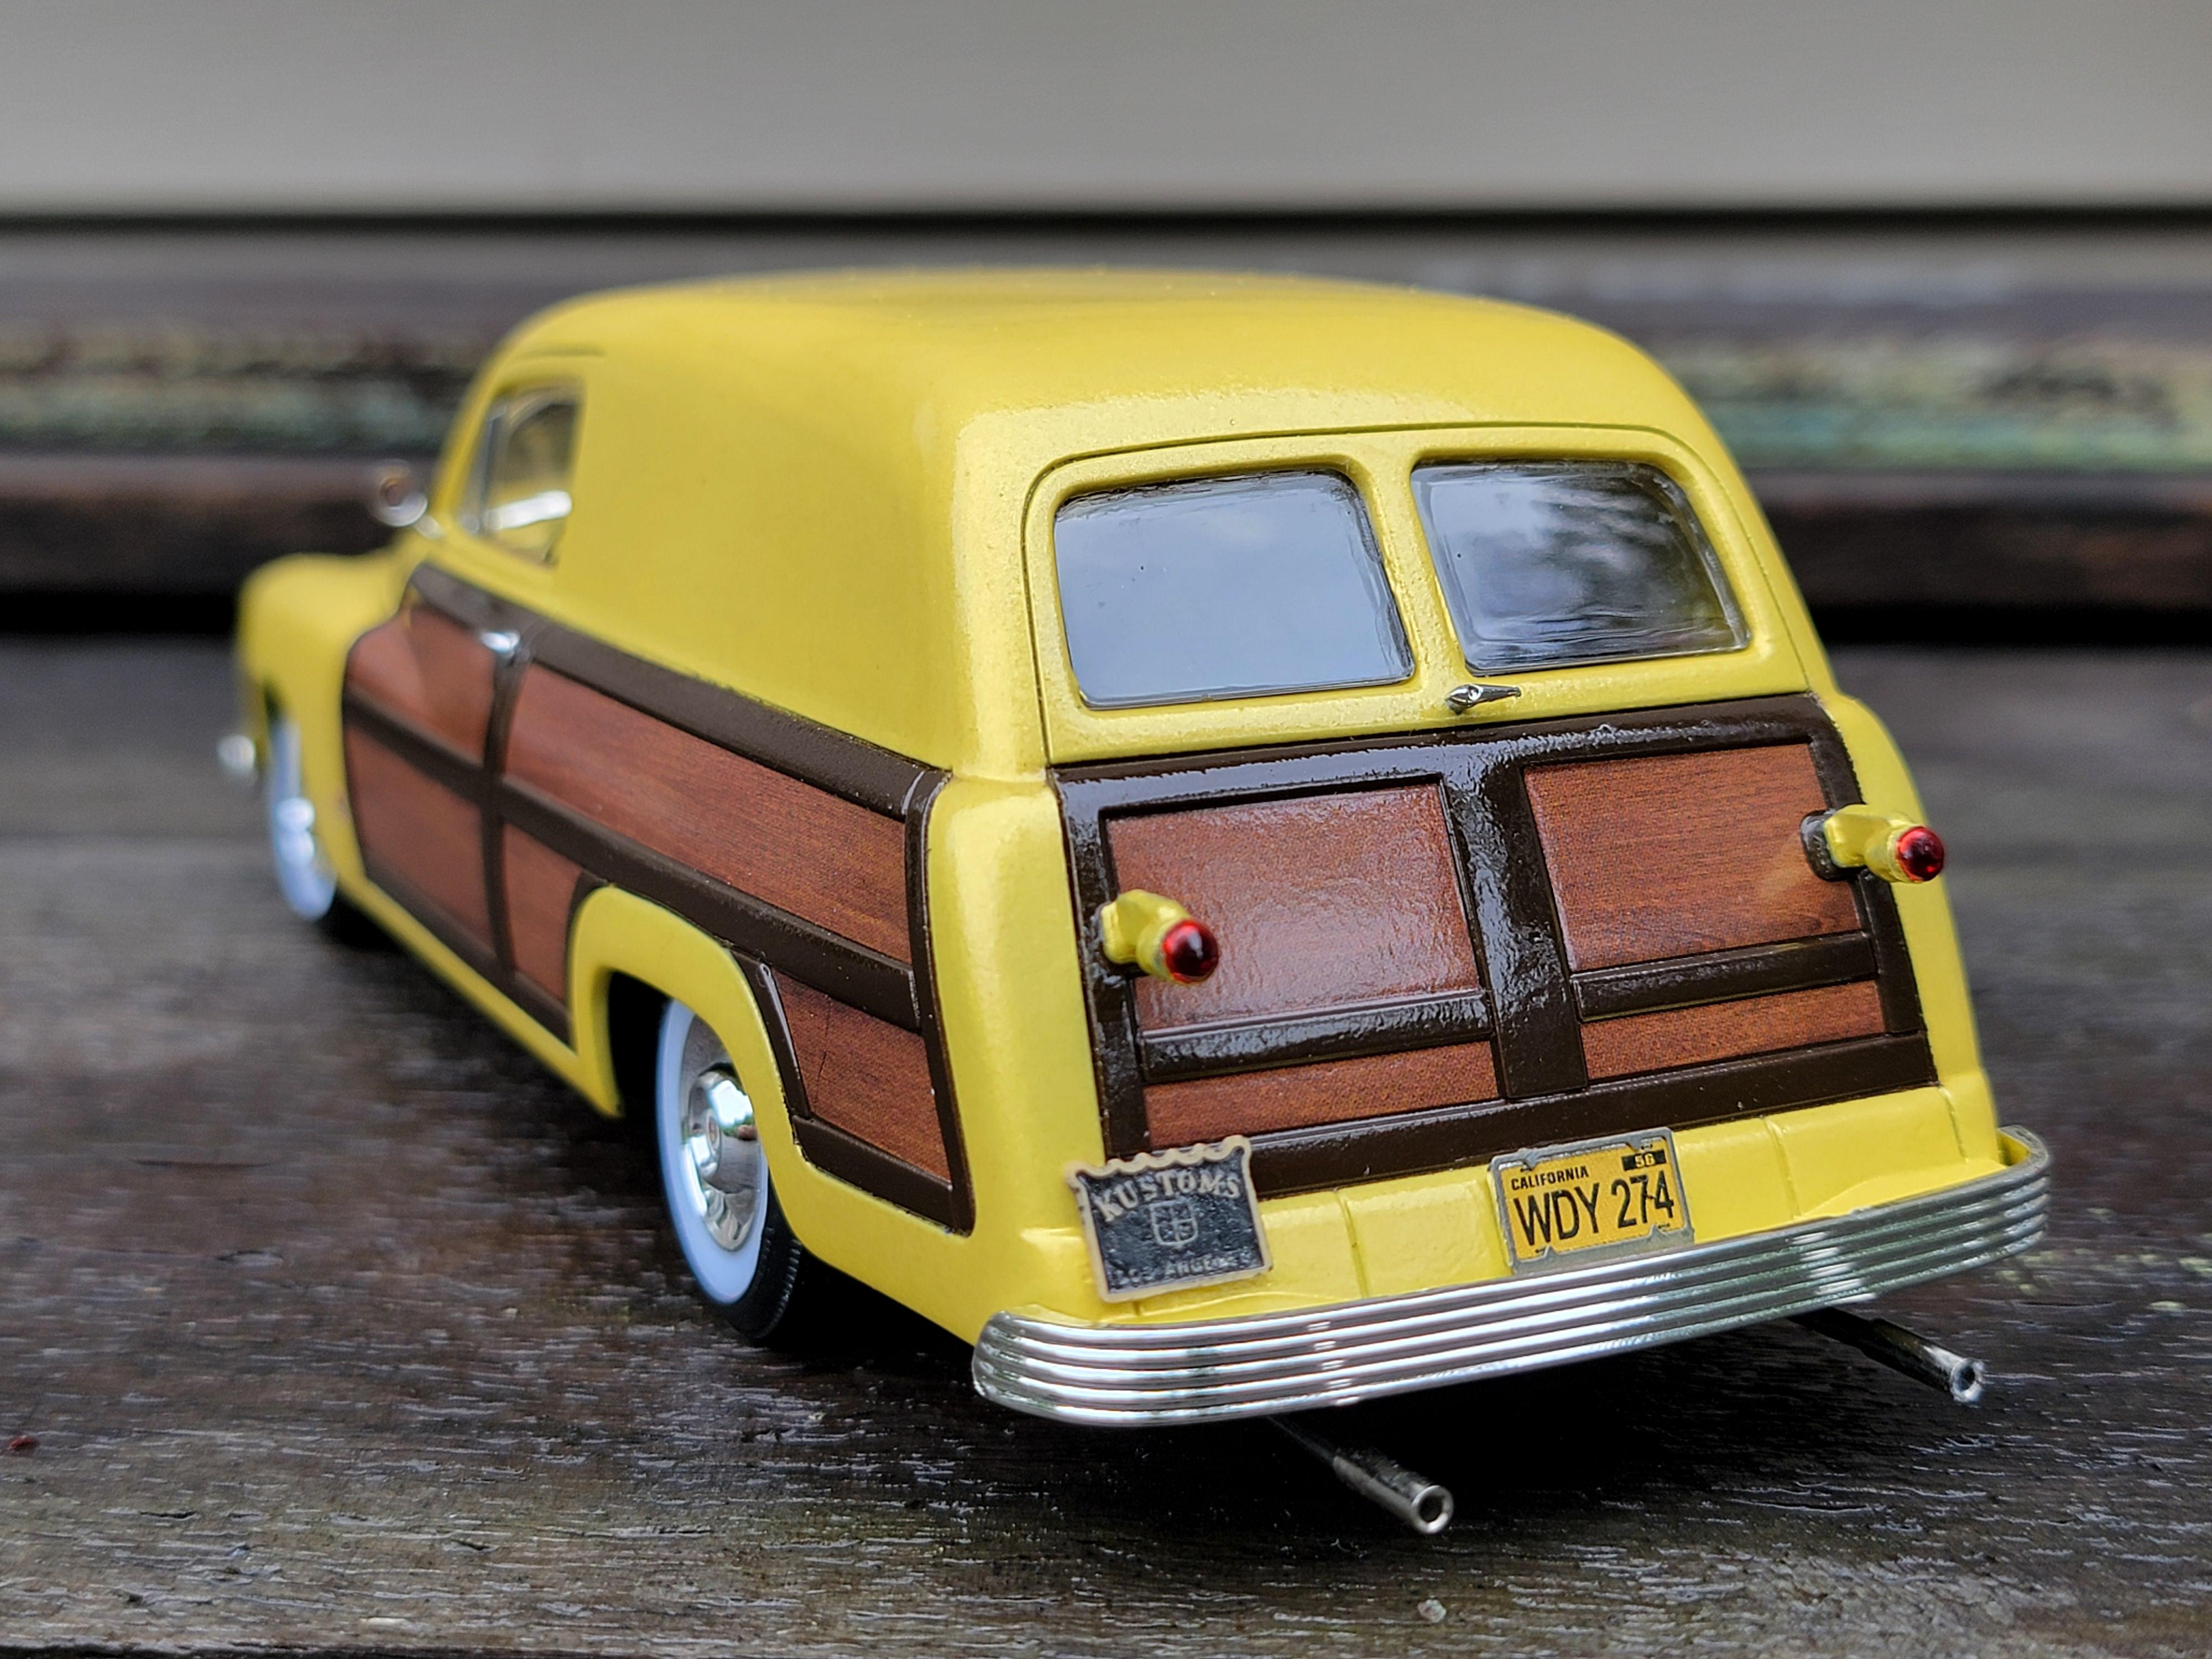
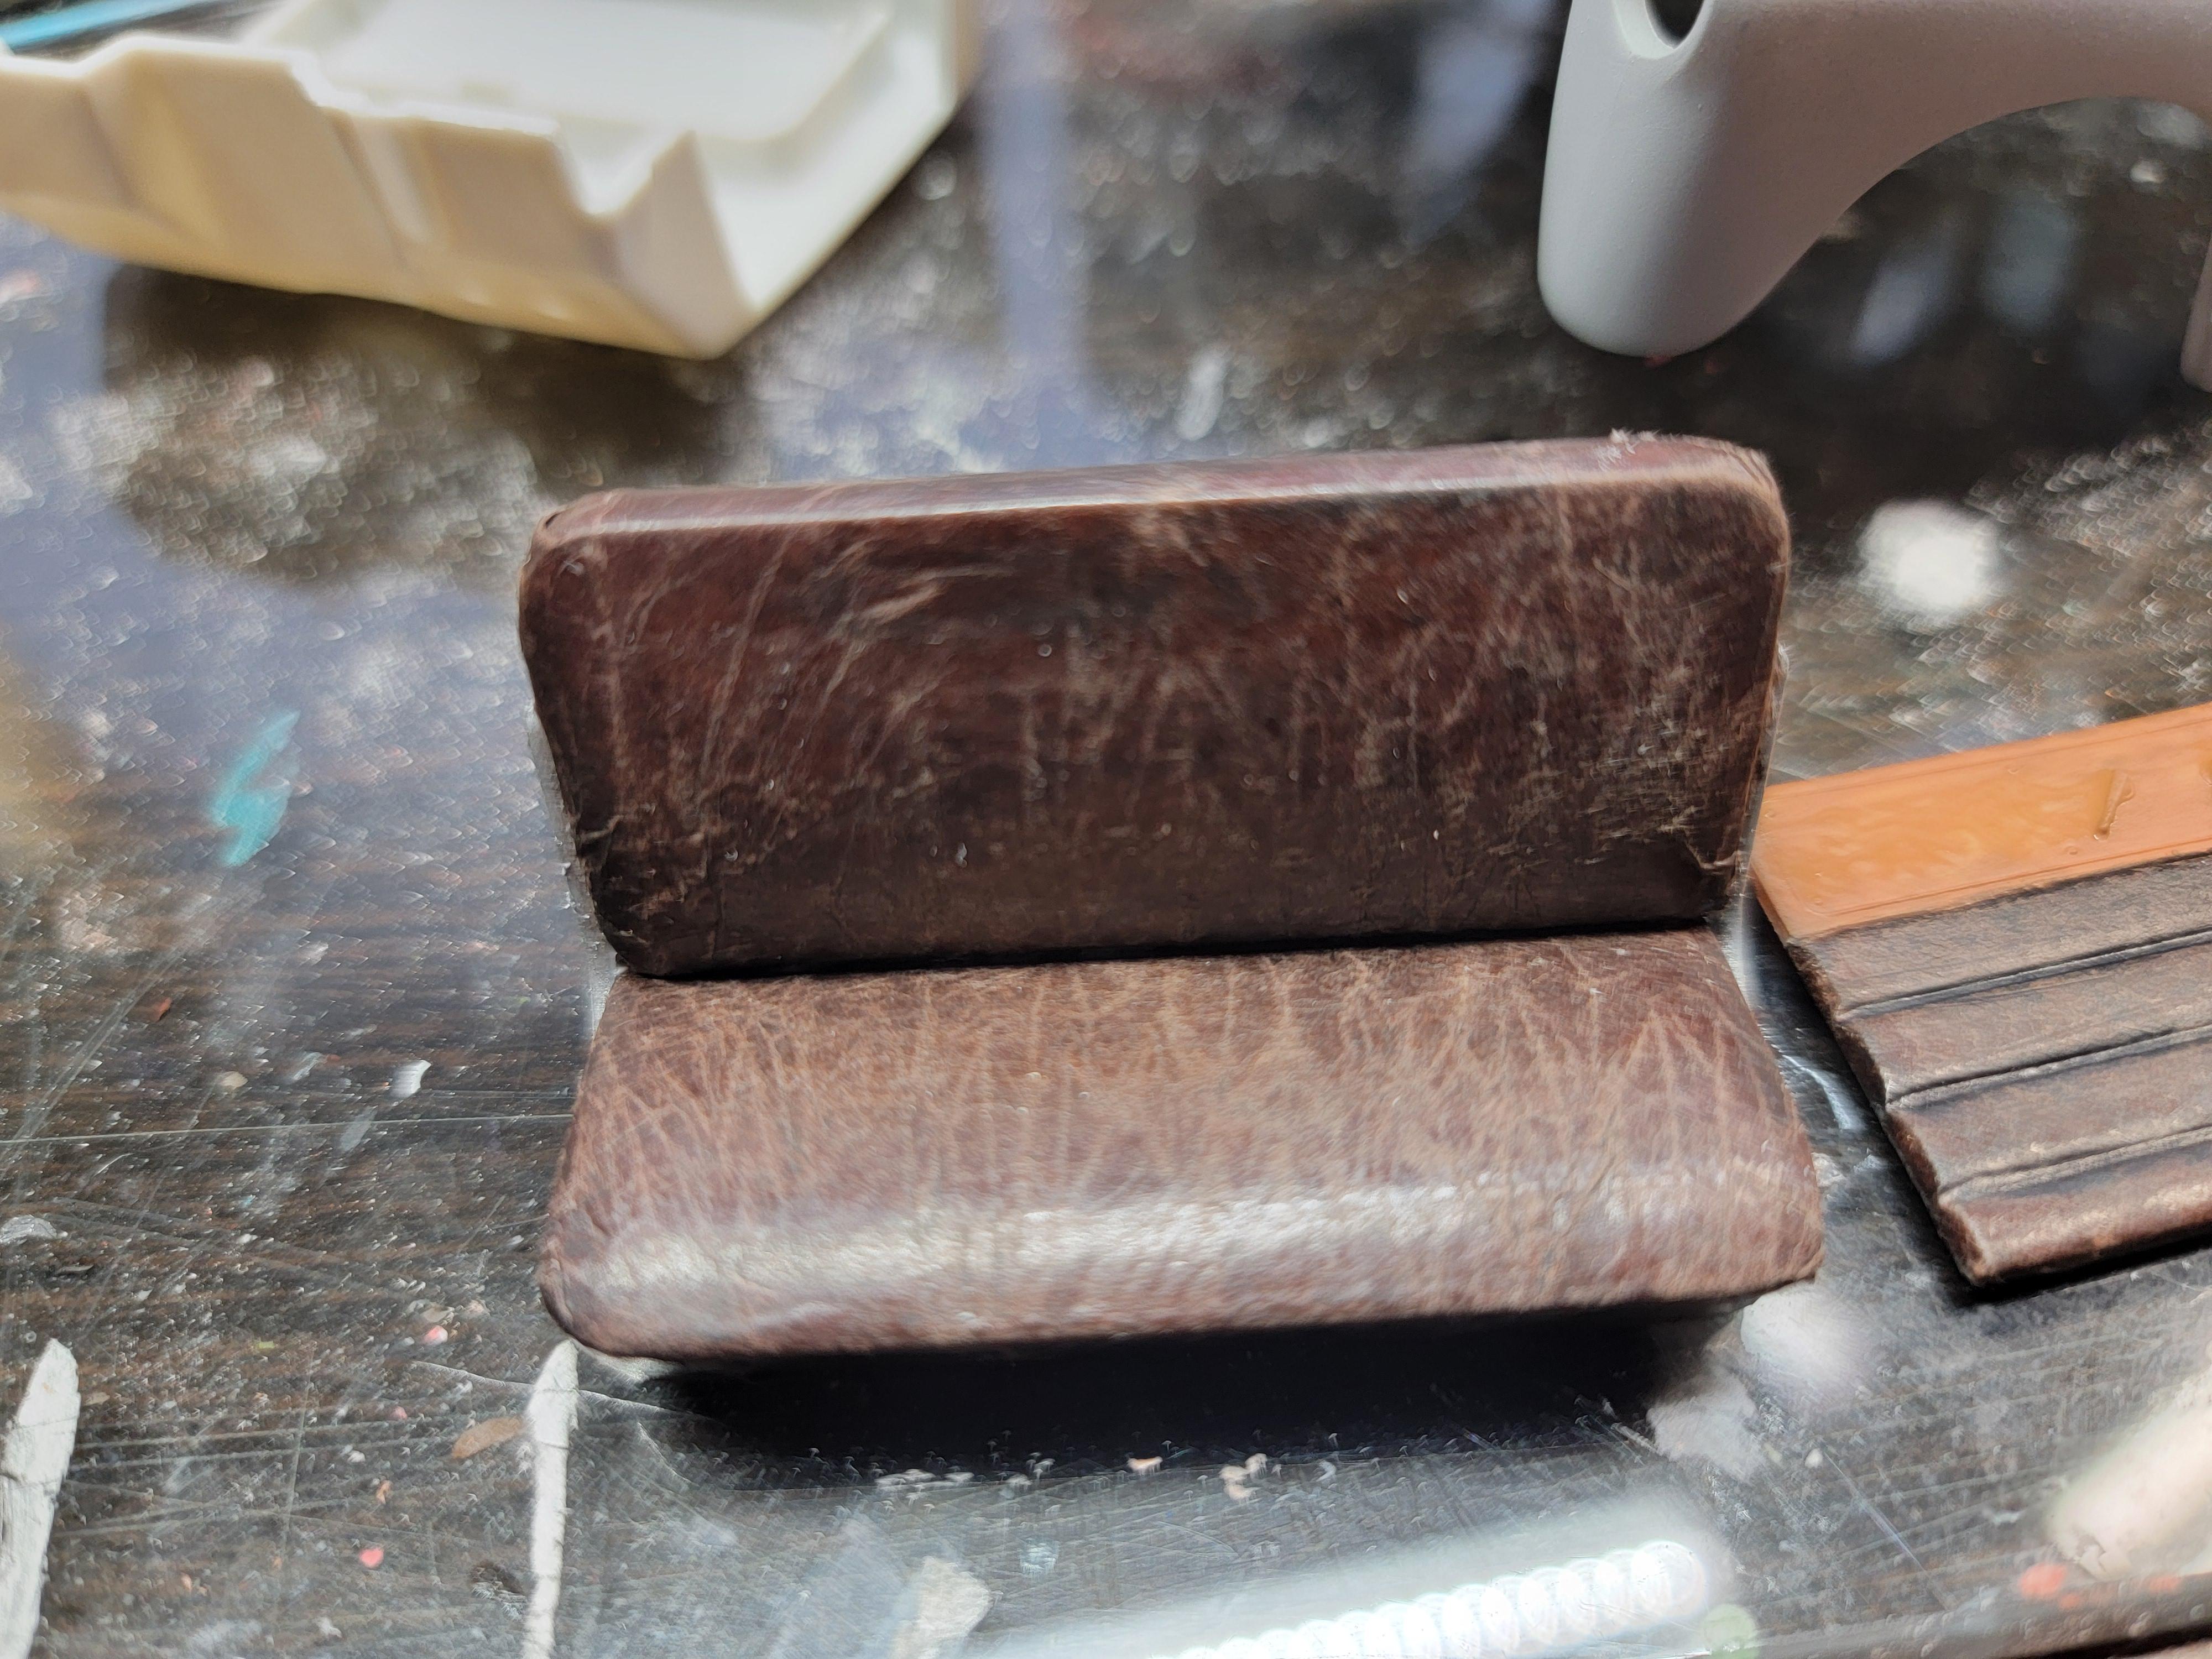
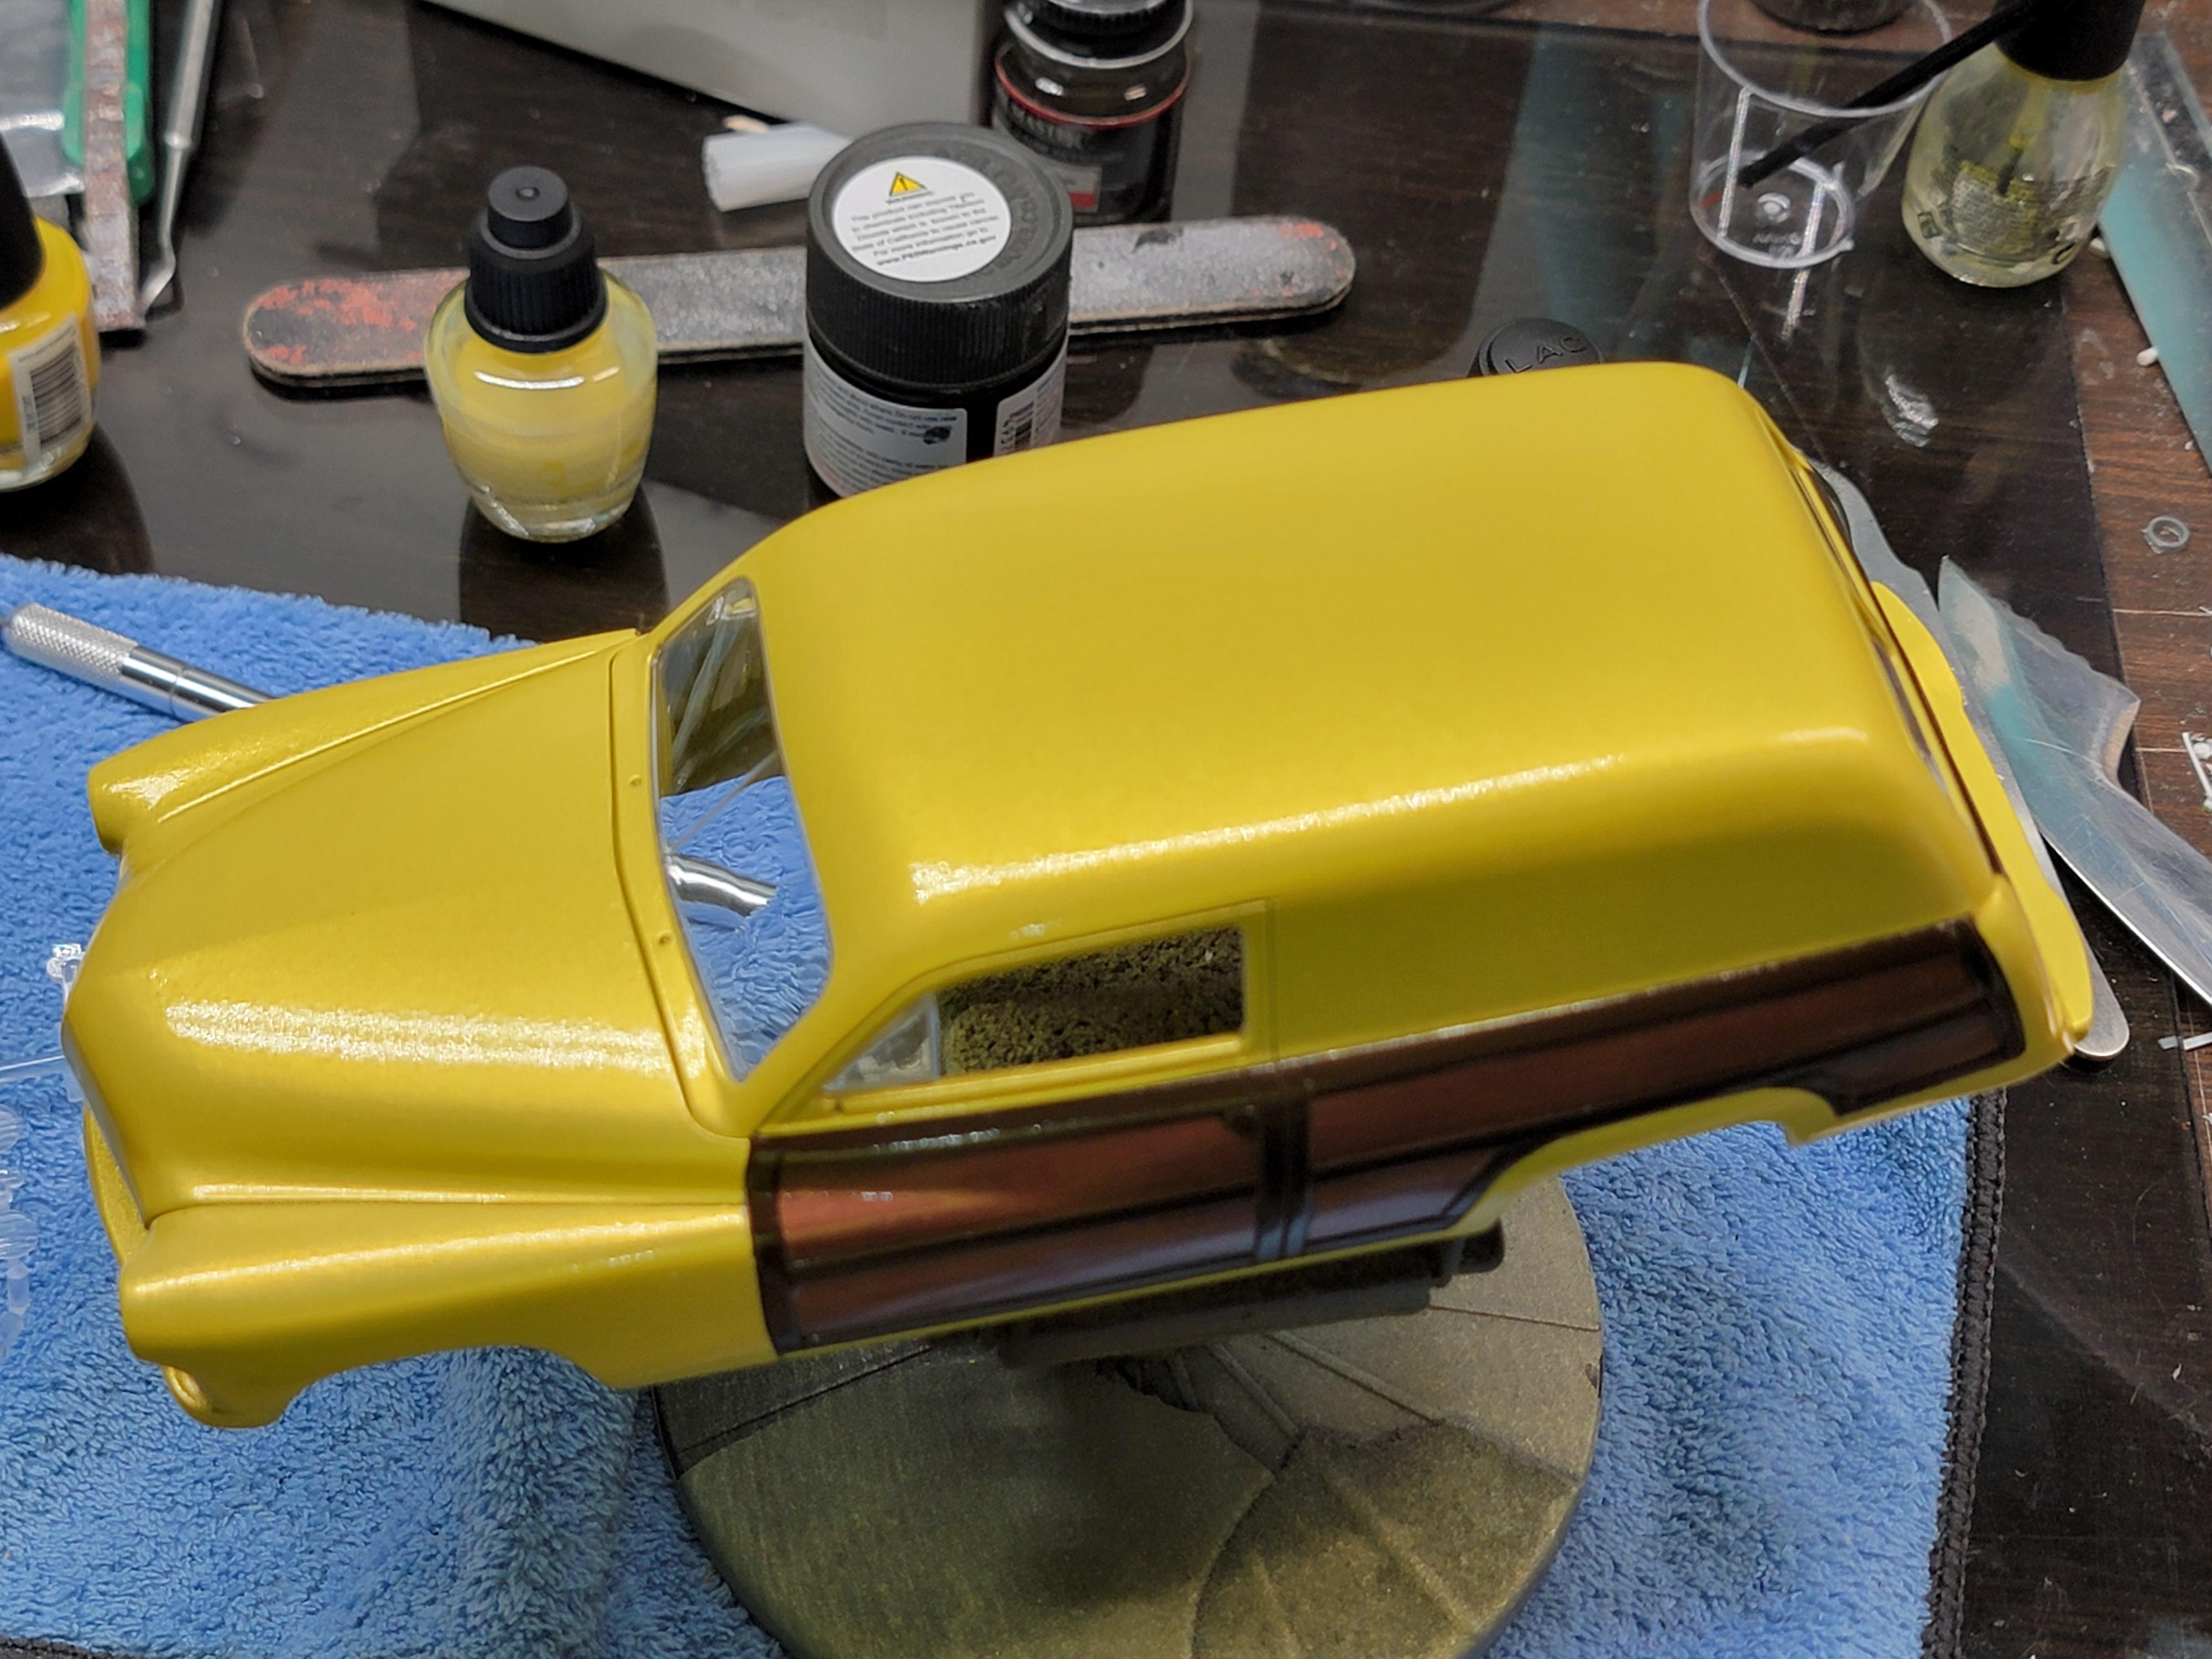
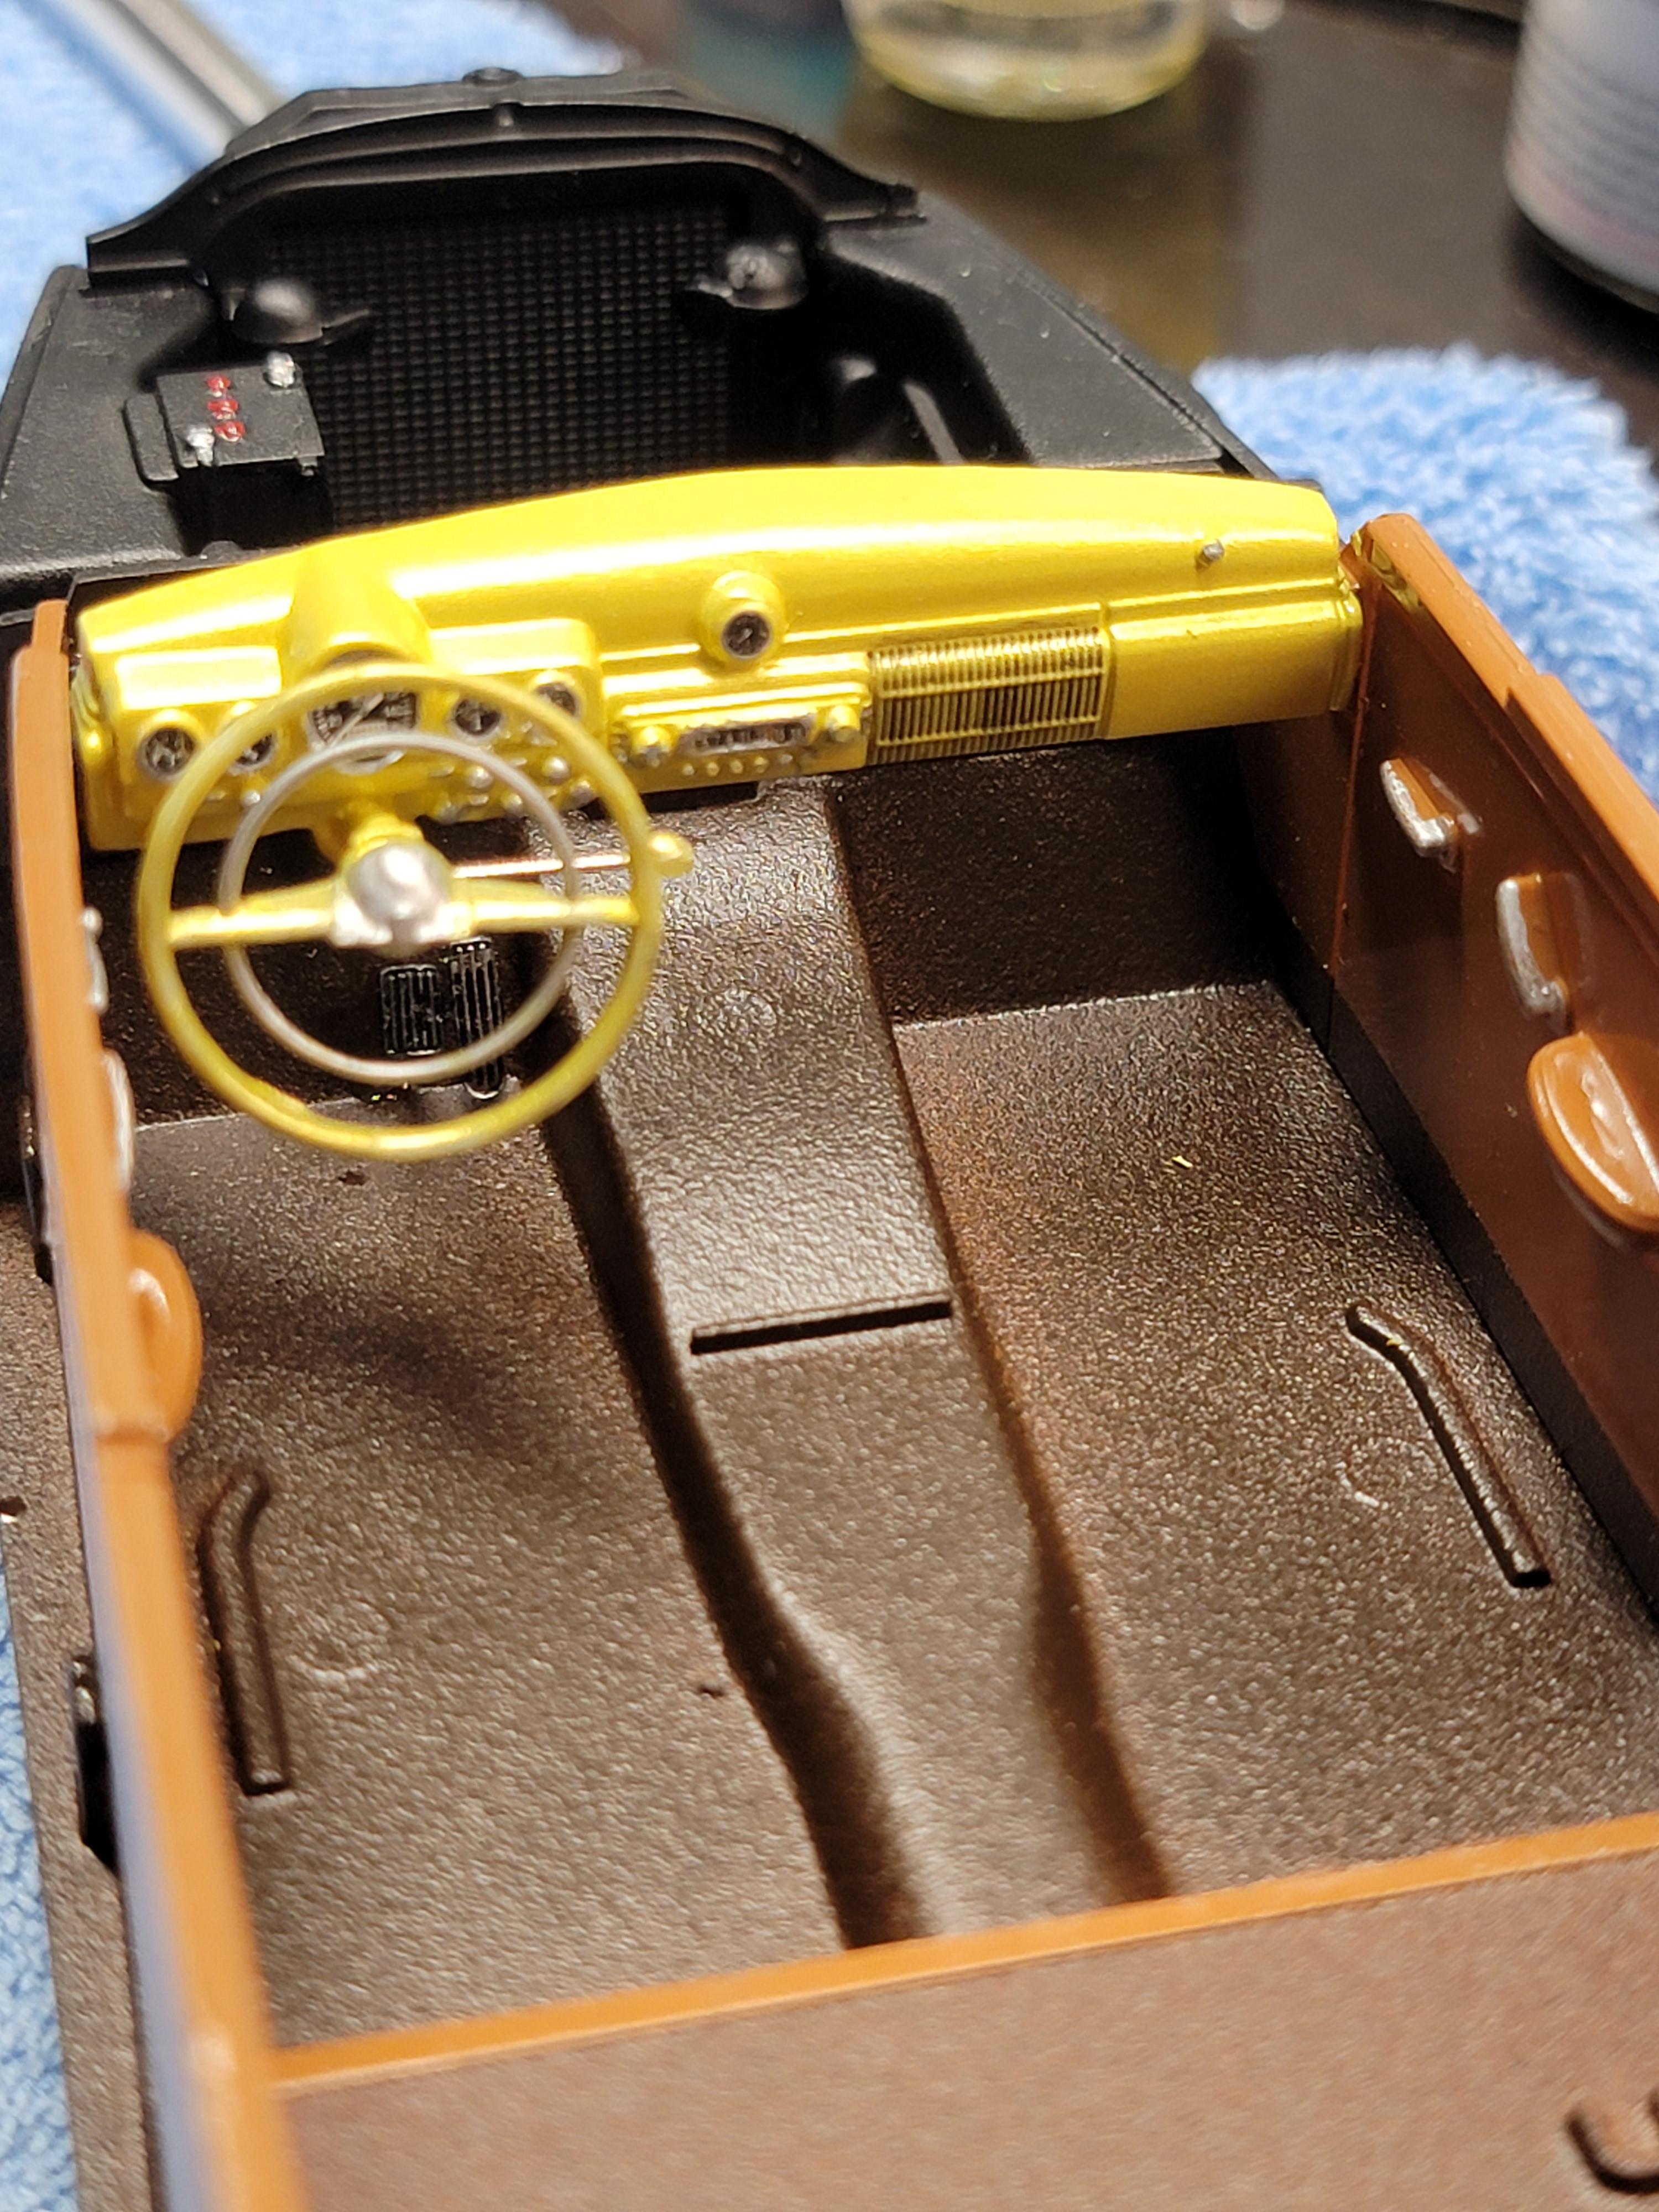
I built this for a build-off on a FB site. Started with the Revell Woody wagon and filled in the rear side windows. Airbrushed it with a base of yellow nail polish, topped with a pearl yellow nail polish. The wood is Krylon Matte Coffee Bean and kit wood decals. I then cleared with airbrushed clear nail polish. I lowered the suspension about 1/8 inch and frenched the headlughts using aluminum tubing. Interior is Krylon Warm Caramel with Krylon Matte Coffee Bean misted over it. The seats were covered with Riesen candy wrappers glued on with wood glue for a worn leather look. The engine is box stock except for plug wires. I swapped the grill, bumpers and Caddy wheel covers from the Revell 49 Mercury sedan kit. Hope you like it. Later-
- 12 replies
-
- 11
-

-

-

49 Mercury Panel
Modlbldr replied to Modlbldr's topic in WIP: Model Trucks: Pickups, Vans, SUVs, Light Commercial
-

49 Mercury Panel
Modlbldr replied to Modlbldr's topic in WIP: Model Trucks: Pickups, Vans, SUVs, Light Commercial
And, you get to eat the candy..... Later- -

49 Mercury Panel
Modlbldr replied to Modlbldr's topic in WIP: Model Trucks: Pickups, Vans, SUVs, Light Commercial
Thanks! It is a process that I copied from someone. Use the wrapper from Reisen candies glued on with wood glue. Very simple, but effective. Later- -

49 Mercury Panel
Modlbldr replied to Modlbldr's topic in WIP: Model Trucks: Pickups, Vans, SUVs, Light Commercial
Got the interior finished today and made the frenched headlights by using aluminum tubing and the lenses. Getting closer. Work on the engine next. Later- -

49 Mercury Panel
Modlbldr posted a topic in WIP: Model Trucks: Pickups, Vans, SUVs, Light Commercial
I've been working on this one for the last month. Converted the woody wagon to a panel. Airbrush painted it a pearl yellow nail polish. Clear is also nail polish. Wood is Krylon Matte Coffee Bean with the kit decals. The interior is done with the exception of the seats. I used the Caddy Sombreros from the 49 Mercury Sedan. Just installed the glass. Hoping to get this done by the end of next week. Later-- 10 replies
-
- 10
-

-

-
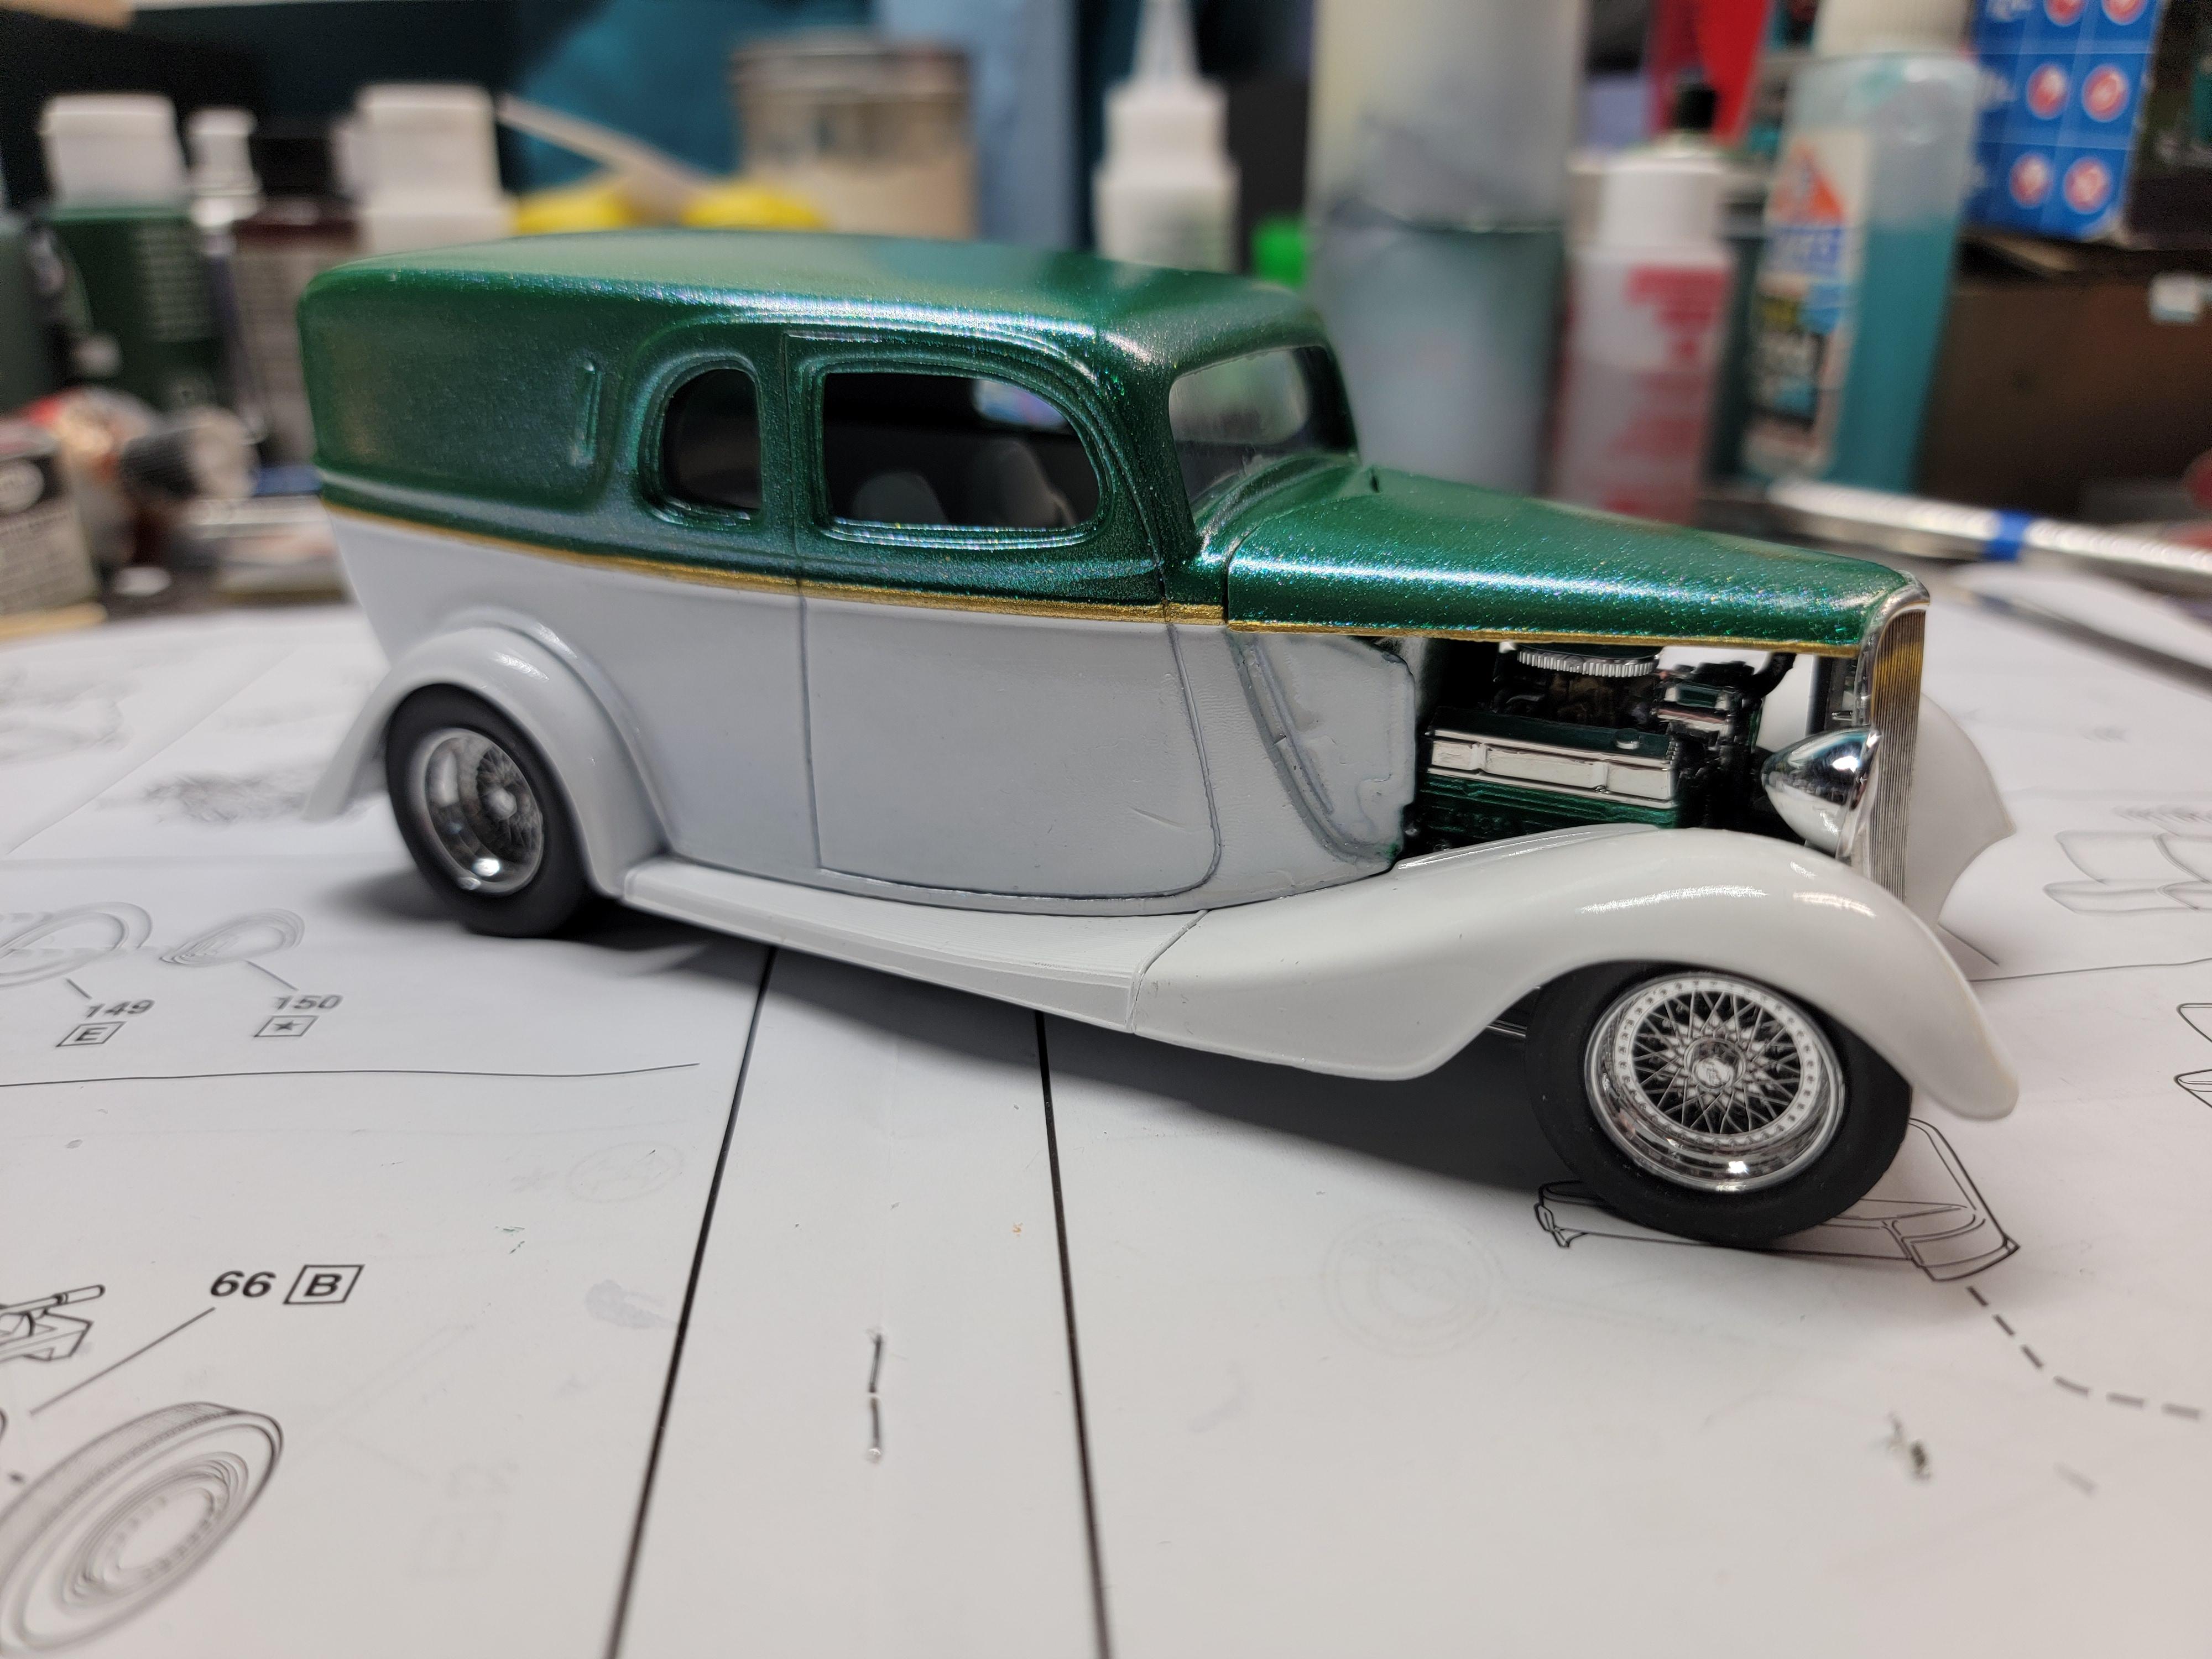
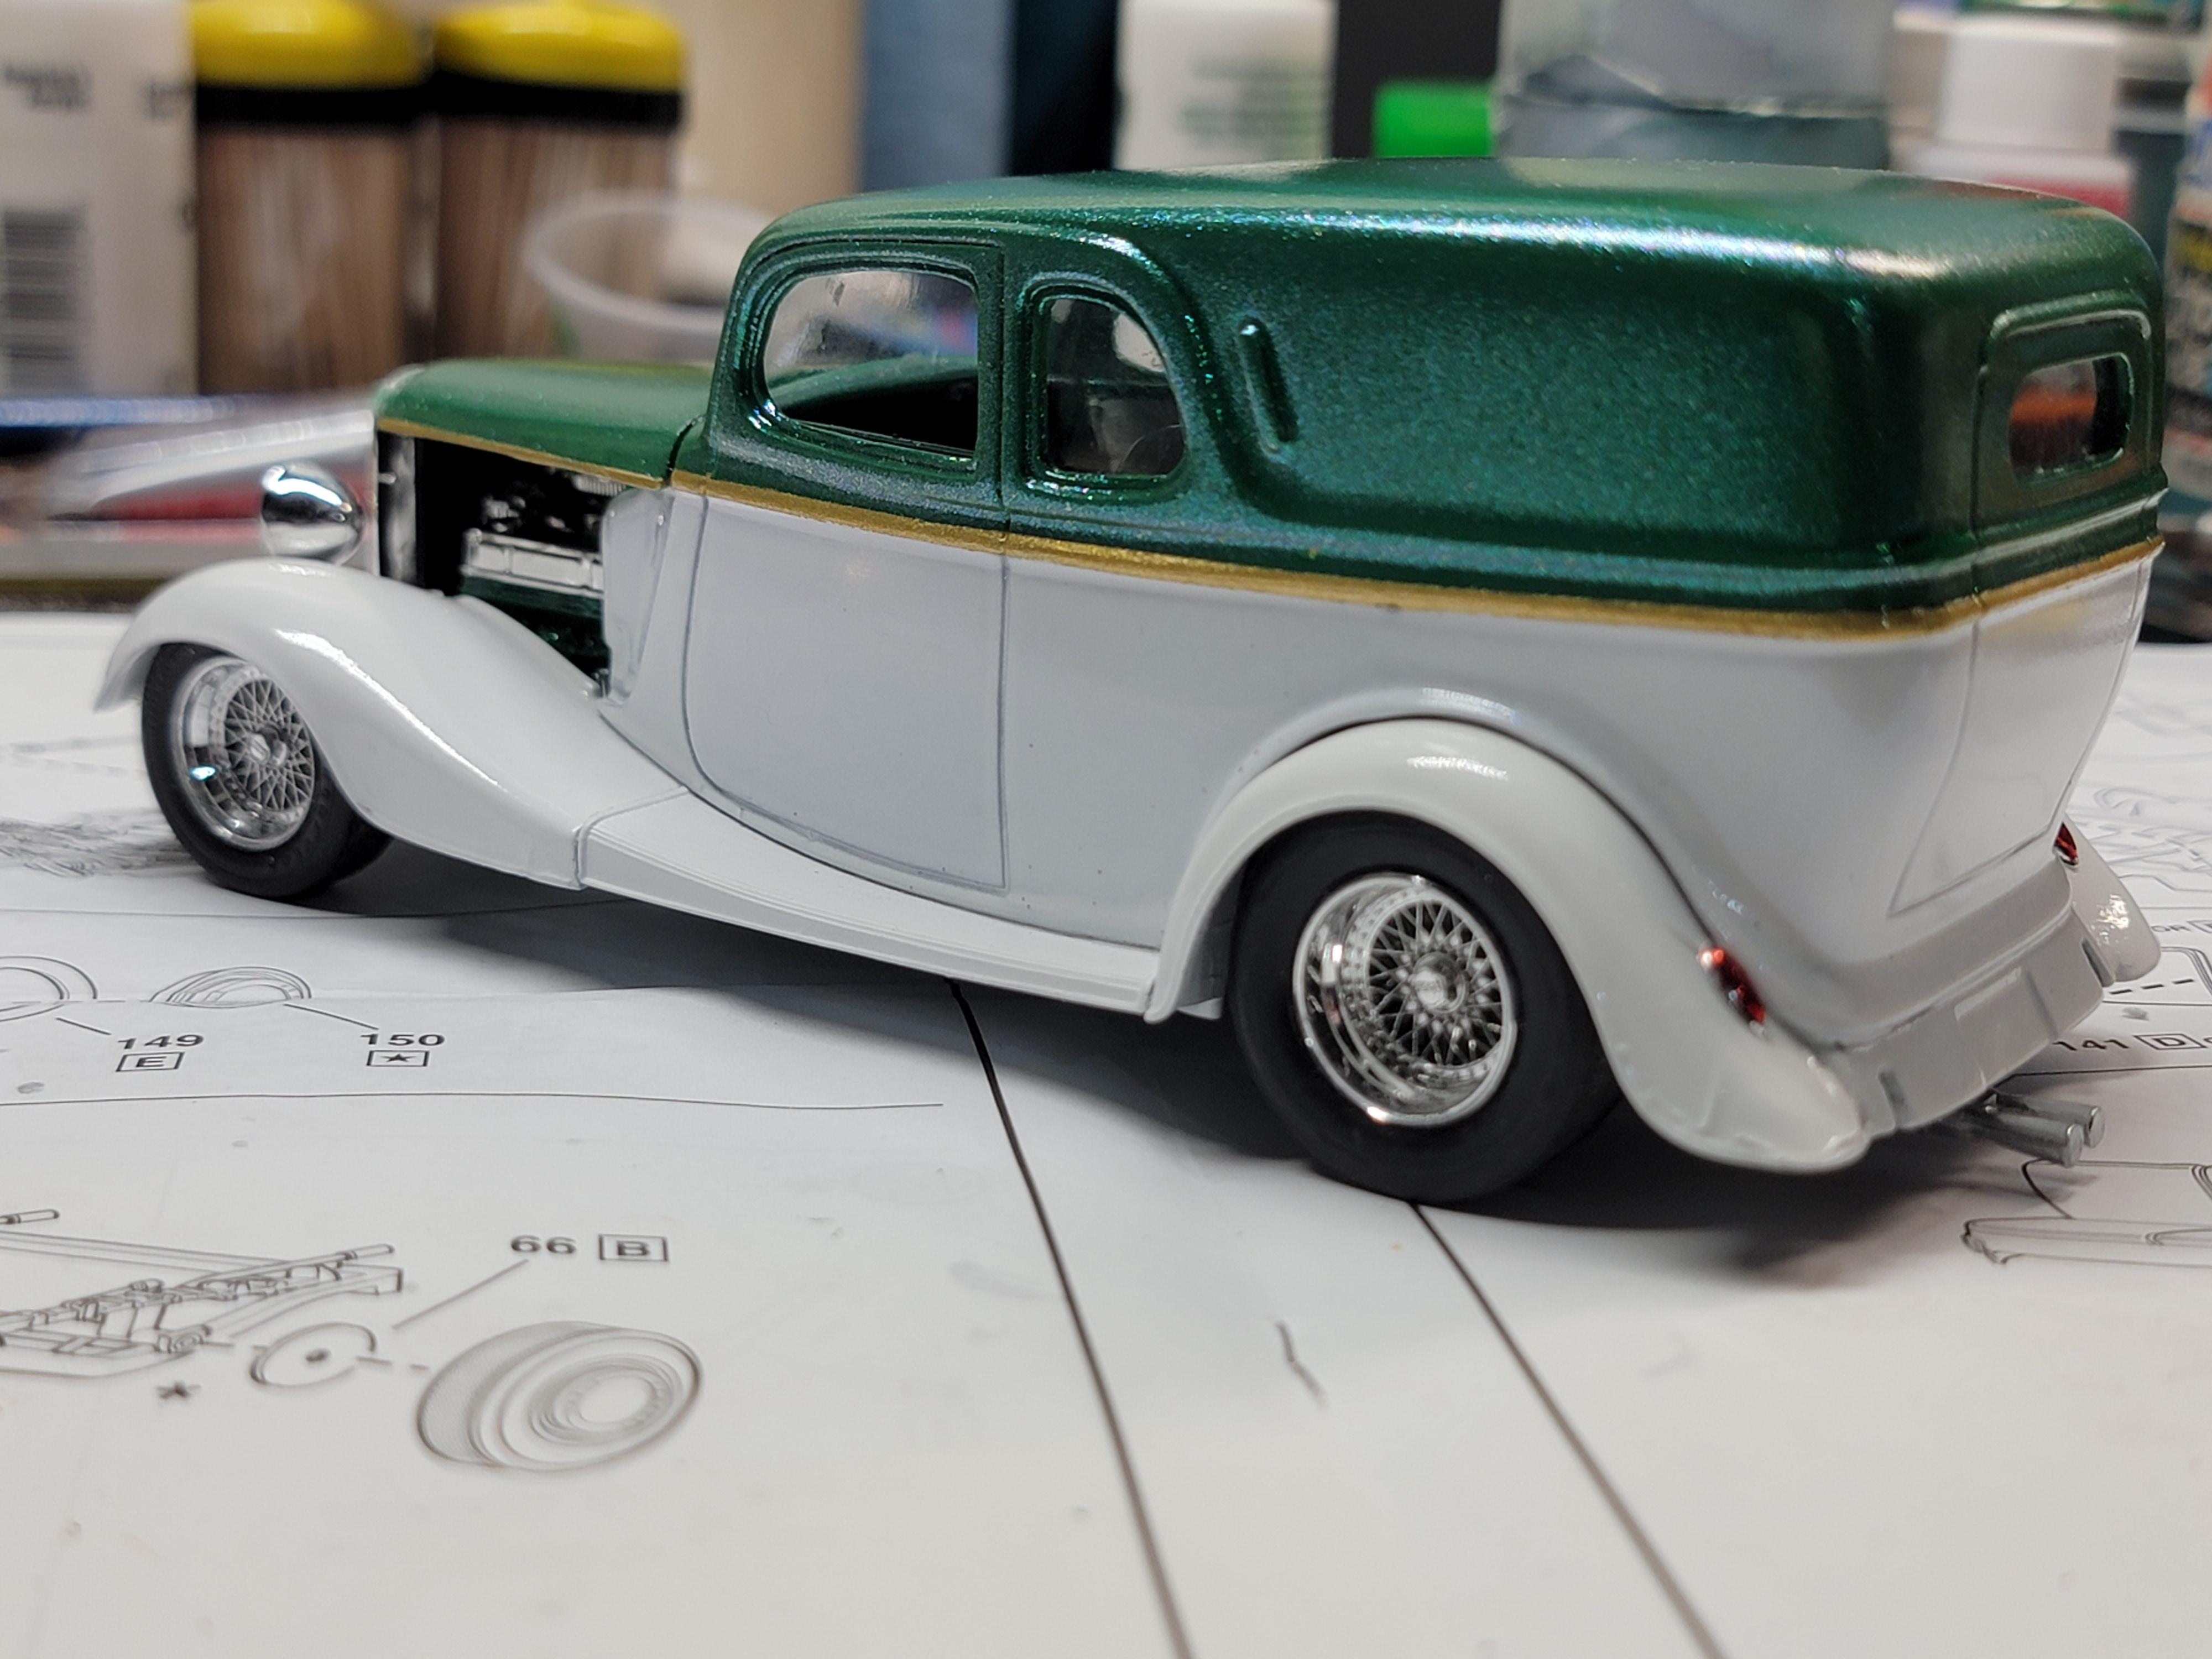
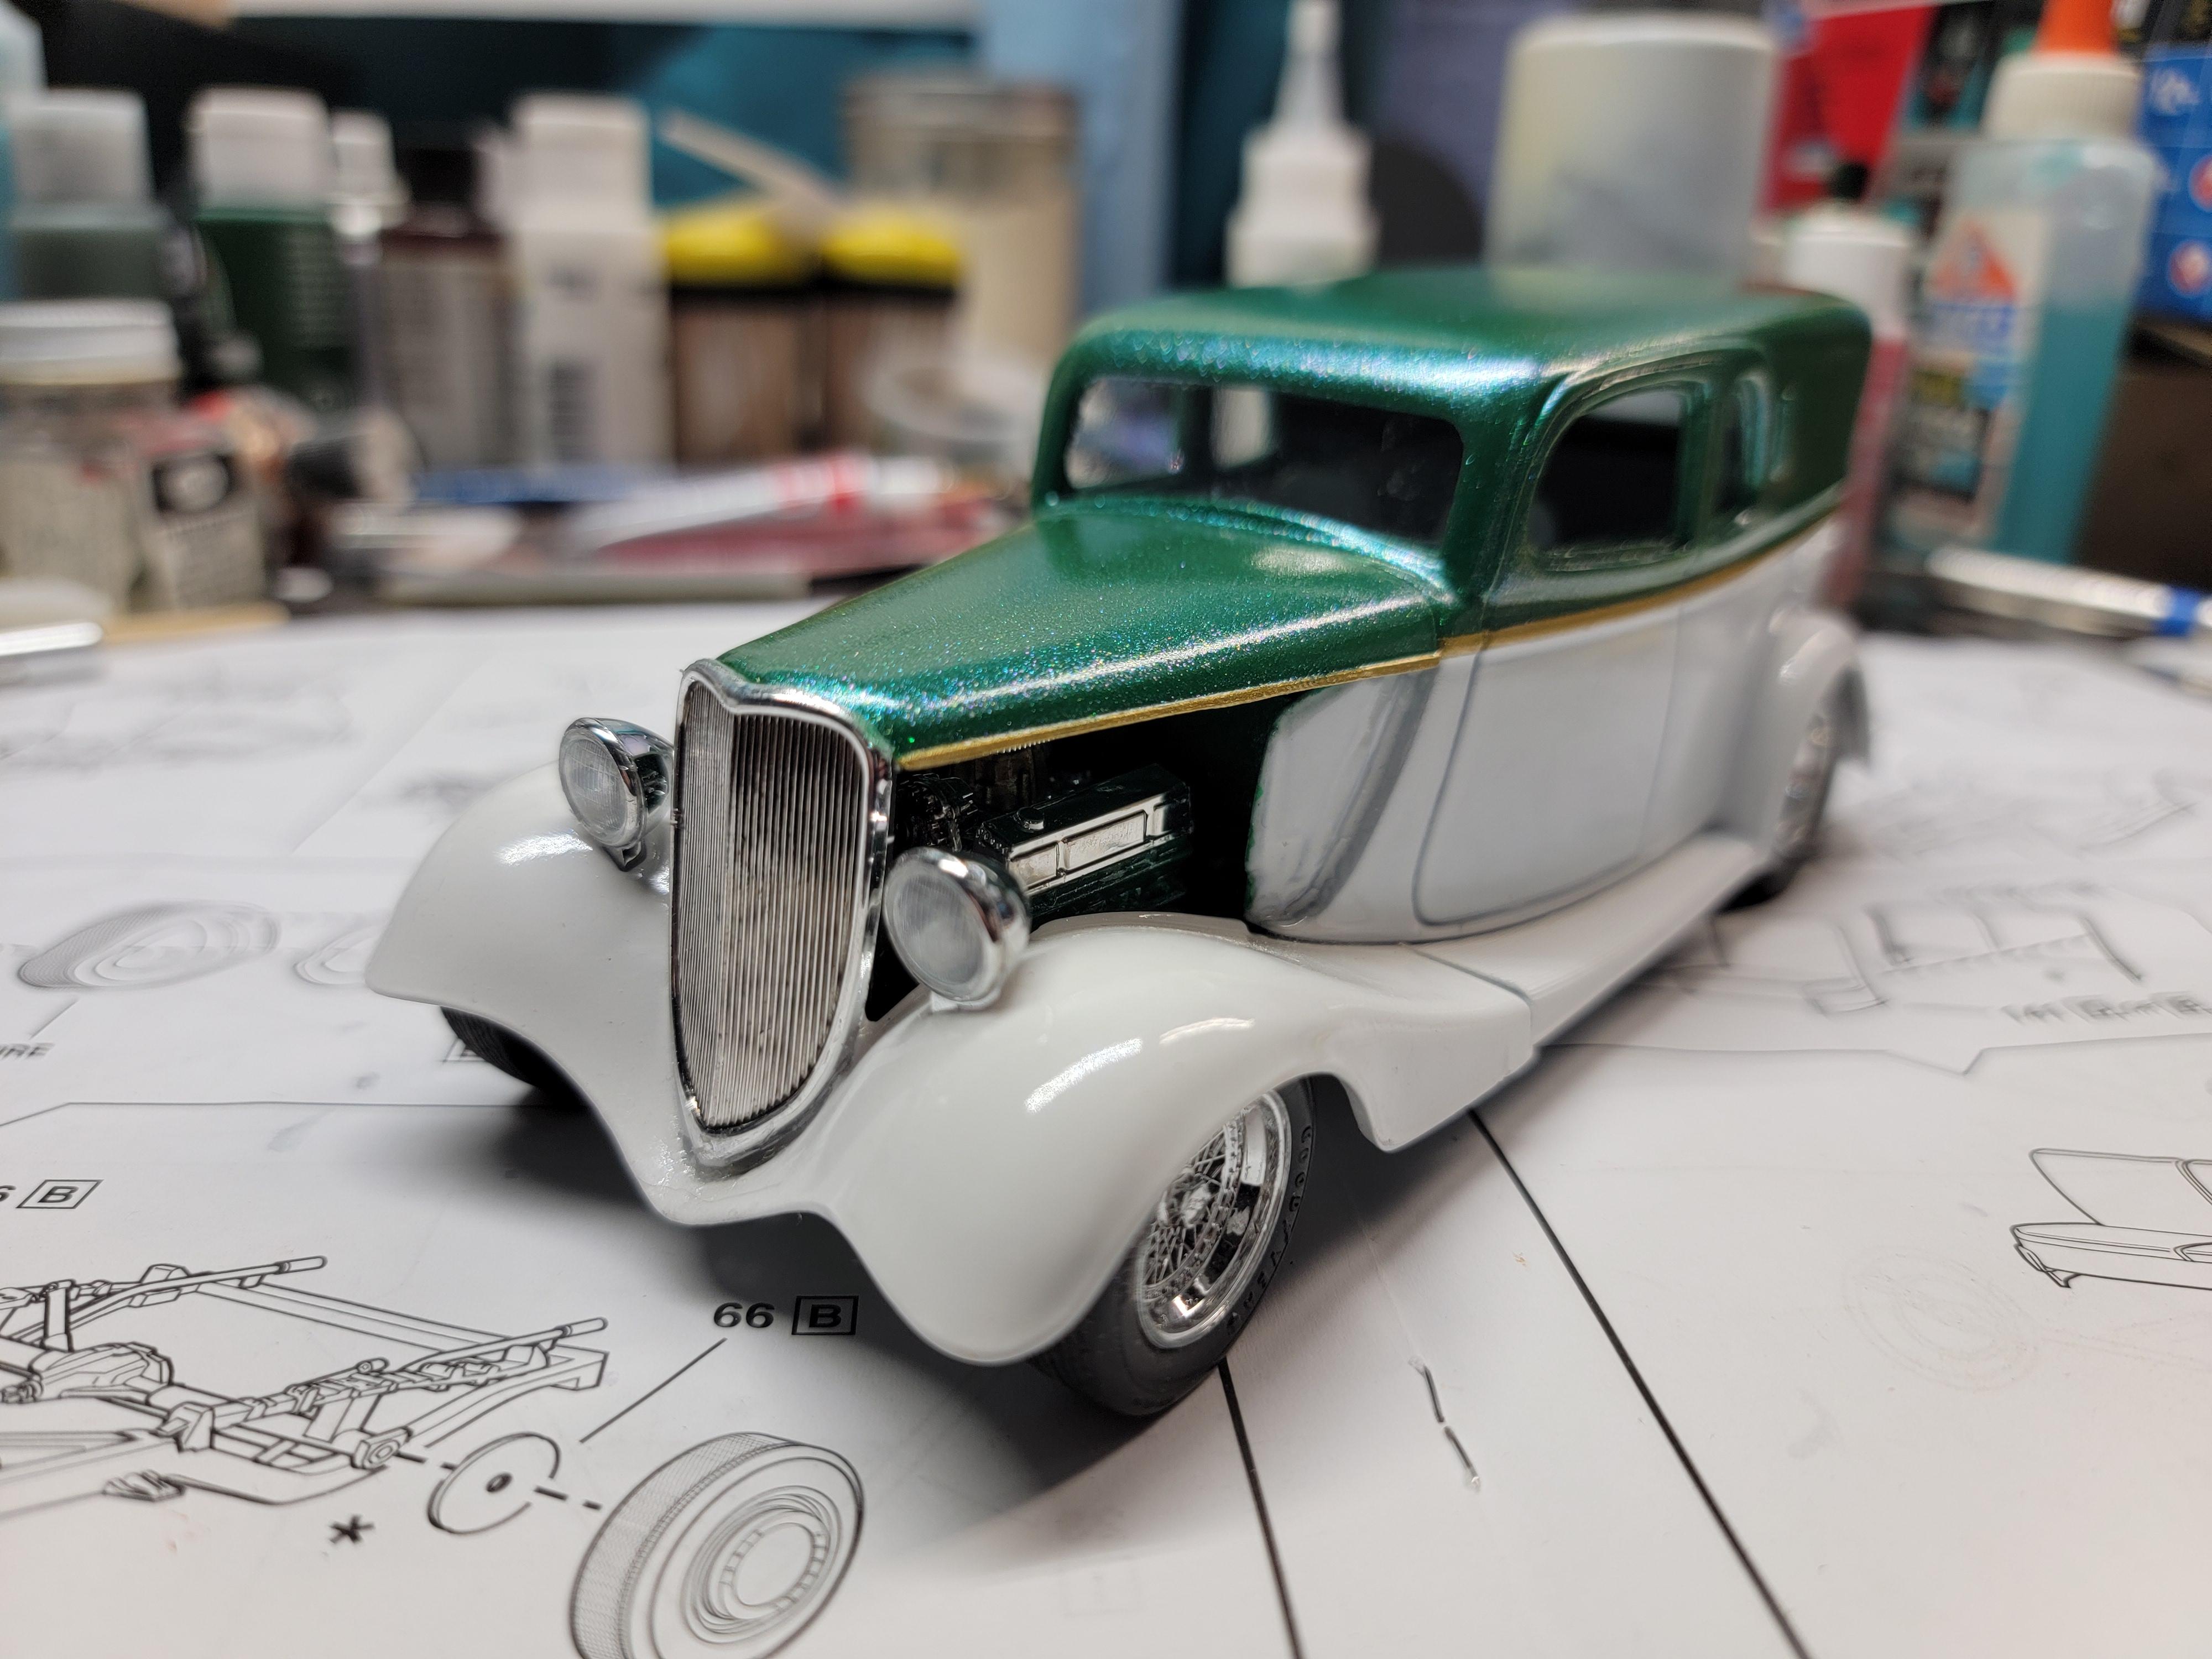
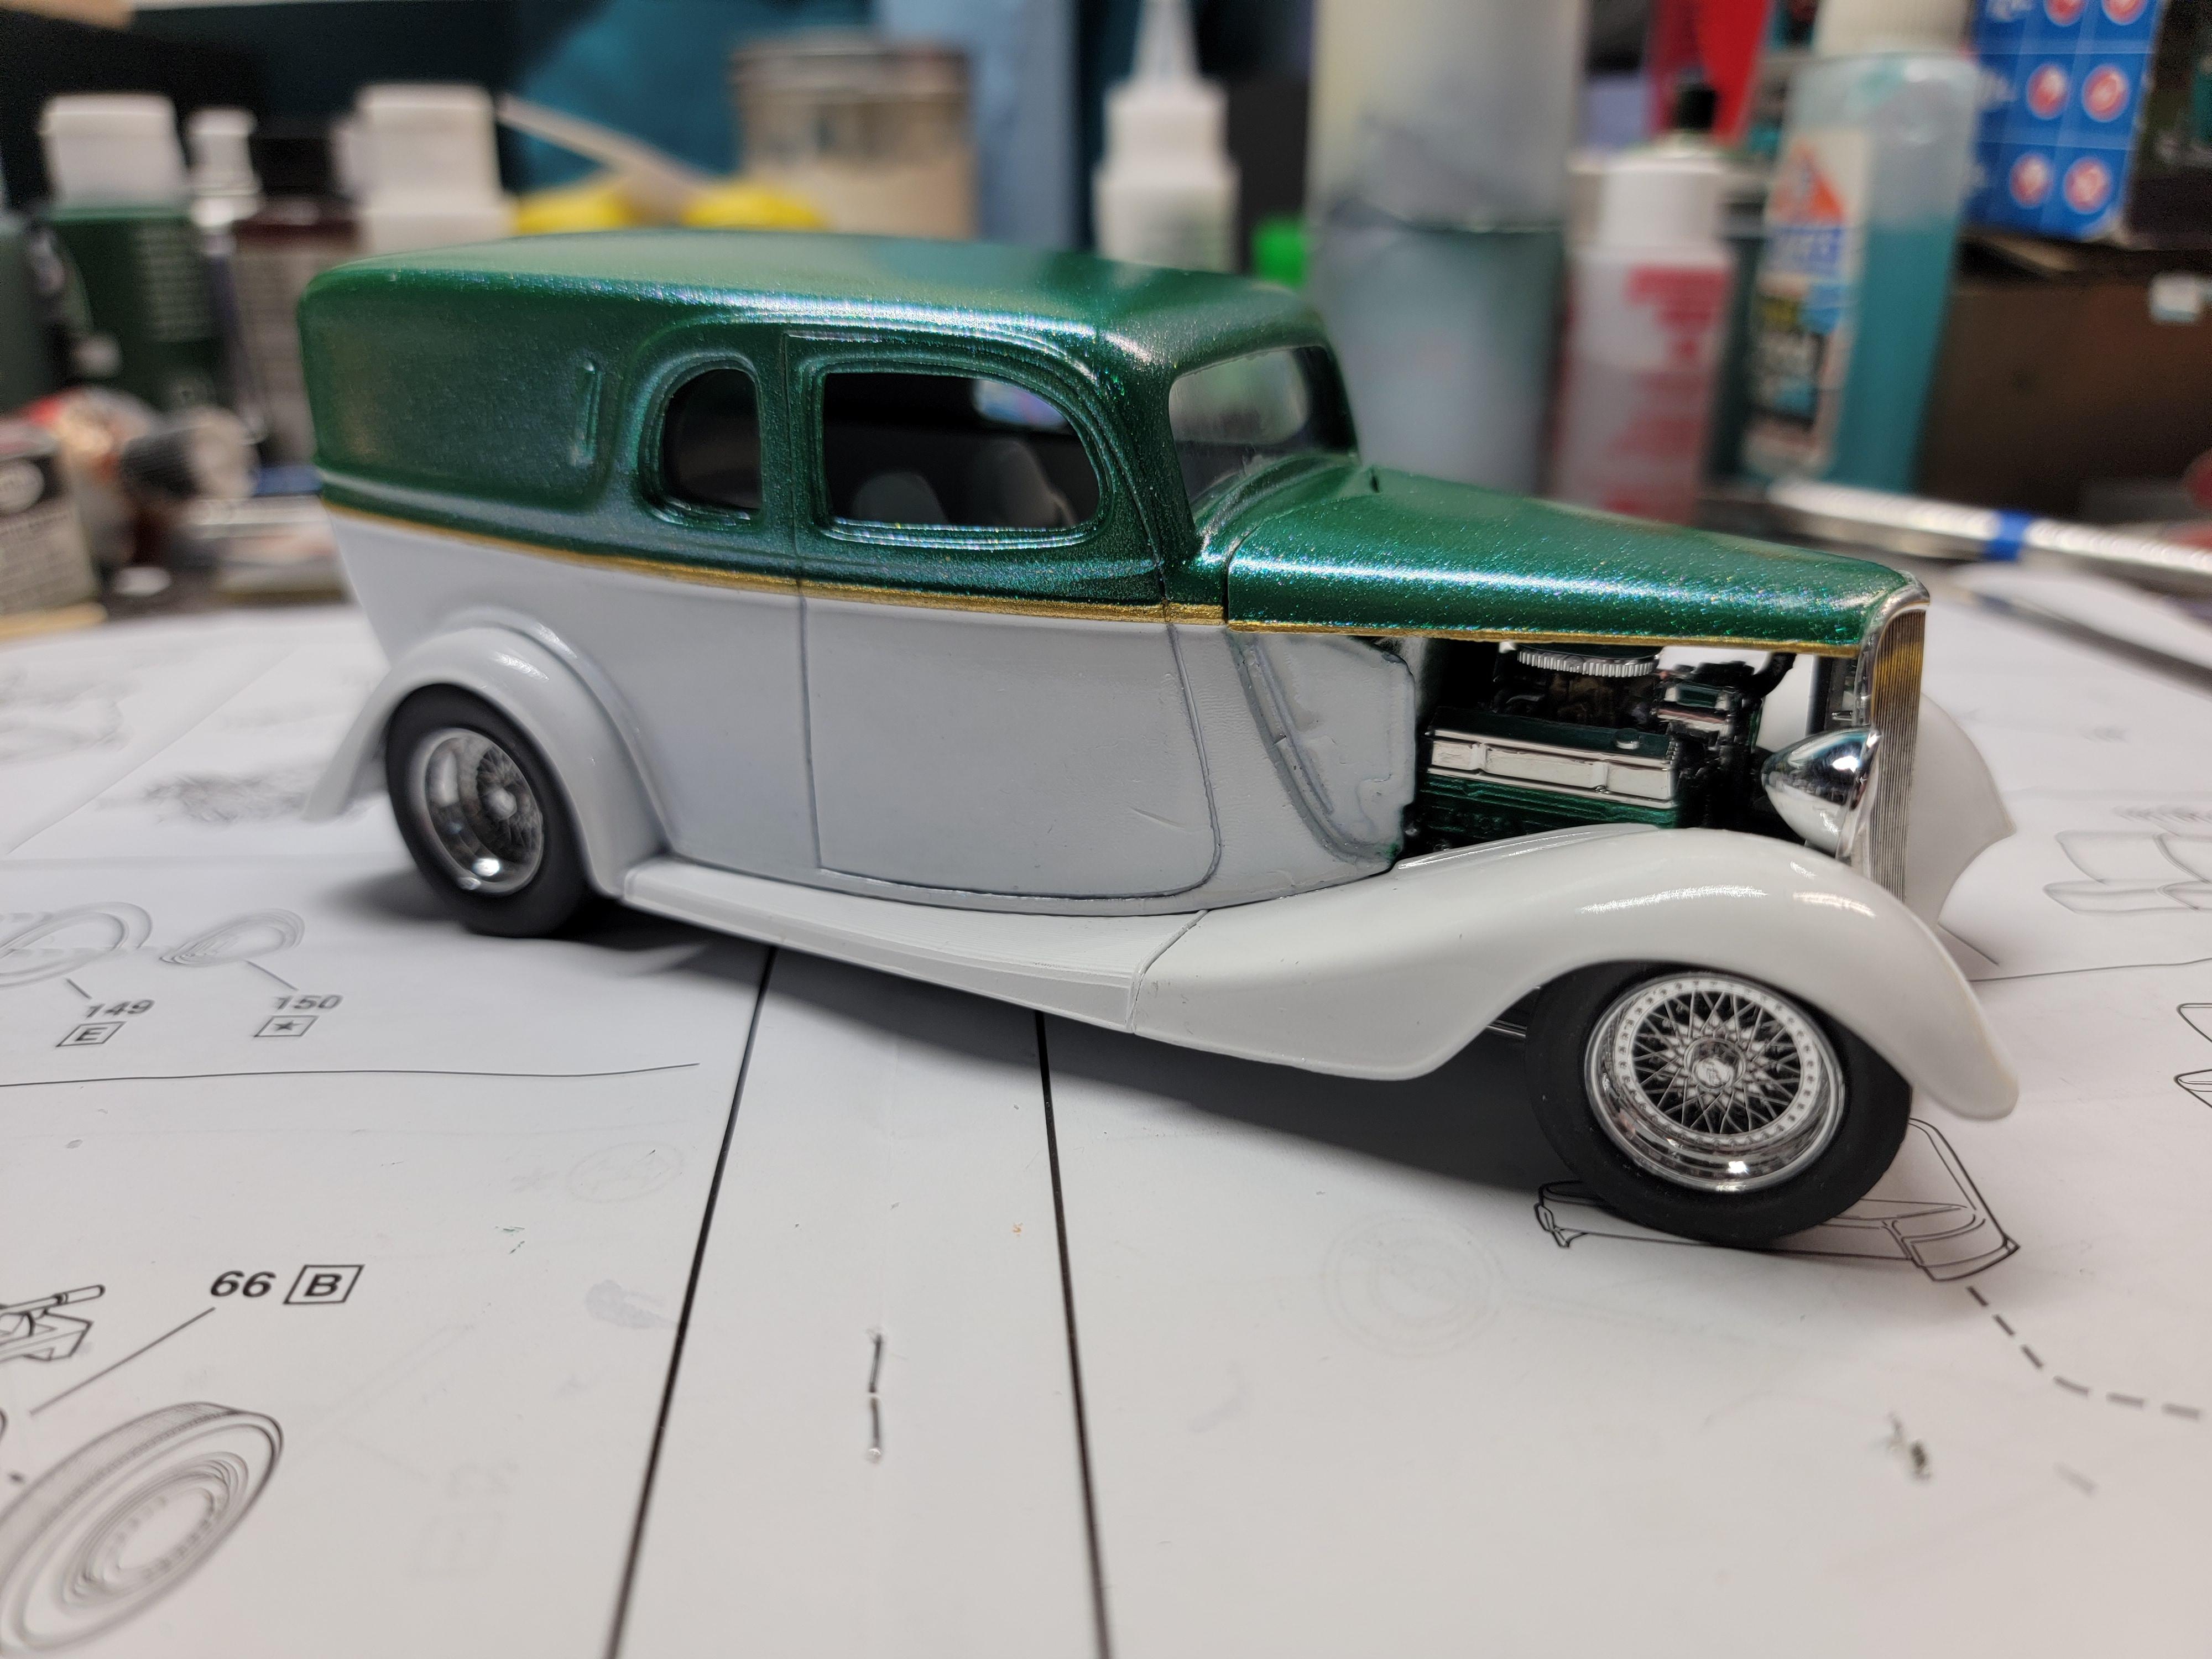
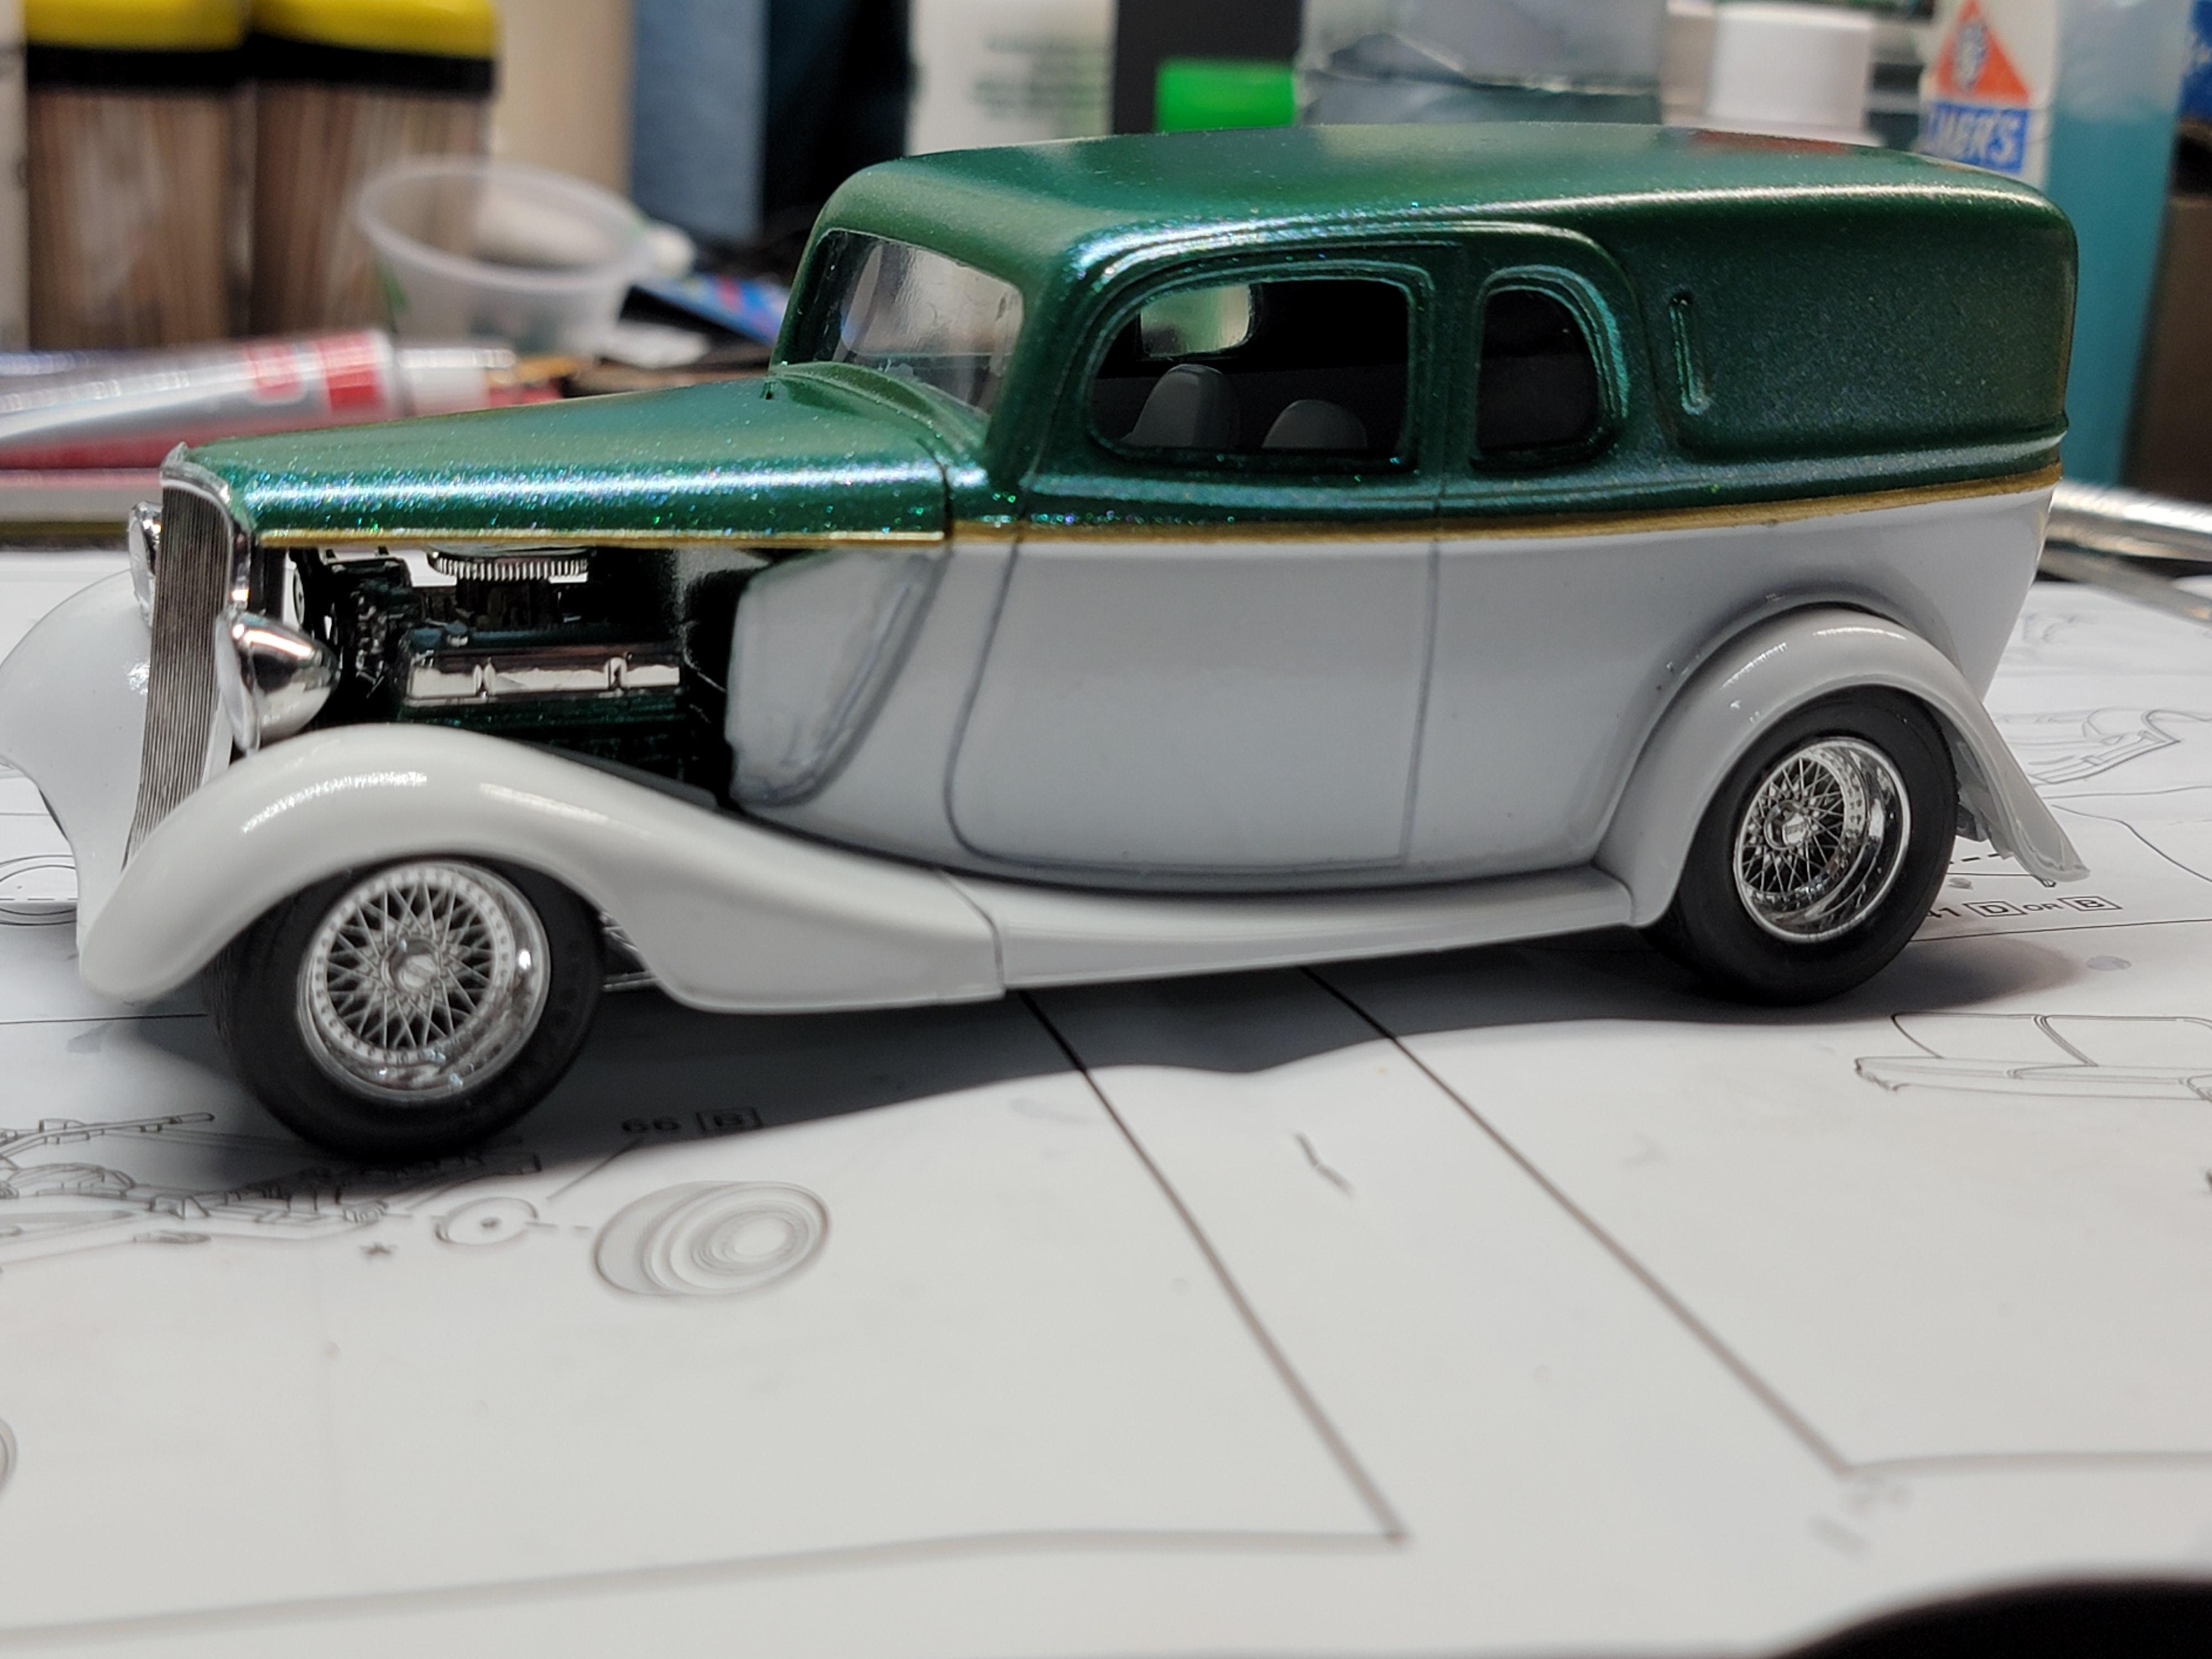
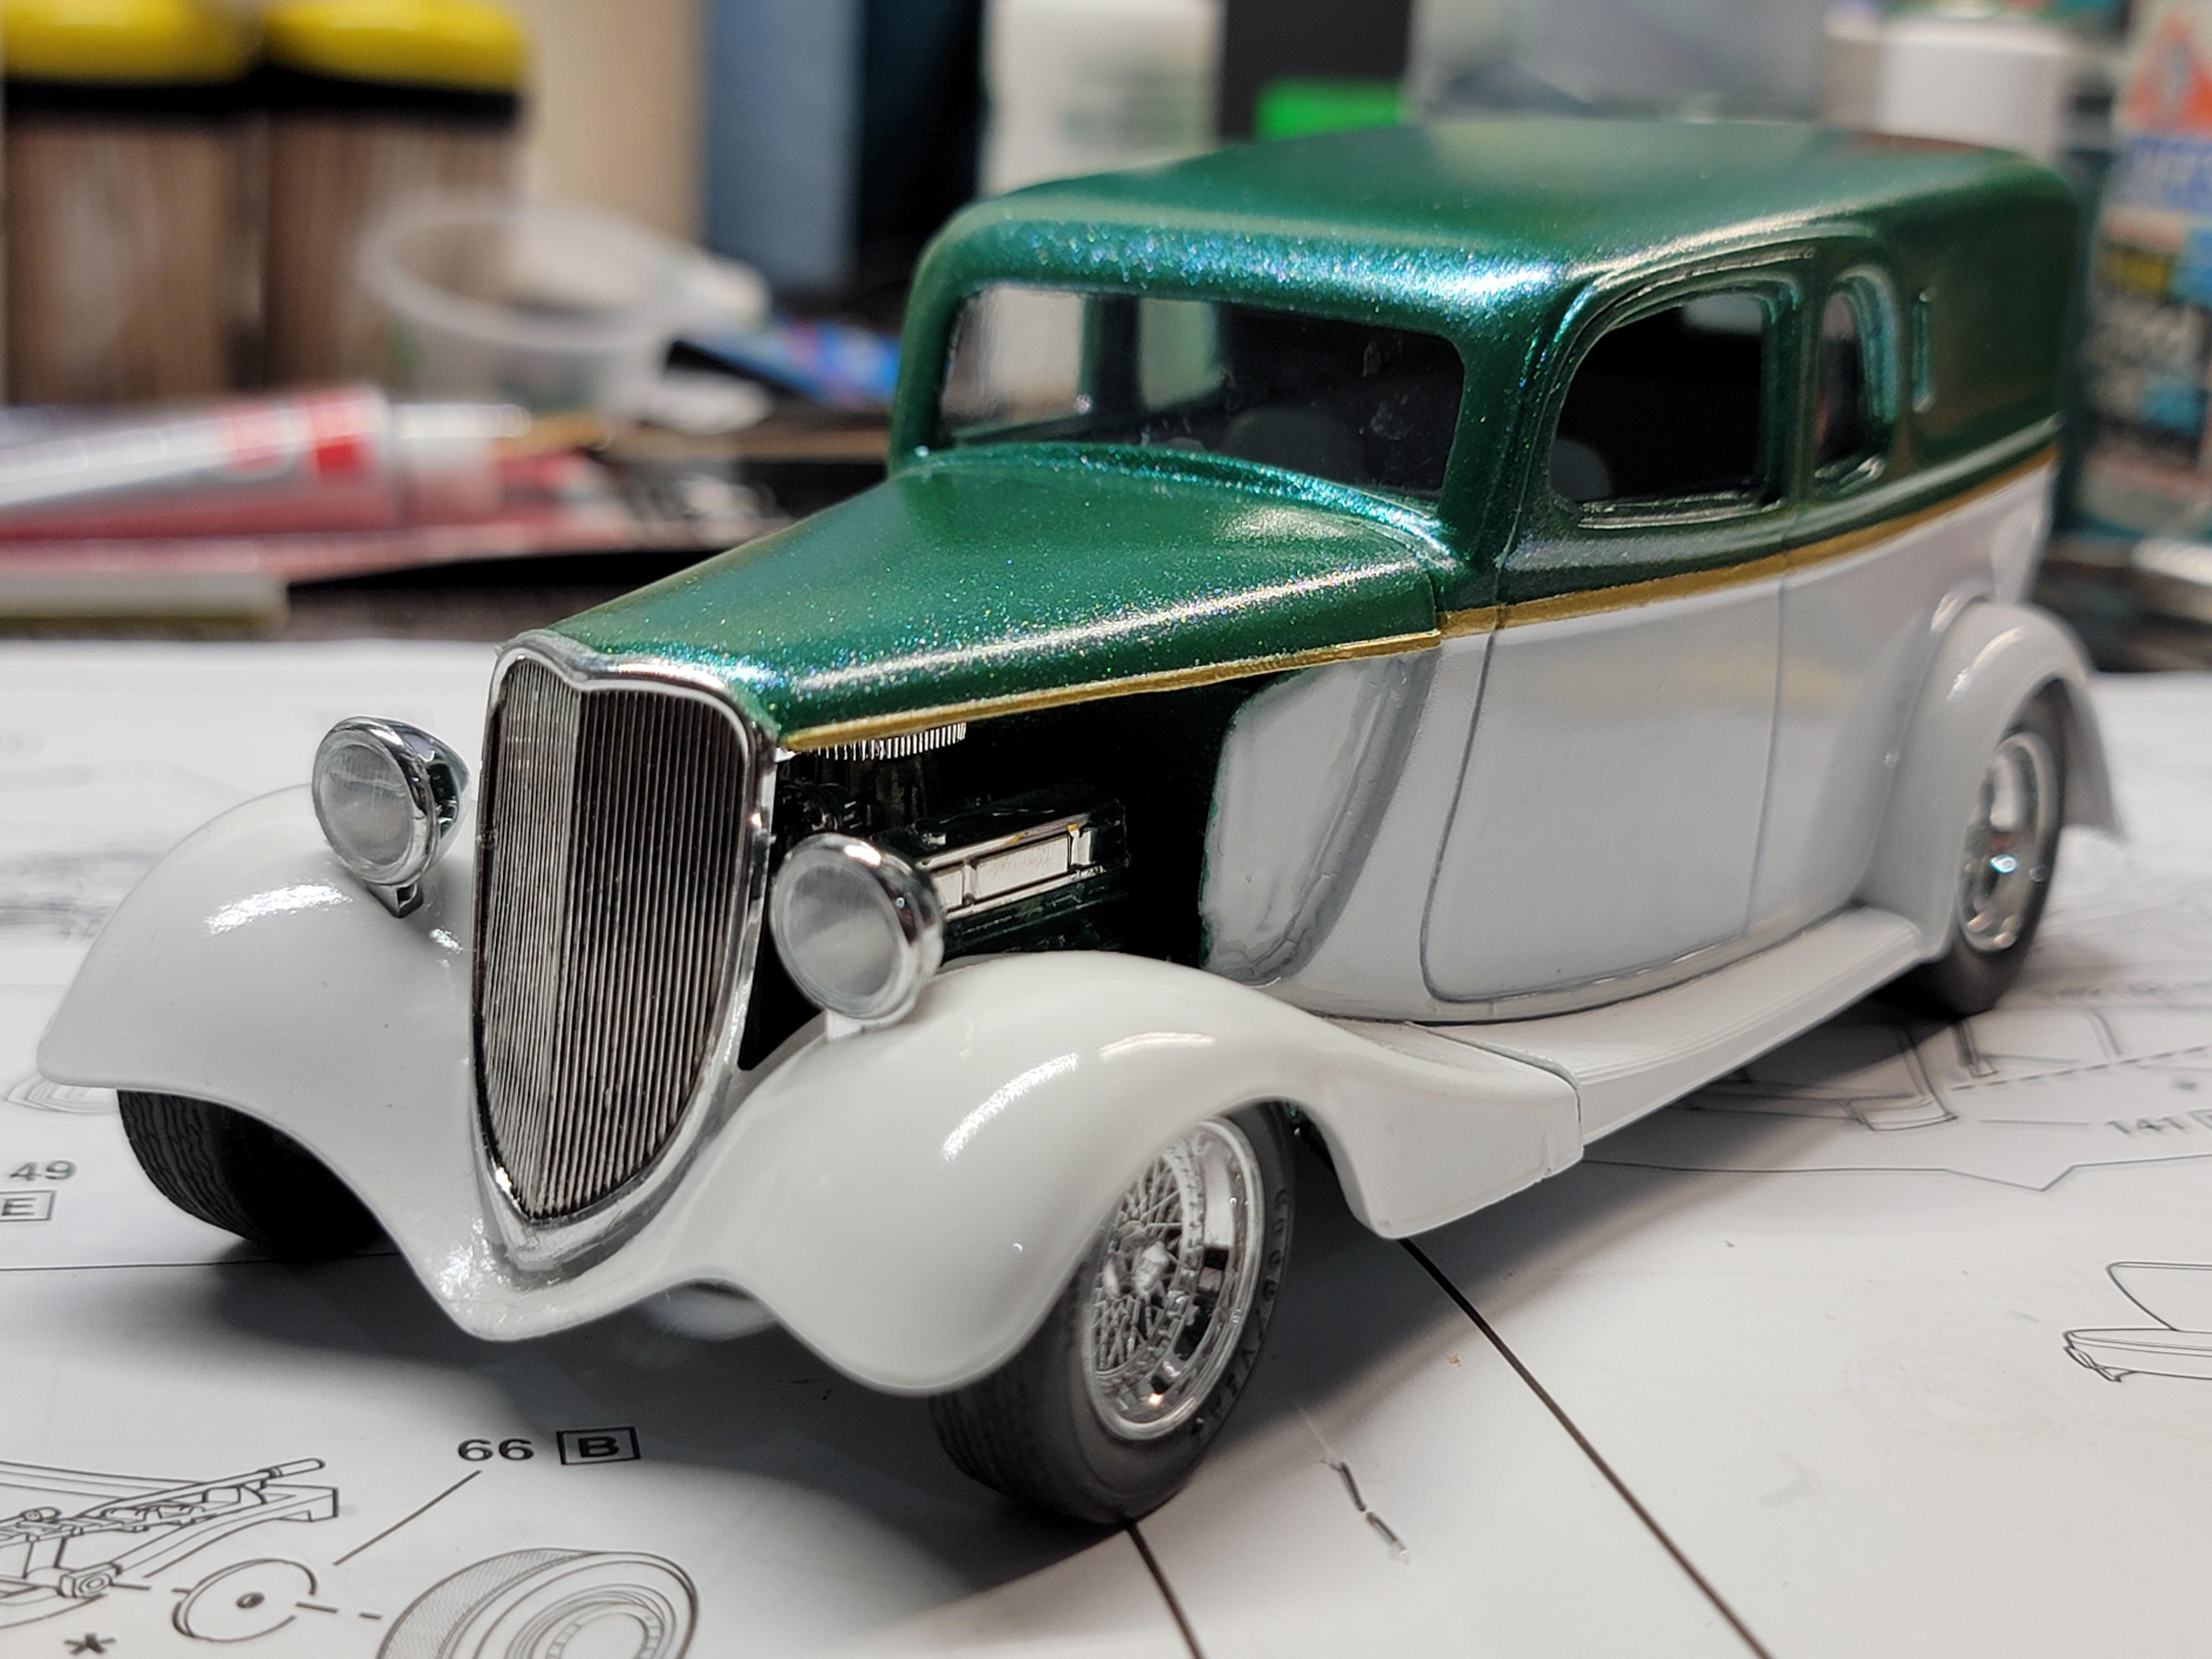
I had this Jimmy Flintstone body years ago. It was combined with the Thom Taylor 34 Cabriolet kit. In the end the body fit the fender unit like garbage, but that may be because I put it in my dehydrator. Since doing that I have found that Flintstone bodies don't do good in my dehydrator. I had a 53 Ford wagon that slightly warped and now I realize that the 34 Ford may have done the same. Anywho, with the help of lots of superglue and activator, it turned out to be a decent shelf model and I'm glad to have it finished. Later-
-
I finished this thing up a couple weeks ago. This did not turn out as well as I wanted. The body did not fit well with the kit fenders but I got it crammed together with lots of super glue and activator. At least it will look good on my shelf. I call it "Shades of the 90's" since it looks like something you would have seen in Street Rodder magazine back then. Later-
-
Yeah, I want that! I got your PM. Later-
-
So, nobody has anything like this? Later-
-
Anybody? Anything? Later-
-
No it wont. It's a different design. Thanks though. Later-
-
I need a hood for a 60 Invicta or a damaged body that I can cut the hood from. Anybody got such an animal? Later-
-
PM sent Later-
-
Sorry. I haven't been available for a while in order to respond. Thanks! I found what I need. Later-
-
AMT would be best since it's 1/25. Going on a scratchbuilt project. Bed and rear fenders (since they are seperate) Later-


