Brizio
-
Posts
3,921 -
Joined
-
Last visited
Recent Profile Visitors
18,590 profile views


Brizio's Achievements
MCM Ohana (6/6)
-
 Ford Focus is a great car I drove some RS version in Europe . I will not call it American, since was born and launced first in Europe. In US the car ended production in 2018, the one ended now is the production in Germany. The European version was more fun, since they offered manual transmission.
 -
Nissan S110 Turbo Silhouette
Brizio replied to Brizio's topic in WIP: Other Racing: Road Racing, Land Speed Racers
I hope so. So far is a pretty fun project. -
Nissan S110 Turbo Silhouette
Brizio replied to Brizio's topic in WIP: Other Racing: Road Racing, Land Speed Racers
Thank you Michael! -
Nissan S110 Turbo Silhouette
Brizio replied to Brizio's topic in WIP: Other Racing: Road Racing, Land Speed Racers
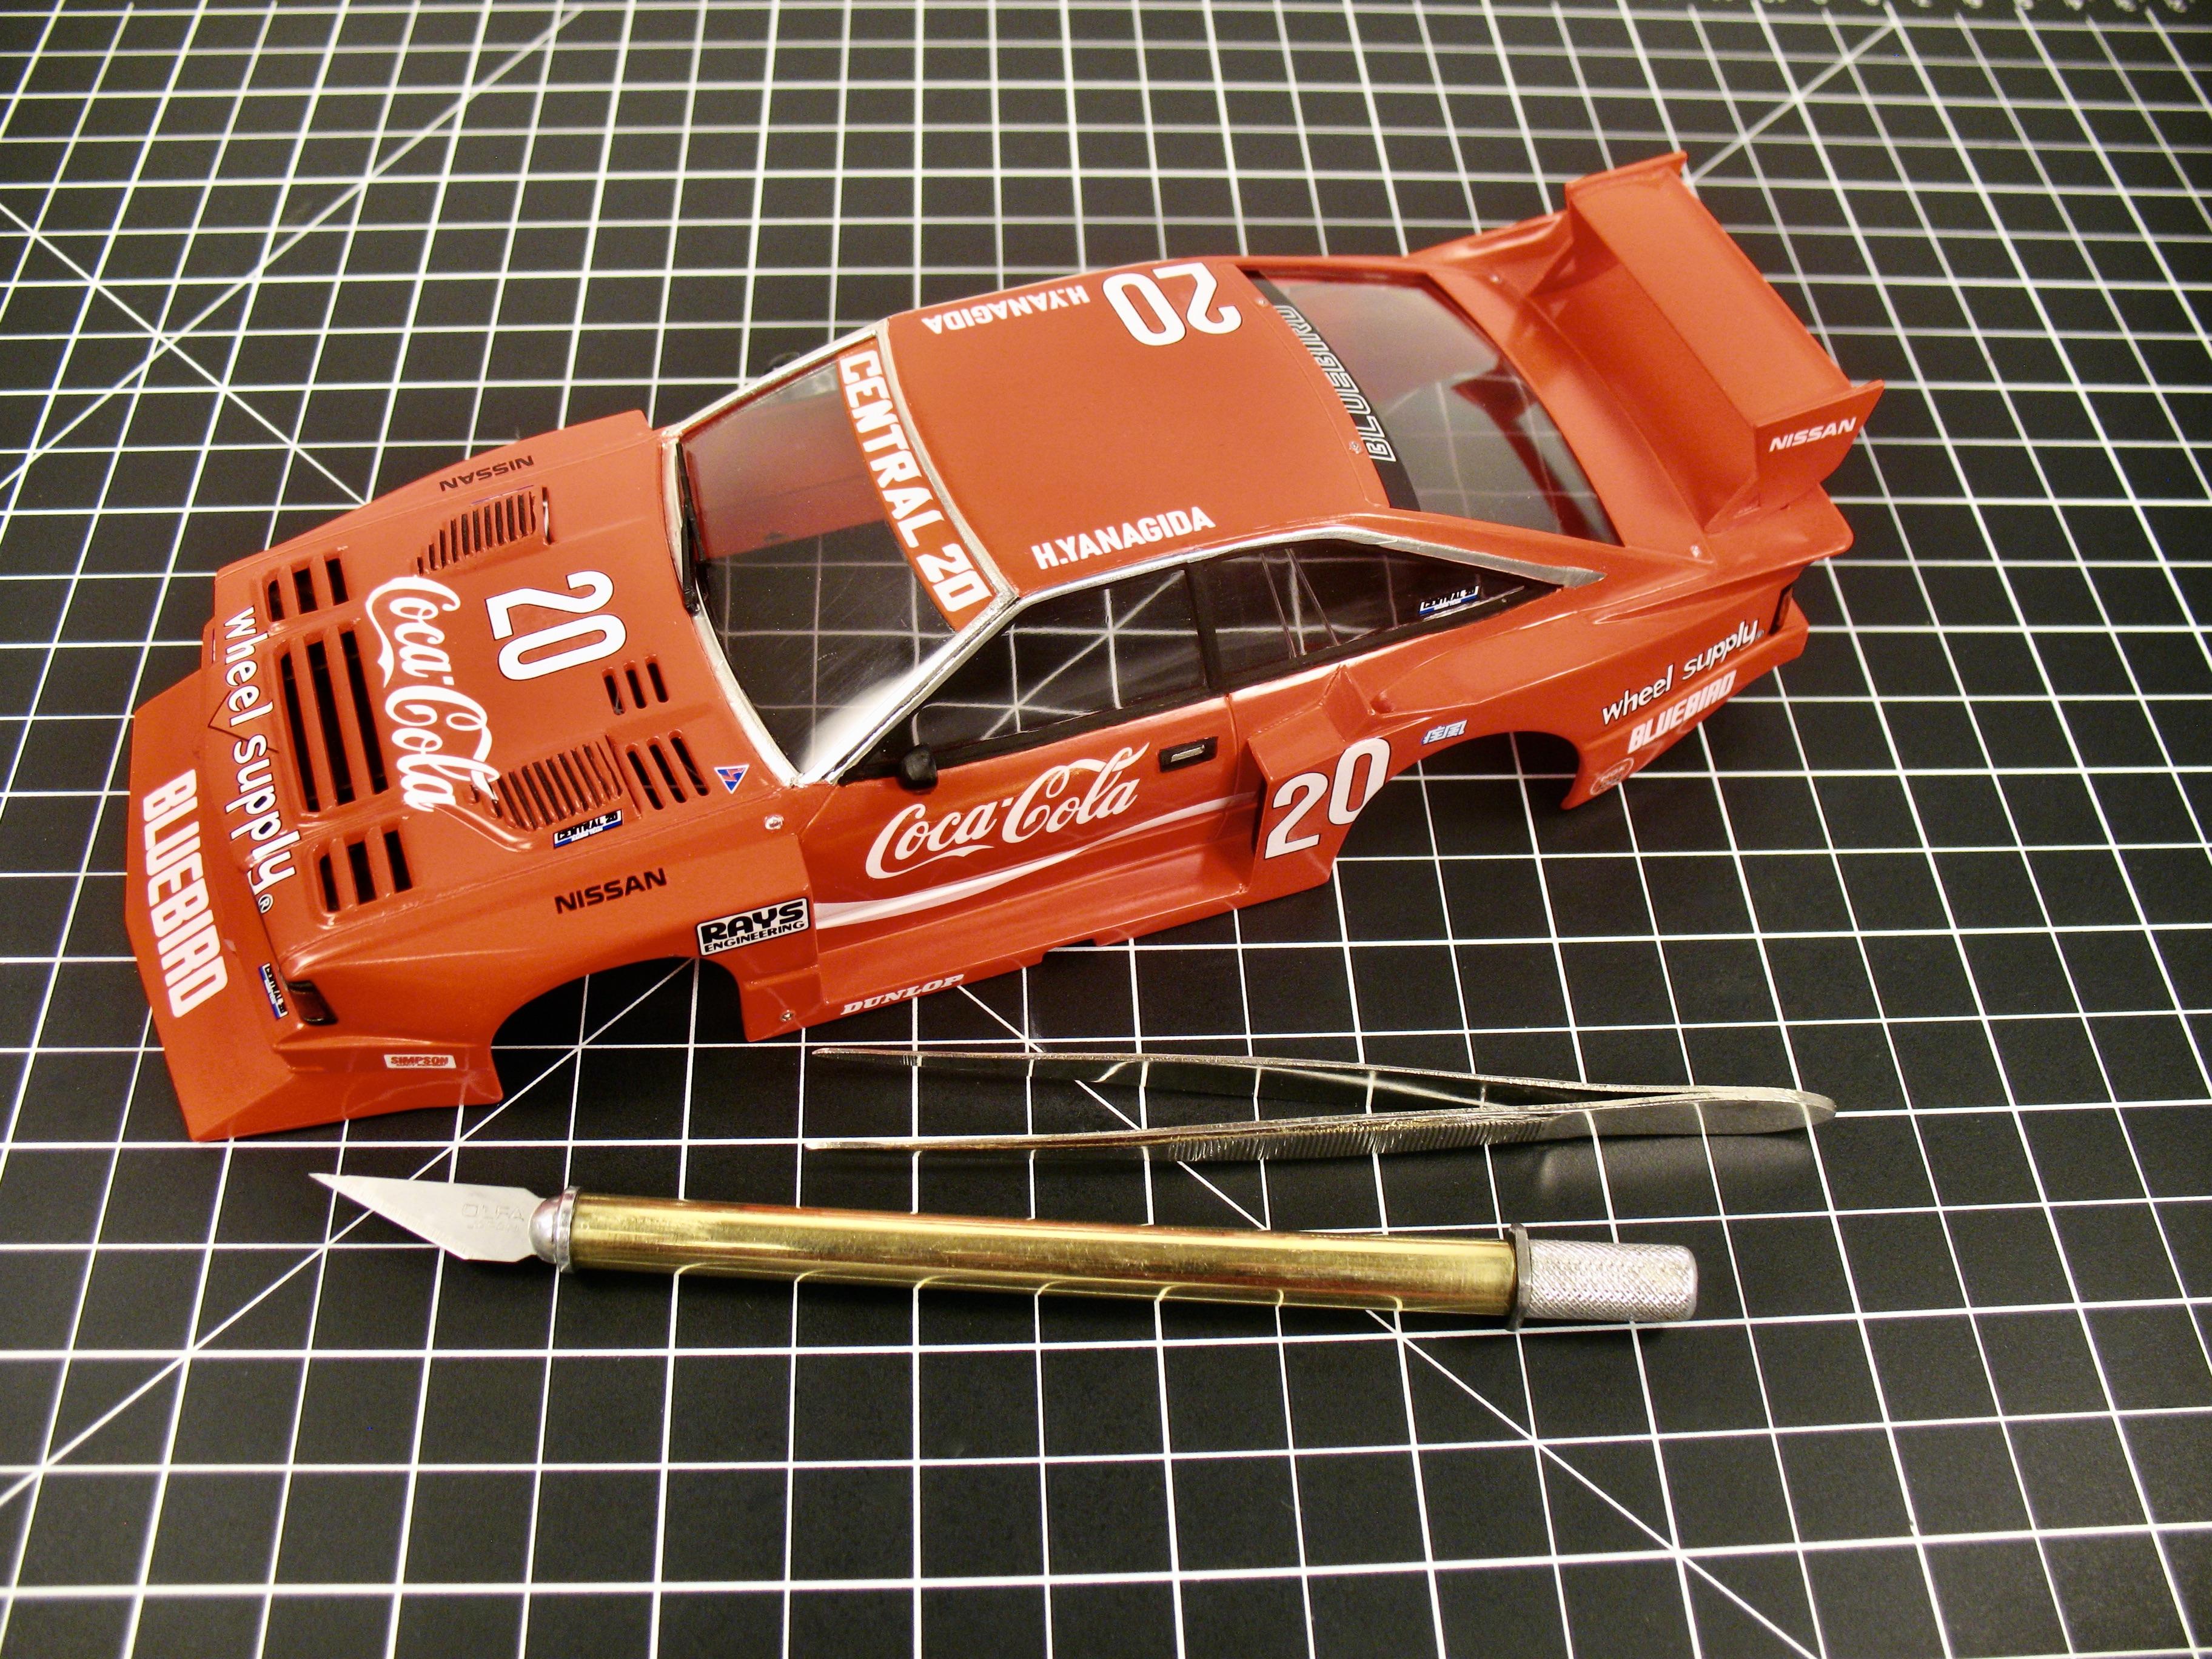
Update on teh Turbo Silhouette, added the Coca Cola decals. They were not used on this particular car, but I like it more than the black/grey livery.
-
Nissan S110 Turbo Silhouette
Brizio replied to Brizio's topic in WIP: Other Racing: Road Racing, Land Speed Racers
I like the Group 5, even though they short lived. But a great time for the motorsport. Thanks Anton Thank you David! Almost getting the car completed. -
I always loved the body linees of this car. And see one stock is a plus. congrats!
-
Nissan S110 Turbo Silhouette
Brizio replied to Brizio's topic in WIP: Other Racing: Road Racing, Land Speed Racers
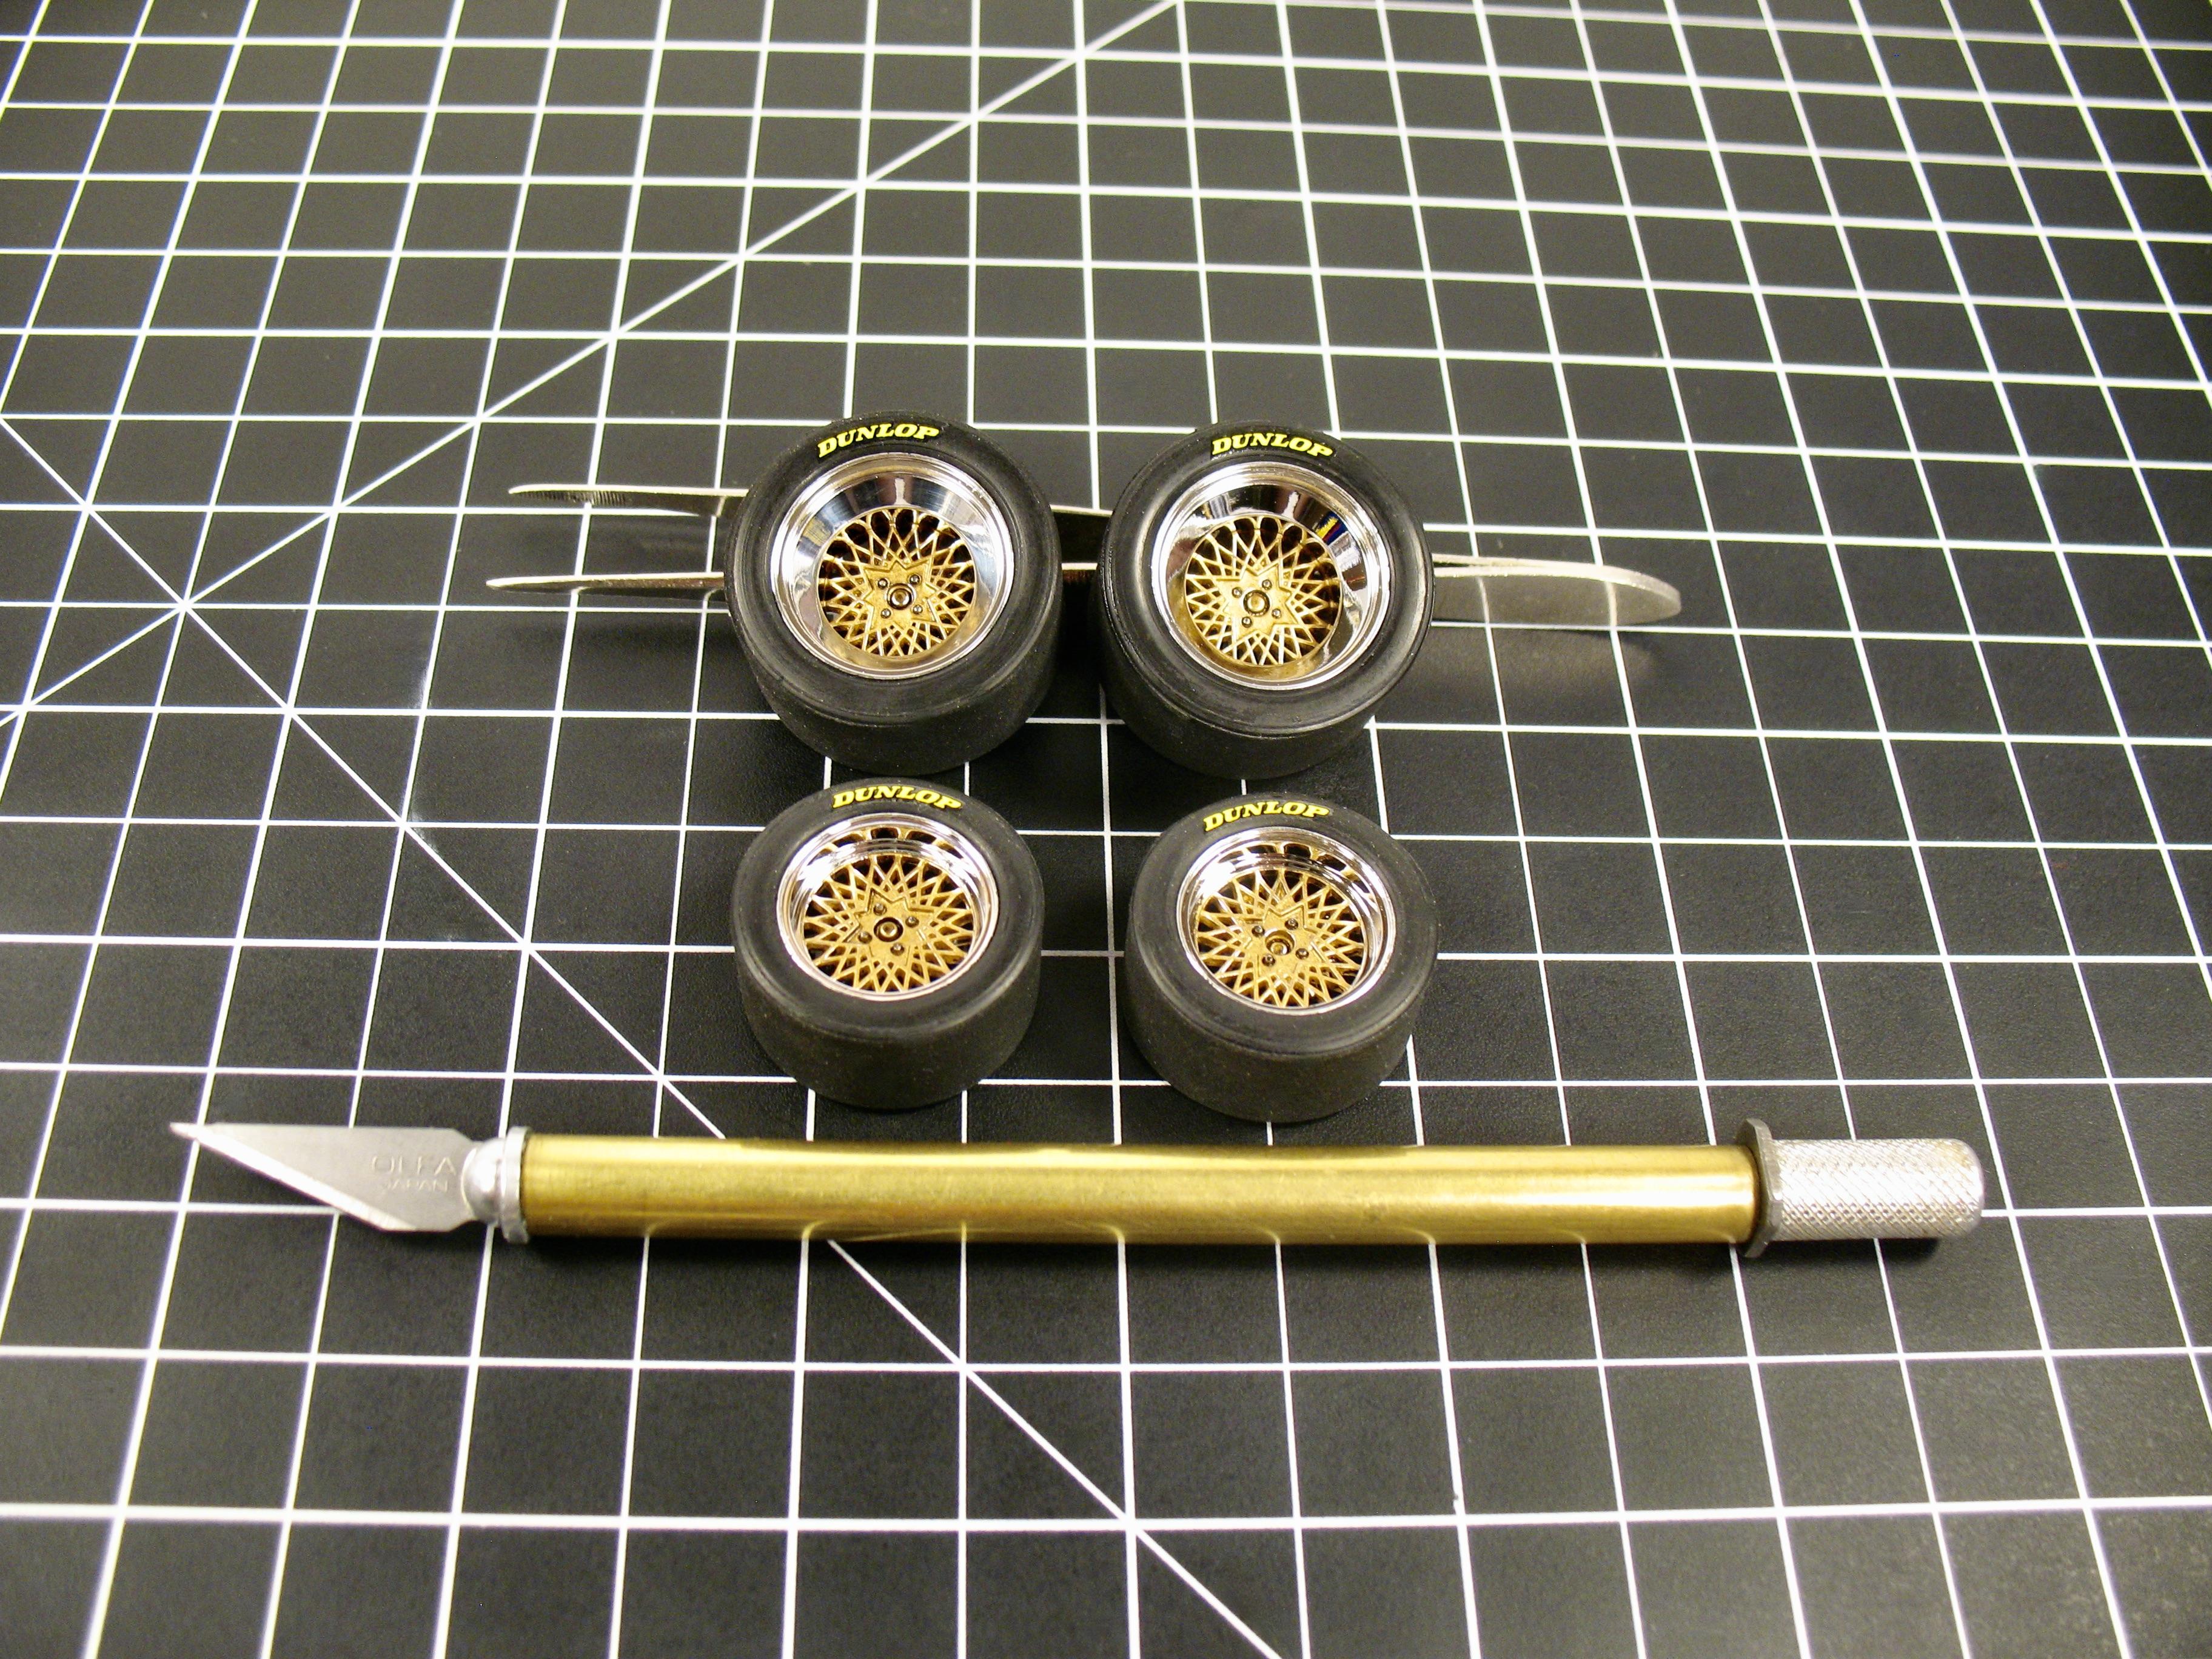
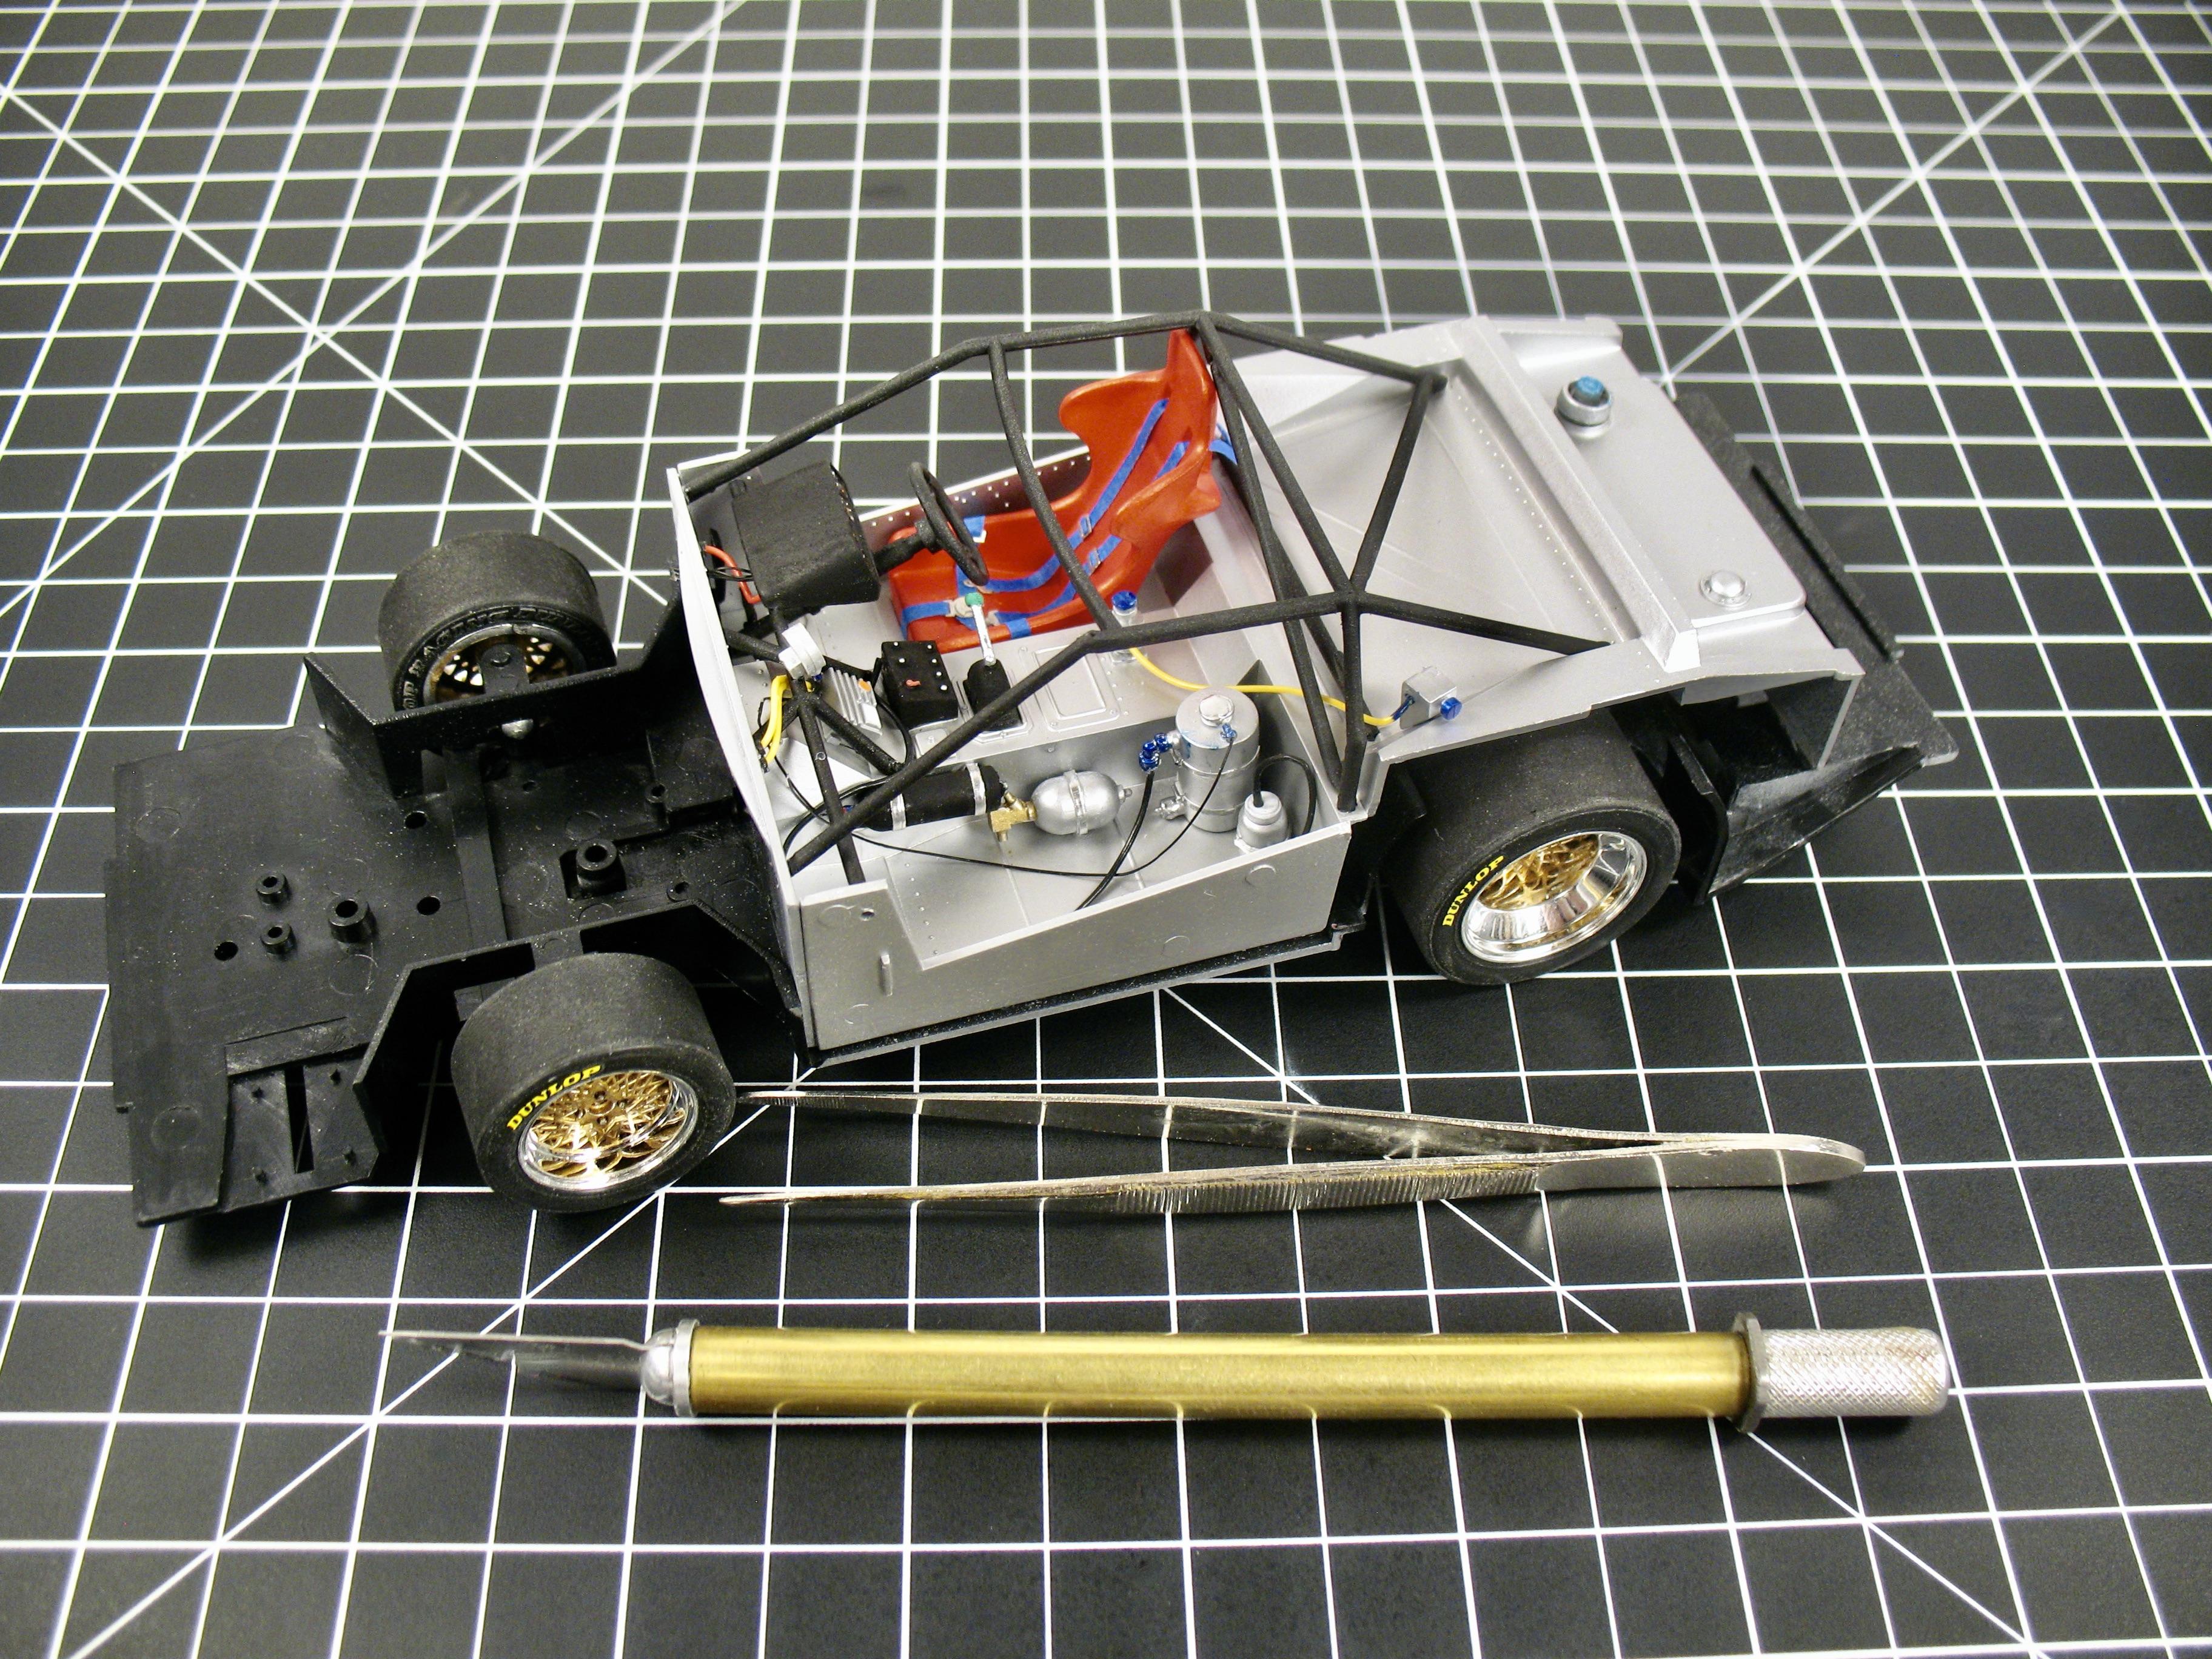
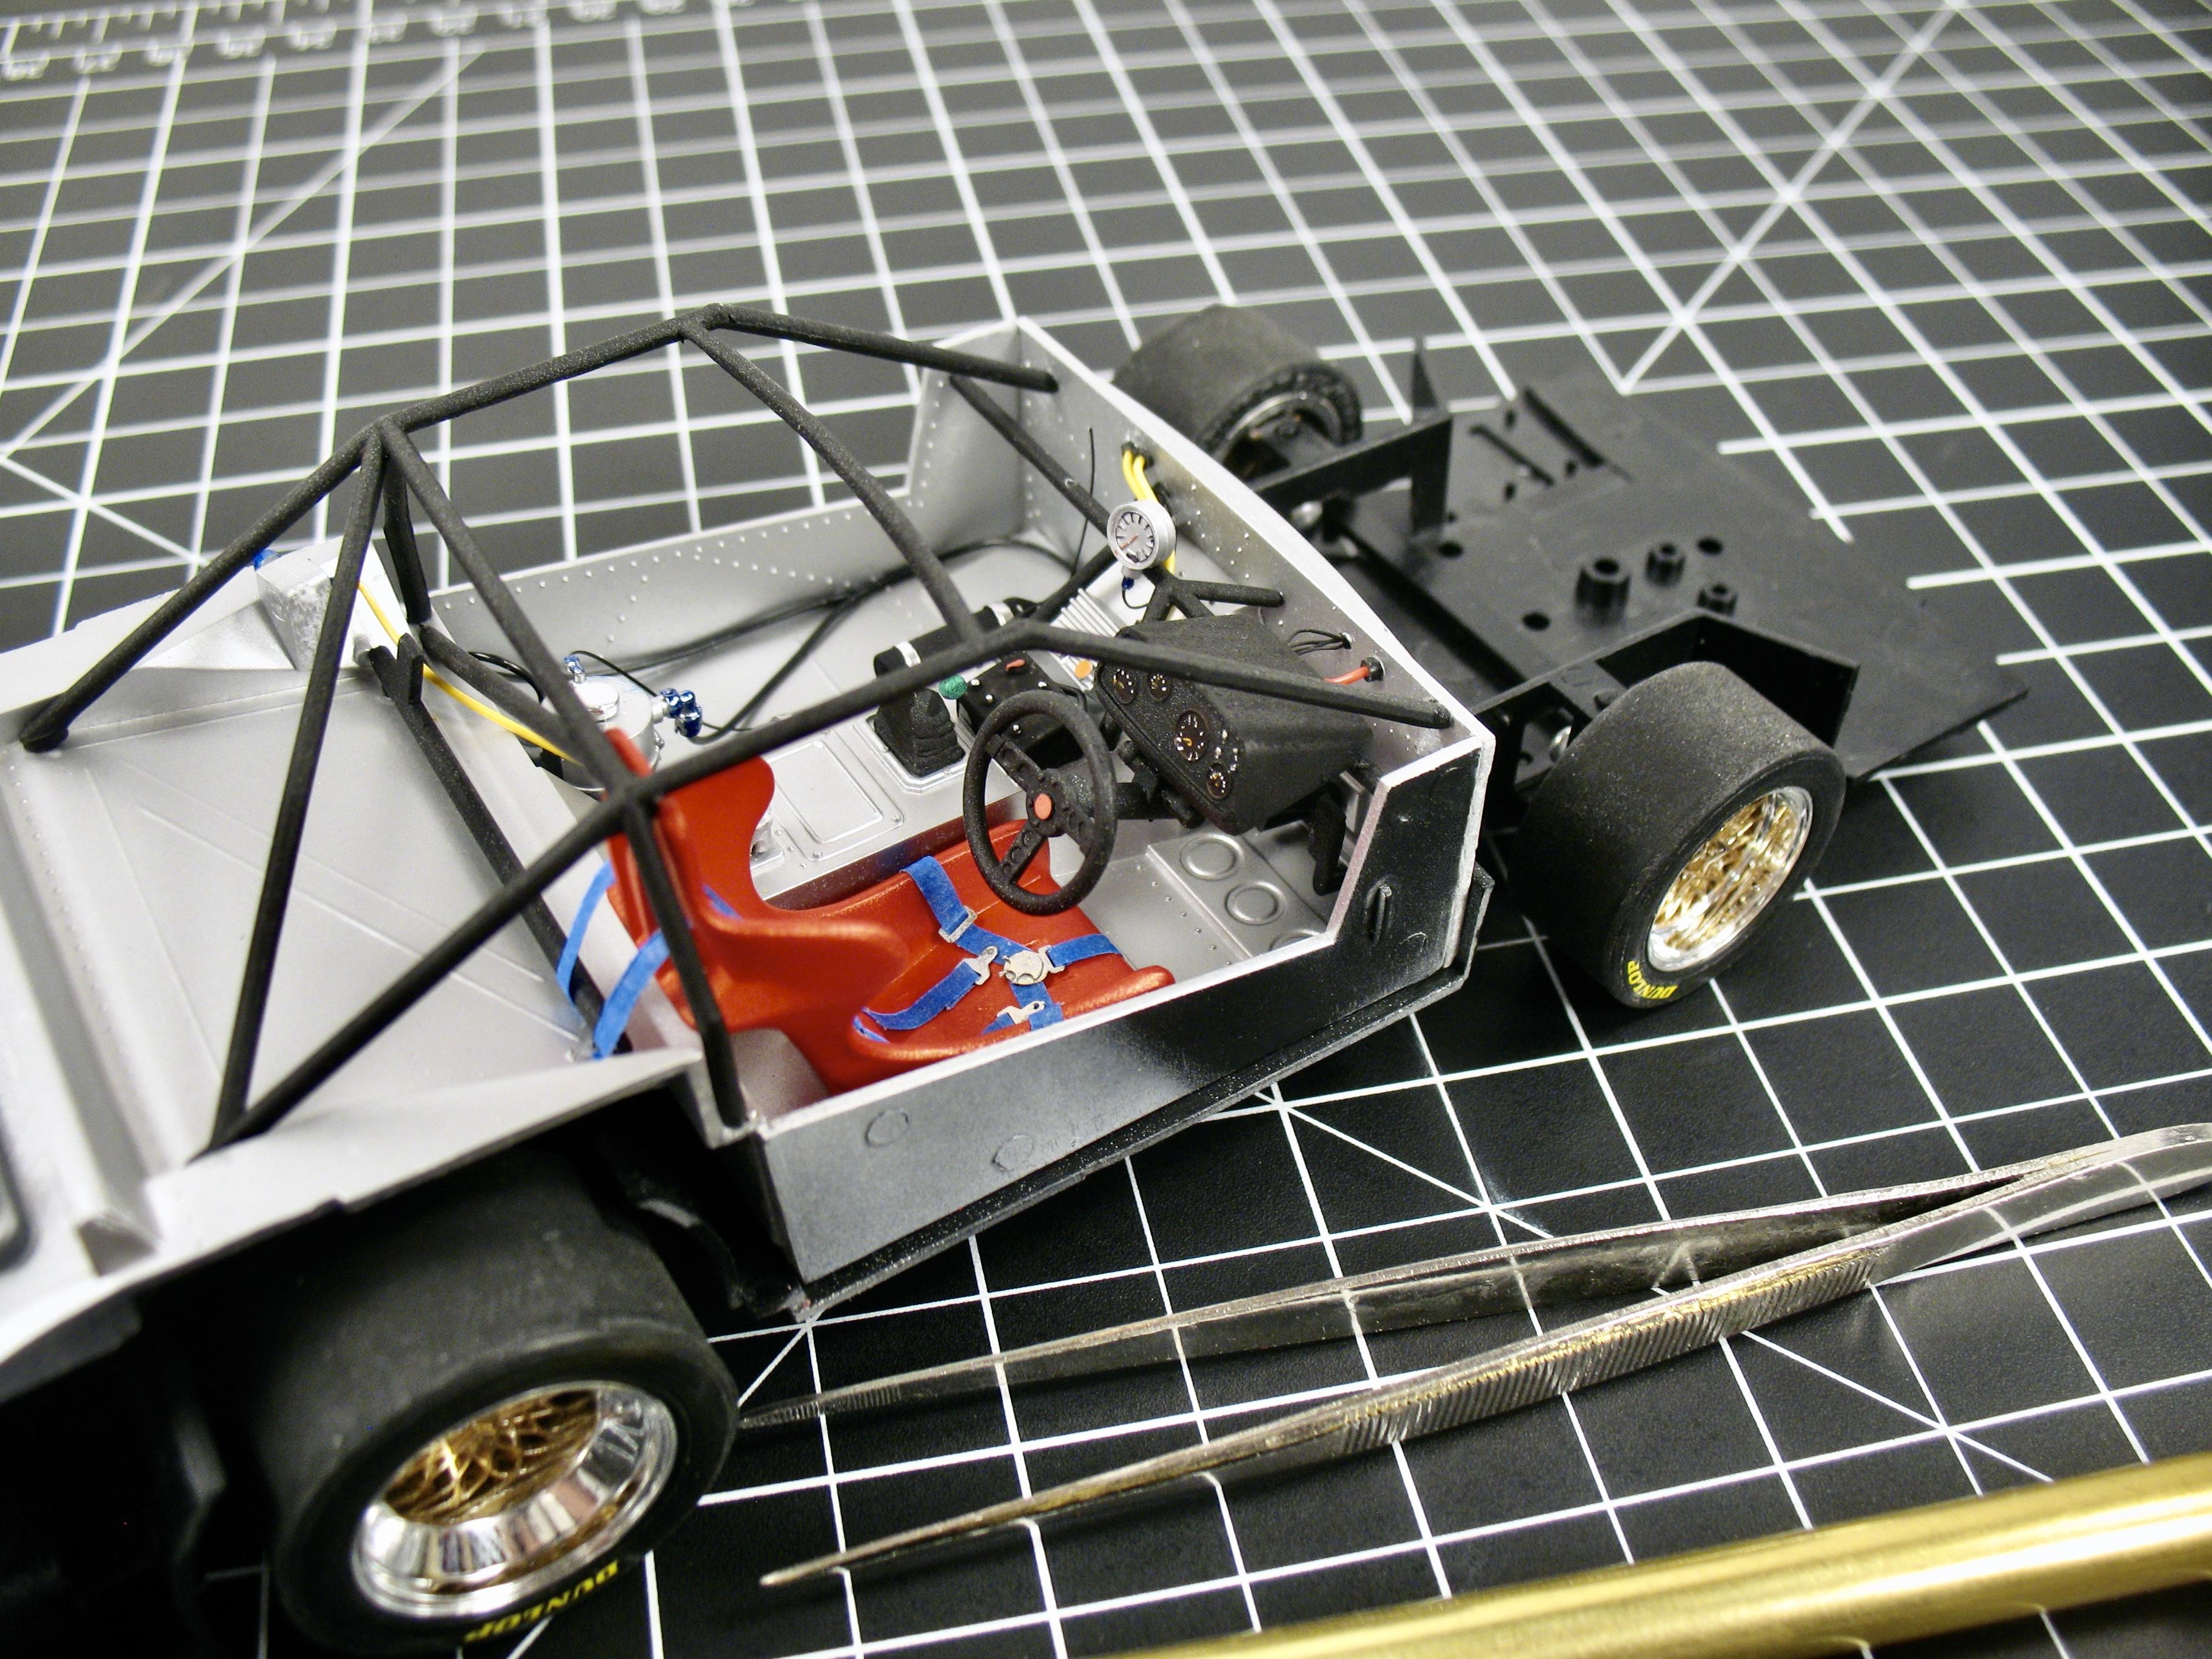
The last thing I did is working on the tires and interior. Painted gold the rims, and mounted the tires. Added Dunlop decals on the tires too. The kit does not provide decals, unfortunately. The interior, I add hoses, cables, decals for the dash etc.
-
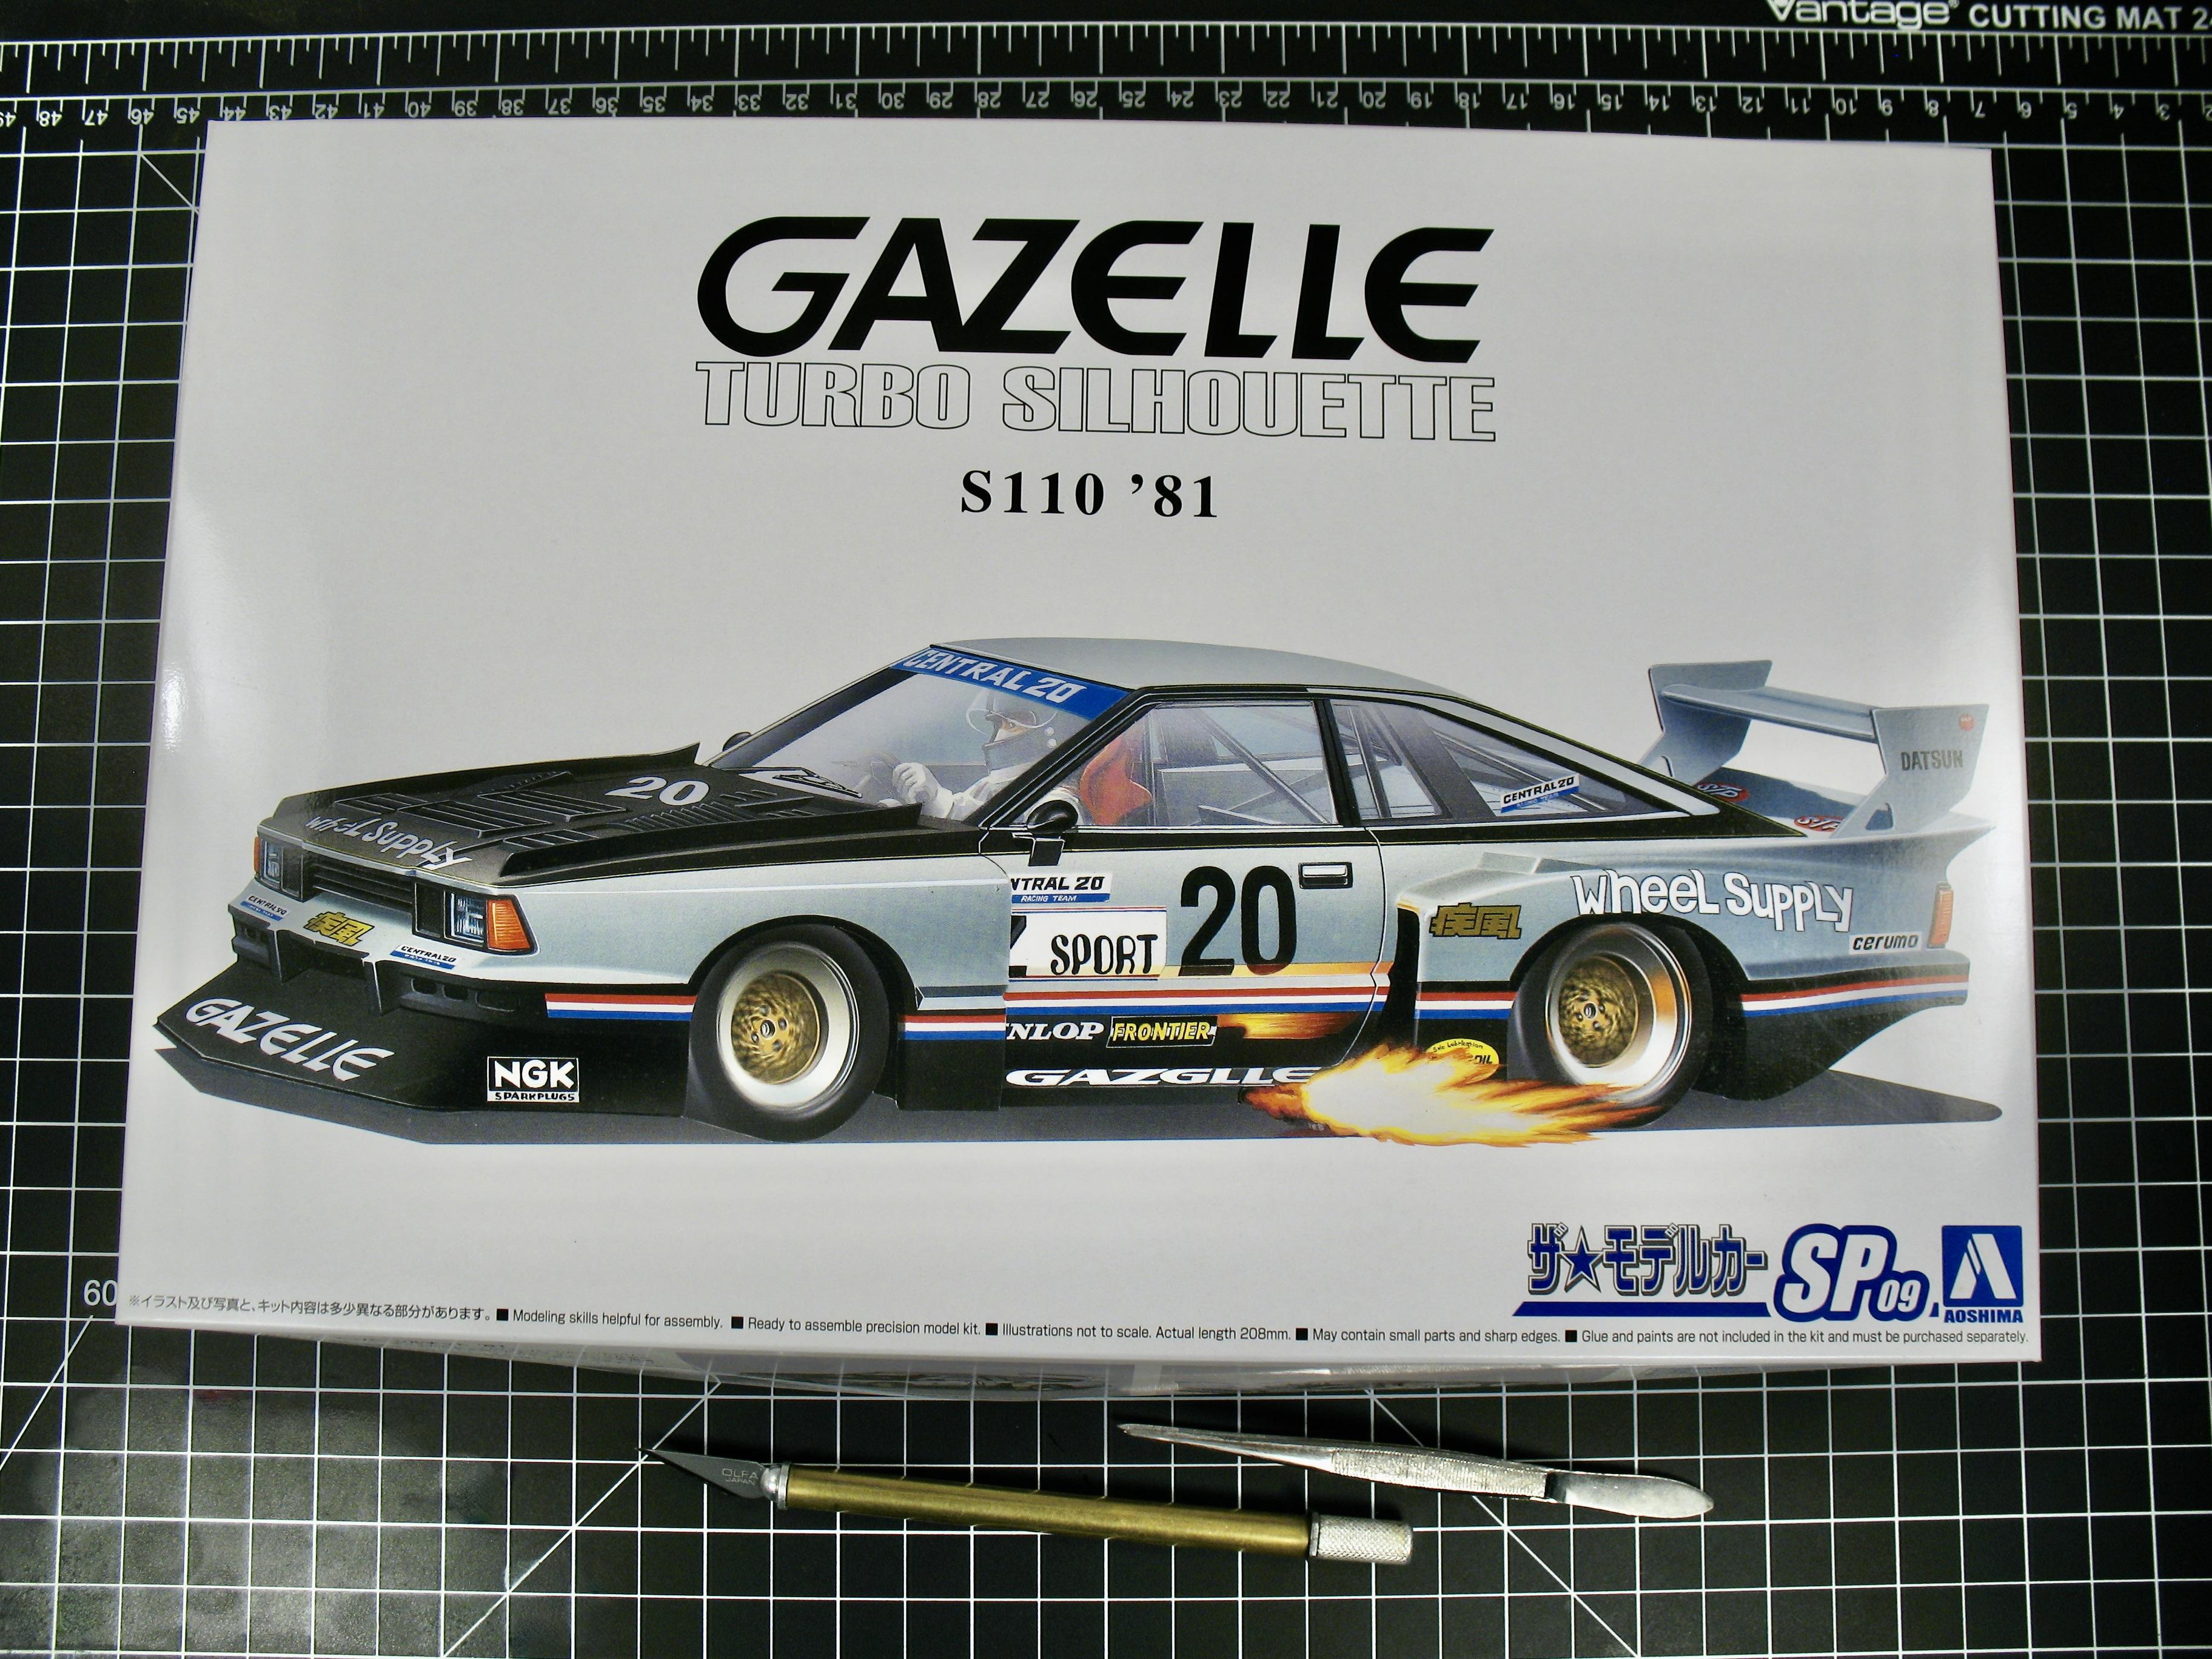
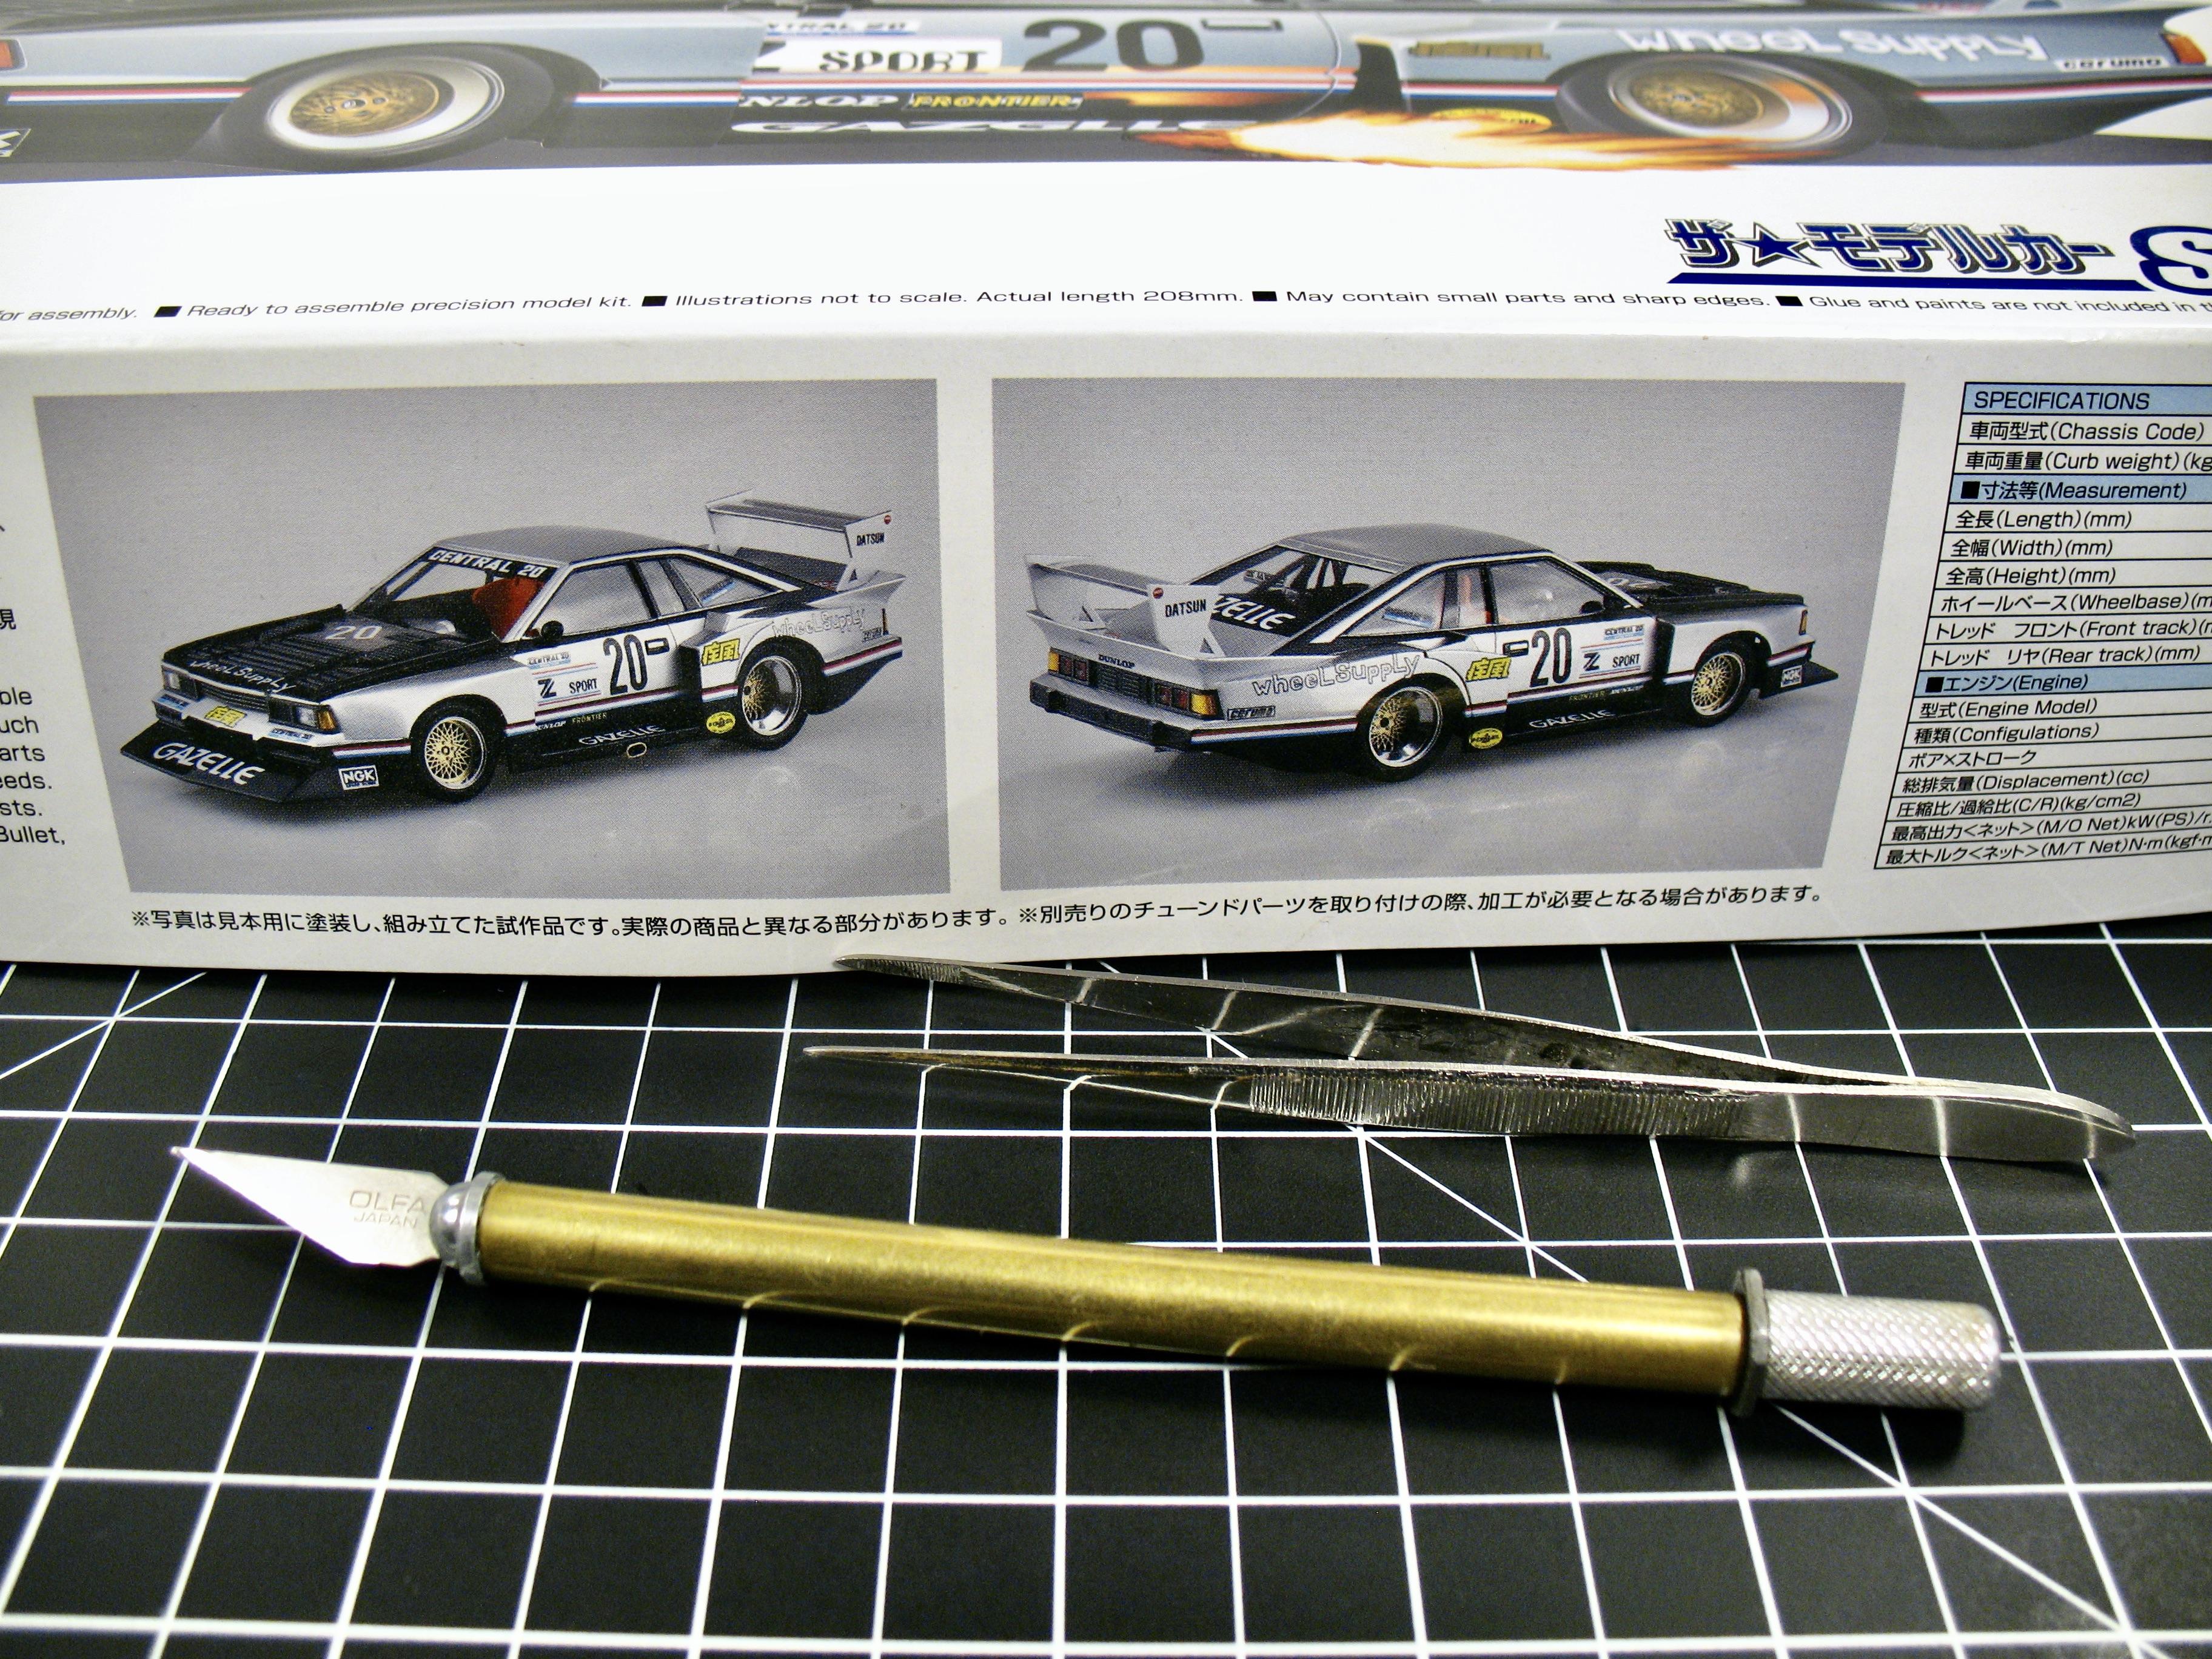
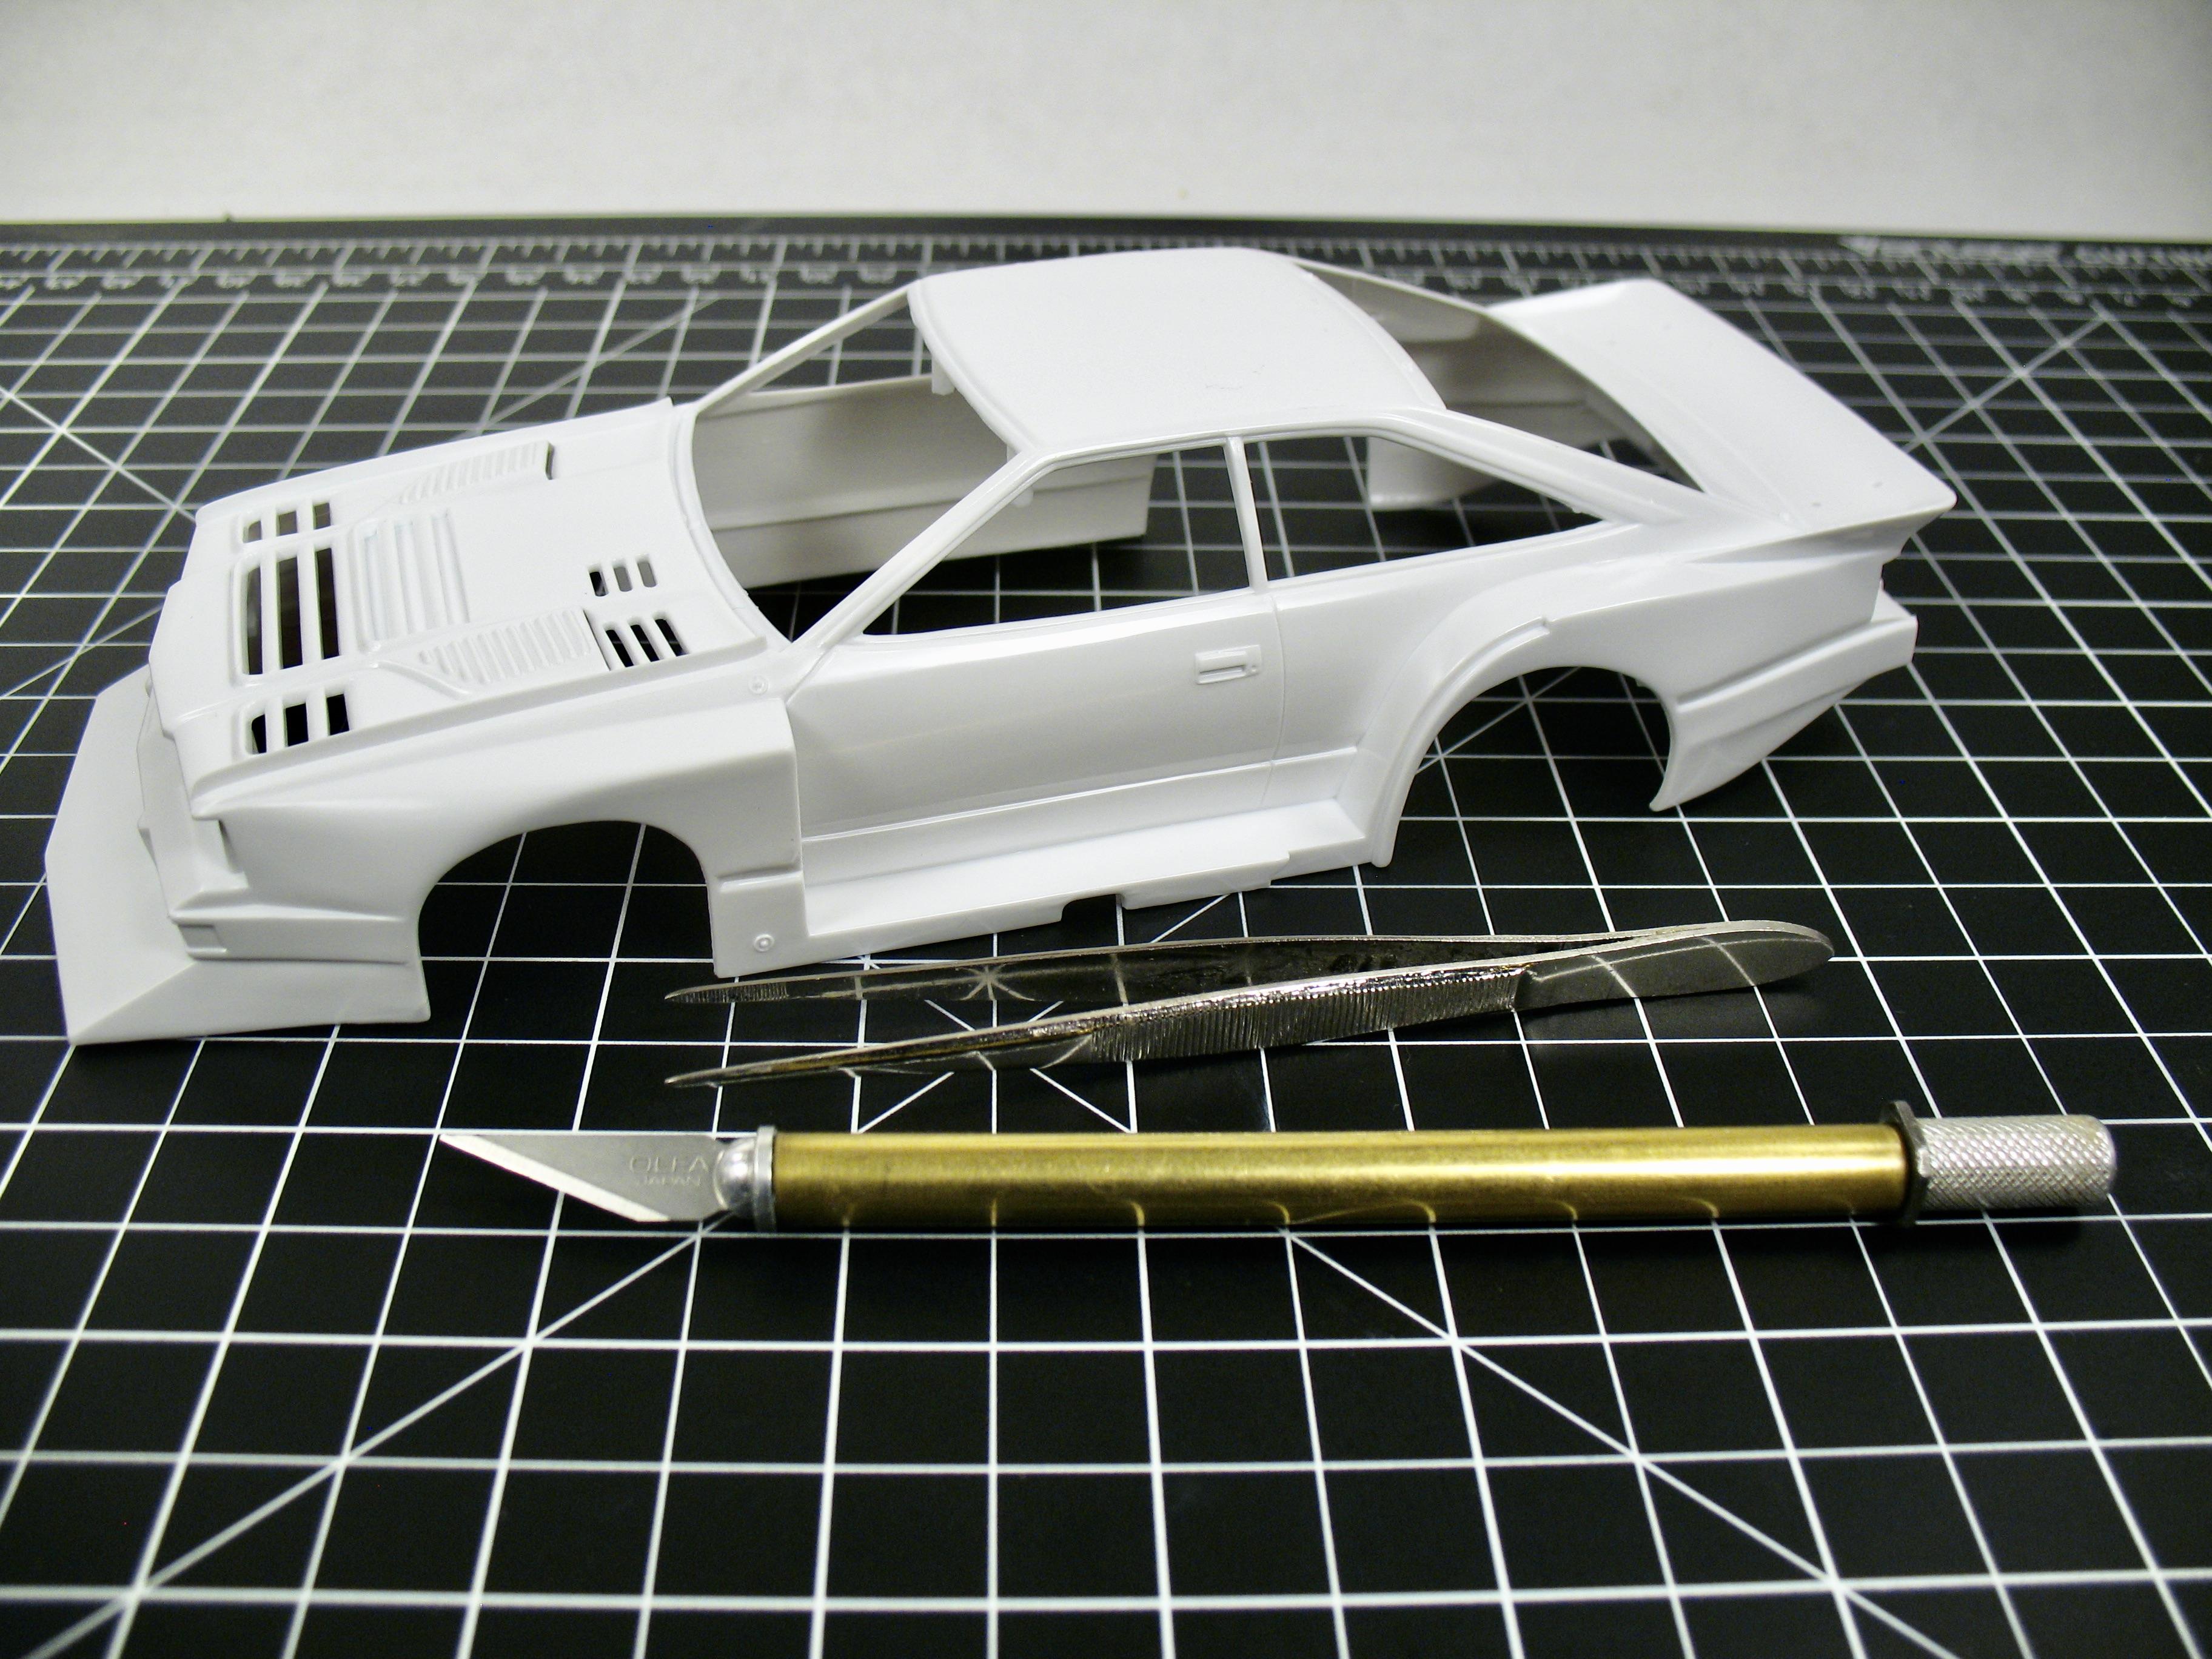
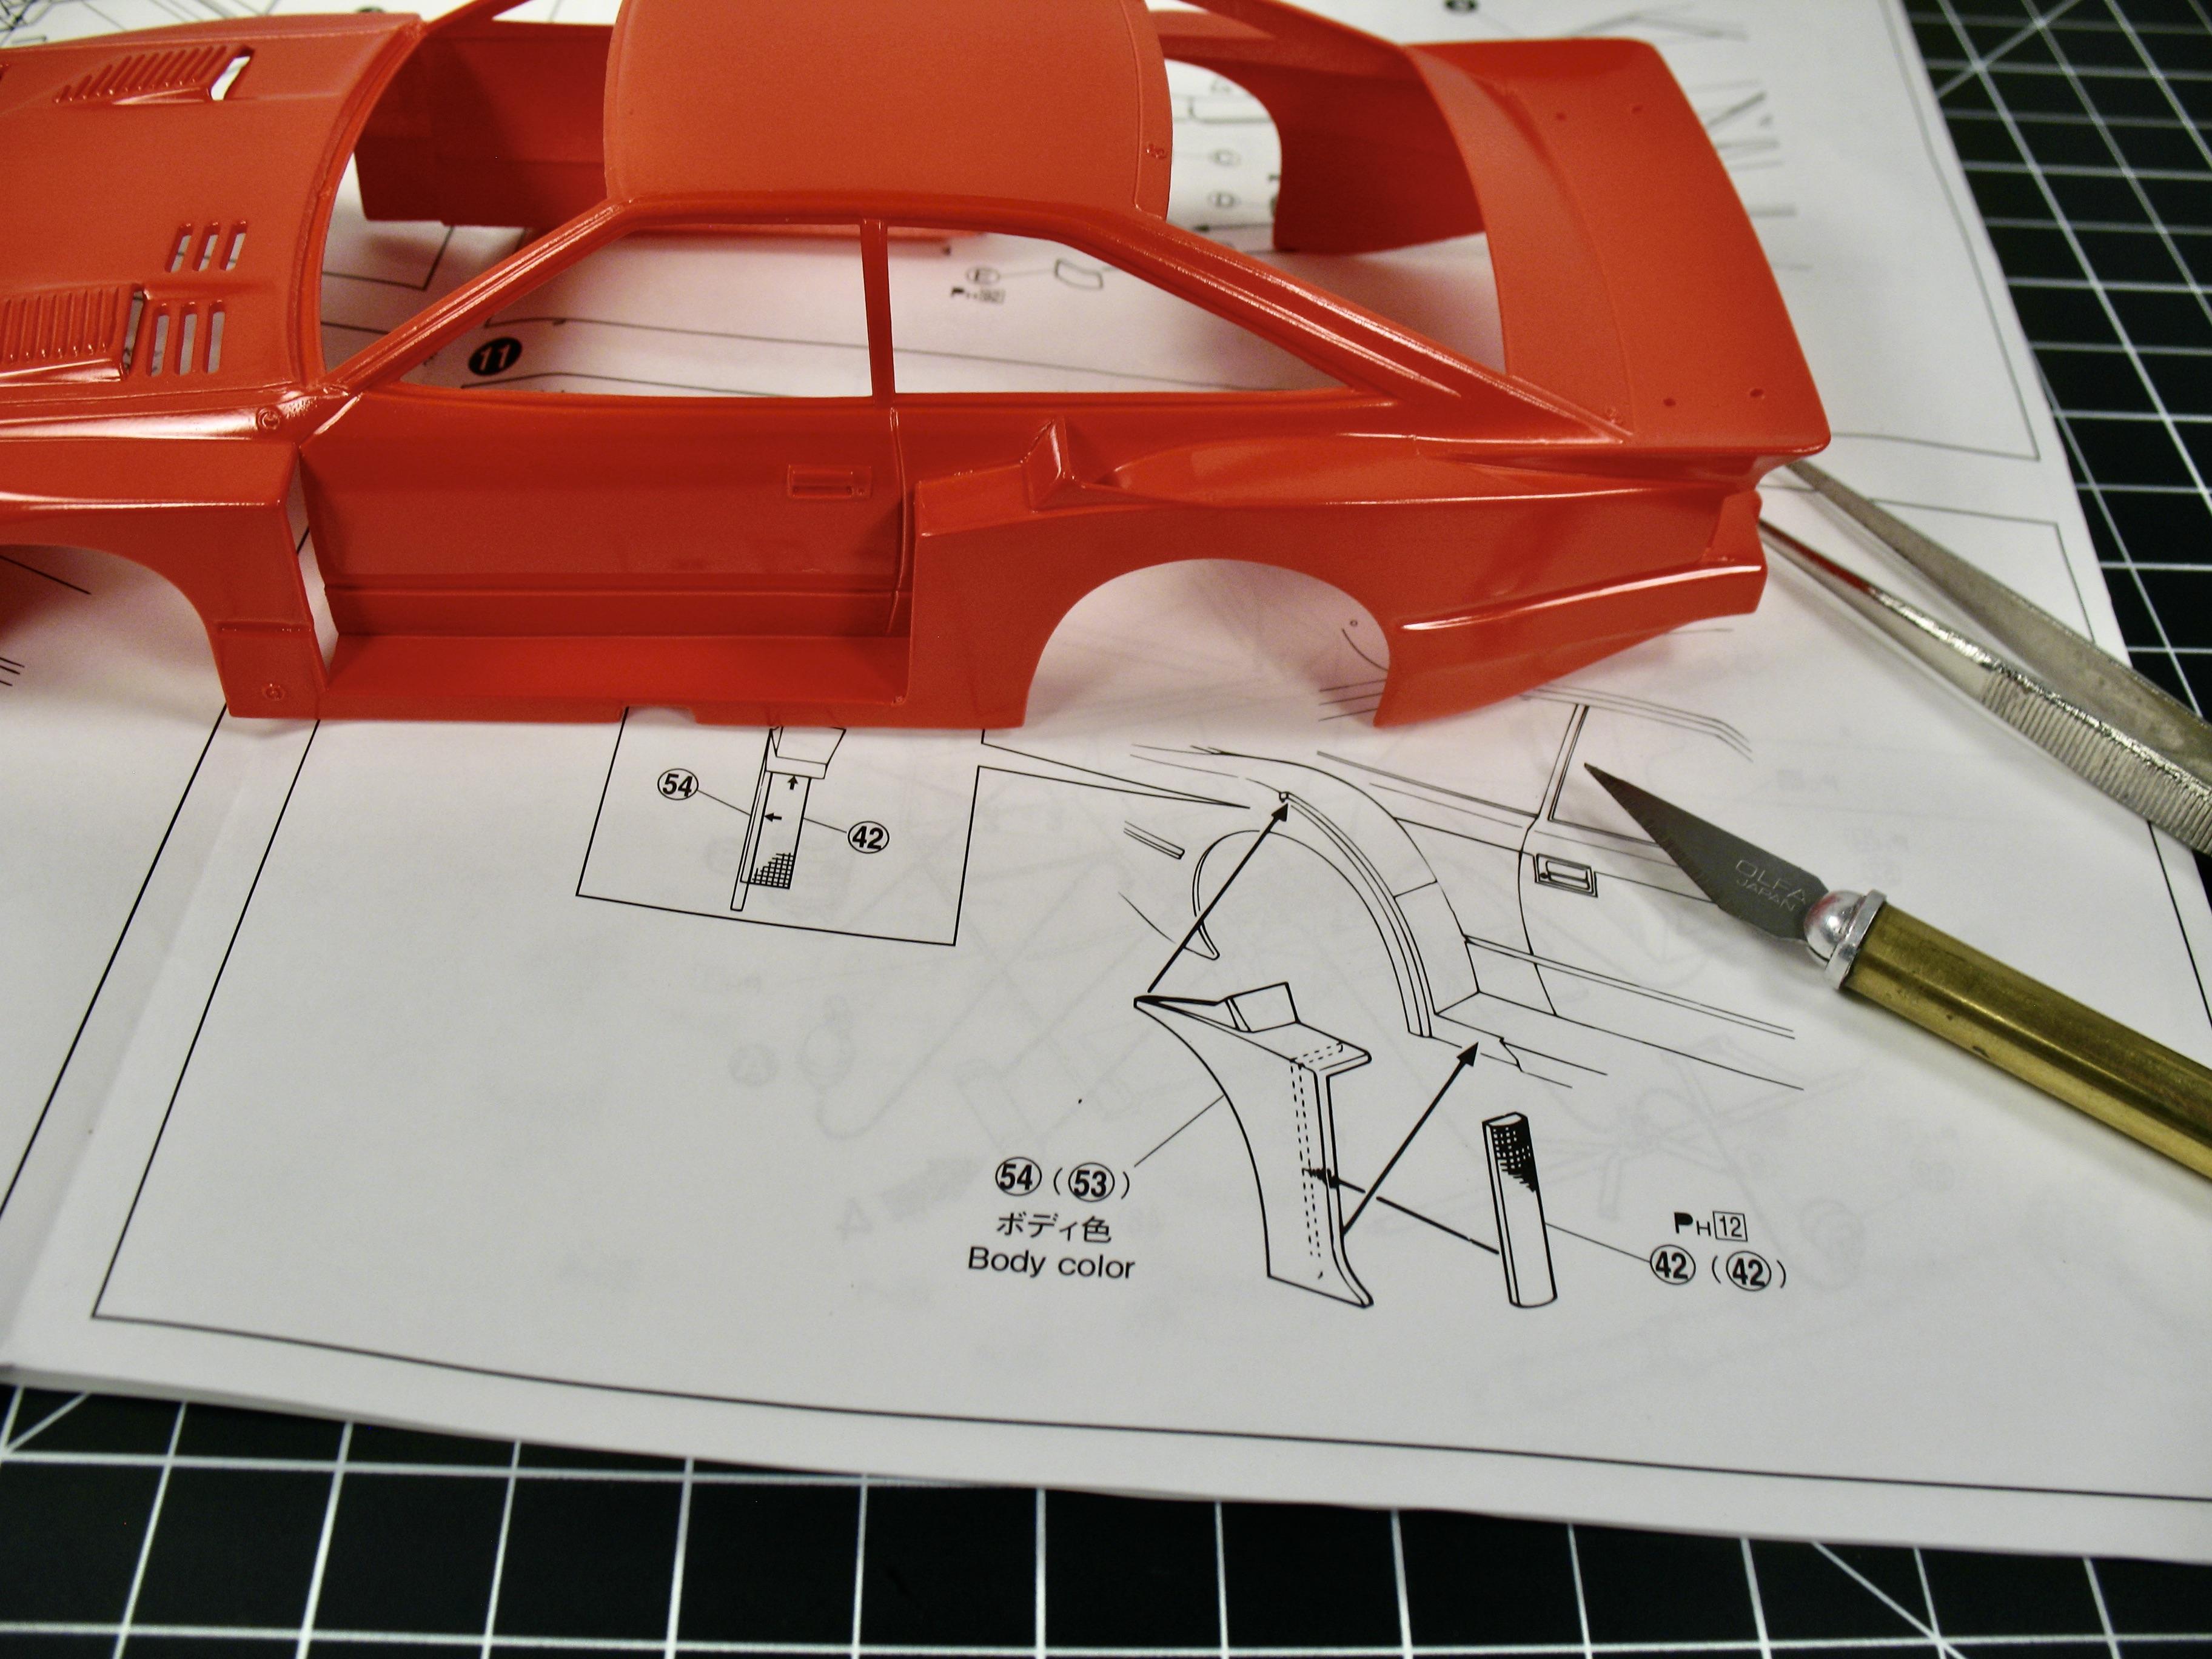
I always lowed the shape of these silhouettecars. I start this kit from Aoshima that came out recently, expecting the quality of their Snap-kit, and newer models. But is a reboxed kit from the 80's, with a lot o flashings, and few details. The kithas also the parts to convert it into a battery powered car, altought they are blacked out, and no used for build this kit. Here the most fascinating thigs of this kit, the body of the car. If you follow the instructions, they tell you to paint the front part of the rear fender separately, glue the vent mesh and after glue it to the body. Doing so, it will leave have a seam visible. I tested it before paint it, and you can install teh grille/mesh after paint it. You have to glue the fender first, use some body filler and sand it. Here the body painted, and yes, I'm not following the instruction painting the car grey. 🙂
-
Thank you Chris! Thank you Brian!
-
Thank you Carl! Thank you Craig!
-
'66 F-600 kitbash ideas
Brizio replied to Harv Mushman's topic in Model Building Questions and Answers
If you have a vacuform, it would make thing easyer. Even a small vacuform, would works, you can cut the buck in two. You can make one molding buck that can be use both side. Maybe 1/2 in. thick. To define the end or inside of the frame you can carve a channel all around, or add a strip of stirene if you prefer to work with a positive. Doing so, will make it easy when you cut the excess of plastic, and give you a guid to cut it straight. You can also add some small holes along the channel or stirene. Will help the stirene taking shape. -
Thank you Larry!
-
Fun part of been homeowner! Welcome to the club! Nice! They could be challenging to build, mostly because of the size. I use ove 30ft of tape to make all the stripes... But in the other hands, the parts are big and are esy to work. Altough, you see a lot of things and so you can spend a good amount on adding details. THe plastic also could be brittle and snap. When I bought the Pace car, I bought also the regular IROC, but newer got around to build it. Mostly because the 1/1 my brother have has T-Top, so you need to modify it right away. Can wait to see you Camaro taking shape! Sweet ride! My brother has a '85 IROC, and I have the few kit in 1/24 and 1/8 to build, but never get around to do so. You need to think that these 1/8 scale kit came out in the 80's, so details and parts ware from that eara. Now It would be super hard to sell.
-
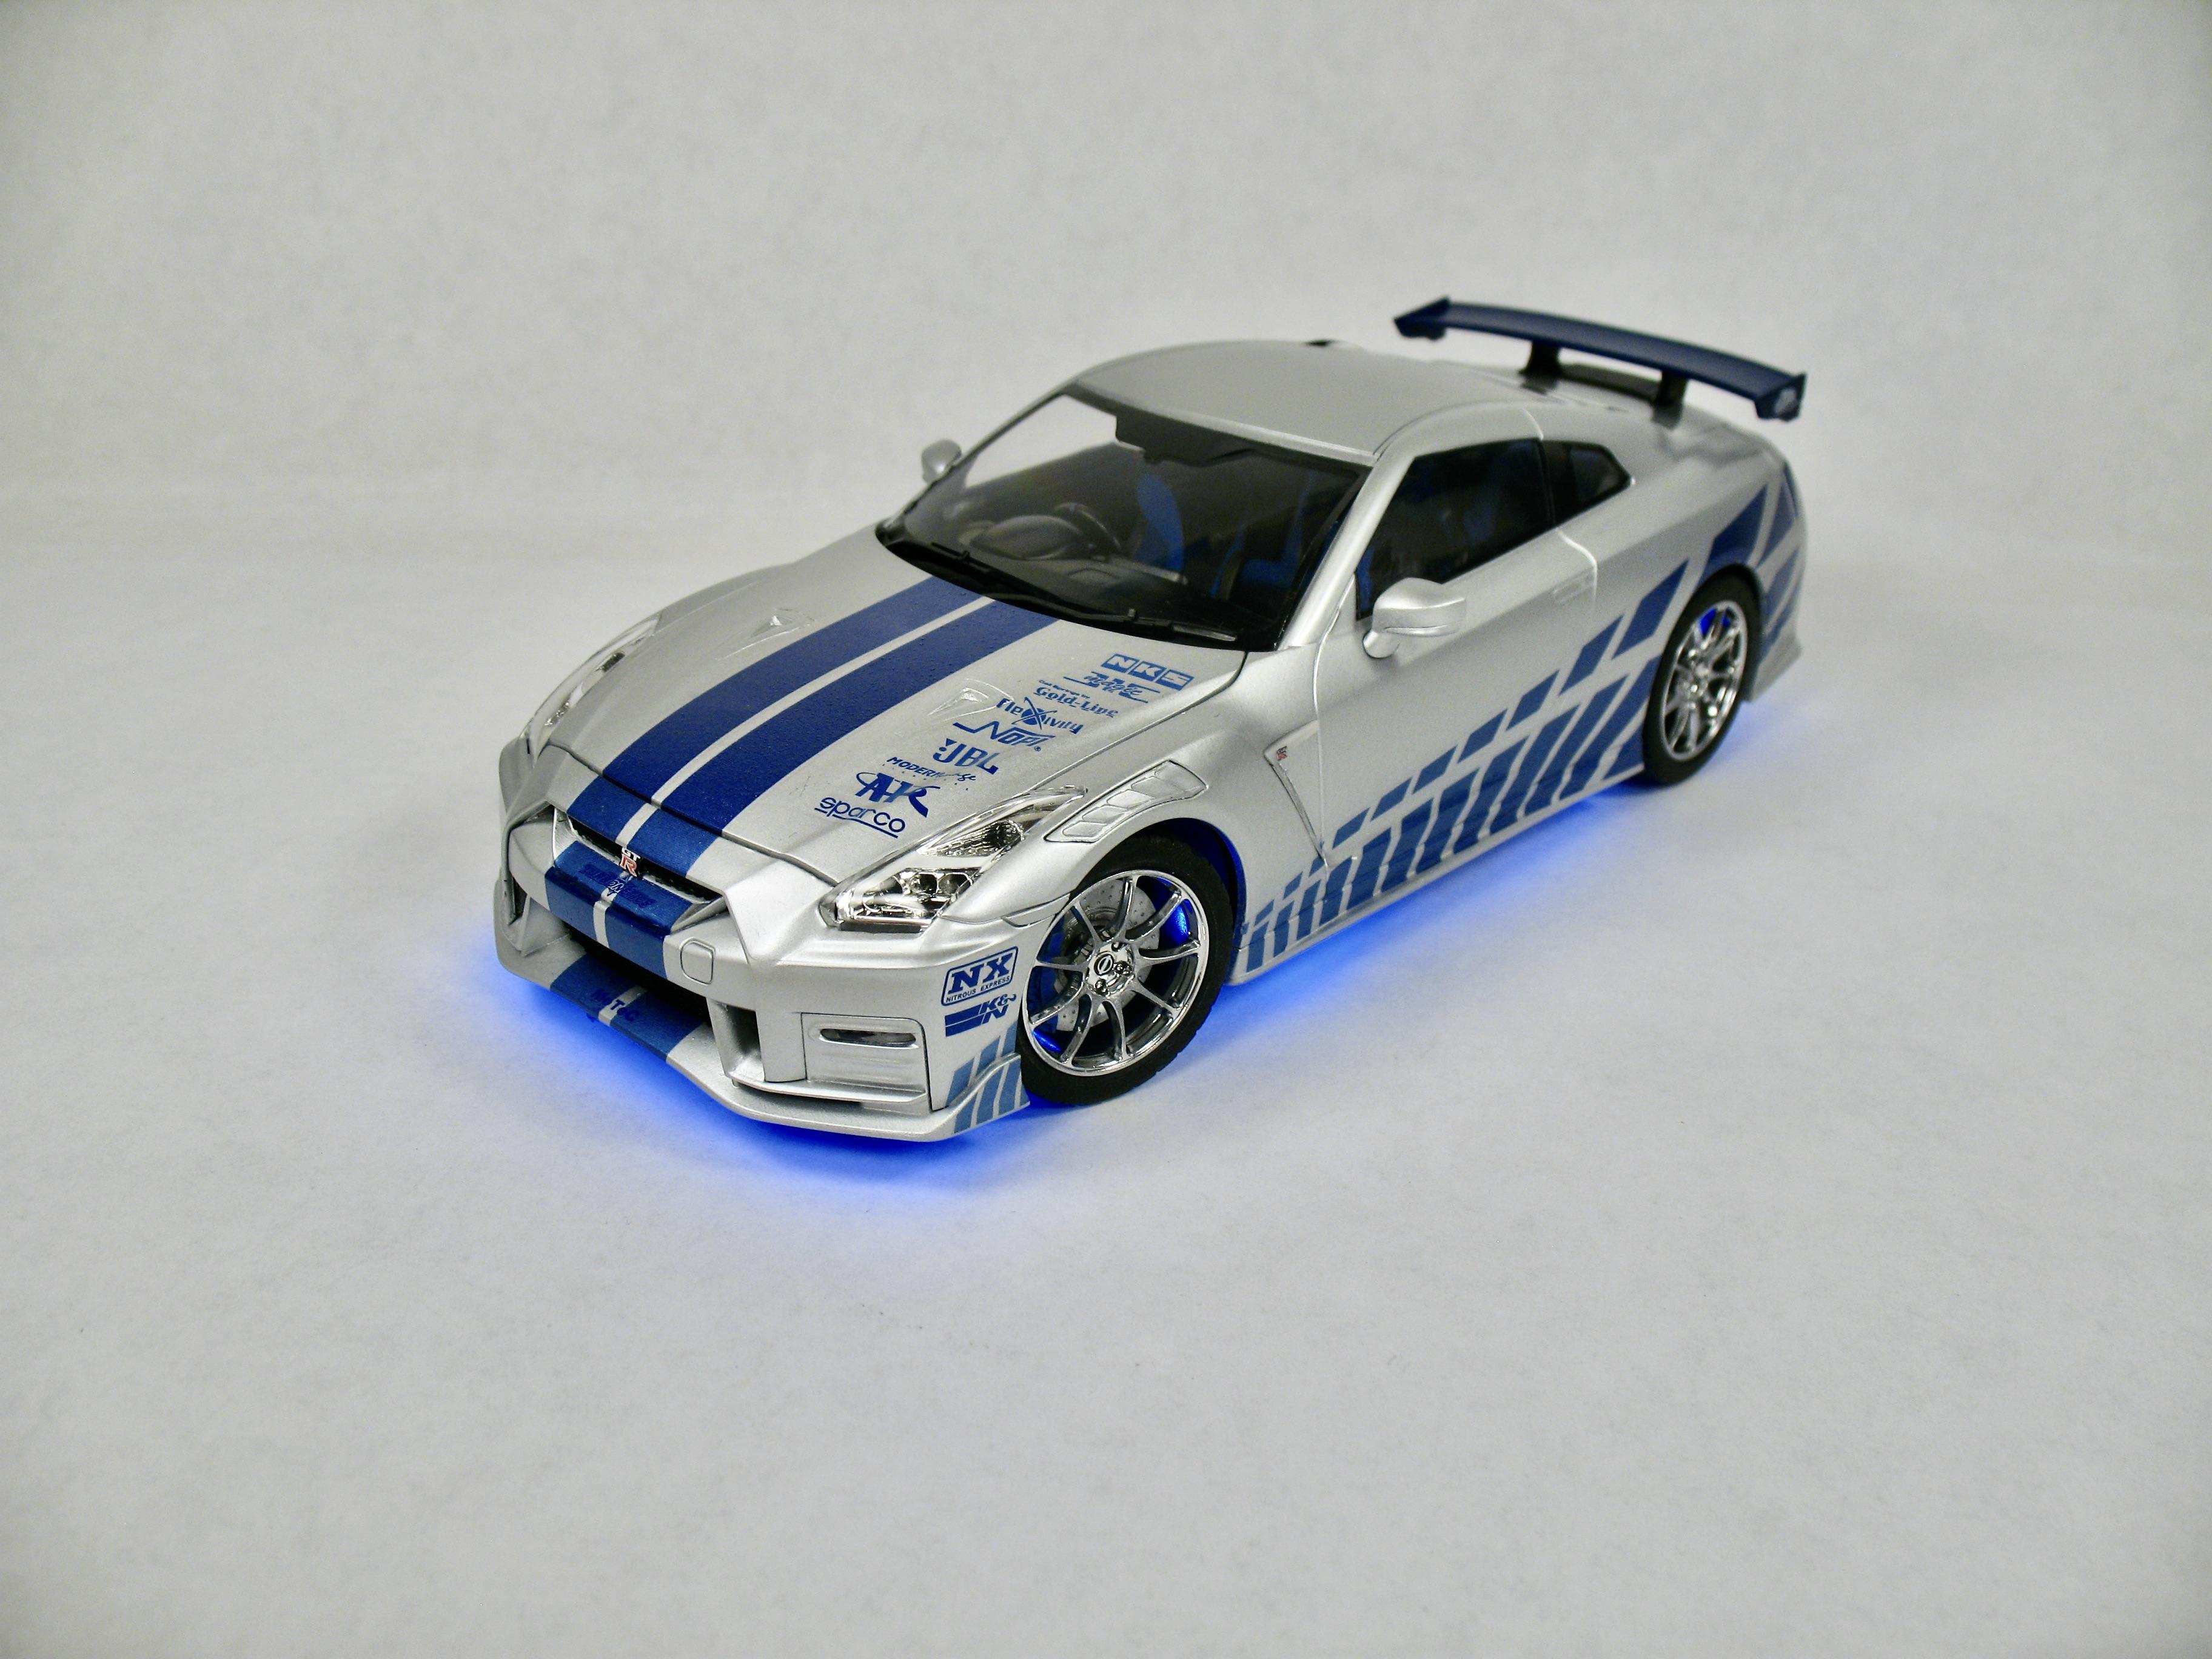
Thank you James! Thank you Scot! Thank you Donato! The only thing is little weird is how they design the plastic around the fog lights. Thank you Les! Thank you Michelle! Thank you David! Probably I should build a R34 now... Thank you Luke! Thank you Roger! Than kyou Bob!!!
-
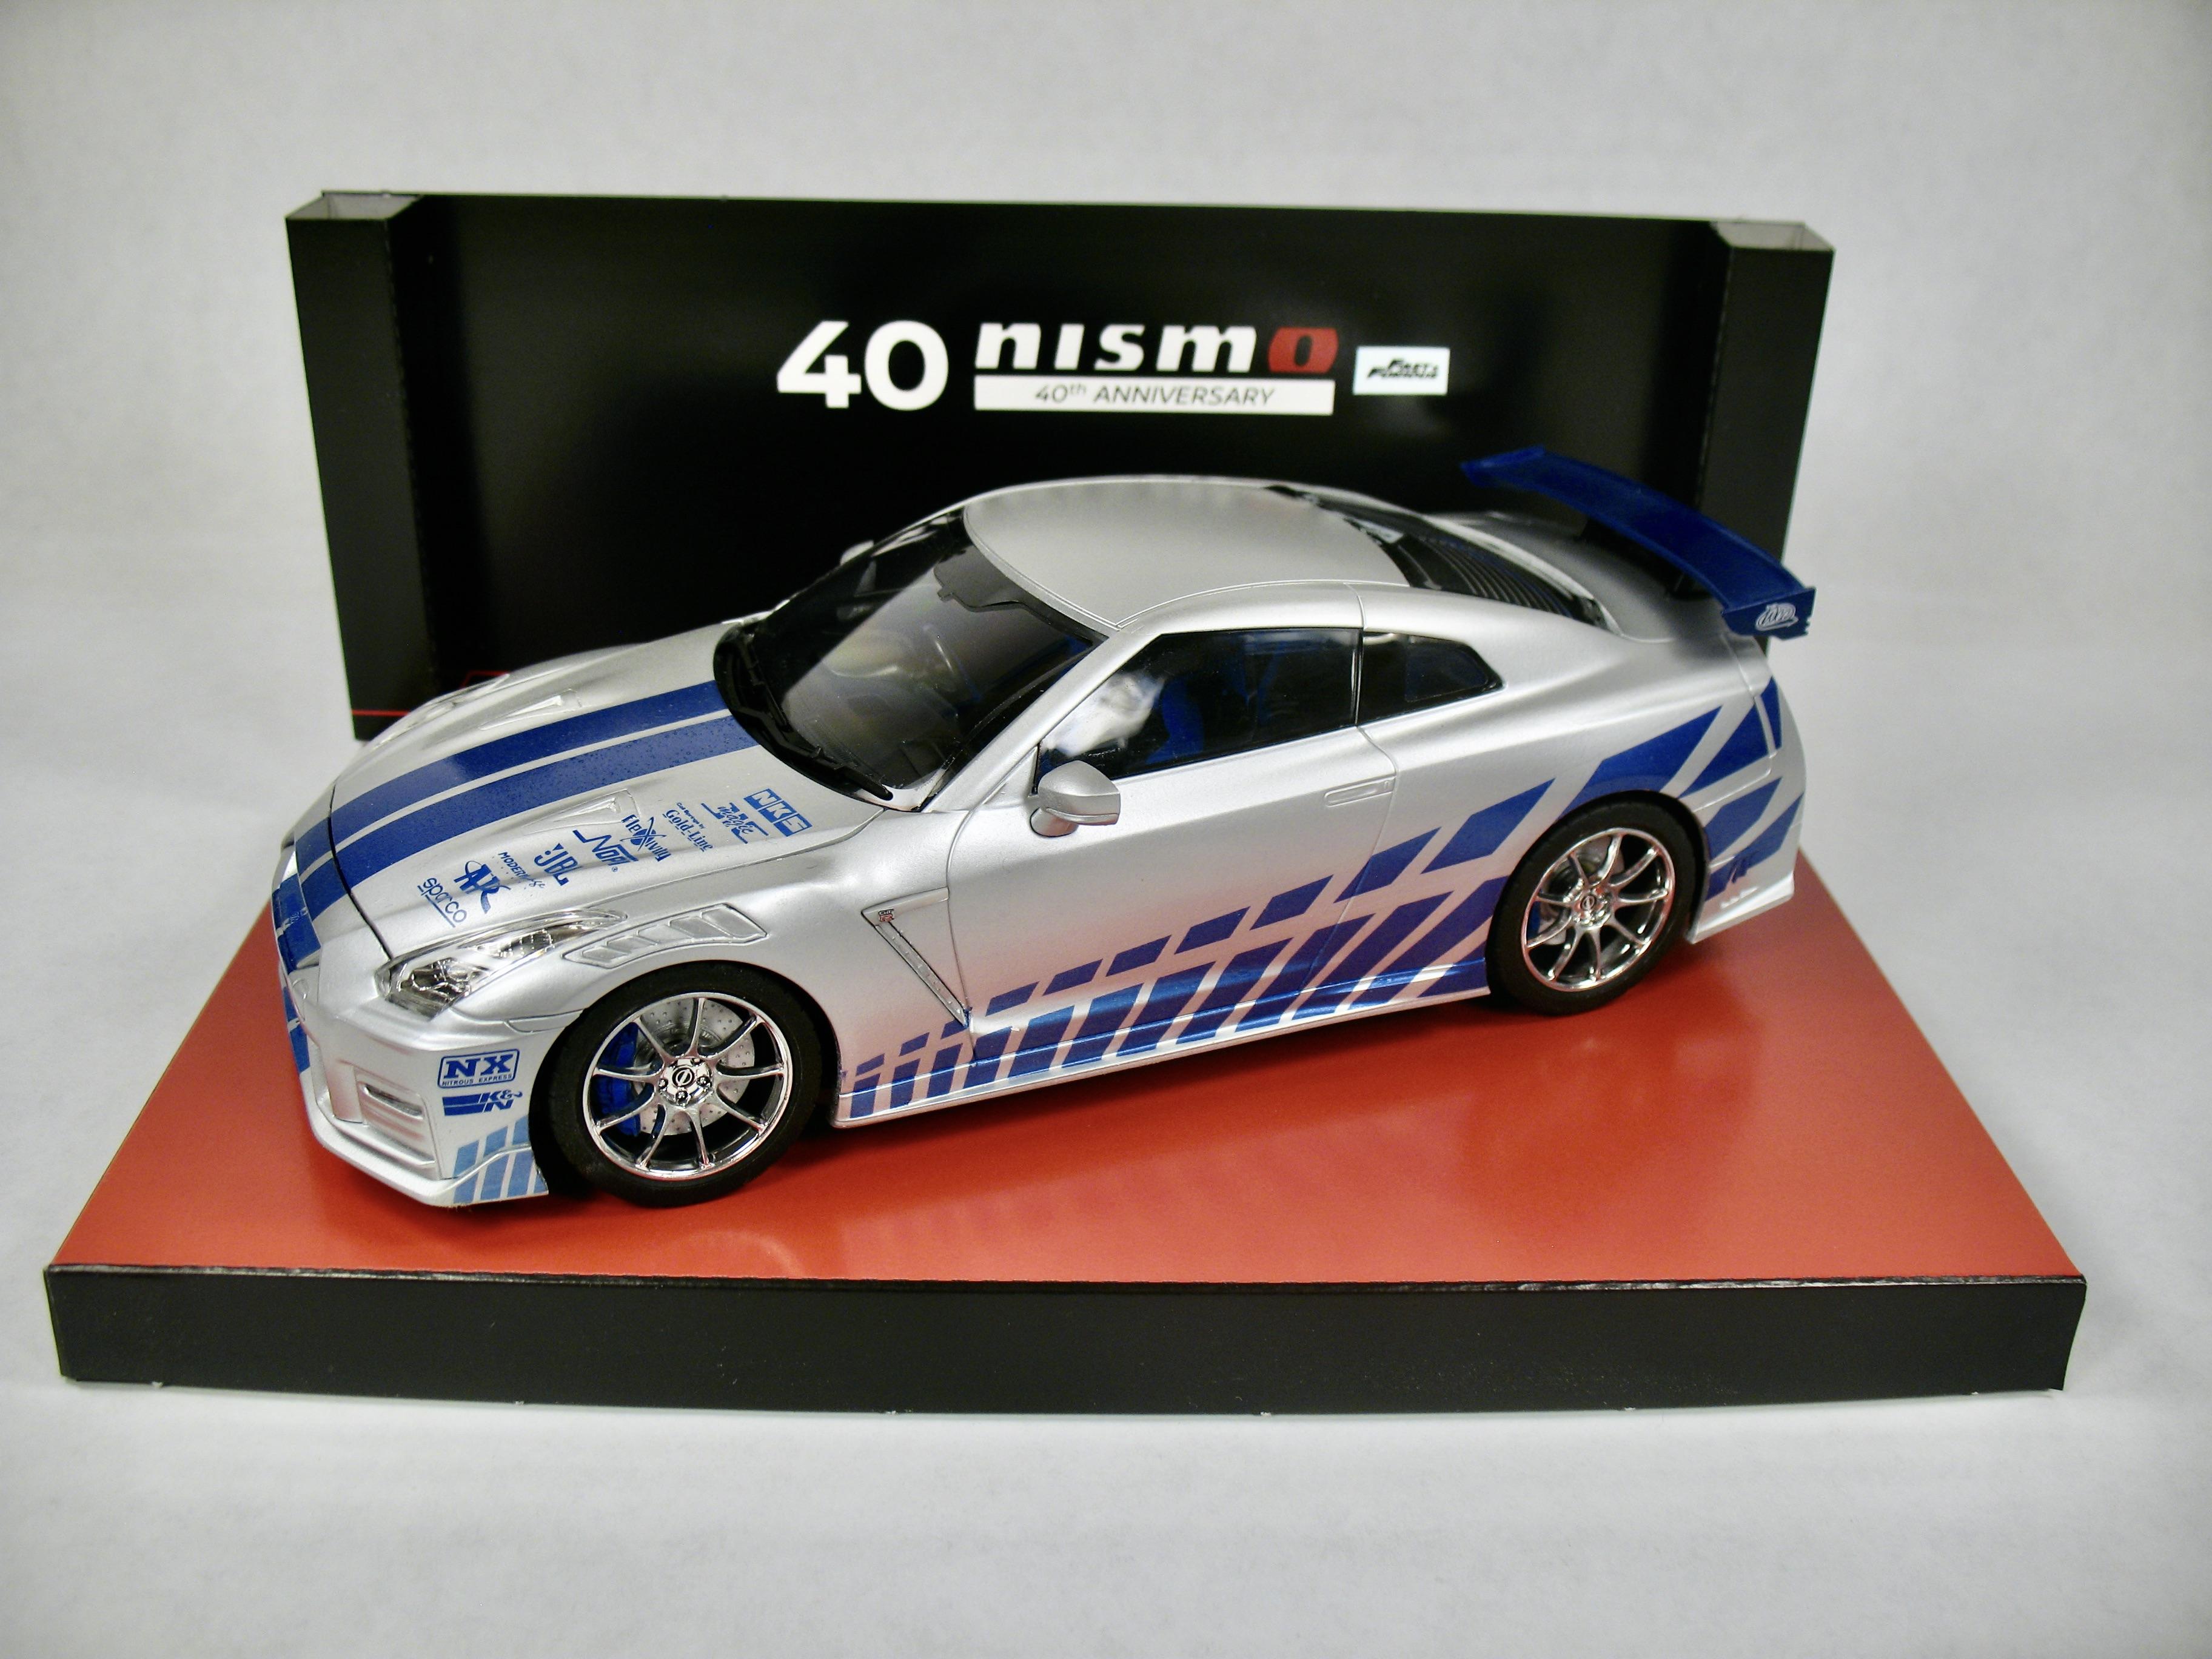
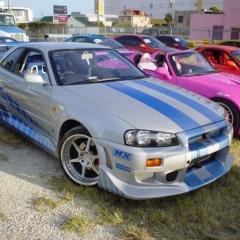
This was a fun fast kit to build. I wanted to make a Fast and Furious tribute car inspired from the R34 used on the second movie. The decals are for the R34 but fit great on this body. Last I added some led to simulate teh neon that was under the movie car. I was not sure of the result after painting the body, I mean, the Nismo had different part of carbon fiber exposed. Like the center of the grille/bumper, the bottom spoiler and the plastic cover where the parking lights are. Maybe the car look "mean" with this parts black, but also paintent is not bad at all. Even the side skirts paint and the side air vent. I think they make the car cleaner. Anyway was fun to build it, and I'm happy with the result. THe kit came with a cardboard base to display it. To make it stronger I cut to size a piece of mdf for the base.
- 20 replies
-
- 12
-