Brizio
-
Posts
3,920 -
Joined
-
Last visited
Content Type
Profiles
Forums
Events
Gallery
Everything posted by Brizio
-
Little more progress on the GT-R. Cutting the bumper to make space for a oil cooler, Bosozuko style.

-
I was replyint to a post of mine, when I hit "Reply" and the screenshot below show up. So I went back to the post, thinking that I need to rewrite everything, but no, luckly everything was there. I removed the Emoji hit "reply" and it worked! Same issue happen to me weeks ago, but I didn't pay to much attention on what I did, but I remember removing an emoji. Looks like if I write the emoji it have issue, but if I choose one from the sidebar it works... 😮
-

Grumman F6F-5 Hellcat
Brizio replied to Brizio's topic in WIP: All The Rest: Motorcycles, Aviation, Military, Sci-Fi, Figures
Thank you! But I think you should try, maybe one in 1/72 that has less parts. It is fun! -
Grumman F6F-5 Hellcat
Brizio replied to Brizio's topic in WIP: All The Rest: Motorcycles, Aviation, Military, Sci-Fi, Figures
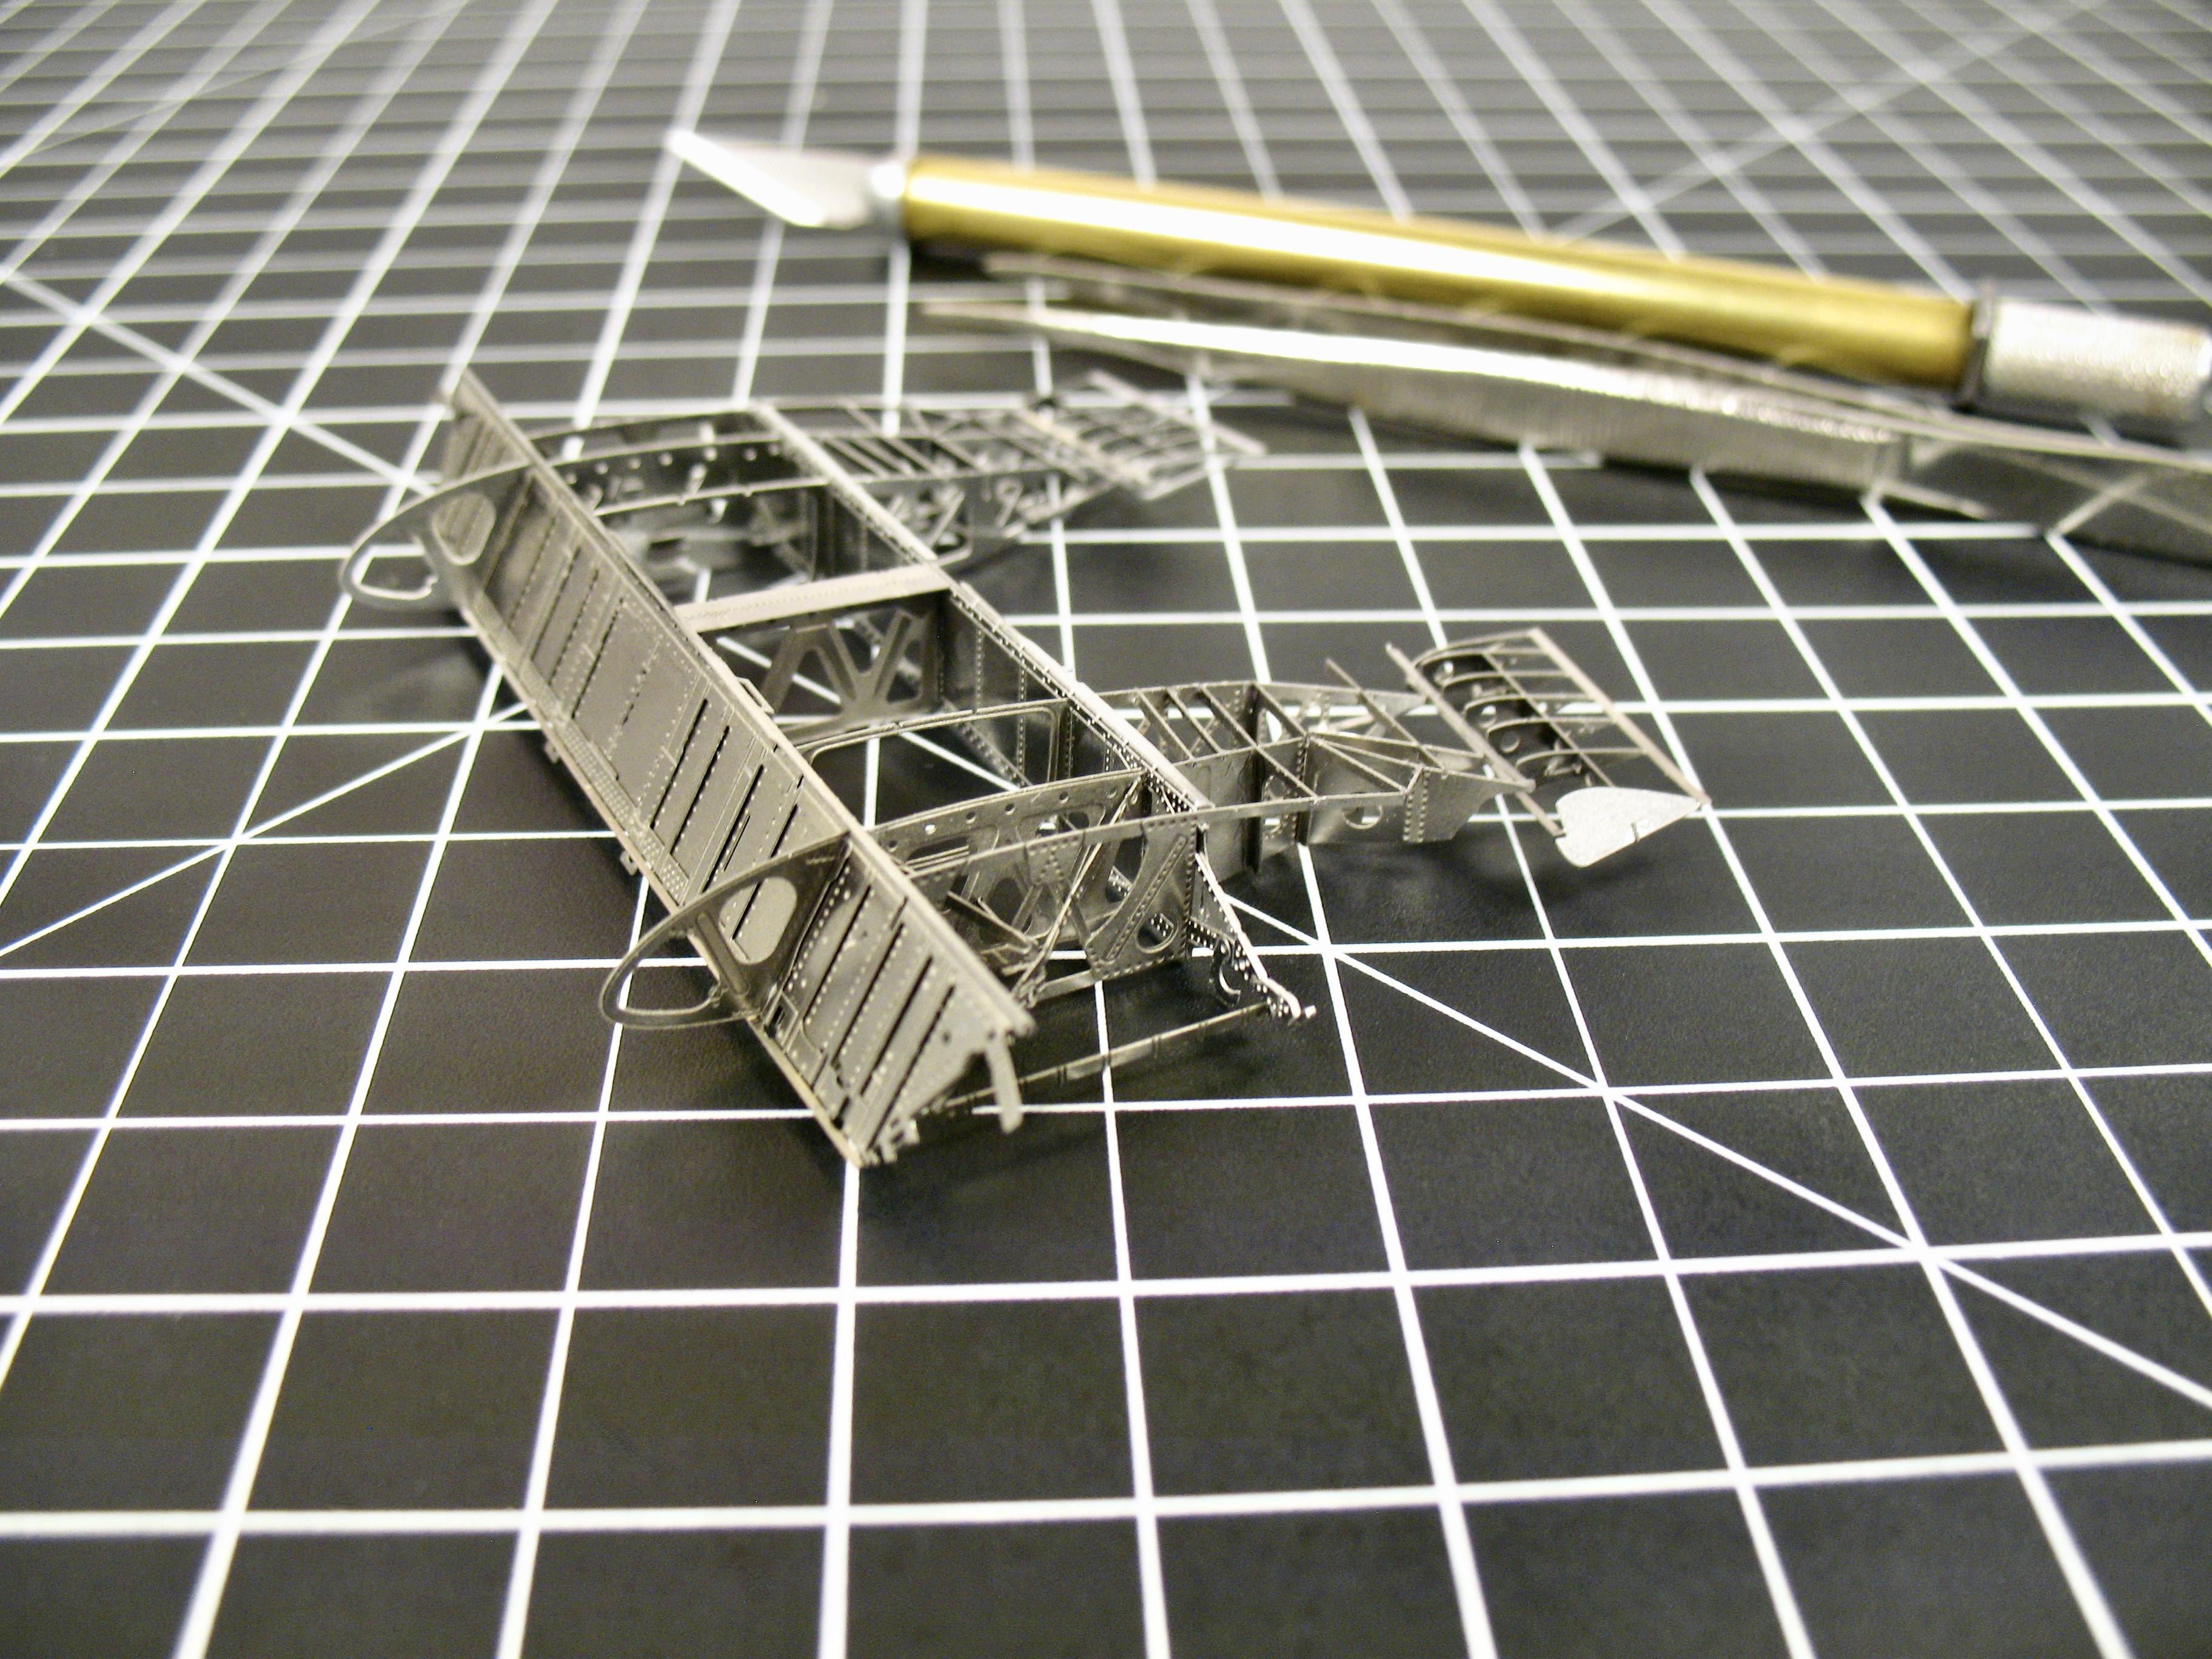
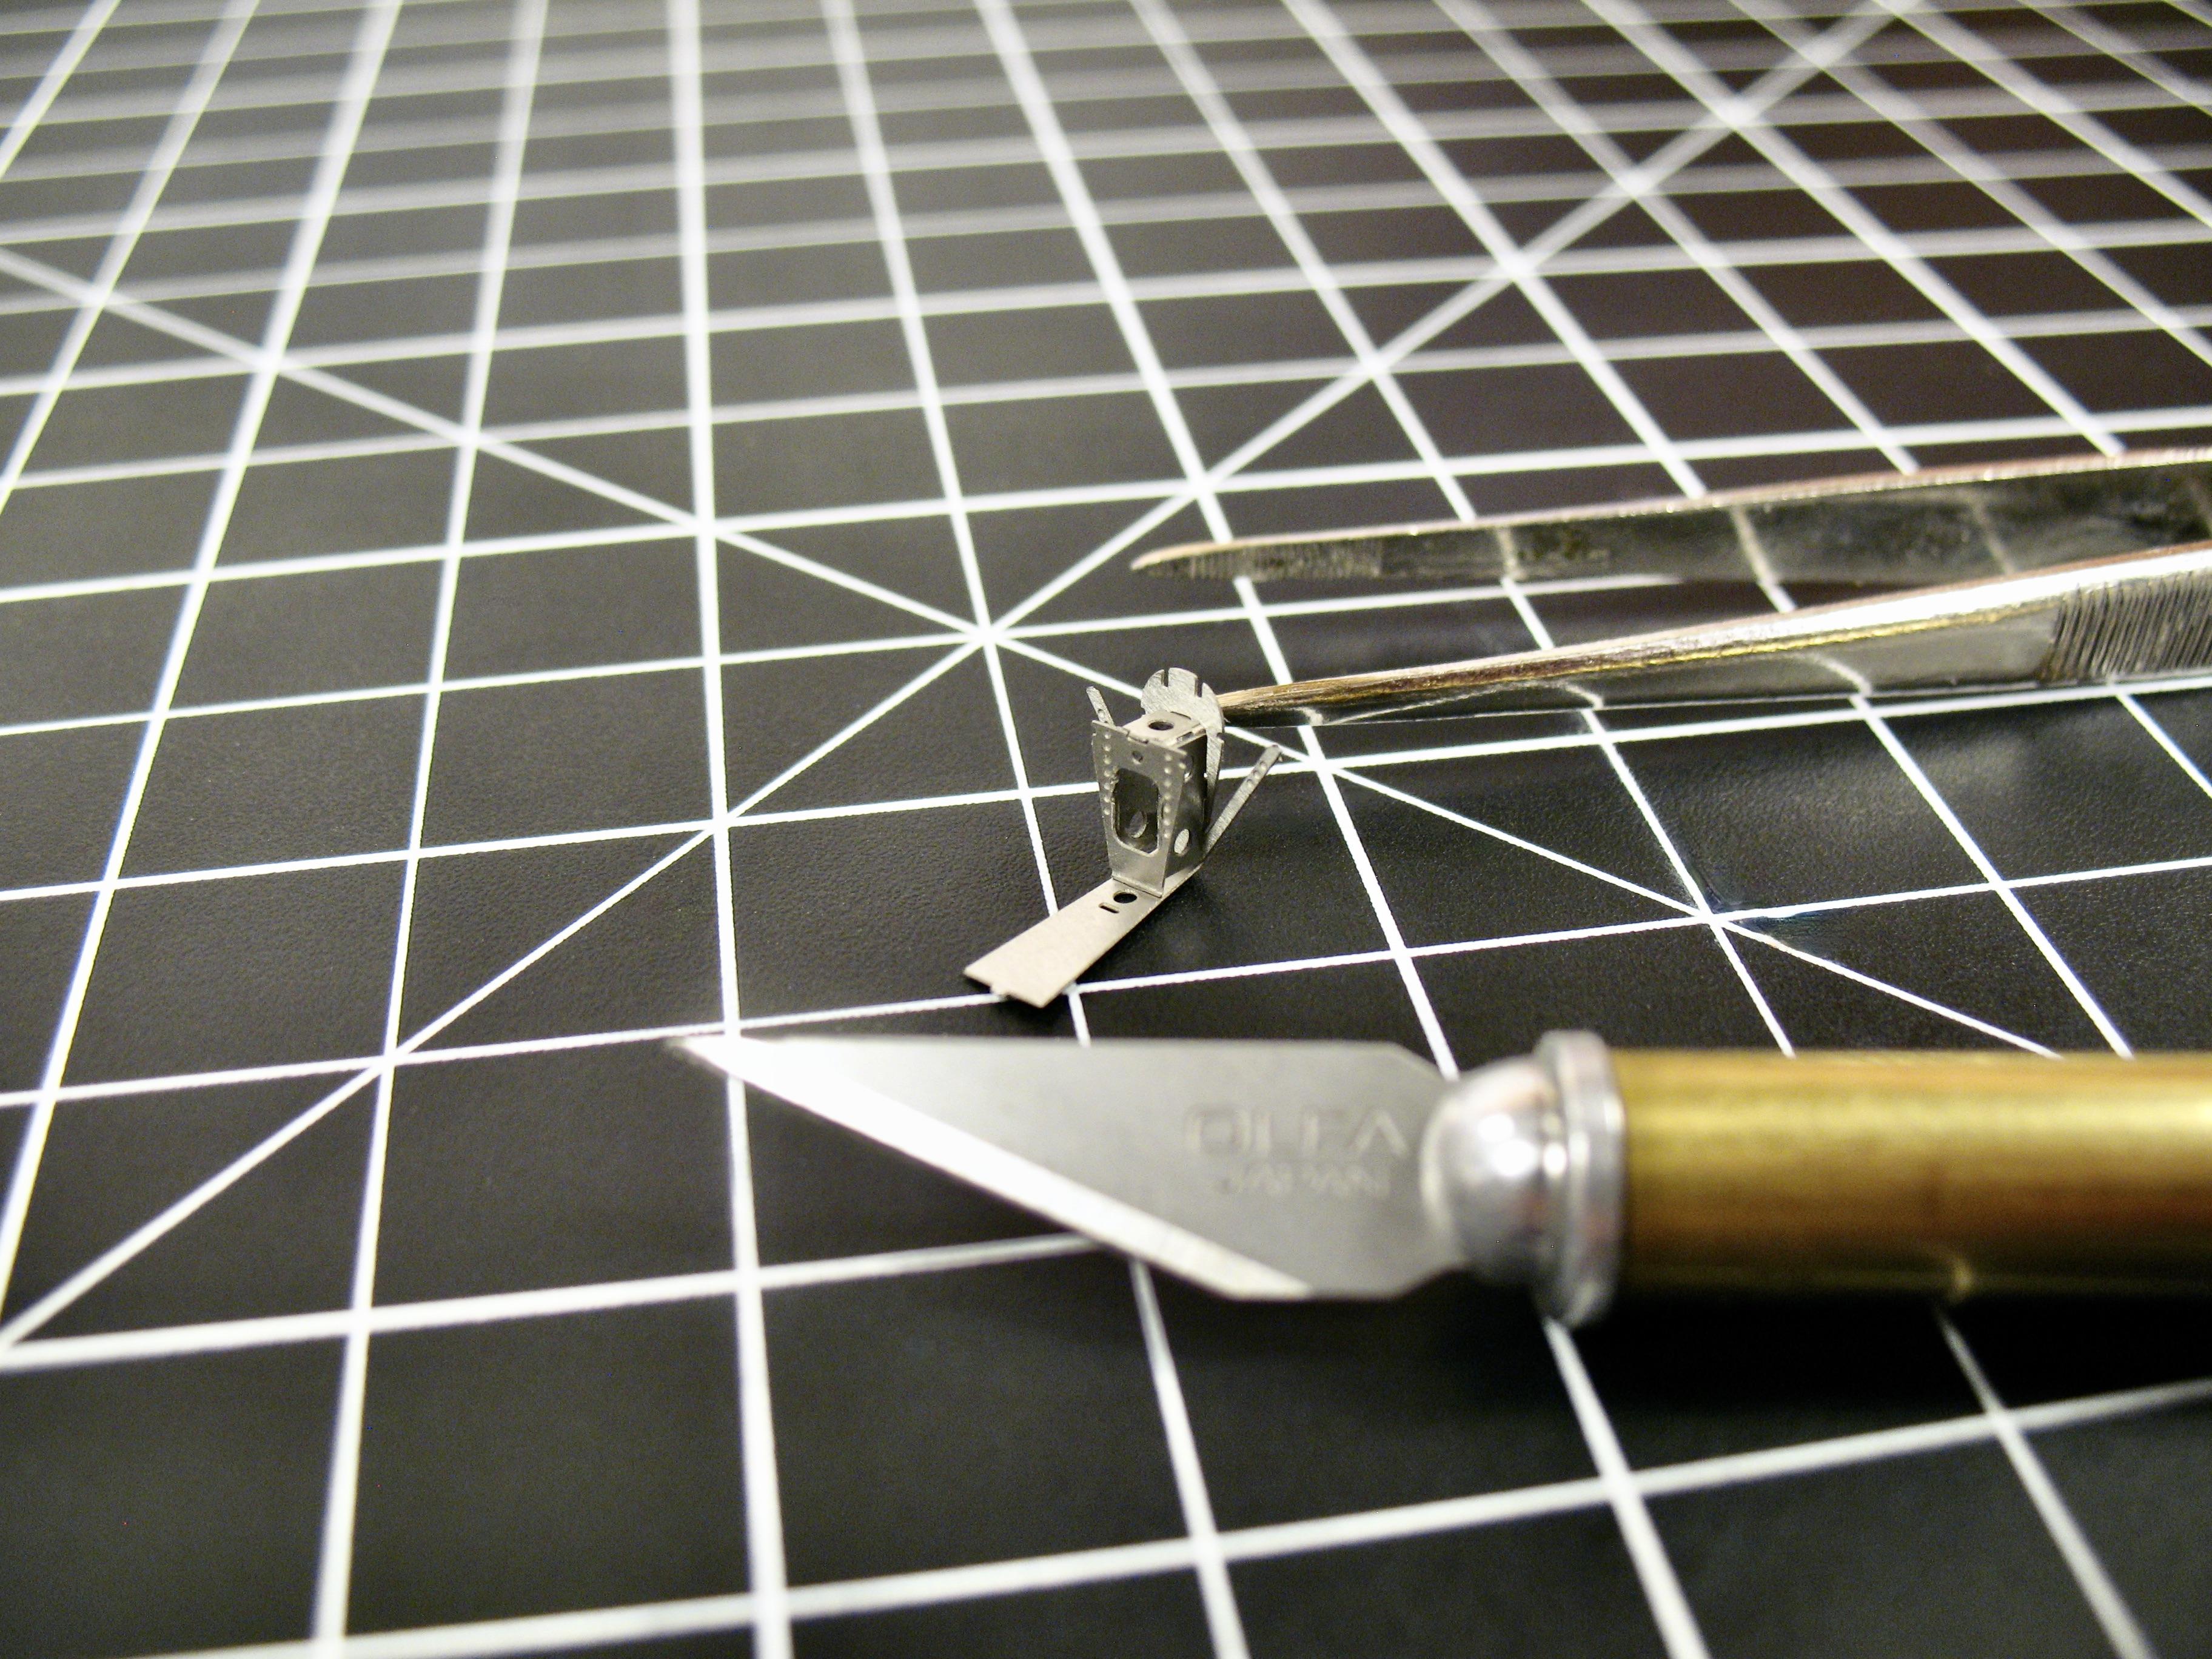
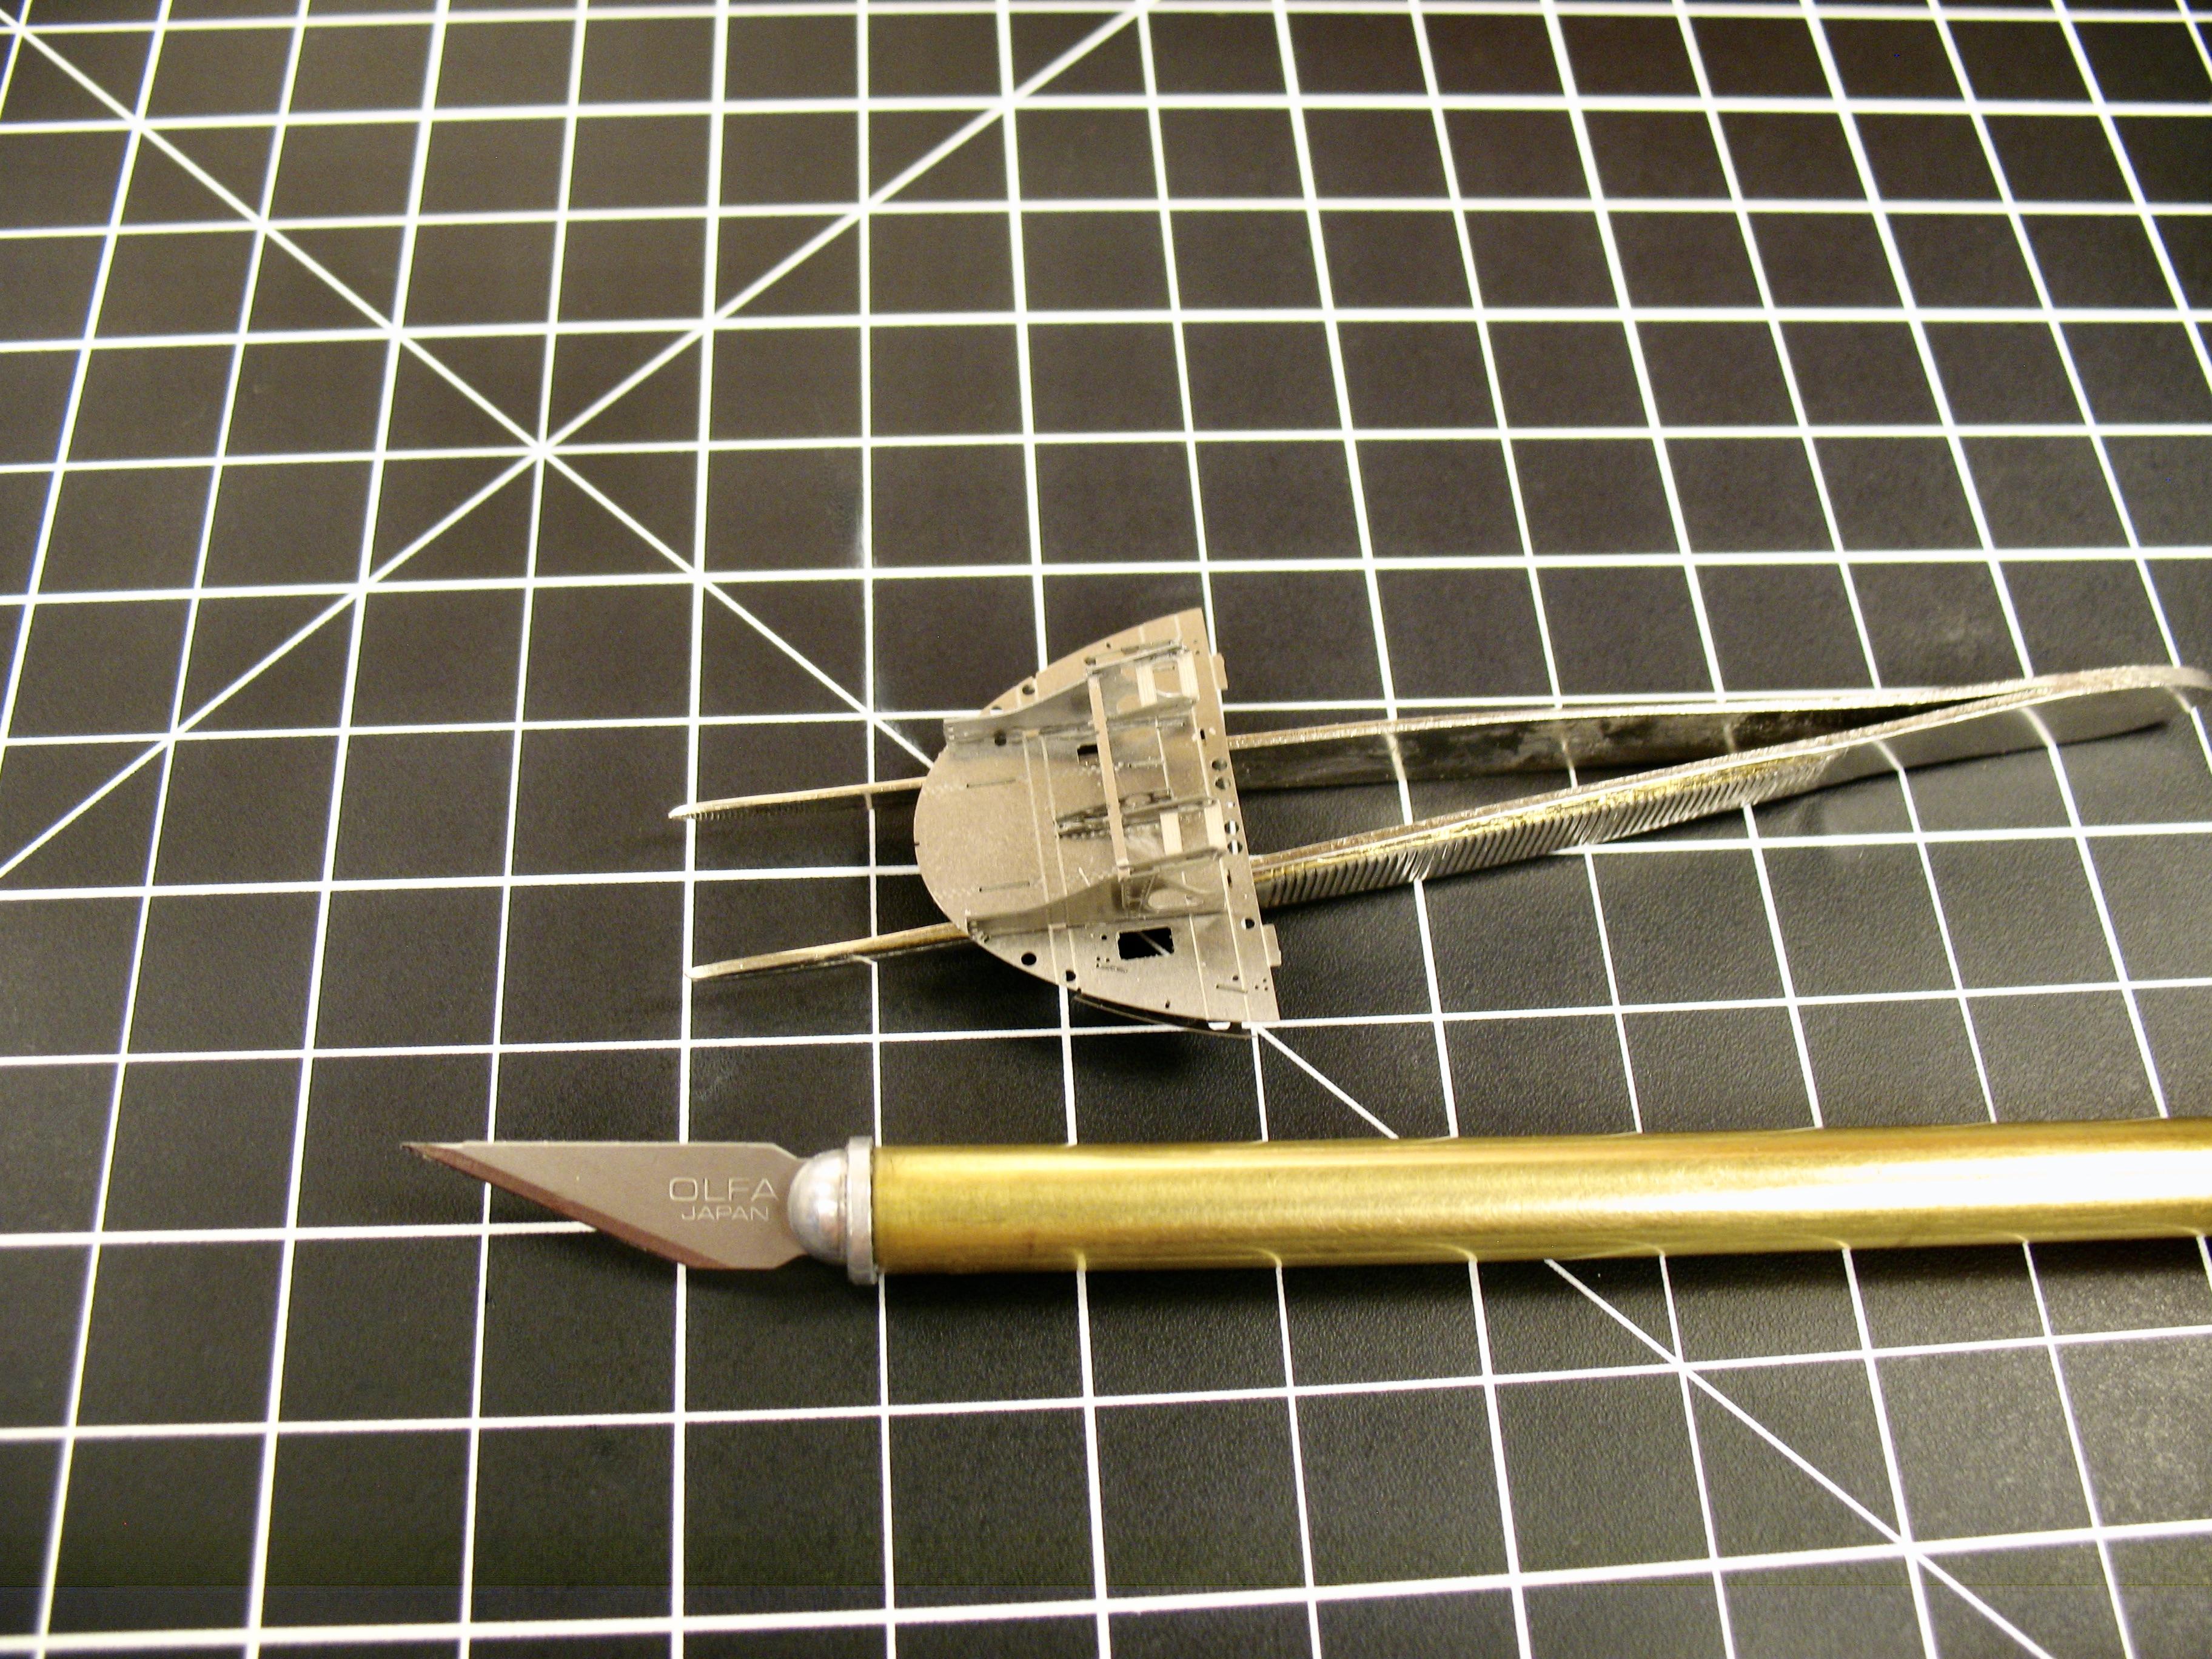
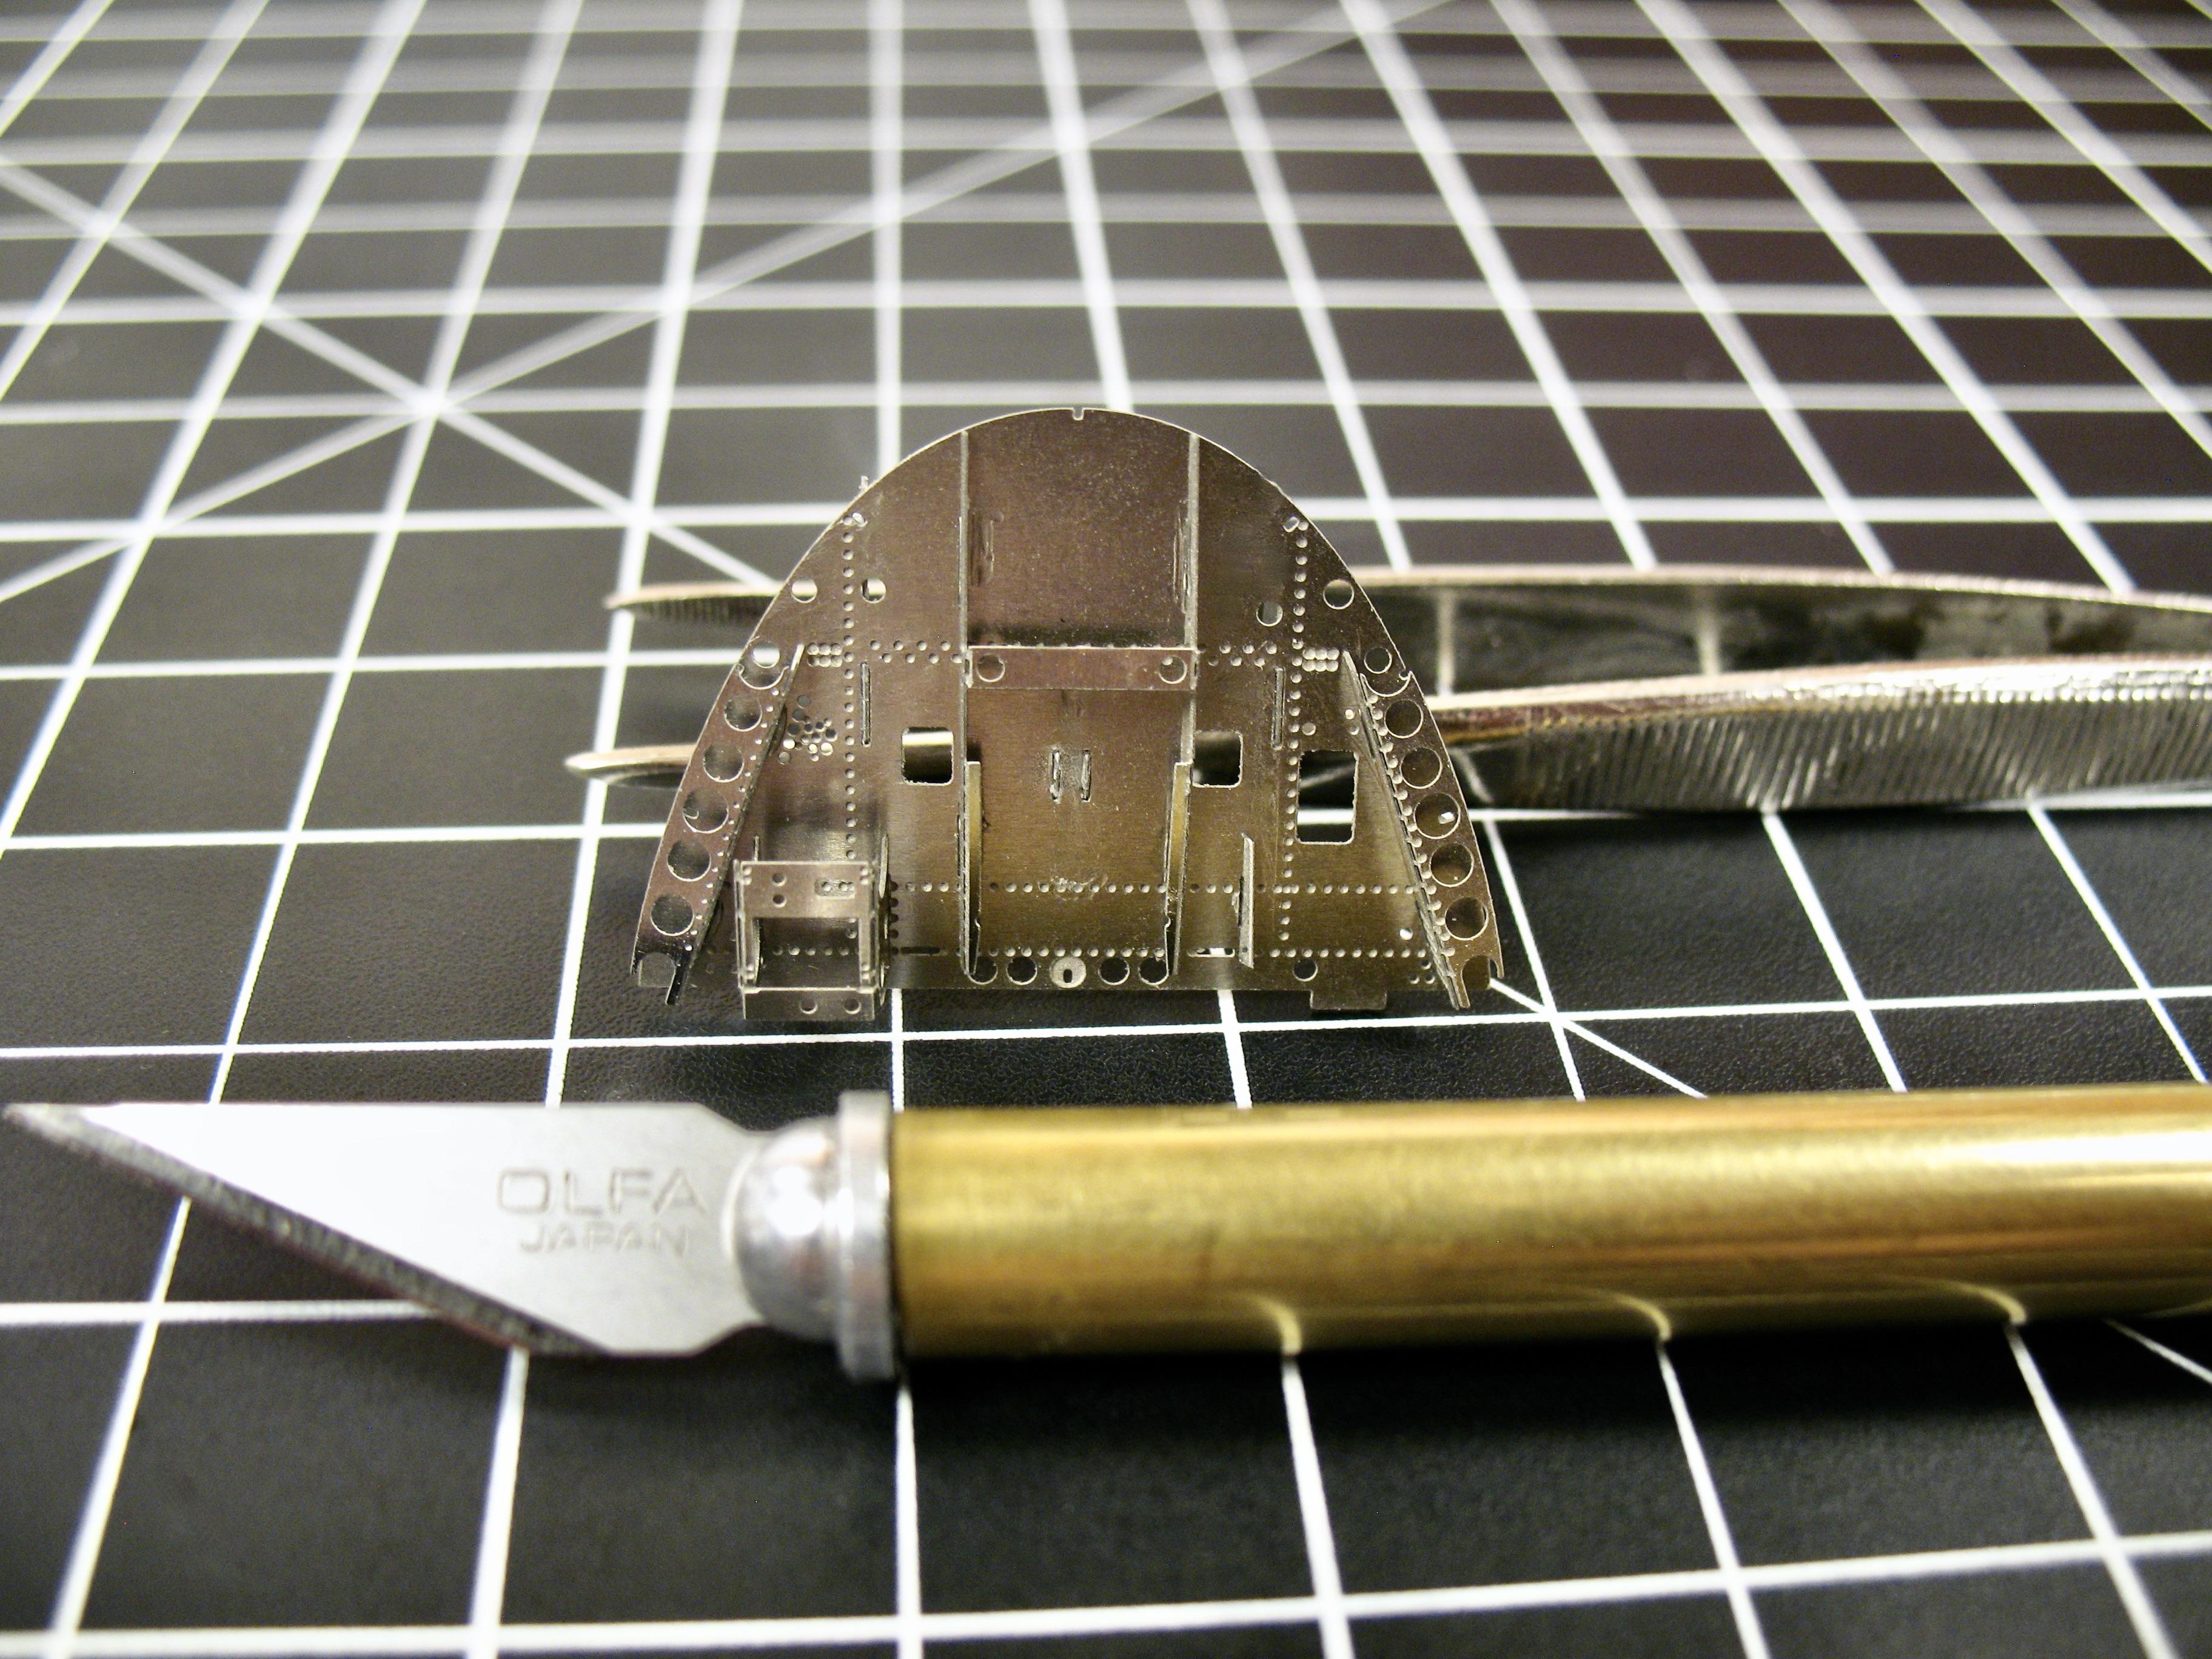
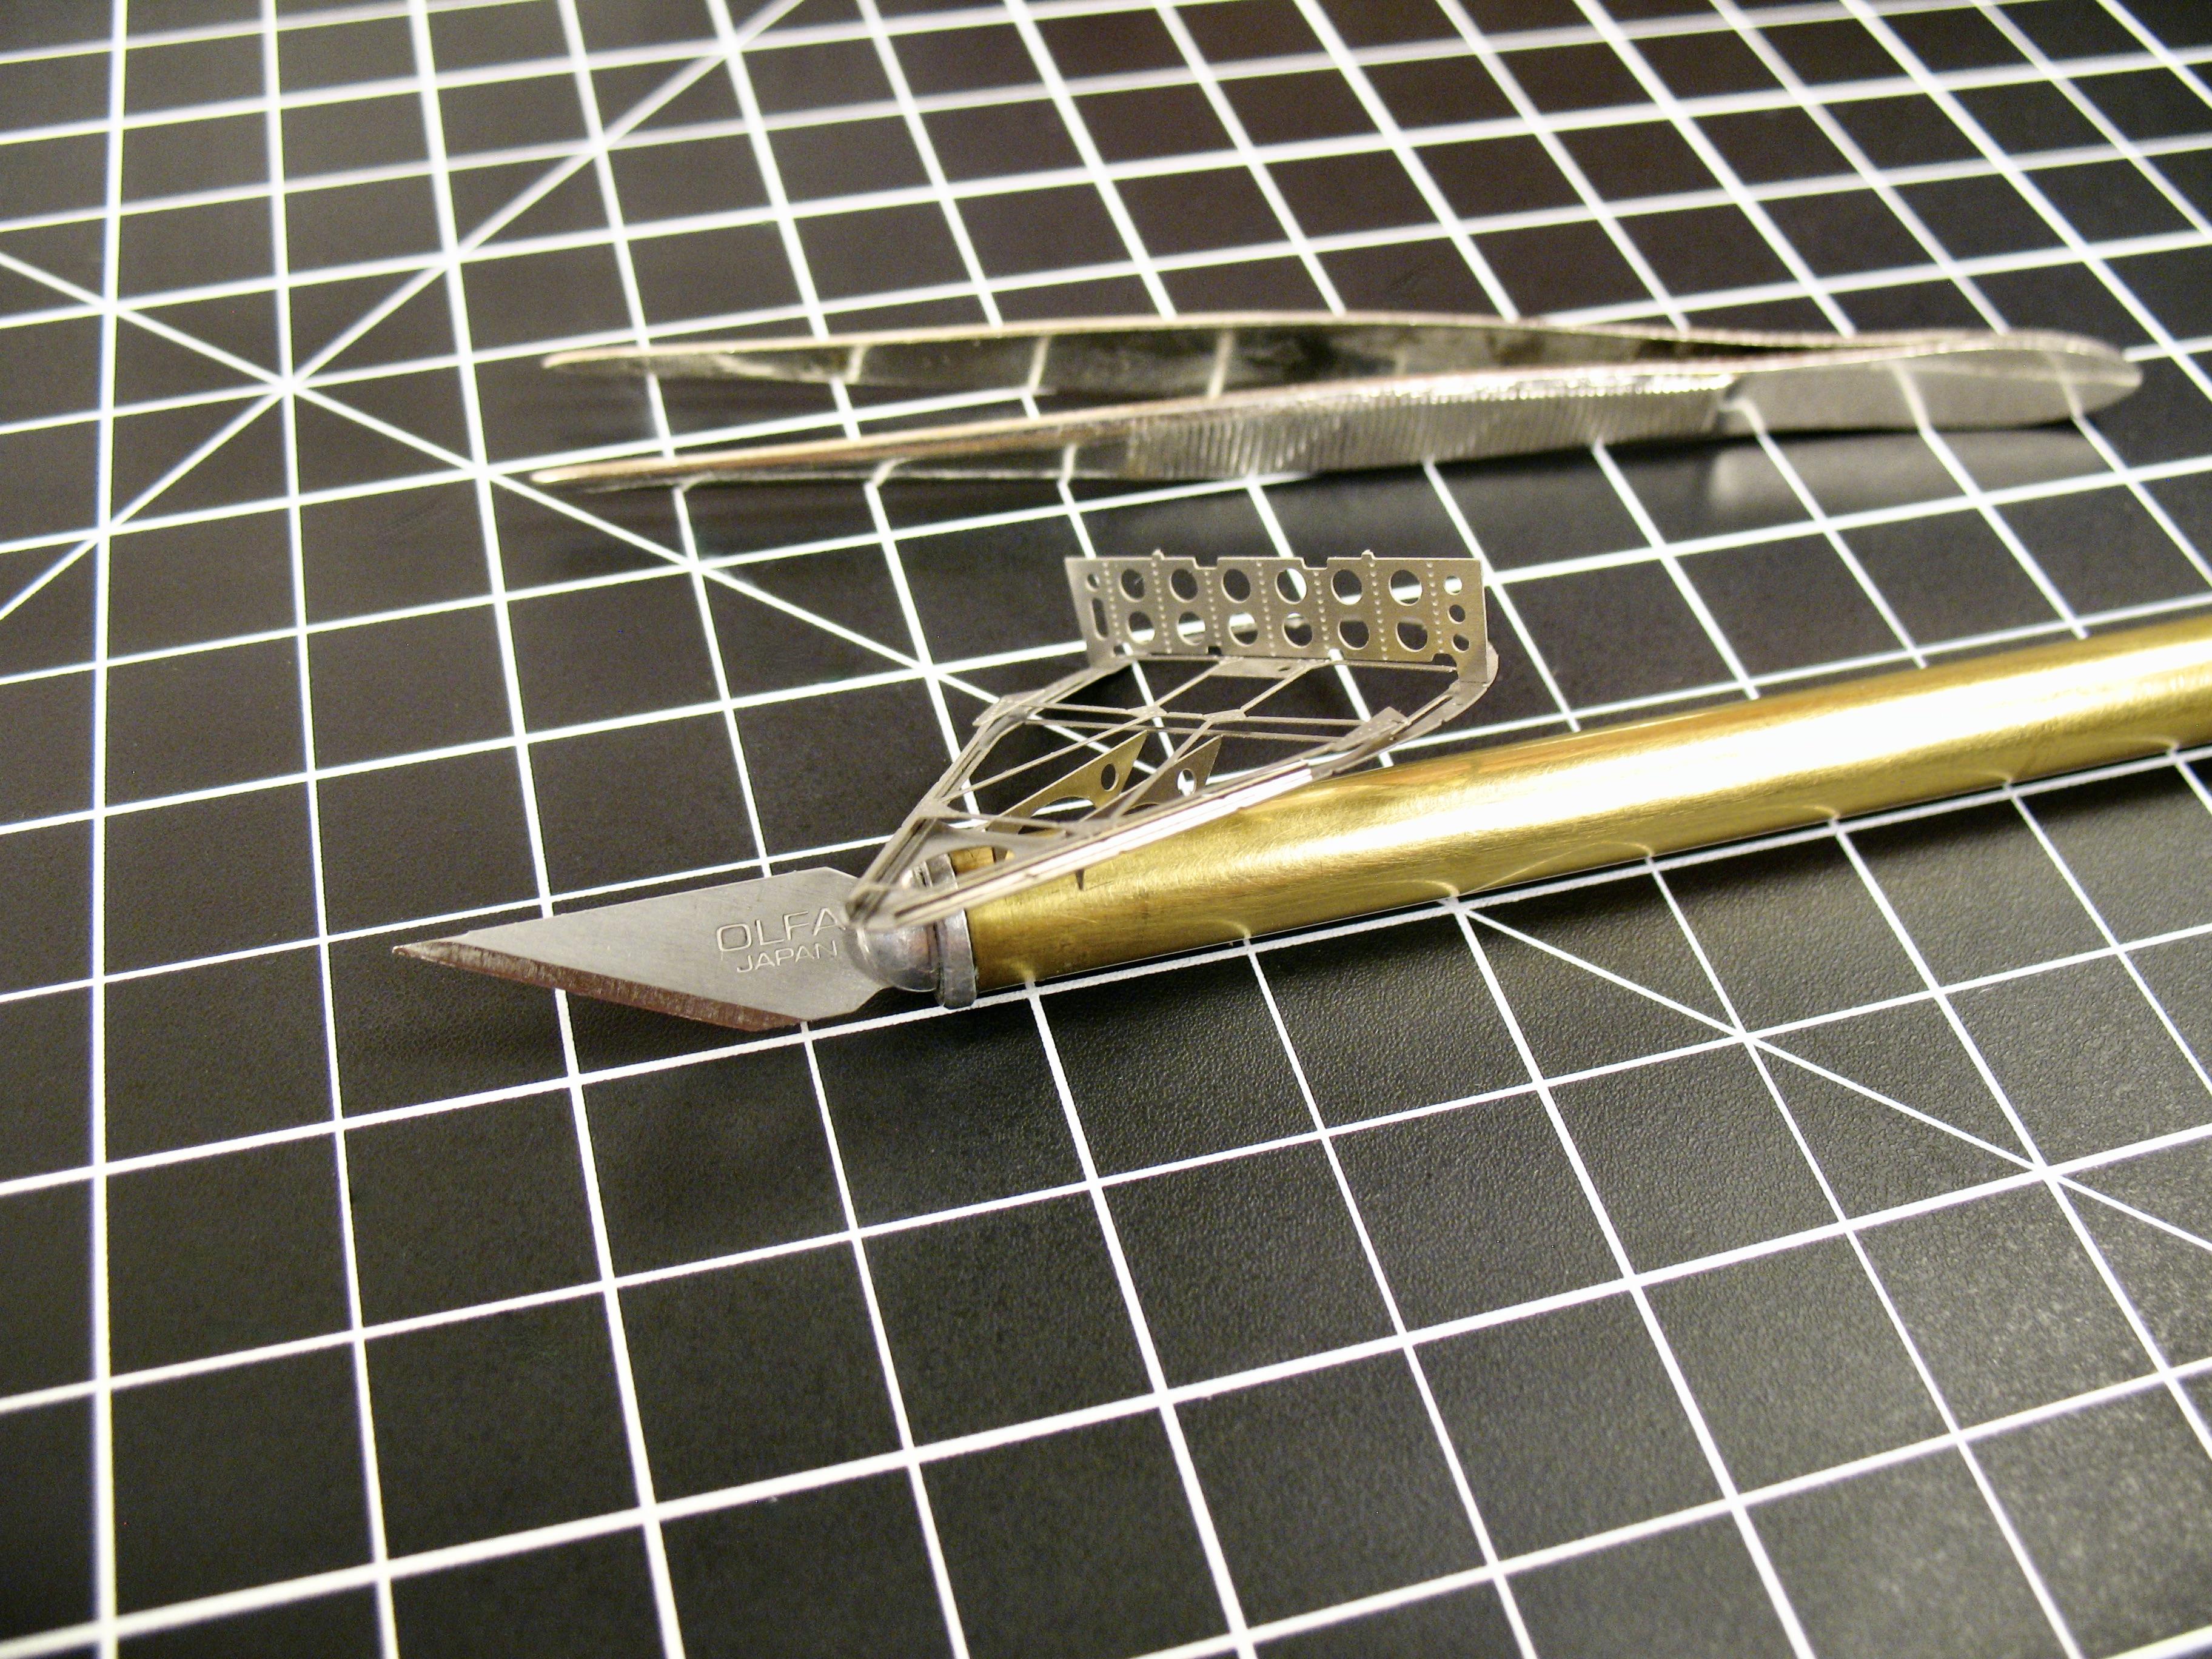
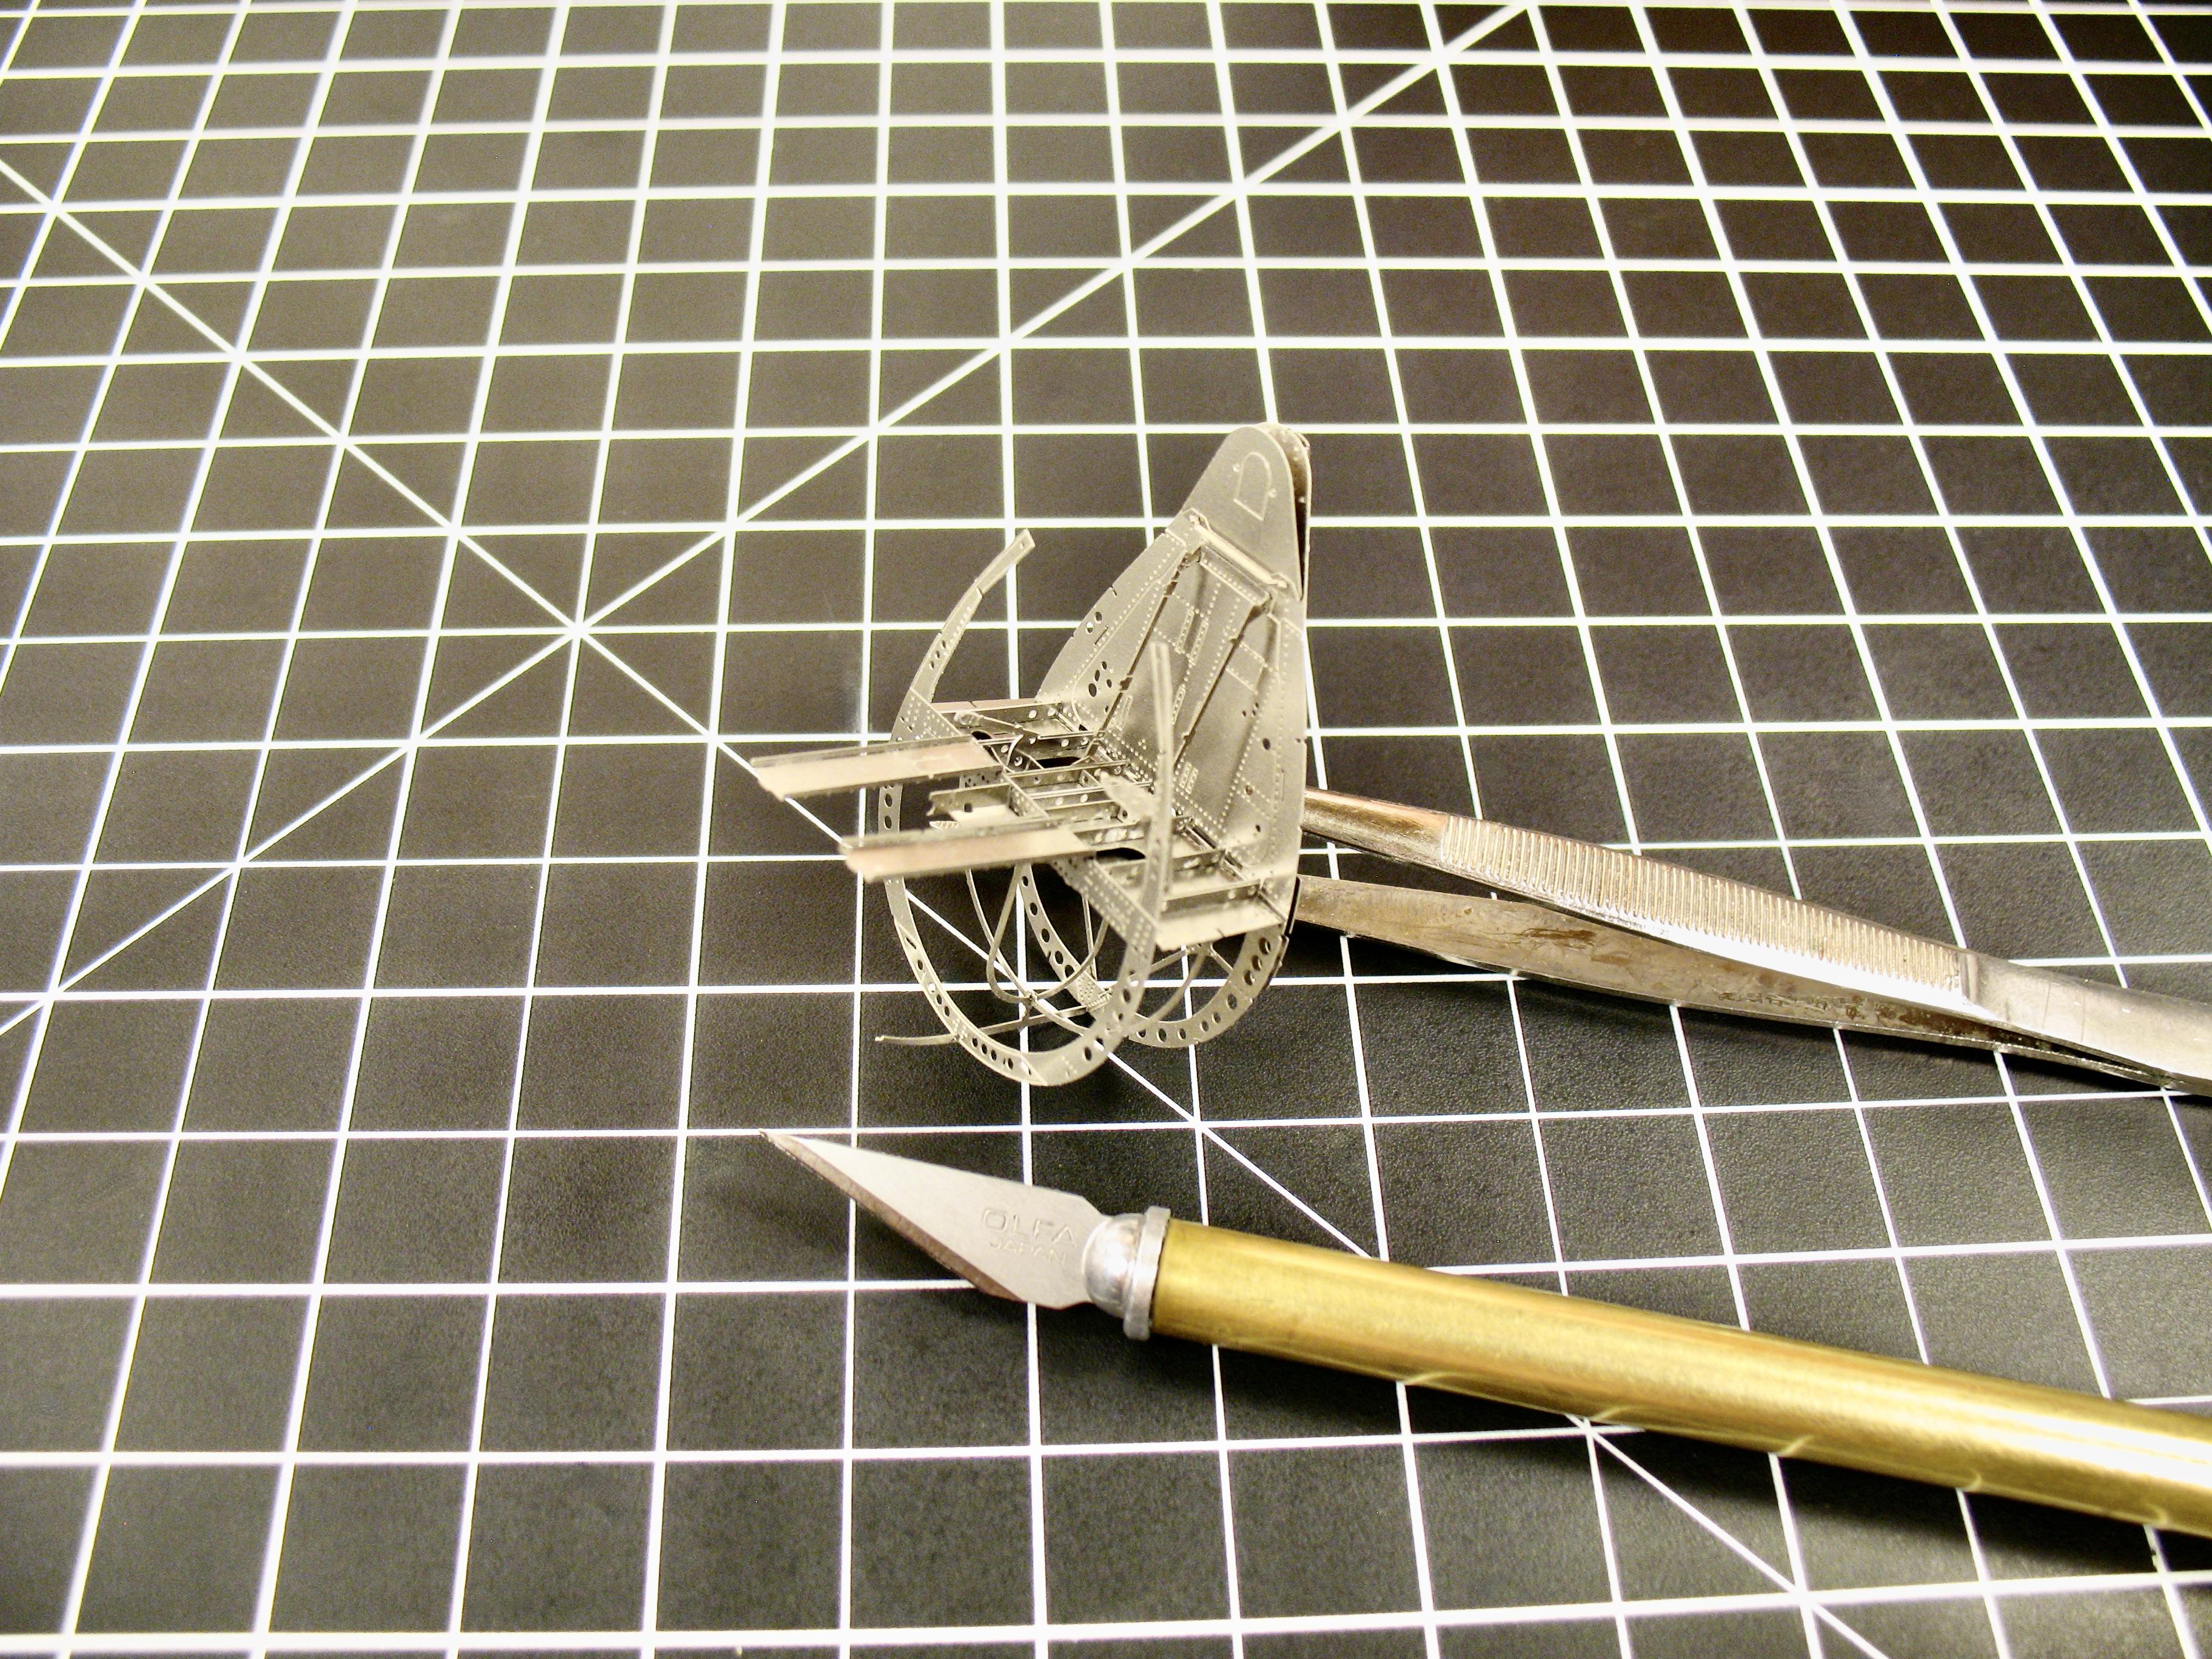
Some progress on this build. Slowly slowly is moving forward. This part probably the most difficult of the buid so far. I'm saying this because this part is the center part of the airplane, that goes under the cockpit, and will hold the landing gear. It needs to be perfectly alligned, so the rest of the fuselage can be fit on it, also wings and engine. One of the tricky parts was to bend the parts for the frame on the wings, because the wings are not straight at least on the rear part. The flaps are in place too, and thy are movable.
-
Grumman F6F-5 Hellcat
Brizio replied to Brizio's topic in WIP: All The Rest: Motorcycles, Aviation, Military, Sci-Fi, Figures
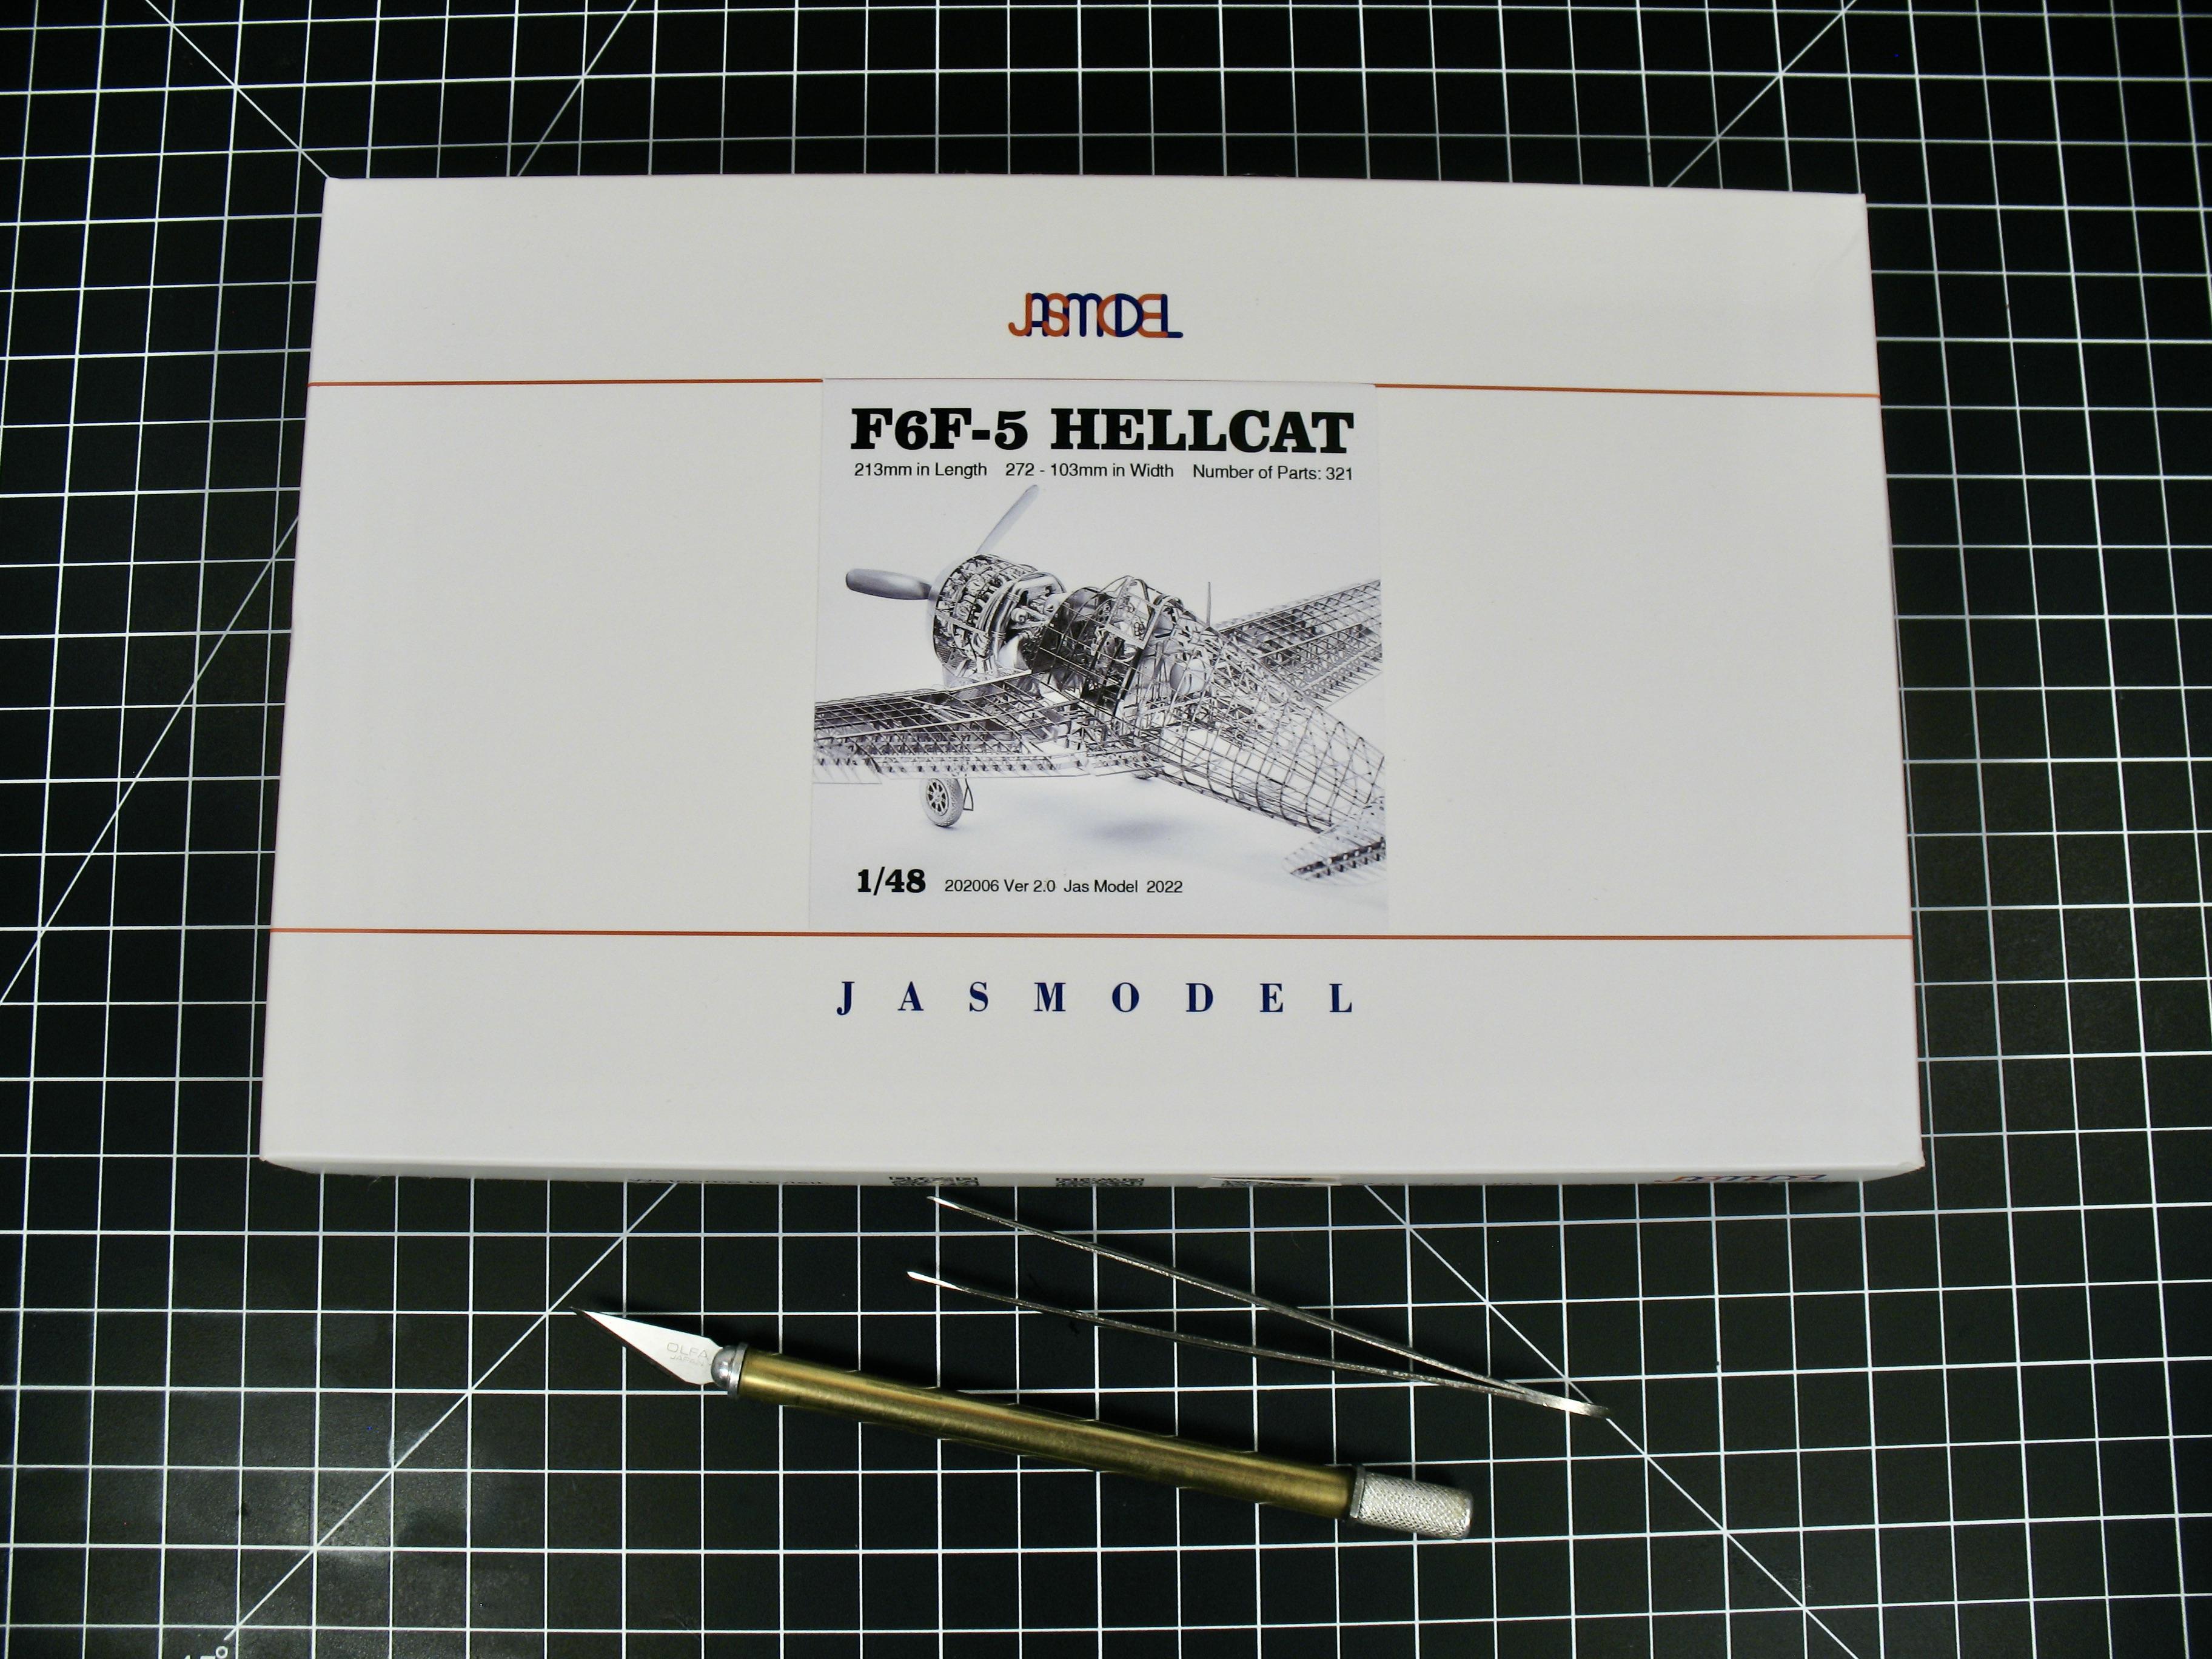
I was very impressed about the parts, also because they didn't send out only the engine, like I thought. But they update more parts. Recently I got few books about the Grumman F6F, because I was thinking to add some details, since the kit allow you to see trough. I haven't look a the books yet, but I will post photo a soon I'll do. Thanks for the confidence, you will judge when it is done! -
More work on the body.
-
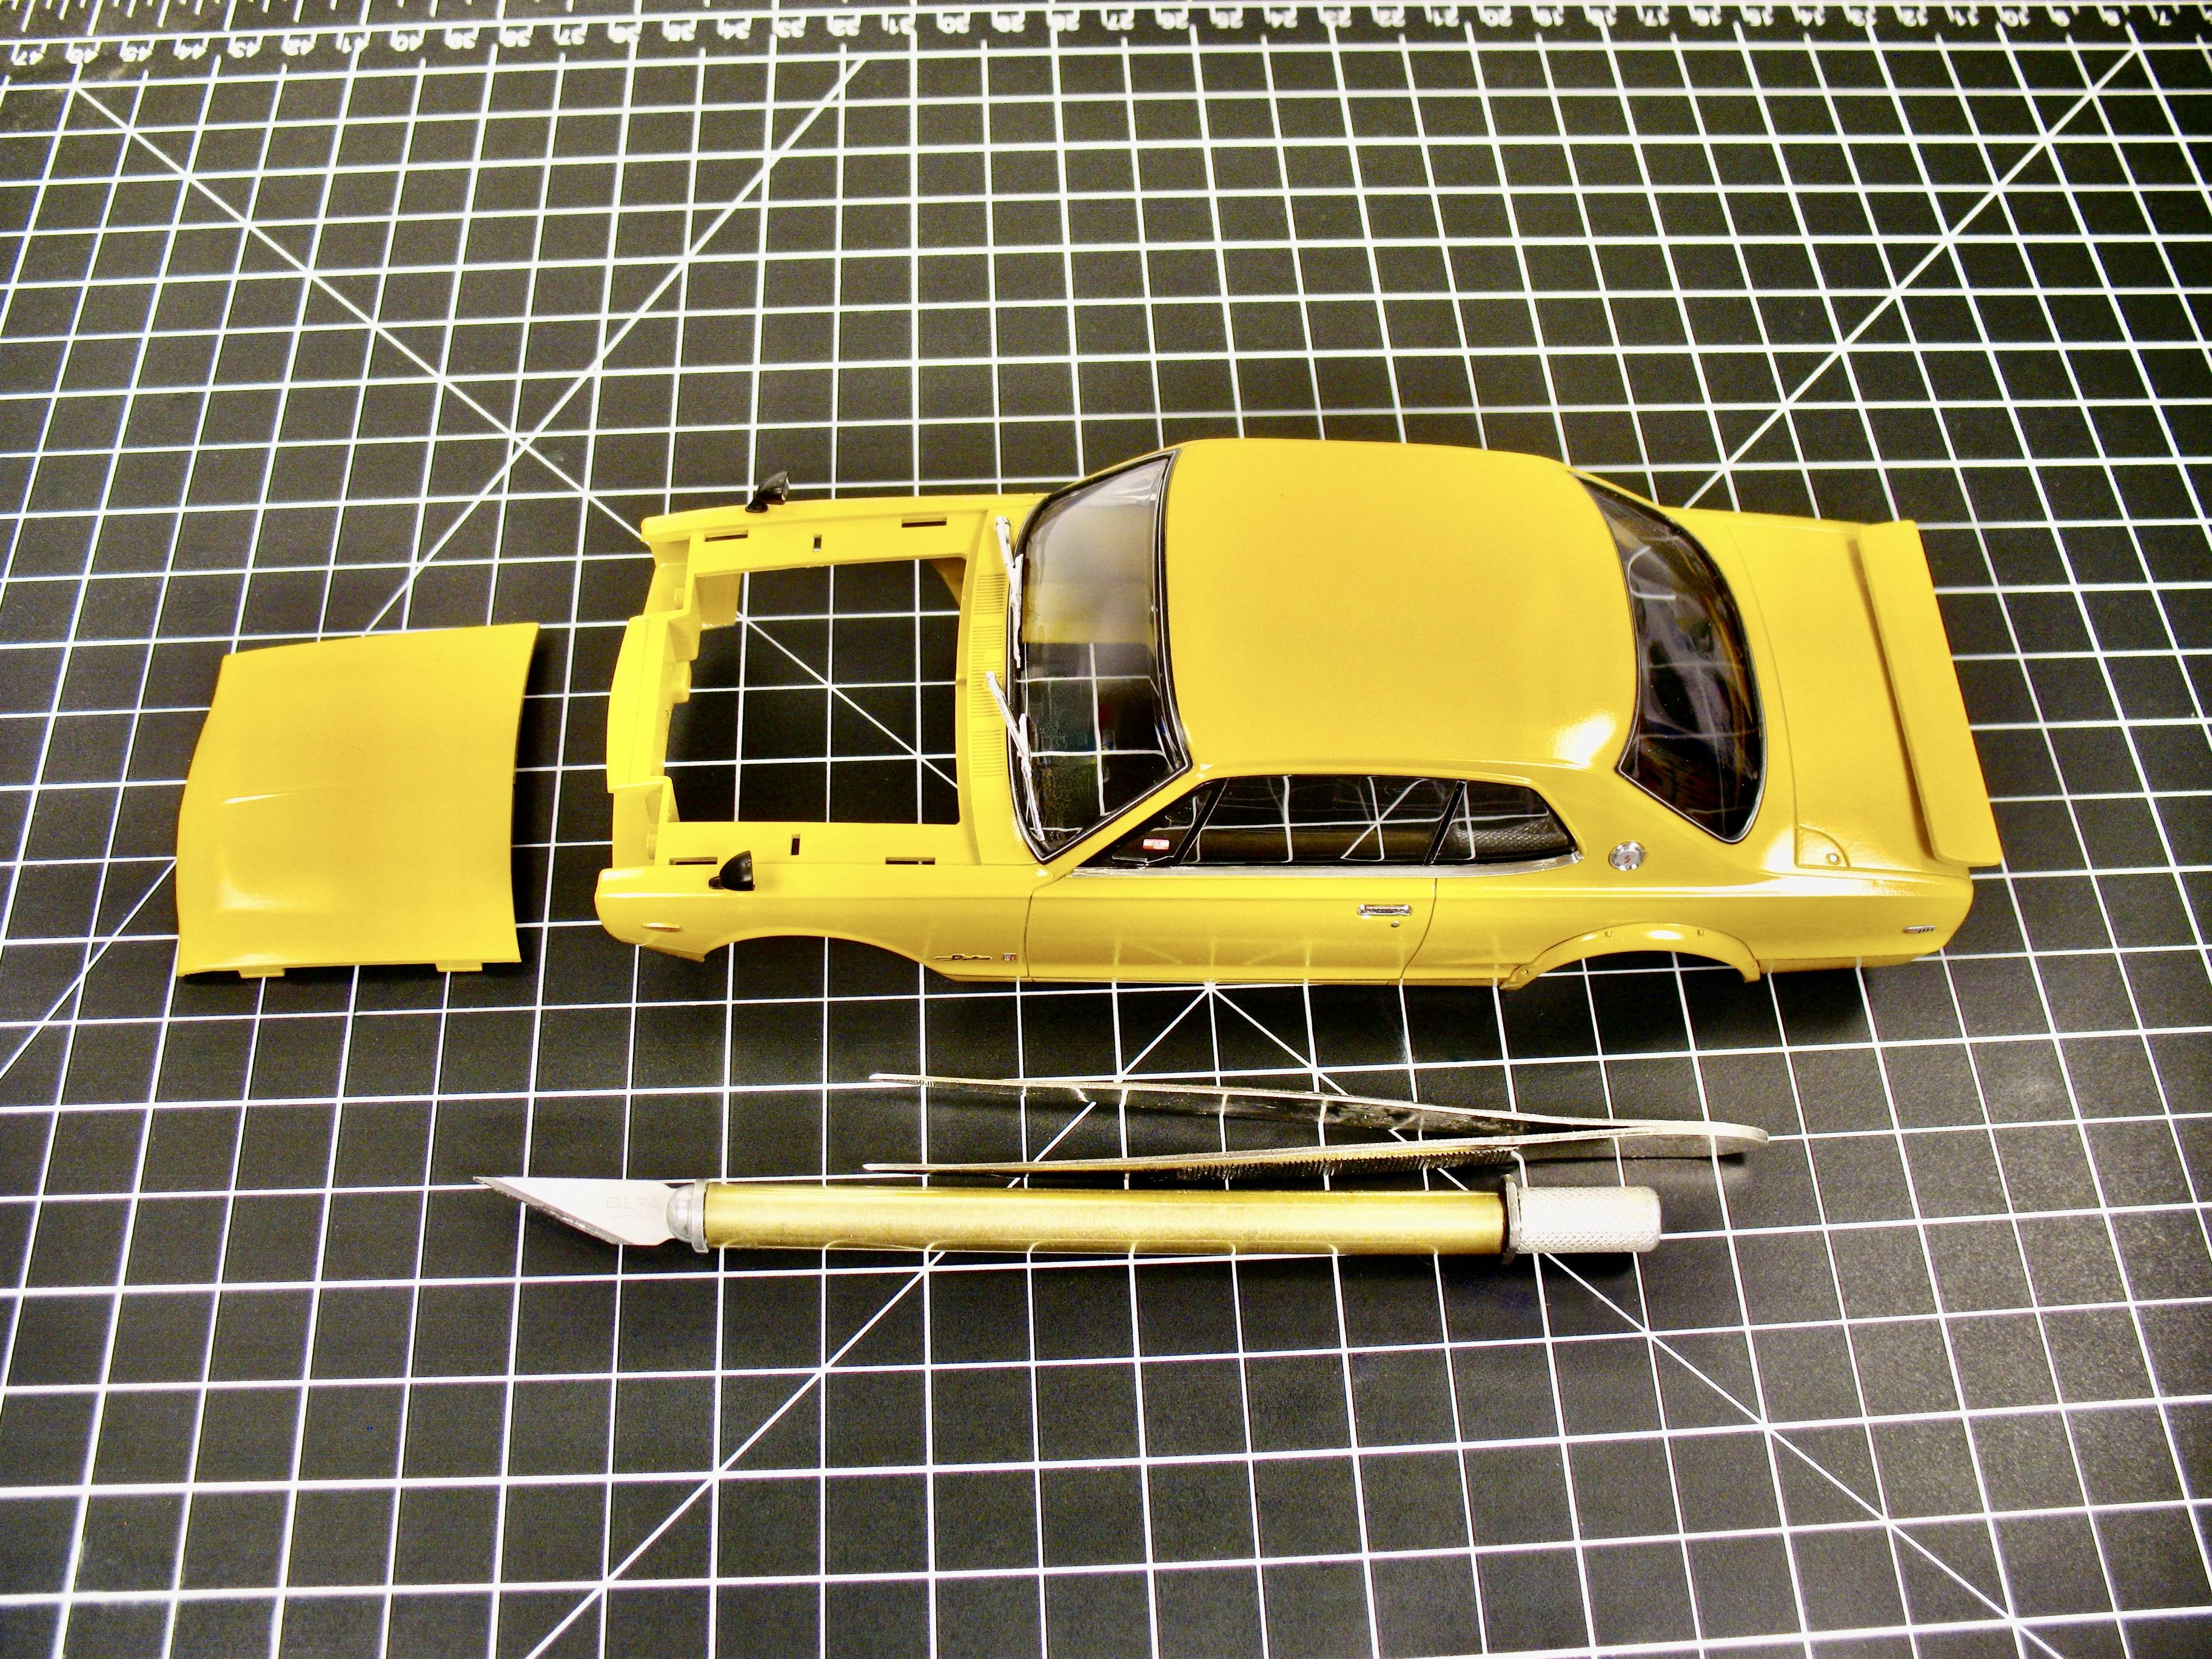
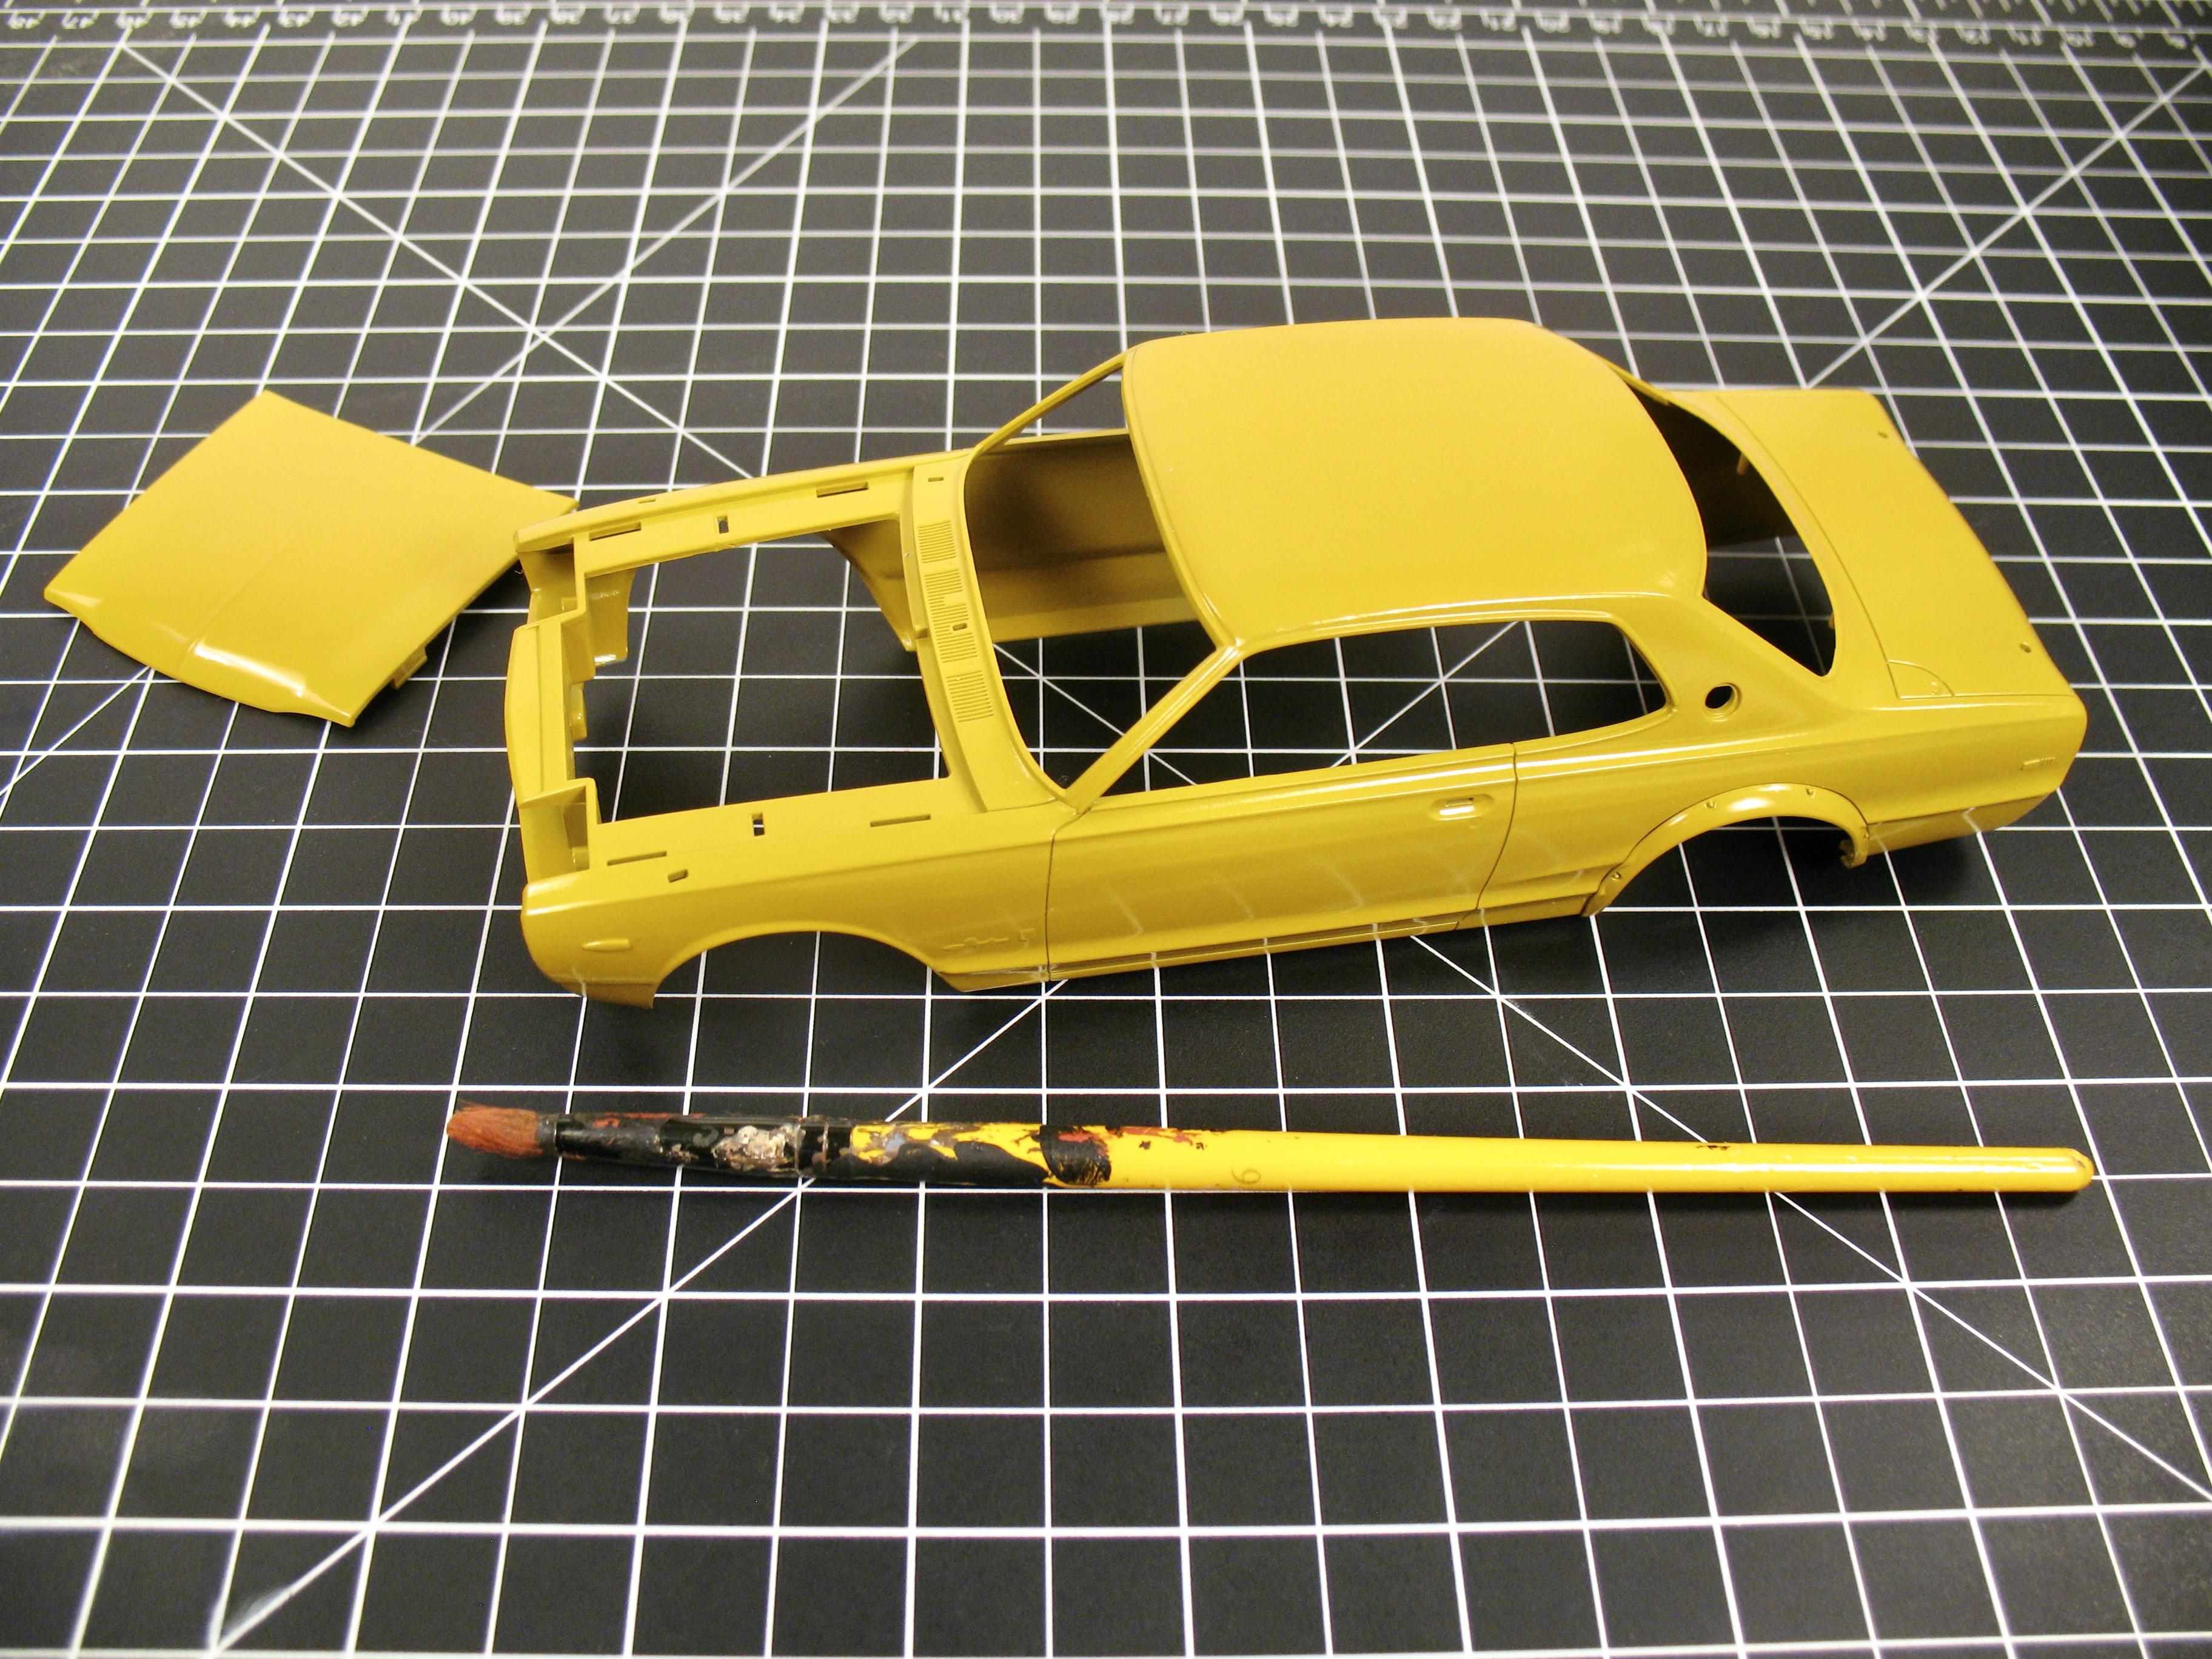
The body of the car is in silver color, looks great, and can be light sanded and clearcoted. But I was looking some option, and find out that they offer a rich yellow from the factory.... The body painted in yellow.
-
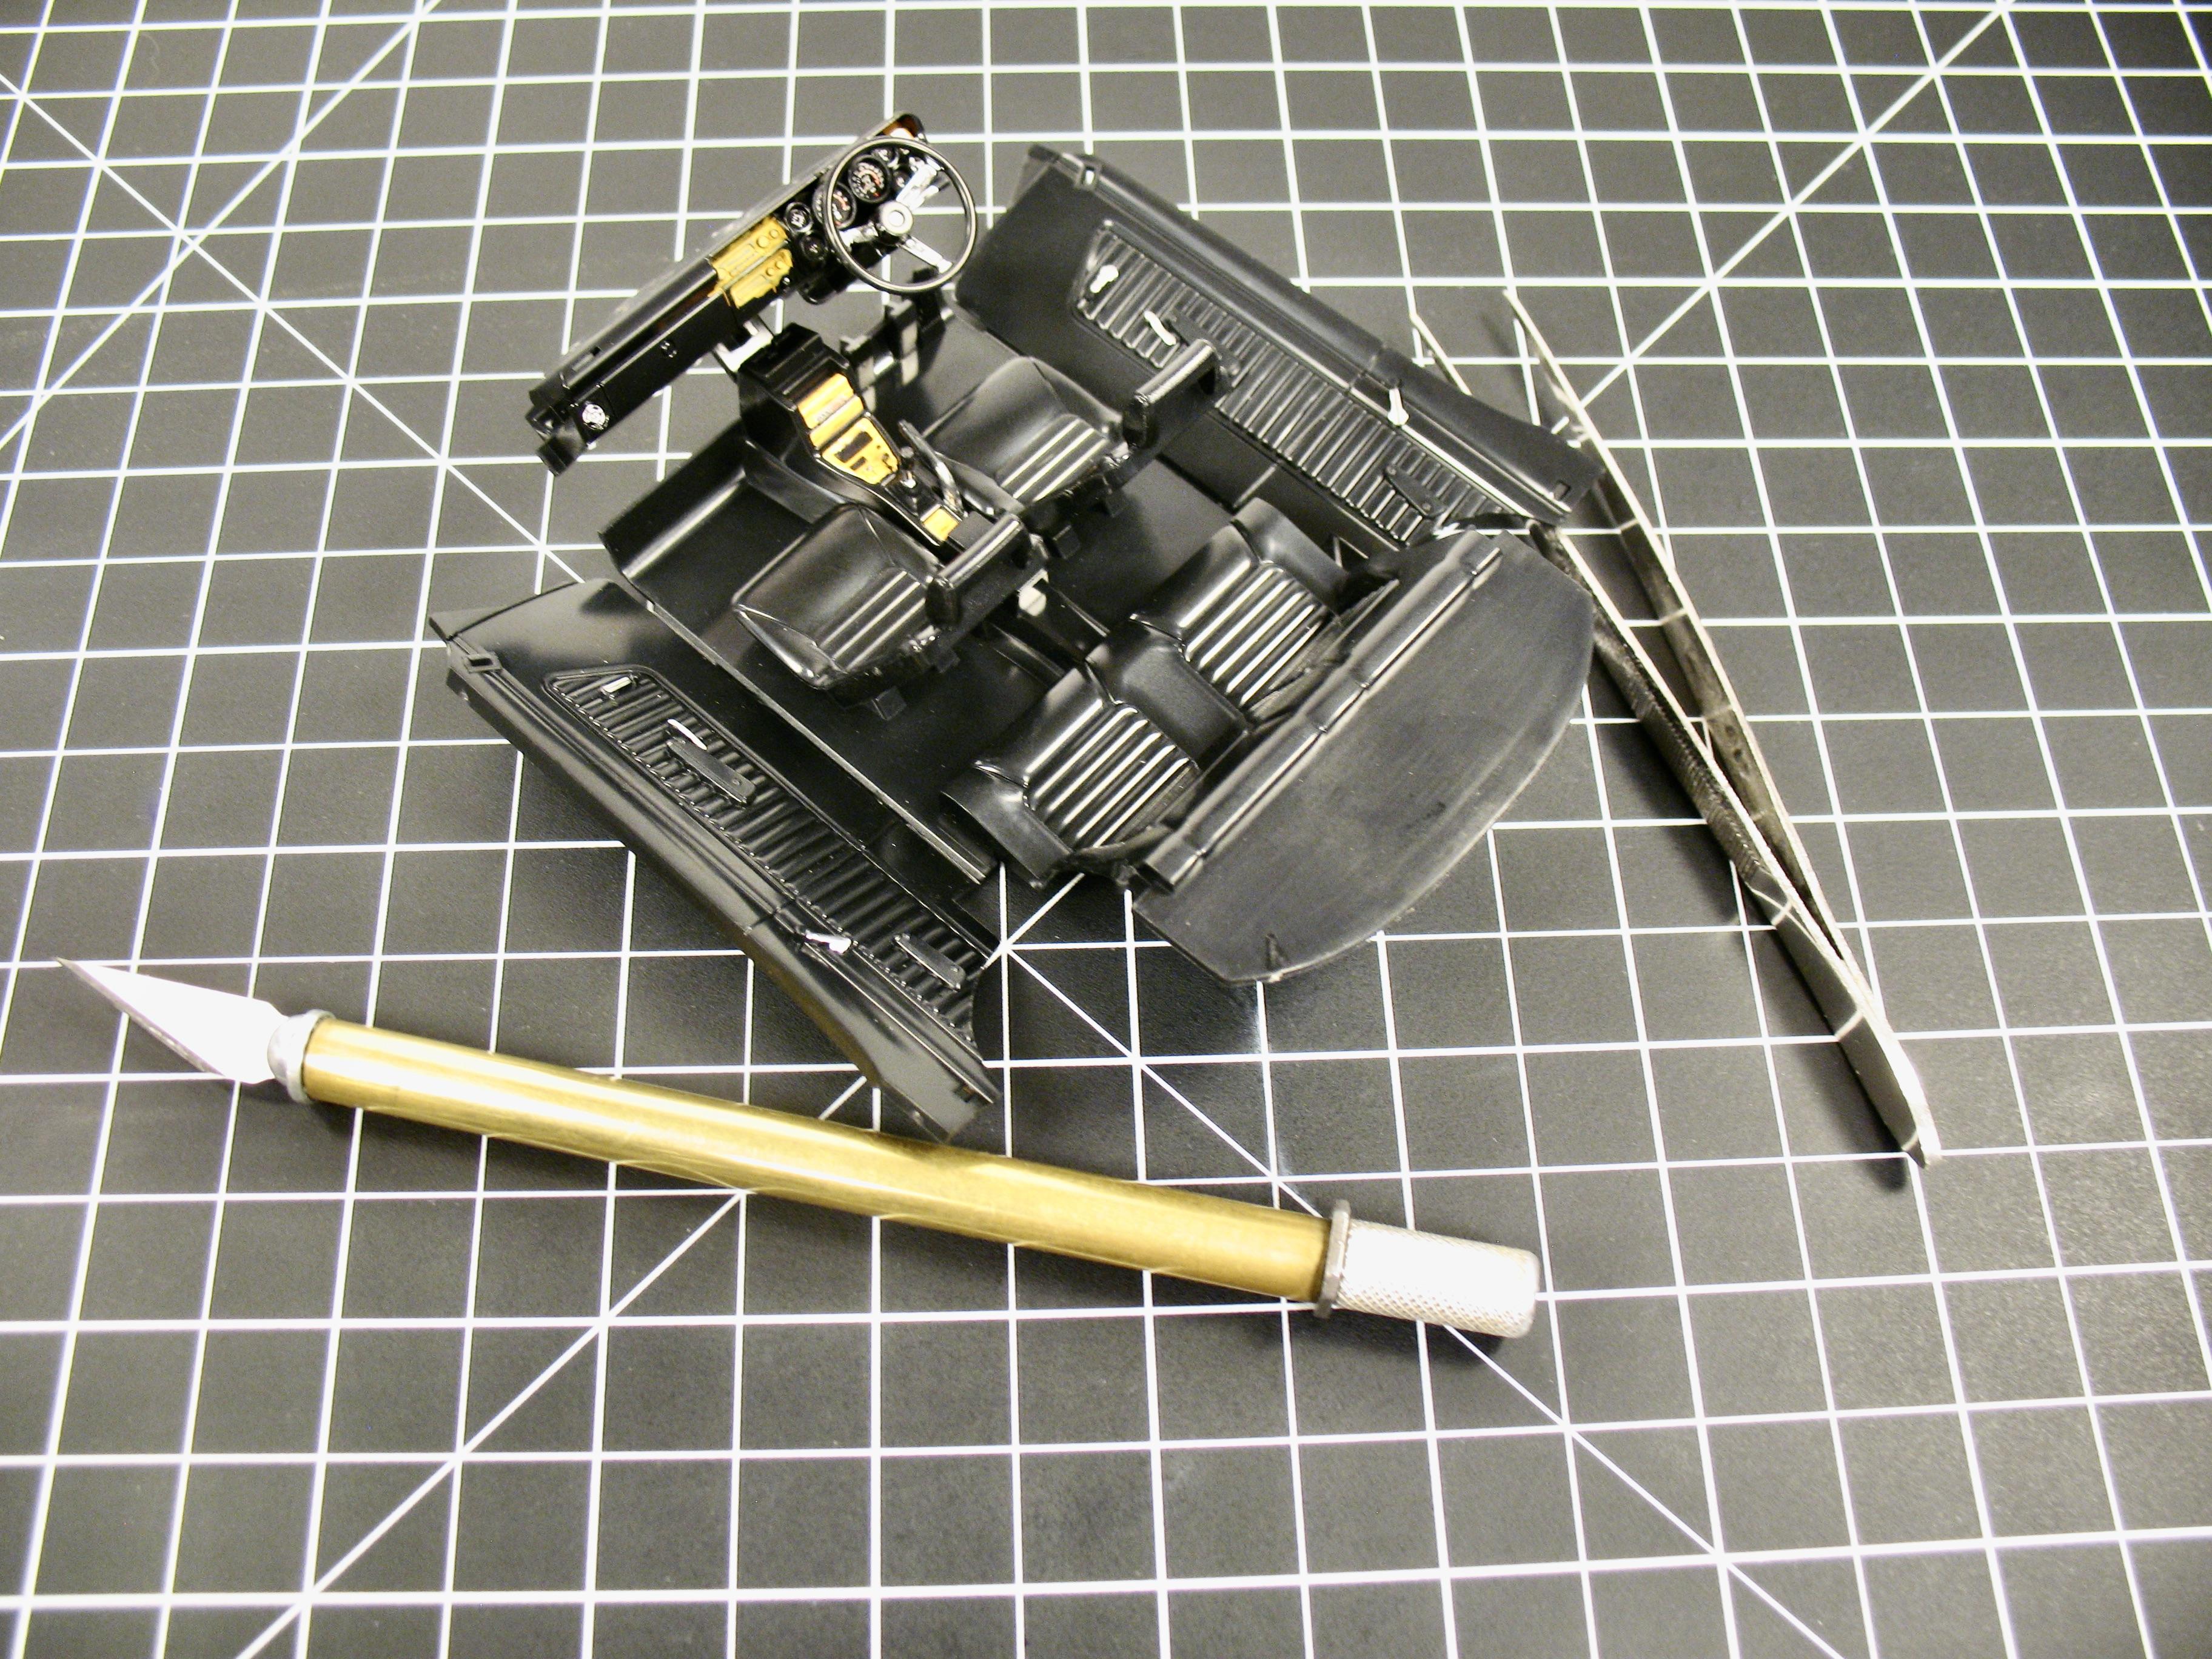
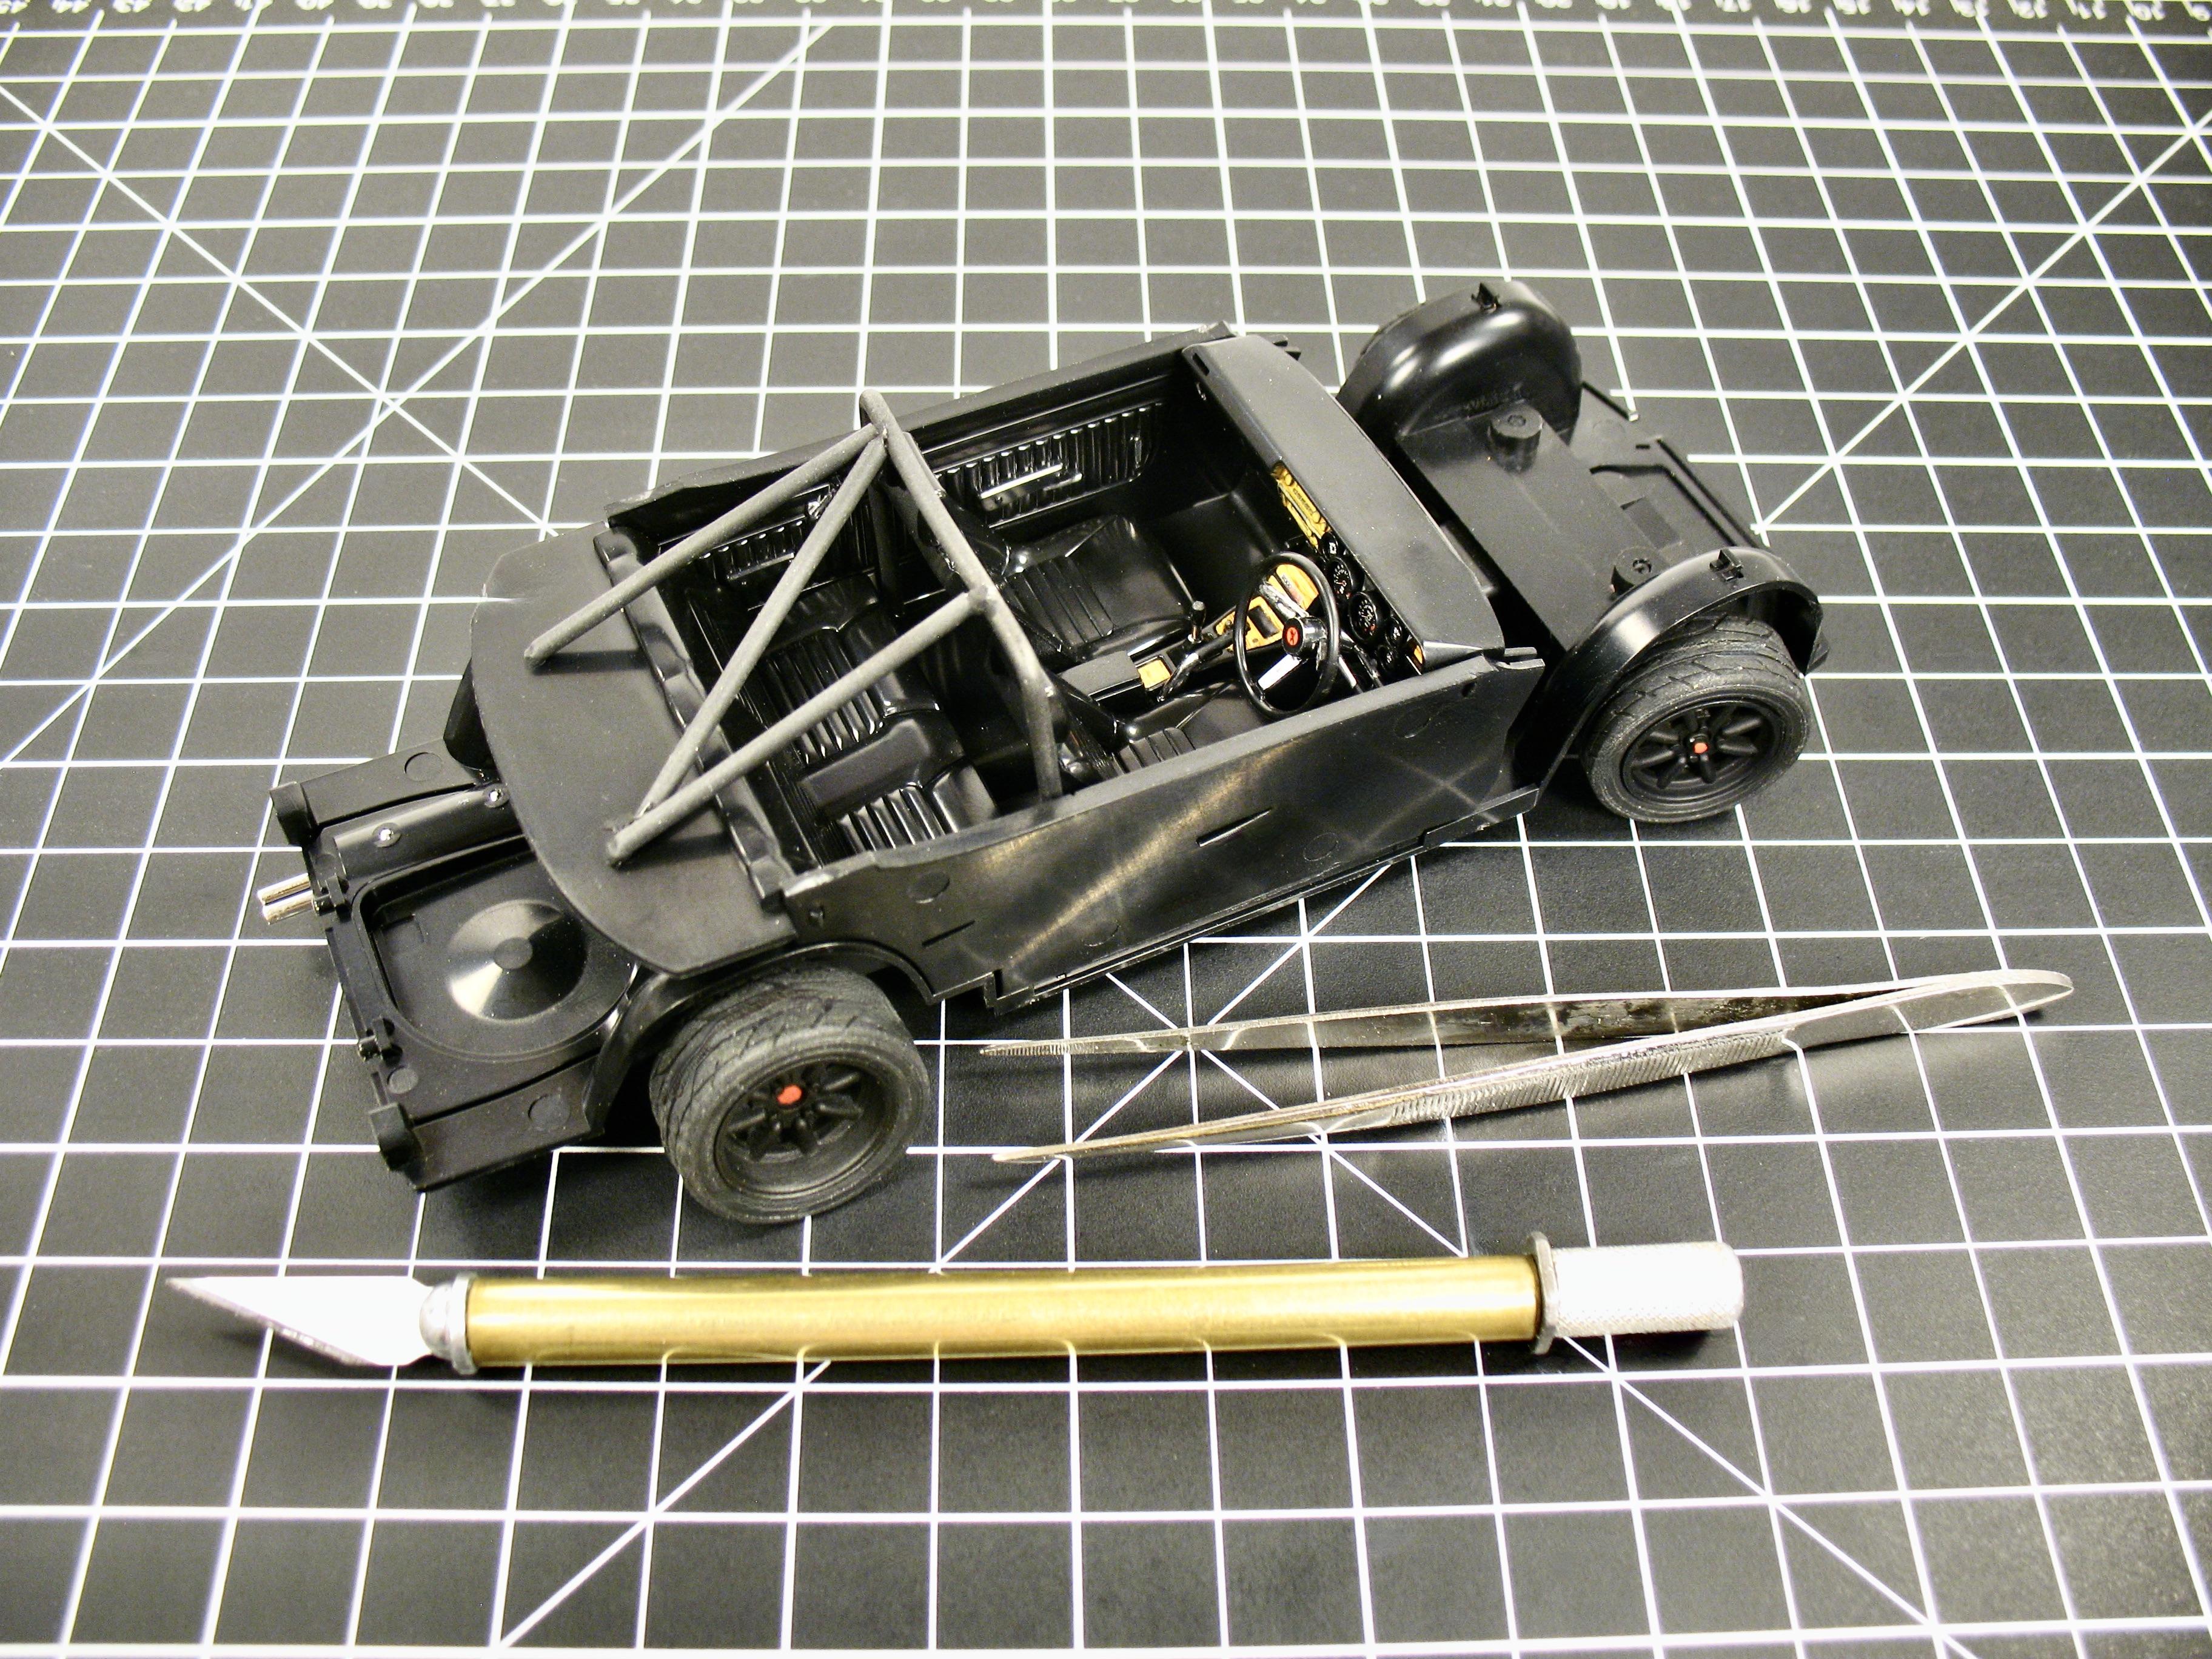
The interior Interior installed, also made a rollbar.
-
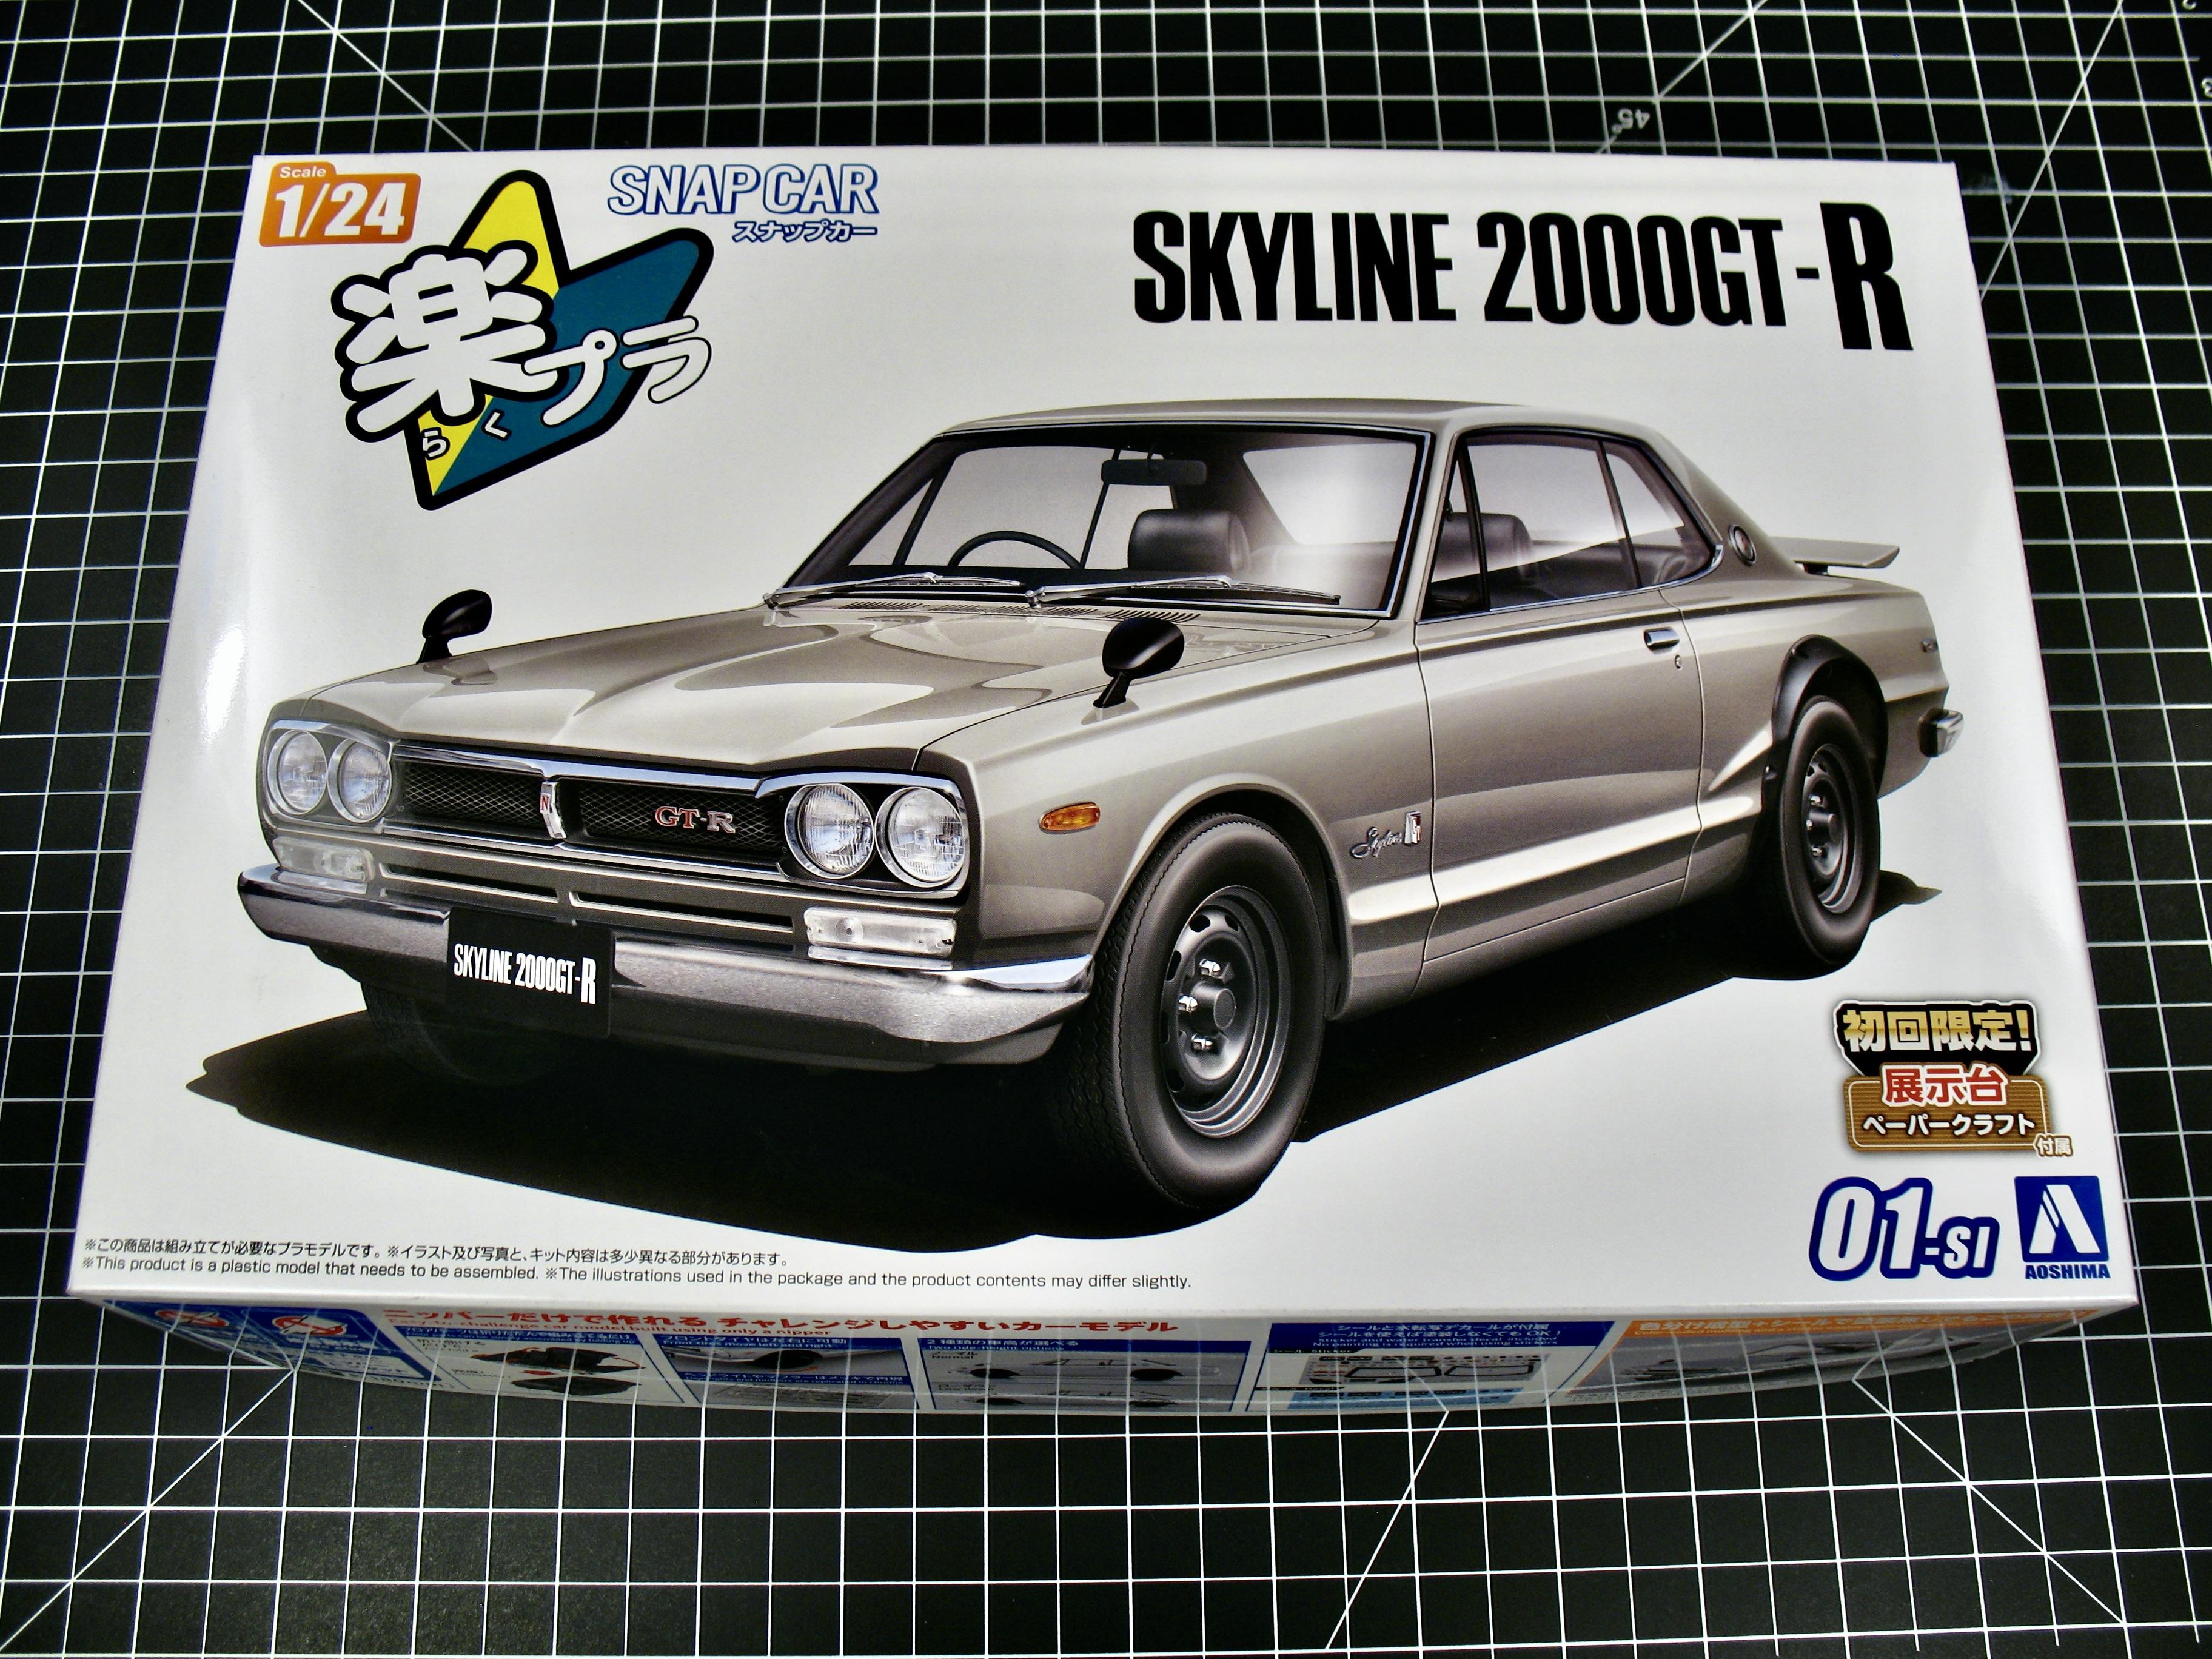
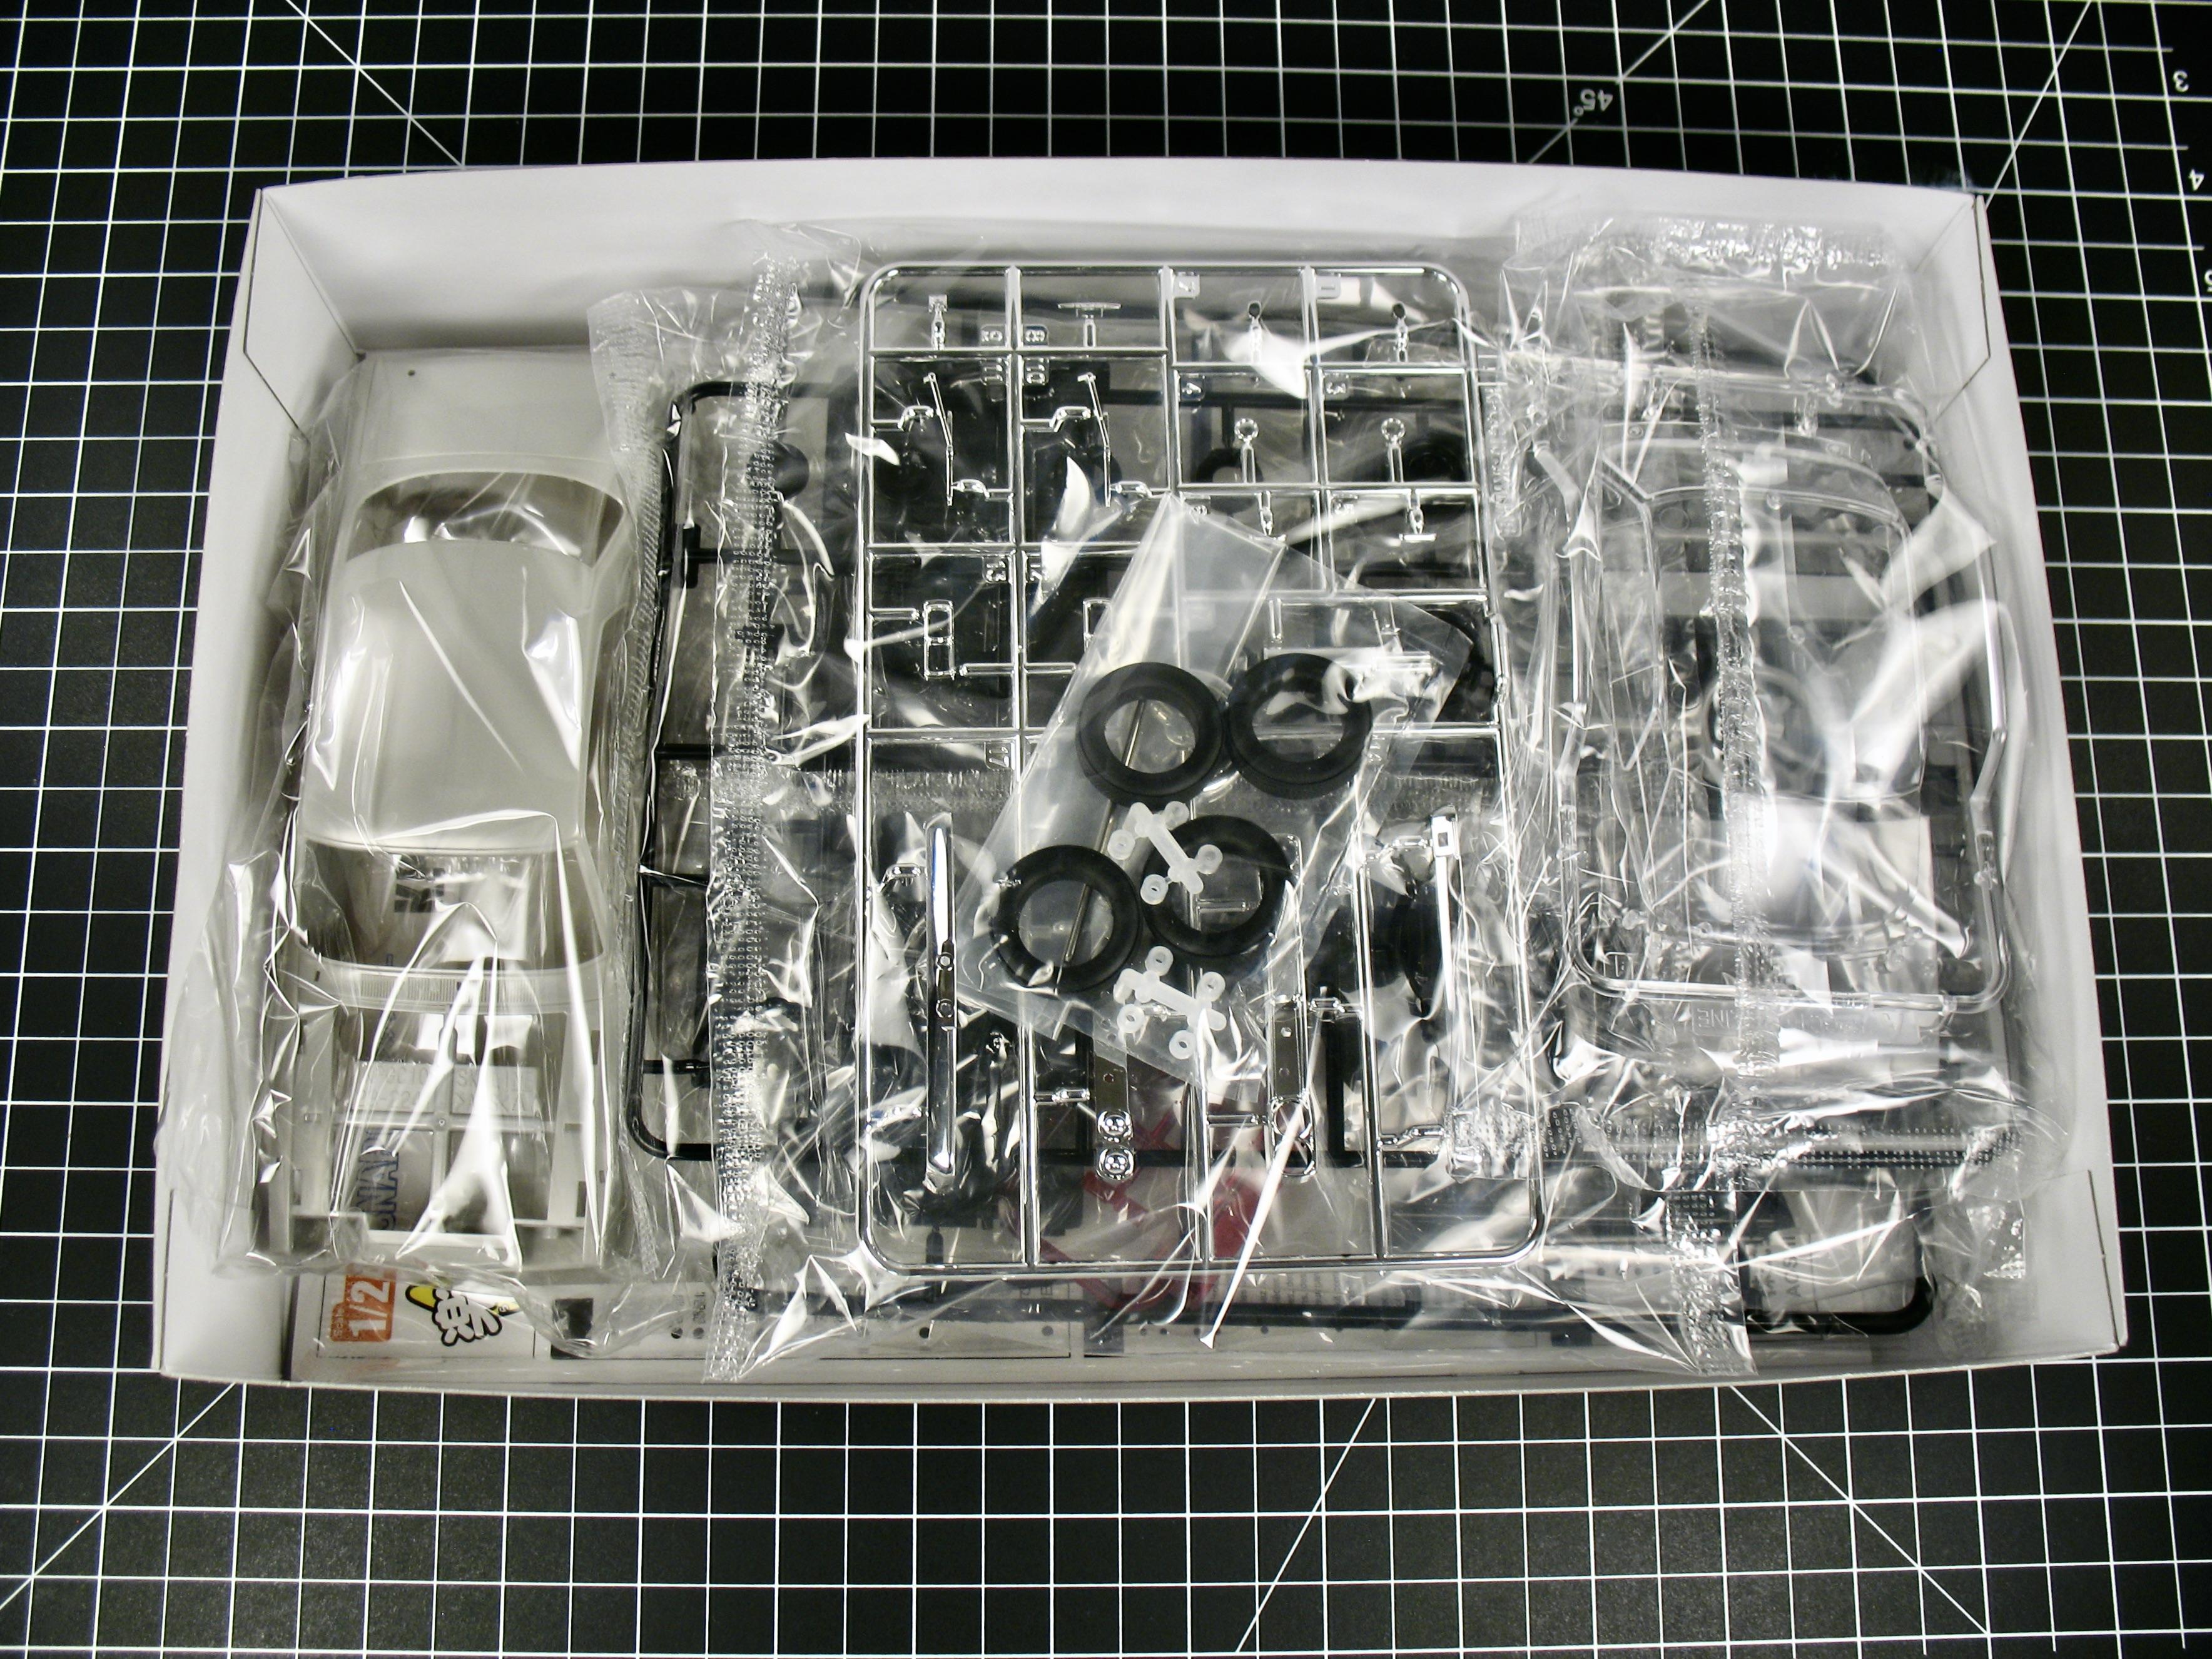
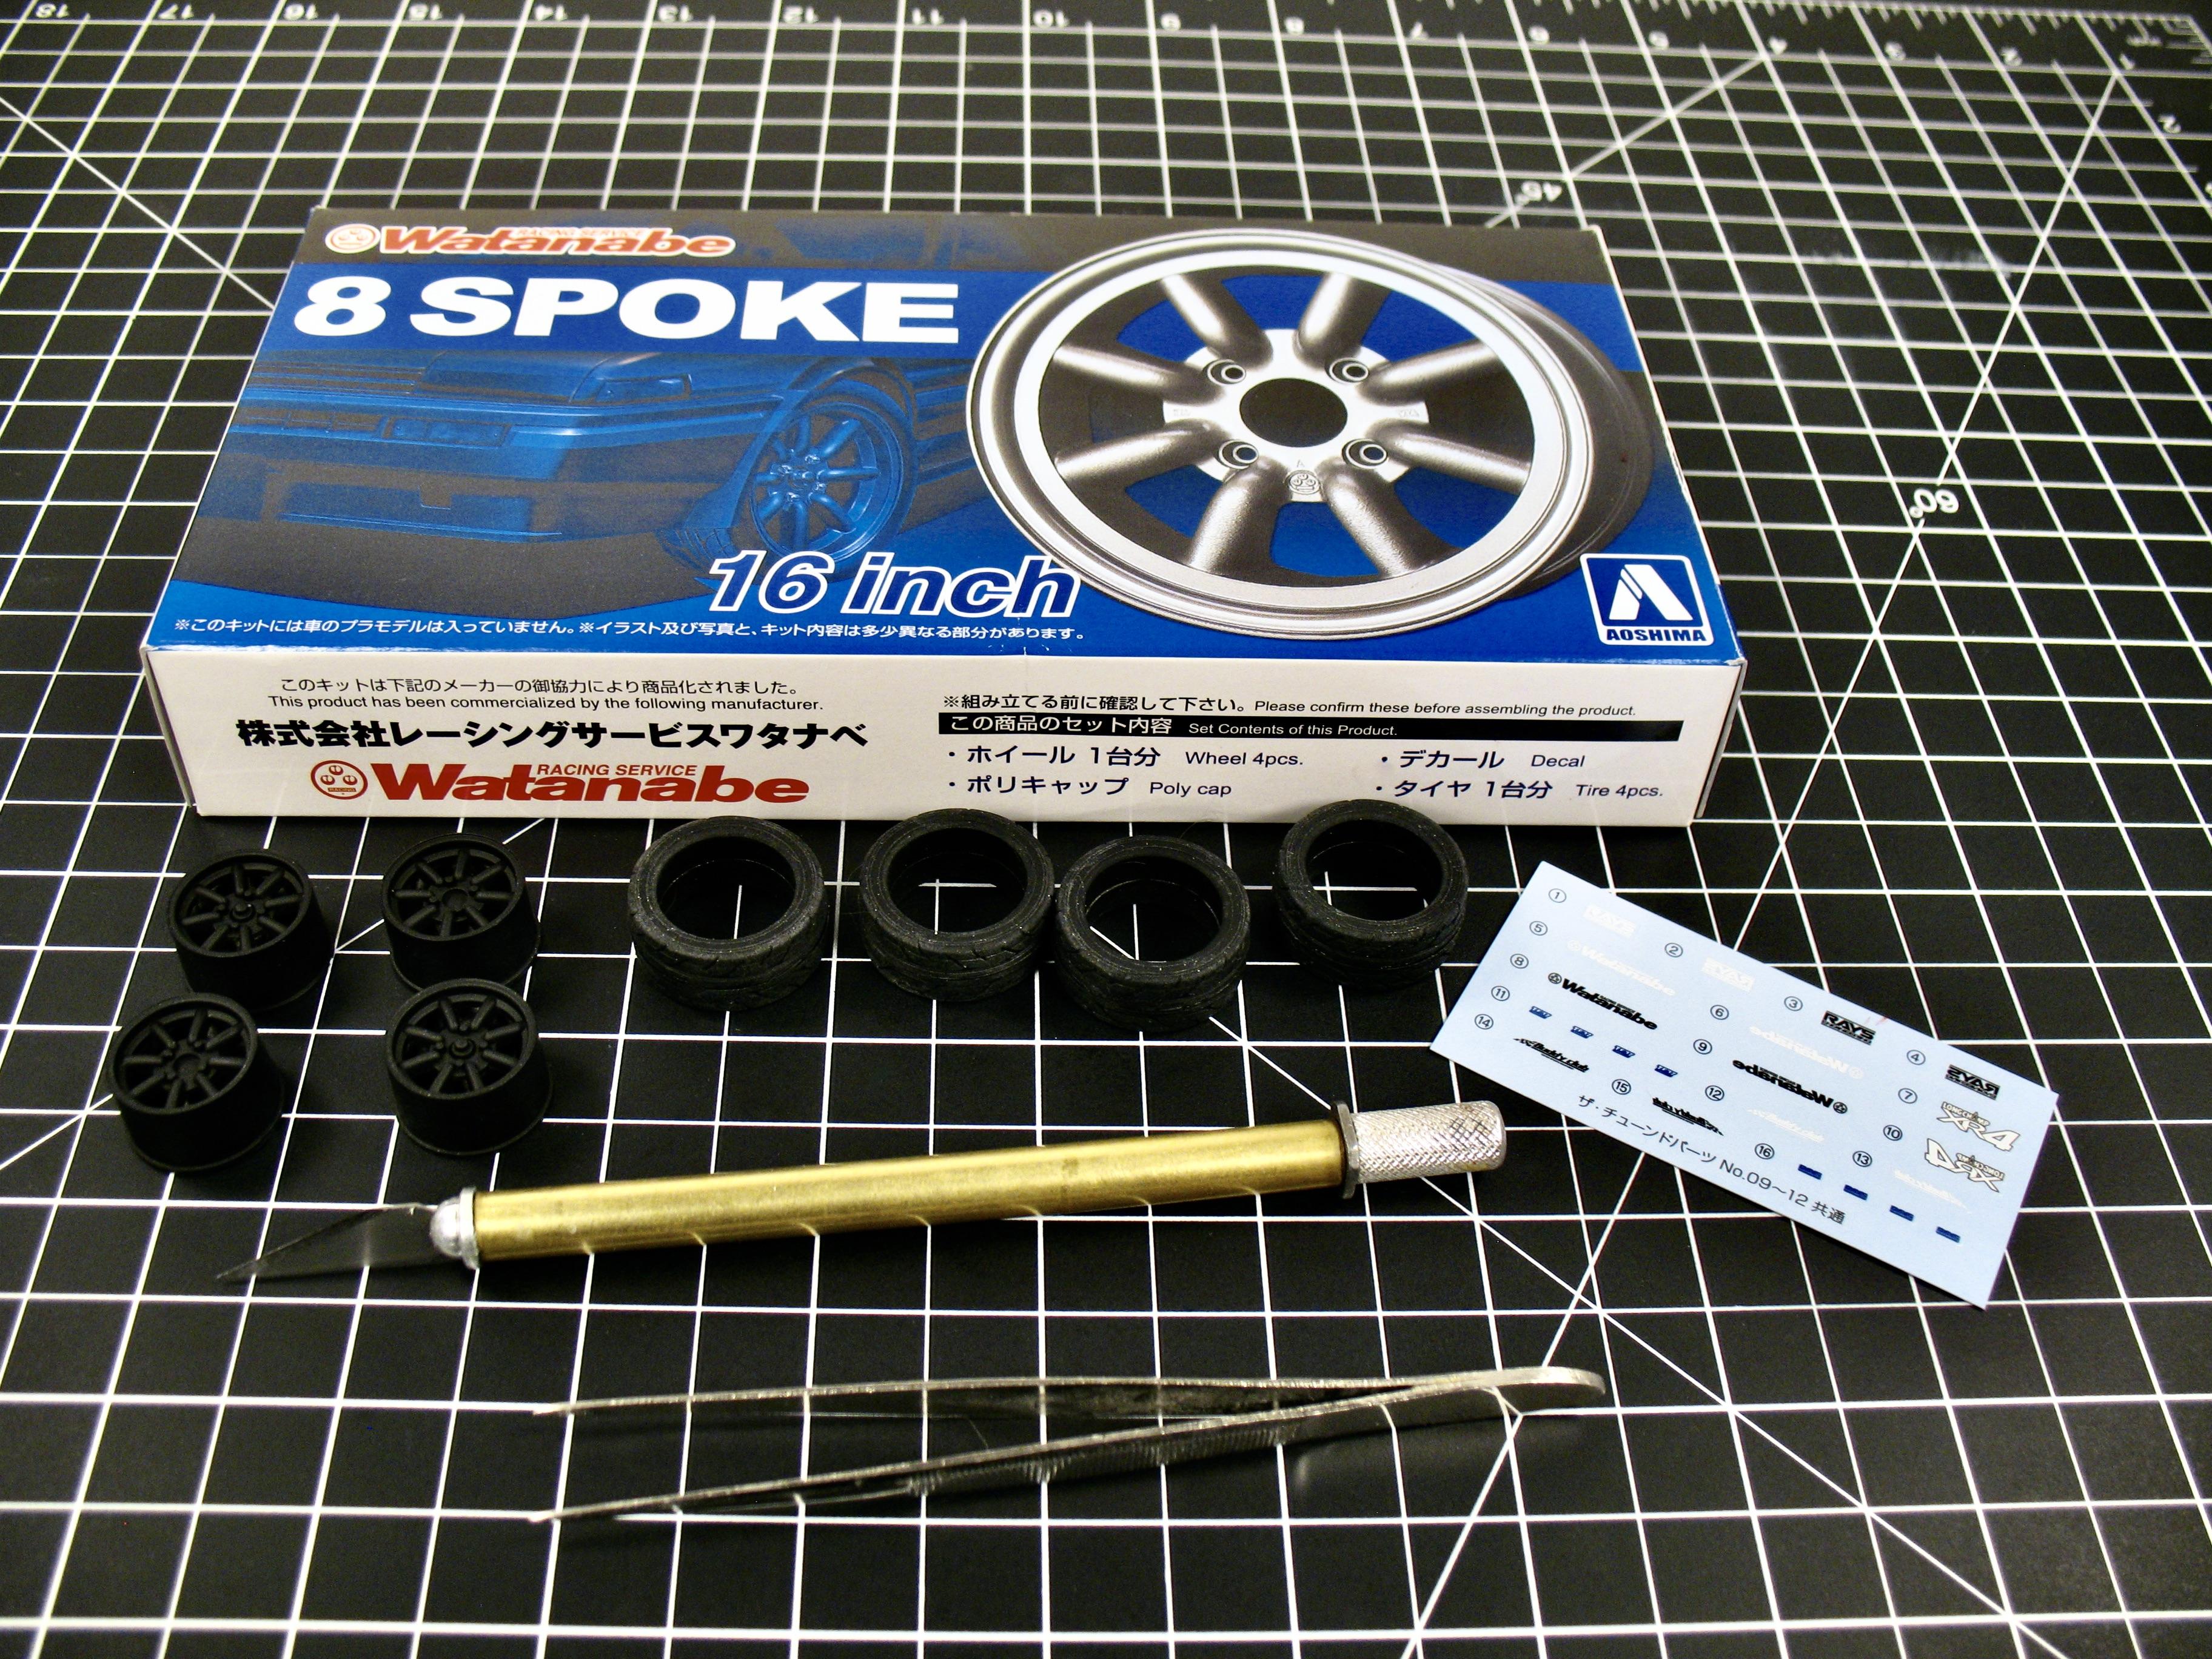
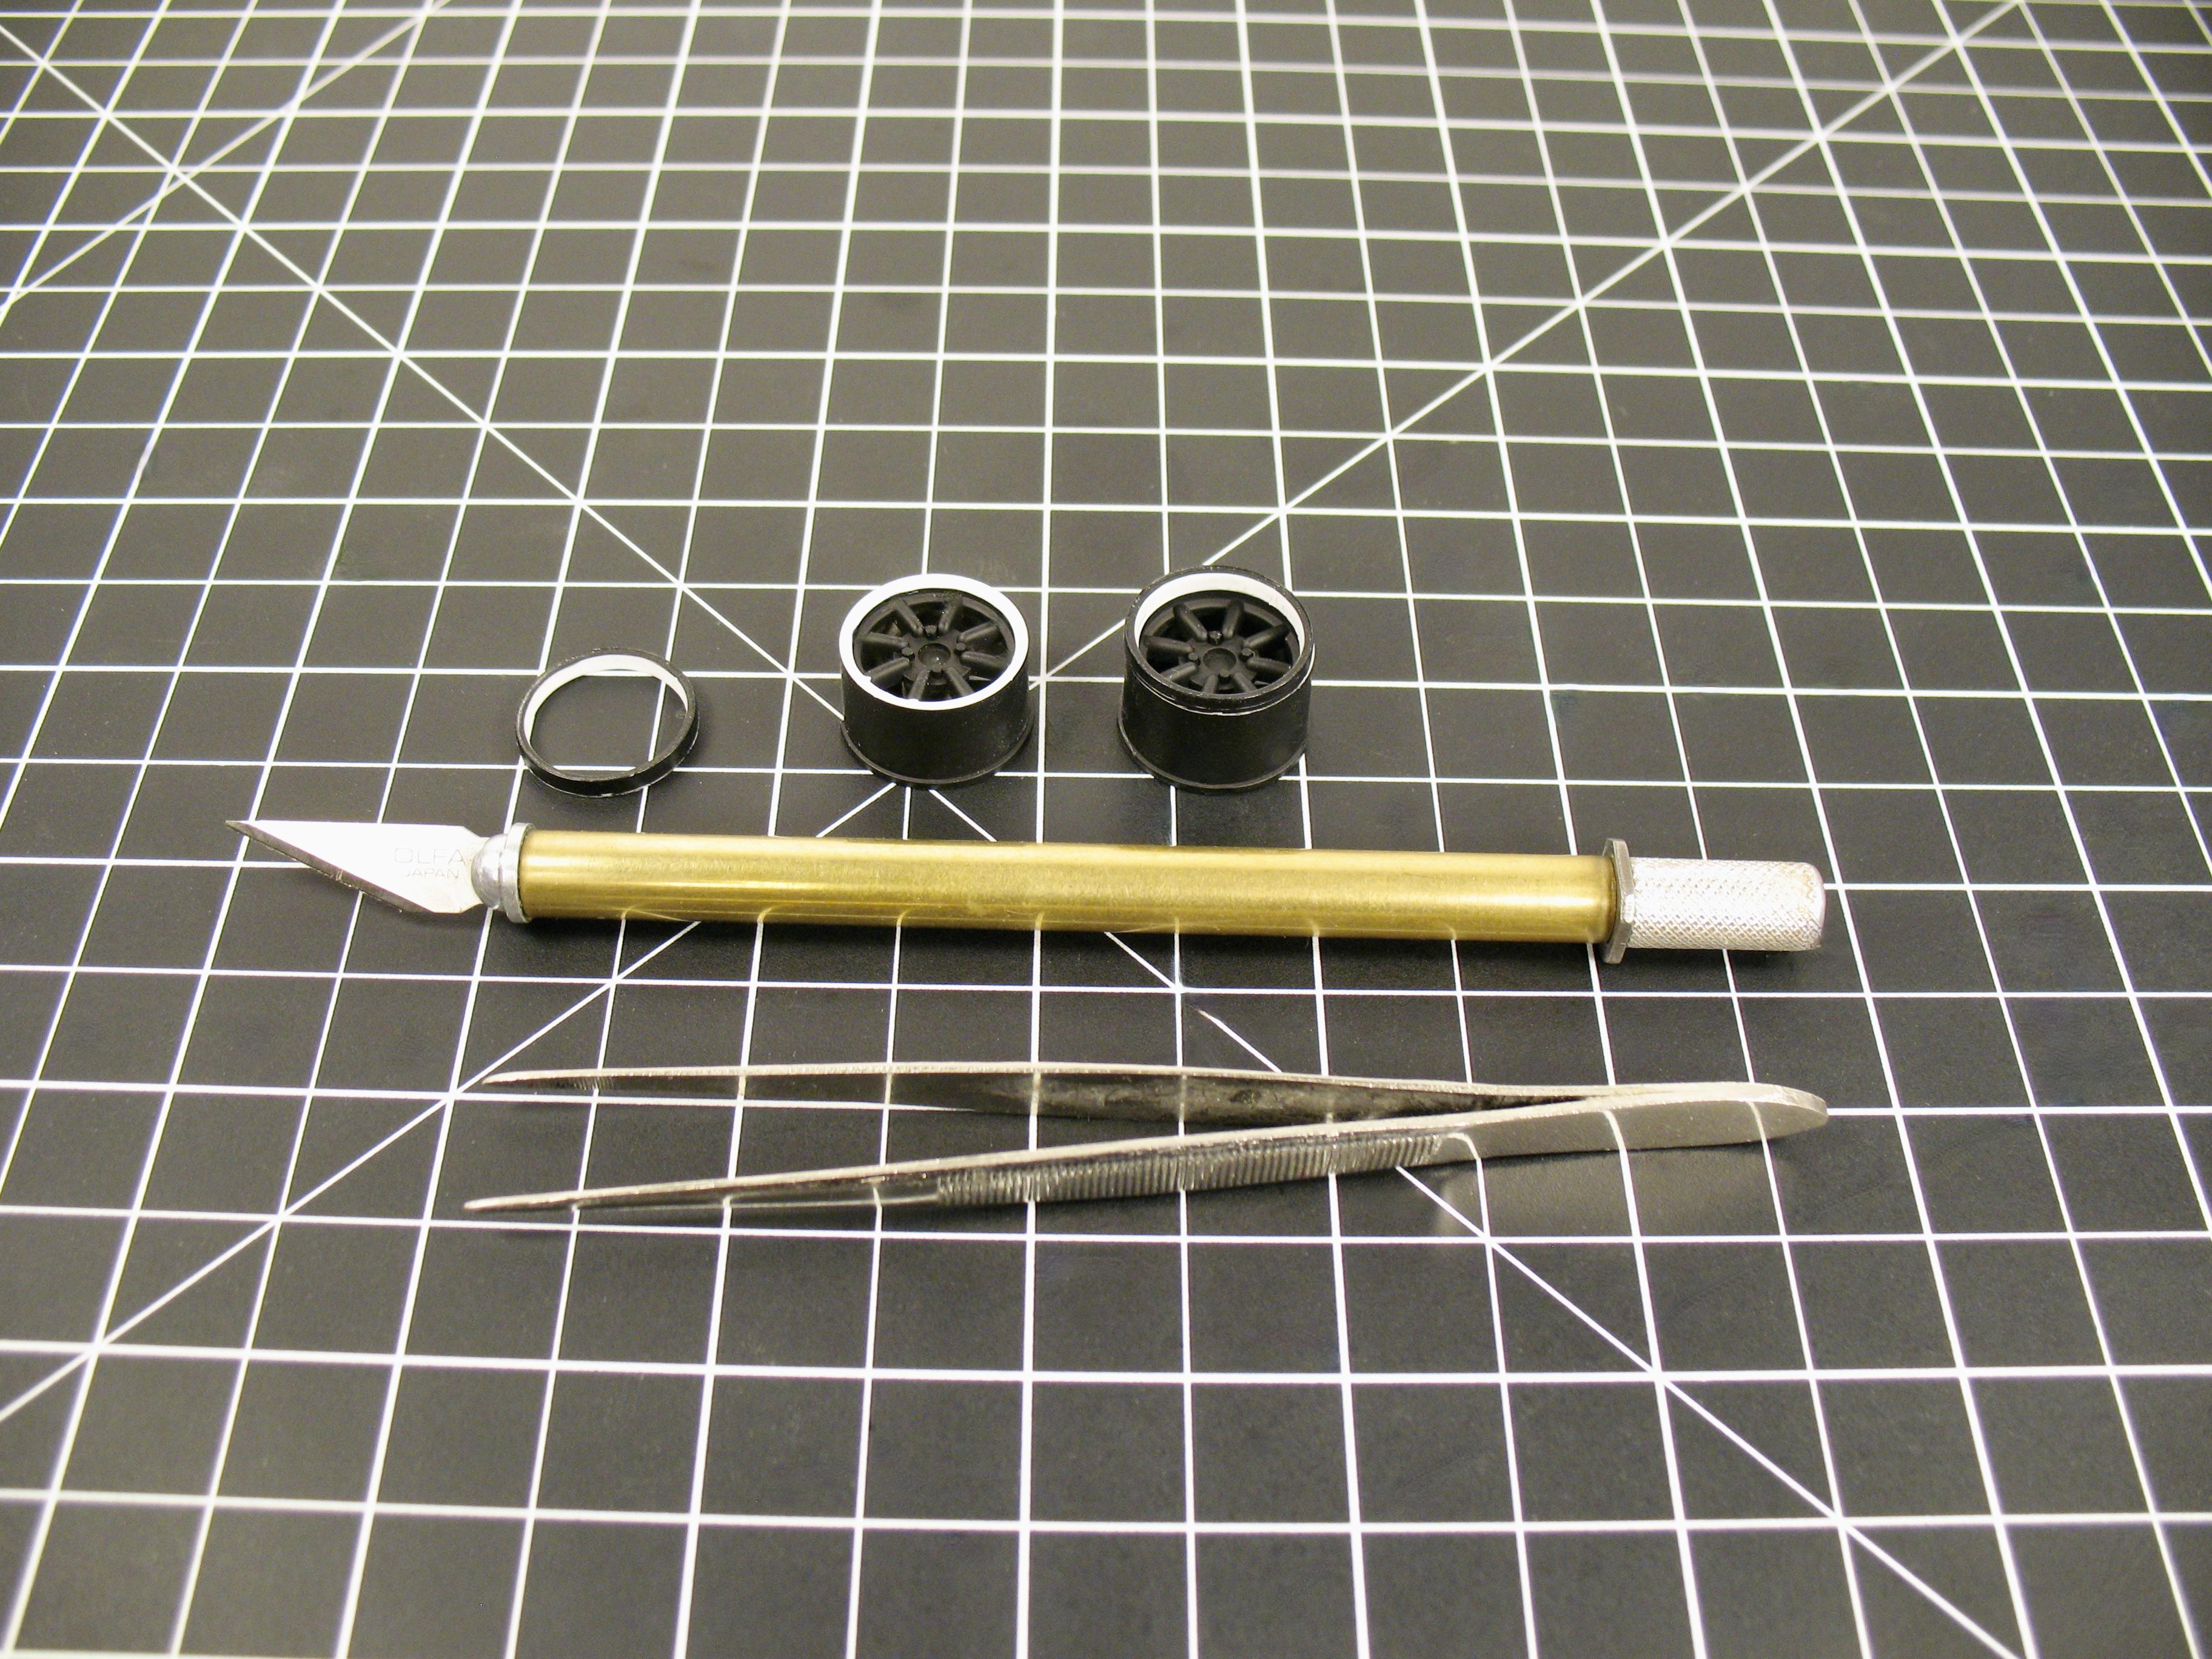
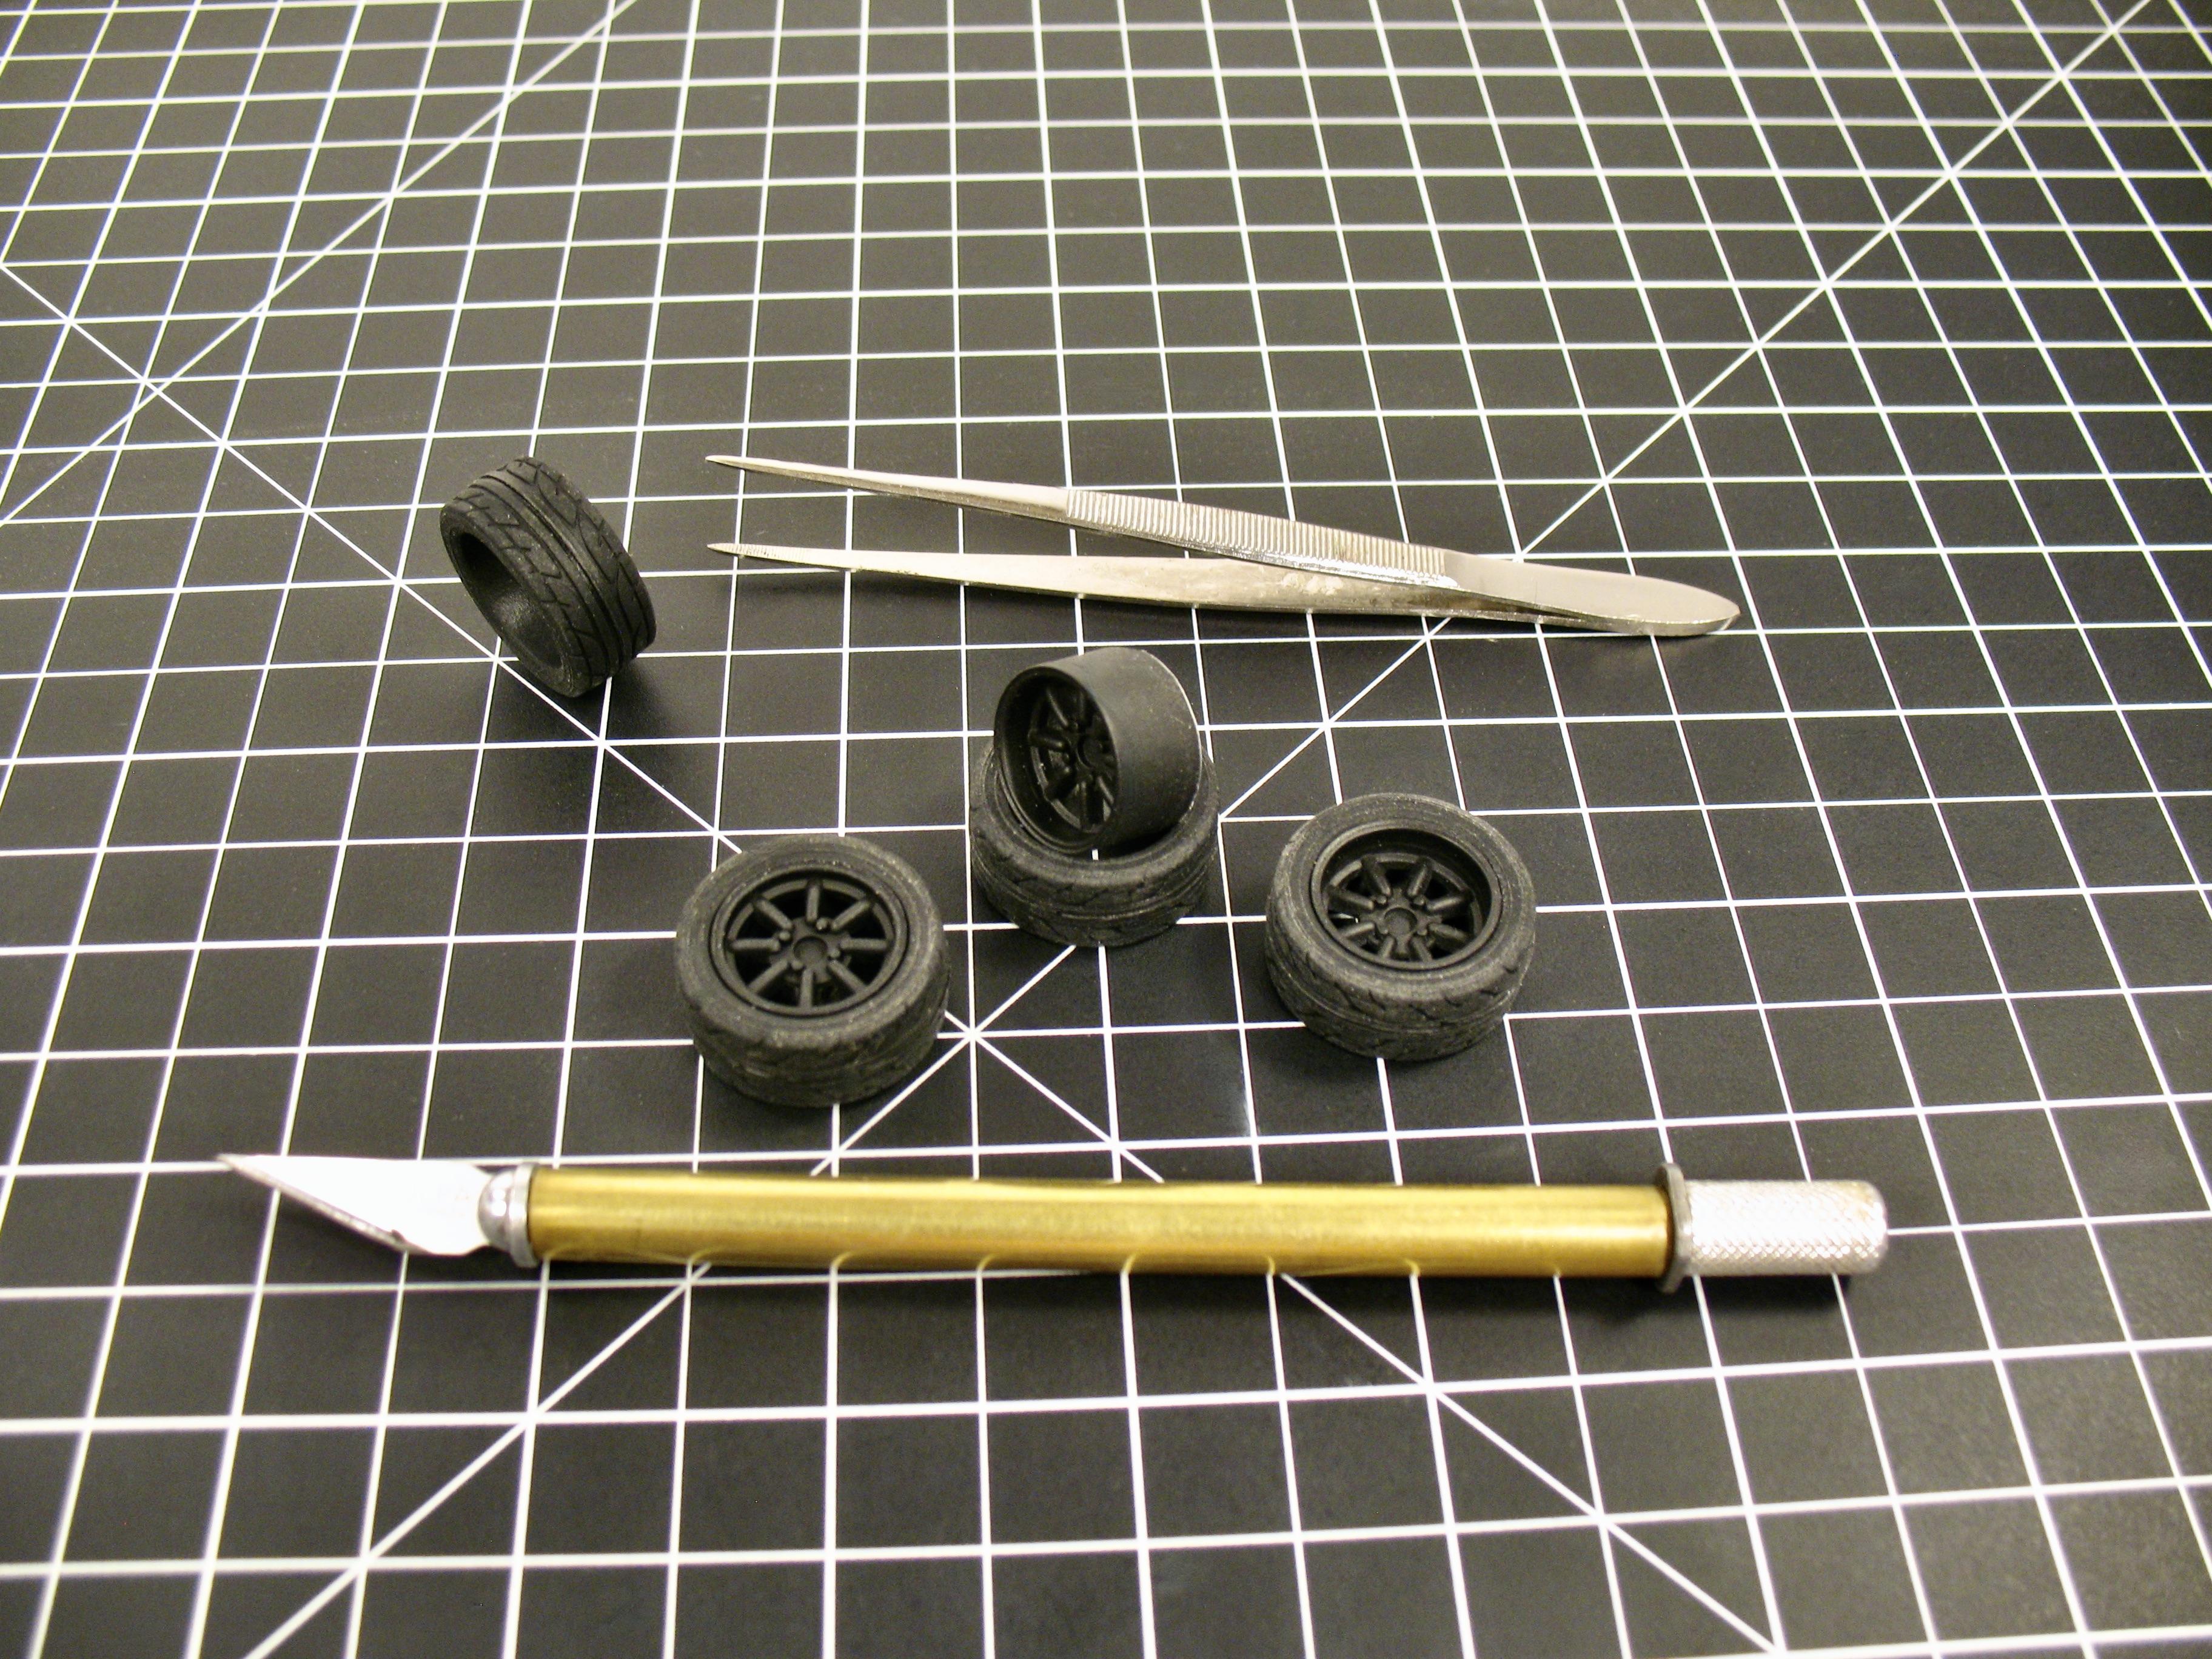
Fun kit in 1/24 scale, I think it got released last year. Great quality from these new Aoshima kit, with two set of decals, sticker and waterslide, base to display the model. I like that the front tires turn, and that there are two option for the stance of the car. Regular and low. Here the kit I'm going to use different wheels and tires. Also from Aoshima. For the rear wheels, I'm going to make them little deeper... Here the results Here installed on the subframe.
-
It is resolved now. I don't know exactly what I did. But I was able to post it.
-
Grumman F6F-5 Hellcat
Brizio replied to Brizio's topic in WIP: All The Rest: Motorcycles, Aviation, Military, Sci-Fi, Figures
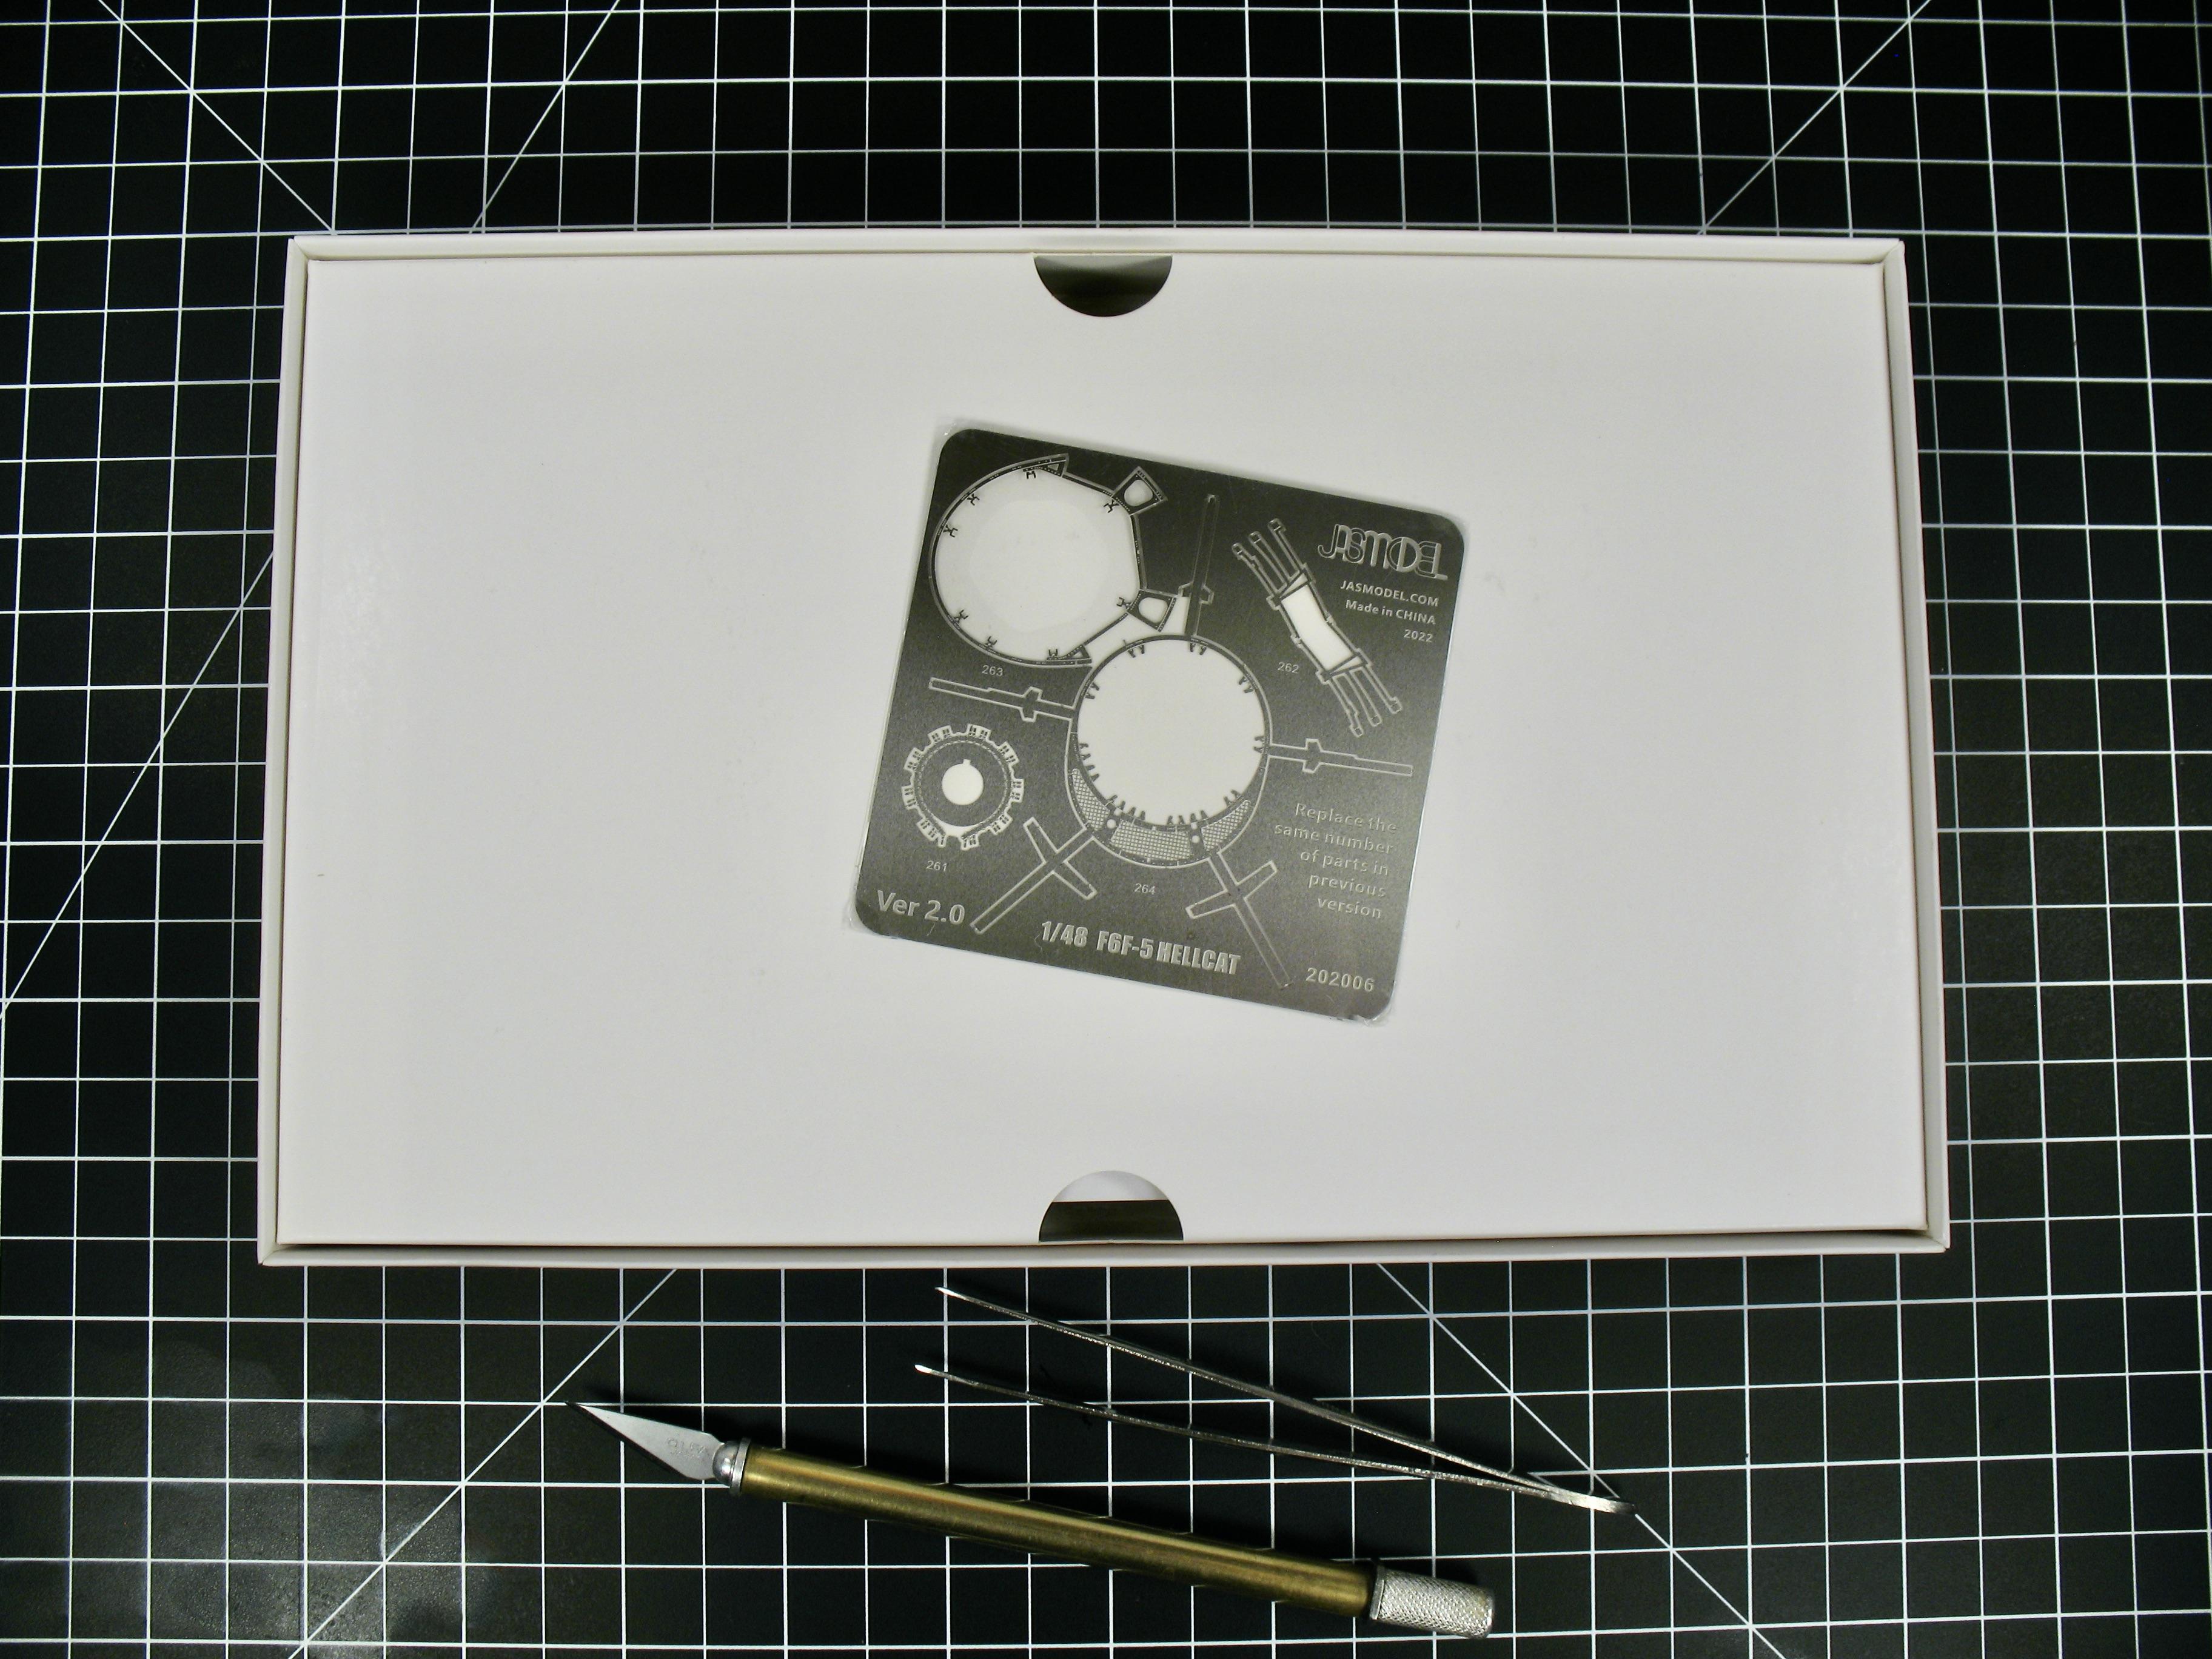
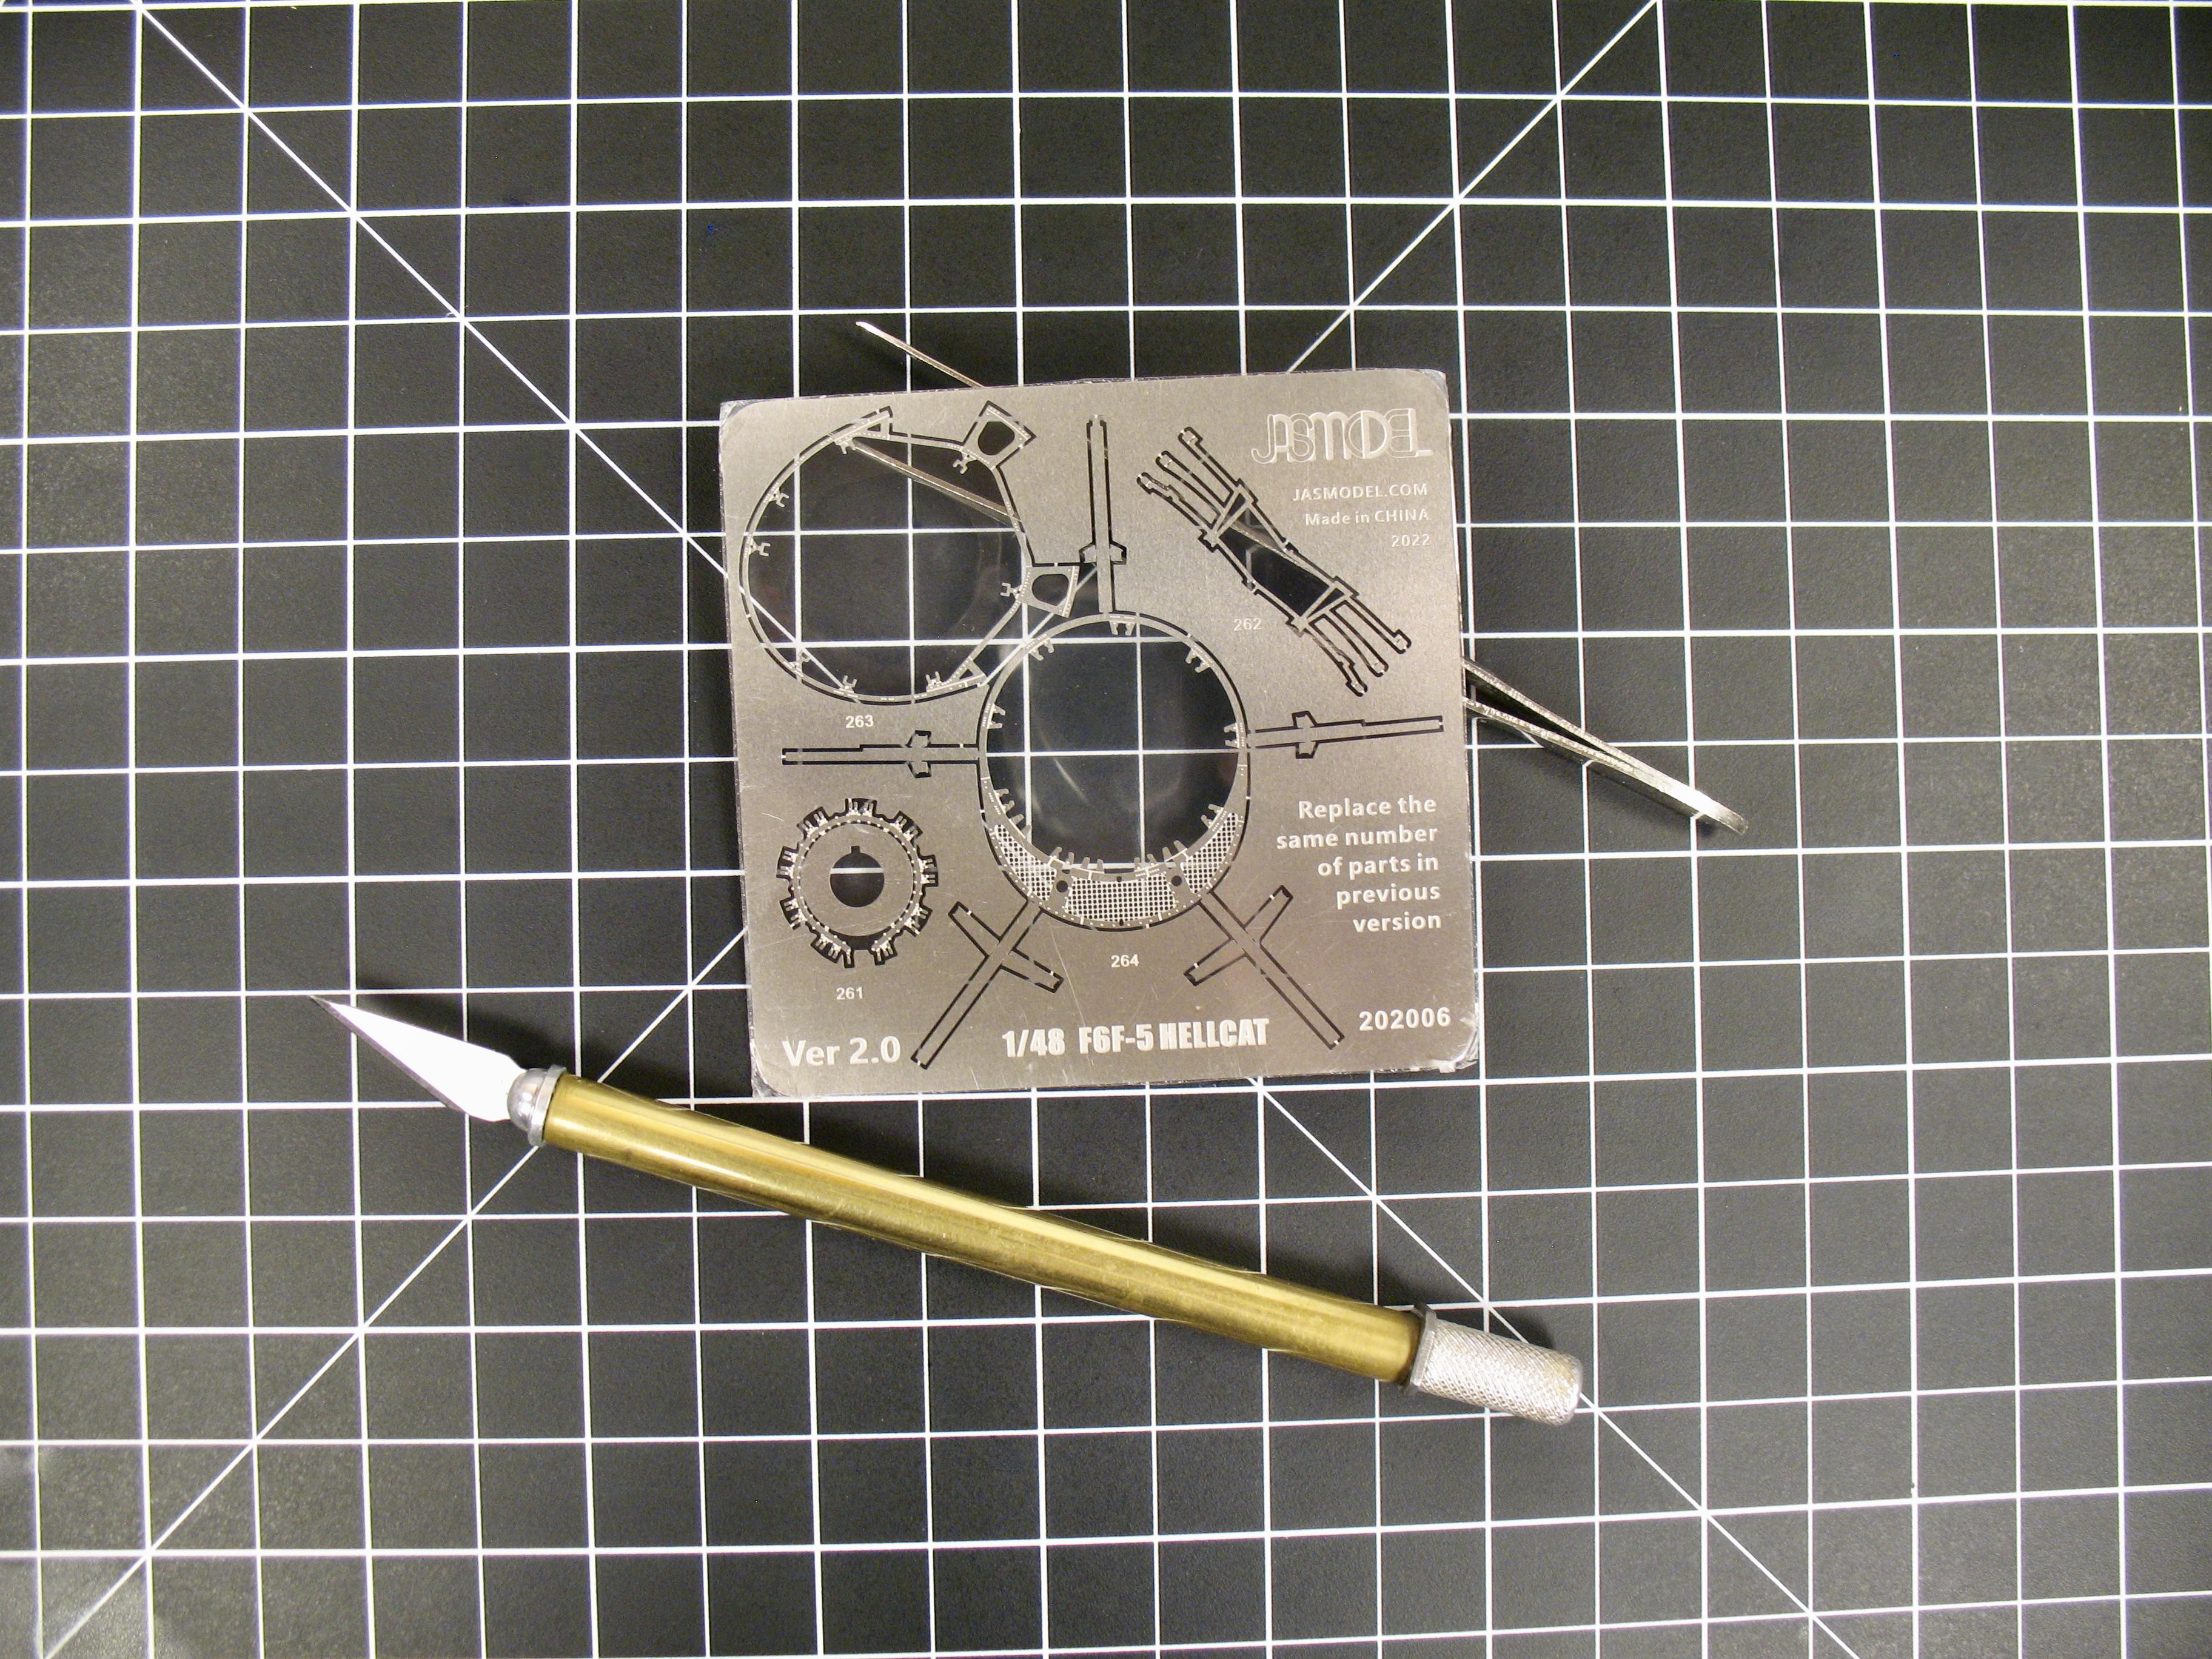
Last month I contacted Jasmodel, asking about the update parts that they have for this kit. Thay added a detailed engine with photo etch cage, landing gear etc... I contacted them asking if they sell only the updated parts, shortly I got an email asking my address, and they send me the parts for free! In all my years of model builder, I contacted a lot of companies that produce kits. Mostly of the time because the parts in the kit are damaged. Few times because I bought the kit used and was missing something. Some companies are great ad some not eve close to good... 😄 Will be worth doing a list of these experiences... Anyway Jasmode customer service, is fenomenal! Here the parts I got, note the packaging.
-
This morning I added some photo on the F6F post but after clicking "Submit Reply" , a message came out saying that the page I/m looking for does not exist. I try few time later, still nothing.
-
Grumman F6F-5 Hellcat
Brizio replied to Brizio's topic in WIP: All The Rest: Motorcycles, Aviation, Military, Sci-Fi, Figures
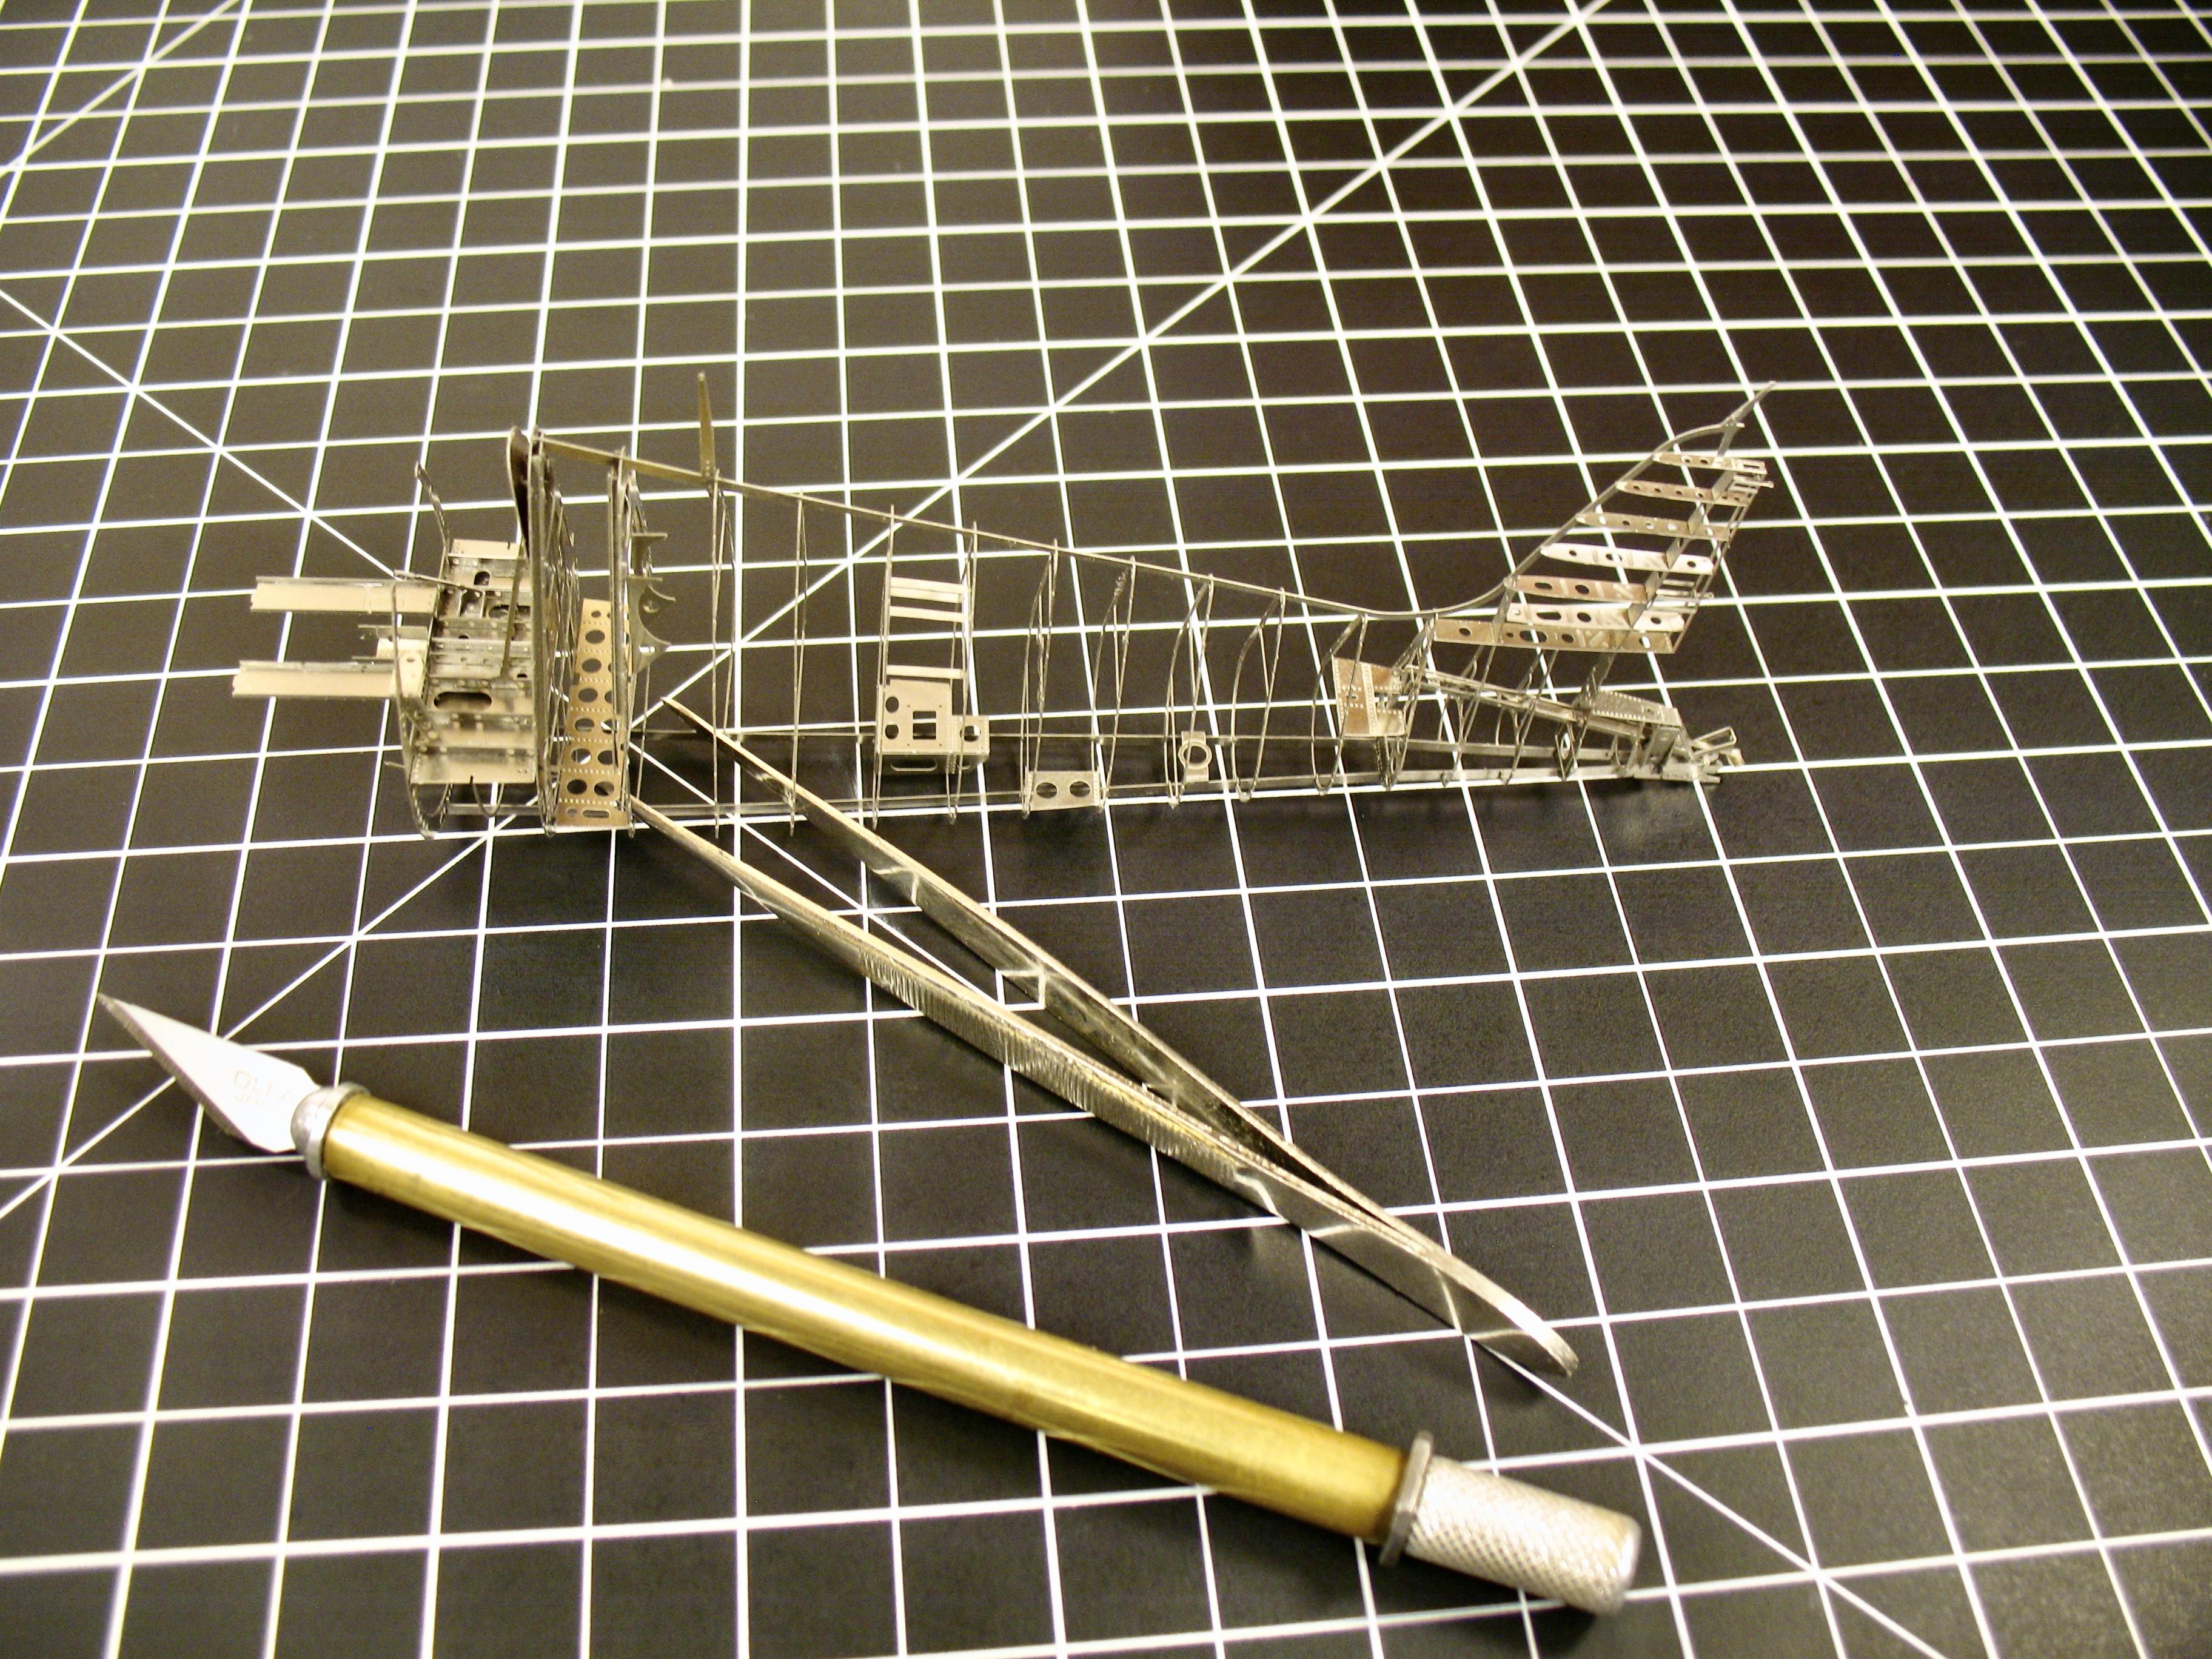
More progress on this F6F-5 Hellcat. Finally is taking shape! Very pleased on how fit on this plane. It looks like an airplane!!! Still need to add some rails on the fuselage.
-
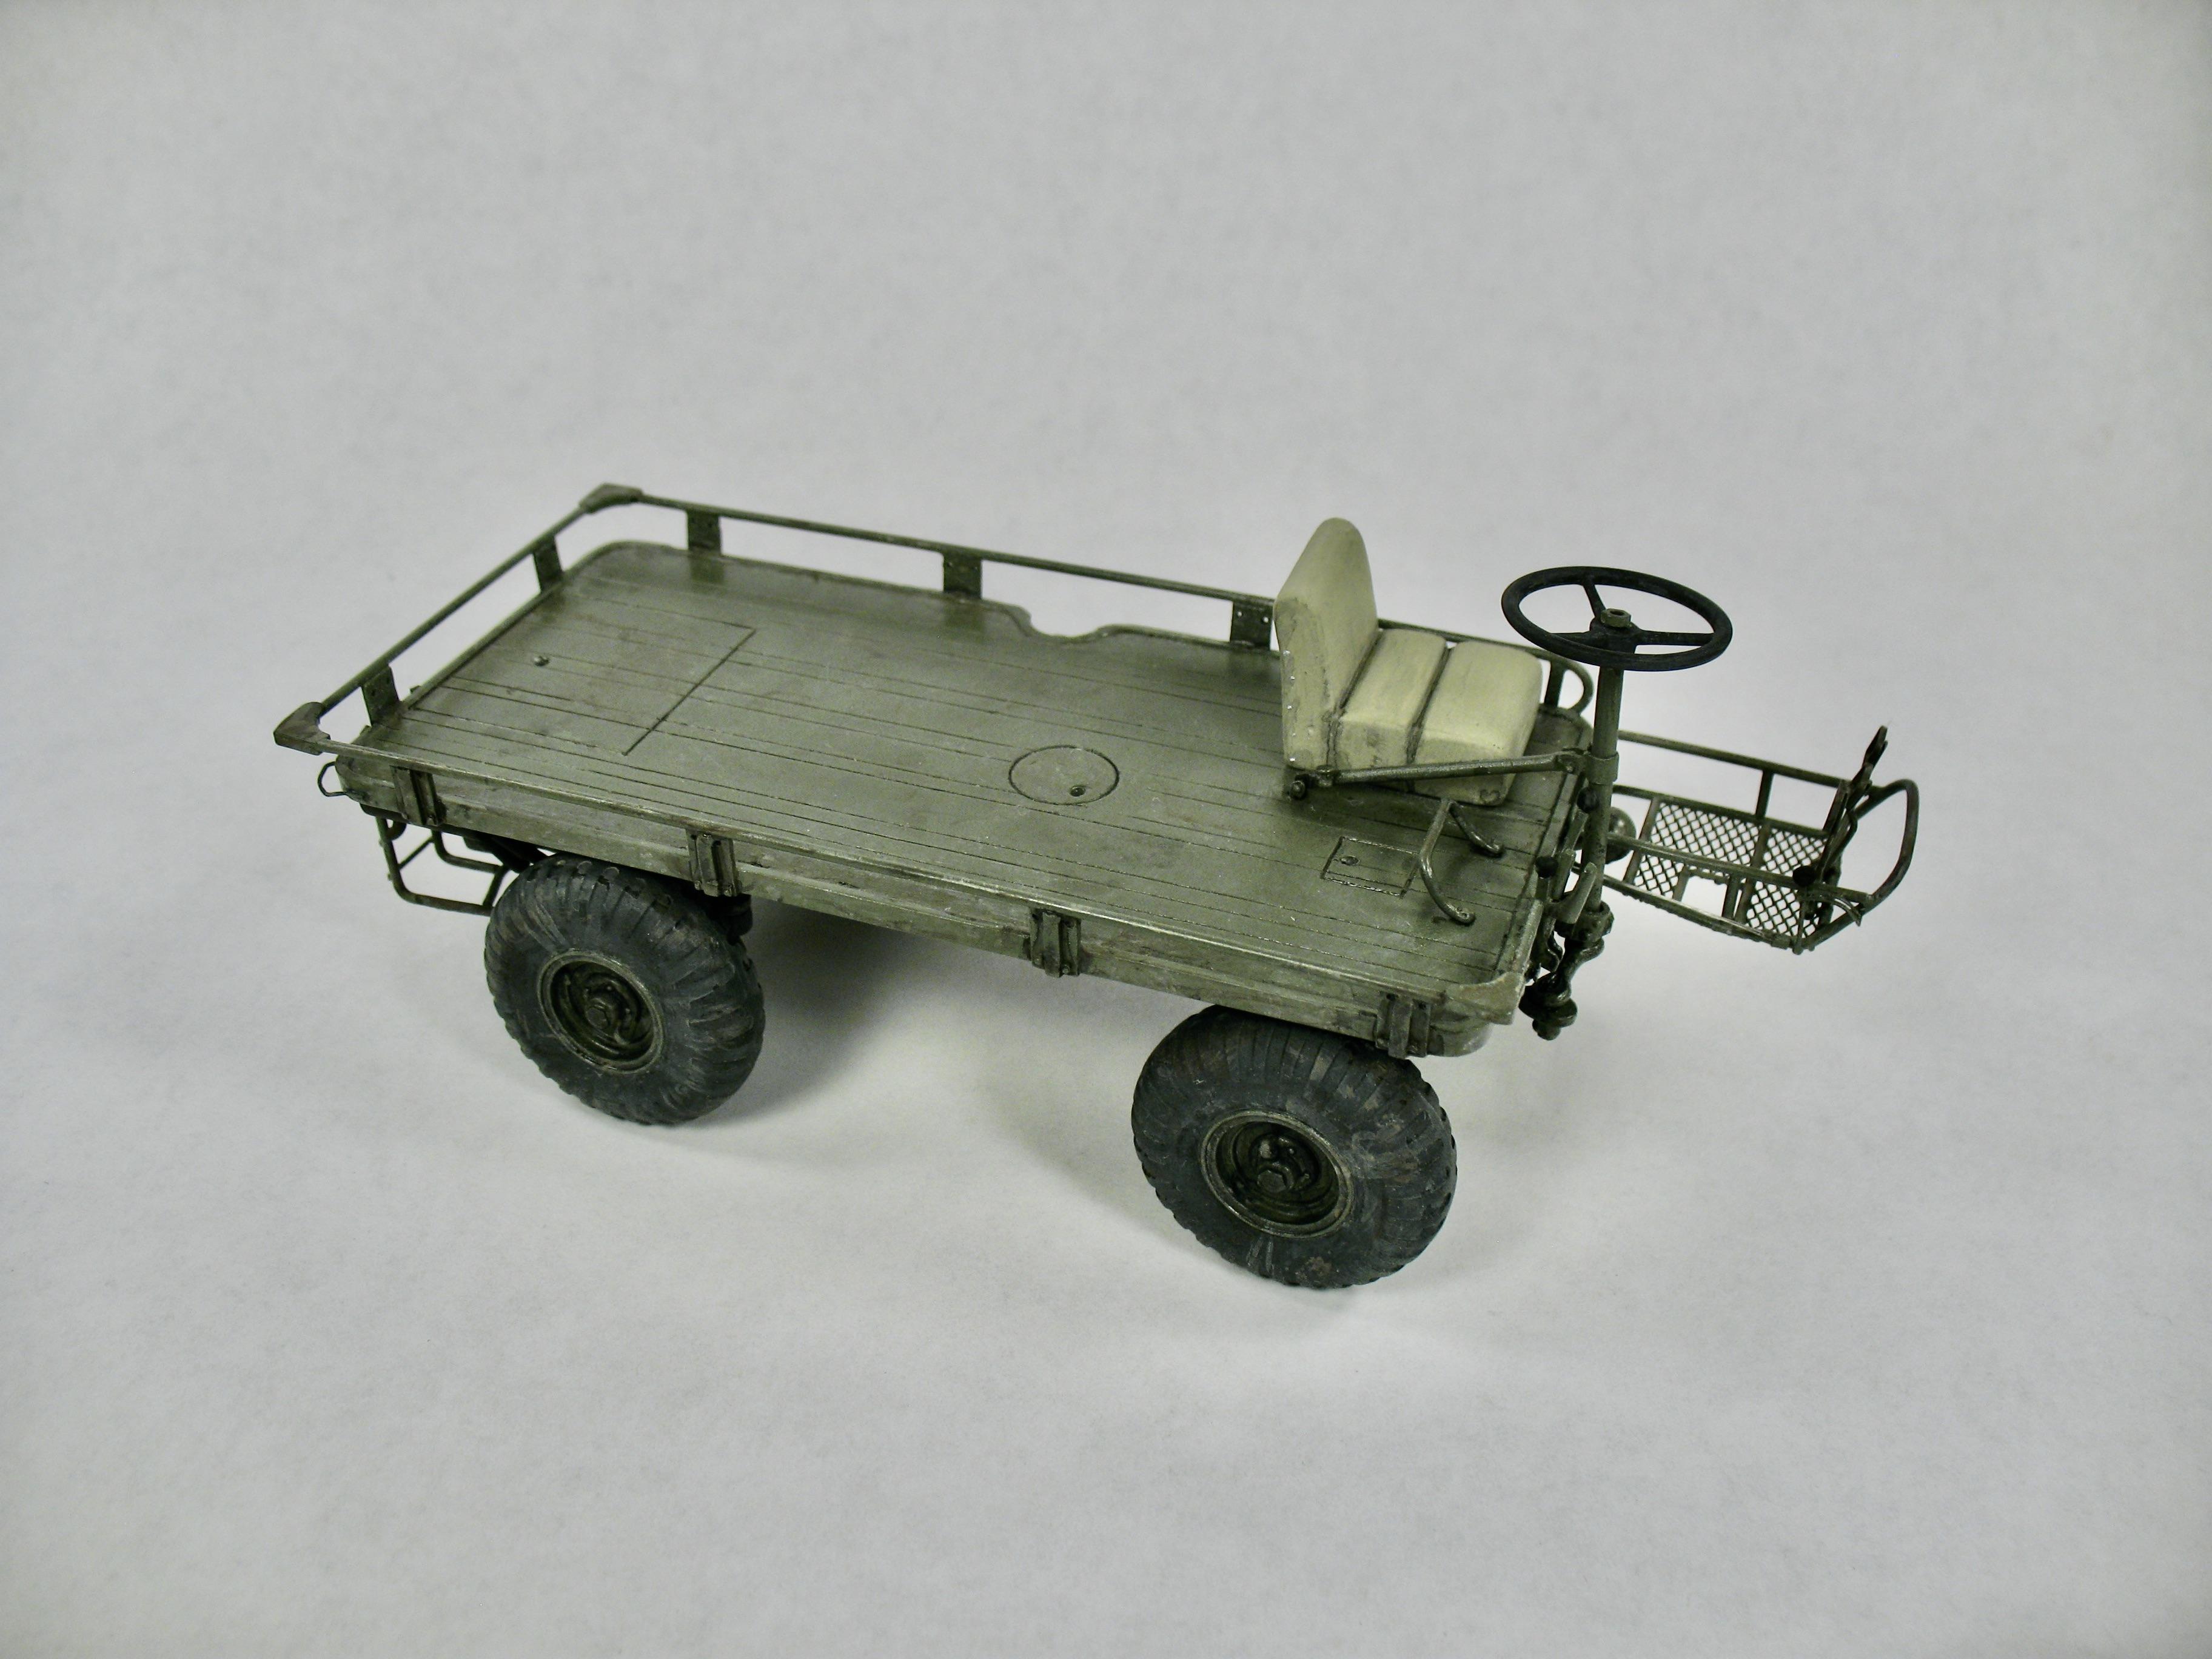
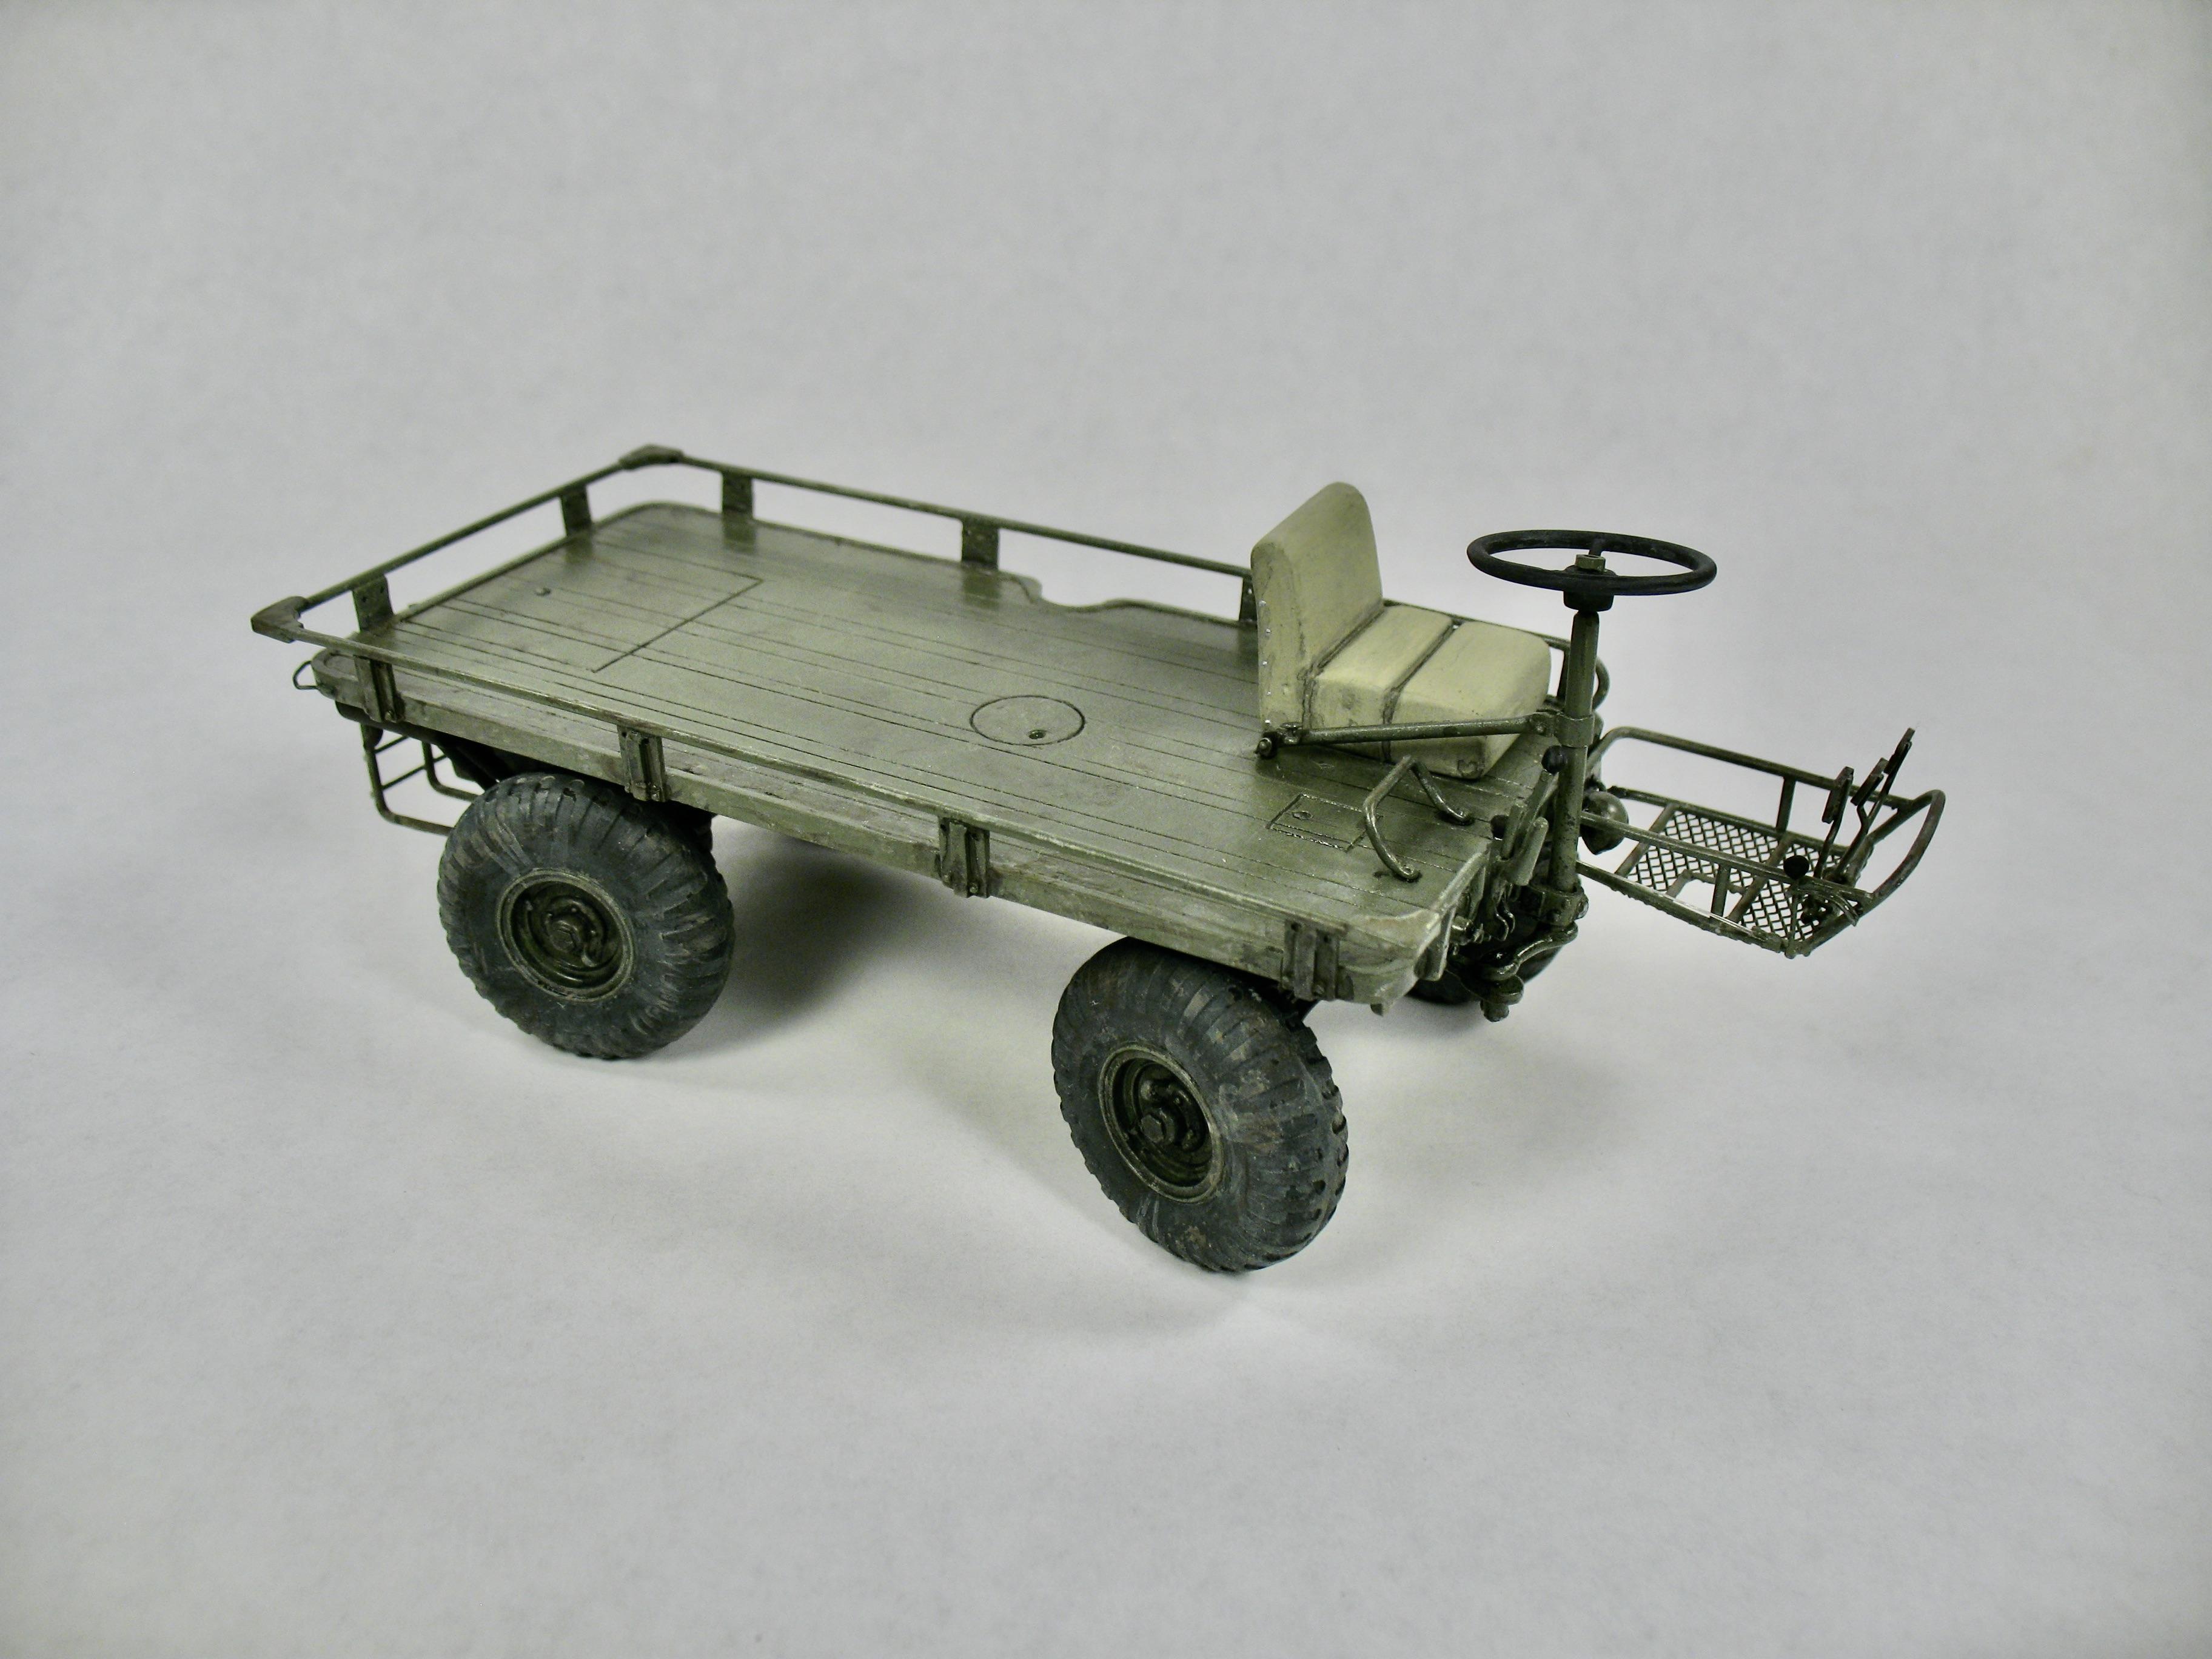
M274 Mechanical Mule
Brizio replied to Brizio's topic in WIP: All The Rest: Motorcycles, Aviation, Military, Sci-Fi, Figures
Made a new steering wheels out of metal. They are swappable if needed, but I thing I leave the new.
-
M274 Mechanical Mule
Brizio replied to Brizio's topic in WIP: All The Rest: Motorcycles, Aviation, Military, Sci-Fi, Figures
I'm going to add one more thing, I'll post the photo in a bit. Thanks The M274 went little forgotten, above in the last few years, when in 1'35 they start to produce newer military vehicle on wheels. I really enjoy the fabrication part myself, the kit needed some help with some parts for sure. Thank you Joe! -
Grumman F6F-5 Hellcat
Brizio replied to Brizio's topic in WIP: All The Rest: Motorcycles, Aviation, Military, Sci-Fi, Figures
Or maybe a fast builder... -
Grumman F6F-5 Hellcat
Brizio replied to Brizio's topic in WIP: All The Rest: Motorcycles, Aviation, Military, Sci-Fi, Figures
They are pretty cool and funto build. I would not mind to build another one after this. Maybe a smaller one, so can be done in a weekend. Thanks Tony. -
Grumman F6F-5 Hellcat
Brizio replied to Brizio's topic in WIP: All The Rest: Motorcycles, Aviation, Military, Sci-Fi, Figures
More progress on the F6F.
-
Forgot to post some updates on this kit. I painted the body.
-
Grumman F6F-5 Hellcat
Brizio replied to Brizio's topic in WIP: All The Rest: Motorcycles, Aviation, Military, Sci-Fi, Figures
Thank you Kyle! It is a pretty good kit! True, but also is always good out personal limit. I Have also a photo etch bender, that I though I was going to use a lot for this kit. I use it to bend few photo etch here and there. But is not neccessary because the the photo etch metal is sturdy, I wonder if is steel. But the part where you need to end it is very thin, and a plier works fine. I have some parallel jaw pliers. Anyways, I'm very pleased and impressed with the quality of this kit. The kit I have is from 2016, and I noticed that they updated some pieces. I email Jasmodel, and they ask me the address and said that they were going to send me the parts for free! No, this is my first airplane of this kind. -
Grumman F6F-5 Hellcat
Brizio replied to Brizio's topic in WIP: All The Rest: Motorcycles, Aviation, Military, Sci-Fi, Figures
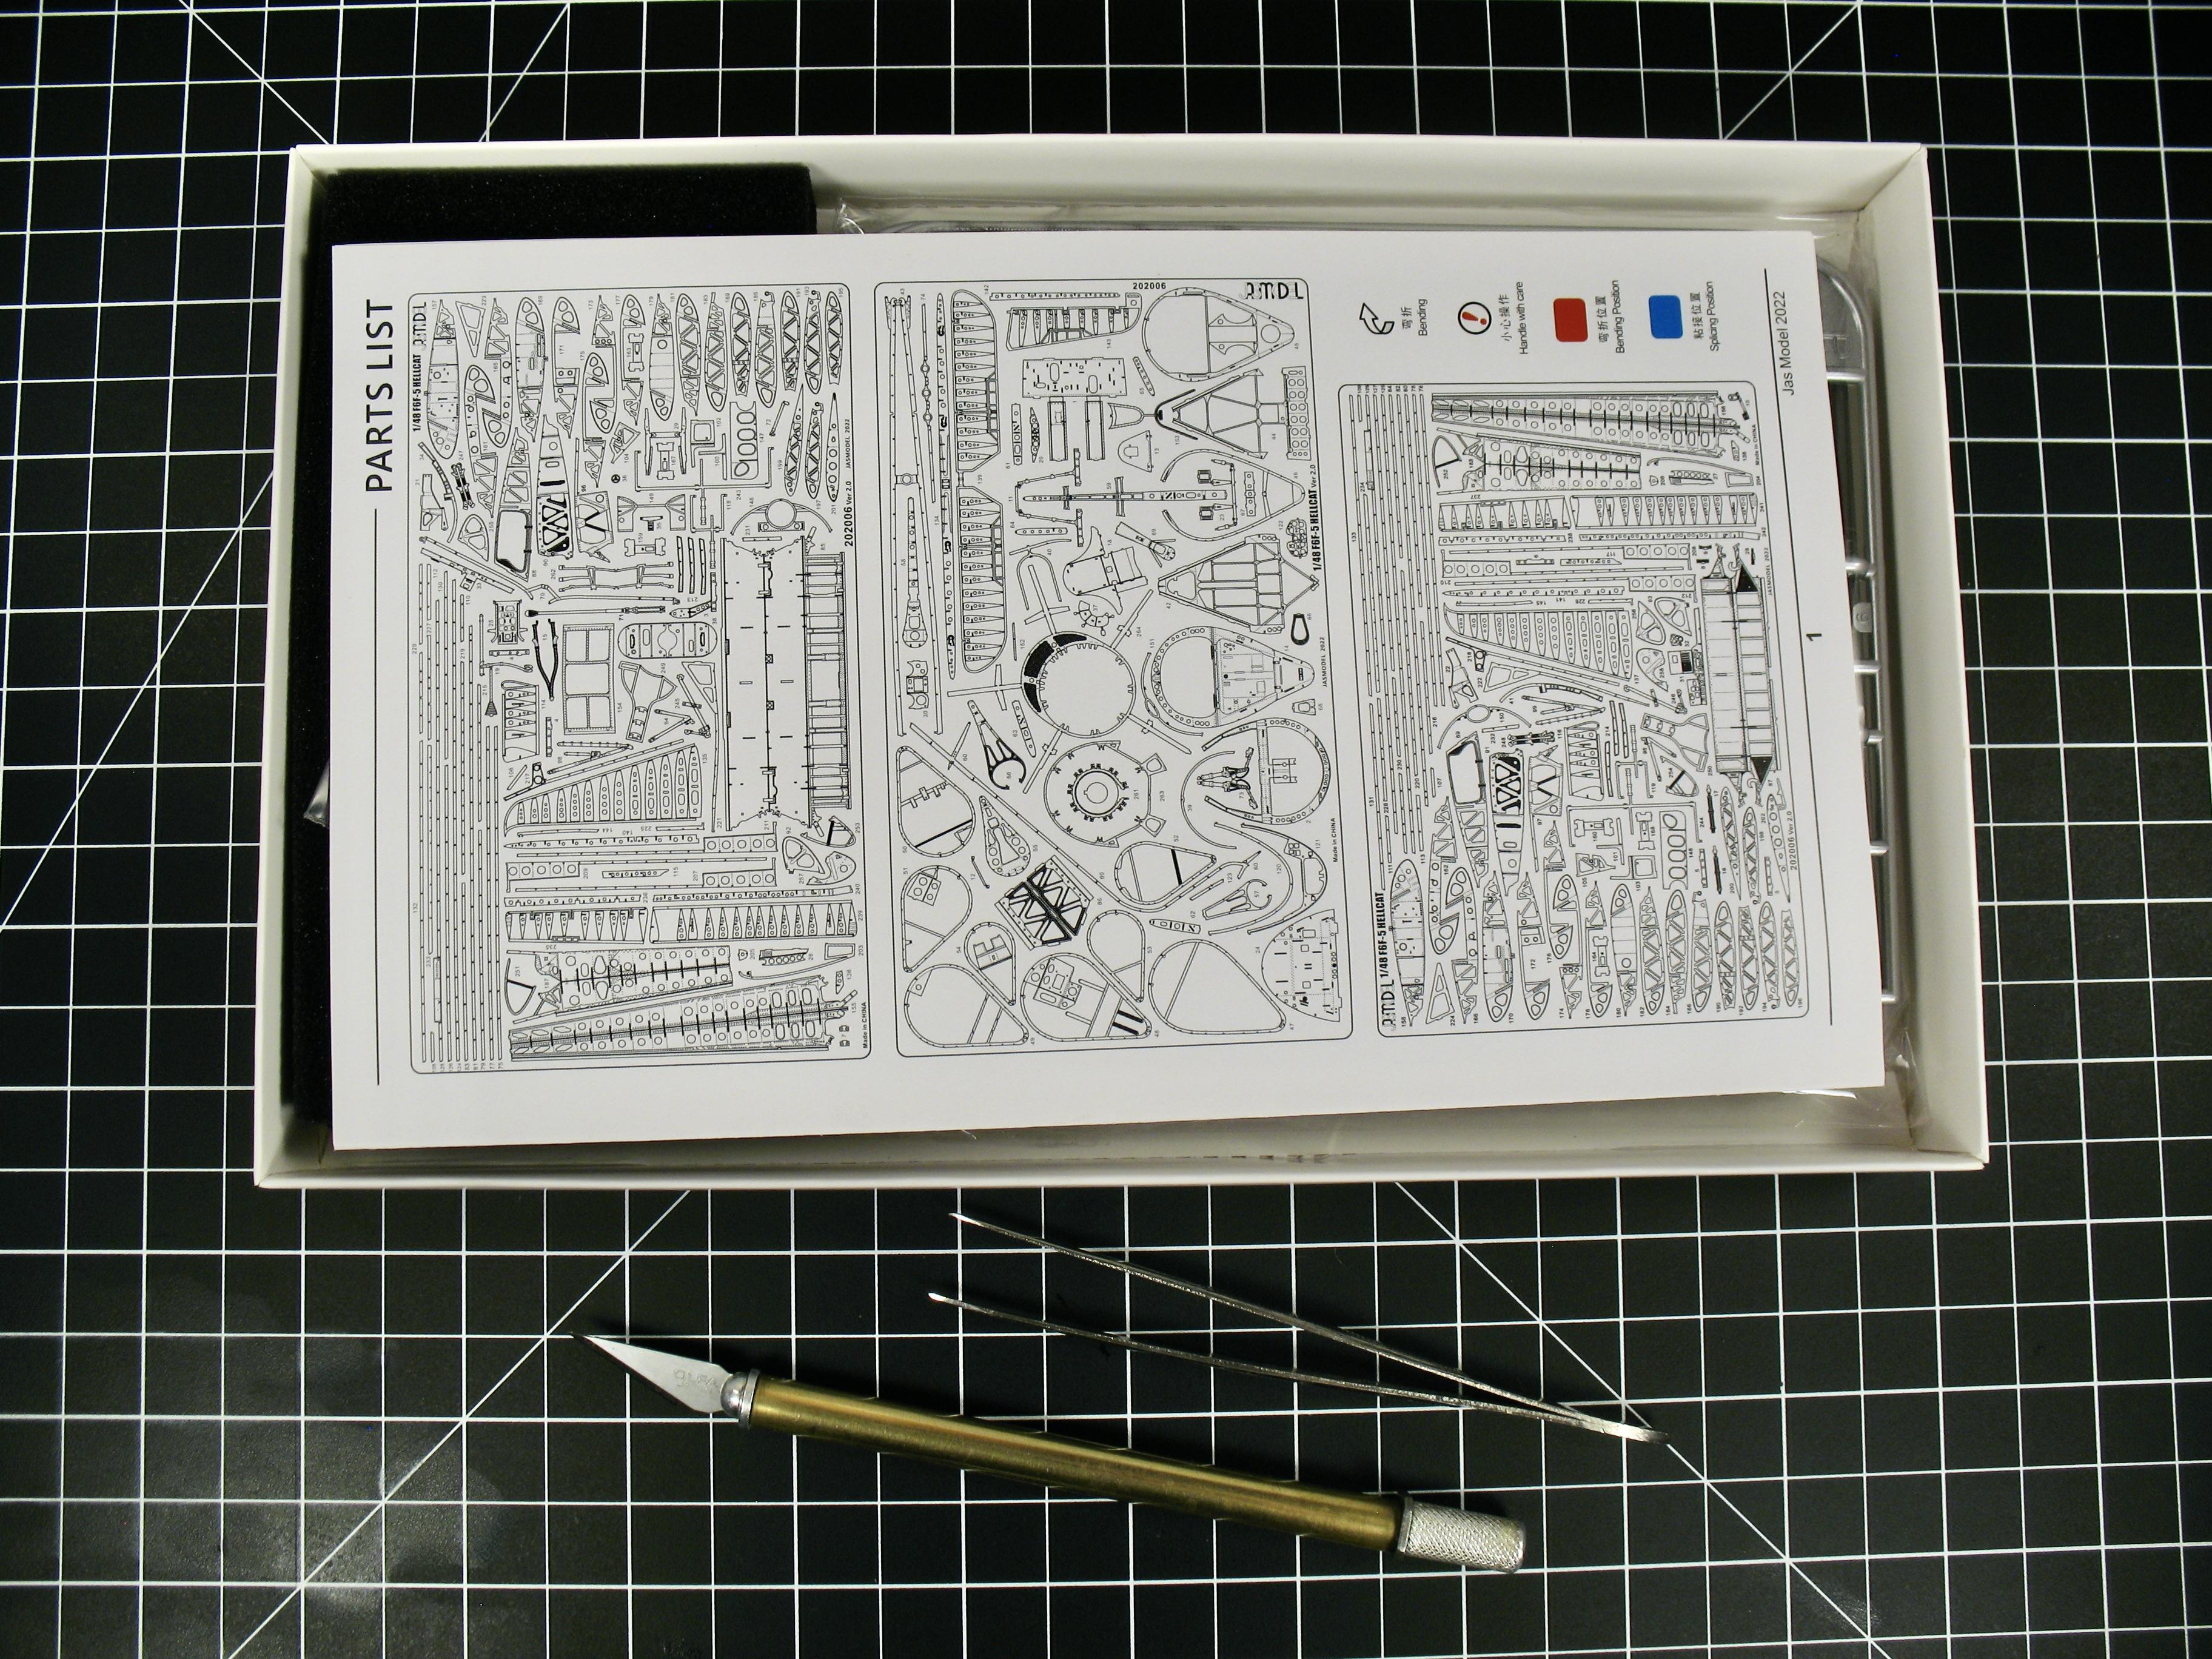
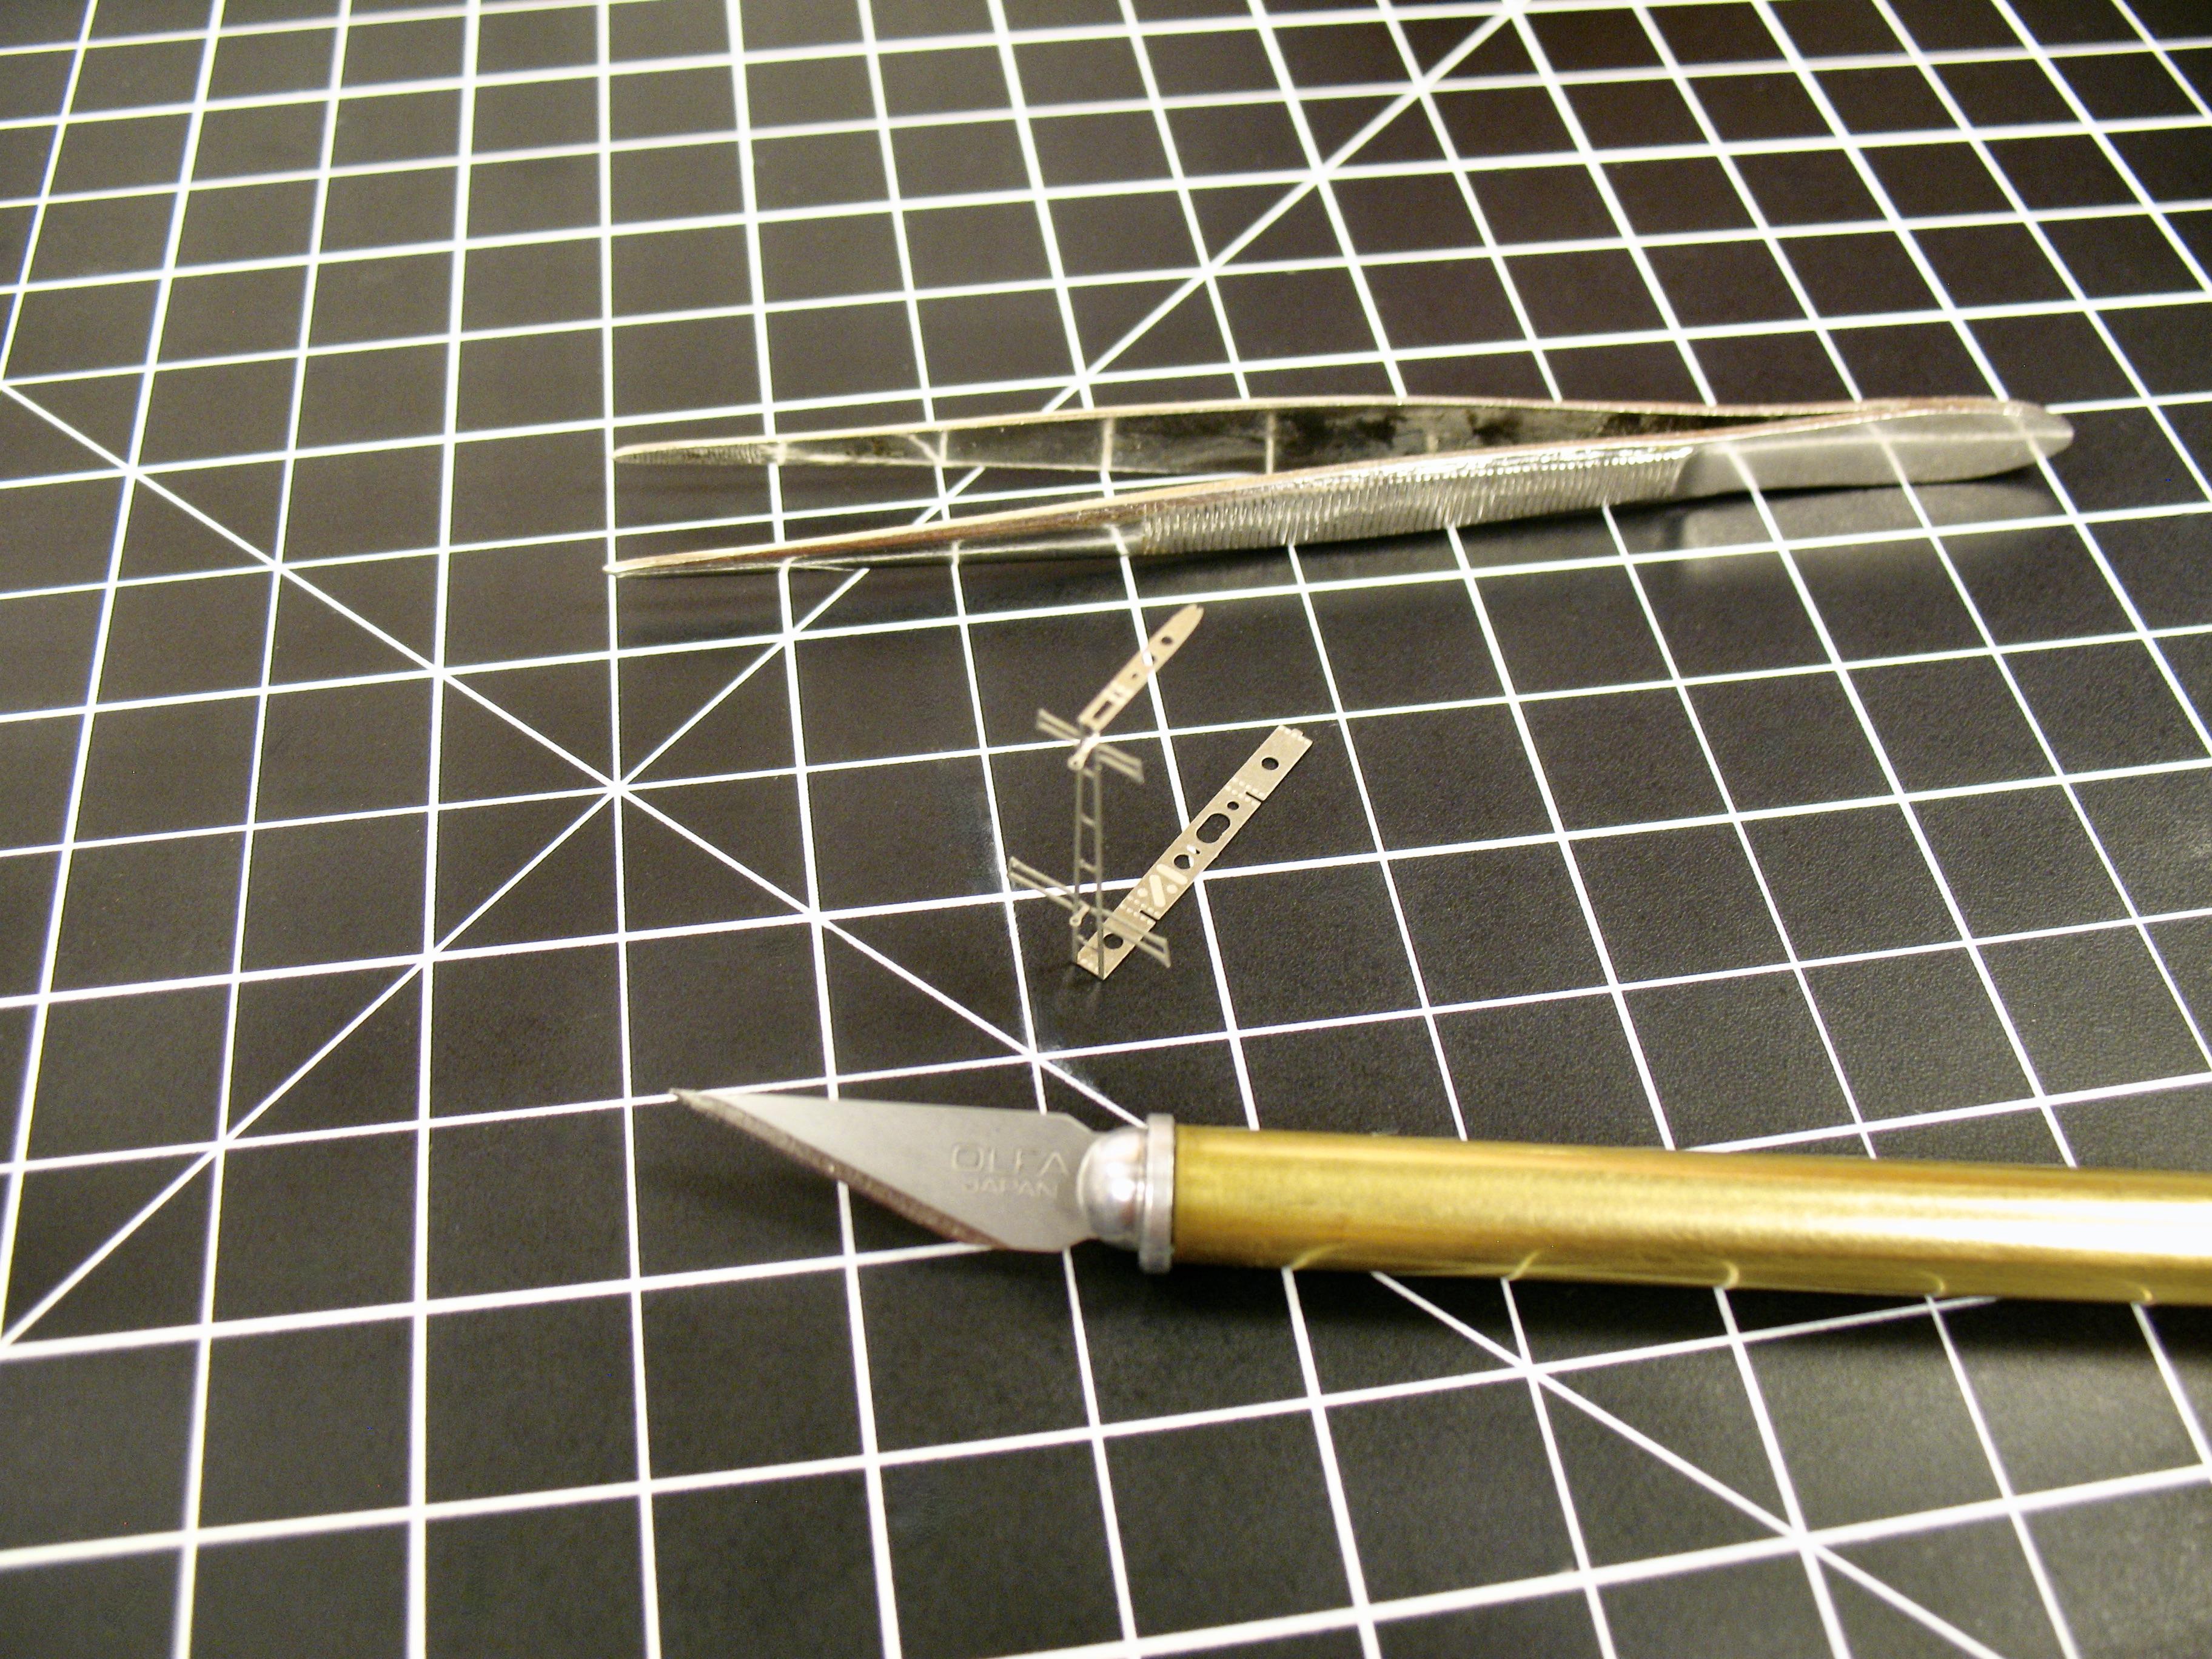
Start to work on the cockpit, everything fit perfectly! A very pleasure to build this kit. The only thing challenging is the instruction bookelt, maybe too small, and sometime is difficult to see where to bend the photo etch. Jasmodel has the instruction on teir website, that make it esy to see where to bend the photo etch. Here the first part of the cockpit.
-
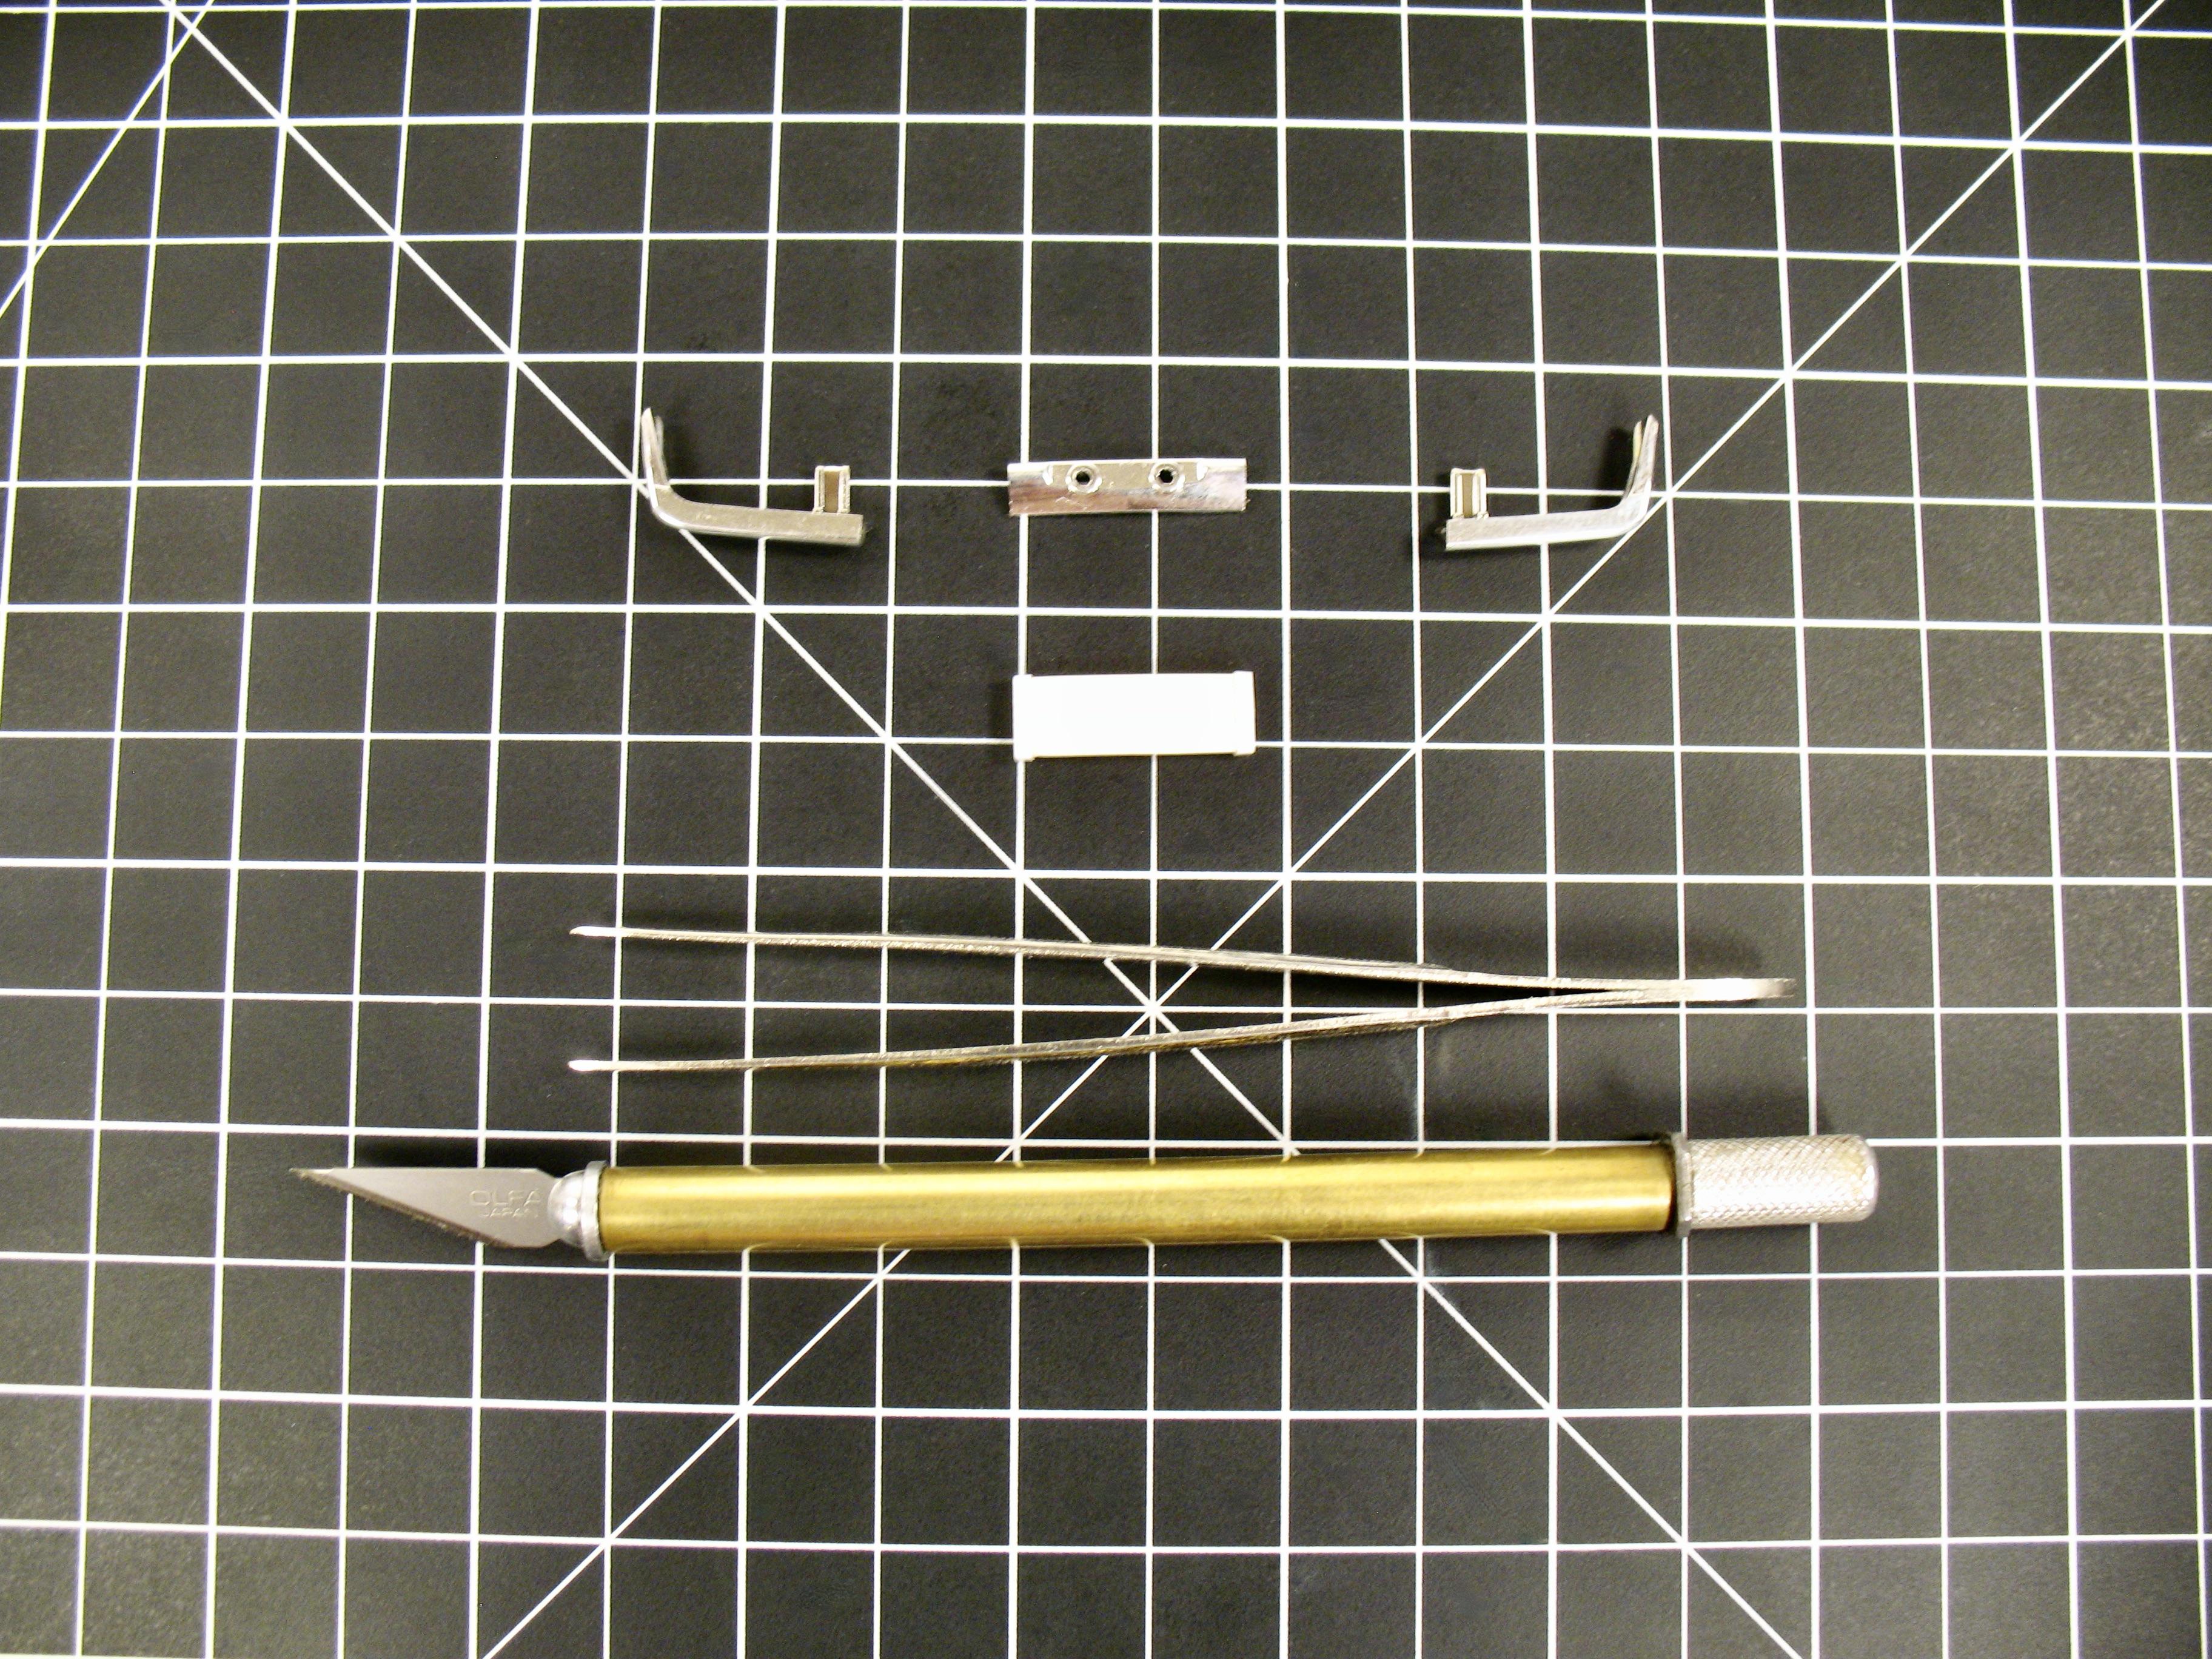
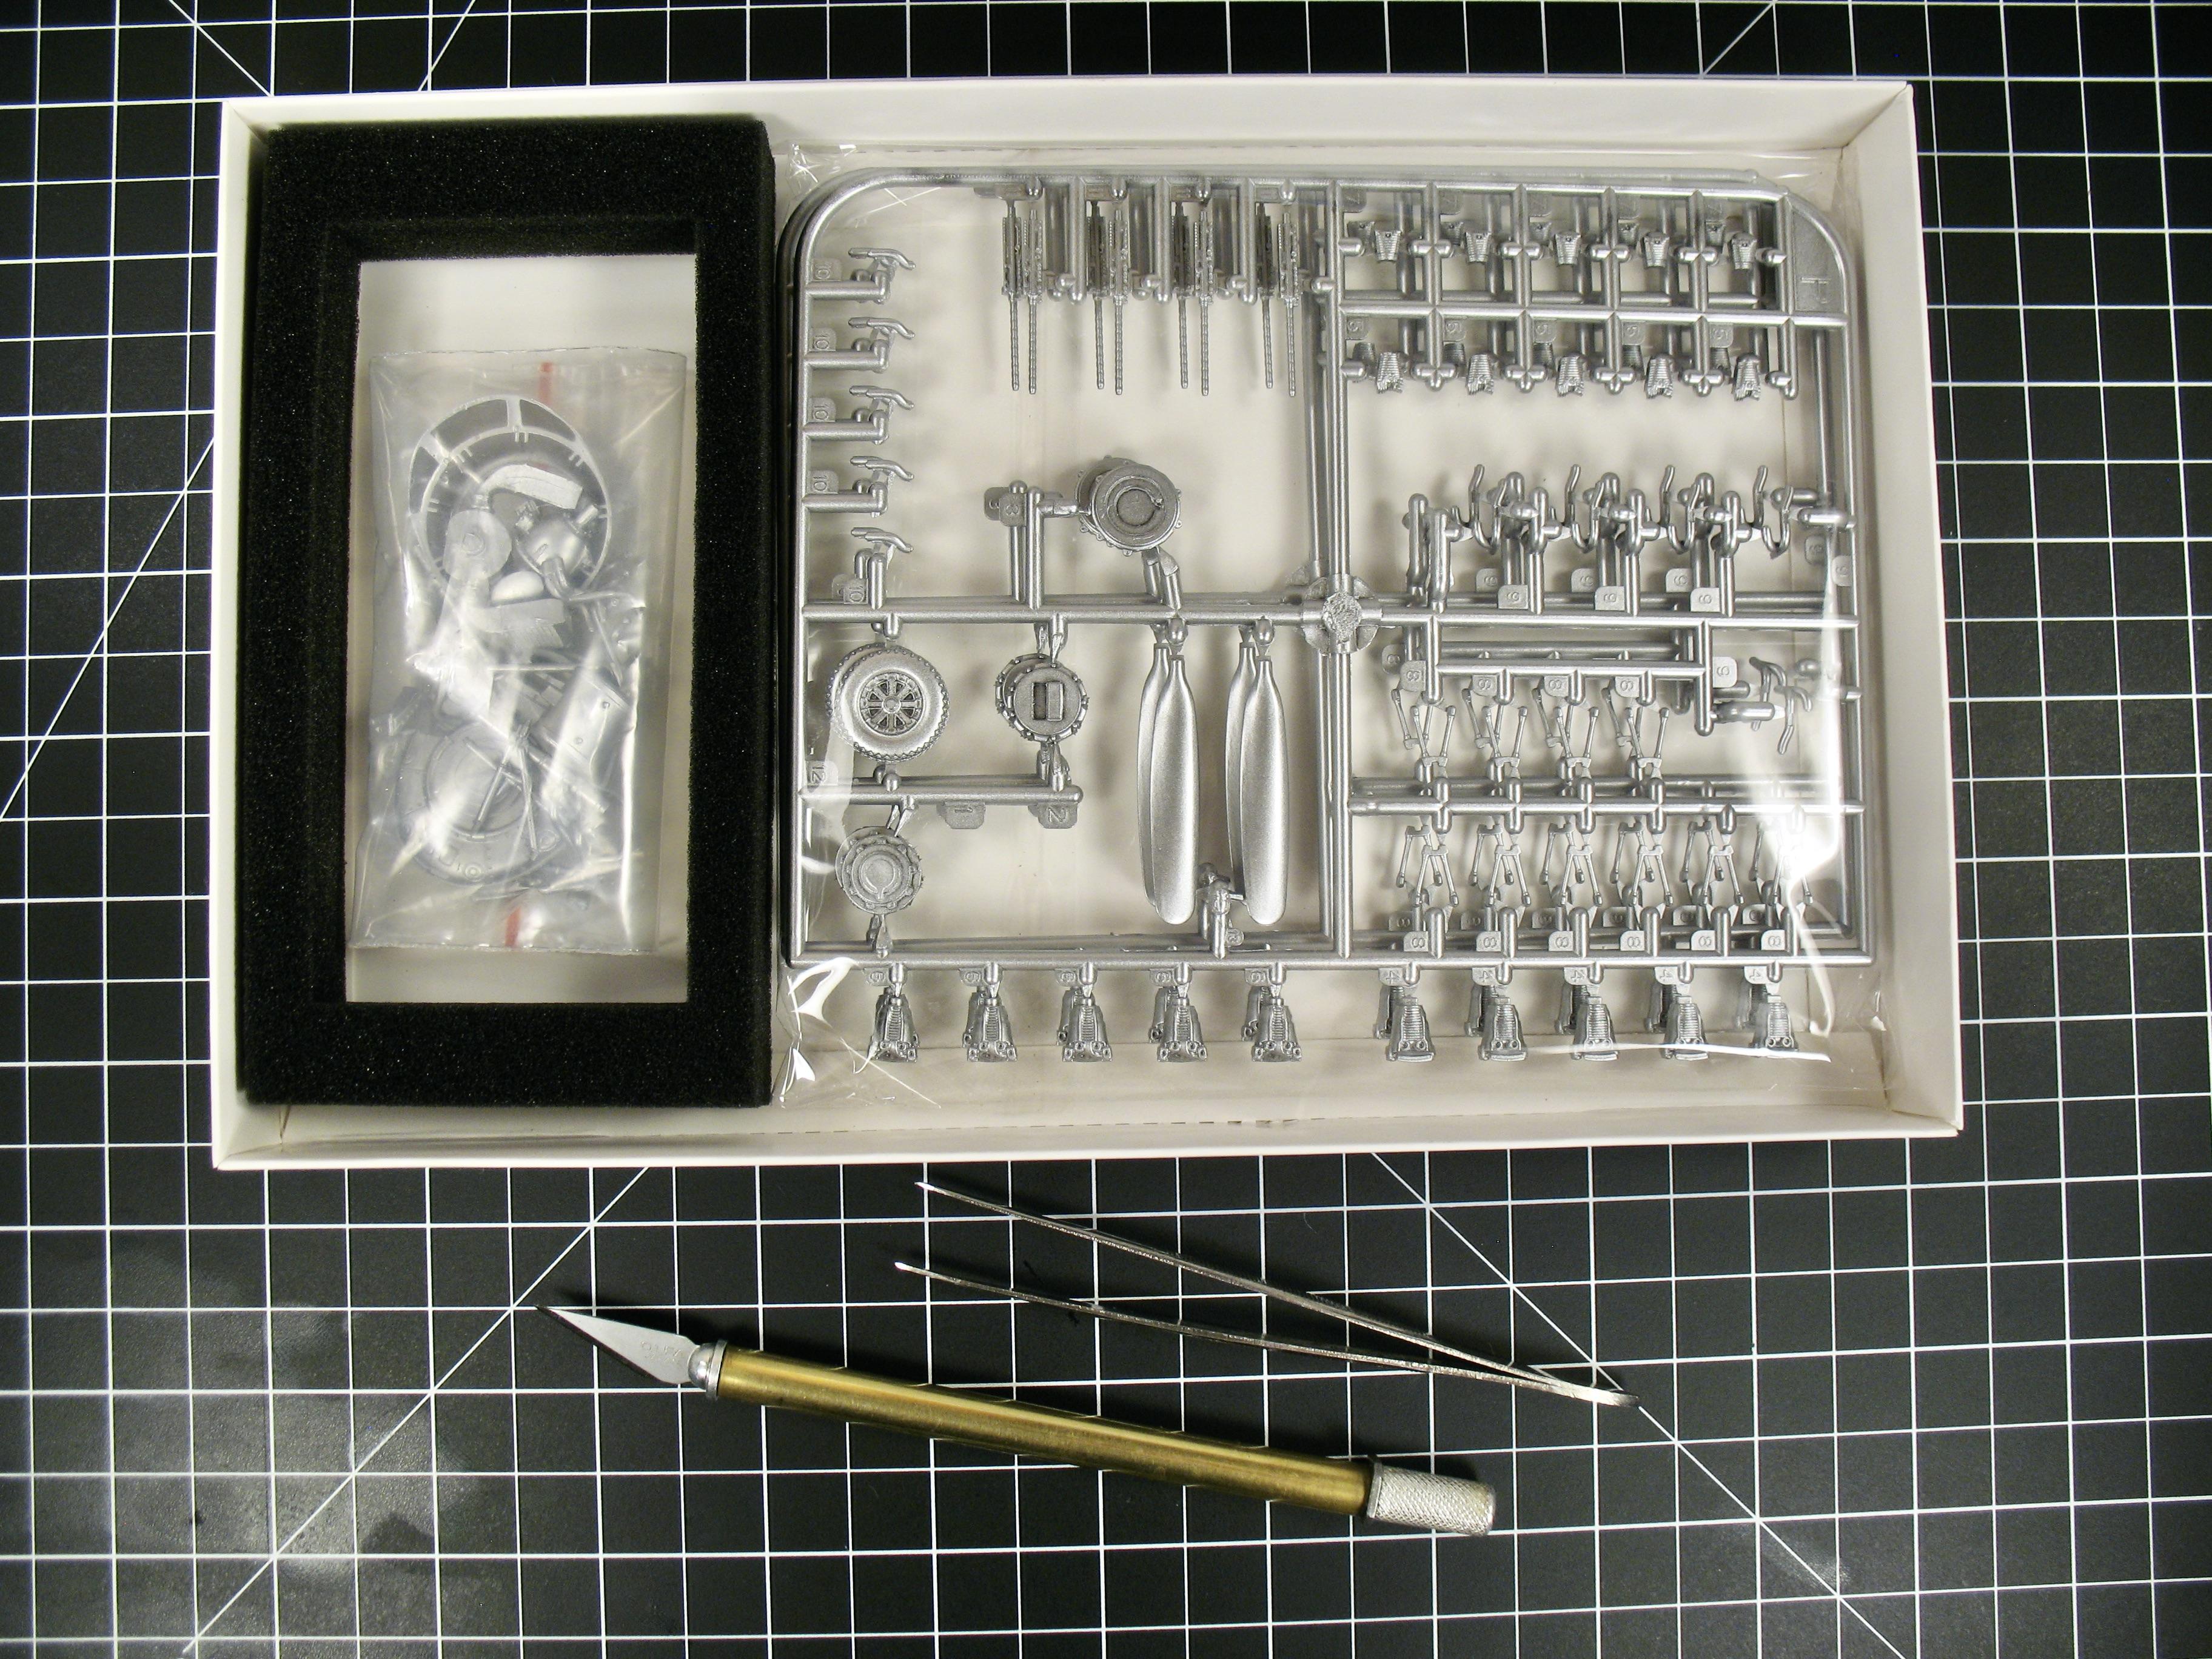
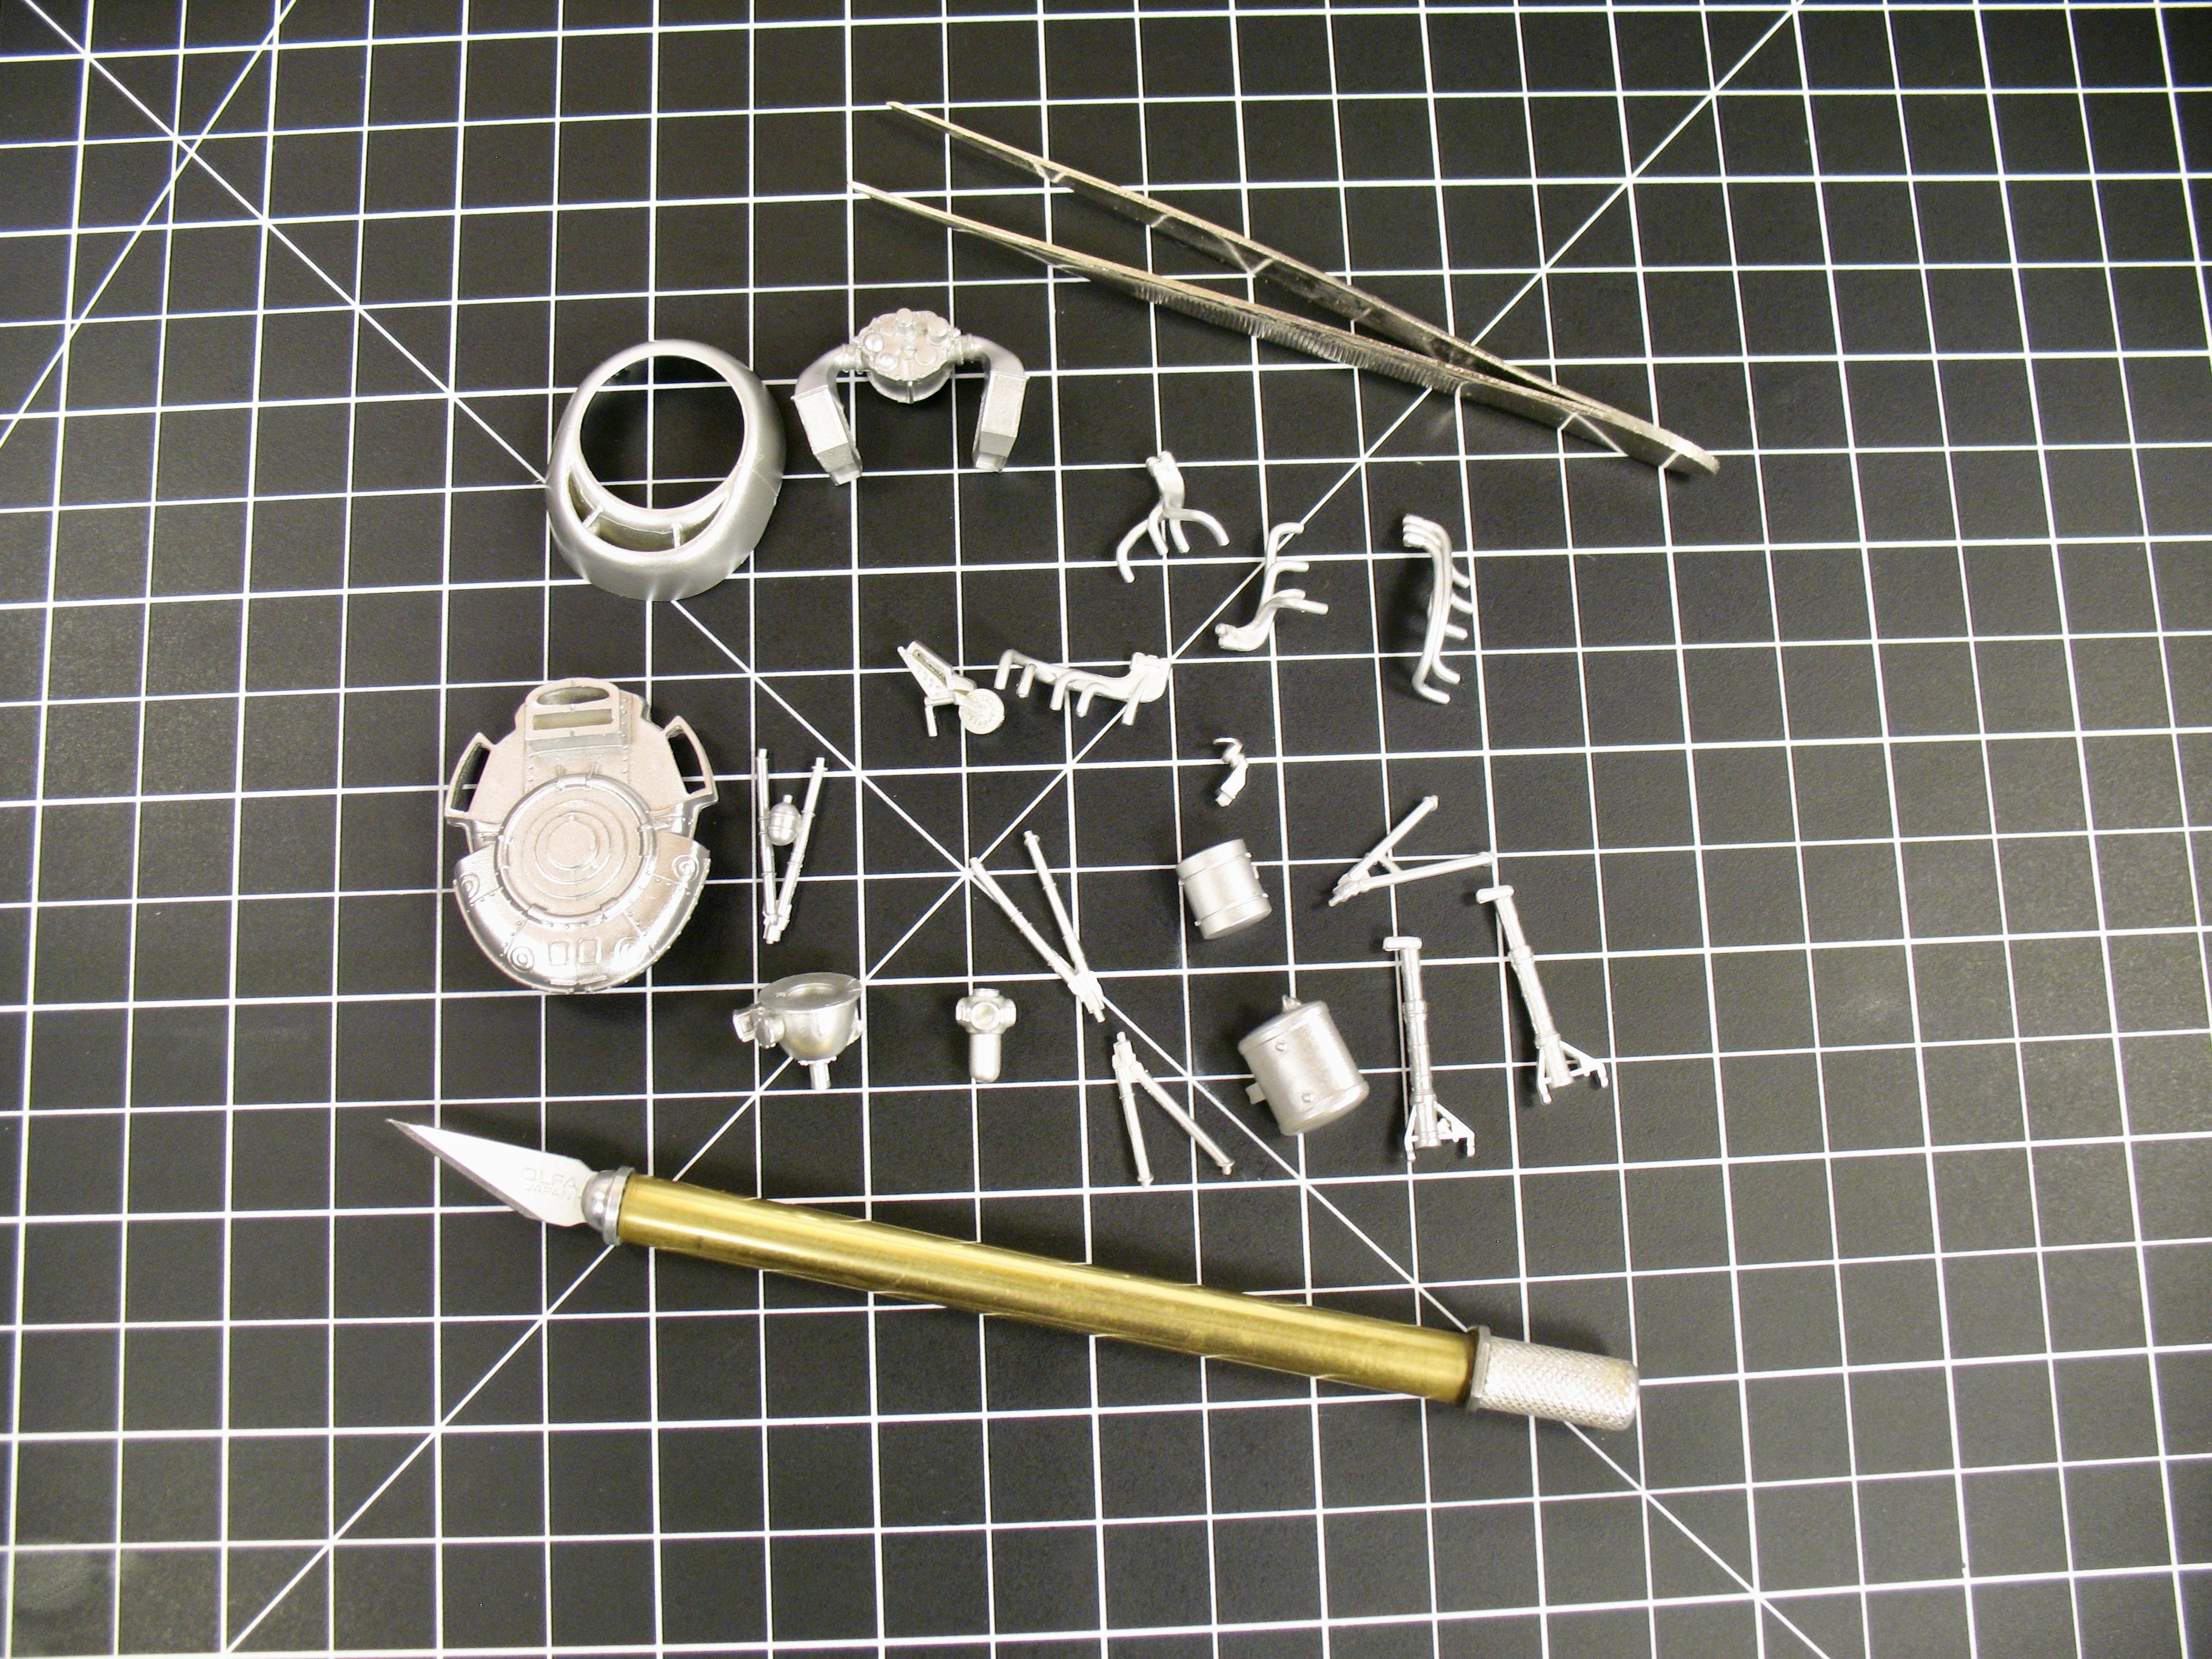
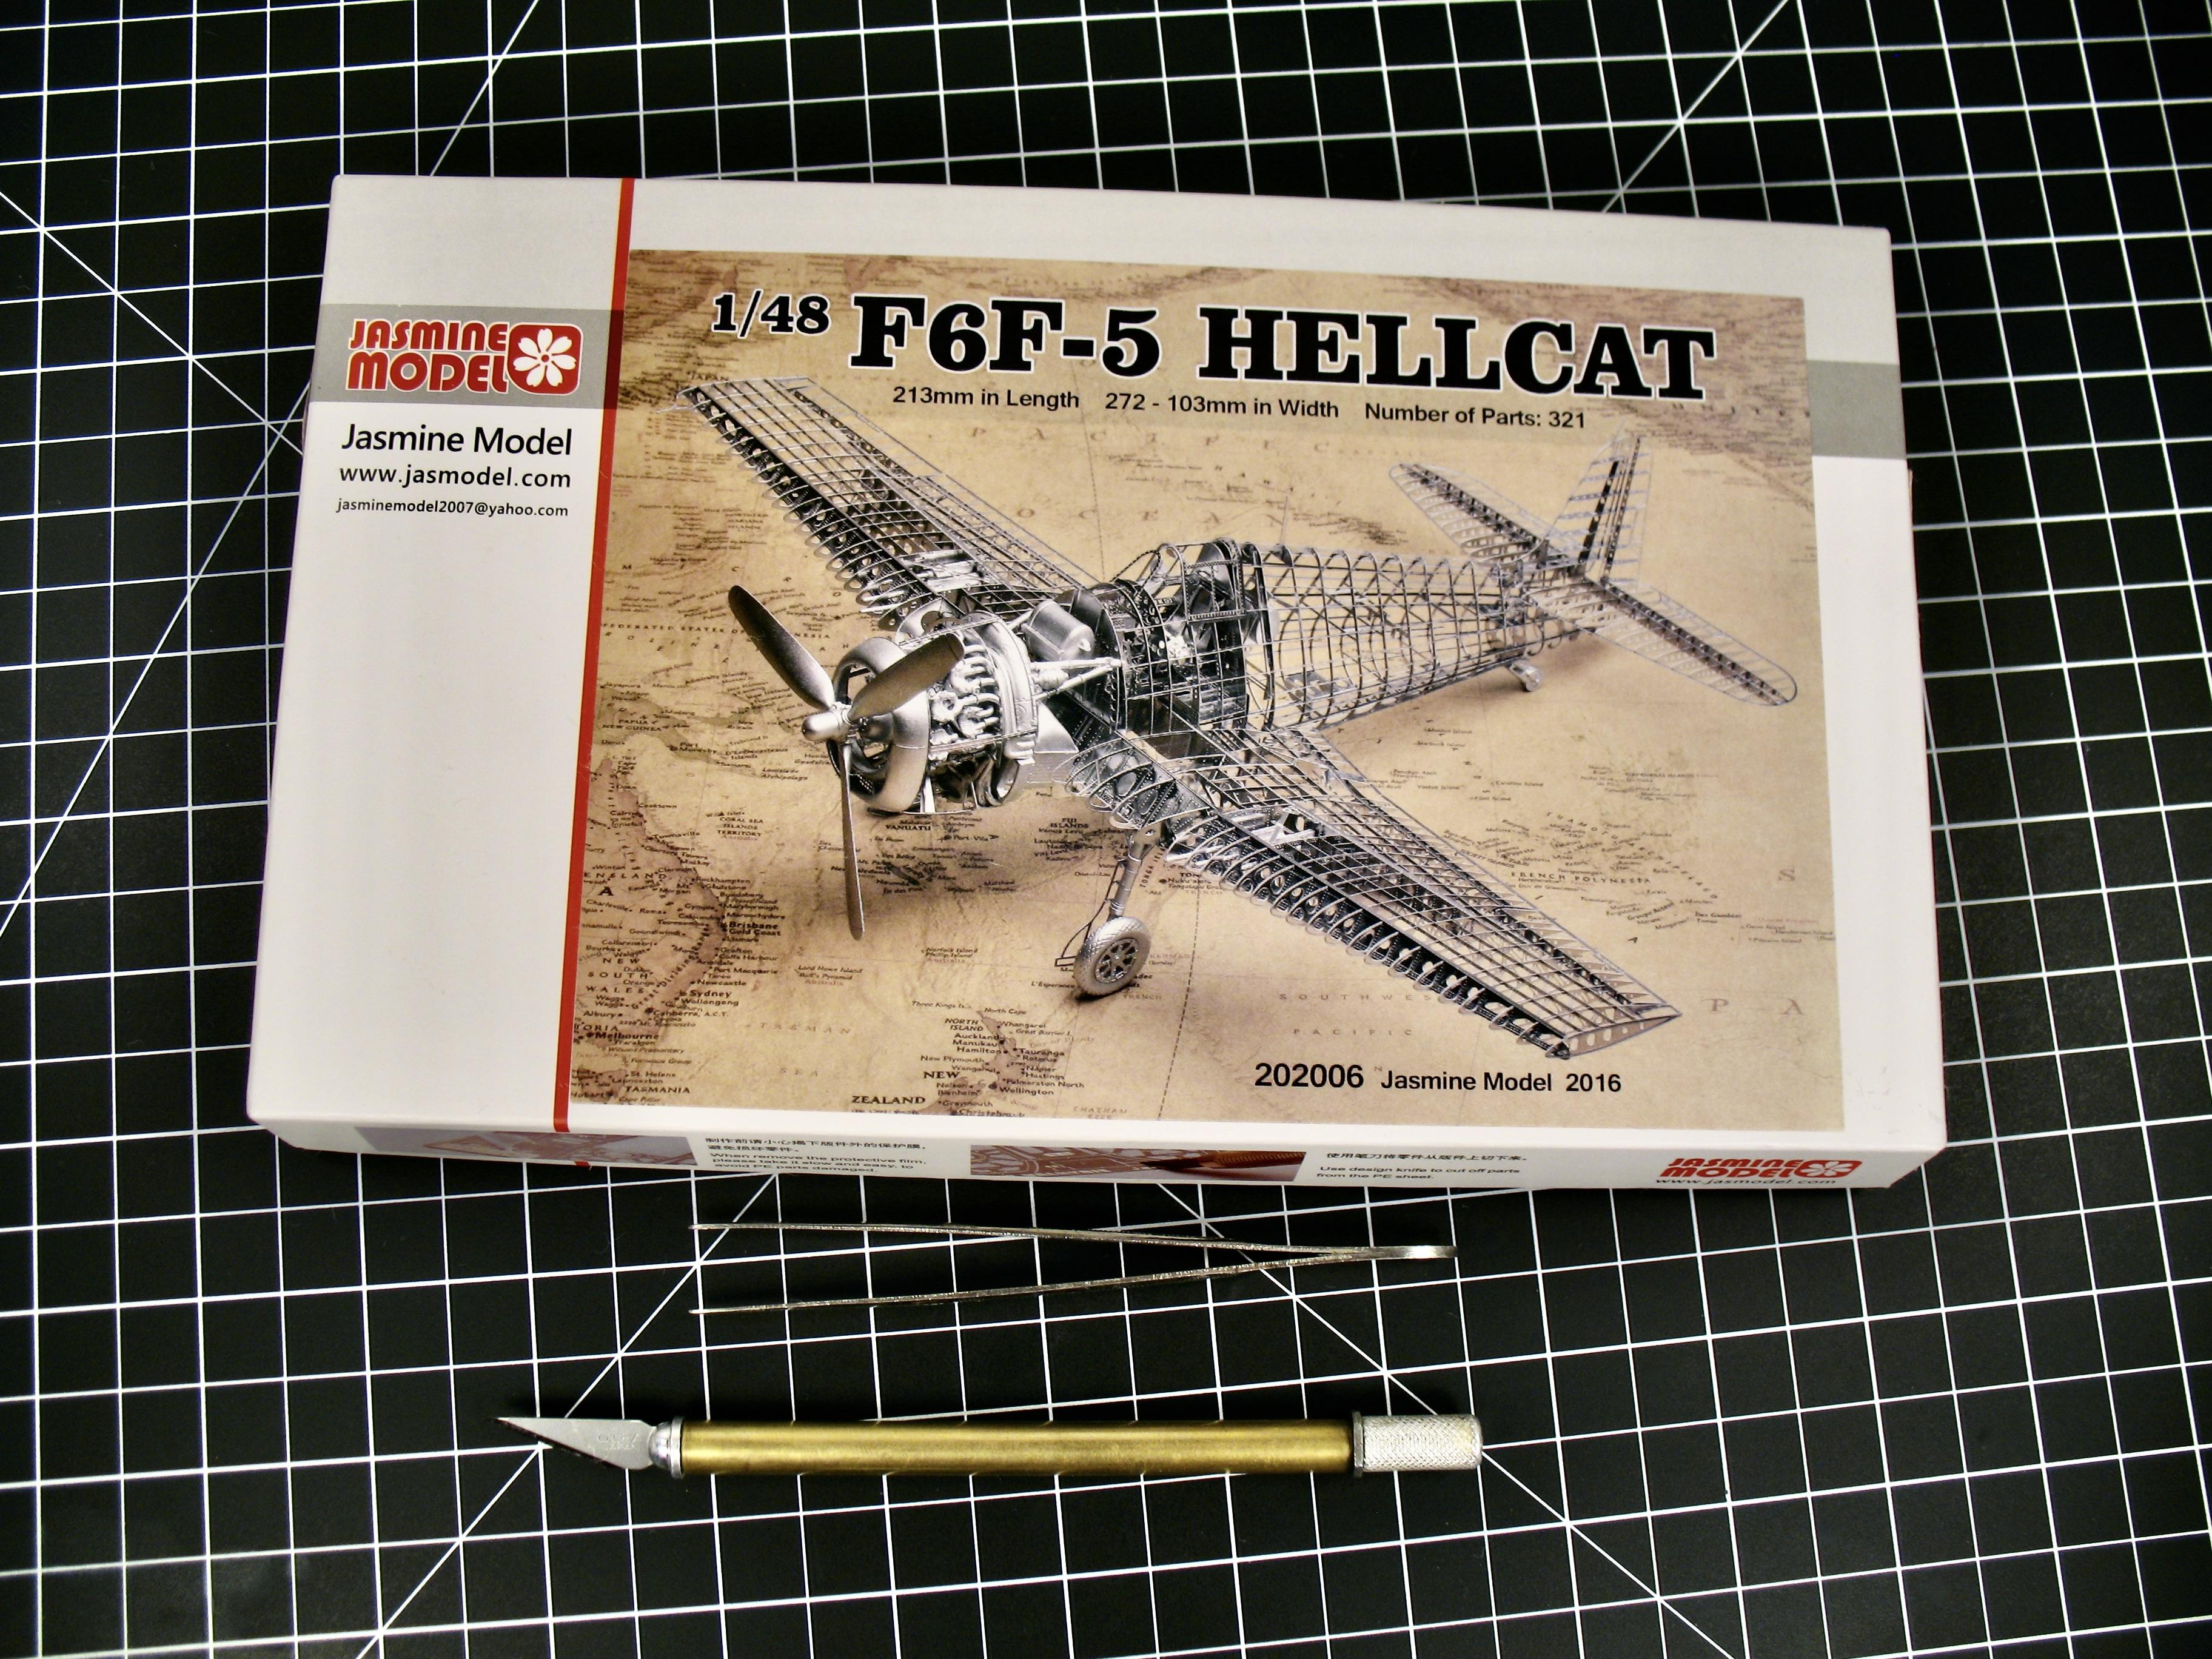
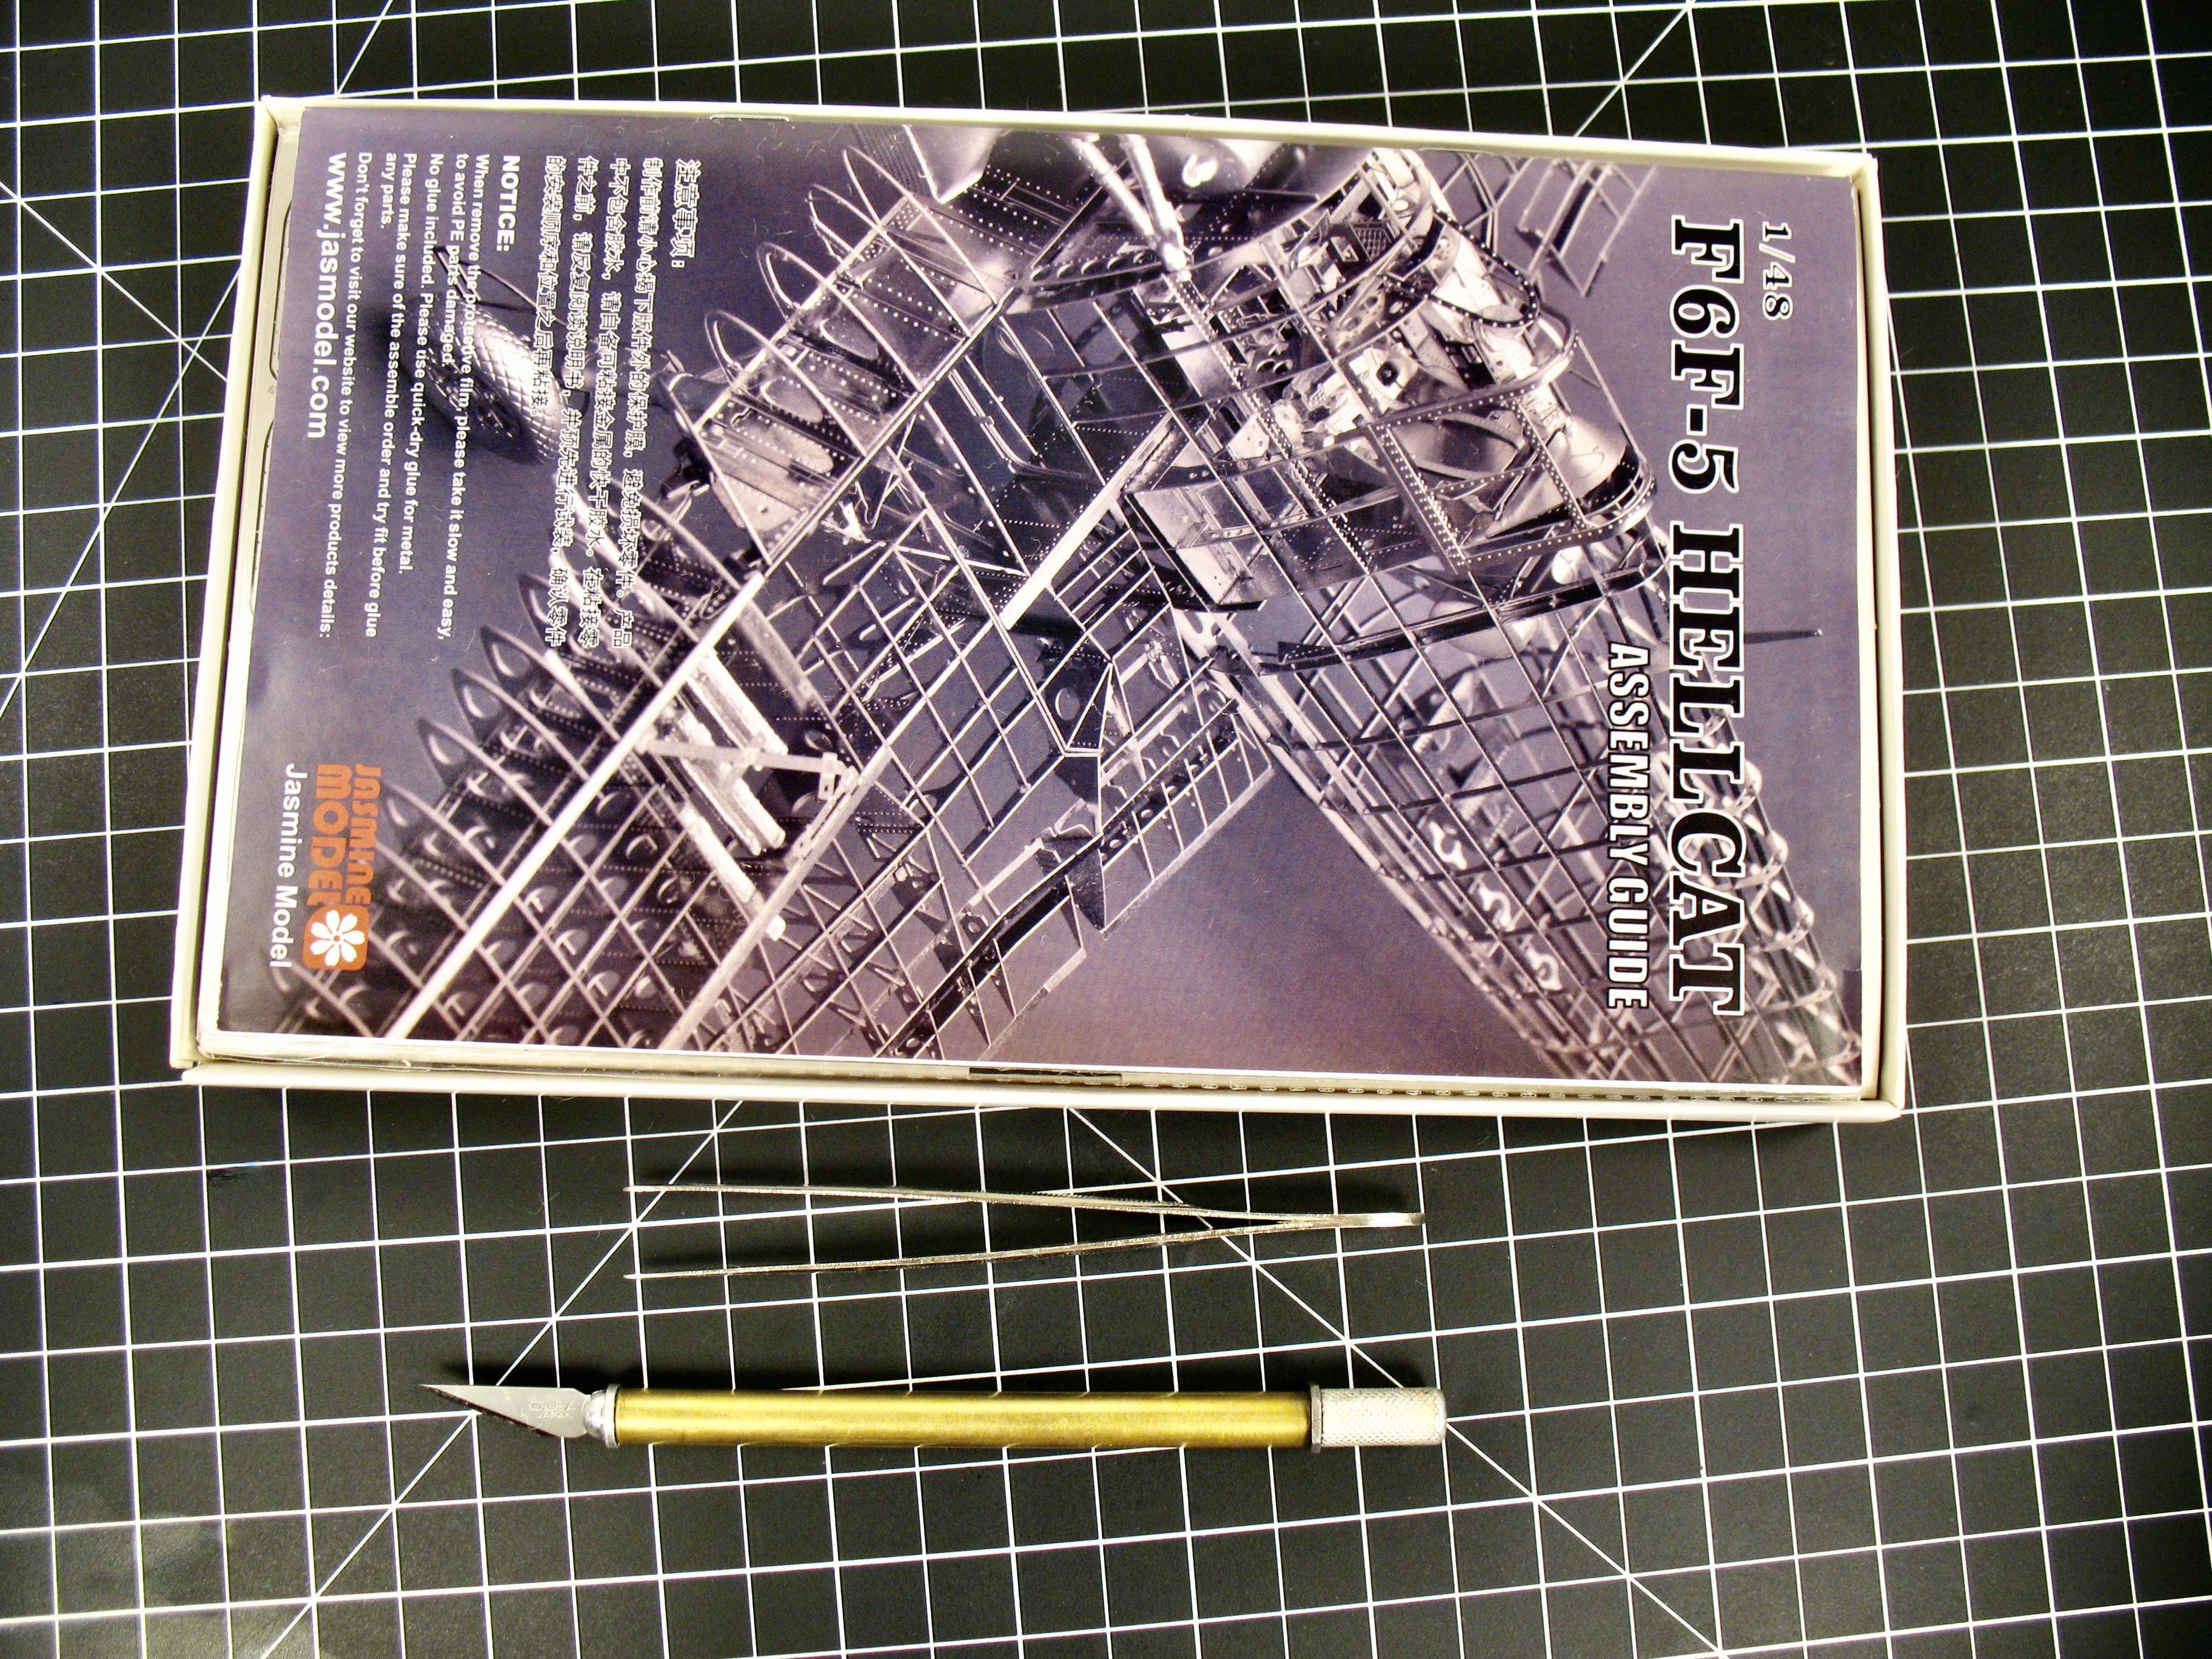
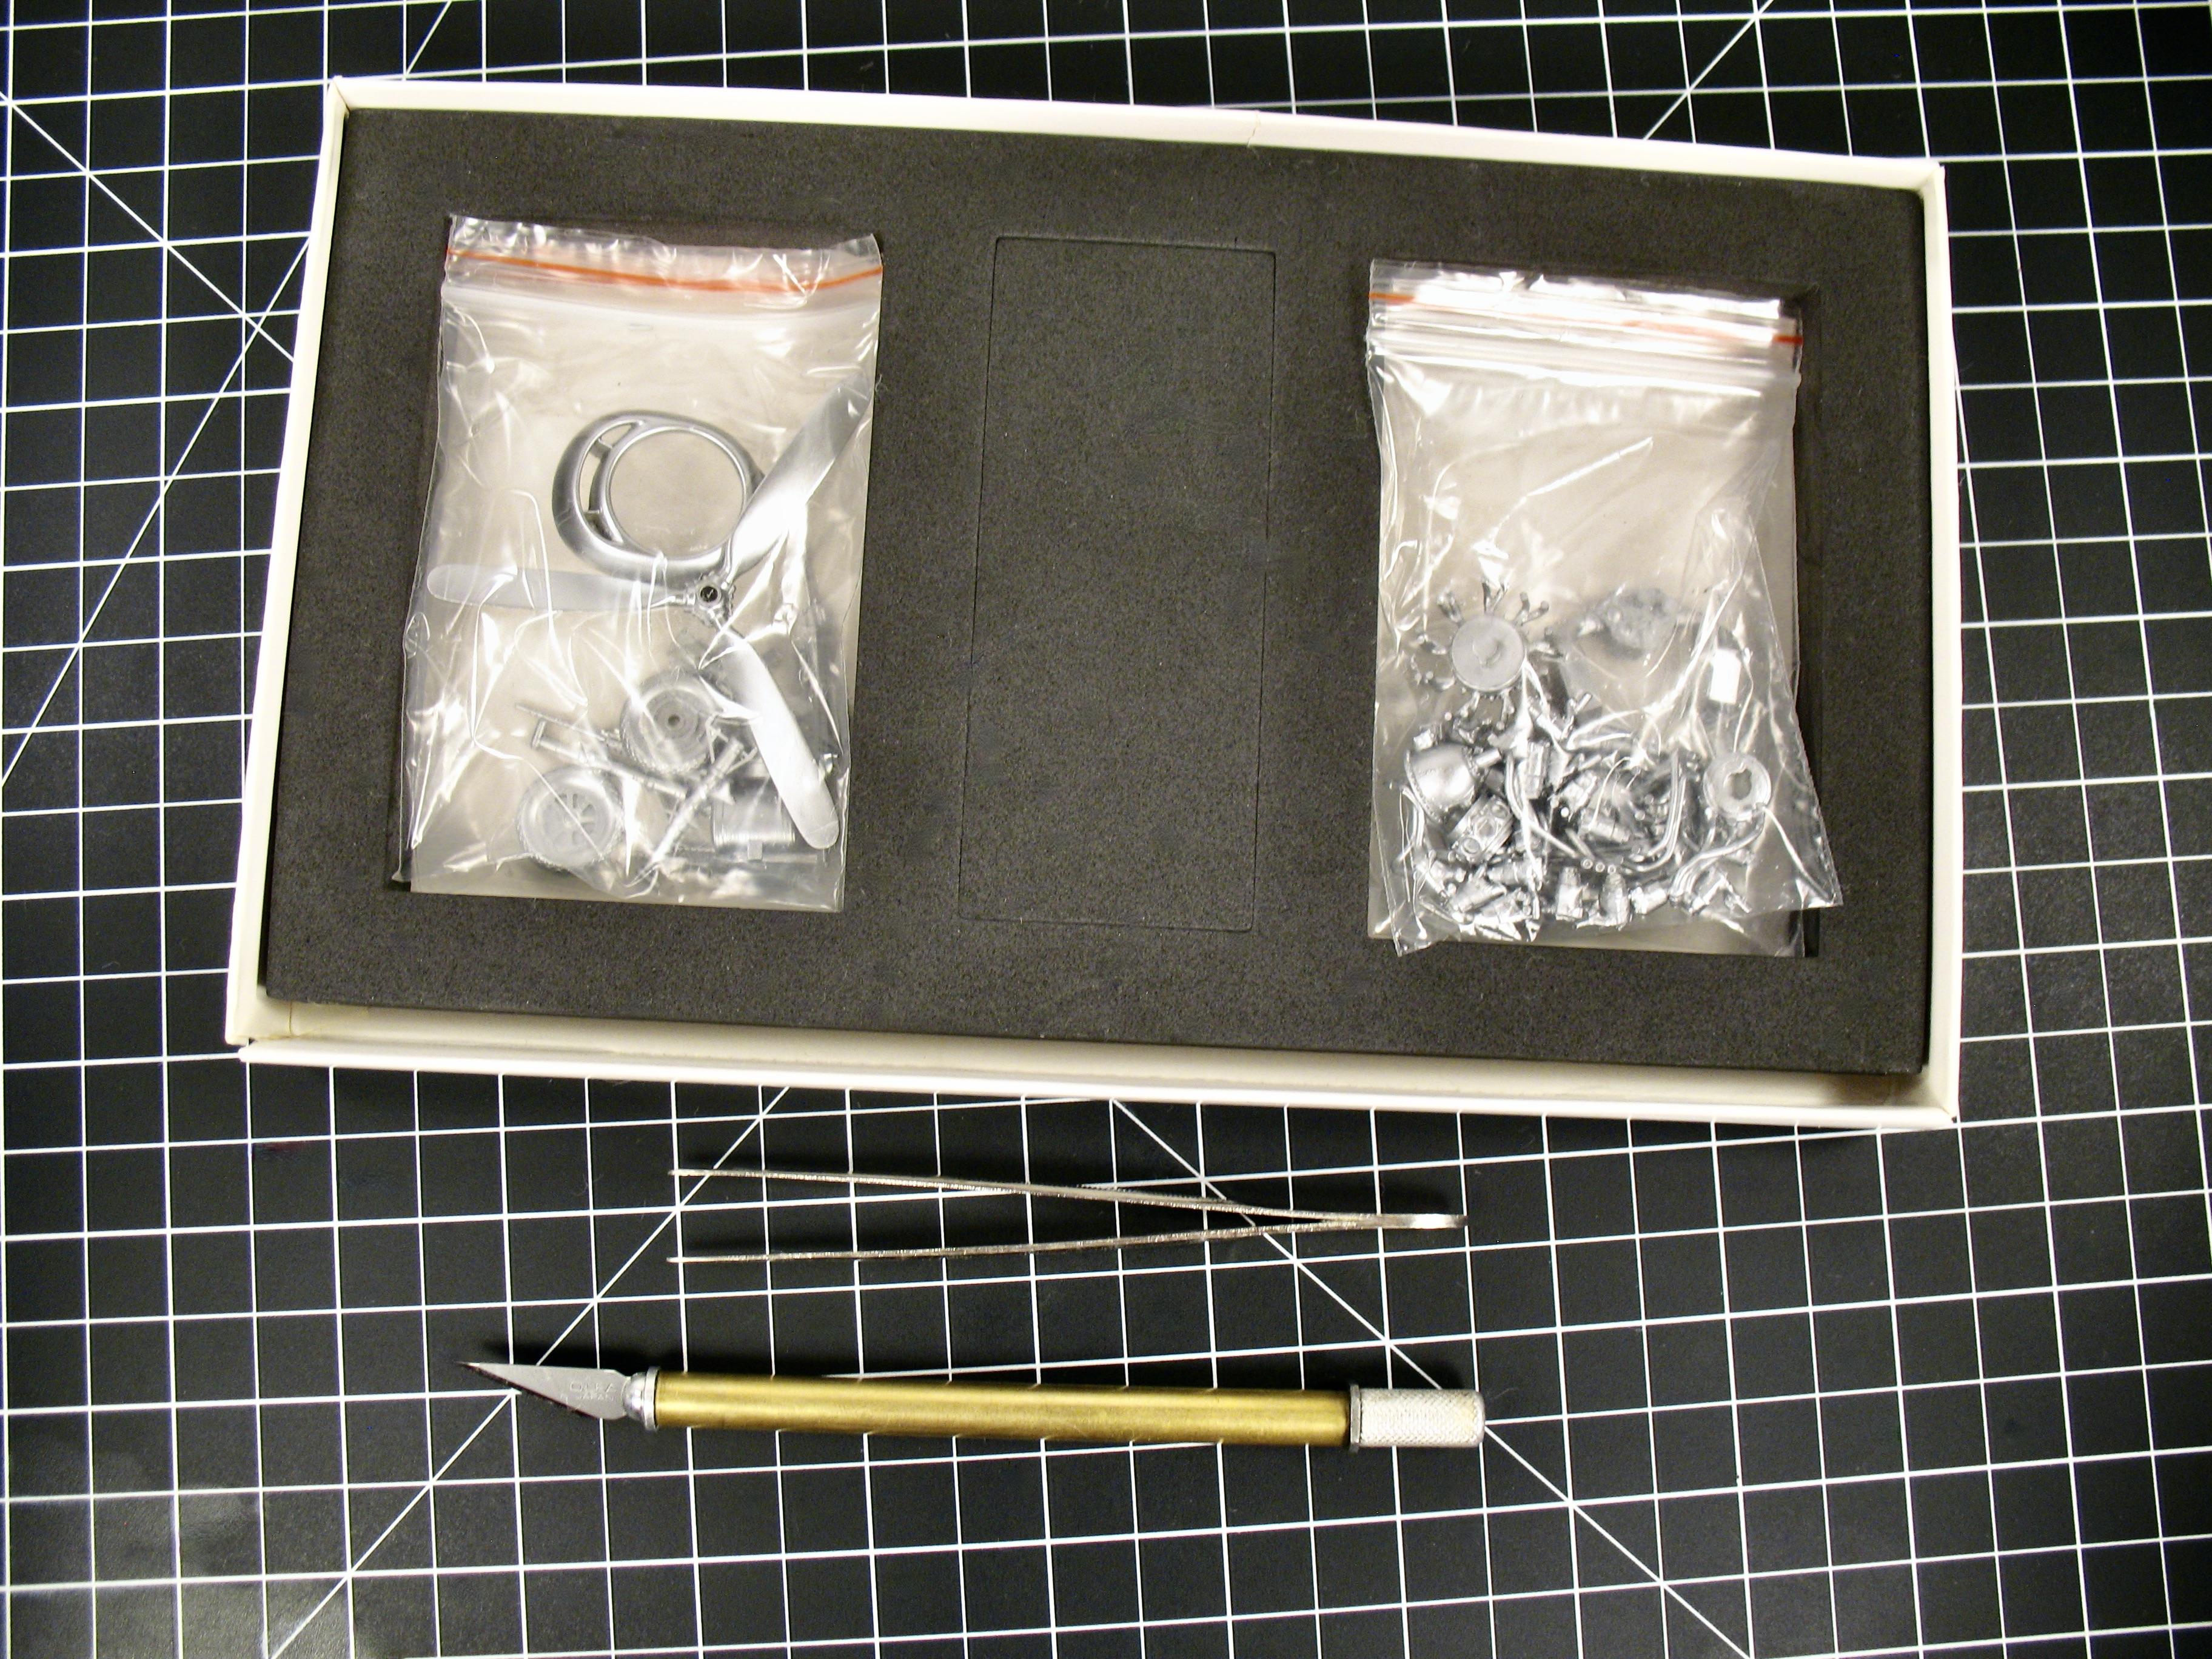
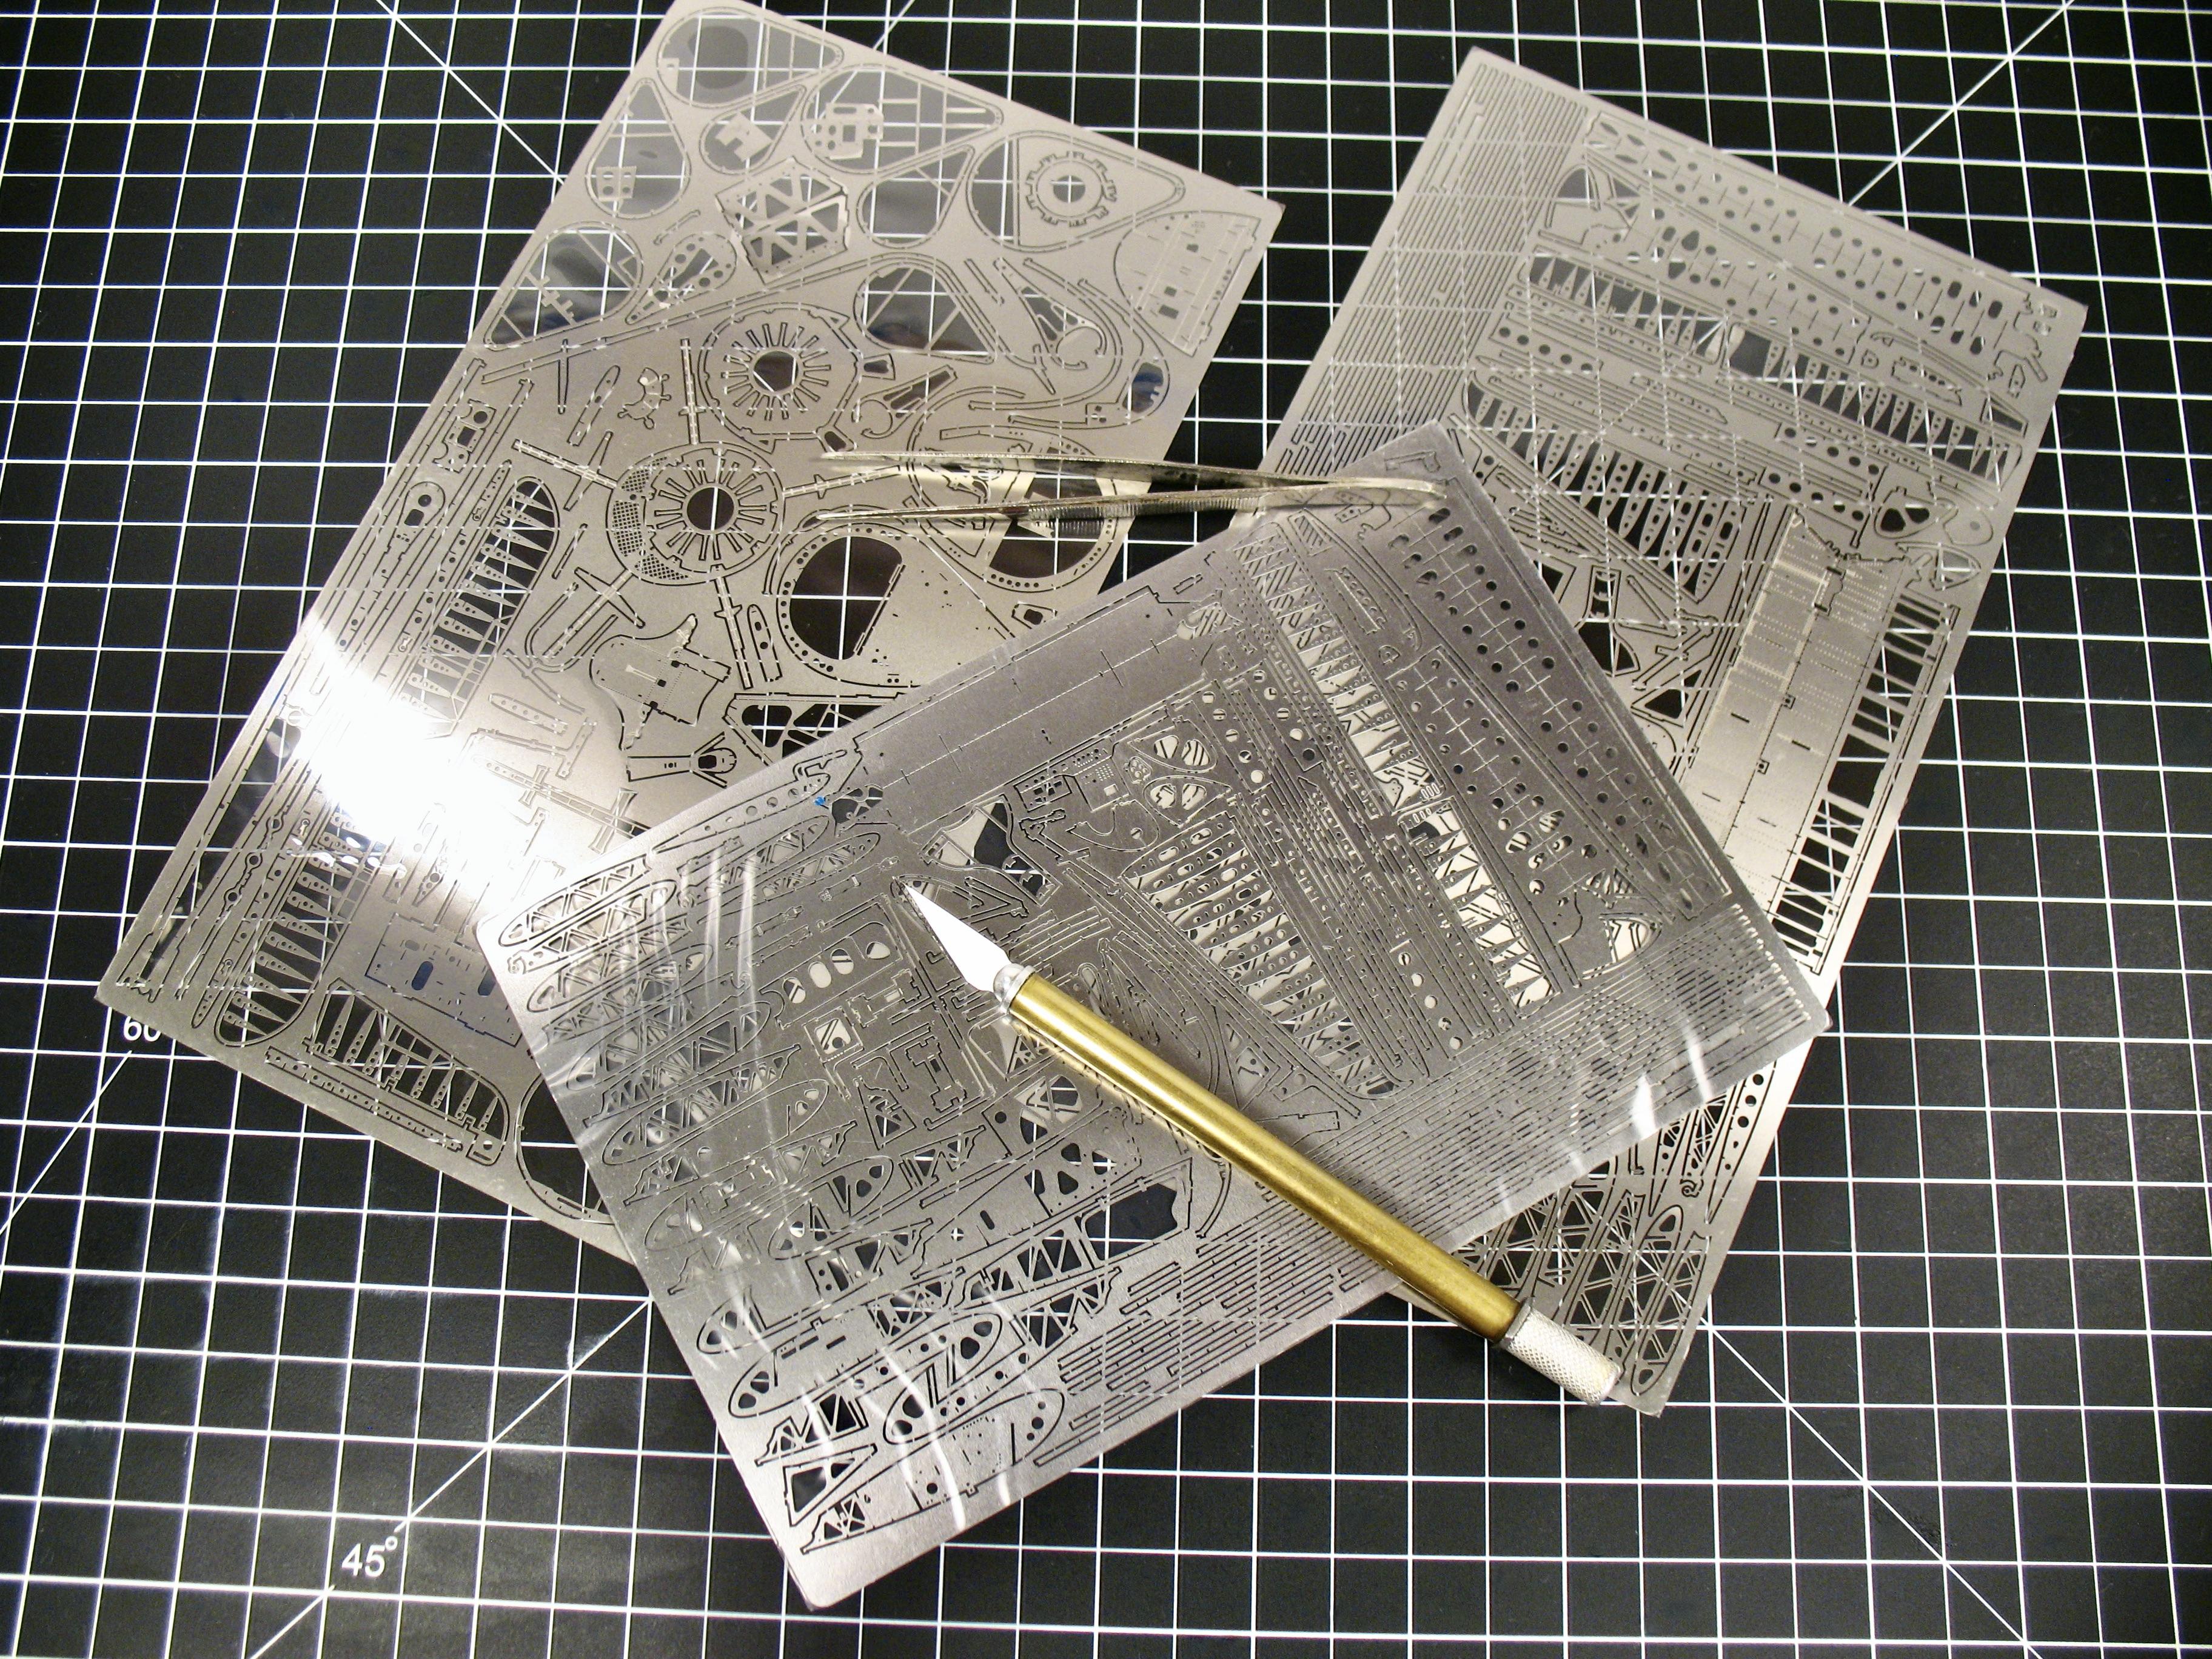
I was kid when was last time when I built an airplane. And in my model career, I built 3 airplanes in 1/72 scale. Last one when I was 12yo. After, I build different kits, mostly cars, trucks and motorcycles. Well after some years, I decided to build another airplane, a F6F-5 Hellcat in 1/48 scale. The kit as you can see is all phot etched, and the airplane is "naked" except few resin parts, engine landing gears and other small pieces. Instructions booklet. the resin parts The photoetched parts, pretty much the whole kit.
-
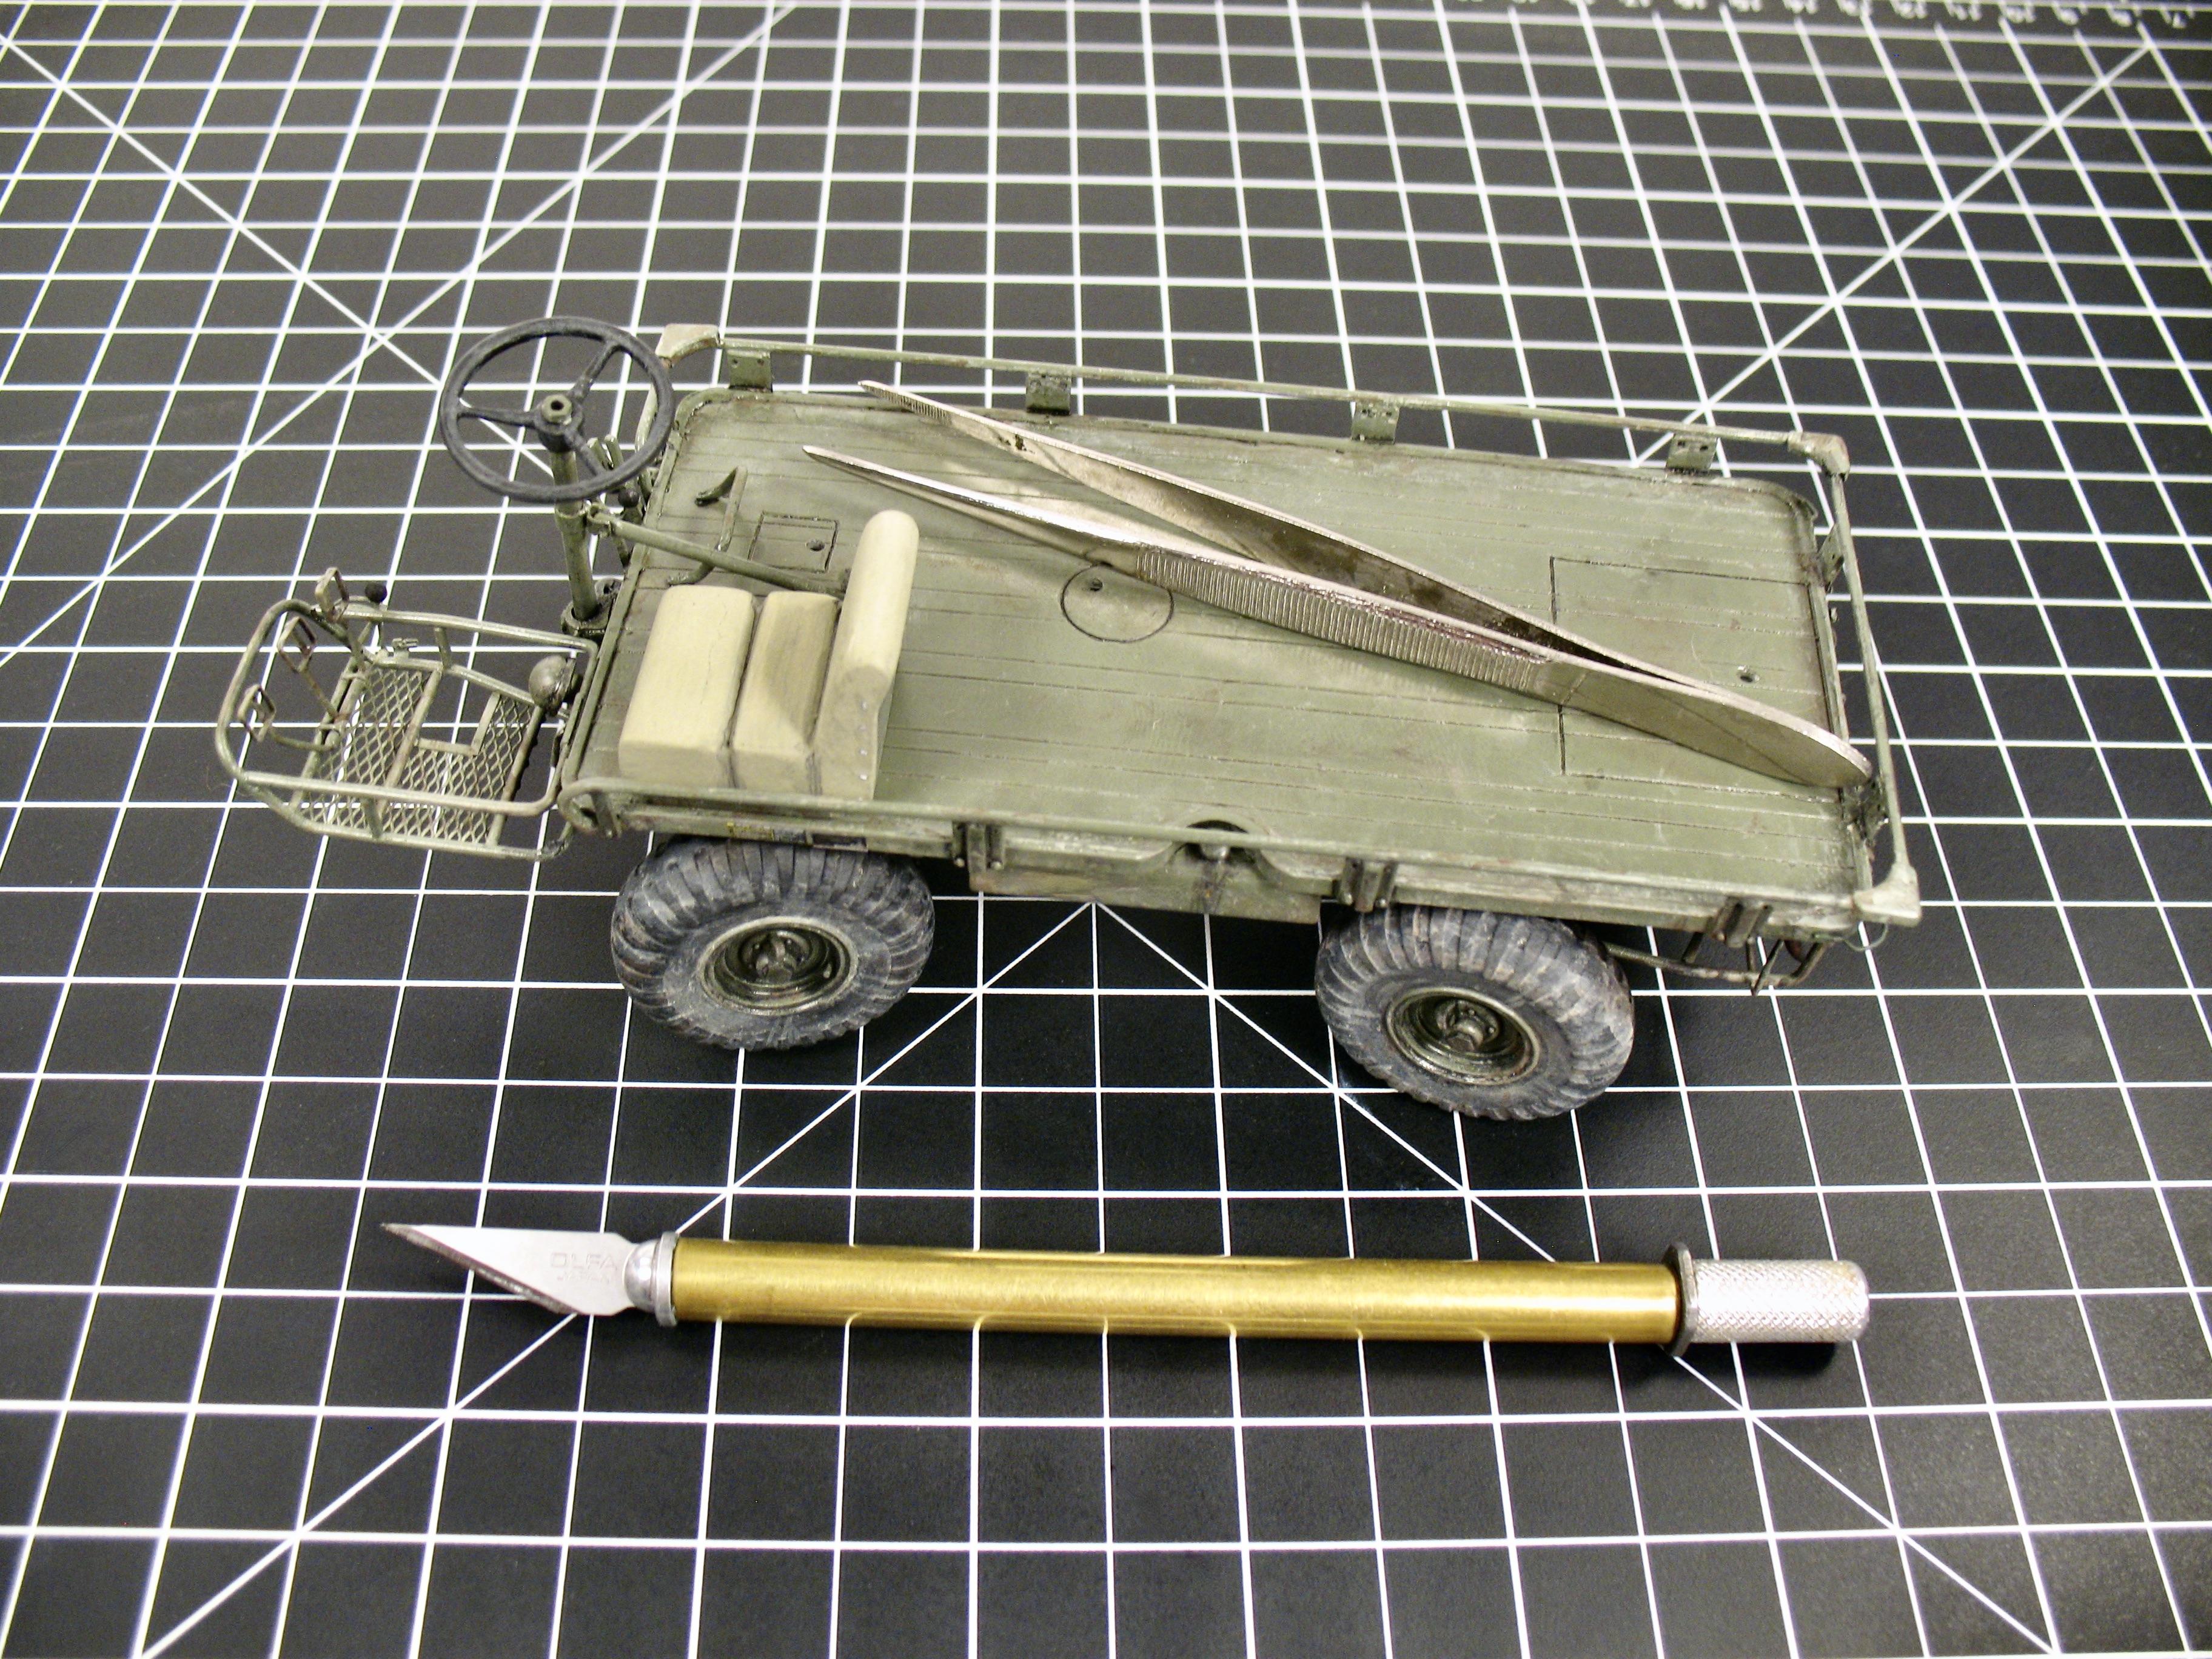
M274 Mechanical Mule
Brizio replied to Brizio's topic in WIP: All The Rest: Motorcycles, Aviation, Military, Sci-Fi, Figures
And here it is all completed. A lot of fun building it, above all, for all the aprts I upgraded and detail added.
-
M274 Mechanical Mule
Brizio replied to Brizio's topic in WIP: All The Rest: Motorcycles, Aviation, Military, Sci-Fi, Figures
I'm building a stock mule the one in the video has few mods, that probably cool, but not historically correct. -
M274 Mechanical Mule
Brizio replied to Brizio's topic in WIP: All The Rest: Motorcycles, Aviation, Military, Sci-Fi, Figures
Gerring close to wrap it up. To add to the list of modified things. the bed, got new metal rails, and was rescribed in negative, also added all the access panels. The steering wheel is modified and added a nut. The seat was rescribed to show the three parts of it. Added the instrument brachet and oil cap/tube on the back, and on the front the water filter/cap. Fun! And teh steering works!