Reuhkapelti
-
Posts
103 -
Joined
-
Last visited
Content Type
Profiles
Forums
Events
Gallery
Everything posted by Reuhkapelti
-
1967 Plymouth Belvedere 4 door Sedan 426 HEMI original
Reuhkapelti replied to Reuhkapelti's topic in WIP: Model Cars
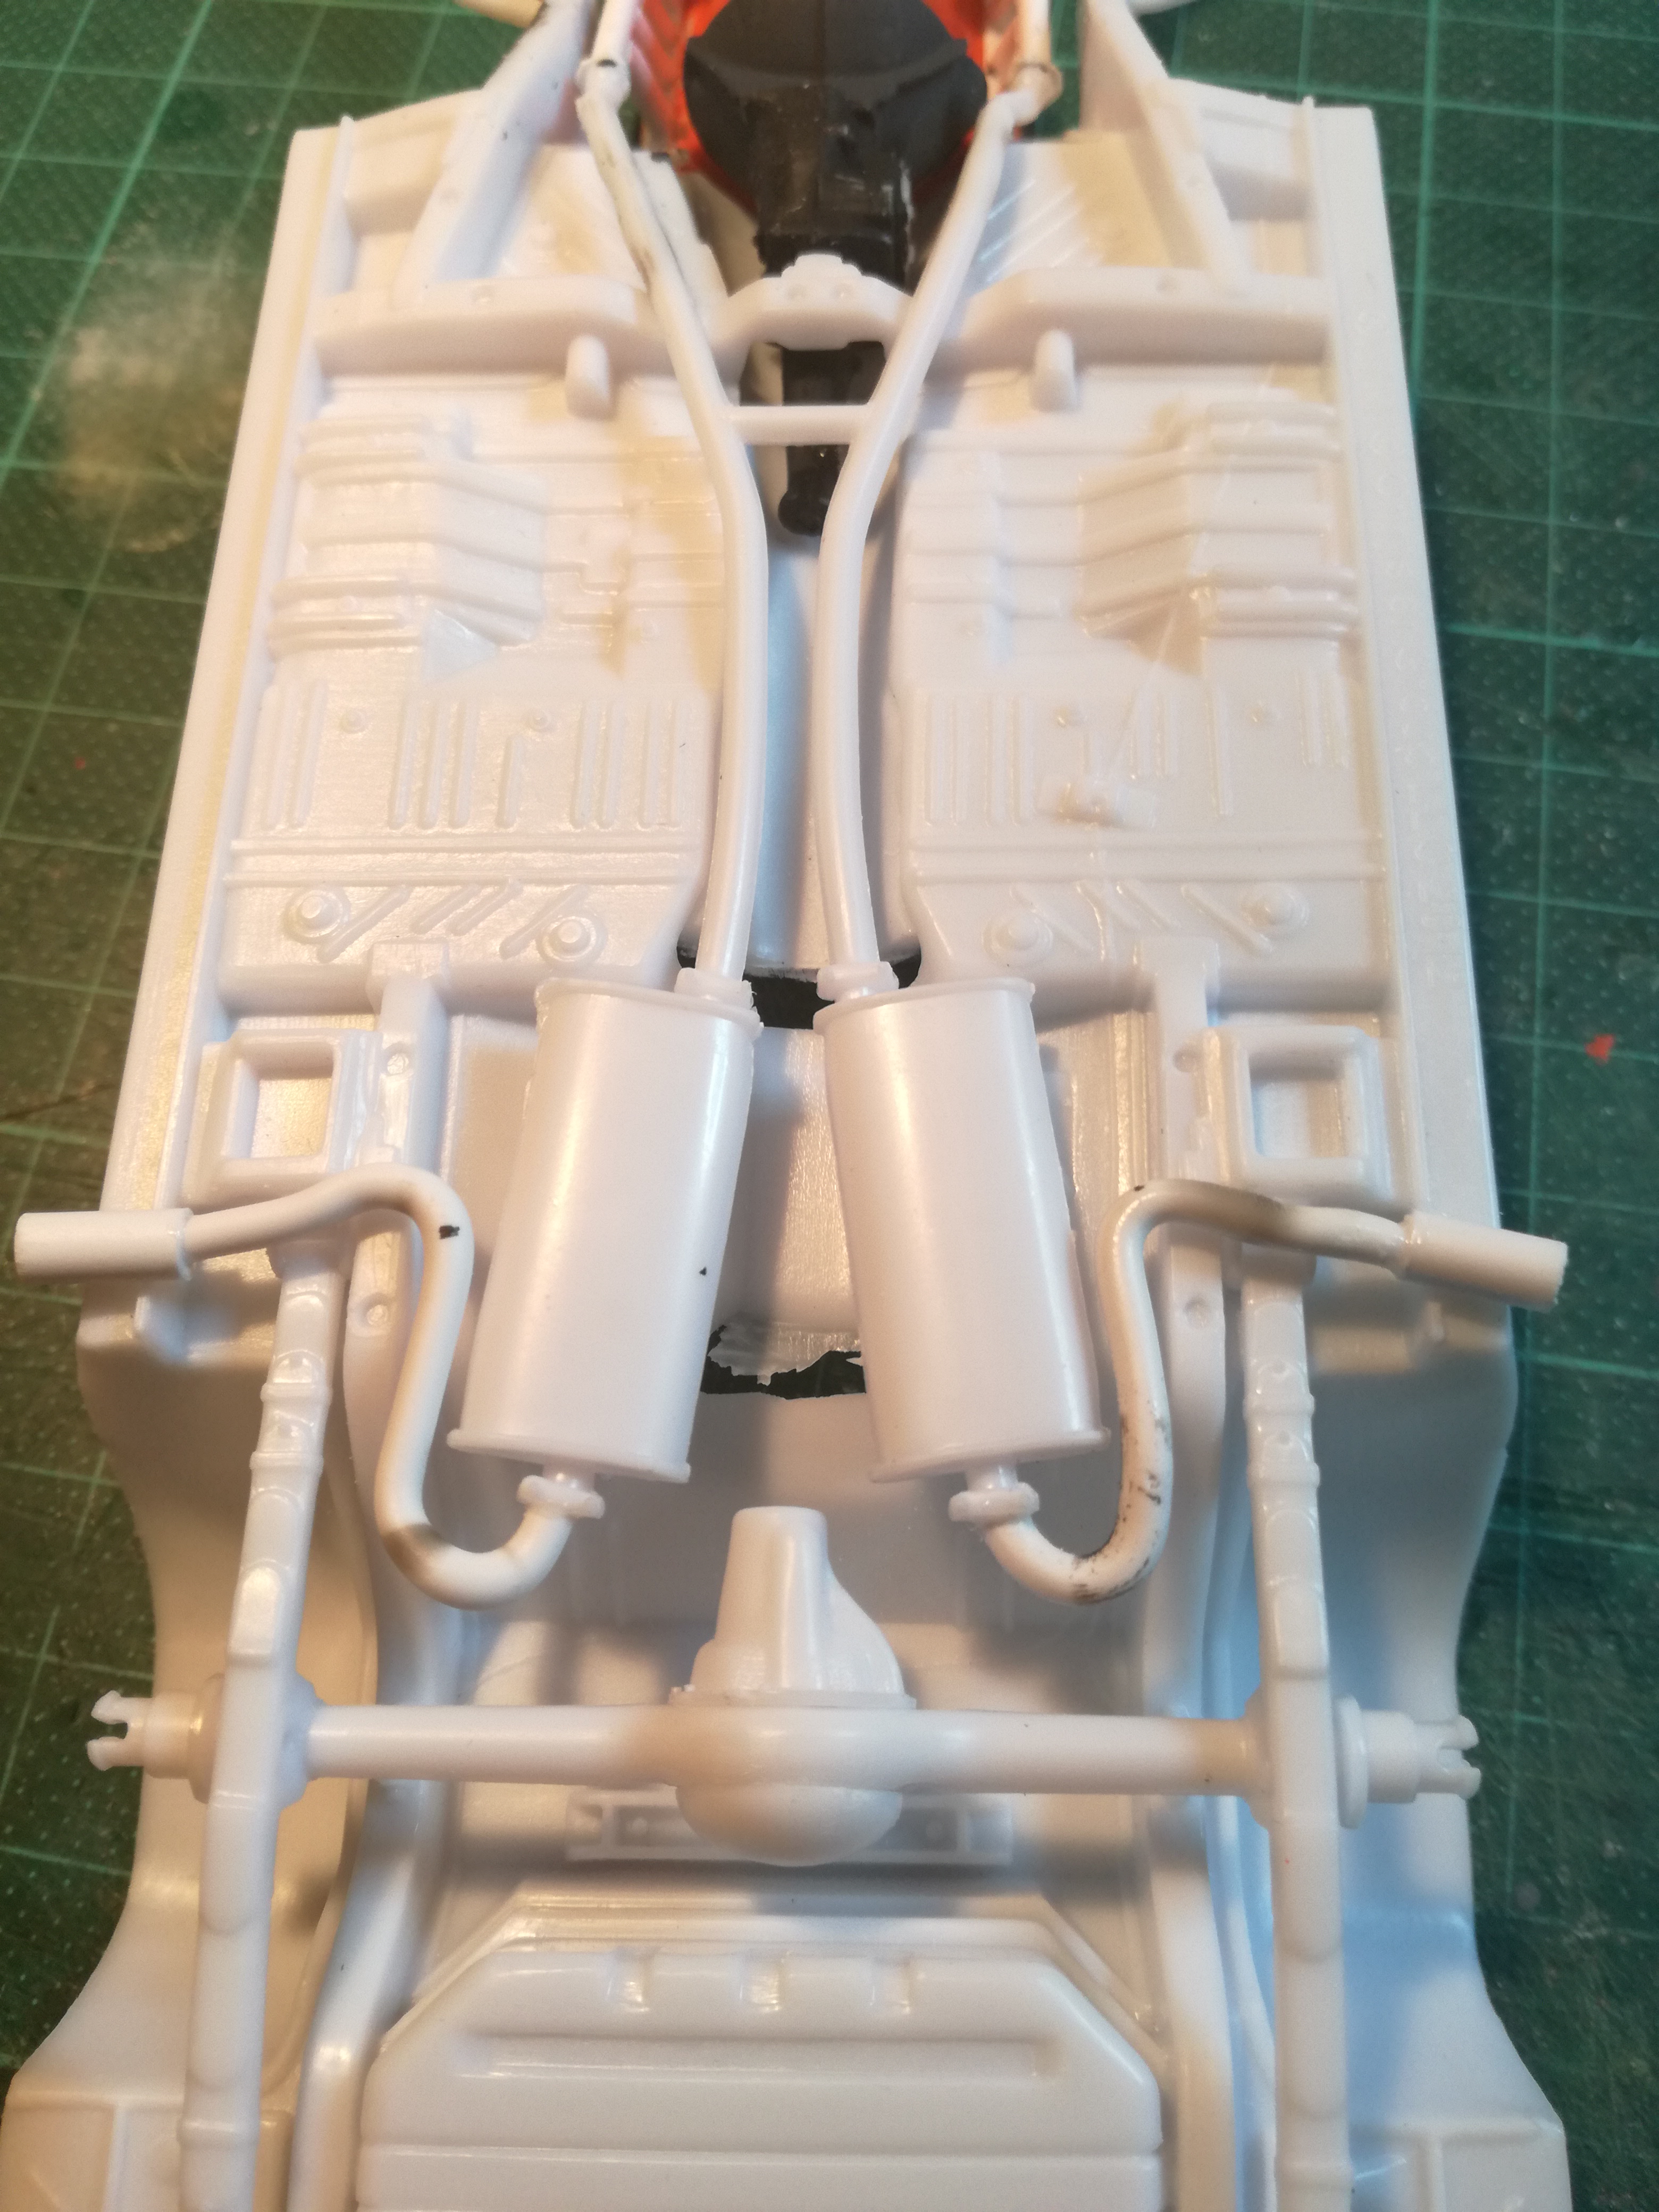
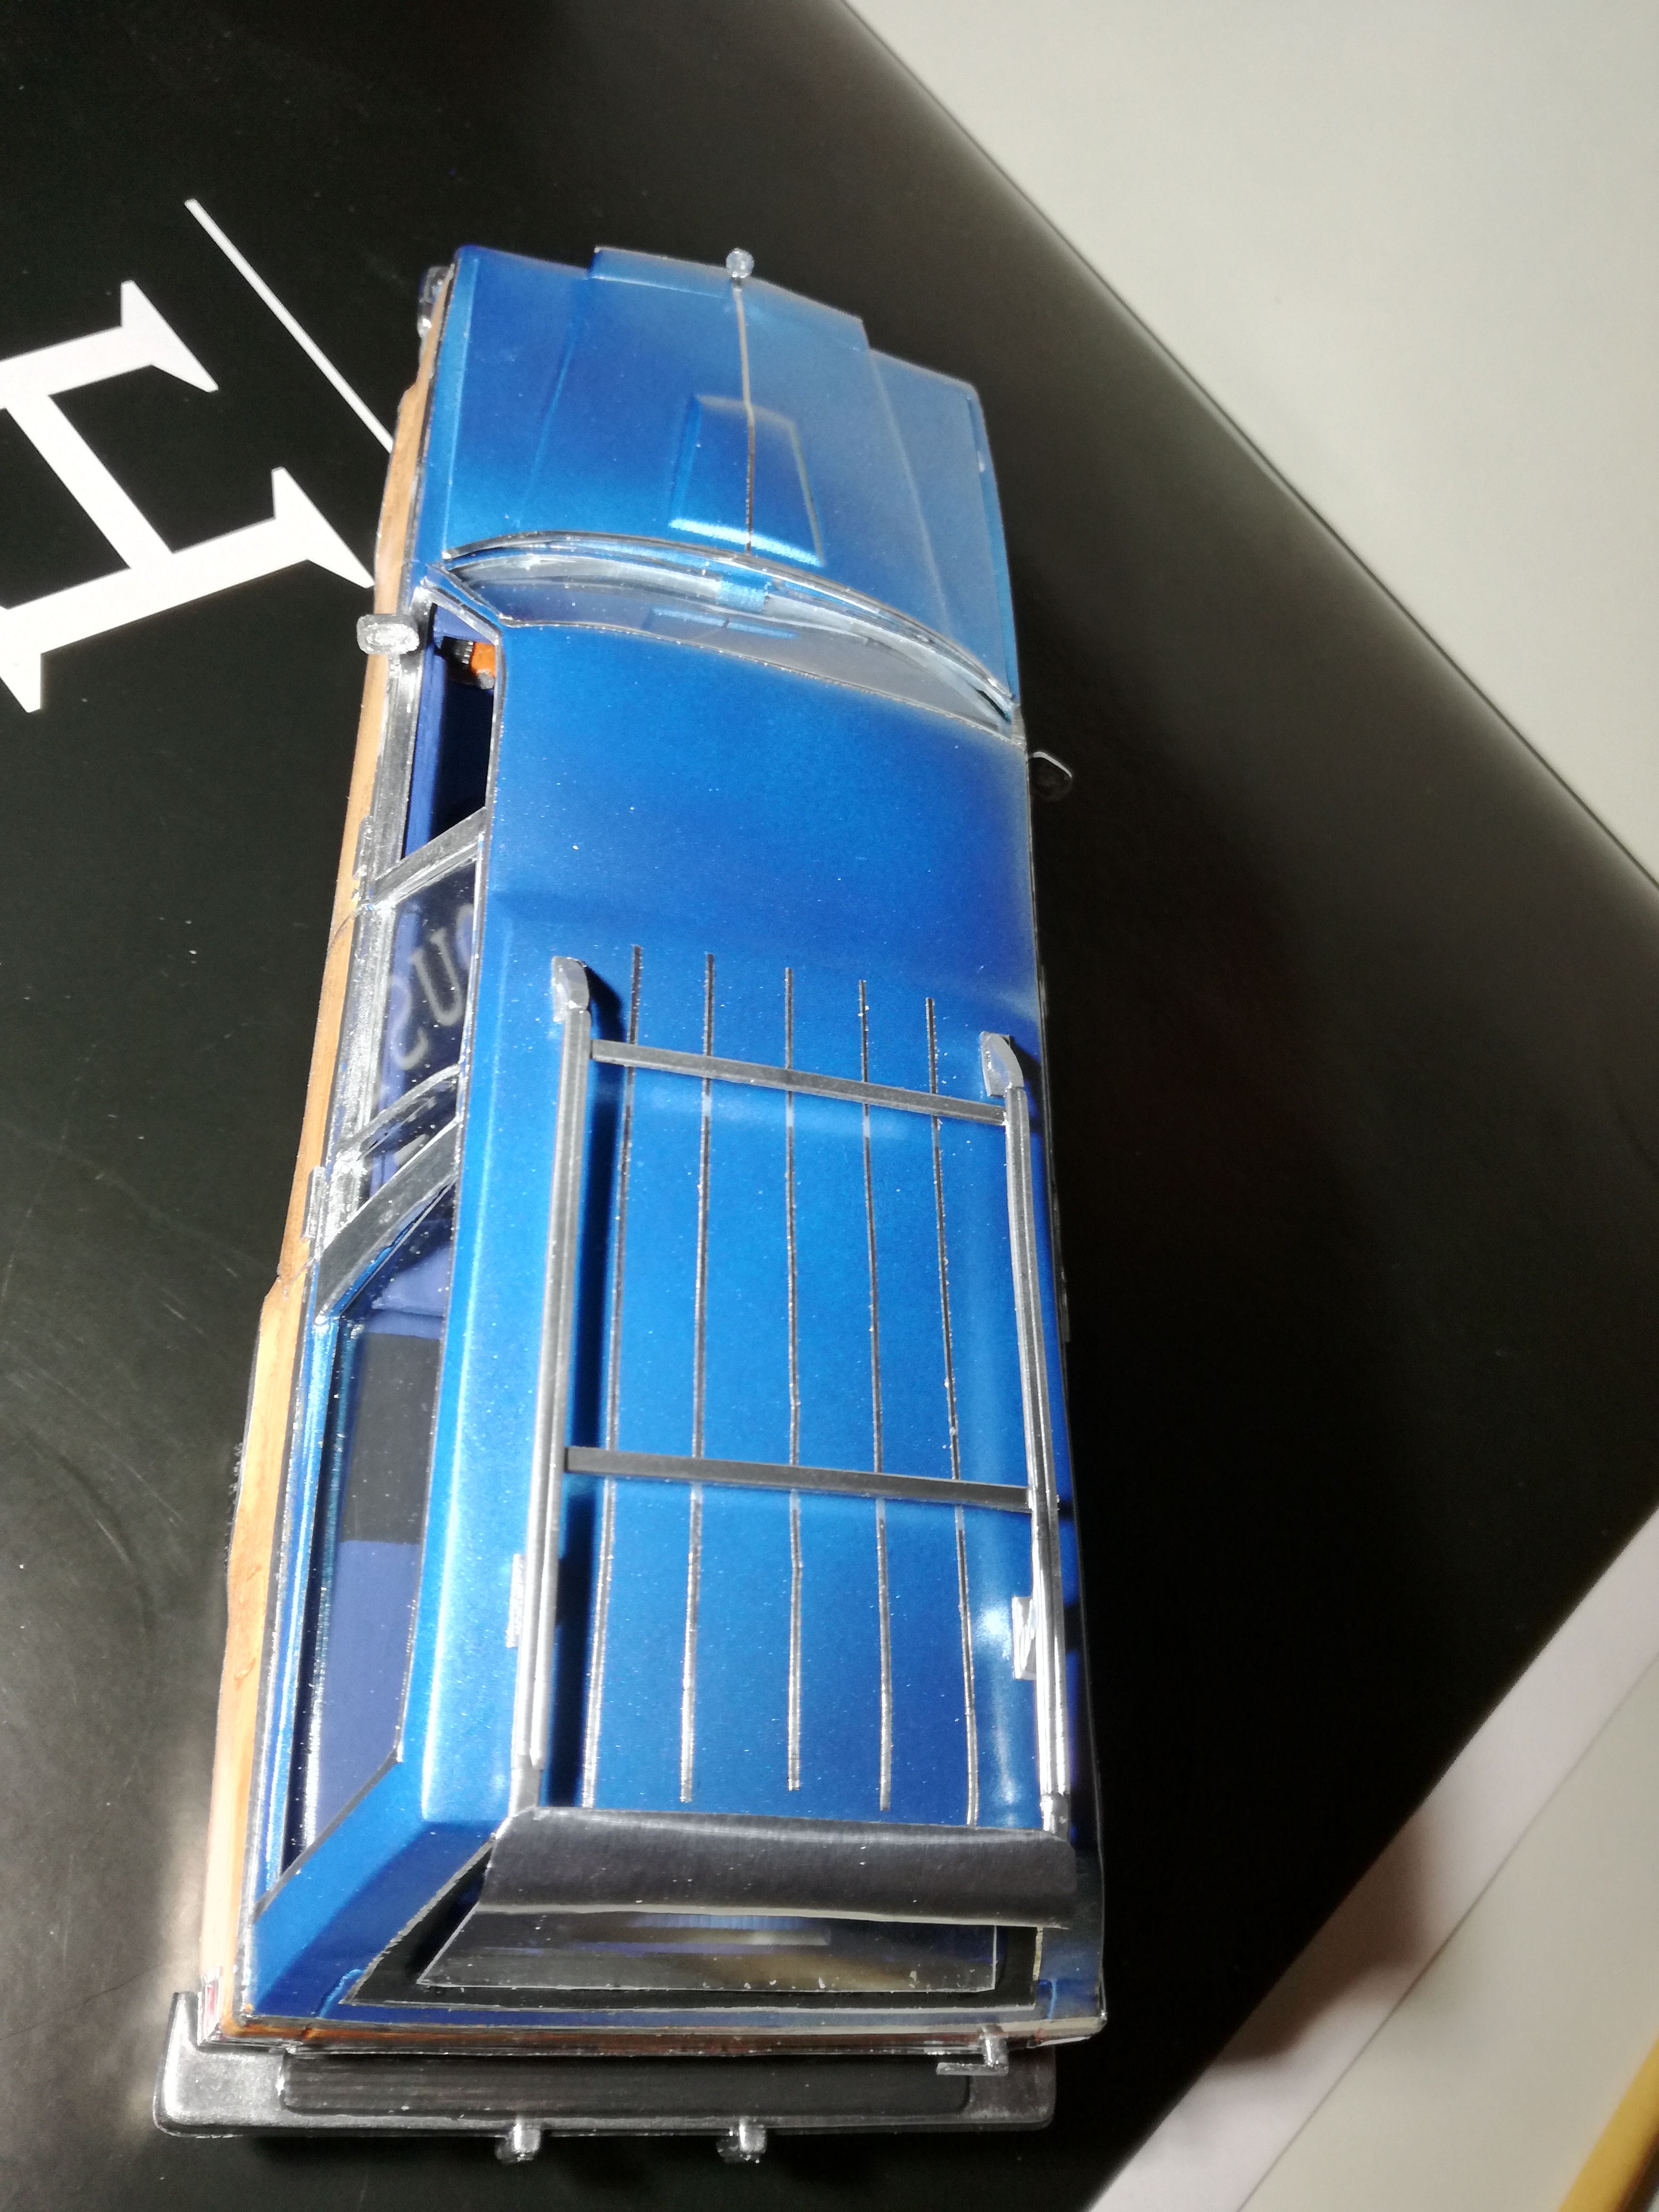
Okay some progress on this project. I got the headers done, but forgot to shoot a picture before installing them. They are made of Evergreen 2.0 mm rod. Then I twisted the same plastic rod to make the exhaust tips to be positioned beside the rear wheels. The windows are cut and placed where they belong. I hate that part of modelling, windows I mean. I would do more car model body work, if there wouldnt always be the need of window work ahead.
-
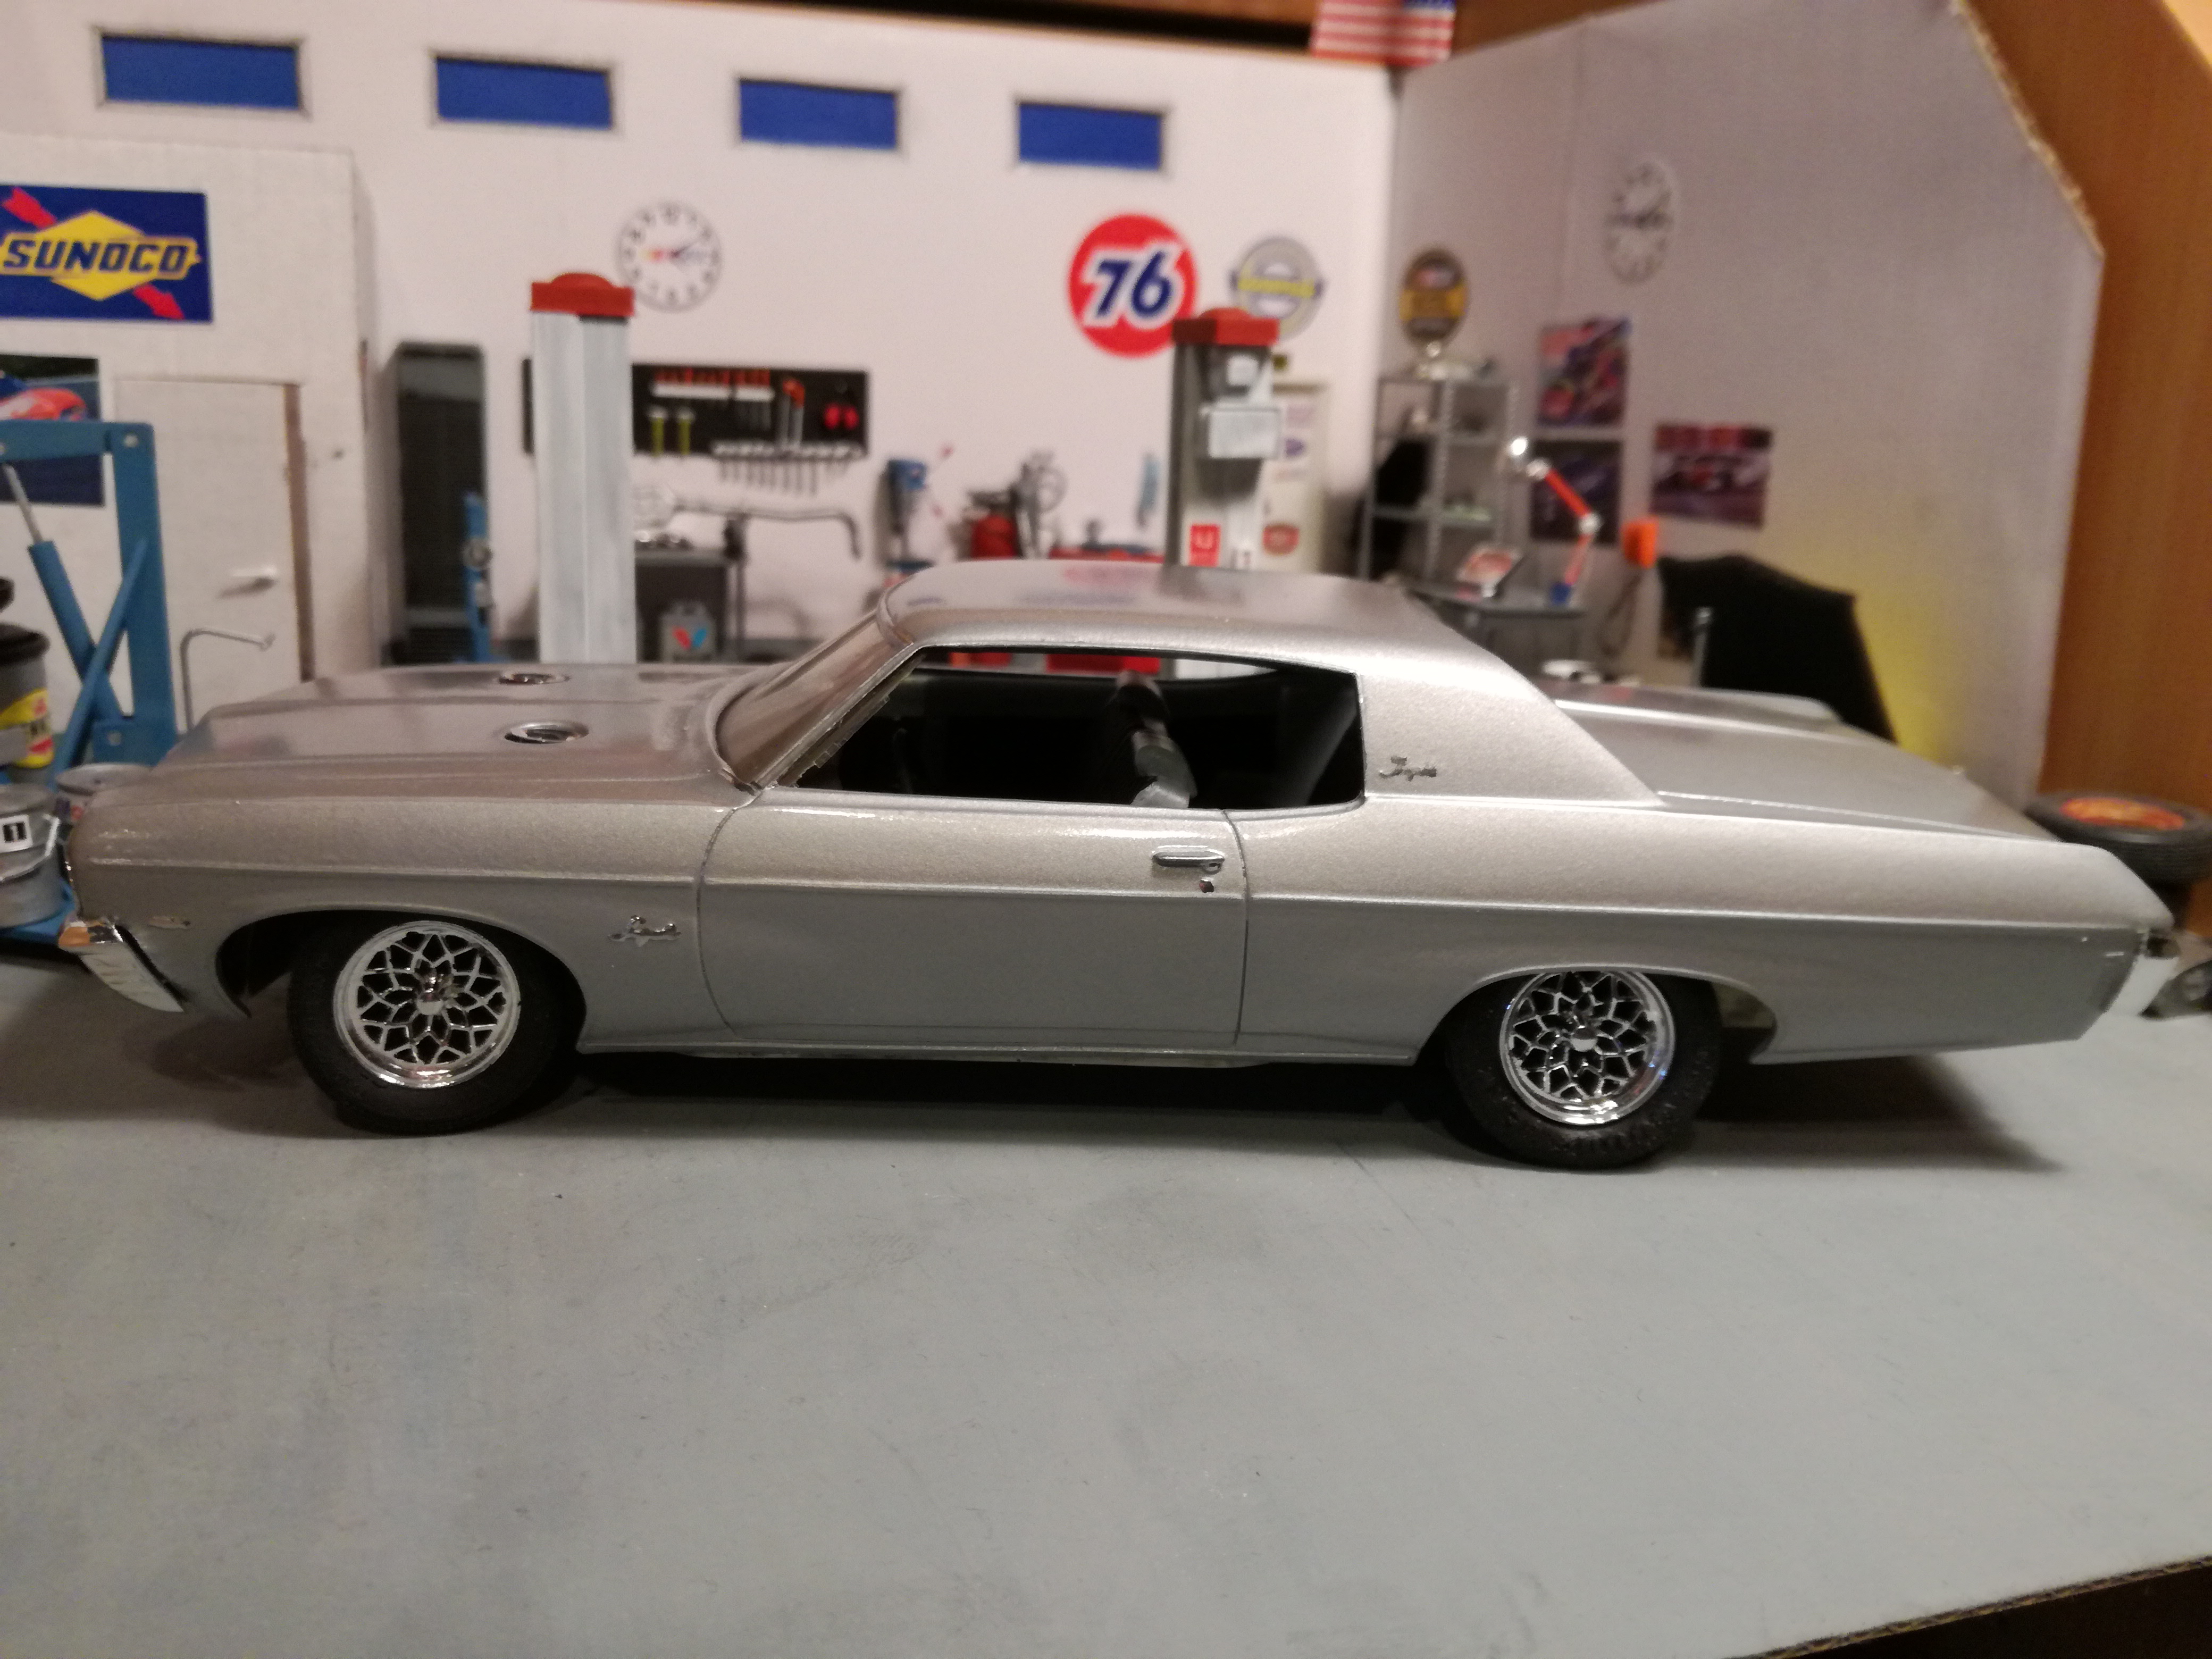
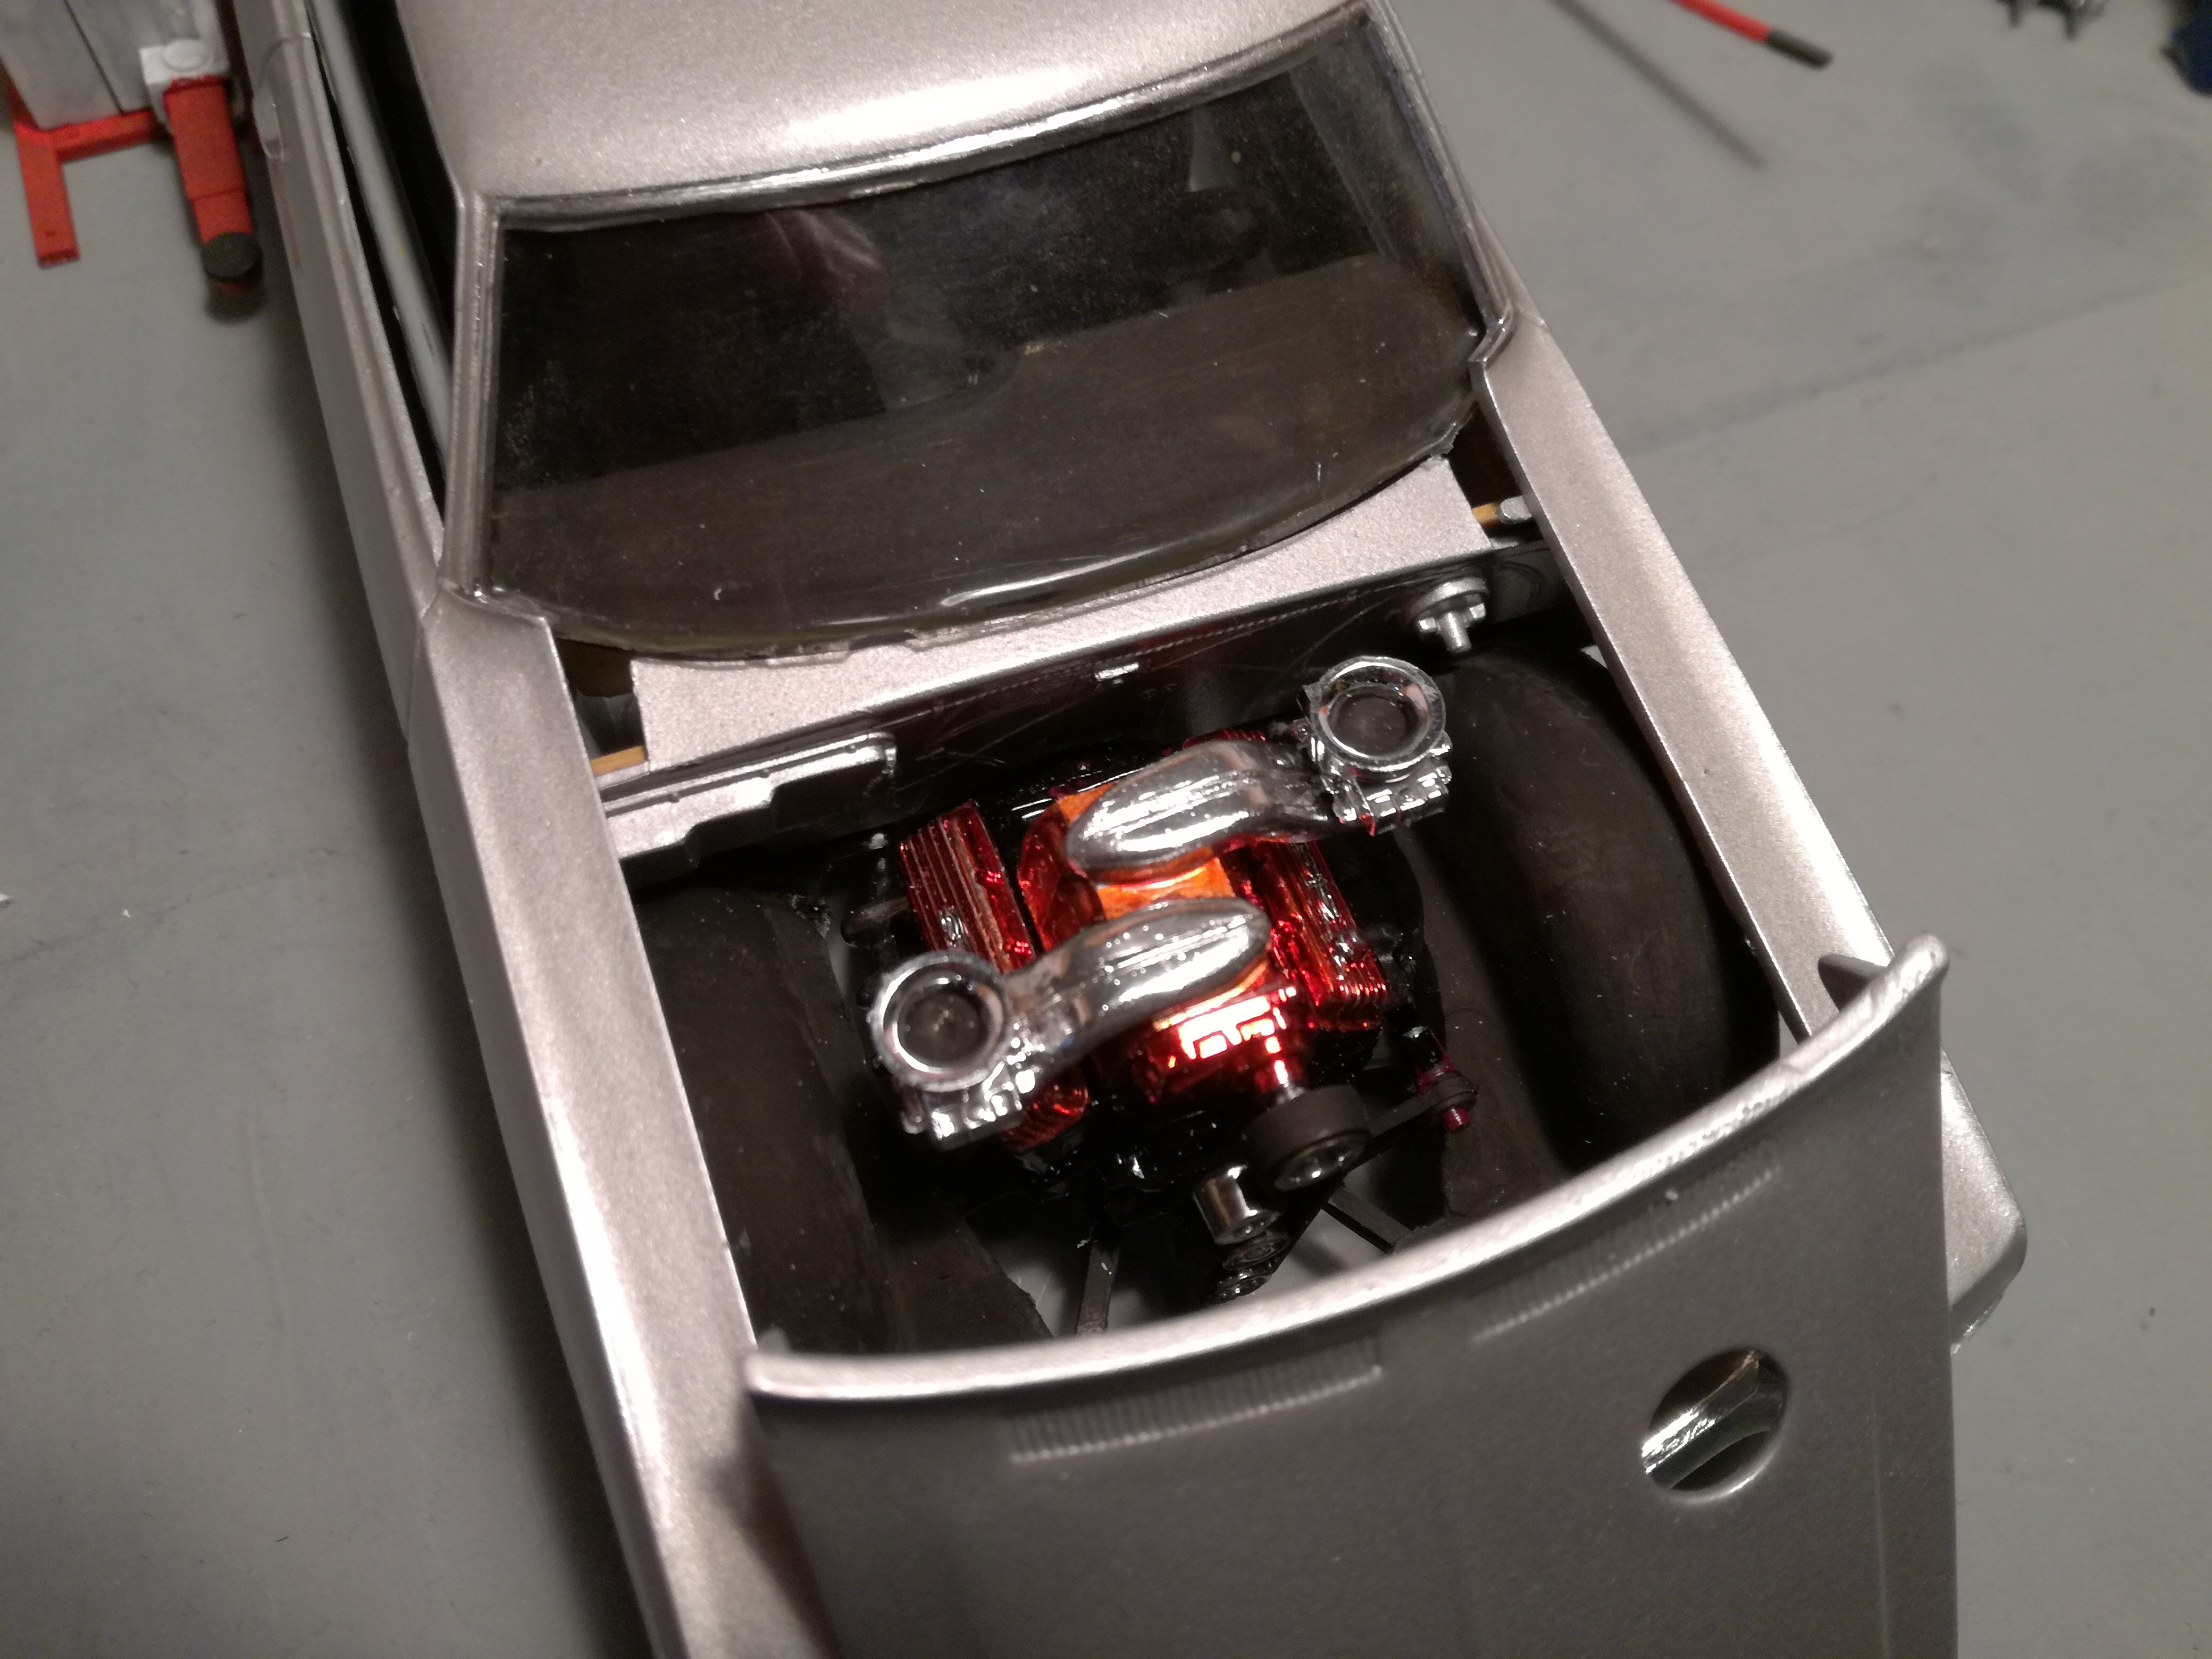
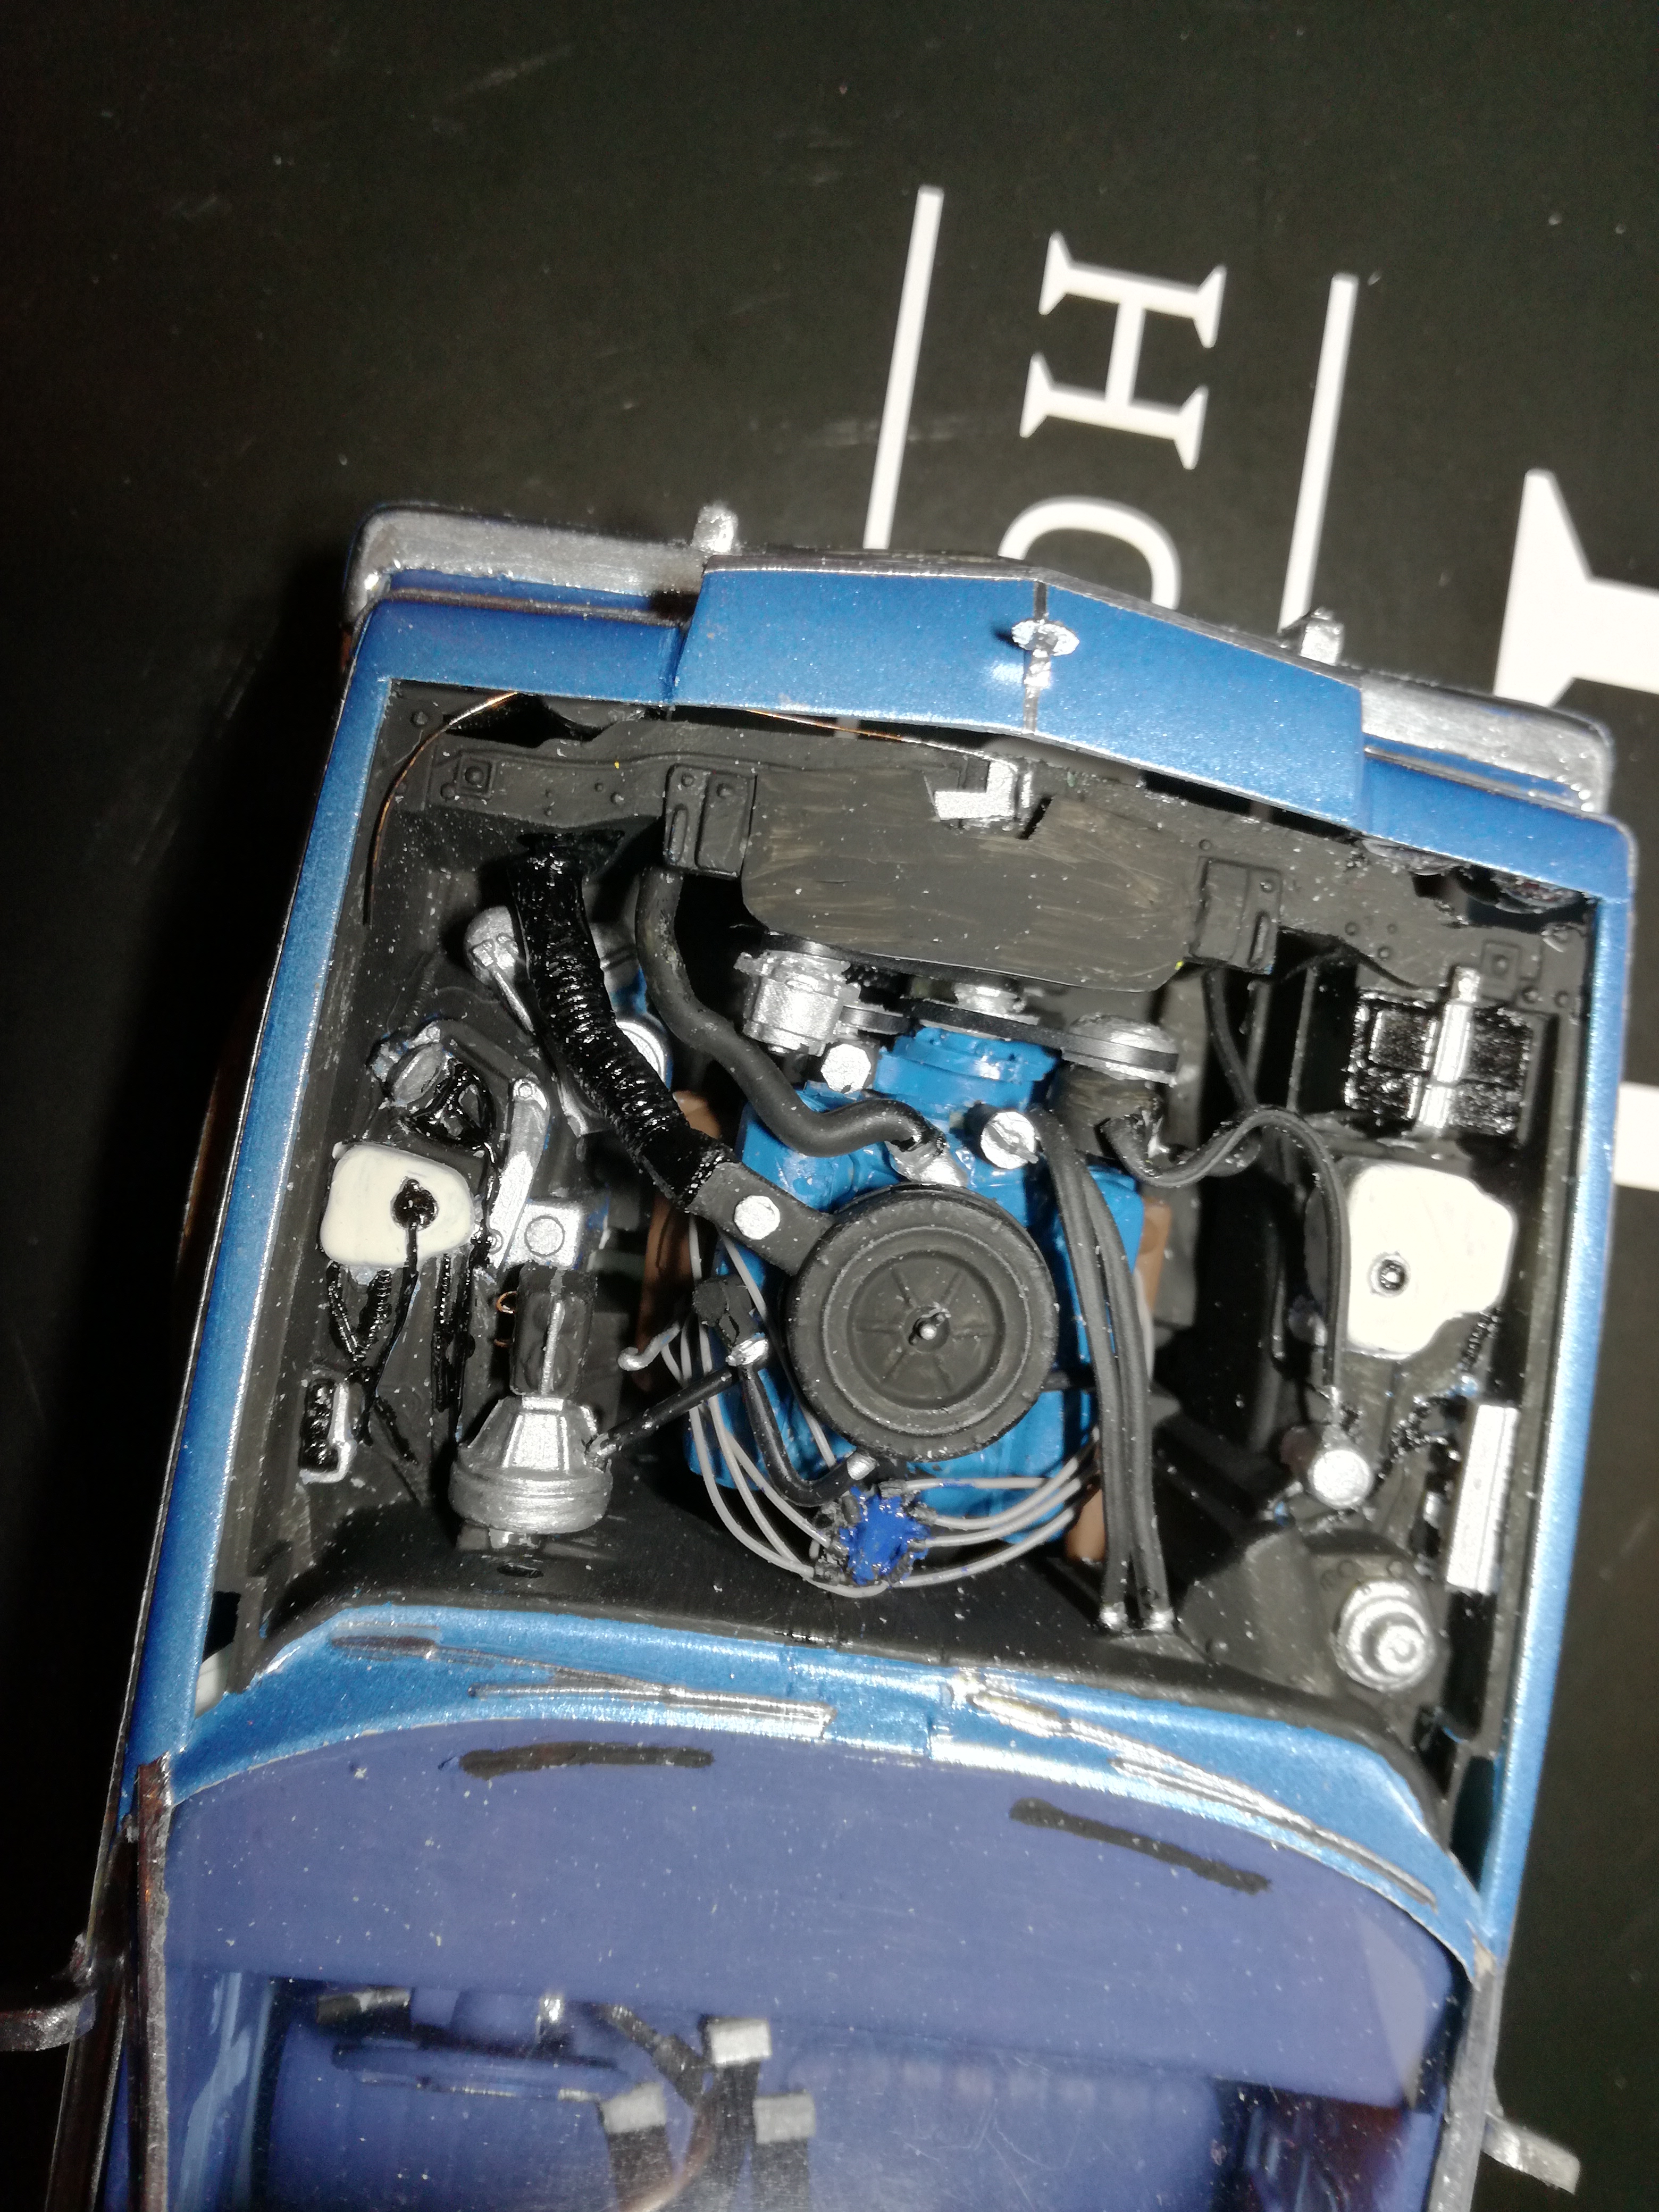
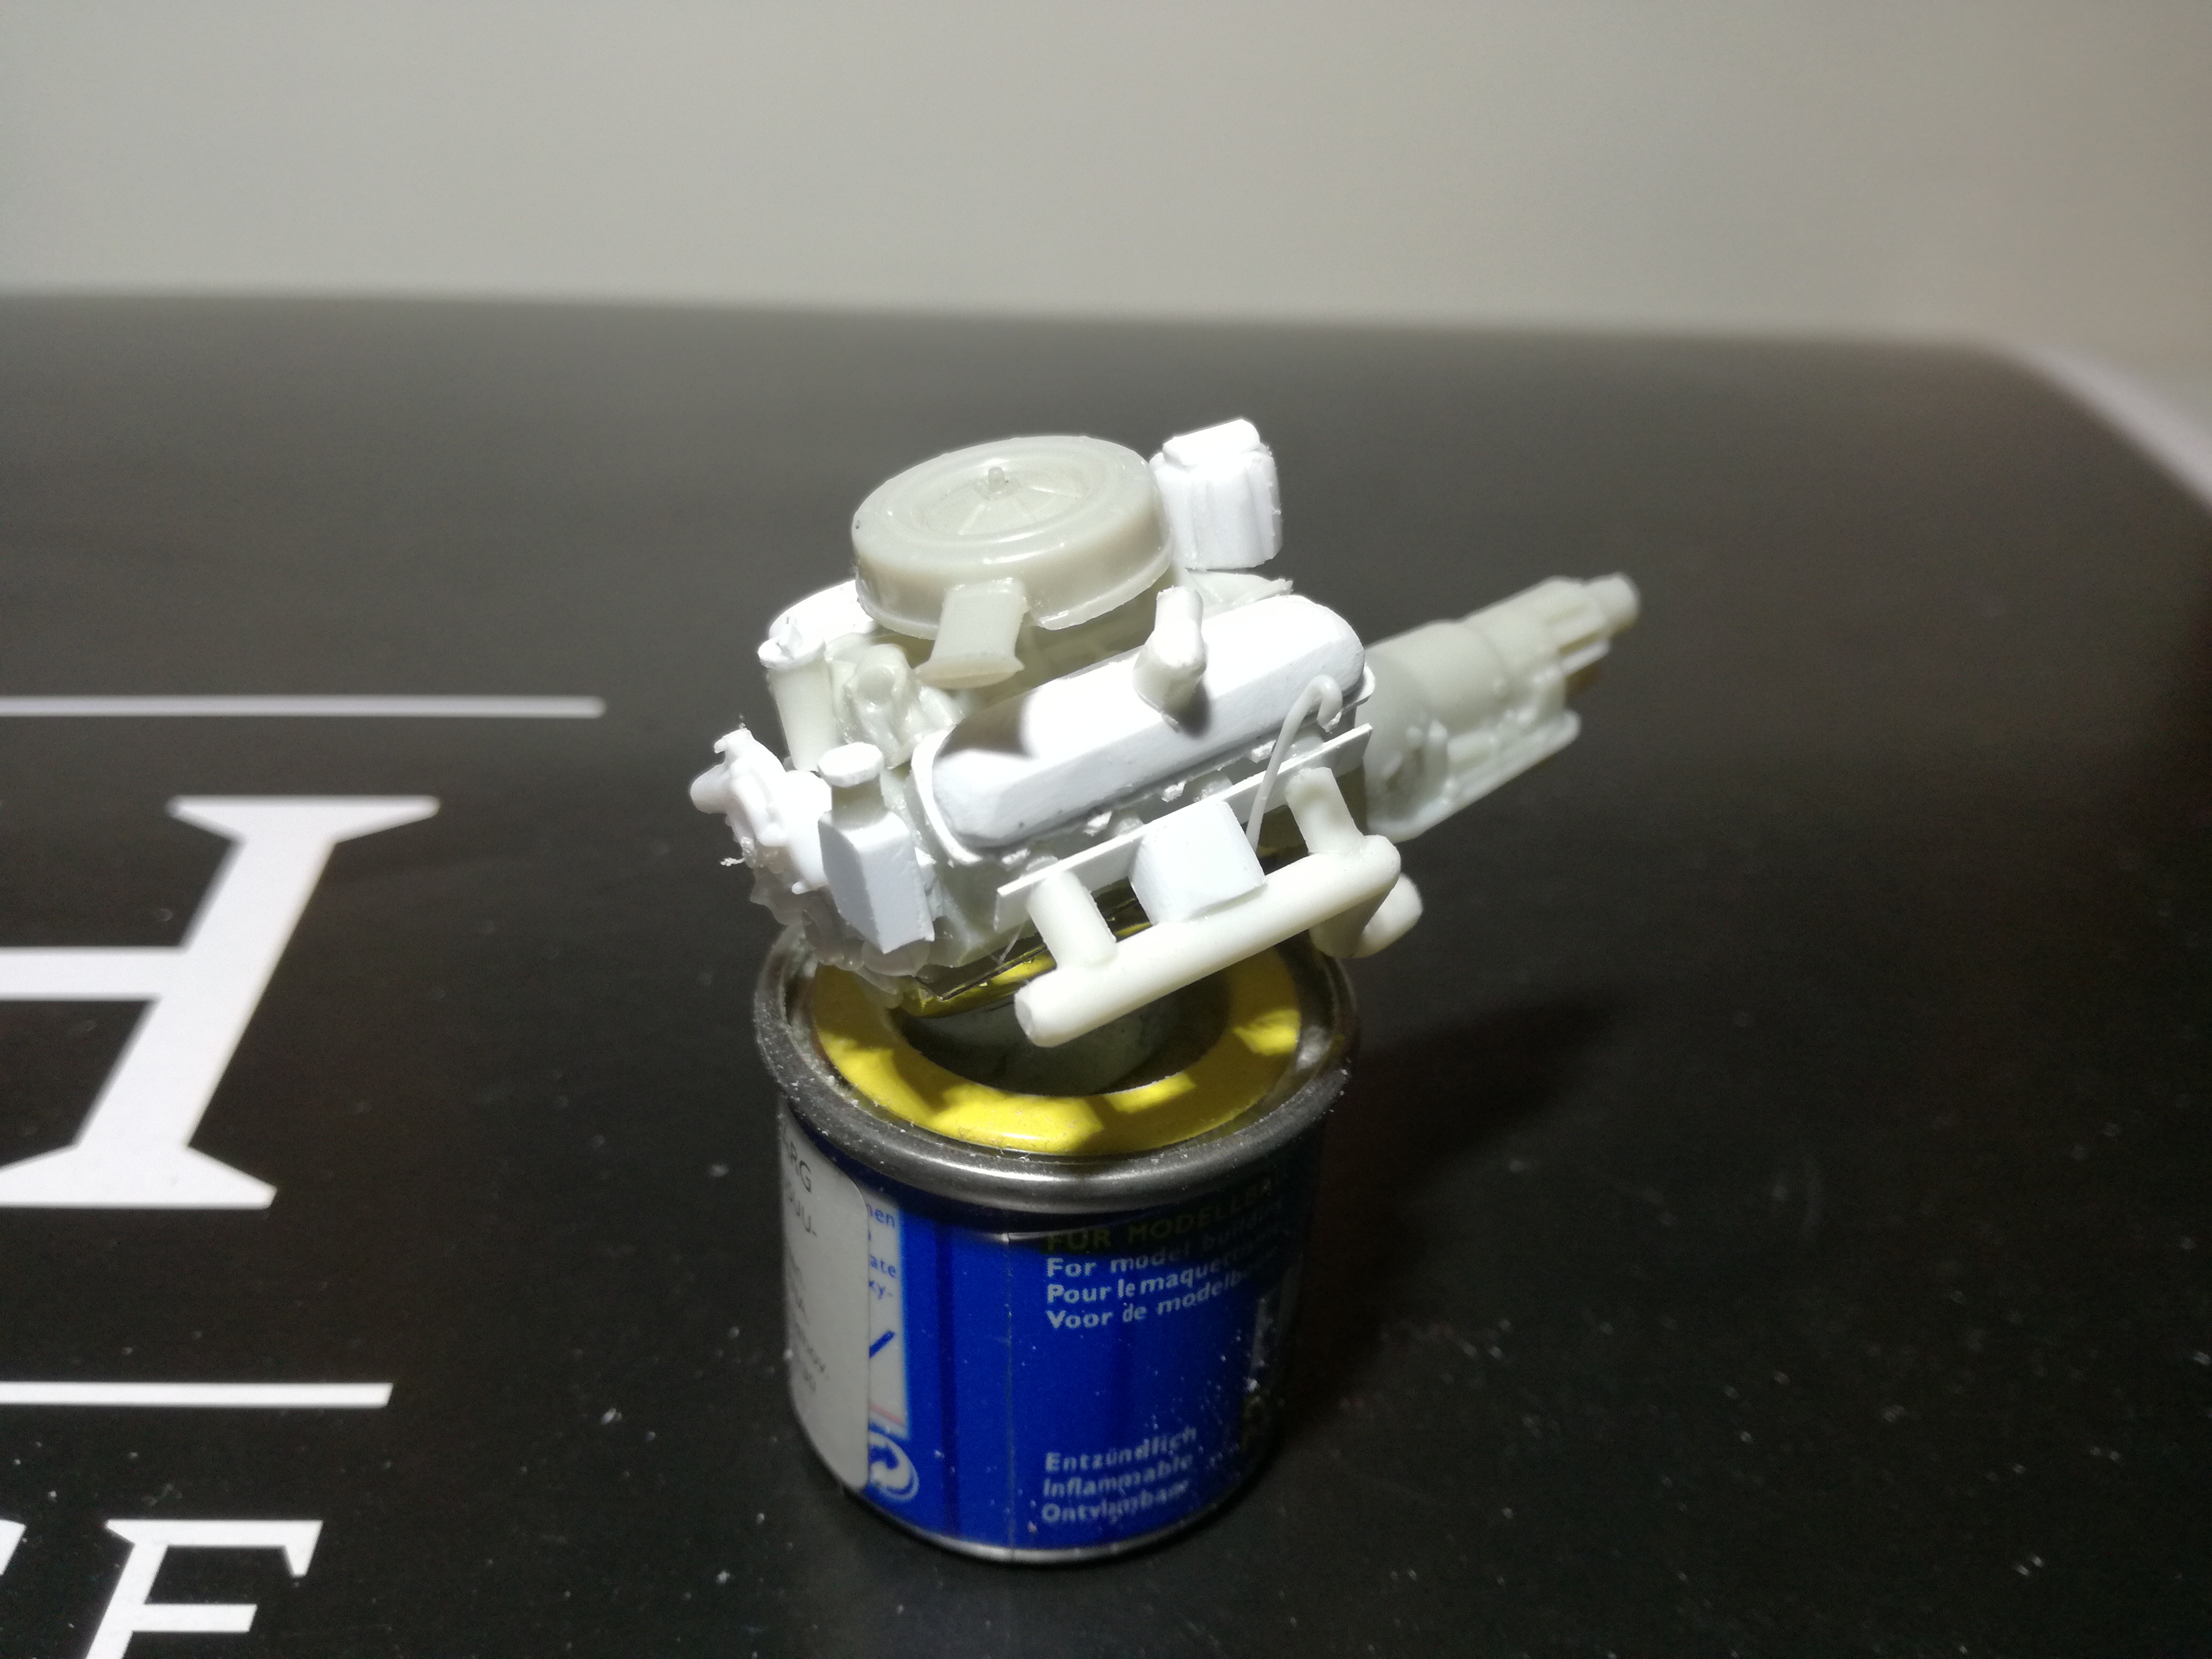
While I'm letting the '67 HEMI Belvedere have a little rest, I took a prebuilt and later parted out '70 Impala on the table. I thought it would look good when painted shiny dark blue with lots of chrome on it. That paint got sour. I stripped it off and the new paint is wheel silver with a slight lacque on it. I wanted to give the engine a little different look, so I painted the blower and the valve covers with Tamiya clear red paint. Also some liquid chrome from Molotow was used. Still needs the radiotor, wires and hoses here and there and some parts for the chassis.
-
1967 Plymouth Belvedere 4 door Sedan 426 HEMI original
Reuhkapelti replied to Reuhkapelti's topic in WIP: Model Cars
Nope you haven't made any topic of '74 Malibu, or have you ? Maybe it's time to build your racer in 1:25 too? Thanks El Caballo and great info gtx6970! Those hubcaps in my Belvedere came from a true master of modelling. They are very sharp, and just right for a '67 Plymouth. I put Molotow chrome on them. But those five spoke wheels are cool too. Which to choose? Left side hubcaps, right side five spoke wheels maybe.
-
1967 Plymouth Belvedere 4 door Sedan 426 HEMI original
Reuhkapelti replied to Reuhkapelti's topic in WIP: Model Cars
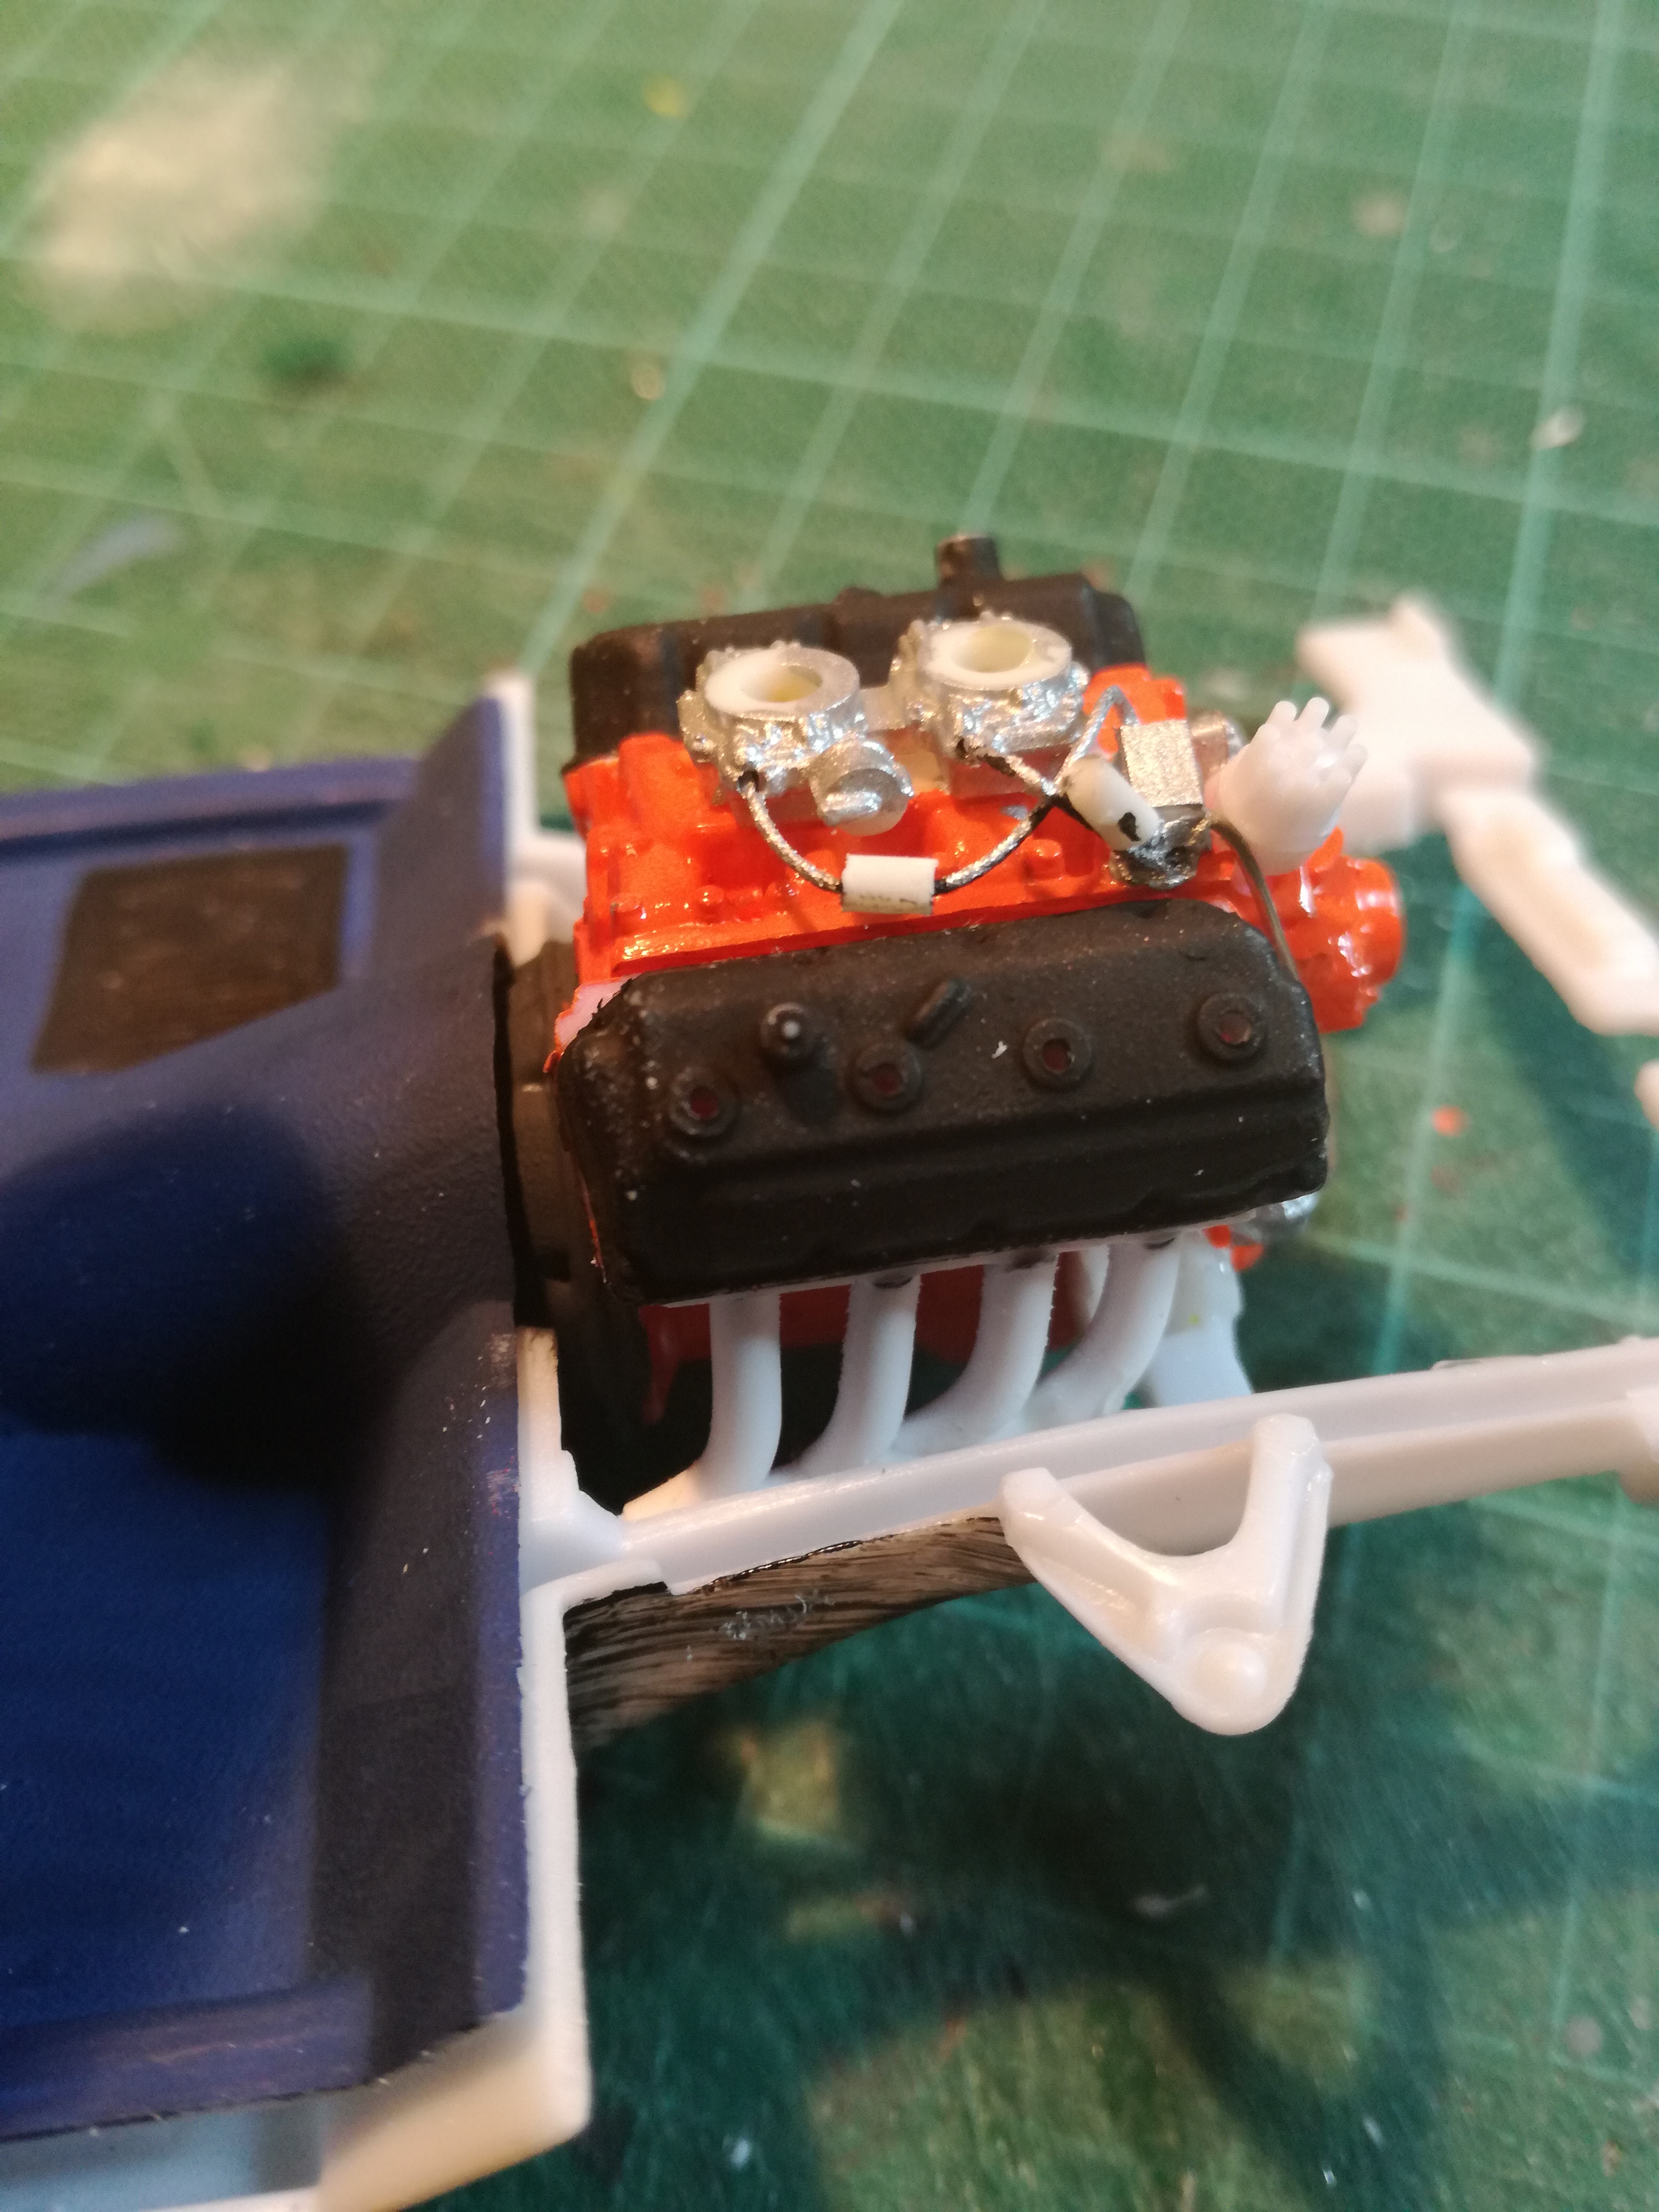
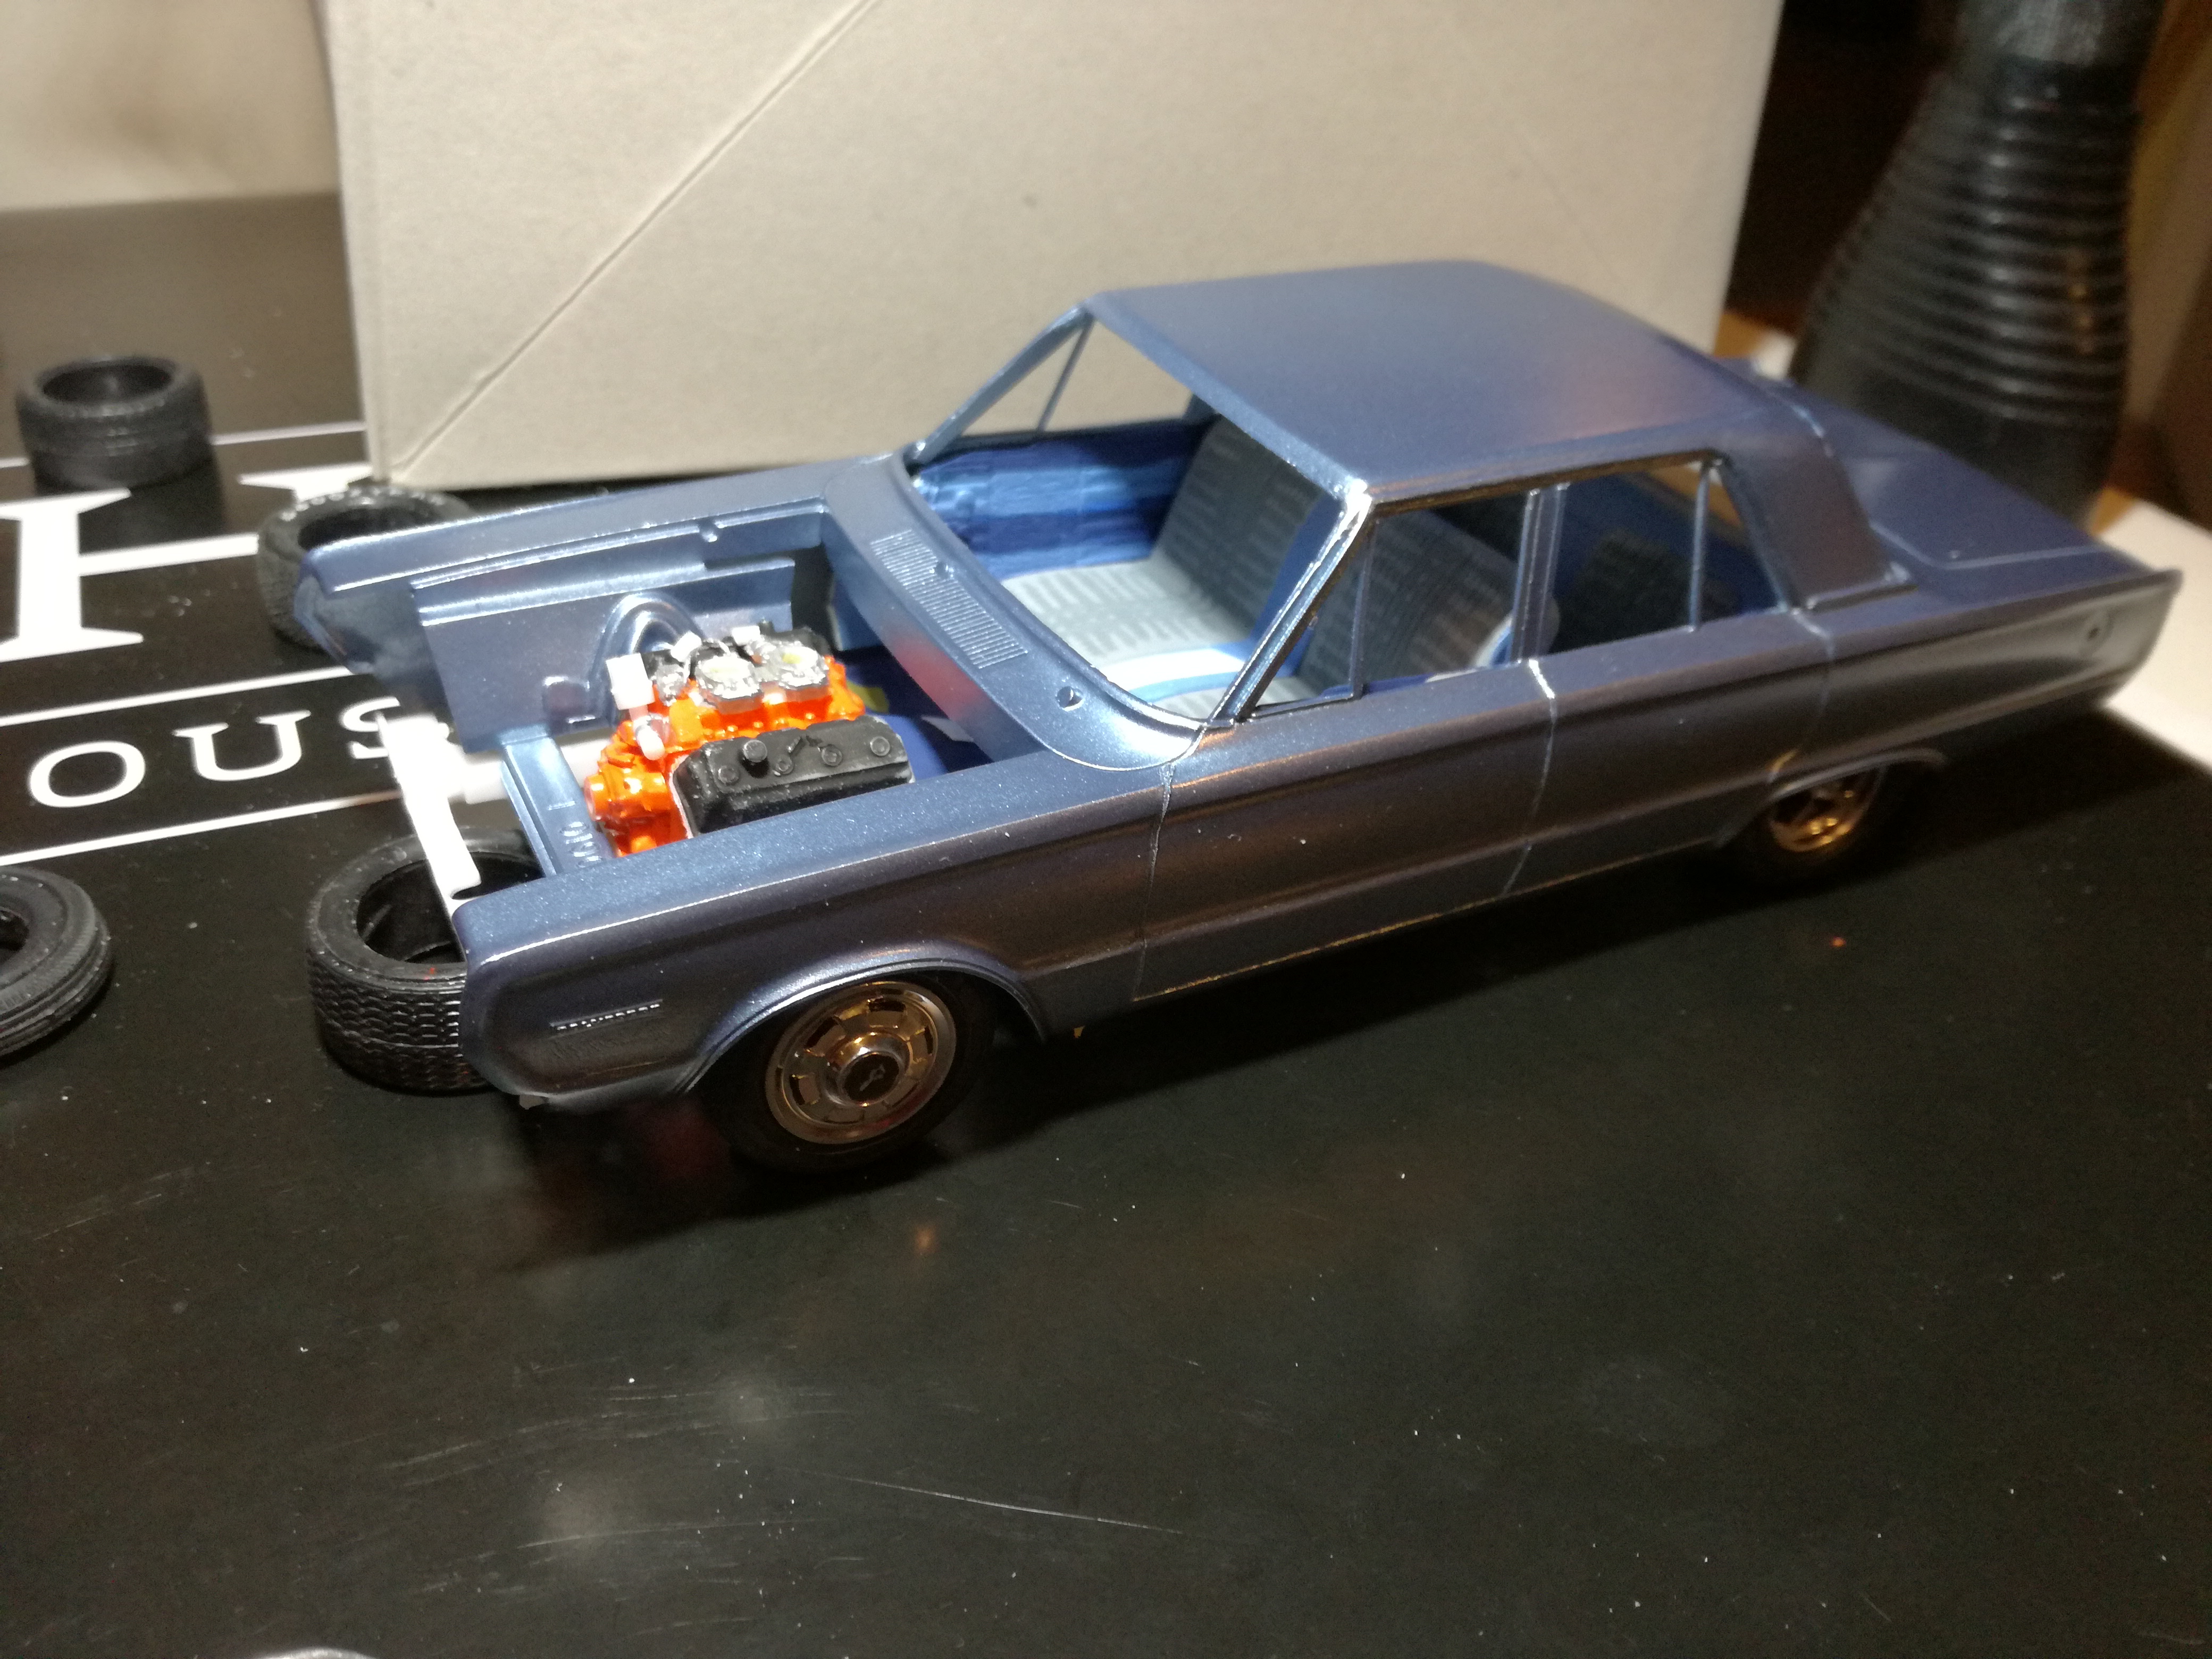
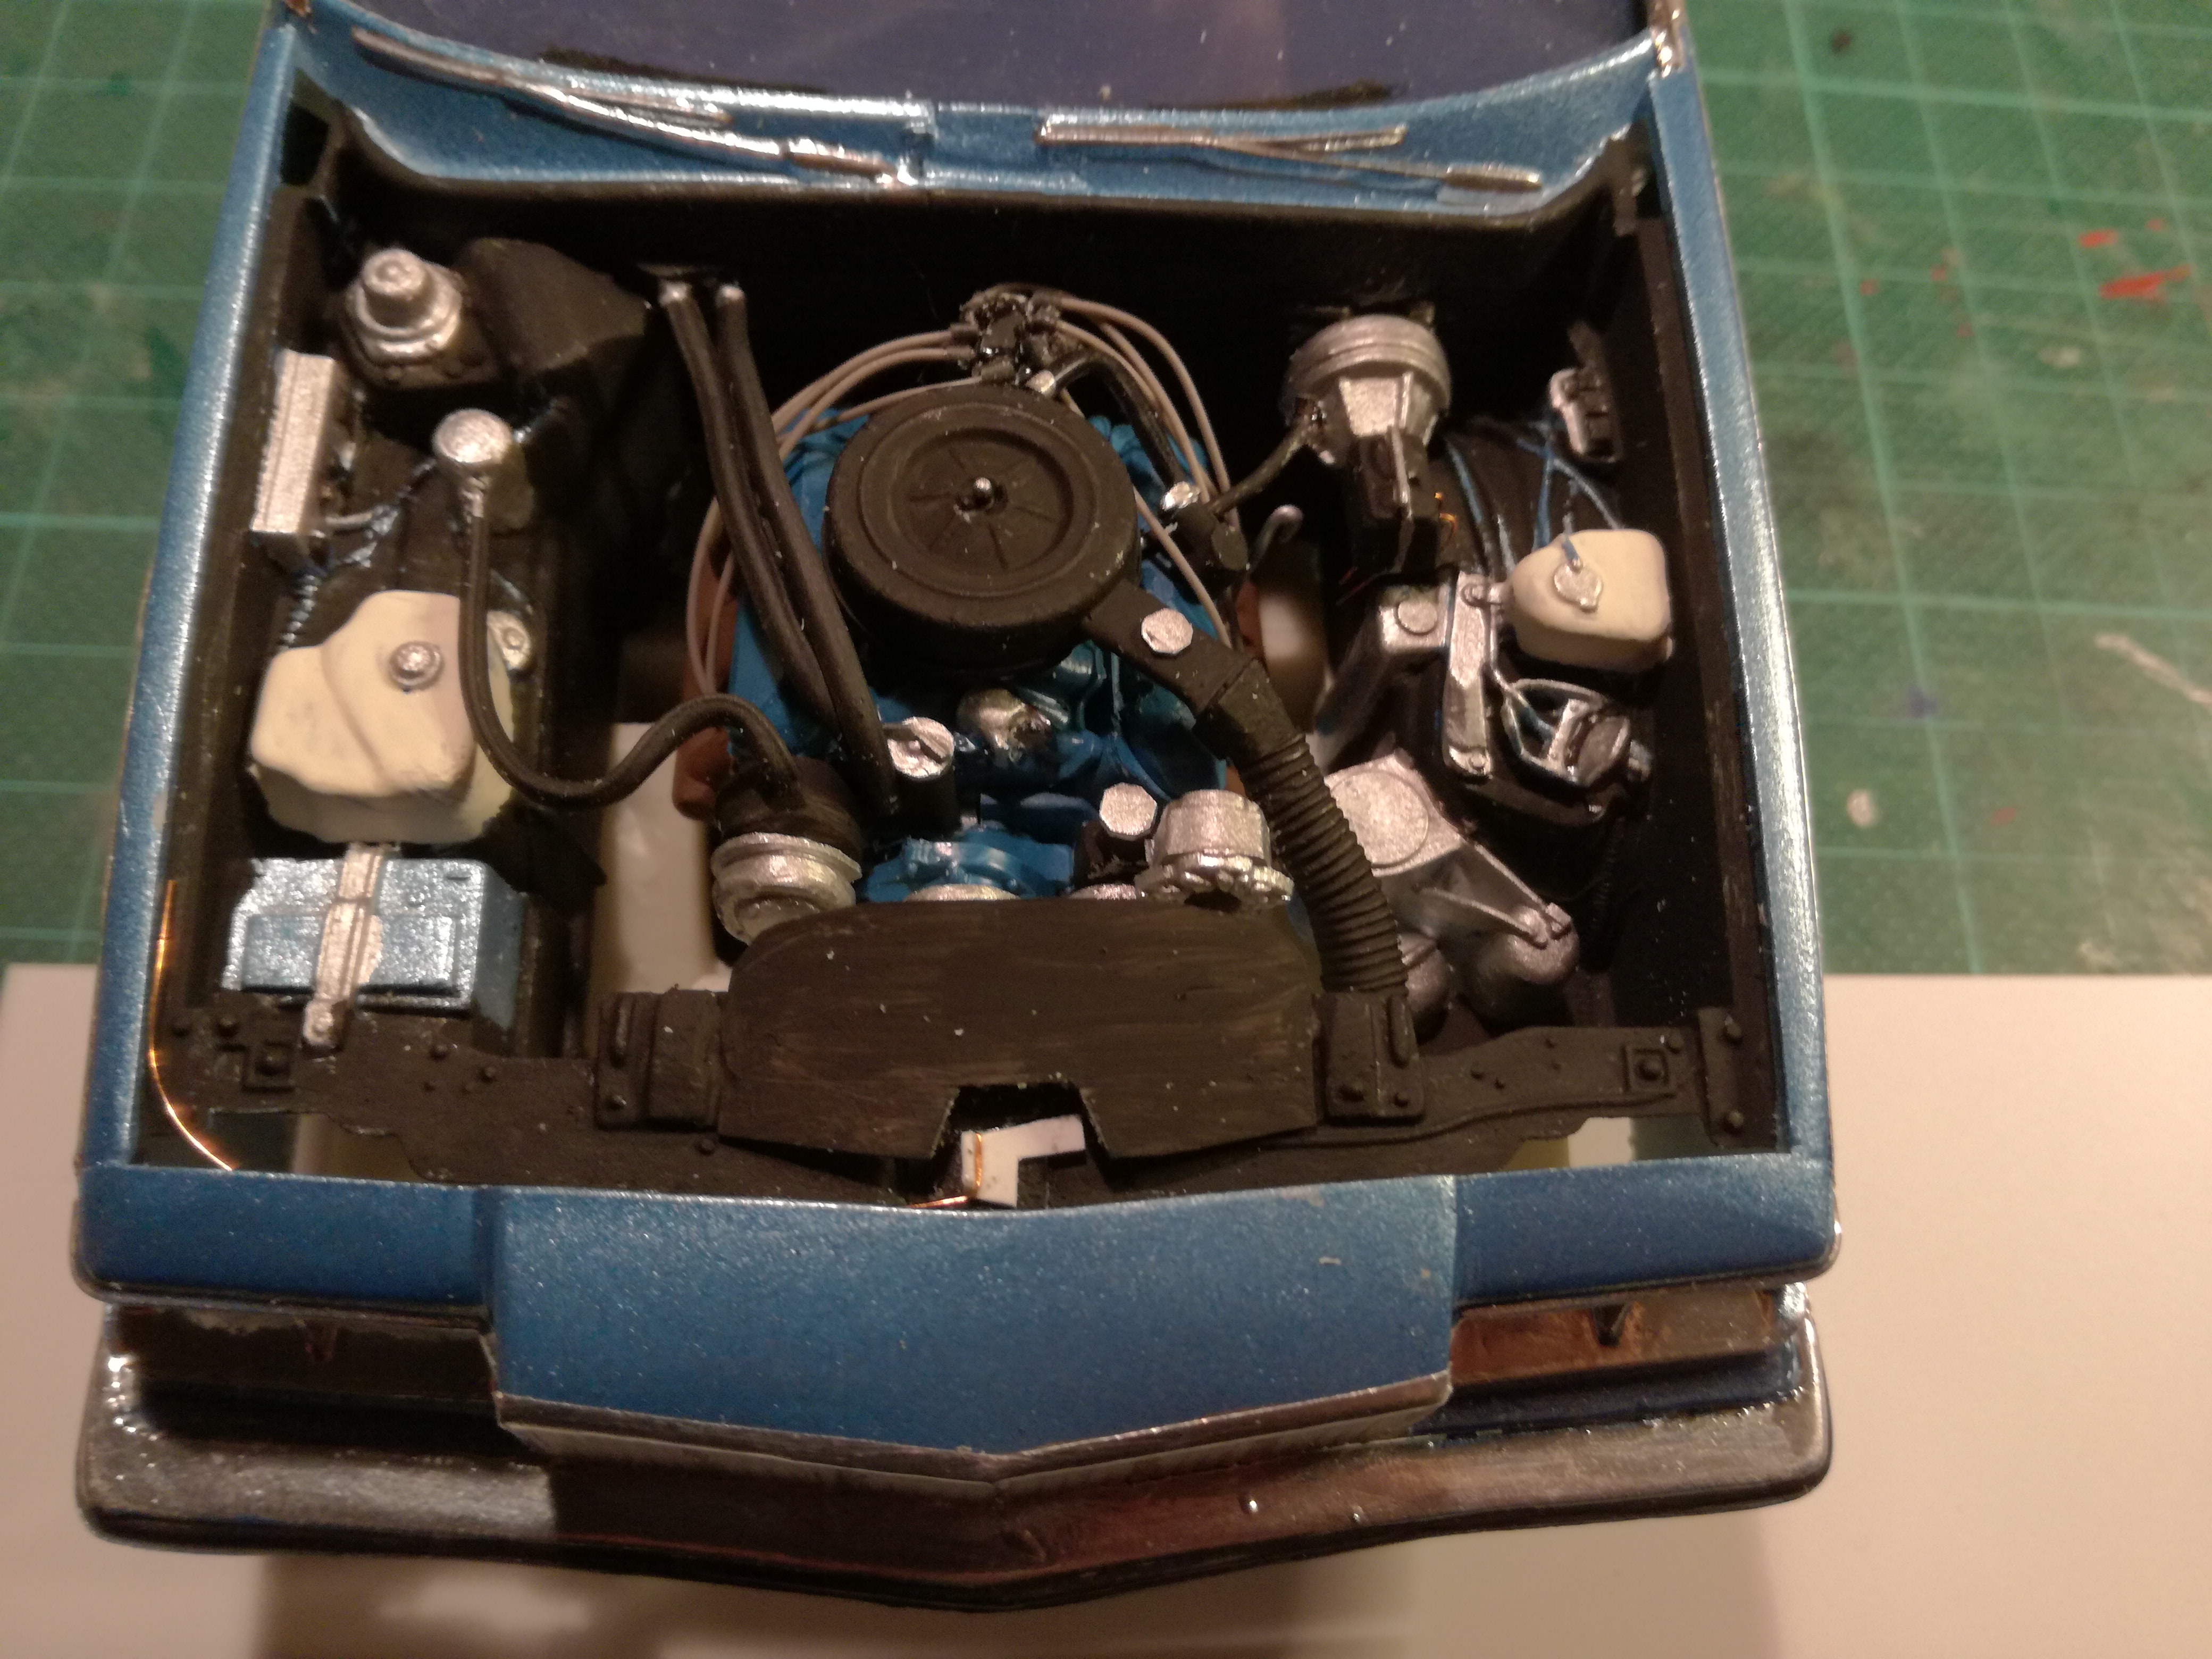
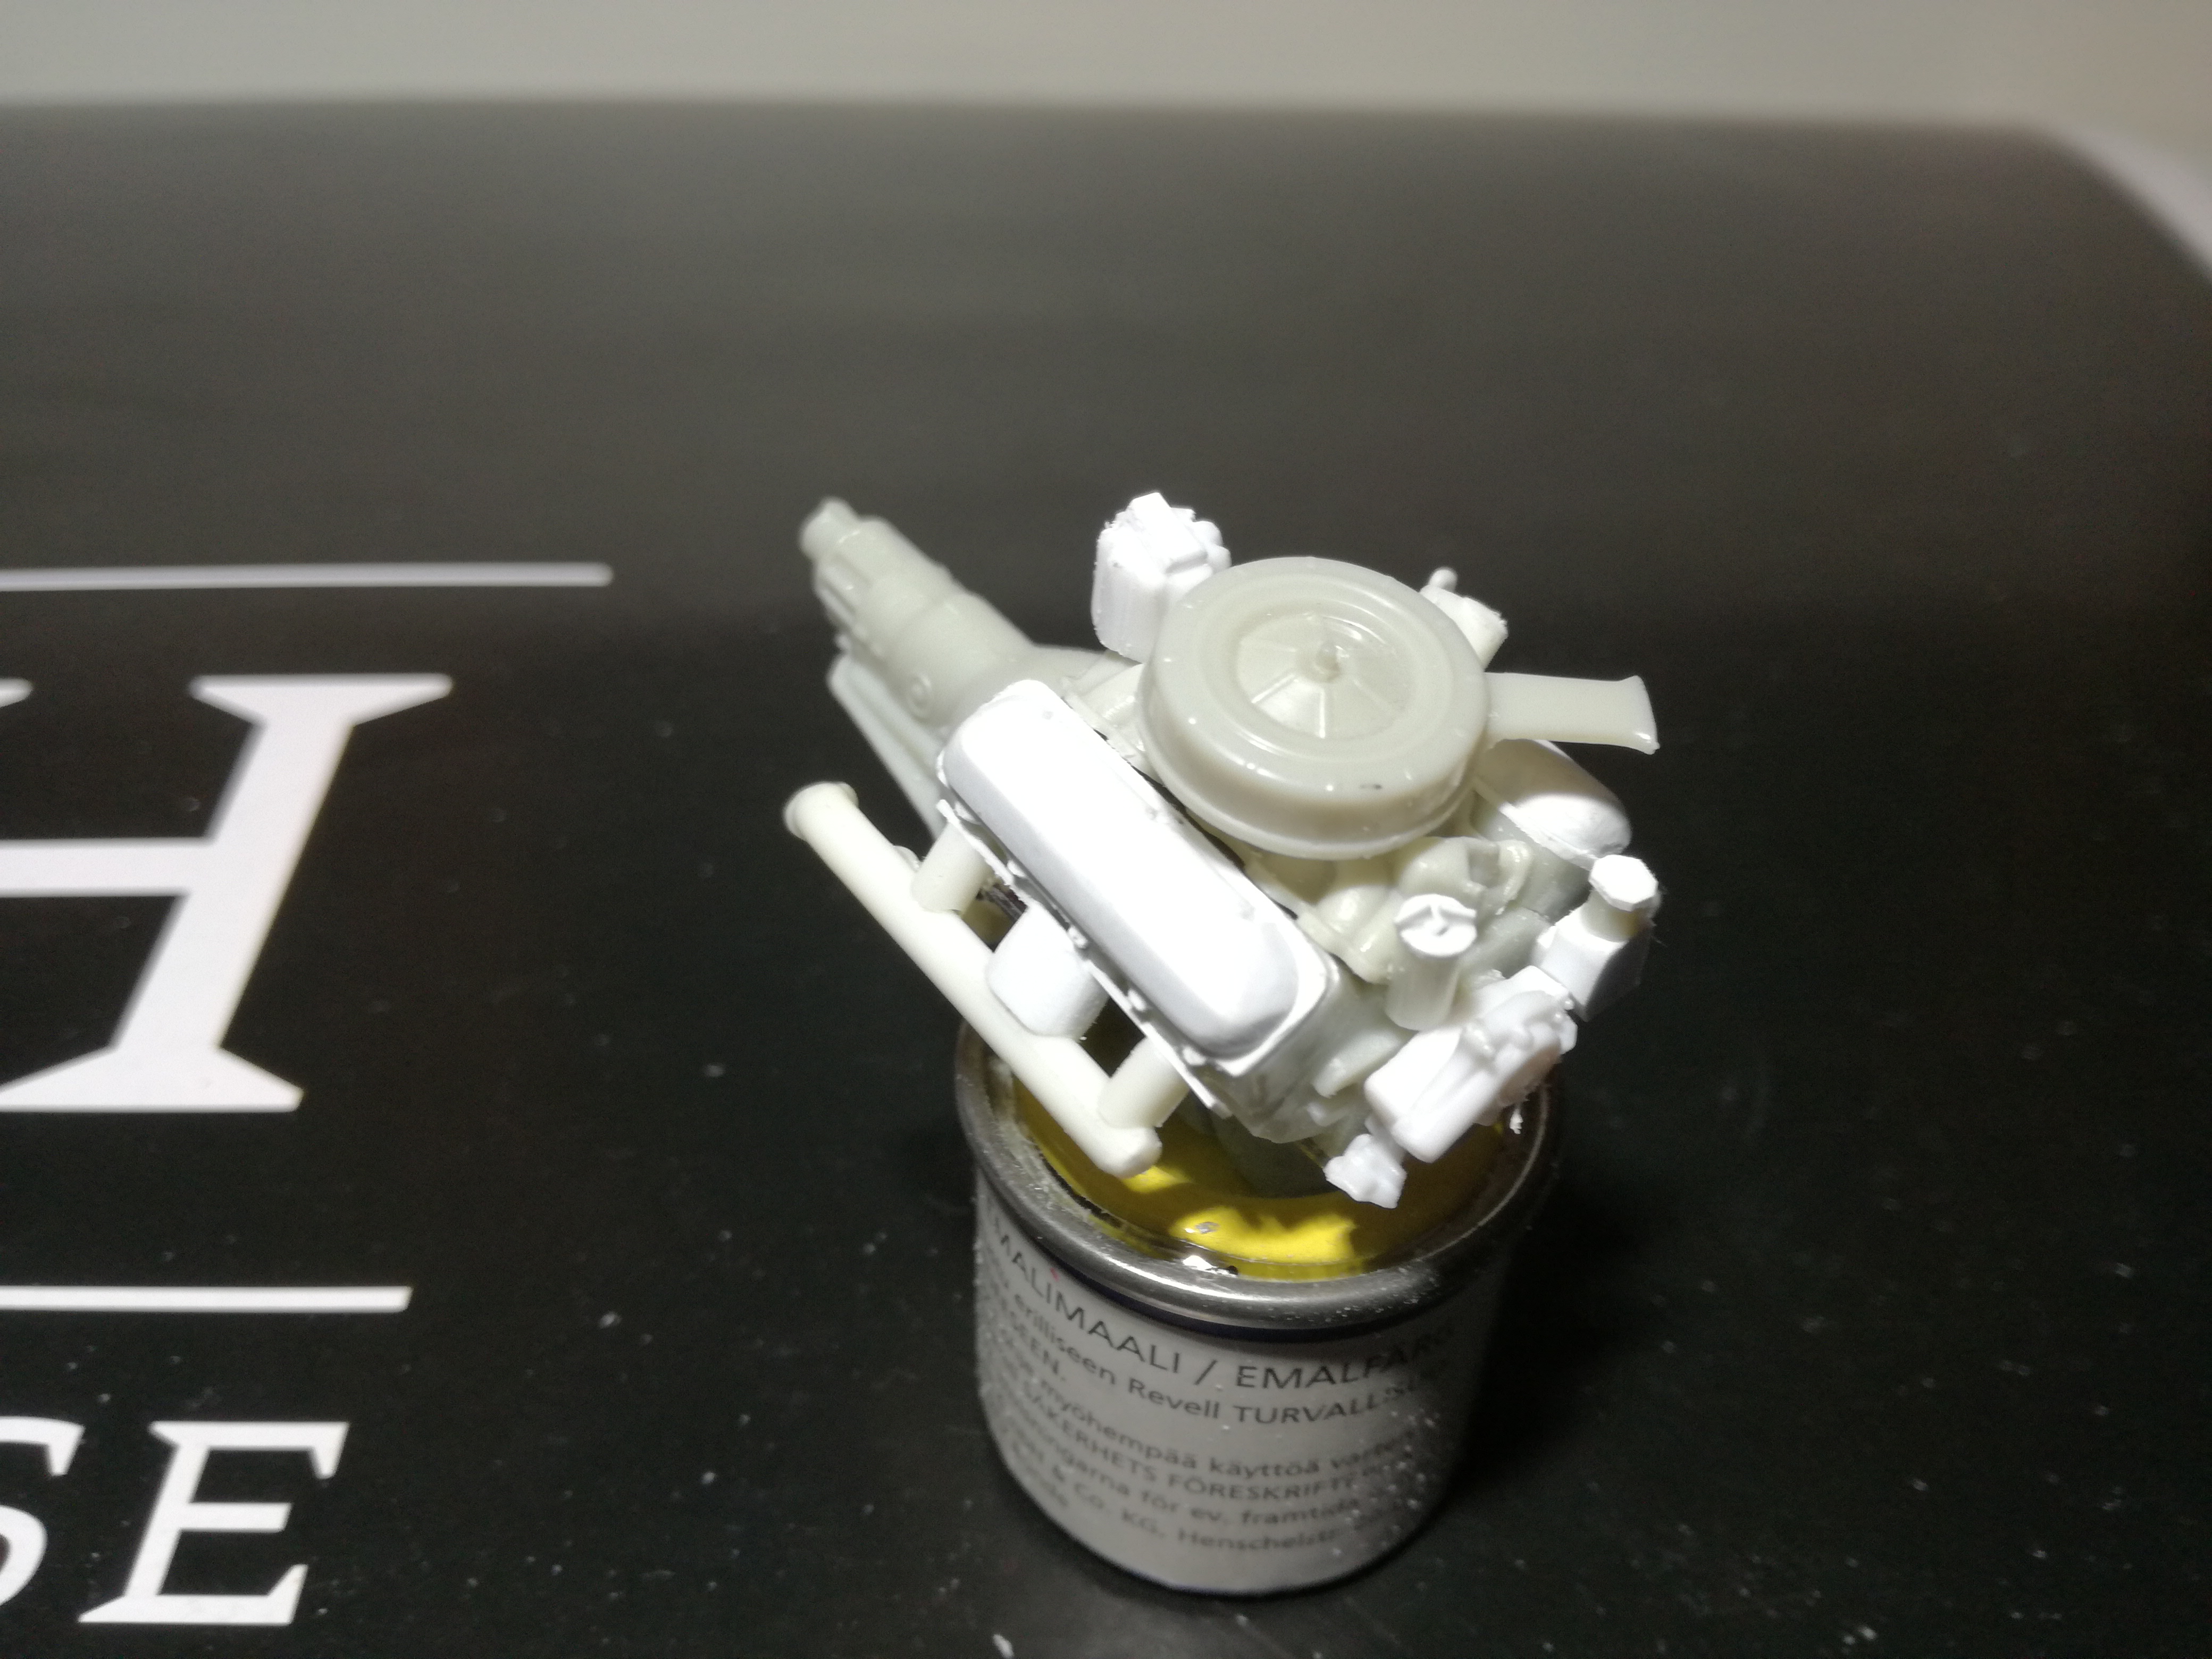
Thanks gtx6970! W-409, in the imagination world we should race, you in that Malibu and me in my Belvedere. I might have more power, but no grip with those razor blade tires . And not to mention your experience on the track... The HEMI engine got some paint, hopefully close enough to the right colour. No chrome here, so I stripped all the chrome off of the valve covers and painted them matt black. I have no photos from the original engine of the 1:1 car I'm modelling here, so it's gonna be a wild guess, what colour theme there was on the engine. But as it was and still is an original HEMI car, the engine block must have been orange coloured. The valve covers are not glued yet, maybe I should put the one with the oil fill cap to the left/ driver side?
-
Great to see progress on this Malibu again. It's gonna look so sharp when finished. Thanks for the info regarding the FCMA forum, I noticed that new address too, but this morning though.
-
1967 Plymouth Belvedere 4 door Sedan 426 HEMI original
Reuhkapelti replied to Reuhkapelti's topic in WIP: Model Cars
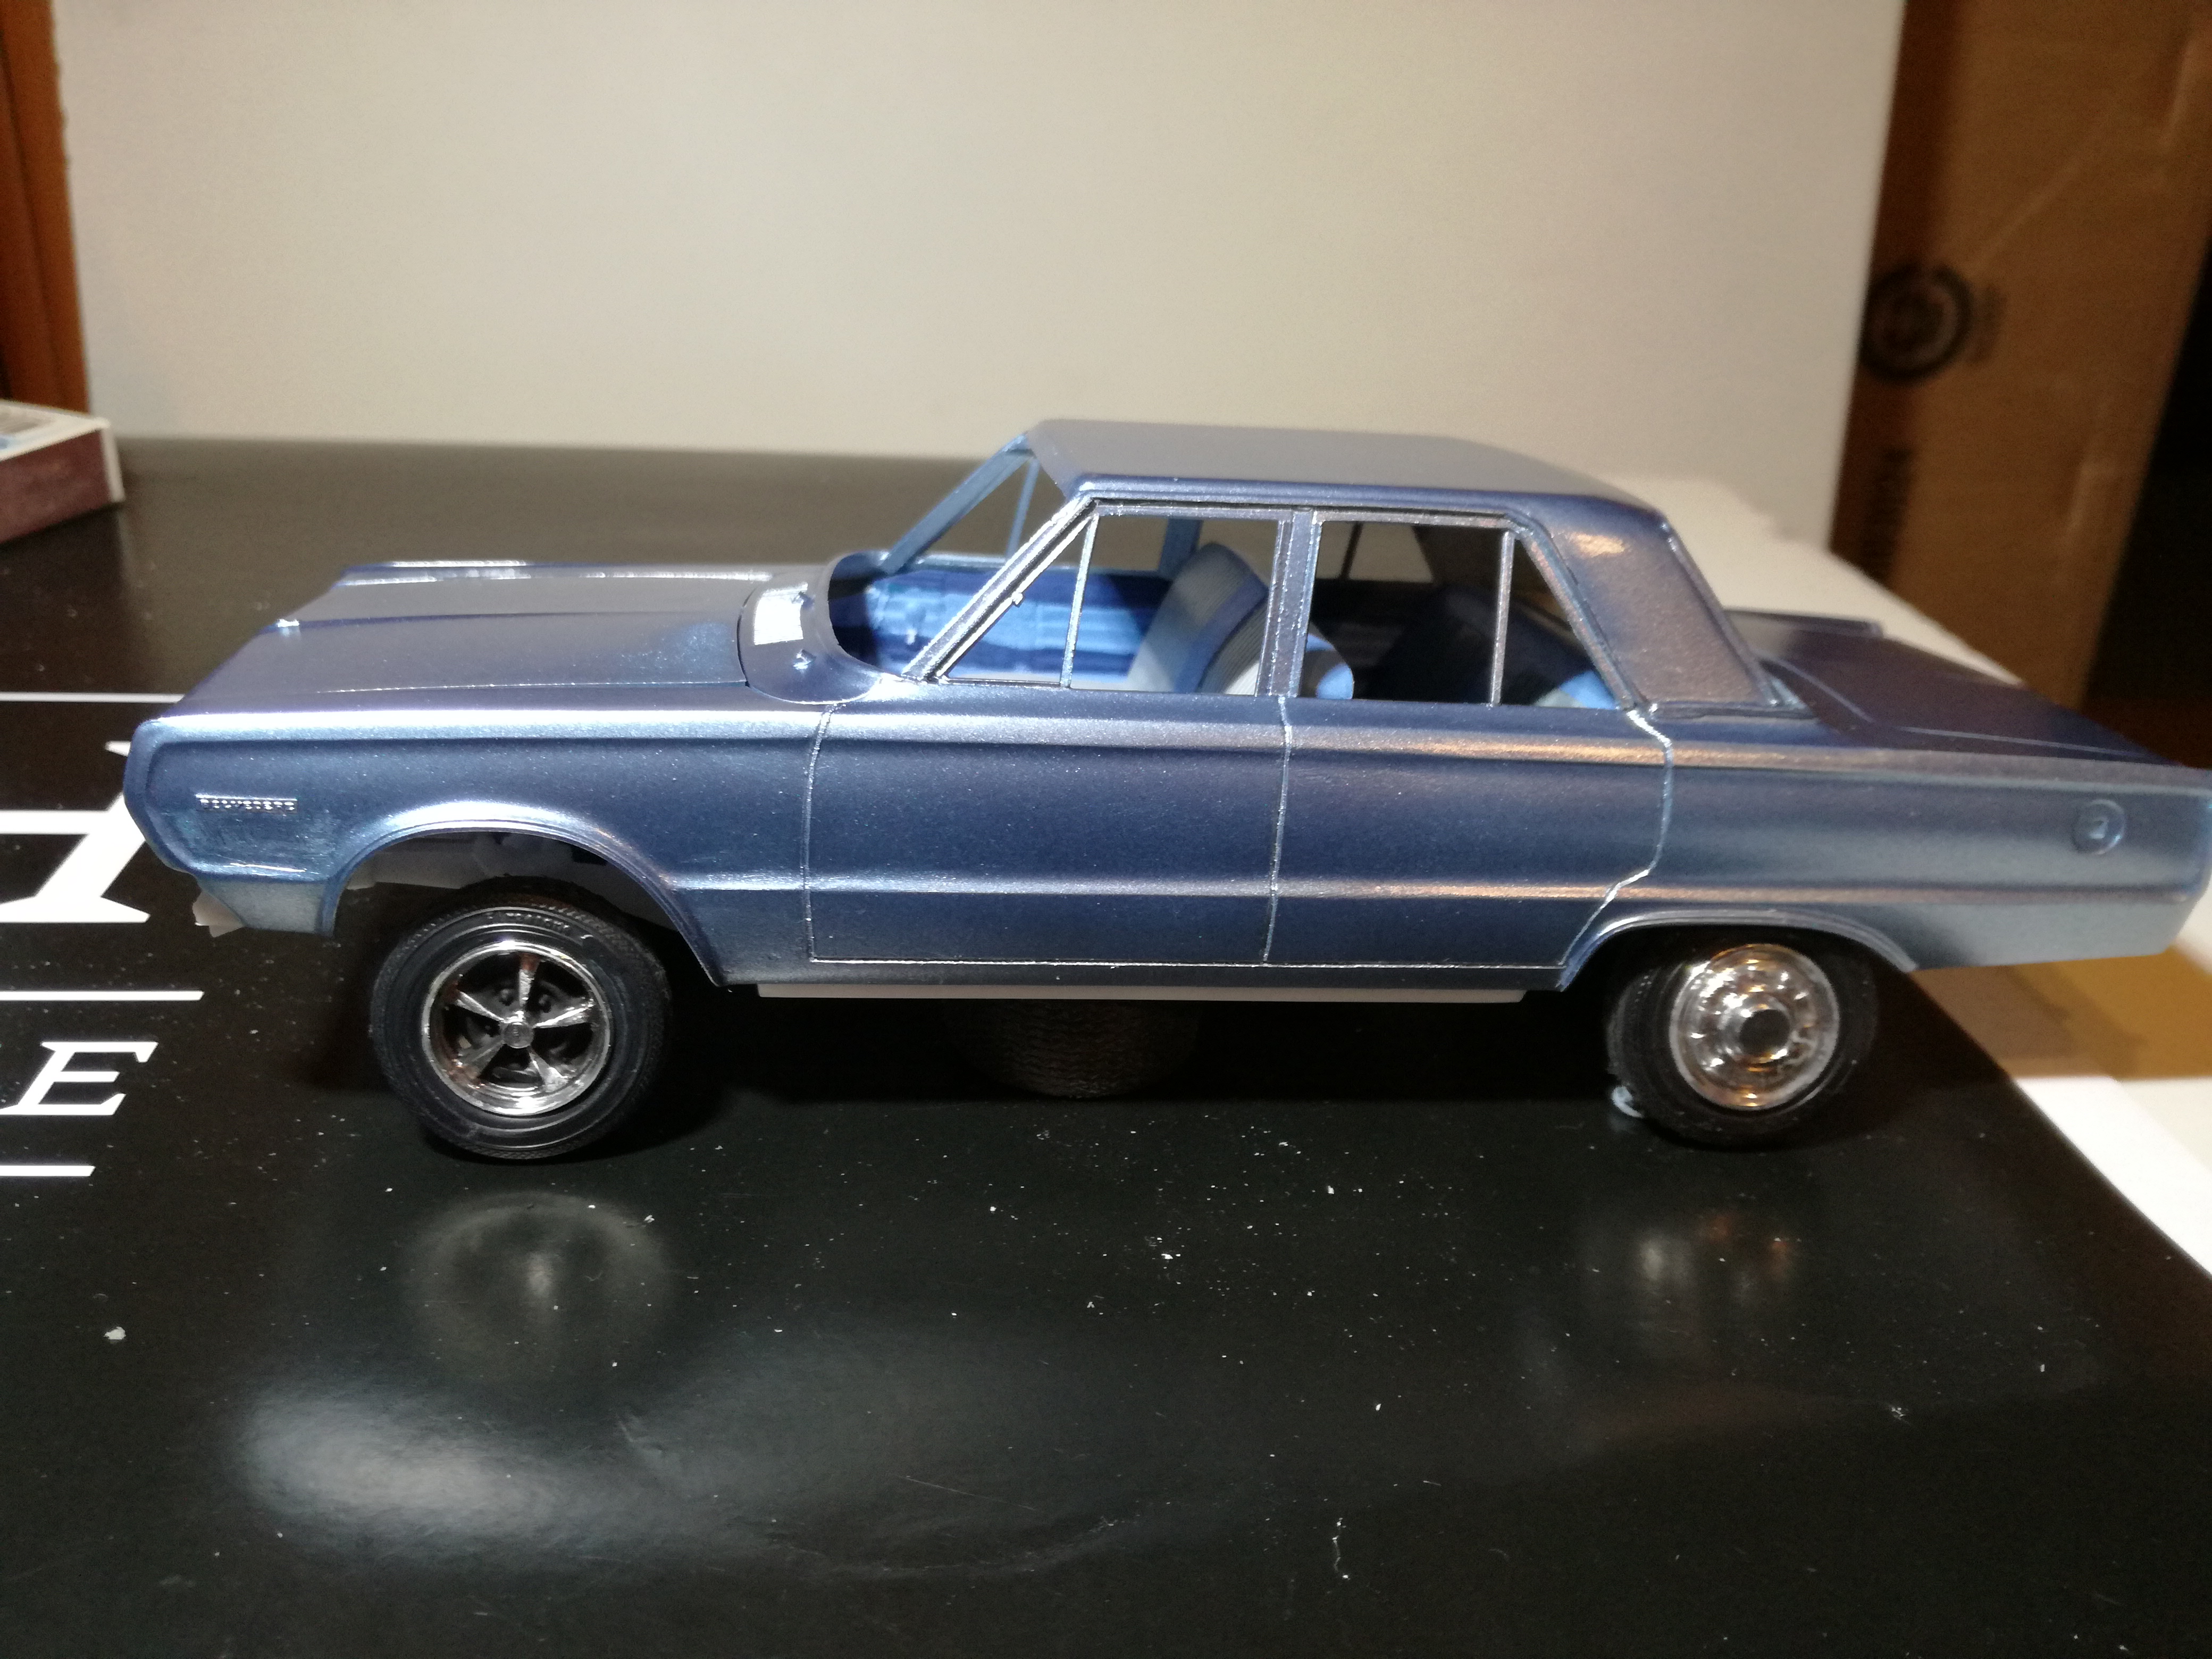
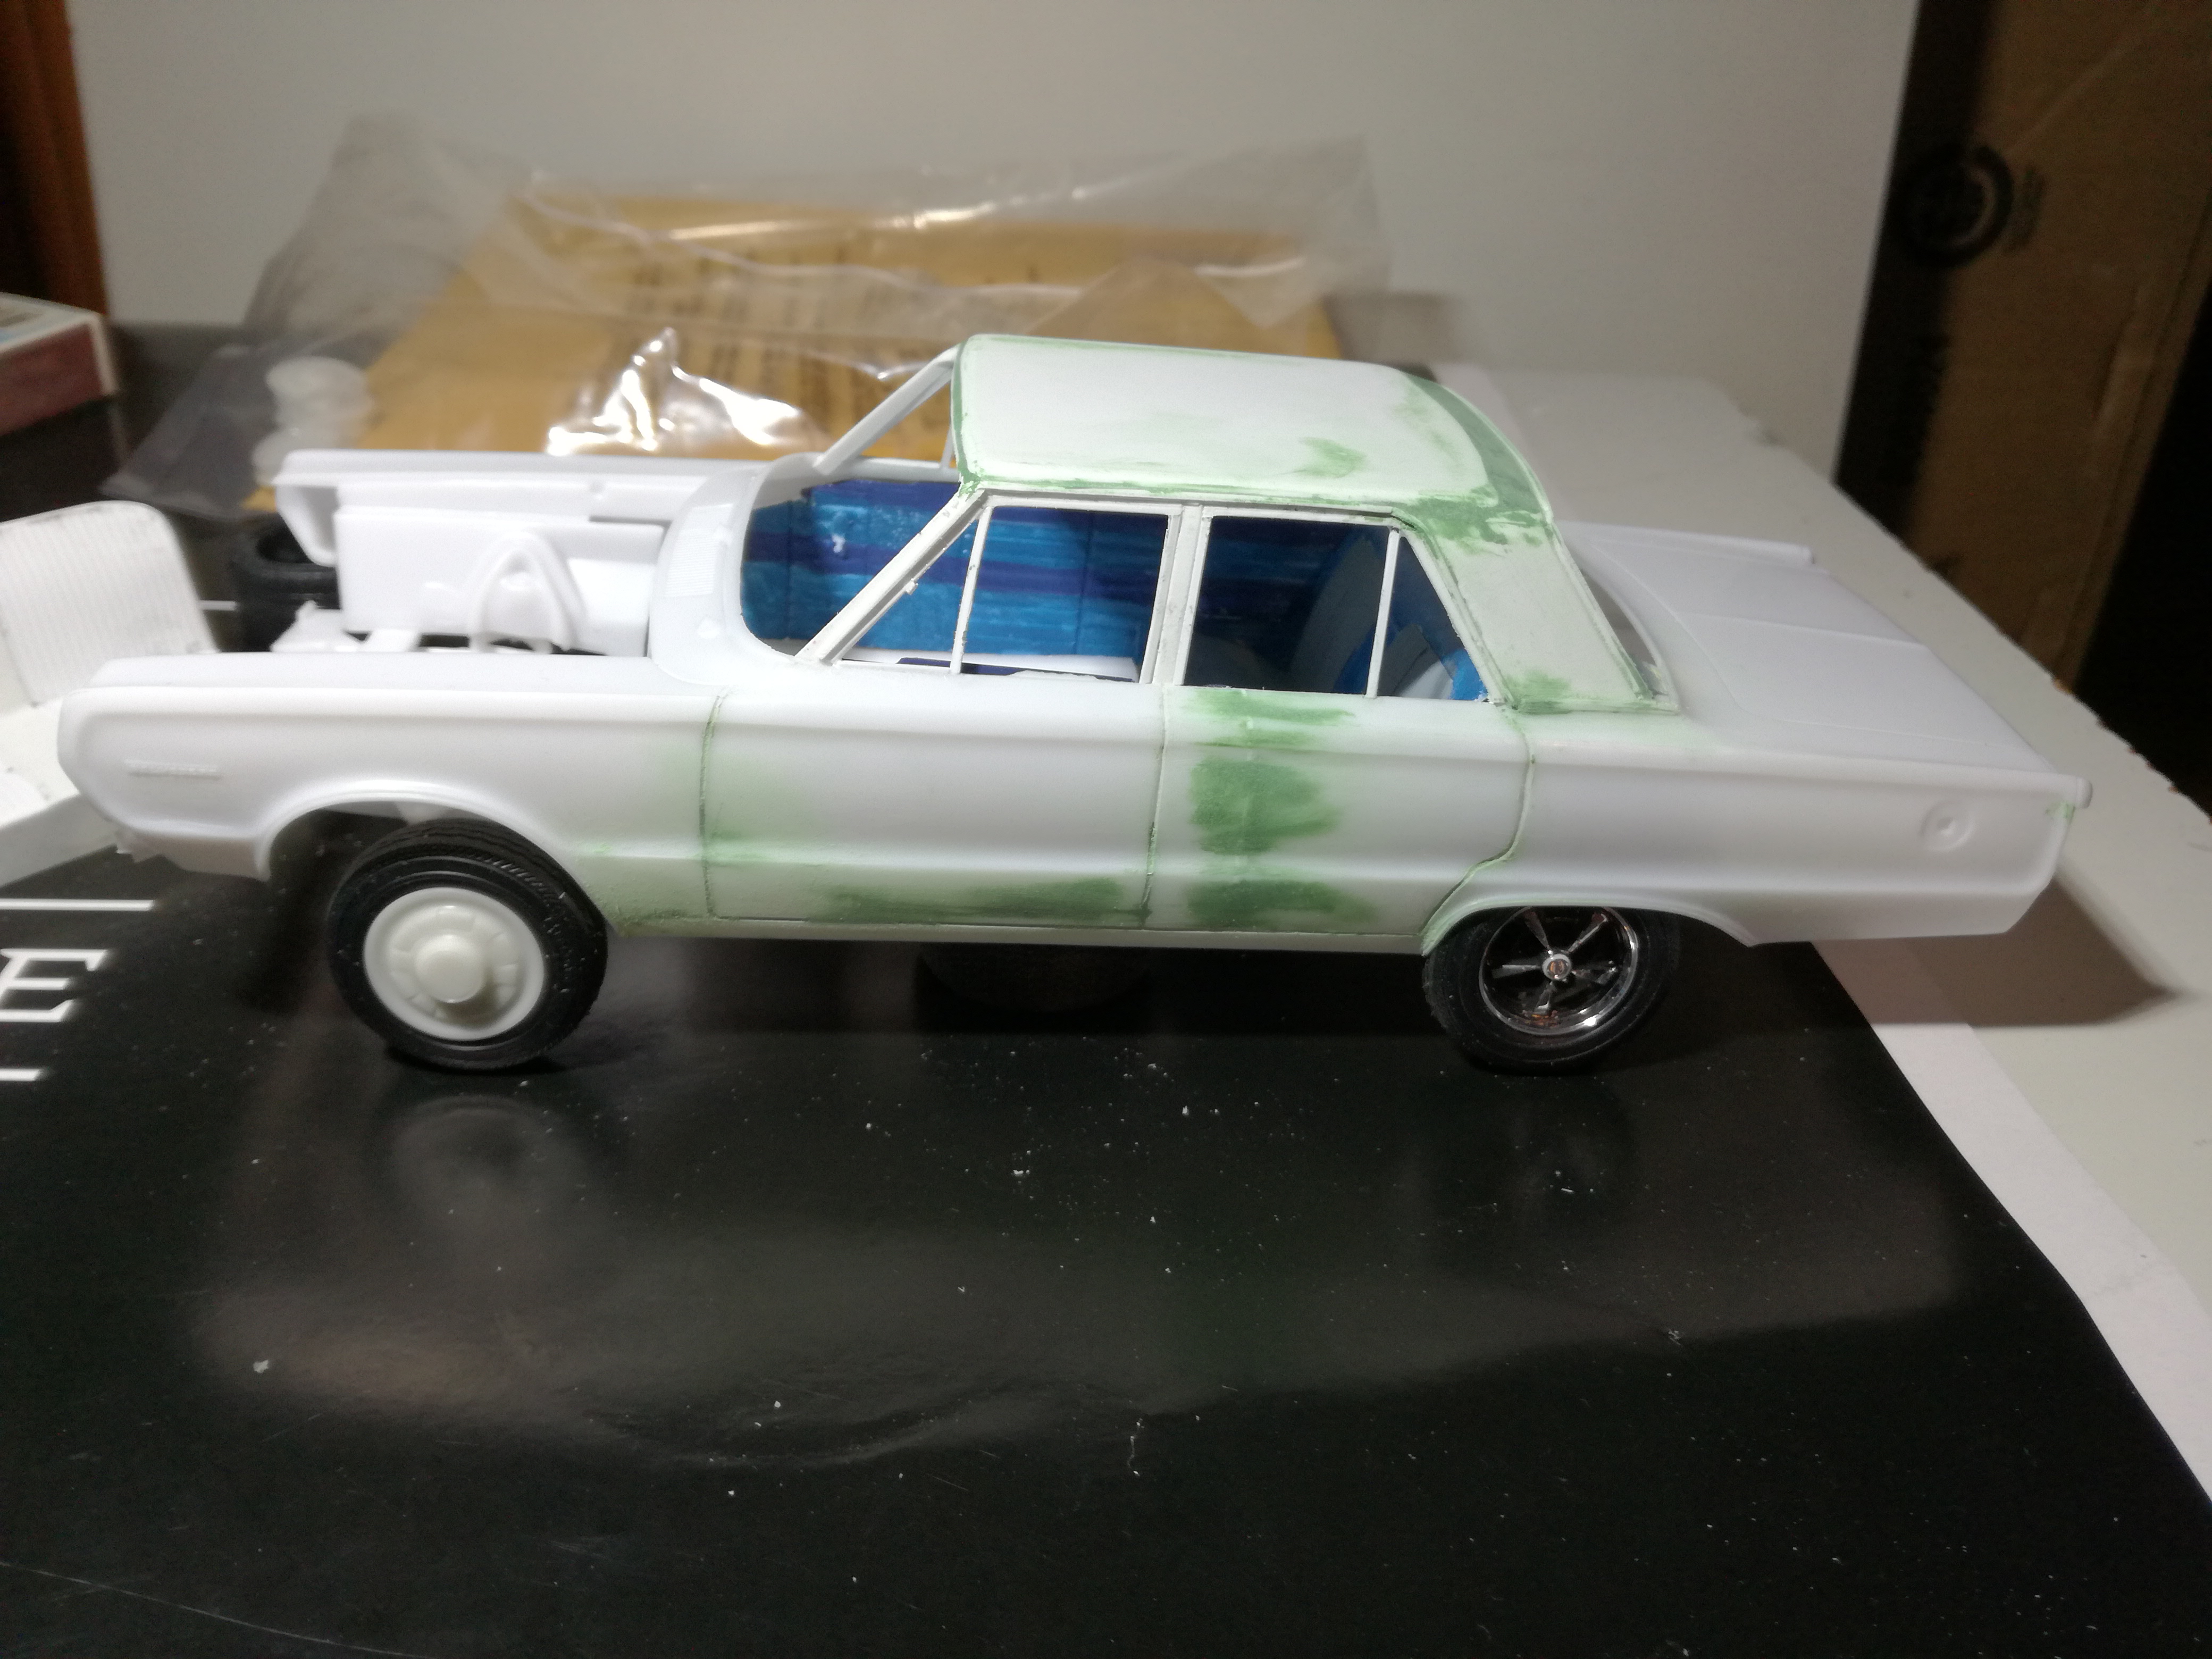
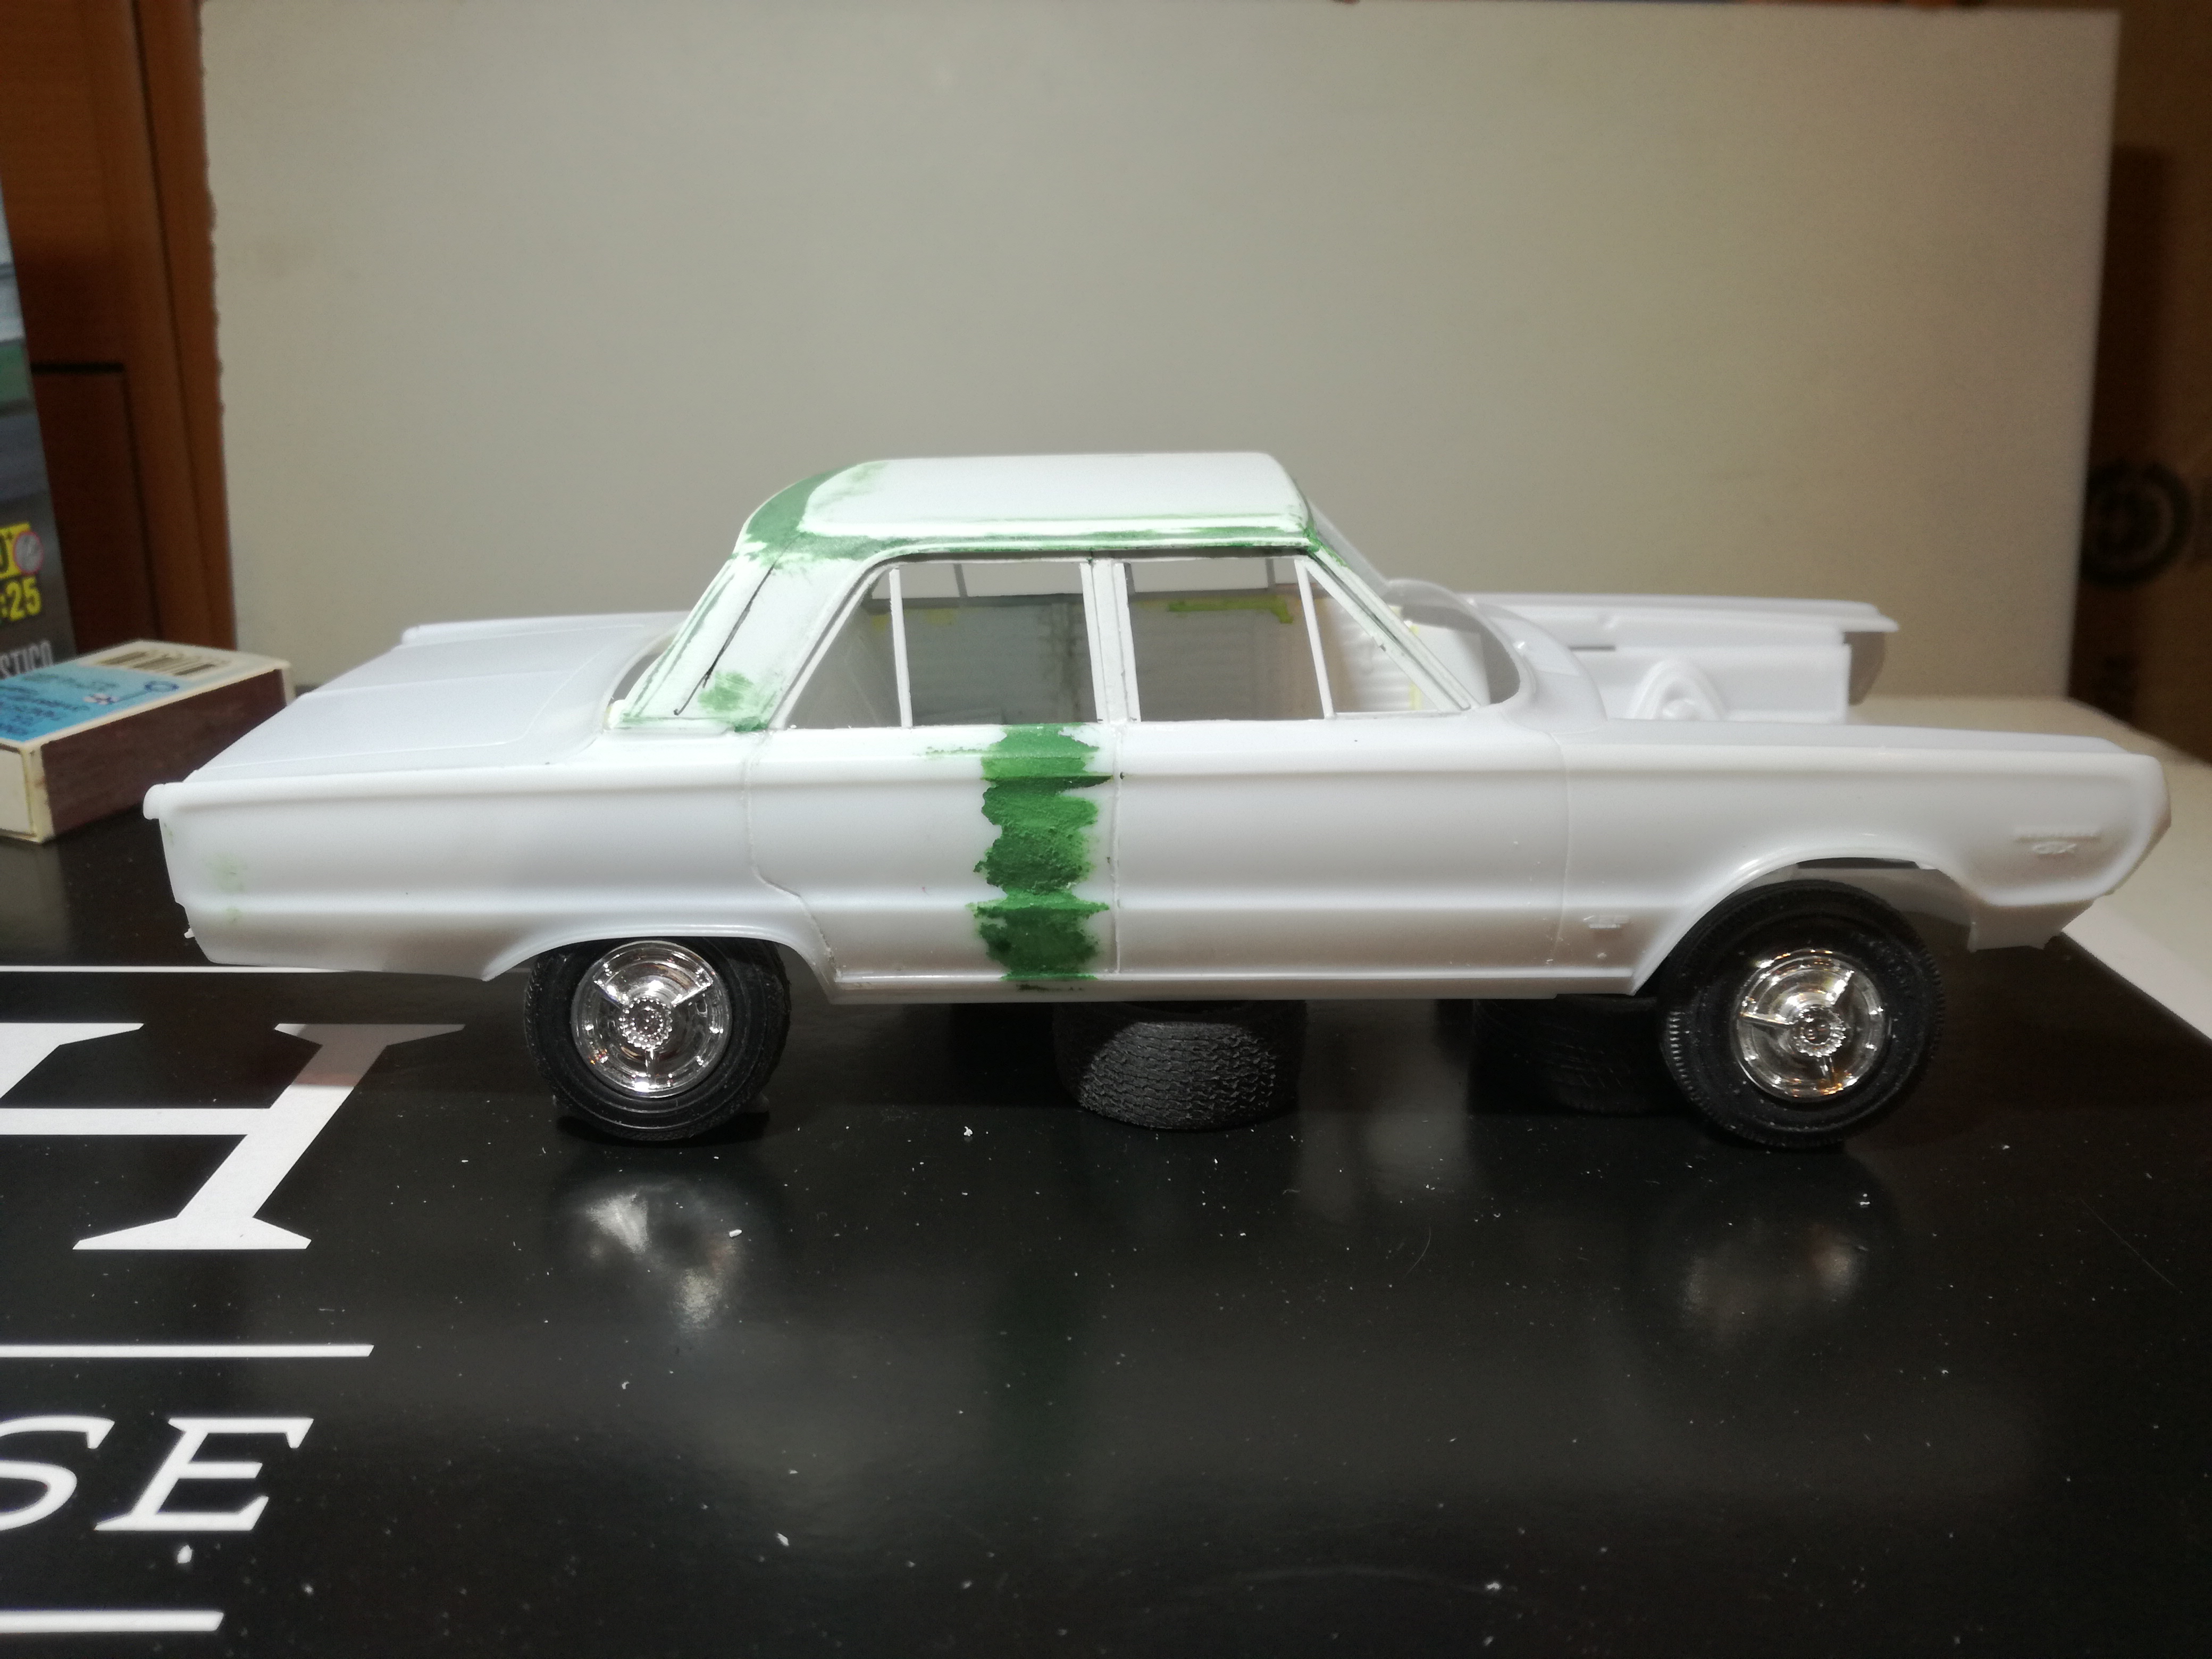
Thanks everybody! Those red and blue wall tires look very cool. I'm gonna build this model as it was nearly new in Finland, and at that time it had some narrow white wall tires. Now the body got some paint. It needs another spraying still and some clear lacque too. The HEMI engine is still in the box. Anyone know, what was the colour of the engine block in 1967? Orange?
-
1967 Plymouth Belvedere 4 door Sedan 426 HEMI original
Reuhkapelti replied to Reuhkapelti's topic in WIP: Model Cars
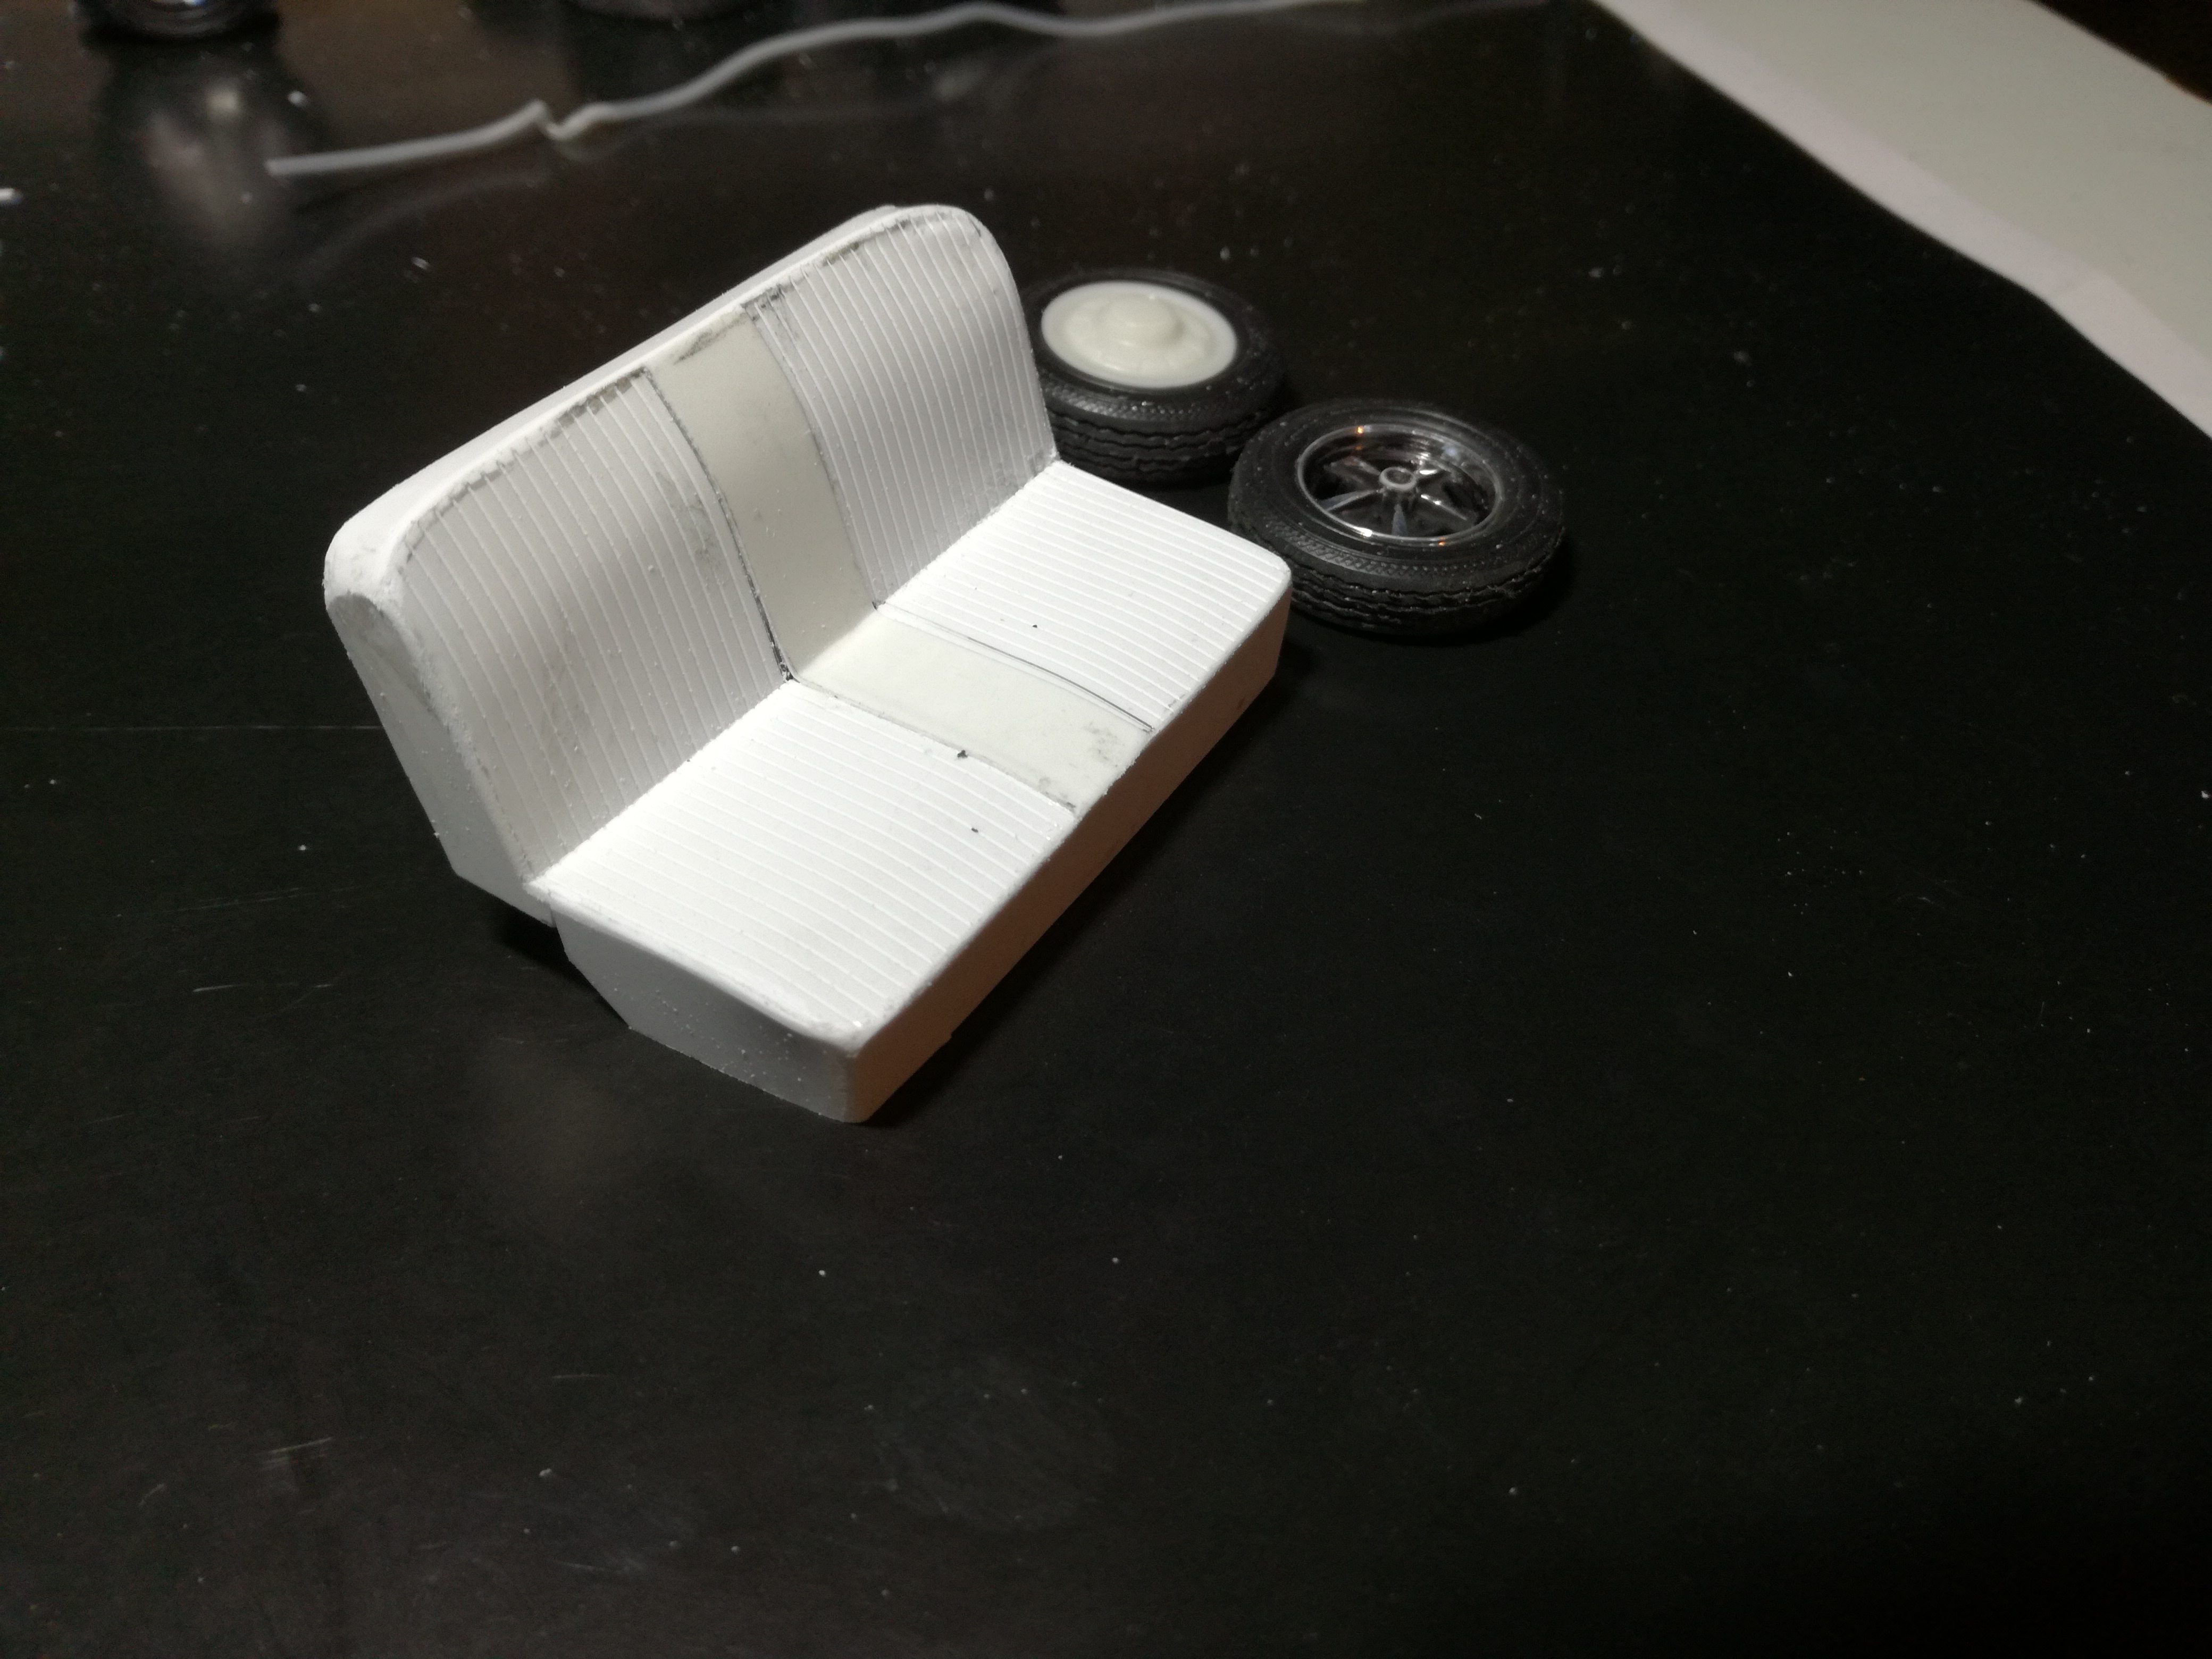
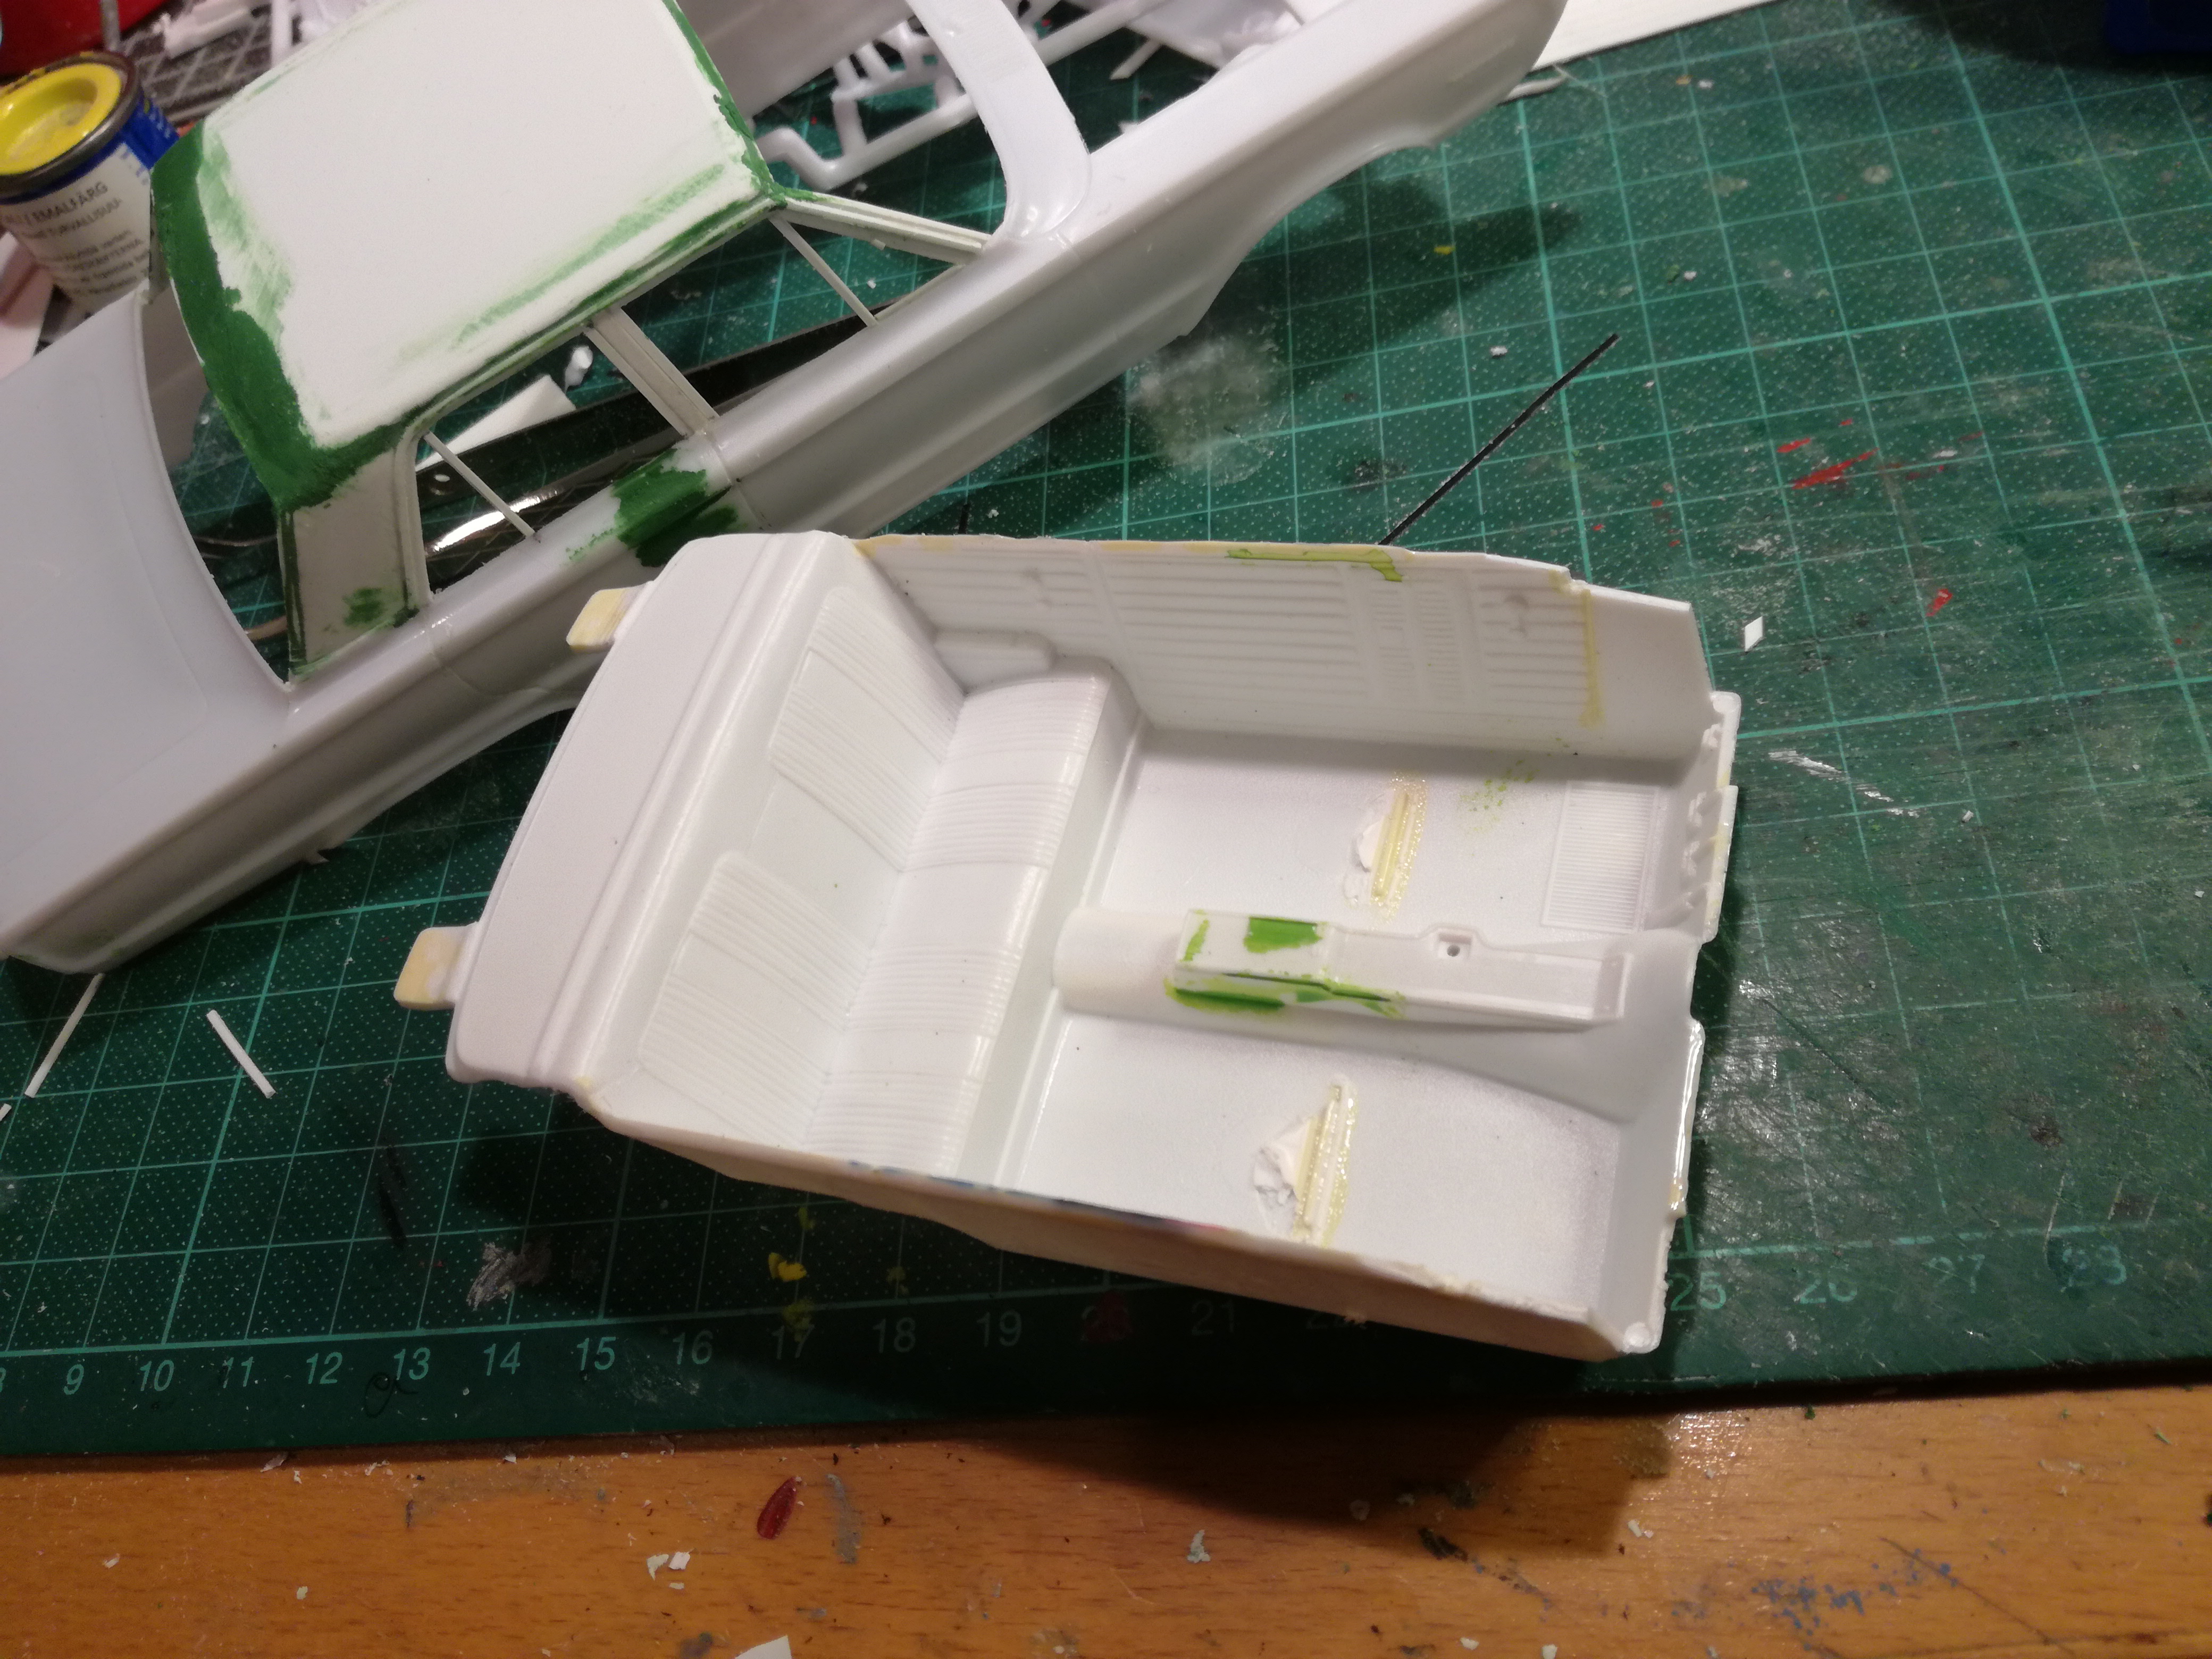
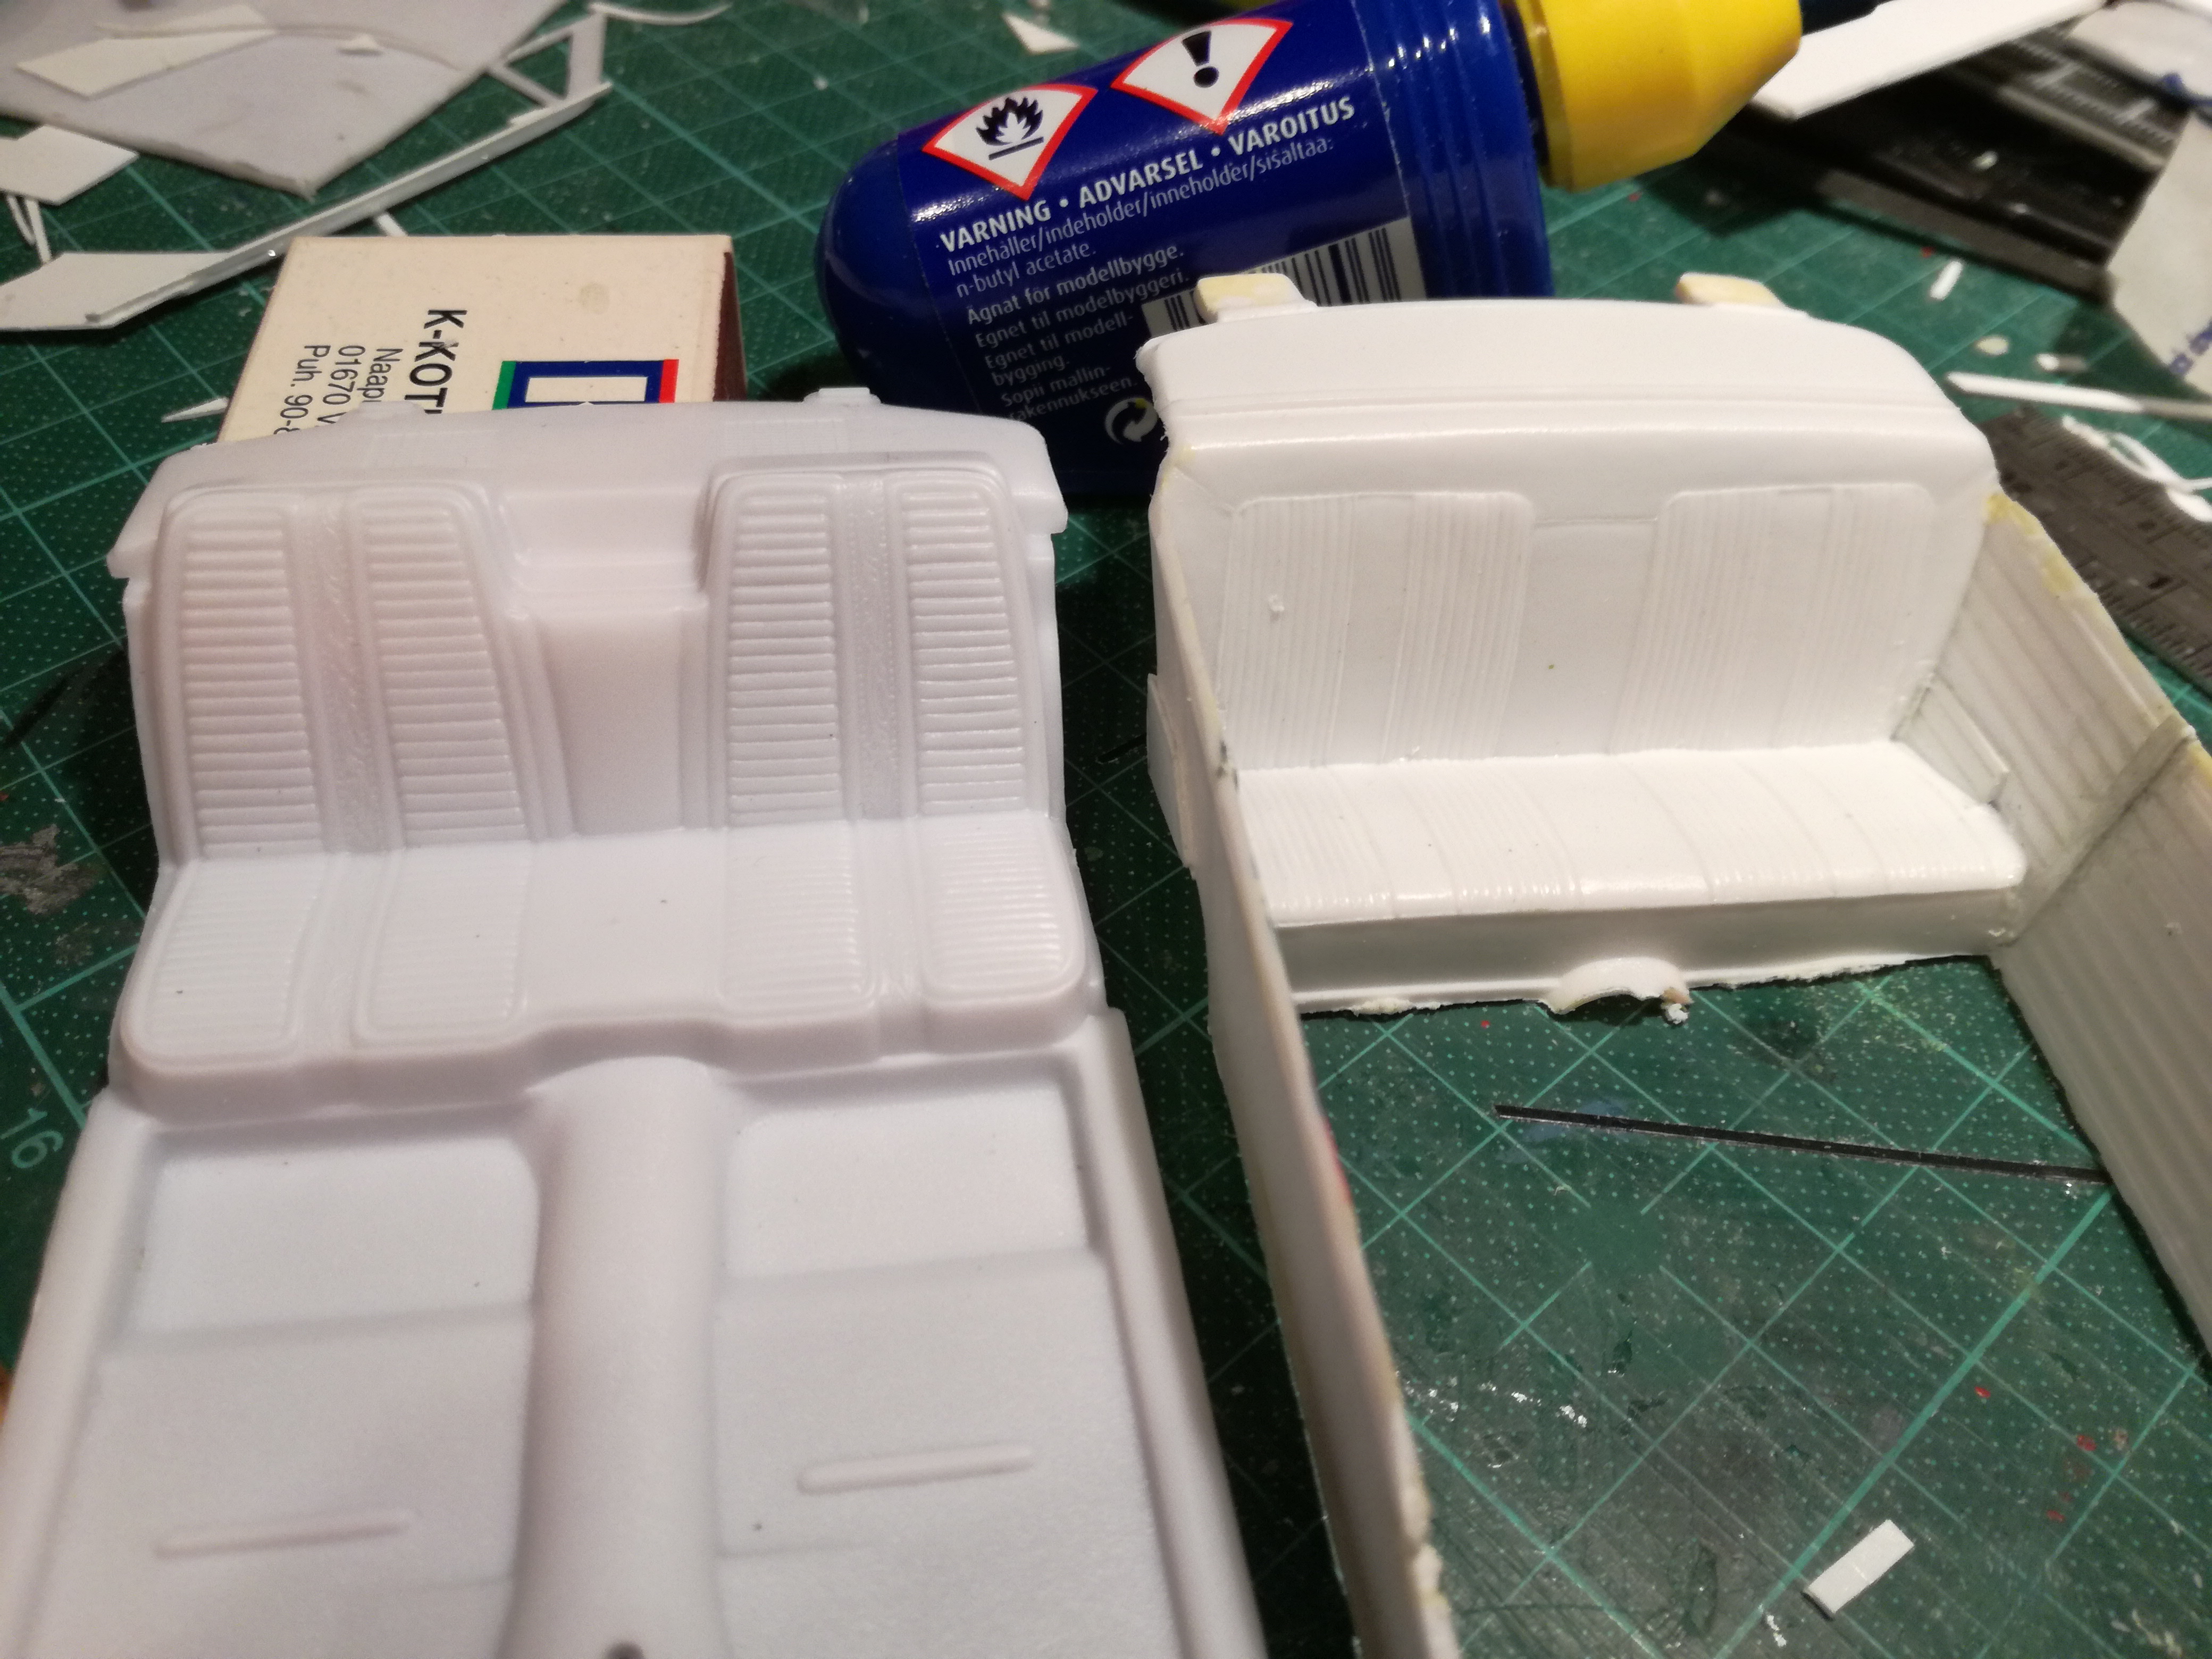
Thanks D-T71 and W409. There was some things I didnt know about the history of The Car and her original owner. I couldn't find a decent bench seat so I scratch built one using Evergreen sheats. After painting it will look good enough. The body of the car is close to get the first primer sprayed on. W409, do you have trouble too with FCMA forum or is it just me? It claims about some internal server error?
-
1967 Plymouth Belvedere 4 door Sedan 426 HEMI original
Reuhkapelti replied to Reuhkapelti's topic in WIP: Model Cars
Thanks! This 1:1 car is really factory made once. And the car still exists. I took the cockpit from a parted out '64 GTO Pontiac, because it has a simplier back seat than the GTX. I cut the 2door-back-seat arm rests off, glued some filling on it. Also I have to take the floor off and use the GTX floor instead. The roof got an extra sheat of Evergreen on top. I needed to get the little notch above the rear window. The windows got the rest of the frames, including the triangle shaped ones. I found smaller tires too. I think the original 1:1 tire size was 14"-15"anyone know?
-
1967 Plymouth Belvedere 4 door Sedan 426 HEMI original
Reuhkapelti replied to Reuhkapelti's topic in WIP: Model Cars
Thanks! Some development here on this sleeper. The window frames are getting there, and I found some hubcaps too. Not sure if they are close enough to the original style, but these are the best ones for now.
-
1967 Plymouth Belvedere 4 door Sedan 426 HEMI original
Reuhkapelti posted a topic in WIP: Model Cars
This one of a kind 1:1 vehicle is located in Finland, as in 1967 a local car dealer ordered himself a 4 door sedan Belvedere, equipped with the mighty 426 HEMI engine. Four doors, bench seats, light blue paint... a total sleeper. I'm building this model by using the body of a Revell Sox & Martin Plymouth. I have now rebuilt the whole roof and made new doors for the the rear seat passengers. The new roof sits about 1,5 mm higher than the original. Also the windshield - and the rear window frames stand more upwords.
-
Very impressive building with that engine. One of the best I've seen so far. As you make it better all the time, I give you a hint... the blades of the fan look too heavy and thick, when you compare it to the other cool parts you have made. Keep up the good work! This GT-R will look so cooooool when finished.
-
Thanks everybody! I put some extra photos for you to see it well.
-
Thanks fellows! Hmmmm go and see On the Workbench. There is the whole story.
-
Buick Electra STW 1986 ready to "Under Glass"
Reuhkapelti replied to Reuhkapelti's topic in WIP: Model Cars
Thanks! The final pictures are now Under Glass, changed the mark into Electra wagon. -
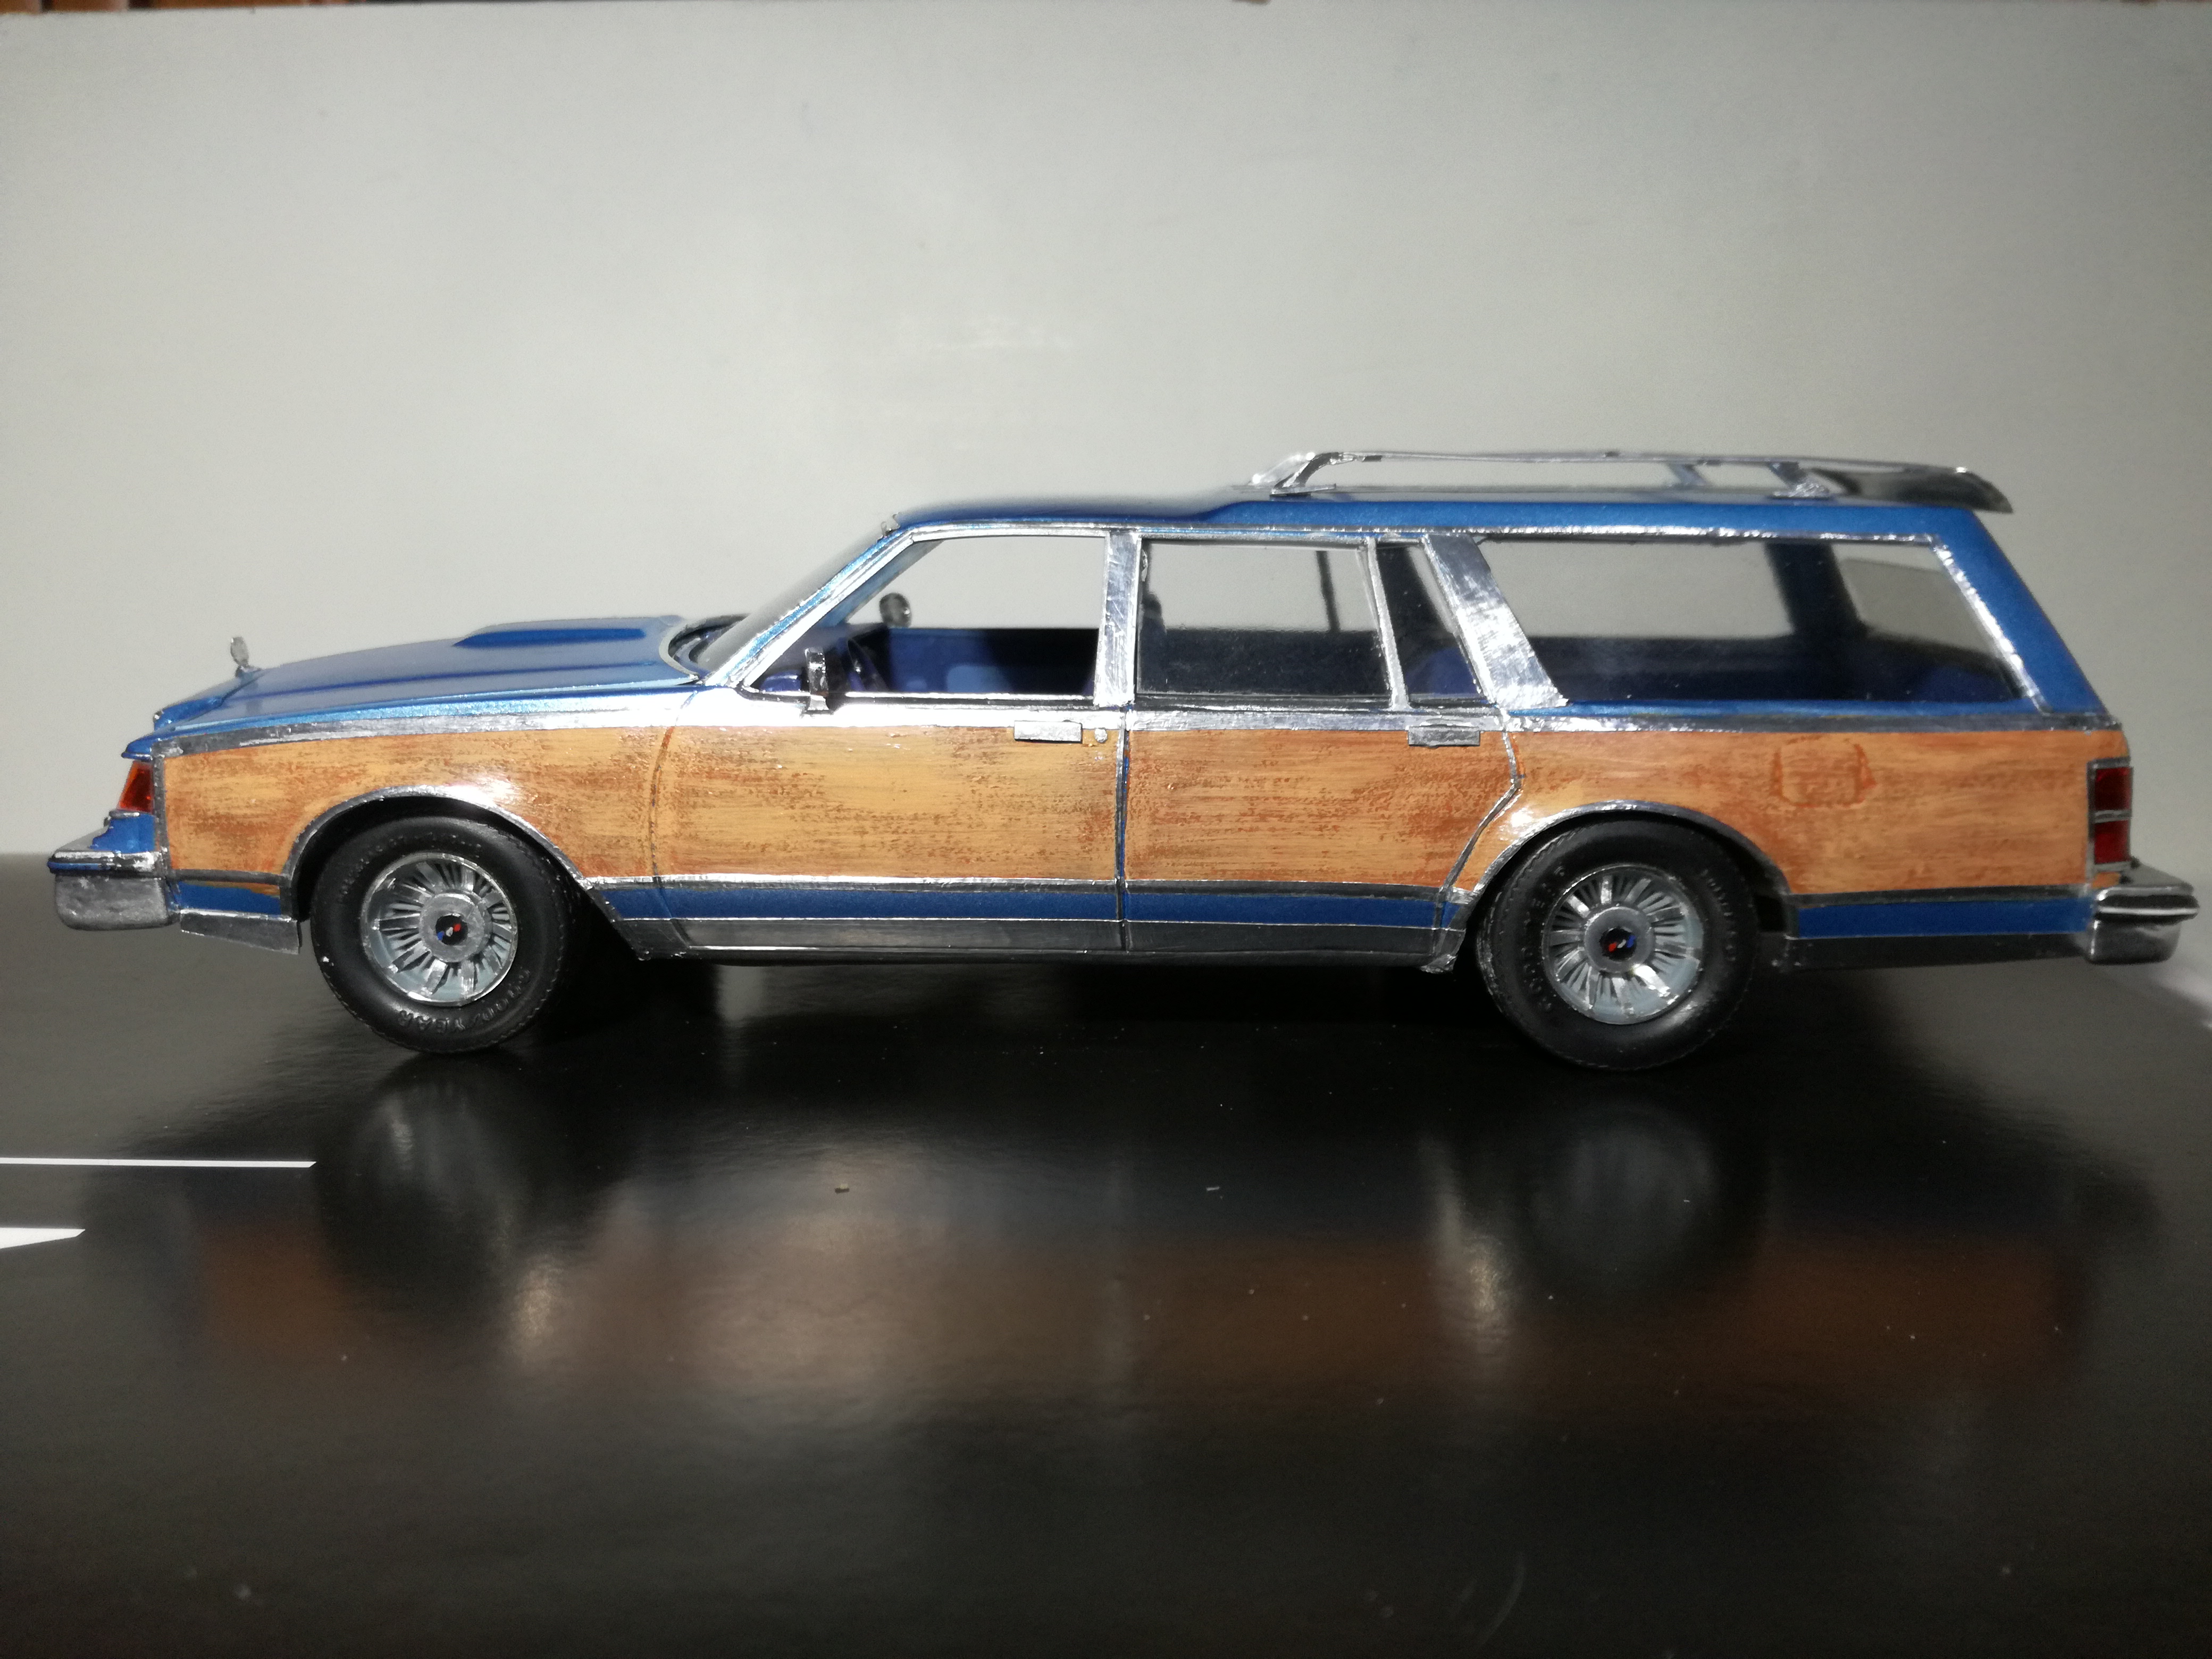
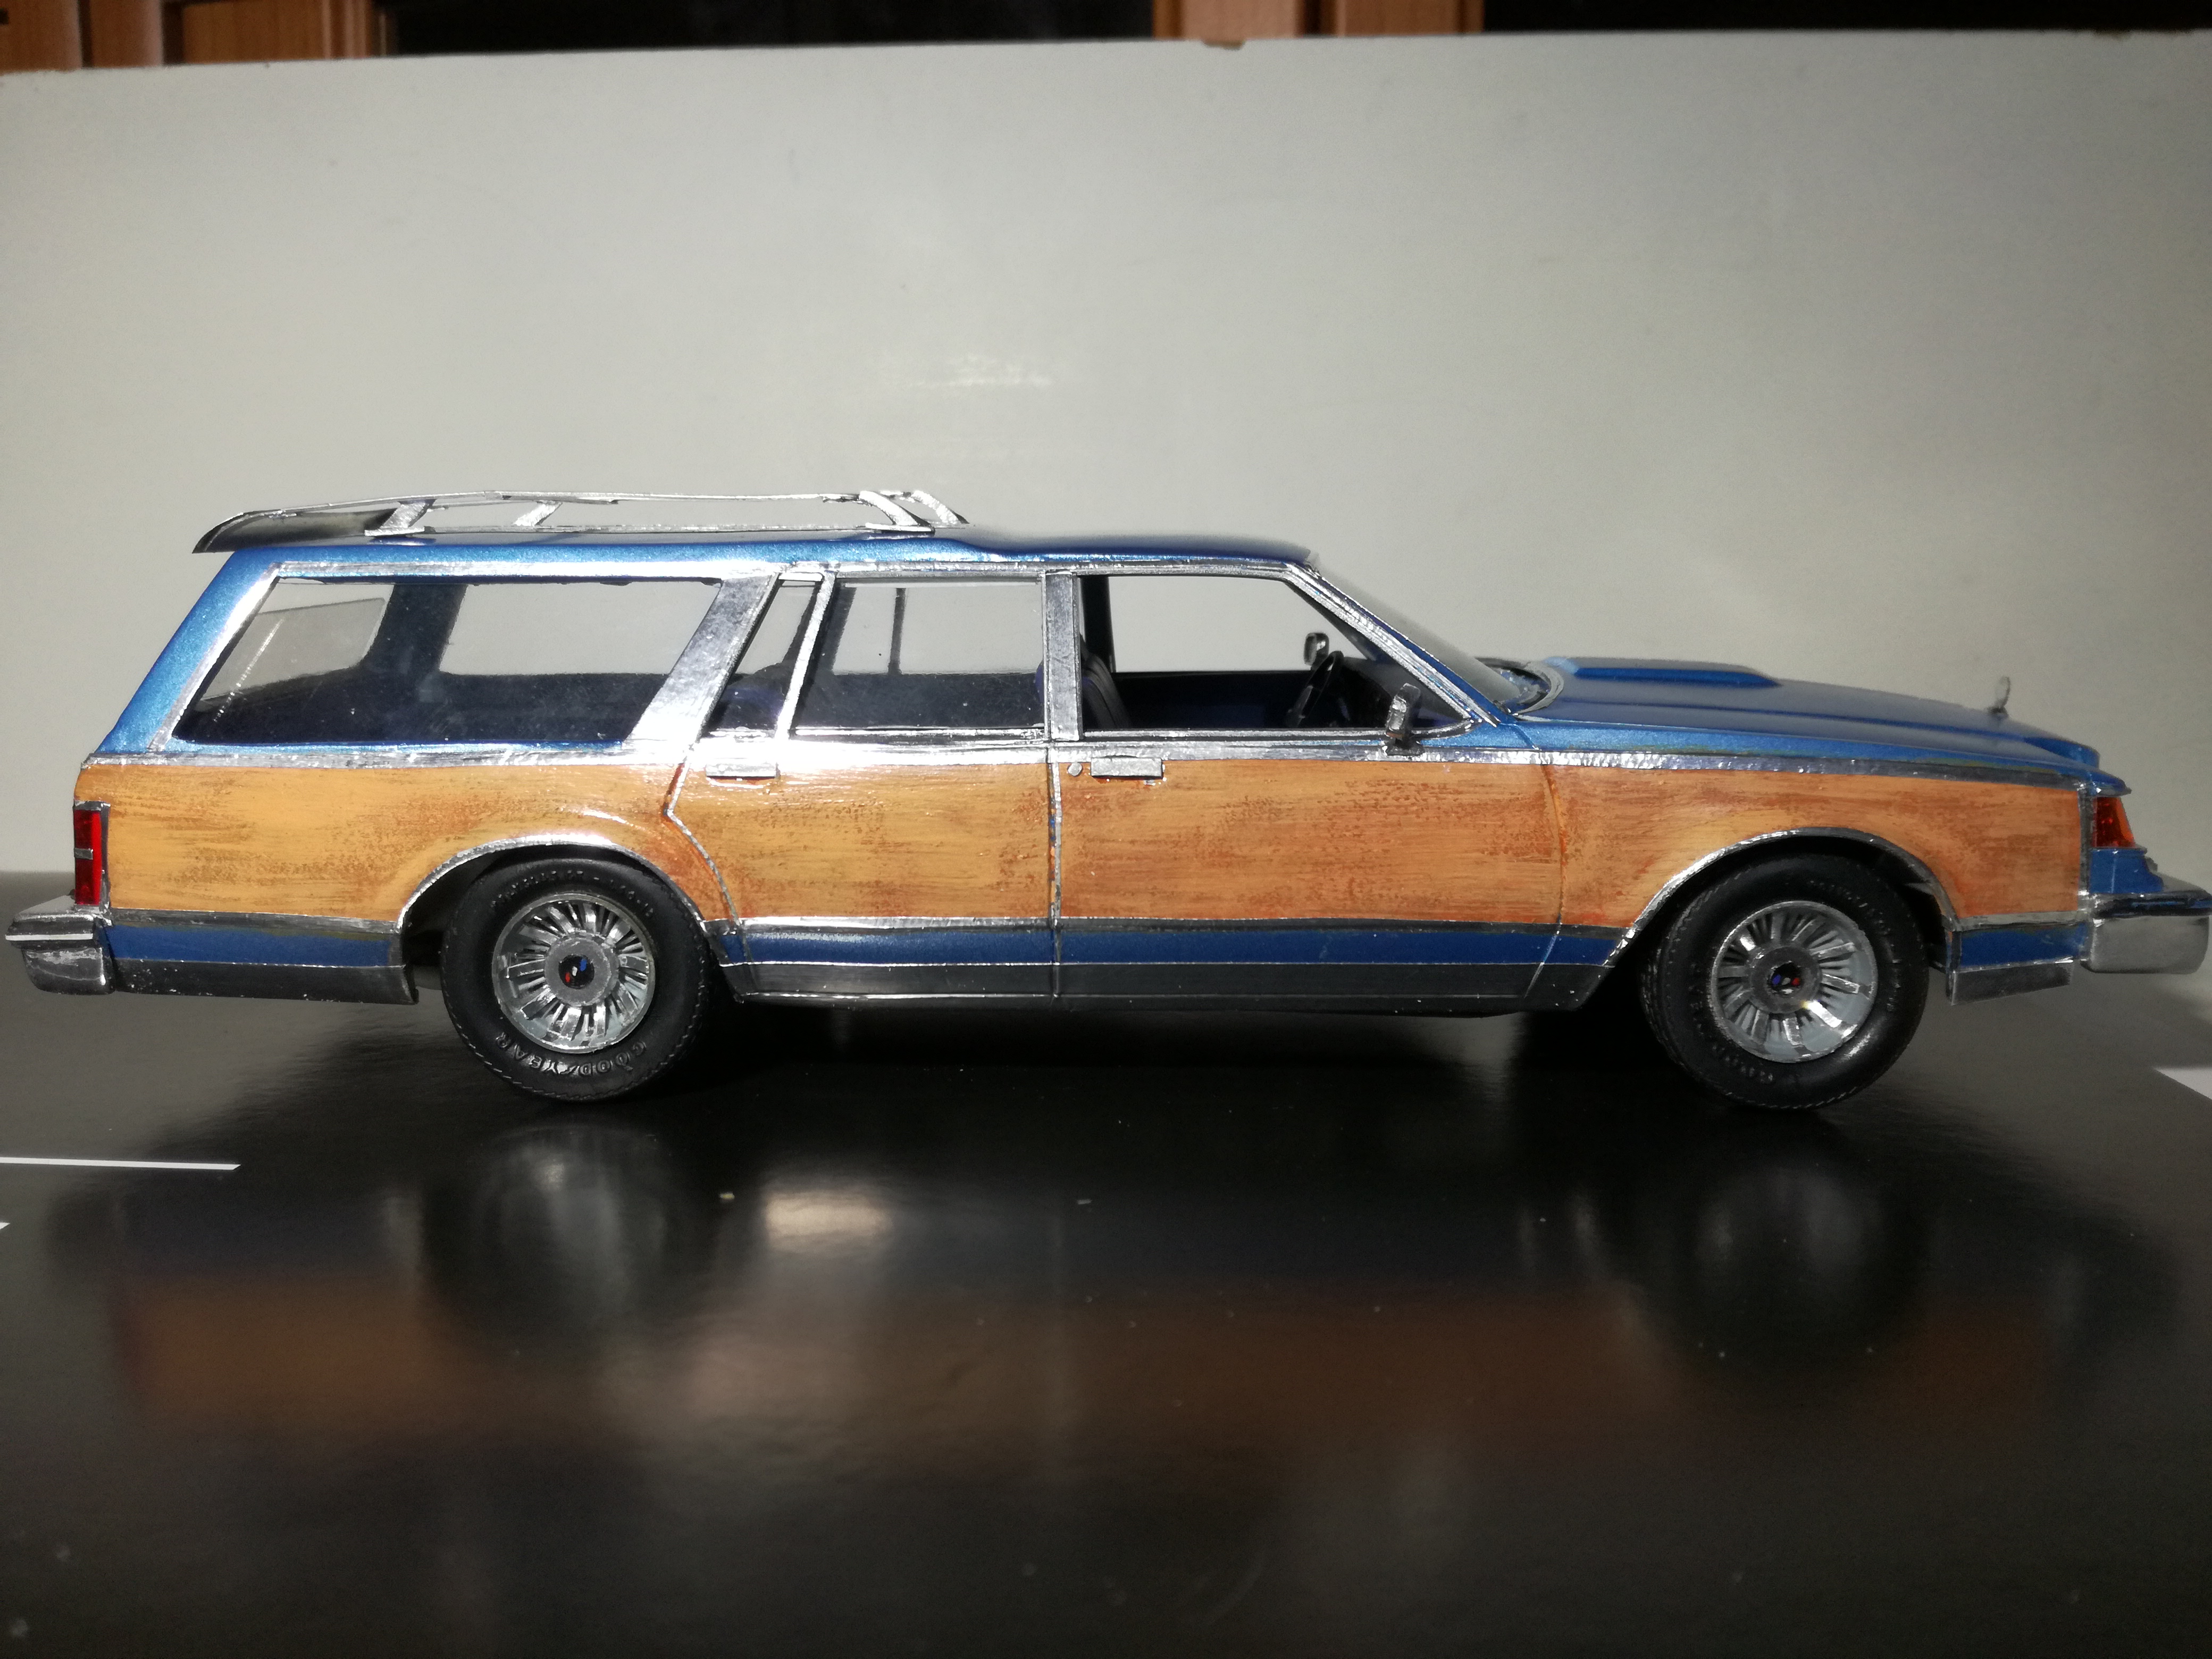
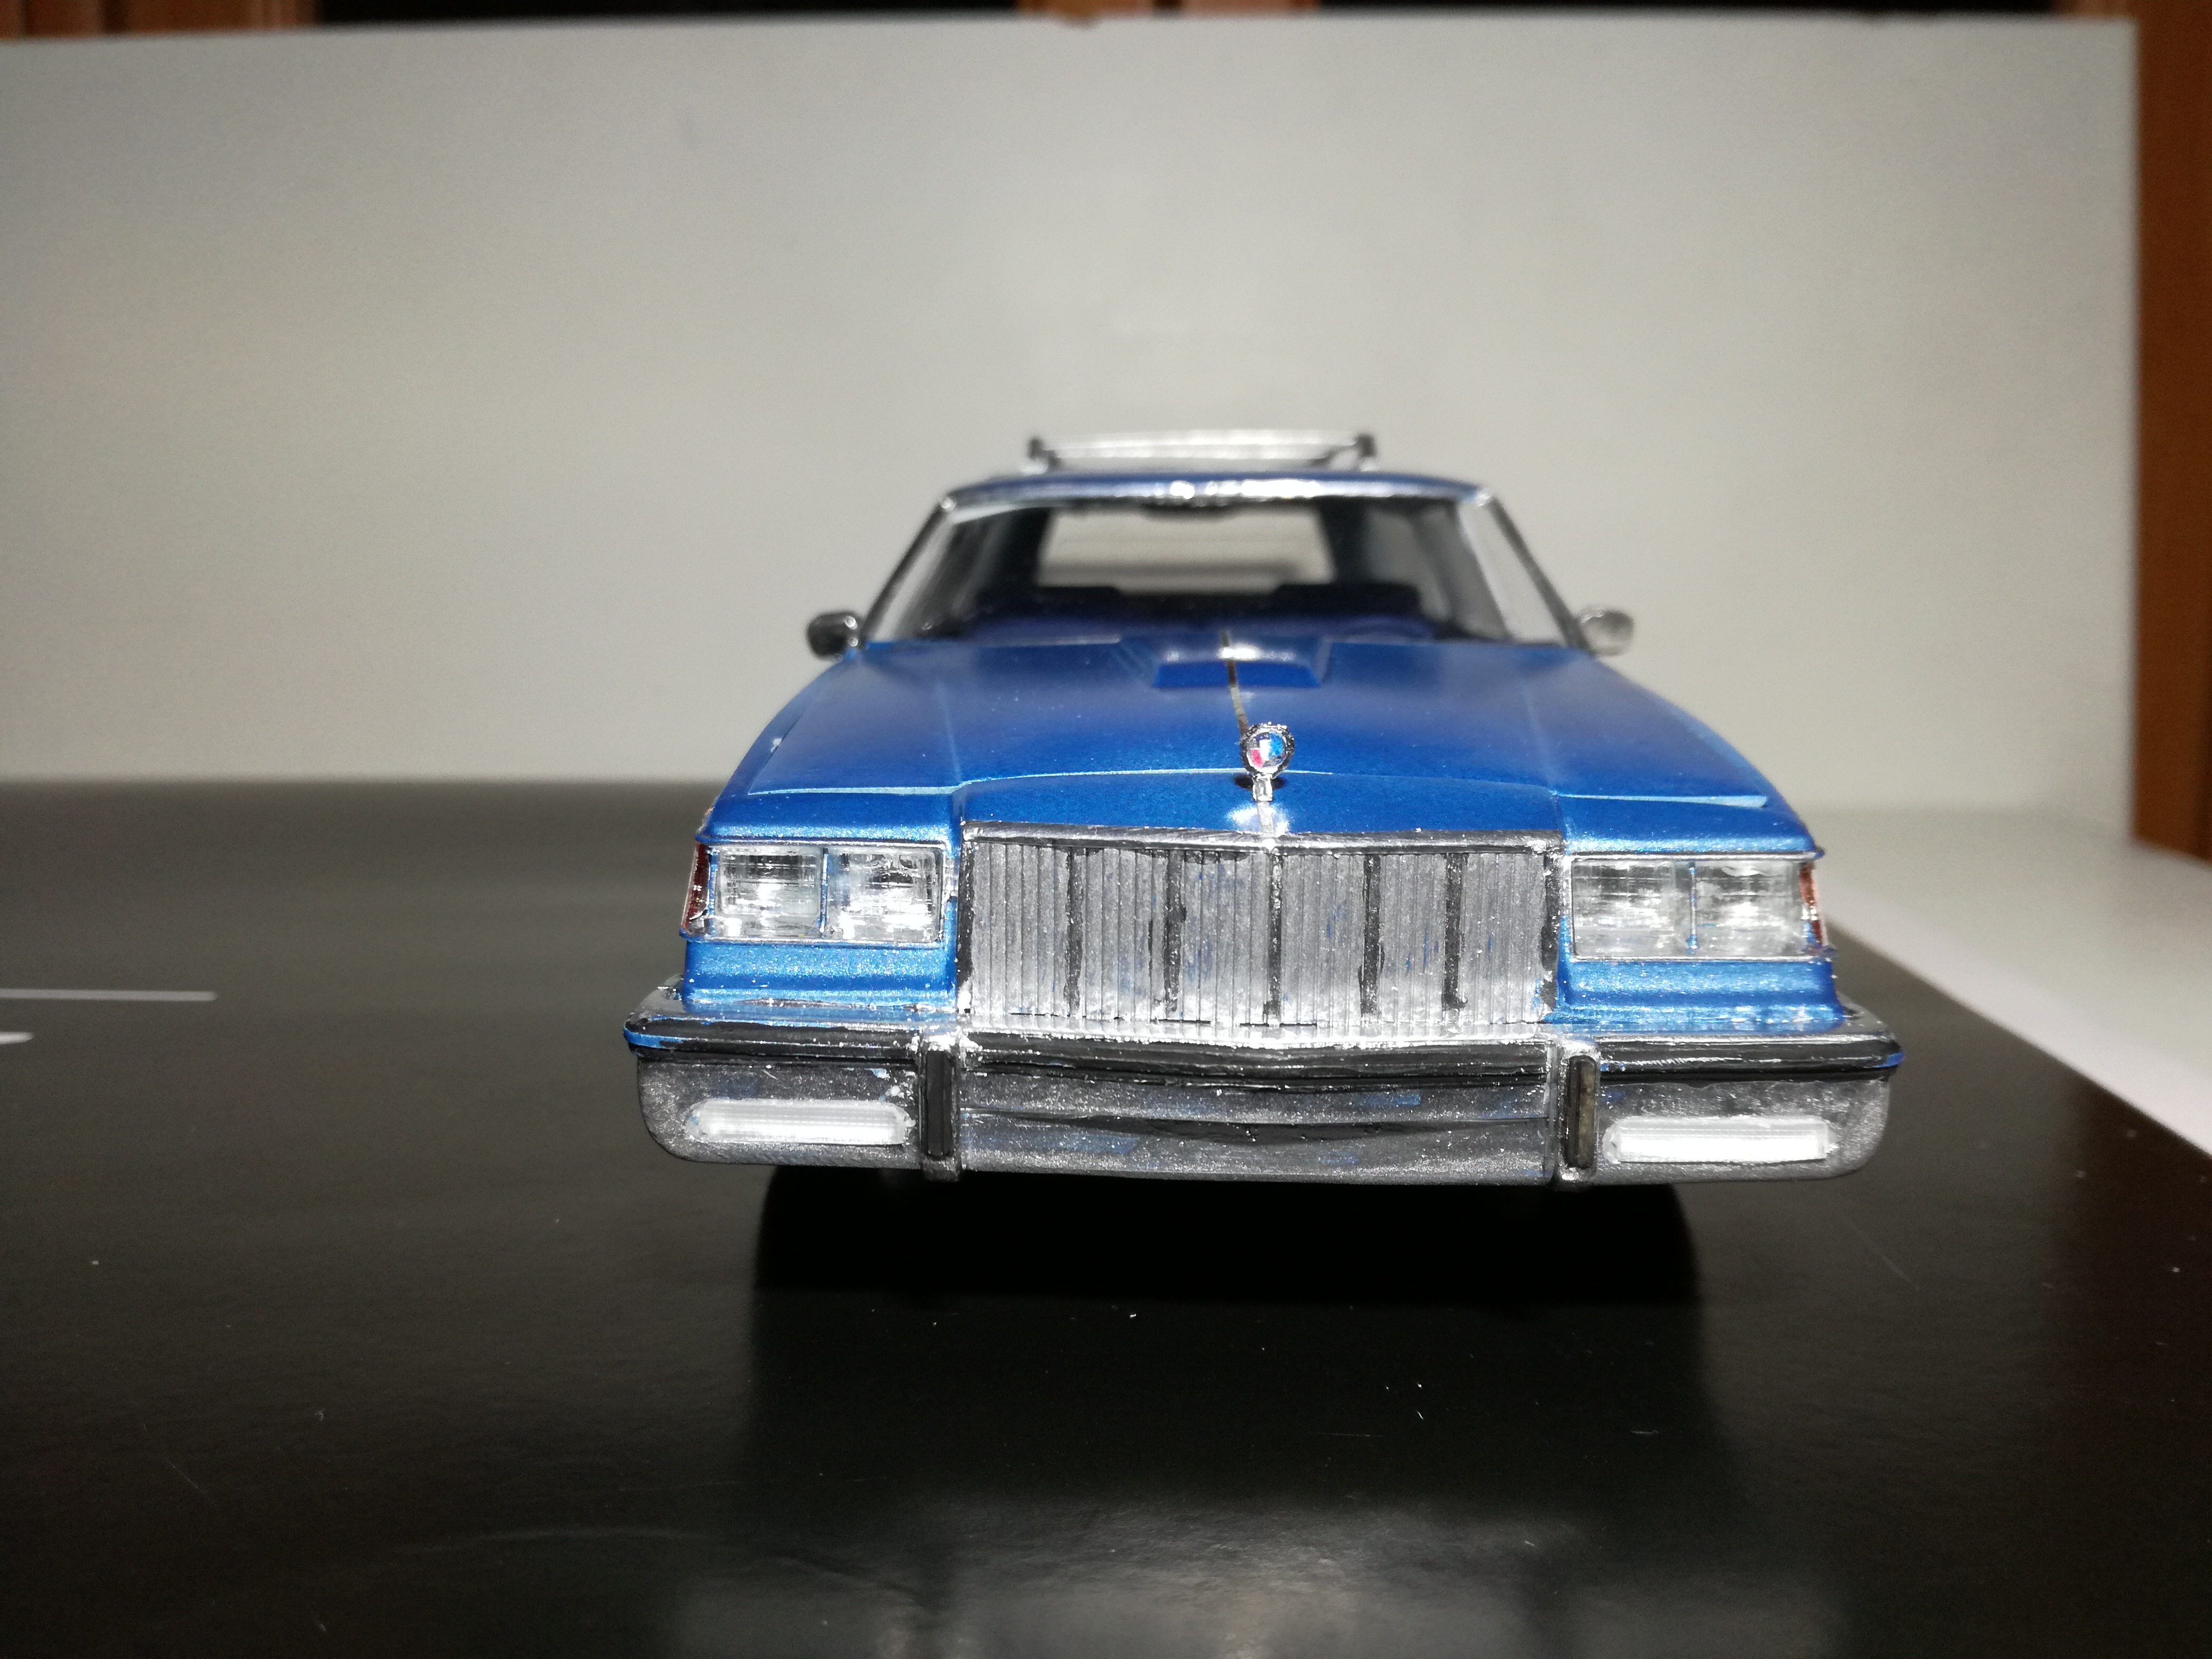
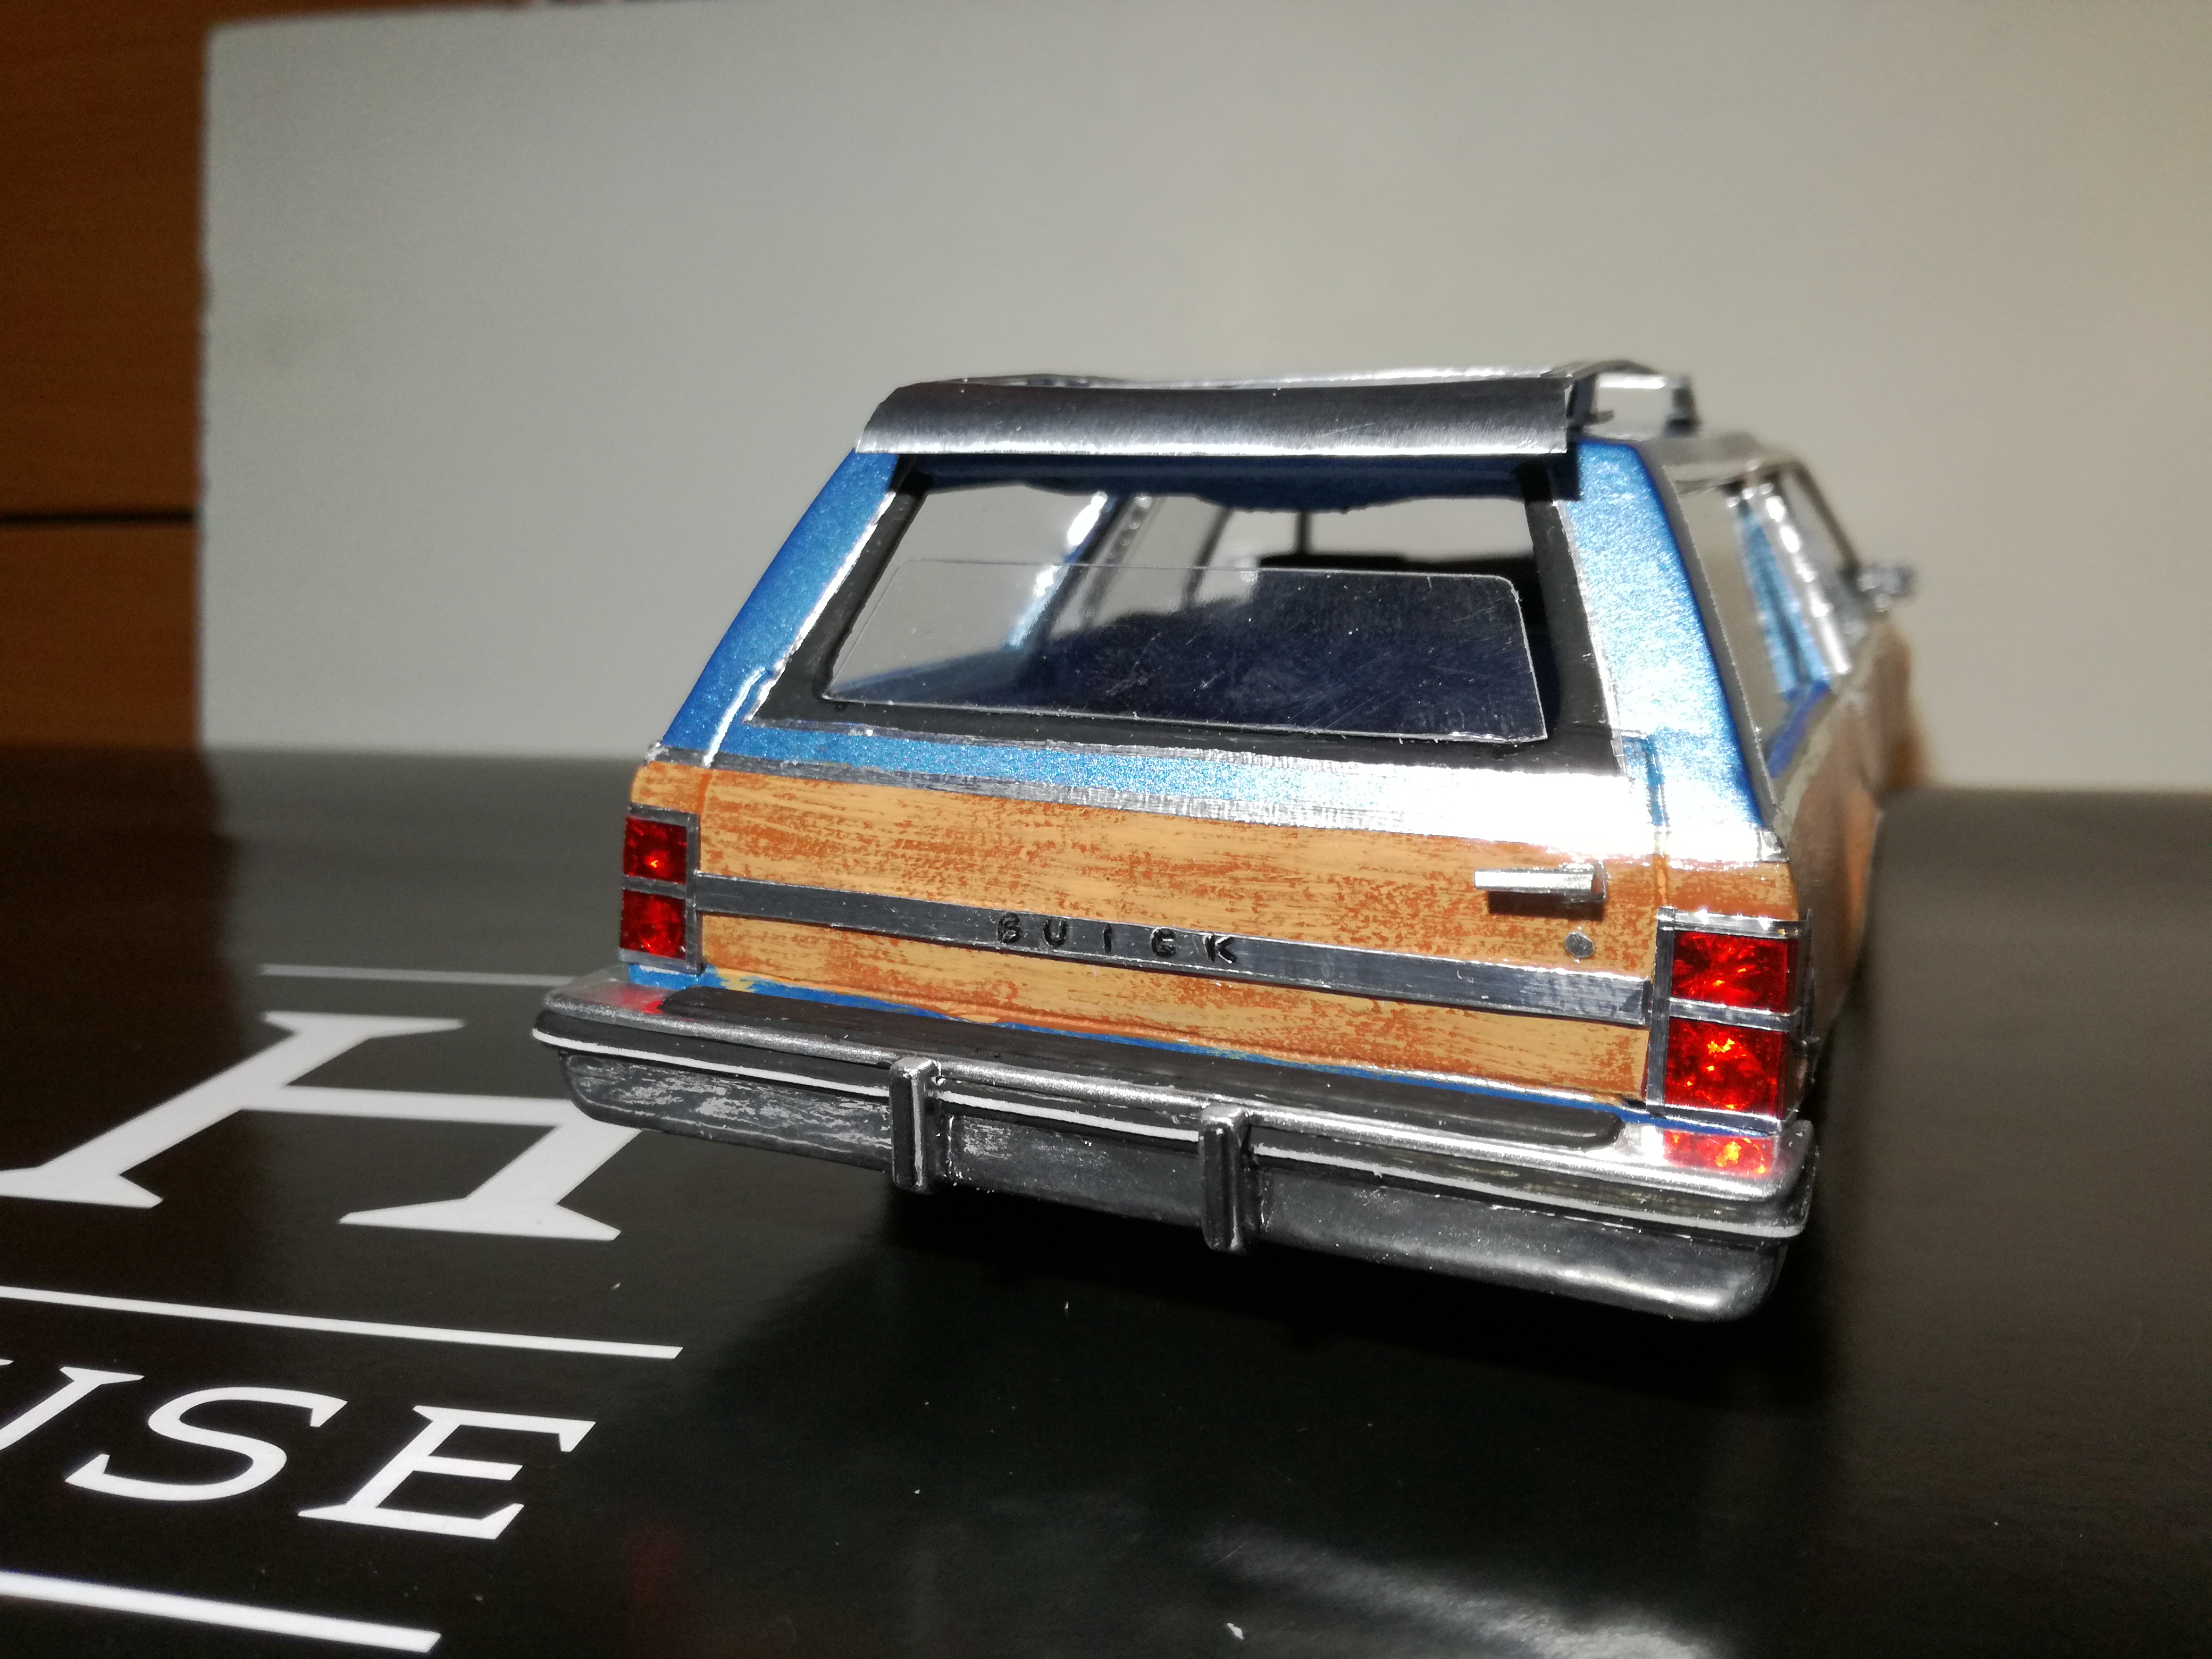
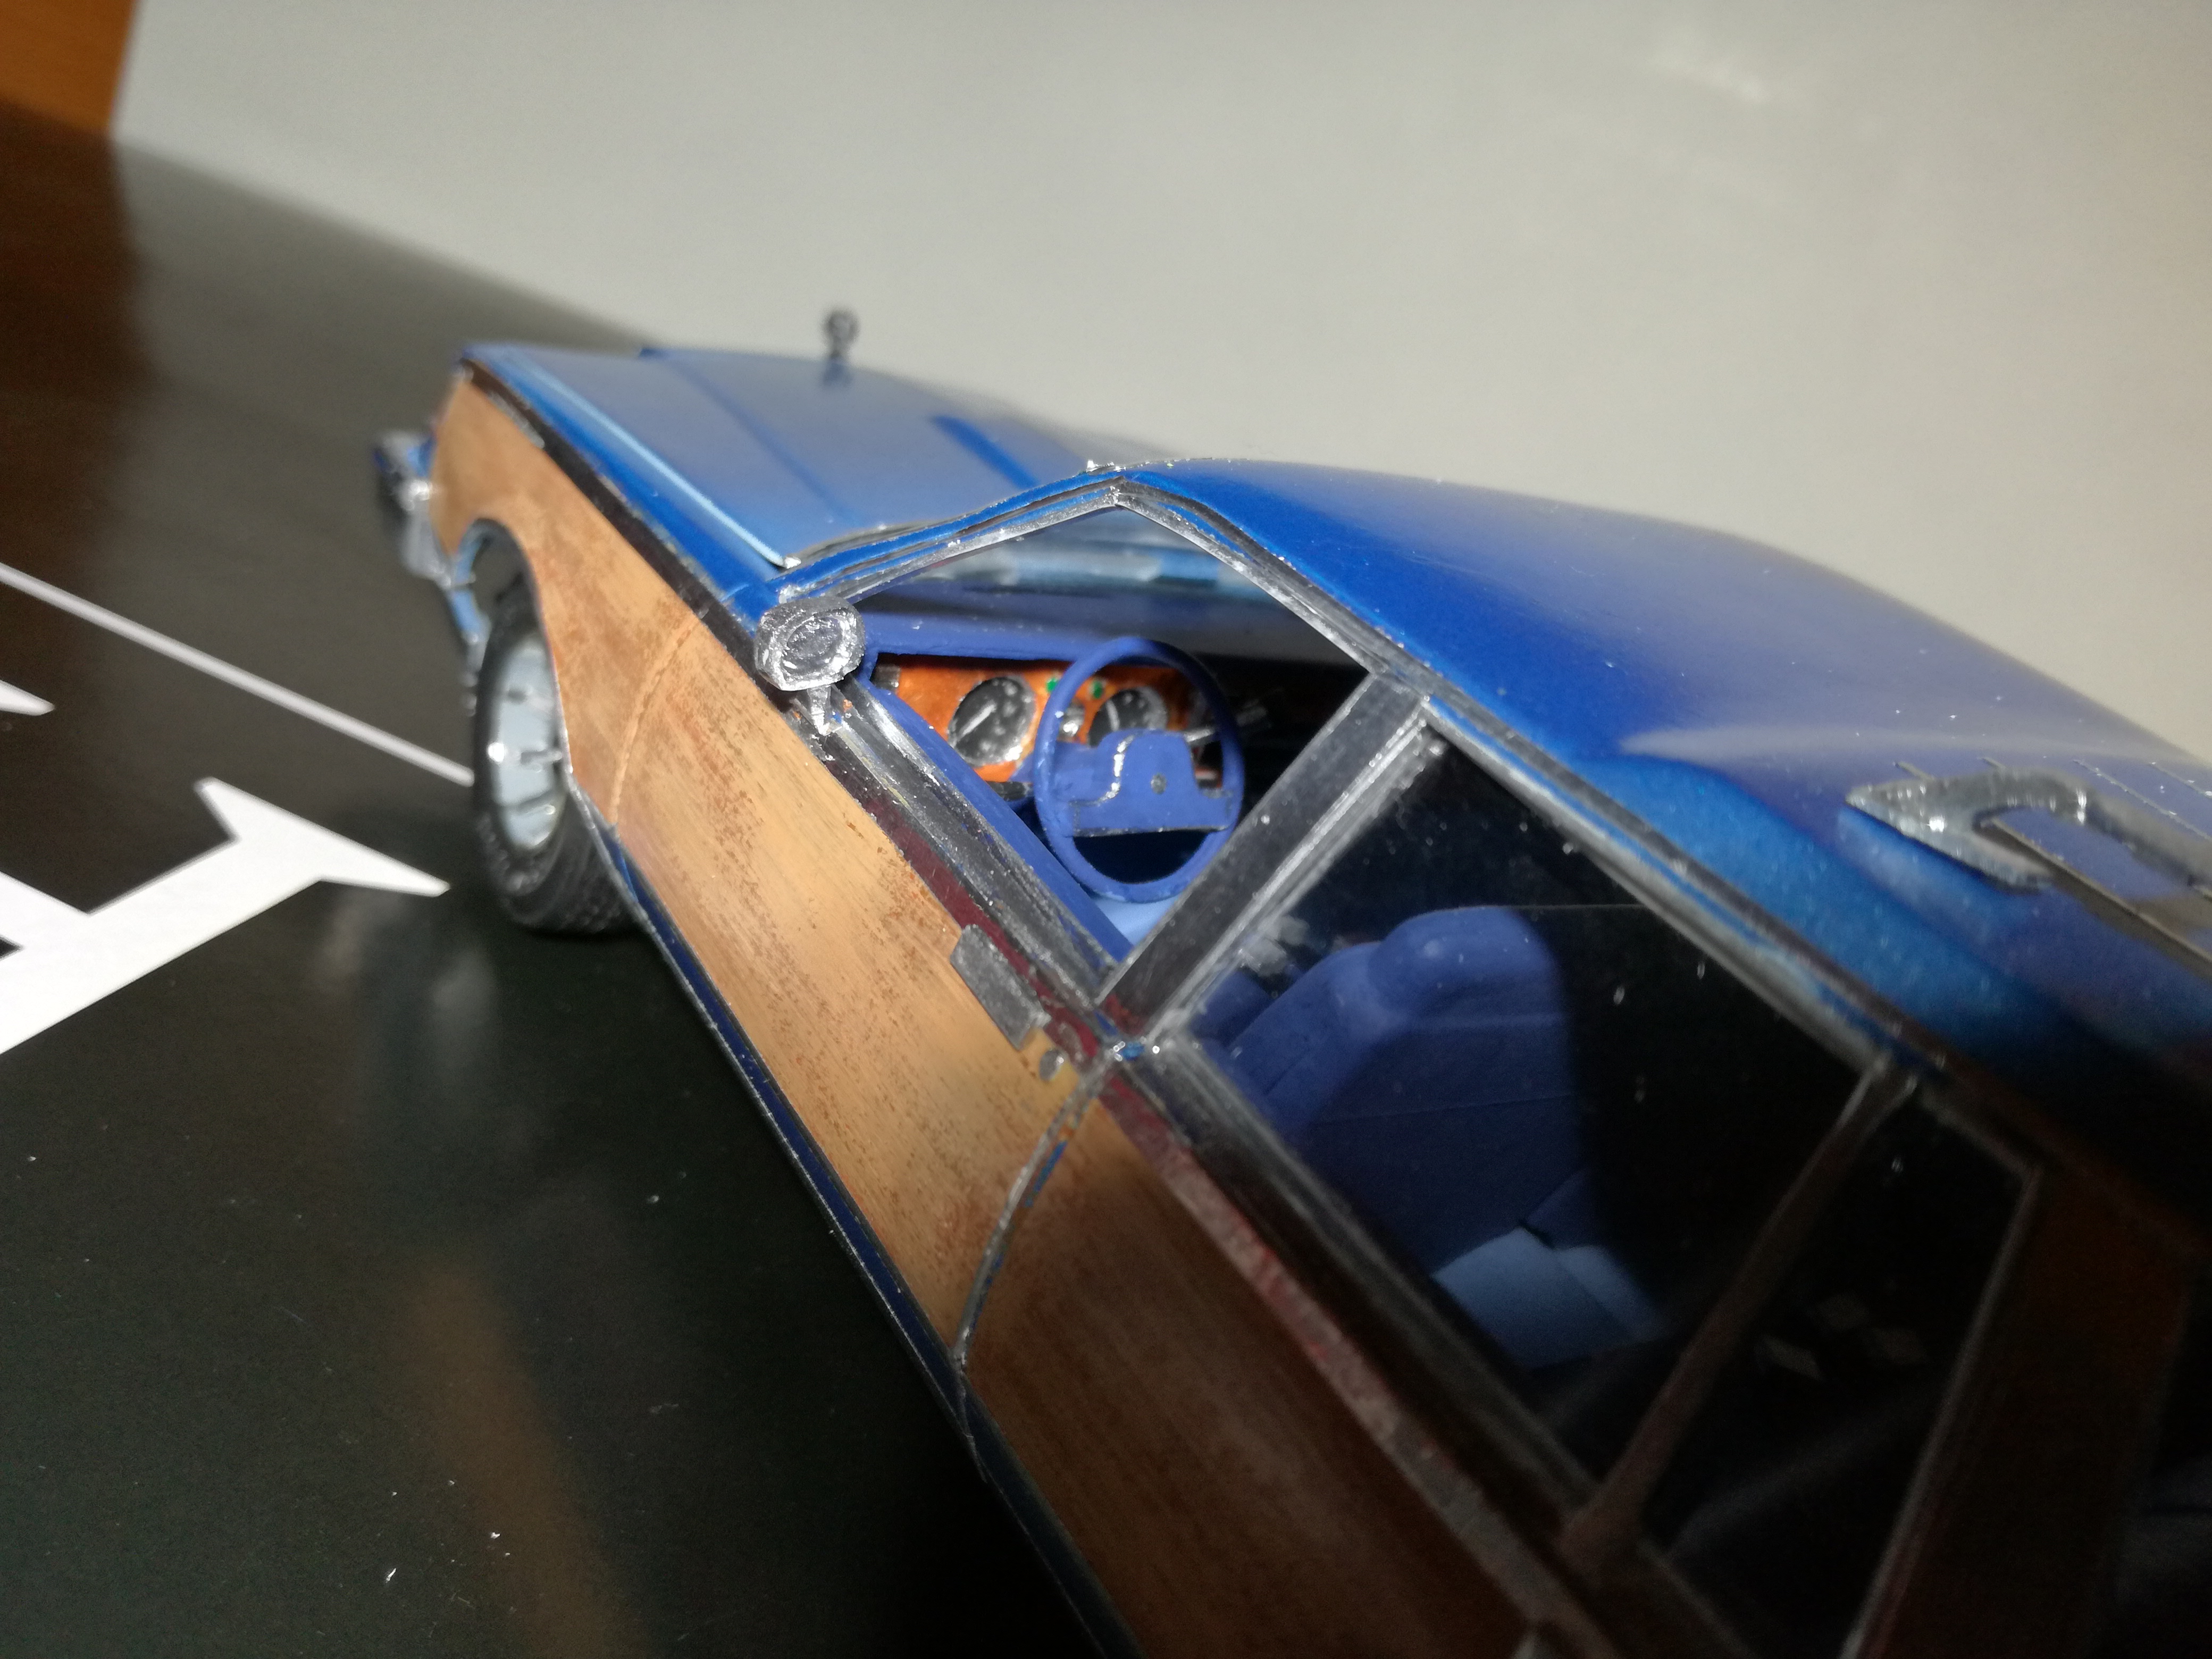
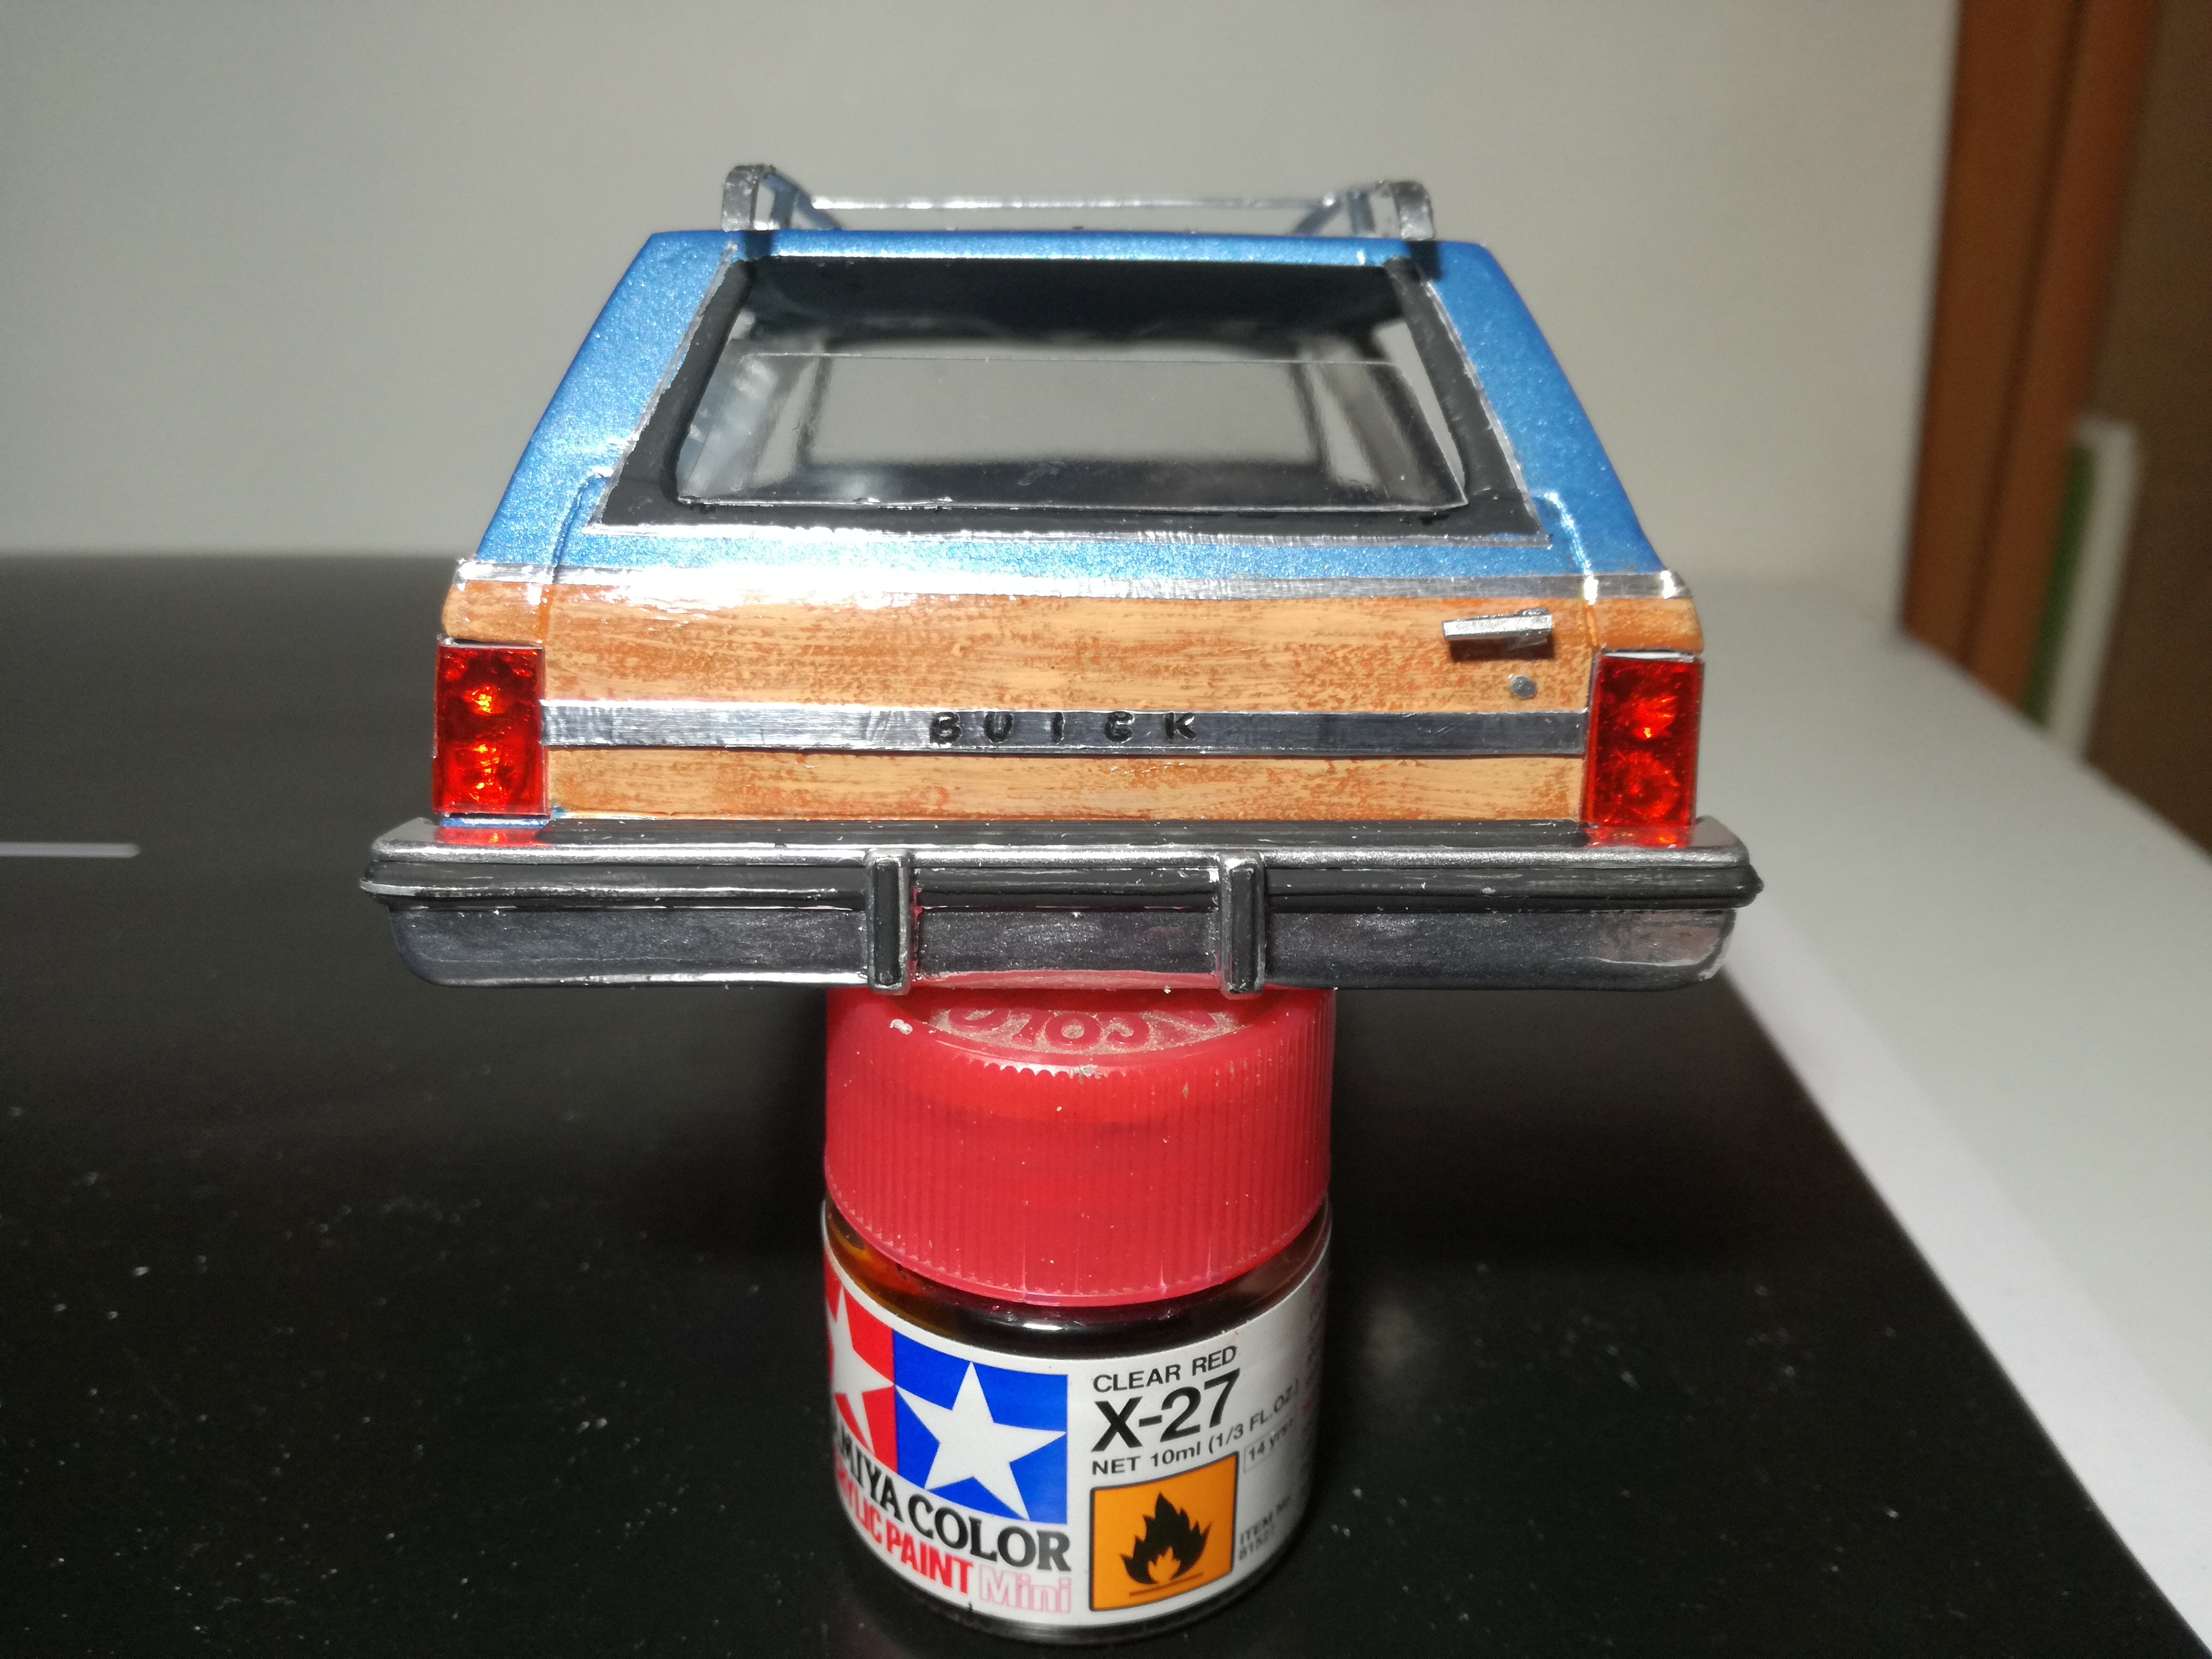
There is a build topic of this wagon in the Workbench area, if you want to check it out. This was a Buick GNX originally, which I converted into this full size Buick wagon. Lots of it is scratch built and some parts are picked up from the parts box. No super shiny colour on the body, as I want it to look like a year round daily driver from my country, Finland. Comments are welcome as always, thanks!
-
Great! You got the big old wagon finished first. I was just getting there on the workbench. Oh well maybe there is still room for another 80's Buick wagon. I'm converting my wagon from a Buick GNX body. Your wagon looks sweet, is it 1:25 scale? Anything under the hood? The wood on the side looks good, how did you do it? Also those Buick wheels are wonderful, care to give a hint where they came from?
-
Buick Electra STW 1986 ready to "Under Glass"
Reuhkapelti replied to Reuhkapelti's topic in WIP: Model Cars
Thanks again! Hehehe the 80 sticker is usless, as this wagon has the original soft back seat. If I take it away and put the foldable hard bench instead, that yellow label should appear to the rear bumper. I think this wagon will be finished in the near future, and I' ll put the final pics under the glass. -
Buick Electra STW 1986 ready to "Under Glass"
Reuhkapelti replied to Reuhkapelti's topic in WIP: Model Cars
Thanks Eric and others too! My phone is pulling my leg. I could not insert the text in a normal way. But here we have a photo of the engine bay. Im trying to put something extra in there, as these 80's vehicles are full of hoses and electric wires and stuff. The engine is somewhere down there. -
Buick Electra STW 1986 ready to "Under Glass"
Reuhkapelti replied to Reuhkapelti's topic in WIP: Model Cars
-
One can almost smell the dusty odor inside that beater. Very well done. I read over and over the explaining of your method how you do this kind of interior. Very interesting indeed. Good work!
-
What a mean machine! Extra points for opening the grill. Nice color and cool stance with those wheels.
-
Absolutely fabulous. I cant see anything, that needs to be built better on this Dodge. Oh well if there was the engine under the hood, but this is just great as it is.
-
Buick Electra STW 1986 ready to "Under Glass"
Reuhkapelti replied to Reuhkapelti's topic in WIP: Model Cars
-
I have now read the whole topic through, and all I can say is WOW! I didnt know that someone could build this kind of project. I really really hope you can finish this magnificent model some day. Your building is an inspiration to many of us.
-
Thank you for the comments. I wanted to do something different, as always.