mrmike
-
Posts
5,326 -
Joined
-
Last visited
Content Type
Profiles
Forums
Events
Gallery
Everything posted by mrmike
-
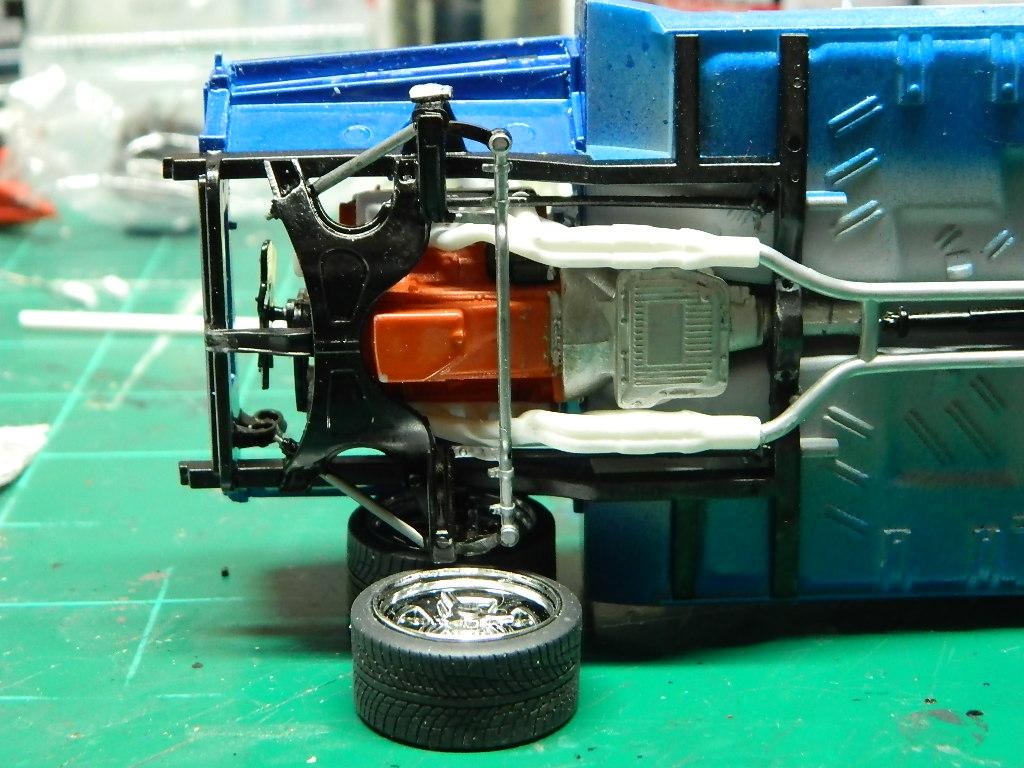
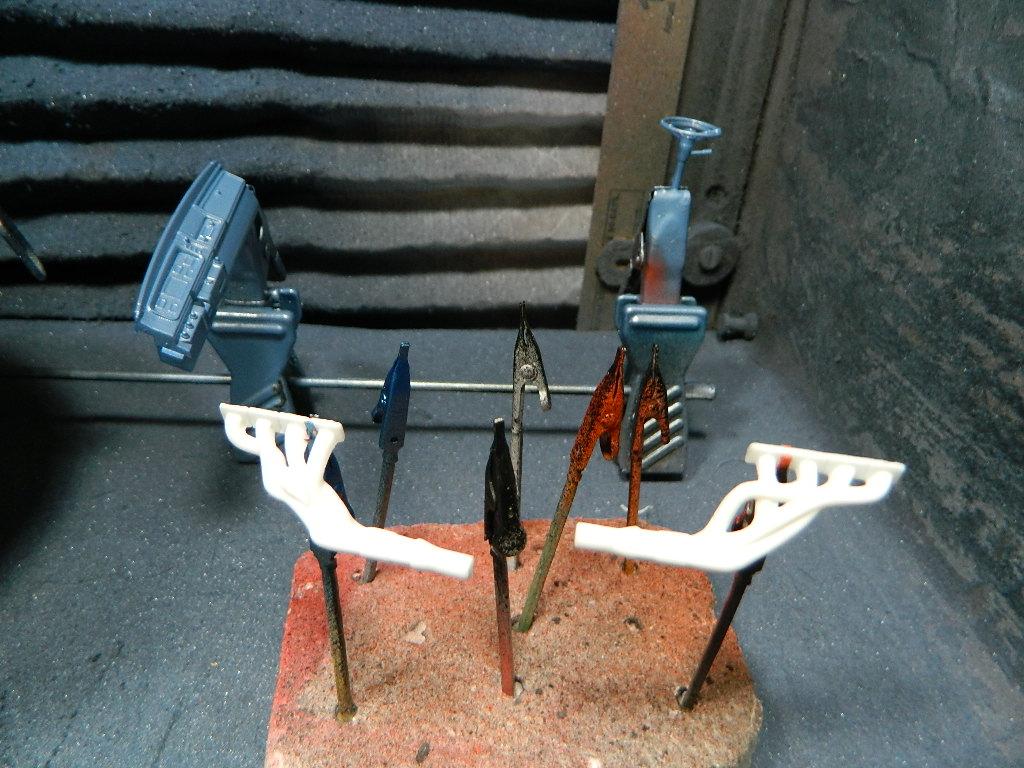
I started adding the wheels and tires to the chassis by modifying the suspension. Then the dog house started giving me problems by coming apart. I modified the head pipes for the exhaust system mounted to the headers. Now I need to figure out where to mount the spindles for the front suspension. More Satellite to come...

-
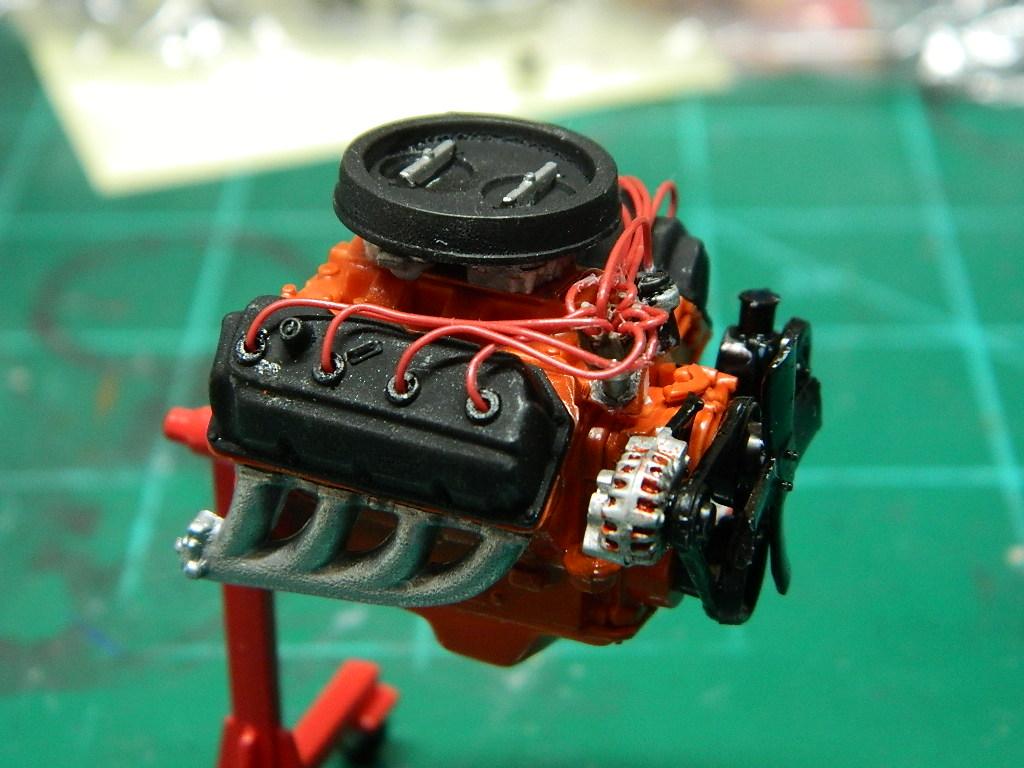
I finished wiring the Hemi that was in the kit. More Charger R/T to come...
-
Thanks Kevin! I may have a solution for lowering the suspension on this Moebius Satellite. We shall see...
-
Thank you David, James and Chris!
-
Thanks David! Painting can be my friend or my nemesis. I'll keep running that play until I get it right...
-
Thanks Jeff! Now to figure out how to lower the front and rear suspensions. Even with the front spindles inverted, the front is still too high.
-
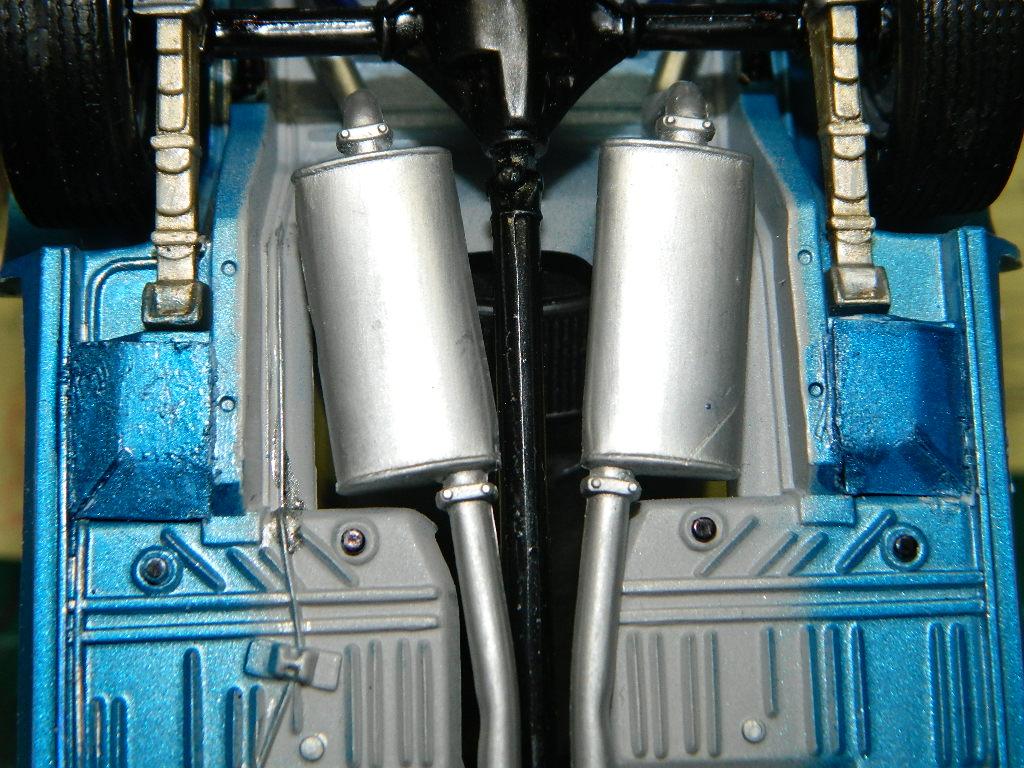
The chassis and interior are done with the exception of a couple of small items. I mocked up the chassis with the engine bay and the wheels and tires. I will need to modify the exhaust system to fit the headers. More Satellite to come...
-
Thank you guys! This was one of those builds that I just had to do back then.
-
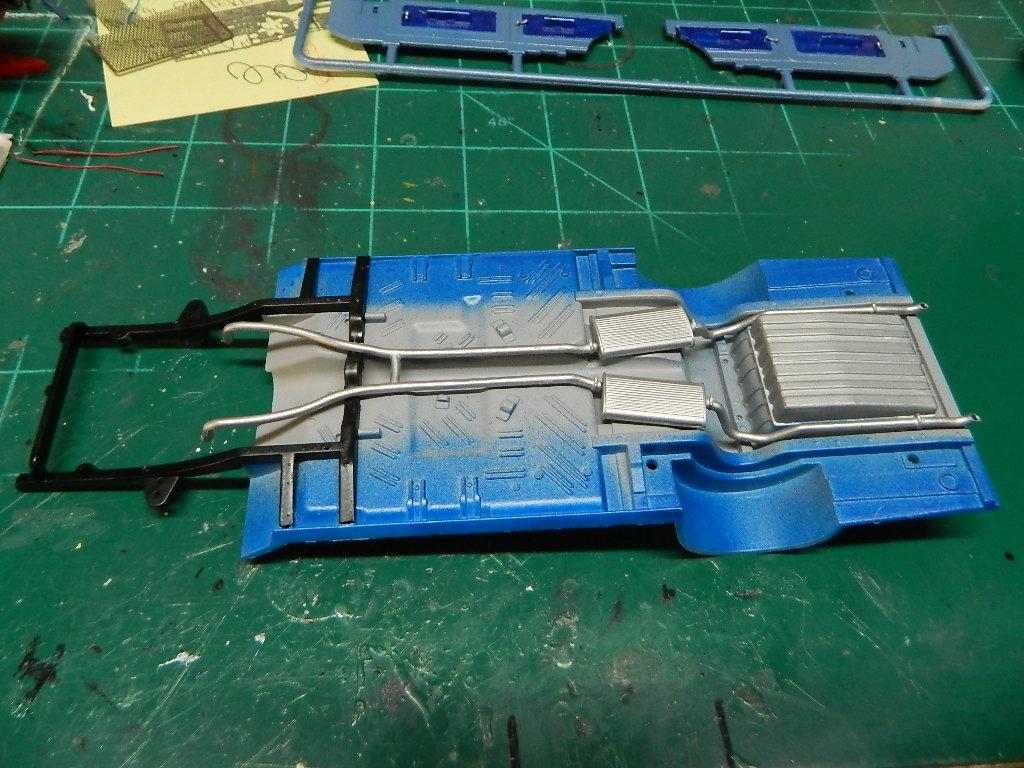
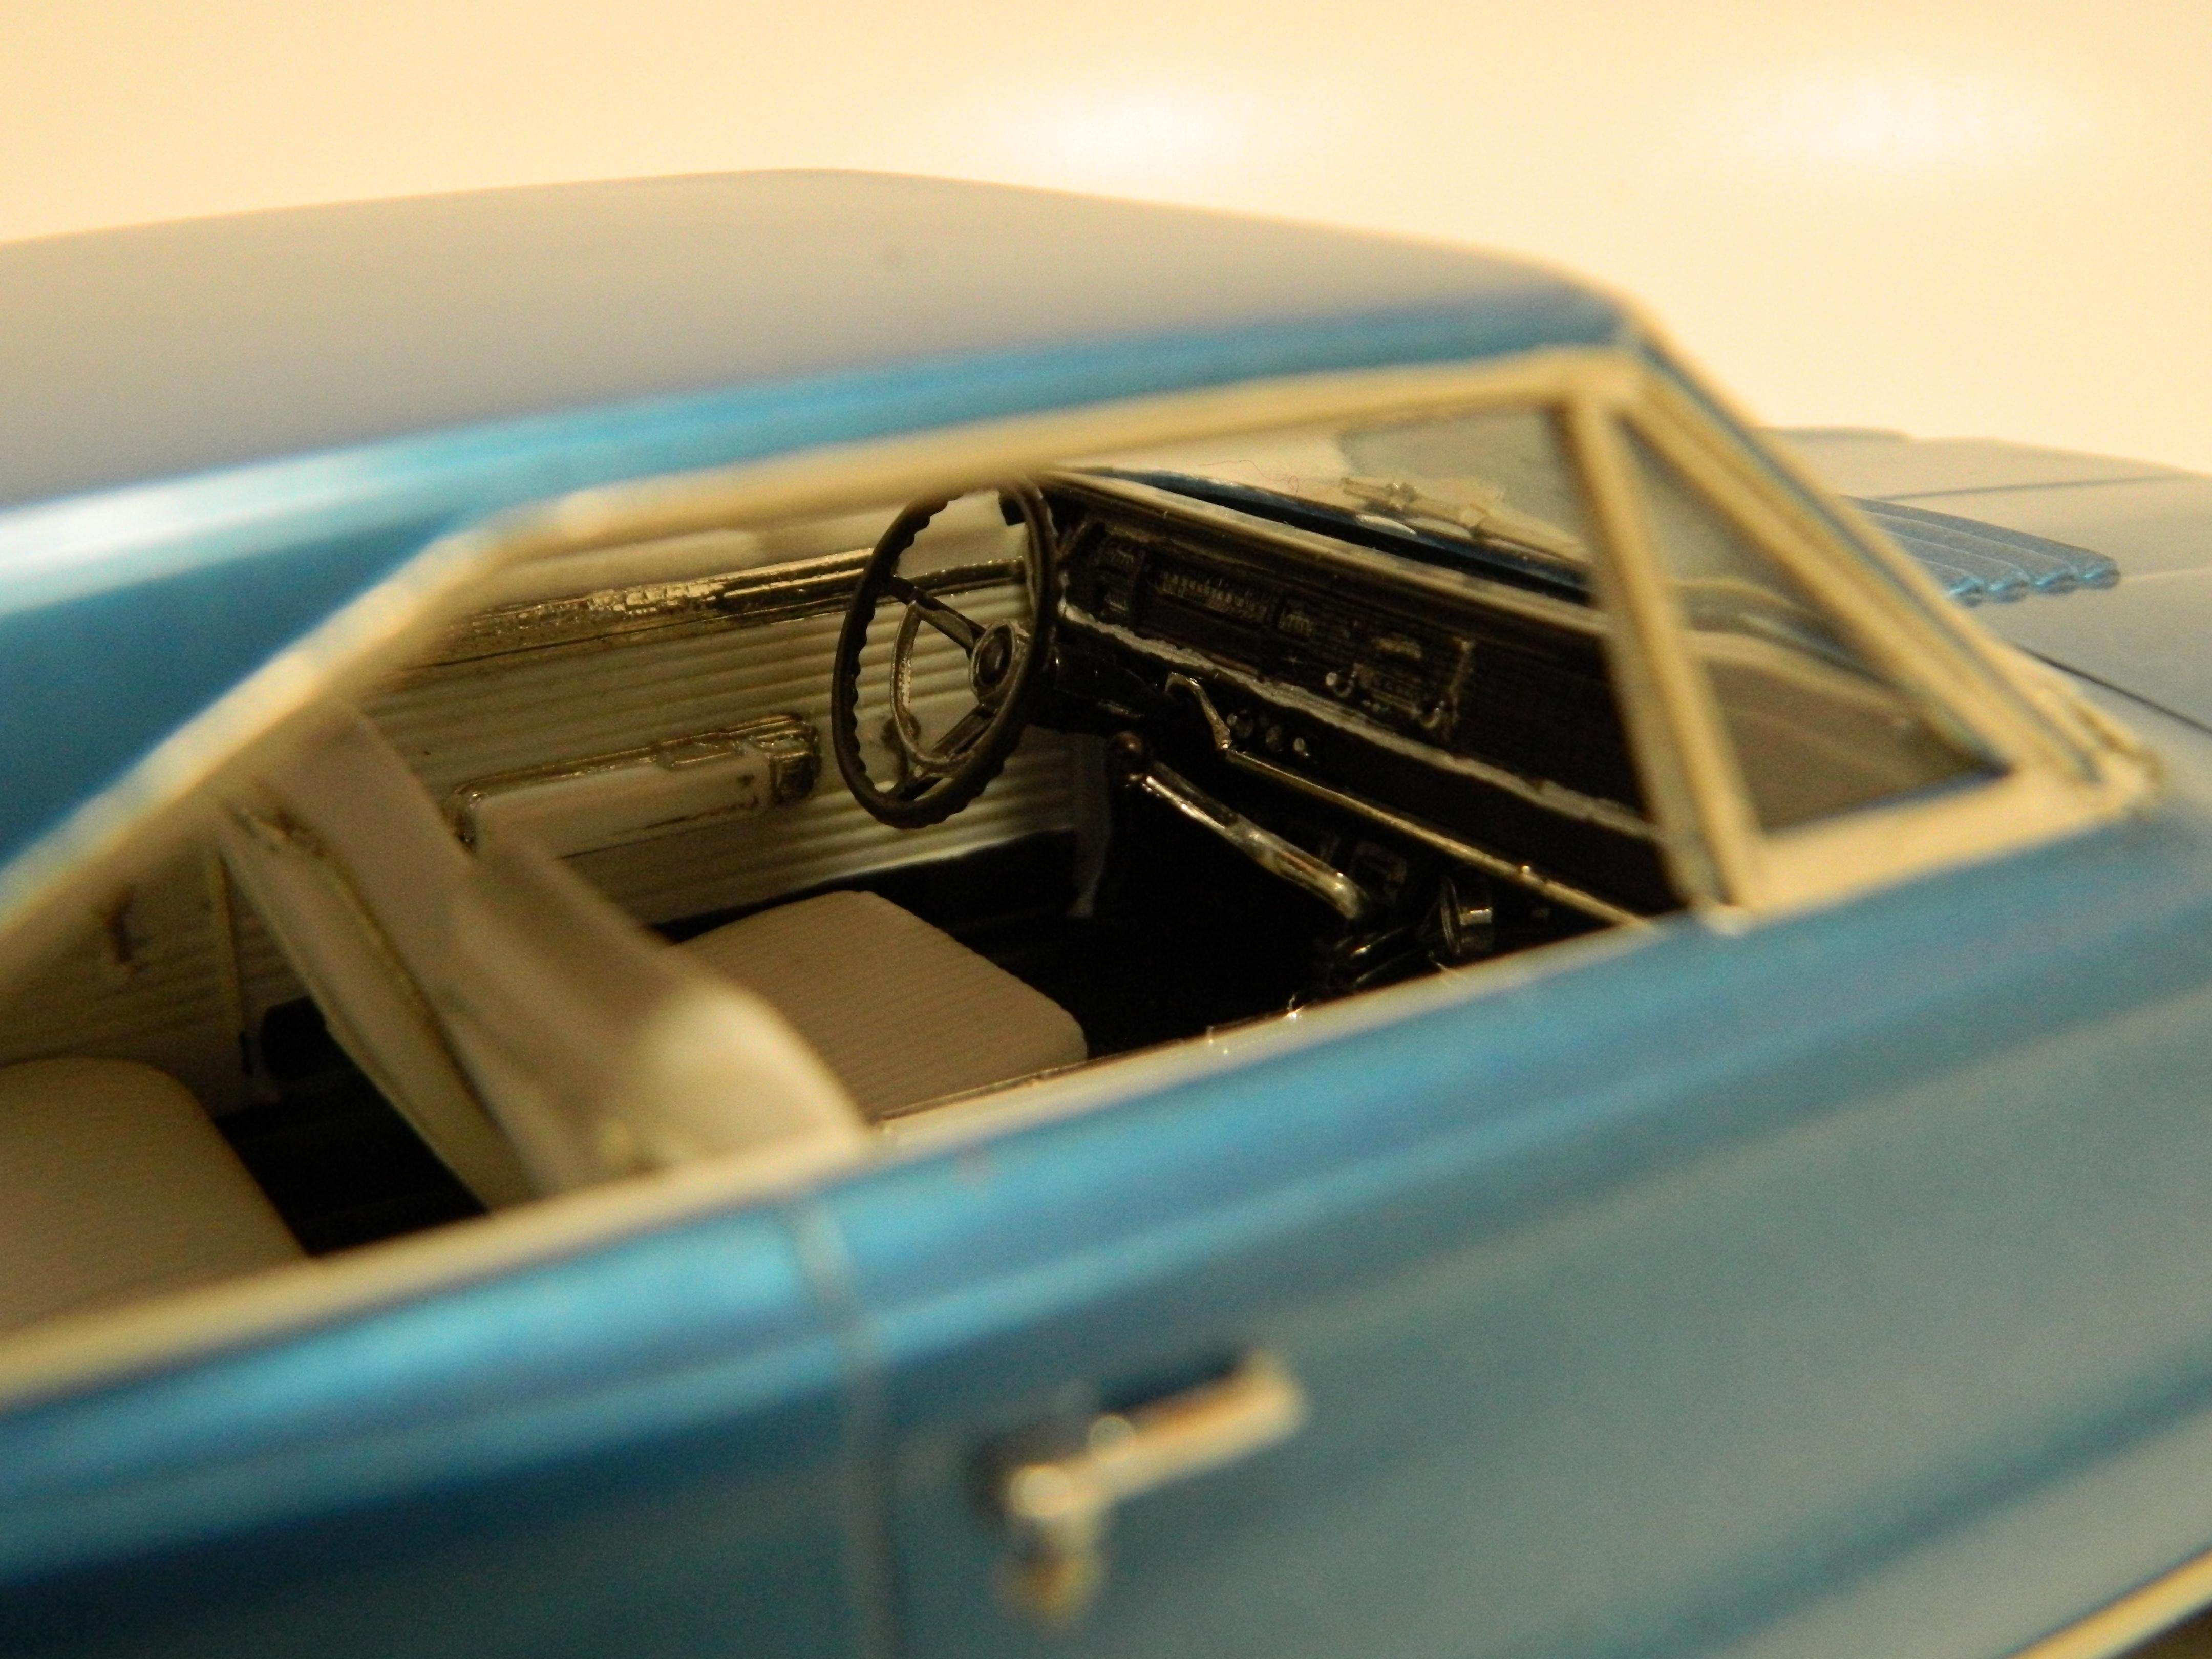
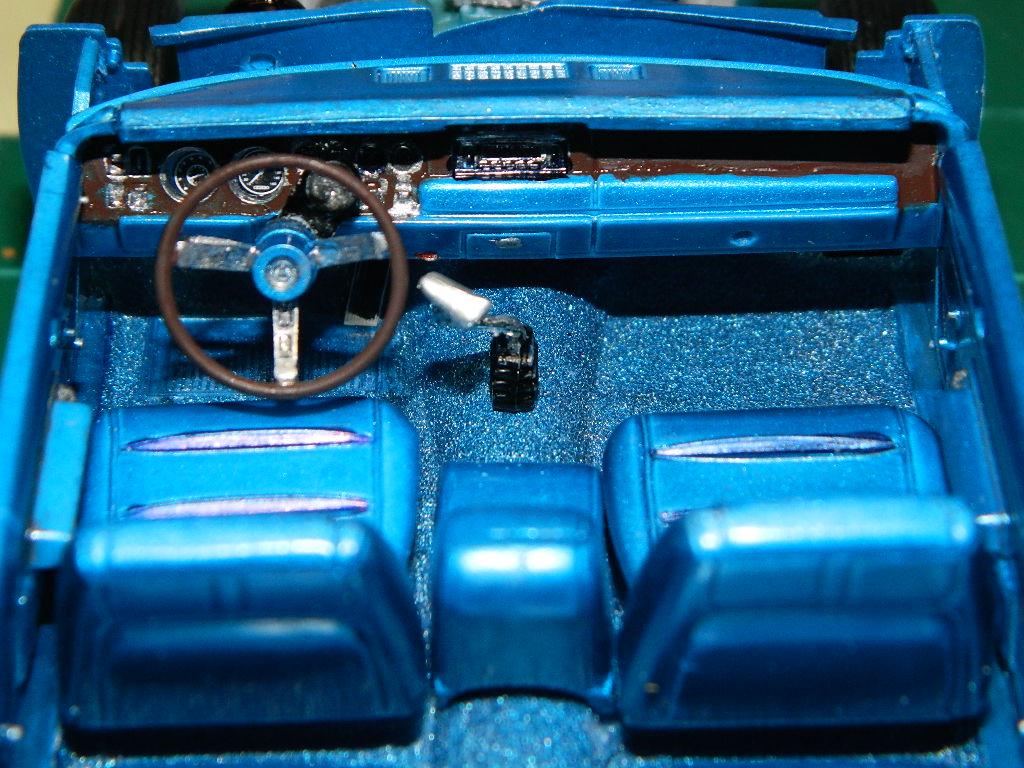
I have been putting off painting the '65 Satellite. Probably due to fear of messing it up...badly! I went and painted the body and hood with Tamiya TS-50 Mica Blue and it looks really good. Very, very little trash in the paint...which is a good thing! I went and painted the interior floor of the chassis pan. With paint over the embossing powder, this looks pretty good. More Satellite to come...
-
Thanks for the nice words, John! I just turned 67 and I am grateful I'm able to still enjoy this hobby even if I am dropping more parts than usual.
-
Some more work has been done on the Hemi Satellite. The dash has been assembled and detailed. I installed the exhaust system on the chassis, but I don't want to get too far ahead of myself since I want to add embossing powder to the other side of the chassis pan. I wired the 426 Hemi for my '68 Charger R/T, but will have to wait a bit for the glue to set up on the Satellite 426 Hemi before I run the wires to the cylinders. I figured why not do both at once until the distributor cap on the Satellite 426 Hemi decided to come loose. More Satellite to come...
-
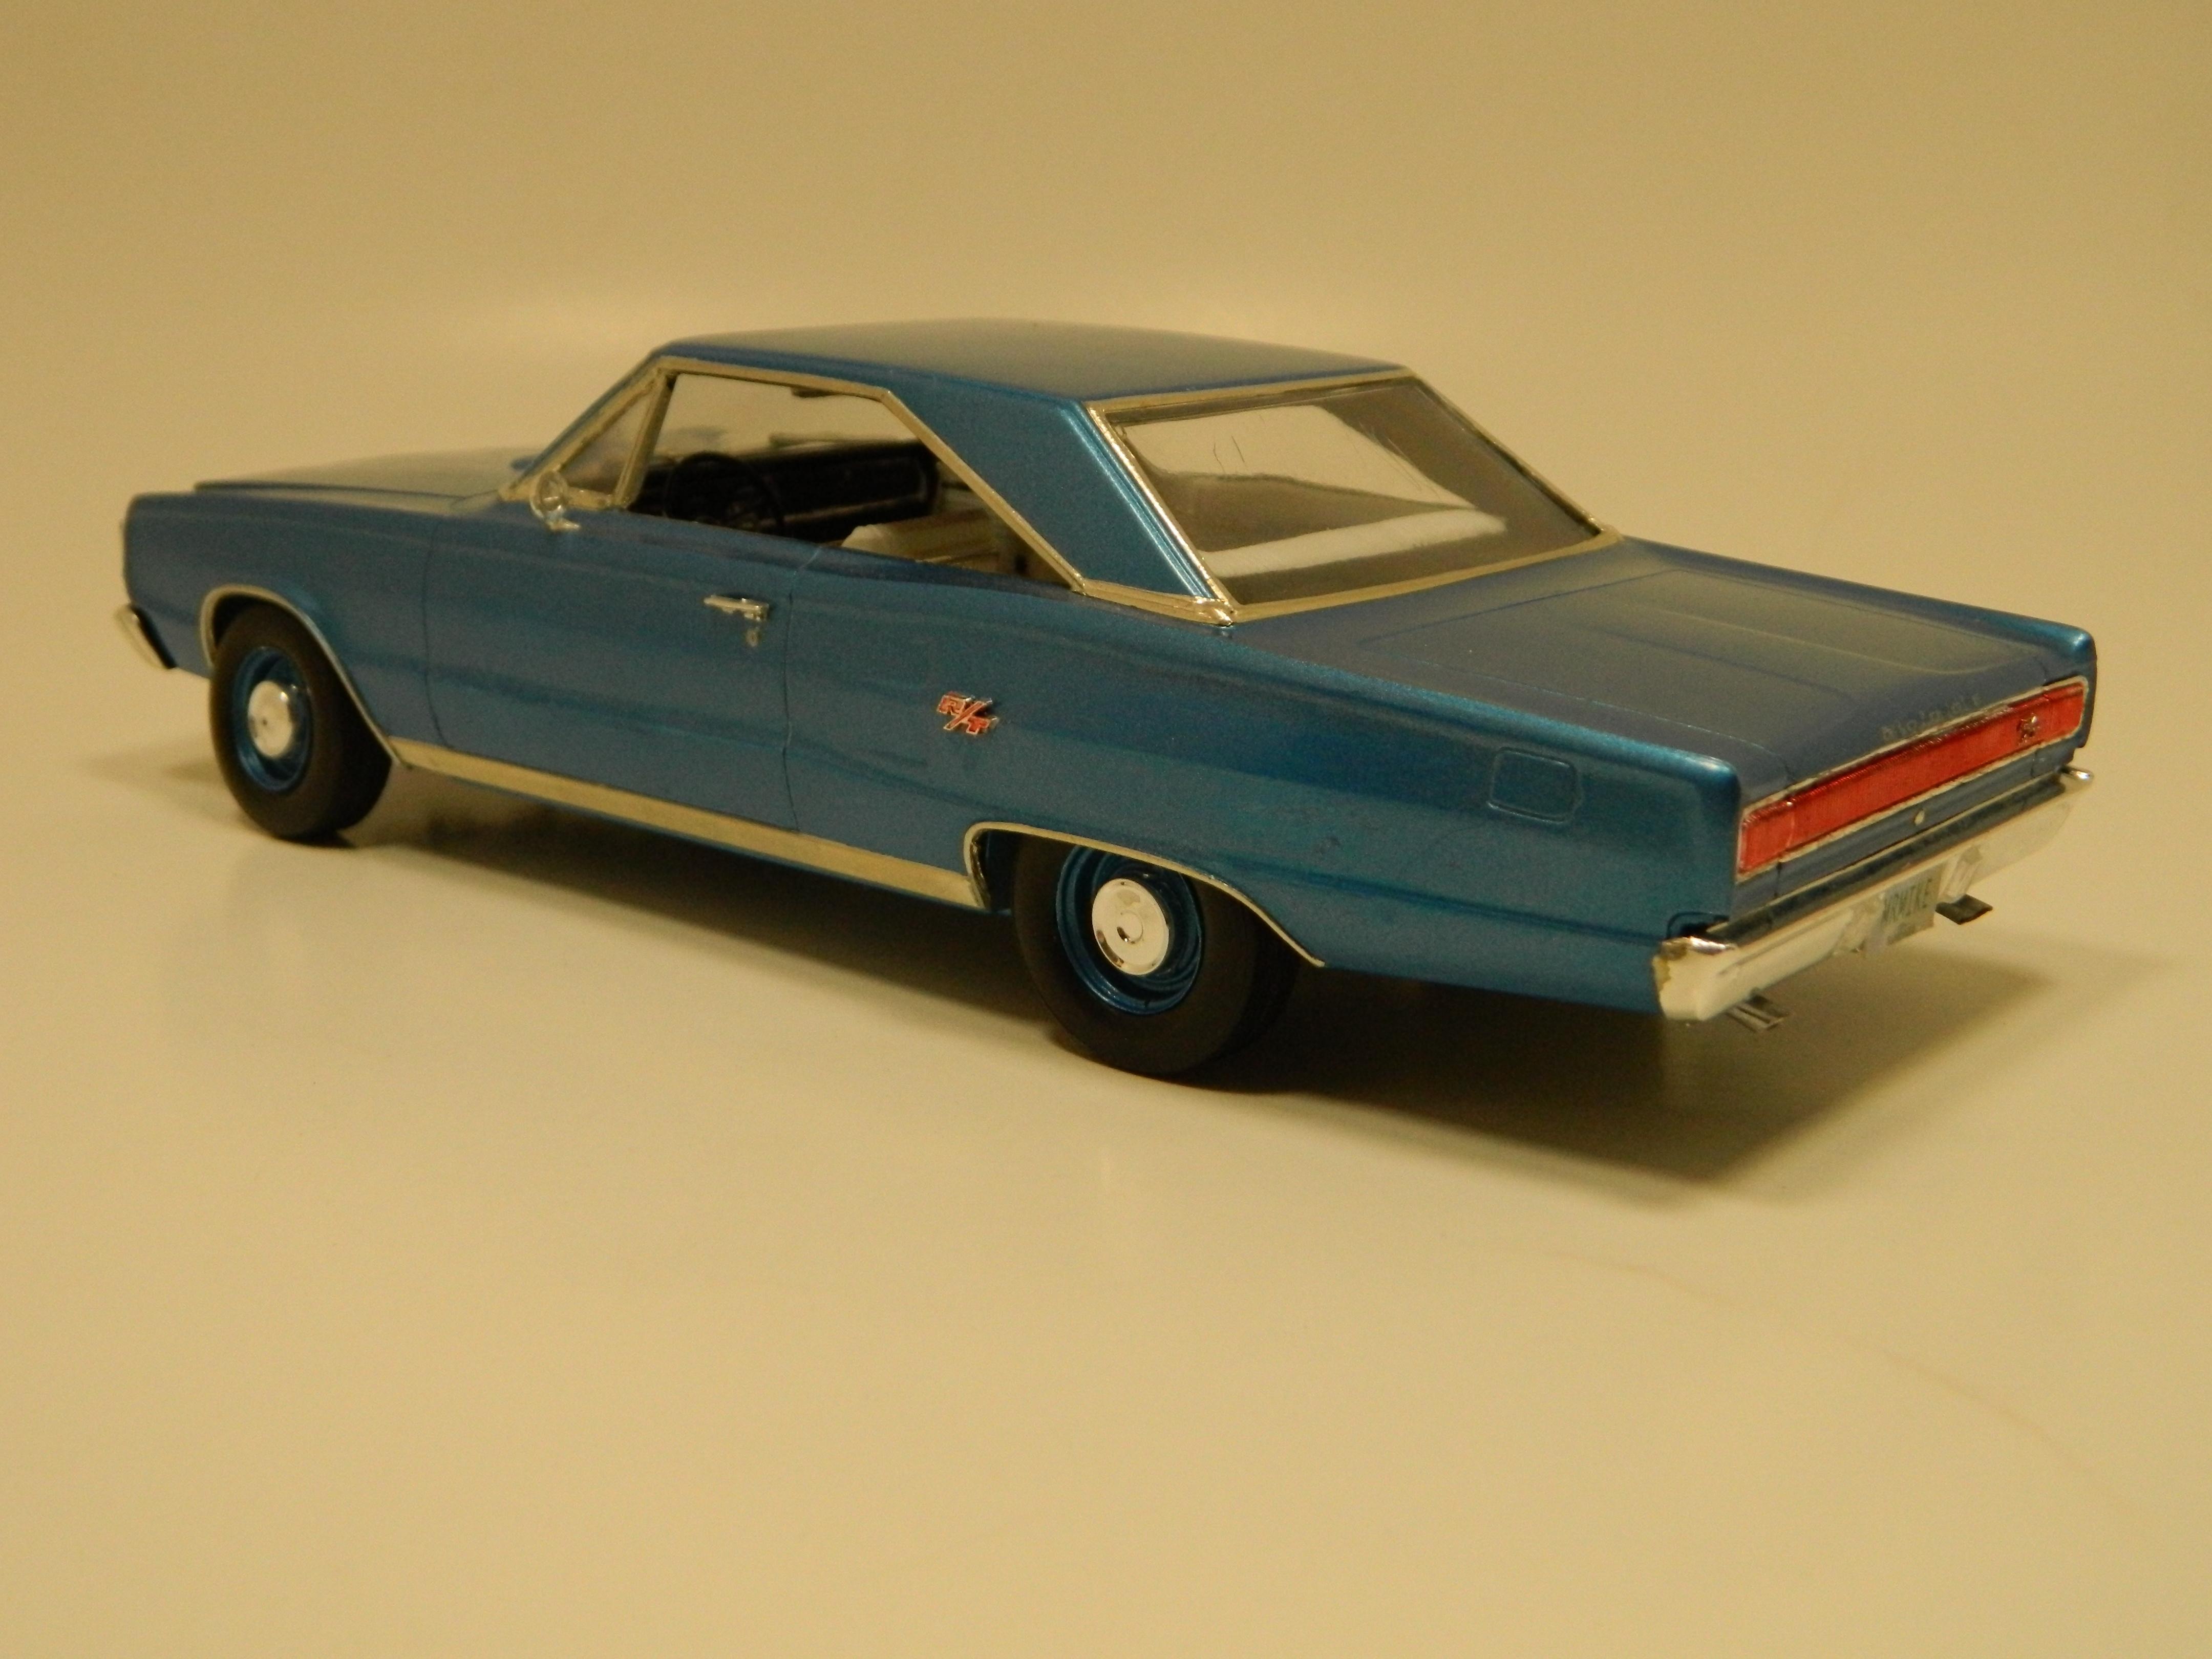
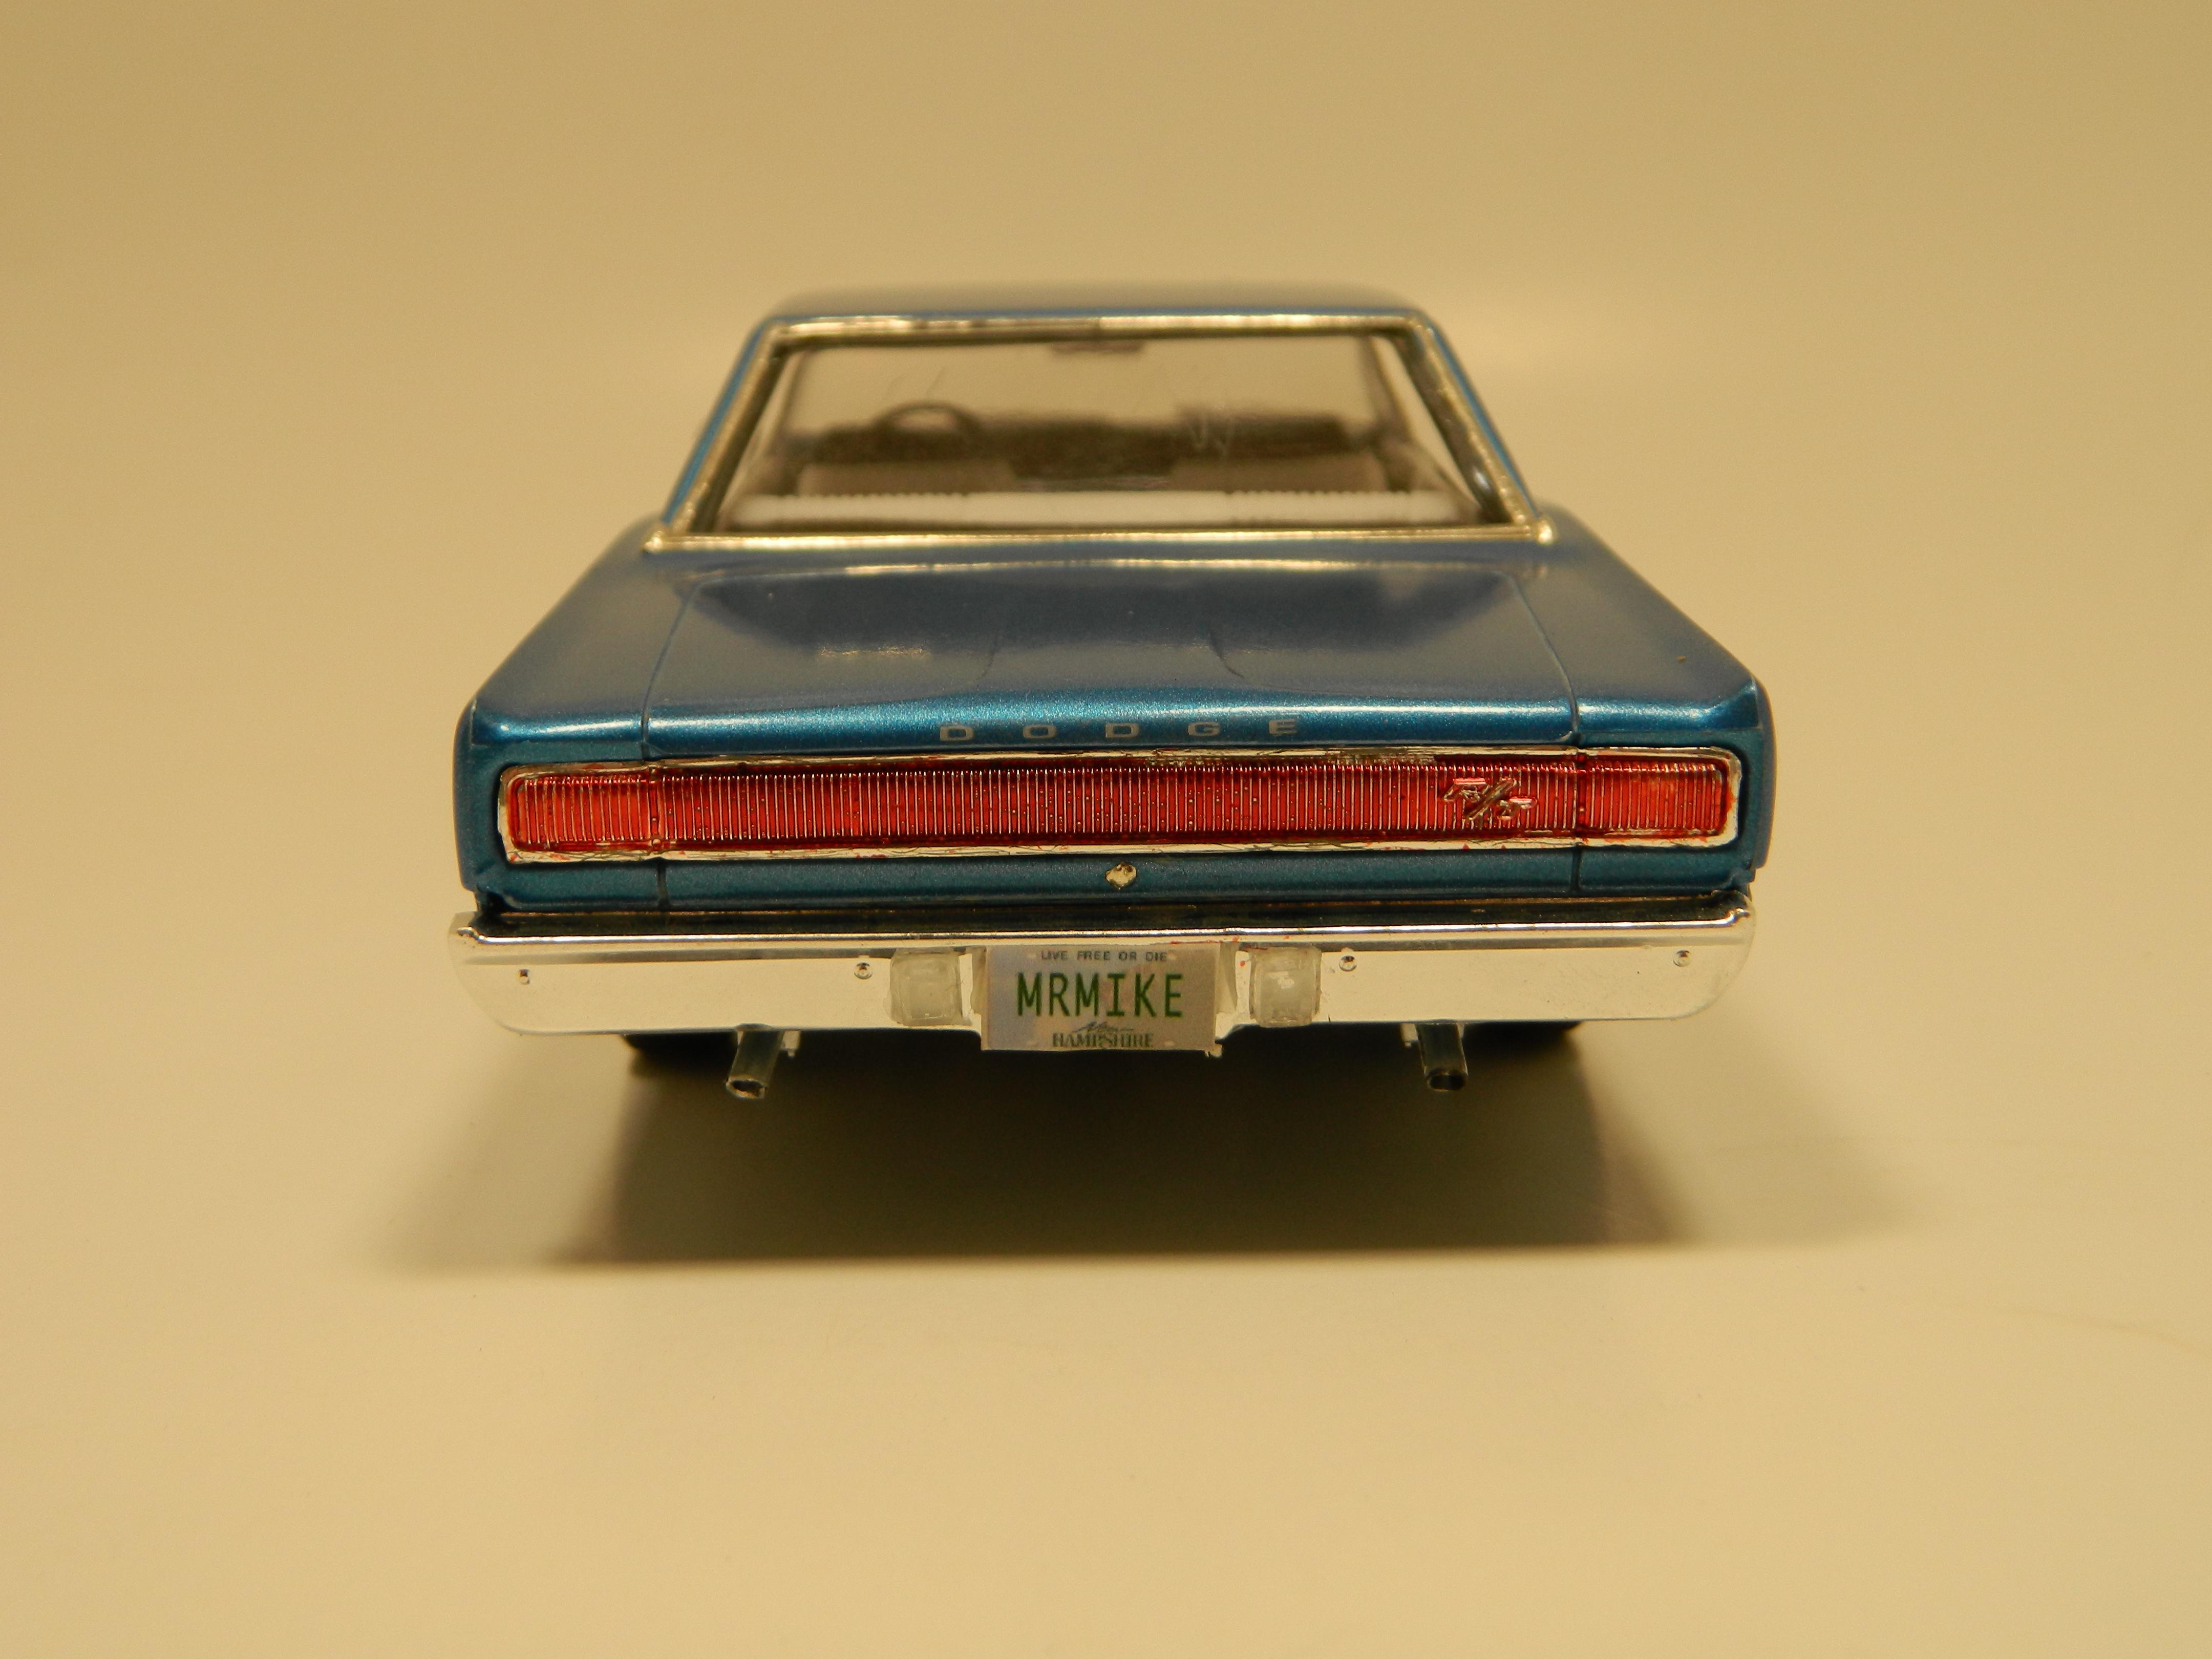
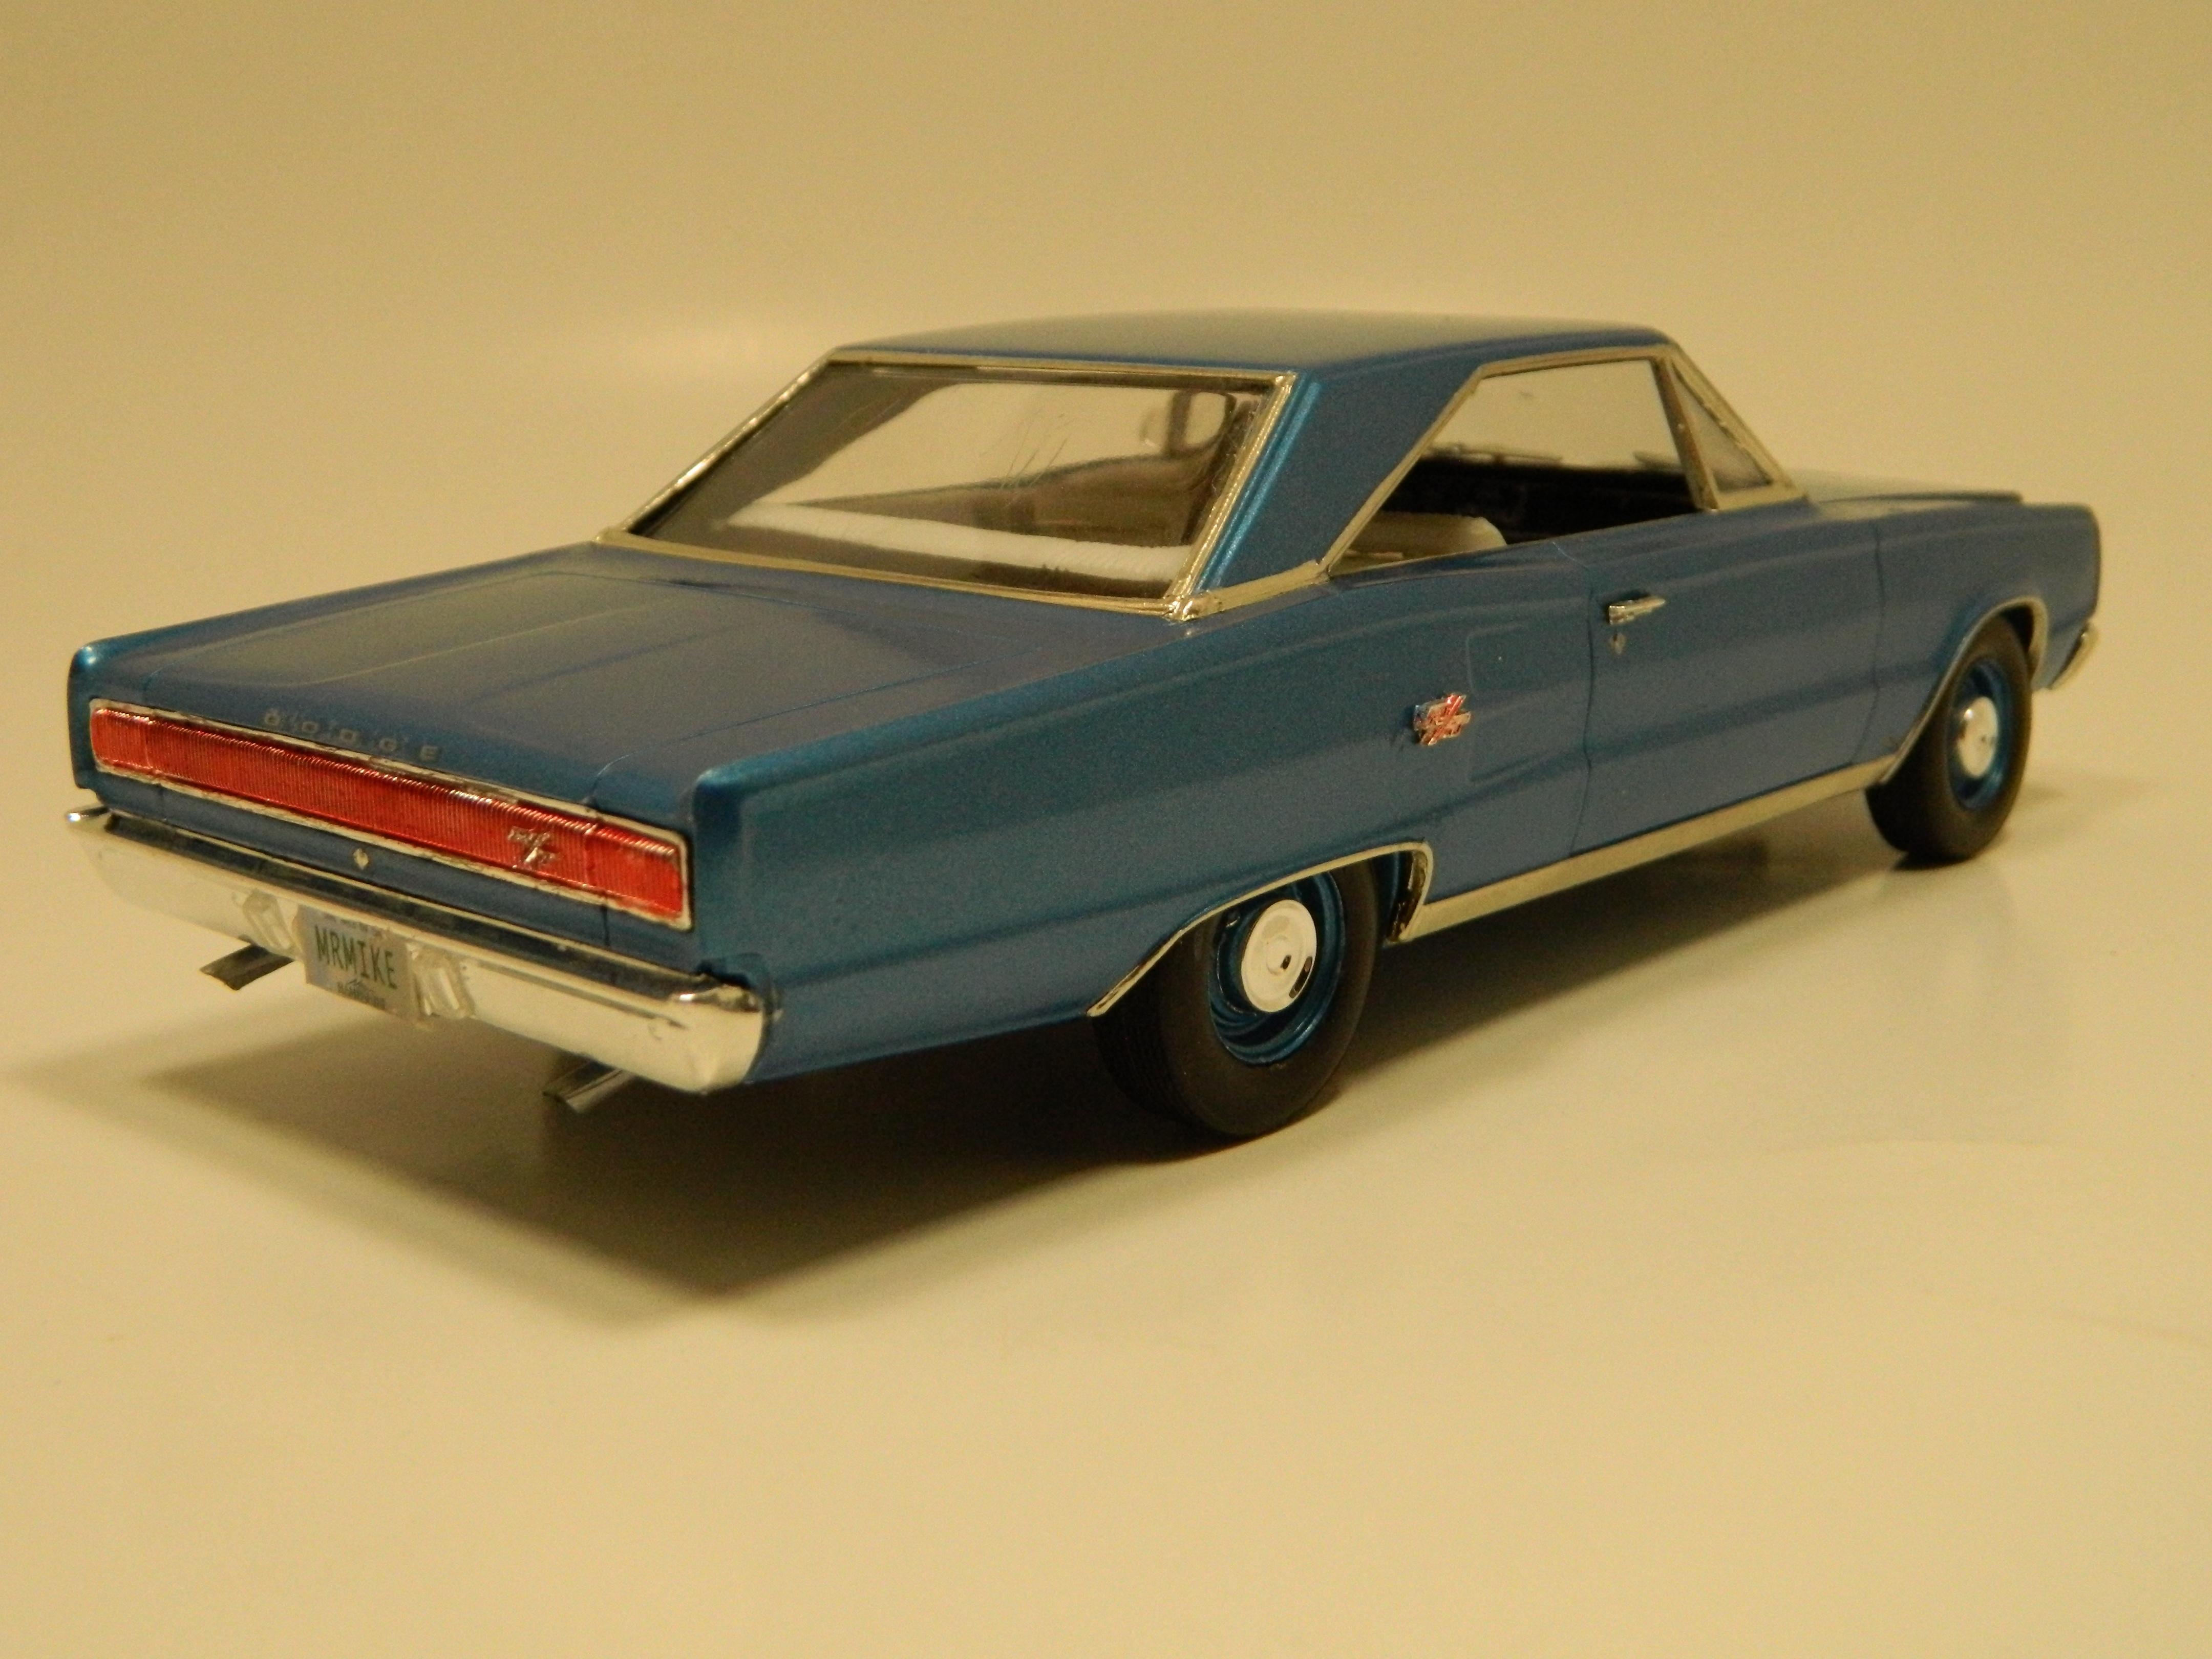
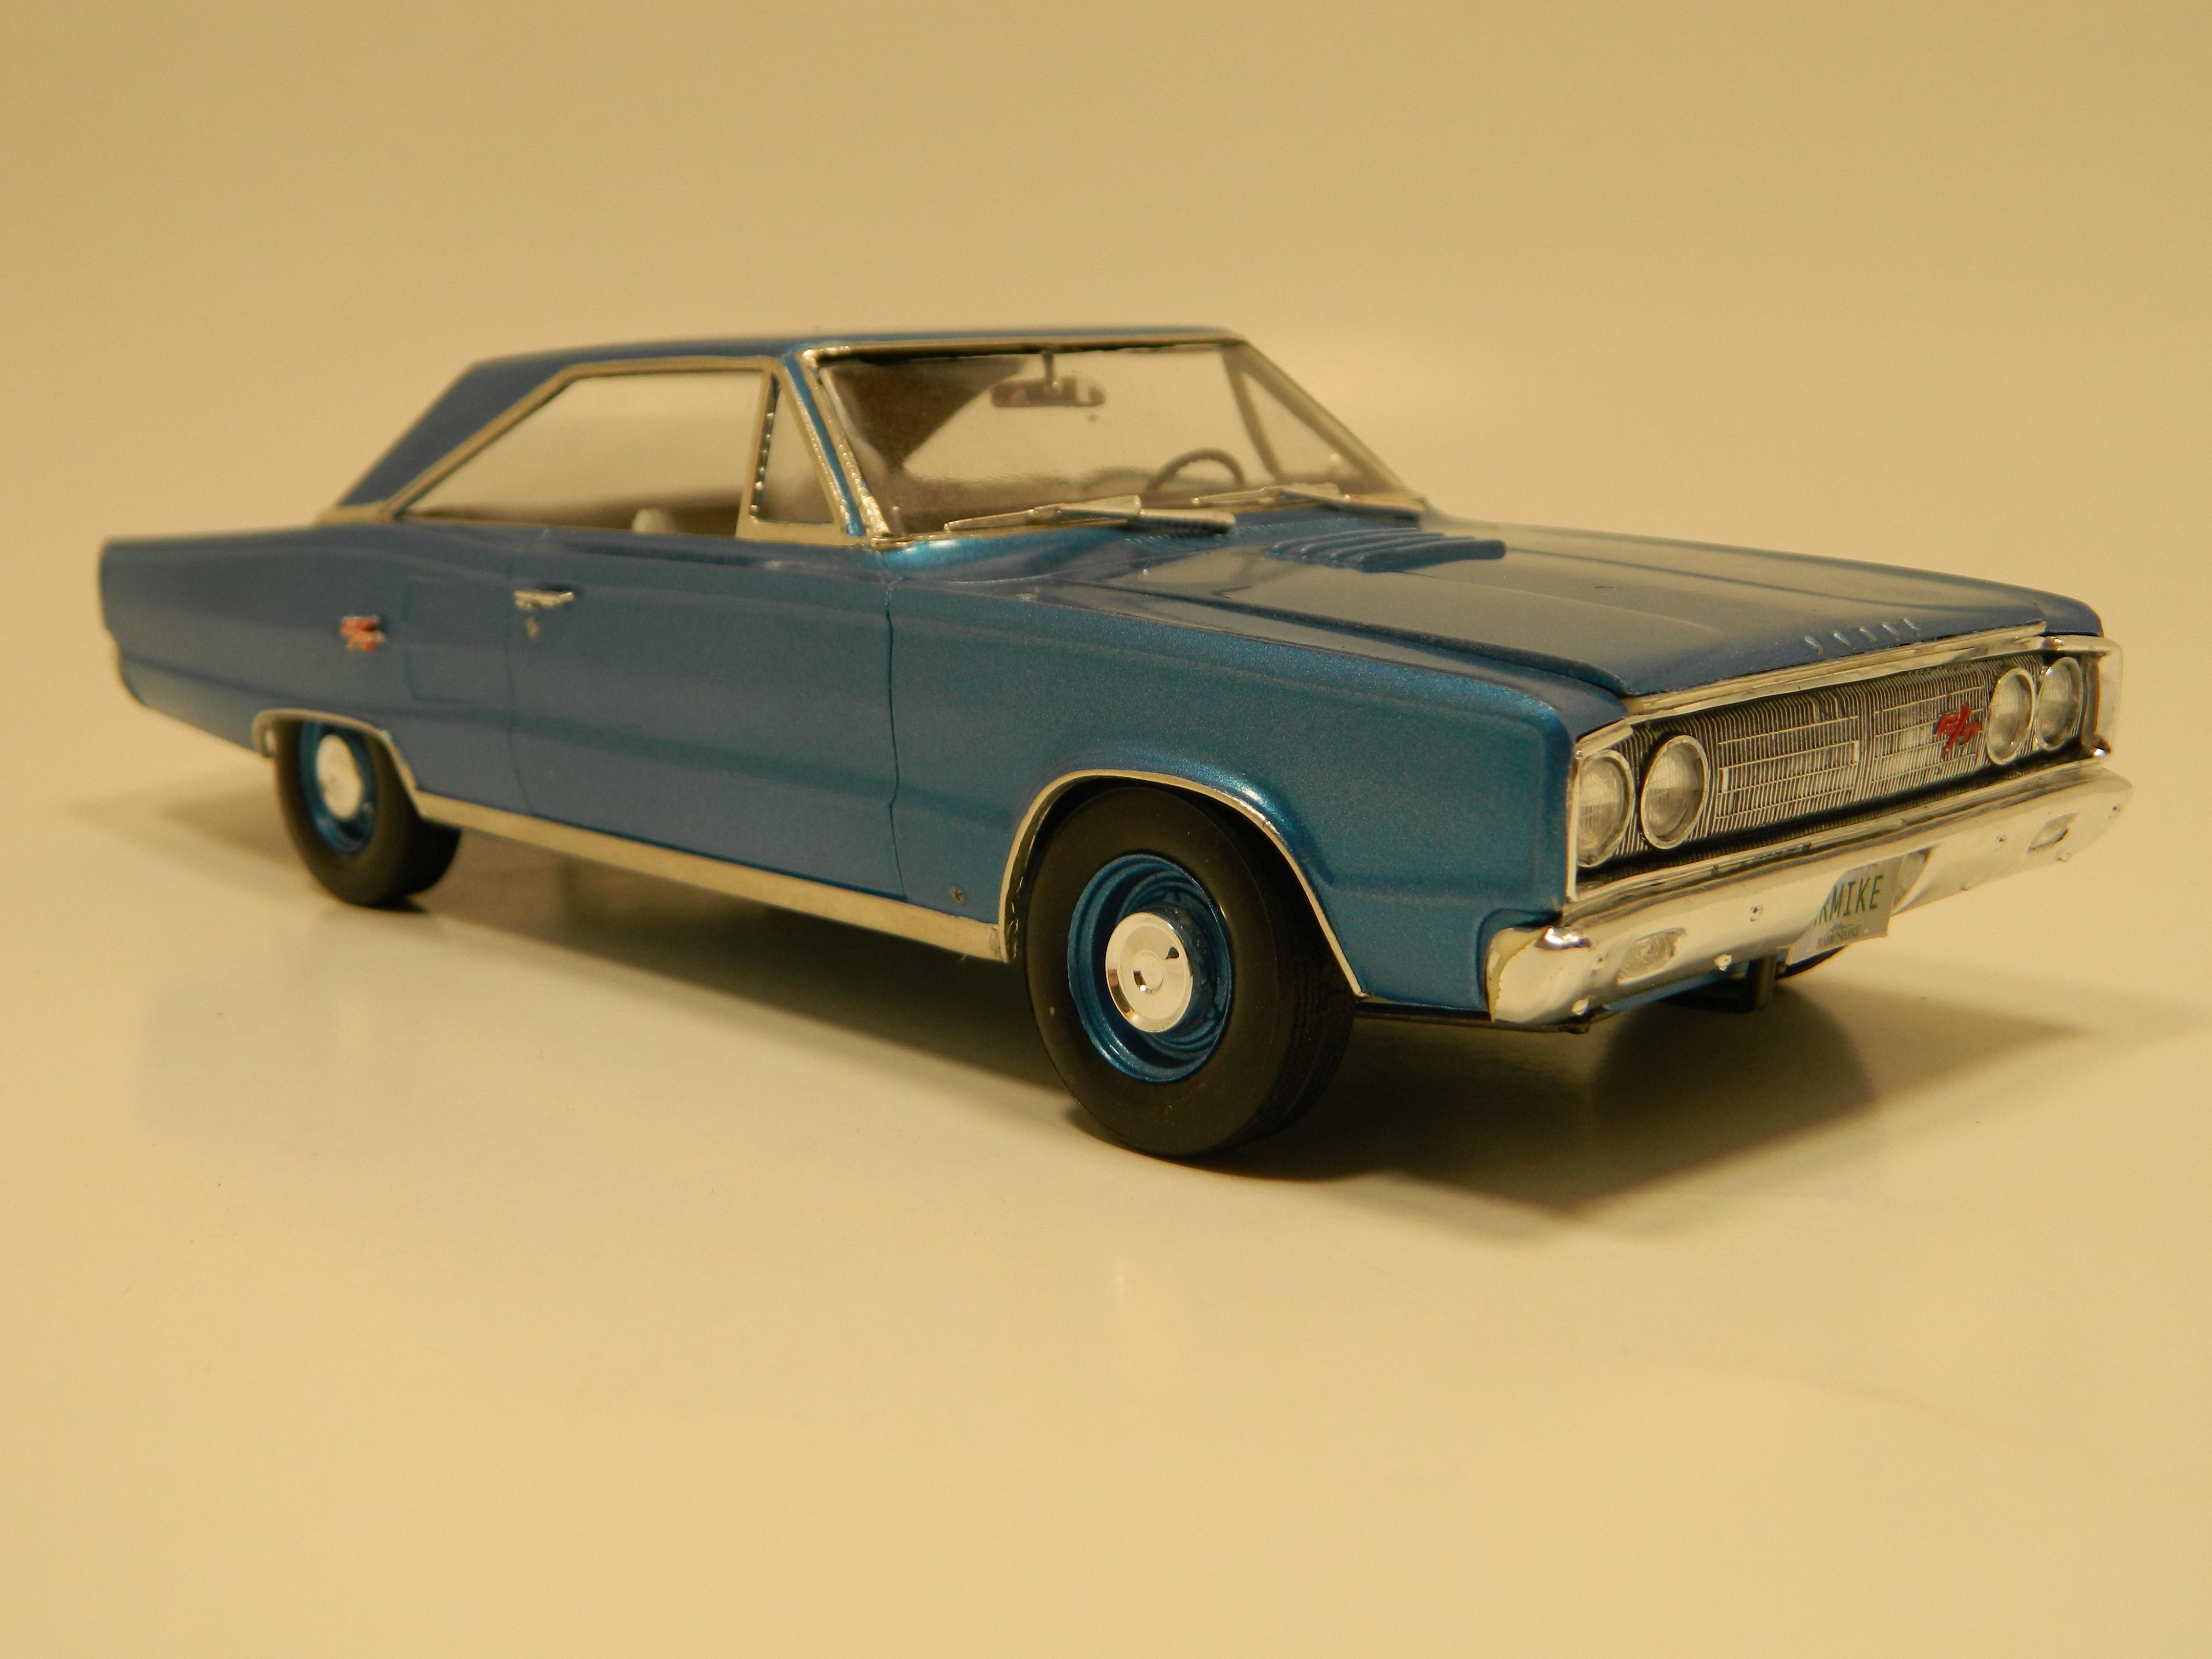
I had finished this build several years ago and I thought I would bring it back out again. I wanted a base Coronet R/T with a 440 CID 4-bbl. V8, 4-speed transmission, steel wheels and dog dish hubcaps.
-
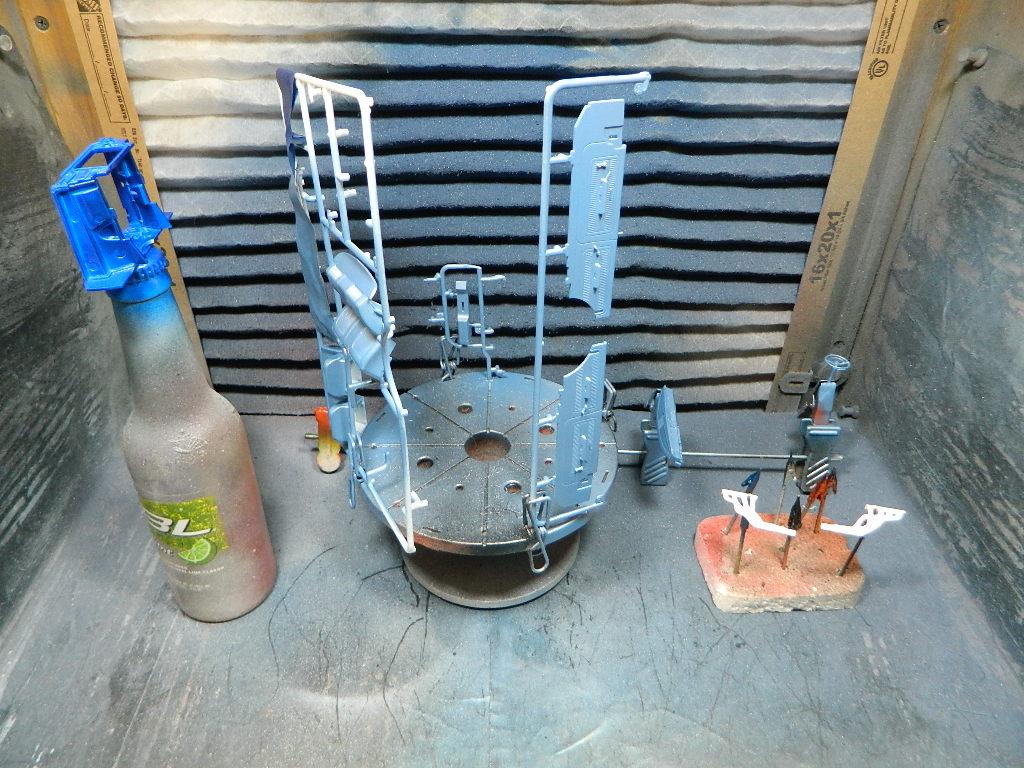
I've been painting today and I'm not done yet! There are a lot of parts to this kit. I still have to add the dark blue paint to the seat inserts, detail paint the dash, semi gloss the gloss parts since I ran out of Tamiya Semi Gloss Black paint and add embossing powder to the interior floor and paint that with Dupli-Color Light Metallic Blue. Oh, and assemble the darn thing! I still have a ways to go... More Satellite to come...
-
Thanks Dave!
-
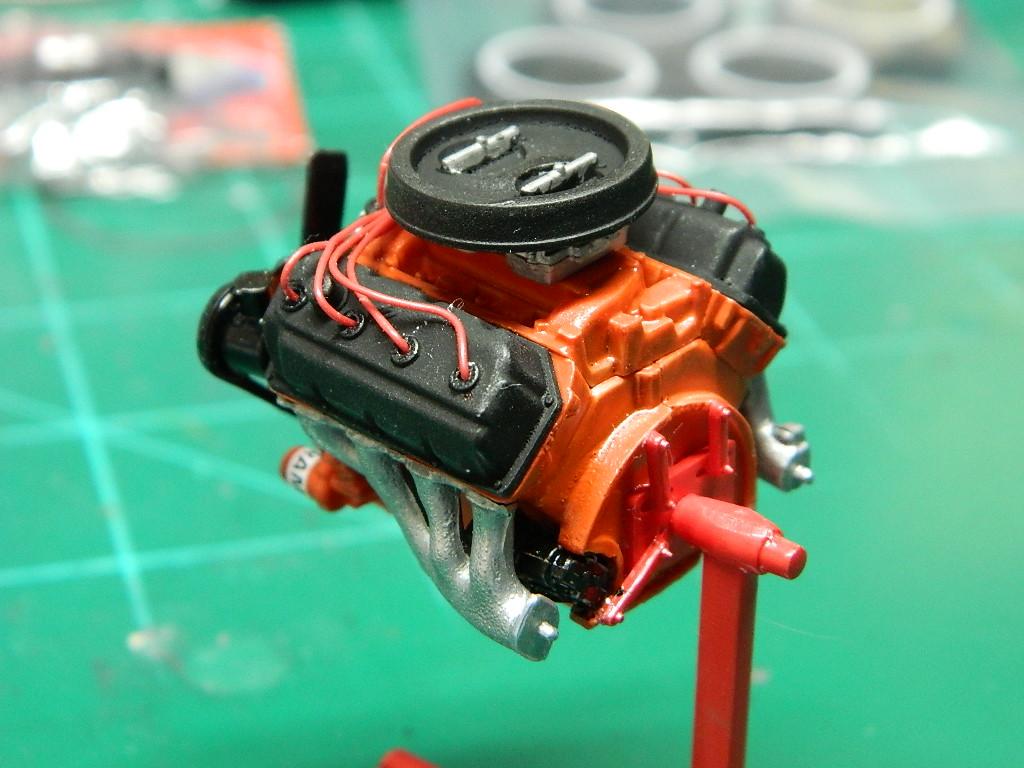
I have been doing some painting on the Satellite. I painted the Hemi engine with Mopar Street Hemi Orange engine paint. The Hemi valve covers got a coat of Tamiya TS-29 Semi Gloss Black. The body, hood and dog house got a coat of Tamiya White Fine Surface primer. More Satellite to come...
-
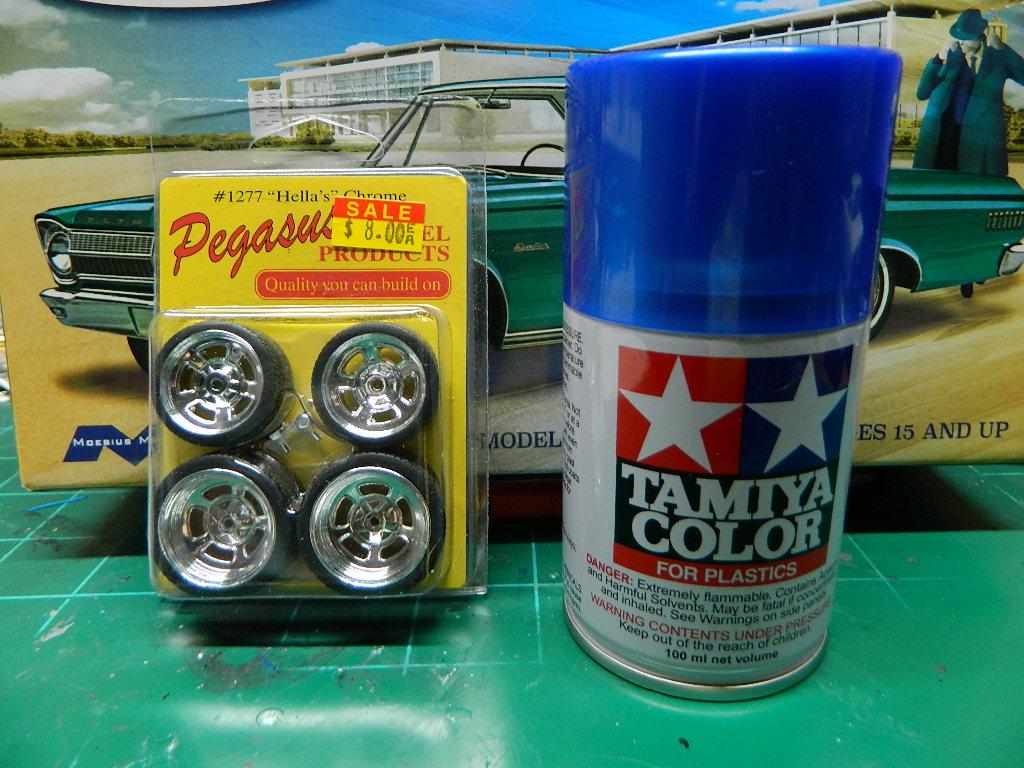
My new project is the '65 Hemi Satellite. This is a phantom car as I have never heard or seen one that was ever made. But, you never know. I am using the Moebius 1965 Plymouth Satellite kit #1215. I will be using the Pegasus 19" Hellas and 23" Hollis wheels and tires and the model will be painted with Tamiya TS-50 Mica Blue with a two-tone blue interior. I converted the kit 426 CI Wedge engine into a Hemi engine with some pieces from my parts box and it will be wired. This Satellite will look similar to the '64 Plymouth Belvedere that I built several years ago that was based on the '64 Fury that was built on TV's Overhaulin'. More Satellite to come...
-
Thanks Dave! I appreciate the answer and I hope you have good success with the pin method.
-
Thanks Keith! I like doing this since the decals are flat and 2 dimensional (height and width) versus the 3 dimensional (height, width and depth) effect of adding the pins. Any 1968 Mopar can benefit from this procedure if the fenders don't have the appropriate detail to them or you can sand off that detail and add the pin heads. You can also find some styrene tubing with the hole in the tubing the same size as the pin head. Just cut off a sliver of tubing and place it over the pin head on the fender and create the outer edge of the marker bezel. The AMT '68 Hemi Road Runner has the side marker detail, but the detail is flat and below the fender surface. I added the pin heads and I changed the look of the fenders.
-
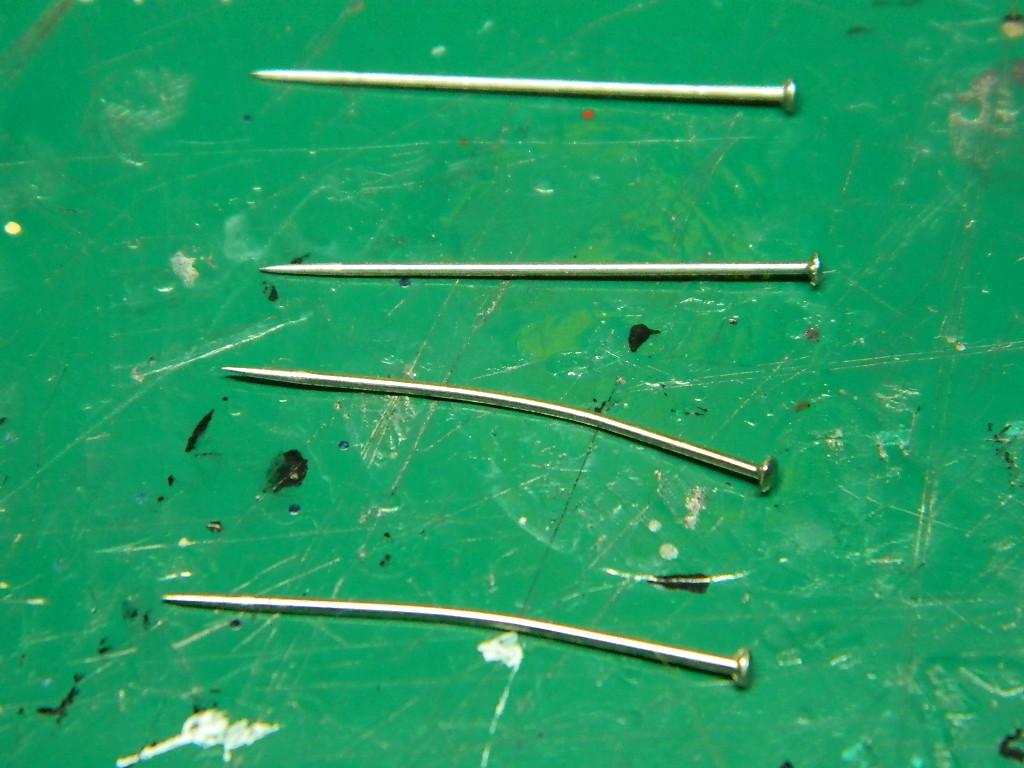
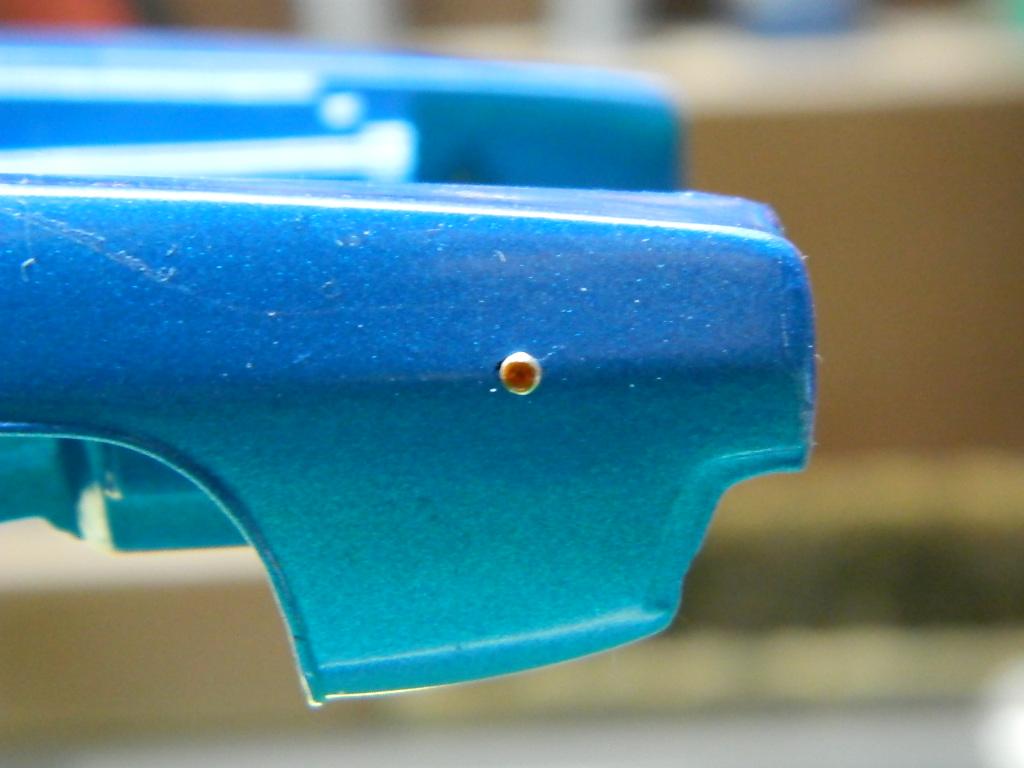
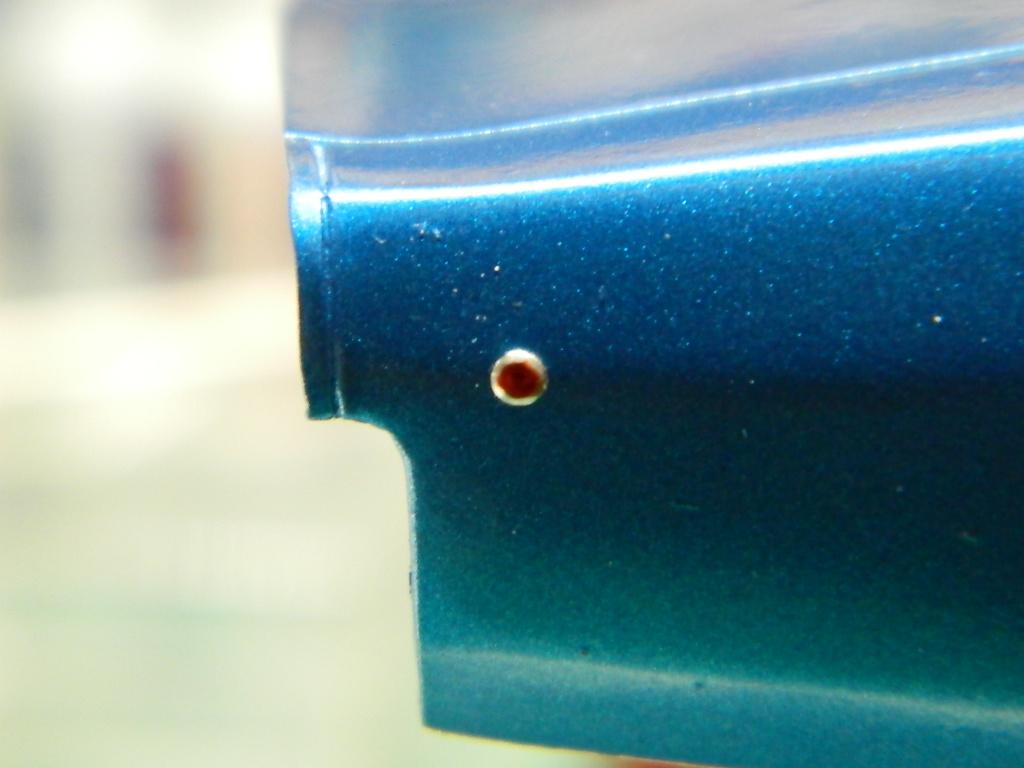
Thanks Keith and Steve! I raided my wife's sewing box tonight for 4 pins. These pins have a round, smooth head. I drilled 4 holes in the centerline of the front and rear fenders. I have been told that I am a brave sole for drilling into a freshly painted body. Thank you very much! I added a touch of Superglue to the hole on the inside of the fender and inserted the pins. I cut off the shaft of the pin and painted the heads with a drop of Tamiya Clear Orange and Clear Red paint. Now, I have round side markers for my '68 Charger R/T. They have a 3 dimensional look to them instead of a flat decal. More Charger to come...
-
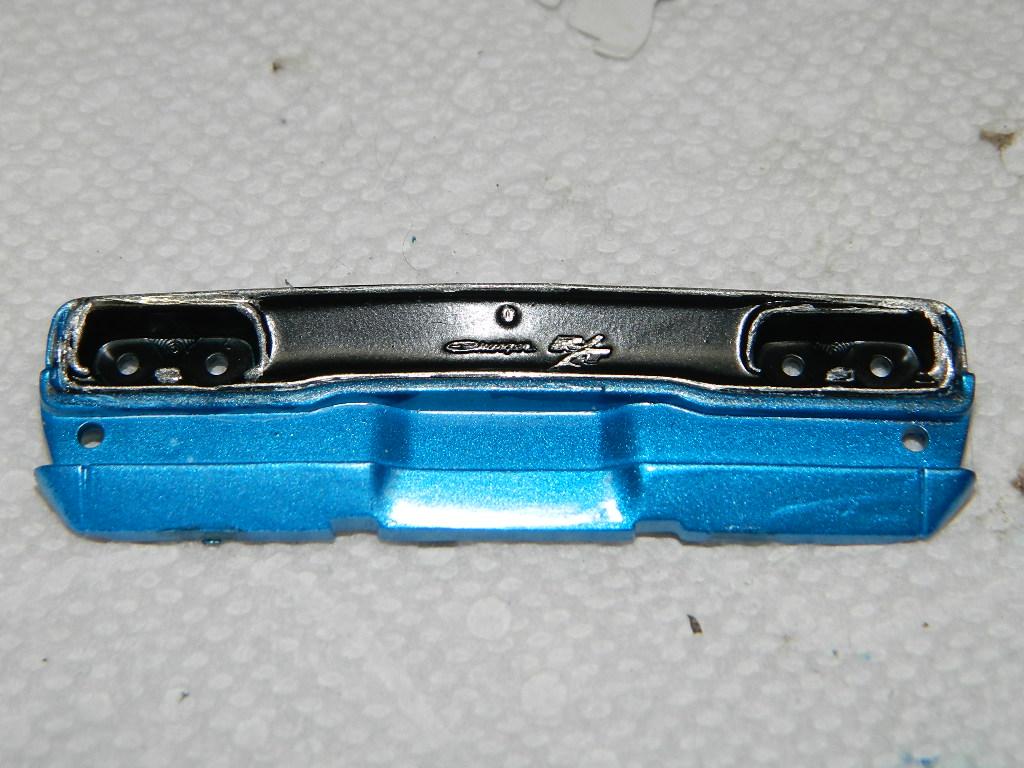
More work done on the Charger today. I added the pie plate decal to the air cleaner after I painted the air cleaner. I cut the decal just above the Magnum lettering to help it snug down around the air cleaner. I painted the rear panel Tamiya X-18 Semi Gloss Black and trimmed the edges with my 1 mm Molotow Chrome Pen. I added the torque boxes and painted them with Tamiya TS-54 Light Metallic Blue and a small brush. More Charger to come...
-
Thanks Dave! Extension rails?!!! What extension rails? Are these subframe connectors for a unibody car? If that is what you are referring to, no. This is probably more of a "Day 2" car than anything else.
-
I have been reading about torque boxes for Mopars lately and the current issue of Scale Auto has an article about the torque boxes on the Revell '70 Charger R/T and how the Revell '68/'69 Chargers don't have them. I decided to see if I could make a set of torque boxes for my '68 Charger R/T. I looked (actually stared) at the picture in Scale Auto of a '70 Charger R/T for a while and tried to design one out of .020" sheet styrene. Some cutting here, clipping there and a little bending and I think I have the beginnings of a torque box. What do you guys think? More Charger to come...
-
 Thanks Geoff! It does help. I will look into maybe making a mount for the hood mounted spare tire.
 -
My spare tire will go on the hood (bonnet) even if the hood is not part of the deluxe package. I figure no one will really notice the lack of the deluxe hood unless they know about that package.
-
Some progress on the '68 Charger R/T! I finished the chassis and interior save for a few touchups and the air cleaner. More Charger to come...