mrmike
-
Posts
5,325 -
Joined
-
Last visited
Content Type
Profiles
Forums
Events
Gallery
Everything posted by mrmike
-
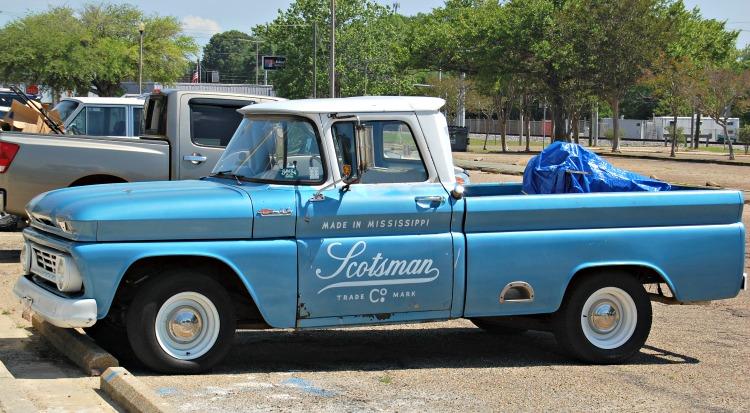
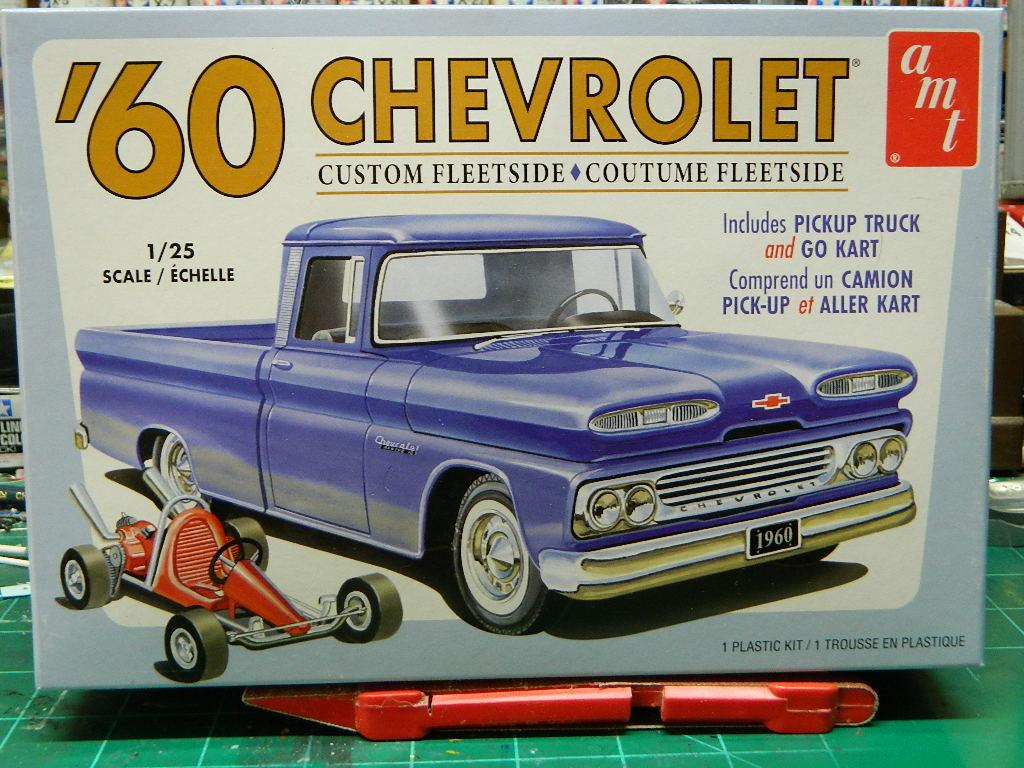
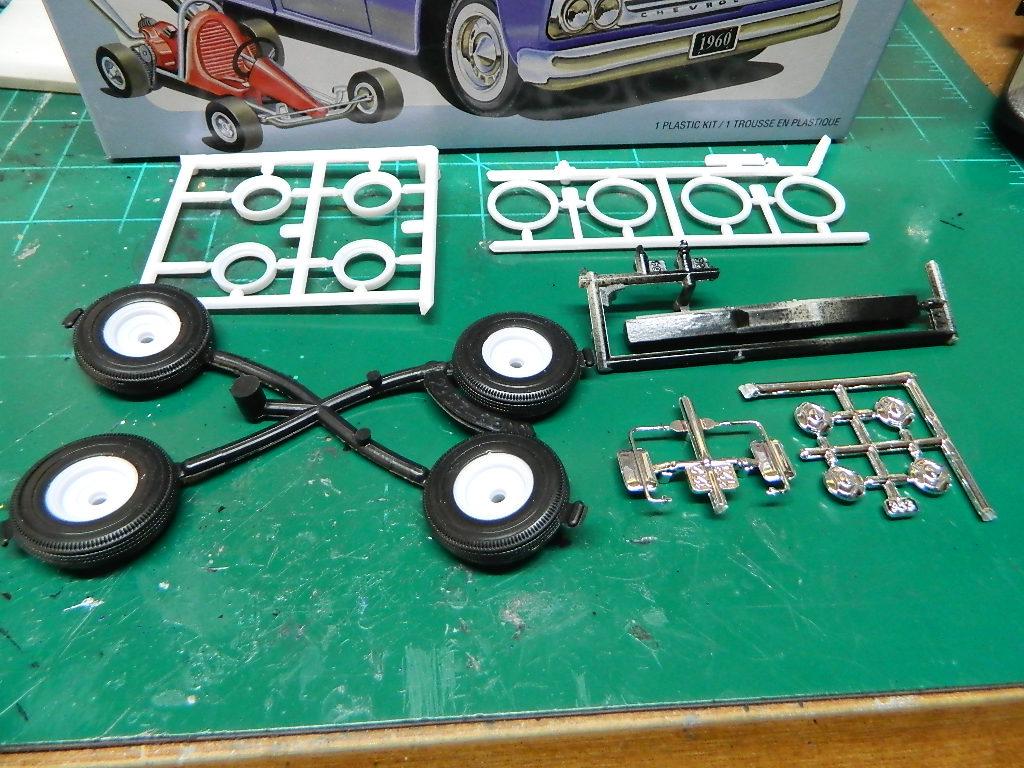
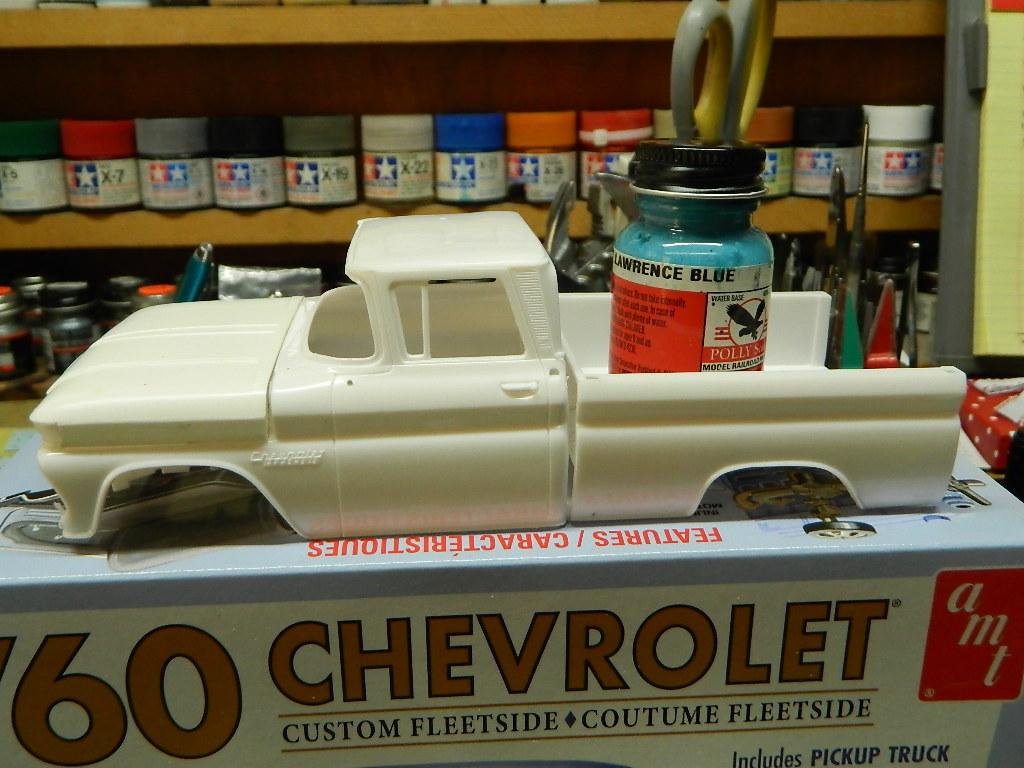
 My new project is the AMT 1960 Chevrolet Fleetside Pickup. I am using this kit to replicate the pickup truck used by Ben Napier on HGTV's Home Town TV series. There are some differences between the '60 and the '62 pickups. The hood and the grille are different as the '62 has a smooth hood and single headlights. Ben's pickup is also a V8/auto trans with dual exhaust and this kit has a six cylinder/manual trans with single exhaust. The differences really doesn't bother me too much as I will build the '60 as is and I may use the hood from the Revell '65 Chevy pickup which is a bit too wide for the AMT '60 Chevy Fleetside, but I could cut it down. I am aware of a '62 Chevy pickup annual kit, but they are too expensive to even bother trying to find one. I am also fine with the straight six/manual trans in this kit. The V8 can be found in a Revell '63 Impala kit, but I think that for the ease of building, I'll stick with the six. I will be adding the wheels, hubcaps and tires, and the rear view side mirrors gifted to me by fellow Club member Tim. I have the step n tow rear bumper from the Moebius '72 Ford Sport Custom pickup and I wiil need to source the decals for the doors. My paint will be Polly Scale St. Lawrence Blue shot through my Badger Universal 360 airbrush. More '60 Fleetside to come...
-
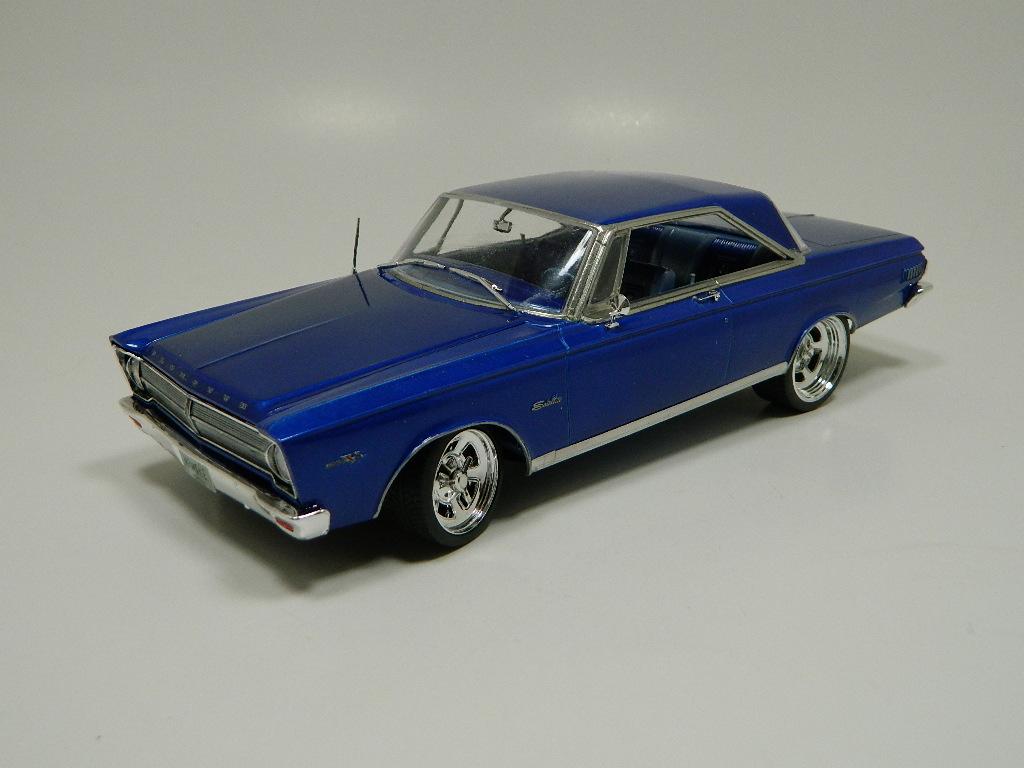
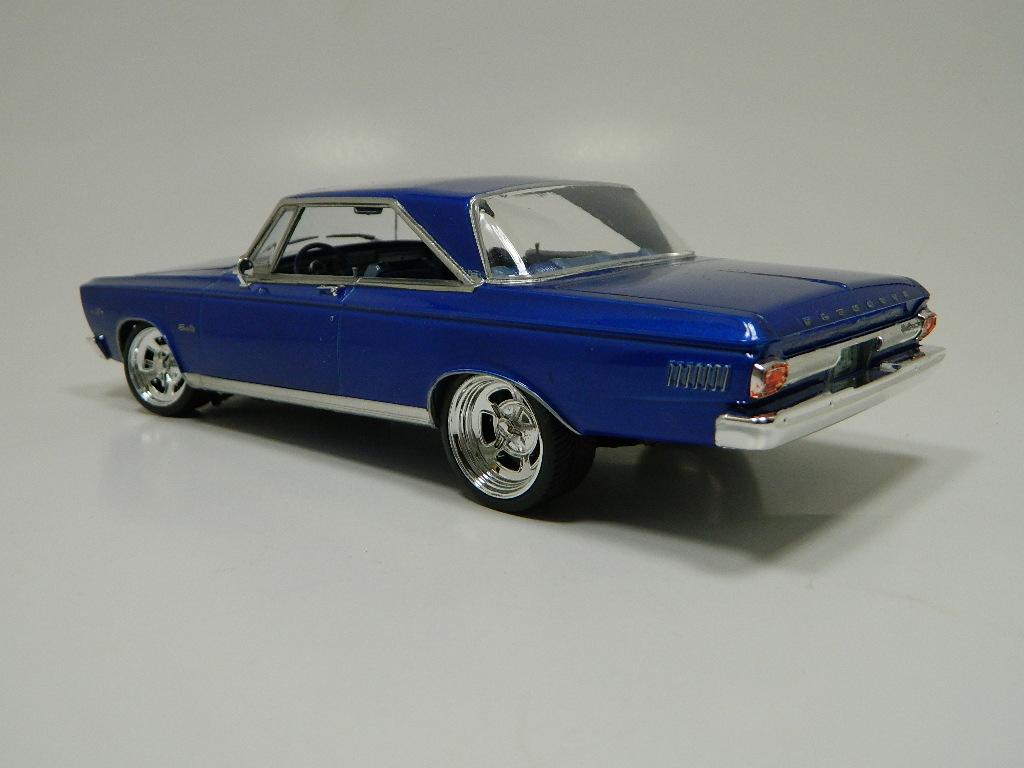
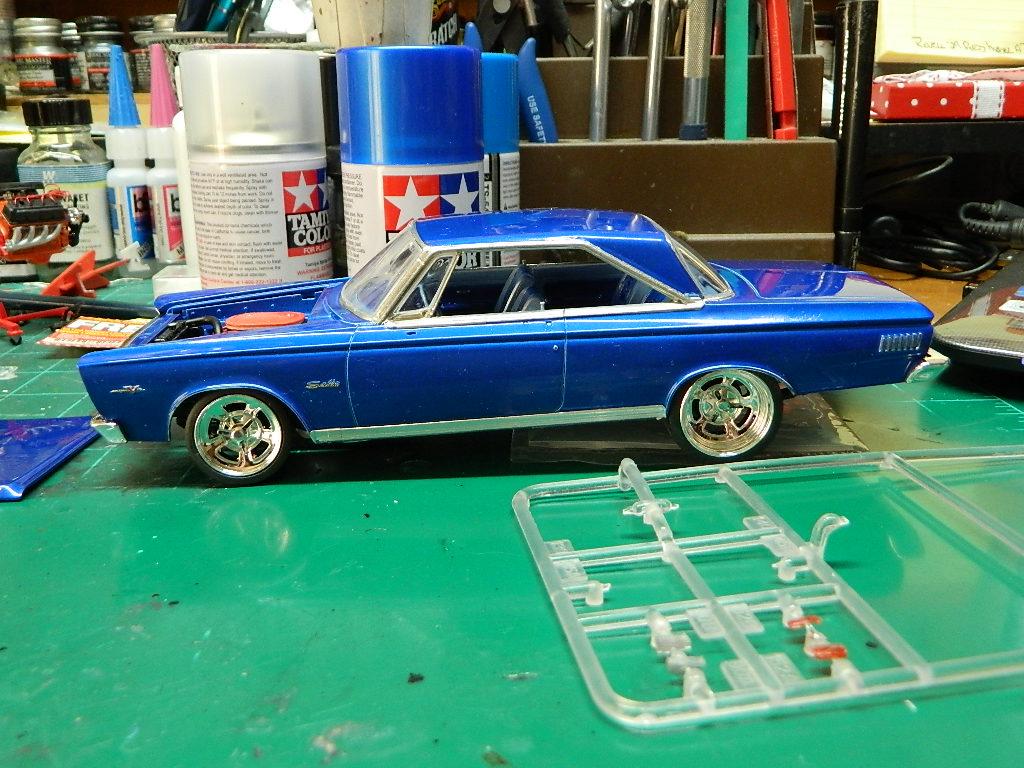
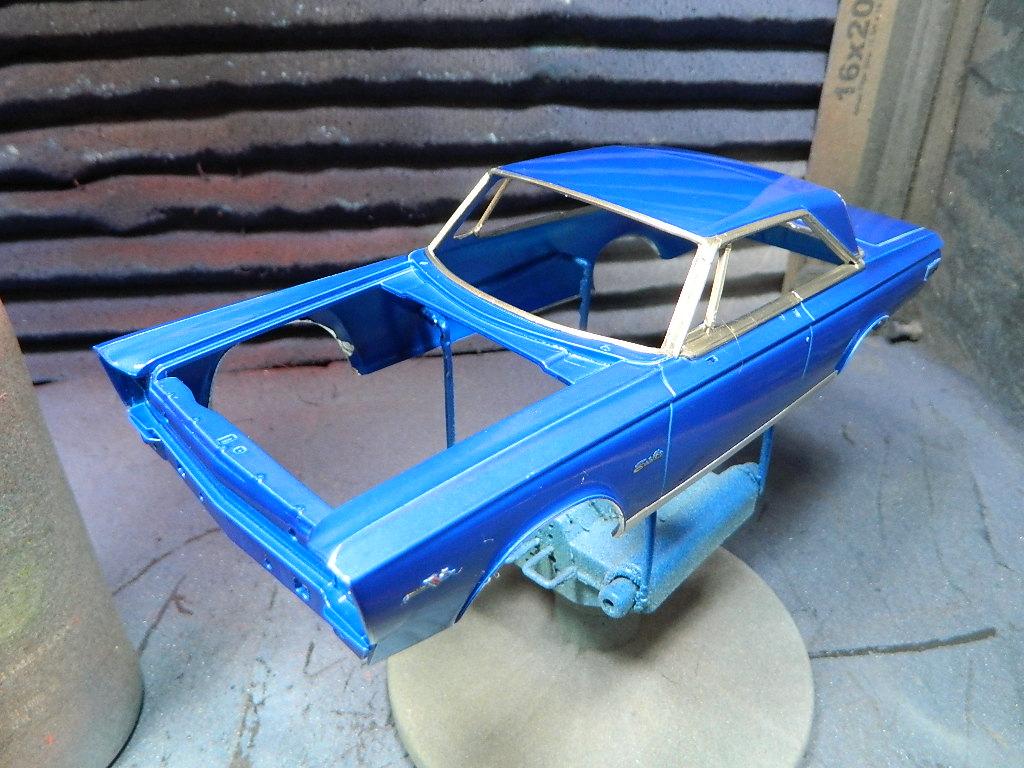
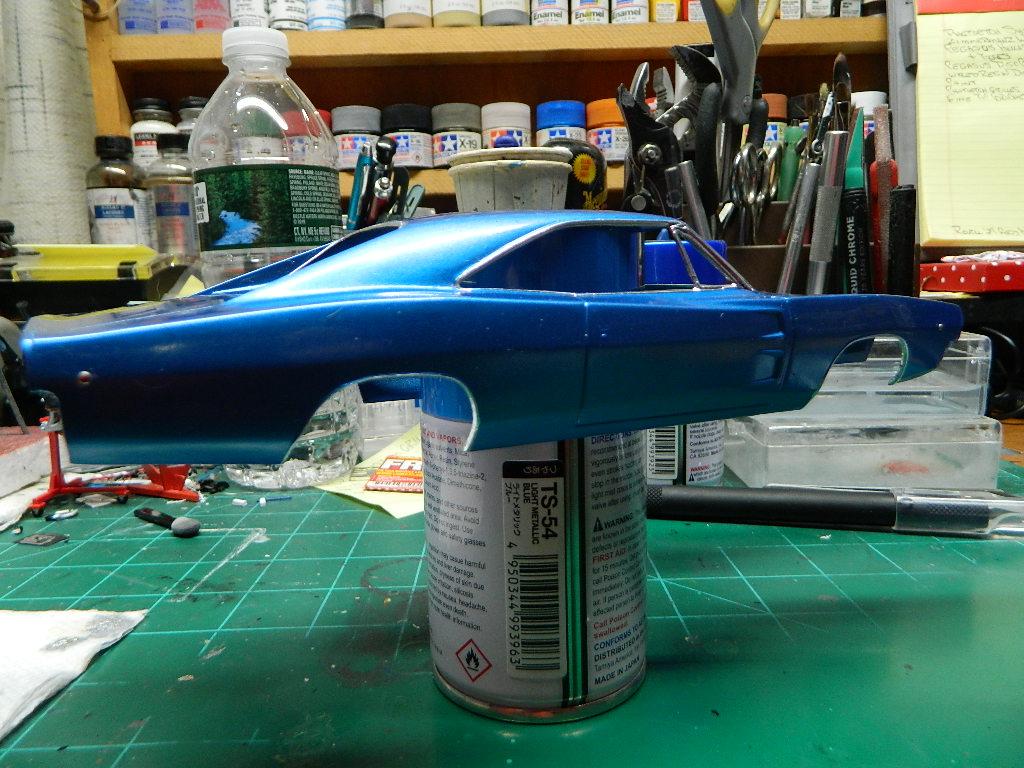
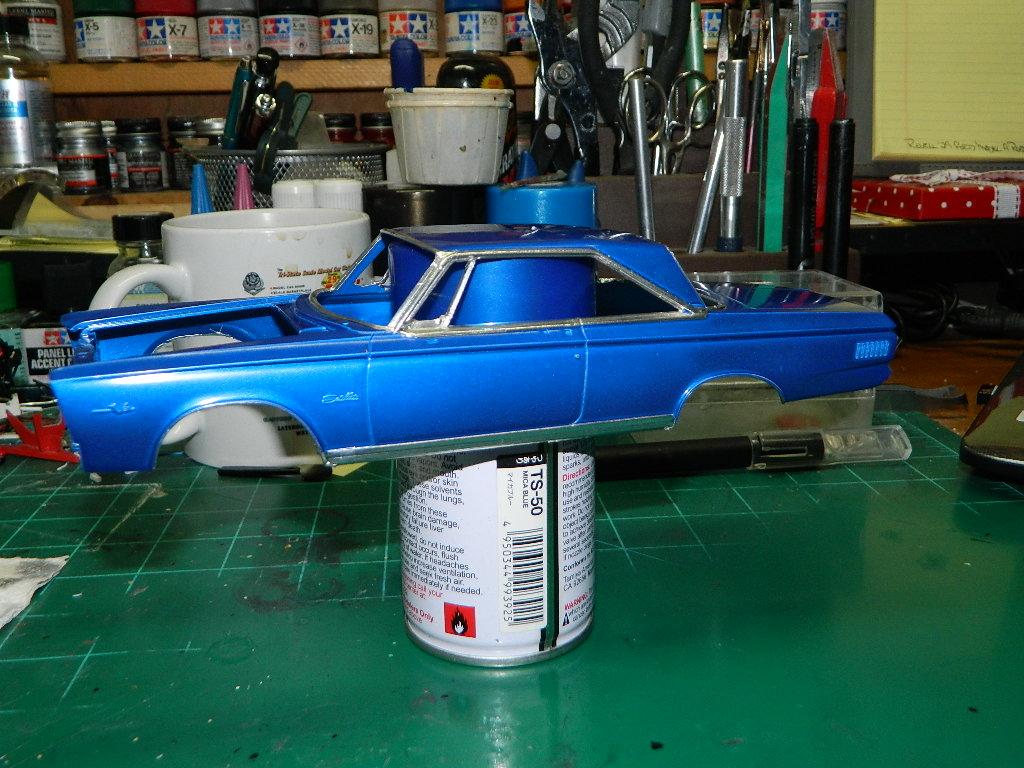
This is my '65 Hemi Satellite painted with Tamiya TS-50 Mica Blue with a Dupli-Color Light Metallic Blue and Model Master Dark Blue interior, wired Hemi engine, Pegasus Hellas and Hollis wheels and a wired column mounted tachometer.
-
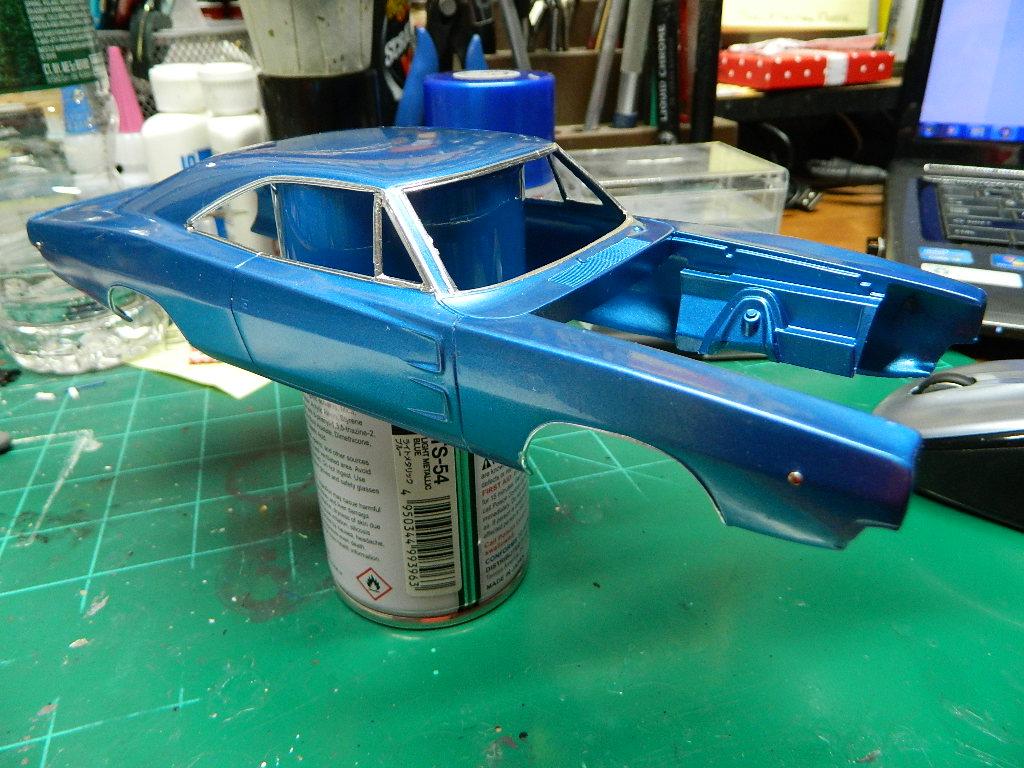
I have joined the interior/chassis assembly with the body. I started to add the many pieces of chrome and clear glass. More Hemi Satellite to come...
-
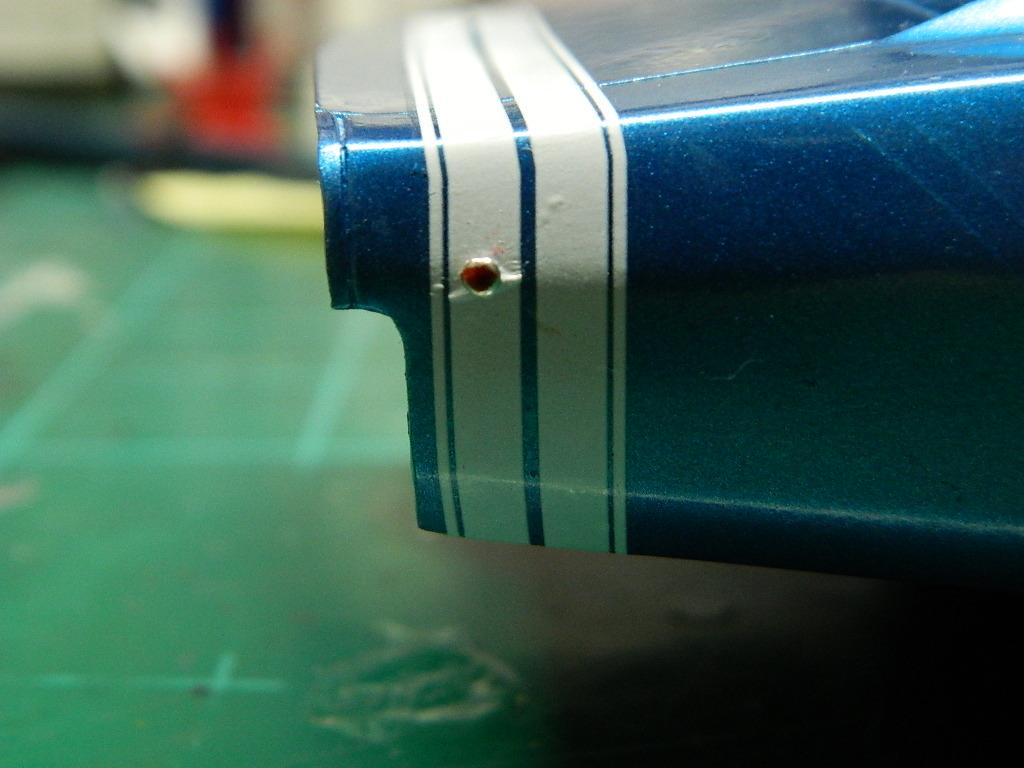
I added the white tail stripe to the '68 Charger. I removed the side markers, added the stripe and reinstalled the side markers. I need to cleanup around the side marker with some decal setting solution. The stripe looks pretty straight to me. More Charger R/T to come...
-
Foiled, decaled and now clearcoated with three coats of Tamiya TS-13 Gloss Clear. I'll rub this out in a day or two. More Hemi Satellite to come...
-
Geoff, I had a feeling that life had gotten in the way. LOL Do what you have to do. The Land Rover will still be waiting for you to finish it.
-
Geoff, what happened to this build? It's been a month and I was hoping to see more.
-
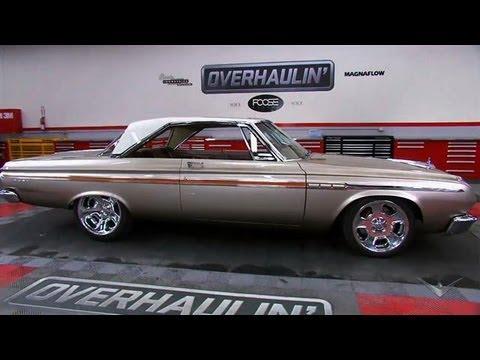
This is the original car that I was trying to copy from Overhaulin' Season 6, Episode 8. There are obvious differences between the Belvedere and the Fury models. For the most part, I had accomplished my goal.
-
What?!!!
-
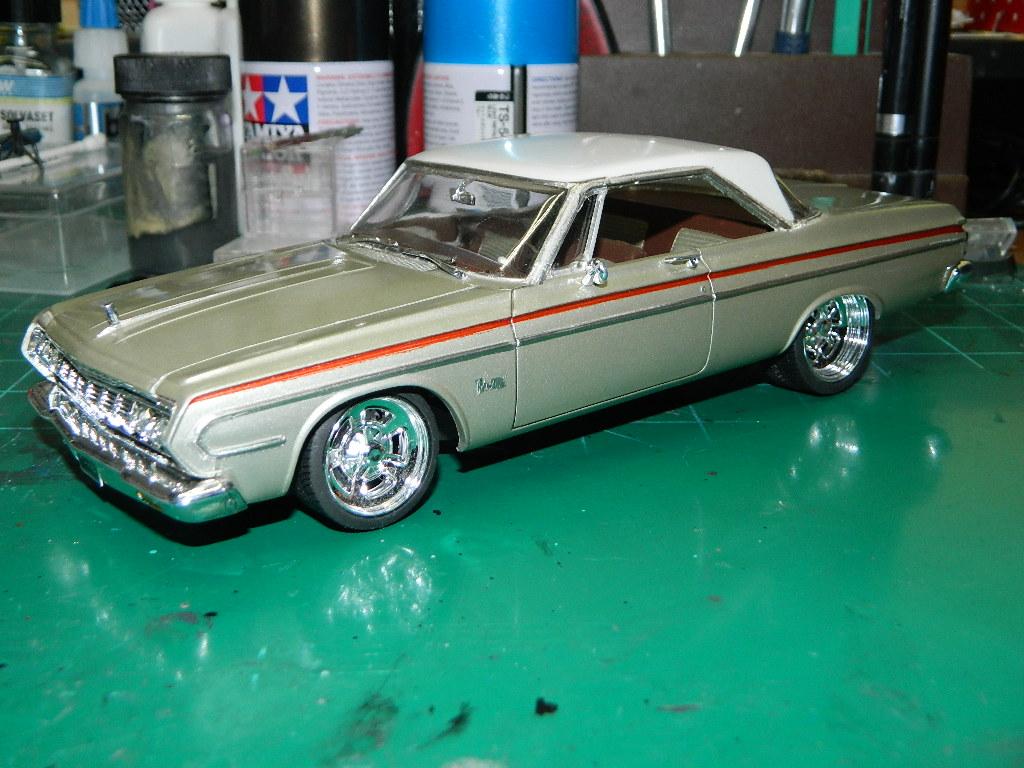
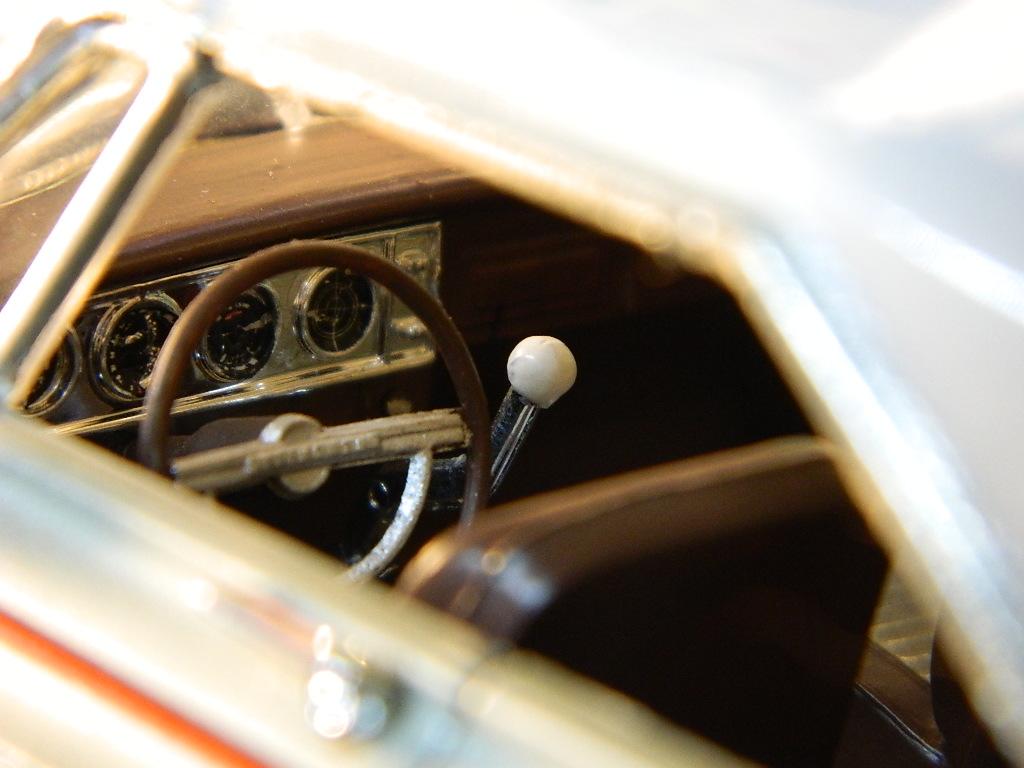
Thank you Mark! The interior was painted with Tamiya XF-10 Flat Brown and Tamiya TS-74 Champagne Gold.
-
The top is painted with Tamiya TS-45 Pearl White and the body is painted with Tamiya TS-75 Champagne Gold with Tamiya TS-13 Gloss Clear. The stripe is an orange Sharpie.
-
Thank you Kenneth! Yes, the side trim is Bare Metal Foil.
-
Thanks Kenneth! I built a '64 Belvedere as well. Mine is based on the '64 Fury rebuilt on TVs Overhaulin'.
-
Thanks Steve! Please feel free to ask any questions about anything I do that you may be unsure of. I'll try to explain it better to you.
-
Thanks Nick!
-
Thanks Kevin! I finished foiling the '68 Charger R/T. More Charger R/T to come...
-
I started to foil the Charger R/T today. I still have to foil the wheel opening mouldings, then I'll be done. More Charger R/T to come...
-
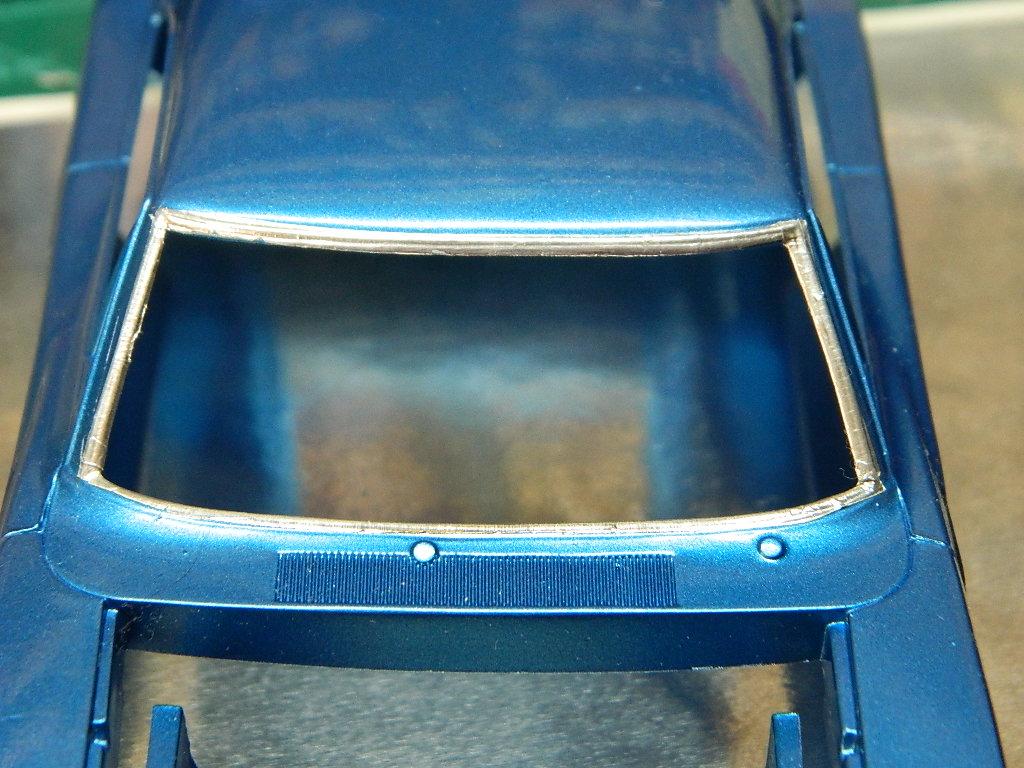
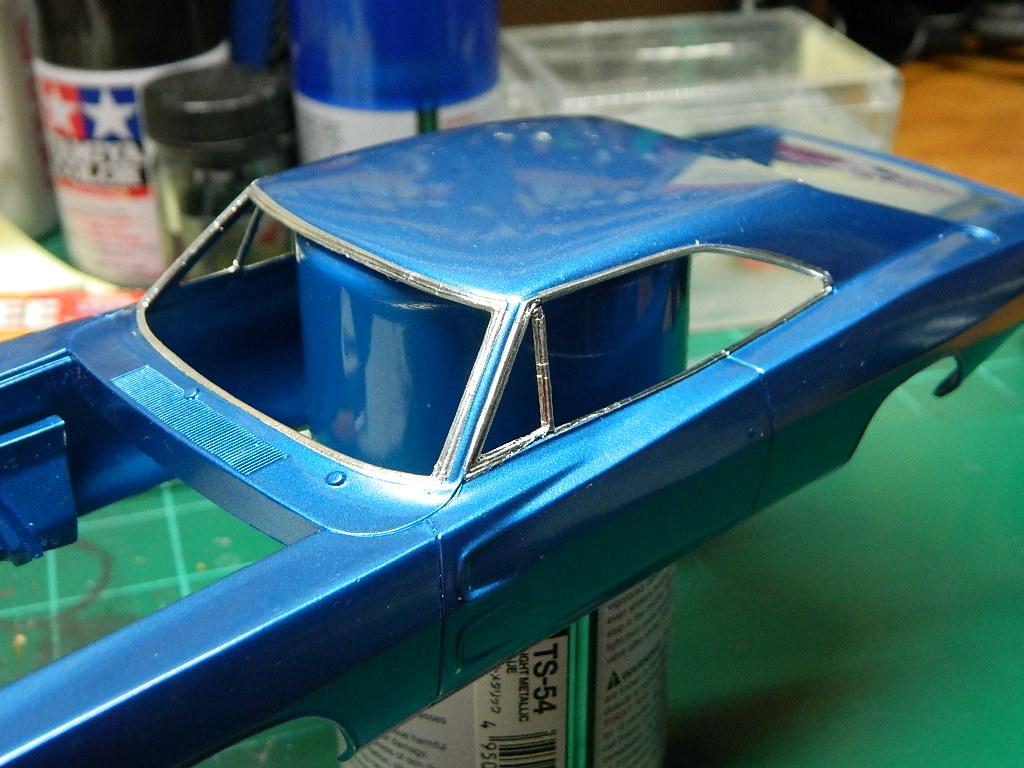
I foiled the Satellite yesterday. This is not one of my better jobs as this foil must be getting old and losing it's adhesive. I have Microscale Metal Foil Adhesive that I used for the second time, but I had breaks and small spaces that needed to be covered. I used my Molotow Liquid Chrome Pen to cover the spots. More Hemi Satellite to come...
-
Welcome Benny! What part of New Hampshire are you in? I'm from Nashua born and raised.
-
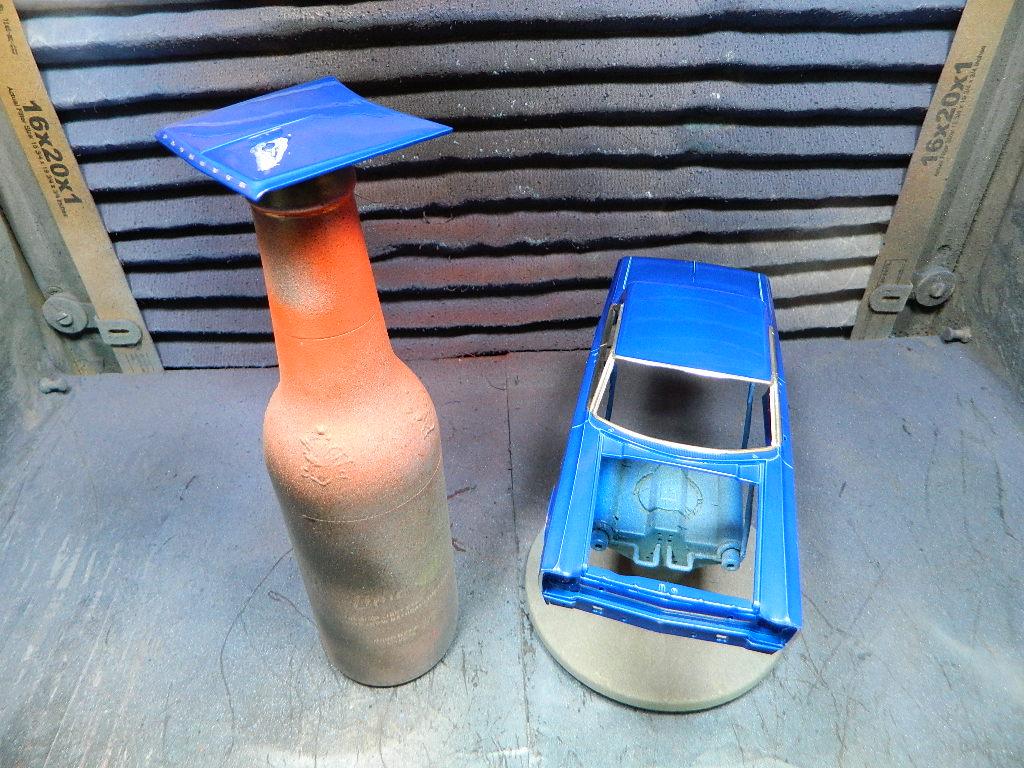
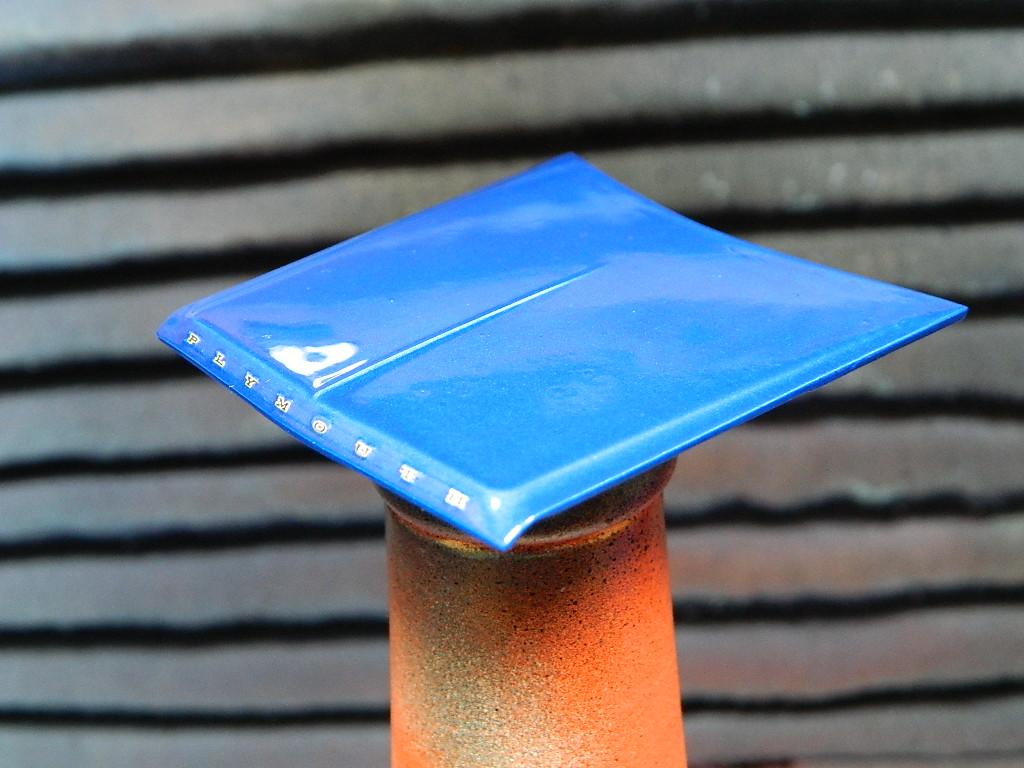
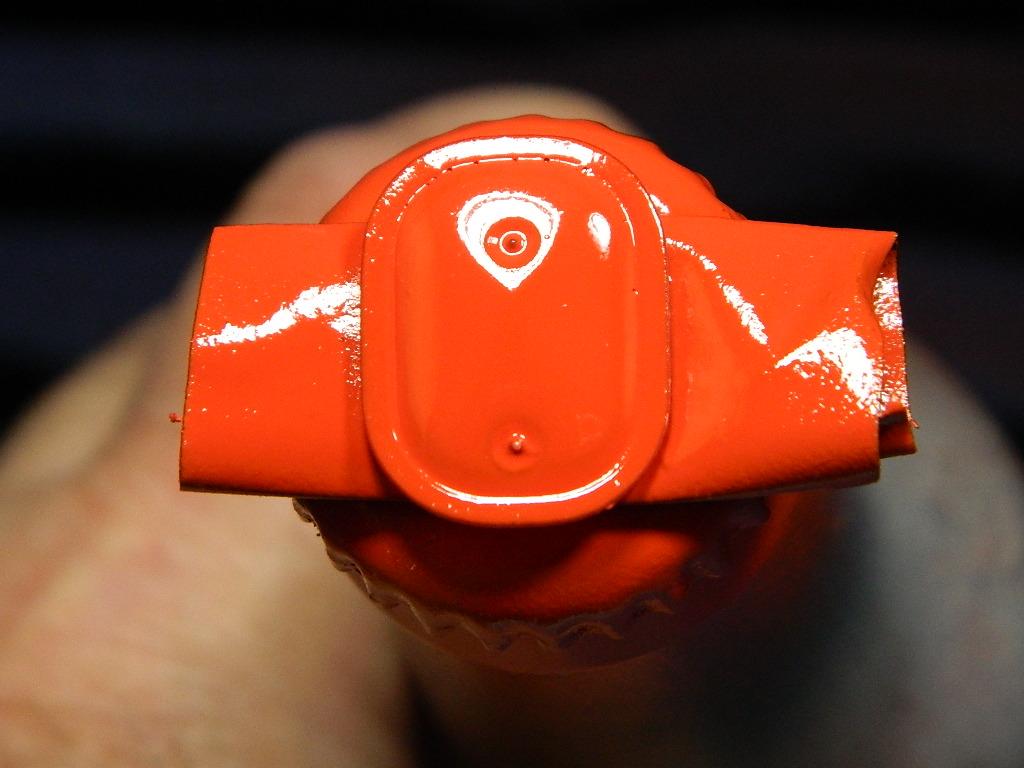
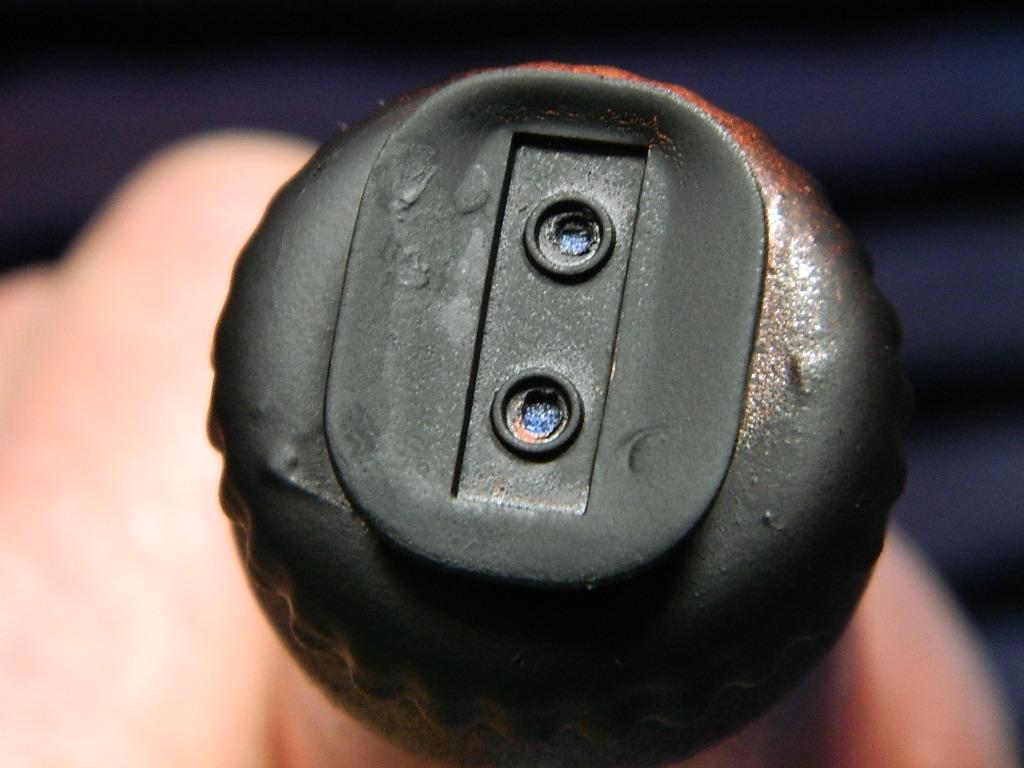
I had painted the air cleaner top with Model Master Hugger Orange and then I added 3 coats of Model Master Ultra Gloss clearcoat. The air cleaner base was repainted with Model Master Flat Black and will get a coat of Model Master Semi Gloss Clear. More Hemi Satellite to come...
-
Thank you Anders! The more I look at these pictures, the more I want to fix some of the flaws that I see.
-
Moebius Ford 4x4
mrmike replied to Brutalform's topic in WIP: Model Trucks: Pickups, Vans, SUVs, Light Commercial
I built the '72 Sport Custom pickup and have the '71 Ranger waiting in the stash. Both cabs were warped. I contacted Moebius and the replaced one cab that they thought was the worst of the two, but not both of them. I inserted the front windshield in the cab for the '71 Ranger and the windshield is taking the warp out. I found out from others that the way they packed the boxes produced the warp. Moebius wouldn't say the warpage was their fault. Moebius really needs to use bigger boxes to help prevent any damage. -
Thank you Larry and Jim!
-
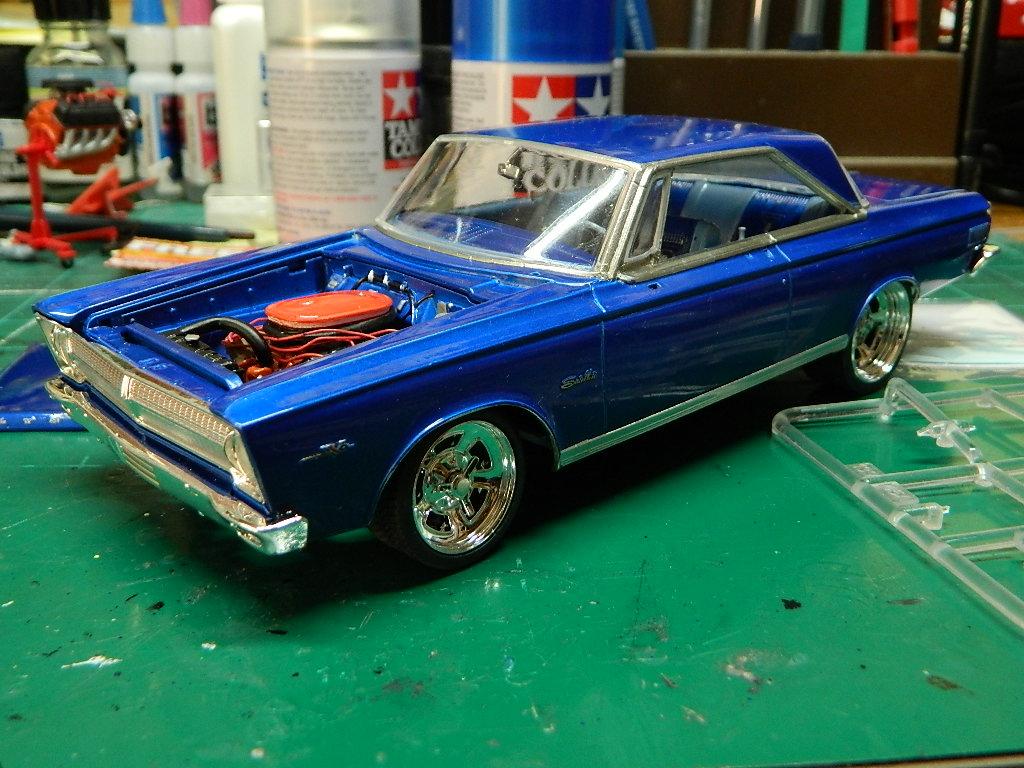
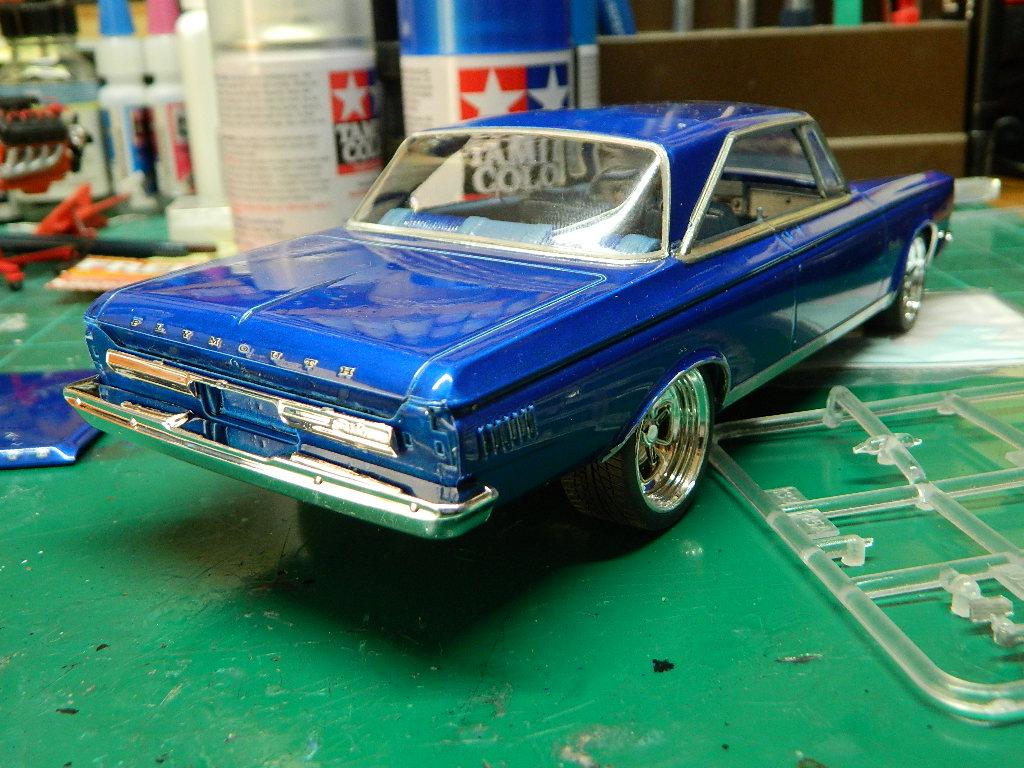
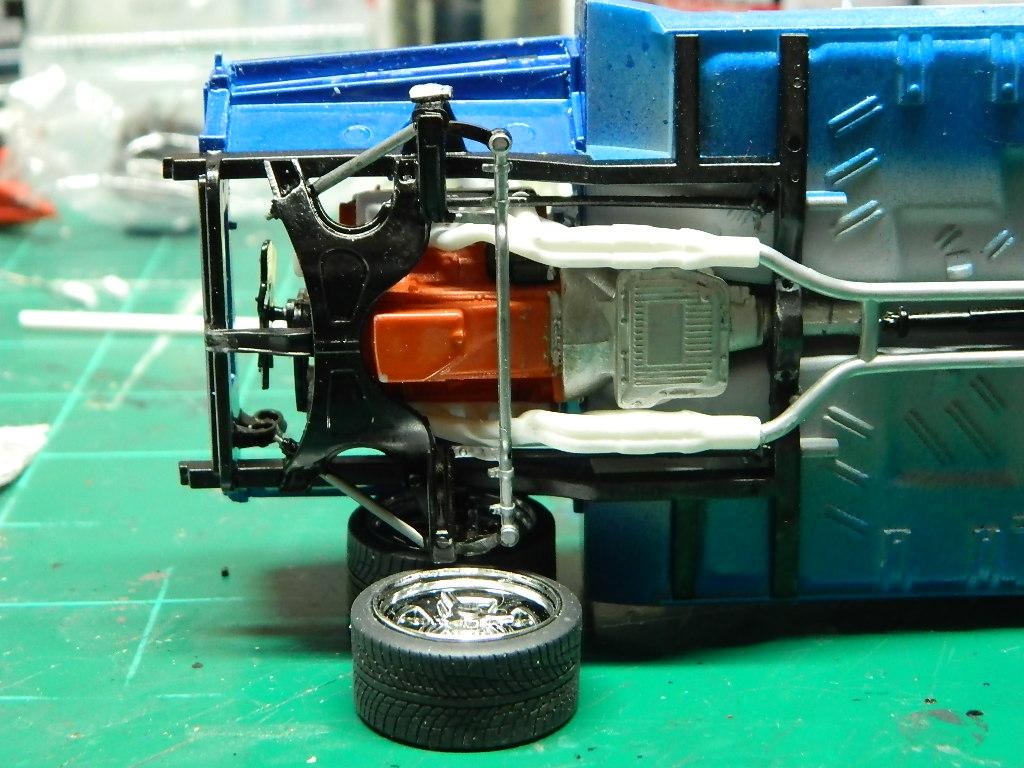
I reglued the dog house together after cleaning up the glue joints again and I let the dog house set up completely overnight. This afternoon, I superglued the brake backing plates to the front wheels and glued them to the uprights without any spindles. The stance looks okay, but I would like it lower. At any rate, the front end is on and I'm fairly happy with the result. And, for the first time since I painted the body, I got a shot of the model with the hood on. The decals on the air cleaner needed some touchups and when I added some clearcoat, the ink ran. The air cleaner has been stripped and repainted and drying in the paintbooth. More Hemi Satellite to come...
-
I started adding the wheels and tires to the chassis by modifying the suspension. Then the dog house started giving me problems by coming apart. I modified the head pipes for the exhaust system mounted to the headers. Now I need to figure out where to mount the spindles for the front suspension. More Satellite to come...