
astroracer
-
Posts
451 -
Joined
-
Last visited
Content Type
Profiles
Forums
Events
Gallery
Everything posted by astroracer
-
Aluminum Parts
astroracer replied to BMC Tackle's topic in General Automotive Talk (Trucks and Cars)
I manufacture a few... Mark@MAS www.mas-parts.com -
Model Car Building on TV
astroracer replied to Al Rogers's topic in General Automotive Talk (Trucks and Cars)
"Adventures in Modeling" was the name of the show... Mark@MAS -
Hey Lou, welcome to the site. You may want to look for the tires out of the Mickey Thompson Challenger I land speed car. I really don't know how accurate they are but I would assume they would be close to what the car ran at the time. You may also want to look at the O-ring selection your local hardware store should have. You may find something there that will look good. Mark@MAS www.mas-parts.com
-
Johan Pro Street Rambler kit question
astroracer replied to USAC_1957's topic in Car Kit News & Reviews
The kit is a stock Rambler. There is nothing done to it to make it a "Pro Street" other then the art work on the box. The muscle car you are thinking of is the SCRambler. It was painted in a red,white and blue theme. Here are a few links... http://www.musclecarcalendar.com/MyGarage2...ramblerHome.htm Mark@MAS www.mas-parts.com -
How many of you guys live where it gets "cold"? I posted this on another site and thought it may be of interest to those of us who paint in the winter.... I've sprayed paint in minus 20 degree weather using the method outlined below. As long as you can keep the body inside when you are finished spraying you will be okay. 1). Before you do any spraying set up an area that you can dedicate to leaving the model in for a couple of days without being disturbed. 2). I put up two of those aluminum clamp on work lights with a pair of flood light bulbs in them. This is a good source of heat while the model is drying. DON'T put them too close.... 3) Warm your paint in a sink (or bucket) of HOT water. Leave the can in until it is very warm to the touch (about 10 minutes) and try to spray before it cools off to much. 4) Make sure the body is warm also. Setting it in your lit (and heated) work space for 15 or 20 minutes should be sufficient. 5) Once everything is warmed up, do your painting outside. Try to do it on a calm day. 6). Once you get the first coat on, bring the model back inside and set it under the lamps to warm back up. Applying heat like this will also help the paint to flow while it is drying. Especially enamel. 7). Repeat the above as necessary to complete your paint job. 8). Mount your body to a secure fixture so you can paint it from all directions. My set-up allows me to hang the model upside down to minimize dust settling in the fresh paint. I use the 3 wire hangers from hanging flower baskets, taping the three wires to the inside of the body. This is very secure, allows me to rotate the model for good coverage and also keeps my hands out of the overspray... use the hook on the end to hang the model from a shelf or wood dowel. This works very well for me. I have a paint booth that I built from an old printer cabinet. I've never used it... Mark@MAS www.mas-parts.com
-
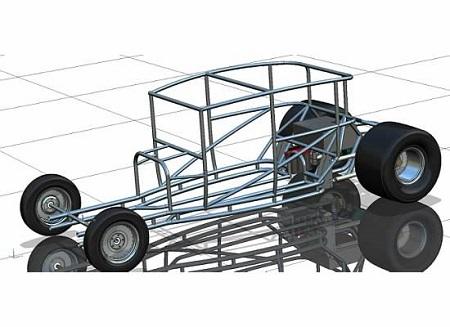
I have been working on this for a couple of years now. I have the body about 95% and am working on the brite work. The front and rear bumpers are fleshed out with the rear lamps and headlights ready to go. I worked on the front splash pan and front fender extensions last weekend in Toledo. I got the pan attached to the body and the RH Extension well on its way. The rear bumper needs some heavy coats of primer and the front will take a little tweaking before it's ready. I need to get busy on the parking lights, upper and lower grille bars and the grille. The car will be cast by Ron Andrews of RMR. He has done the tail lights and headlights already and is chomping at the bit to get the rest of it... Here is the link to my LSM Album... http://www.largescalemodeler.com/gallery/s...02&ppuser=0 Let me know what you think. Mark@MAS www.mas-parts.com Hi Gregg! How you doin'?