mademan
-
Posts
1,089 -
Joined
-
Last visited
Content Type
Profiles
Forums
Events
Gallery
Everything posted by mademan
-
The 1/12 has the same Grump Lump scoop haha. It's my favorite. Street Machine build, all 3d printed details, vinyl top. Not decided on color yet but the top will be white.

-
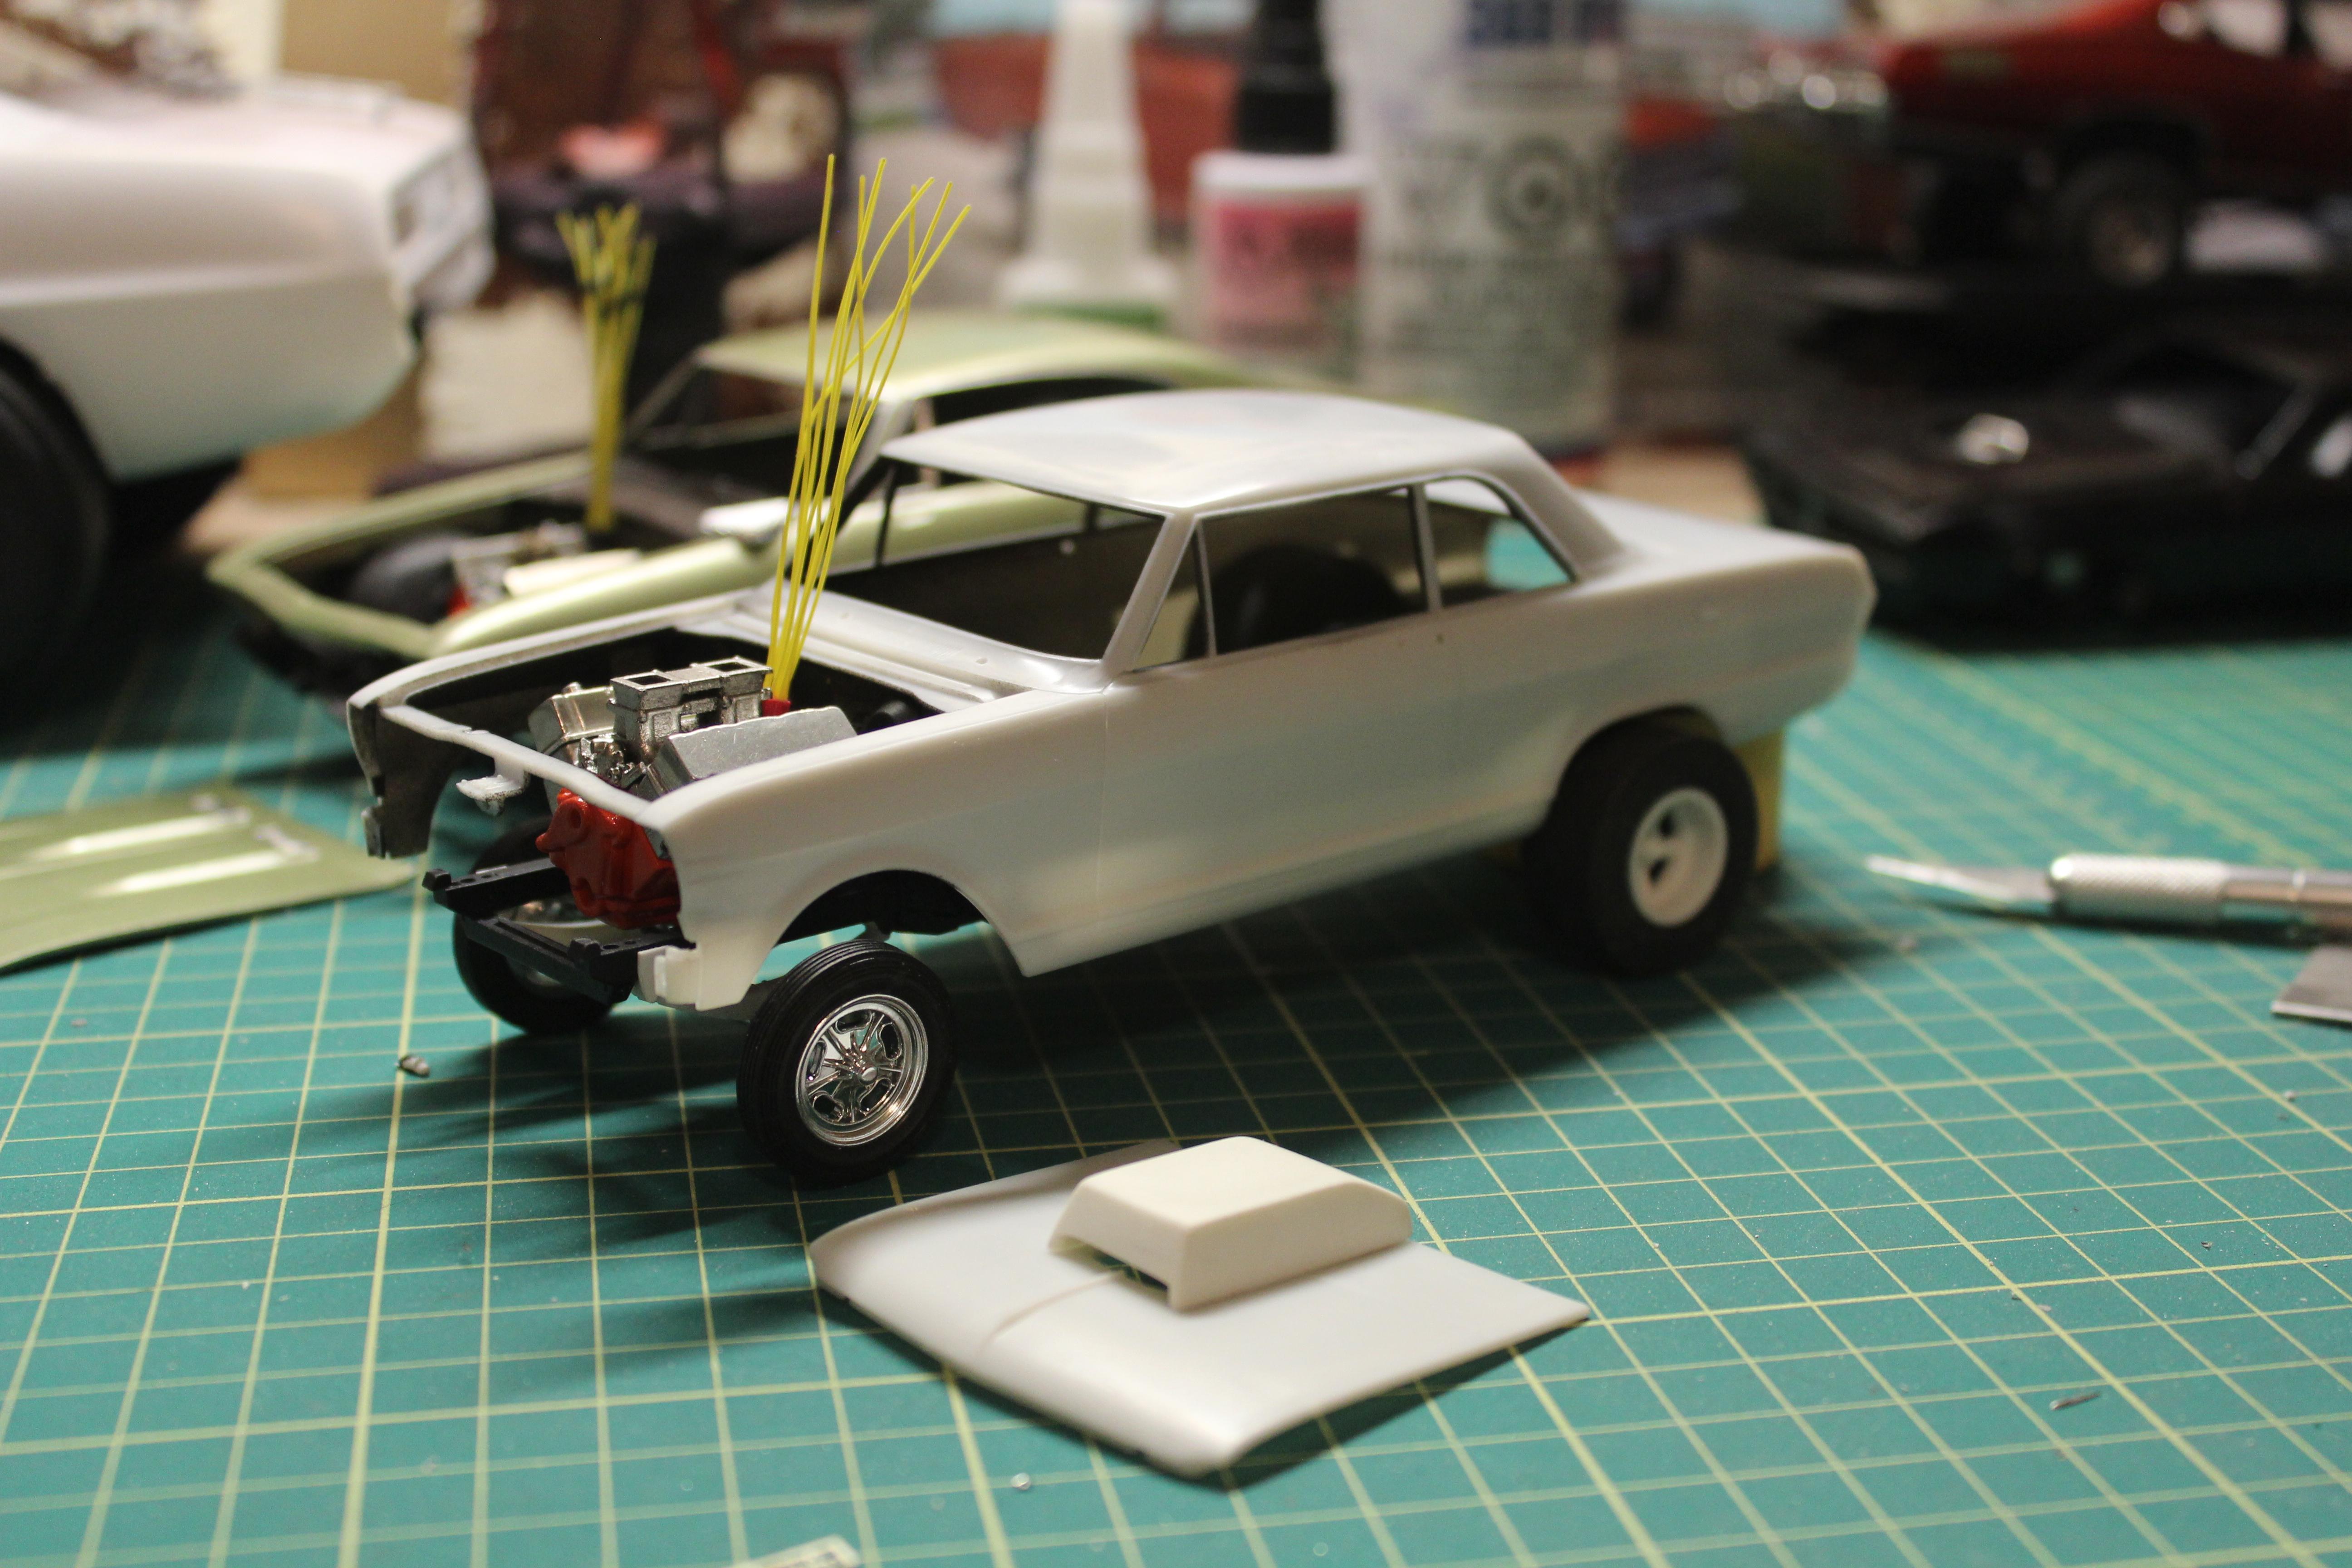
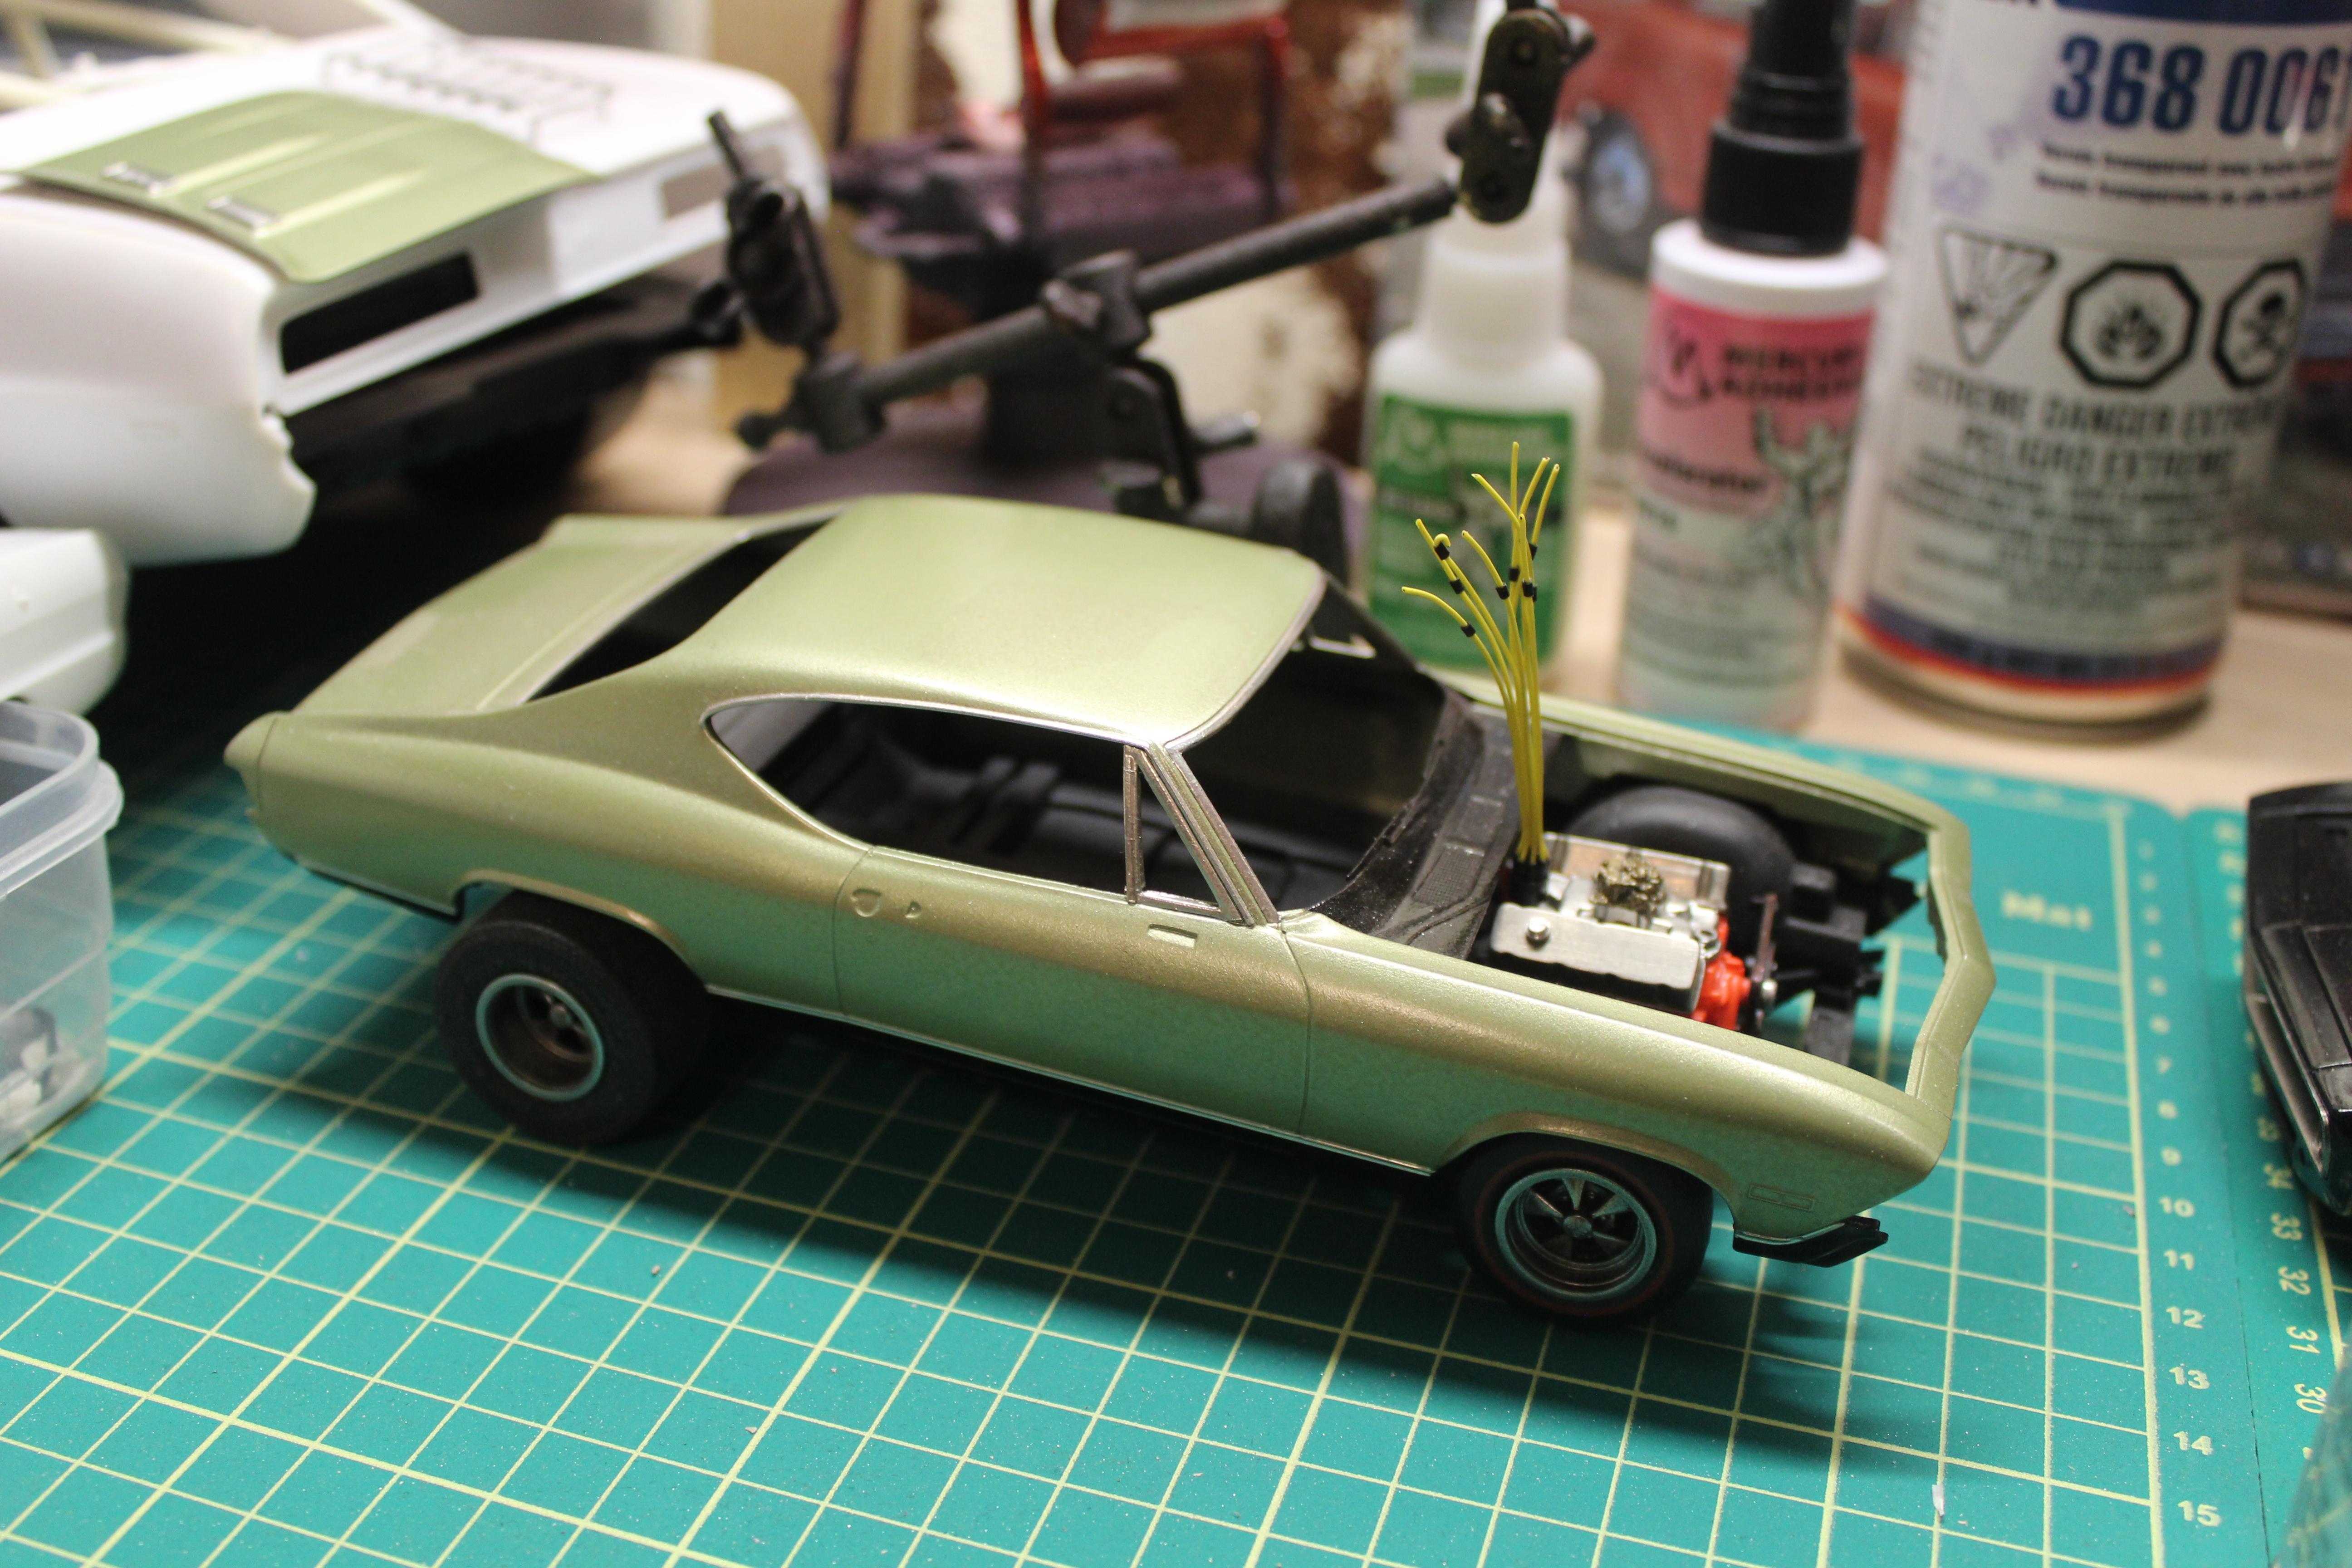
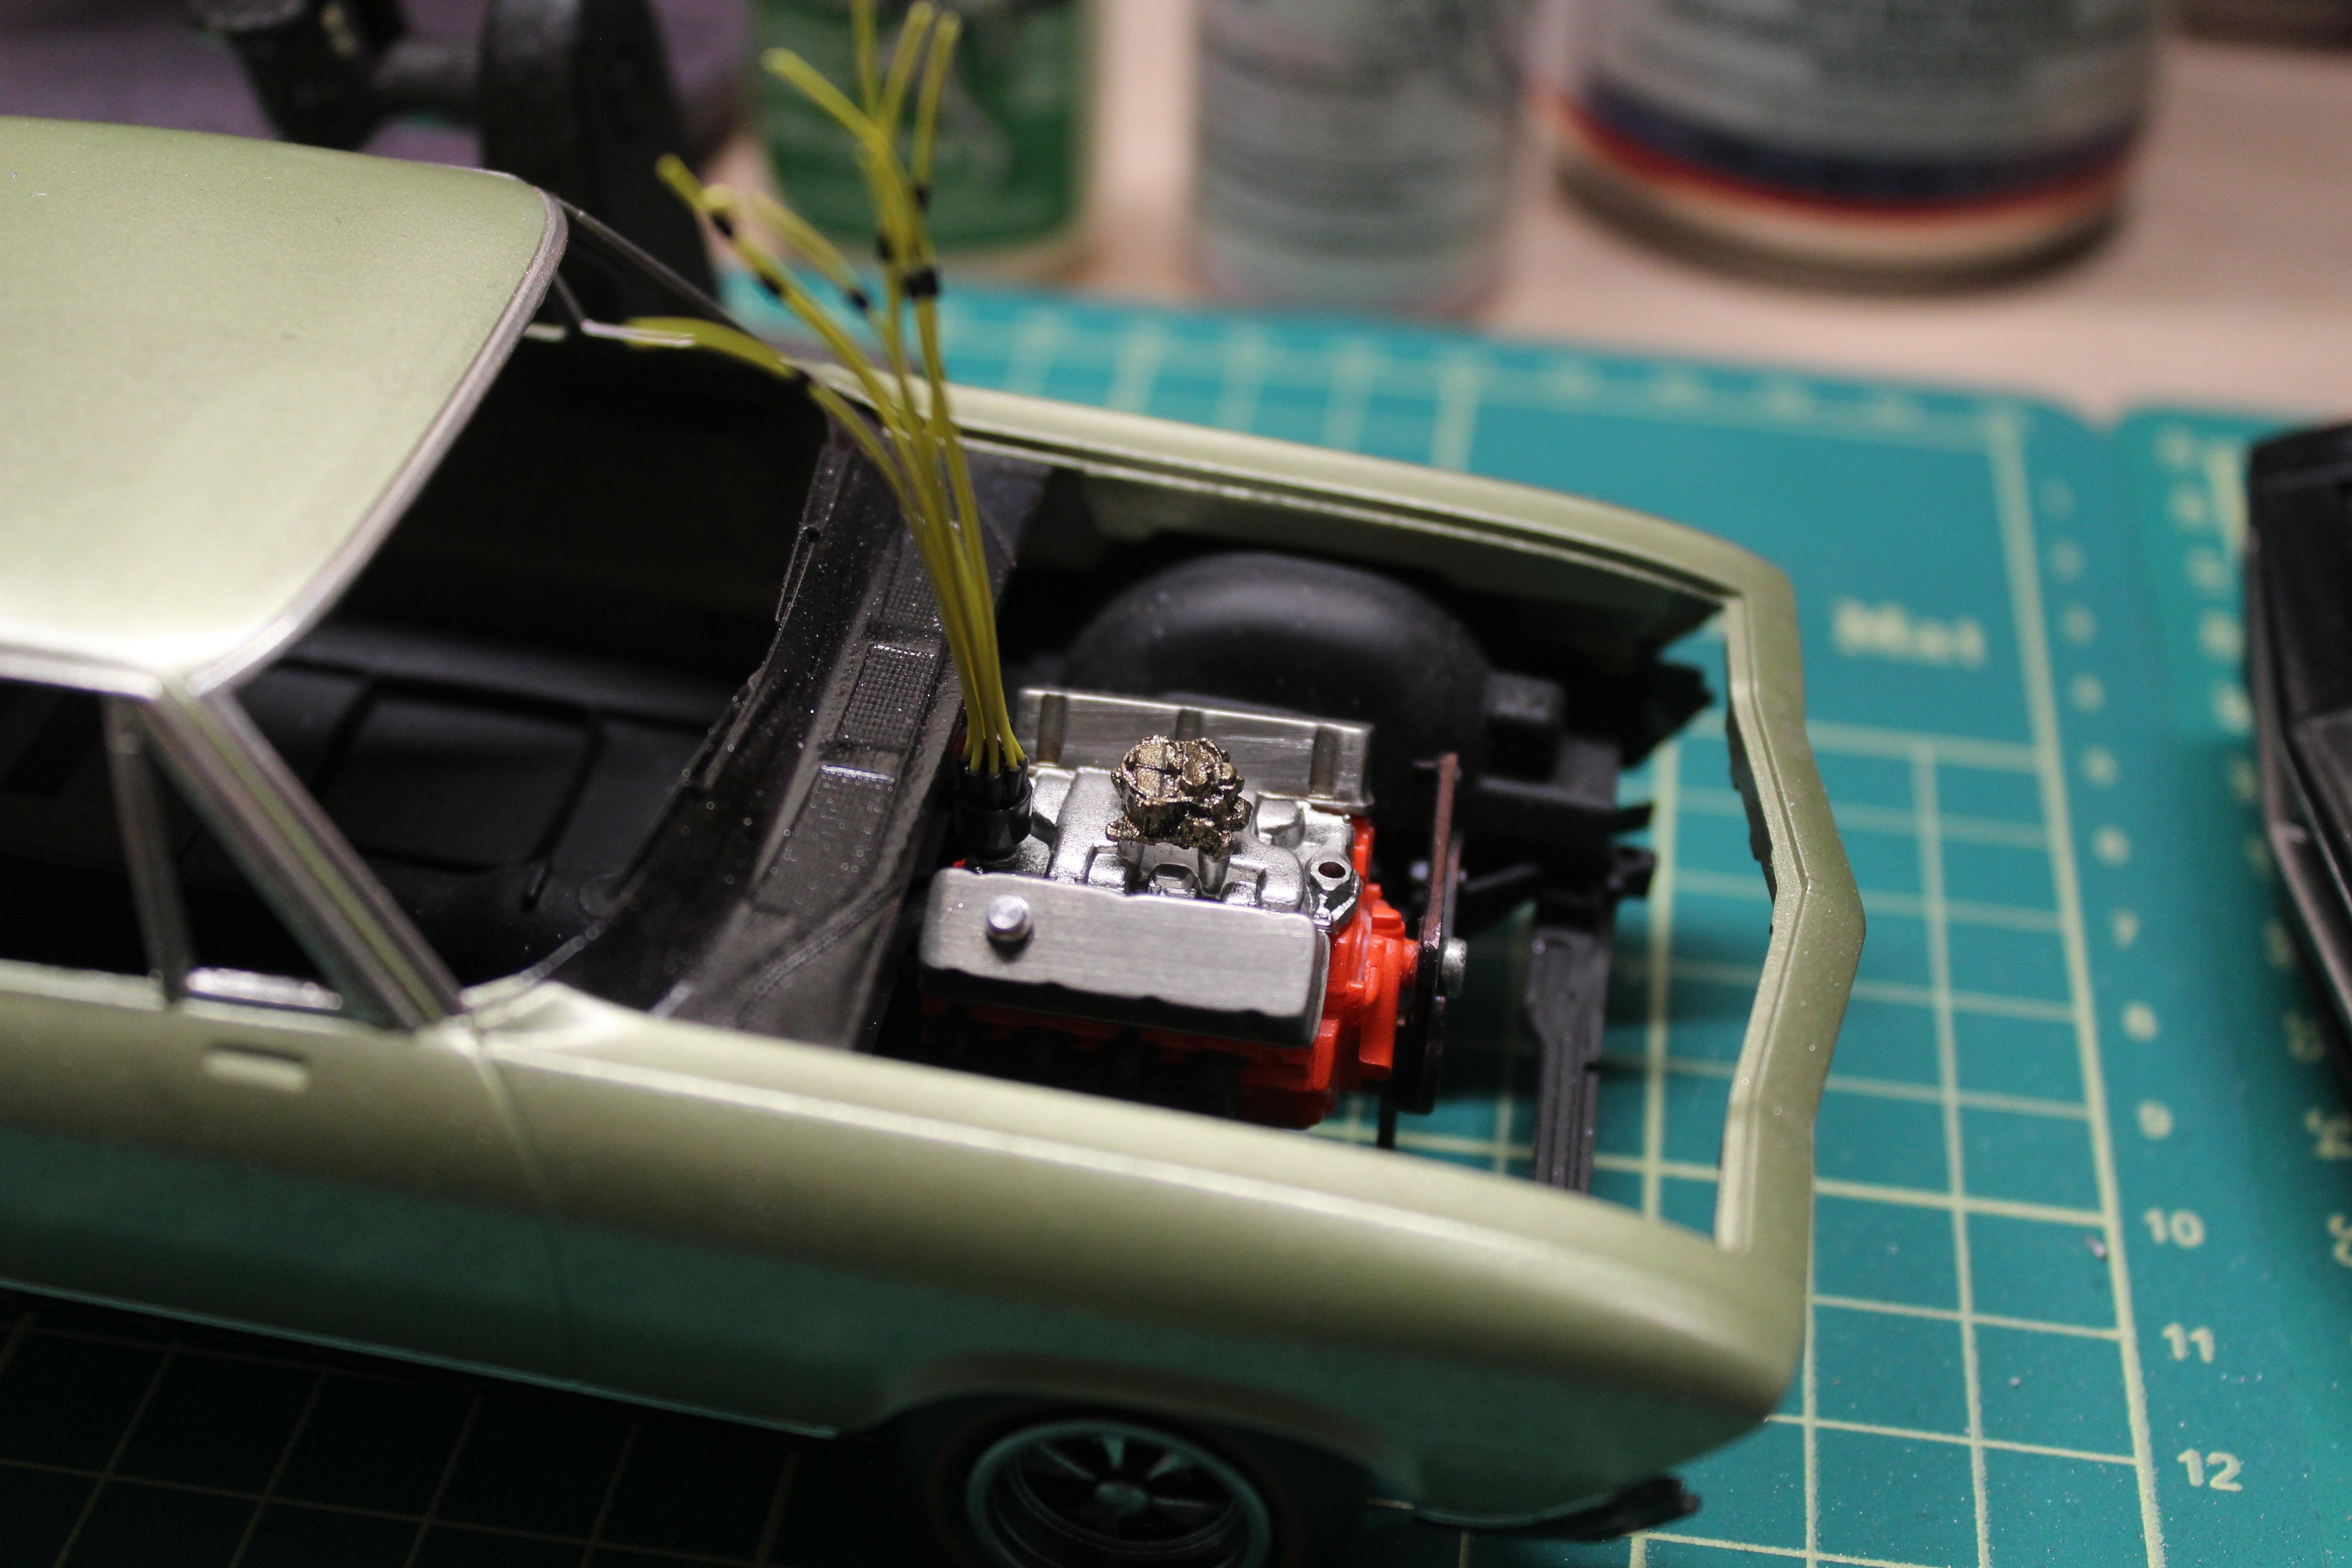
I managed to find a set of MAS aluminum valve covers in my storage area. I am quite happy with how the big block fits and looks. Ive been playing with stance and think i've got it figured out now. I will not be running the rear wheels, they are just for mock up purposes. I will however be using the tires. I need to shave the engine mounts a tiny bit more, so that the valve covers clear the hood.
-
Looks great. The green with gold lettering really pops!
-
Love the color! It's looking great.
-
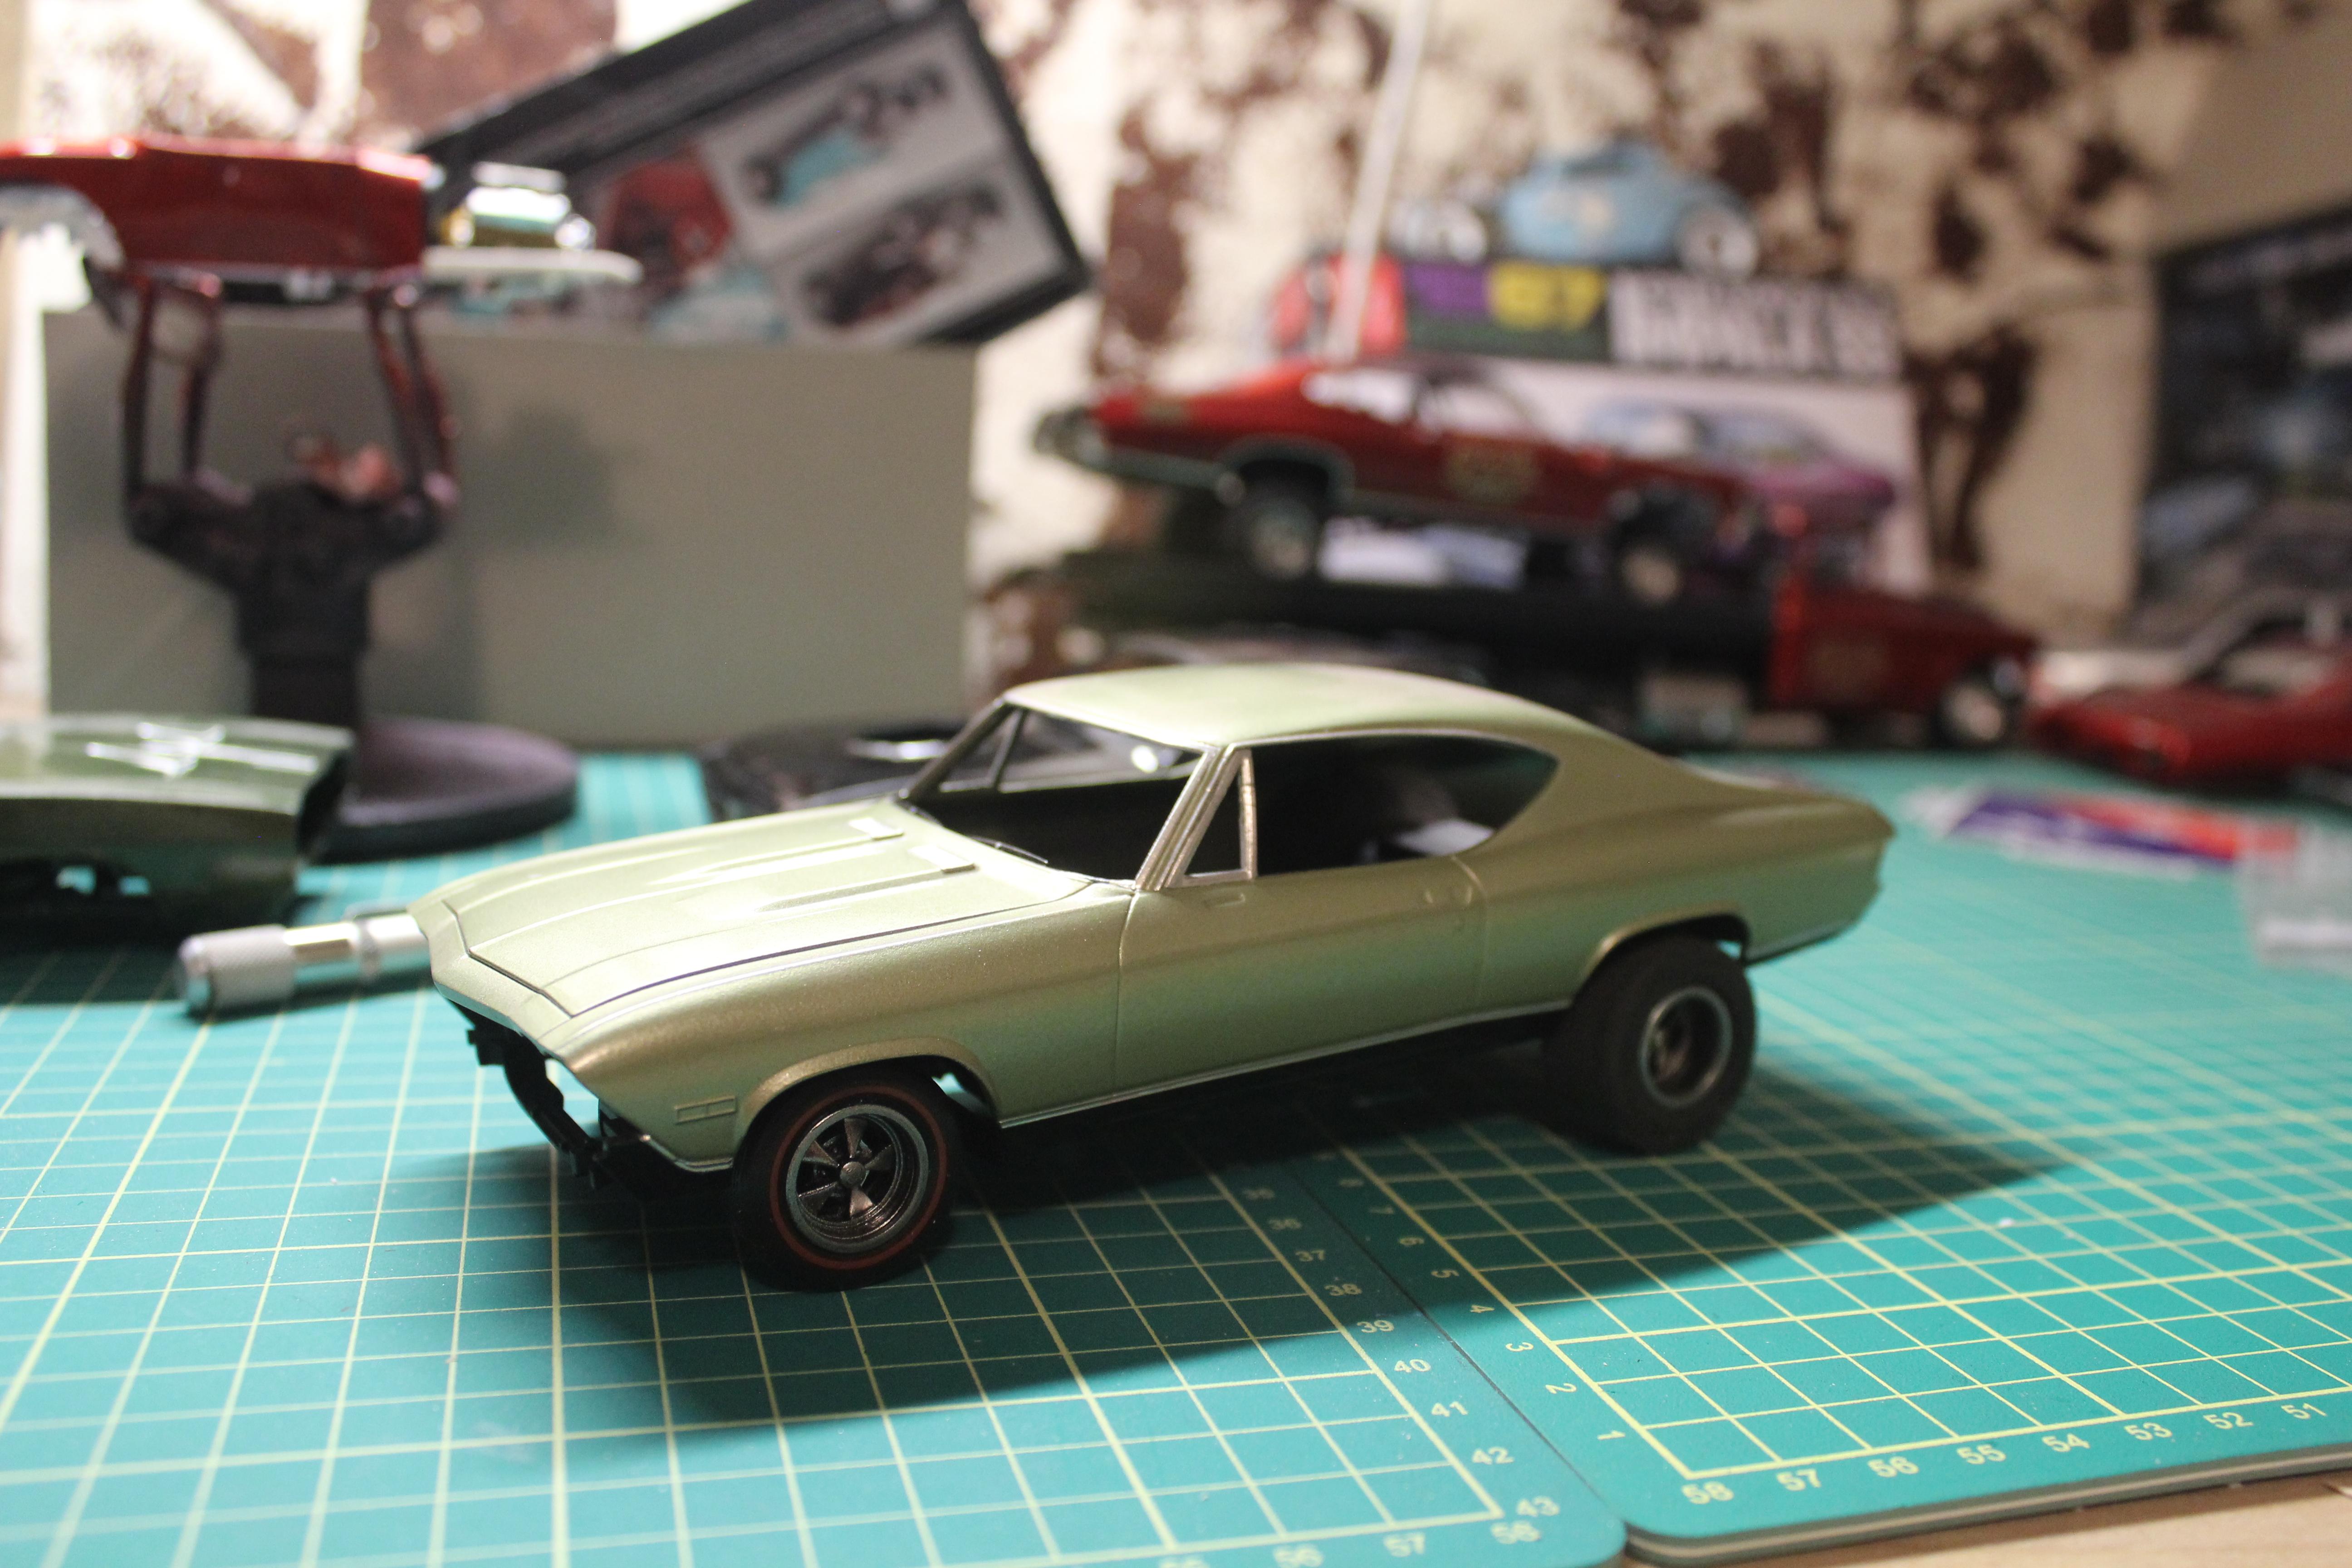
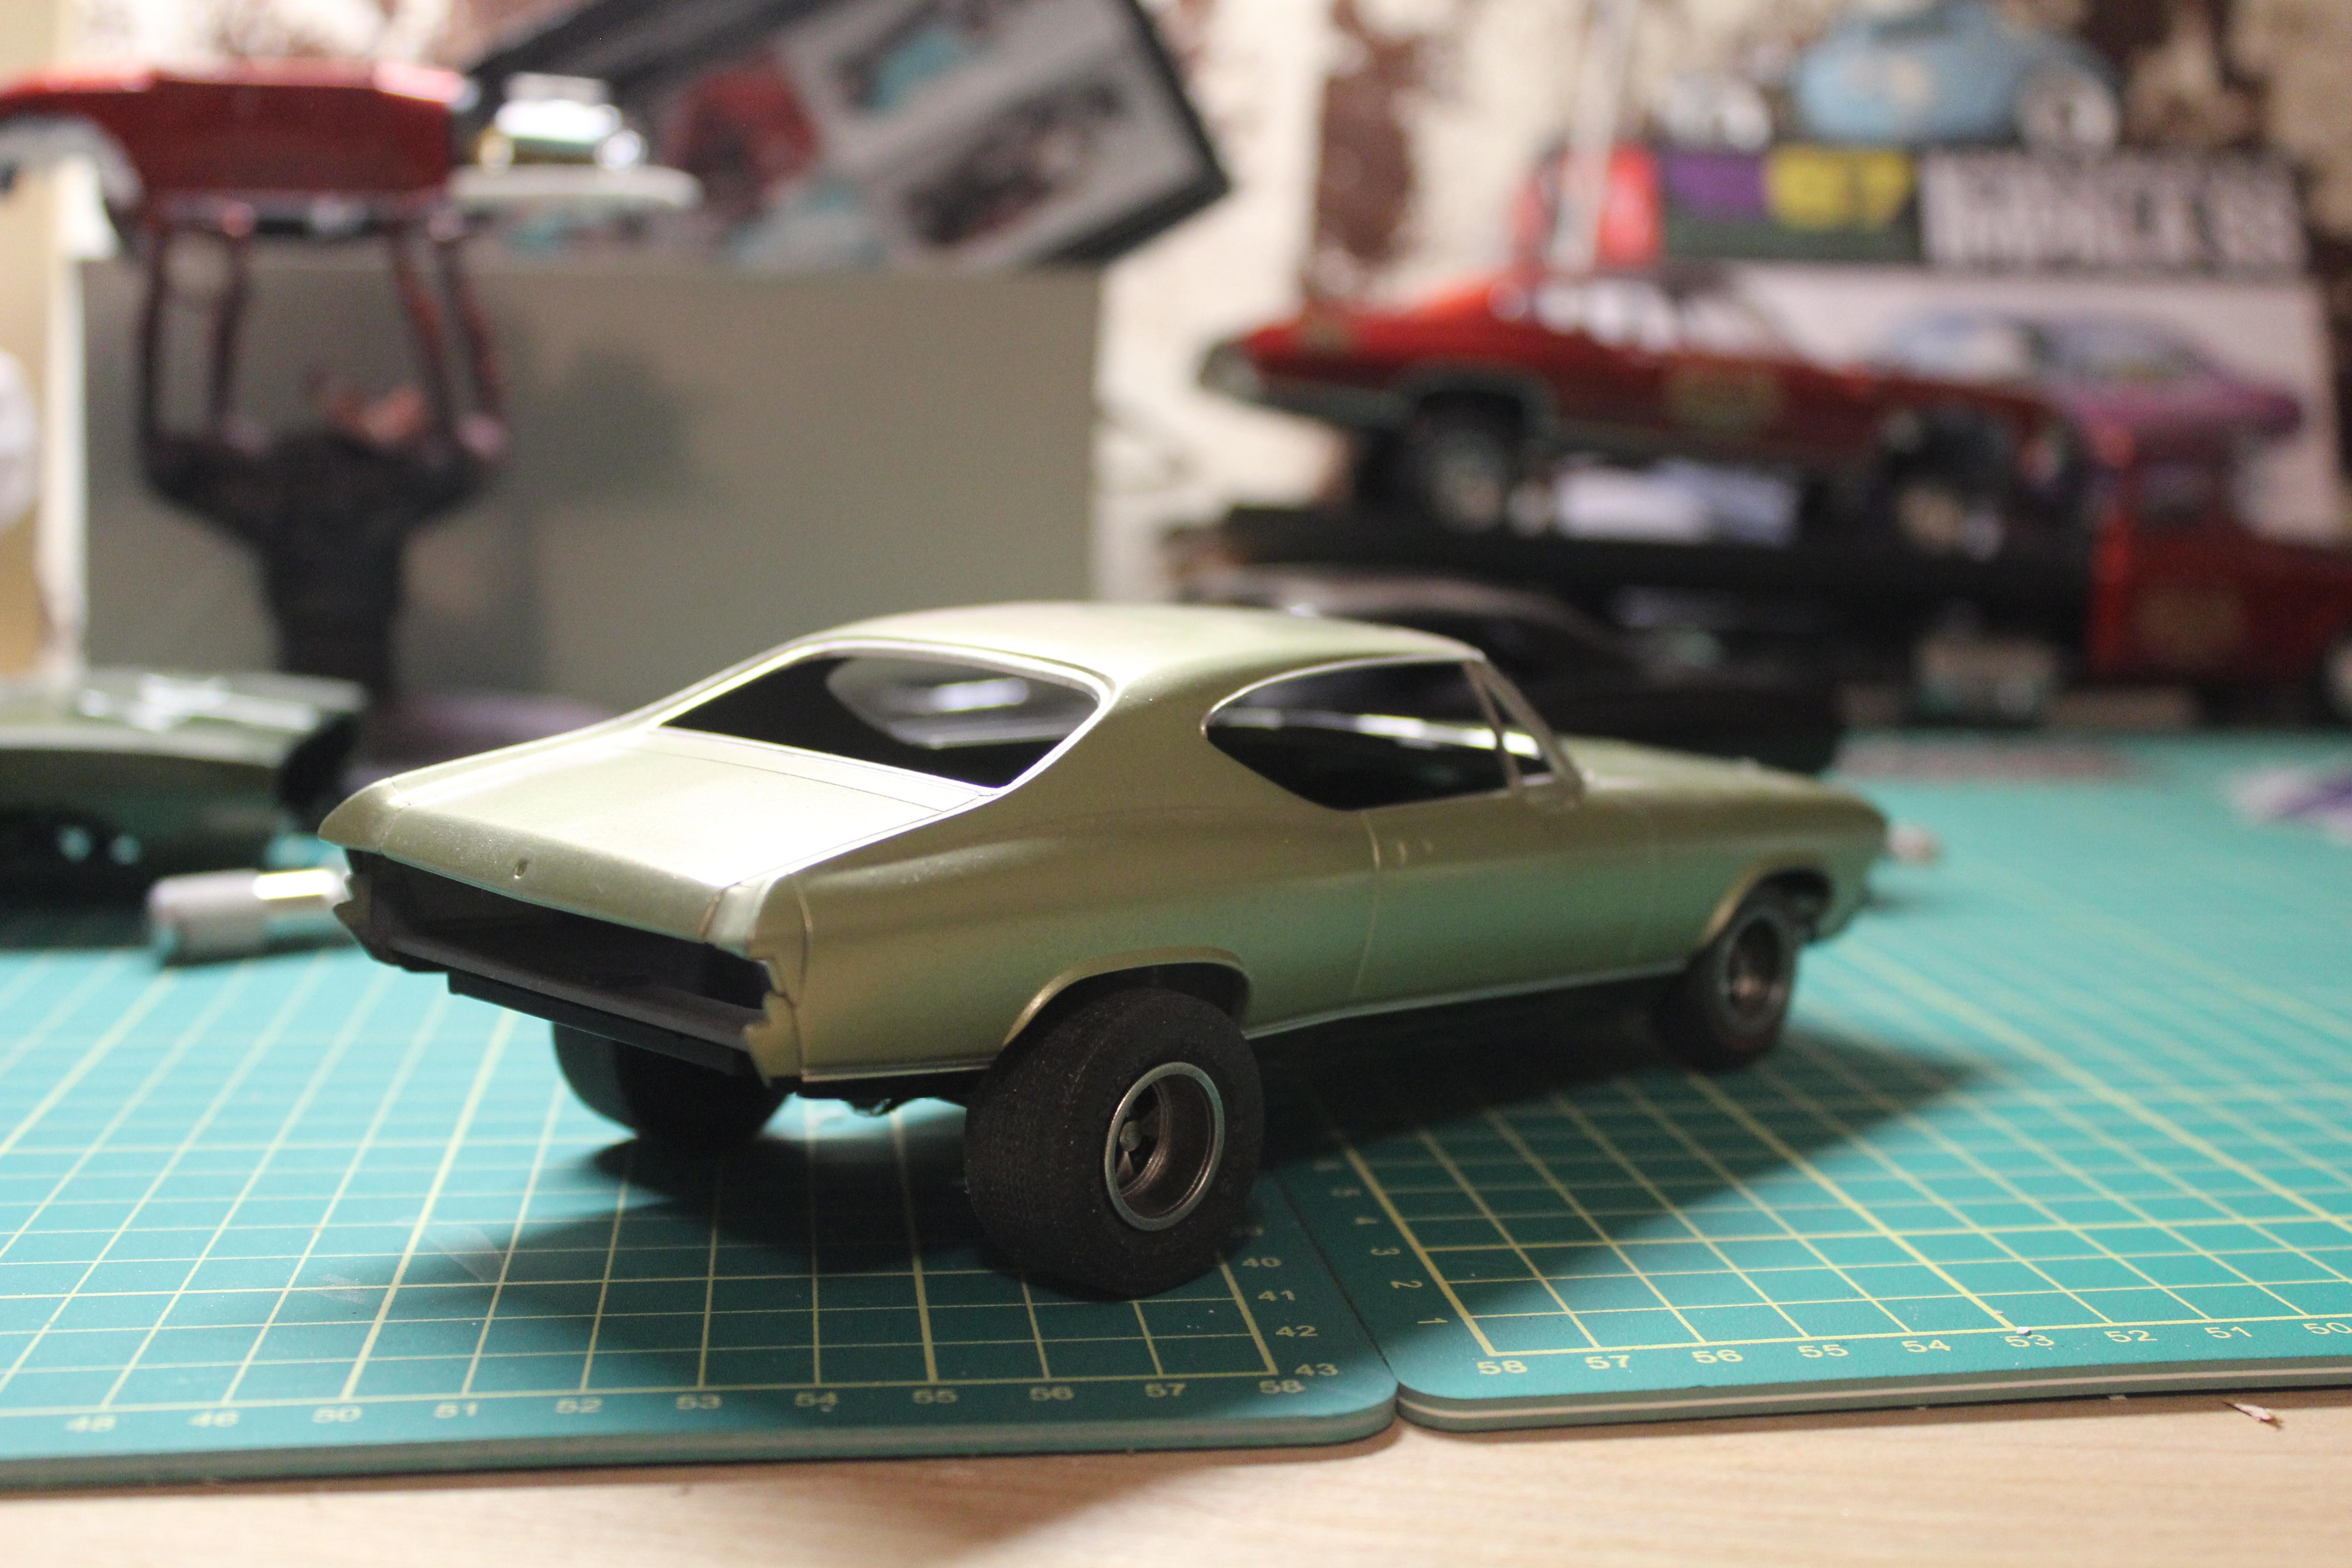
Its not much... but progress is progress. After removing the Tunnel ram to clear the stock hood, I added an aluminum intake and Fireball Modelworks Quadrajet. I will be using the foam "triangle" mesh air cleaner from the Moebius gasser Nova which is still era correct for this build.
-
No major progress but I did track down a set of air cleaners, and made filters for them. I really like the look.
-
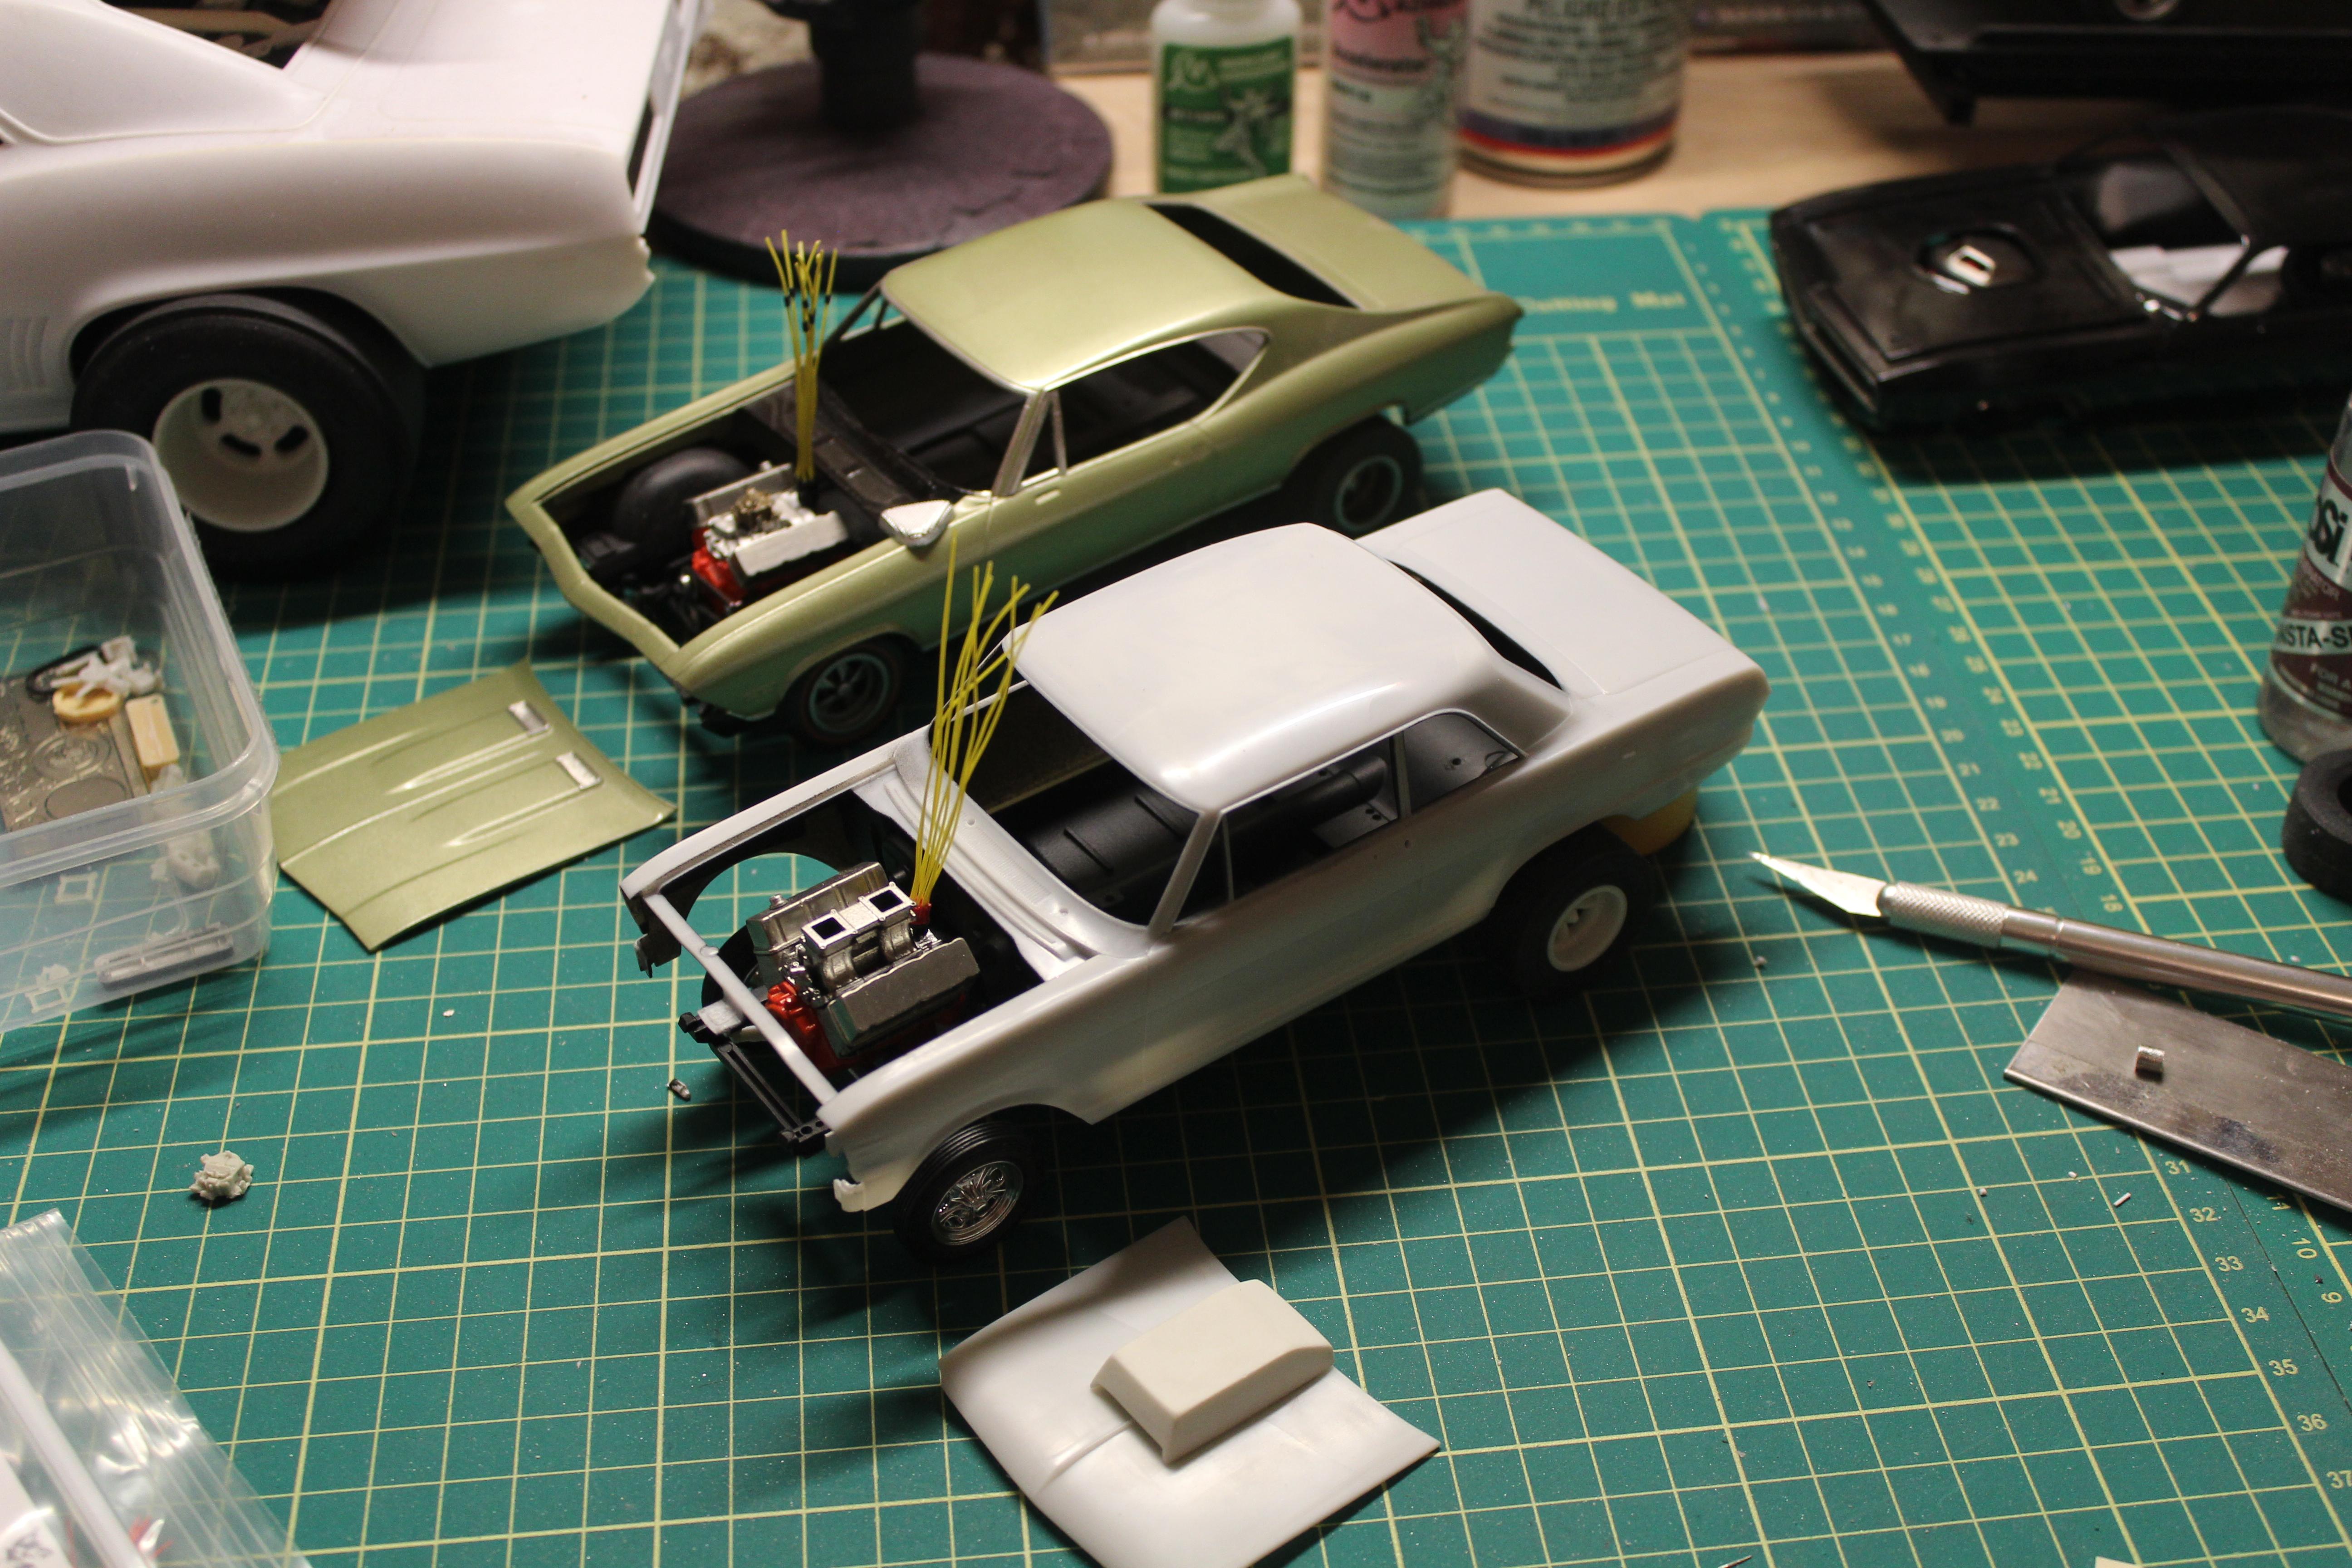
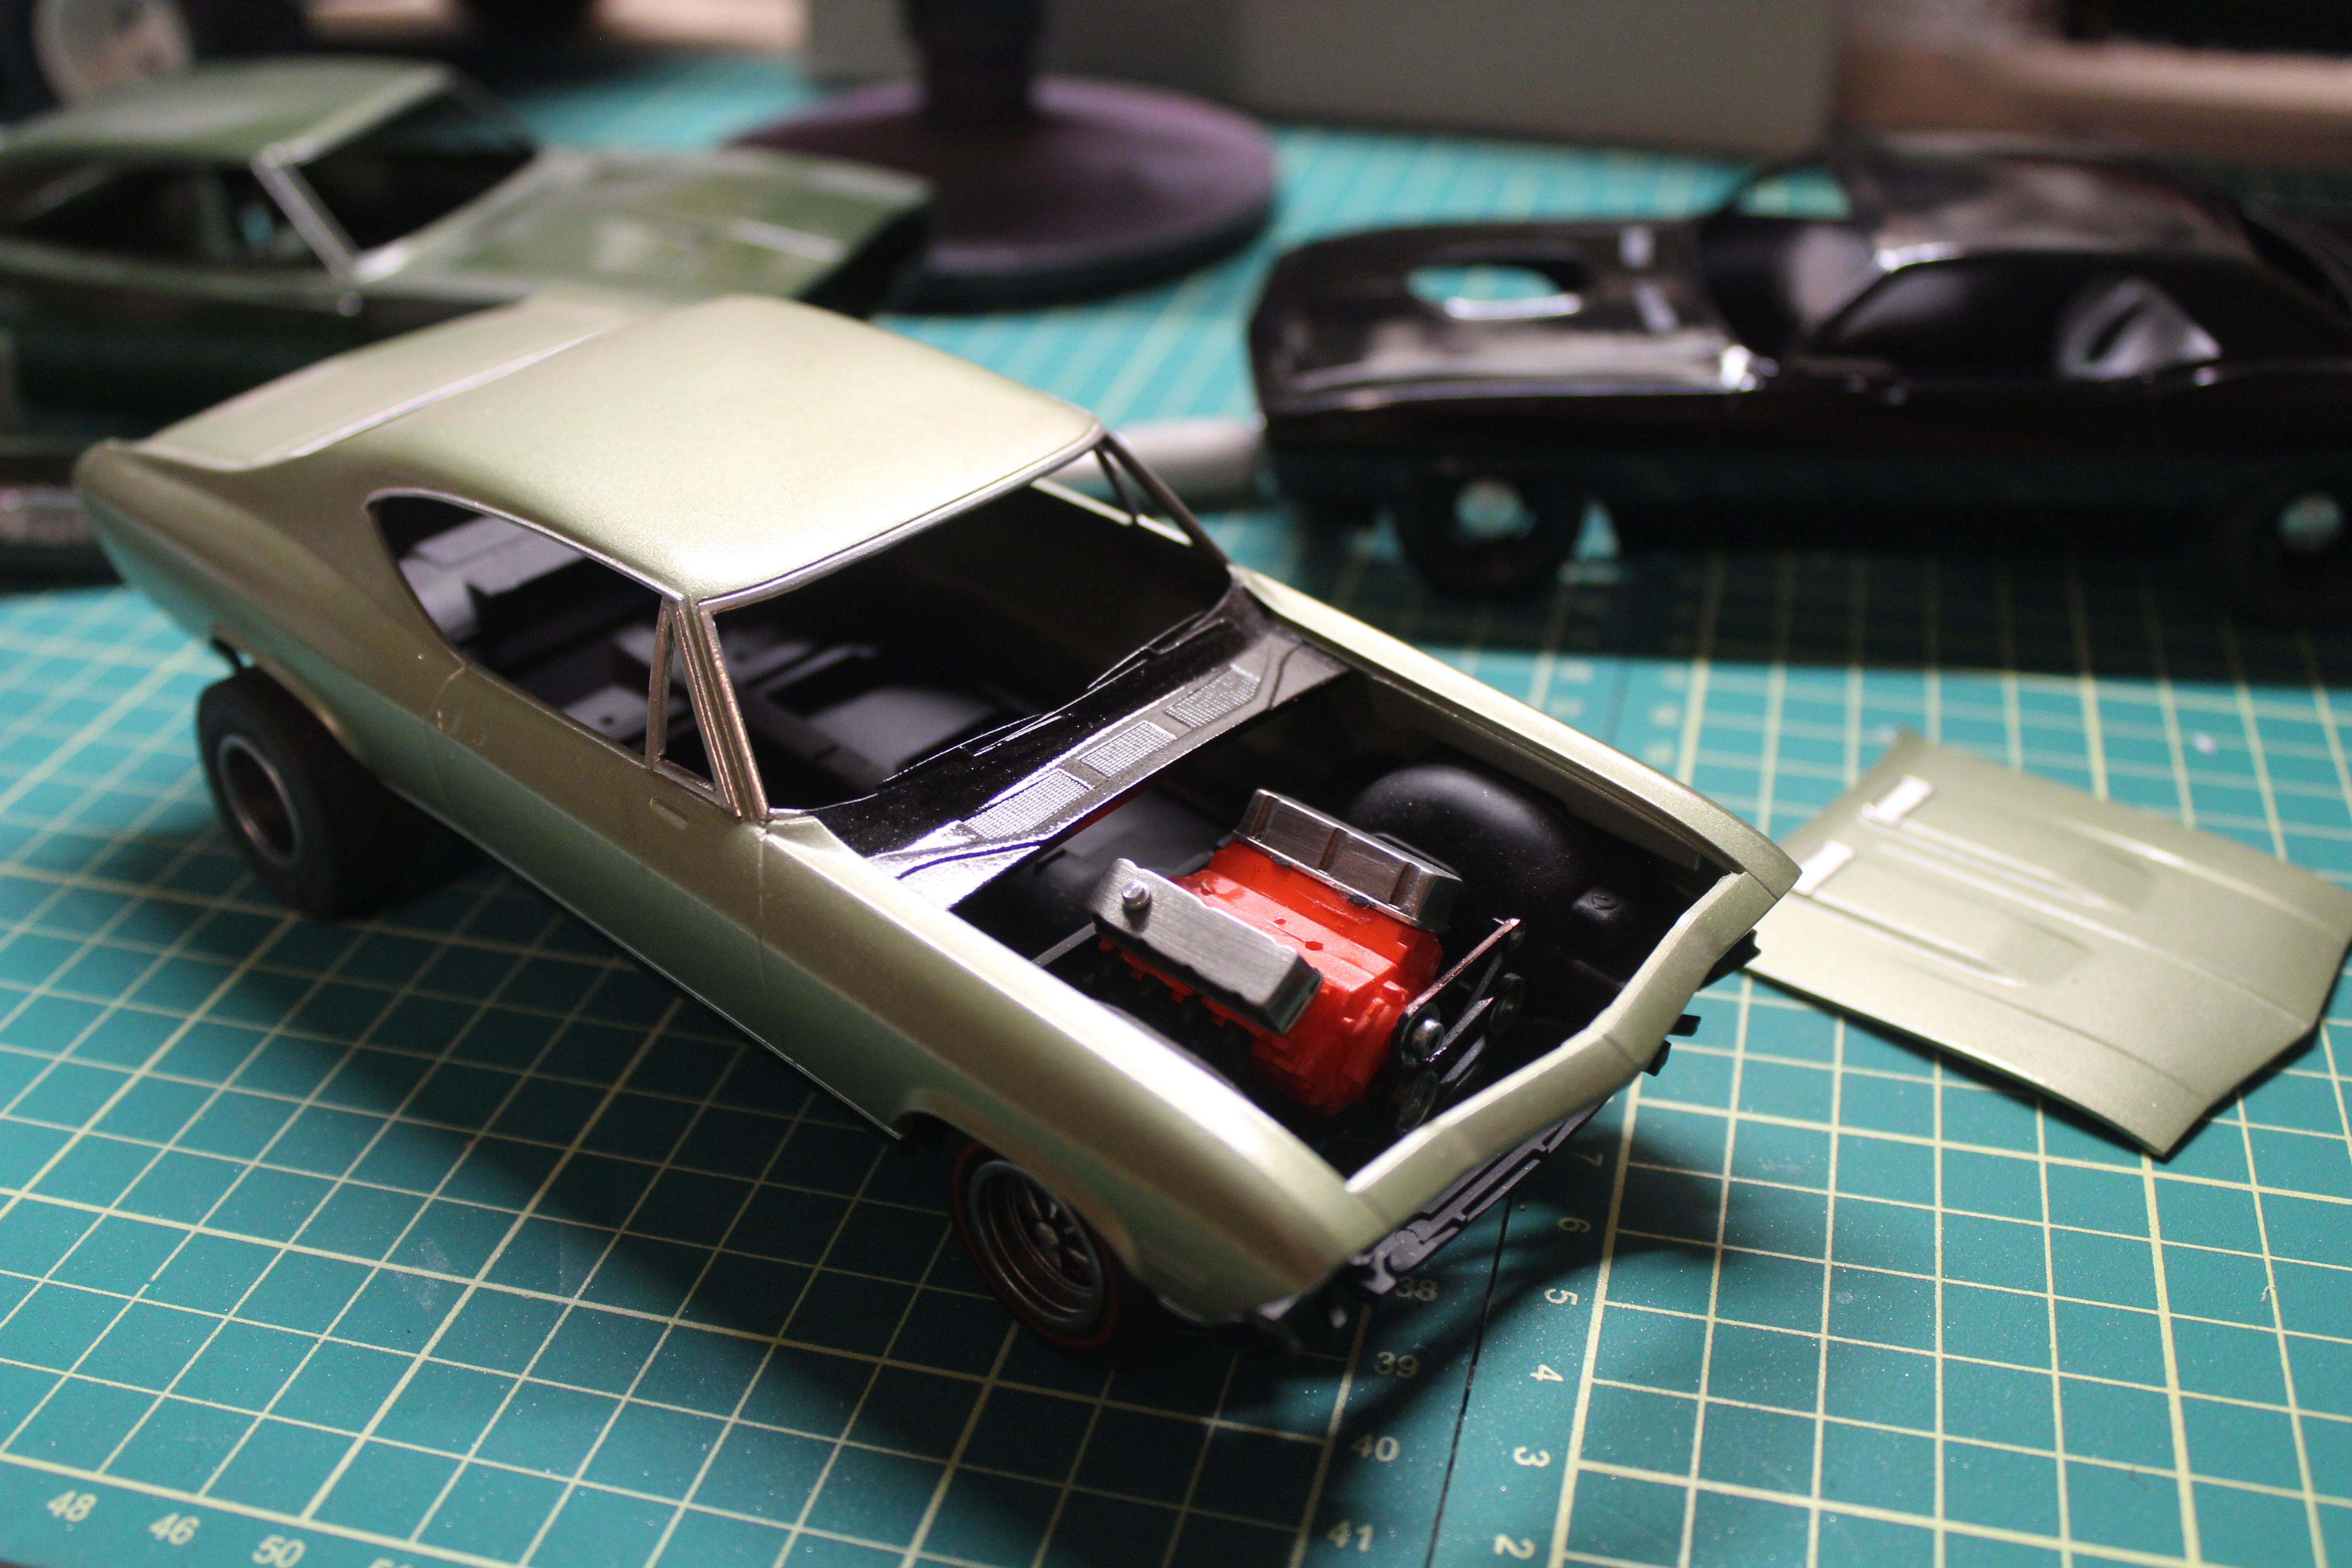
Bit of progress on the 427/4spd. I painted the engine, trans and heads. Heads are mounted and I started working on the intake. The intake is a Wieand tunnel ram that I had bought a while back and started using on my 68 Chevelle, but decided to go another route. When removing it a piece broke off which had to be repaired, as well as some styrene added to the runners to mate up with the heads properly. Heads are drilled for plugs/wires.
-
Color is going to be awesome!!! Im happy to see lots of guys working on these kits... show moebius how needed these kits were. Hope to see stock version of the 65 and a gasser version of the hardtop in the future. I'll be following along! Are you going to use the kit engine? Or something else?
-
Bit more progress, I decided on the 427/4speed from the AMT 67 Impala, however I will be using more detailed 3d Heads and Tunnel ram intake. Id also like to get my hands on some more MAS Aluminum valve covers but they are scarce these days. I found a box of detail stuff that I didn't even know I had in my storage room ( must have been from when I moved 7 years ago) and amongst it was a Grump Lump scoop..... I like the look. Now to track down a pair of BBC fenderwell headers from the Spirit of 57 kit and ill be well on my way.
-
great start! Im thinking I might go Big Block with mine also.
-
Im even lighter up front with my 1:1 as ive got the Heidts subframe which frees up about 250lb. Not much progress today, I wanted the front a tad bit higher for the obnoxious look.... so I added styrene to the leaf spring mounts and started to build mounts for up front. Next will be the rear suspension, as I want to hang Fireball Modelworks N50-15s out under the wheel arches without radius-ing them; the rear will sit quite high.
-
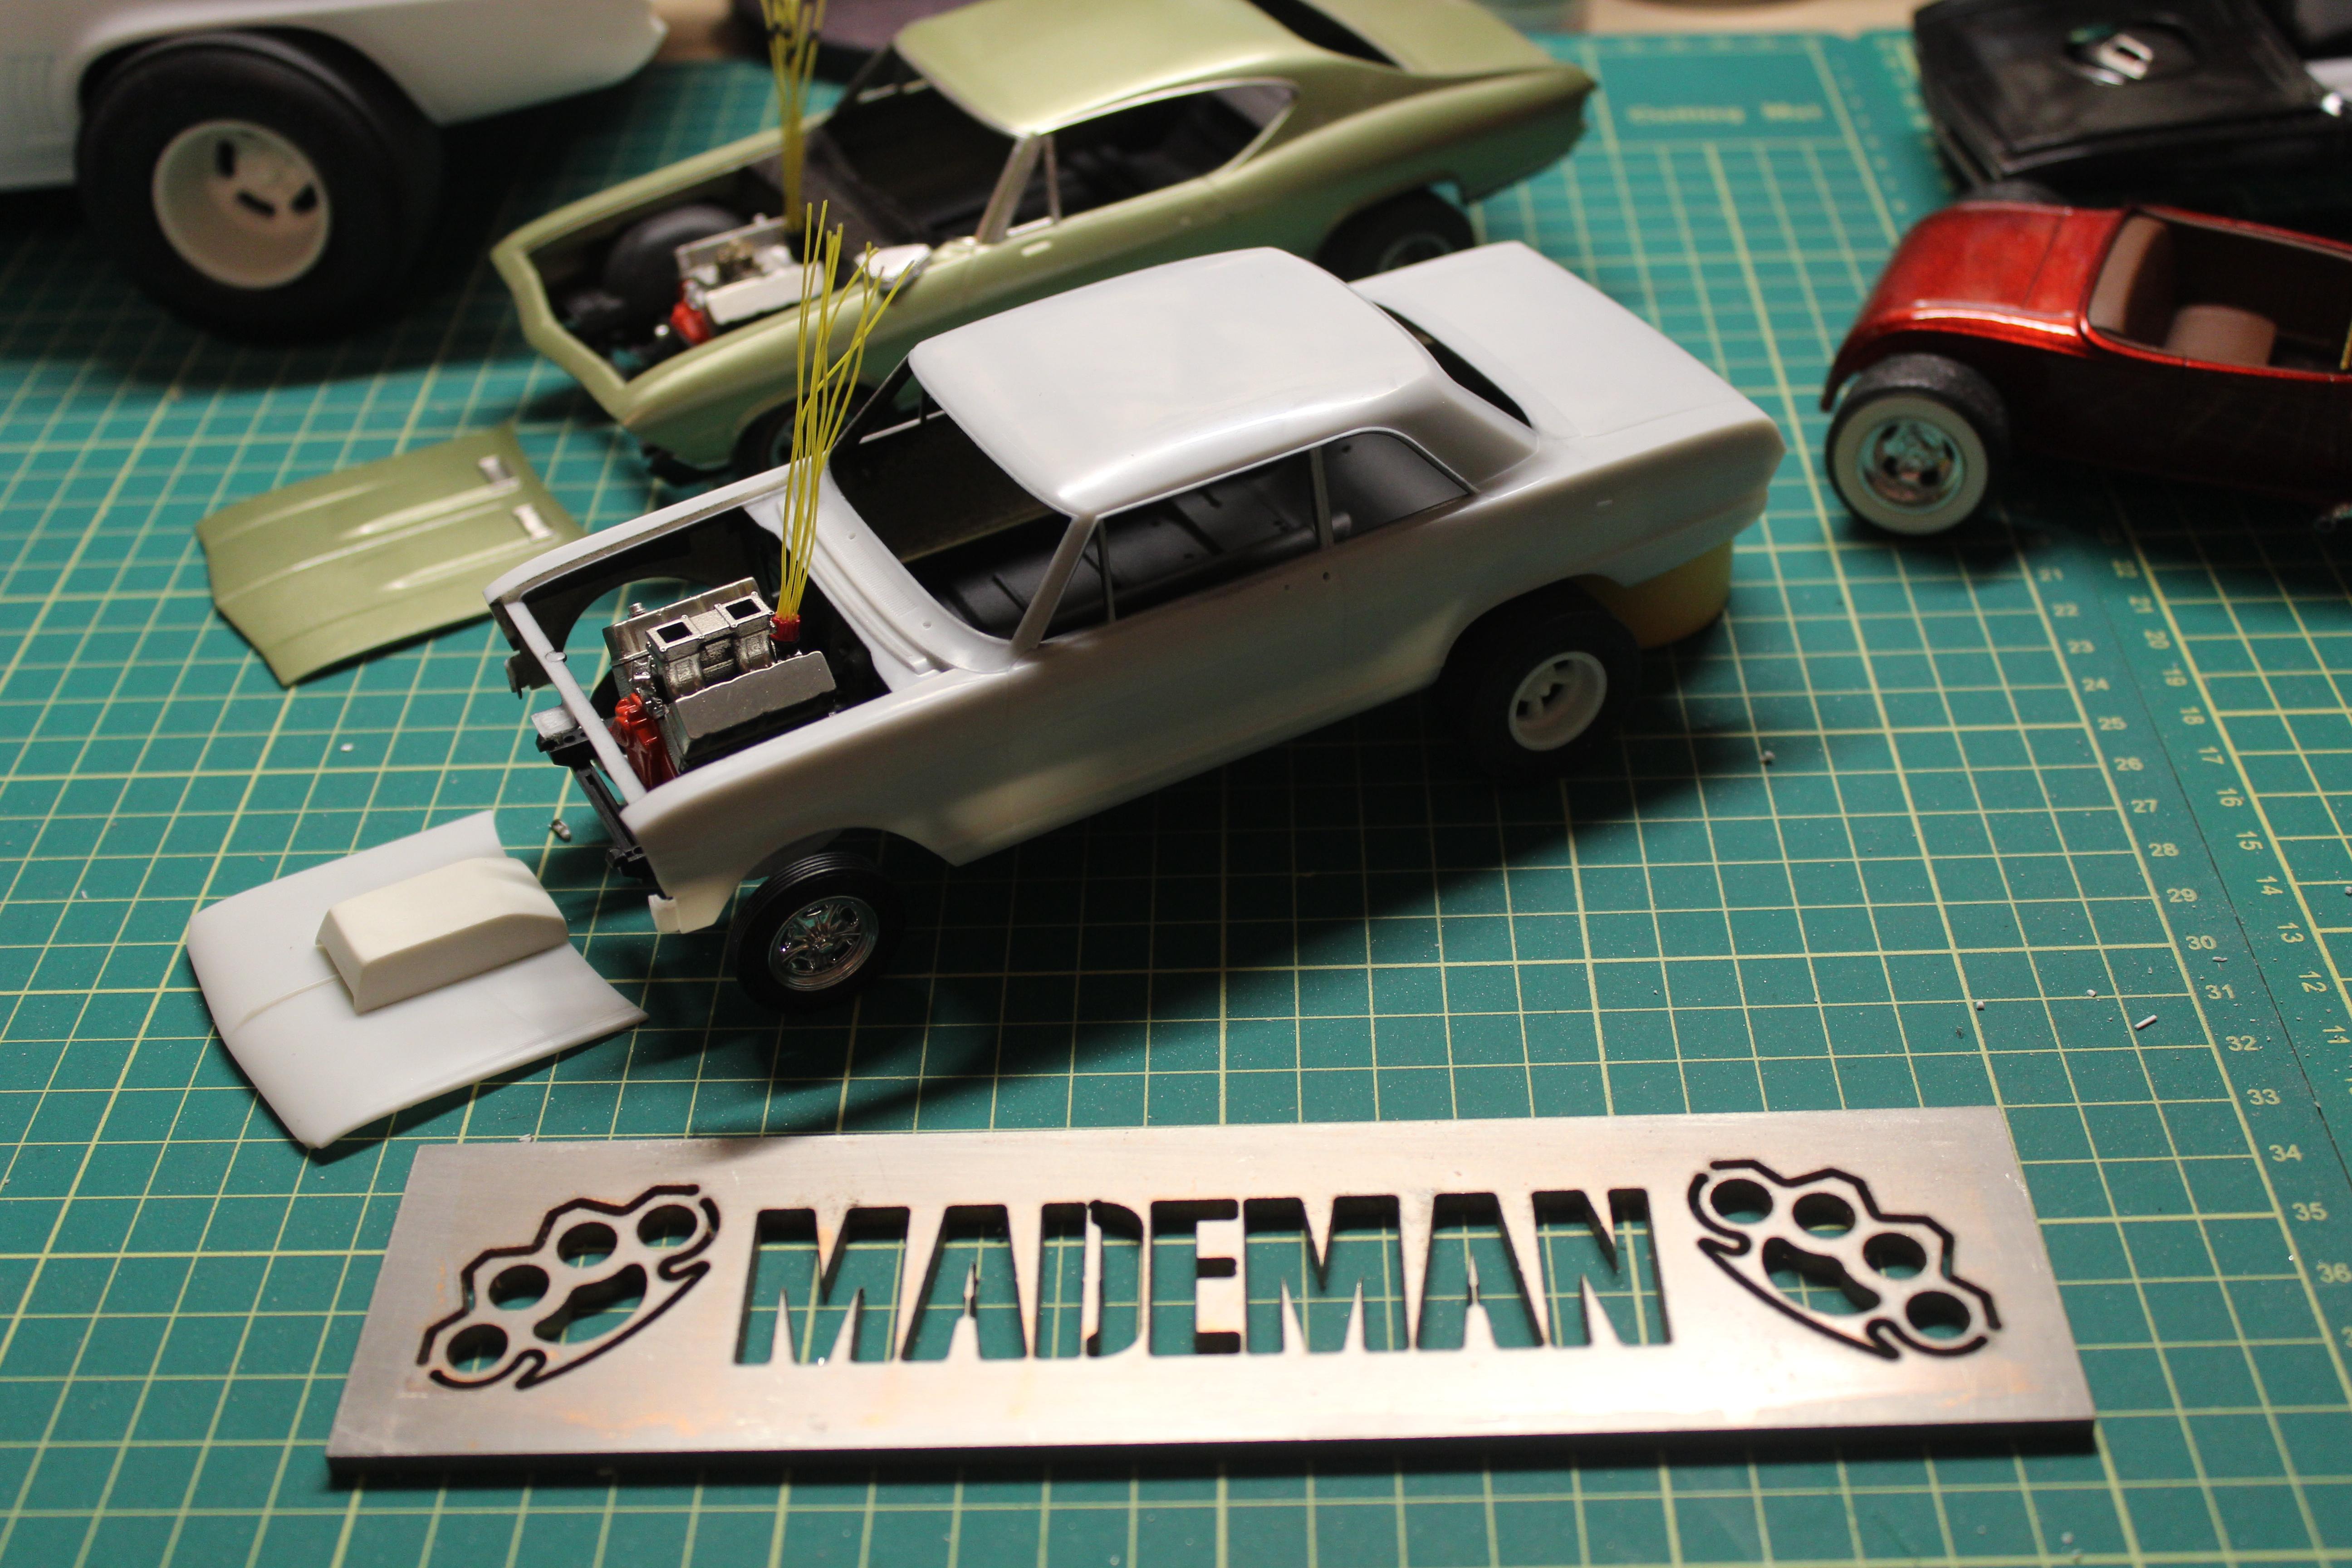
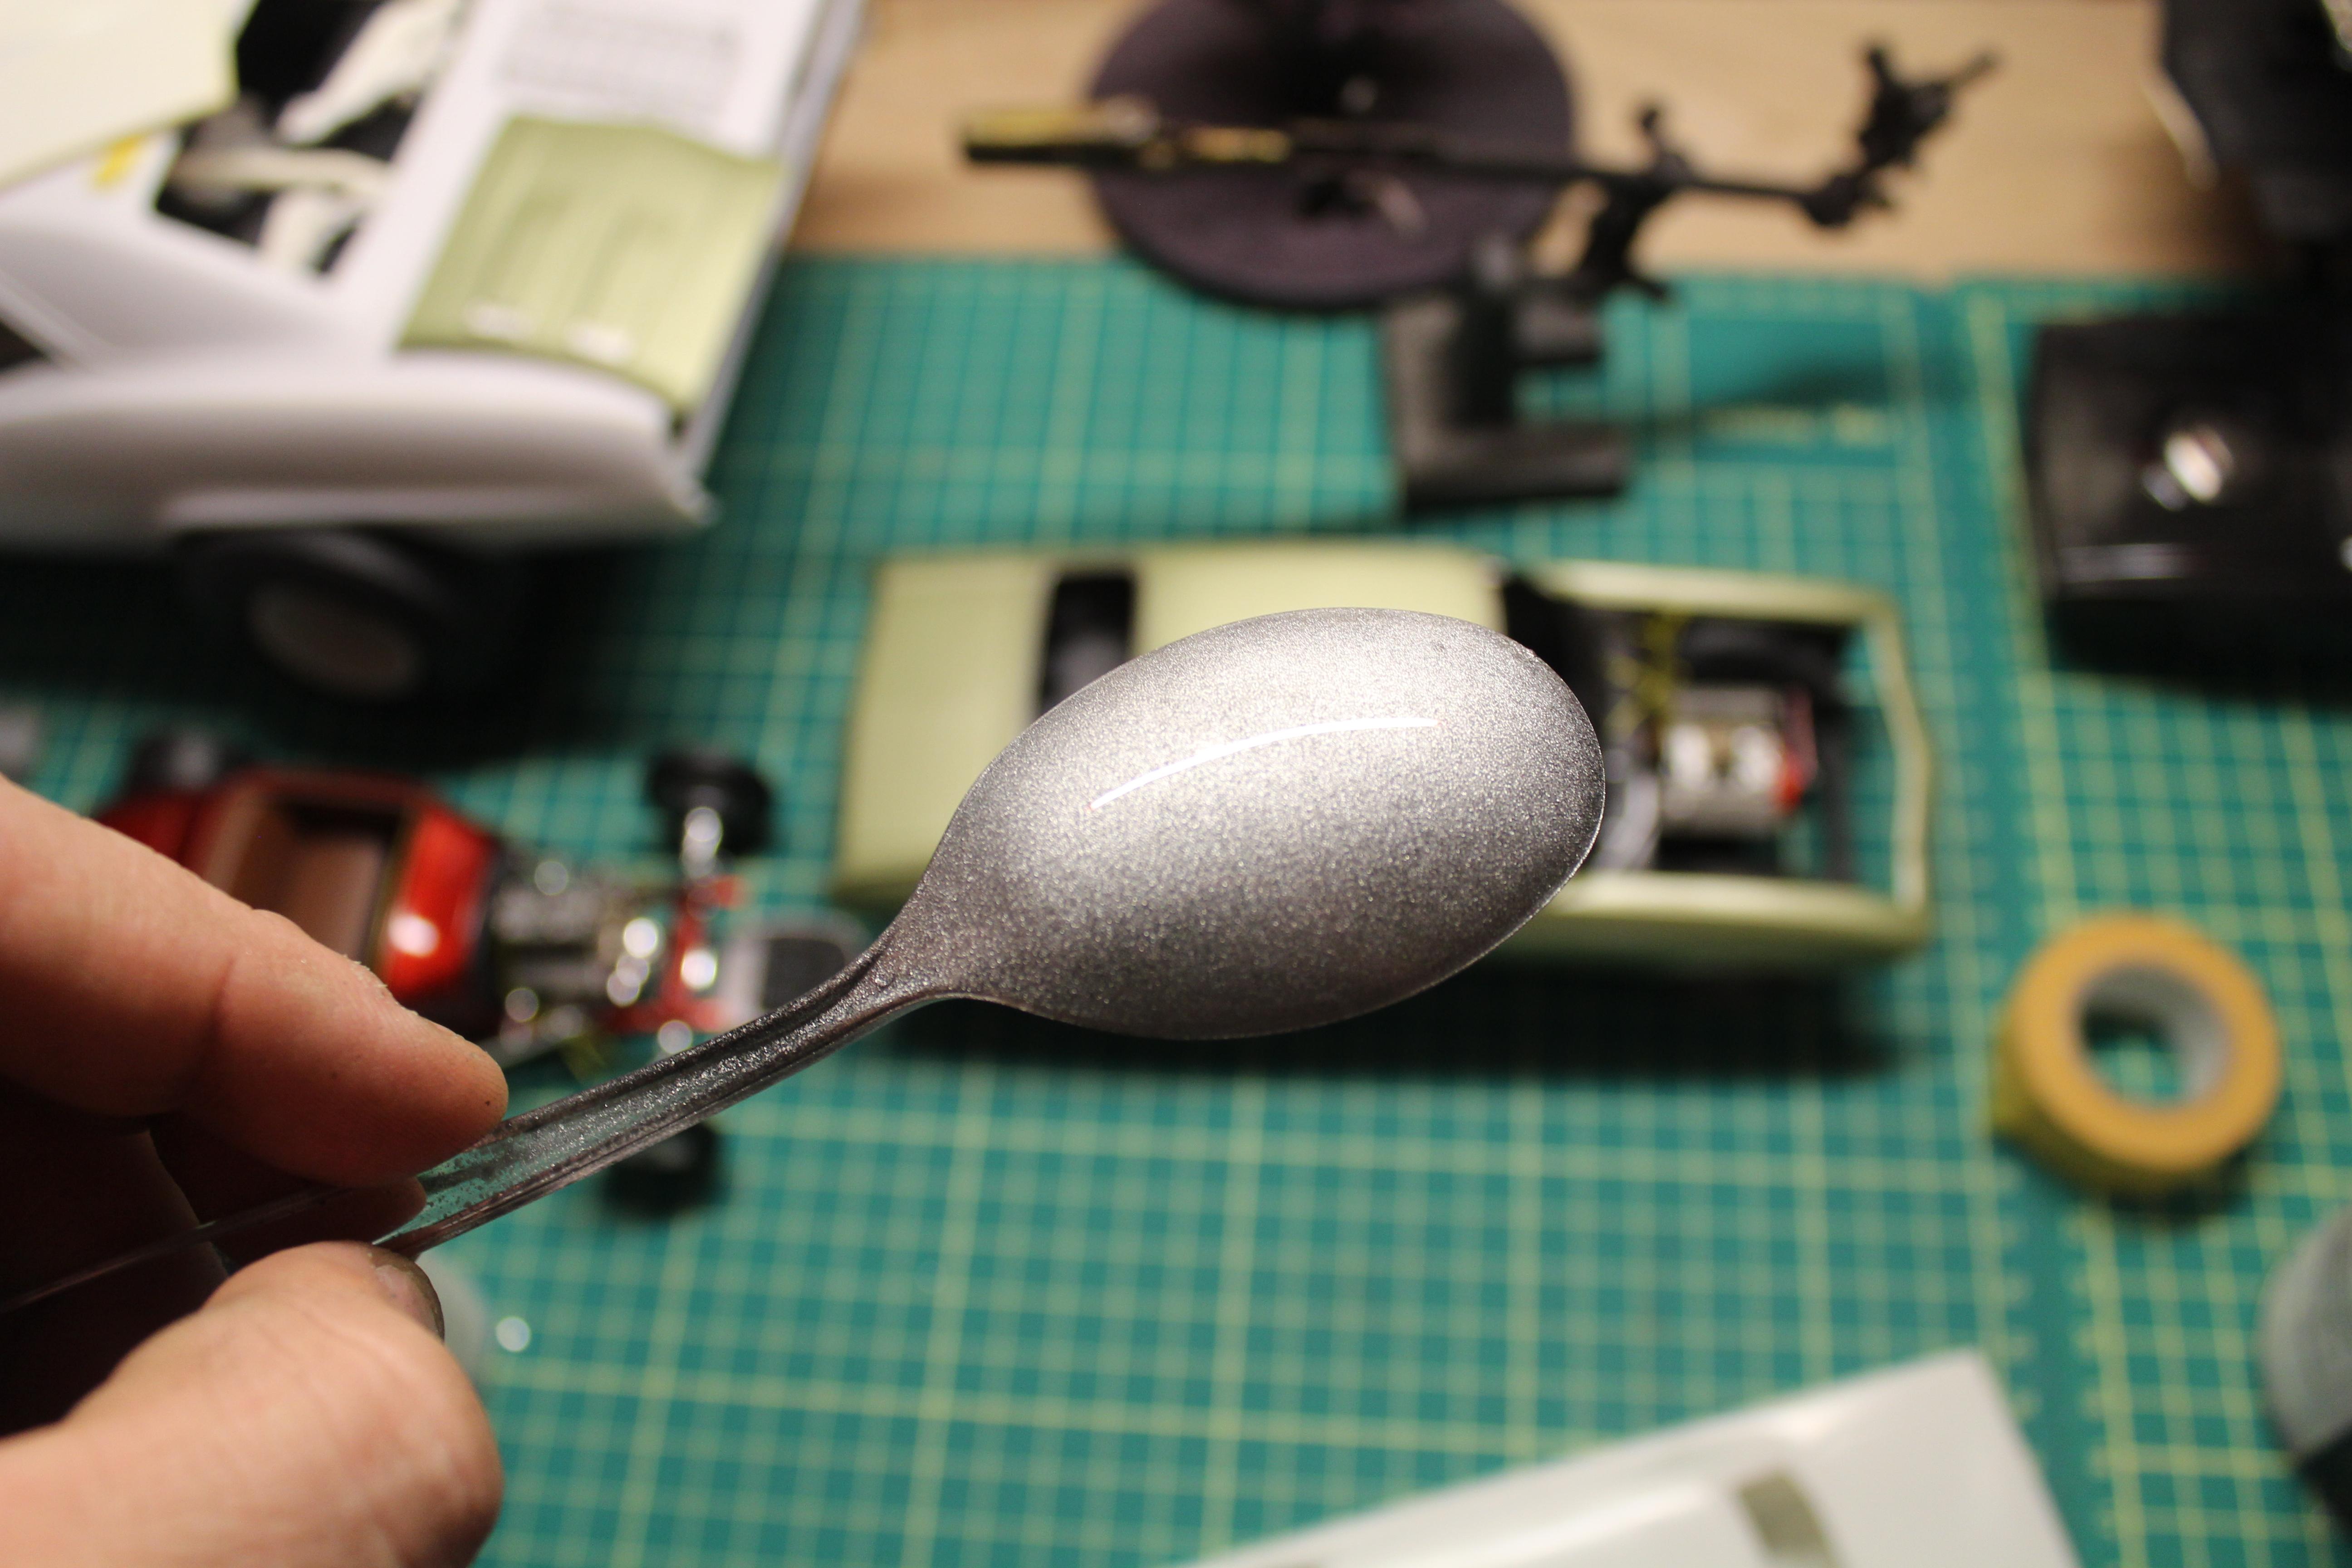
Heavy Silver flake is what I've chosen to go with, I will post the Name of the Gasser once my custom decals are done. Im pretty excited about it to be honest. Really liking this kit so far.
-
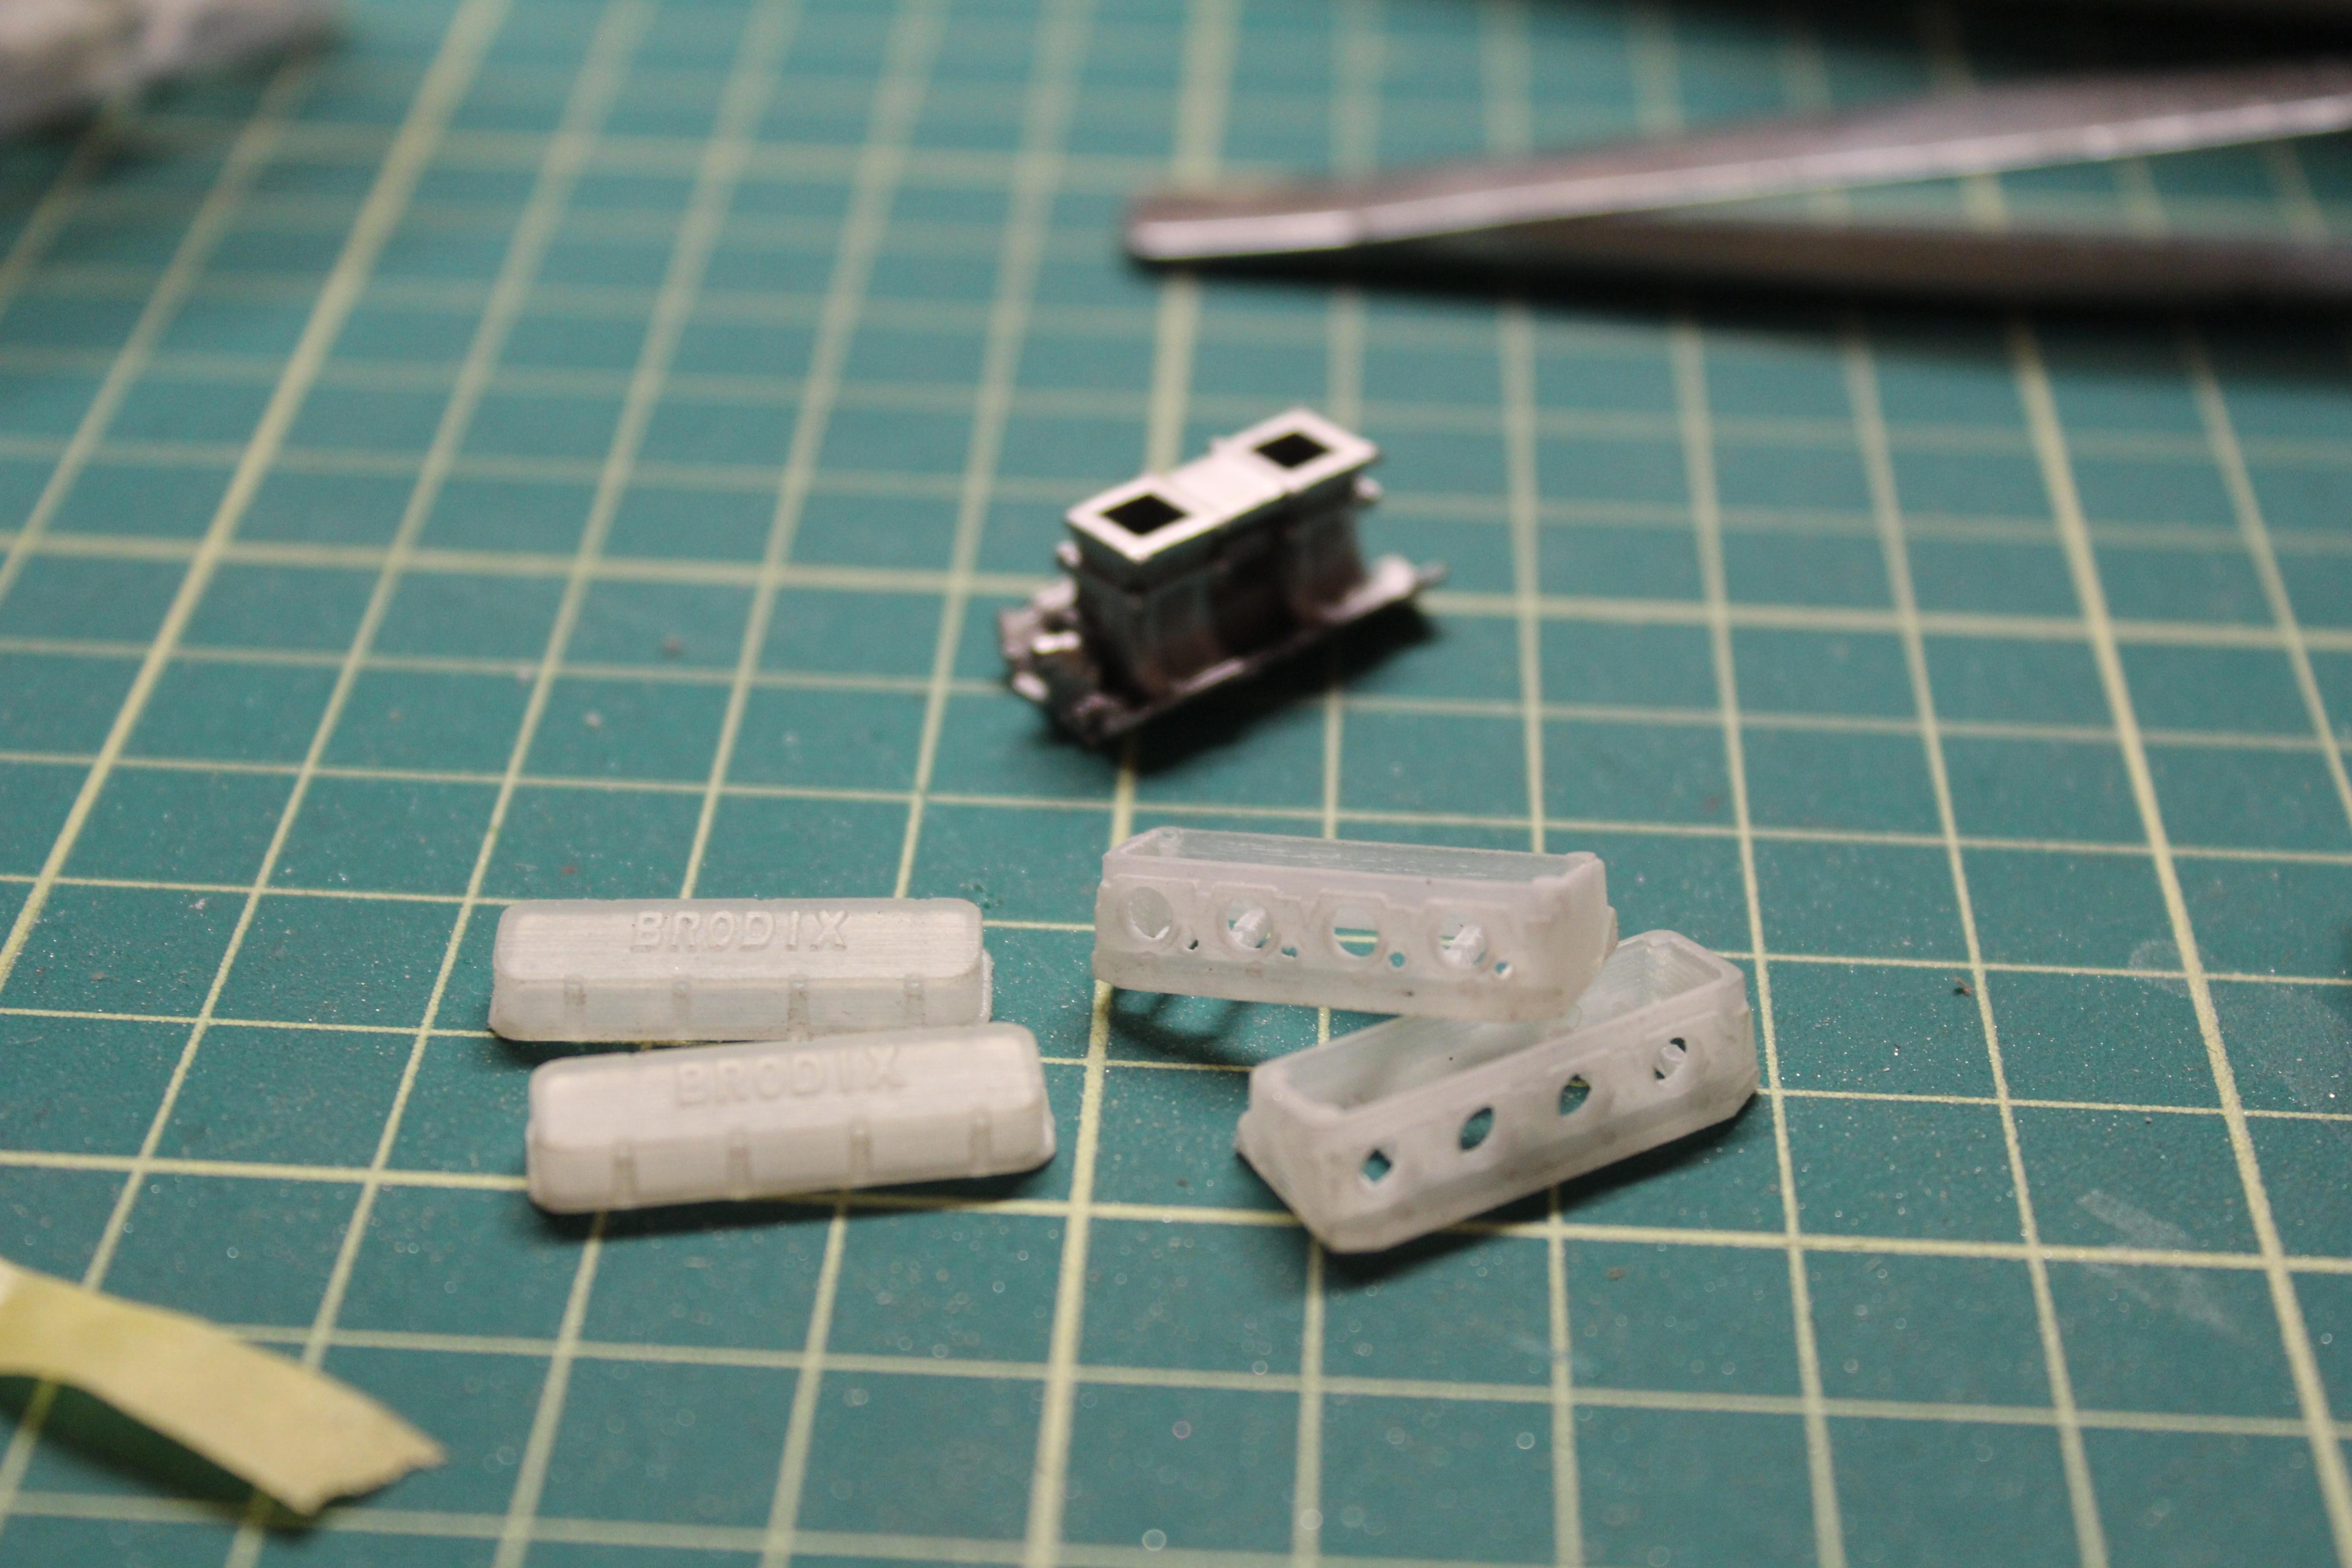
I've got a 1:1 with a 500hp stroker so I tend to lean towards the small blocks. But I kinda want to toss a 584 Brodix with a tunnel ram and dual quads. Only issue I have is the fenderwell headers, I'd need to source a set for the big block... possibly the monogram spirit 57 chevy.
-
Tbh I'd be lying if I said I even looked at the instructions. I dont like the format of Moebius instructions ( lonestar, and ford trucks) so I just choose to not look at them qnd build all over the place. Lol
-
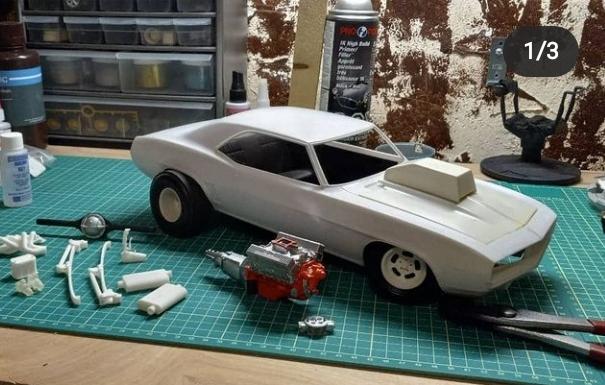
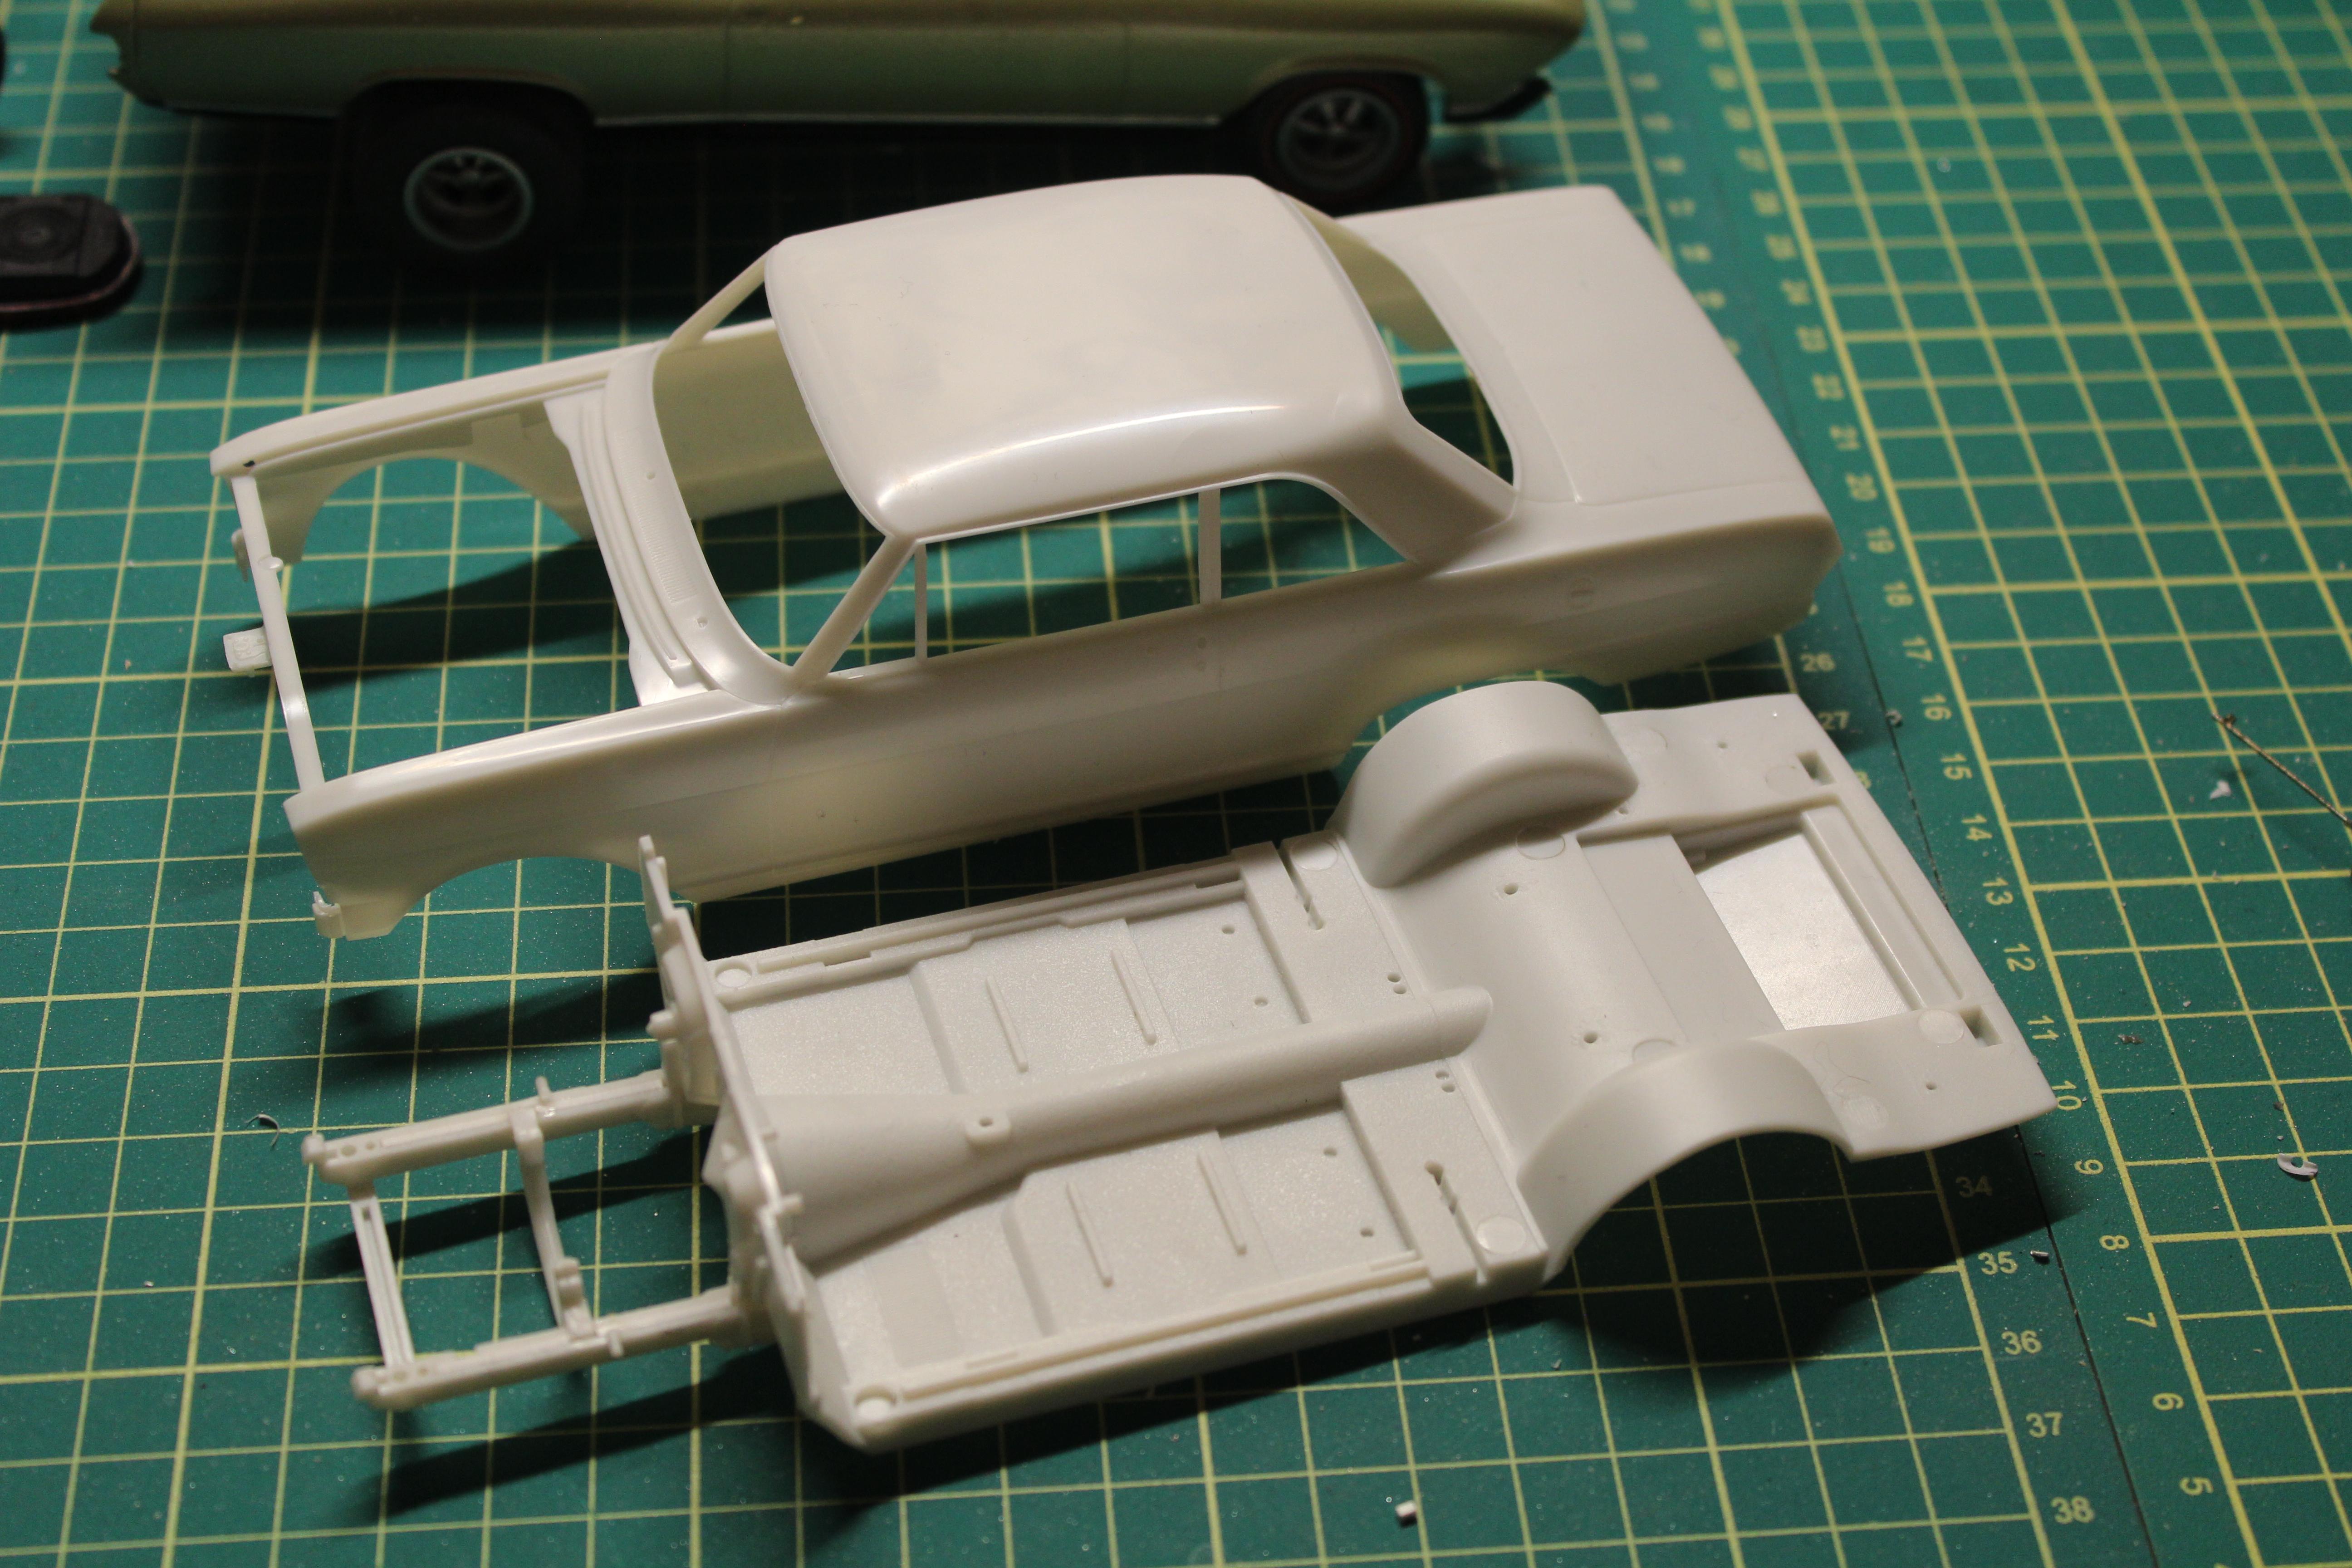
Been waiting for this kit for about 5 years since the initial 3d print was done and i'm glad its finally here. Out of the box, it looks fantastic! Lots of goodies included, little detail stuff etc. I started out like I do every kit, by filling in the sub-frame rails...... its a pet peeve of mine, I hate seeing a finished model with hollow rails. I build my models how it would be done in 1:1 for the most part, if it wouldn't look or function in that way, then it has to be corrected. After that, I started to mock up the front suspension. I am still unsure if I will use the kit SBC and detail it out, or if I will go with a 3d printed Big Block.
-
That's pretty dang impressive man, excellent work
-
Revell 1970 Dodge Charger Hemi R/T in F8 Green
mademan replied to mademan's topic in WIP: Model Cars
Thanks! the luggage rack was 3d printed by Shapeways, Ron Olsen from 3d Model Specialties drew it up for me as a commission. Im not sure if it is still available through shapeways , but he would probably still have the file. -
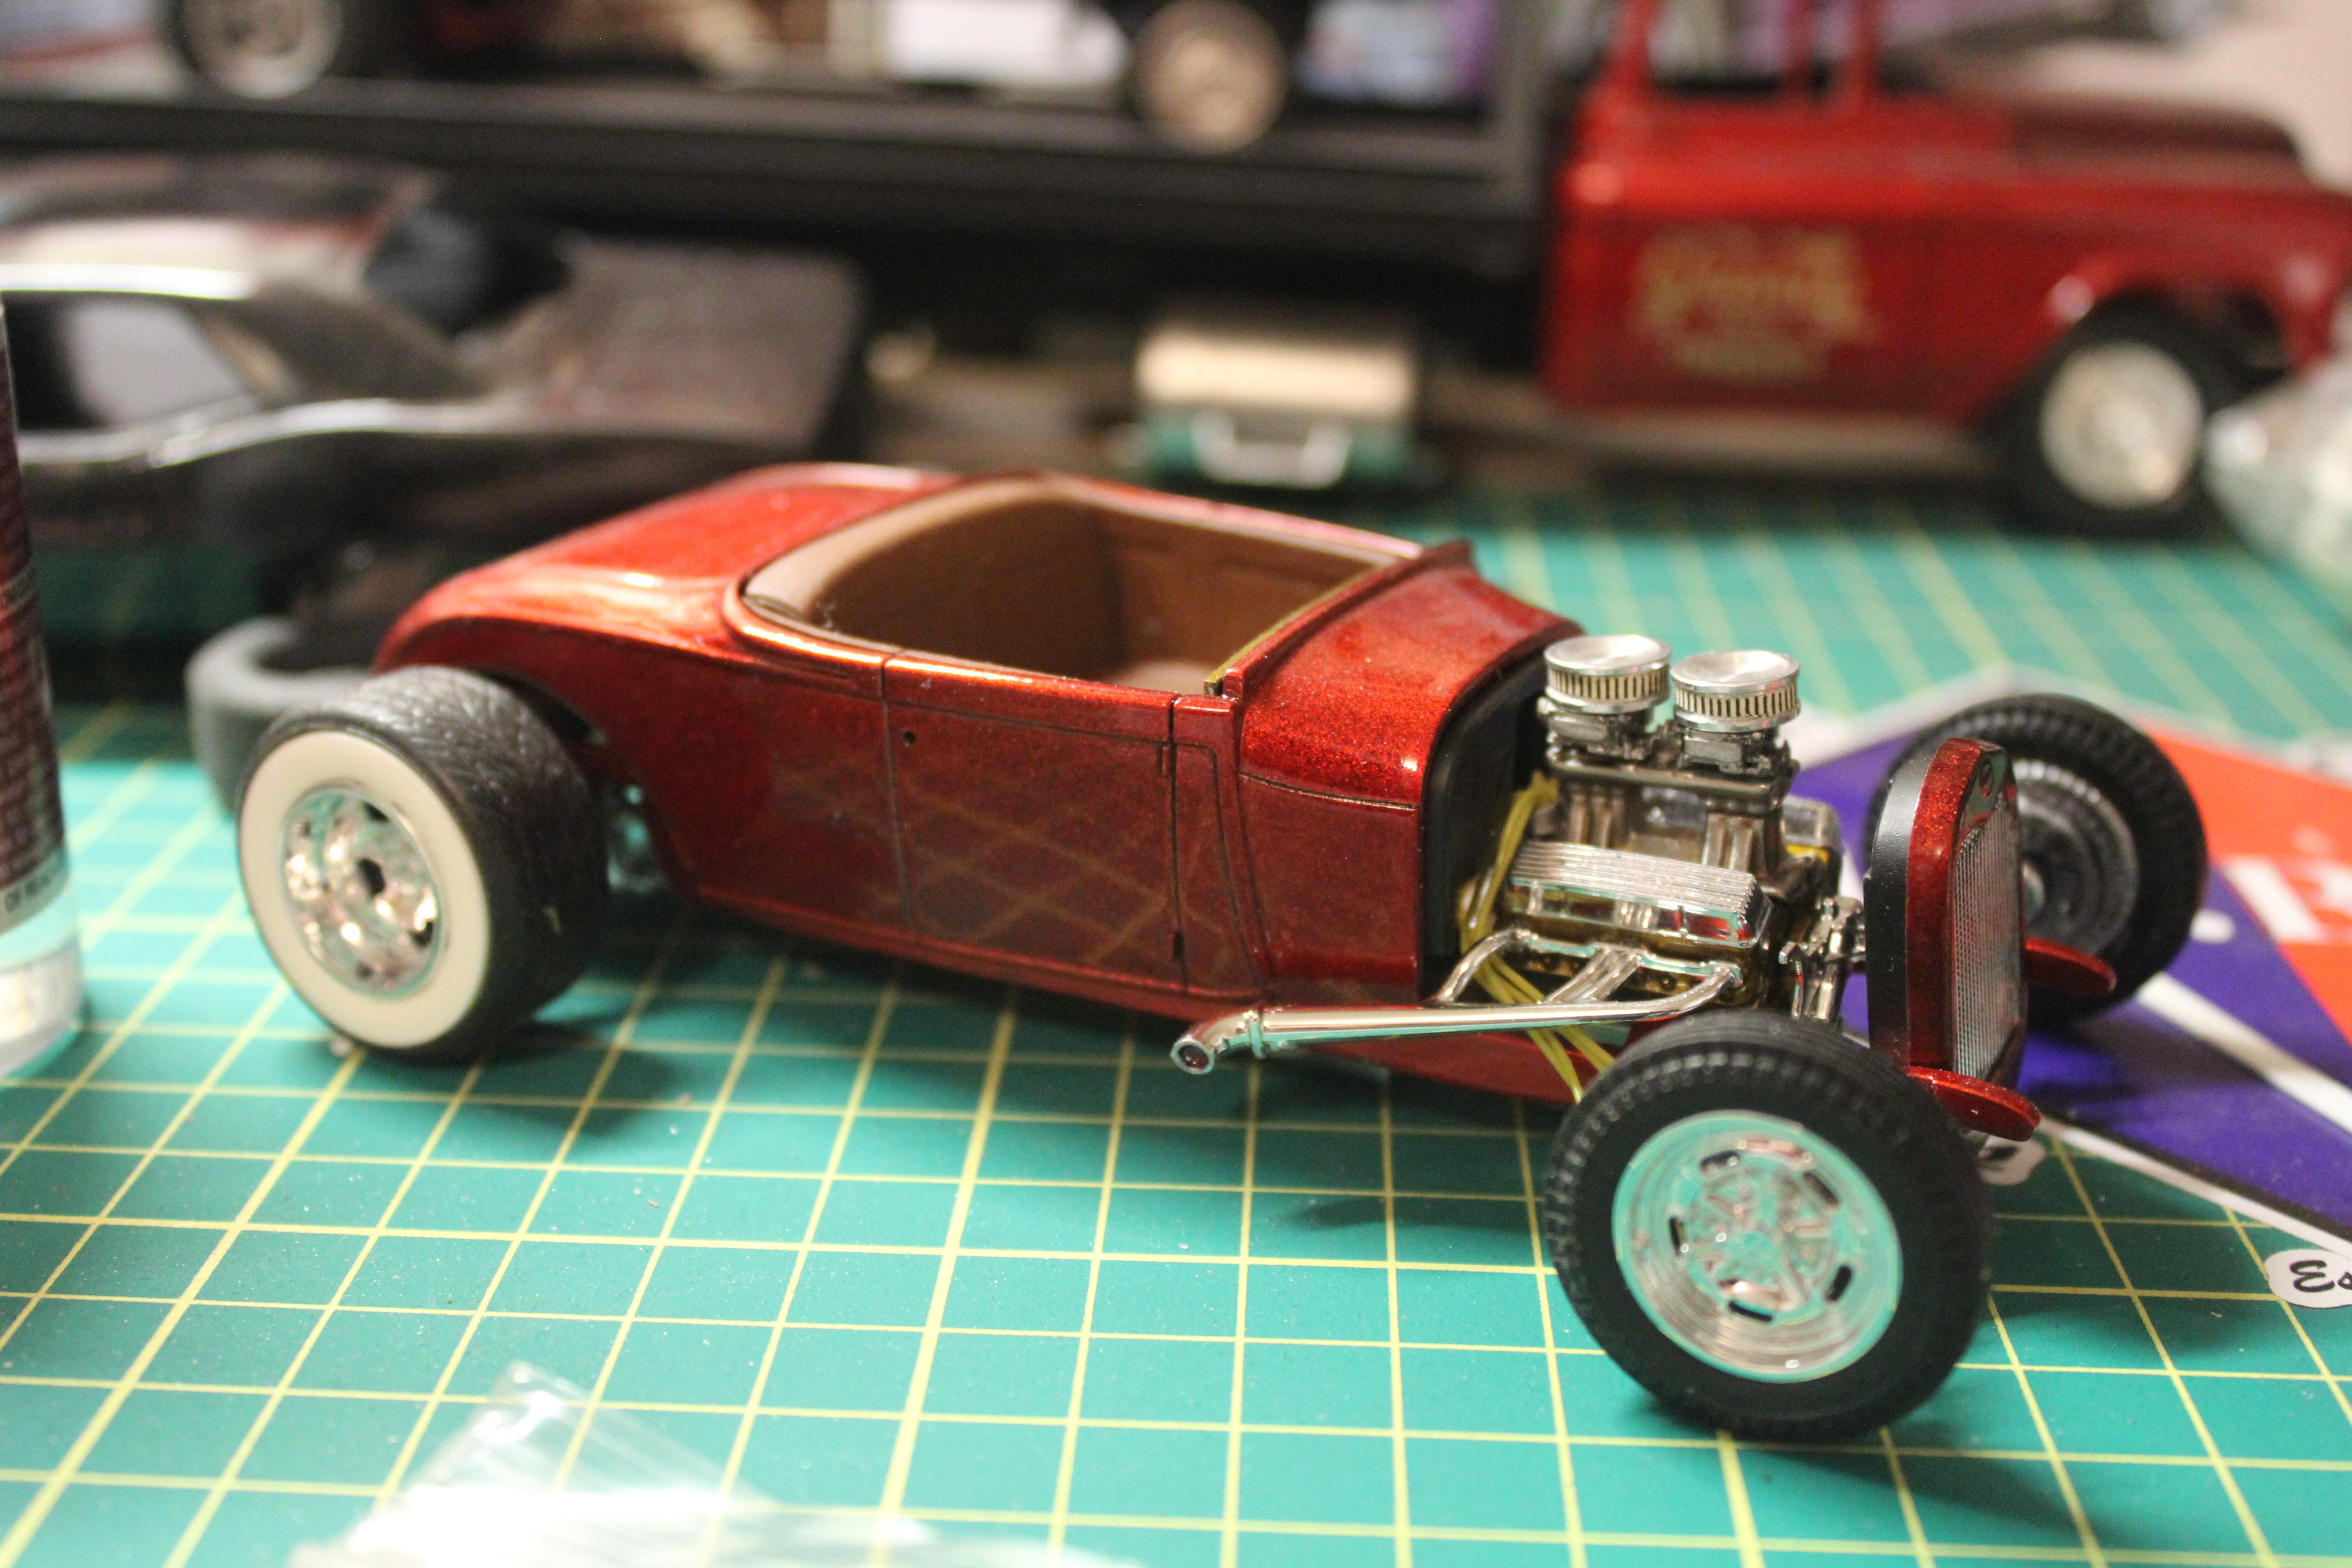
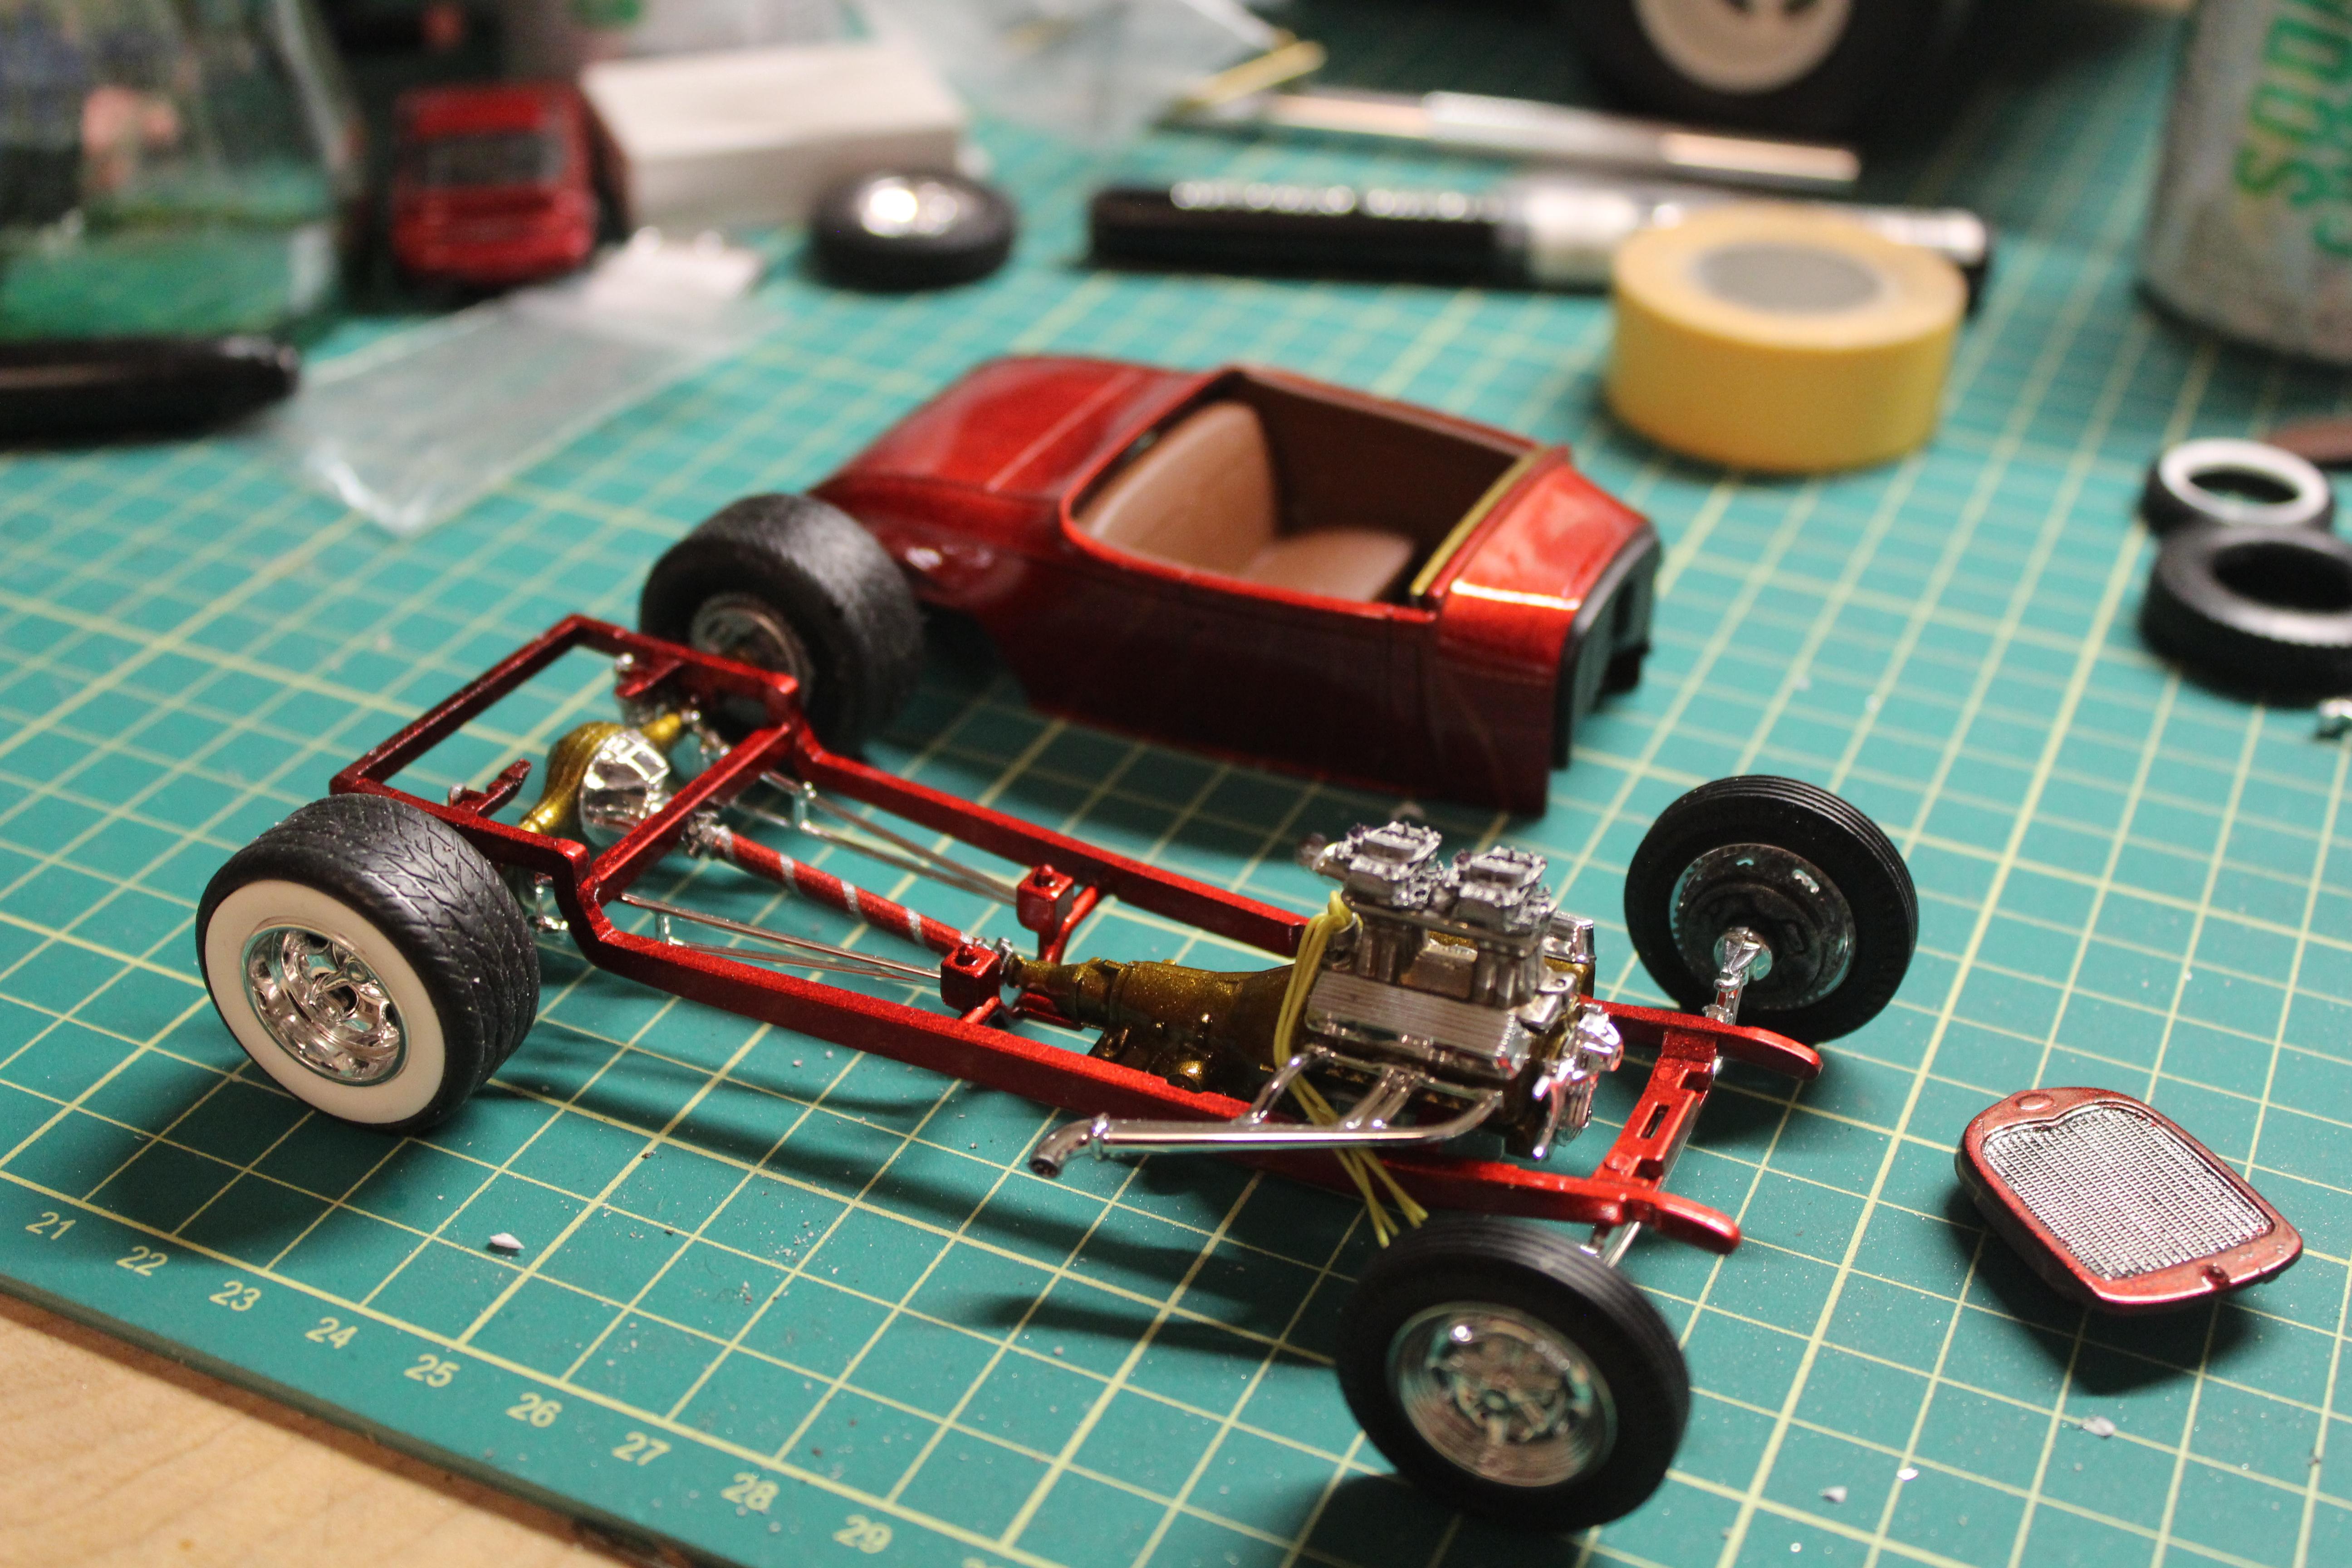
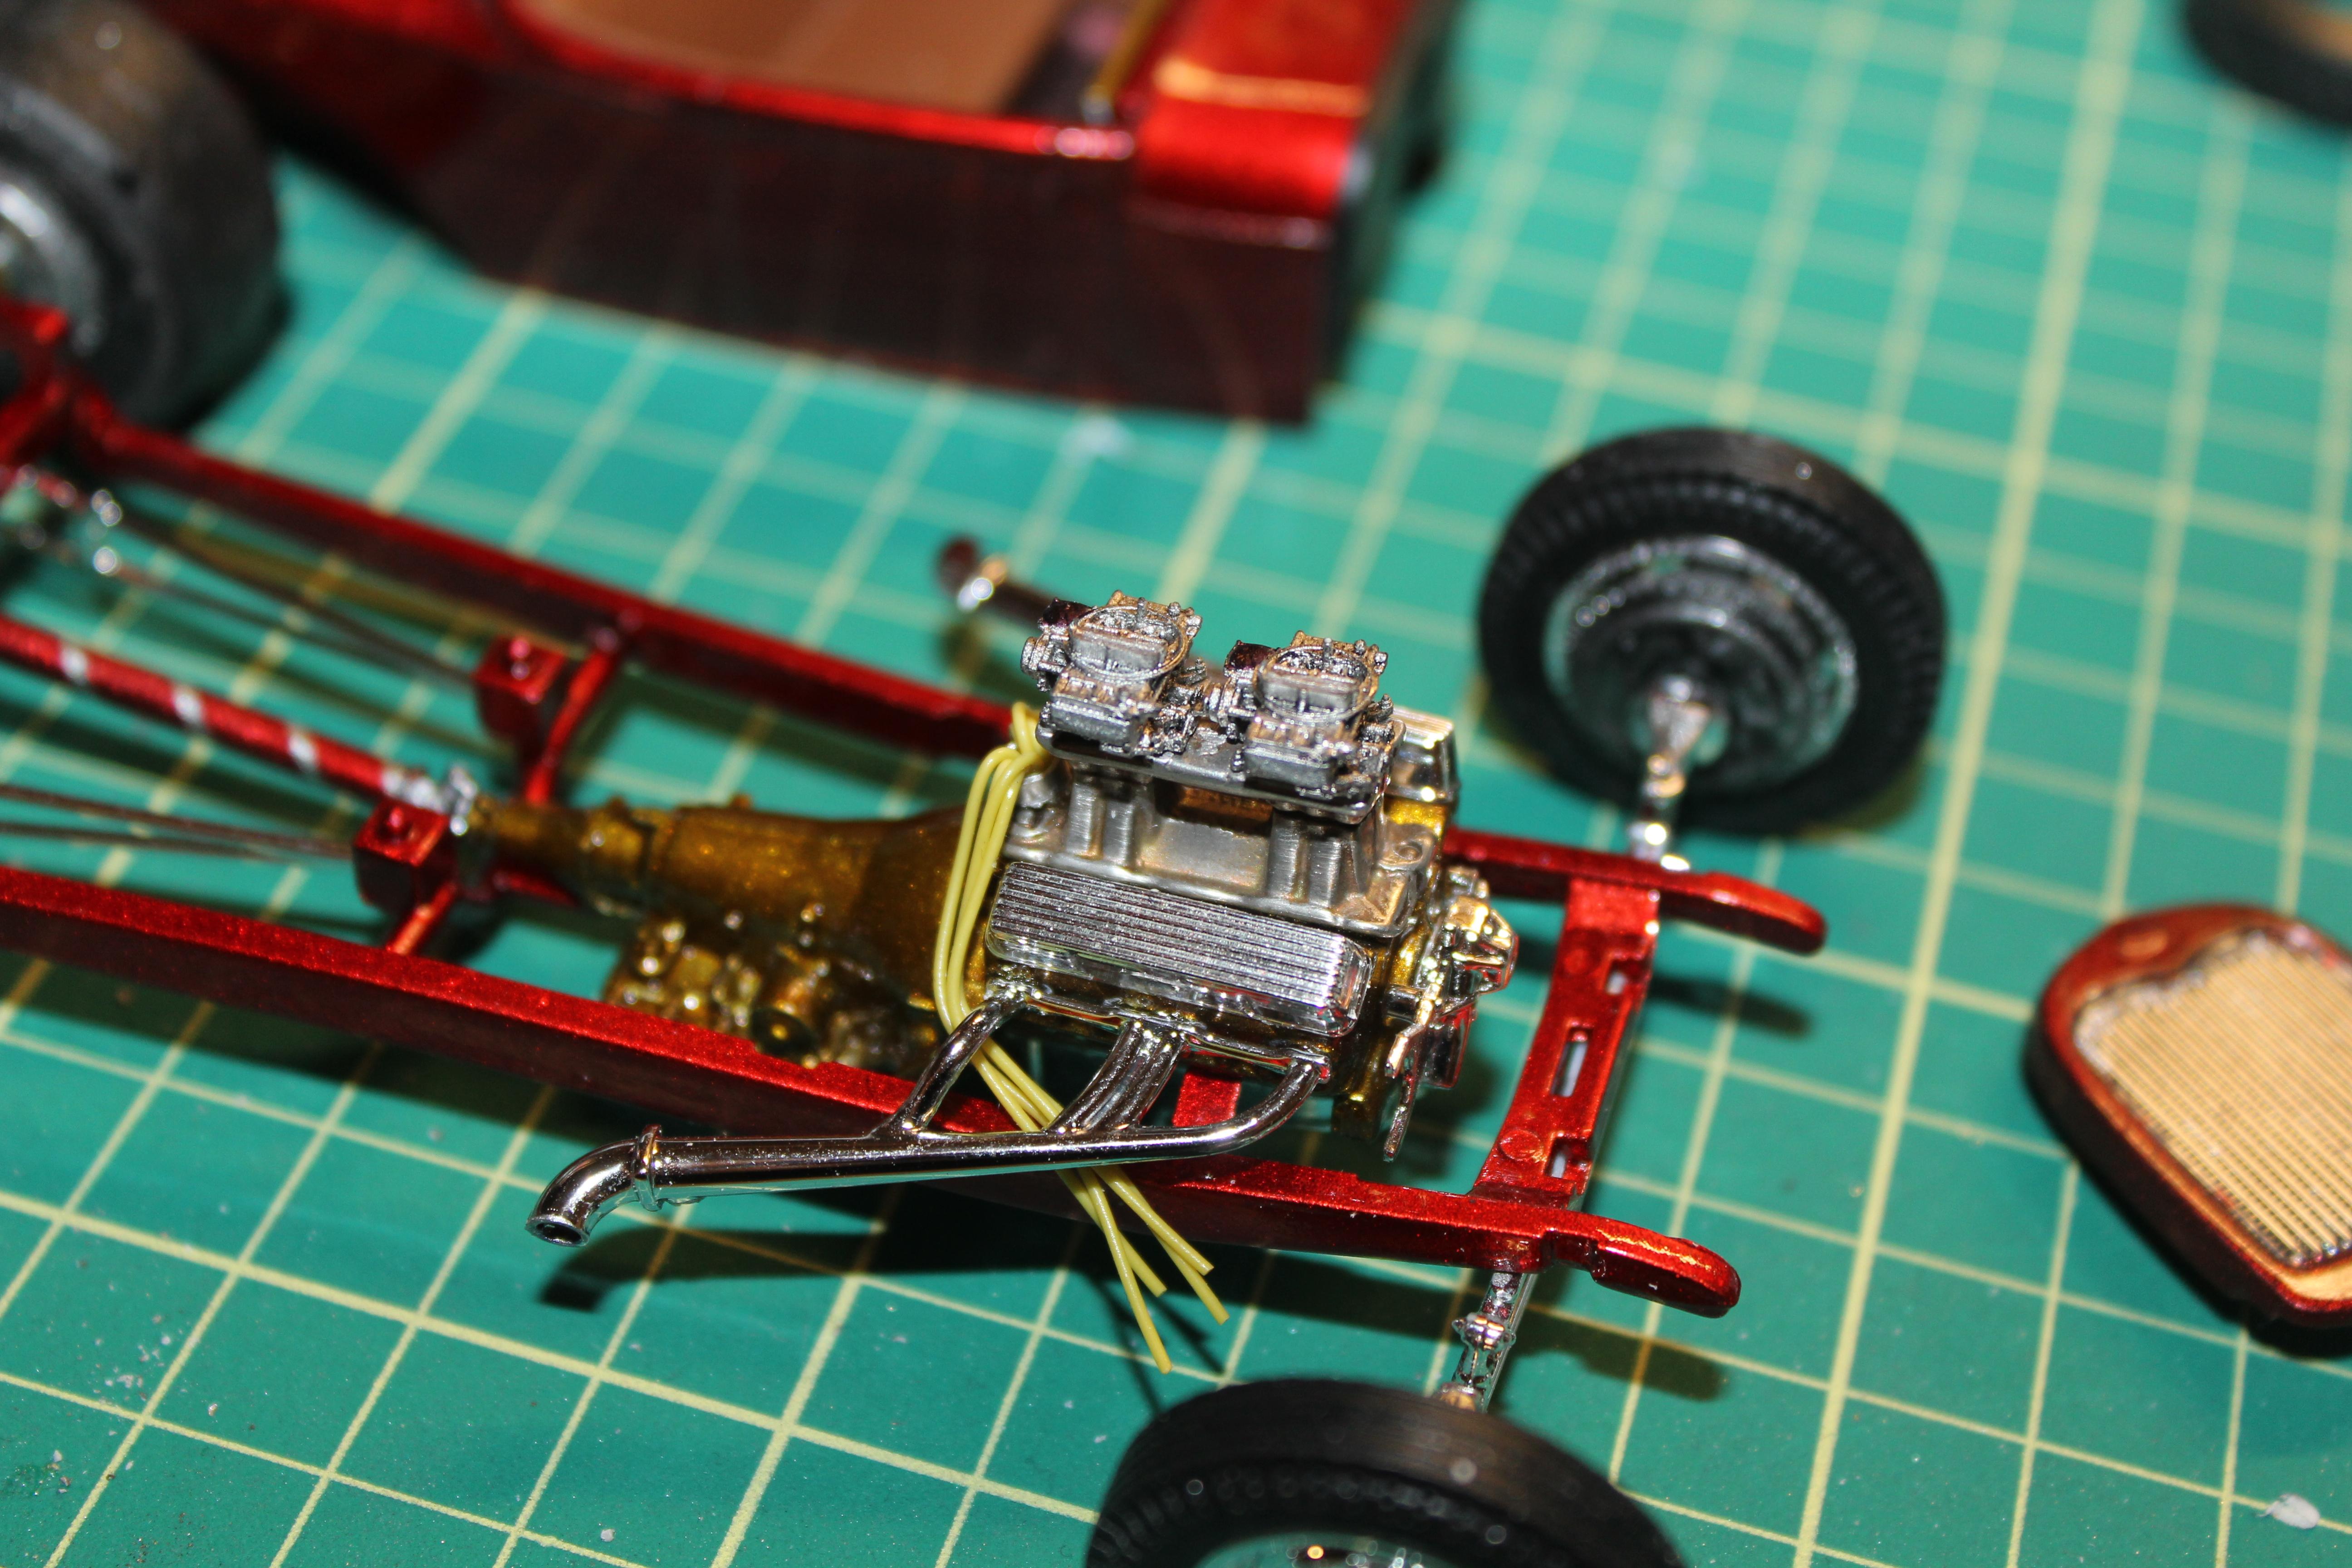
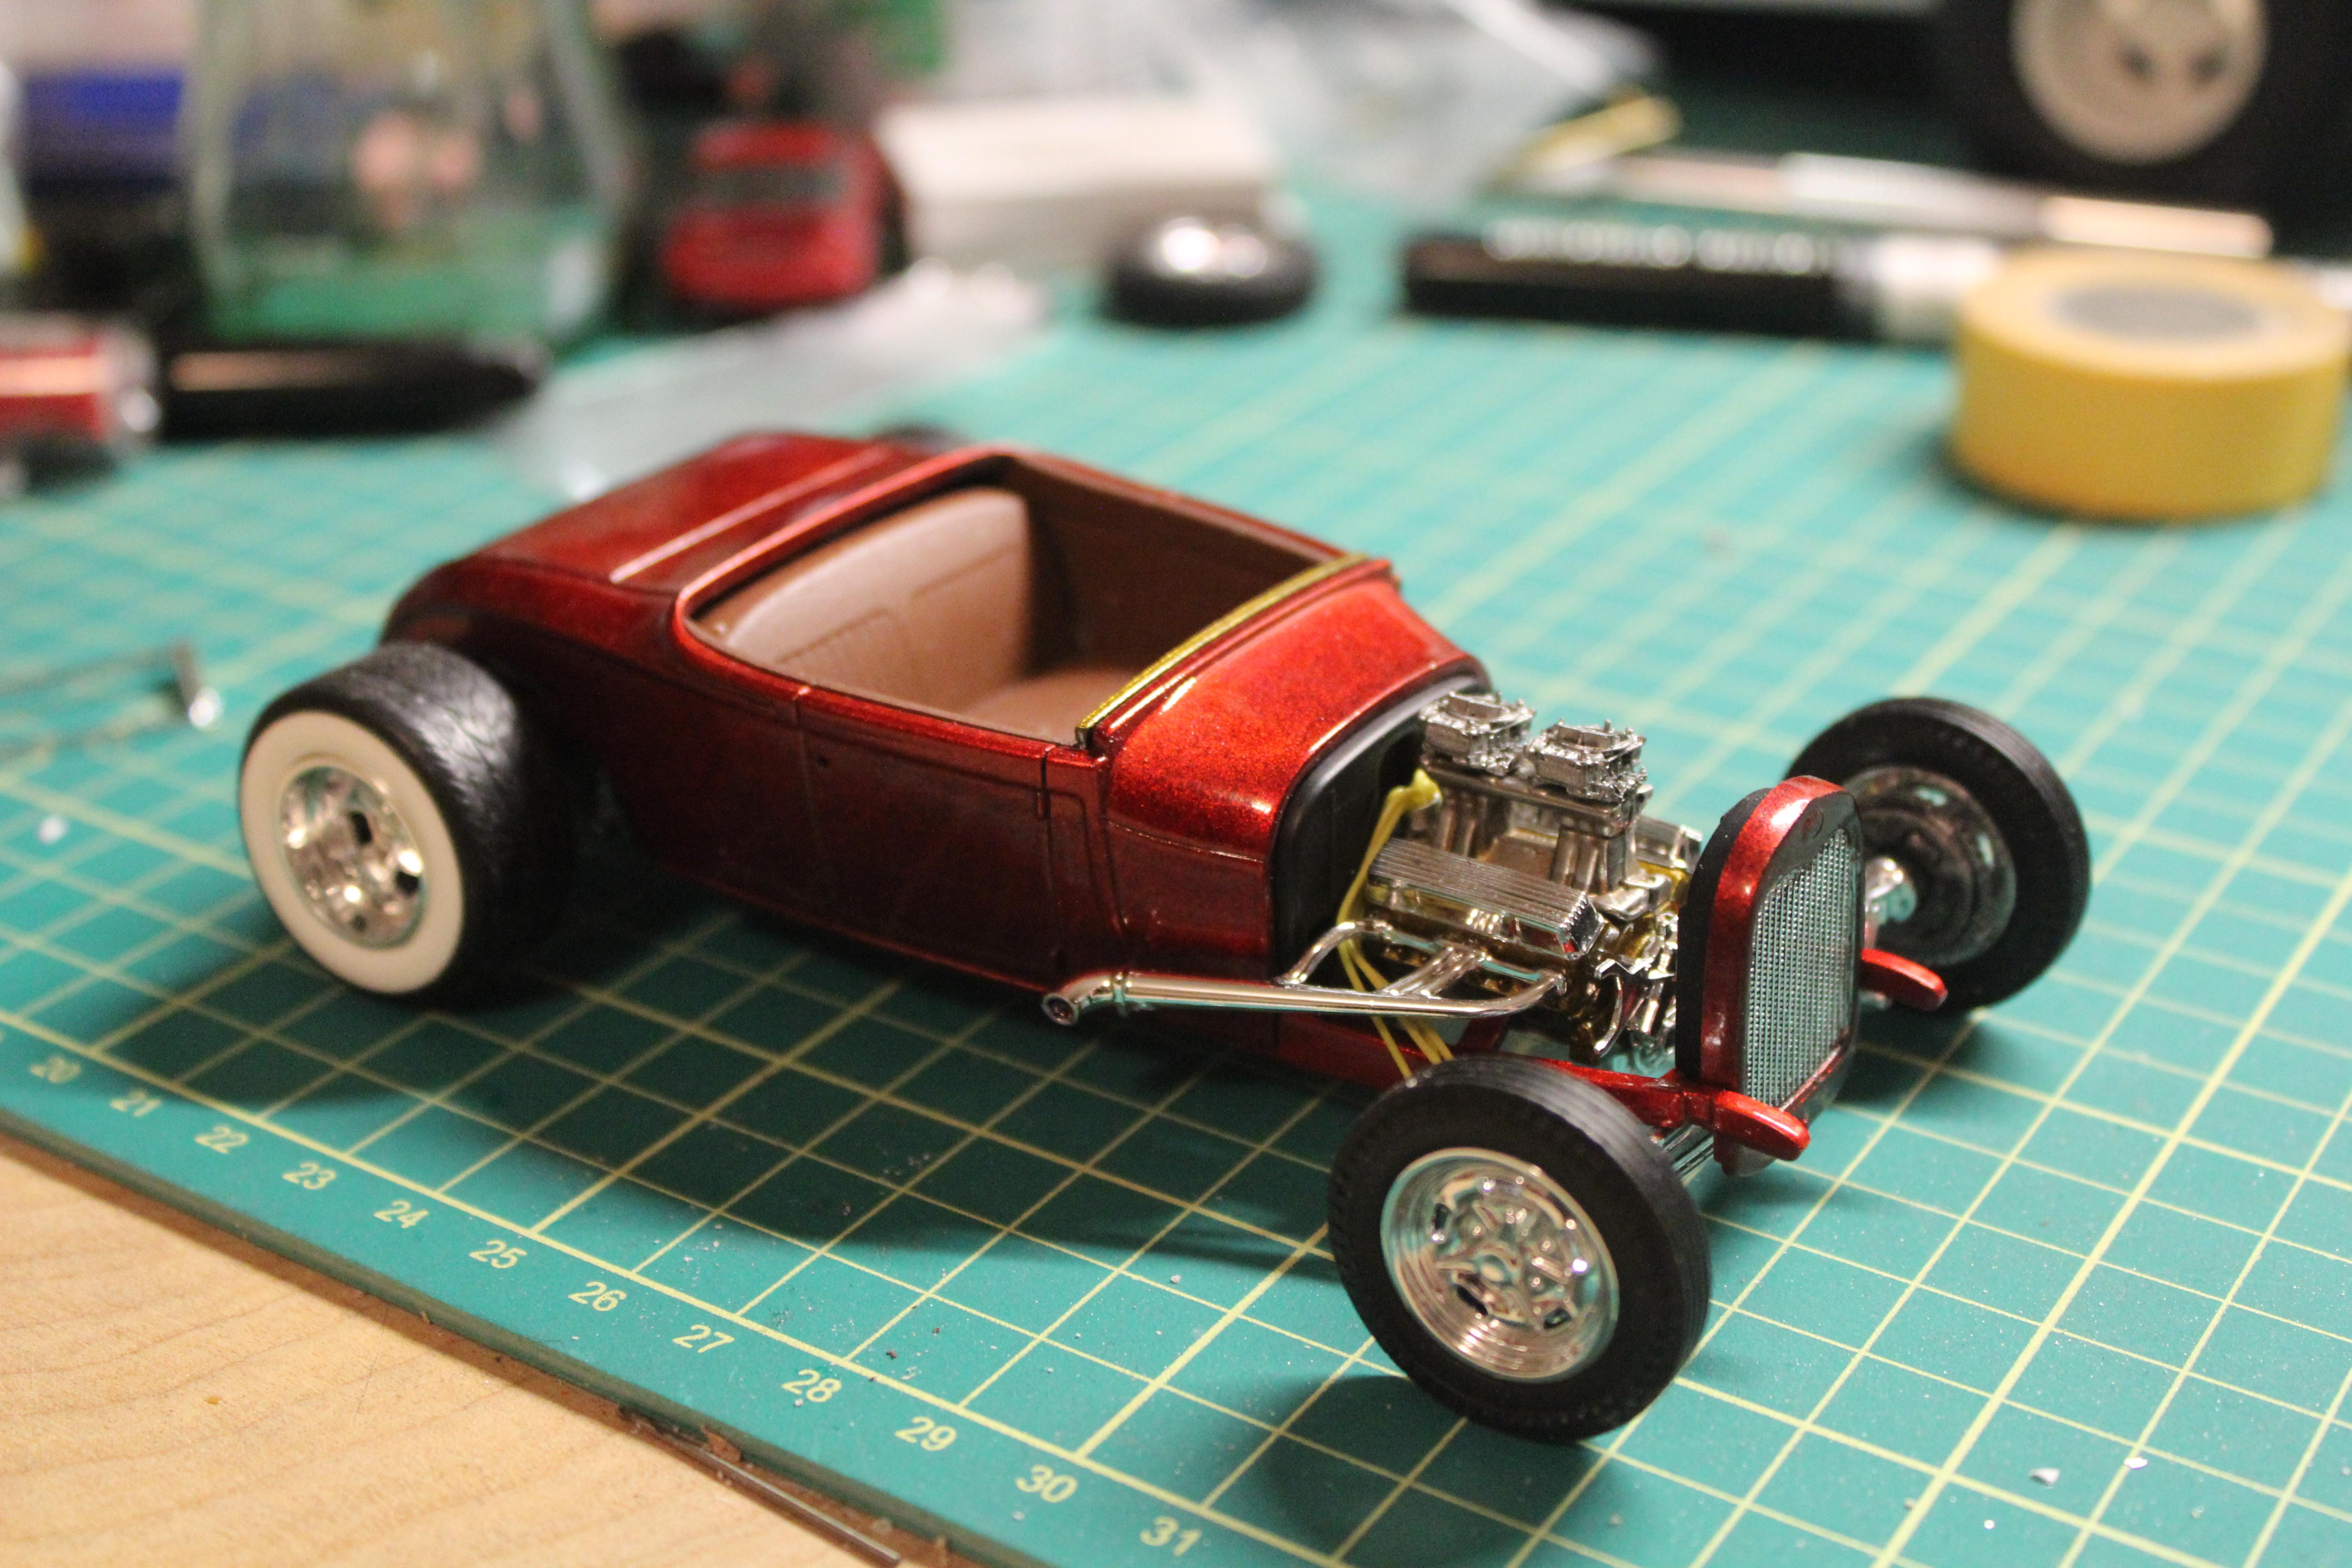
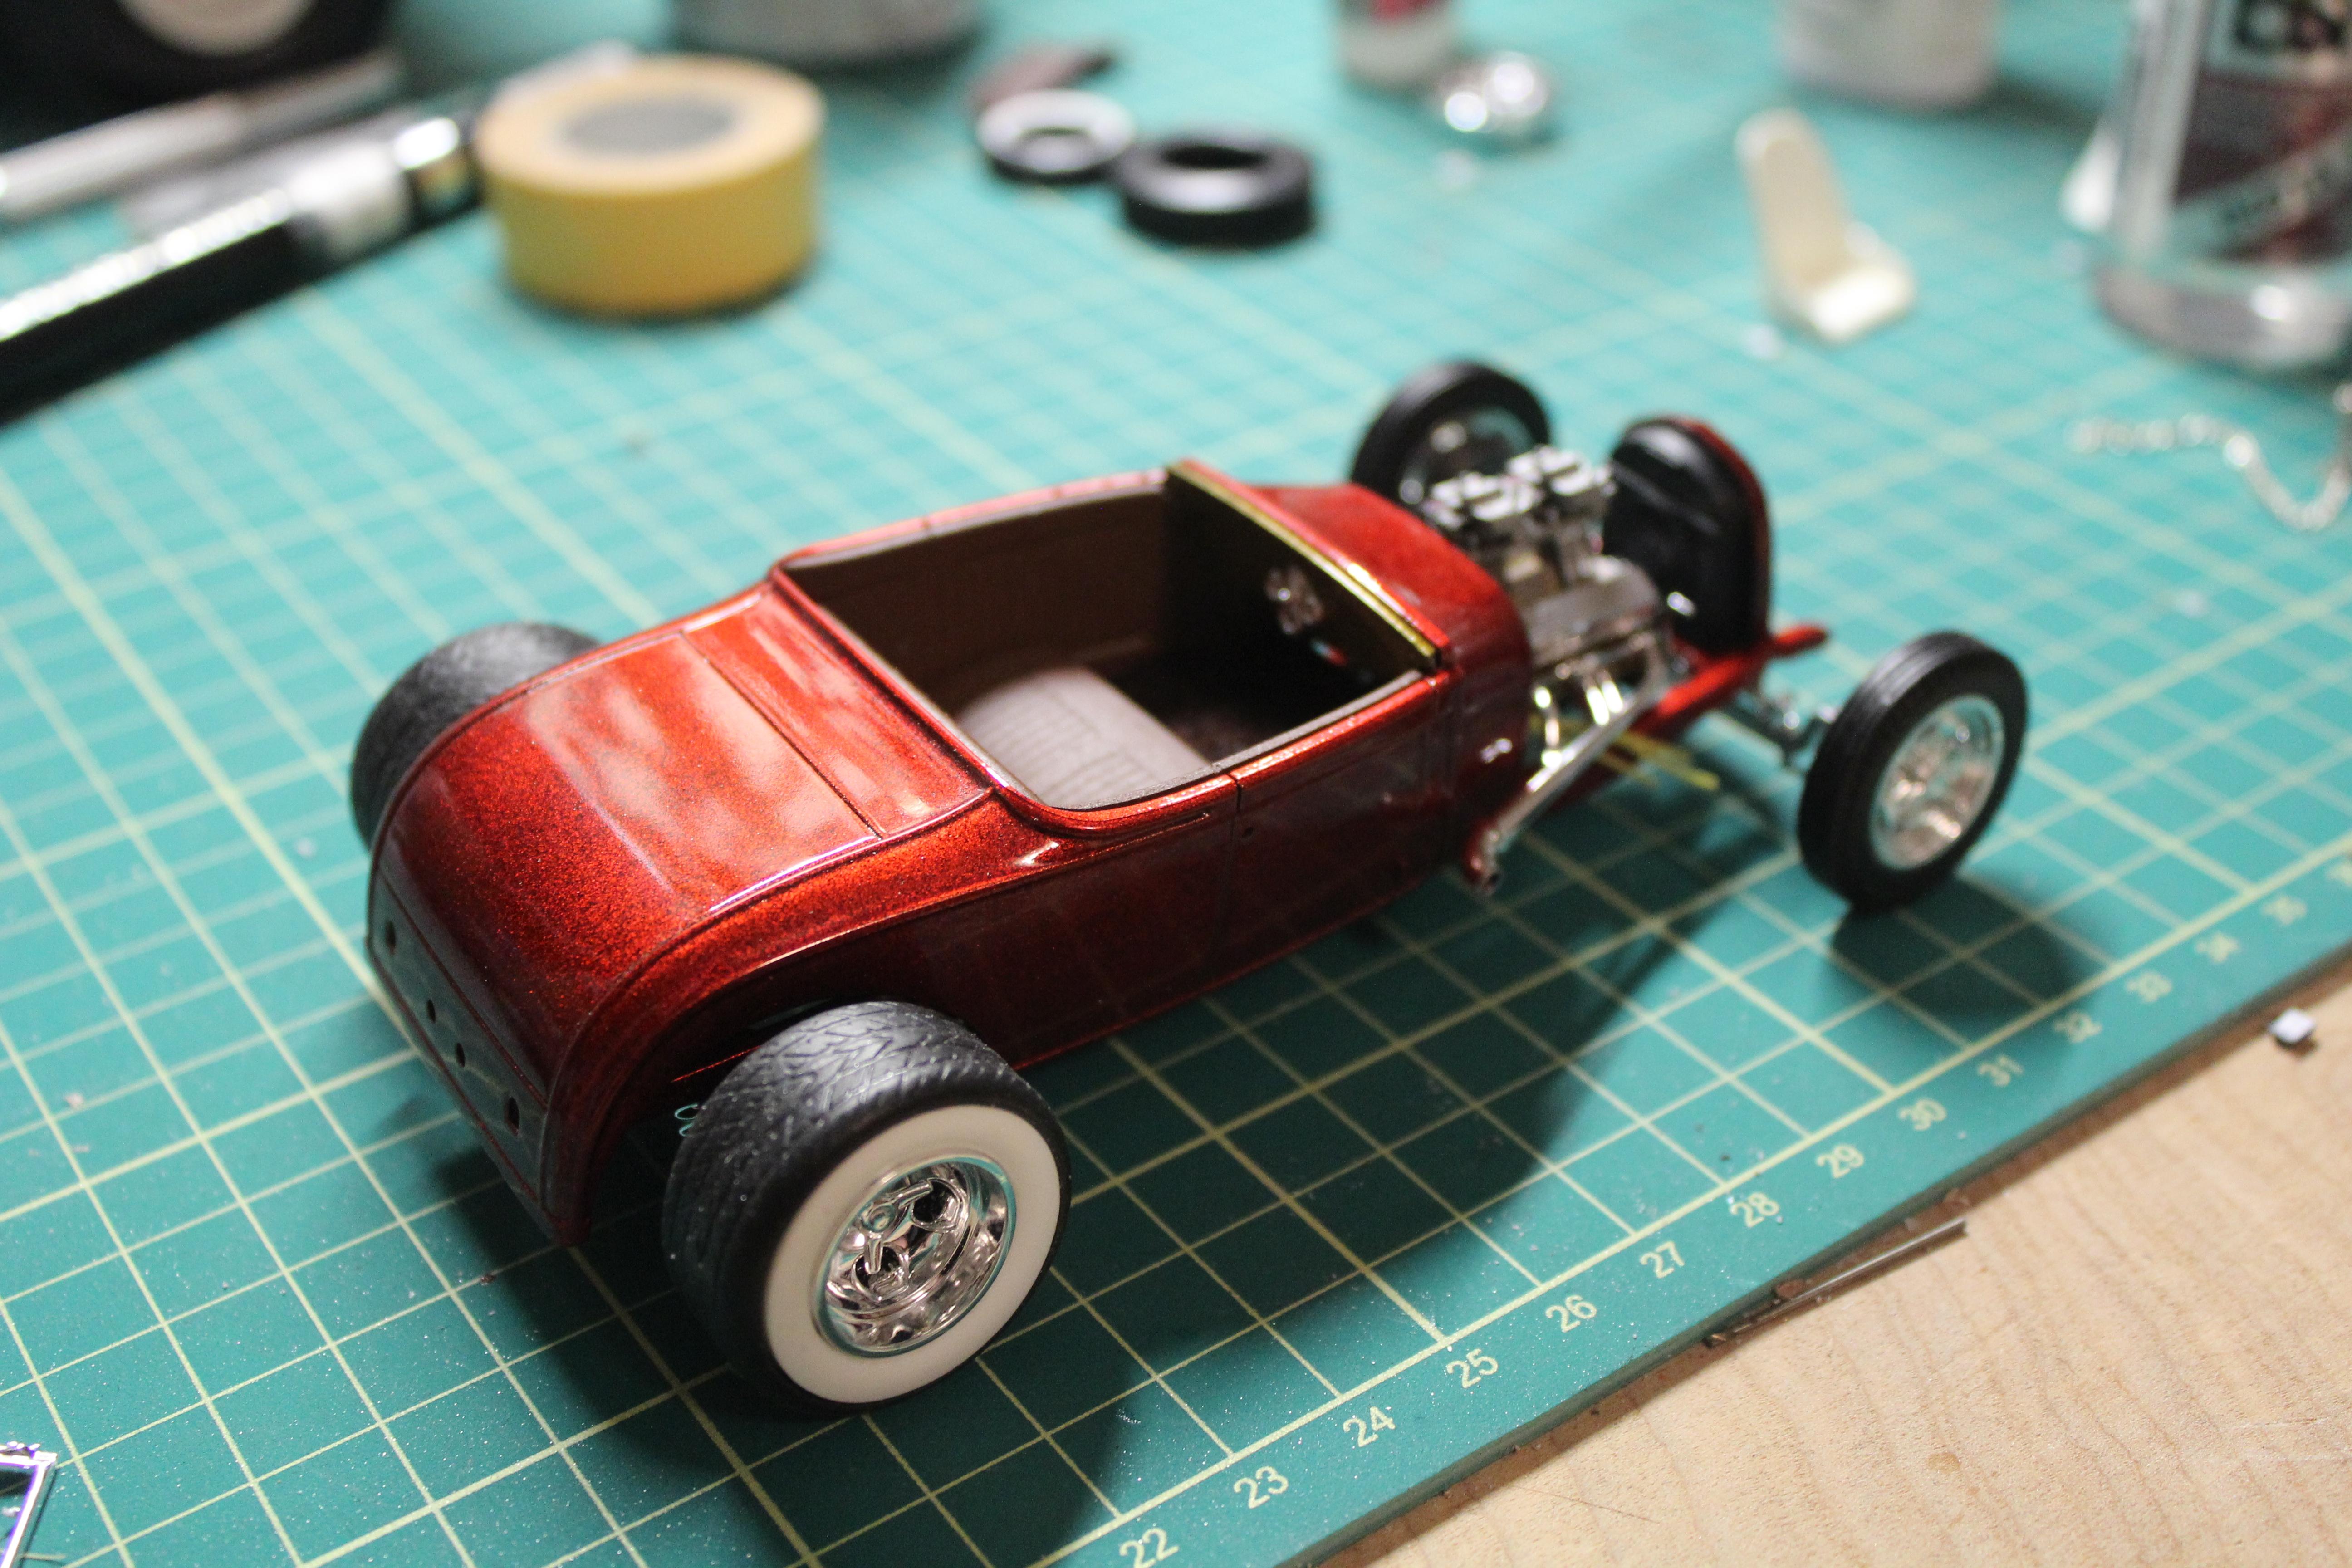
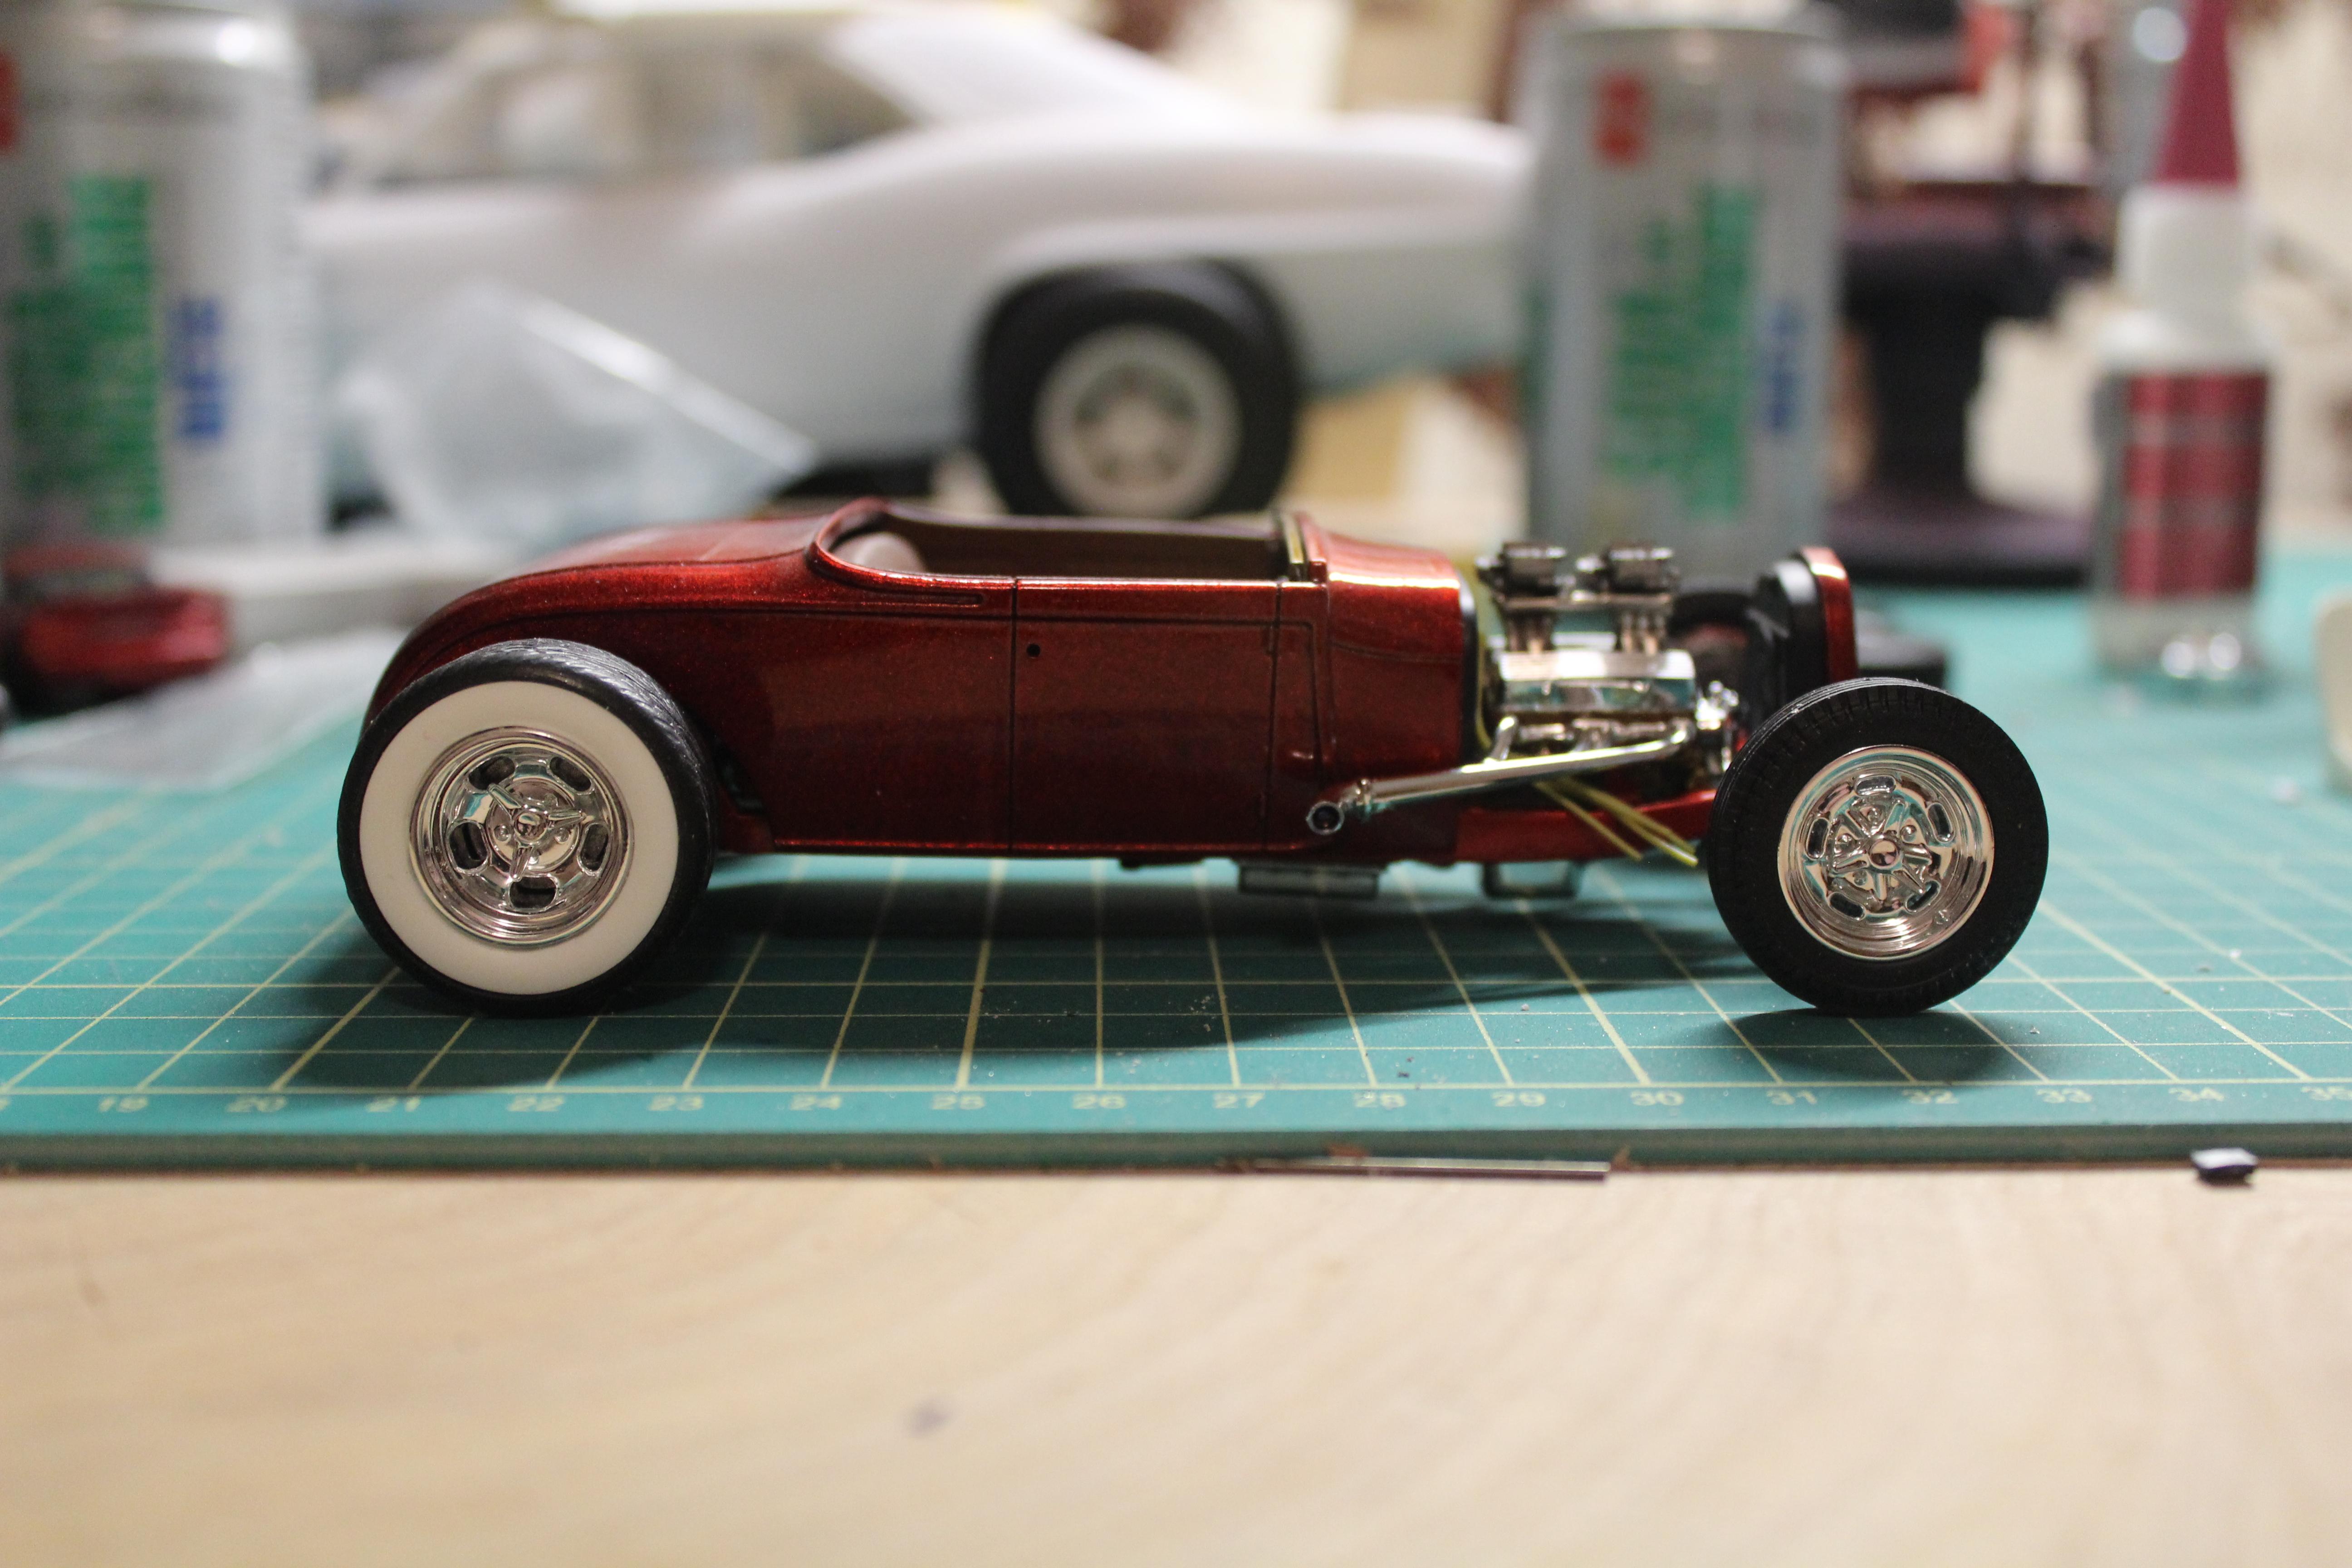
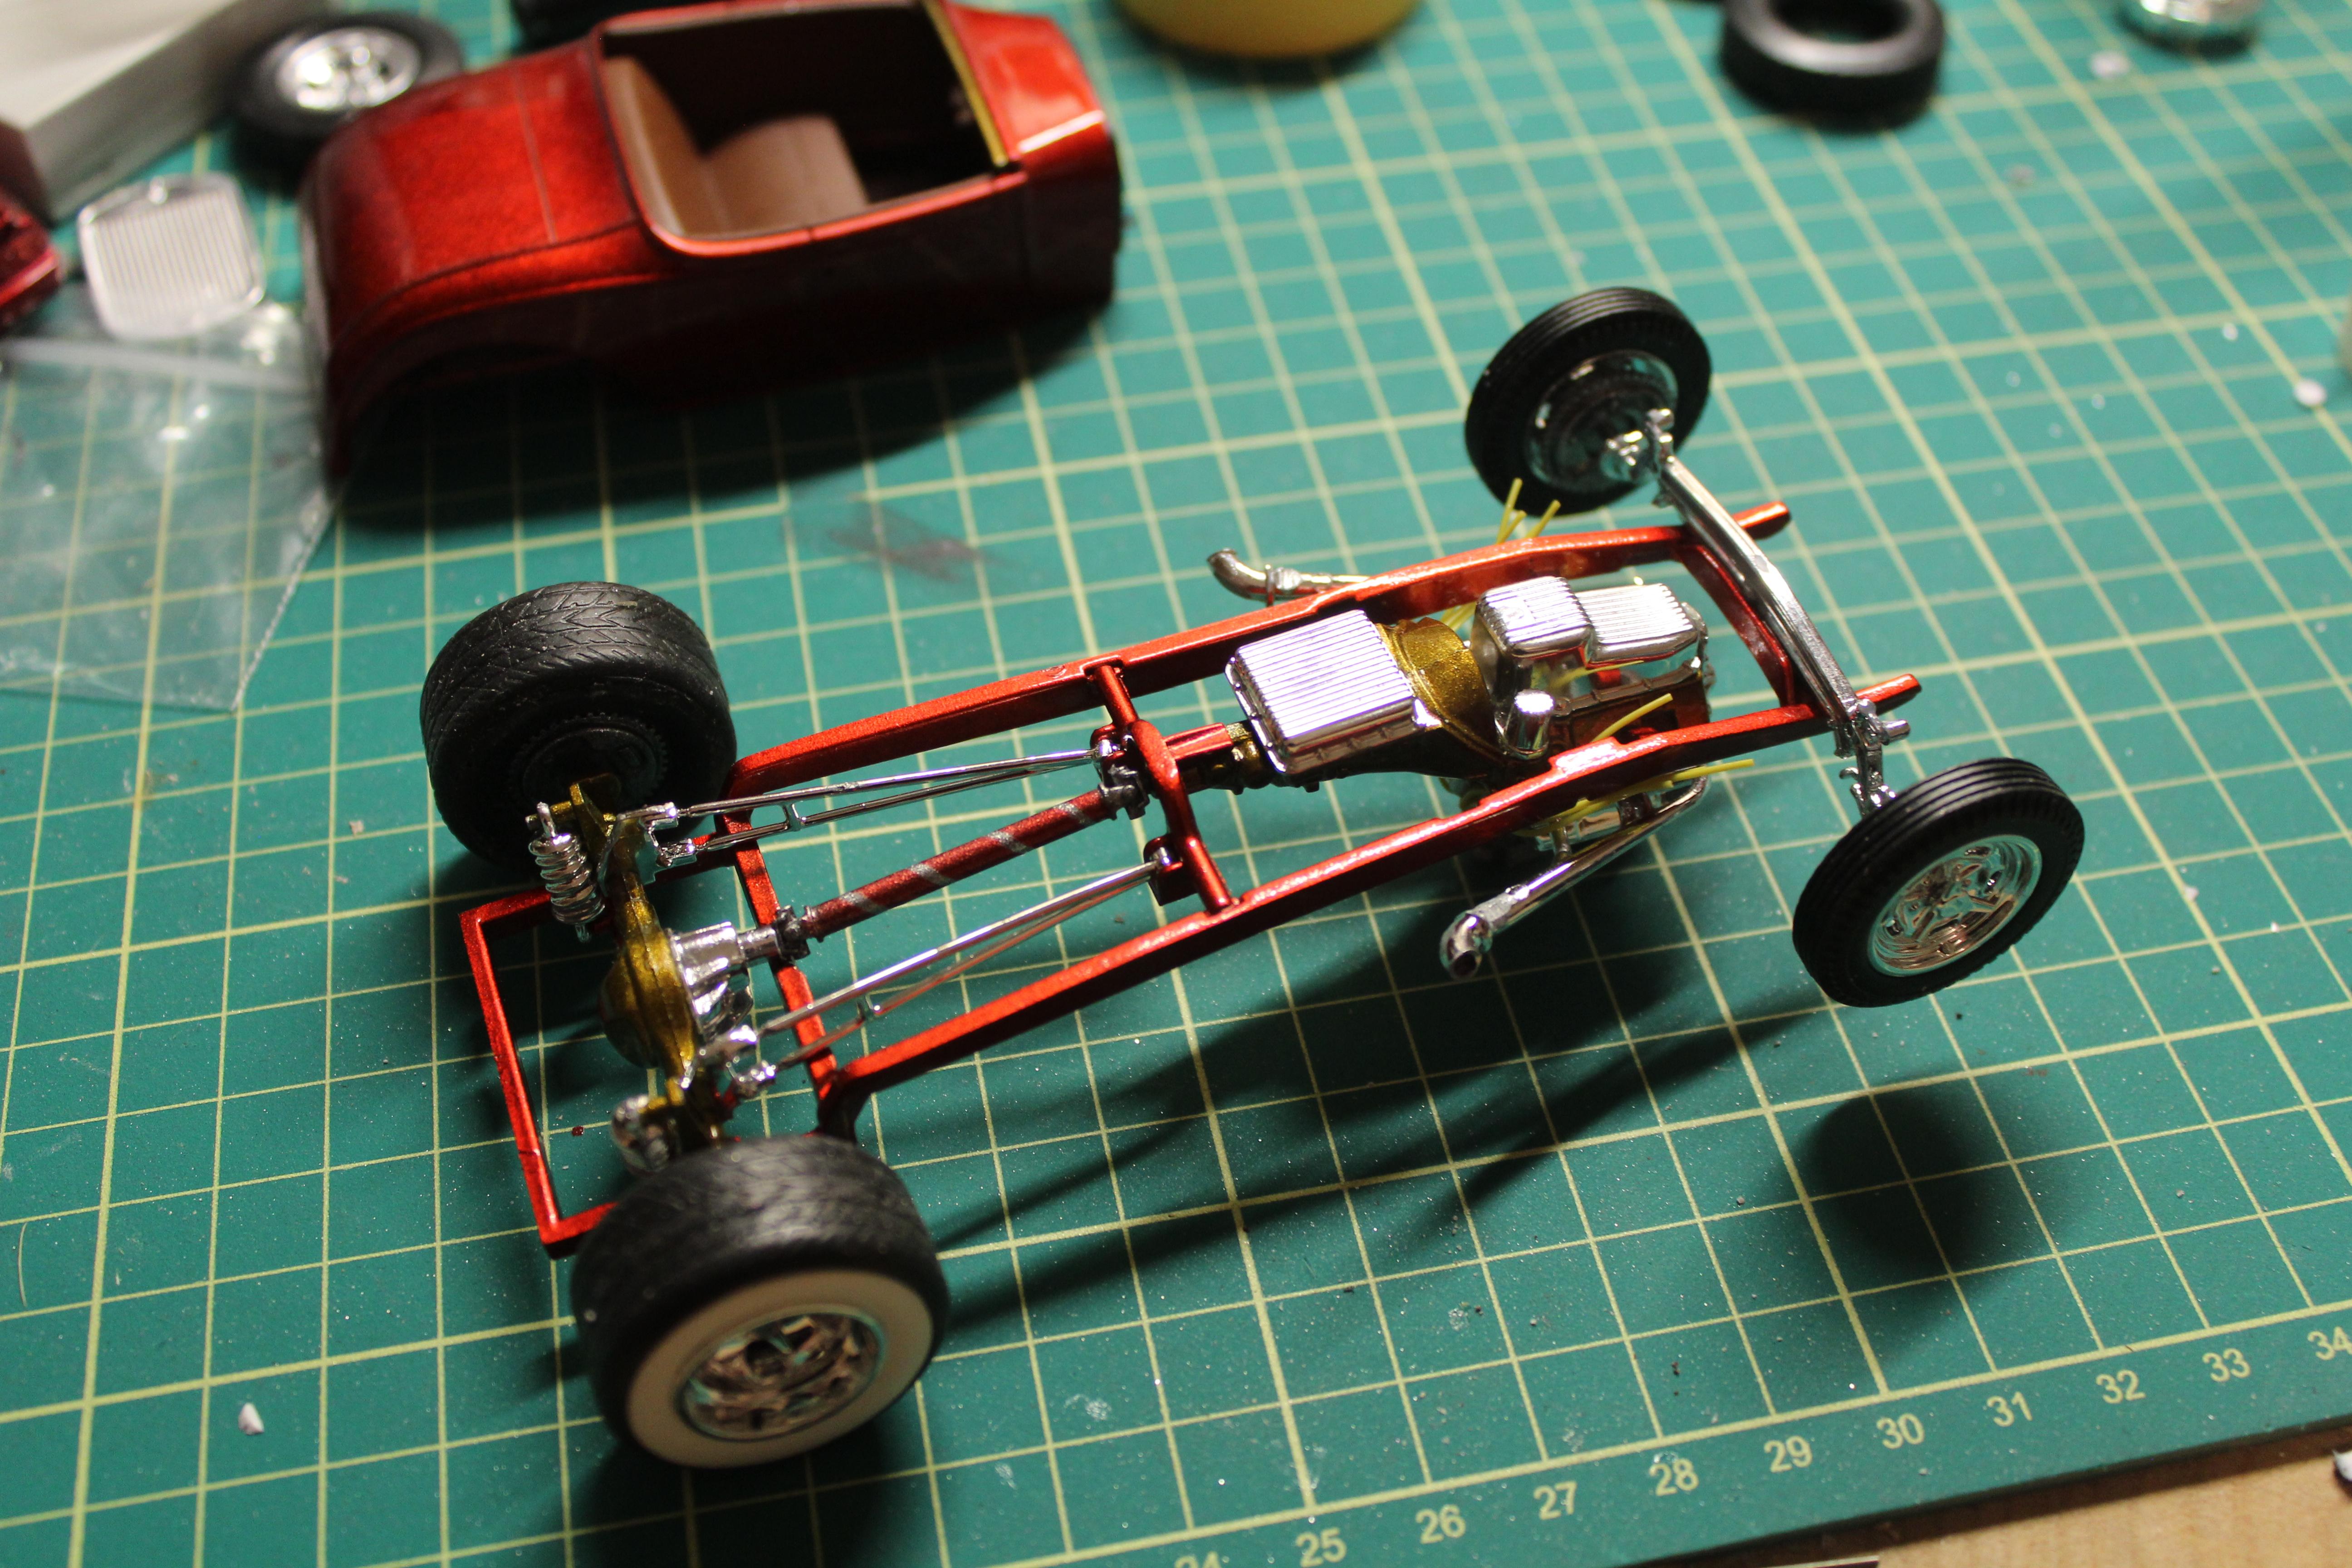
Just another quickie side project while working on a few other major builds. Frame was Z'd out back and notched and rolled up in the front, drop axle was modified a bit and a leaf or 2 cut out to get it lower. I lowered the grille shell a bit. Body I painted heavy silver flake with MetalCast red, engine is One coat Lacquer bronze with kandy yellow over it. Carbs are fireball modelworks, intake is Machined aluminum specialties rear tires are Modelhaus and wheels are from the kit up front and the gasser willys out back. I wasnt going to wire it or add linkages but it looks like its getting the treatment now lol. Really diggin this build. great little kit.
-
I am currently building this kit also. What I did to get the rear lower, Is I cut the back portion of the frame, and added a small square post/block section from the spare frame in the kit, then glued the back section a few mm higher. I then had to cut the round mounts off the top of the crossmember that attach to the floor so that it would fit properly. I am going to cut the inner wheel tub off of the interior side panels for mine, but if you wanted to still use them, you would just have to notch them out to clear the axle. I am still working on how to get the front end down, but Ill probably do a Z similar to what you had done originally. Hope this helps a bit.
-
Trying things and making mistakes are all part of learning.
-
I absolutely love the 70s street machine style.... I just dragged home a 73 Chevelle SS that is also going to get jacked up with N50s on 15x10s out back , nose down with some skinnys, probably cragars.
-
What glue are you using? I suggest getting some CA glue with a "kicker" such as Zap-a-gap , or Mercury. You put the glue on and spray it with kicker and it immediately dries. Or you can get 2 second, 5 second, 10 second etc. CA glues that dry fast without the kicker. either way, don't let it discourage you, this kit usually goes together really well, but a part that warped will definitely cause issue.
-
Air shocks and spring spacers lol. On the first page there is a pic of my 1:1 70 Monte "flirtin'with disaster"
-
I had started a replica of this car shortly after the Revell kit was issued around 2014ish, but was never happy with the paint or the "flared" rear wheel wells. So I dug out another one and started again. Tires are Fireball modelworks 295-50-15s with resin deep steel wheels and Machined caps. I need to finish up the engine, interior and add the stripes before final clear.... paint still needs allot of work, I am never happy with black paint jobs. It will need another wet sand and another clear.
-
Haven't touched this one long while. I decided I will run the stock hood, and removed the tunnel ram and 2 -4s. going to go with an aluminum style intake and probably a quadrajet. wheels and tires are permanently secured and squared up. Interior is mostly complete. Hope to have some time to work on it a bit this week.