exesivefire
-
Posts
1,294 -
Joined
-
Last visited
Content Type
Profiles
Forums
Events
Gallery
Everything posted by exesivefire
-
Thanks everyone! I'm sad about the W engine too, but it would have been a struggle in every way.
-
I'm probably going to use the SBC from the new 30 kit.. I have an idea for the intake and maybe the valve covers. That's still living in that project.. it's also a 24th scale engine so it's better suited for the old monogram body that now lives on that chassis. I really intend to finish that one day. thank you!
-
So the 409 is too big.. just not enough room. Since I decided I can't use that I went a completely different direction and started on the interior, specifically the dash. I had an idea in my head centered around a large gauge that was well.. centered. That's where I had to start. Whittled a piece of aluminum and carefully cut the lense off one of those googly eyes from the craft store. Then I drew up a face in illustrator and printed it on photo paper. Looks good to me! Starting the dash.. I'm happy with that.
-
Now that it's in there.. too much engine? Or just enough?
-
that's why I haven't finished the uhaul.. too many rivets to count...
-
What a community this is.. James2 found out I was on the hunt for a Revell 409. Not only did he have one he said I could have, he goes out of his way and hand delivers it to my work! I had to rush home and mock it up and make sure it will fit. Good thing I didn't plan on a hood or sides huh?

-
Well I'm glad that's over, trimmed the top of the cowl, chopped the windshield frame, then leaned it back and narrowed it a tad. Also pinned it so I can assemble it easier after paint.
-
Started replacing that upper body line, I used a piece of .060 half round and wrapped it around the upper edge of the body. Then I sanded the face down to square it off a bit, and brought the back of the cab down to meet with the body line I created. Need to score that rear door line, fill some obvious imperfections and I can probably move onto primer. I hope..
-
your rust kit probably rusted itself from age by now...
-
yeah.. I've also discovered taking a lot of pictures helps. You would be amazed at what the camera captures that I completely miss with my own two eyes. I really appreciate that! funny, I don't like the look of the stock kit either, but I own 3 of them anyway. There are some great parts in there!
-
Chopped London black cab (new Pics 31/01/17))
exesivefire replied to geetee66's topic in WIP: Model Cars
What an interesting subject! I'm watching this -
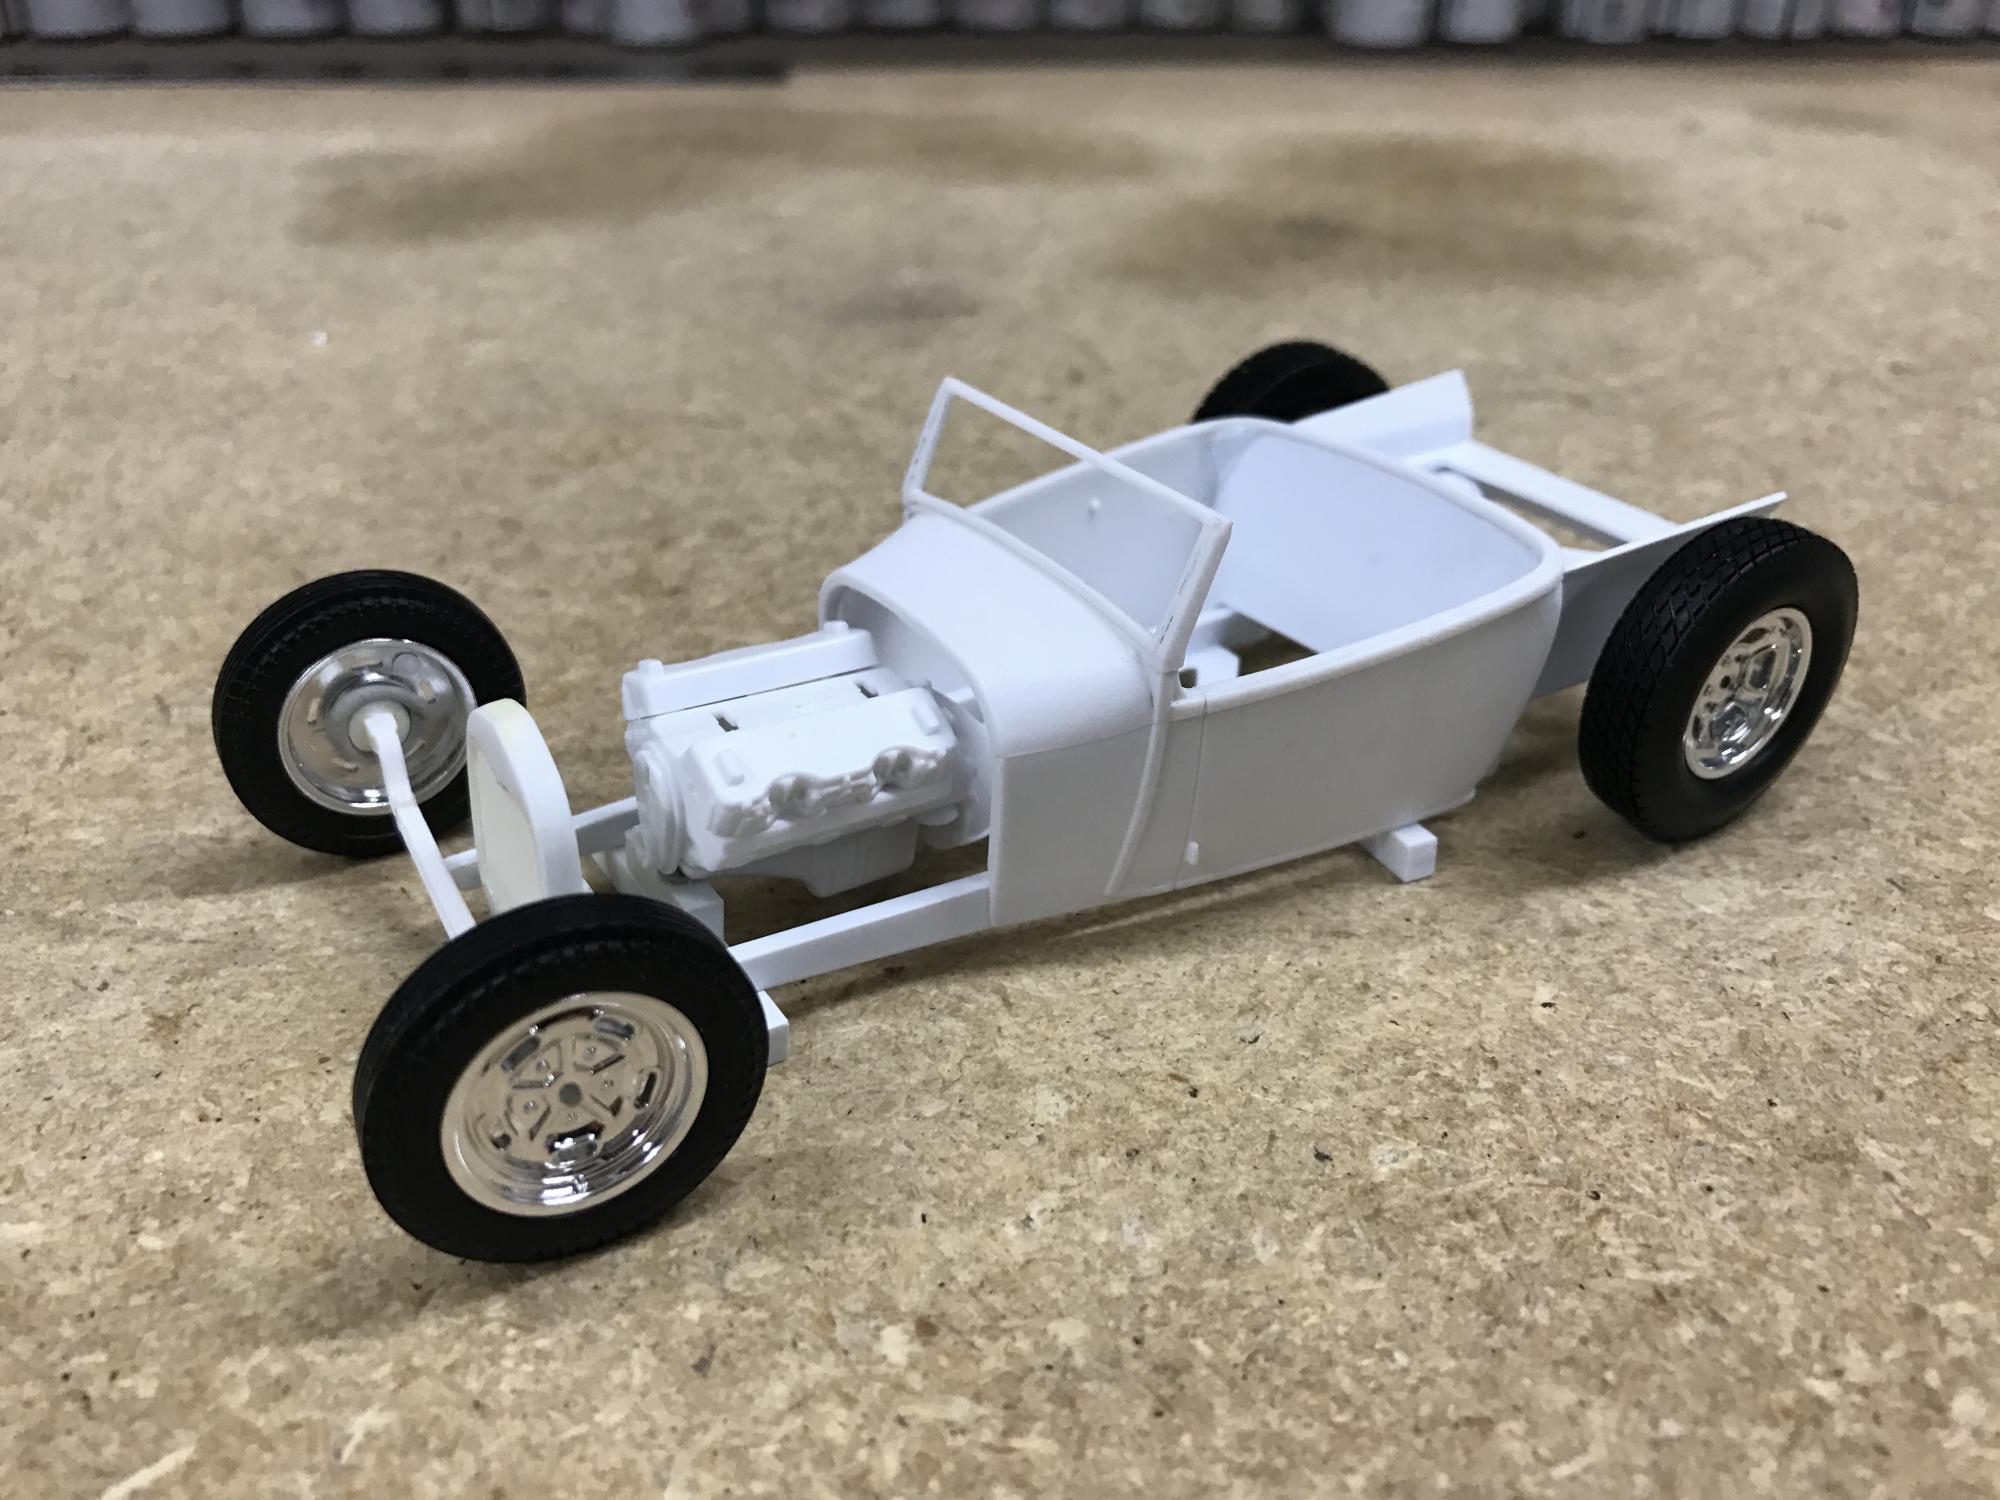
Somewhere in my rebuilding the bed 100 times it was off a bit front to back. In hindsight I probably could have started over but I just fixed this one again. In fact most of the stuff I did over the past few days was just redoing stuff. If it's worth doing it's worth doing over till I think it's right? In addition to the bed I also cut down another grille shell, and robbed the wheels from a 30 kit (thanks to Tim Boyd for pointing me in the right direction) i did however fill the stock rear door line and door handle hole Mocked back up with what should be the final wheel and tire combo. The spinners should really set them off. Also note I'm going to do something with that windshield frame. It's too tall as is In addition to squaring up the bed, I also raised it a tad.
-
I lack both of those...
-
Turned out great, can't believe you can finish a model in the time it takes me to mock up a wheelbase
-
Well that was fast!!
-
1929 Model A Roadster ArtDeco/Coachbuilt/Streamliner -DONE!
exesivefire replied to Impalow's topic in WIP: Model Cars
And this is how things get interesting... glad you finally decided to share this one. -
Dents, welds, roll bars and chopped tops! These are a few of my favorite things! serously though, character in all the right places. I've been realizing that's some of the things I was missing in my grungy builds. The effort should reward you well in the end. Just the right amount without overdoing it.
-
Now this one I REALLY like (not that I don't like the others)
-
Thanks you guys
-
This is why they are inspirational and not replicas for me.. said heck with it and decided to embrace the weird. I'm glad I did. I tweaked my bed a bit and couldn't be happier. Now I'll start rebuilding some body lines..
-
yeah, that and they used the rear of a 31
-
Well I'm committed now! Started by removing the upper body line Used masking tape as my line and started by filling the front corner After a bunch of trimming, filling and sanding.. And mocked back up after making both sides match. I probably got a little carried away and went a bit too far towards the front, but i think I can level it out a bit and bring the back down a touch anyway. Then I'll move forward and rebuild that upper body line. I do think it looks better though!
-
I'm pretty sure that's an in progress picture of it in bare metal. I promiced myself I would paint it
-
You are right in that the "rat rod" movement inspiring some radical proportions, that's exactly what draws me to this and other builds like it. I have planed in my head a "shiny" version of the 32 5 window I completed last year. The 1:1 inspirational vehicle is just that, very inspiring.. upon looking up pictures and what they did to get the look they deployed some interesting yet functional ideas. A few of which I will be trying to apply here. again not going for a replica, but don't be surprised if I even use the brown color here. It just works
-
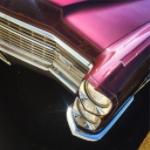
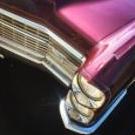
thank you! thanks!! there is a very good reason for that, that car is my inspiration for this one! It's funny you bring that up, because last night I was sitting her staring at this thing trying to figure out what was still off about this. While I'm not building a replica, that car has a "look" and I was having trouble capturing it. So I started studying photos and I finally figured it out, the belt line creates a wedge shape. It's really apparent in this photo. So last night I channeled my inner "Eric" and played with some photo editing. It's not great but it helps prove the point before I start cutting There are a few ways I can attack this, and I'll probably plan it out a bit better than I did that grille shell.