Bren
-
Posts
126 -
Joined
-
Last visited
Content Type
Profiles
Forums
Events
Gallery
Everything posted by Bren
-
1980 Kenworth W900A
Bren replied to Jay Lankford's topic in Model Trucks: Big Rigs and Heavy Equipment
A tad late to the conversation but let me add my congrats Jay. When we were taught how to teach students, one of the best pieces of advice I received was “don’t just say ‘nice job’ - say WHY. That way the students know what they did well and can do more of it. Your build is terrific. Here’s why I think that. Nothing spoils an over-all look like sloppy basic construction. You’ve got all the drive wheels lined up perfectly and the beast sits even on all its paws. Not an easy thing to do. The hood sits perfectly aligned with the firewall - that’s a bear to achieve sometimes (ask me how I know!) Your painting, including window trim is super-crisp and accurate. Decals are trimmed right up to the margin - no unsightly carrier film to spoil the look. So there’s some really first rate basic modelling chops on display here - great for the rest of us to challenge ourselves to up our game. Well done and welcome to the forum. -
Micro Bus, the final Convoy build
Bren replied to Jürgen M.'s topic in WIP: Model Trucks: Big Rigs and Heavy Equipment
What program are you using to edit the .stl files Jurgen? The work looks great so far! Excited to see where you take this. -
Kenworth C500
Bren replied to Gary Chastain's topic in WIP: Model Trucks: Big Rigs and Heavy Equipment
They are still sitting in a box in my office ready to go - if I can get them across the border without donating a kidney - they are yours! Now our post office is on rotating strikes, so that is another thing.😡 -
Kenworth C500
Bren replied to Gary Chastain's topic in WIP: Model Trucks: Big Rigs and Heavy Equipment
I LOVE this beast. Can’t wait to see what you do with it Gary! -
Freightliner FLC
Bren replied to Jürgen M.'s topic in WIP: Model Trucks: Big Rigs and Heavy Equipment
Love this build Jurgen. That is a great looking truck! -
Freightliner FLC
Bren replied to Jürgen M.'s topic in WIP: Model Trucks: Big Rigs and Heavy Equipment
You are so welcome Jurgen! Just to point out for the readers, Jurgen designed all these parts from scratch - excellent .stl files (as always). The three spare hoods on the top left corner represent failed prints - they warped. I like to send the duds along so the builder can practice with filing/painting without worrying about wrecking a good part. I left the sun visor on the supports to prevent breakage during shipping from Canada to Germany. Should make an awesome model! -
Freightliner FLC
Bren replied to Jürgen M.'s topic in WIP: Model Trucks: Big Rigs and Heavy Equipment
I love where this build is going Jurgen. Last night I printed the sleeper/roof and found a position to print the hood without z-lines showing up. I’m putting a push on to get all the kit parts to you ASAP so the build can progress. I agree with some of the comments here - with no new kits coming out, us “tiny truckers” will have to get creative with our skill-set and learn how to make our own kits. -
Western Star 4900 FA plow truck
Bren replied to BK9300's topic in WIP: Model Trucks: Big Rigs and Heavy Equipment
I haven’t been commenting much Brian - but just……WOW! This thing is museum-quality stellar! Humbling to look at your dedication and modelling chops. -
AMT Exterior Post Doubles Vans
Bren replied to Bren's topic in WIP: Model Trucks: Big Rigs and Heavy Equipment
Thanks for the encouragement guys. I’m just waiting on some decals from model truckin’ for the sides, then push to get this one finished. -
AMT Exterior Post Doubles Vans
Bren replied to Bren's topic in WIP: Model Trucks: Big Rigs and Heavy Equipment
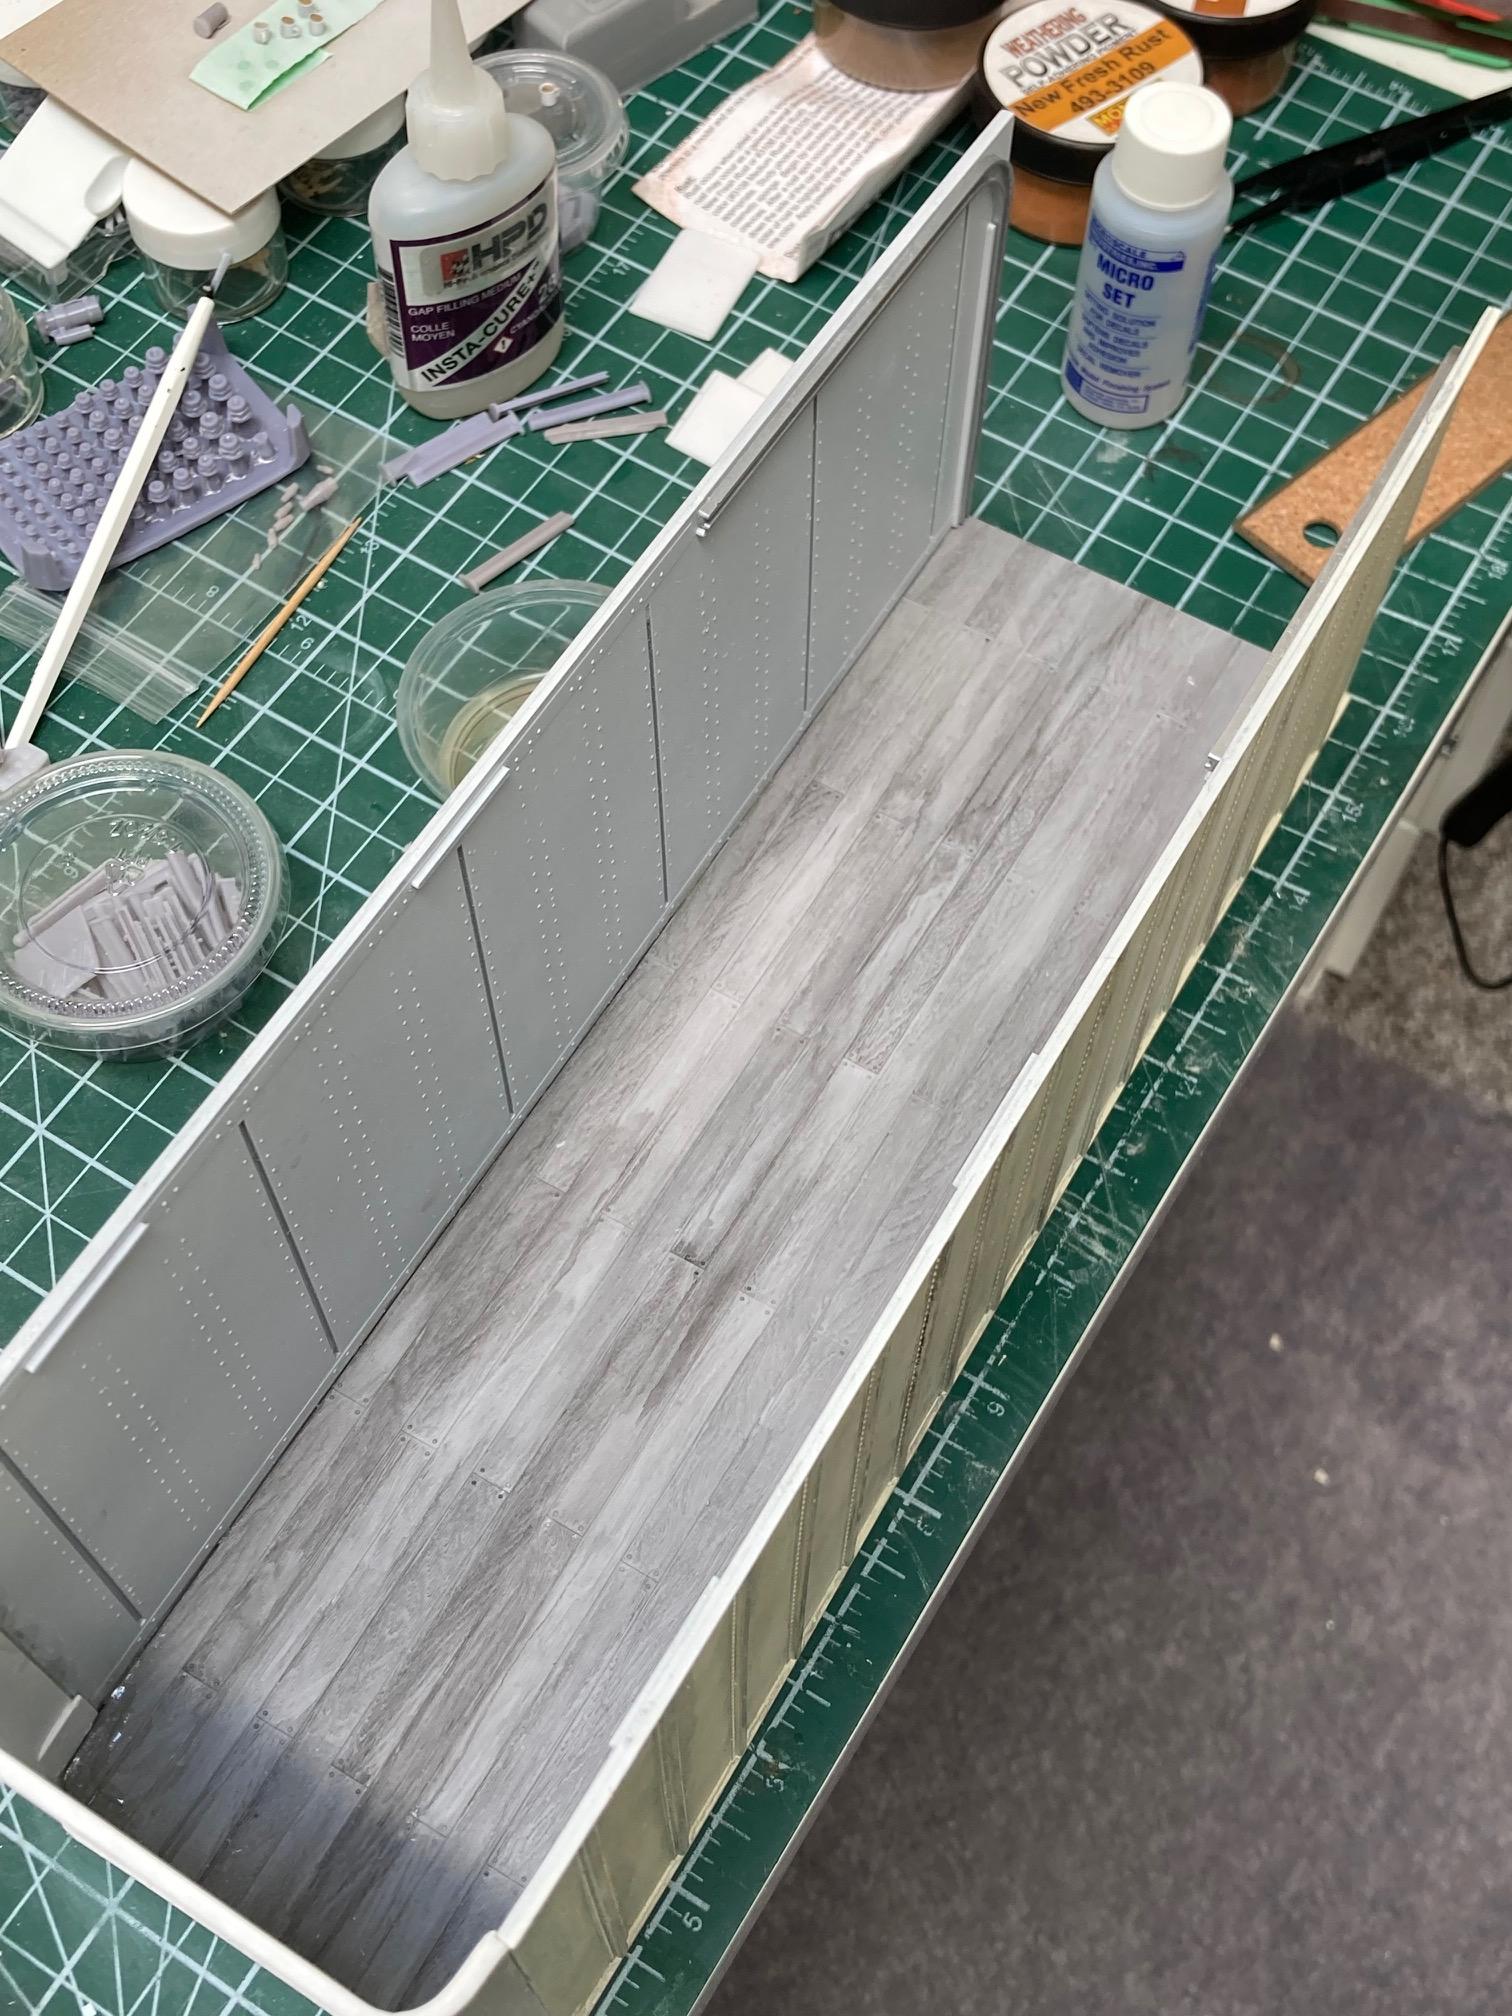
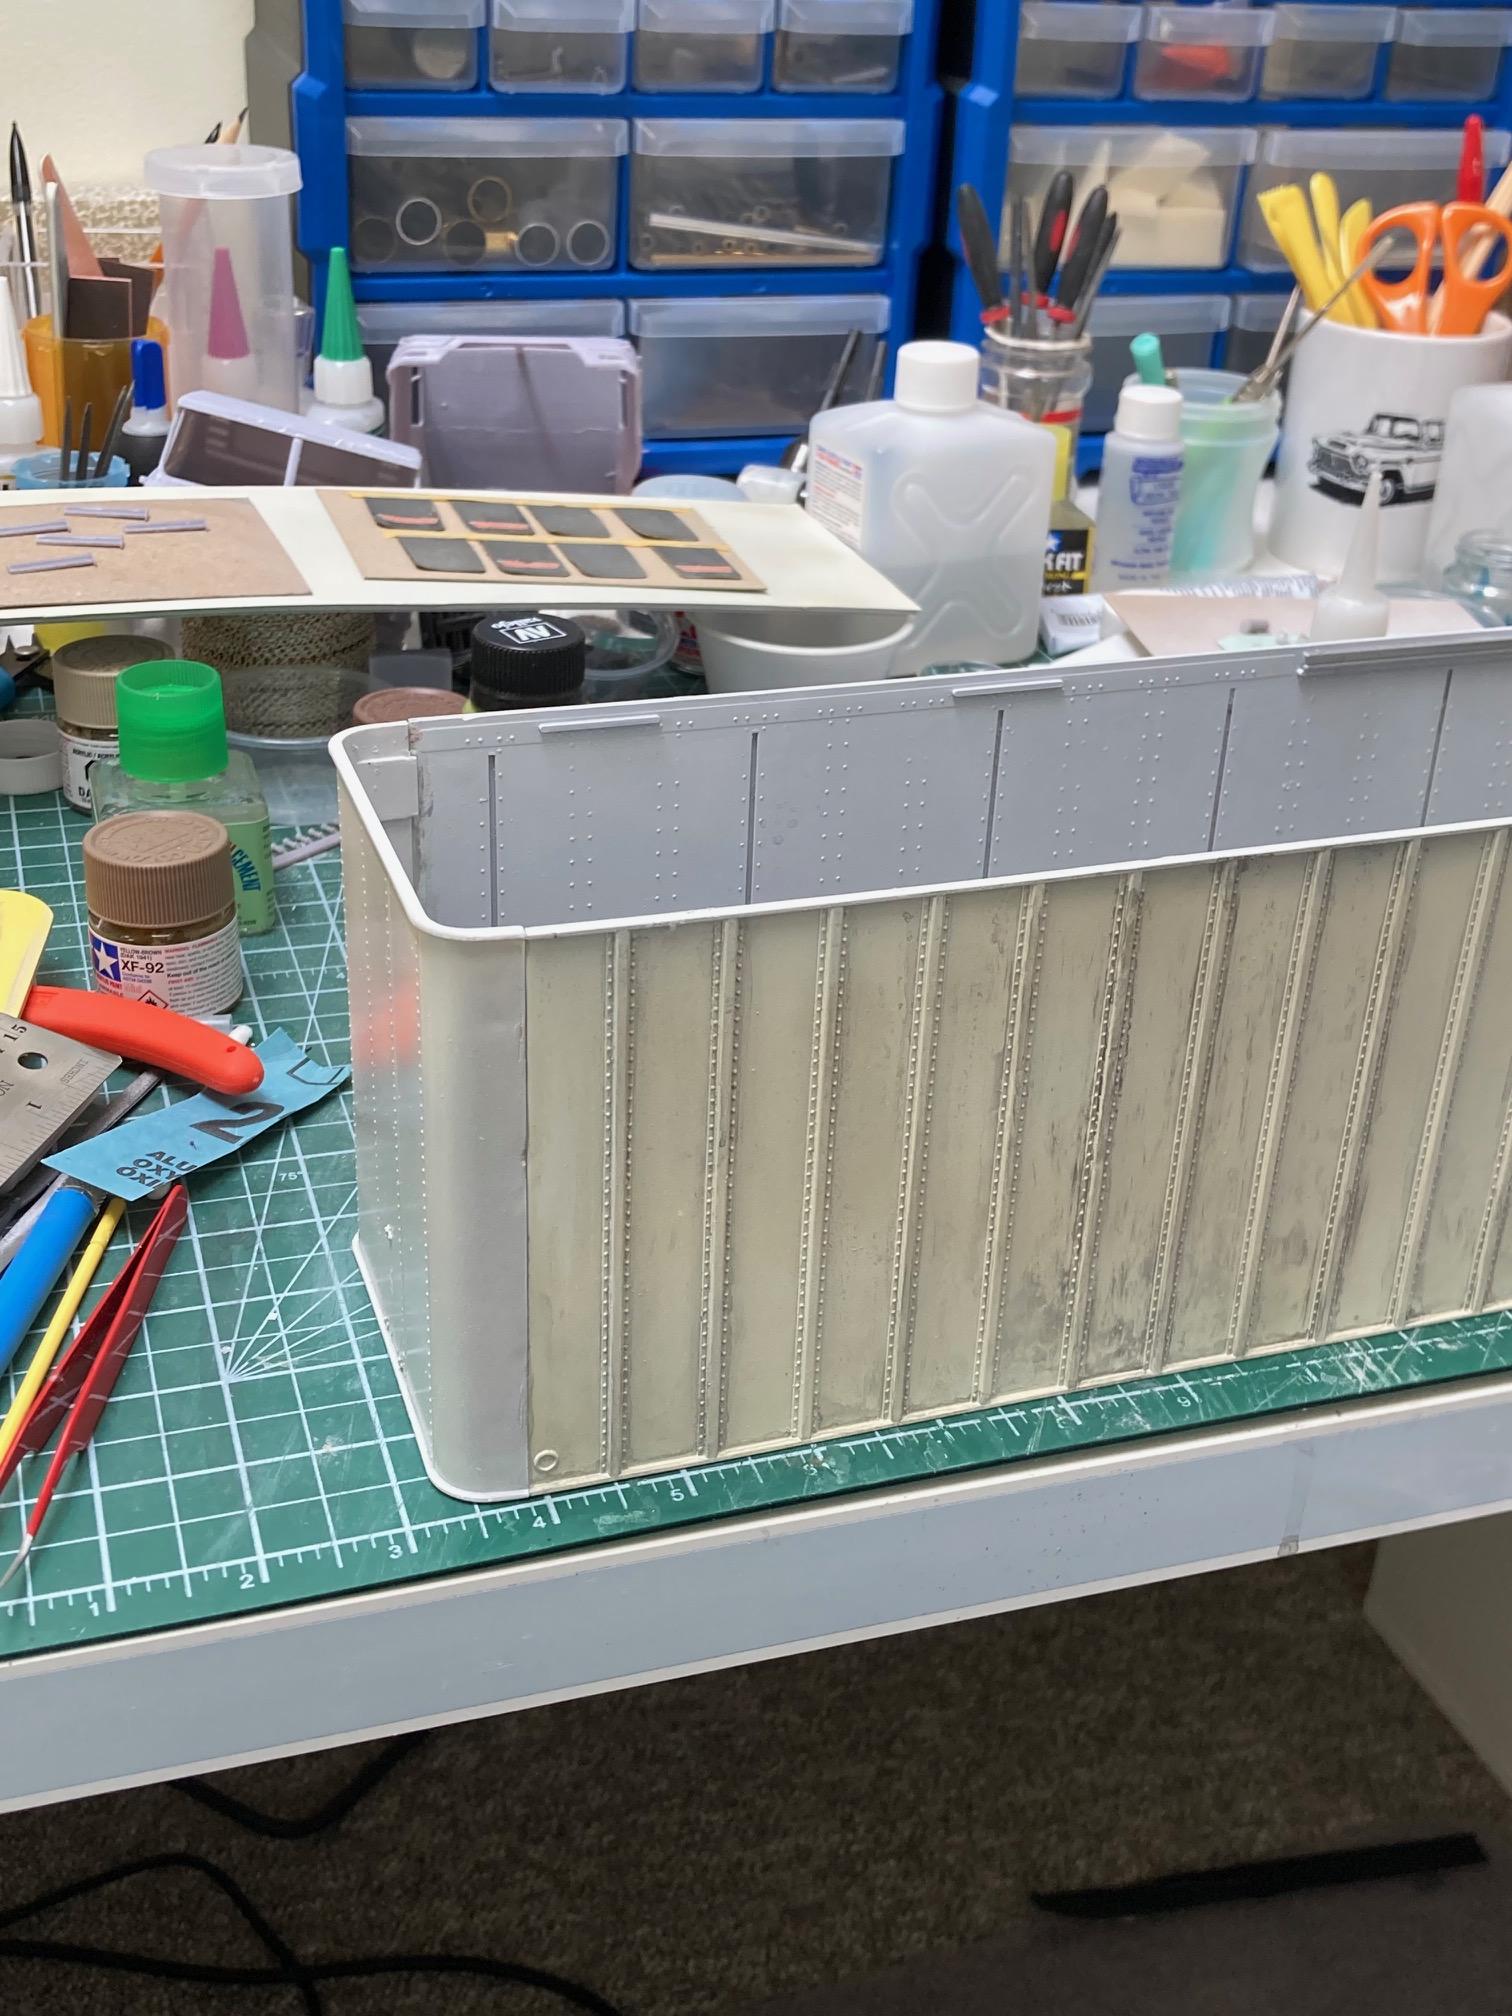
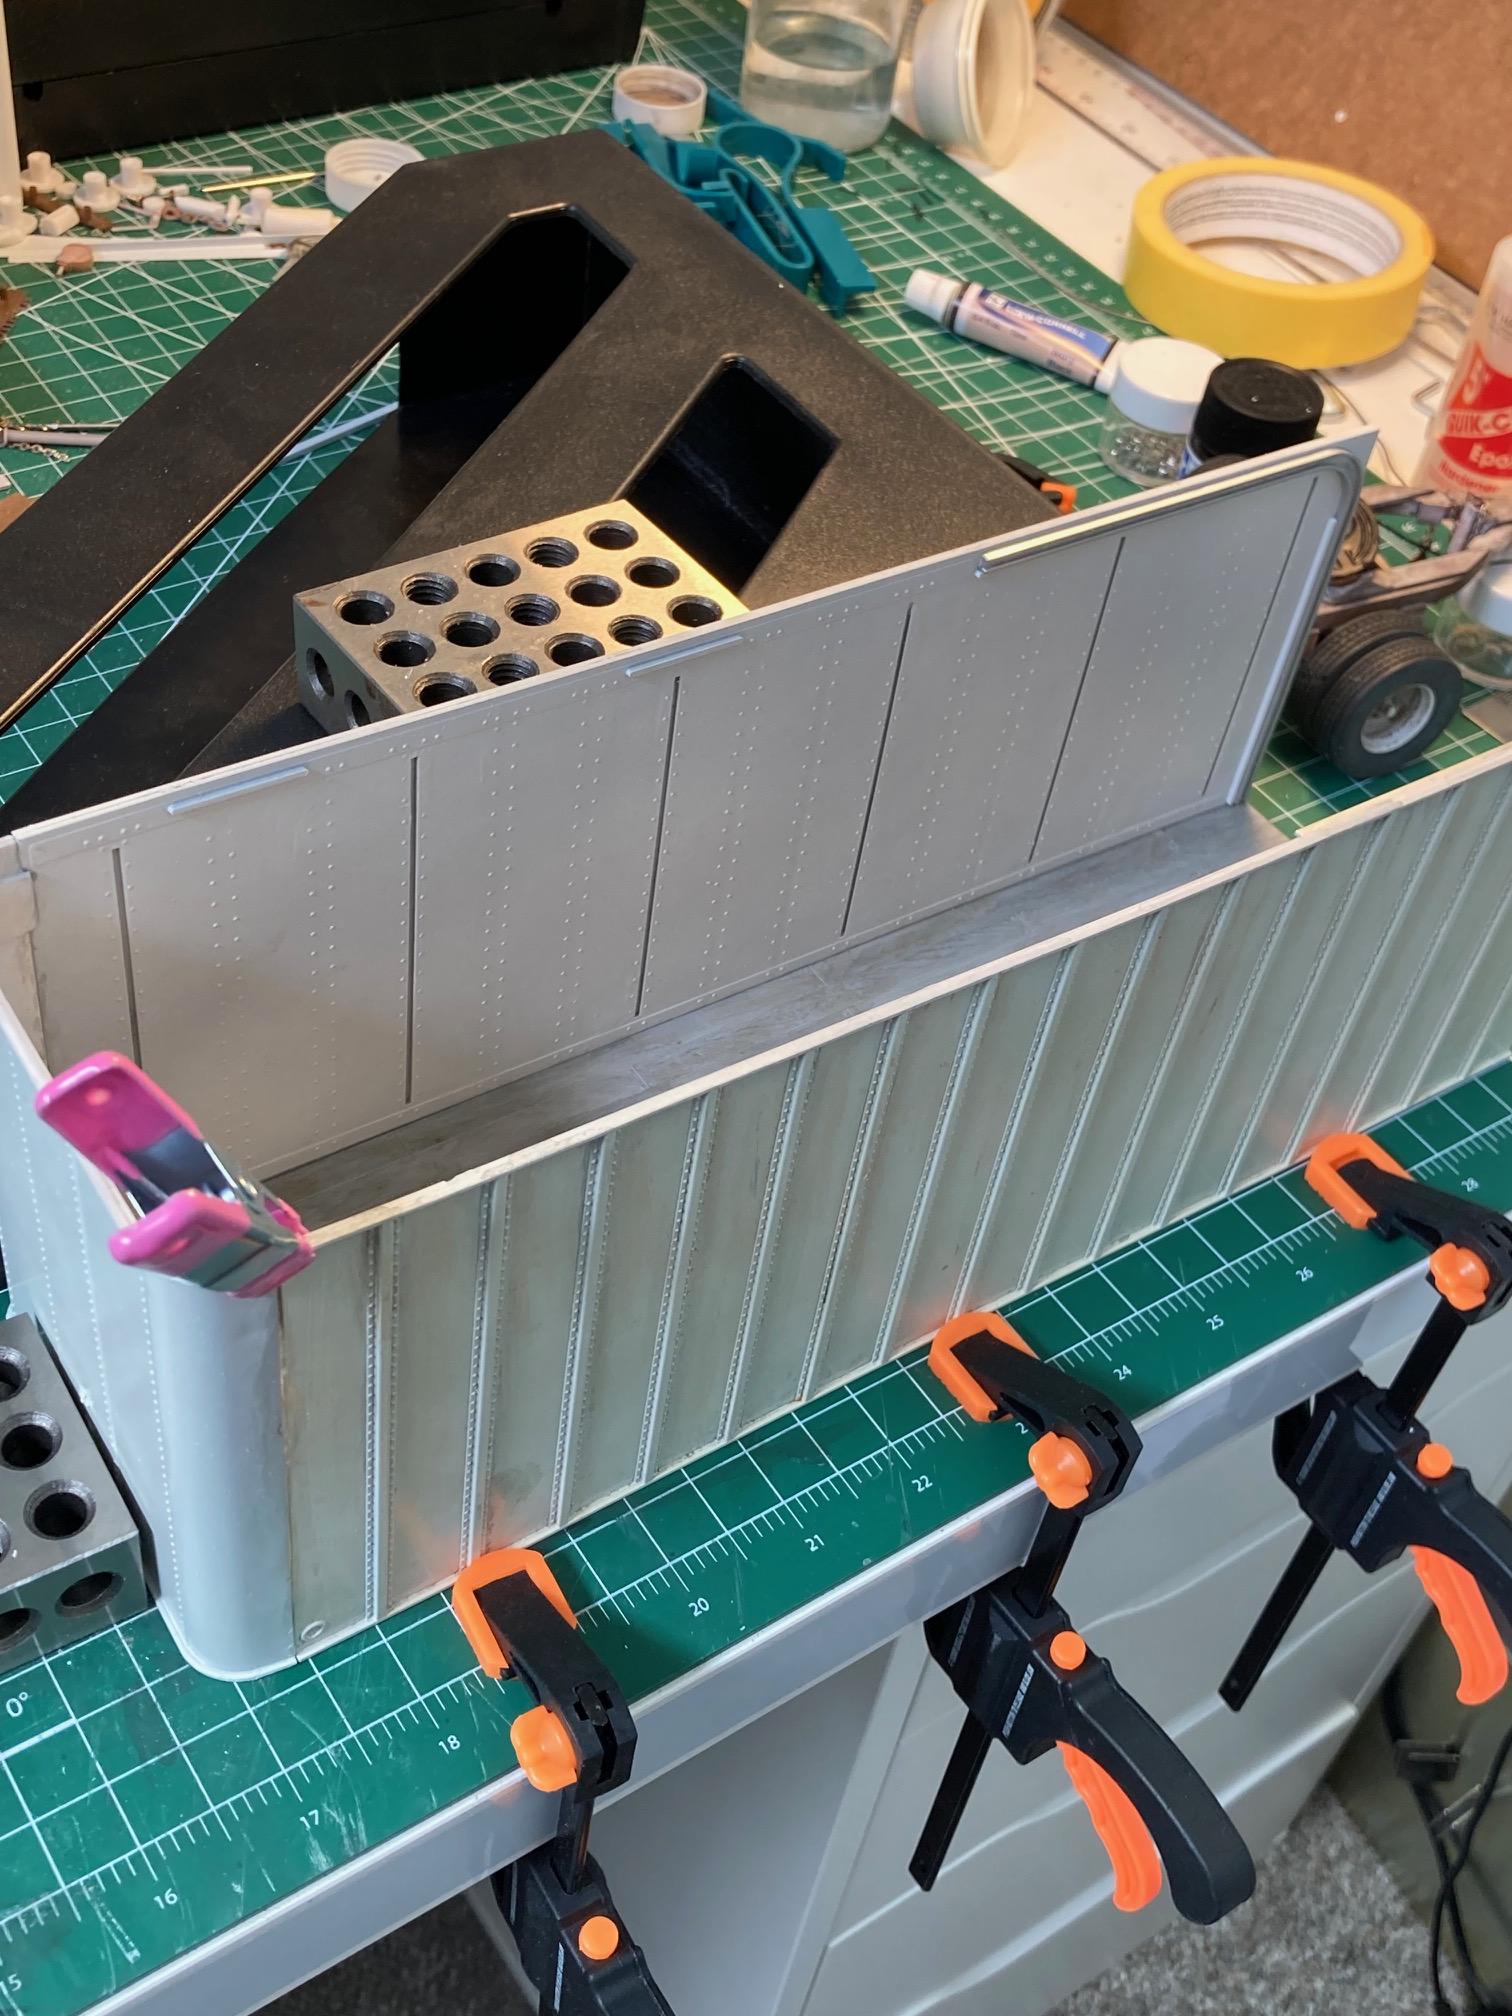
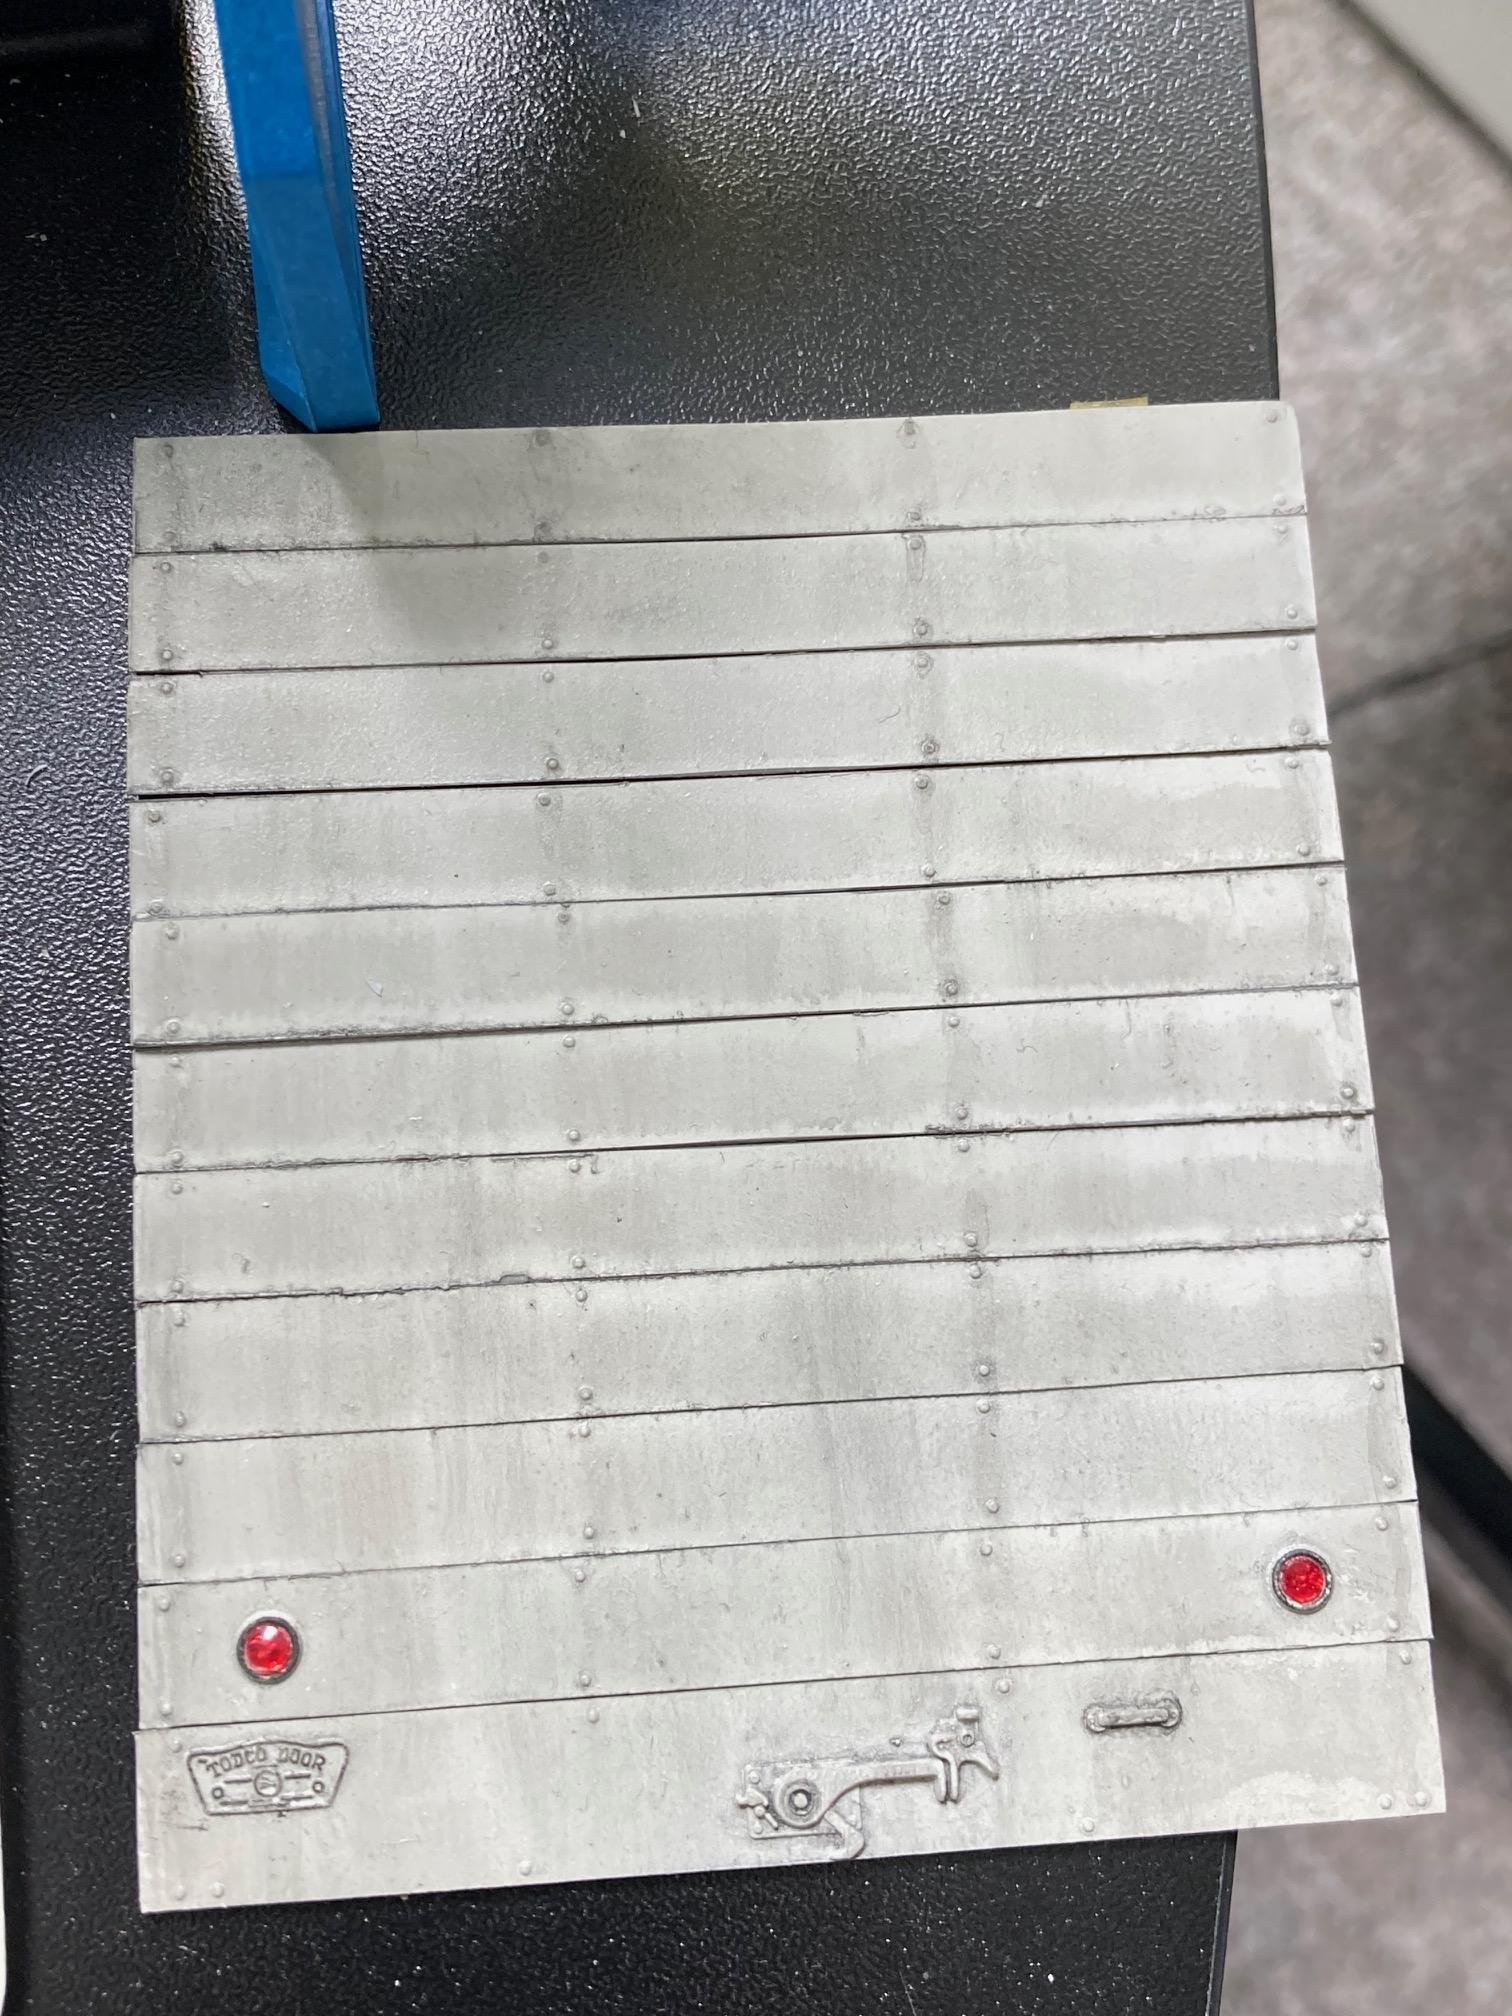
The progress continues at the speed of a glacier moving uphill!! I got some bench time this week - I dunno about you guys but getting the $#@^& trailer sides true and flush is a job for an octopus with 17 clamps and gorilla glue. Think I finally got 'em. Next come the mudflaps onto the 3d printed hangers and installing the sliding rear doors. But getting there....
-
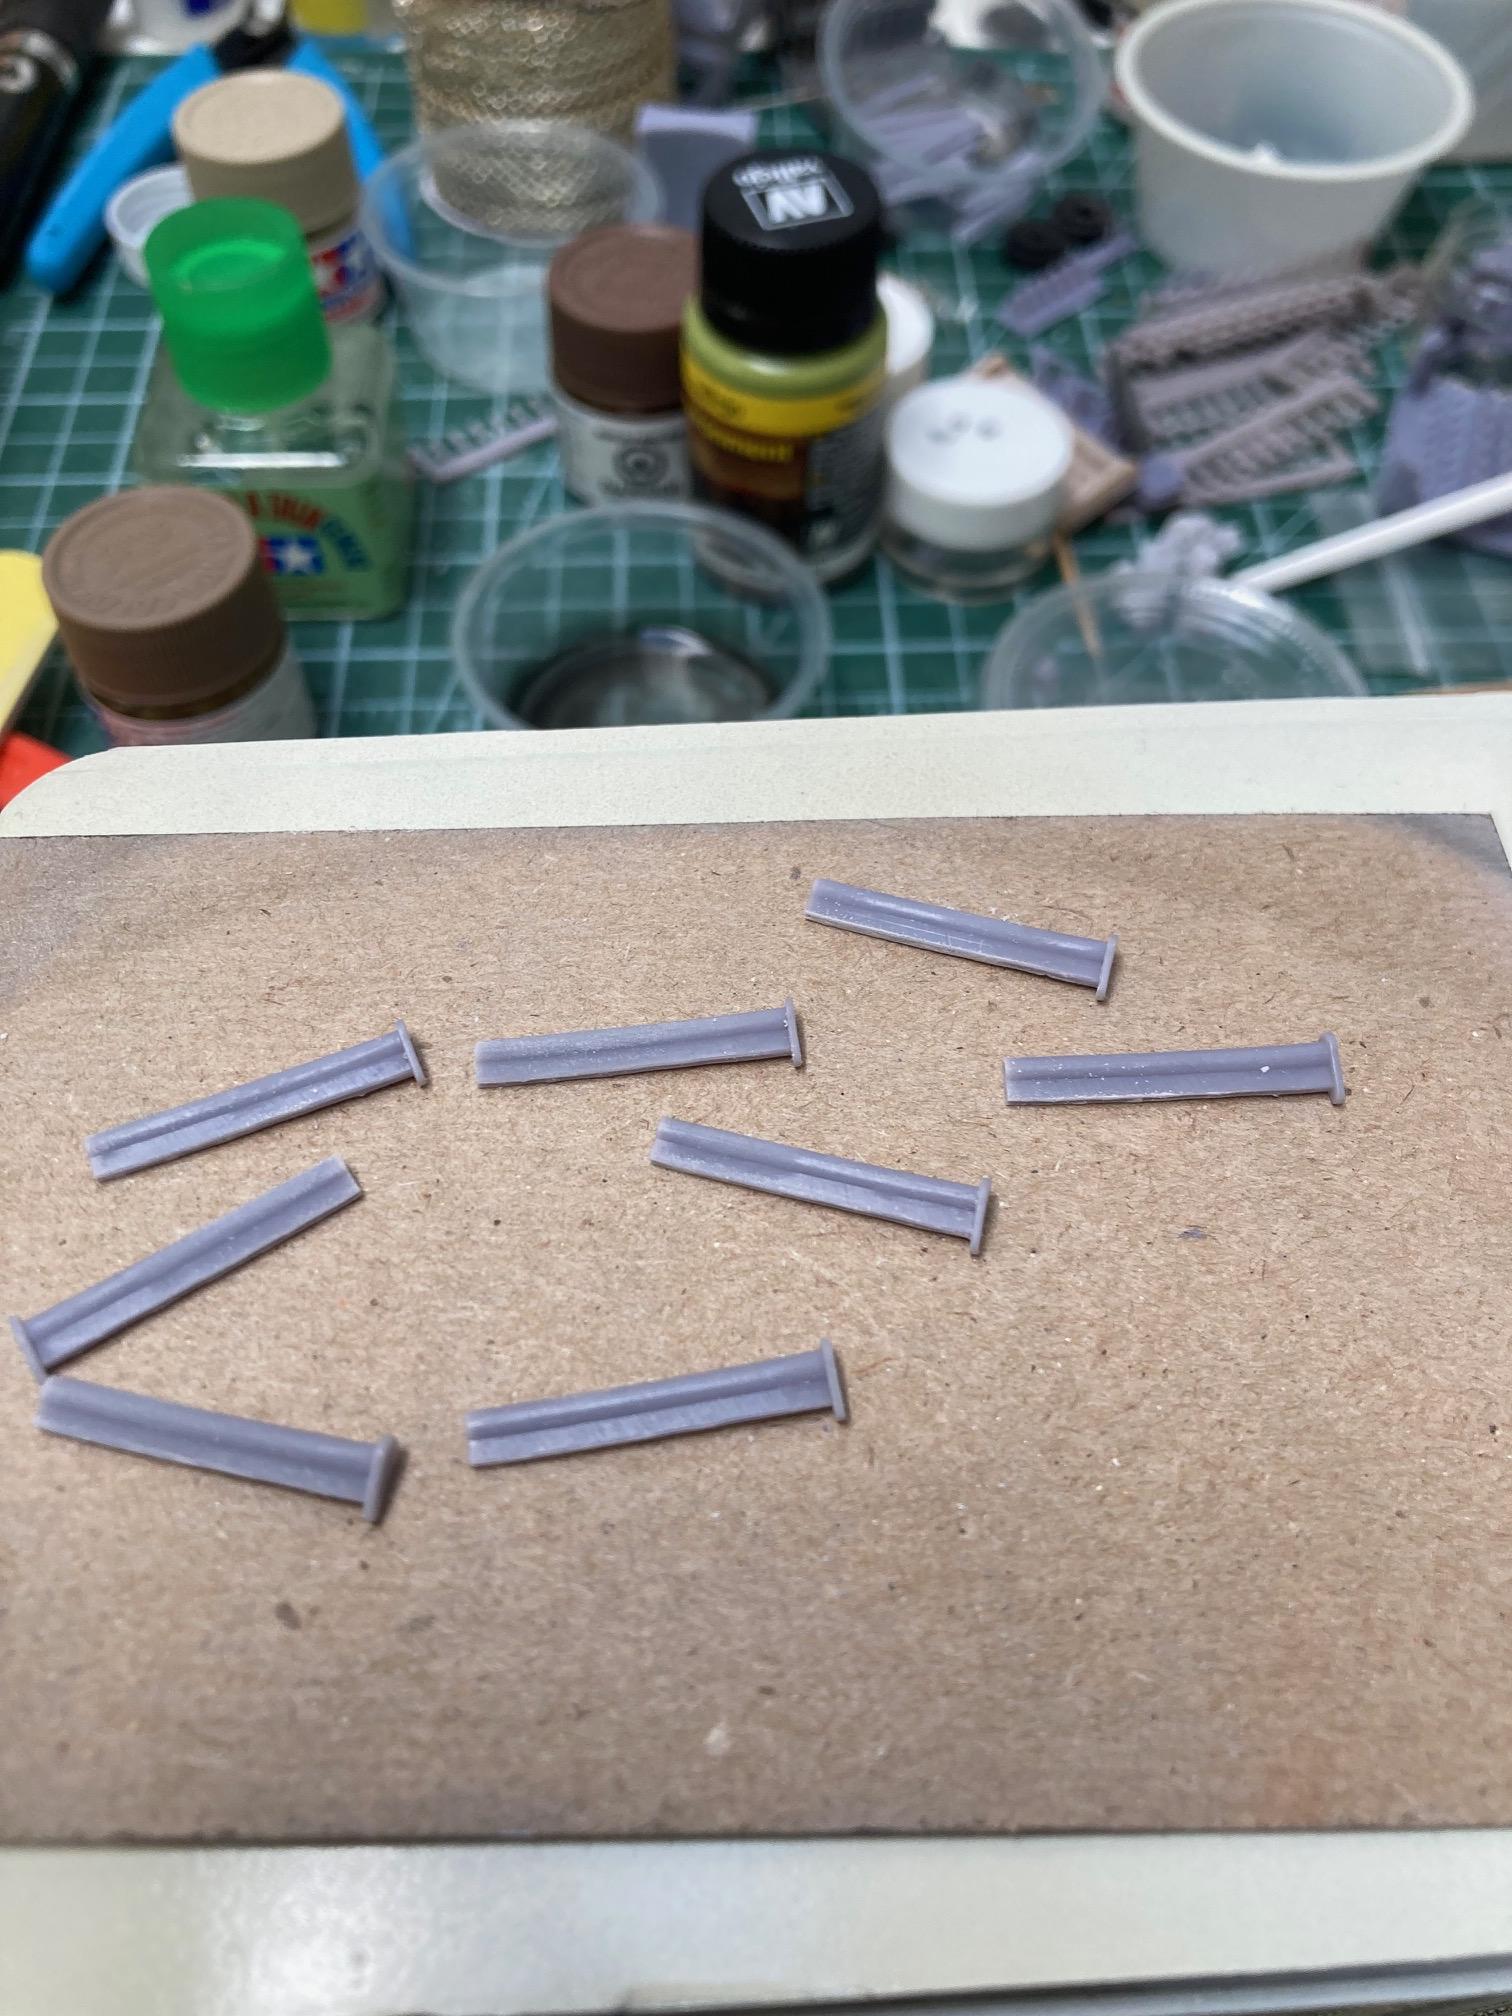
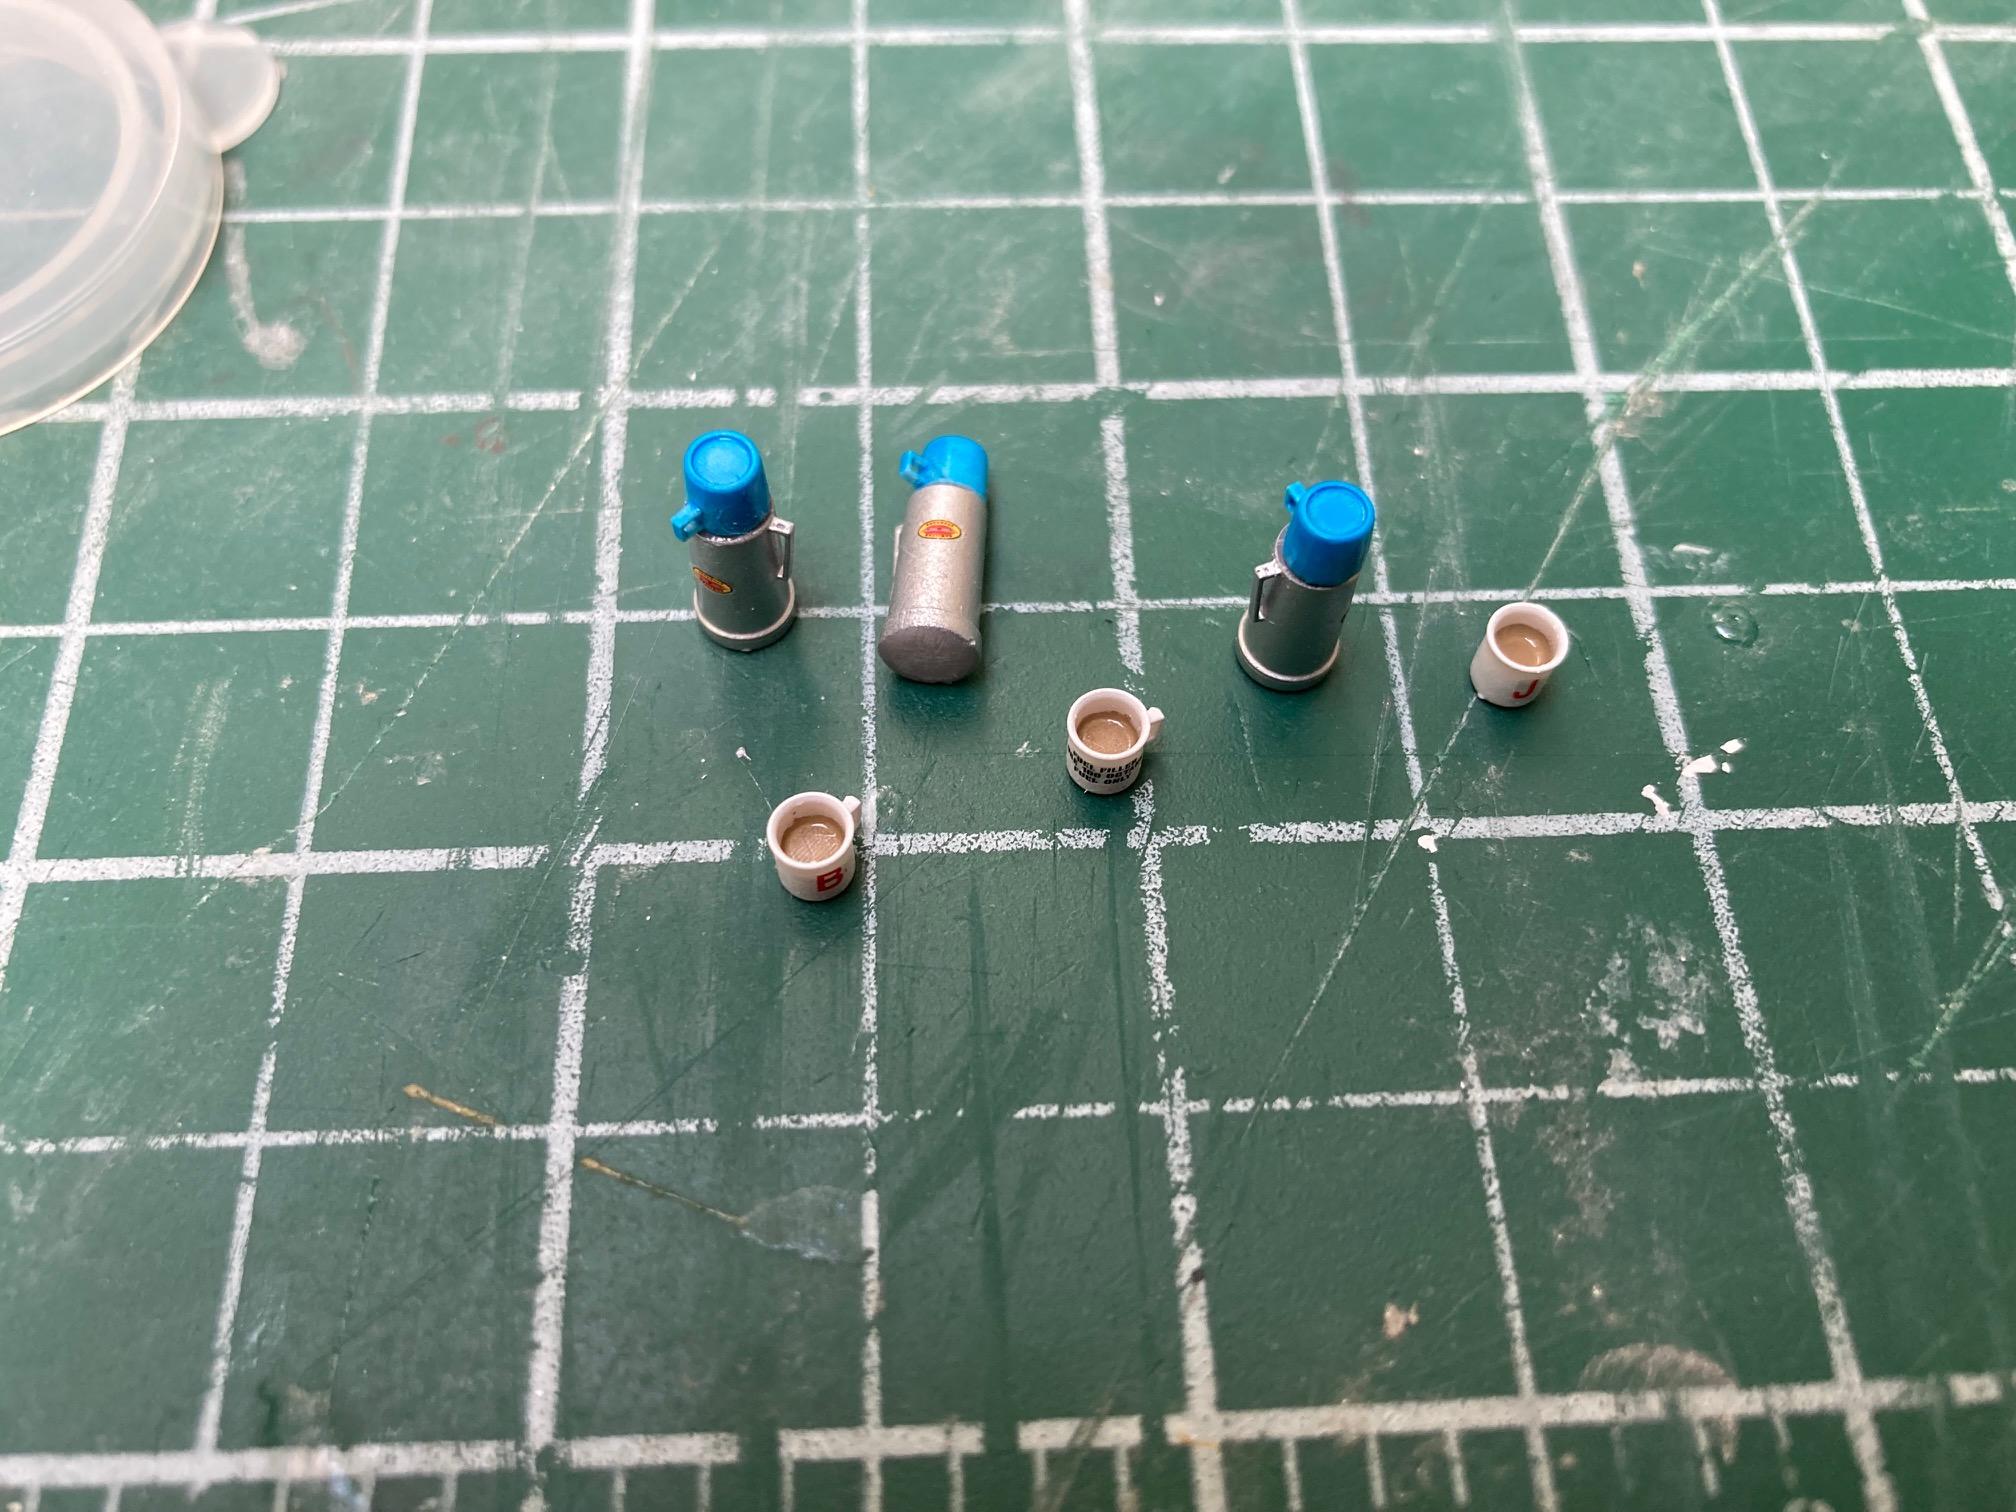
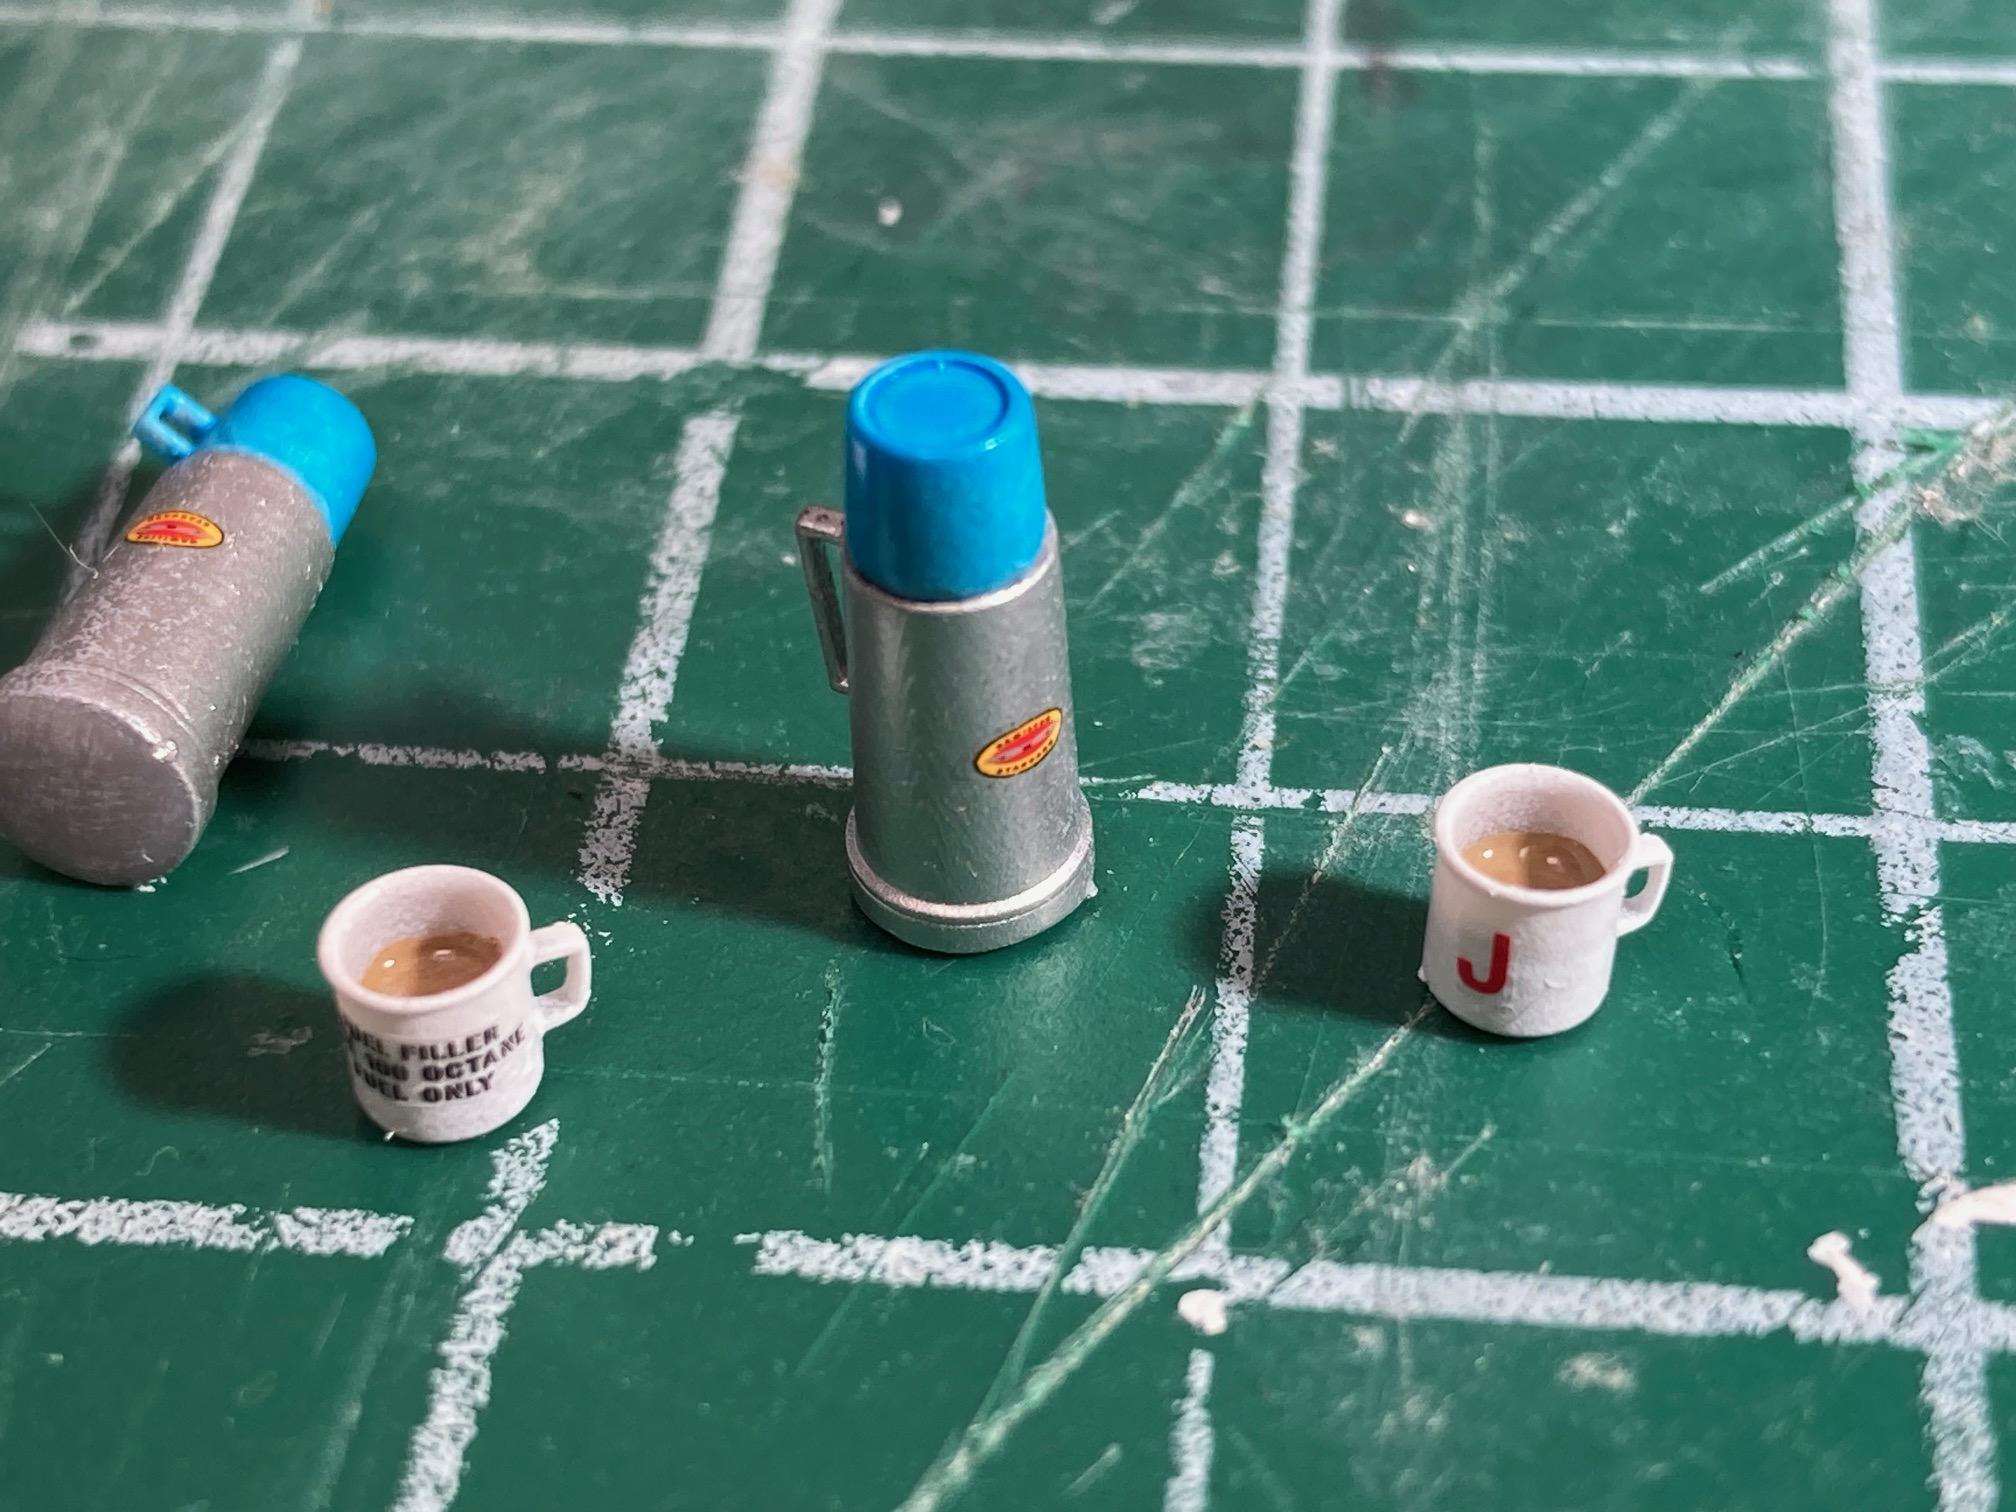
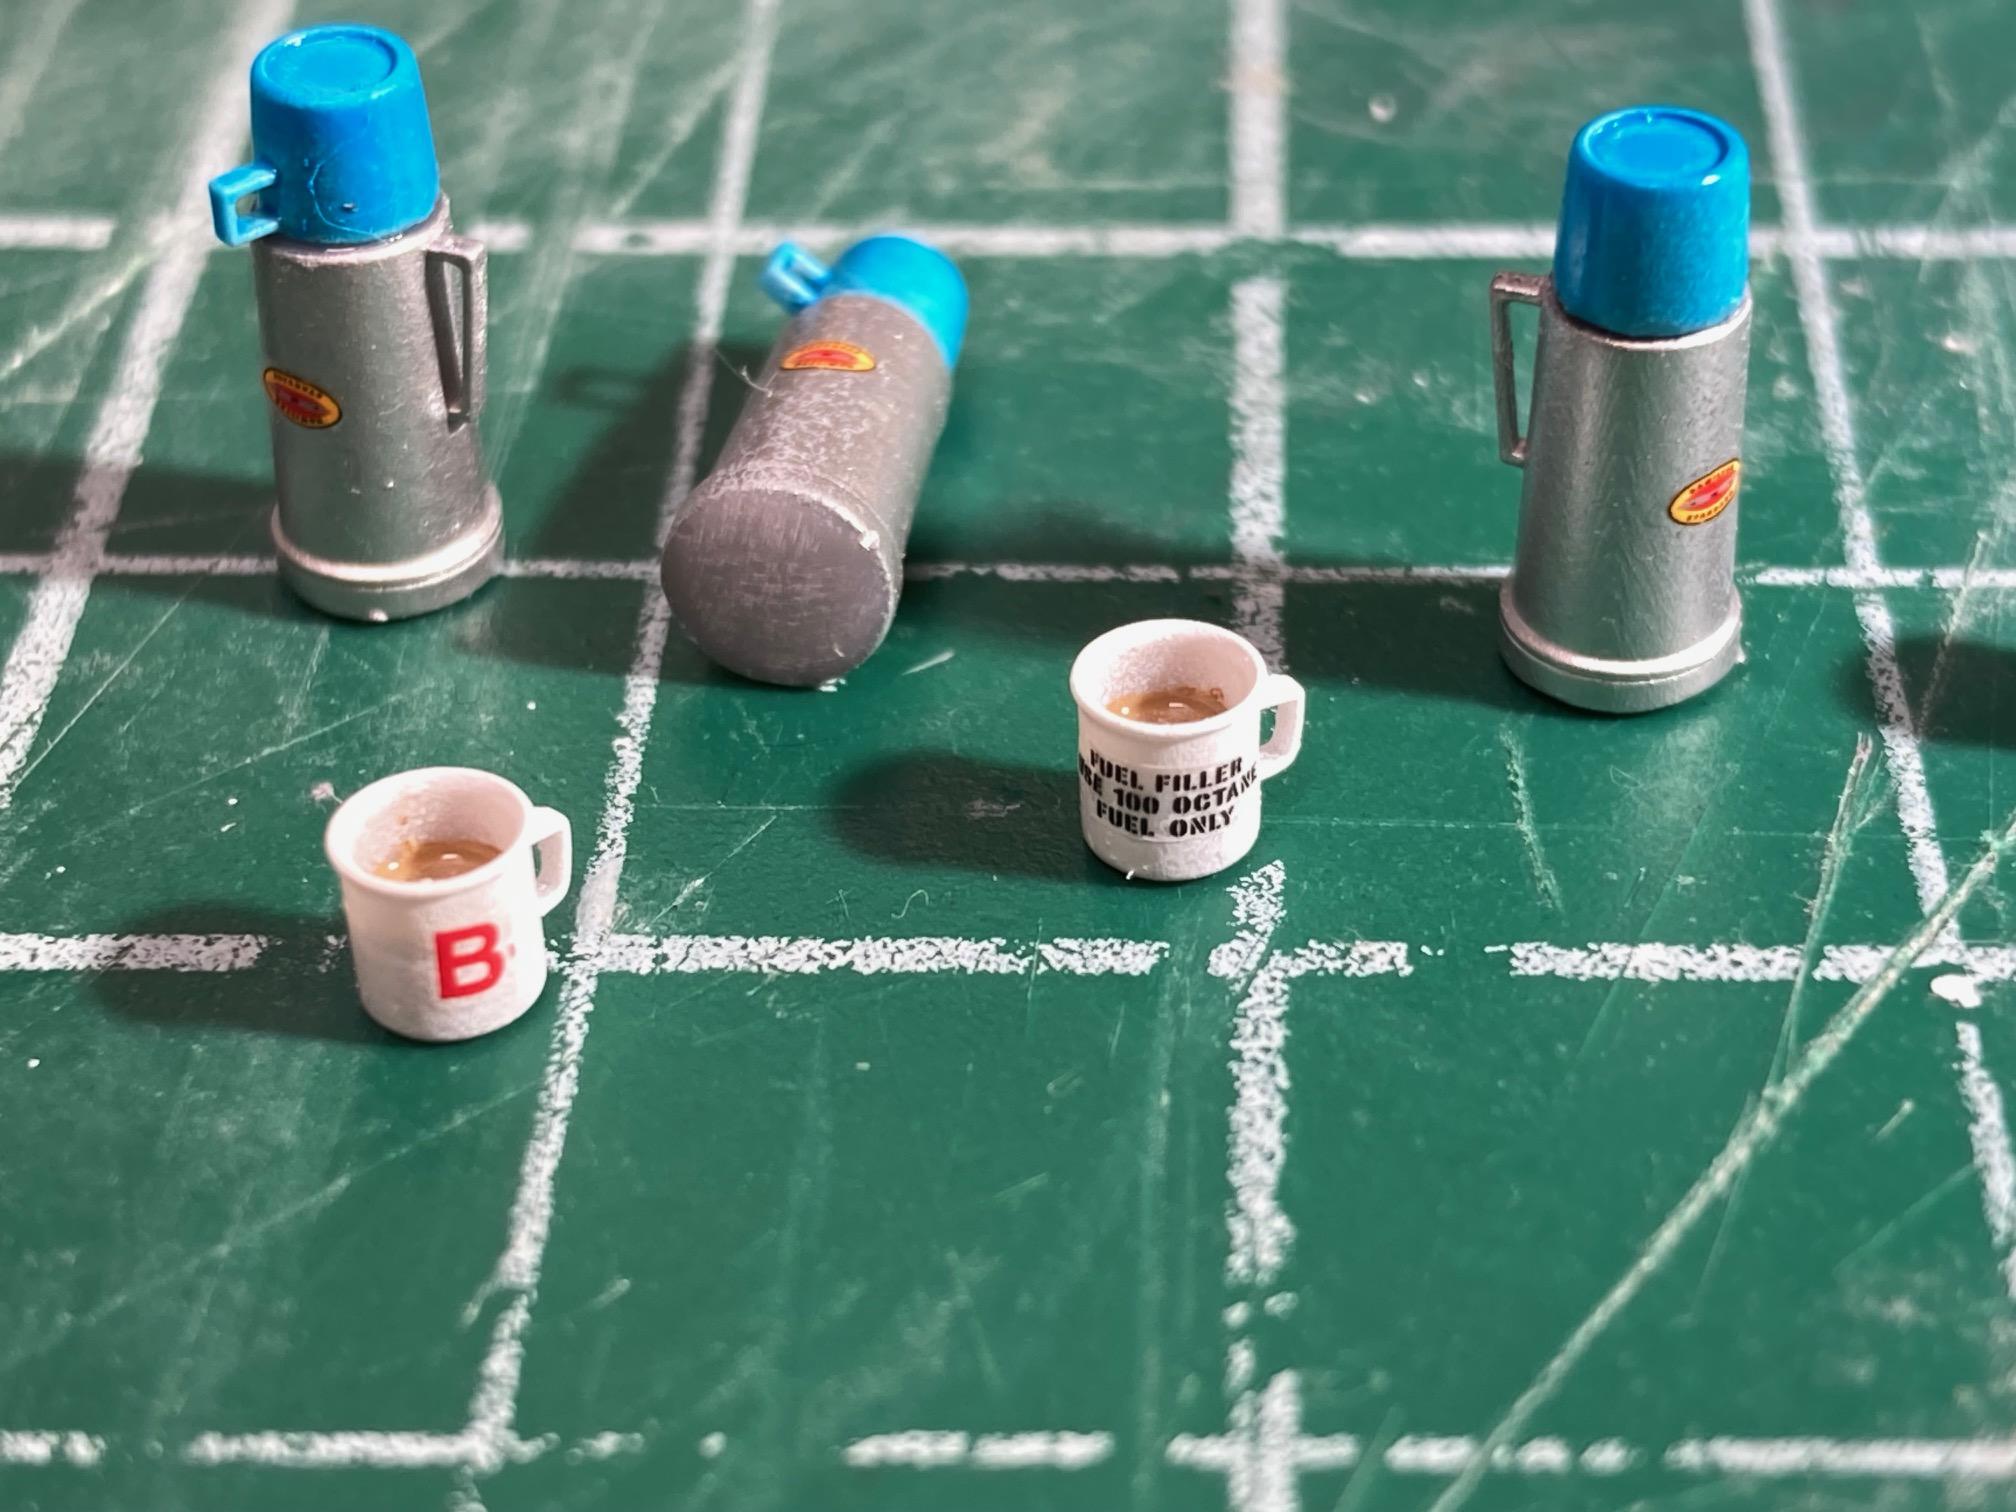
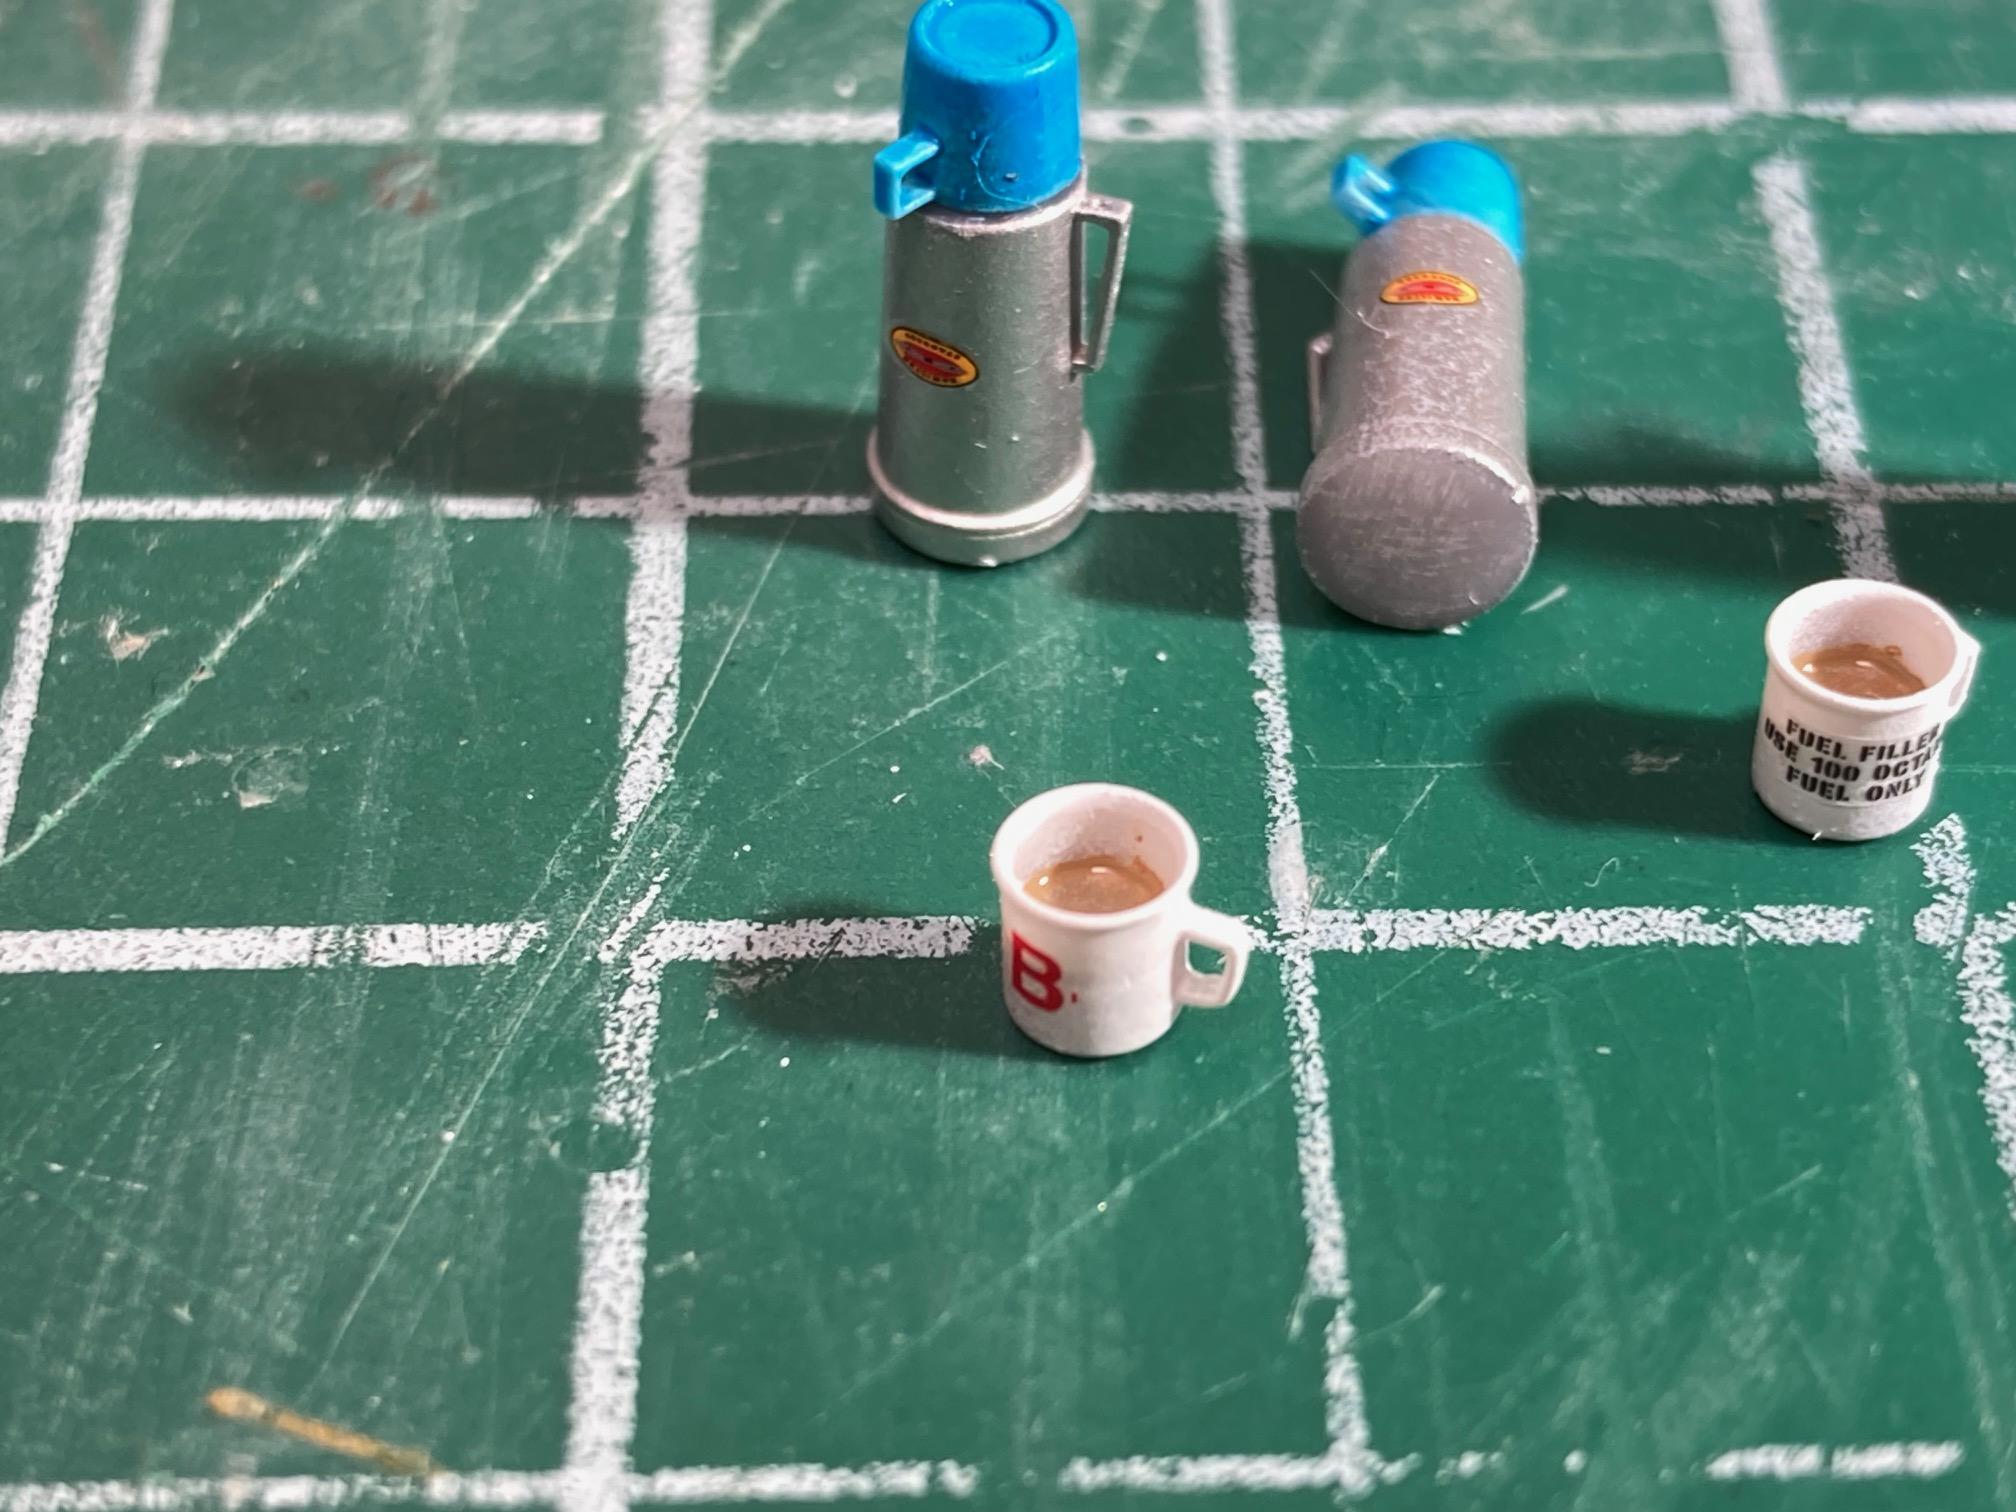
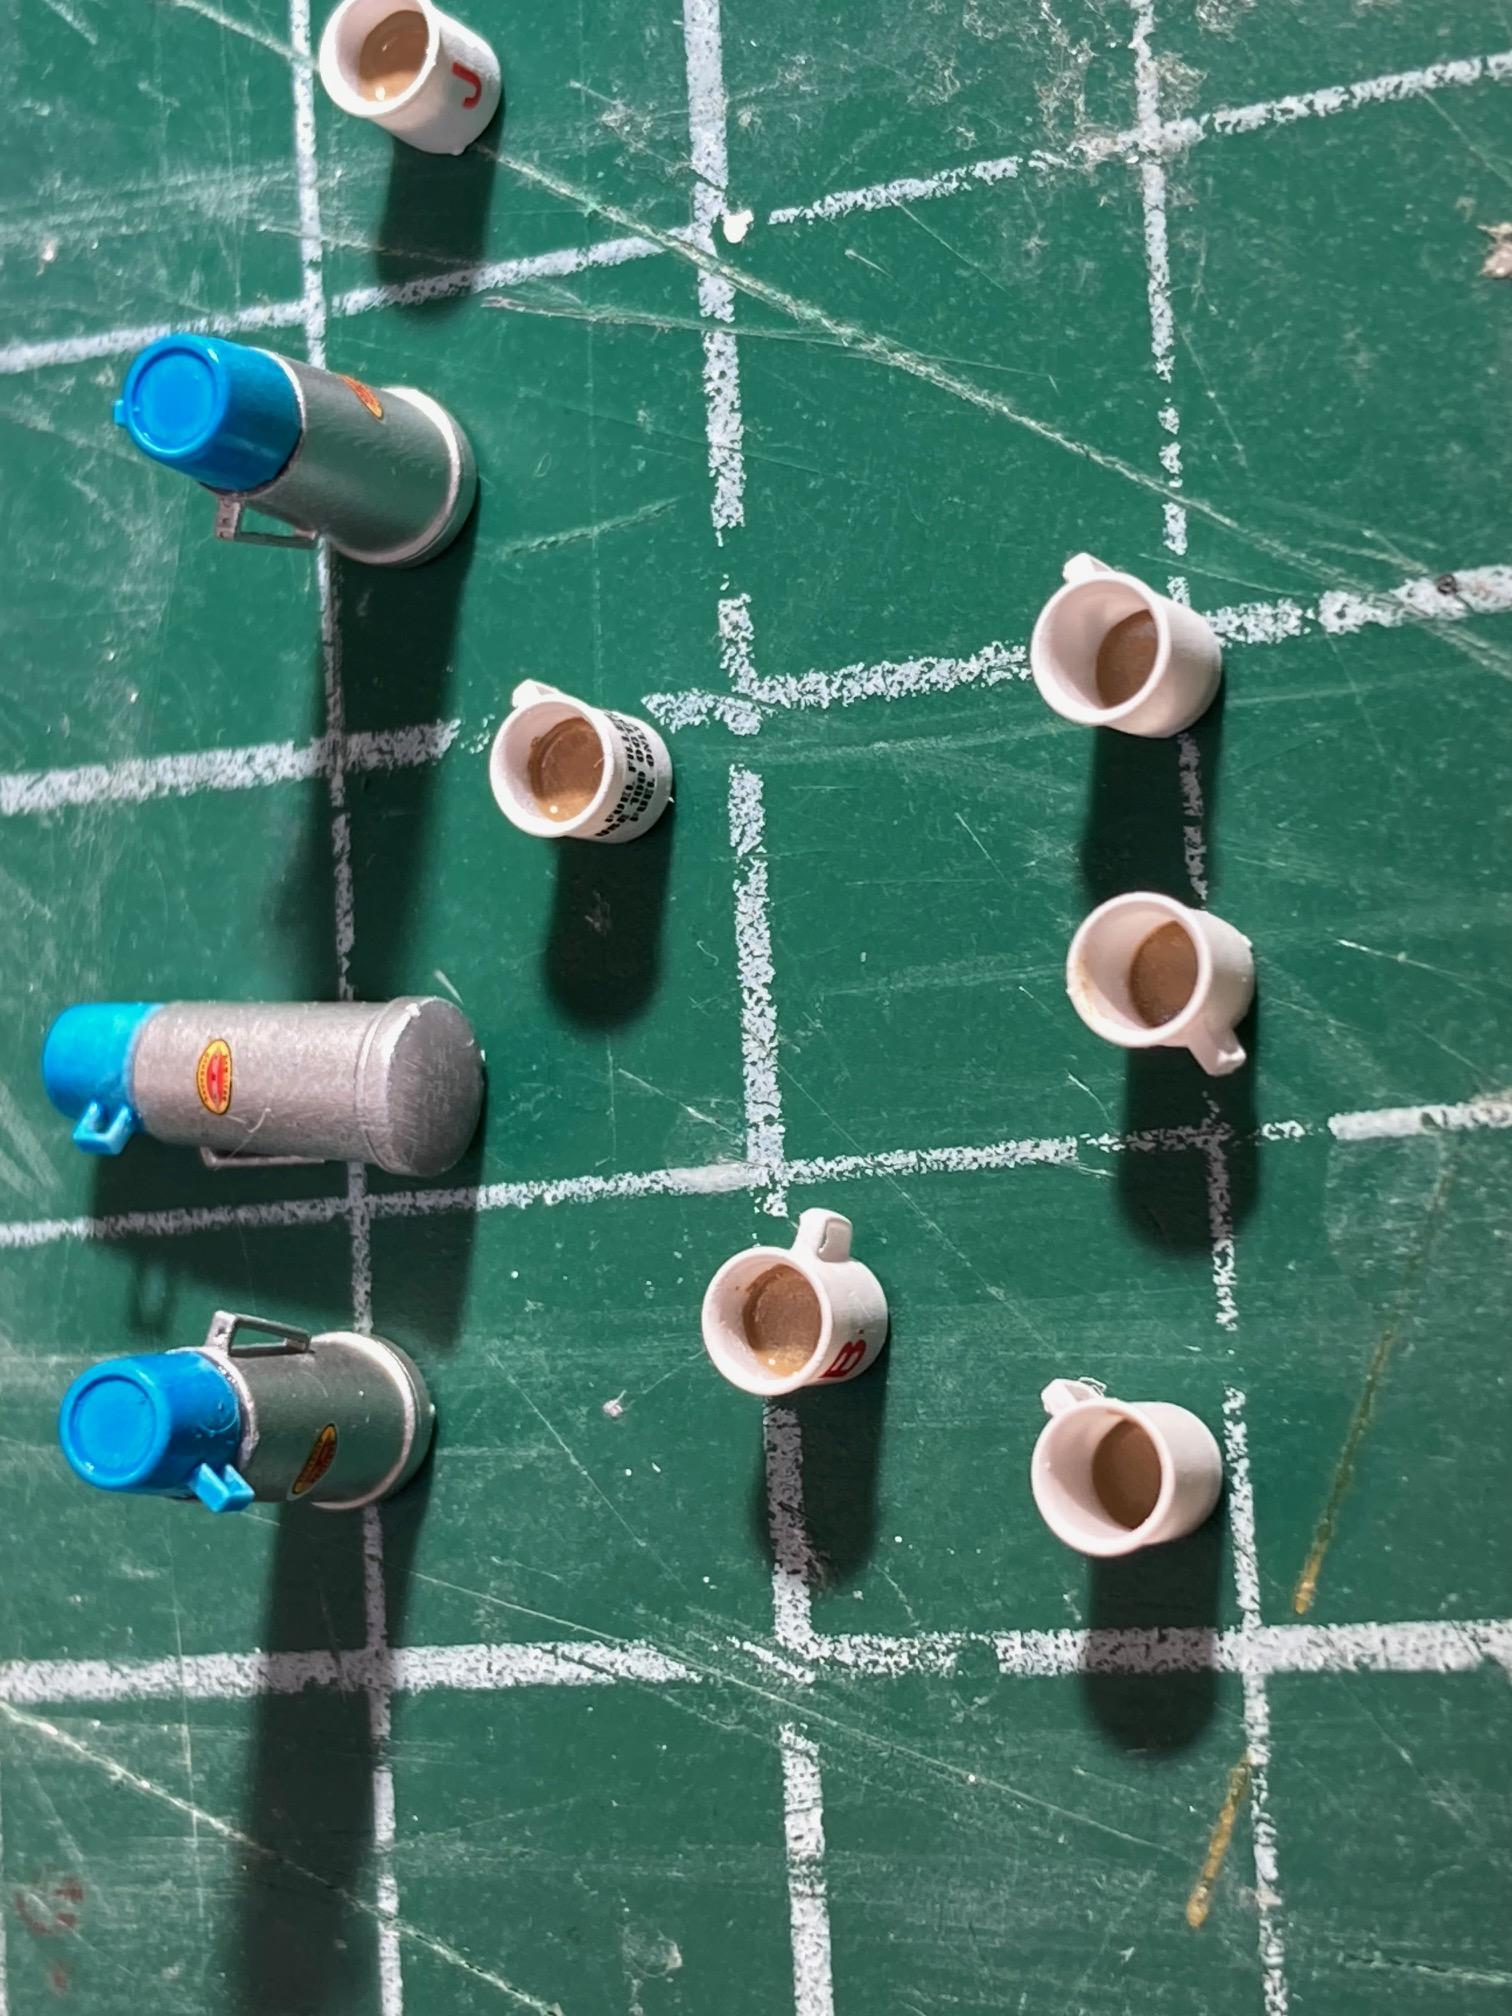
I figured it was about time I bought my forum buddies @Biggu @Jürgen M.and @BK9300 a coffee. My defense for posting this in WIP is that coffee is the only reason models get built or trucks run anywhere! B for Brian, J for Jurgen…and I didn’t have another J for Jeff so, knowing he’s the only ‘real’ trucker among us – and seeing as I was using an old 1/72 aircraft decal sheet, I picked “fuel filler – use 100 octane fuel only” 🤣 The file is from here https://cults3d.com/en/3d-model/game/1-14-mugs
-
That is an excellent solution to a common 3D print problem Jeff. Long narrow parts or thin ones tend to warp with humidity changes or just over time as they slowly cure all the way through. Reinforcing them with metal is just the ticket - and your solution here looks exactly as it should for 1:1 realism. Looking forward to seeing the completed truck - your work so far has been outstanding!
-
Western Star 4900 FA plow truck
Bren replied to BK9300's topic in WIP: Model Trucks: Big Rigs and Heavy Equipment
Hi Mike, I have spoken to Brian in the past about putting some of his excellent designs up on Cults website to share with all truck modellers and he was all for it. So I’ll be doing that - keep watching the site and I’ll try to get to it shortly. My screen name there is ‘Heavyhaul’. -
More than happy you shared the pictures of the print Jurgen. This has been a very exciting project to be involved with. I’m always anxious that guys like me don’t “oversell” 3D printing - it definitely has its challenges. This cab took about 6 tries to find the correct orientation and printer settings to print correctly - but we got there in the end. There were lots of failed prints. But I think it’s so exciting that designers like you can put together a .stl file of an unkitted subject and we can turn it into reality. Great time to be a truck modeller!
-
You guys are very welcome! I find the people on this forum to be such wonderful people - we’re all truck nerds and we don’t let politics or nationality or any other such garbage get in the way of the friendships. I am so much the better for the friends I’ve made here - I love being part of the team!
-
80ish Autocar DK-64 HH tractor.
Bren replied to ShakyCraftsman's topic in WIP: Model Trucks: Big Rigs and Heavy Equipment
I think he may be talking about the hinges Ron. I’m trying to hinge my Pete 353 hood exactly as you’ve done here and haven’t been happy with my scratch built hinges. I tried the Model Car Garage ones and they are too flimsy- they distort when you open the hood. Your solution looks much sturdier, and still good in scale. Where did you source yours if you don’t mind me asking? -
Now Brian - to keep this consistent with your build you are going to have to design for Jeff a 1/25 scale 3 ring binder .stl file with operating rings to go in the receptacle in the back. Go on with ya - hop to it!😆
-
Thanks for letting us know - I agree, very sad. Same here - don’t know him personally but dealt with him buying his extraordinary products. We are a small bunch, us truck modellers , but I think our community is tight, and we care about each other.
-
Firstly - it’s a blast collaborating on this kind of project. Jeff and Jurgen are fabulous to work with. Speaking for myself it forces all kinds of stretching which I wouldn’t otherwise do - and makes my skills better. I’d never resin-printed anything as big as this tank - and angling it a my usual 40 degrees distorted one end. I printed it dead on 90 degrees - it worked. I had to use Meshmixer - a .stl editing program to revise Jurgen’s files so they would print on a resin printer (Elegoo Saturn 4 Ultra) - as FDM (filament) printing that Jurgen is expert at is a different beast. Steep learning curve - I don’t design or edit .stl files myself - so great opportunity to try something new. Now I have a new set of amazing files from Jurgen, I’m in my other workshop, and I’m going to try and get the Anycubic Mono 5 up and going - another chance to screw up magnificently and learn!😄 Really appreciate everyone on this forum and their open generousity. Makes the world a better place IMHO!
-
Mack Superliner
Bren replied to Jürgen M.'s topic in WIP: Model Trucks: Big Rigs and Heavy Equipment
When life gives you lemons - make lemonade! I think it looks great Jurgen. Unfortunately water-soluble resin is quite brittle - as you just found out - not as forgiving as styrene. I think you rescued this one elegantly. -
Western Star Classic heavy haul
Bren replied to Biggu's topic in WIP: Model Trucks: Big Rigs and Heavy Equipment
Love it ! Totally looks the part, and a nice change from yet another Cummins. -
AMT Exterior Post Doubles Vans
Bren replied to Bren's topic in WIP: Model Trucks: Big Rigs and Heavy Equipment
Thanks for the tip Steve. I’ll have to give that a try….. -
AMT Exterior Post Doubles Vans
Bren replied to Bren's topic in WIP: Model Trucks: Big Rigs and Heavy Equipment
Great idea Steve - I hadn’t thought of that. For what it’s worth I’ll try decals first - if they don’t work, no Biggu (see what I did there?) 🤣 -
AMT Exterior Post Doubles Vans
Bren replied to Bren's topic in WIP: Model Trucks: Big Rigs and Heavy Equipment
I just don’t know if the decals would stick, and if I could kill the carrier film shine with dull coat. I thought a stencil and paint might be more doable. But I’m experimenting - so you’ll see the results here…. -
AMT Exterior Post Doubles Vans
Bren replied to Bren's topic in WIP: Model Trucks: Big Rigs and Heavy Equipment
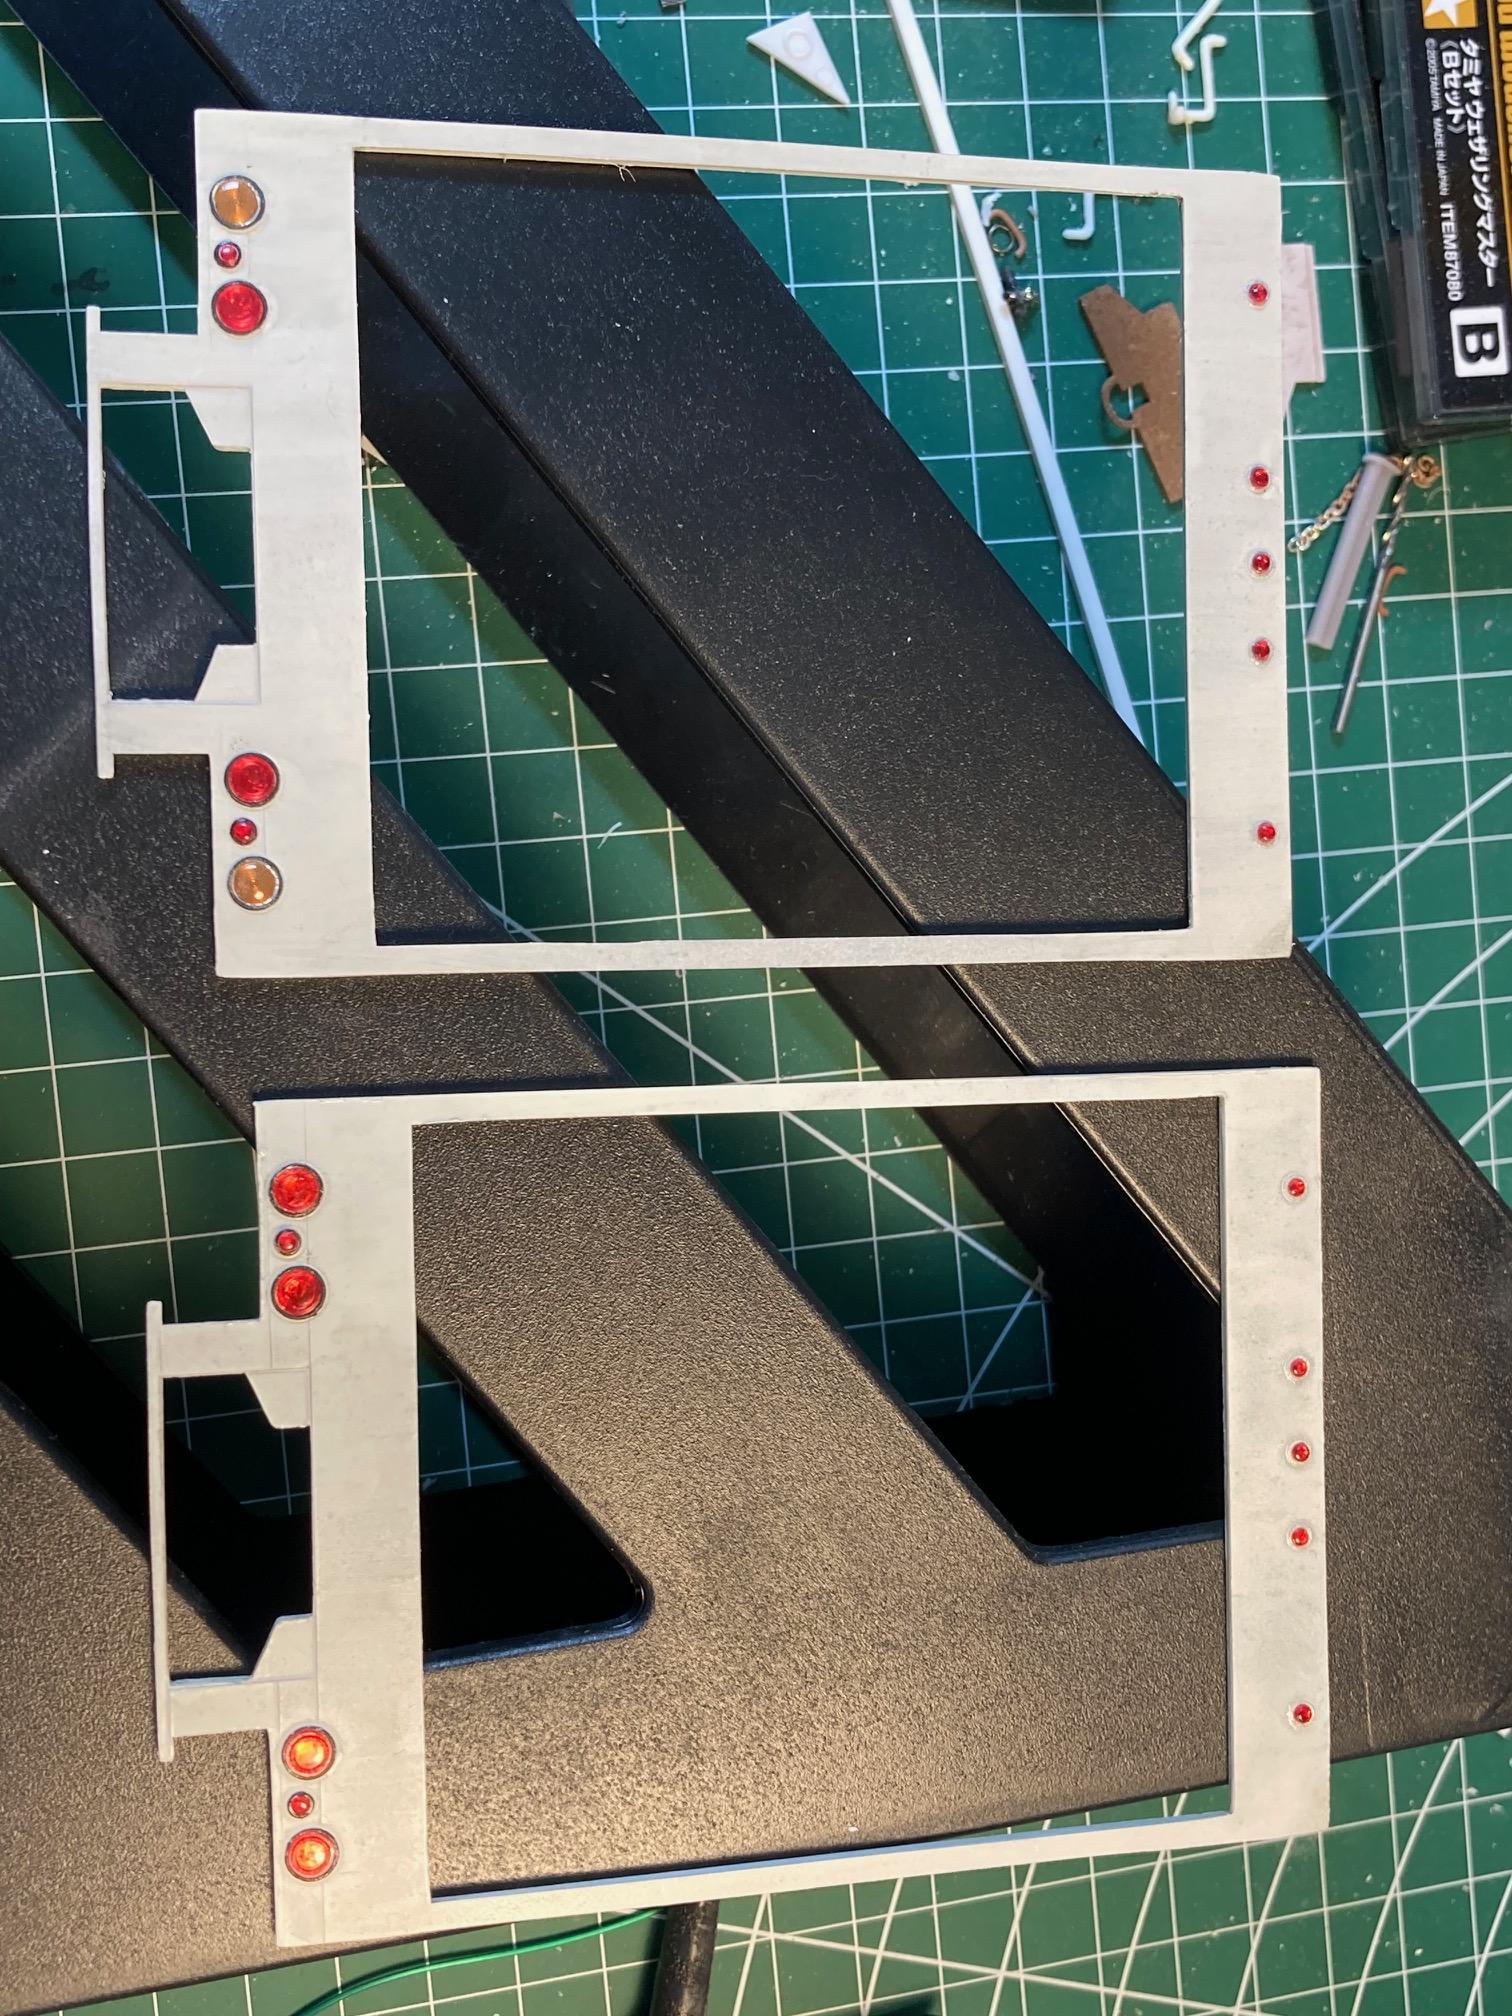
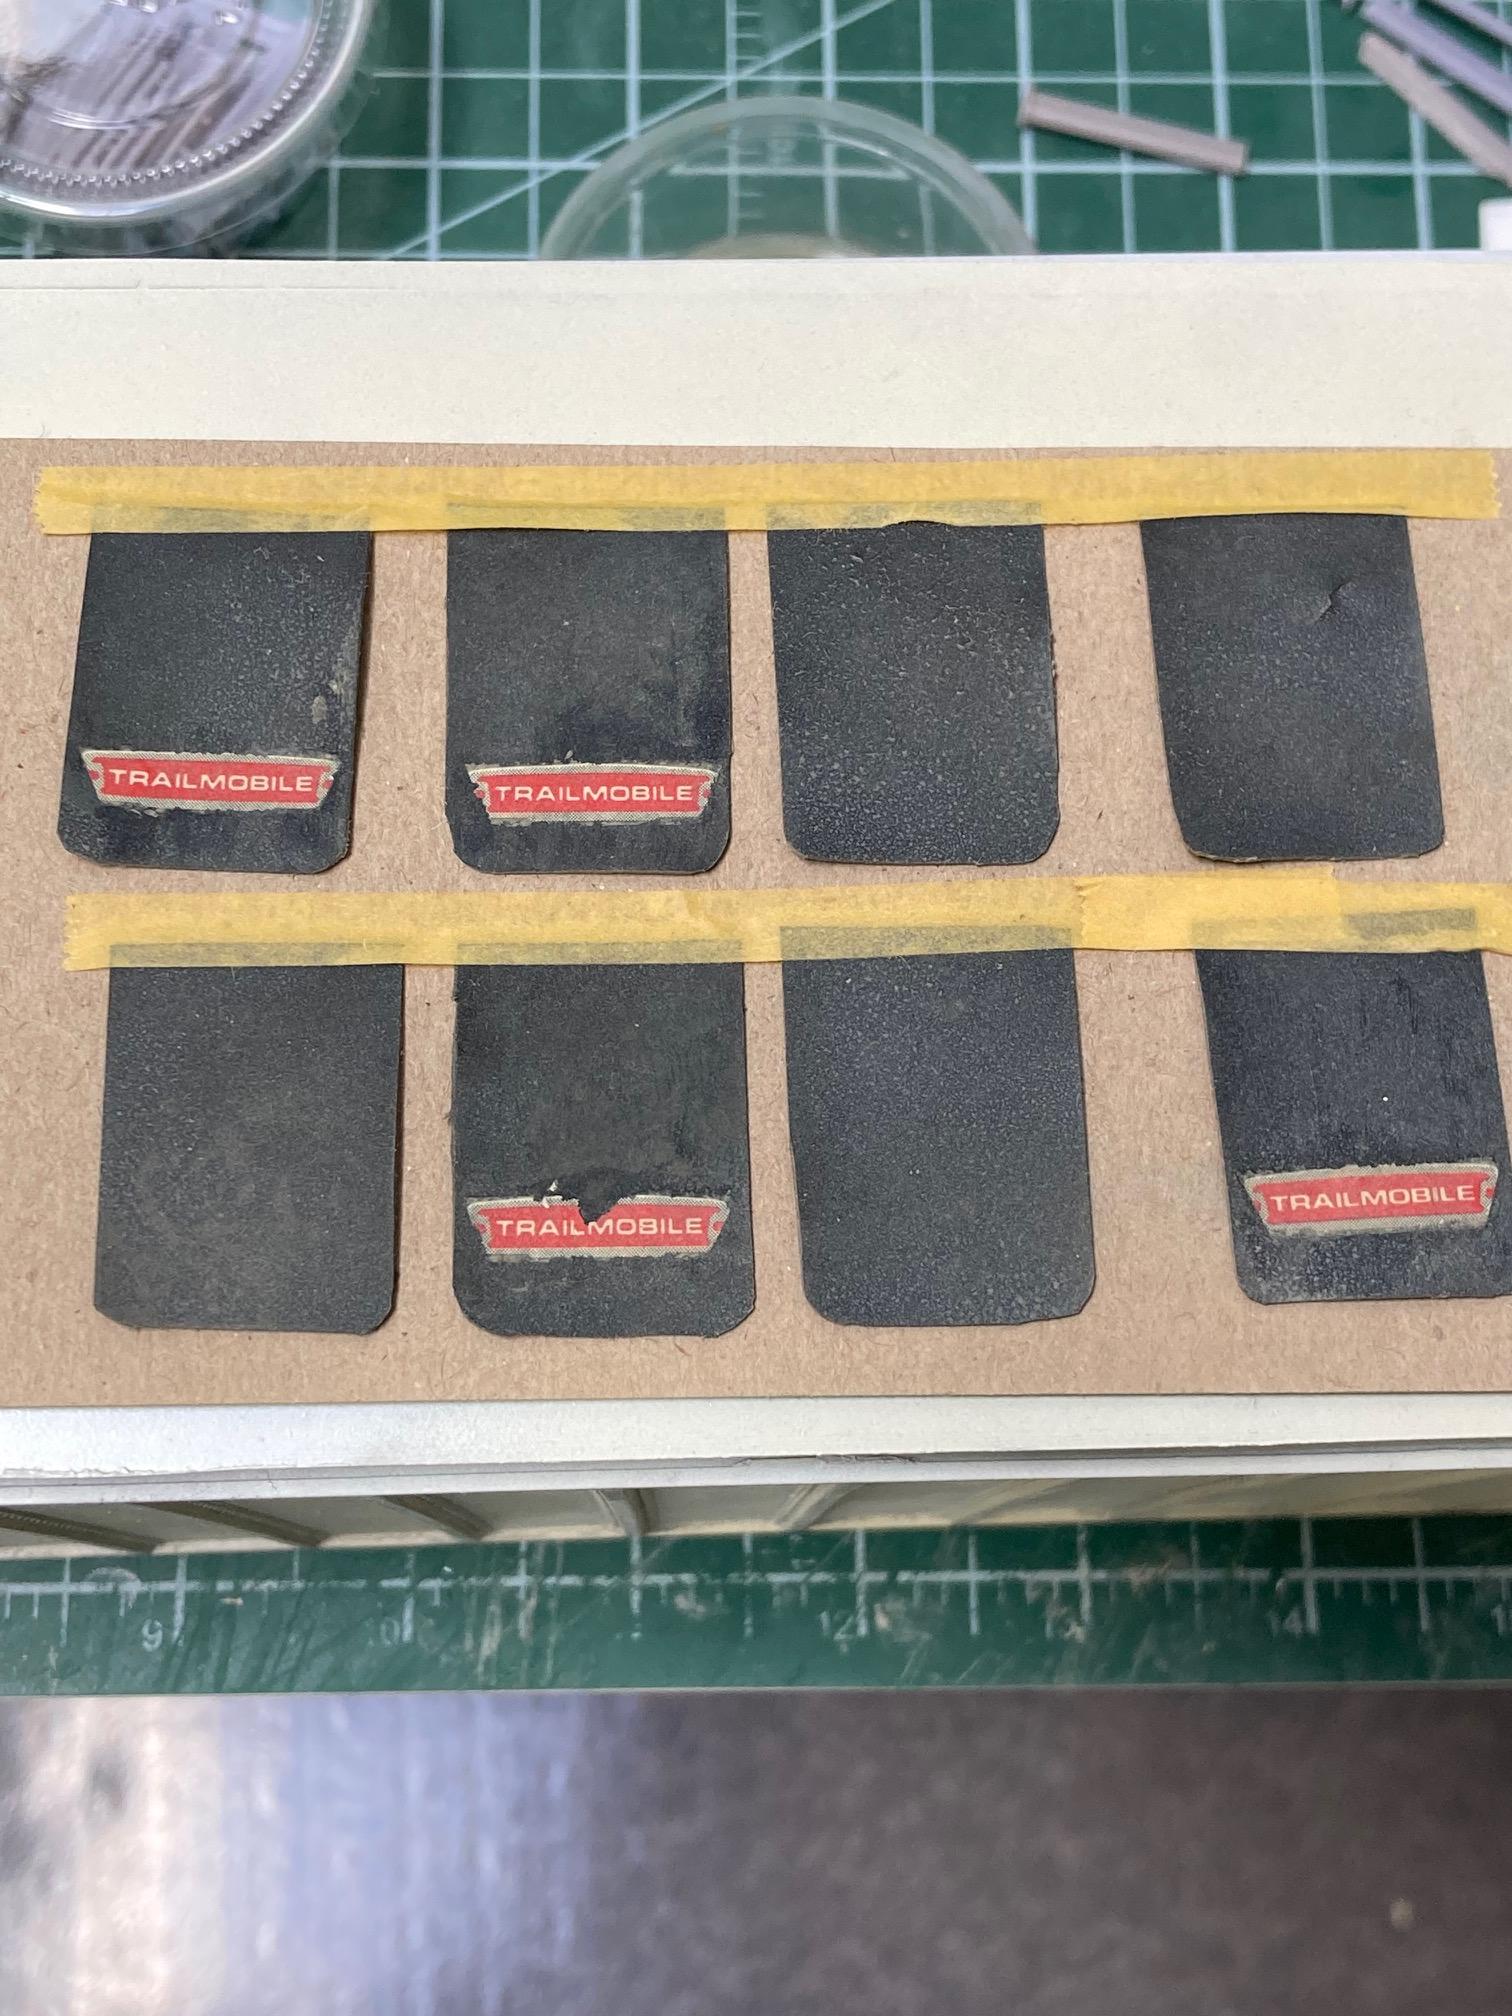
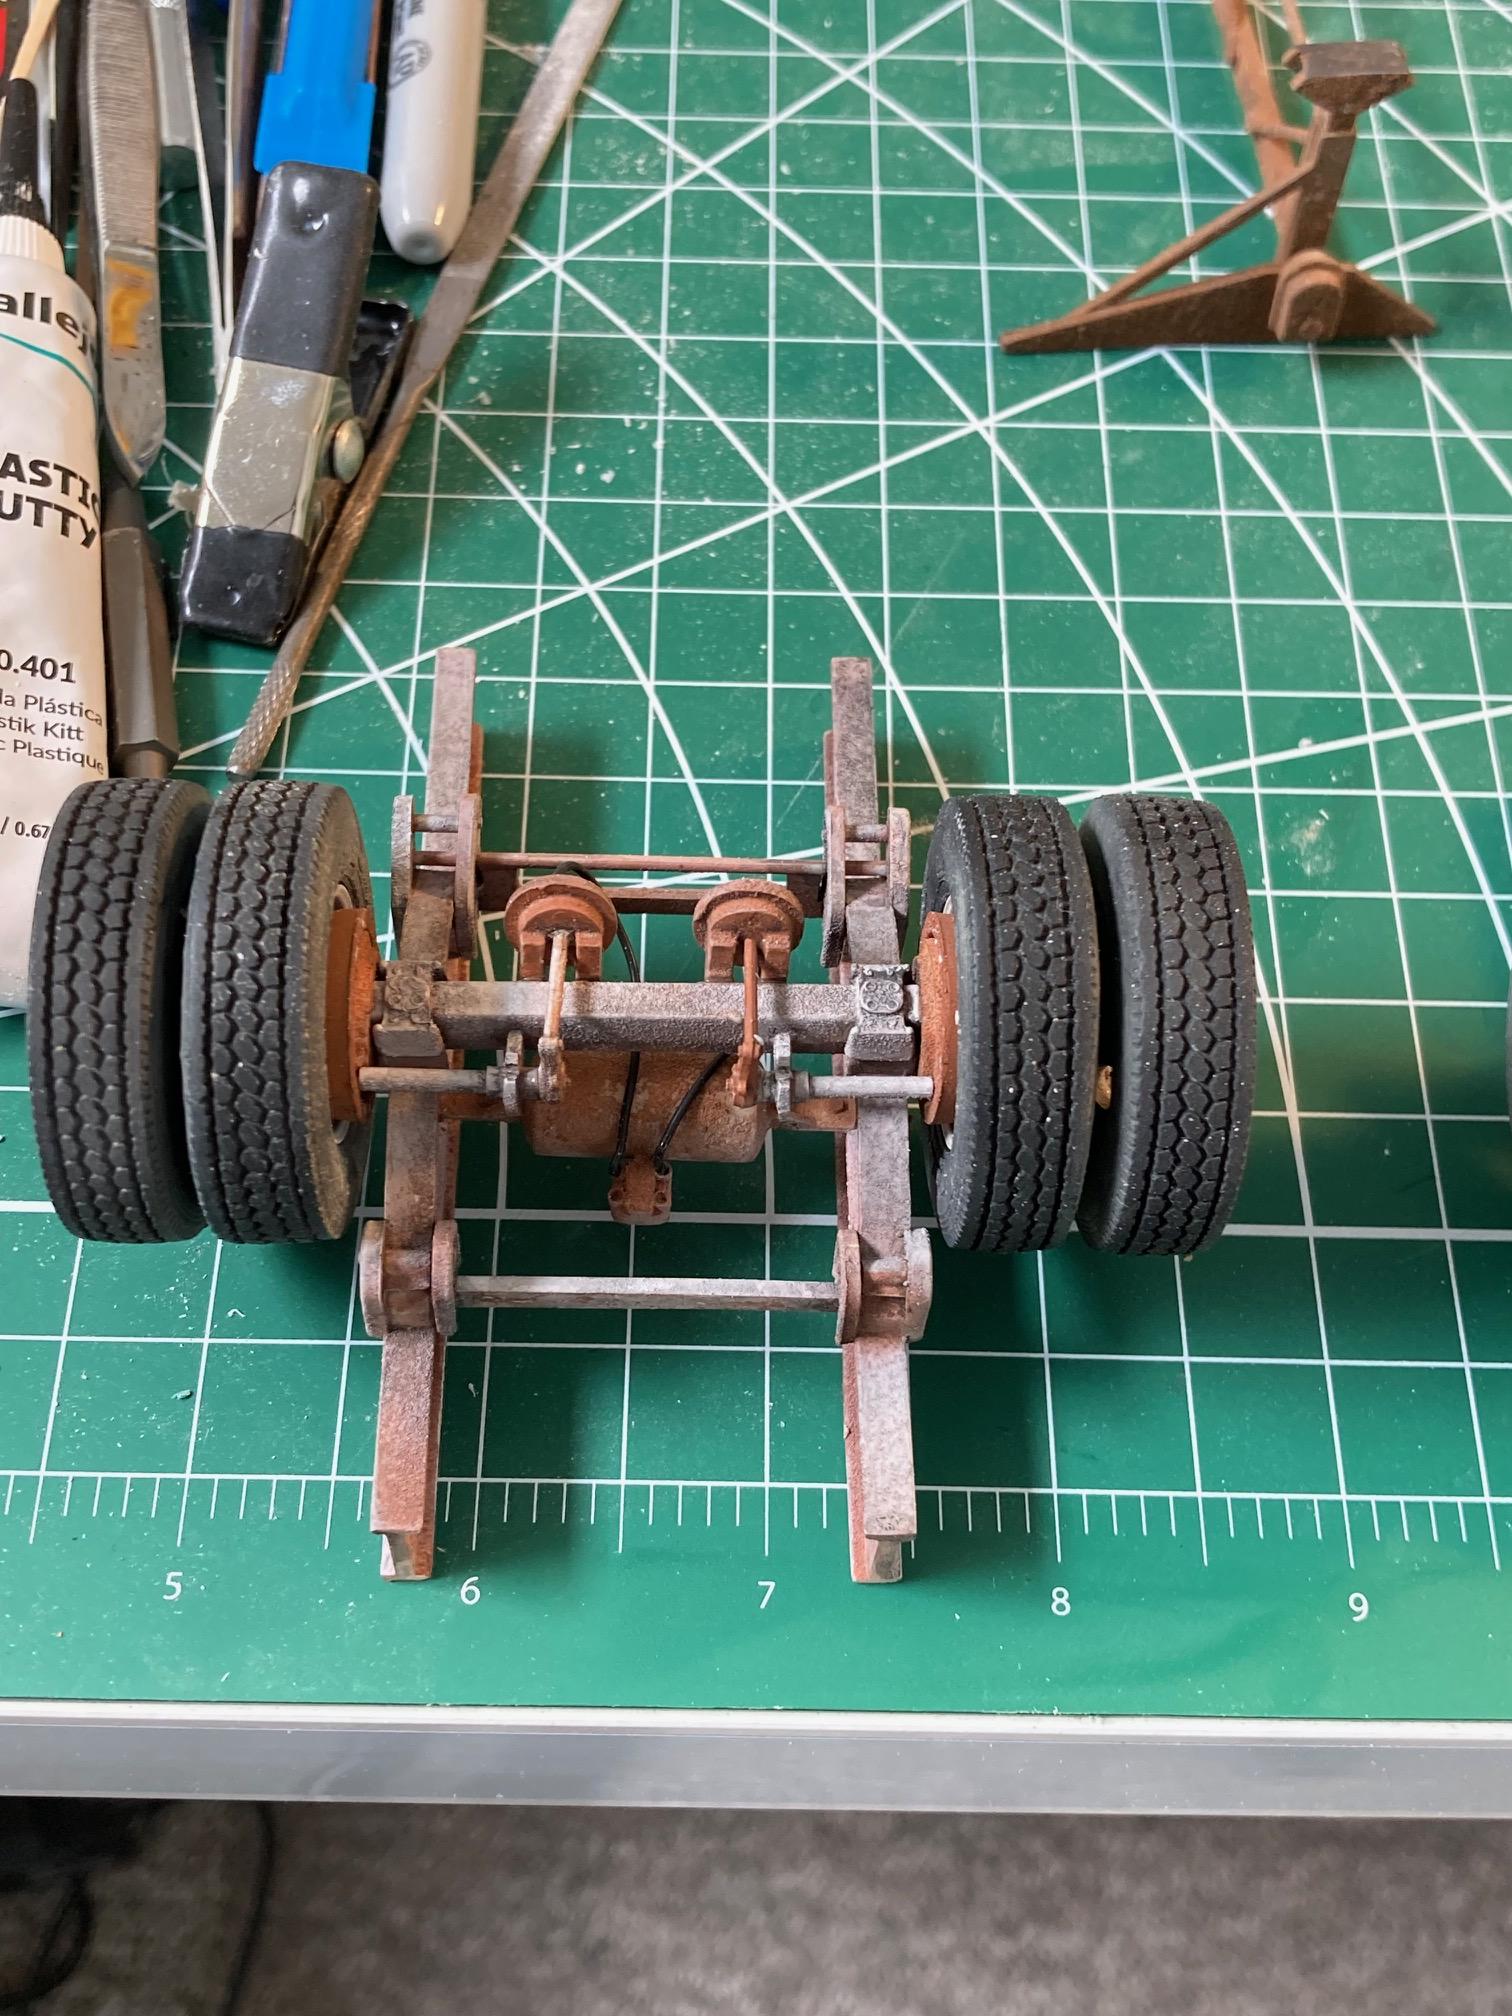
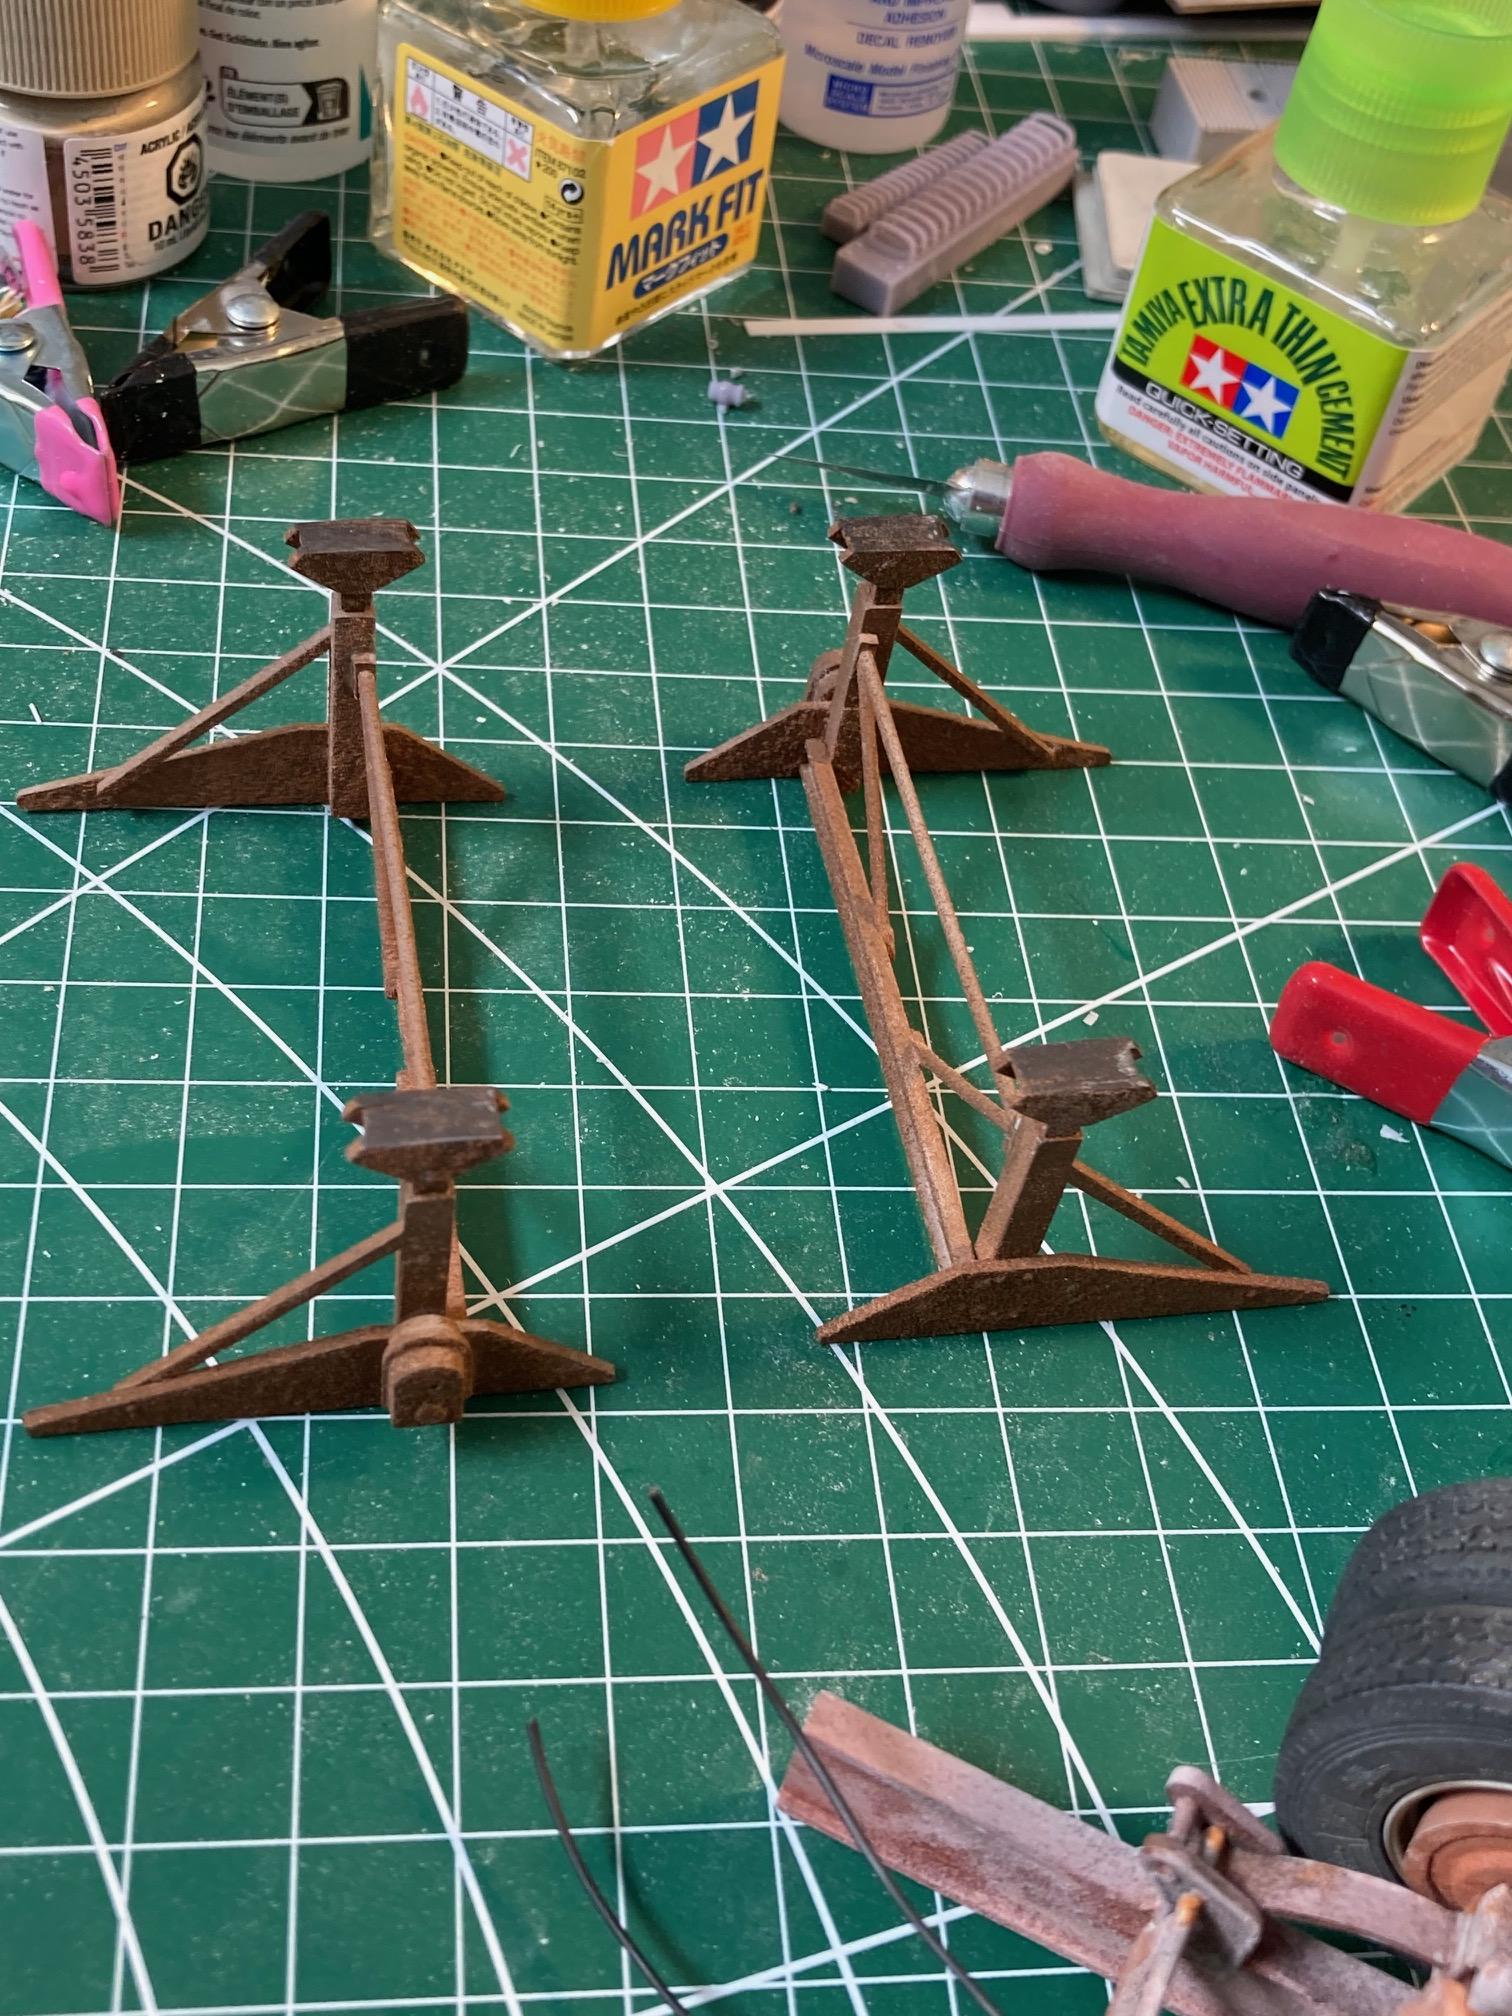
And the landing pad assemblies are done. So now comes the assembly of the trailer walls and mounting all the sub-assemblies. I'll post some pictures of that when they're done. I'm using @BK9300 mudflap technique with the thin vinyl and 3D printed hangers - I'm still experimenting how best to put logos on the vinyl ?paint/stencil.