HOLMES55
-
Posts
46 -
Joined
-
Last visited
Content Type
Profiles
Forums
Events
Gallery
Everything posted by HOLMES55
-
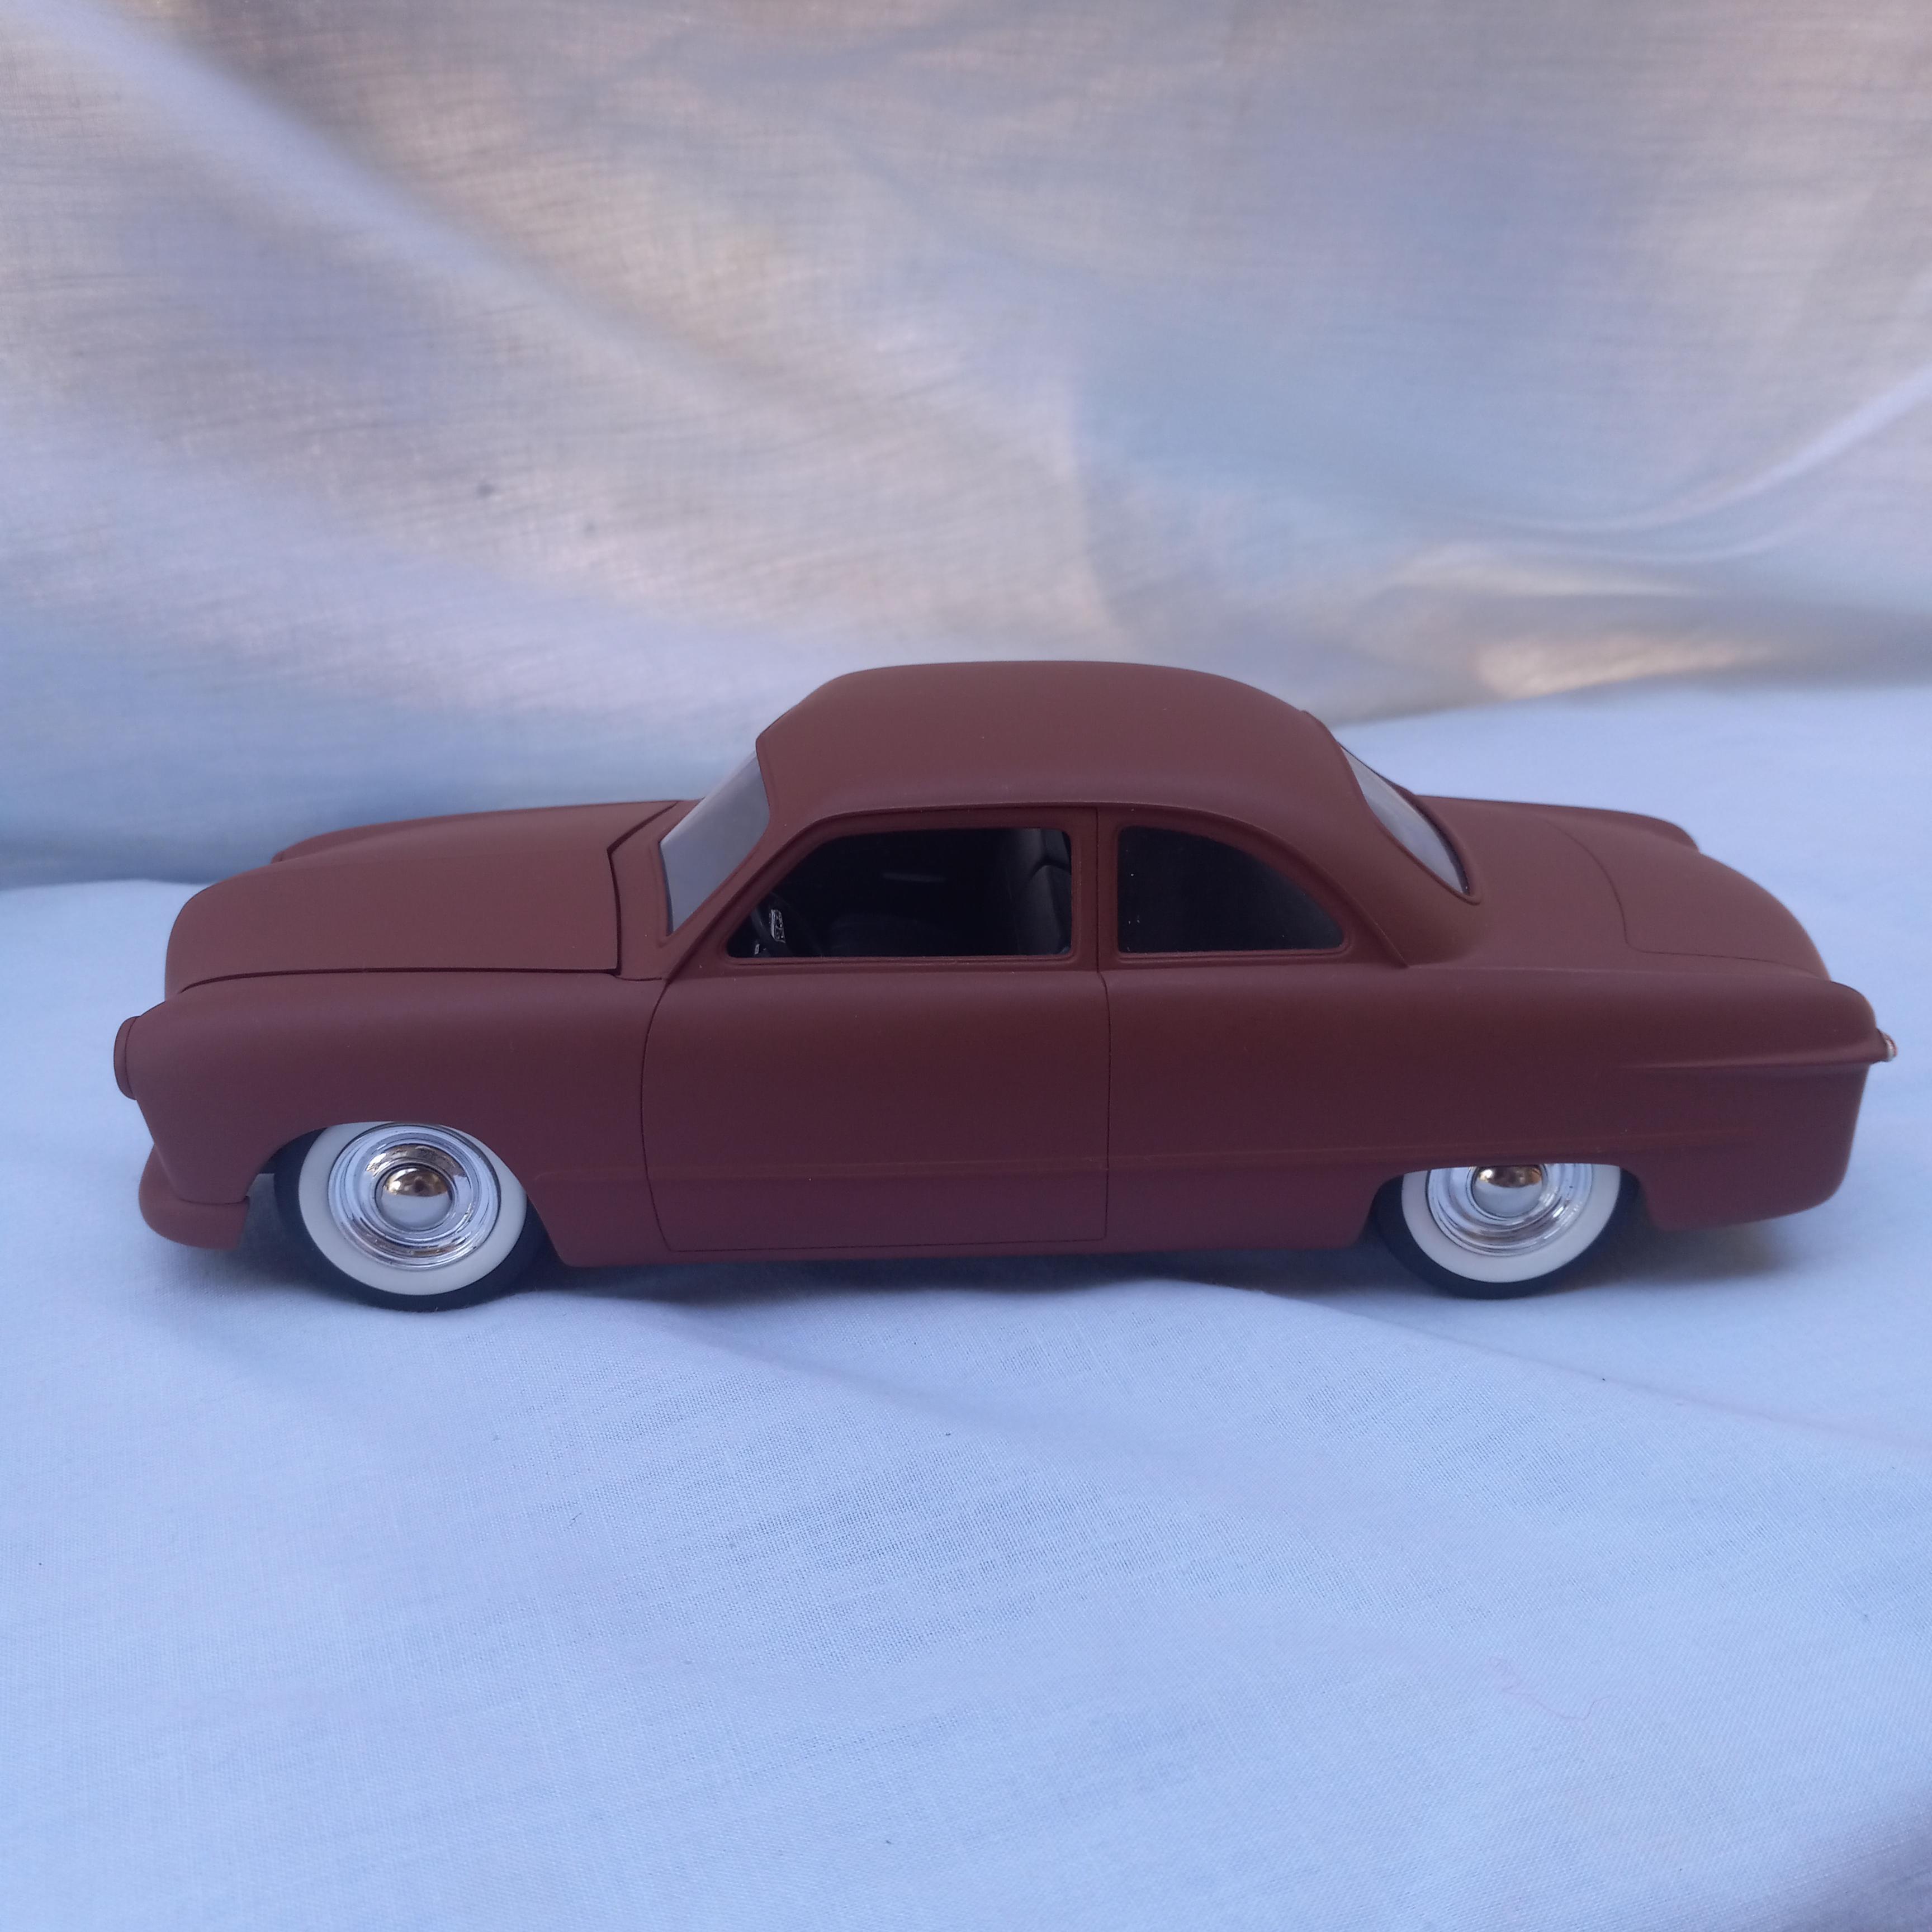
Not really a fan of this body style but wanted to use the Cadillac engine and the tires in this kit for another project and make some room on my shelf. If you want to build a stock version the chrome will probably have to be stripped ans cleaned up. I used some wheels from a die cast I had and the hubcaps are furniture tacks that I added. I removed the wing window and the divider on the front window and filed off the door handles,windshield wipers and the trunk hinges. I added a different carb and made air filter on the engine. I wanted to leave it in primer and could not find a good flat black.

-
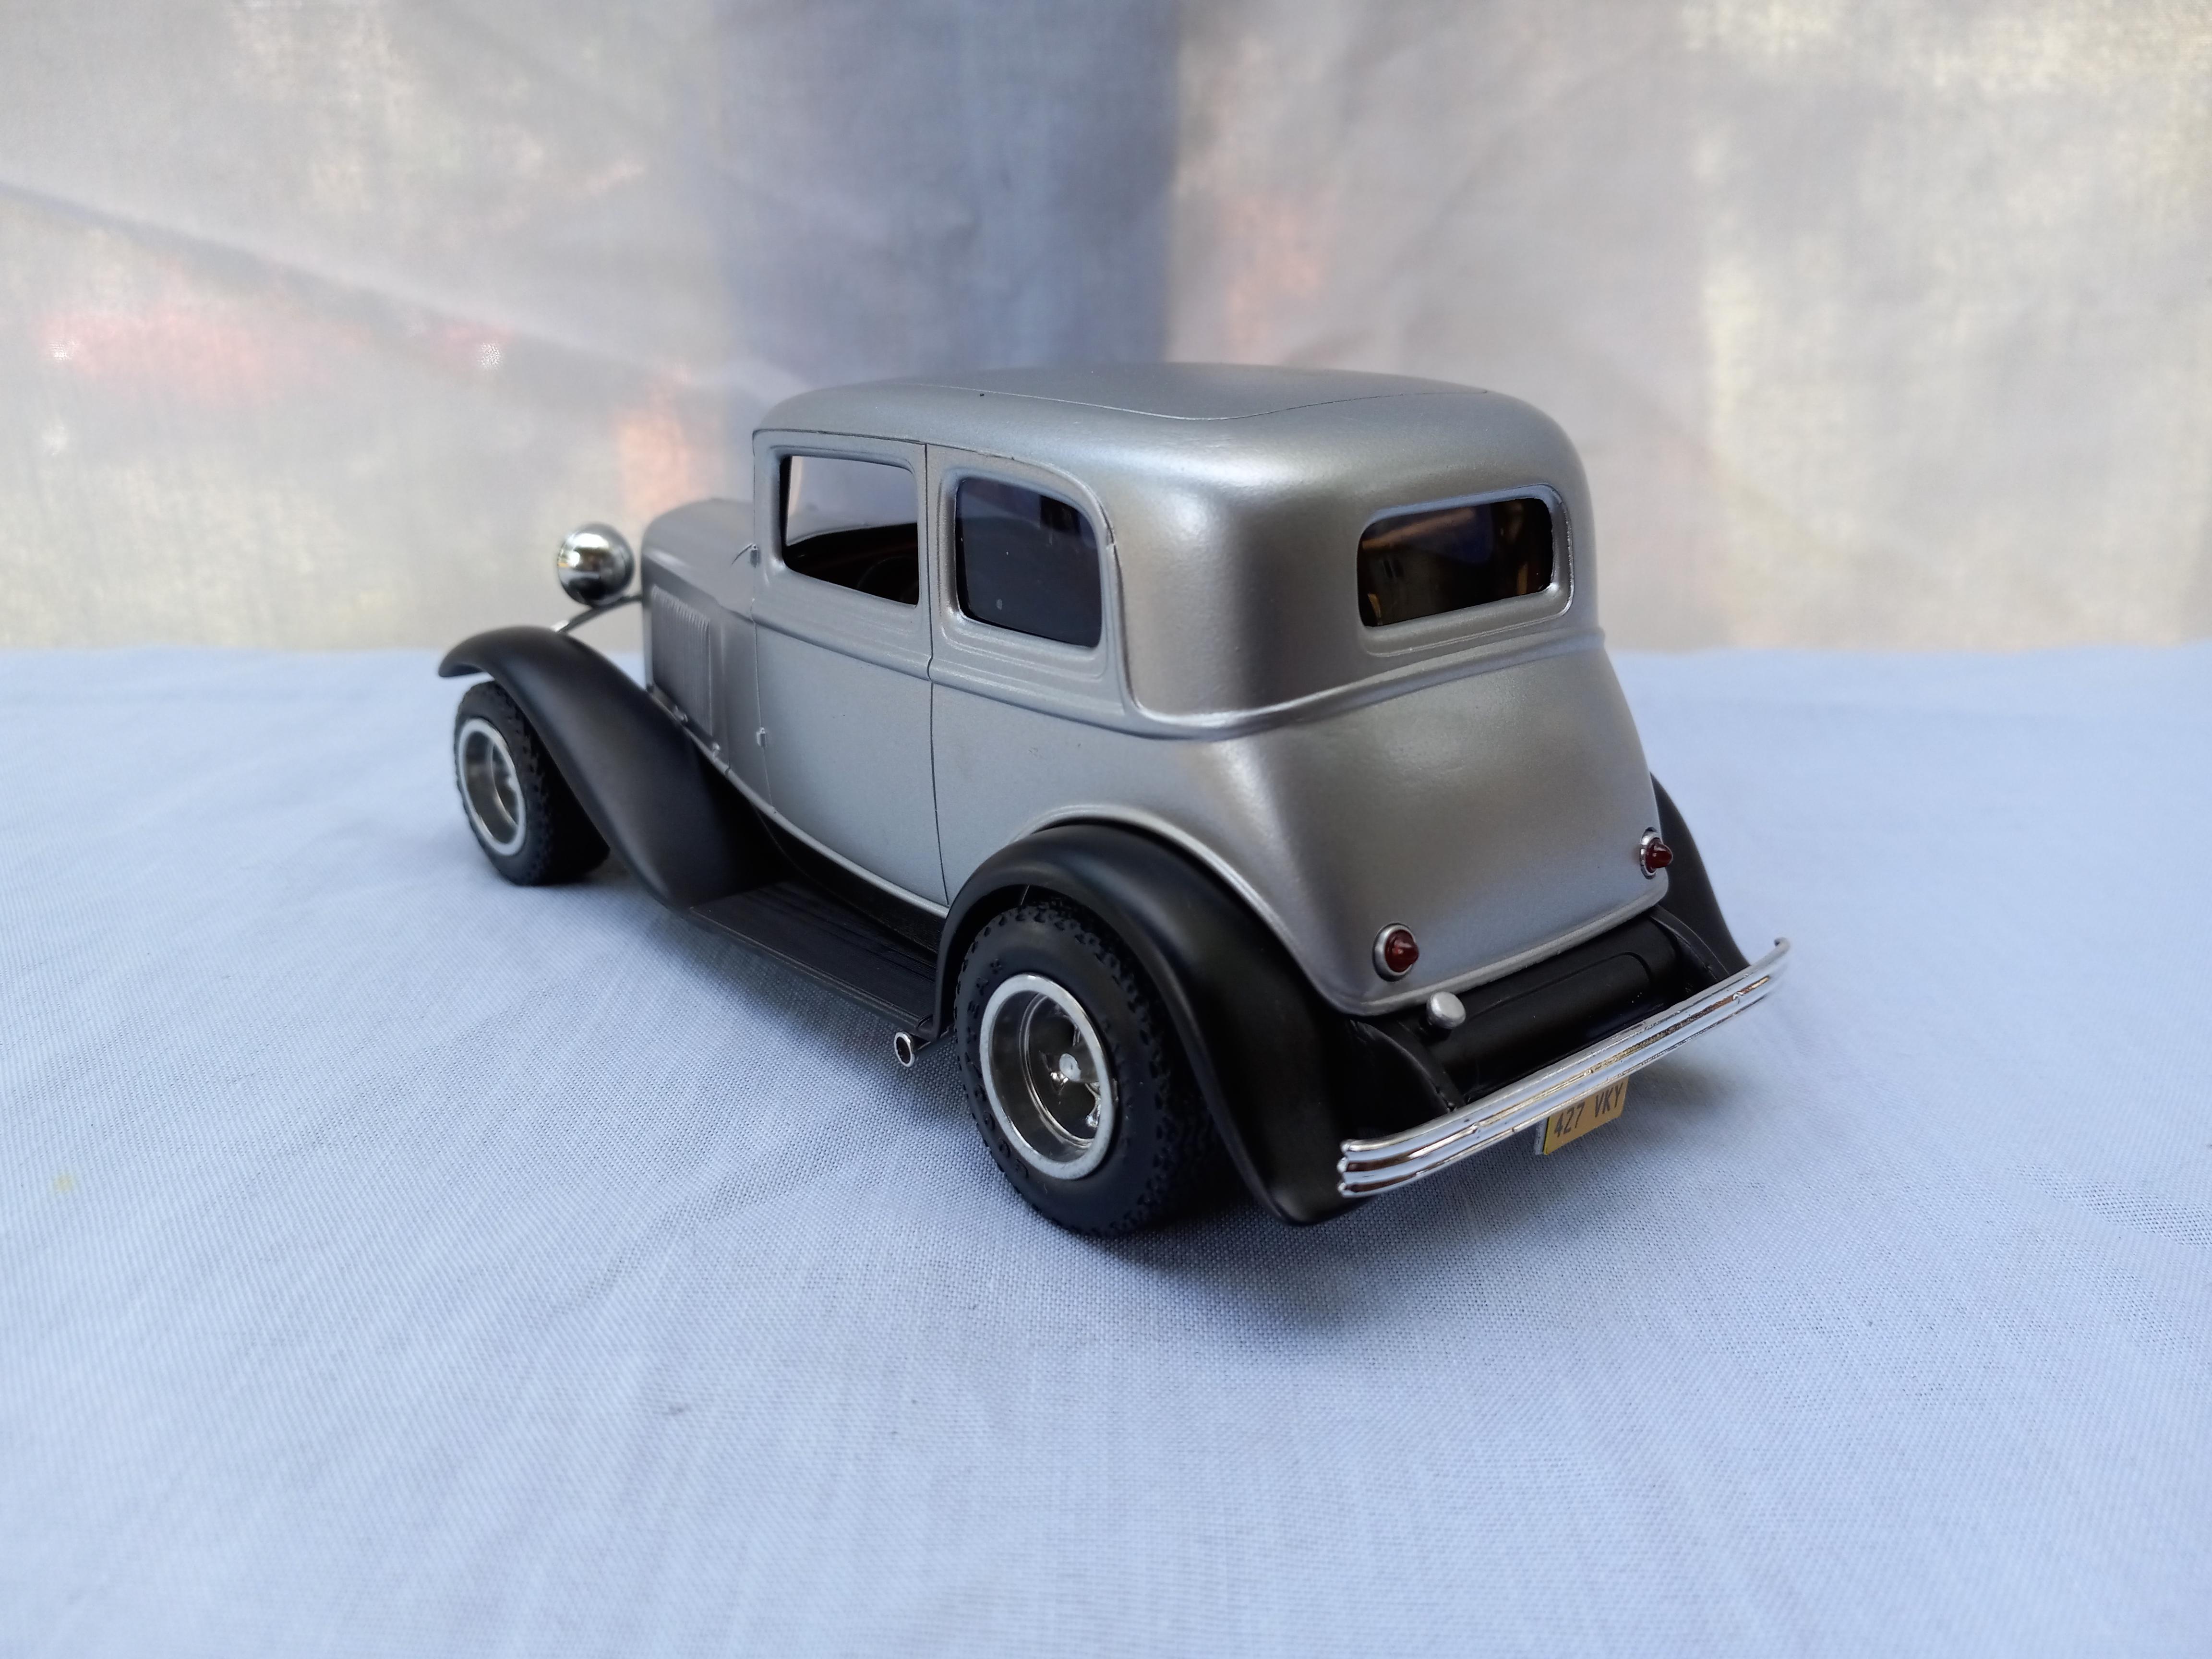
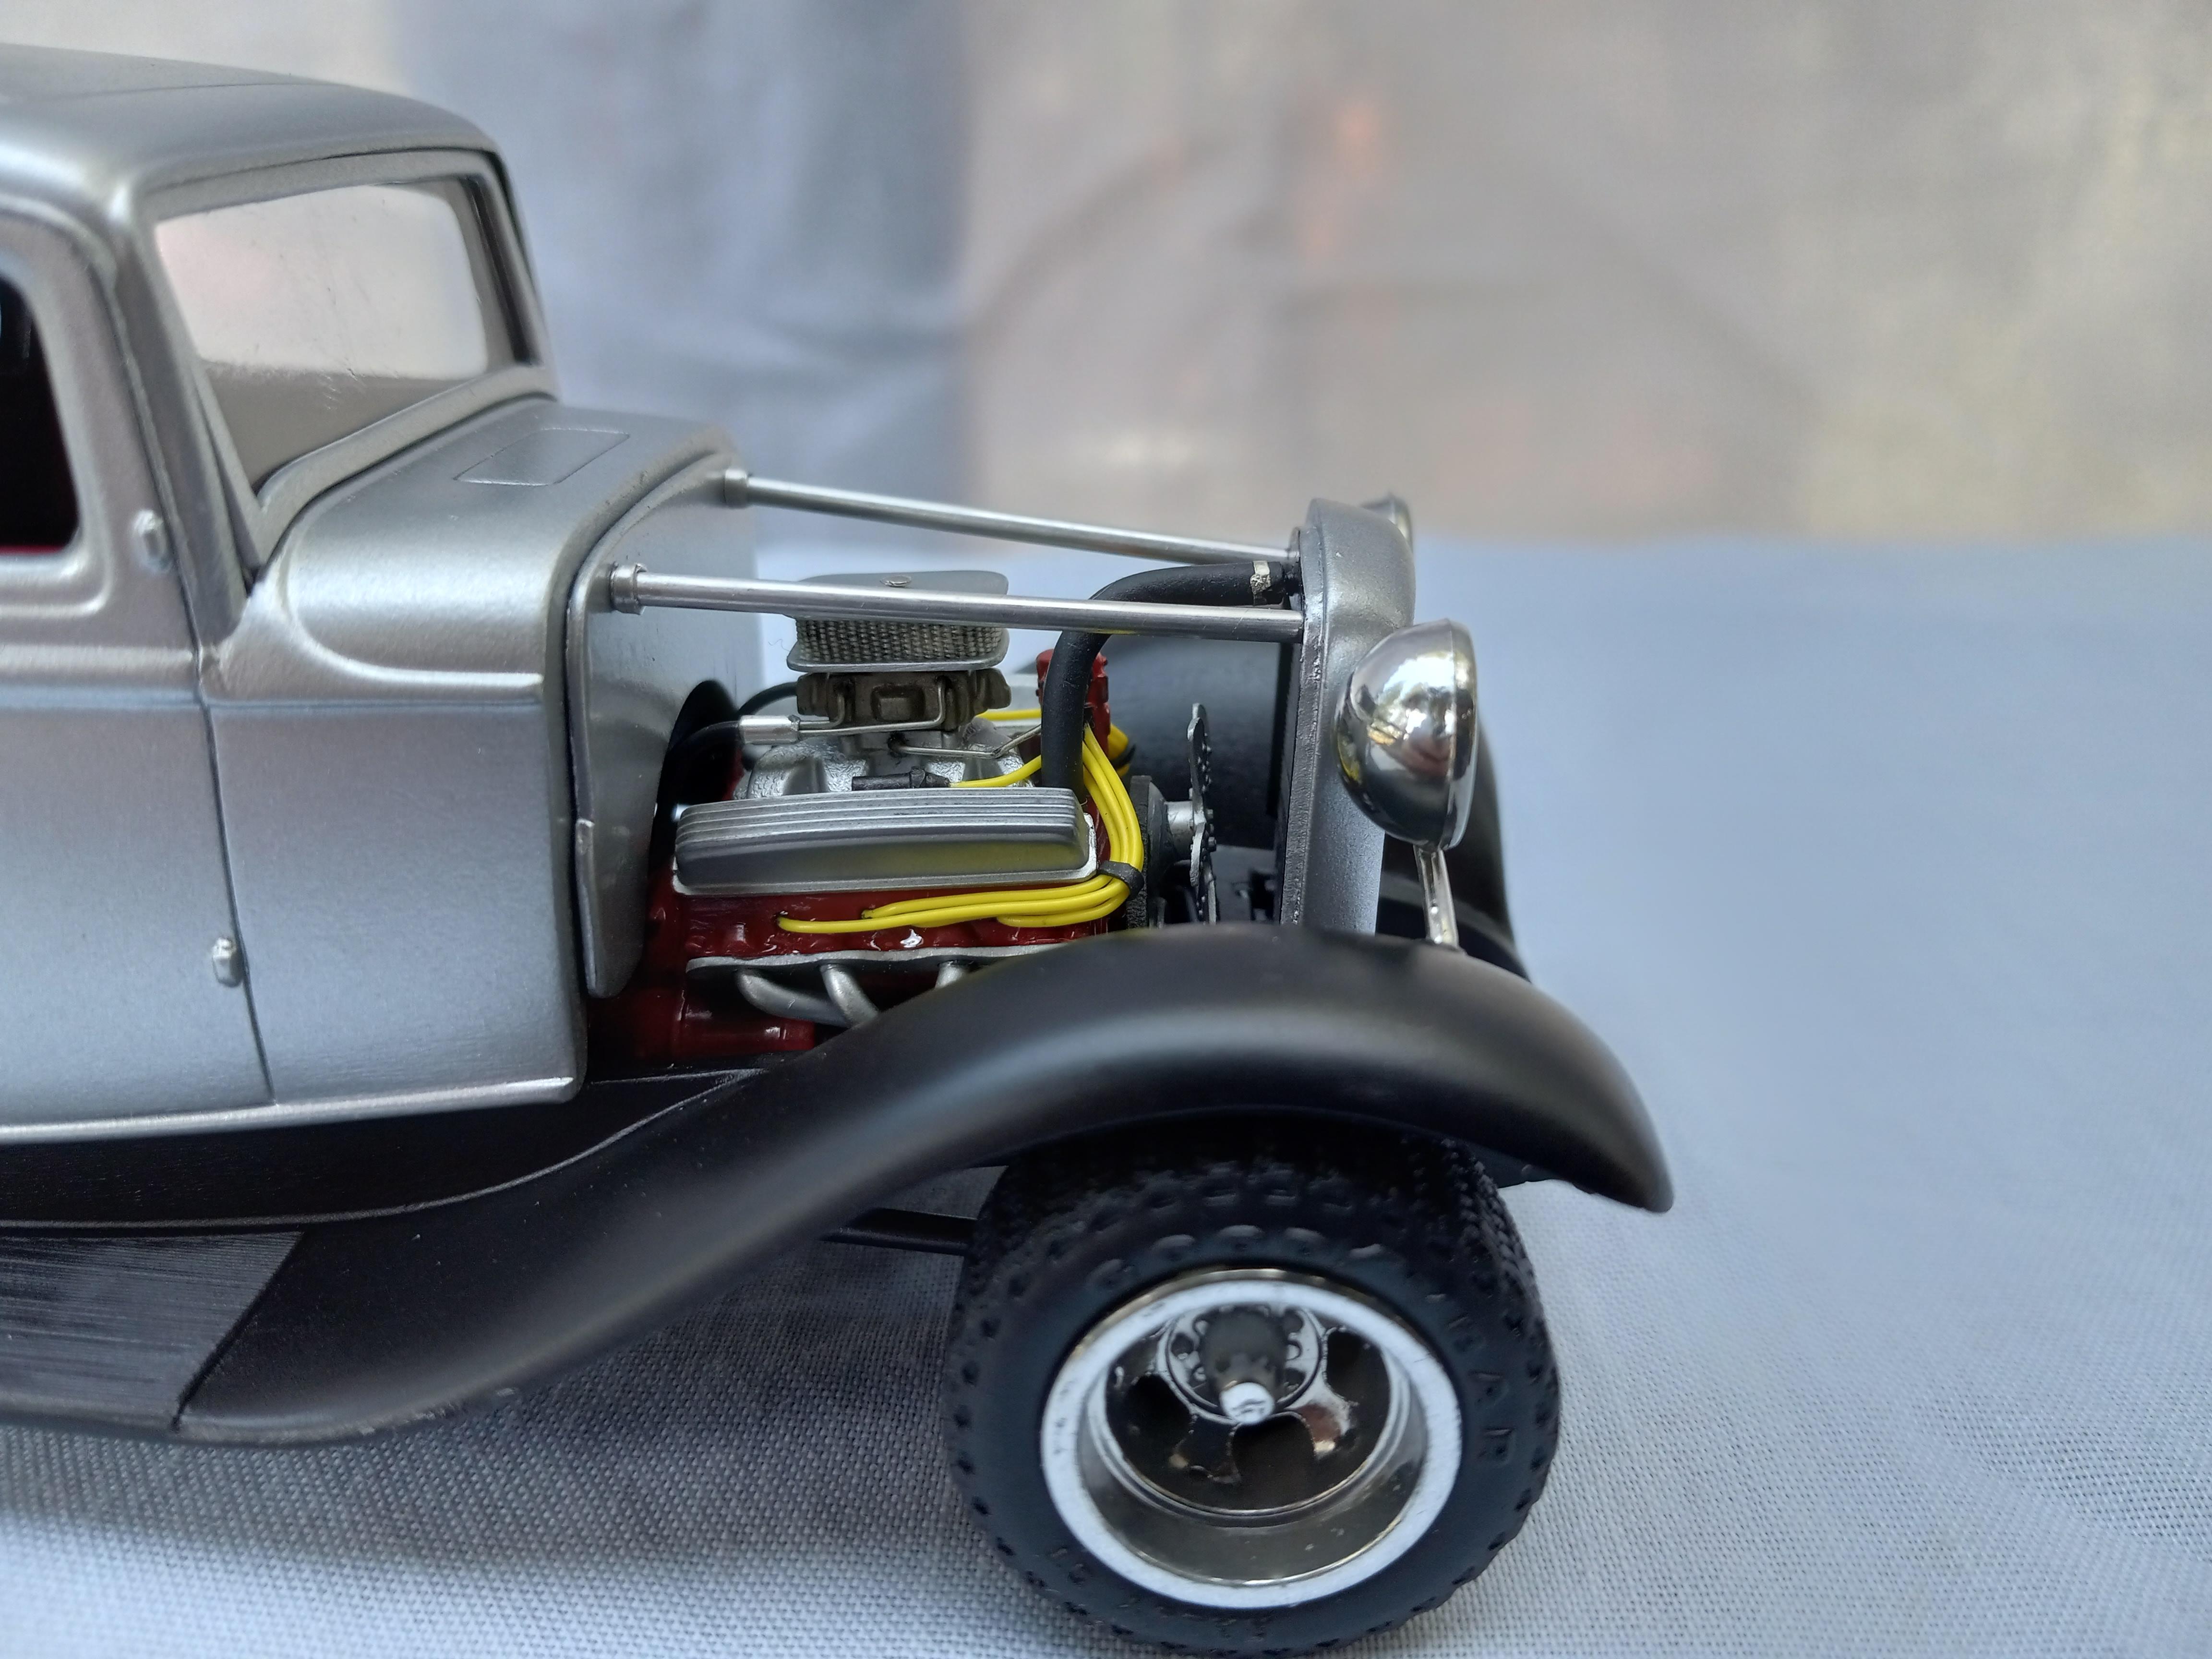
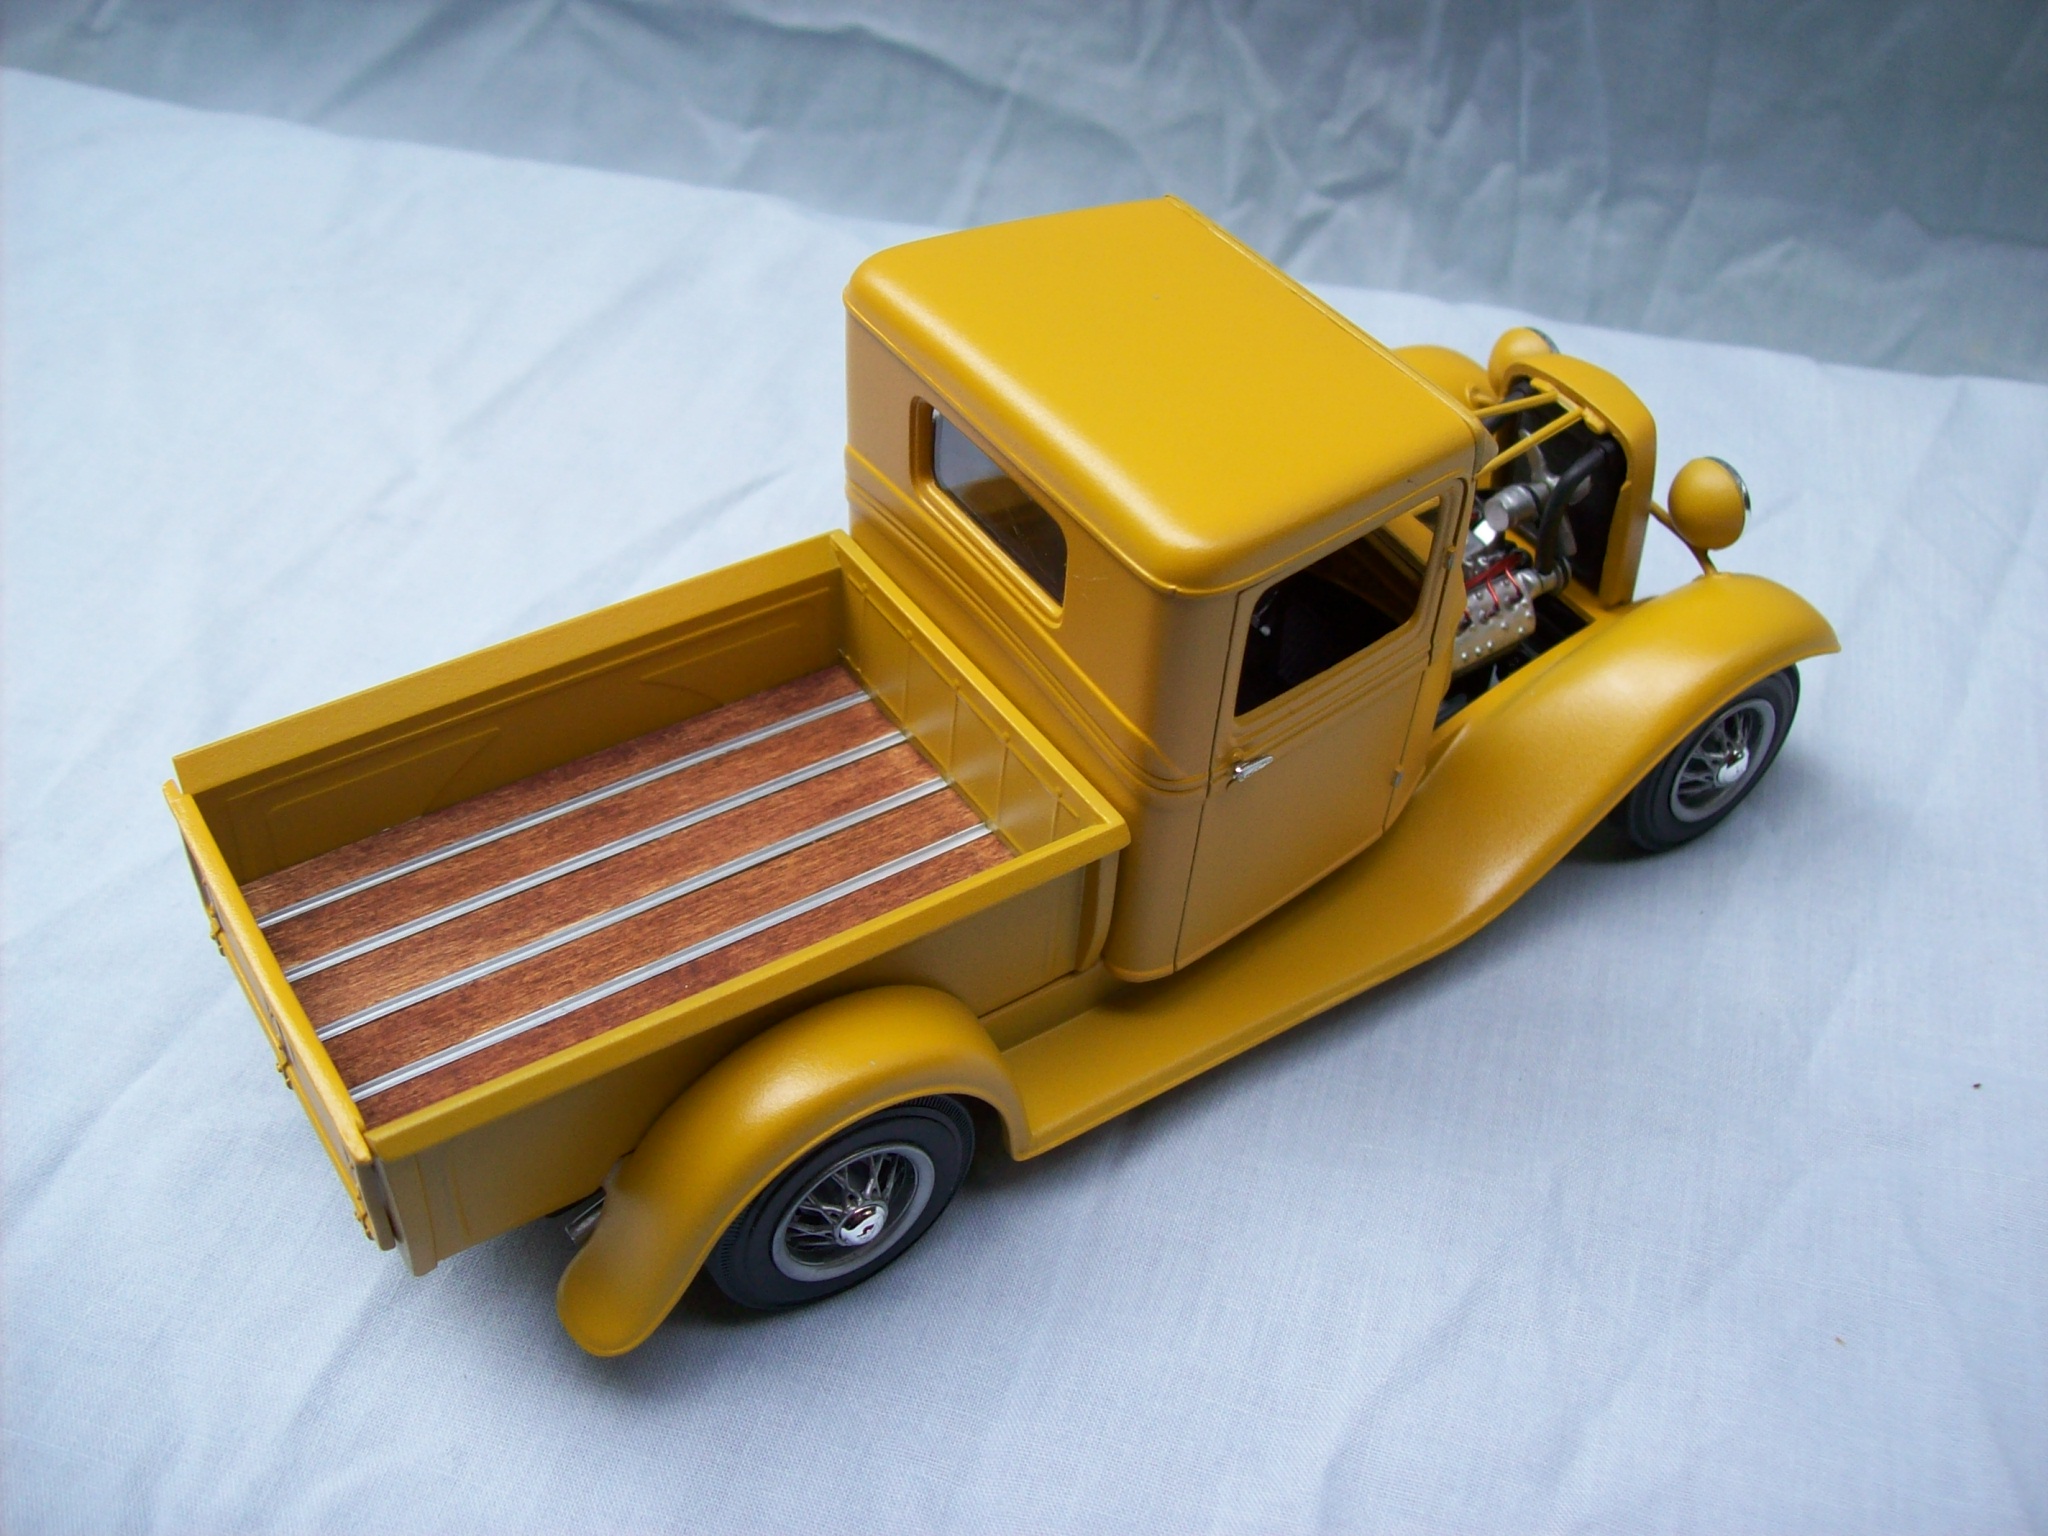
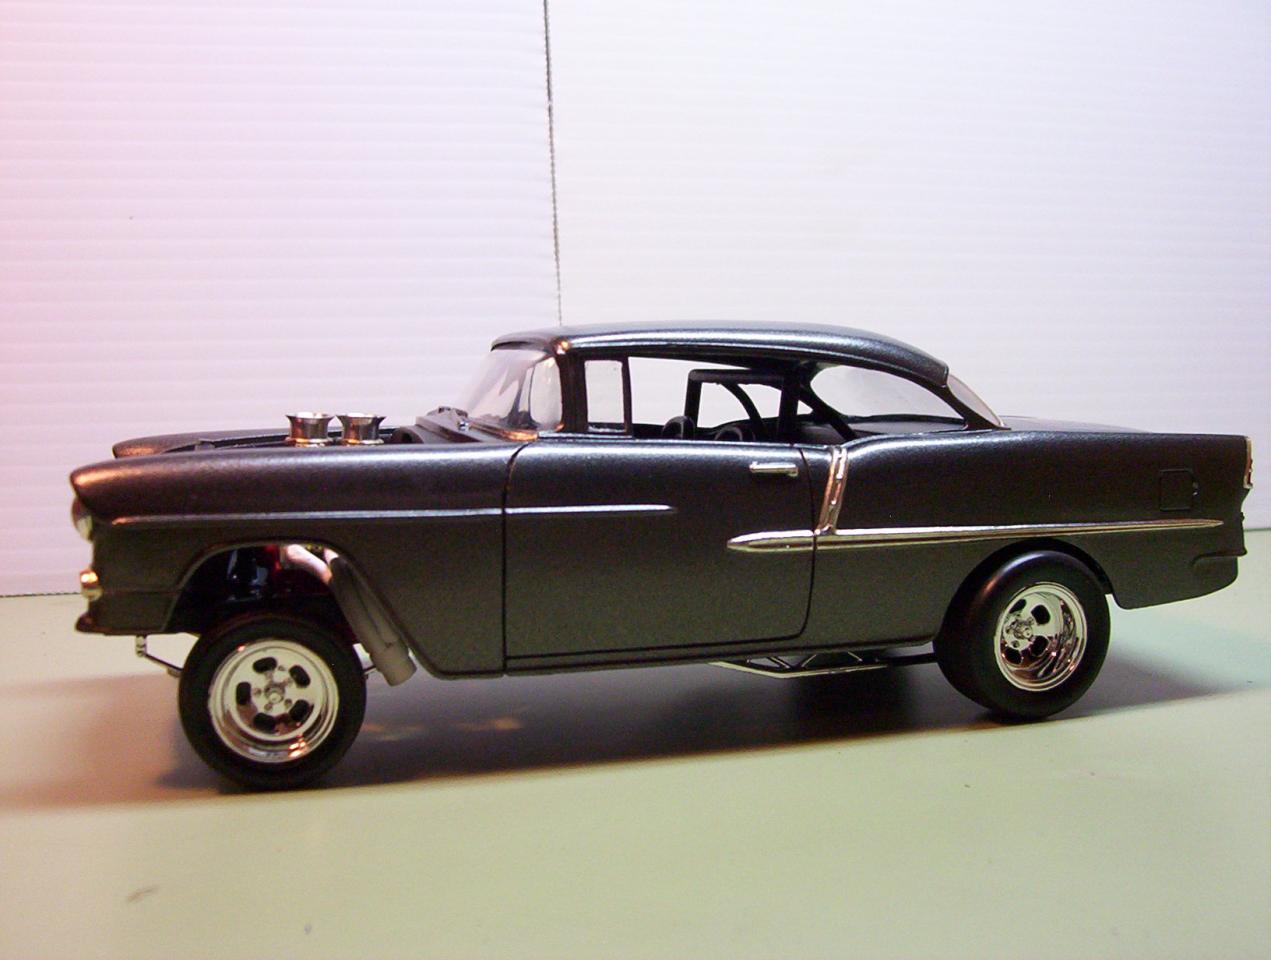
Just finished this one, it was lowered a bit and the tires brought in under the fenders. I made some headers made from solder and spark plug wires and a scratch built air filter and some carb hookups and added some tail lights from a 63 corvette.
-
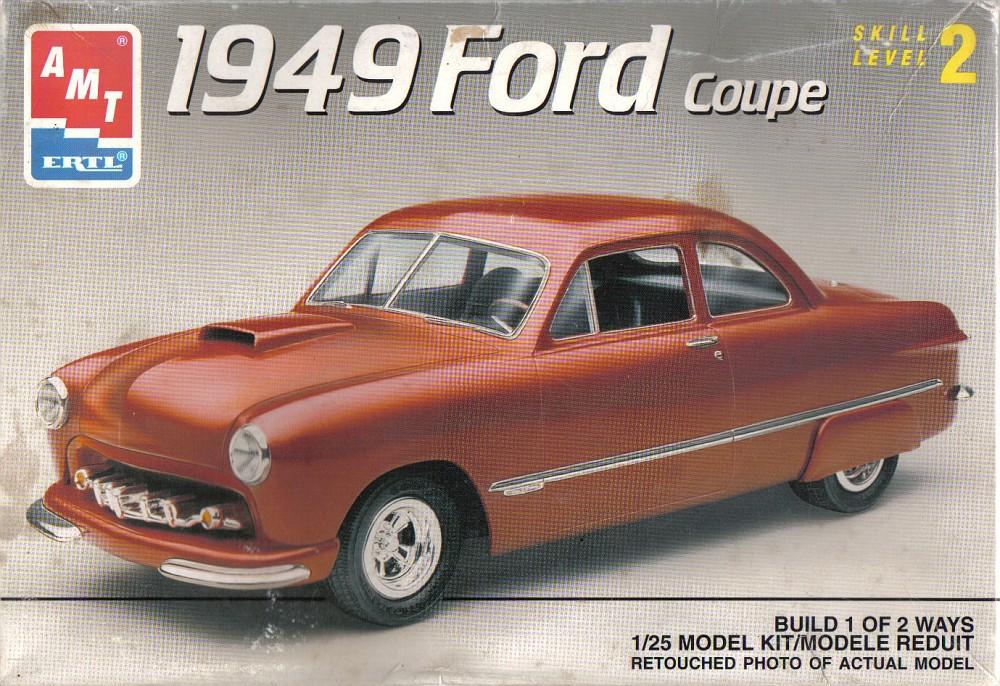
AMT 1949 Ford rear axle/driveshaft options
HOLMES55 replied to HOLMES55's topic in Model Building Questions and Answers
Thanks Casey, that what I thought, just wanted to make sure. -
I am thinking of building this kit and was looking at the options for the stock and custom versions of this kit and found they have two different part numbers for the rear axle/driveshaft options. The part no for the stock axle is 11 and the custom part no is 61. I only found the stock axle in my kit and the bag was sealed so I wanted to know if I am missing that part or was it an error on the instructions. I have looked at a online review that shows all the parts in this kit laid out and did not see 2 different rear axles. Anybody have a kit with 2 different axles ?? I thought they might have options for a rear axle that was raised or lowered.
-
Hi Tim, I would like to know how you built a working drive train on the 1969 charger. Slot car gears?? BTW enjoy all your articles and learn something new from them every time .
-
Thanks for all your comments, its appreciated. Kurt, the front wheels had gold rims on a lot the photos that I found and I also found versions when they were magnesium color.
-
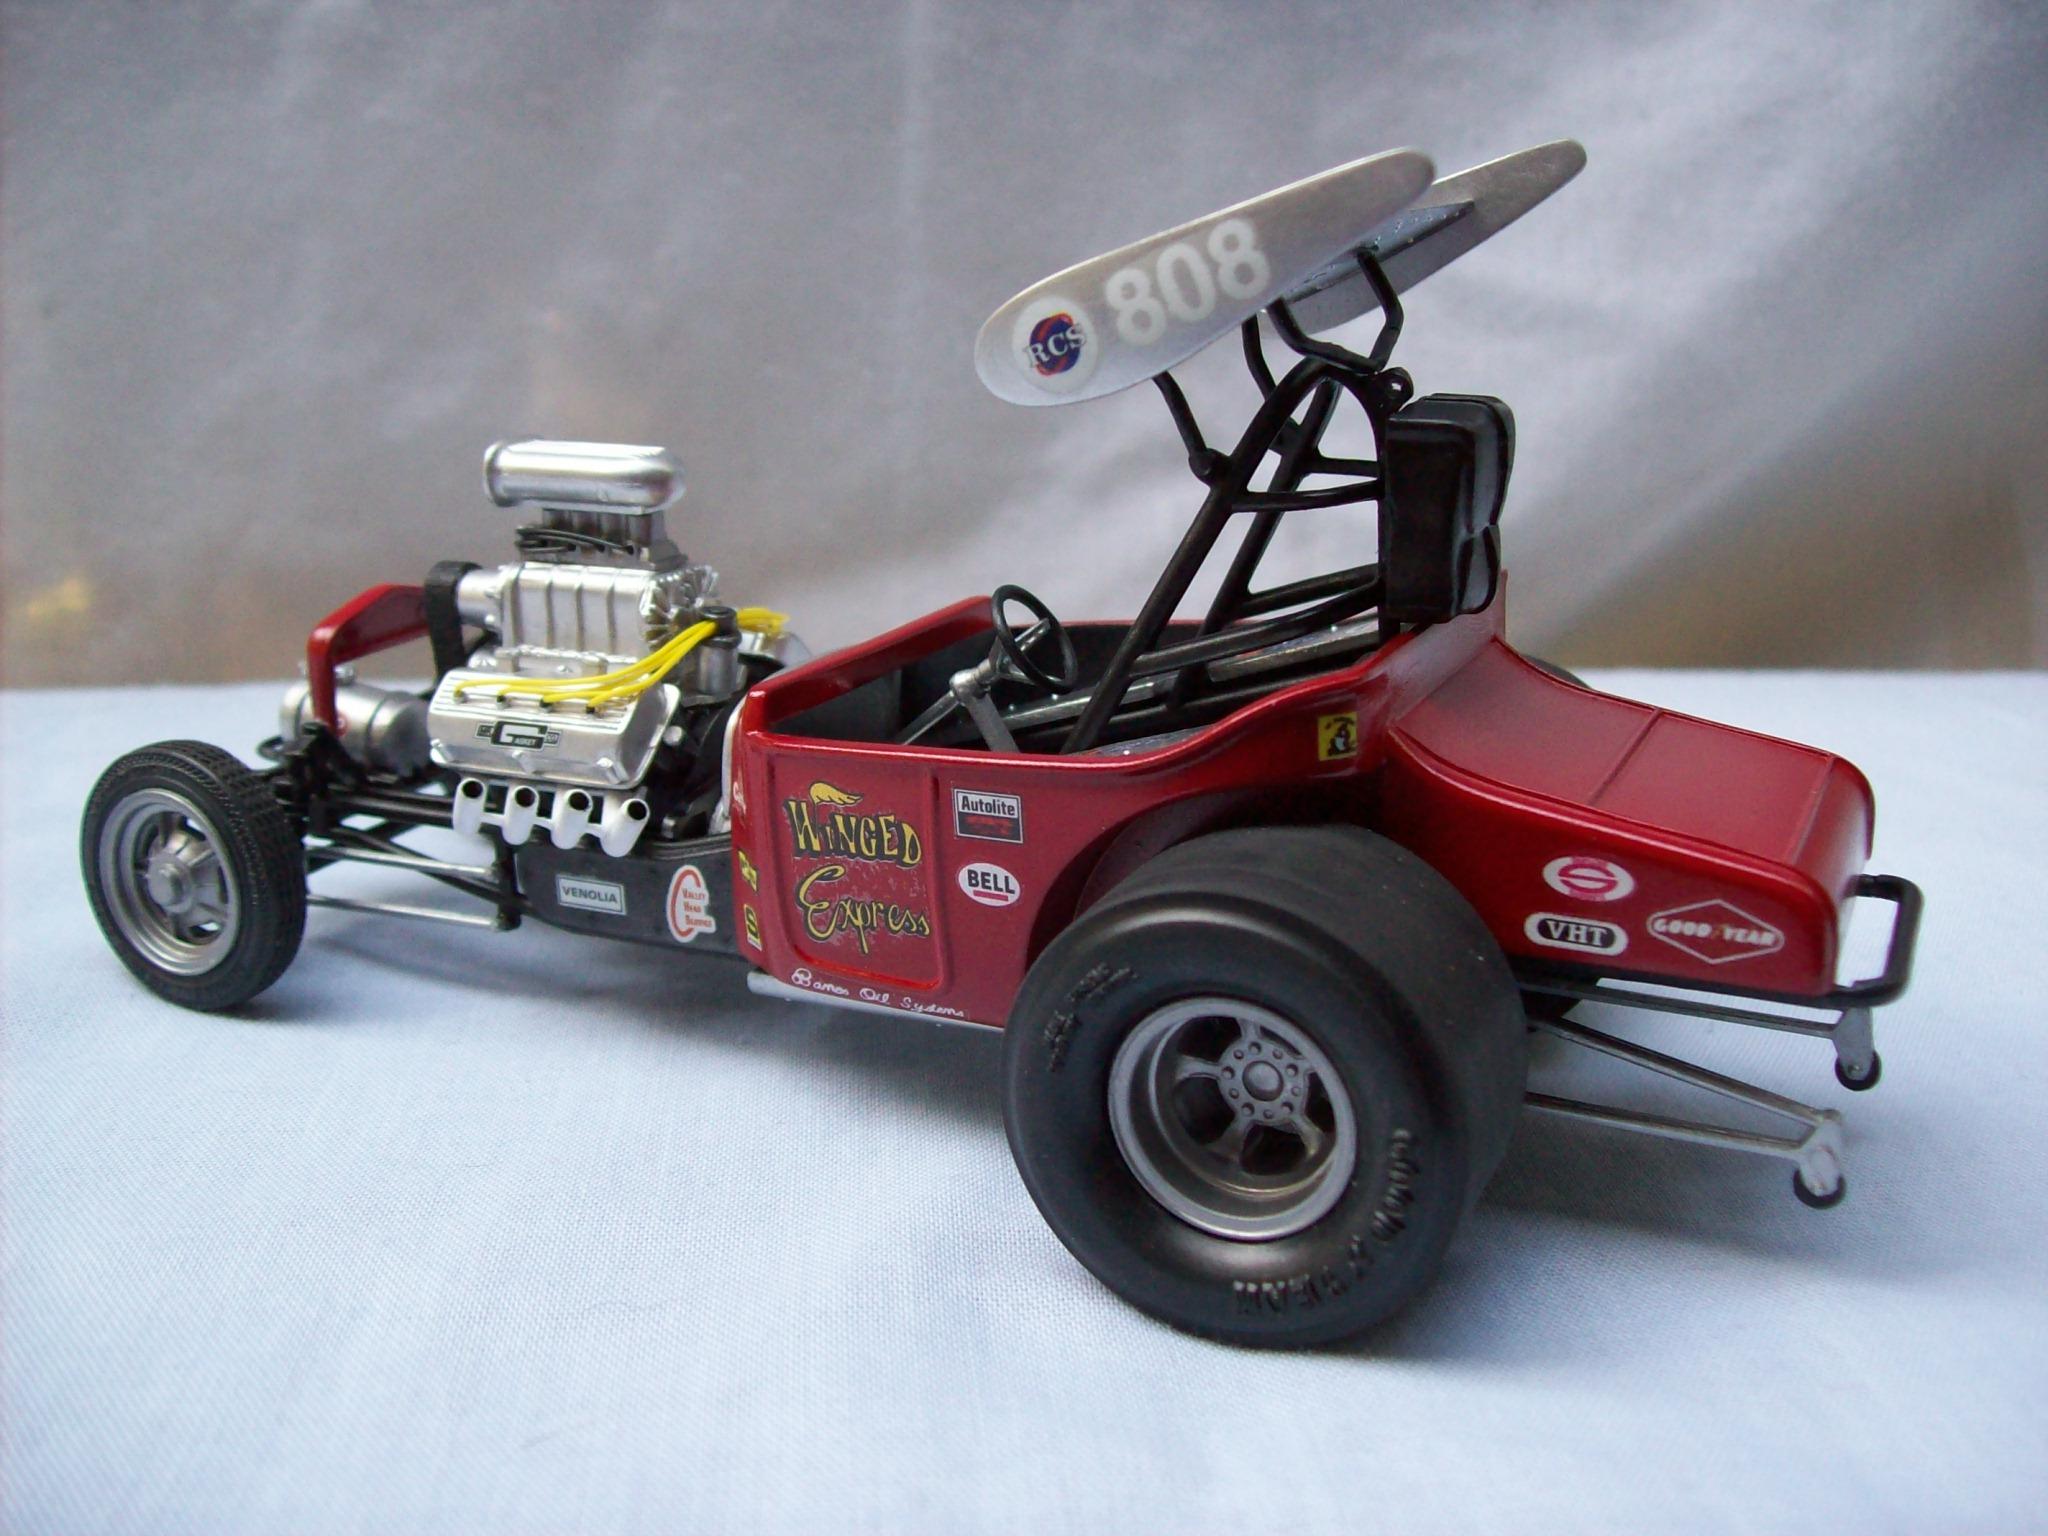
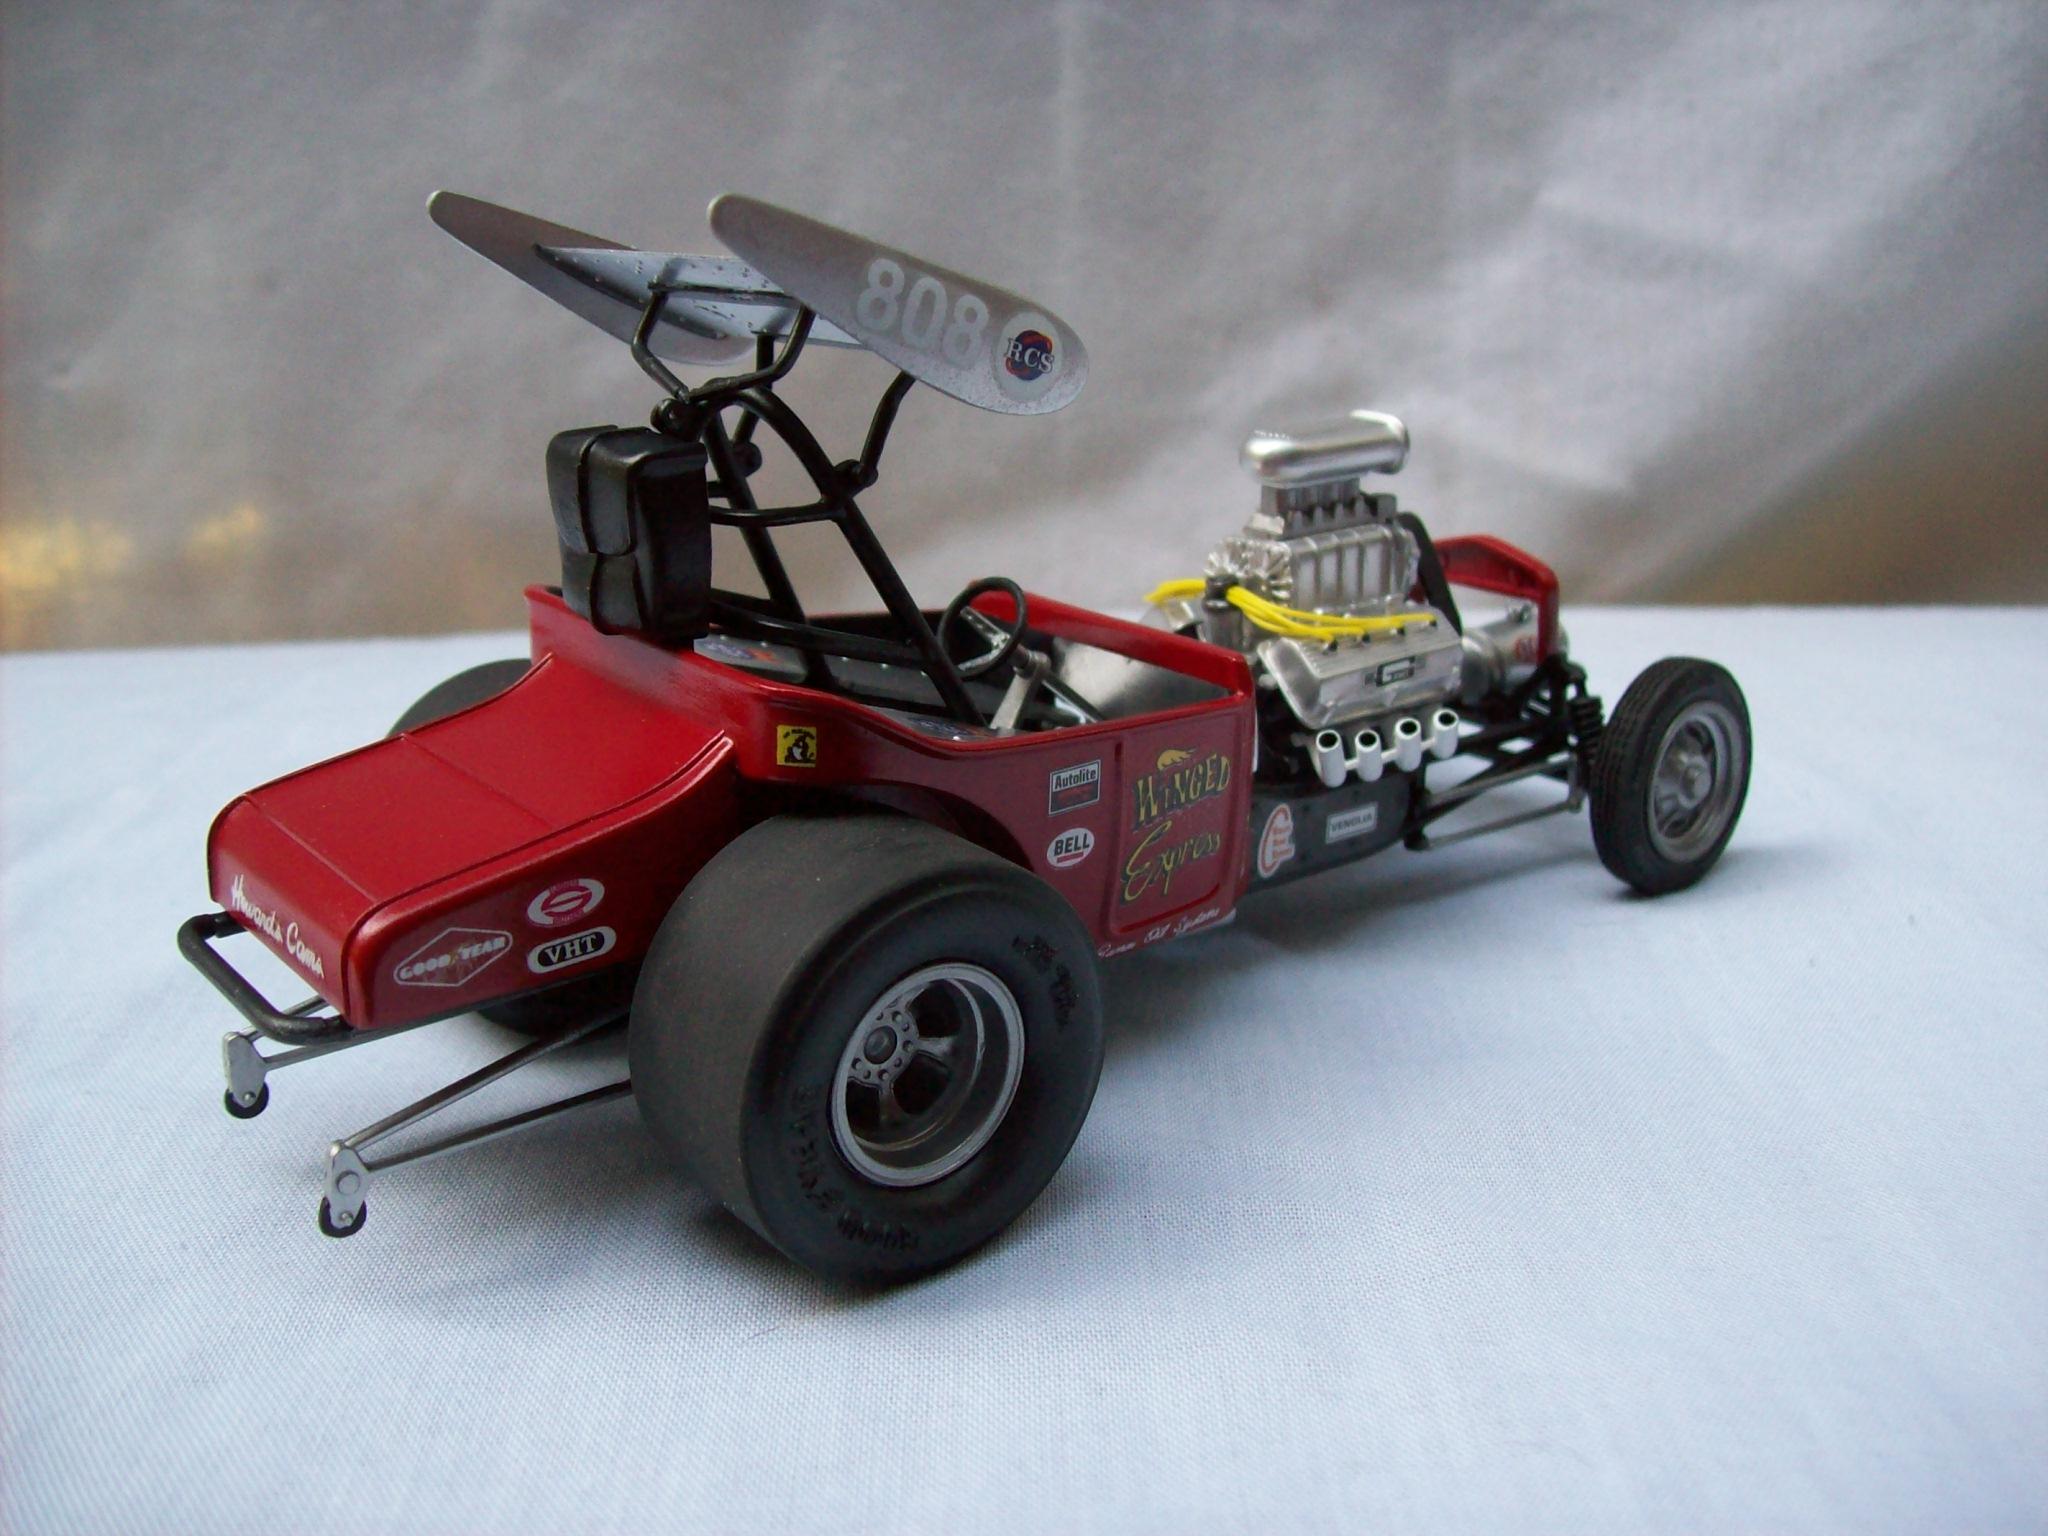
I bought this kit at a flea market for 5 dollars and decided it was time to build it. I was impressed how well everything fit together. I know the details do not represent the actual car but from looking through the photos I found it seems the car was modified from race to race so maybe it could represent the car if it was restored. I used all the parts from the kit except for the fuel pump was way to small so I scratch built a fuel pump that was big enough to run a fuel line from the fuel tank to the engine. I stripped all the chrome and used testor's metalizer spray paint. Criticism welcomed.
-
Household Products To Stain Wood?
HOLMES55 replied to CabDriver's topic in Model Building Questions and Answers
If you look in some hardware stores that sell wood stains they might have free sample stains that come in a small package. One store I went to were giving away boxes of them and you can get different colors to test out. I use them to stain the wood in pickup beds.
-
Thanks for all the comments Sonny, that is the interior included in the Rat Roaster kit.
-
David, the wire looms were hand made from evergreen plastic
-
The baby moon hubcaps are actually upholstery tacks that I bought and modified to fit some chrome rims I had
-
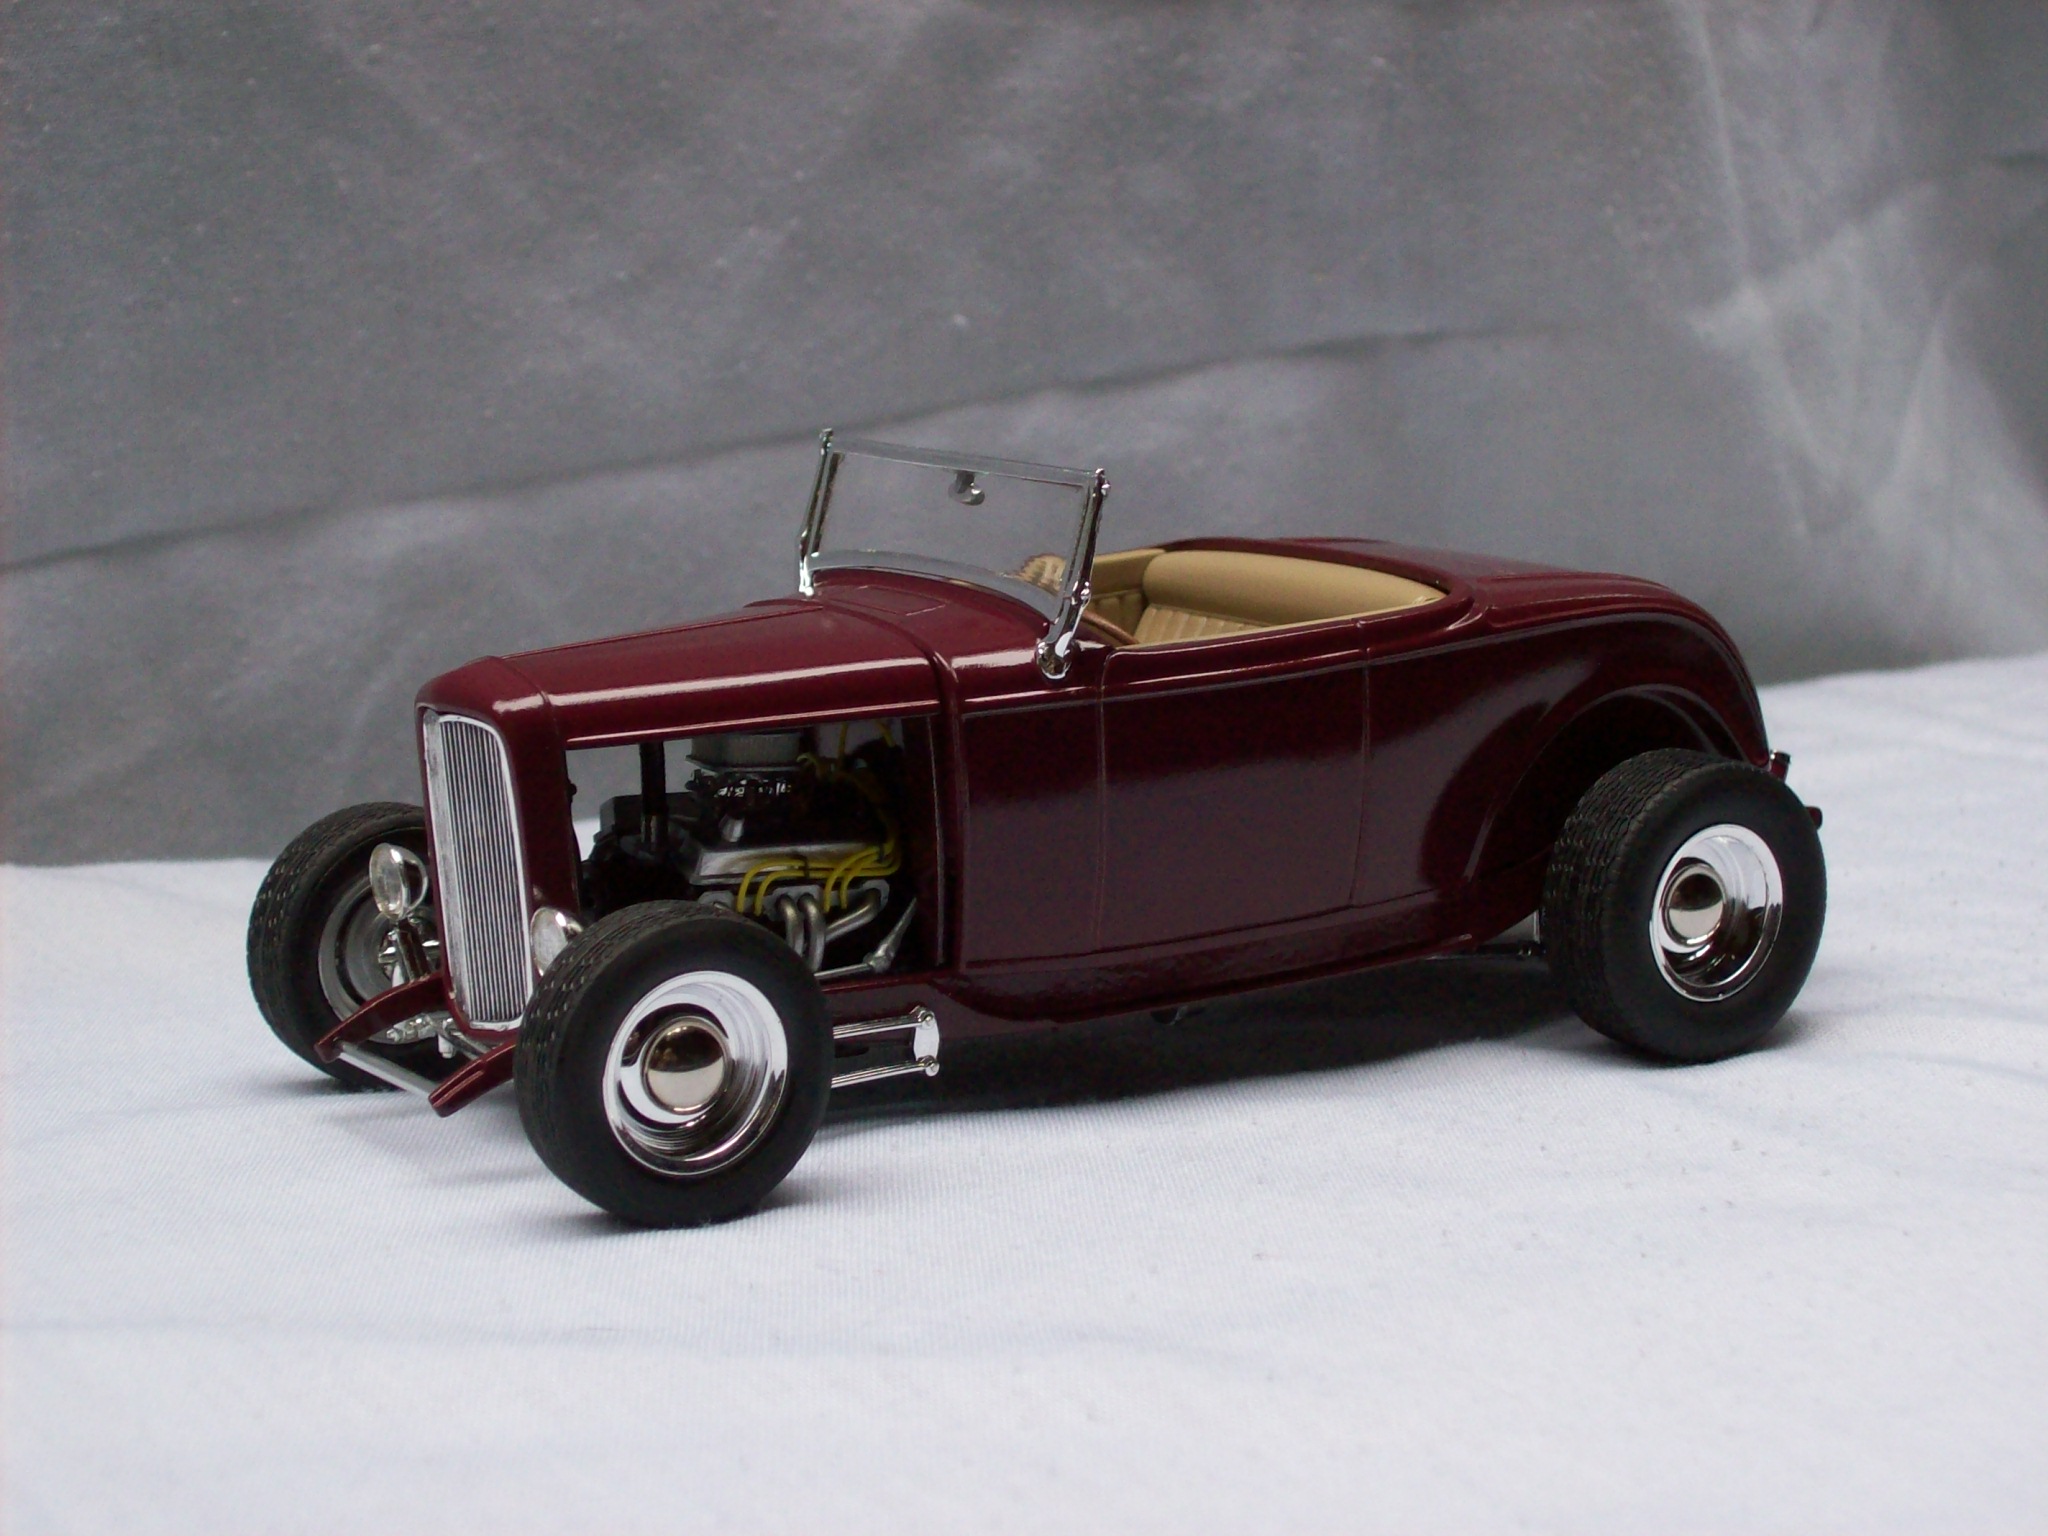
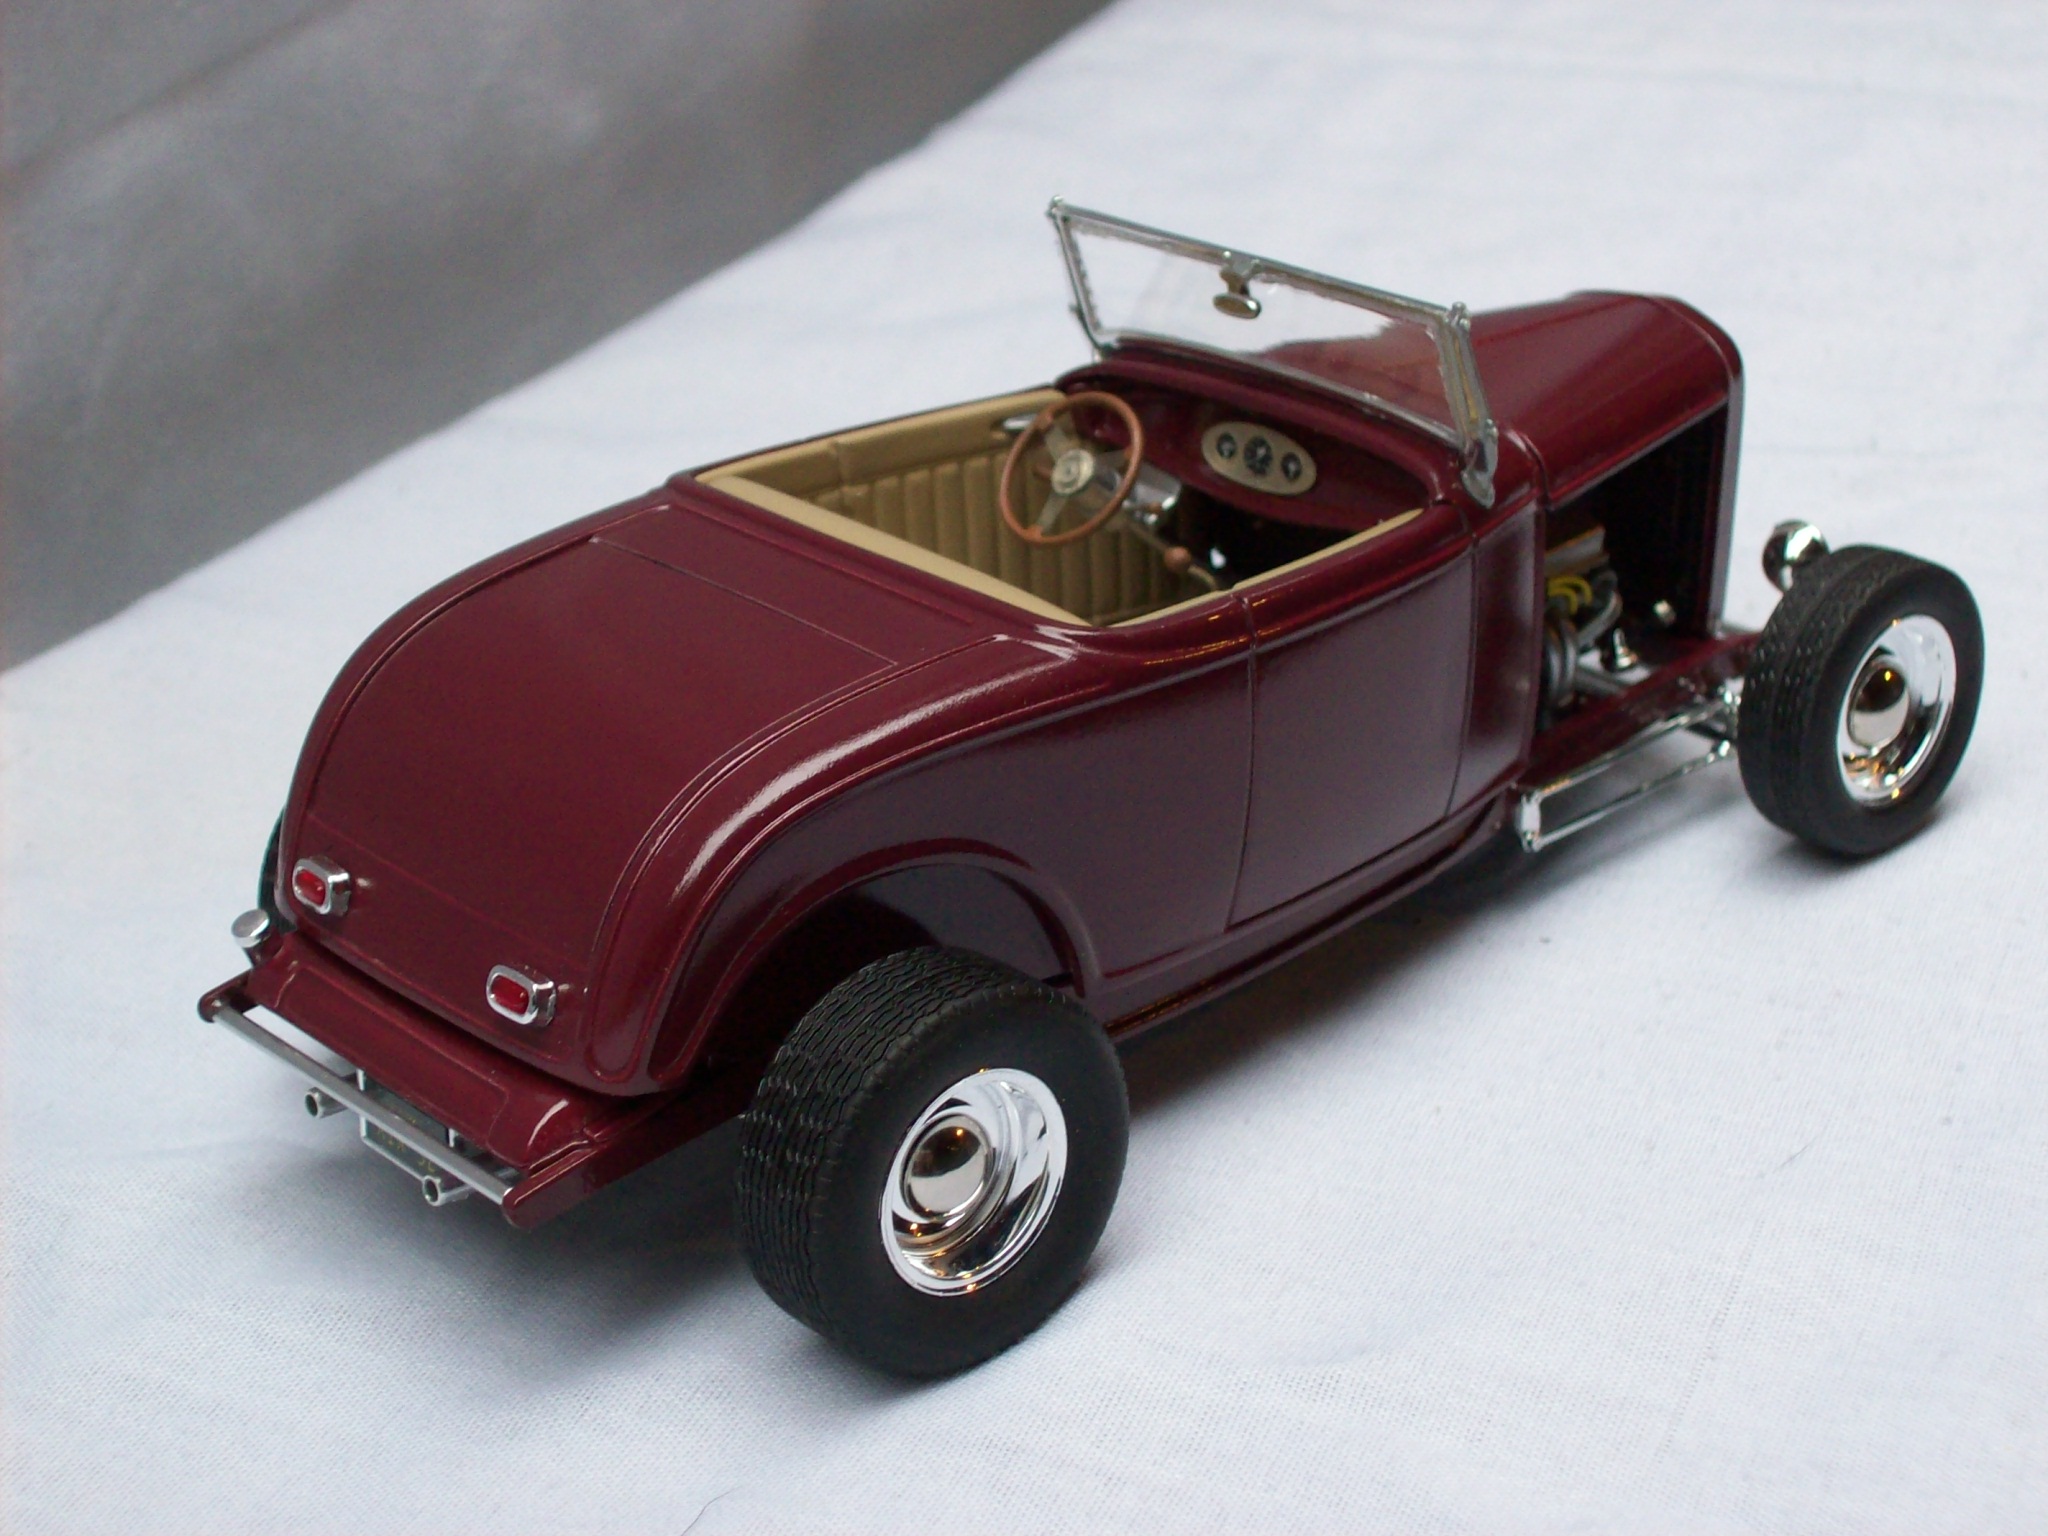
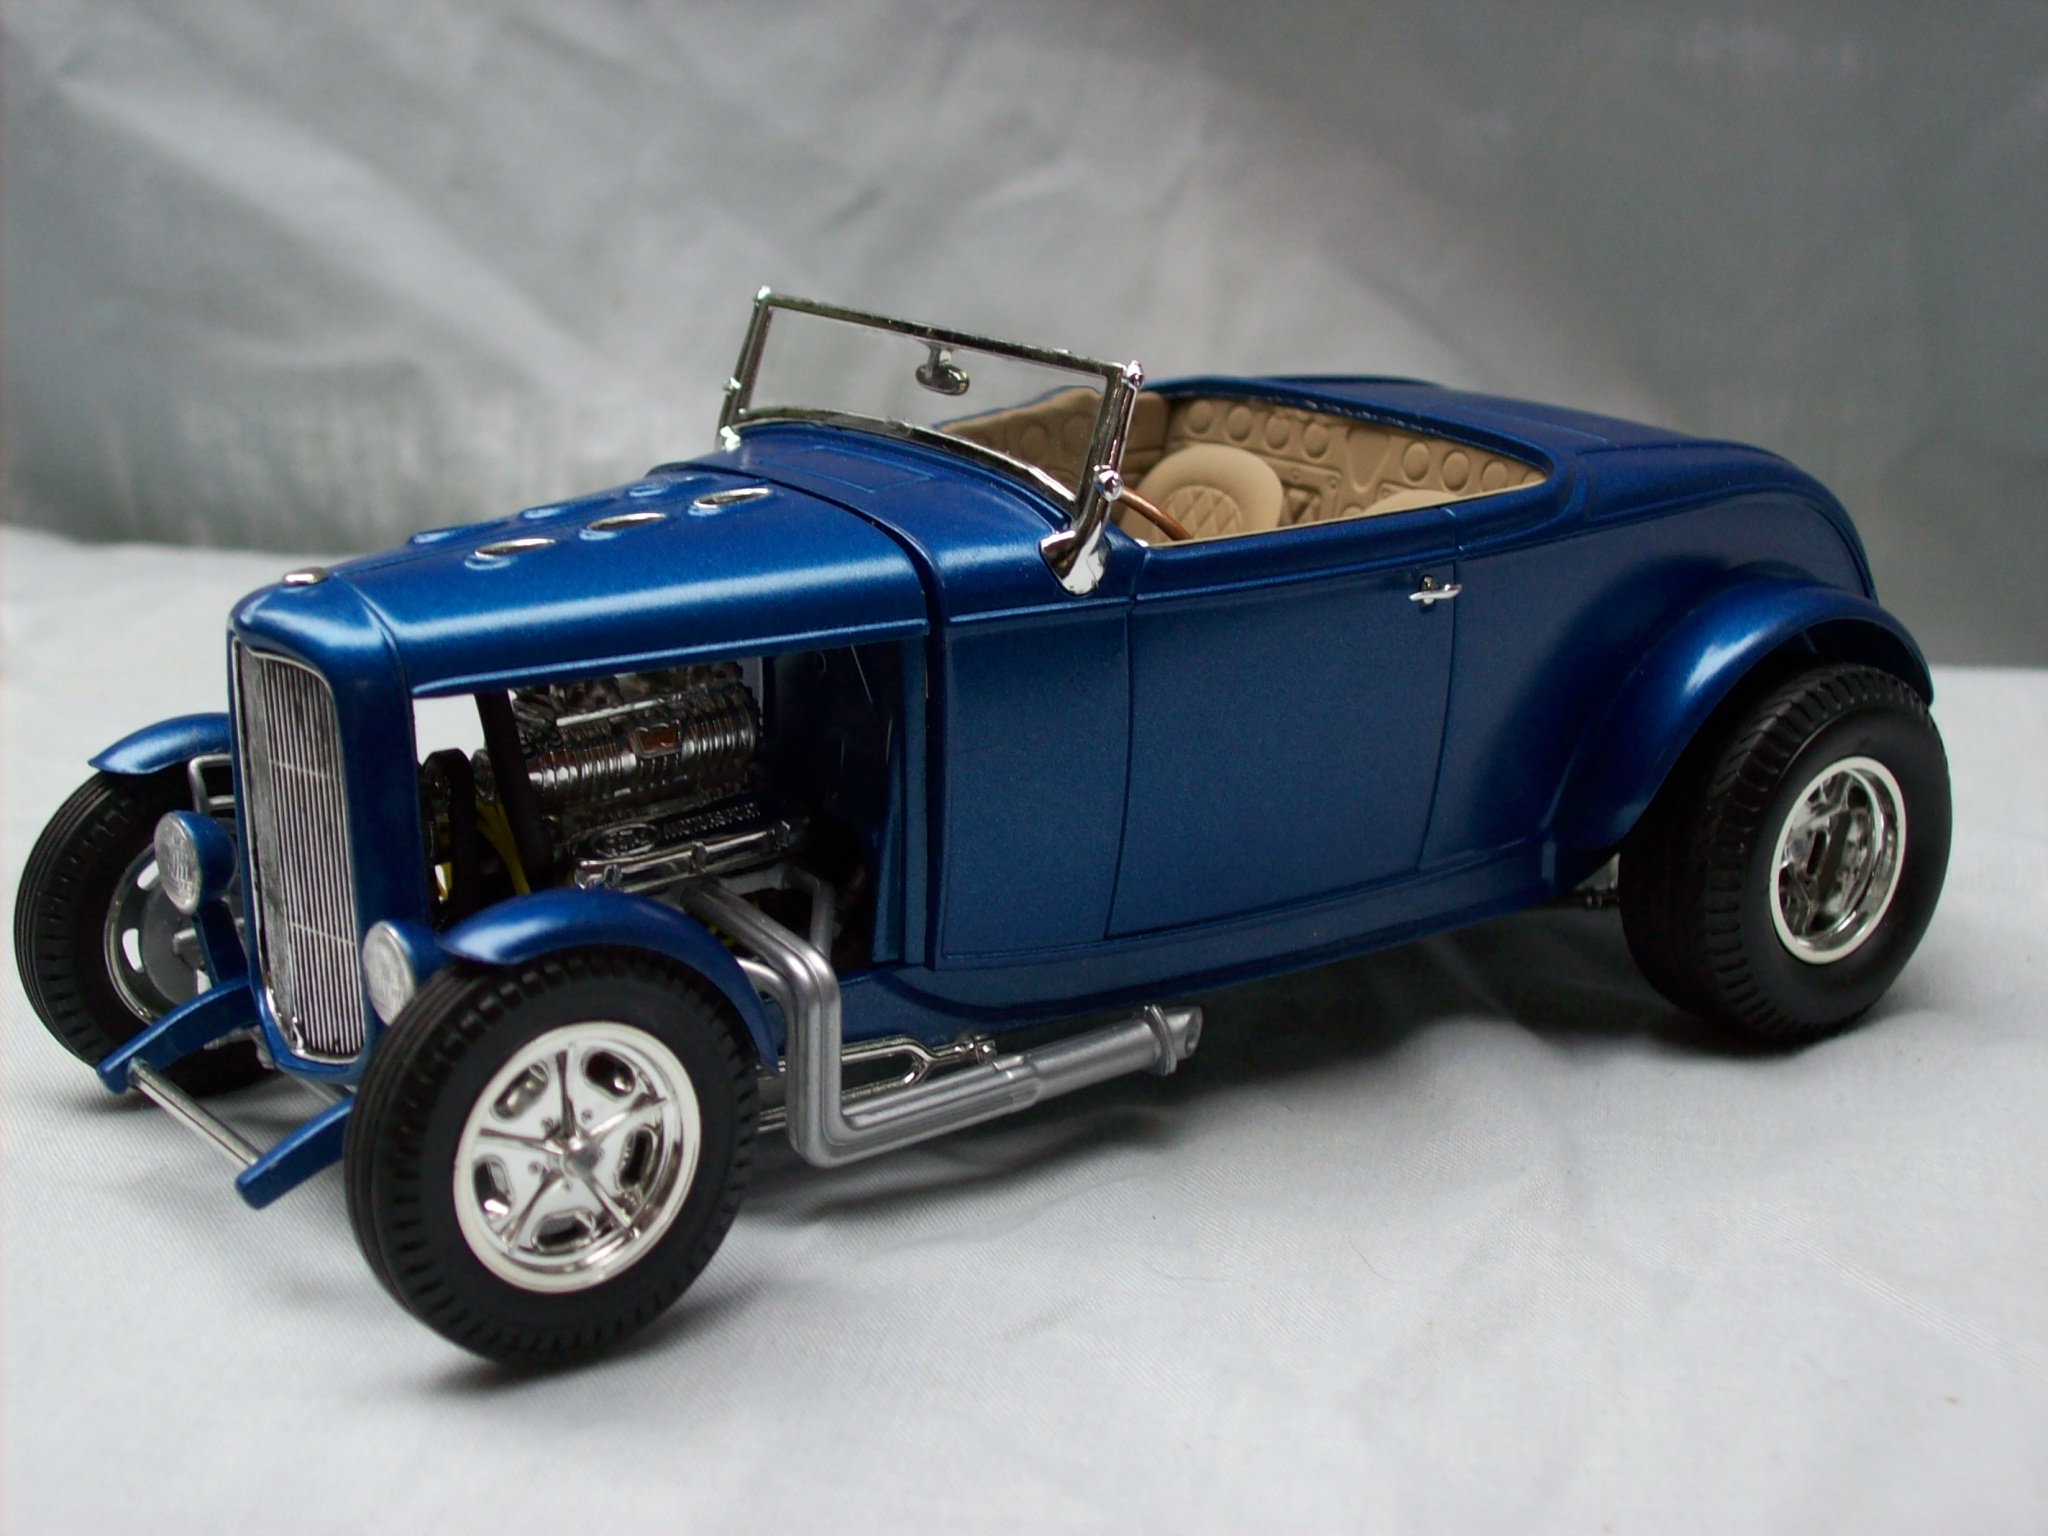
I just completed a pair of 32 Highboy projects. The first one is a replica of my Dads 32 highboy which I built from the revell highboy model he had but the kit had a ford engine so I bought the 32 rat roaster kit with the chevy engine and swapped engines on the kits. Here is the 32 highboy And the 32 Rat Roaster
-
Welcome Tom I would like to know what you did to get the tires and rims to look so realistic
-
Reminds me of one the muscle machine die cast cars You did a great job on weathering that engine, what kit is the engine from?
-
Revell 49 Merc Decal Question?
HOLMES55 replied to slusher's topic in Model Building Questions and Answers
Another method you might think about is drilling a hole thru the dash and mounting the decals on the back and then fill the front with canopy glue. the glue dries clear and holds the decal in place. -
AMT made a Joker Goon/Gotham City police car combo model that had a shotgun, machine gun and pistol in it.
-
I started using the metalizers recently and found that you don't need primer underneath them, they seem to buff out better without the primer and they cover very well with only one coat. I read that you only need a thin coat and the more you apply the less the buffing effect works.
-
Painting torque thrust rims
HOLMES55 replied to HOLMES55's topic in Model Building Questions and Answers
Mike - I have thought about getting a piece of tubing to mask off the outer rim but I haven't found anything with the right diameter. I might be able to make something with .010 styrene wrapped around a rod with the right diameter and tape it together. Hugh - I know what you mean about the paint flowing off the brush. I noticed this when I was testing the paint on the chrome sprue. -
Painting torque thrust rims
HOLMES55 replied to HOLMES55's topic in Model Building Questions and Answers
Thanks for the tips, looks like I am going to have to work on my brush painting. I haven't been using thinner so I am going to try that. -
Painting torque thrust rims
HOLMES55 replied to HOLMES55's topic in Model Building Questions and Answers
Hugh - nice work on those rims, that's what I am trying to end up with. maybe a lighter shade of gray Monty - I tested some acrylic paint on the chrome sprue and it doesn't adhere well. I havent tried the metalizer. I think a flat primer is more what im after. Jesse - I will try that idea or just touch up lug nuts with a silver sharpie -
I have these chrome torque thrust rims from the 1968 Bullit mustang kit that I wanted to paint the spokes gray for the magnesium look. I have seen other models with spokes painted and wanted to know other peoples technique to paint their rims. I prefer masking tape and spray paint but it seems like it might be easier to brush paint them. When I brush paint sometimes you can see the brush marks.
-
One of the problems with this kit is that the B-pillar is molded into the windows and the clear plastic is very thick. I cut the front and rear windshields off and used .010 clear plastic for the wing windows and left the rear side windows off of mine. I also filed the C-pillar down(between the side and rear windows)because it was way off the reference photos of the 1:1 car. Mine also had the missing door line that yours had so I scribed that in.
-
Thanks Chris Another good reason to use acrylics, you save on paint costs and primer cost. And one less step in the painting process.
-
Chris What type of primer do you recommend under the acrylic paint ??
-
Michael There were several modifications I made to this kit. The engine is not the best 427 SOHC out there, I added the distributor and coil. The suspension was modified, I raised the front and moved it forward. The body had no issues other than getting the doors lined up in their openings. I taped the doors to the body and got the hinges lined up and glued the hinges to the body and then drilled thru both door hinges and put a plastic rod thru them. You can just glue the doors shut if you want to. The 2 piece tires take a little work to look right, I glued them together and sanded them down so the seam is less noticeable. AMT released a kit last year that might be a better choice. http://www.modelcarsmag.com/forums/index.php?showtopic=71319&hl=willys Brad