Search the Community
Showing results for tags 'mopar'.
-
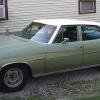
 One of more recent build. I found this kit on eBay for a great price (both rear door panels are missing) but I couldn’t refuse. Its pained model master emeral green metallic spray can with a testors high gloss enamel clear coat spray can. The interior is just flat black and wheels bare metal aluminum spray from Tamiya. Opinions??
-
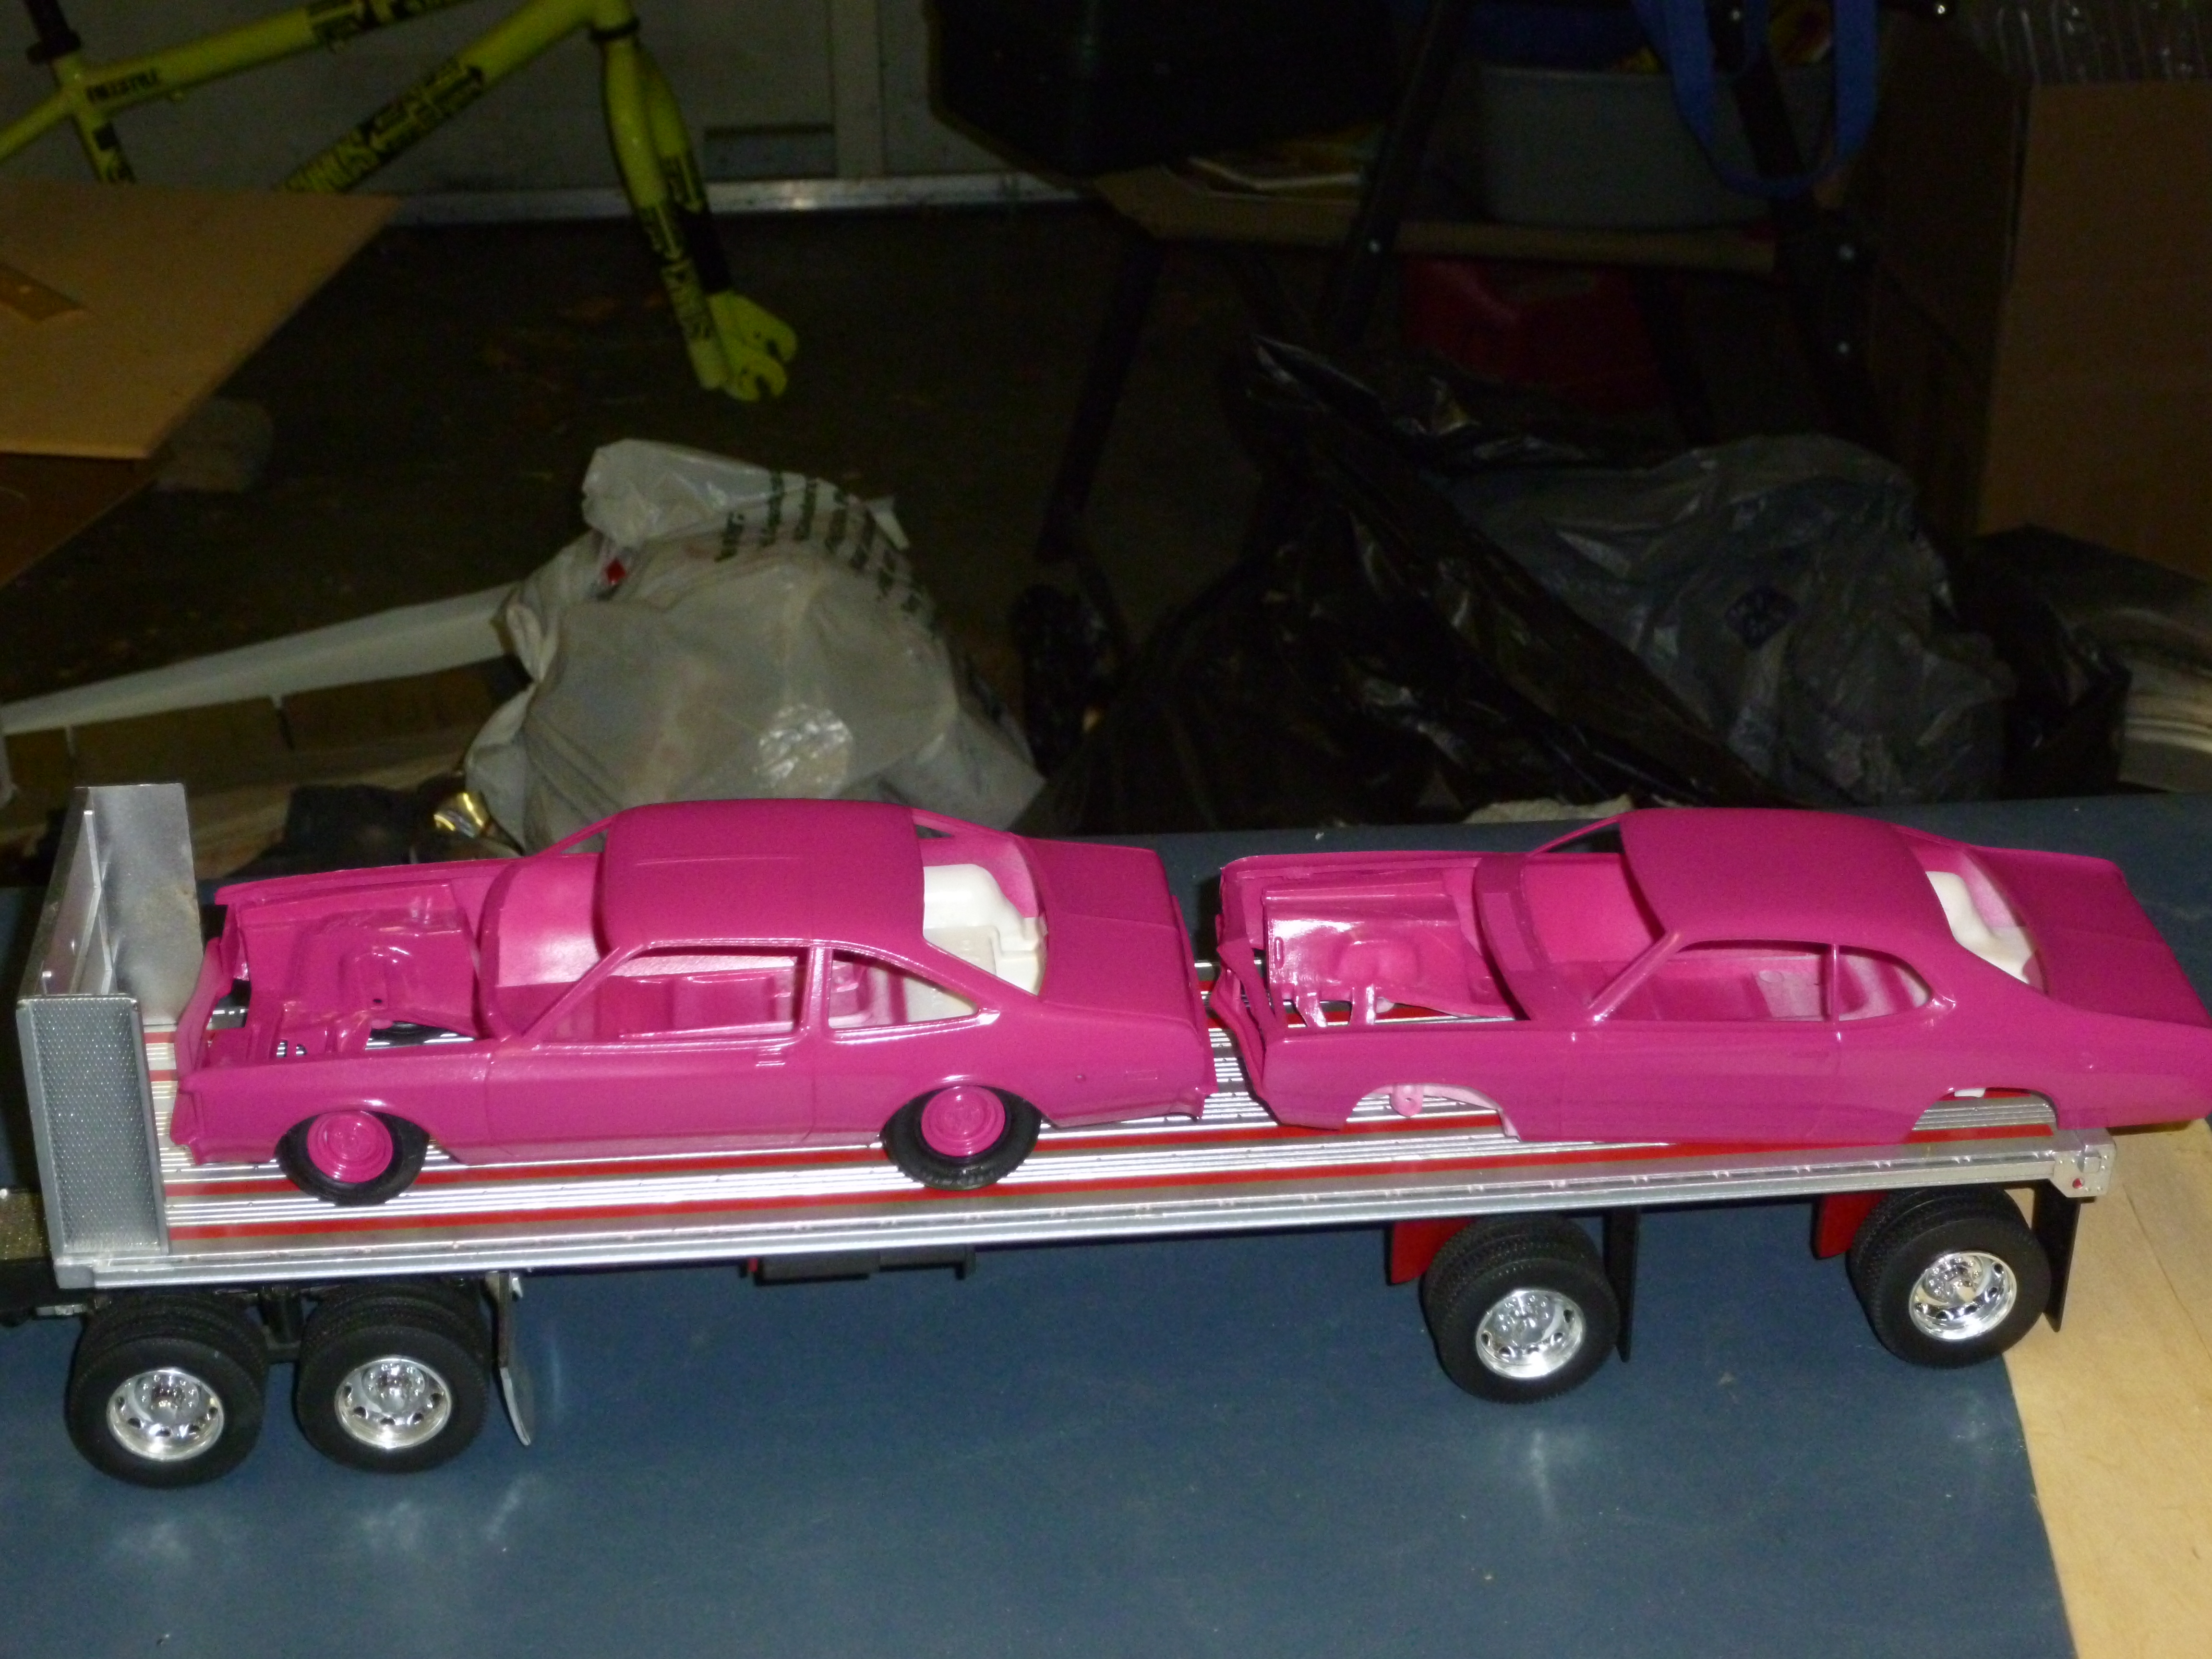
Started on this drag team combo of the 80 road runner and 76 dodge dart sport both shot in Panther pink,the 80 will have steel wheels and not sure yet on the 76 ,the 80 will be getting a 440 motor just like the 76 dart will be posting up dates also got a dodge that will be hauling them to in progress shot in panther pink also
-
Gonna start posting some of my older stuff since my old photos are lost from photobucket. 1 (2) by Eric Lucas, on Flickr 1 (3) by Eric Lucas, on Flickr 1 (4) by Eric Lucas, on Flickr 1 (5) by Eric Lucas, on Flickr
-
Not a bad kit, pleasure to build. Wish I'd have gone with black though. No engine picks, kit was missing some pieces for it. SAM_1855 by Eric Lucas, on Flickr SAM_1856 by Eric Lucas, on Flickr SAM_1857 by Eric Lucas, on Flickr SAM_1858 by Eric Lucas, on Flickr SAM_1859 by Eric Lucas, on Flickr SAM_1860 by Eric Lucas, on Flickr
-
Couldn't wait for this kit to come out, and when it did I bought one immediately. Been waiting for some time to build it and since I just lost my job I have a lot of new found time on my hands for some builds. SAM_1831 by Eric Lucas, on Flickr SAM_1832 by Eric Lucas, on Flickr SAM_1833 by Eric Lucas, on Flickr SAM_1834 by Eric Lucas, on Flickr SAM_1836 by Eric Lucas, on Flickr SAM_1837 by Eric Lucas, on Flickr SAM_1838 by Eric Lucas, on Flickr SAM_1839 by Eric Lucas, on Flickr SAM_1840 by Eric Lucas, on Flickr SAM_1841 by Eric Lucas, on Flickr
-
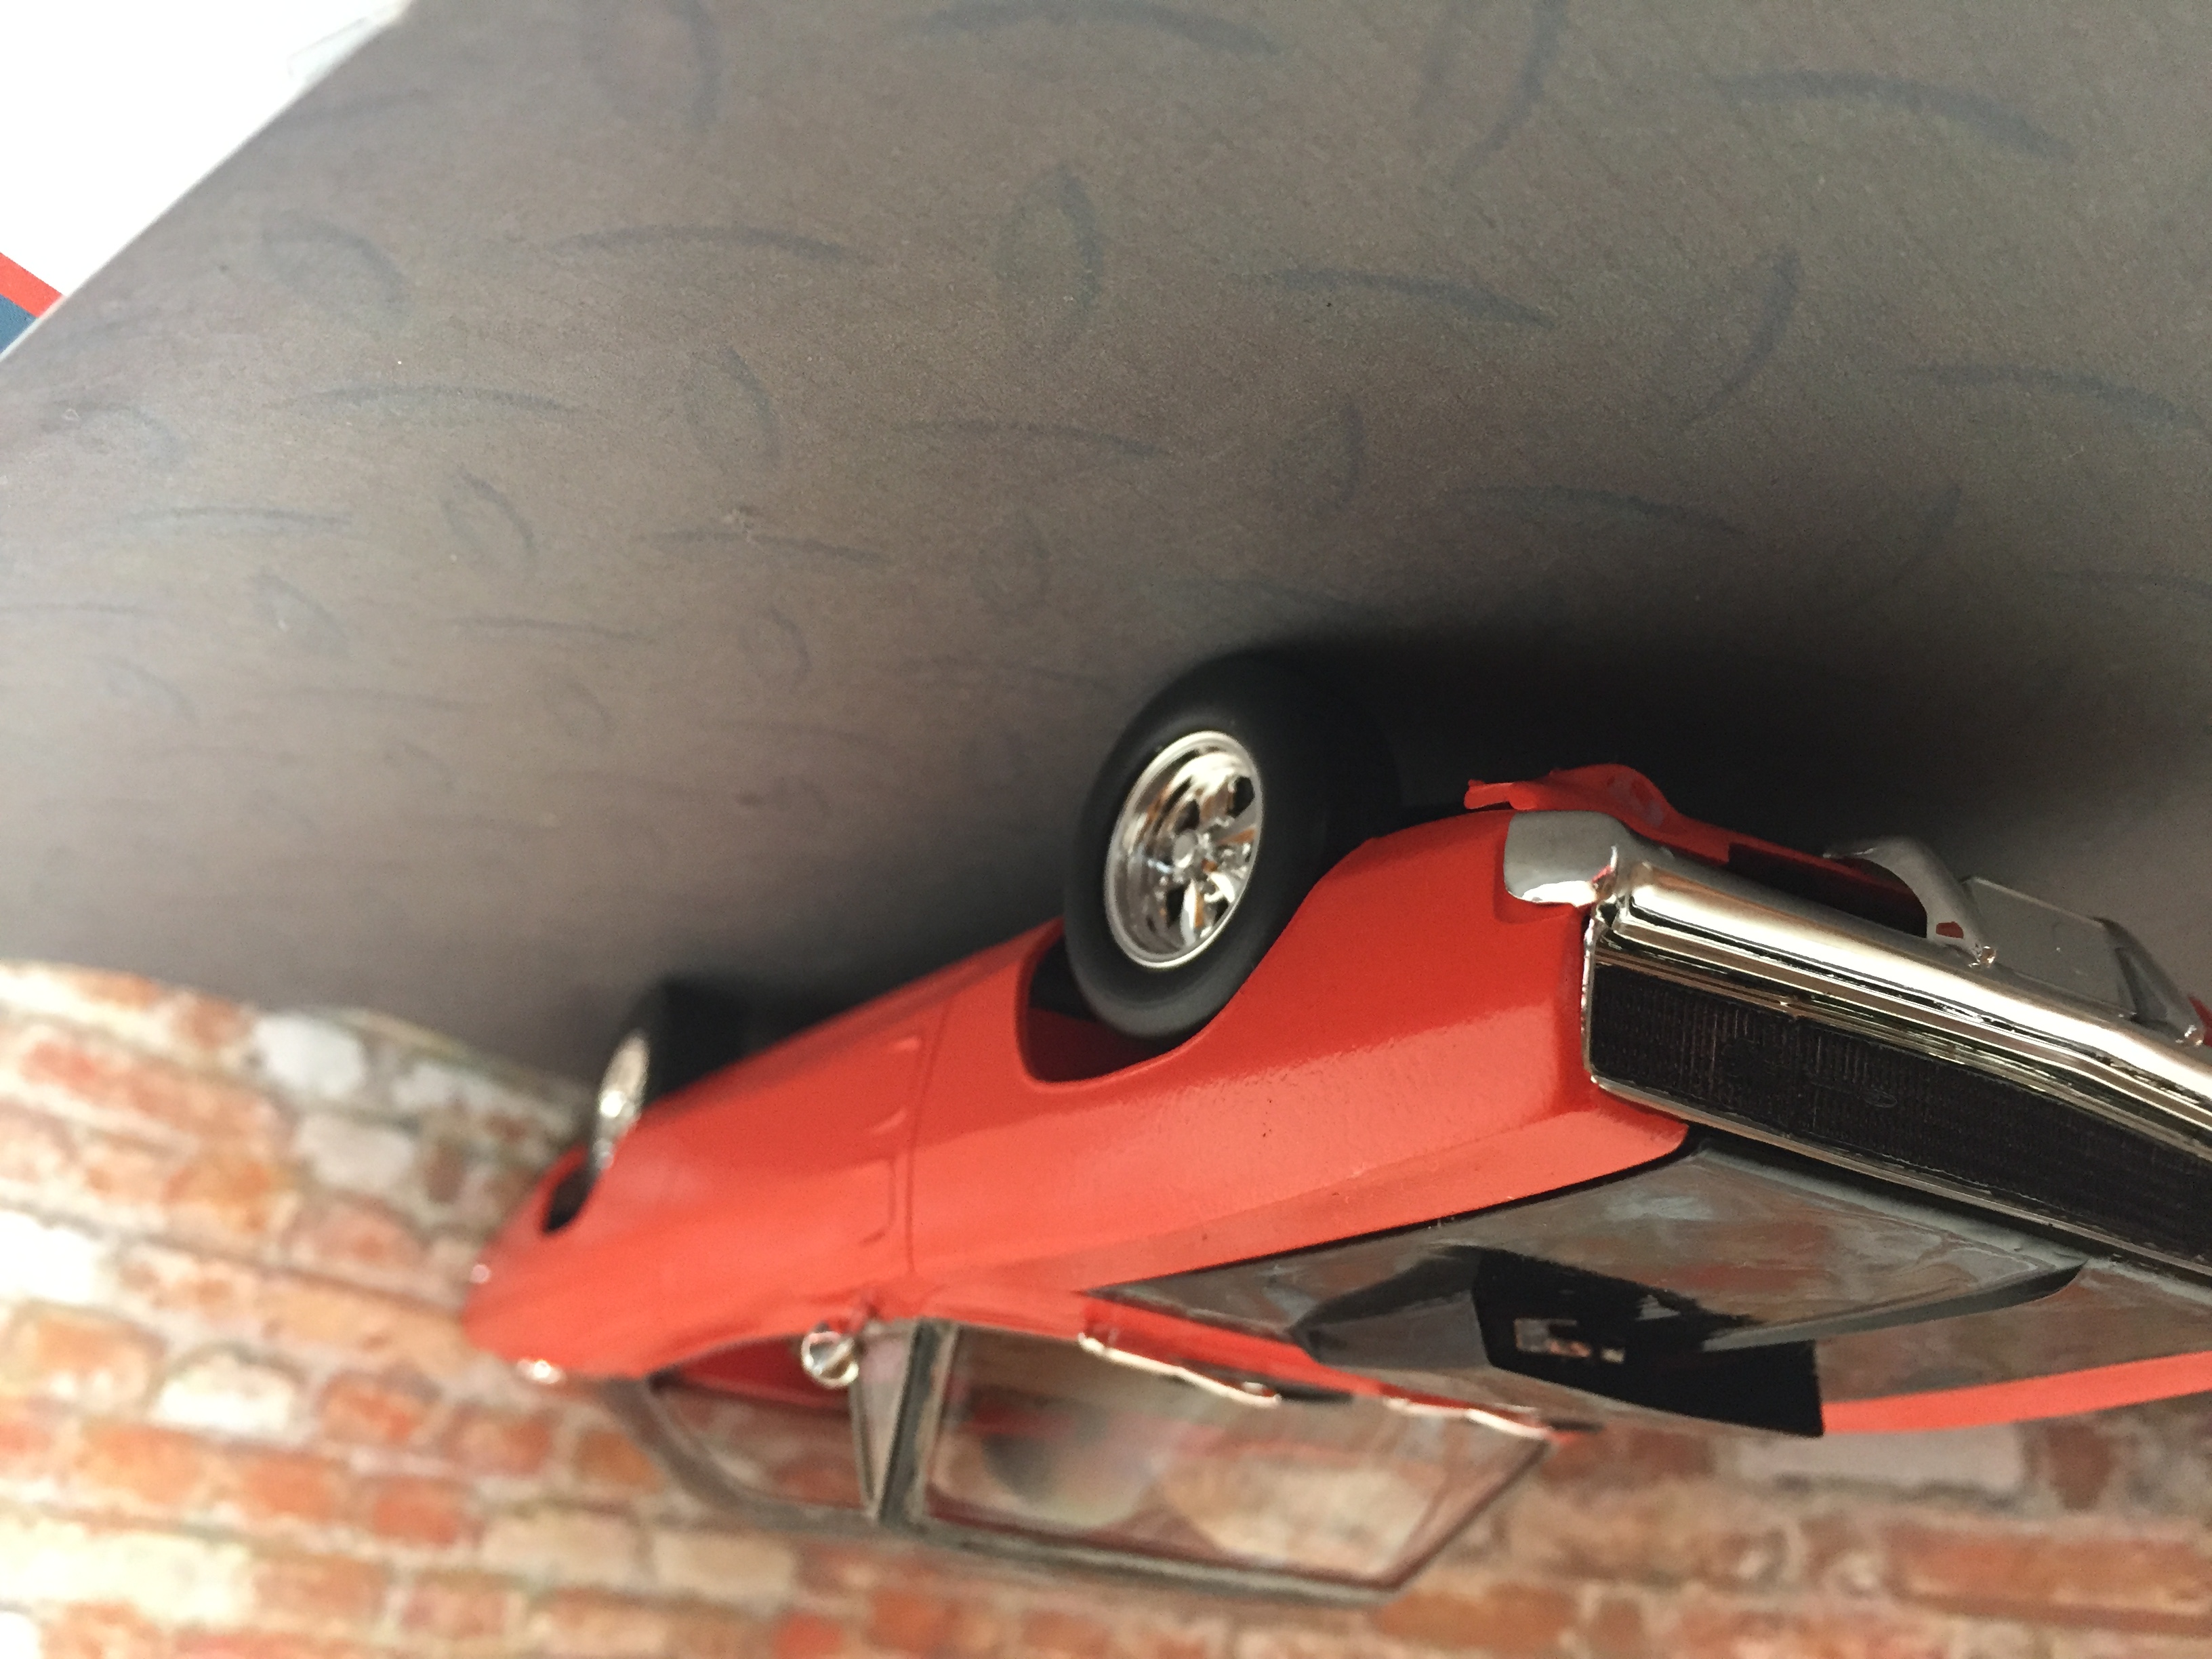
By far my best build & also my proudest build!! My '68 Dodge Charger with a 440 big block. It took me over a month to complete as I submerged myself into the detail of the car. This car truly helped me grow as a builder & I can't wait to see what comes next after this one!!
-
Hi everybody! Just started some work on a 71 Charger. I managed to sand all the parts and put primer on all the body parts. I also painted the body, hood and chassis with Scalefinishes plum crazy purple. It was the first time I used Scalefinishes product and I'm very happy with it. There is some dust in the paint at the moment, but nothing that can't be sanded out. I'm going to wait a few days before I put some clear on it. I'm building this model for Moson model show in Hungary that will take place in the middle of april and I'm planning to build another kit The pictures are not the best, but you can see something Regards, Andraz
-
 WIP of my entry for this years Cannonball (Aussieball) cbp. Hopefully this is in the right category it's a car but it'll be getting mild 4X4 treatment, if it belongs in the Truck section by all means move it. Anyway like I said it'll be getting mild 4X4 treatment along the lines of the Off road Charger from Furious 7. So the front fenders will be cut and widened a little and the rear fenders will be wide bodied out a little too. Color hasn't been decided on yet, likely flat with some amount of weathering, not going to be show quality in the least. First time cutting fenders completely off, glad it ended well. And I though I had gotten a couple of pics of the work on the rear fenders but I guess not. Will have a few pics of it with primer up later today. Thanks for looking!
 -
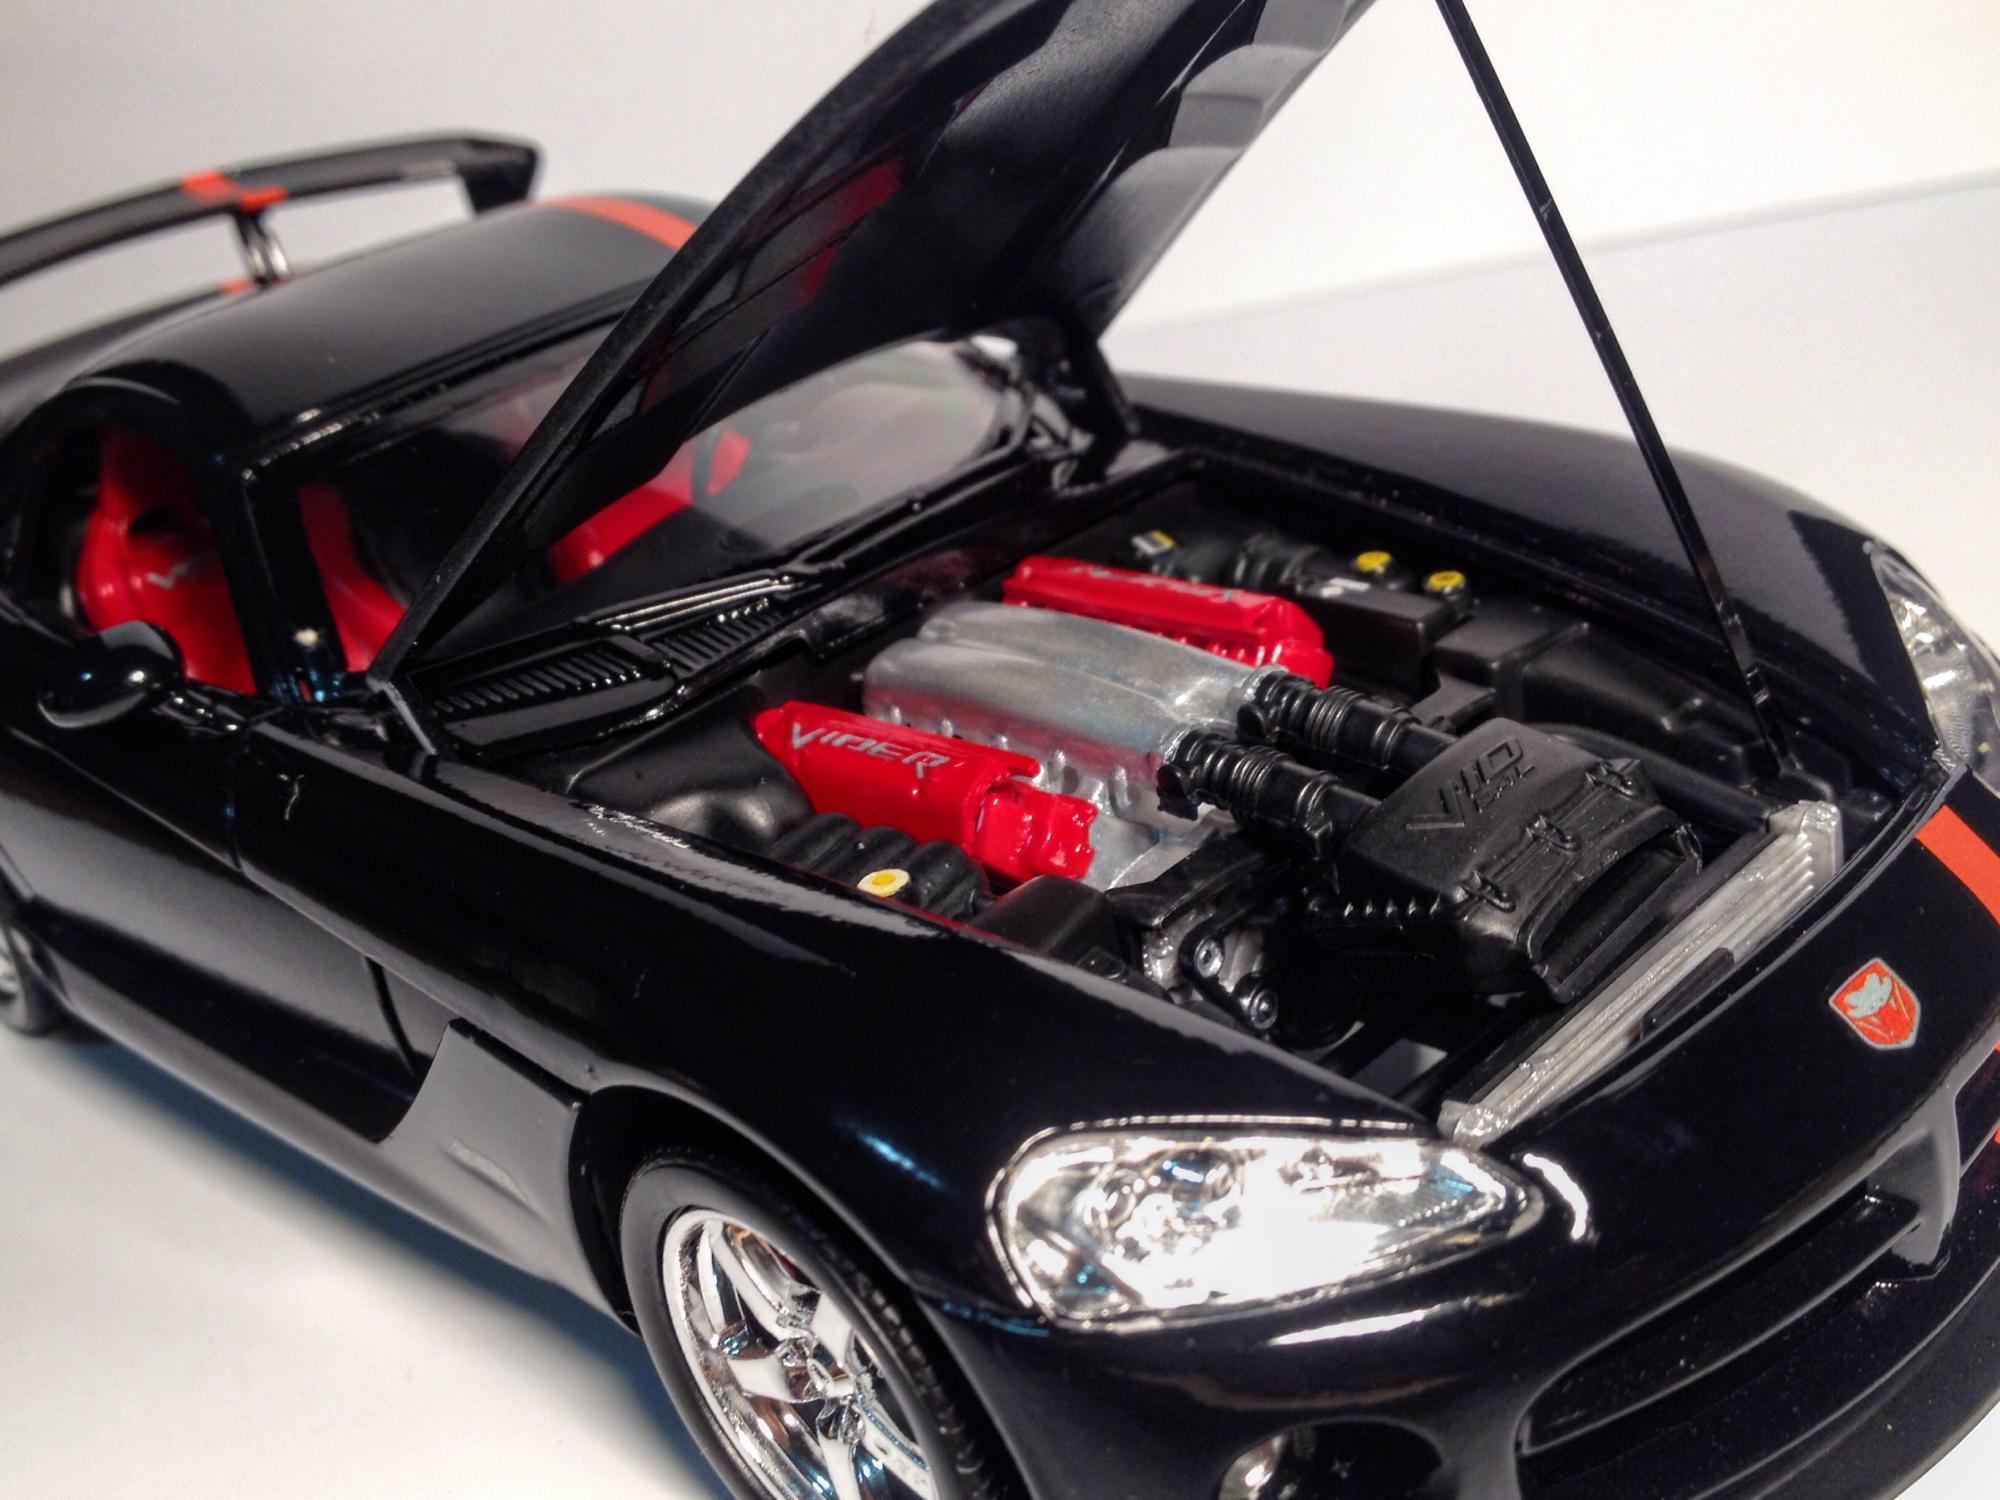
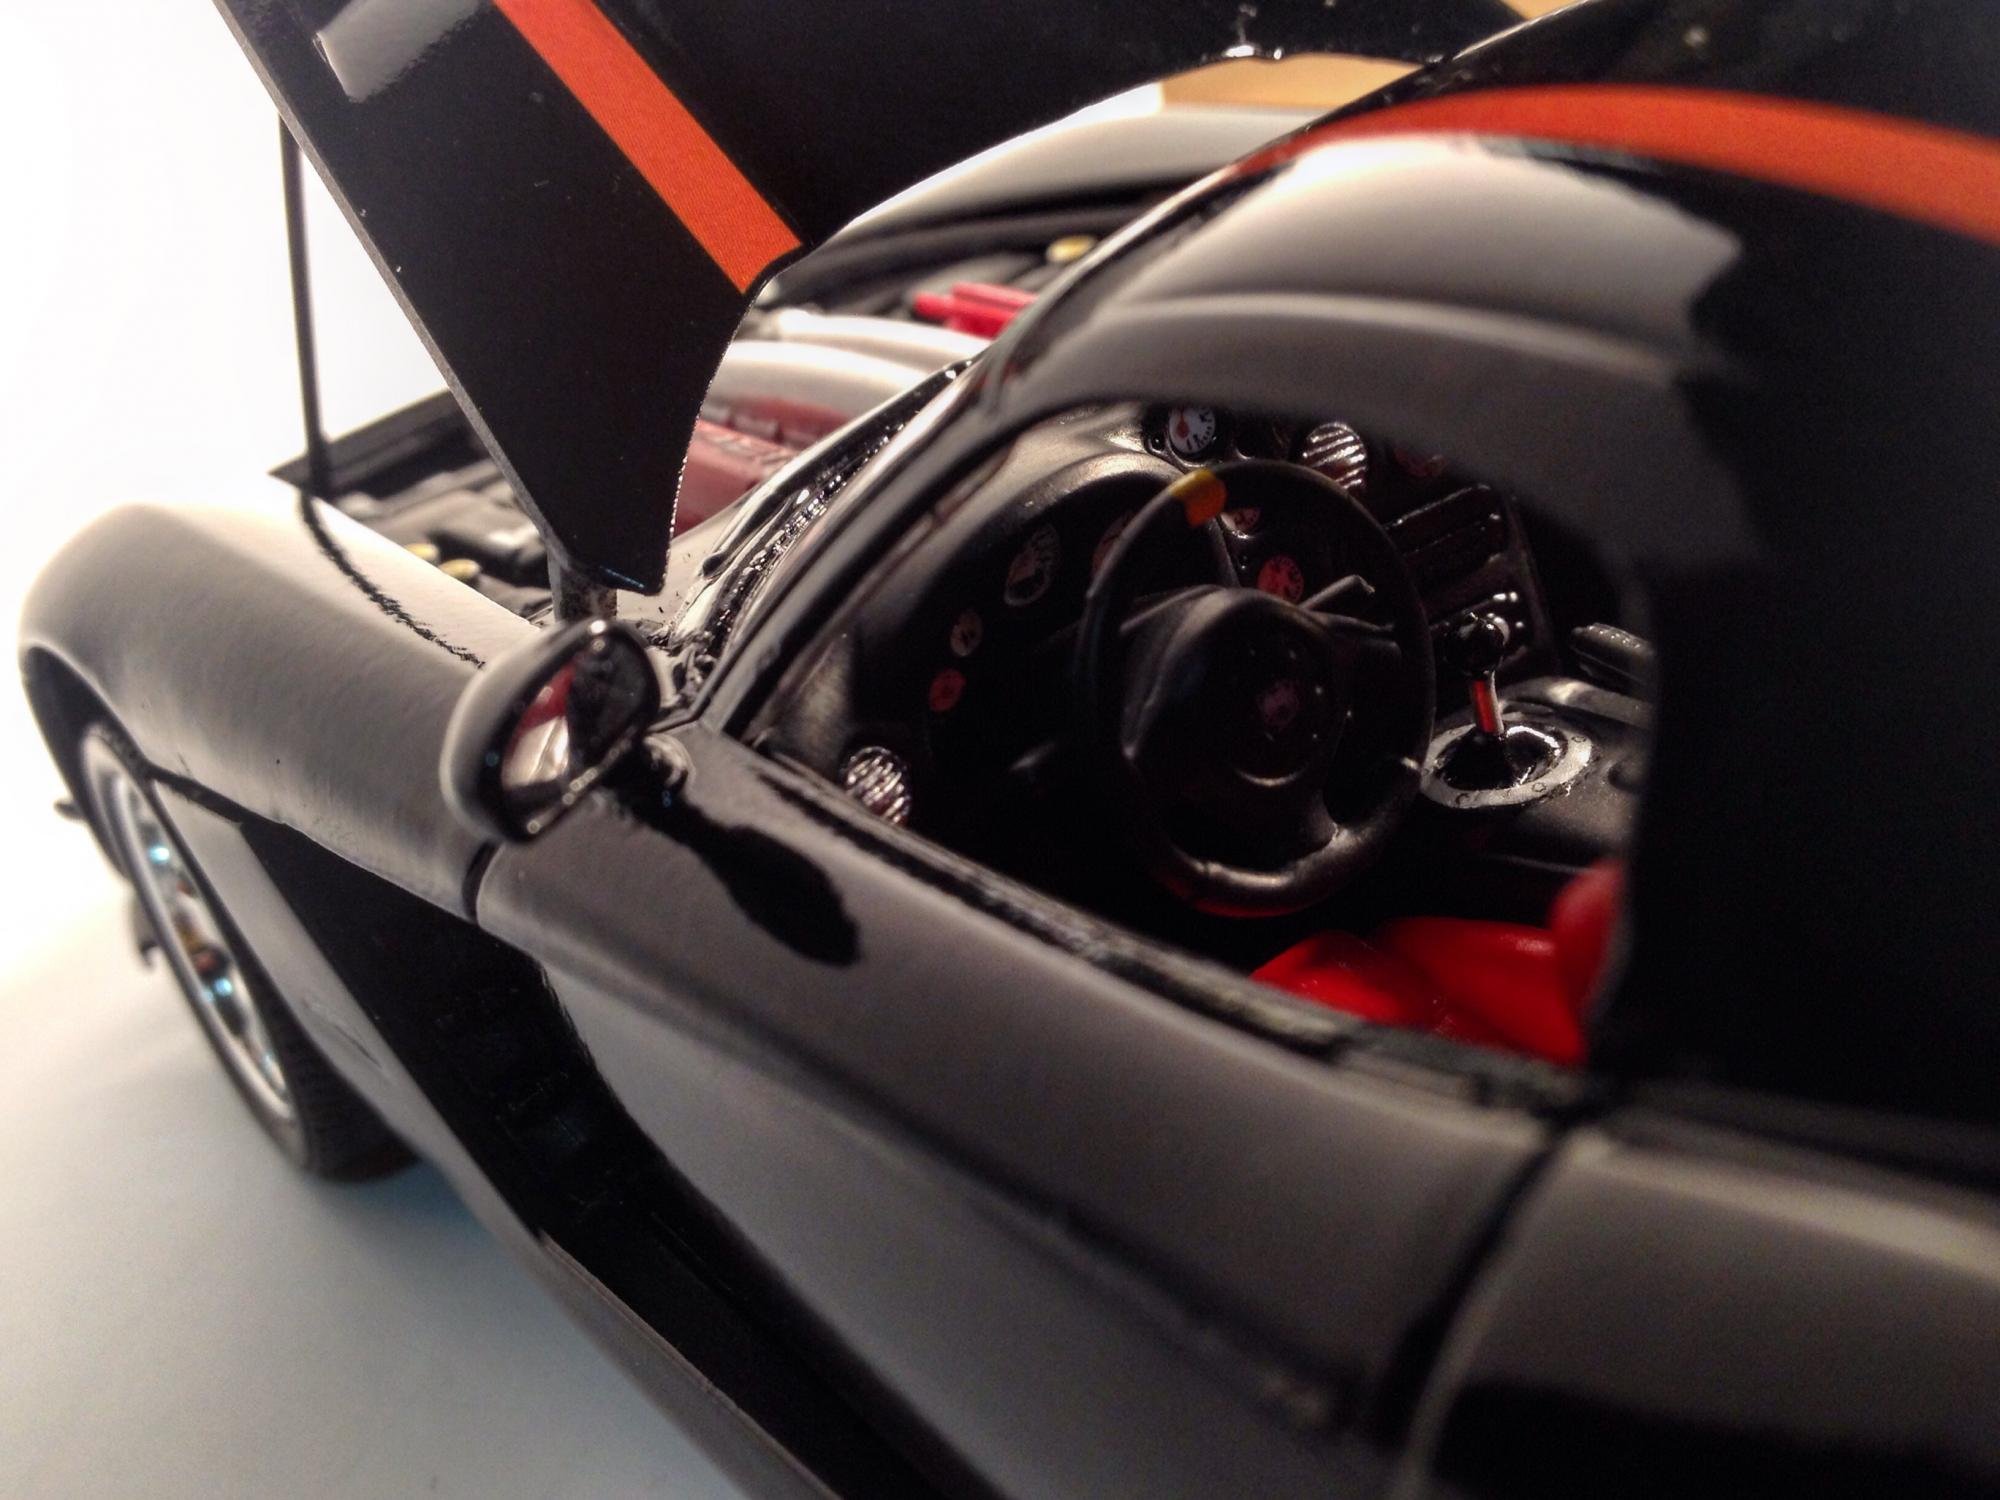
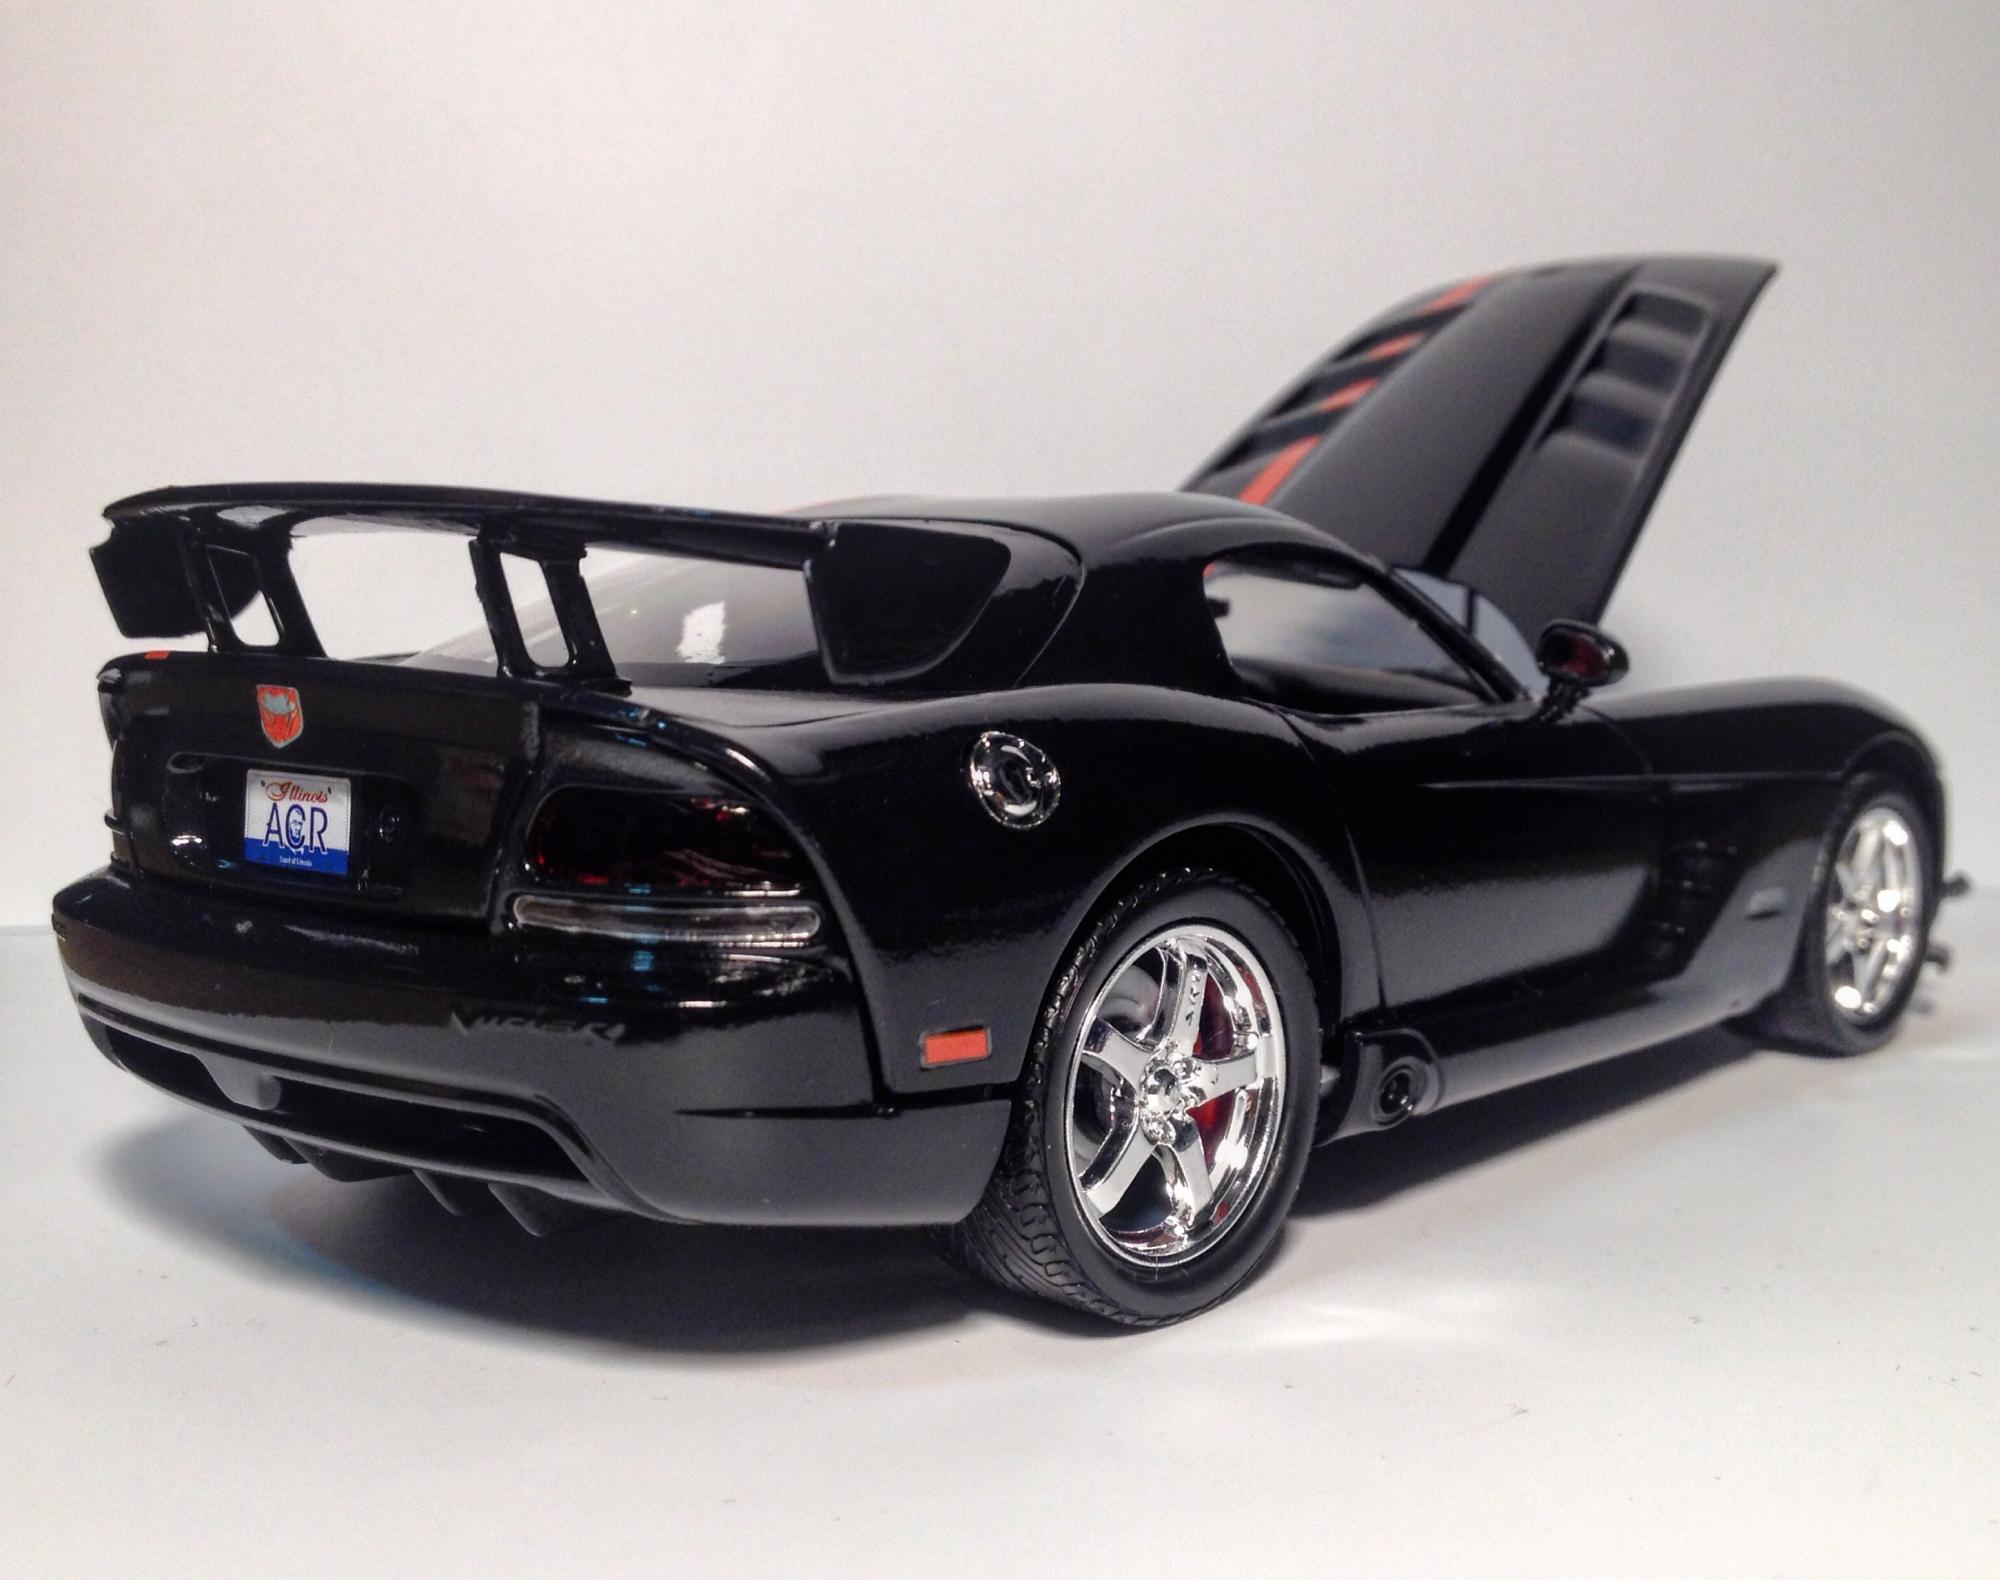
G'morn to all,,Just finished the AMT 1994 release of The Dodge Viper,,box stock,except for the rear tires + rims. Great kit ,,went together well. Enjoy all the works posted here @ MCM!!
-
Been working on it all week. Came out pretty good. Had a bit of trouble with the decals. It was an old kit and they were hard to slide on. Then I accidentally tore the rear decal trying to remove some debris from the model before he clear coat dried.
-
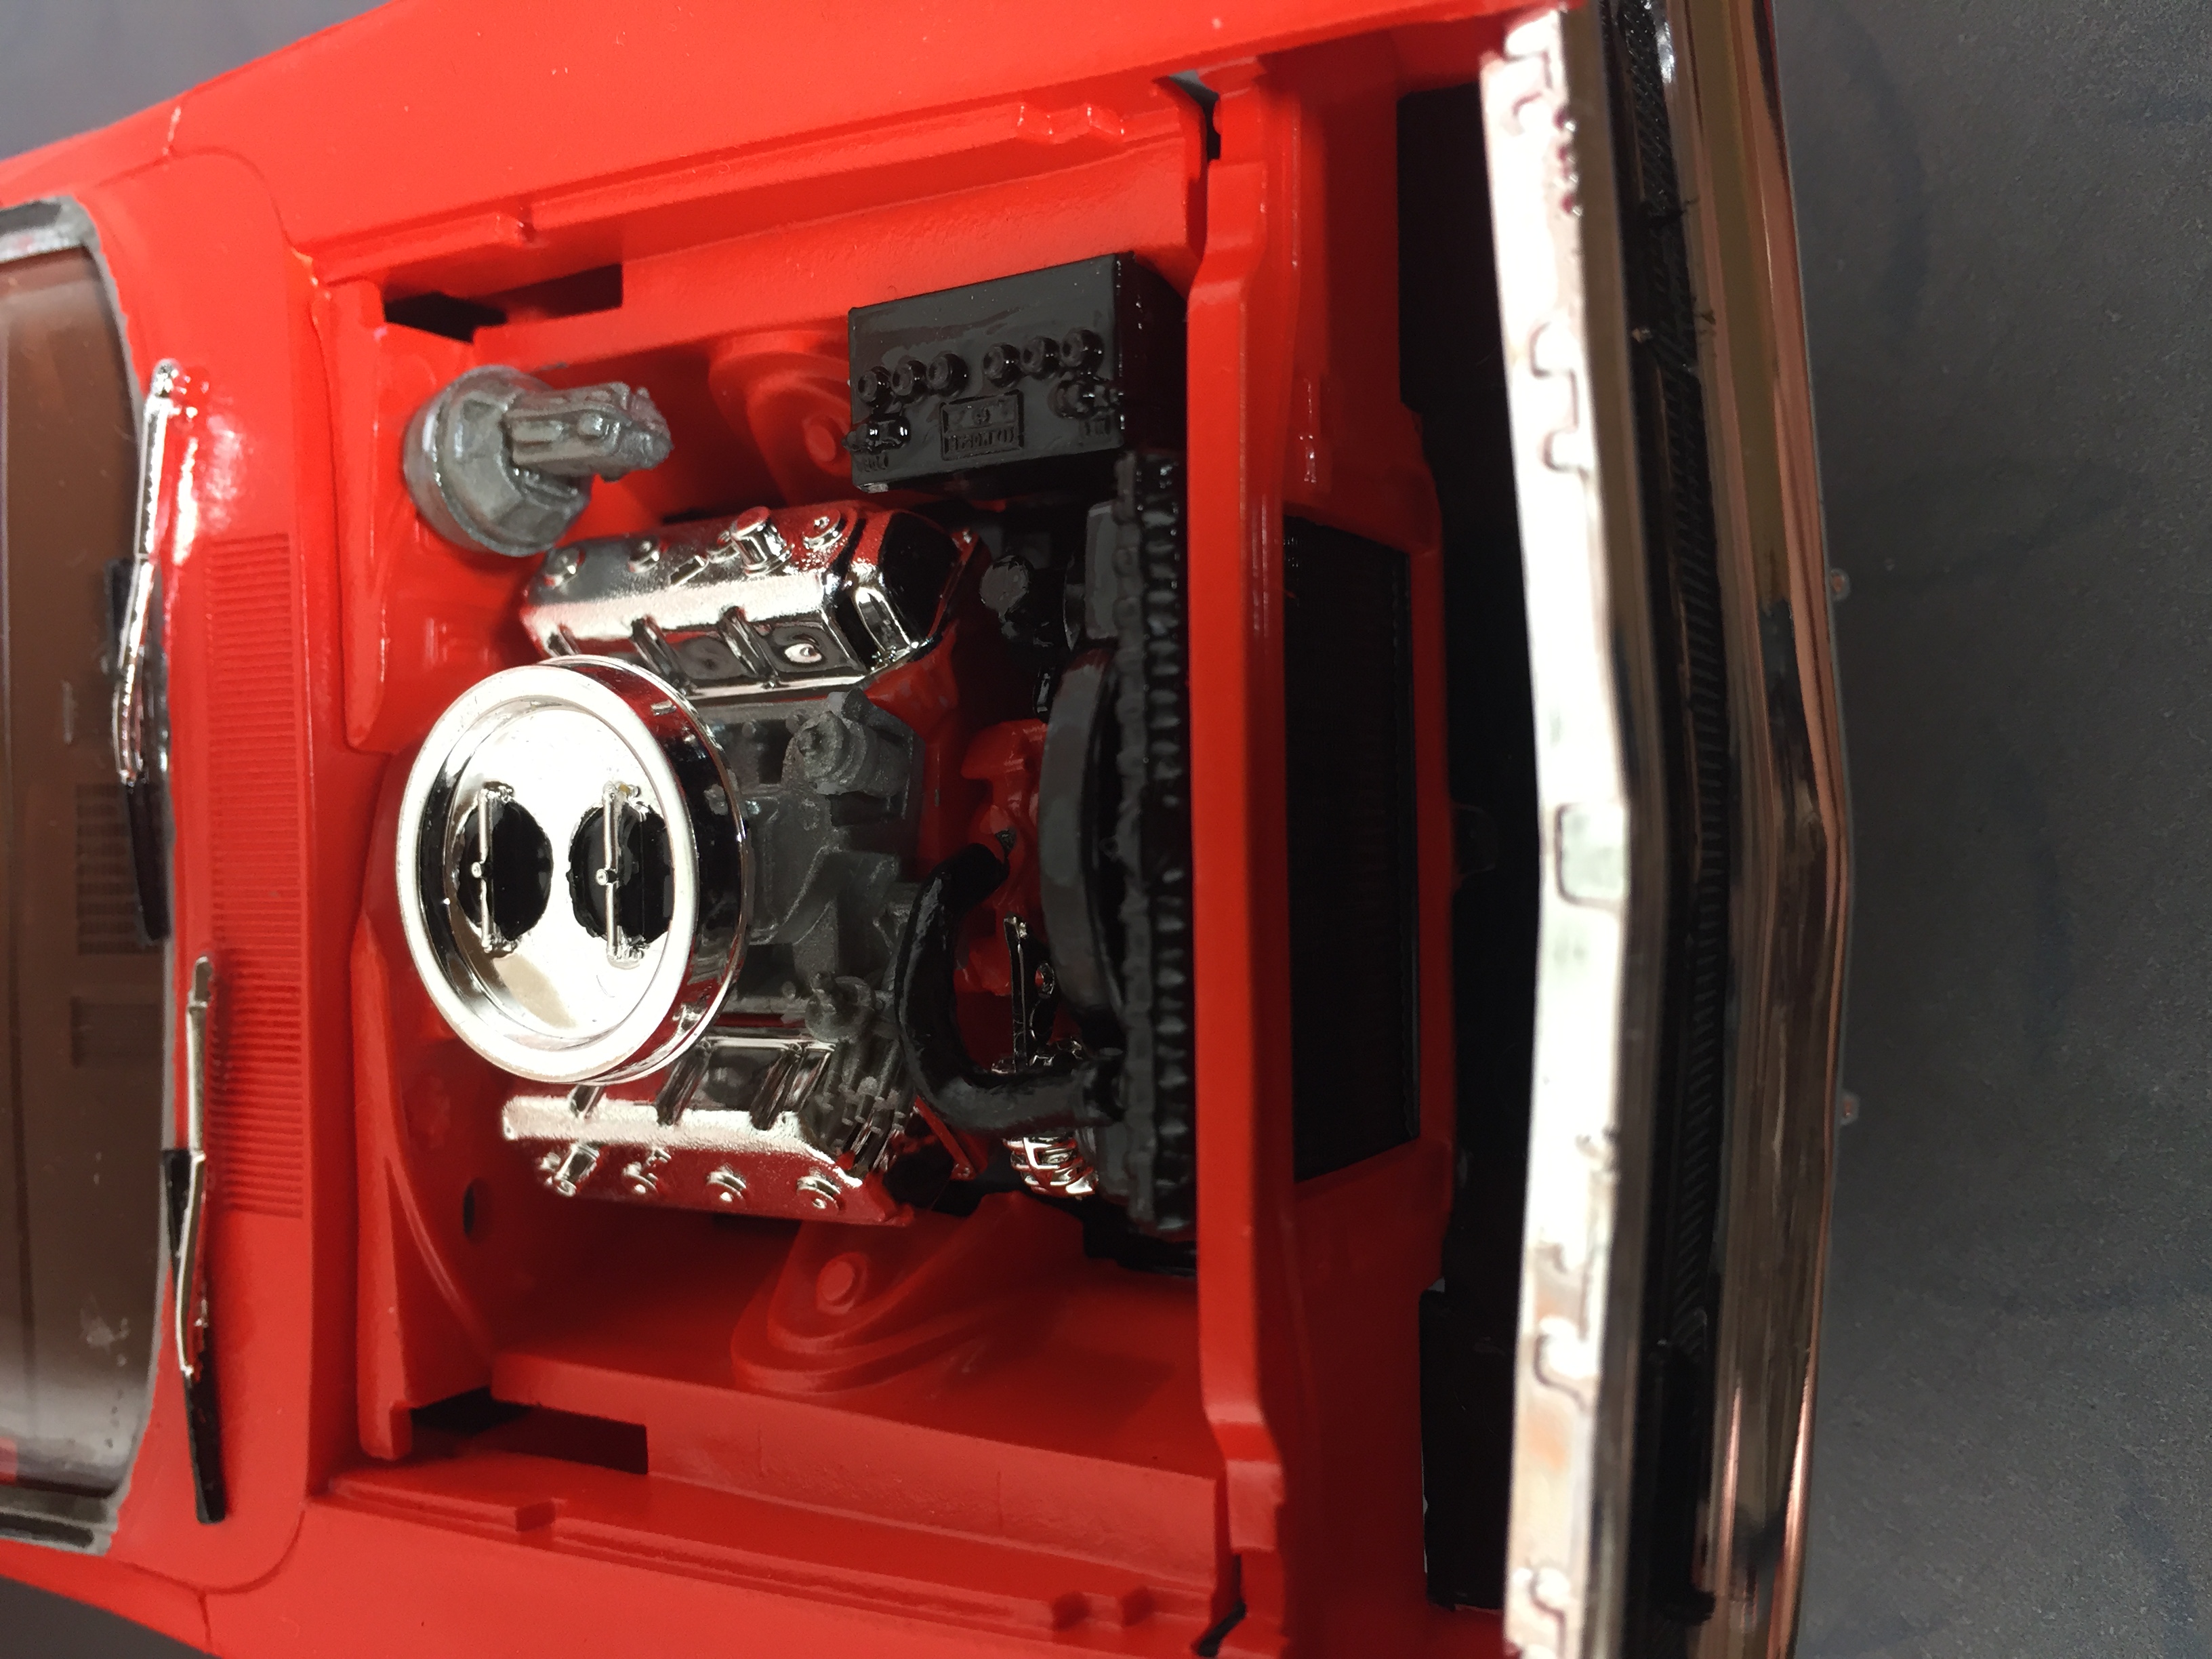
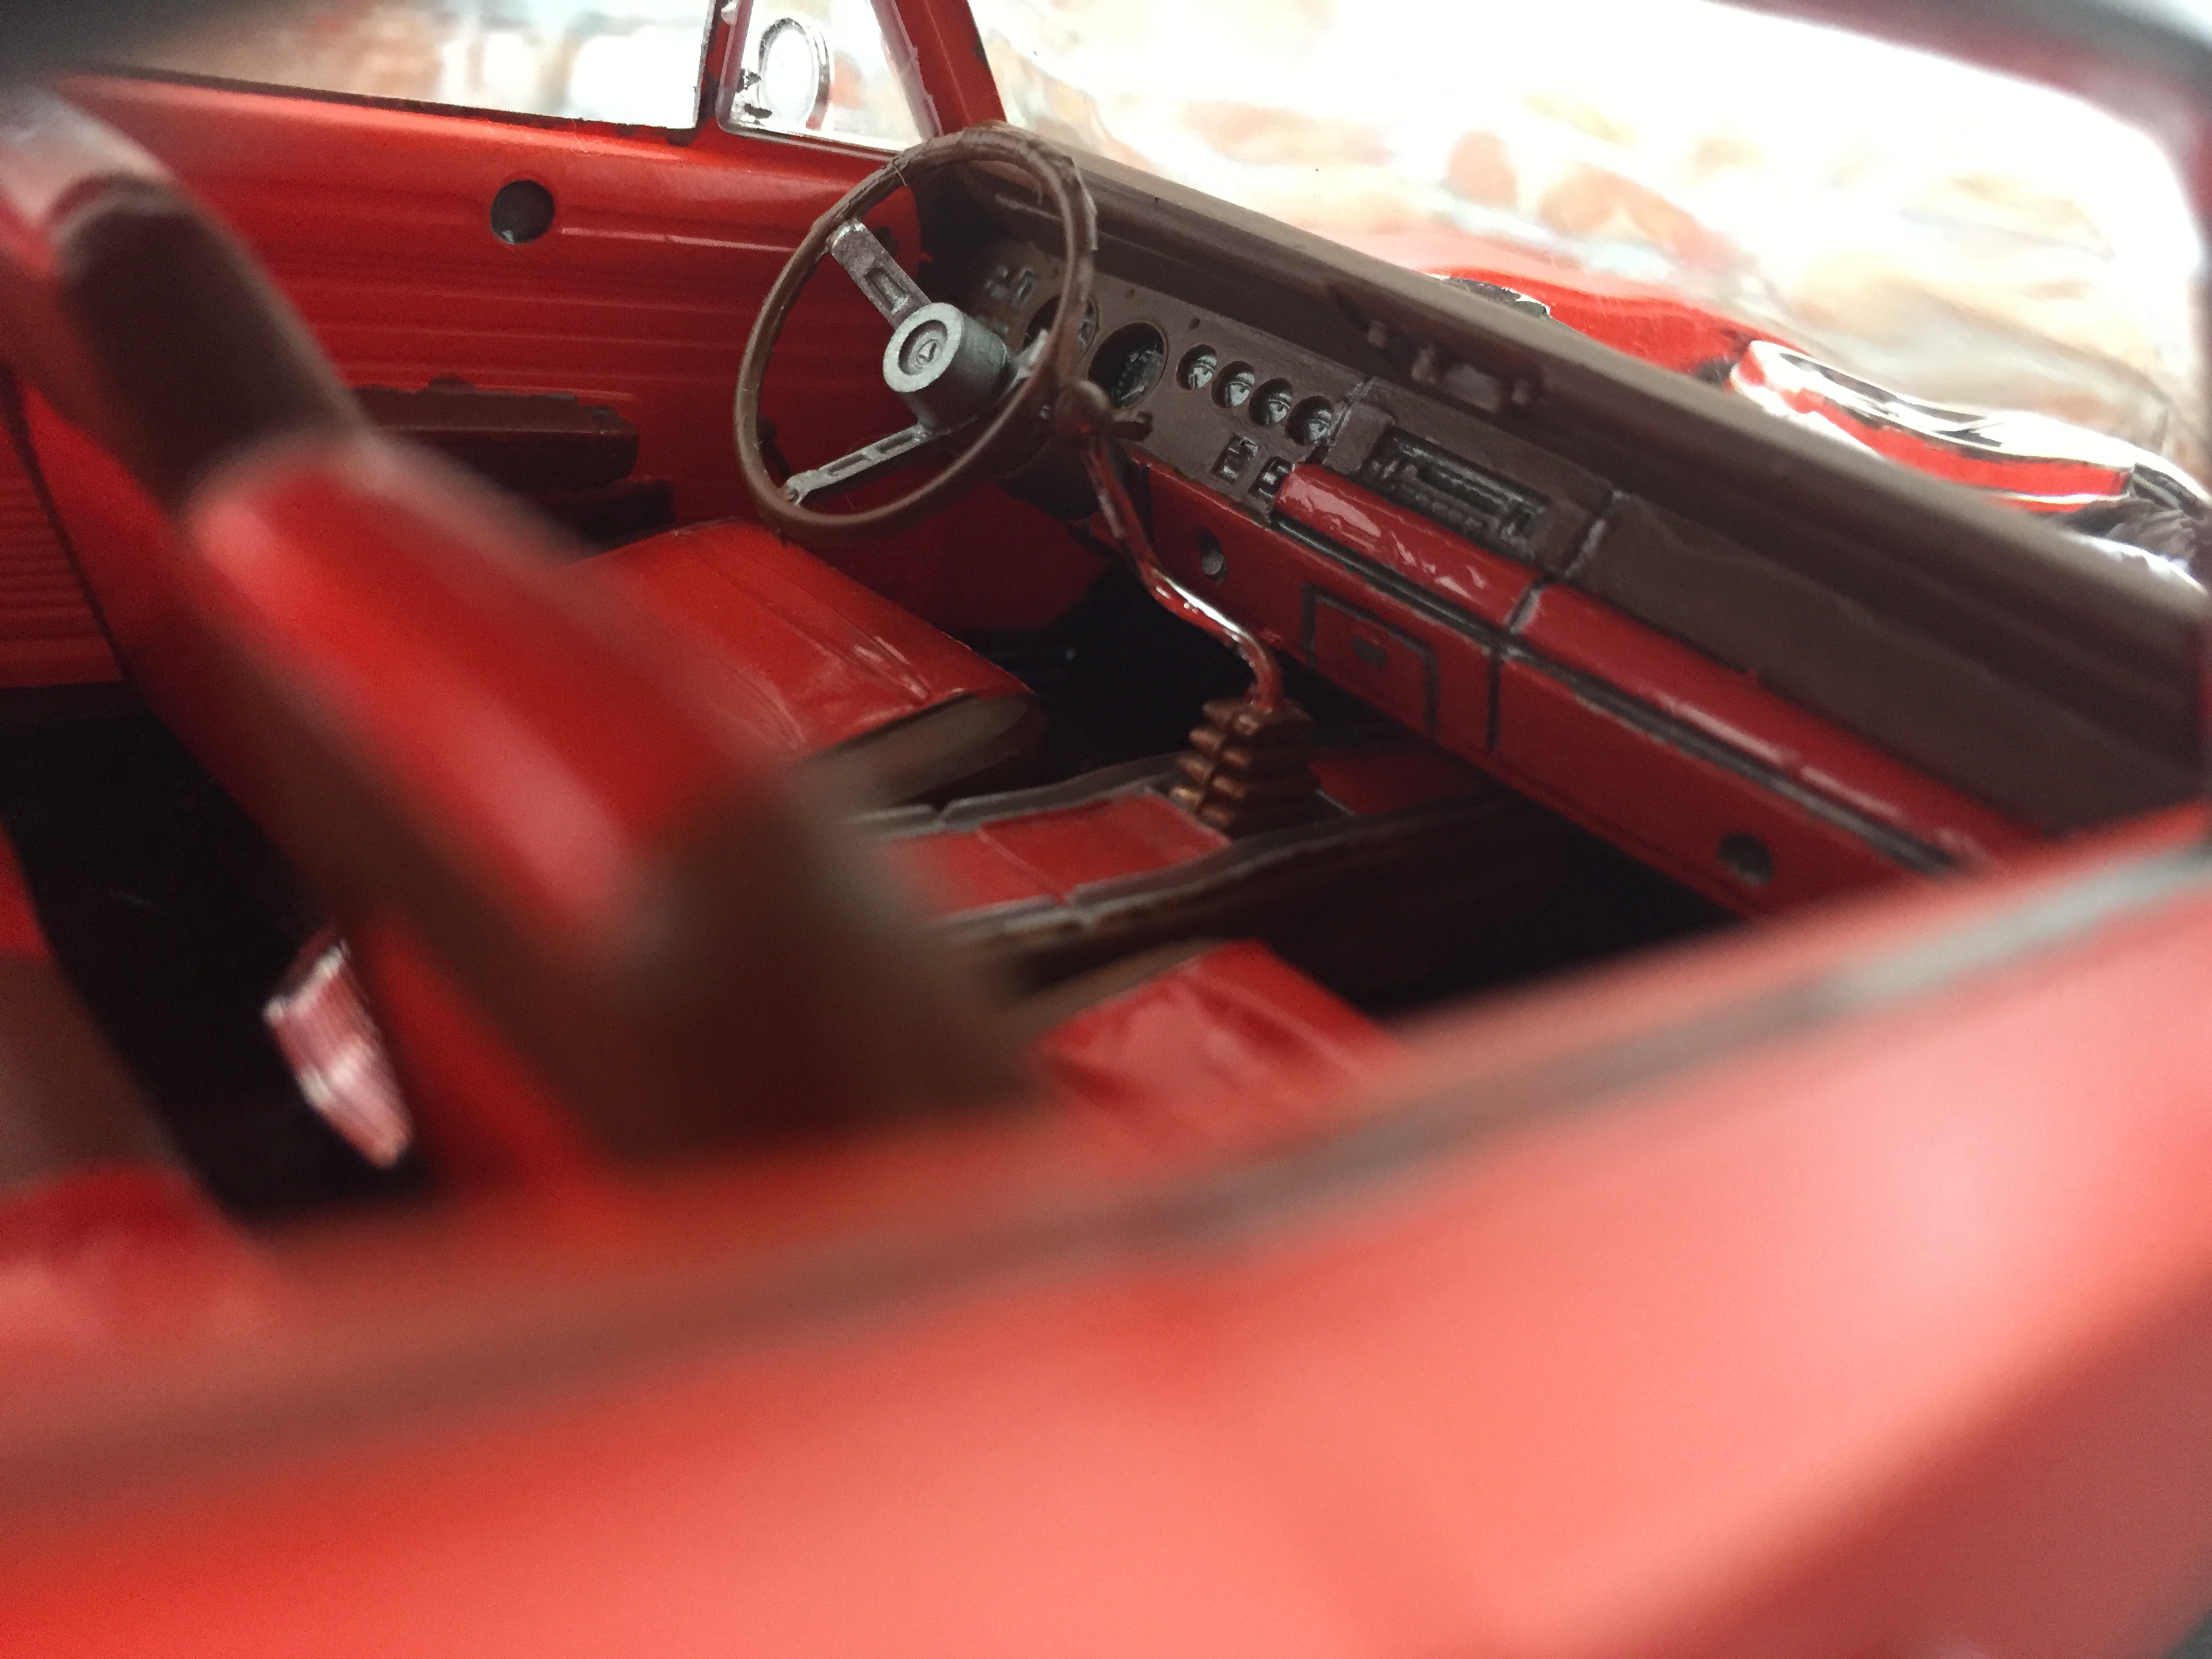
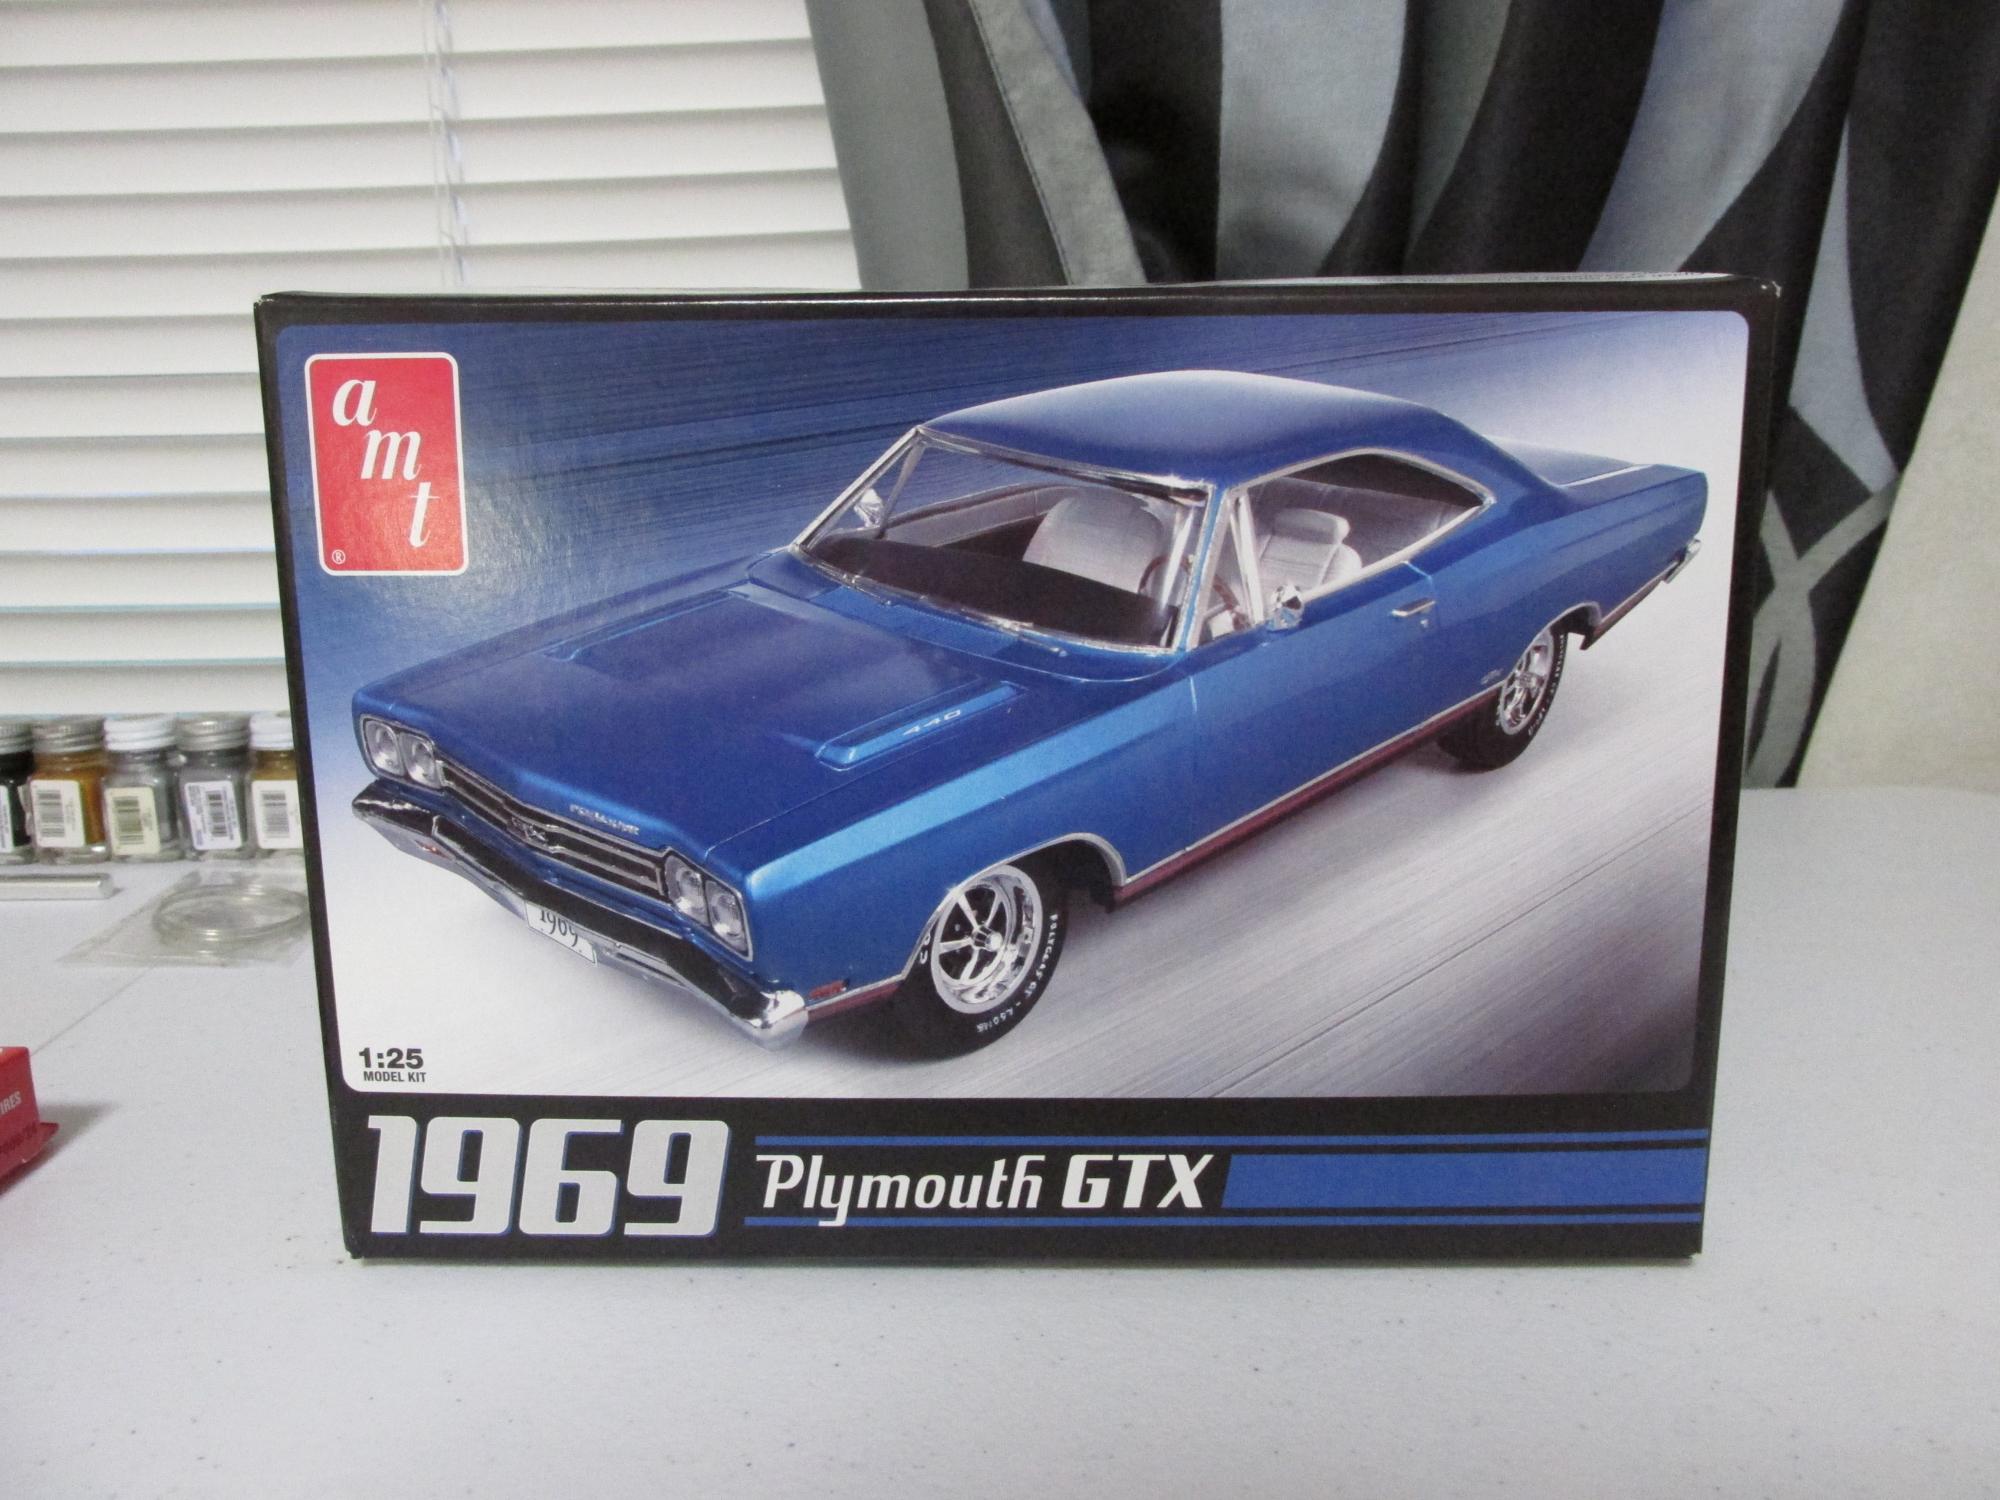
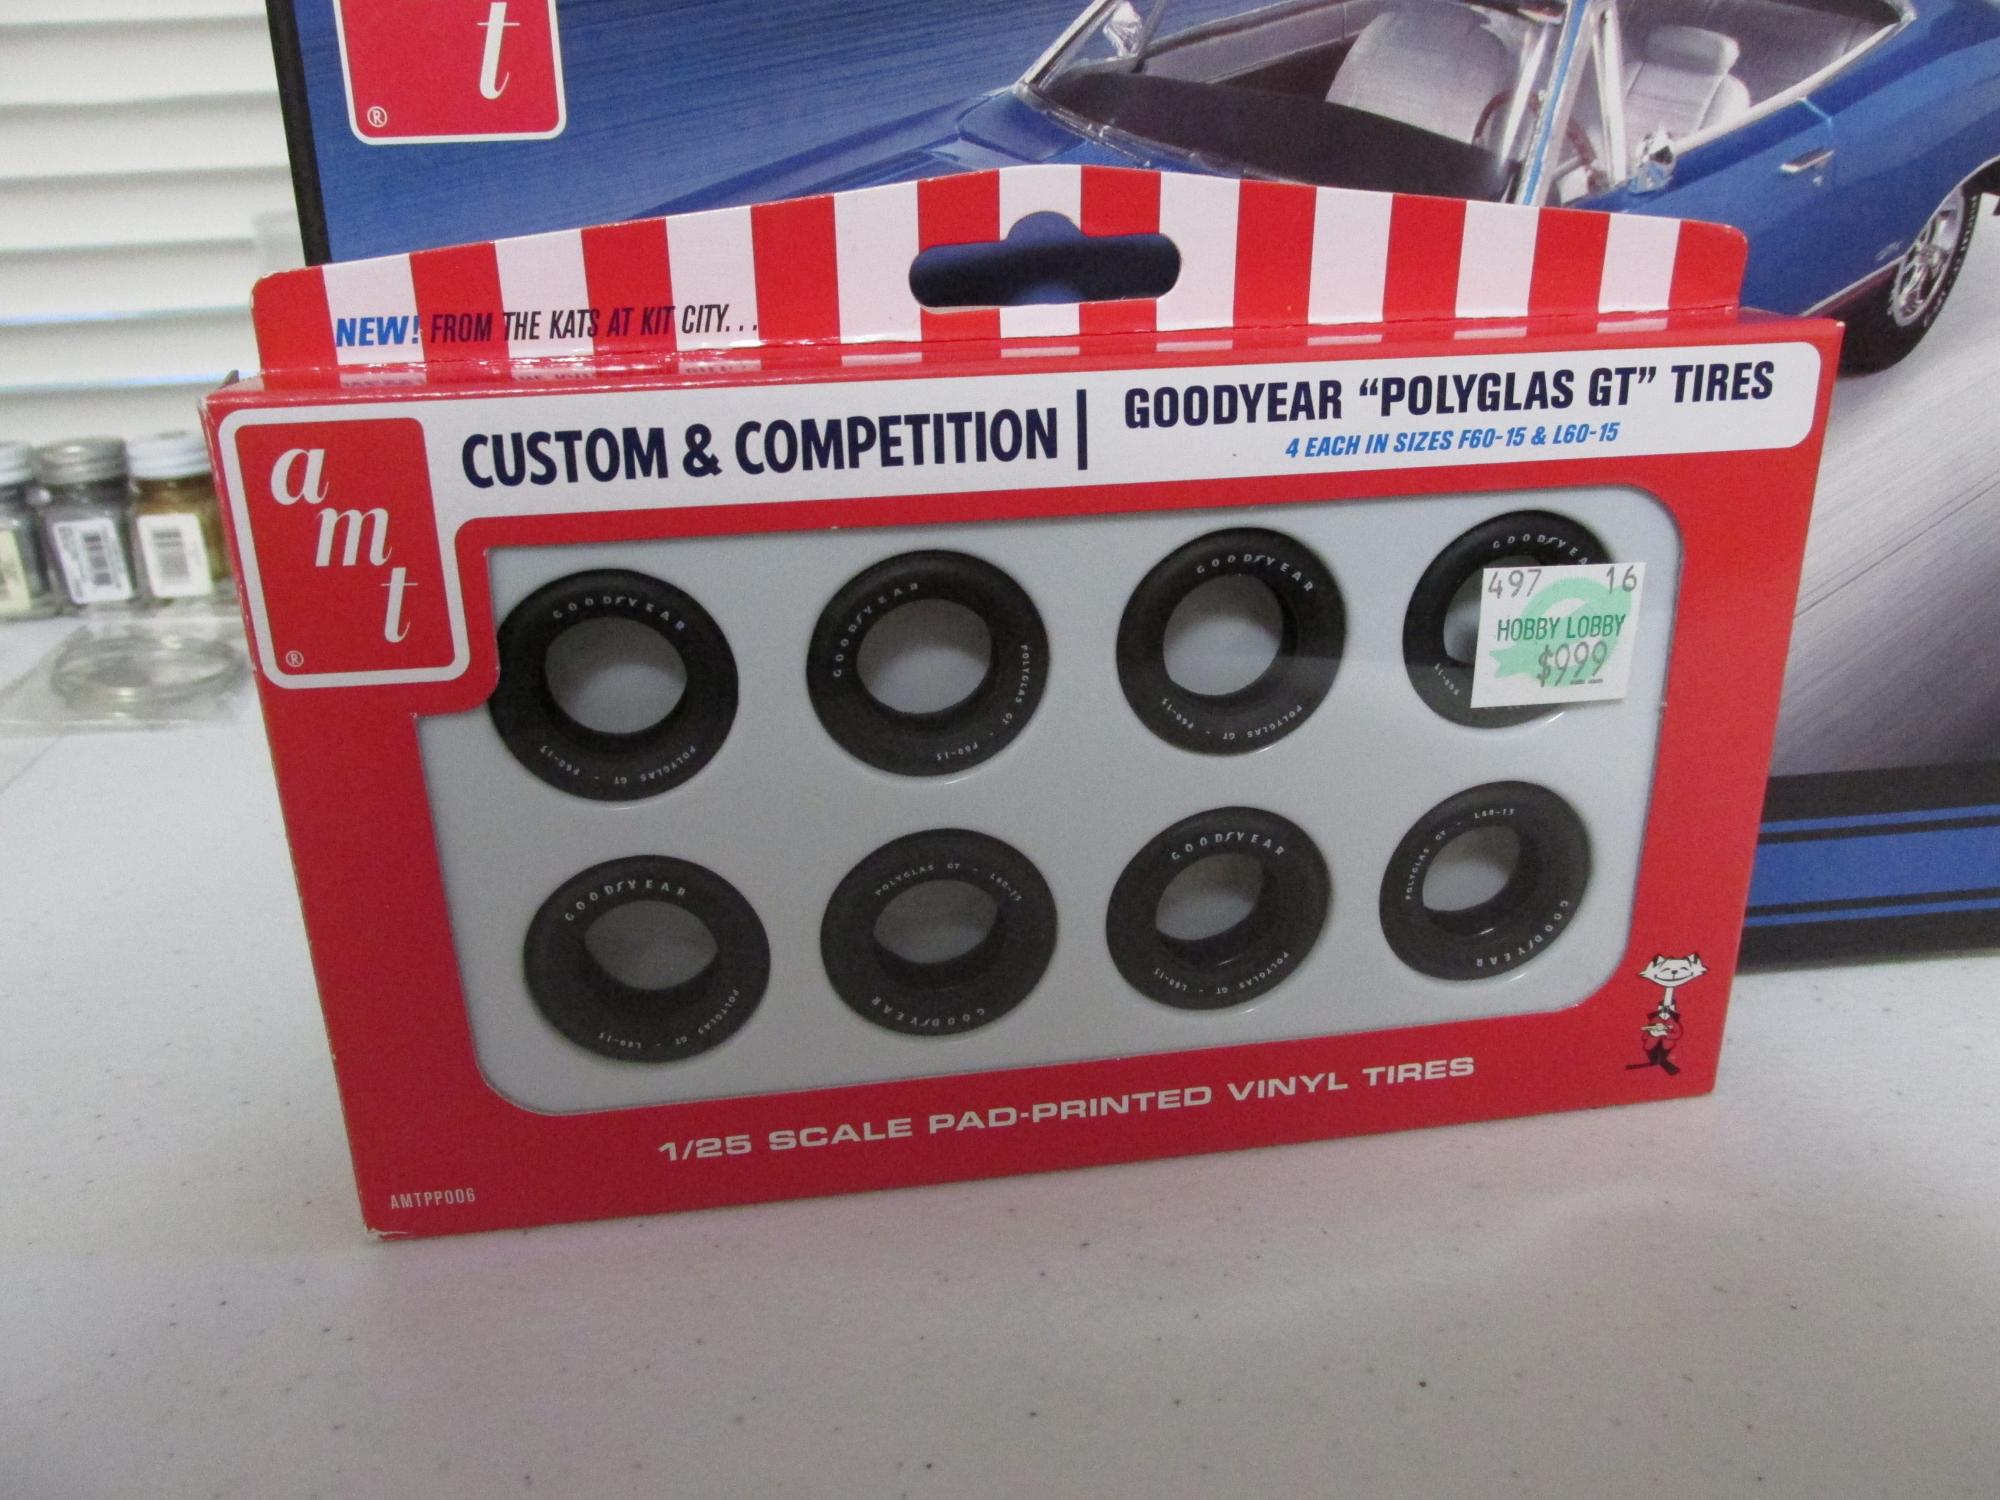
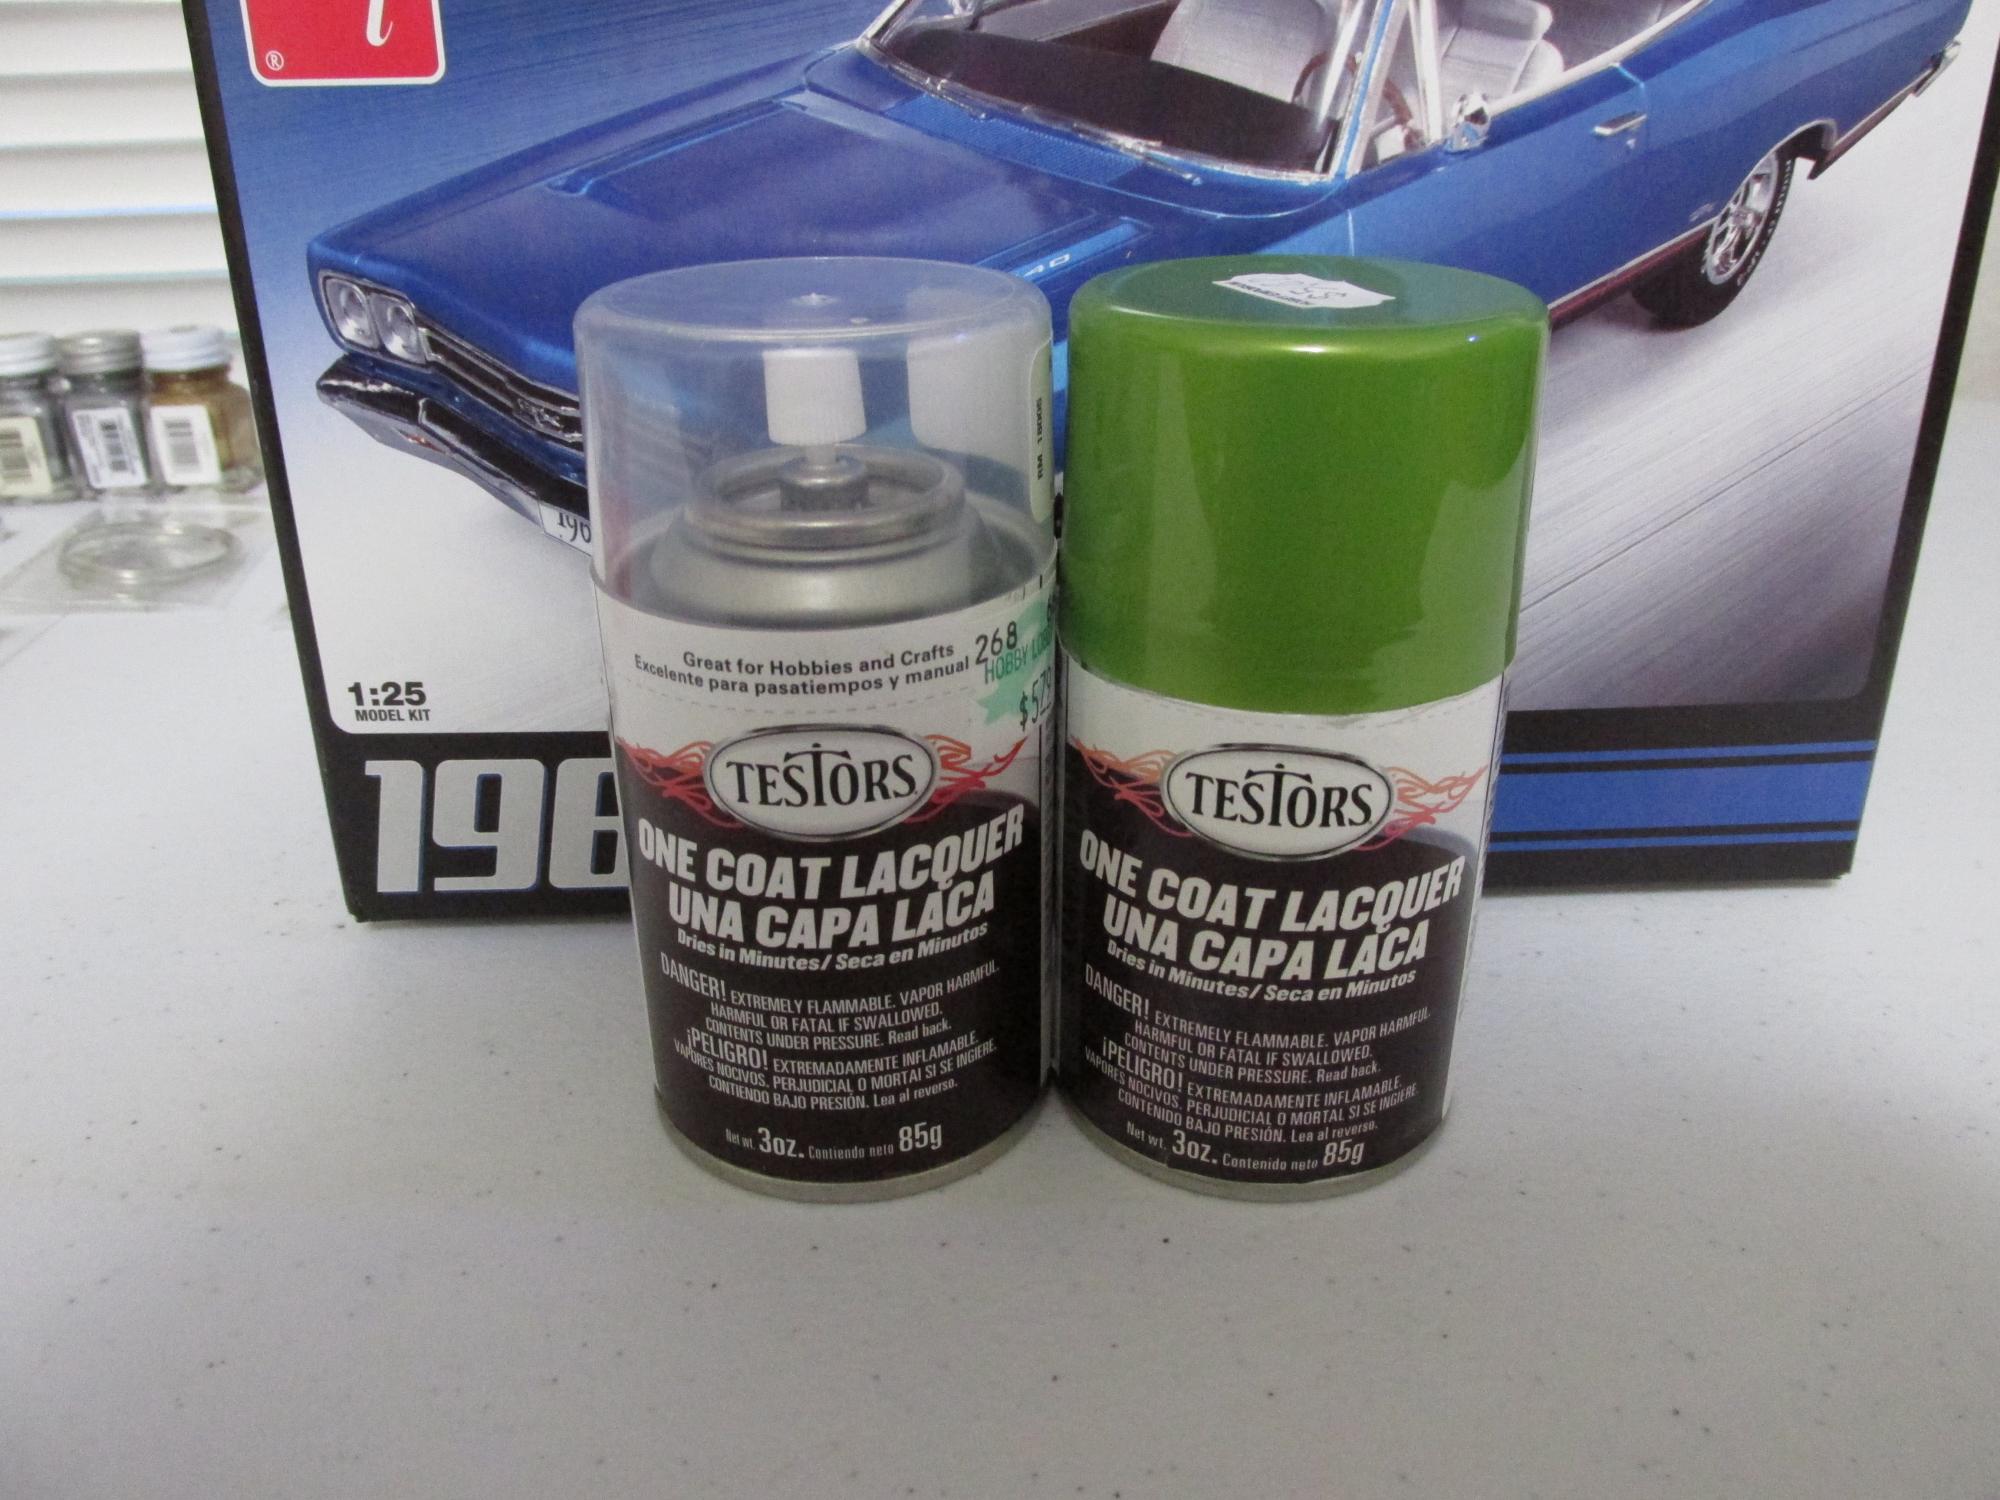
Hello all. Before I dive into this build, I want to kinda "re-introduce" myself. I'm Brandon, and I've been a member here for about 4 years now. I joined back when I was 12, and was totally immersed into modeling. I loved it. I had a passion for cars, and I built them. Mopars are my thing, I love anything really from Dodge or Plymouth, as is evident by the slew of '68/'69 Chargers sitting around my room. Well, I'm 16 now, and the models, have unfortunately been replaced by typical teenager things. I kept all my good finished builds, and I still proudly display them in my room. The unfinished builds, and the new kits, went into storage. I didn't sell my stuff off, because, unlike most people, I envision a day when I will return to this hobby. Right now, however, it's not practical for me to build all the time, and as such, the models had to go. However, I've had an urge lately. It's summer time right now, and I'm not as busy, so I decided to go pull a random kit out of storage (I literally just reached into the box of kits and pulled one out), and build it. Now, I didn't know what I was getting, because I don't remember what I even put into storage. I just want something to do. So, that brings me to this build. A 1969 Plymouth GTX from AMT. When I saw the kit, I didn't really have a solid plan for it, but I've thought about it over the past few days, and I've got some ideas. So, unlike my other builds, I'm not going for 100% "factory-stock". Instead, I want to go for a restored look. Something that a man might build in his garage, with a smaller budget, and still look pretty close to stock. A project car. Not any of this "factory correct" paint, or hardware. Colors are decided by 1, what's affordable, and 2, what looks cool. Performance is nice, but we don't want to blow the budget by cramming in a ungodly engine. So, what we have... A 1969 GTX kit. For our build, we will be using the 440. Normally, I'd shove a Hemi into this in a instant, but again, we want a fully restored car on a budget. Since most of these cars came from the factory with a 383, or a 440, we're gonna go with the more common motor. I see that AMT is now including the pad-printed Goodyear tires in the newer kits, but mine doesn't have them. So, I went and picked up one of their supplementary parts packs to give me the tires. For our paint system, I've decided to go with a unusual color. I've chosen Testors Lime Ice, which is not a factory Plymouth color, but I like it, and it will be one more step towards liberating myself from the B5 Blue craze that I used to have. I'm topping the Lime Ice with Wet Look Clear. I've also got a few other goodies for this build, like a M.A.D. distributor, some BMF, and some brake and fuel lines. Thanks for looking, Brandon
-
Been questioning whether or not to get the kit as I hated the 68 kit. I must say this was worth the money and it came out looking not to bad.
-
Kind of an up date on an older post. Got some better pictures and more of them,
-
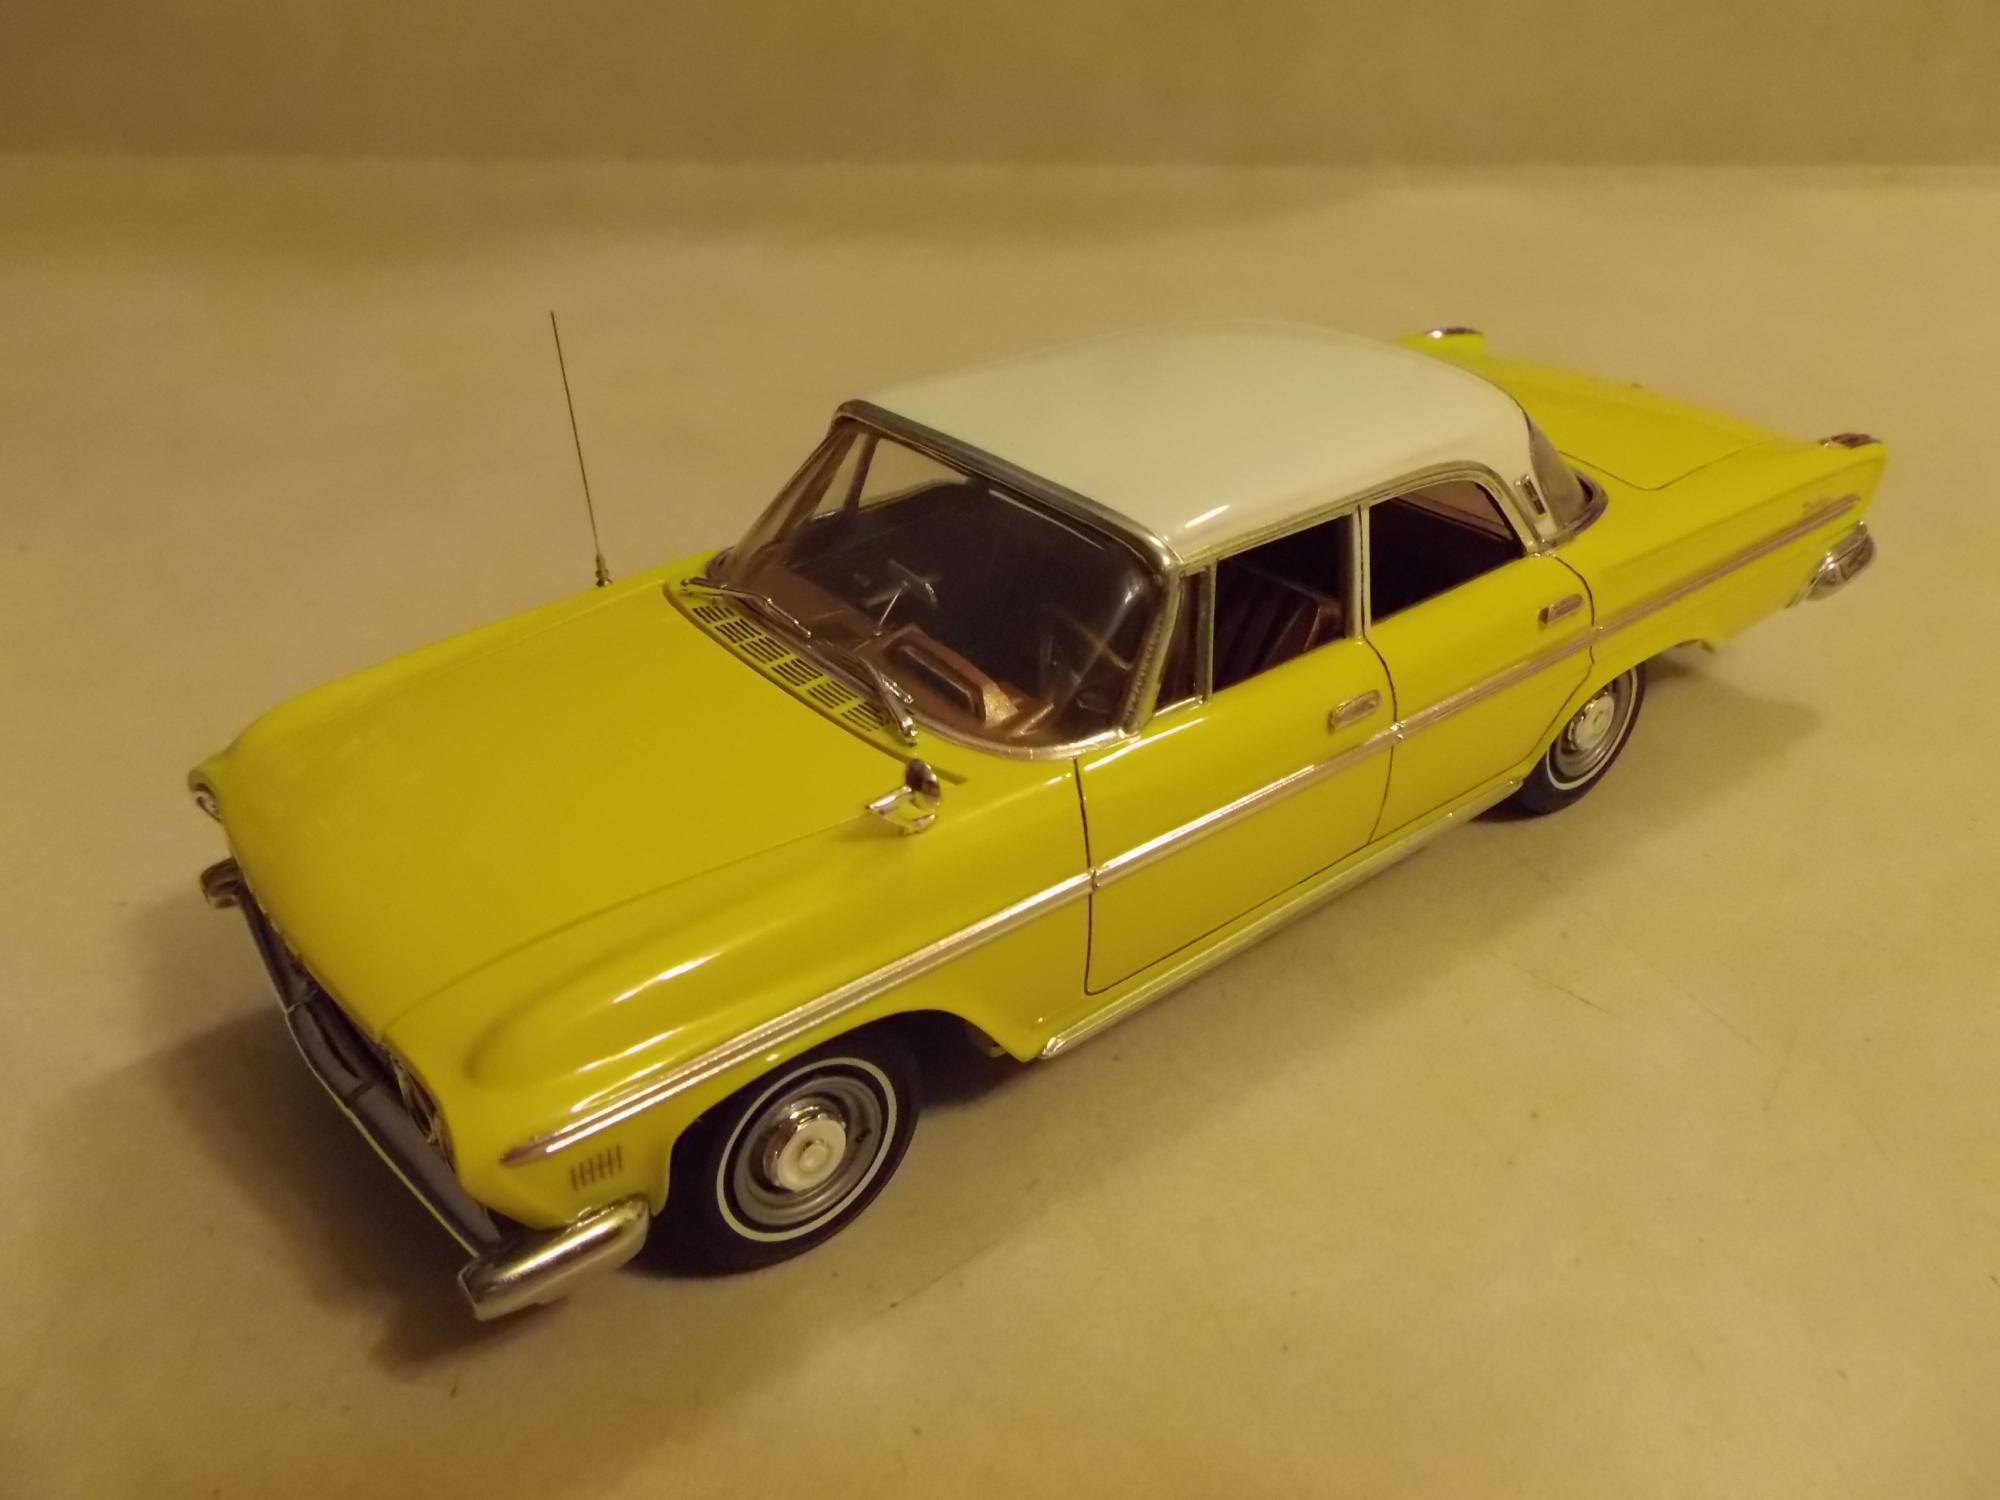
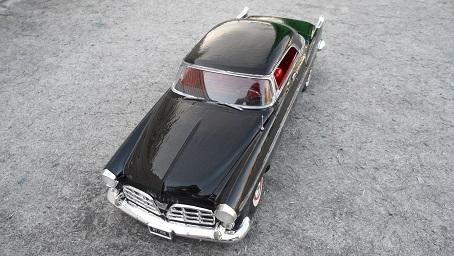
Started out mating Johan's '62 Chrysler rear with a '61 Dodge front. The sedan roof is a Modelhaus item, with the window posts made from sheet plastic. The chassis/suspension was heavily modified Lindberg's '64 Dodge parts. The interior is also derived from the '64 Dodge, with the exception of the modified '61 Dodge dashboard. The motor and other underhood bits are from the parts box, all wired and plumbed.
-
Came out looking great. It's a nice kit.
-
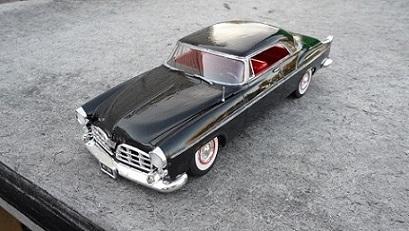
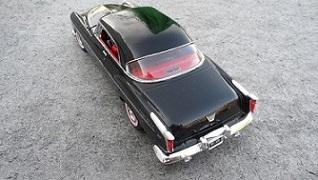
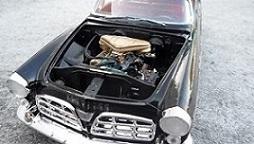
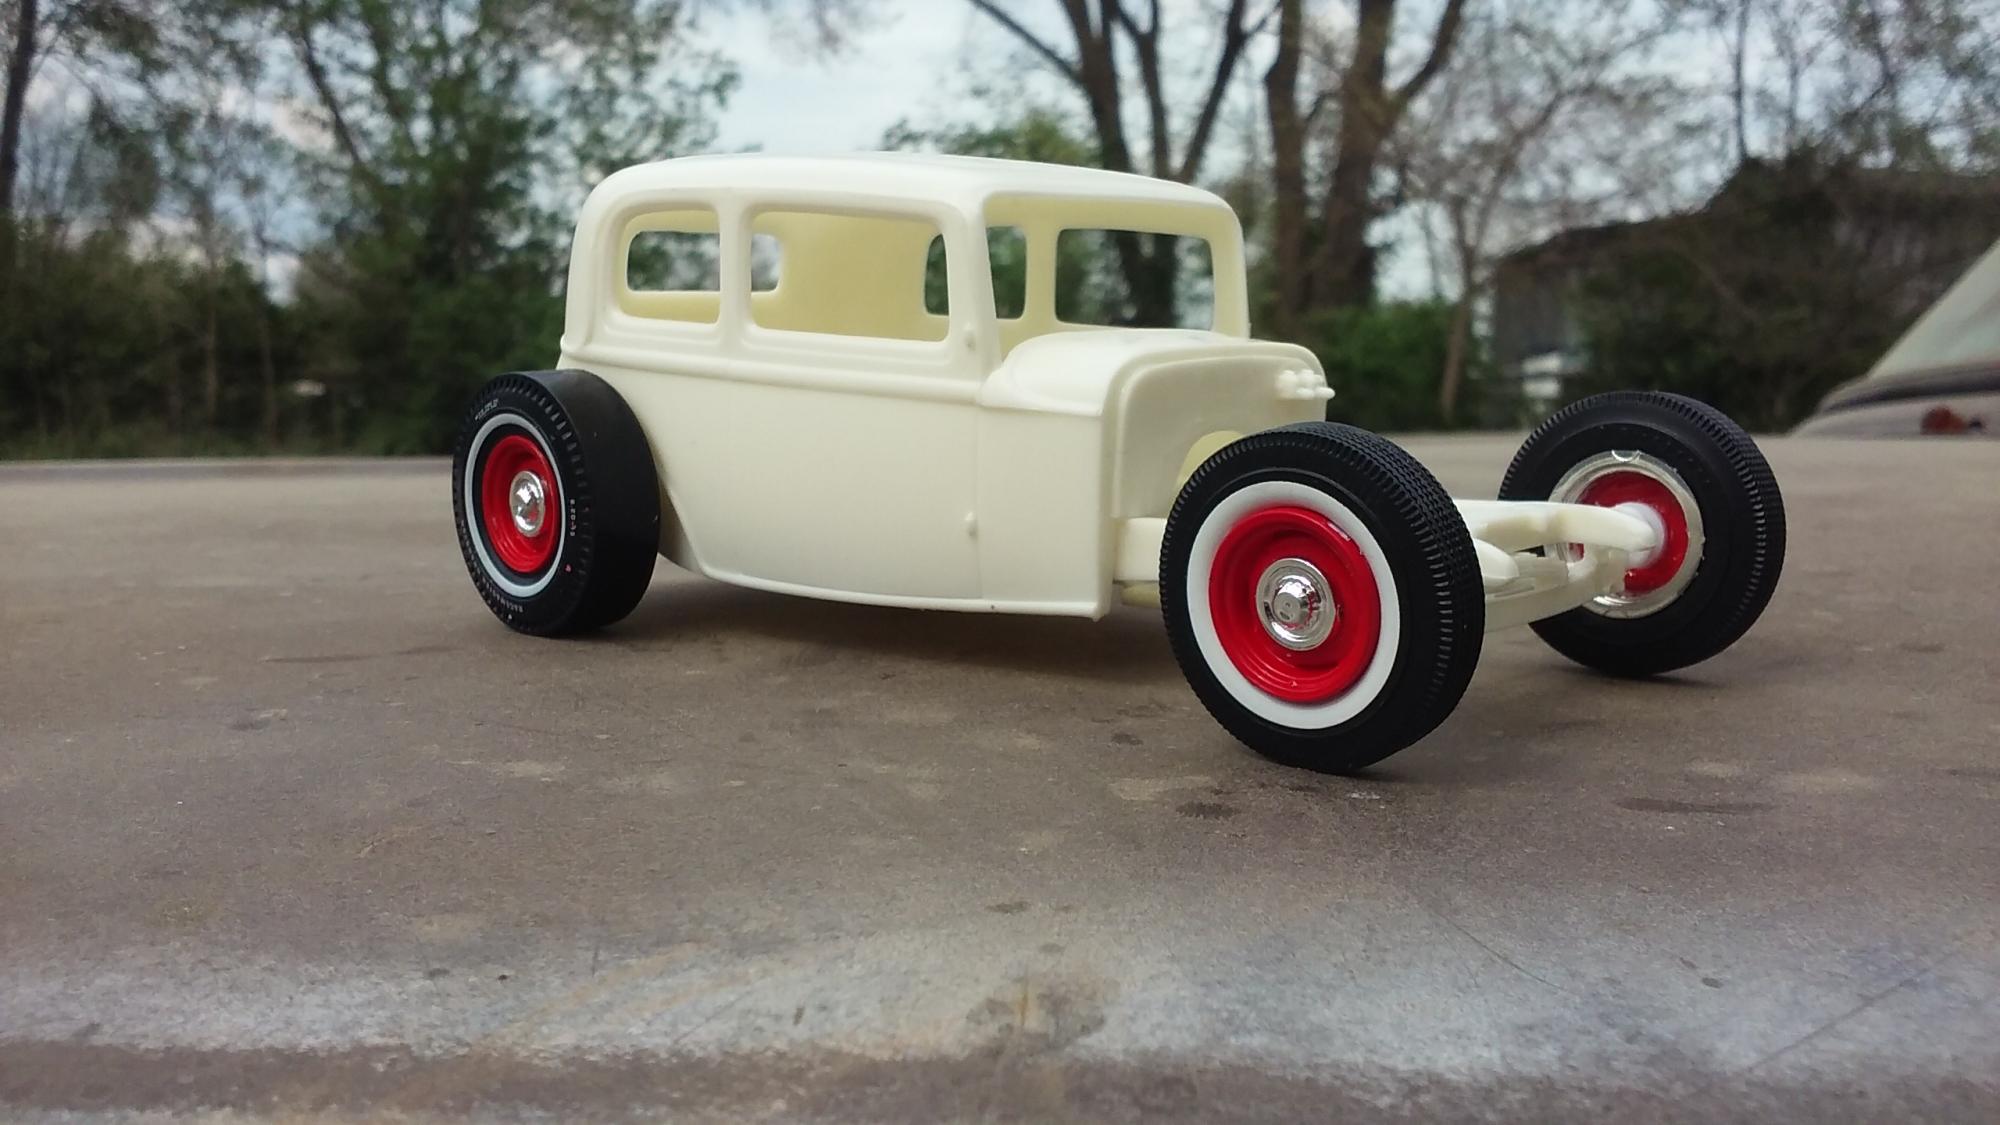
So heres my new project. I started this while the paint was curing on my 68 Charger build, so no in progress stuff lol. Im using the stock "steelies" that came with the charger, along with the 440 that came with the charger as well. Im modding some of the engine parts that come with the Vicky to work on the 440. I plan on detailing the engine and interior, as well as weathering and channelling the body. Im going for a "previous hot rod turned rat rod" feel.... So ive already set my stance and channelled the body on the frame. Alot lol. It has a true rat feel, especially with the red wheels and pad stamped whitewalls that came with the Vicky. Ive also chopped the radiator and grill shell to match the lowered body. I was going to chop the top super low, but once i had the body channelled i just fell in love with the tall top on the channelled frame lol. The Vicky came with some decent chassis and brake detail parts like brake drums, full steering components, etc. Im going to use the rotors that came with the charger up front, and make some calipers for them I also plan on doing brake lines and fuel lines. If i have the patience that is lol. Ill post some pics of the chassis when i get a chance. For now.... Enjoy
-
Does someone make one to convert a '69 to a '70 Dodge Charger. If so how much? Thanks!
-
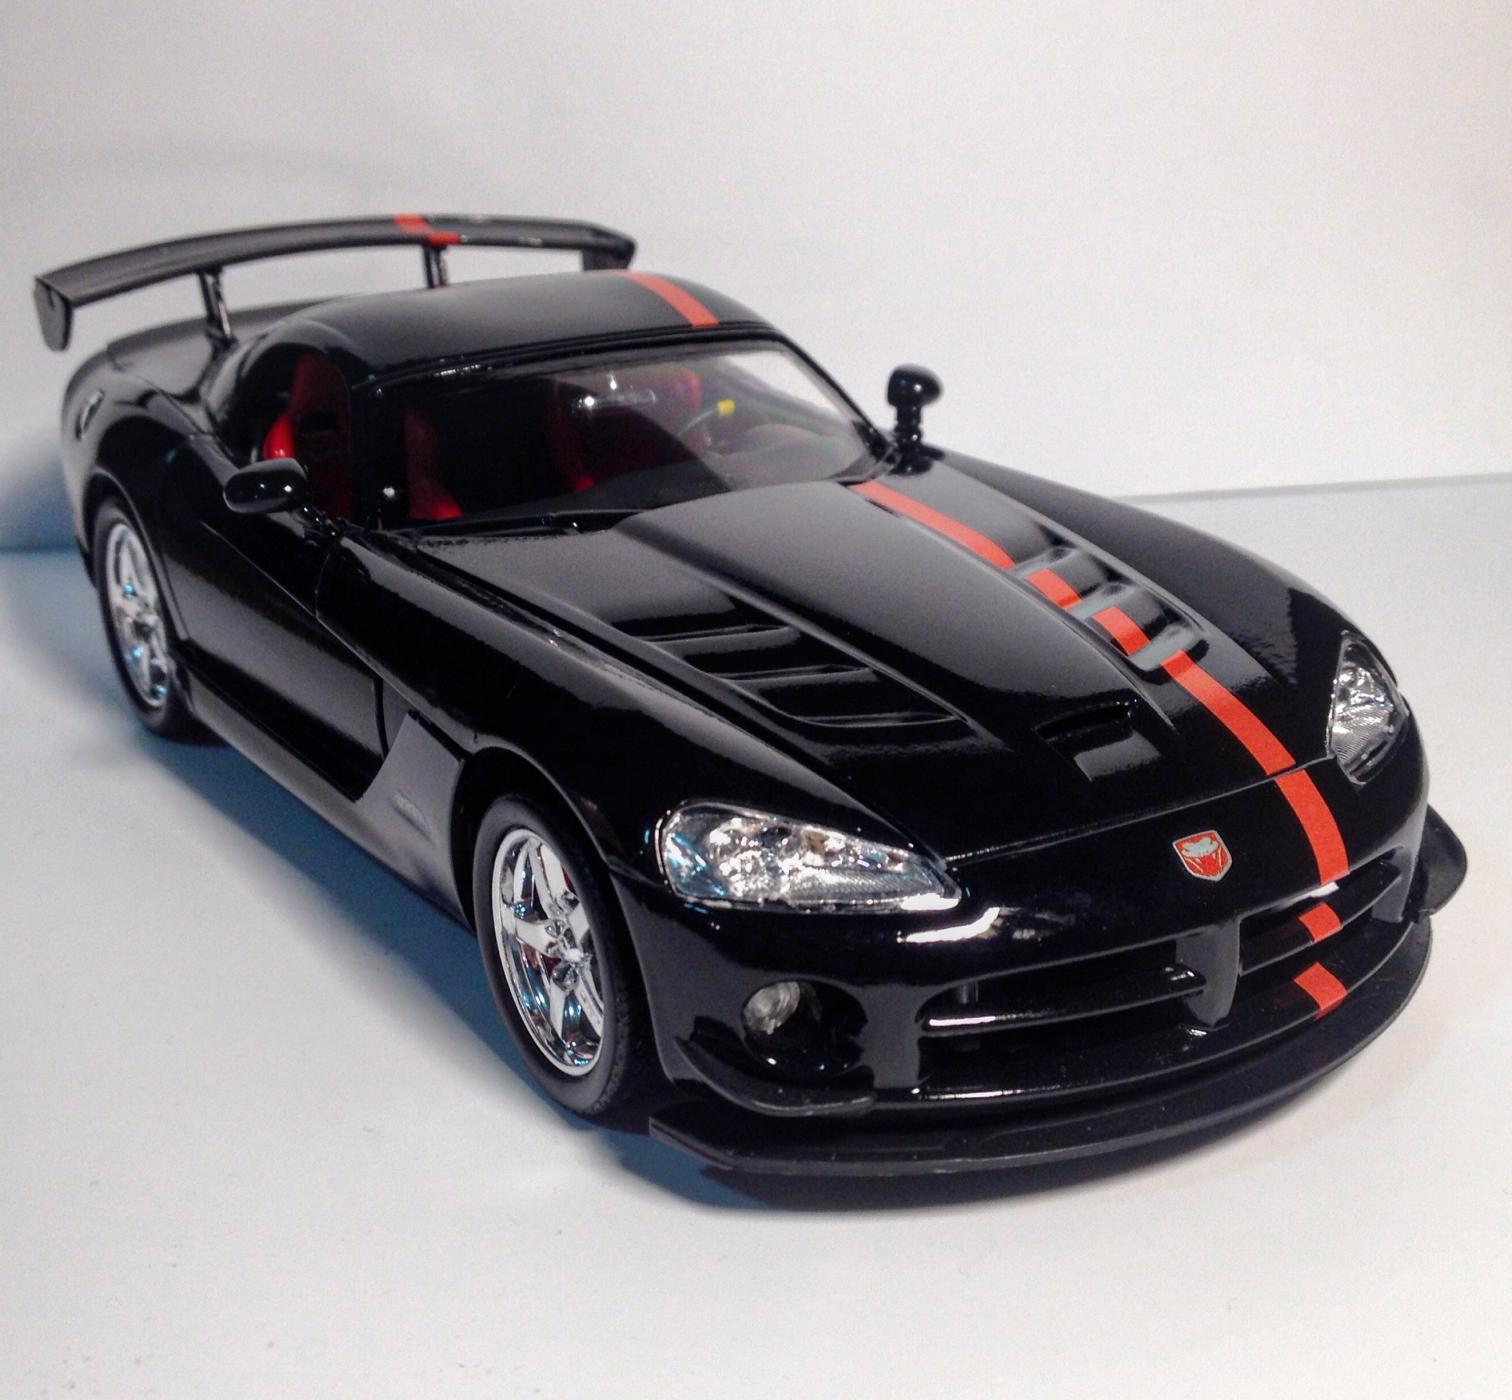
Picked up the 09 Challenger special edition kit from Revell over the holidays and decided it needed something different. Was ging to drop in an old school Hemi from an old AMT kit and do a drag car, but decided instead to build up the modern Hemi with a scratch built centrifugal supercharger, shave off the 6.1L badging and add 7.0L badging to it. I kept the engine near stock, with the addition of fuel injectors and fuel rails. fuel lines will be added once I am satisfied with the supercharger and related ductwork. I will post images of that once it all comes together. body was clean overall and needed little smoothing before it was ready for paint. All the body pieces fit rather well. hood hinges need a little shaving down to let the hood rest in place properly, but that's typical. I did however spend some quaility time with the nose of the car. I like to open up the grill along with any other front end openings that typically just get painted in black. Typically one would just buy some photo-etched pieces for a new grill, but I decided instead to carefully shave the back side of the grill area and opened up the grill that way. It came out really nice and leaves the badges in place without having to reattach them later. After the paint sat for a week, I laid down some bare metal foil on the badges and painted the grill area semigloss black, rubbing the raised letters clean after the black set up a little. picture doesn't do it justice, it's hard to get good pictures with this dark color. The under body is left fairly mod free, with only addition of more foil to the exhaust pipes for that stainless exhaust look. I may weather the exhaust and underbody a little for that used look, but I am not decided on that yet. Going to have to either make some white stripes myself or see if any of the lesser challenger kits out there have what I'm looking for, since the red stripes supplied with the kit just arn't going to cut it. More to come as the build progresses, may be a while, I'm tend to let things sit between stages, as I ponder different ways to take the build.
-
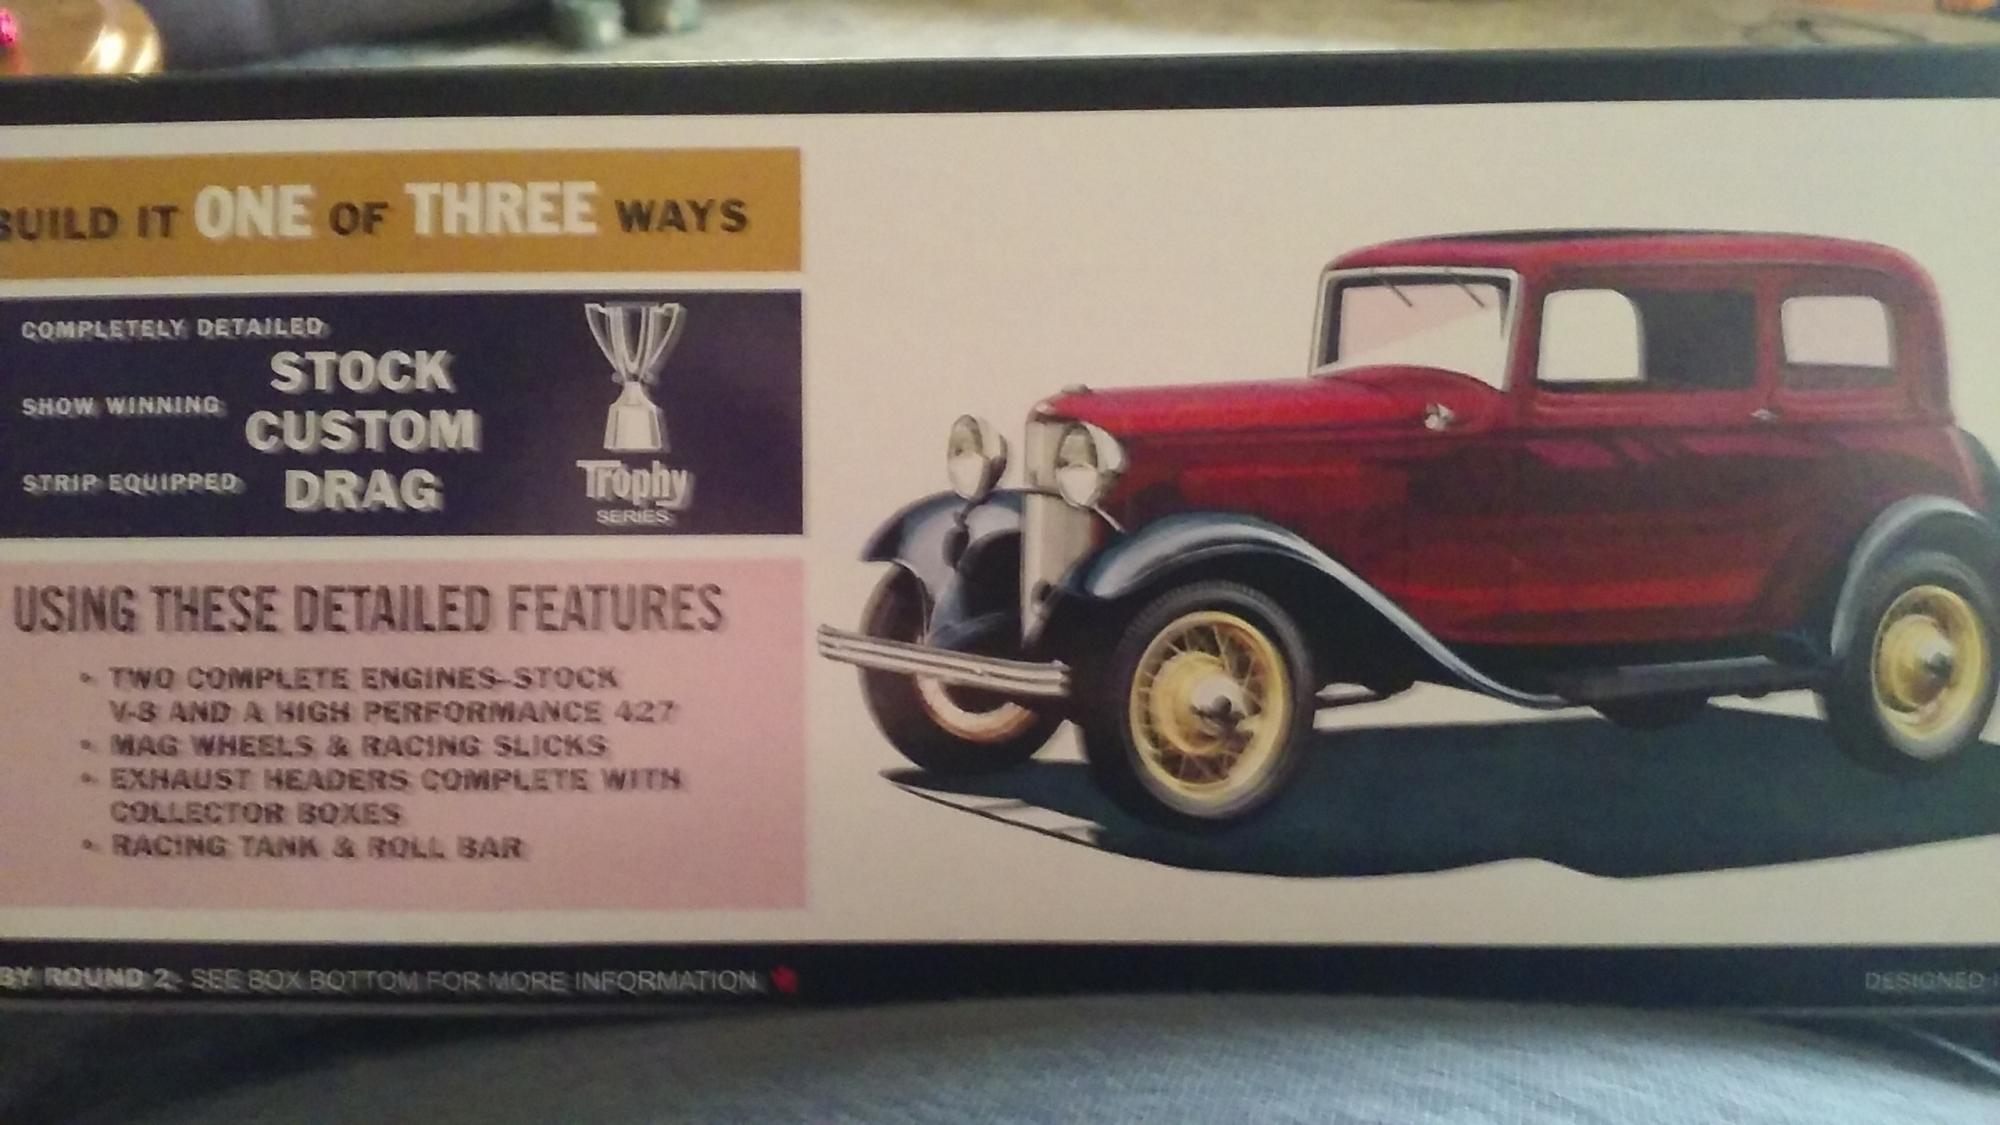
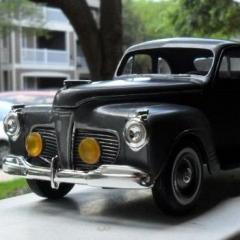
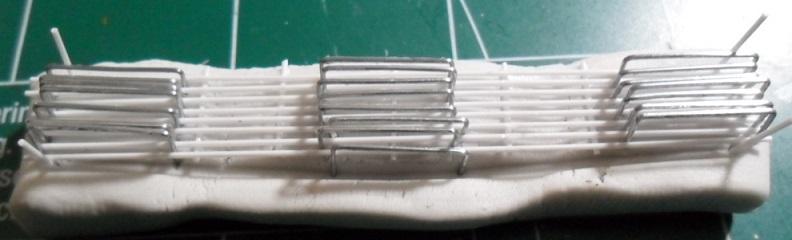
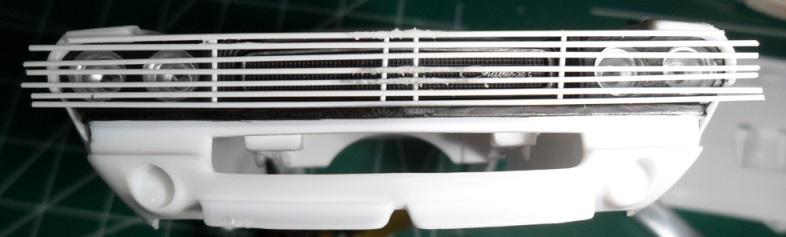
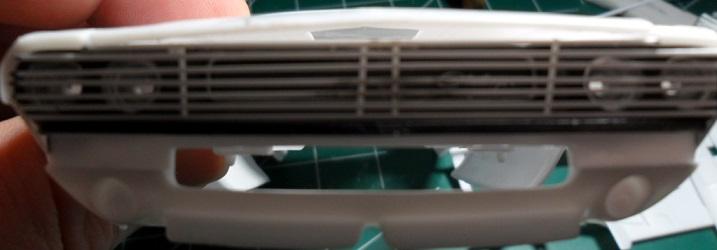
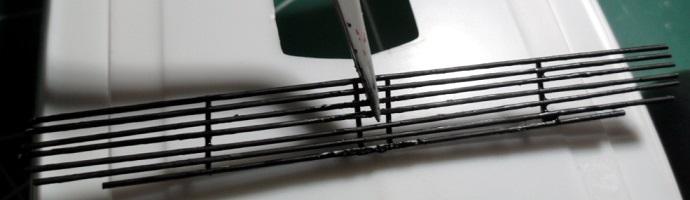
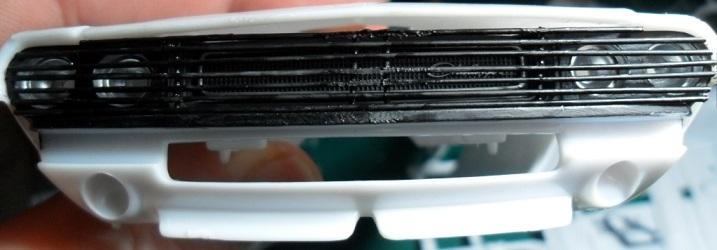
Before the end of 2015 I picked three of the Revell Streetburner 70 Challenger kits for less than 10 bucks each. The first was built to match the box art. This one I'm thinking of taking a bit farther, and the first part of that will be a grill cover. The grill work was done using .20 rod approximately 3" (75 mm) long, since I wanted light to pass through, and for the chrome and headlamps to still be visible behind it, the spacing is about .20 as well. Step 1. Building the jig. Starting with a base of tacky putty, I pressed the grill from the clip in far enough to provide the outline. Saved a lot of measuring, and gave me the points to set my corners. Placing each horizontal piece, I then alternated with standard size staples for uniform spacing. I then applied liquid glue to the verticals and placed them on. The mockup above does show the verticals under the horizontals. That was a first run through, and it made more sense to apply the verticals from the top rather than try and cement them underneath. 2. Placement Once the glue had set, I eased out of the jig with #10 blade, since I may want to use the jig again. Her's a shot of the grill laid over the front of the car. I used a marker to mark the ends of the horizontals for trimming to fit inside the setback over the headlamps and grill. That bit of rough texture visible in the picture is some of the tacky stuff that still needed to be removed. and here's a shot after trimming to fit. The top vertical was cut to fit the width of the hood opening. Cleaning and painting. I'm going black on this one. And here's another fitting after painting. Also thinking of carrying the same grill to the lower opening, but haven't decided on black or body color. Your comments are always welcome.
-
My favorite Mopar of all!
-
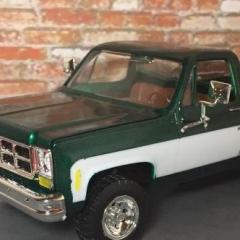
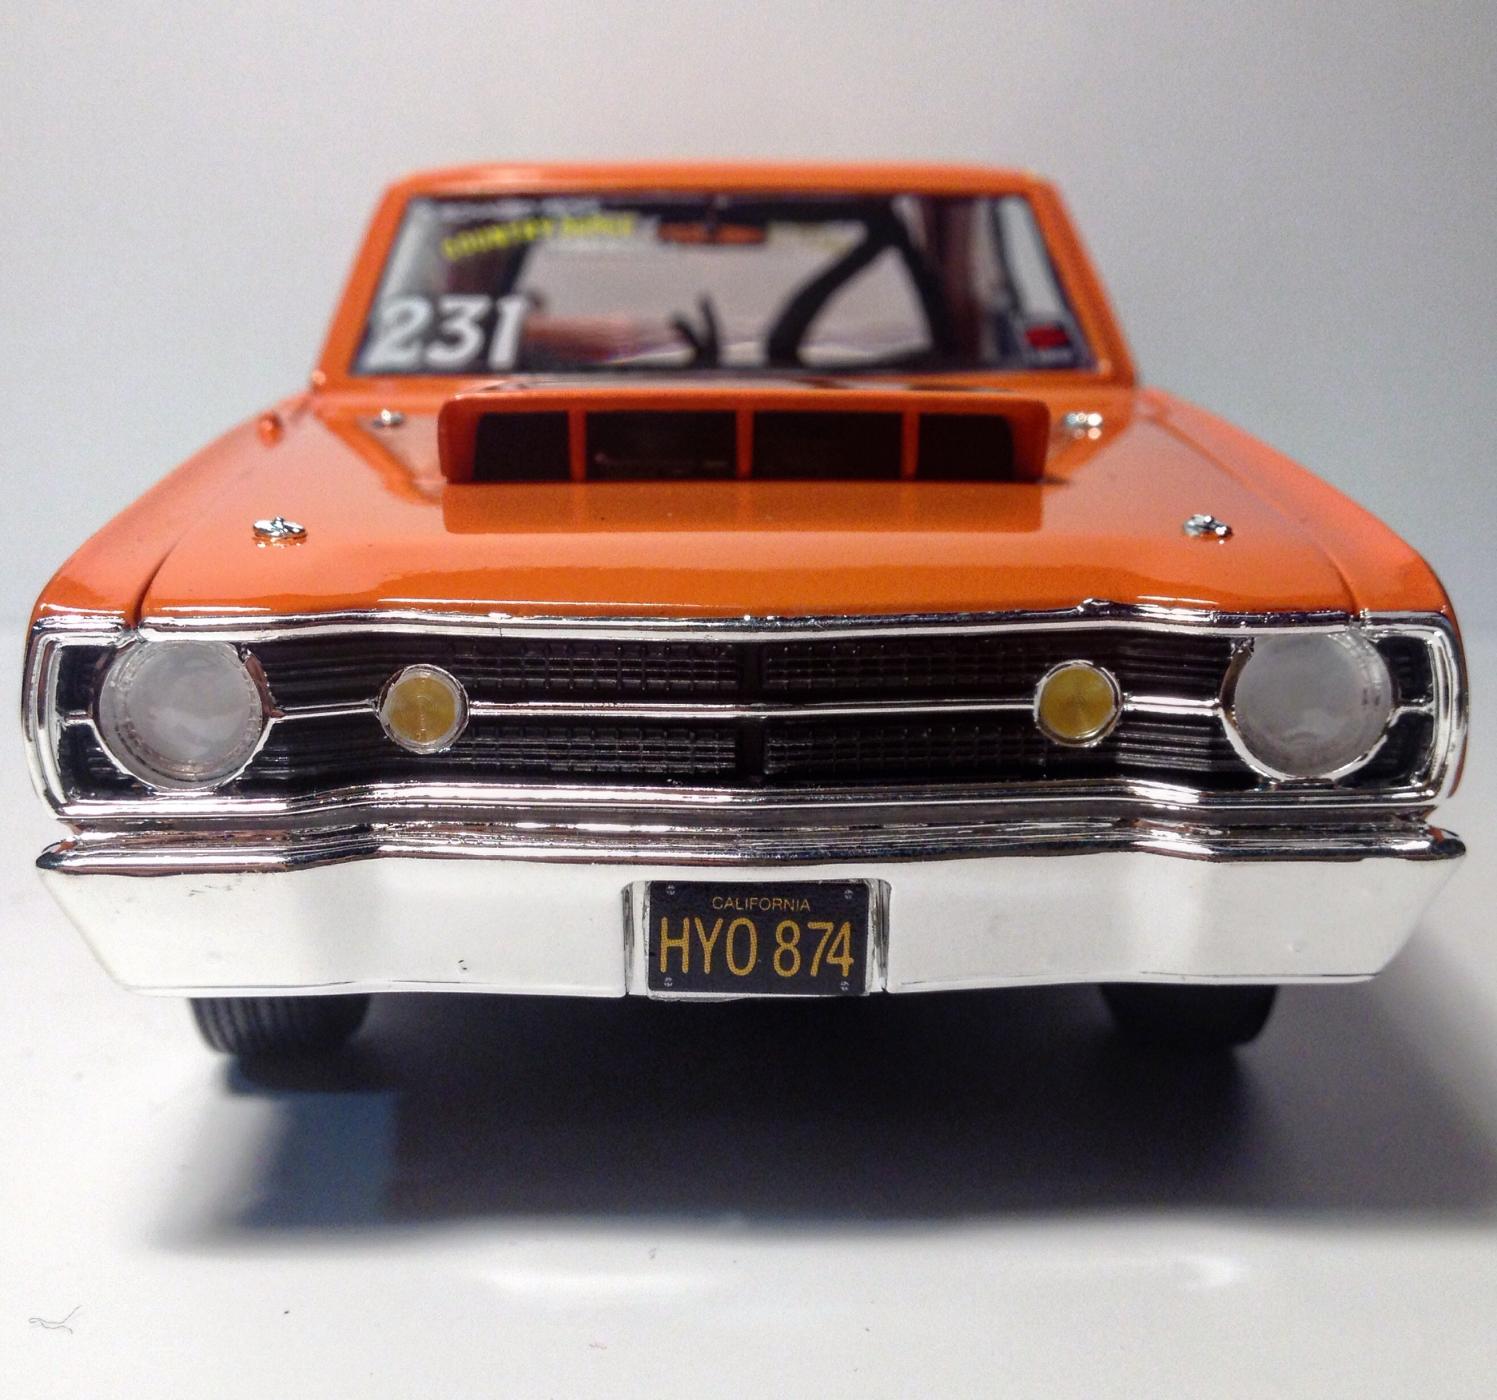
About a year ago I decided to get back into the Model building side of things, love cars & love art. A year later I wish I had done the spark plugs wires like I am now but whatever. Hope you like my Revell 68 Dart
-
So I plan on doing a replica of my Grandfathers 1972 Dodge Charger, I was wanting to know if anyone has attempted to do the hide away headlights? If so, how? Also seeking mopar afficianados in help explaining any differences between the 71 Dirty Donny kit and a 72? I am planning on using this kit as the basis of this project. I believe the car to be an R/T. Not 100% positive atm. I do know its Honey Dew Y4 yellow, with Black stripes. To Scalefinishes I go!!
-
dodge 64' Polara Wagon Cannonball Sleeper build. Completed
TFchronos posted a topic in WIP: Model Cars
Build thread for my entry to this years Cannonball run (Sleeperball) over in the cbp. I'm taking the Color Me Gone 330 on making it into a rusty crusty Polara Wagon. I'm going to put a modern Hemi in it, may upgrade with a supercharger might not, they are kind of loud. A arm suspension and all wheel disk brakes being donated from what's left of a Viper (Top right in Red) I picked up months ago. Got other plans that I'll disclose when I get them to sell the sleeper look. Starting point Where it's at right now. Didn't like how the rear window looked so I'm cutting and shorting it some. Might be a gutsy move with only 36 days left but I think it'll look closer to the 1:1 now. More to come. Thanks for looking! -
Here's my entry for this year's Sleeper themed Cannonball. It's a 64' Polara Wagon converted from the 64' 330 Color Me gone Drag kit. Built up to balance out performance and range with a paint job to look the part of a car fresh out of a junkyard. Build thread: http://www.modelcarsmag.com/forums/topic/107243-64-polara-wagon-cannonball-sleeper-build-completed/ Features: 6.1 Liter HEMI with implied CNC Stage 2 Intake and Heads. Front and rear suspension with all wheel disk brakes out of a 96-03' Dodge Viper. Dual exhaust systems, one set piped to single short glass packs for some punch. Another set piped to the rear with dual turbo-ish mufflers to keep her nice and quite when needed. Dribbler system into the rear mufflers to make it appear to smoke. Valve stems for the tires and a good old fashion antenna to really sell the look. Pictures: Thanks for looking, comment and critic's more than welcome.
-
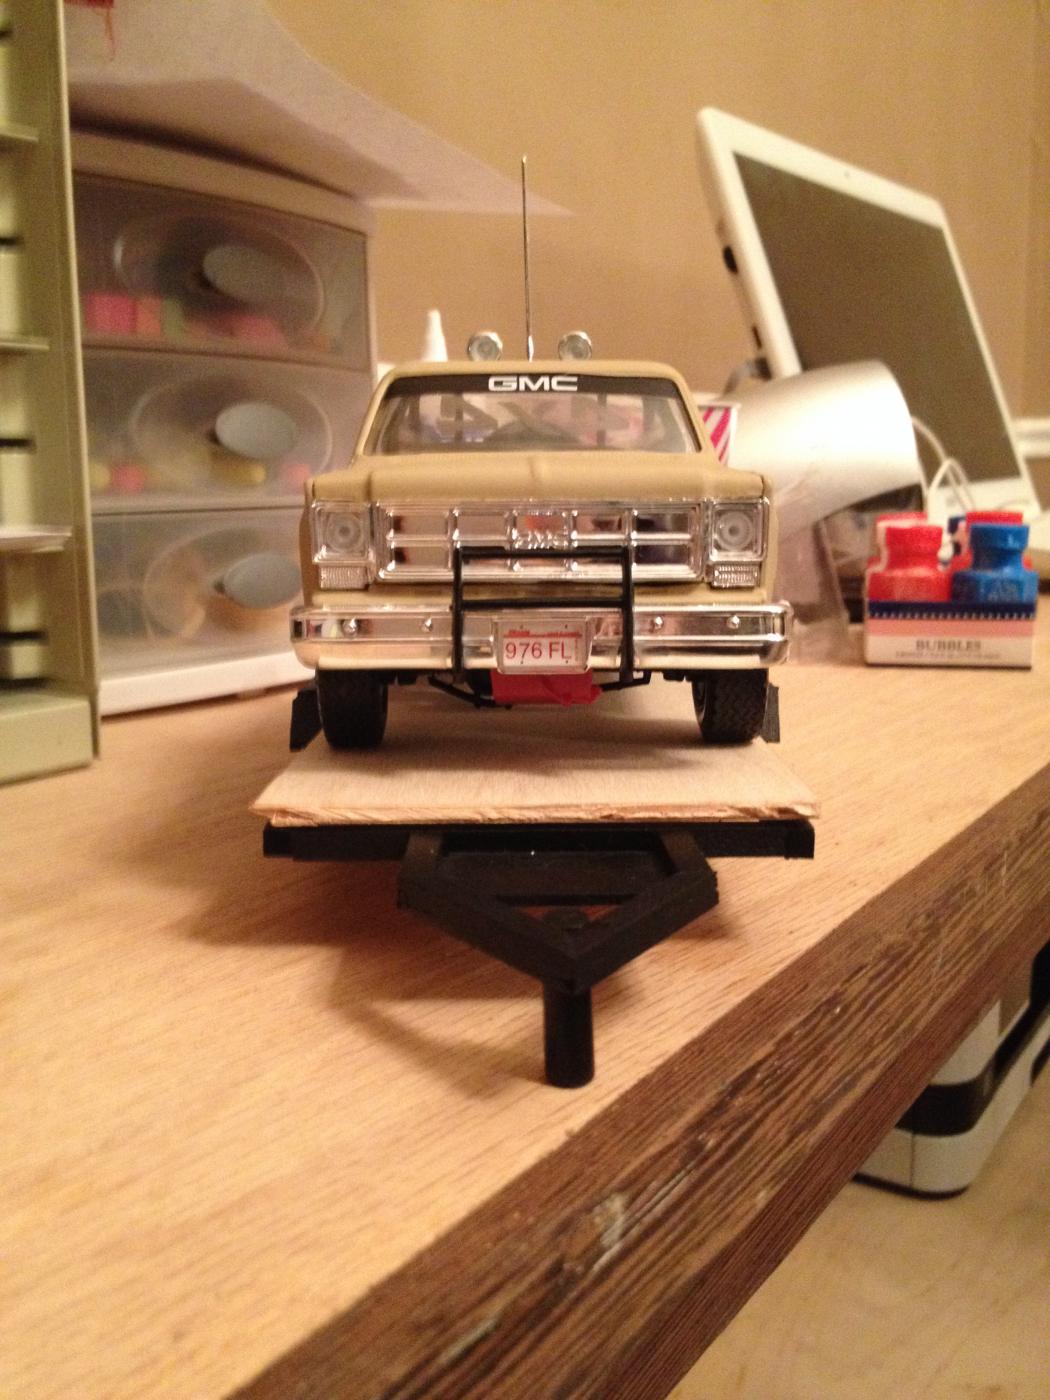
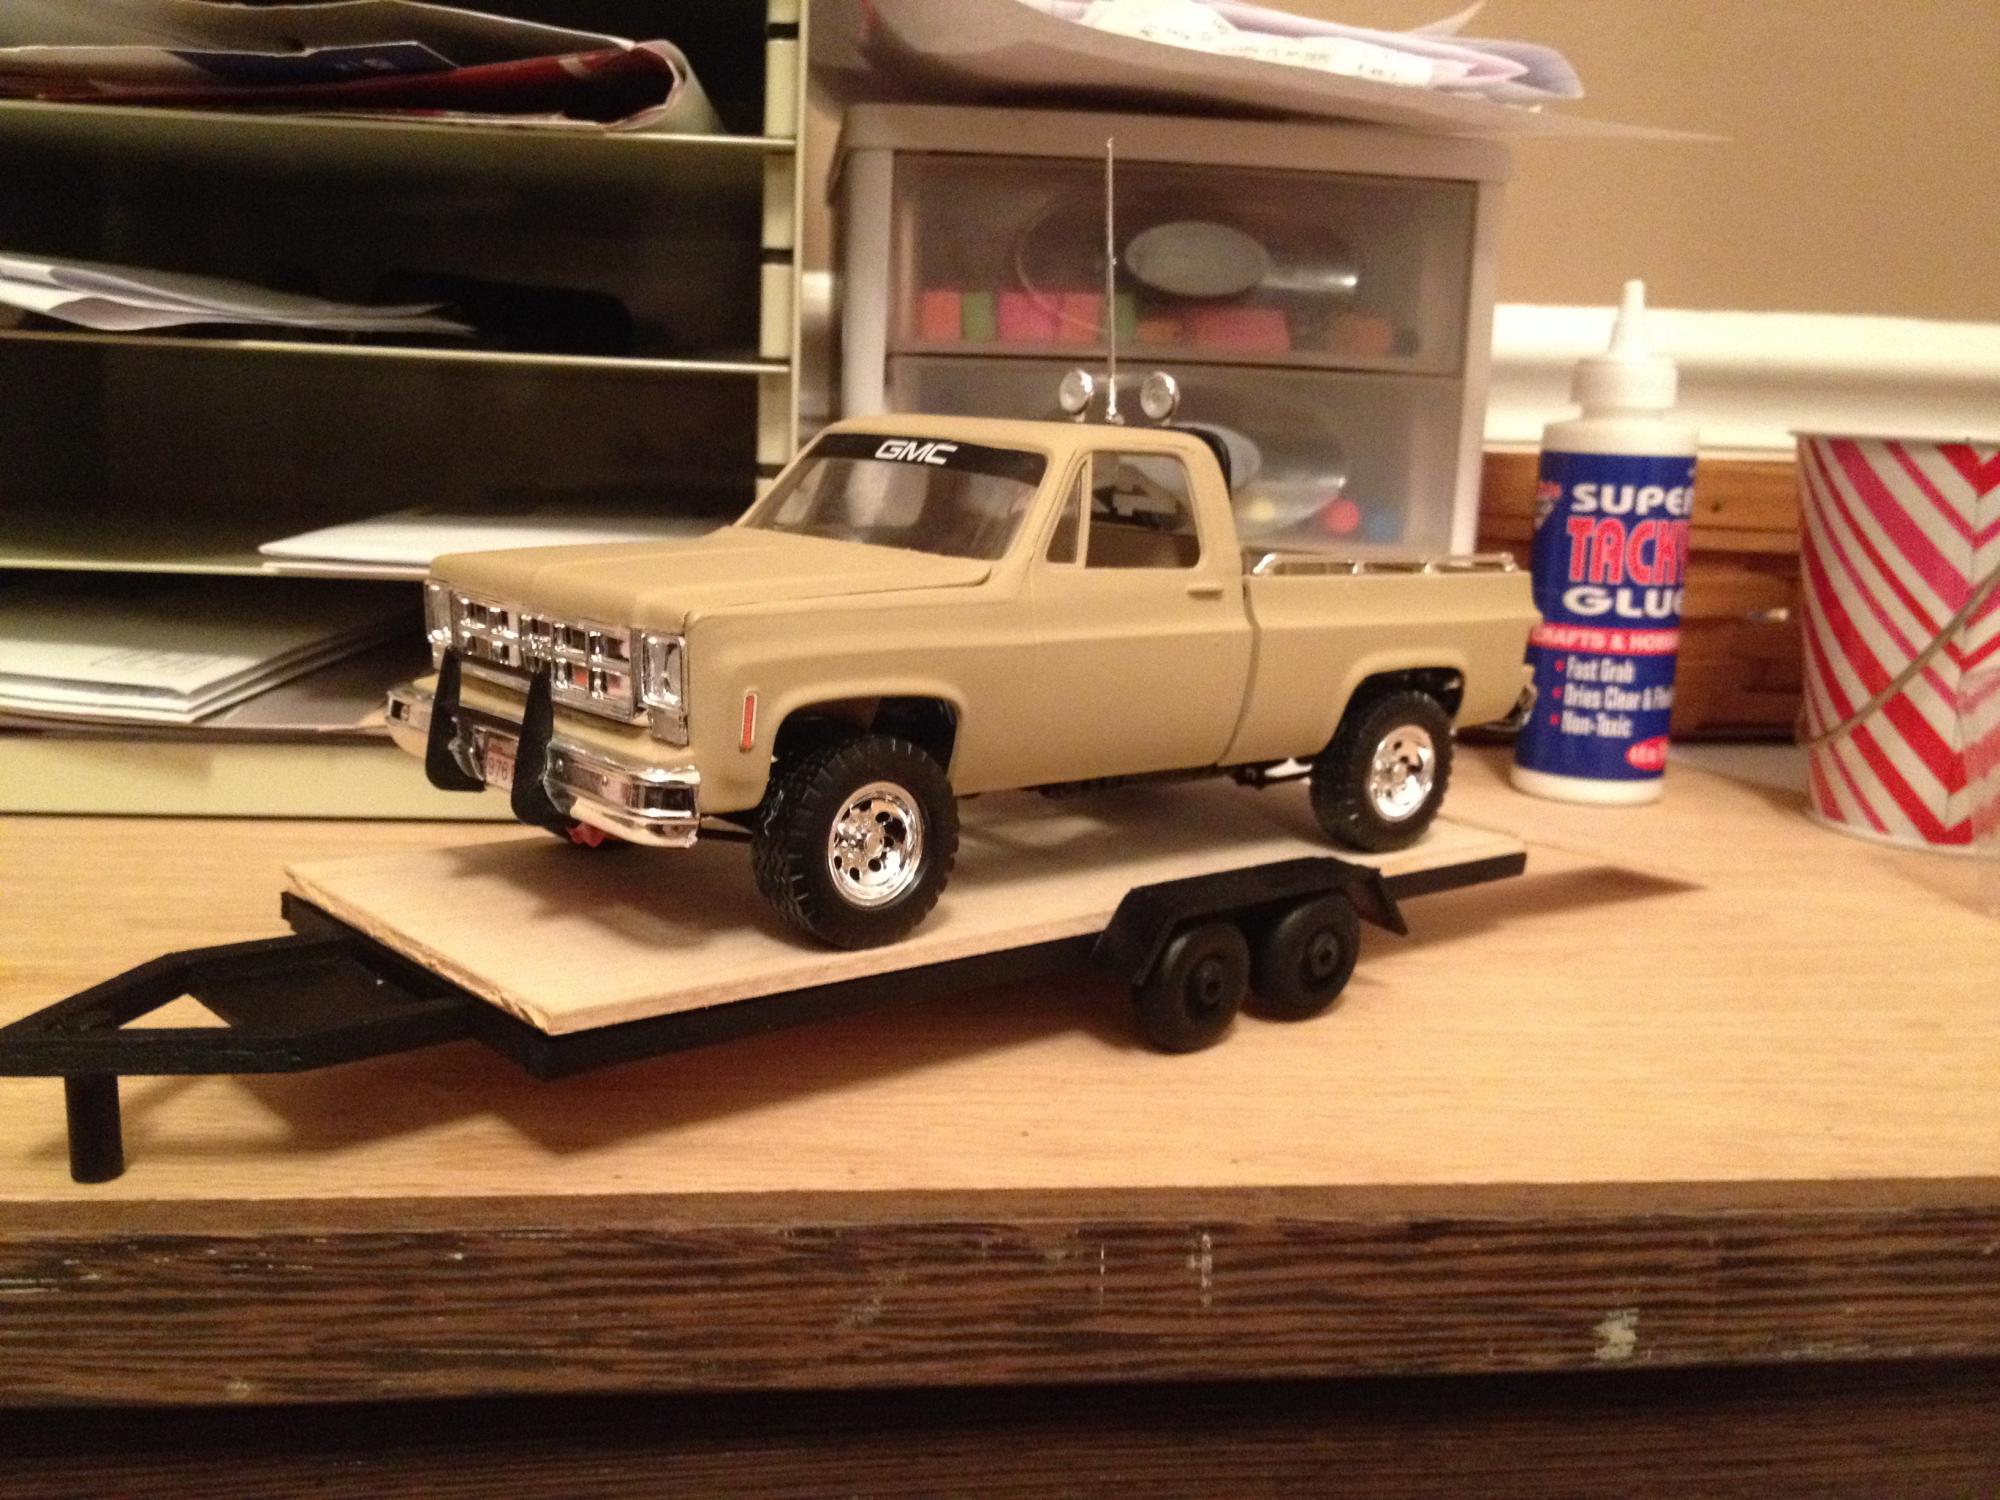
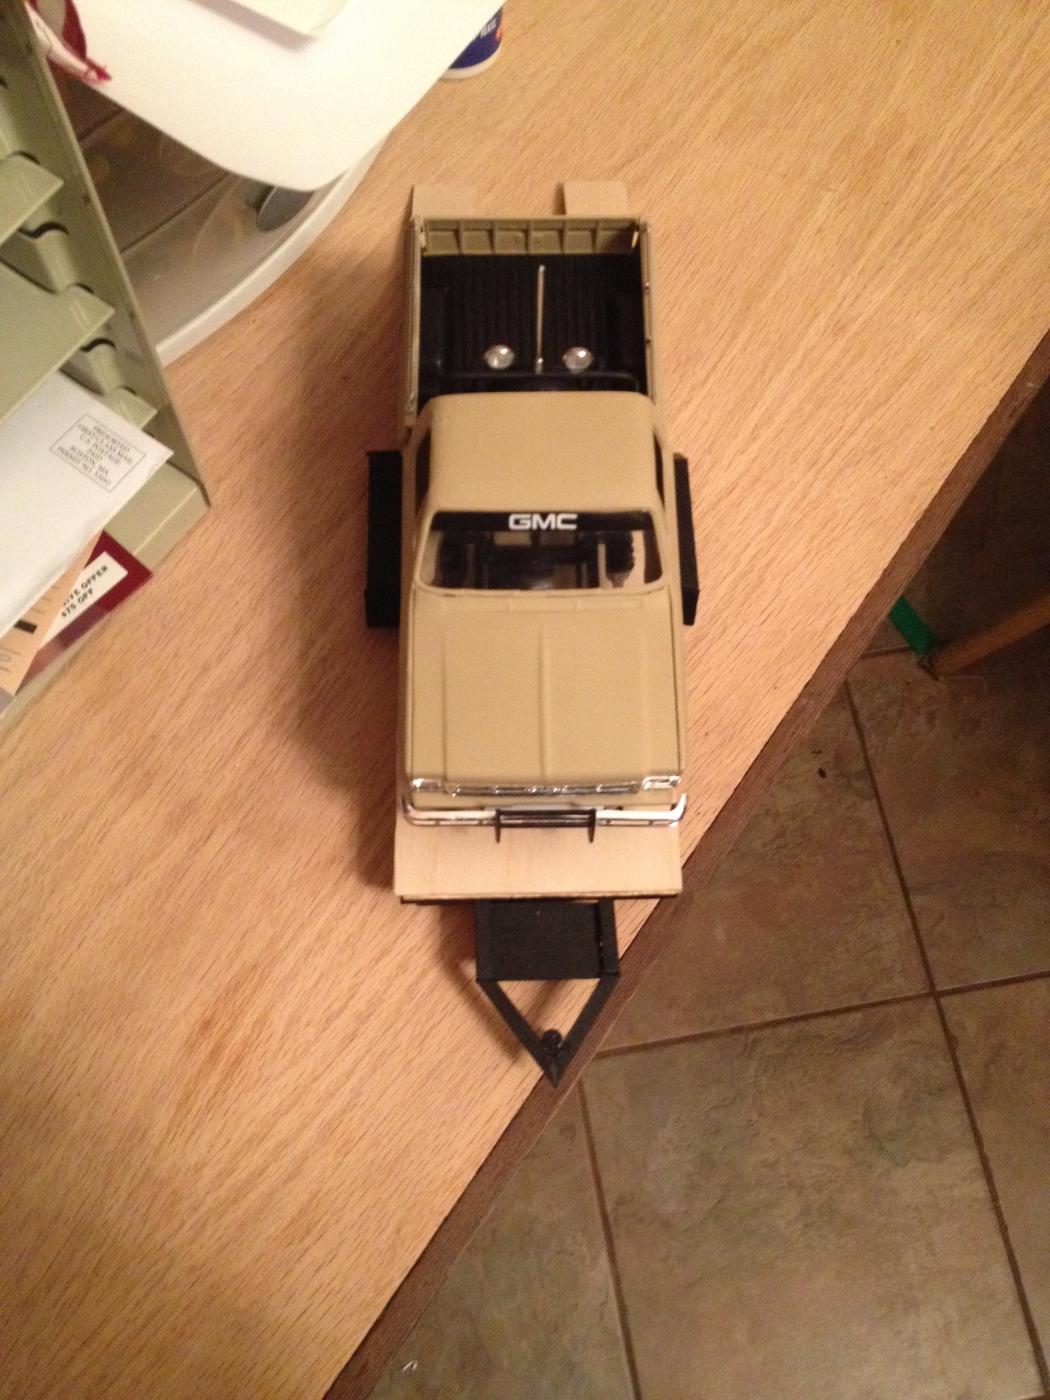
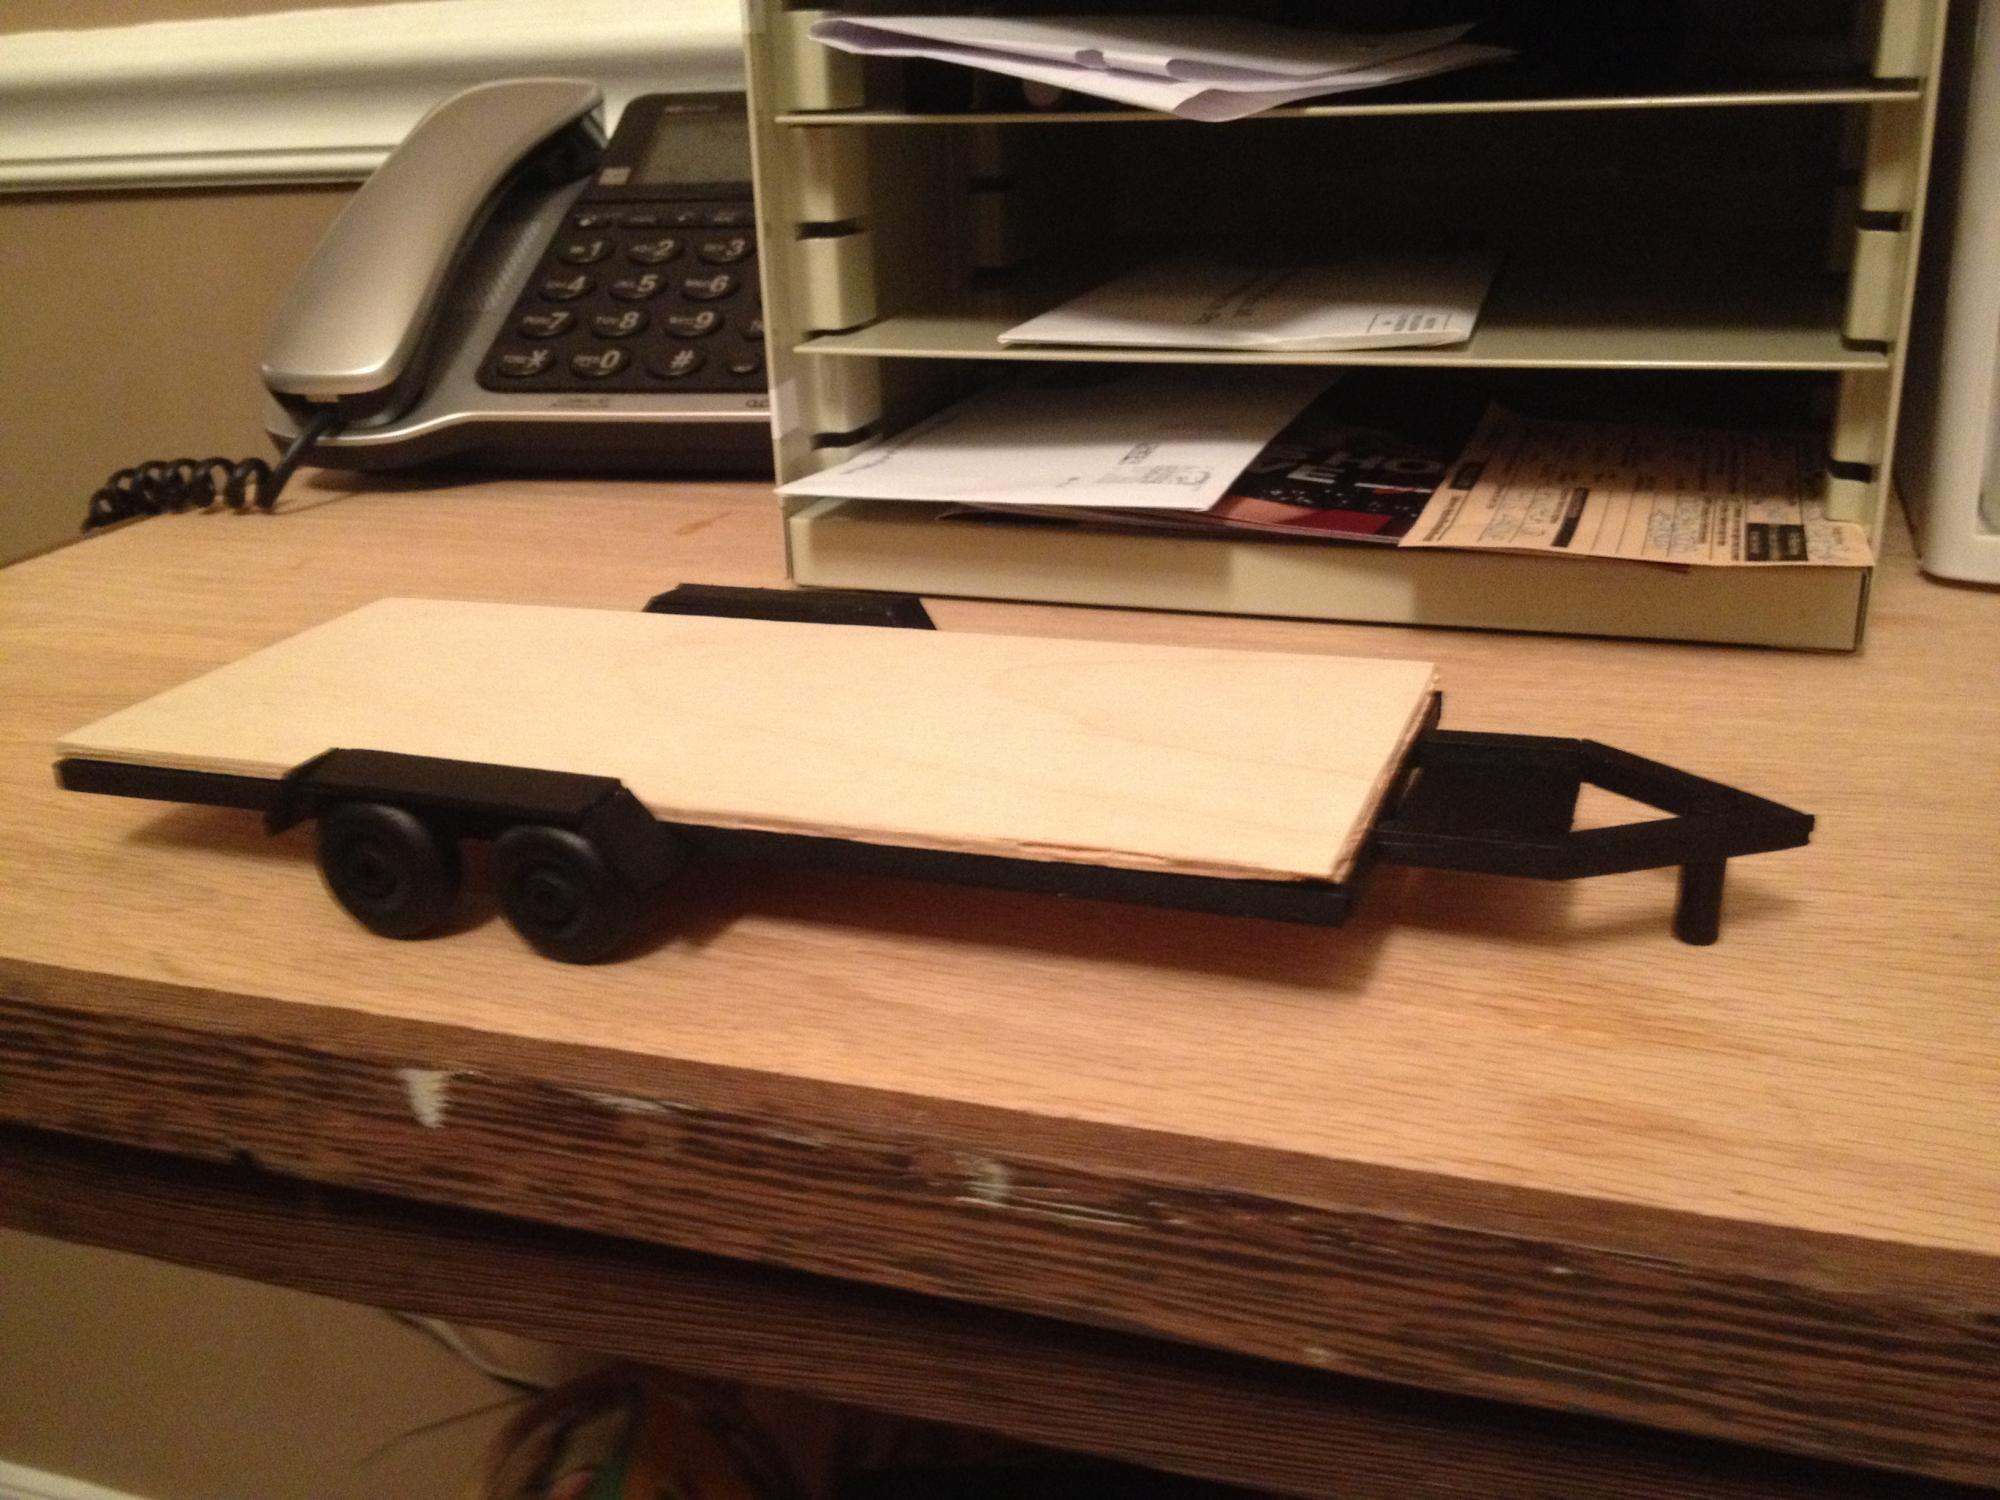
I bought the GMC Pickup (1977) single cab shortbed with the snowplow. And i made a custom trailer to it. and im geting the GMC wrecker from revell. has anyone done the revell tow truck and can show me pics or any custom wreckers (pickups no mach trucks).