Search the Community
Showing results for tags 'dragster'.
-
- 13 replies
-
- 3
-

-
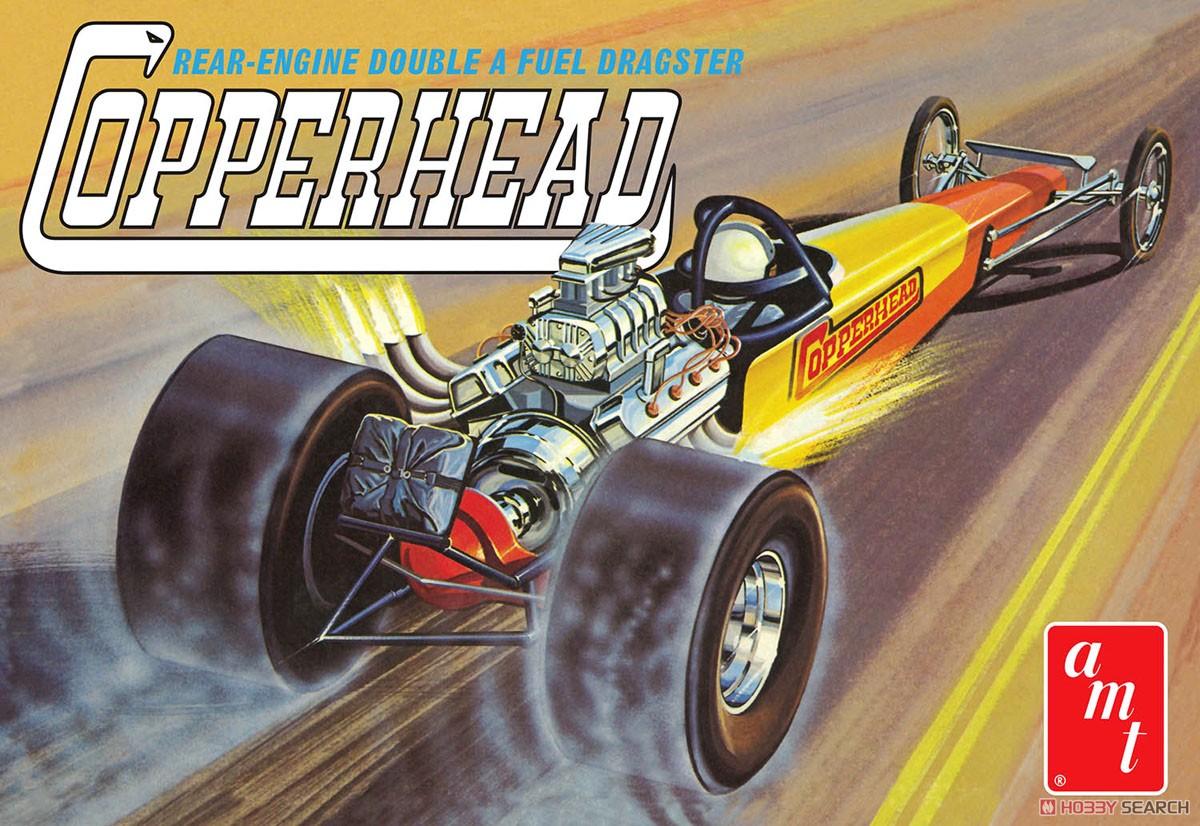
- amt 1282
- copperhead
-
(and 2 more)
Tagged with:
-
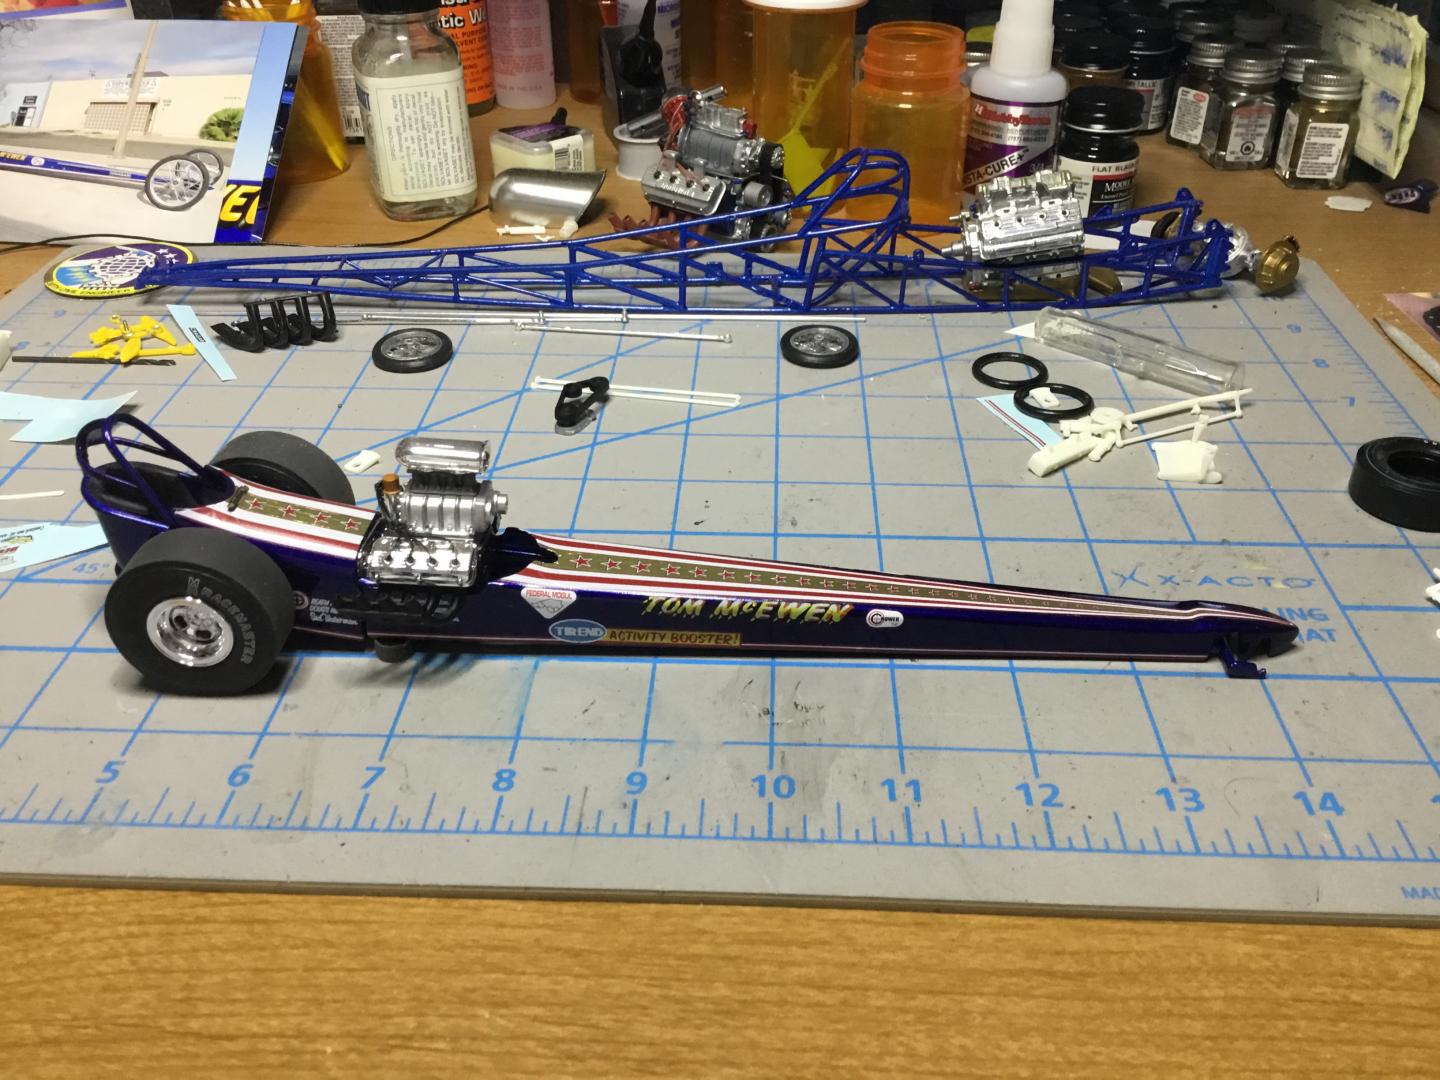
Getting back at the bench after knee surgery. My LHS didn’t /couldn’t get the MPC kit so I used the Garlits kit with the 392 chrysler motor from the Revell SWC Willy’s kit and Chuck B’s decals.
-
Has anyone picked up the new MPC Tom McEwen FED kit and any comments? I know it’s a reboot of the Garlits kit but was curious what you think.
-

Wire Wheels--One More Way To Make Them
Straightliner59 posted a topic in Tips, Tricks, and Tutorials
I put the old page from the SLM site back together, so, here's another method to make wire wheels for a dragster. This method is good for folks who don't care to work with metal. It's pretty straightforward. Sorry for the file size. -
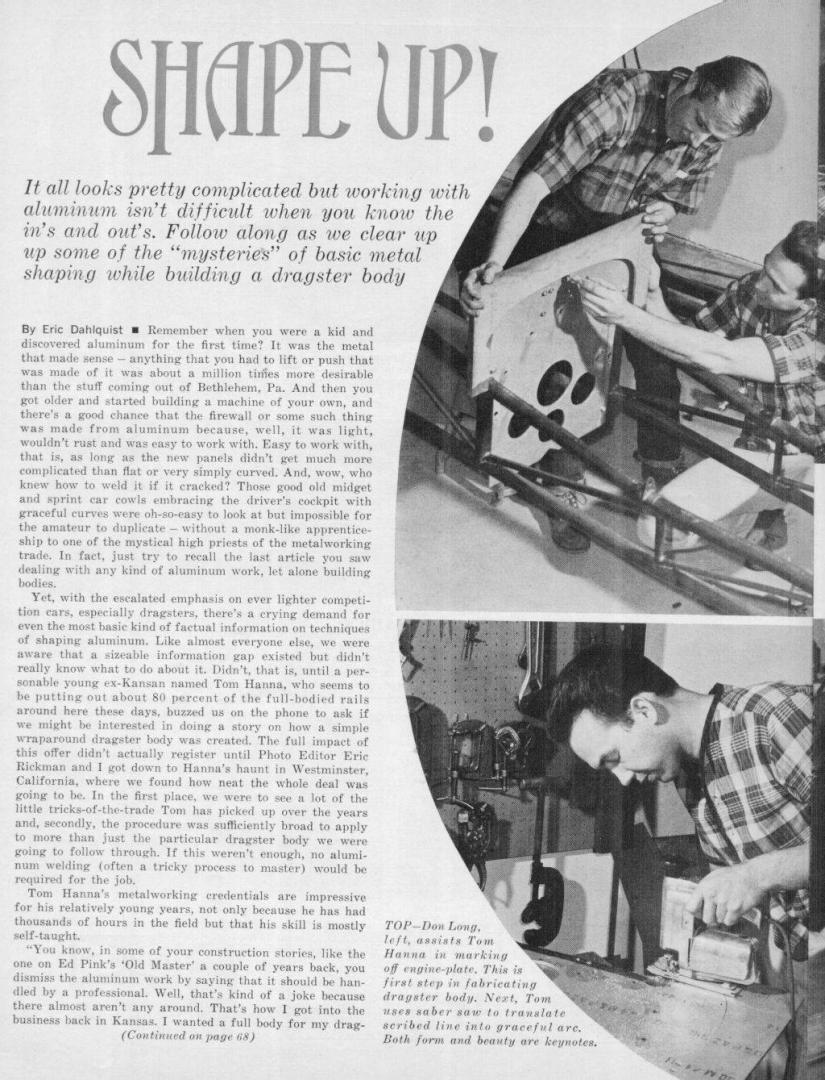
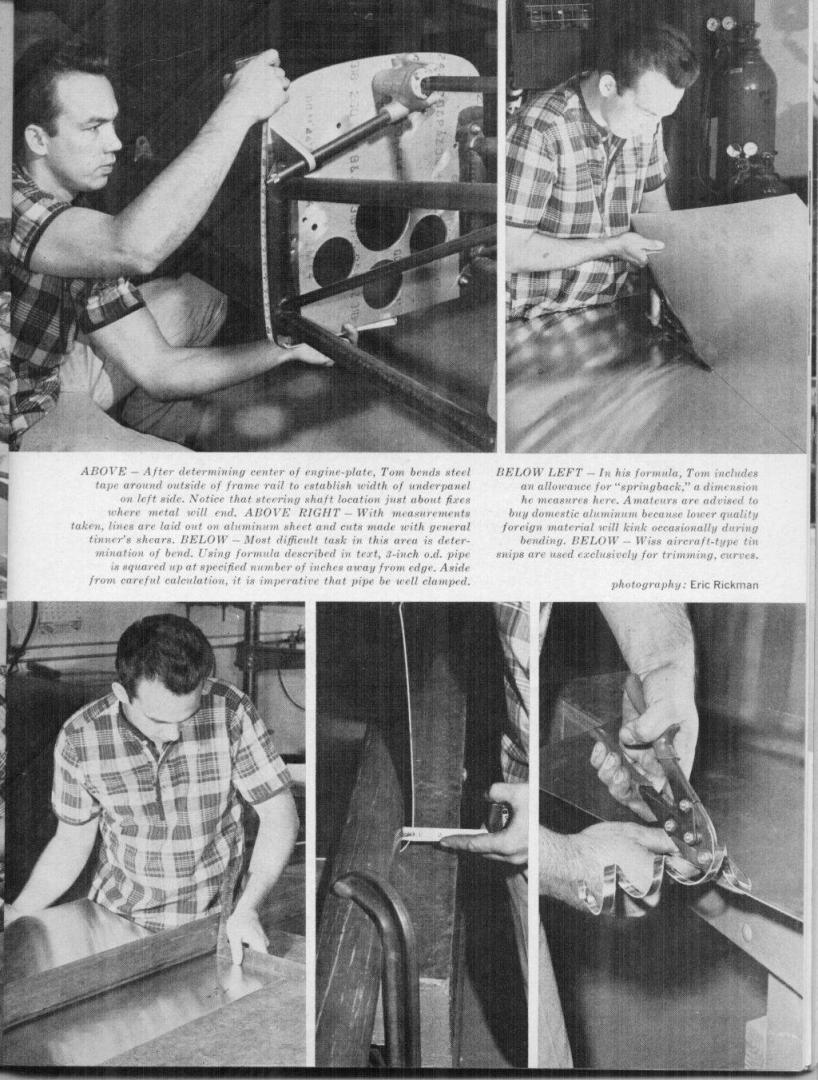
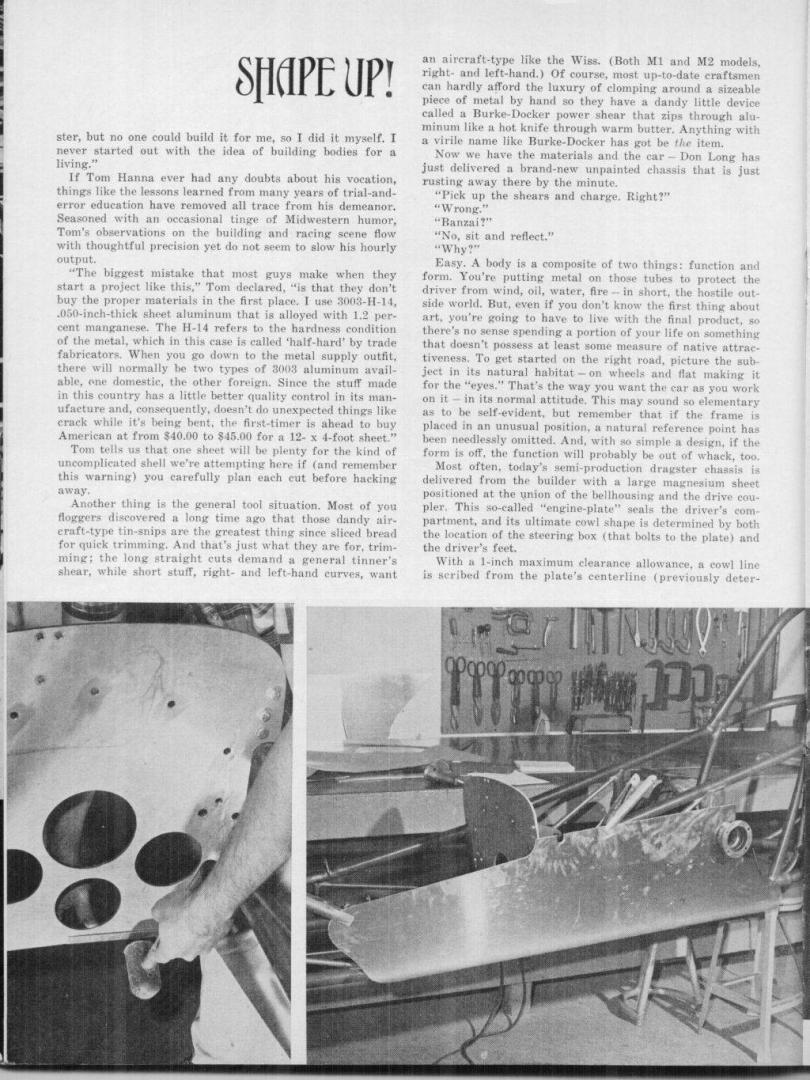
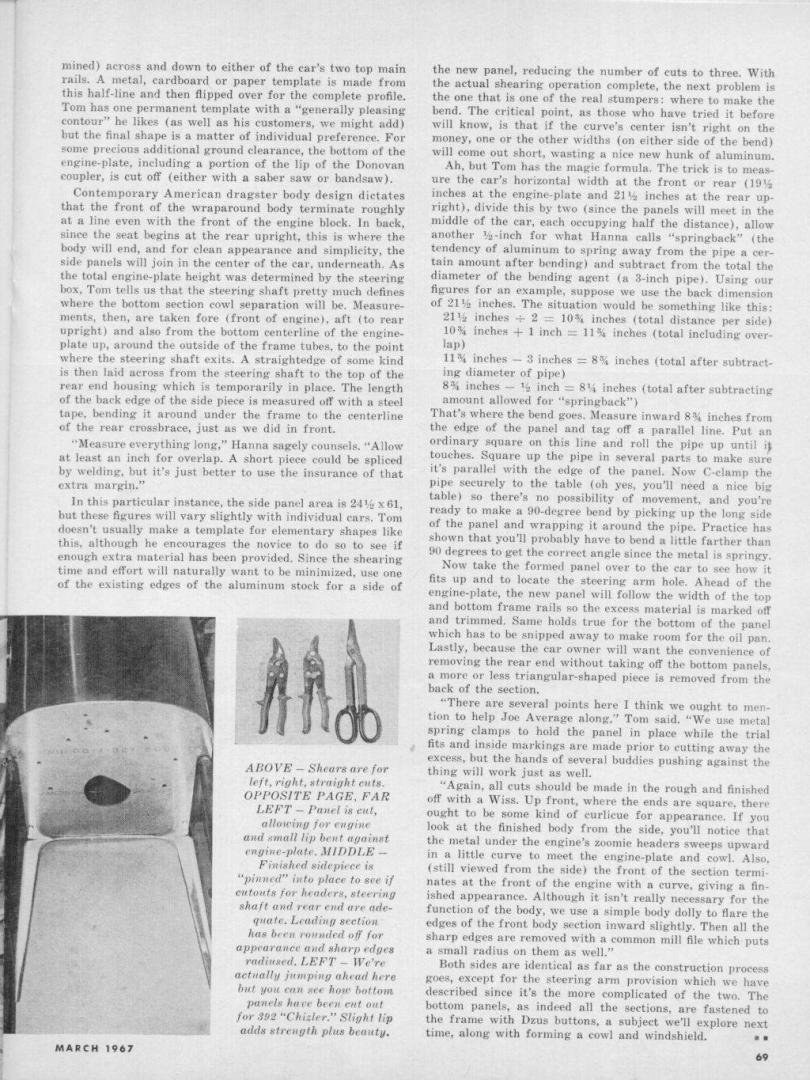
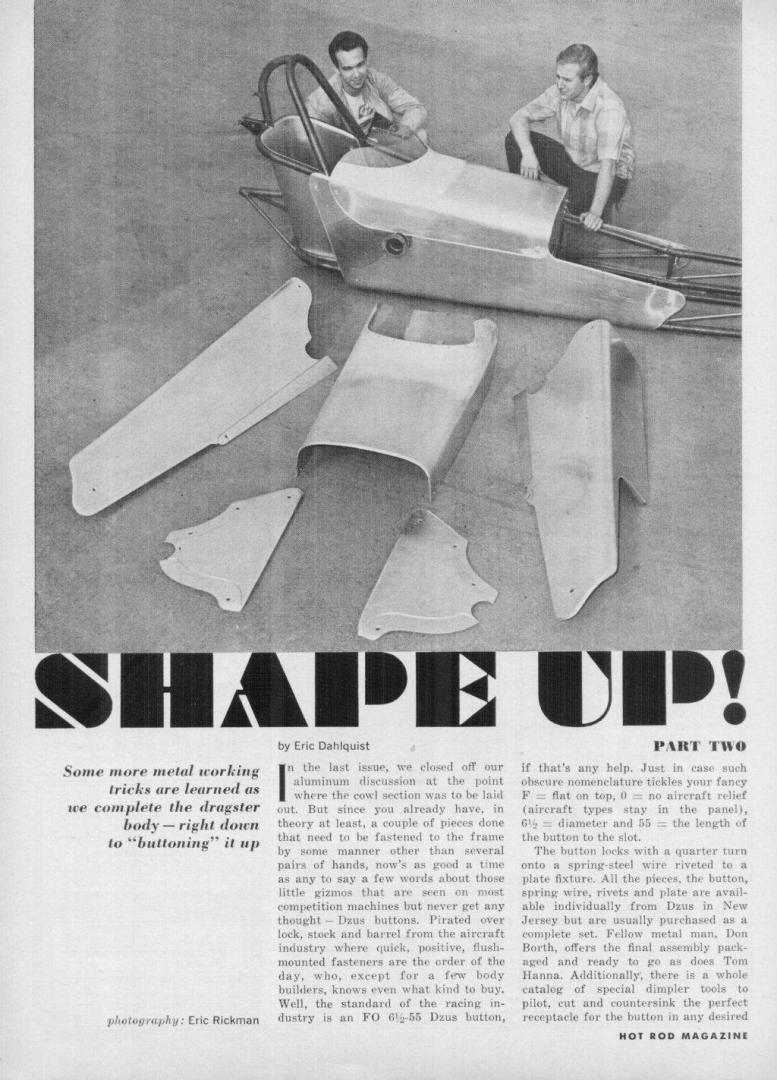
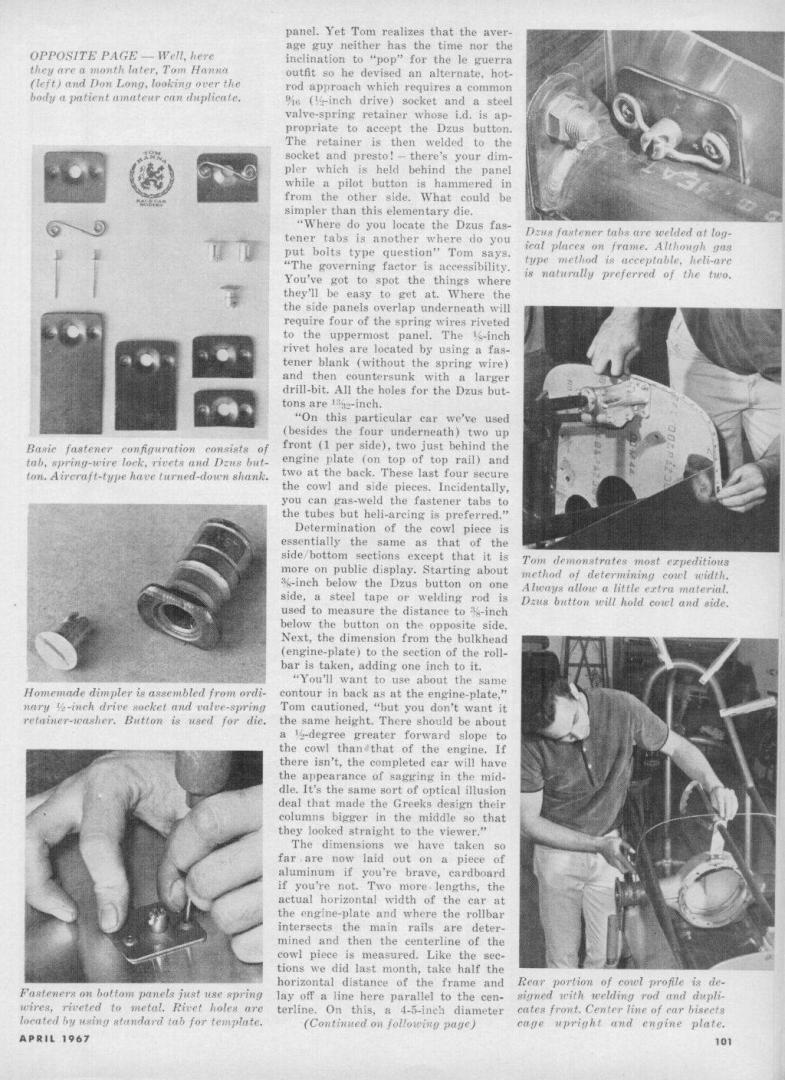
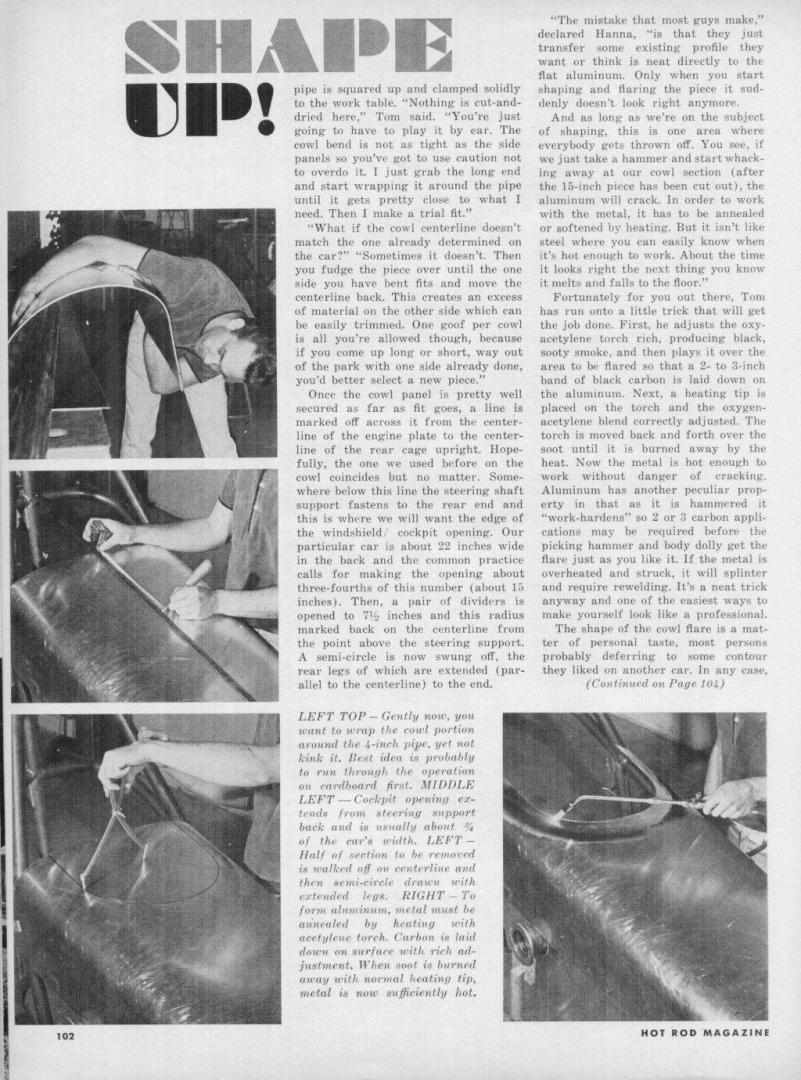
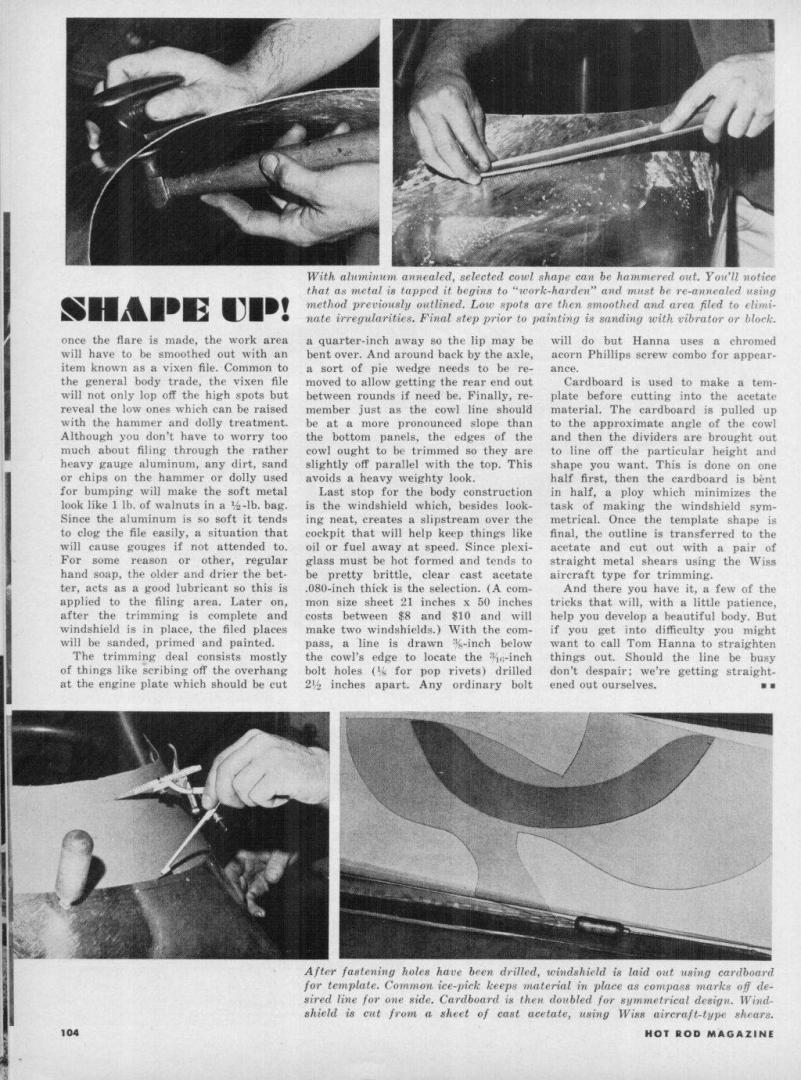
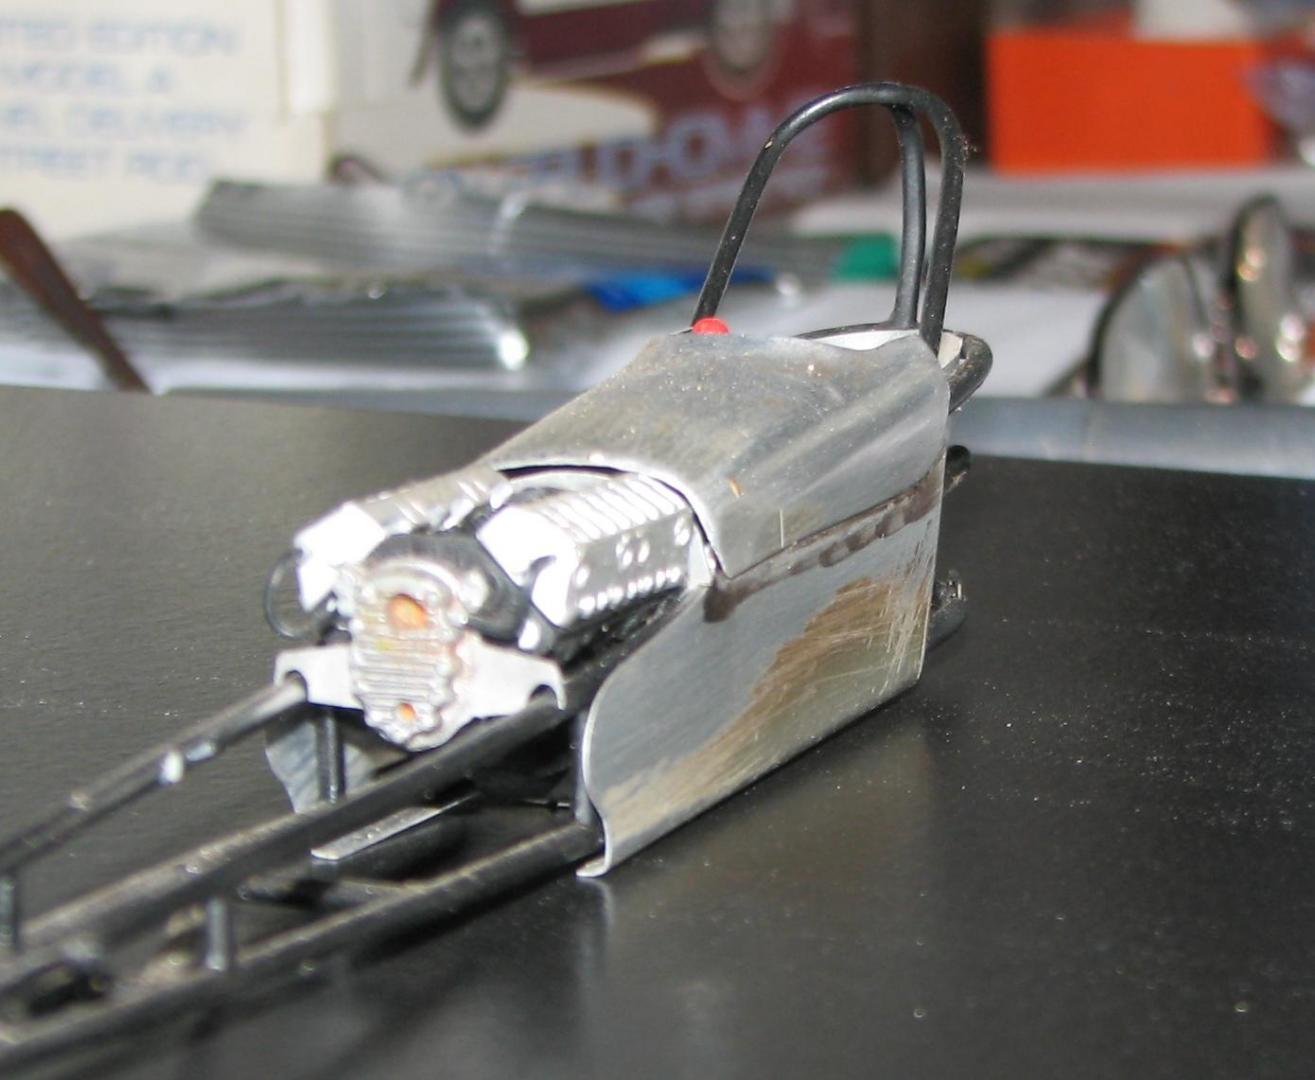
Sorry for the file size. I didn't want to reduce the physical size, because the text is important. Tom Hanna tells you how to build a shorty body for a dragster. From HRM, back in the later '60s. Also attached are a few photos of a body I built, using Hanna's guidelines. It's not black magic!
-
Reissue of the classic kit. Now with full 3D cardboard display base, pad printed slicks and new decal sheet. Has the fully deployed parachute and packed chute option. Frame is one piece, thin and straight as an arrow, nice job on that in my opinion. https://www.youtube.com/watch?v=KbyrdSlH11U
- 2 replies
-
- swamp rat 14
- mpc868
-
(and 2 more)
Tagged with:
-
This is my More American Graffiti replica dragster model I built. This is not the original model from 1979, it is a replica. I turned a Jaw Breaker model into John Milners dragster. I cut, reshaped, trimmed. and angled the body corners just like the real car. I made my own decals, lines, plug wires, and even detailed the parachute. I made my own decals from a original scan of the decals I found online. I used from that set the red John Milner and blue tail piece. I printed them out using Testors paper, and made my own set of flames. I tried to make the flames as movie accurate in the shape and style. If the flames, didn't look right, neither does the model. I gave the car a modern line, and cut it where it should be orange. This was a replica body, Jaw Breaker model kit, and replica decals with many hours of work. This is my first custom model I have ever built. This goes for building a driver that fits in the car. This model looks like what the fans should have always been sold in the first place. I hope, I didn't disappoint any Graffiti fans out there. One more thing I will point out Jawbreaker's kit has many flaws, and needs a bunch of work. You have to sand, drill out areas, and the frame is constantly coming apart on you. I put a rod into the motor, and used JB Weld in the transmission. This way it is well hidden but gives the motor extra support to stay in place. On the angled areas of the body, I used JB Water Weld to give them a nicer rounded look. This build took me 3 months to do in the winter months for a model contest. Only thing that gets on my nerves is the flash made the colors look lighter than what they really are. I even built the 2003 AMT American Graffiti/reissue of the More American Graffiti Deuce Coupe. Still love how the builds look with the original box art. issue
- 13 replies
-
- john milner
- dragster
-
(and 2 more)
Tagged with:
-
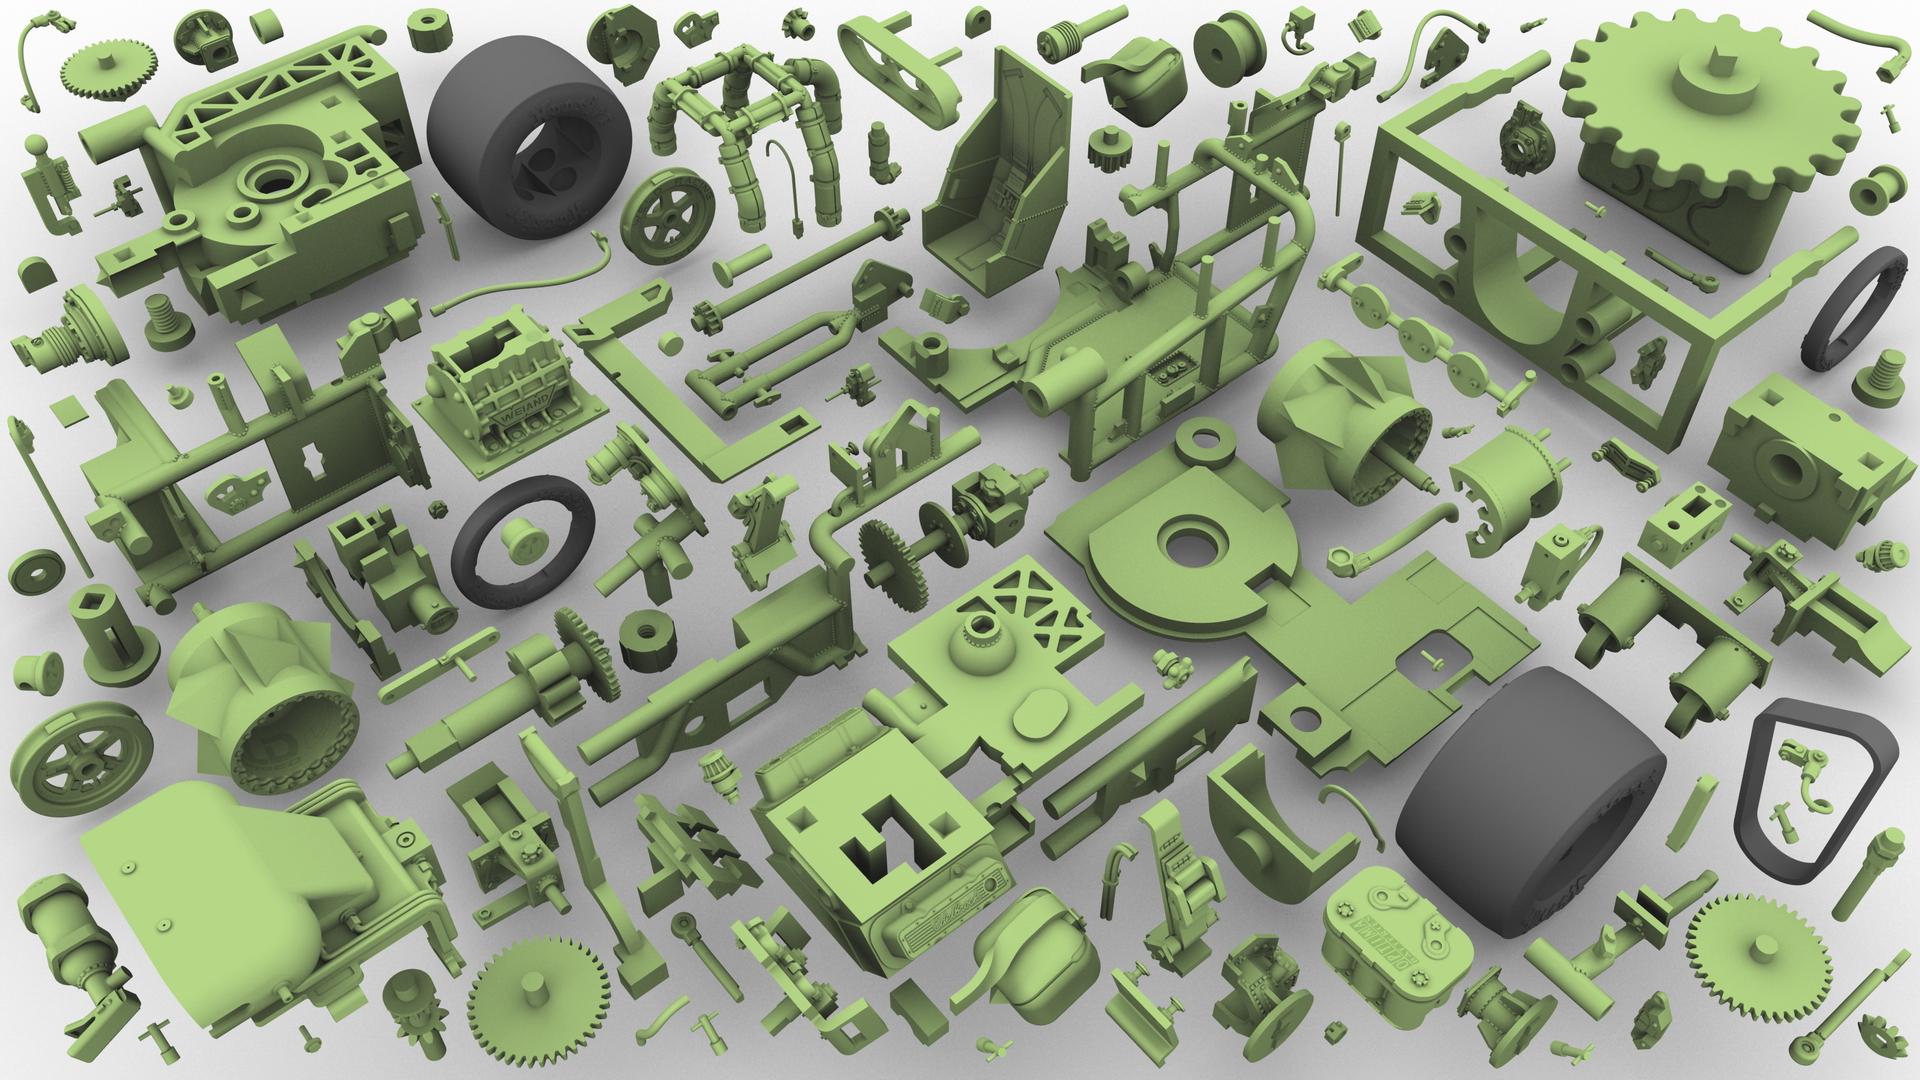
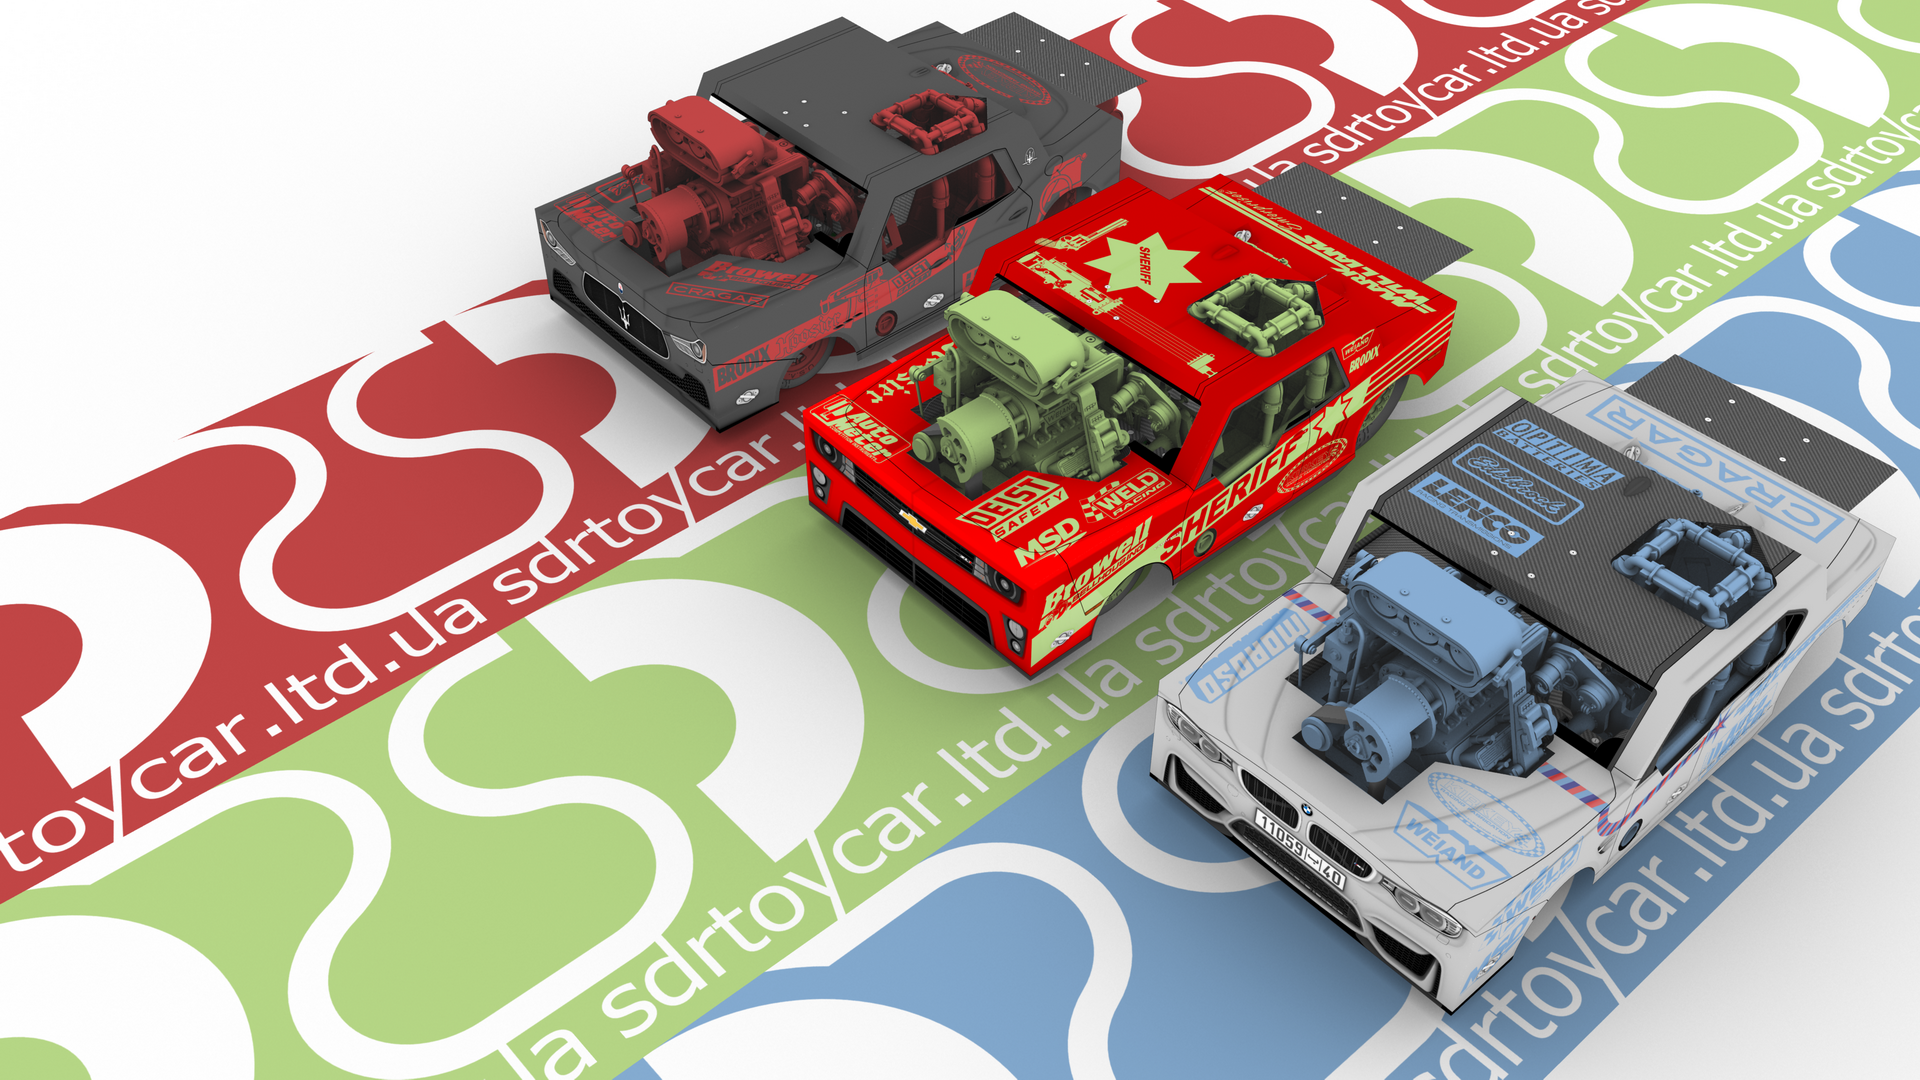
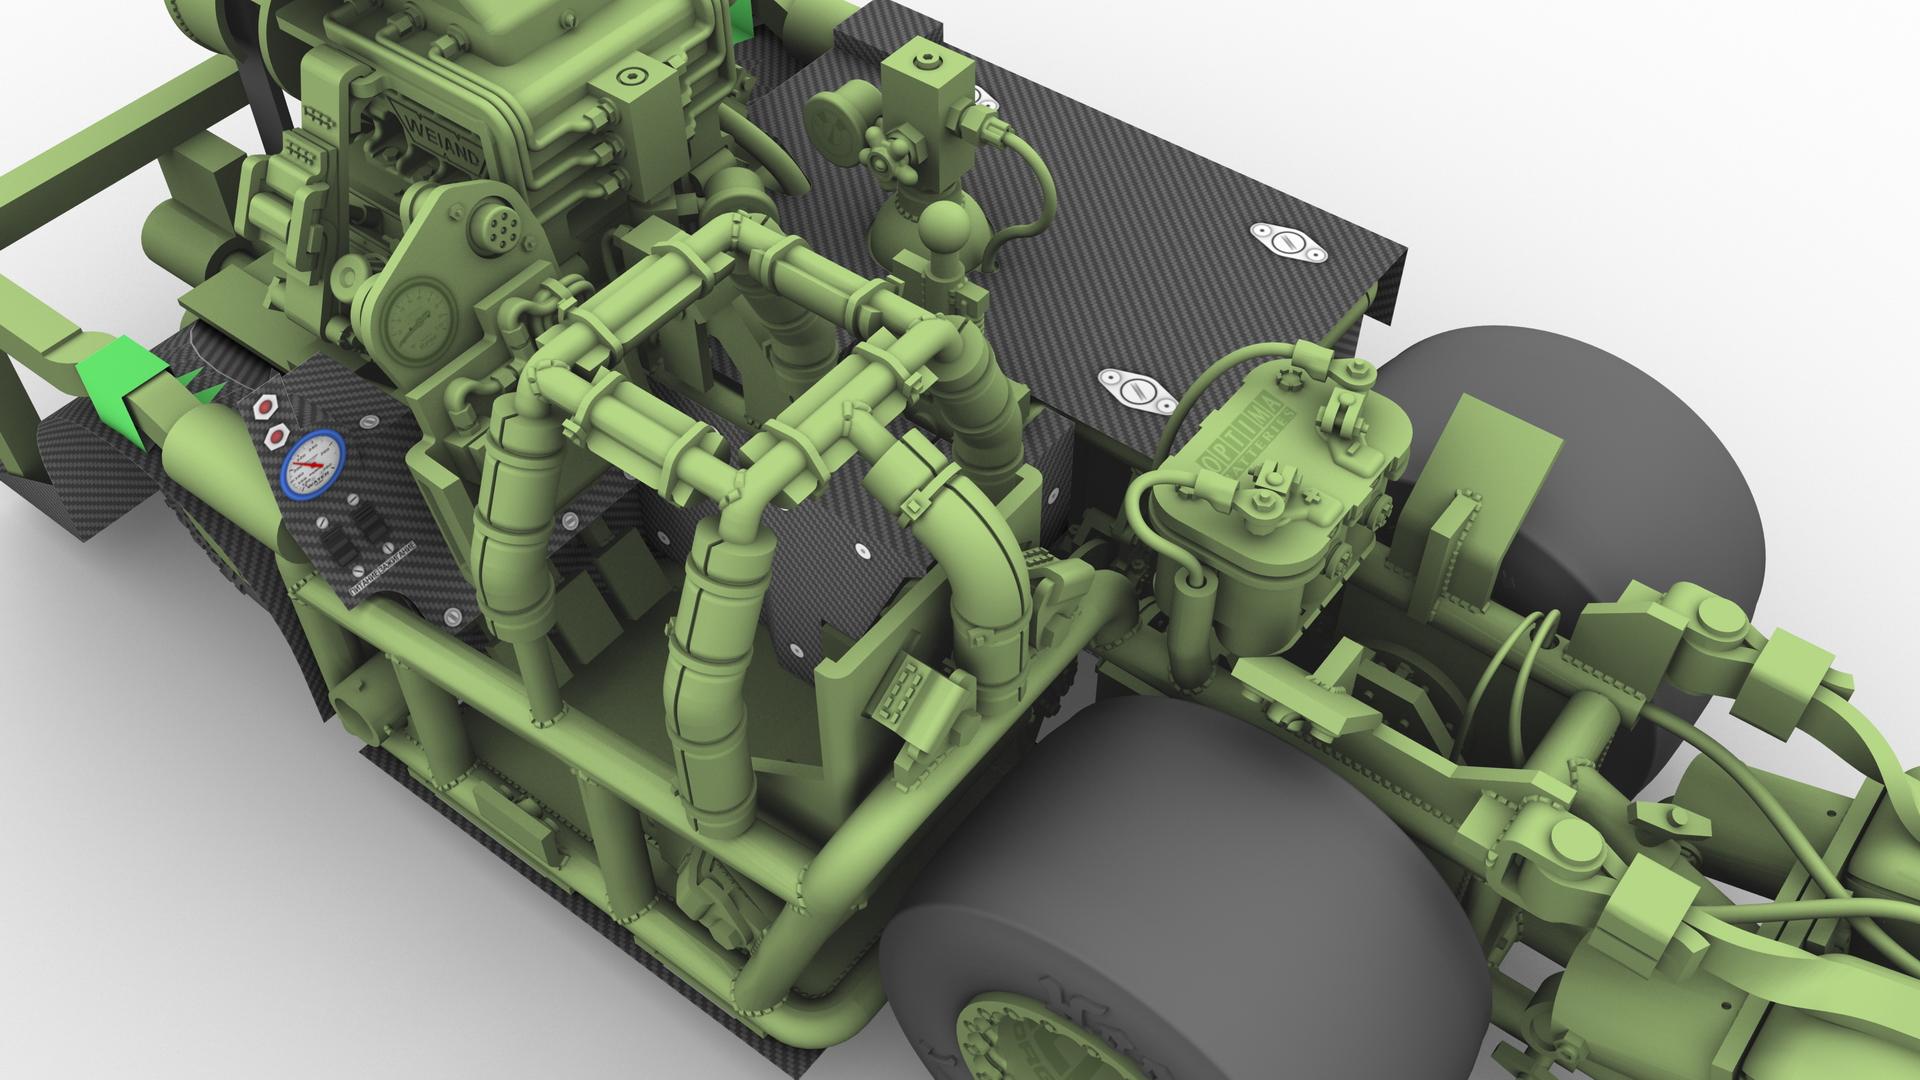
Hello everybody! Sorry for my english. I want to talk about my toy car. Length: 100 mm. Scale: 1/43. Parts: 132. Material: protocast 85r (or like him). Tire material: grey silicone. Body material: cartridge paper. Number of body color scheme: 7. Motor spring. Moving parts. Water decals.
-
Does anyone make correct wrinkle wall slicks sitting at rest, not with the wrinkles up the sidewall under torque? What I'm looking for is wrinkle wall slicks with the pronounced "pooch" at the bottom portion, wrinkle below the bottom of the rim. If you look at wrinkle wall slicks at rest you will notice that they only wrinkle up the sidewall when hooked up under power. At rest they have a pooch resembling a slick that could use some more air.
-
I like the late front-engined dragsters just before they went to rear mounted engines, and this Tommy Ivo one is a fine example. This AMT kit is flawed in some areas in the relation to the original car and the pictures I could find of it on the web, but it’s still a great kit. The decal red striping seems of a different pattern, the nose cross section is less rounded and nearly not as long. Probably for production reasons You only notice when you hold it next to the original though. At one time it seems to have worn those fat tires that come with the kit all be it on some different wheels. Not many parts fill the box. The parts are all small and fragile. It’s more like building an airplane fuselage than building a car. Oh, those Airfix times of years gone bye… I like working with this plastic though that seems of a harder quality than Revell / Monogramm kits. As the body parts have to be parted after applying decals they have to perfectly line up again. So I made some tabs and made a threaded boss on the upper body with a small screw through the lower part. I know most paint the body orange like on the box. But it isn’t. At all. It’s a pastel shade pink like “ old salmon pink” or the color you can end up with mixing some left over paints in a paint shop… I think Tamiya XF15 could work, a flat paint, but I found a household spray can in a hardware store marked as “Antwerp pink”. Whatever. I think common spray-cans can work just as fine as modelers paint.
.thumb.jpg.e0420fe52e683c60d19e843462316523.jpg)
