Furiousgeorge
-
Posts
307 -
Joined
-
Last visited
Content Type
Profiles
Forums
Events
Gallery
Everything posted by Furiousgeorge
-
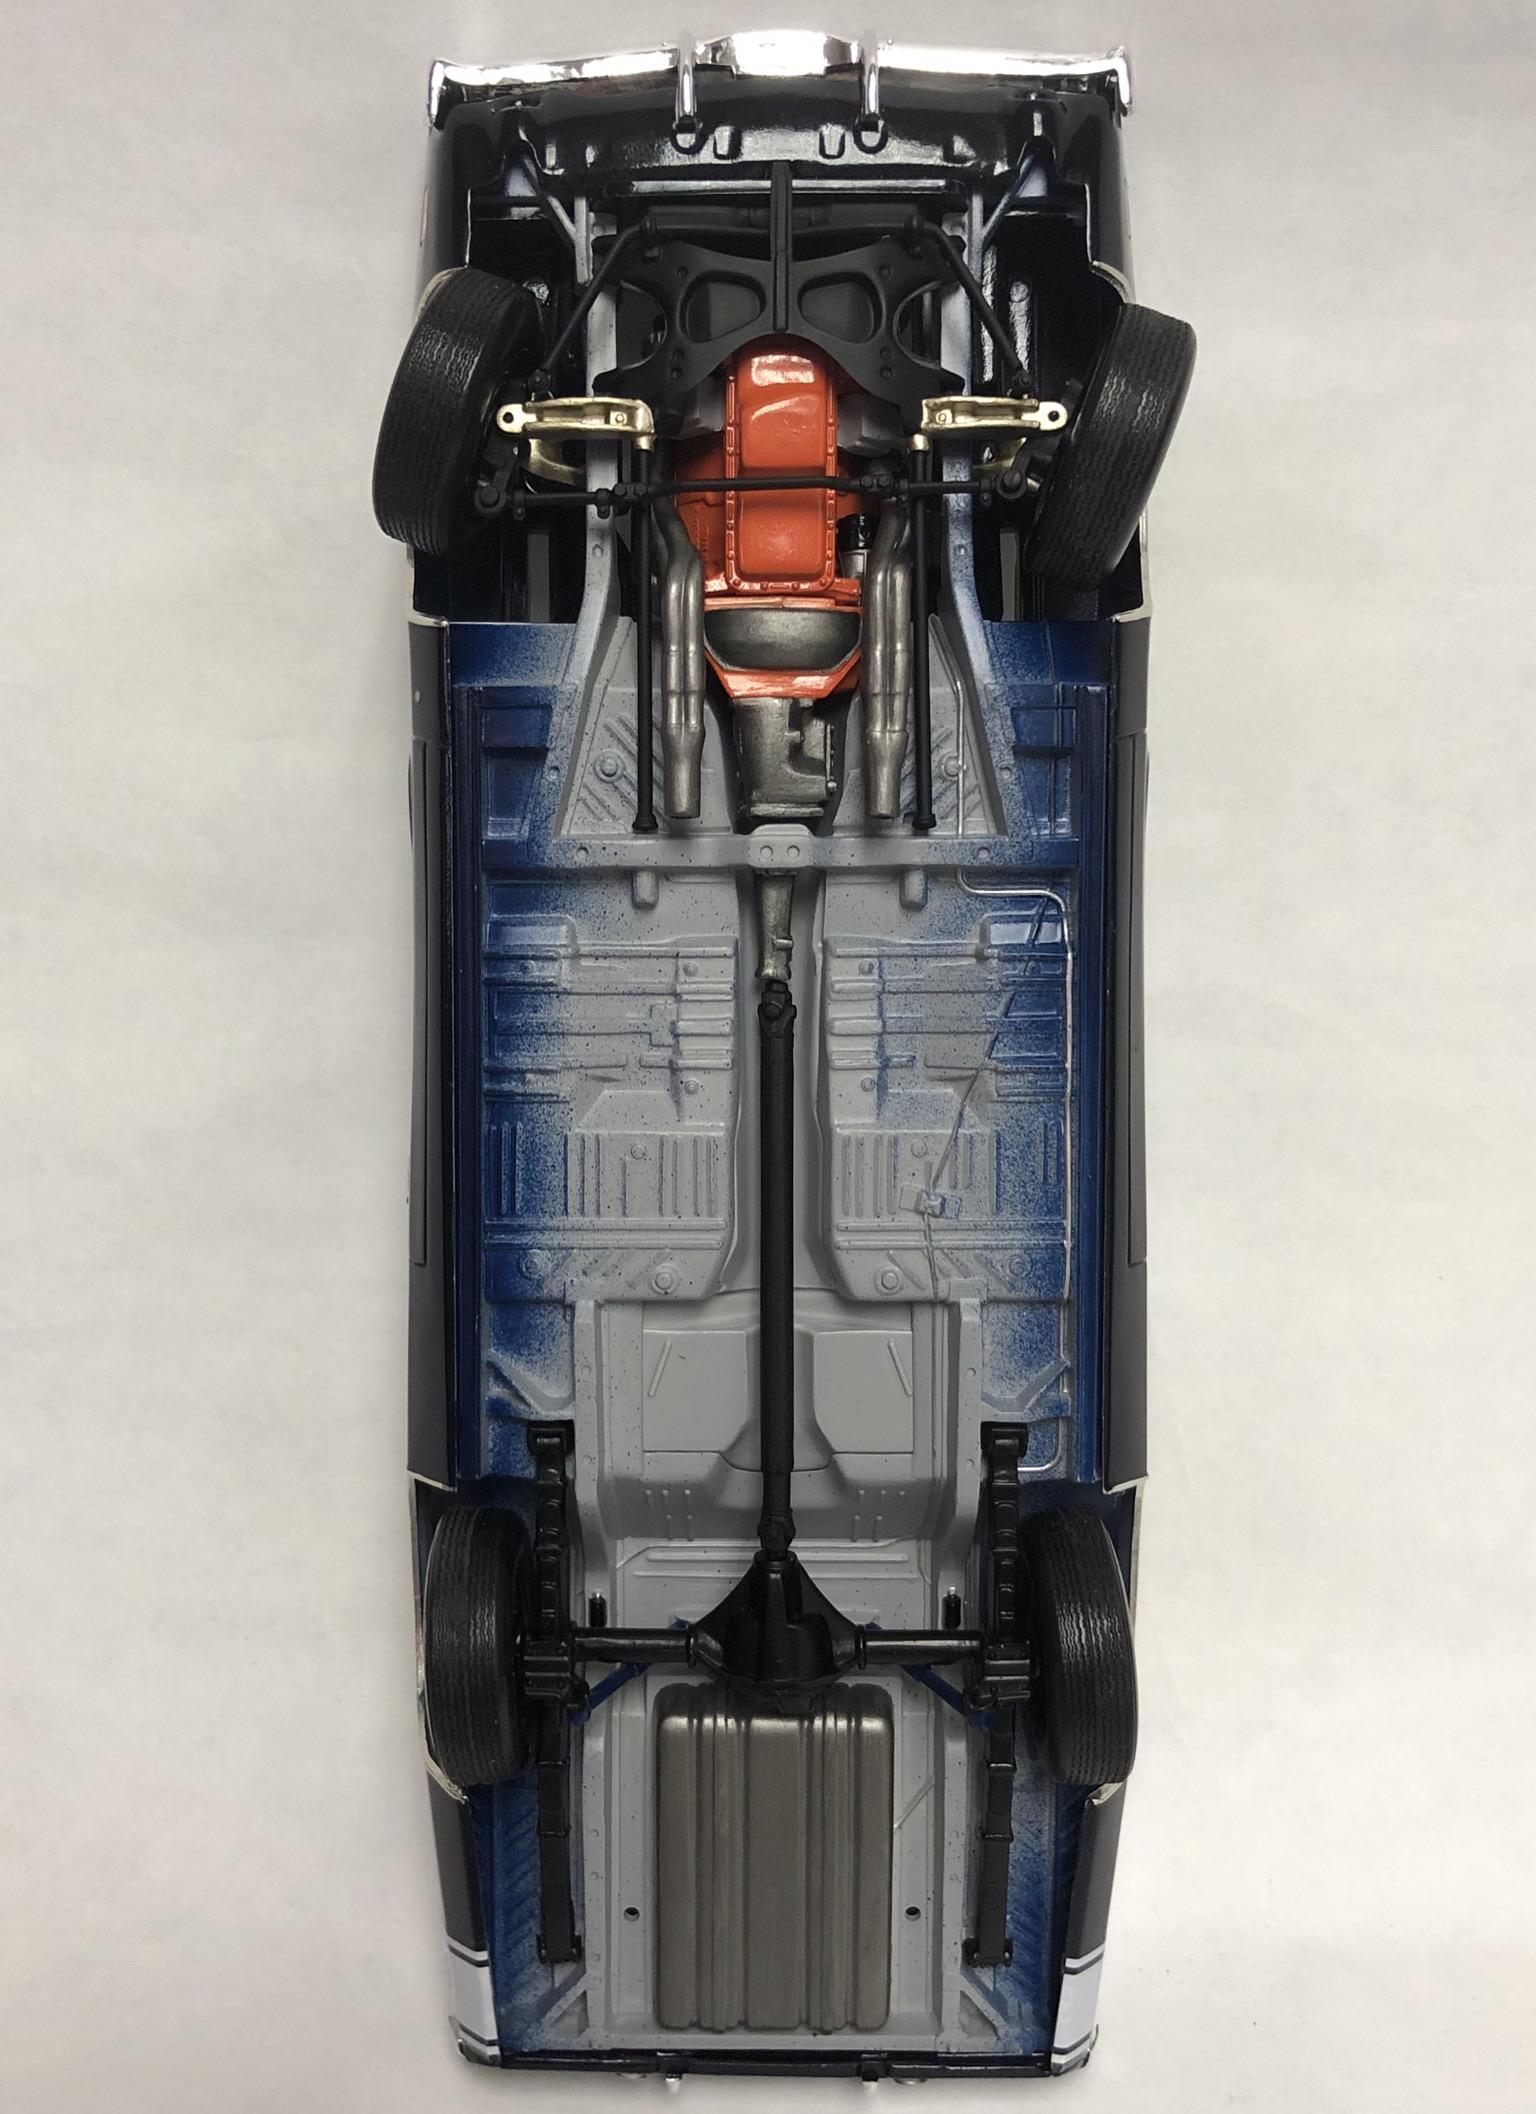
Thanks everyone! Tommy124- Yes, the blue is very dark, and I don’t have a proper photo booth or anything, just a roll of paper taped to a shelf and my phone camera. There isn’t any exhaust, just open headers! What’s the point in driving a Charger if people can’t hear you coming?
-
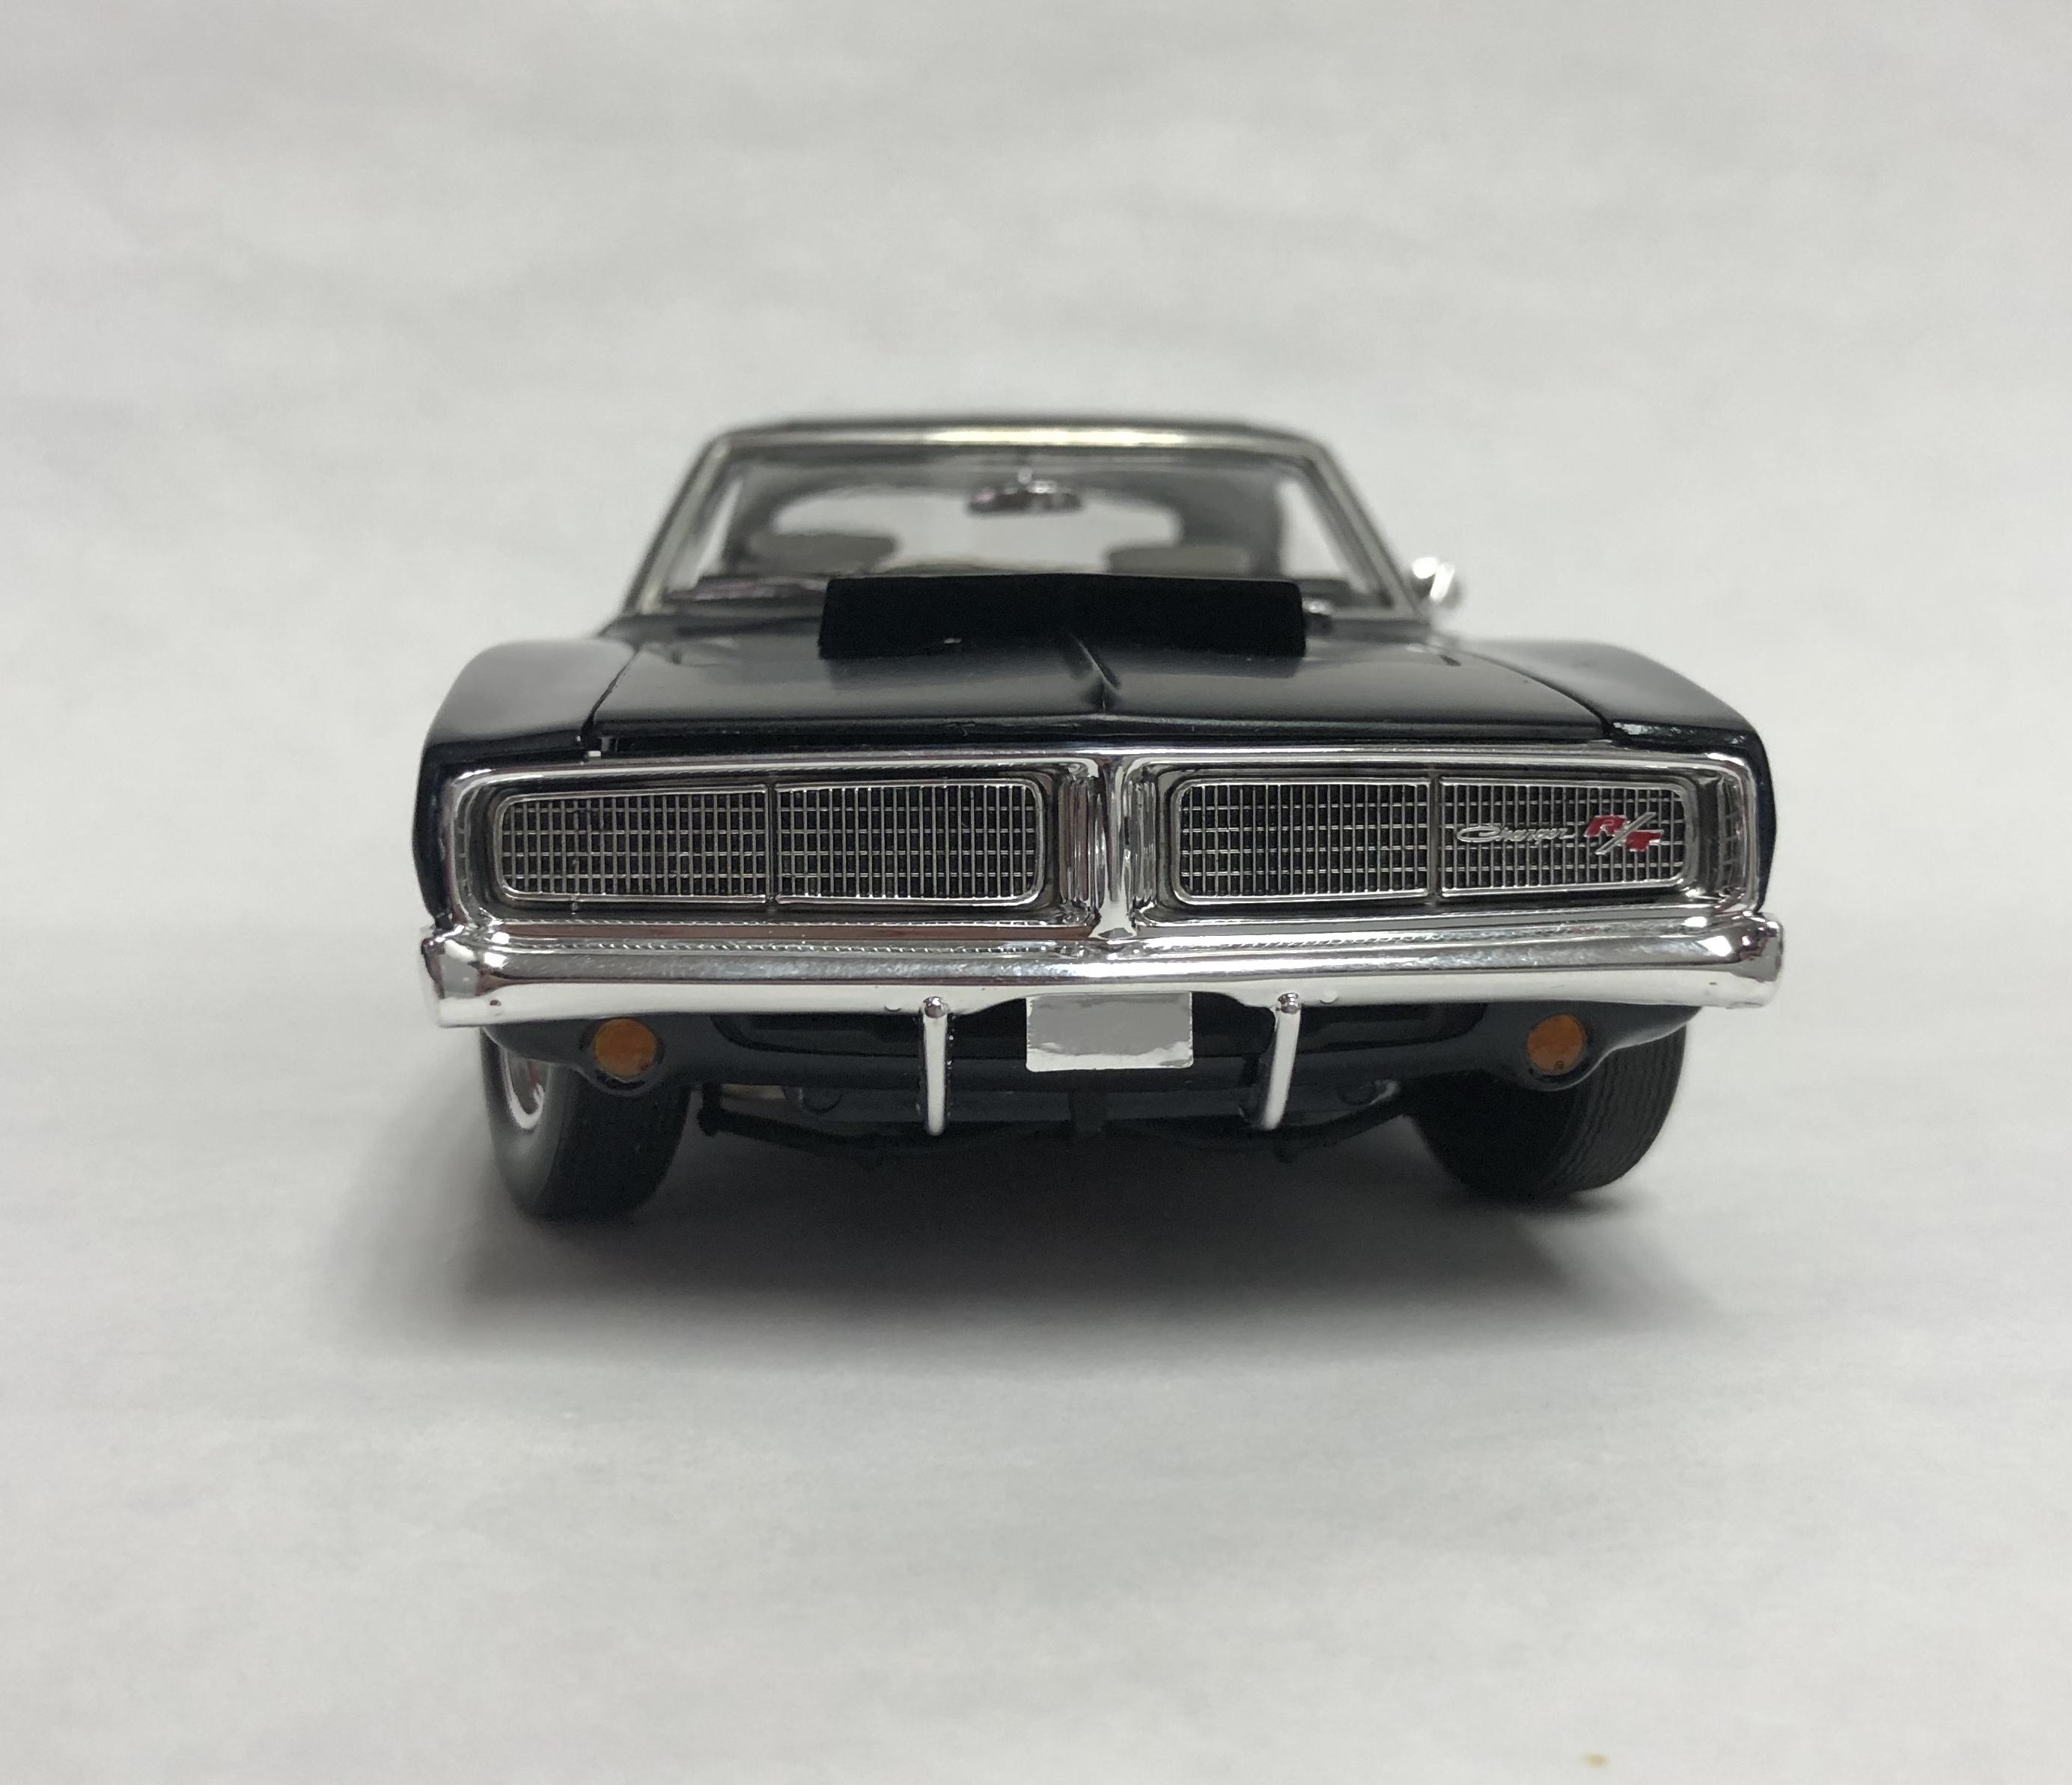
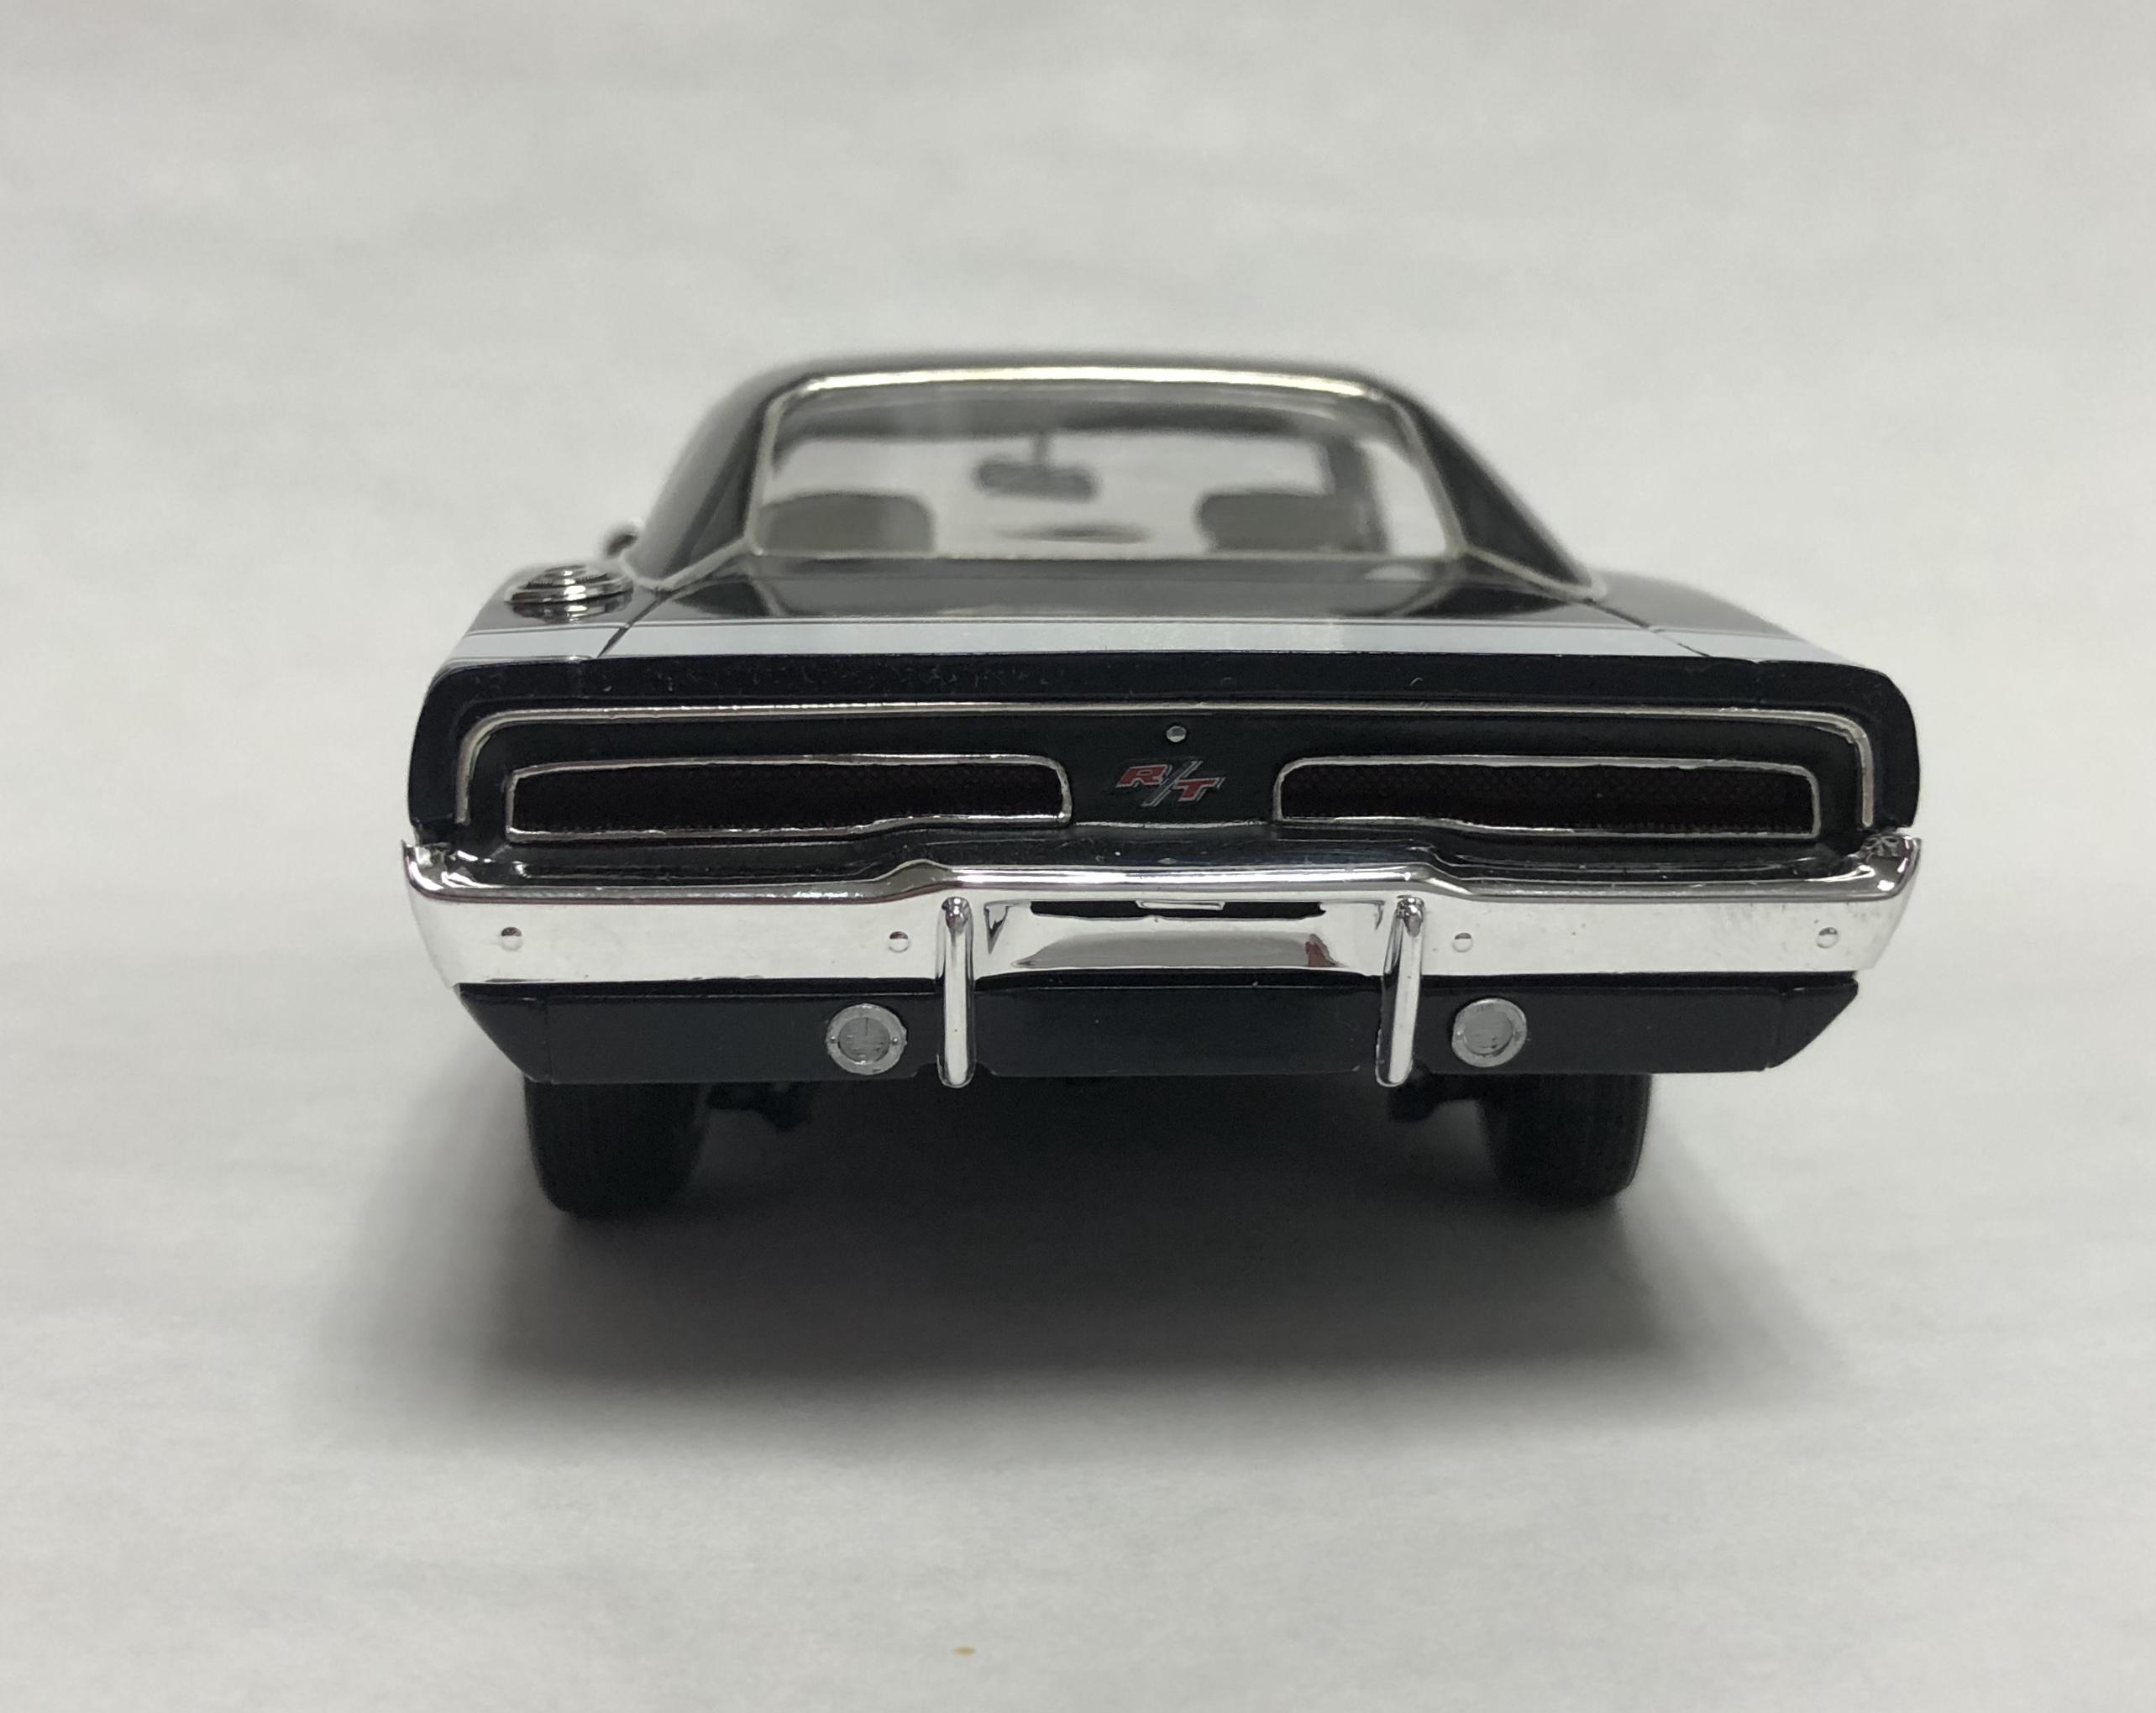
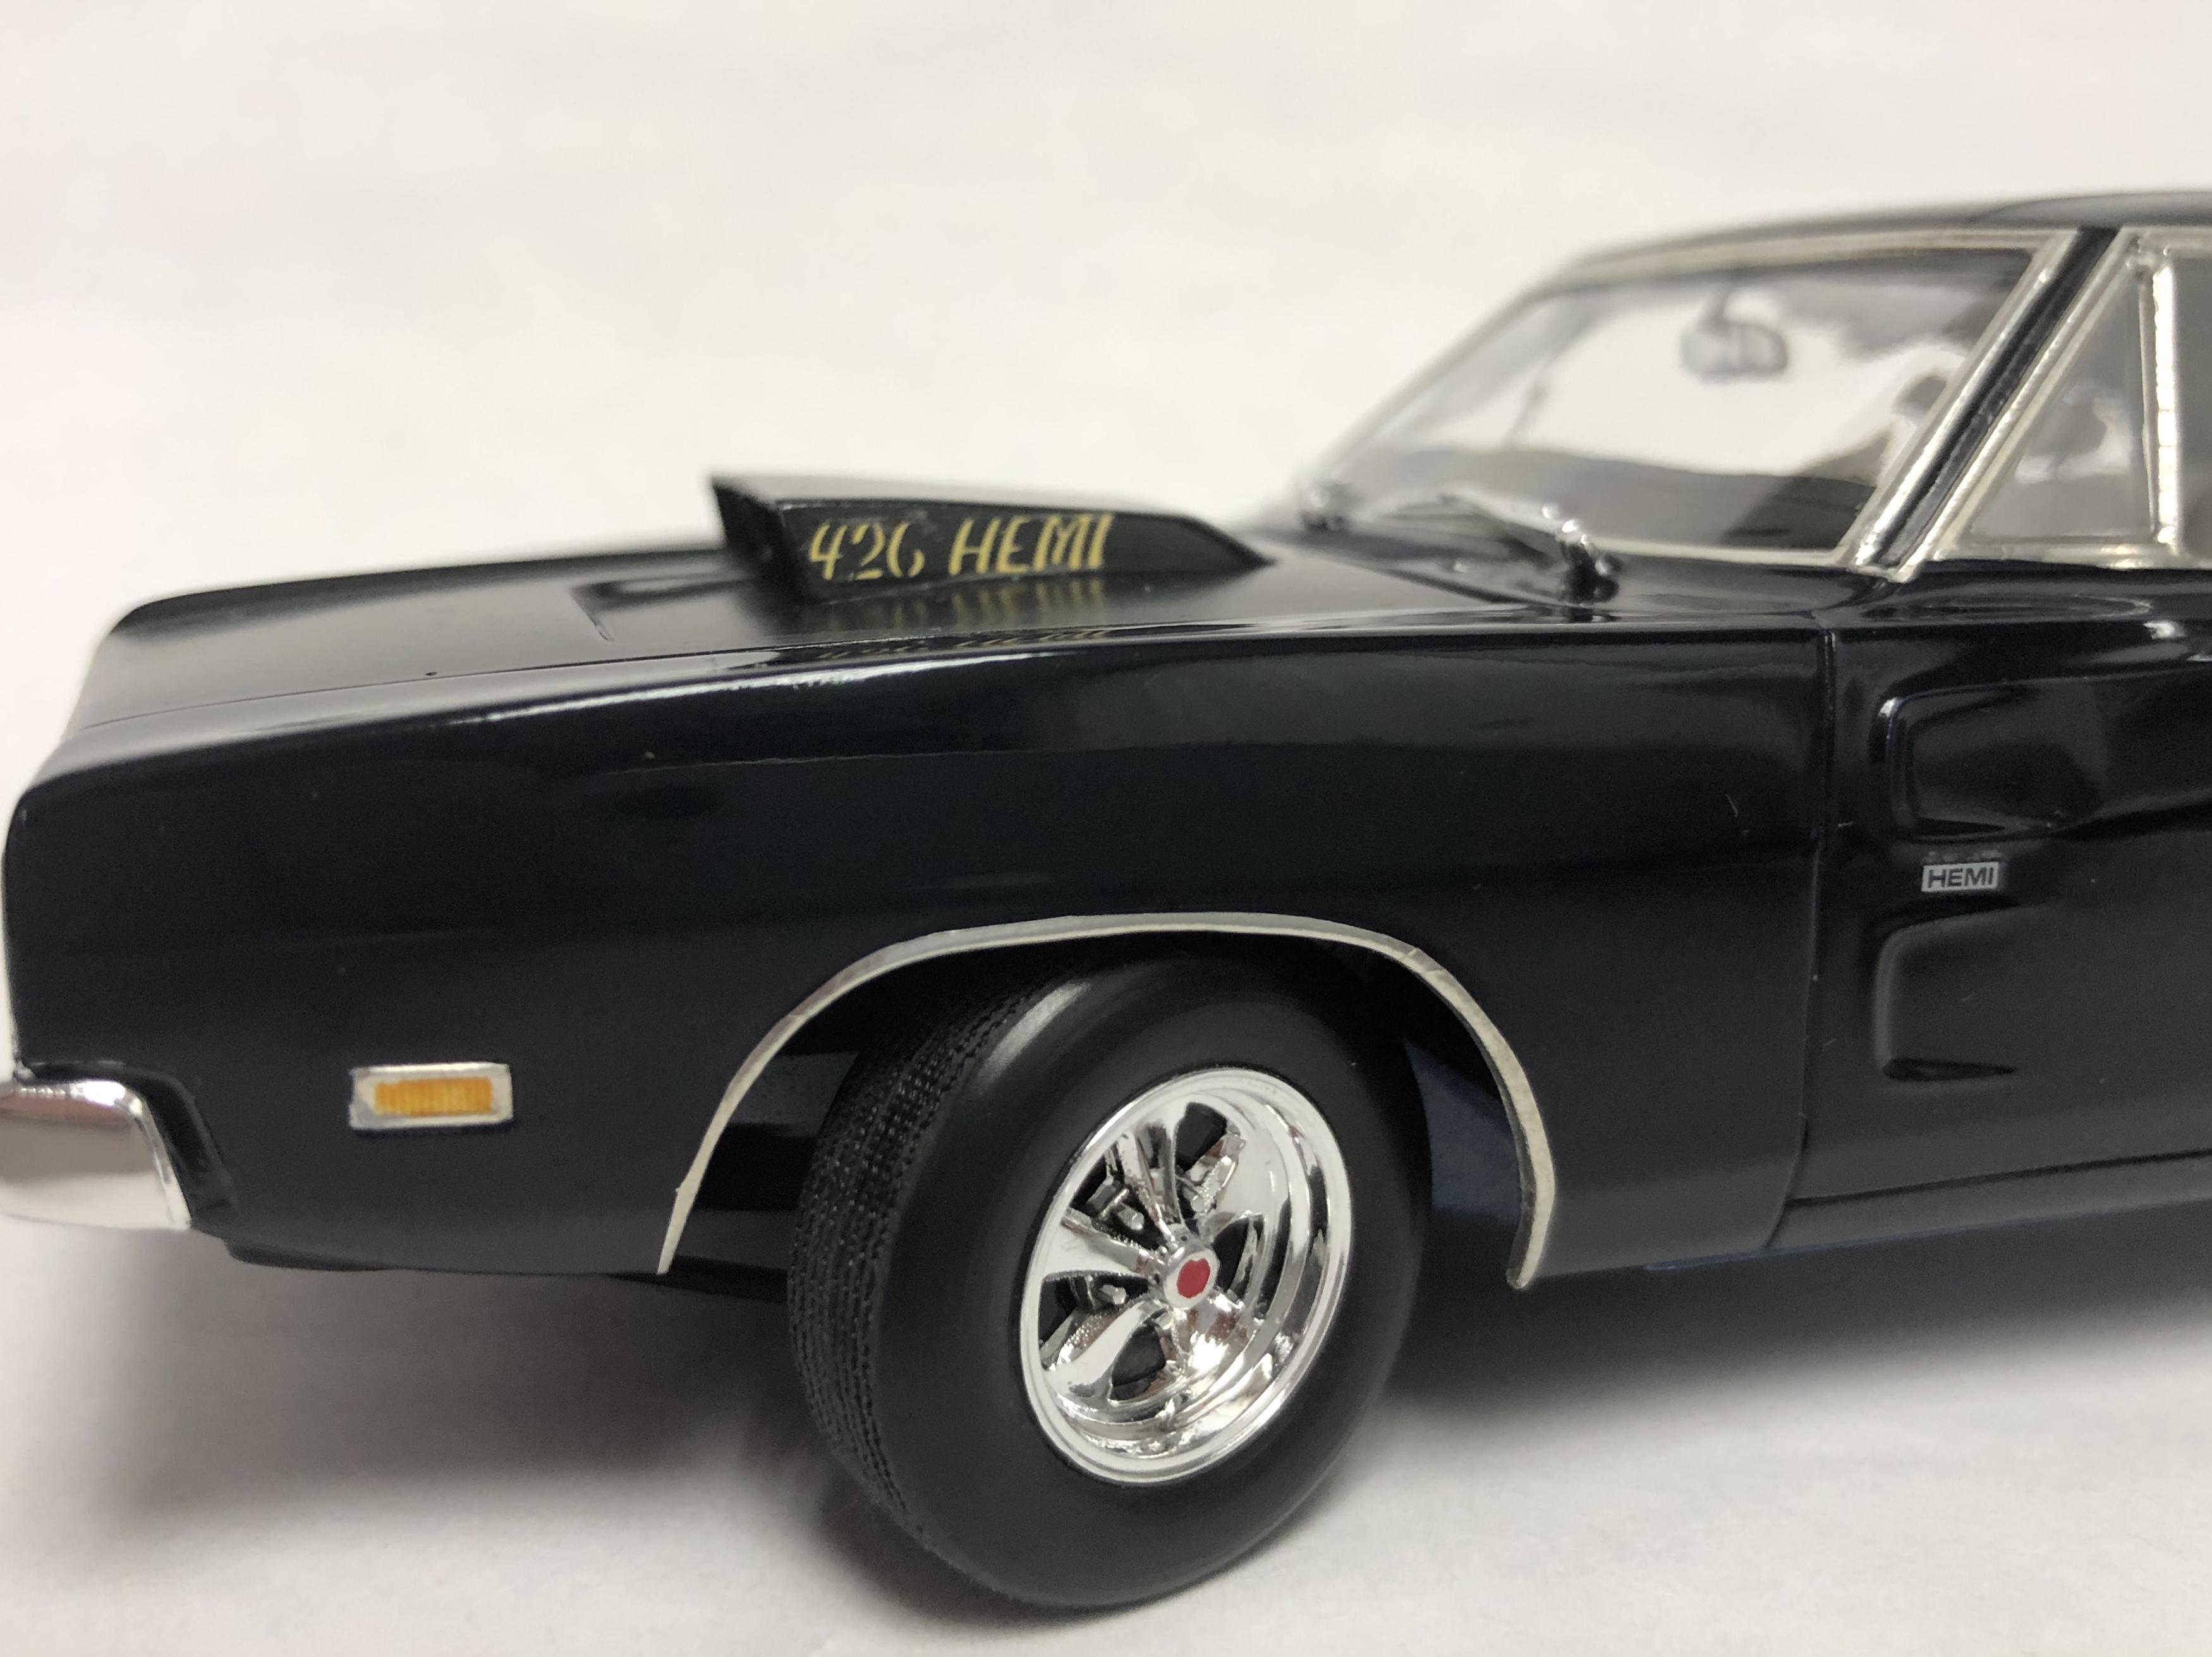
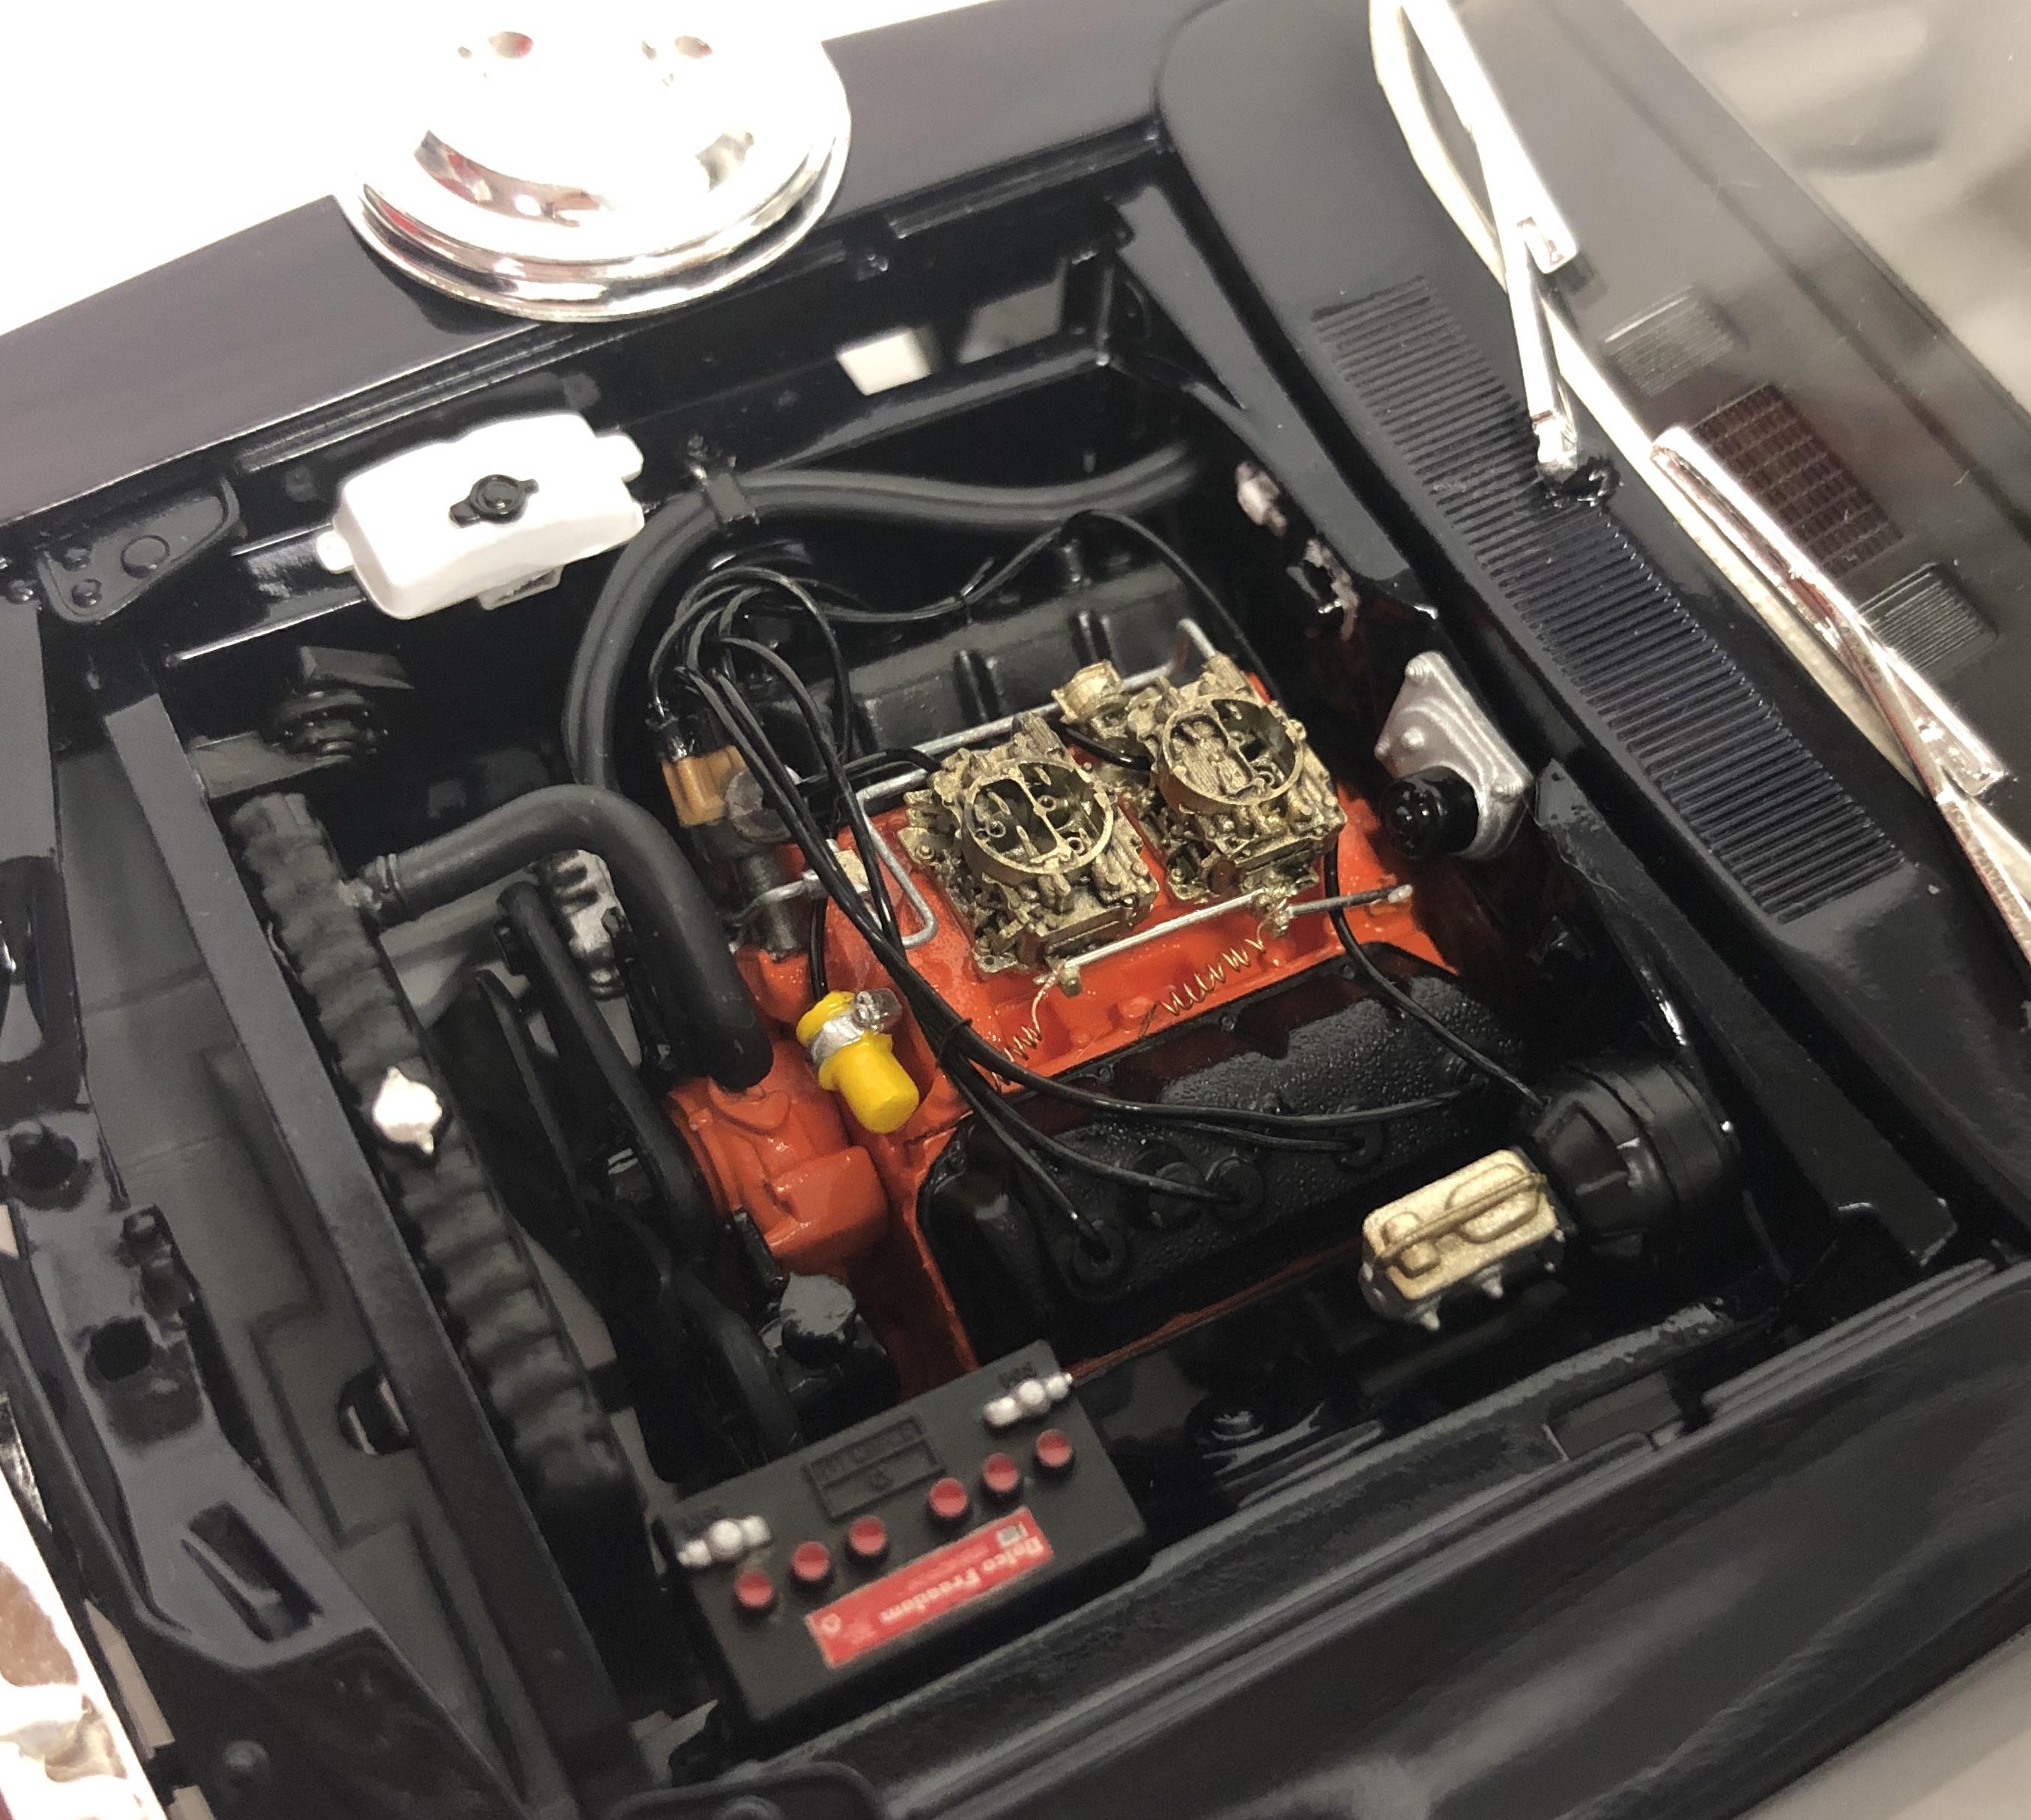
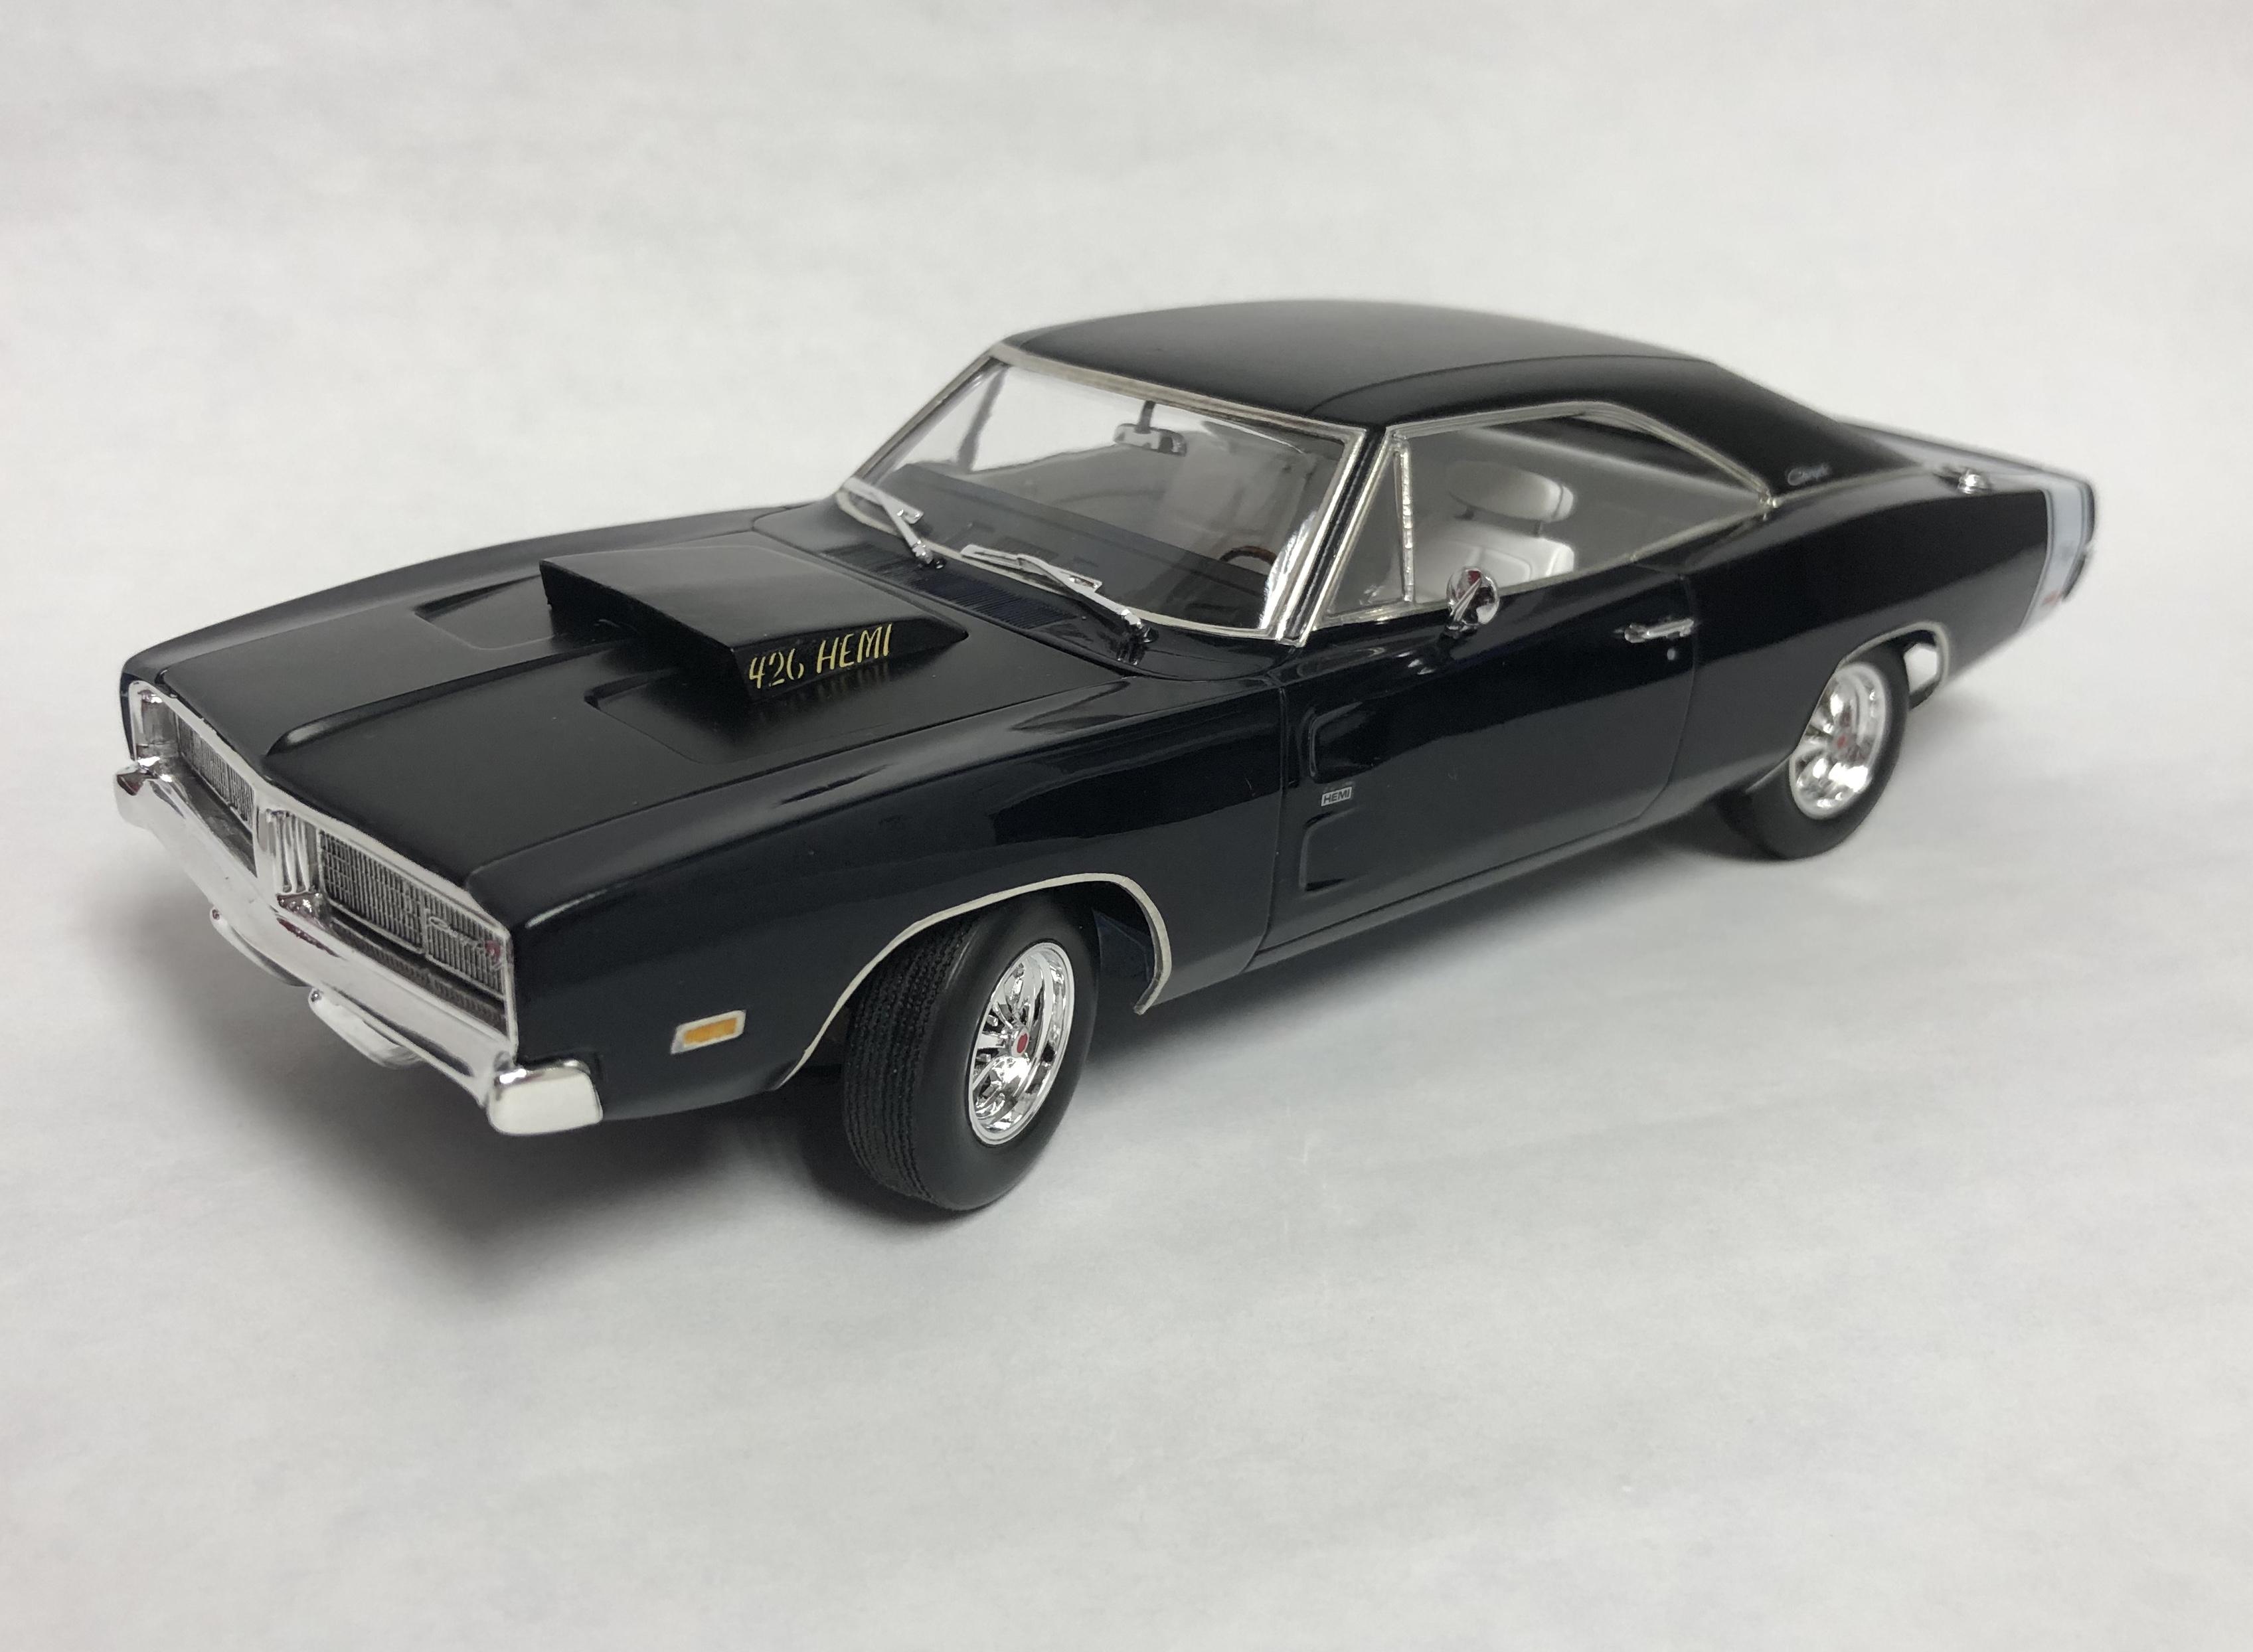
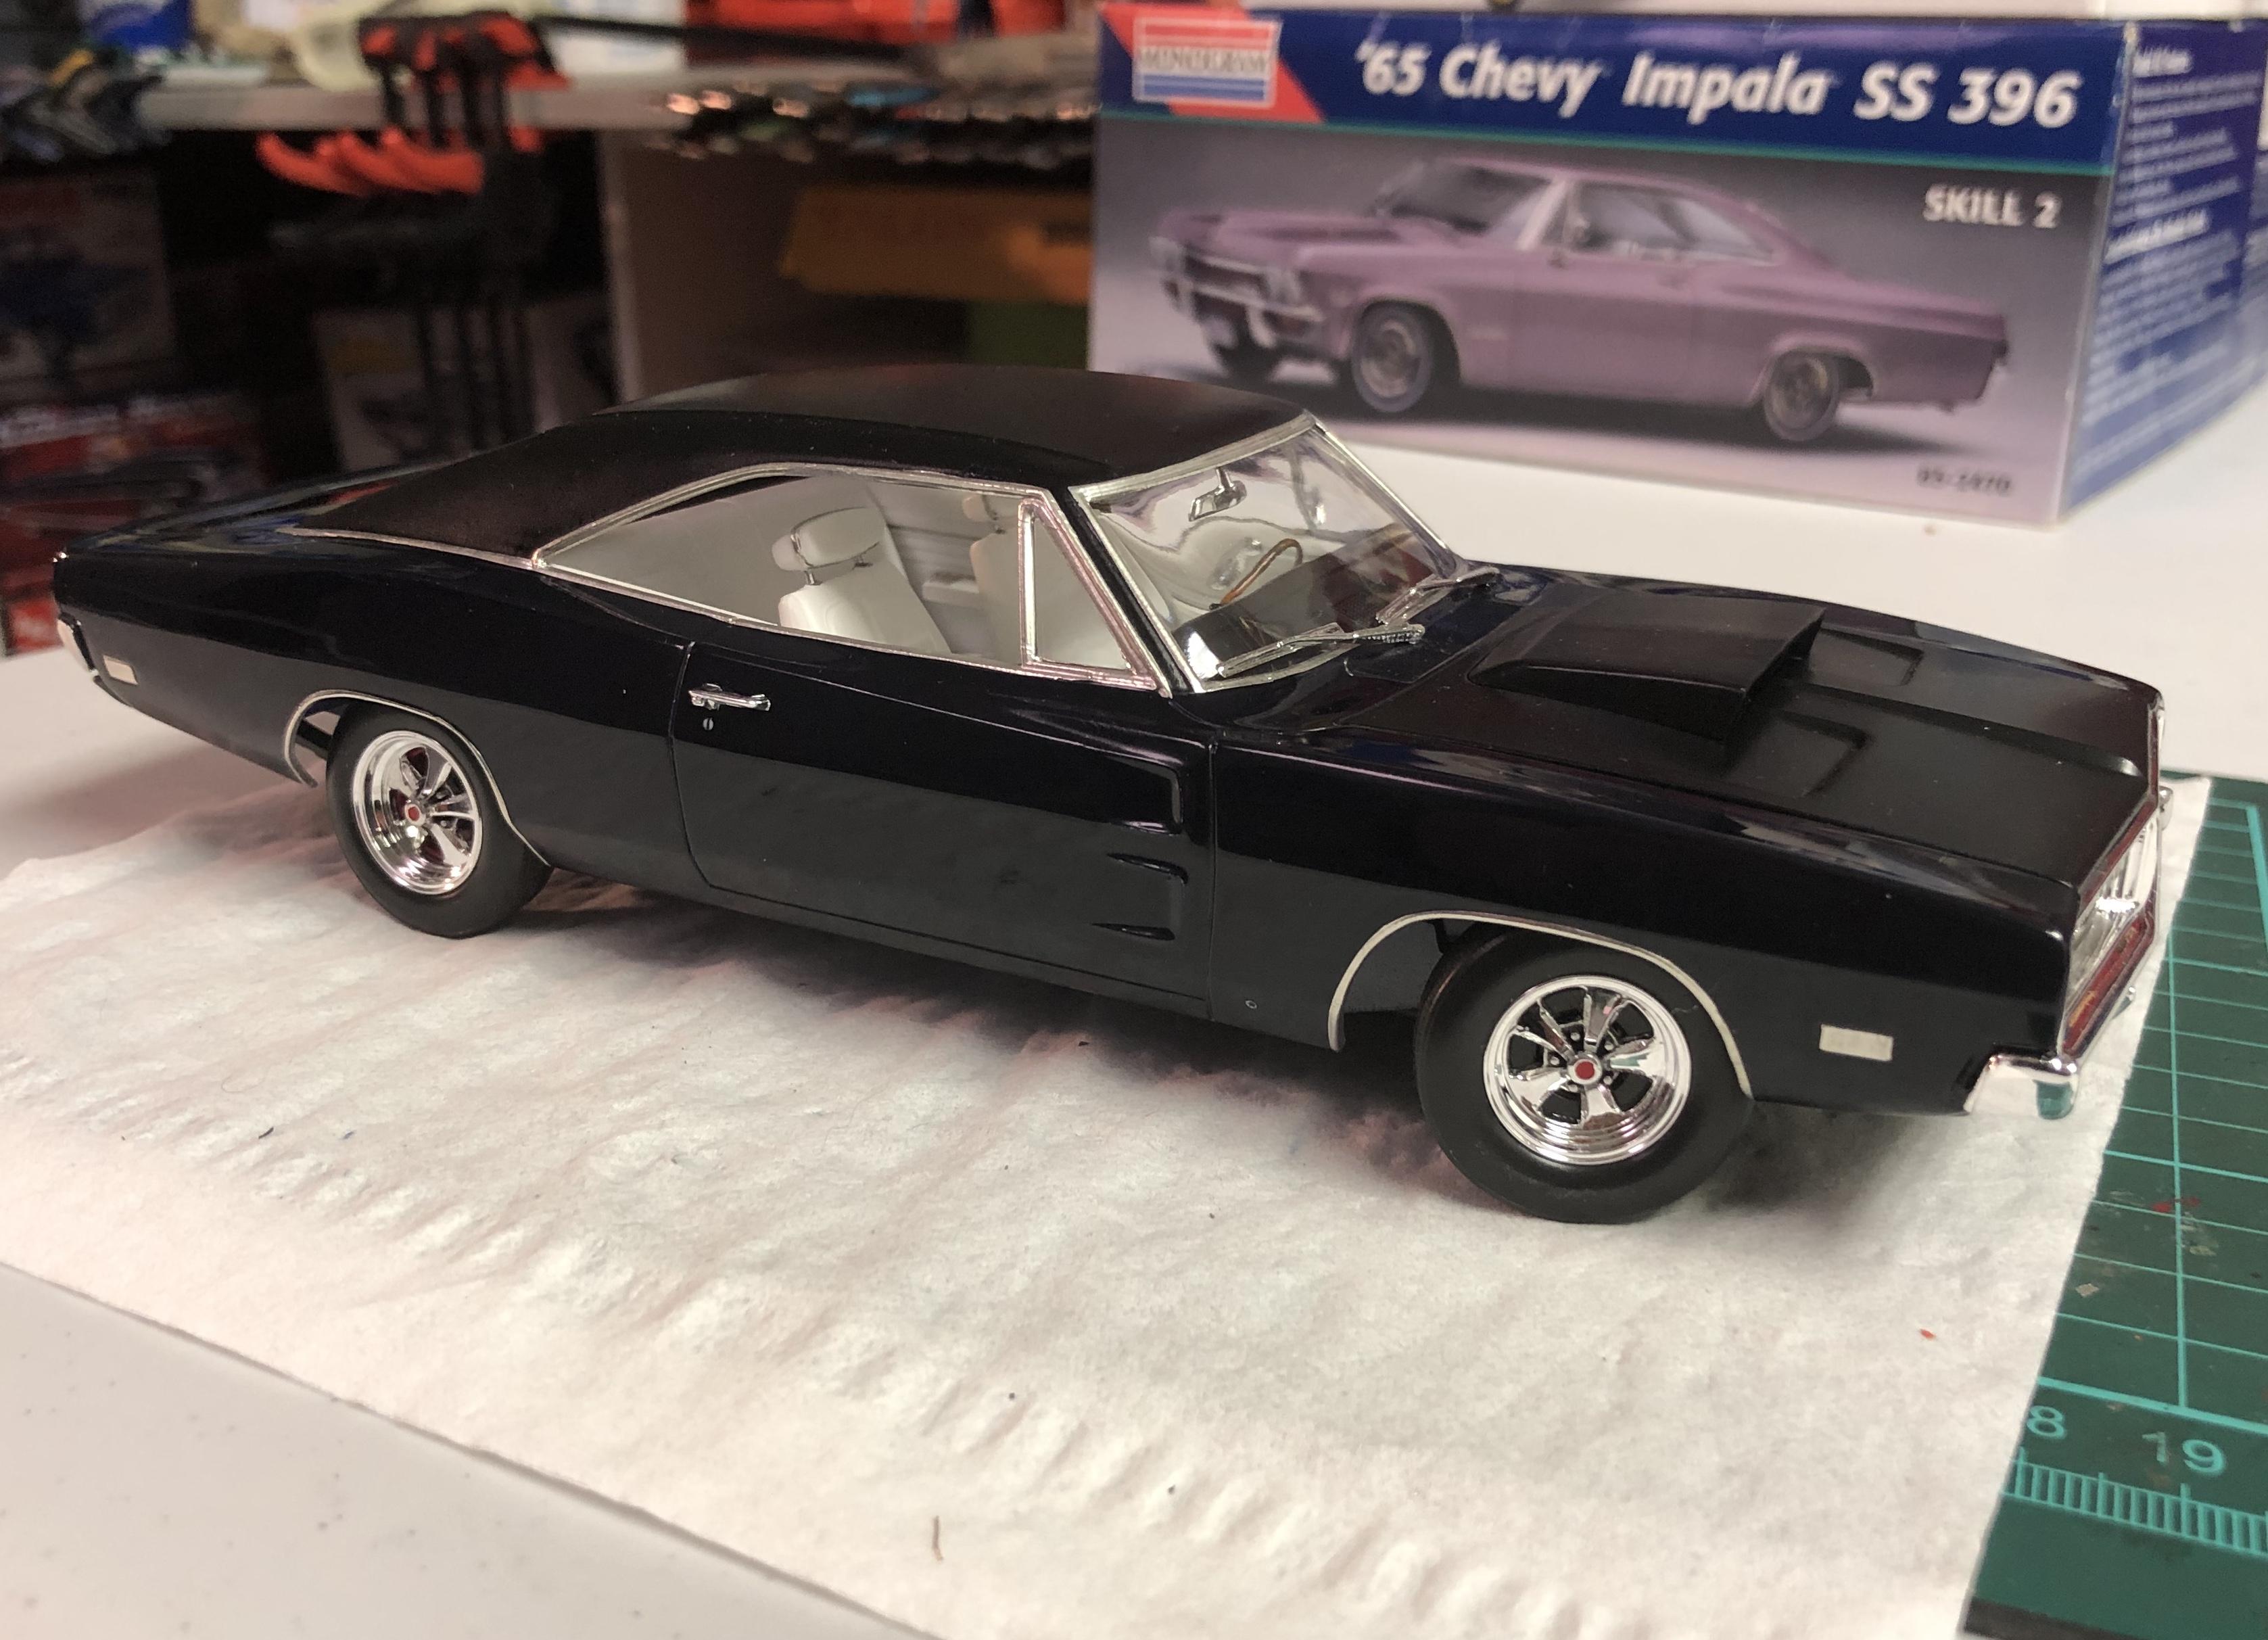
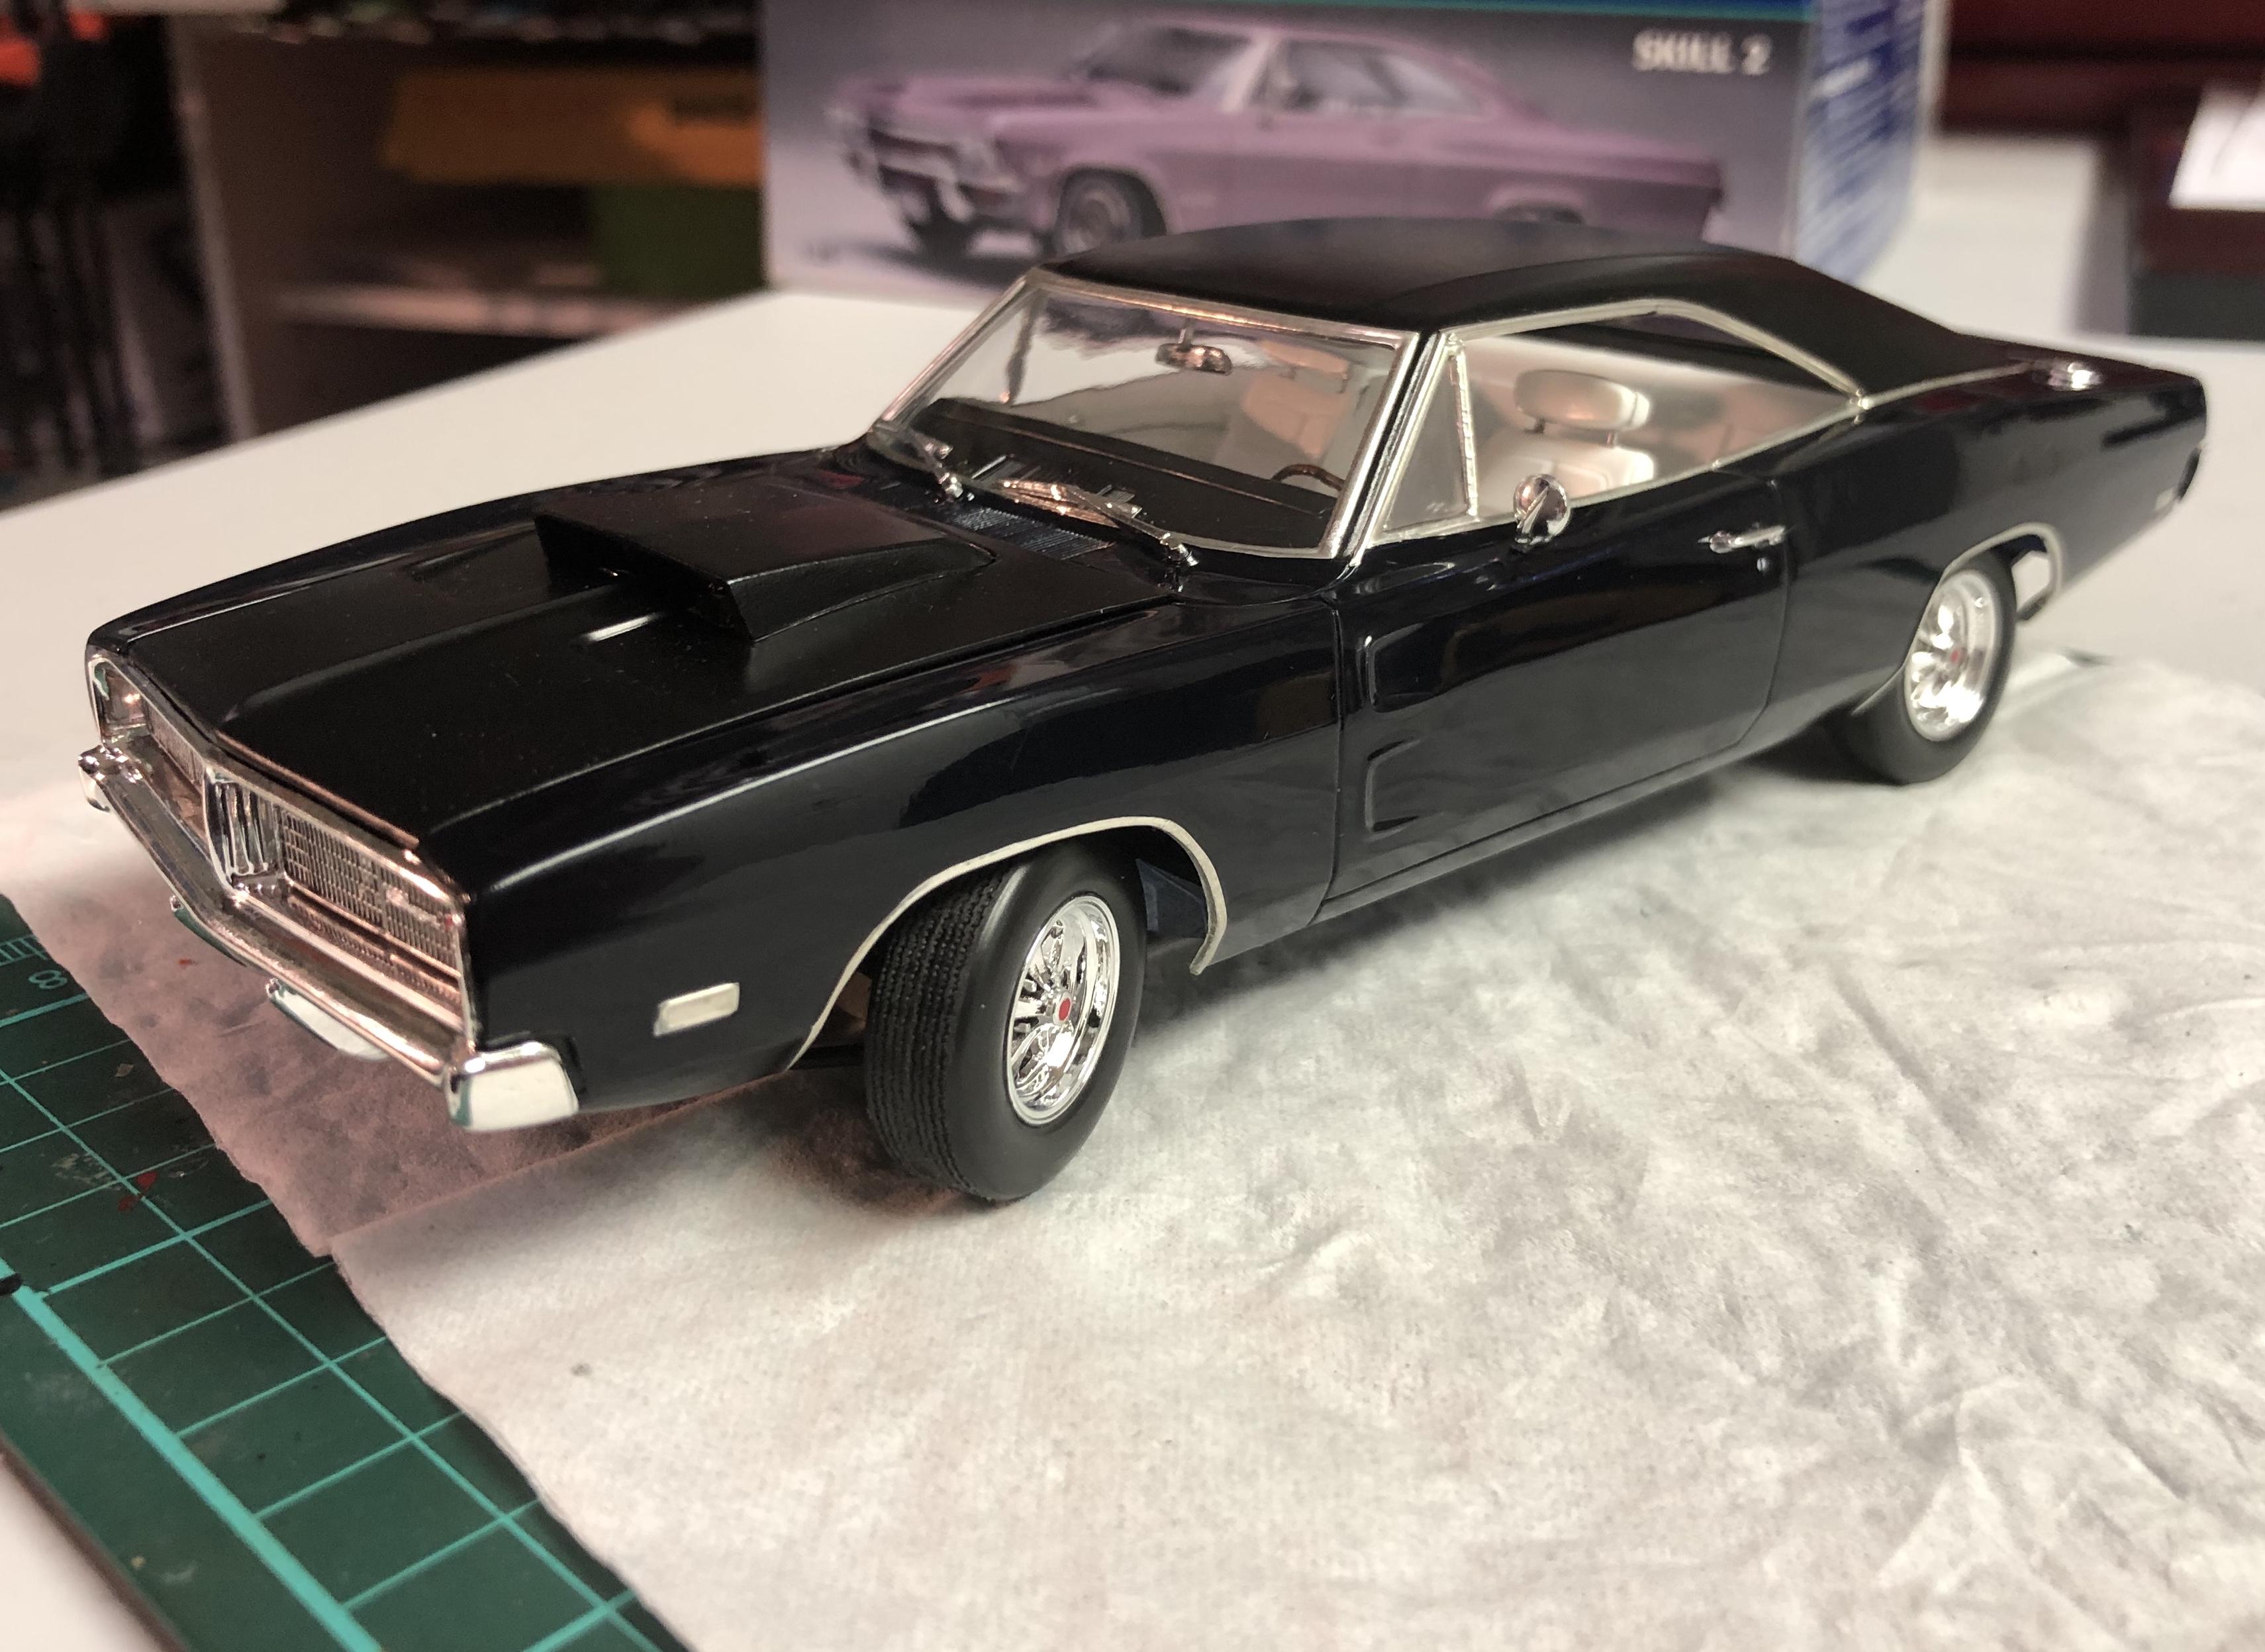
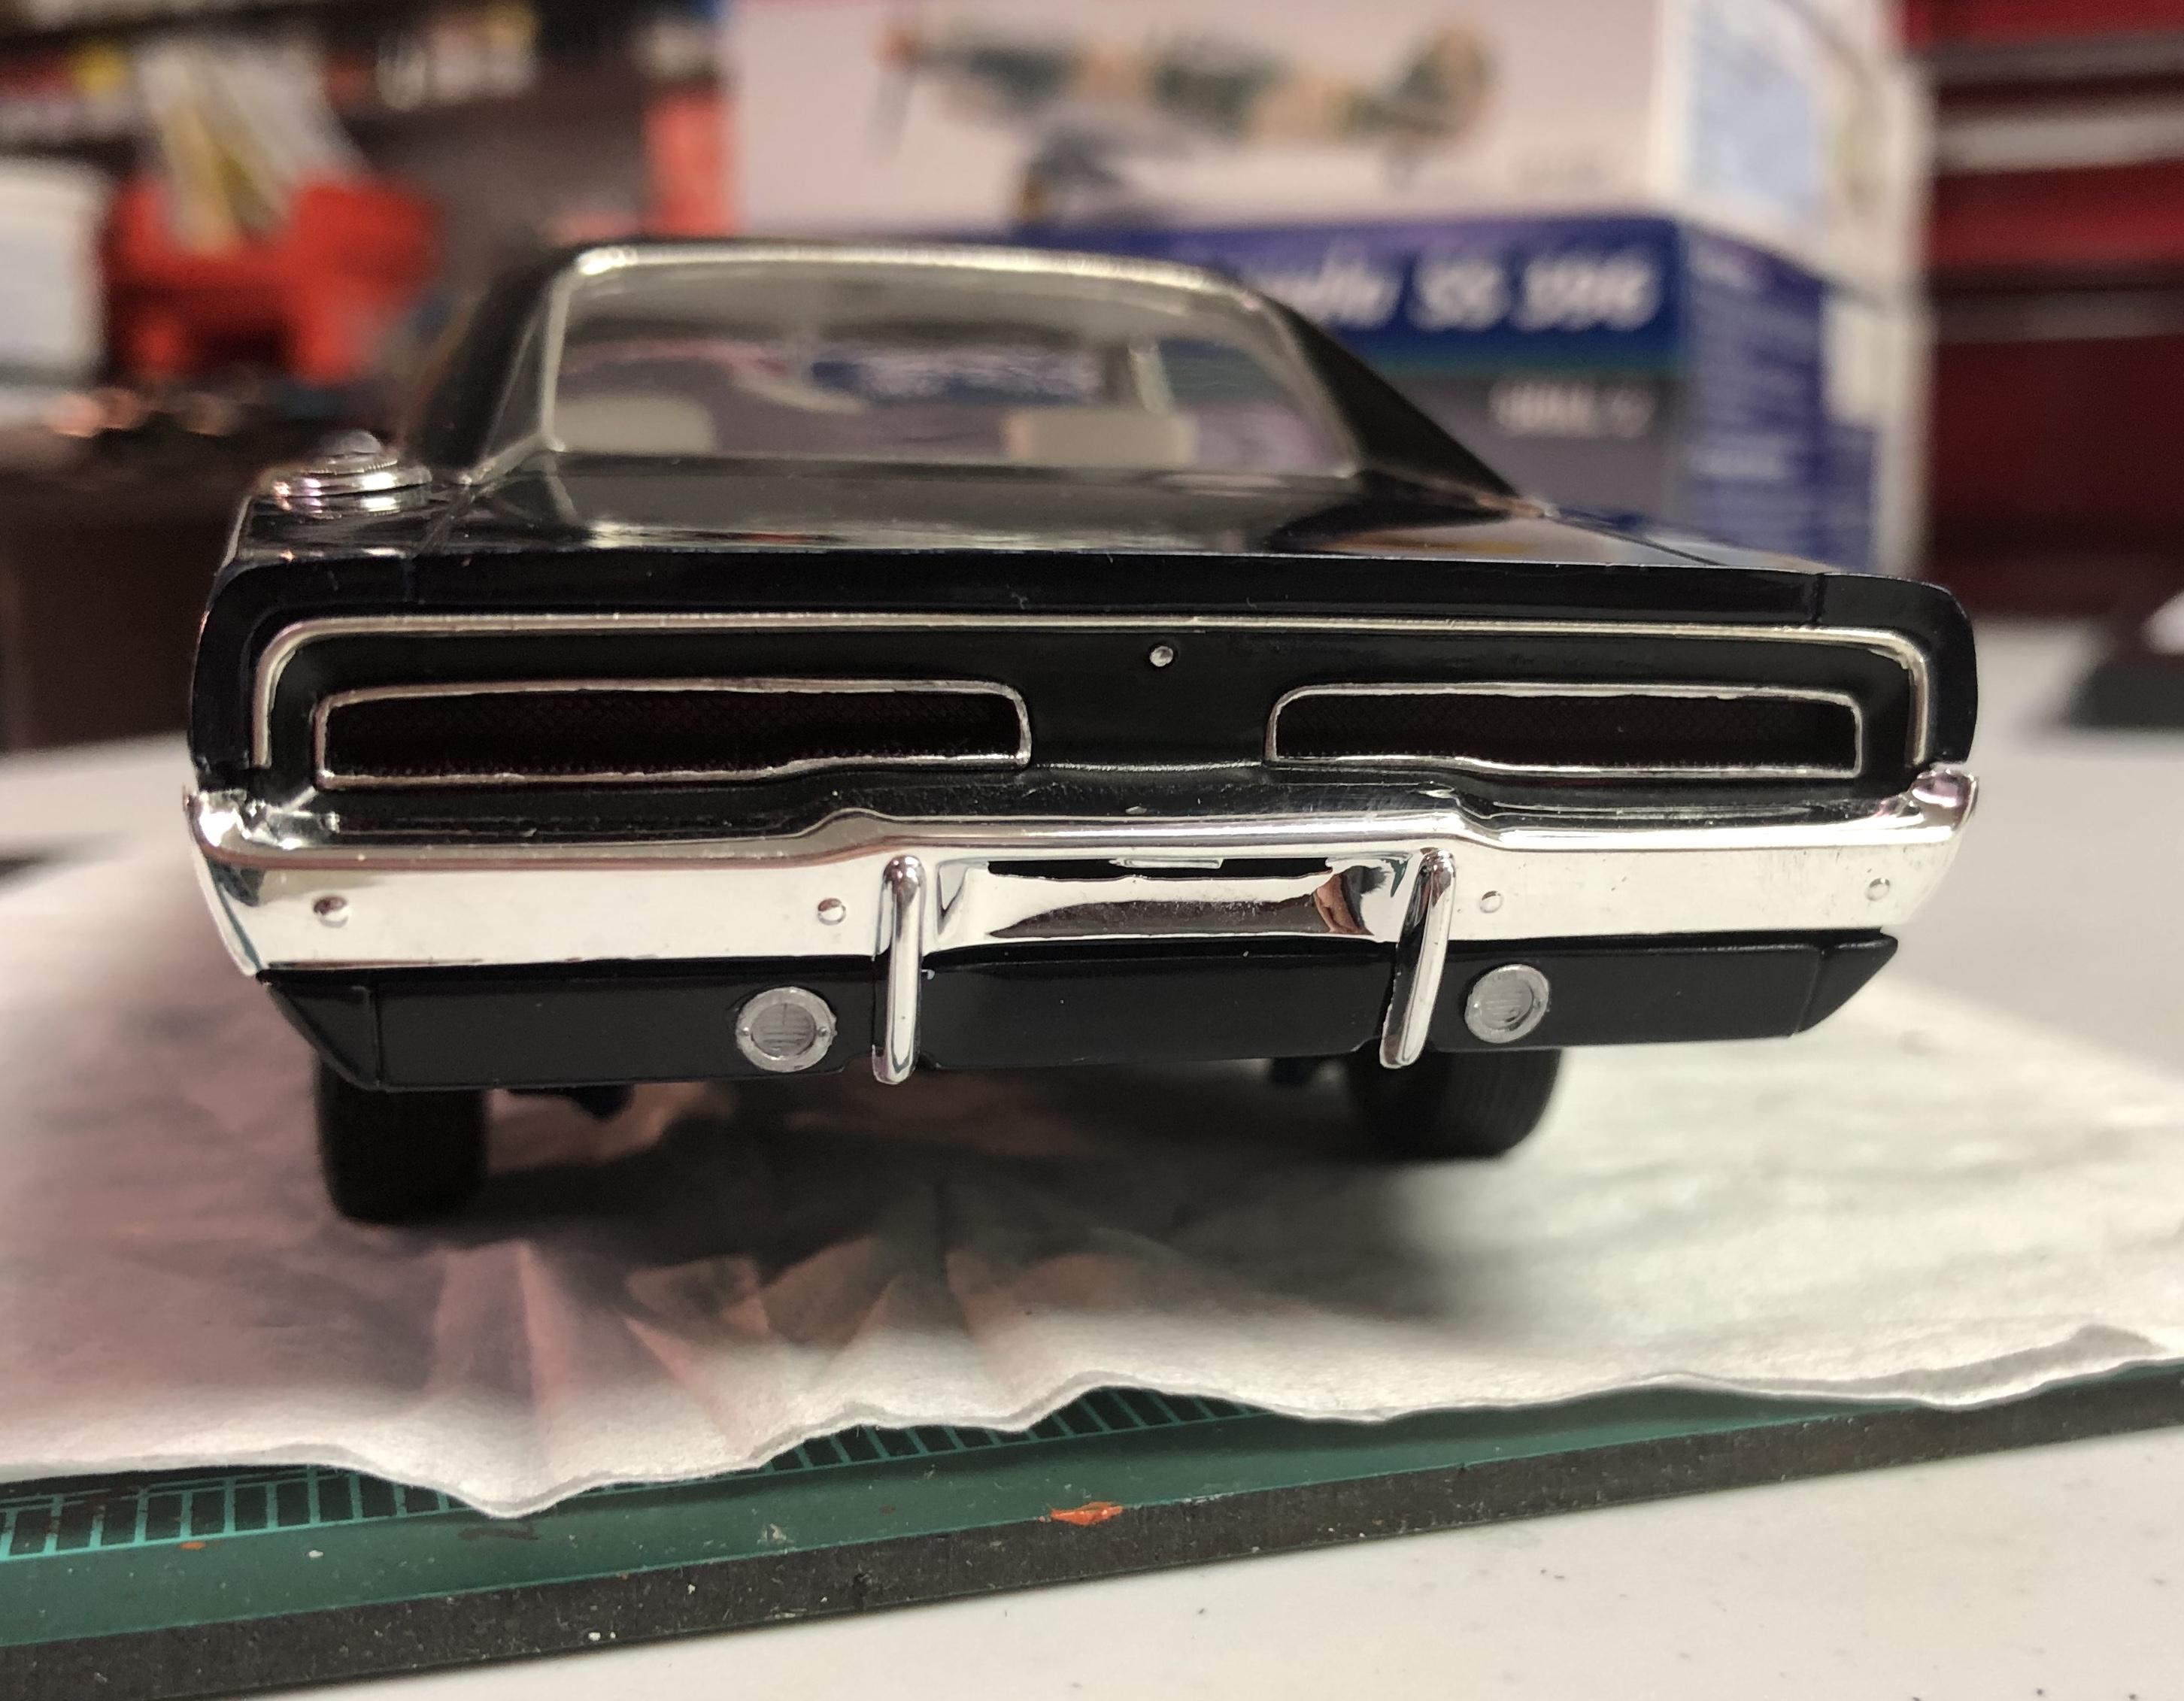
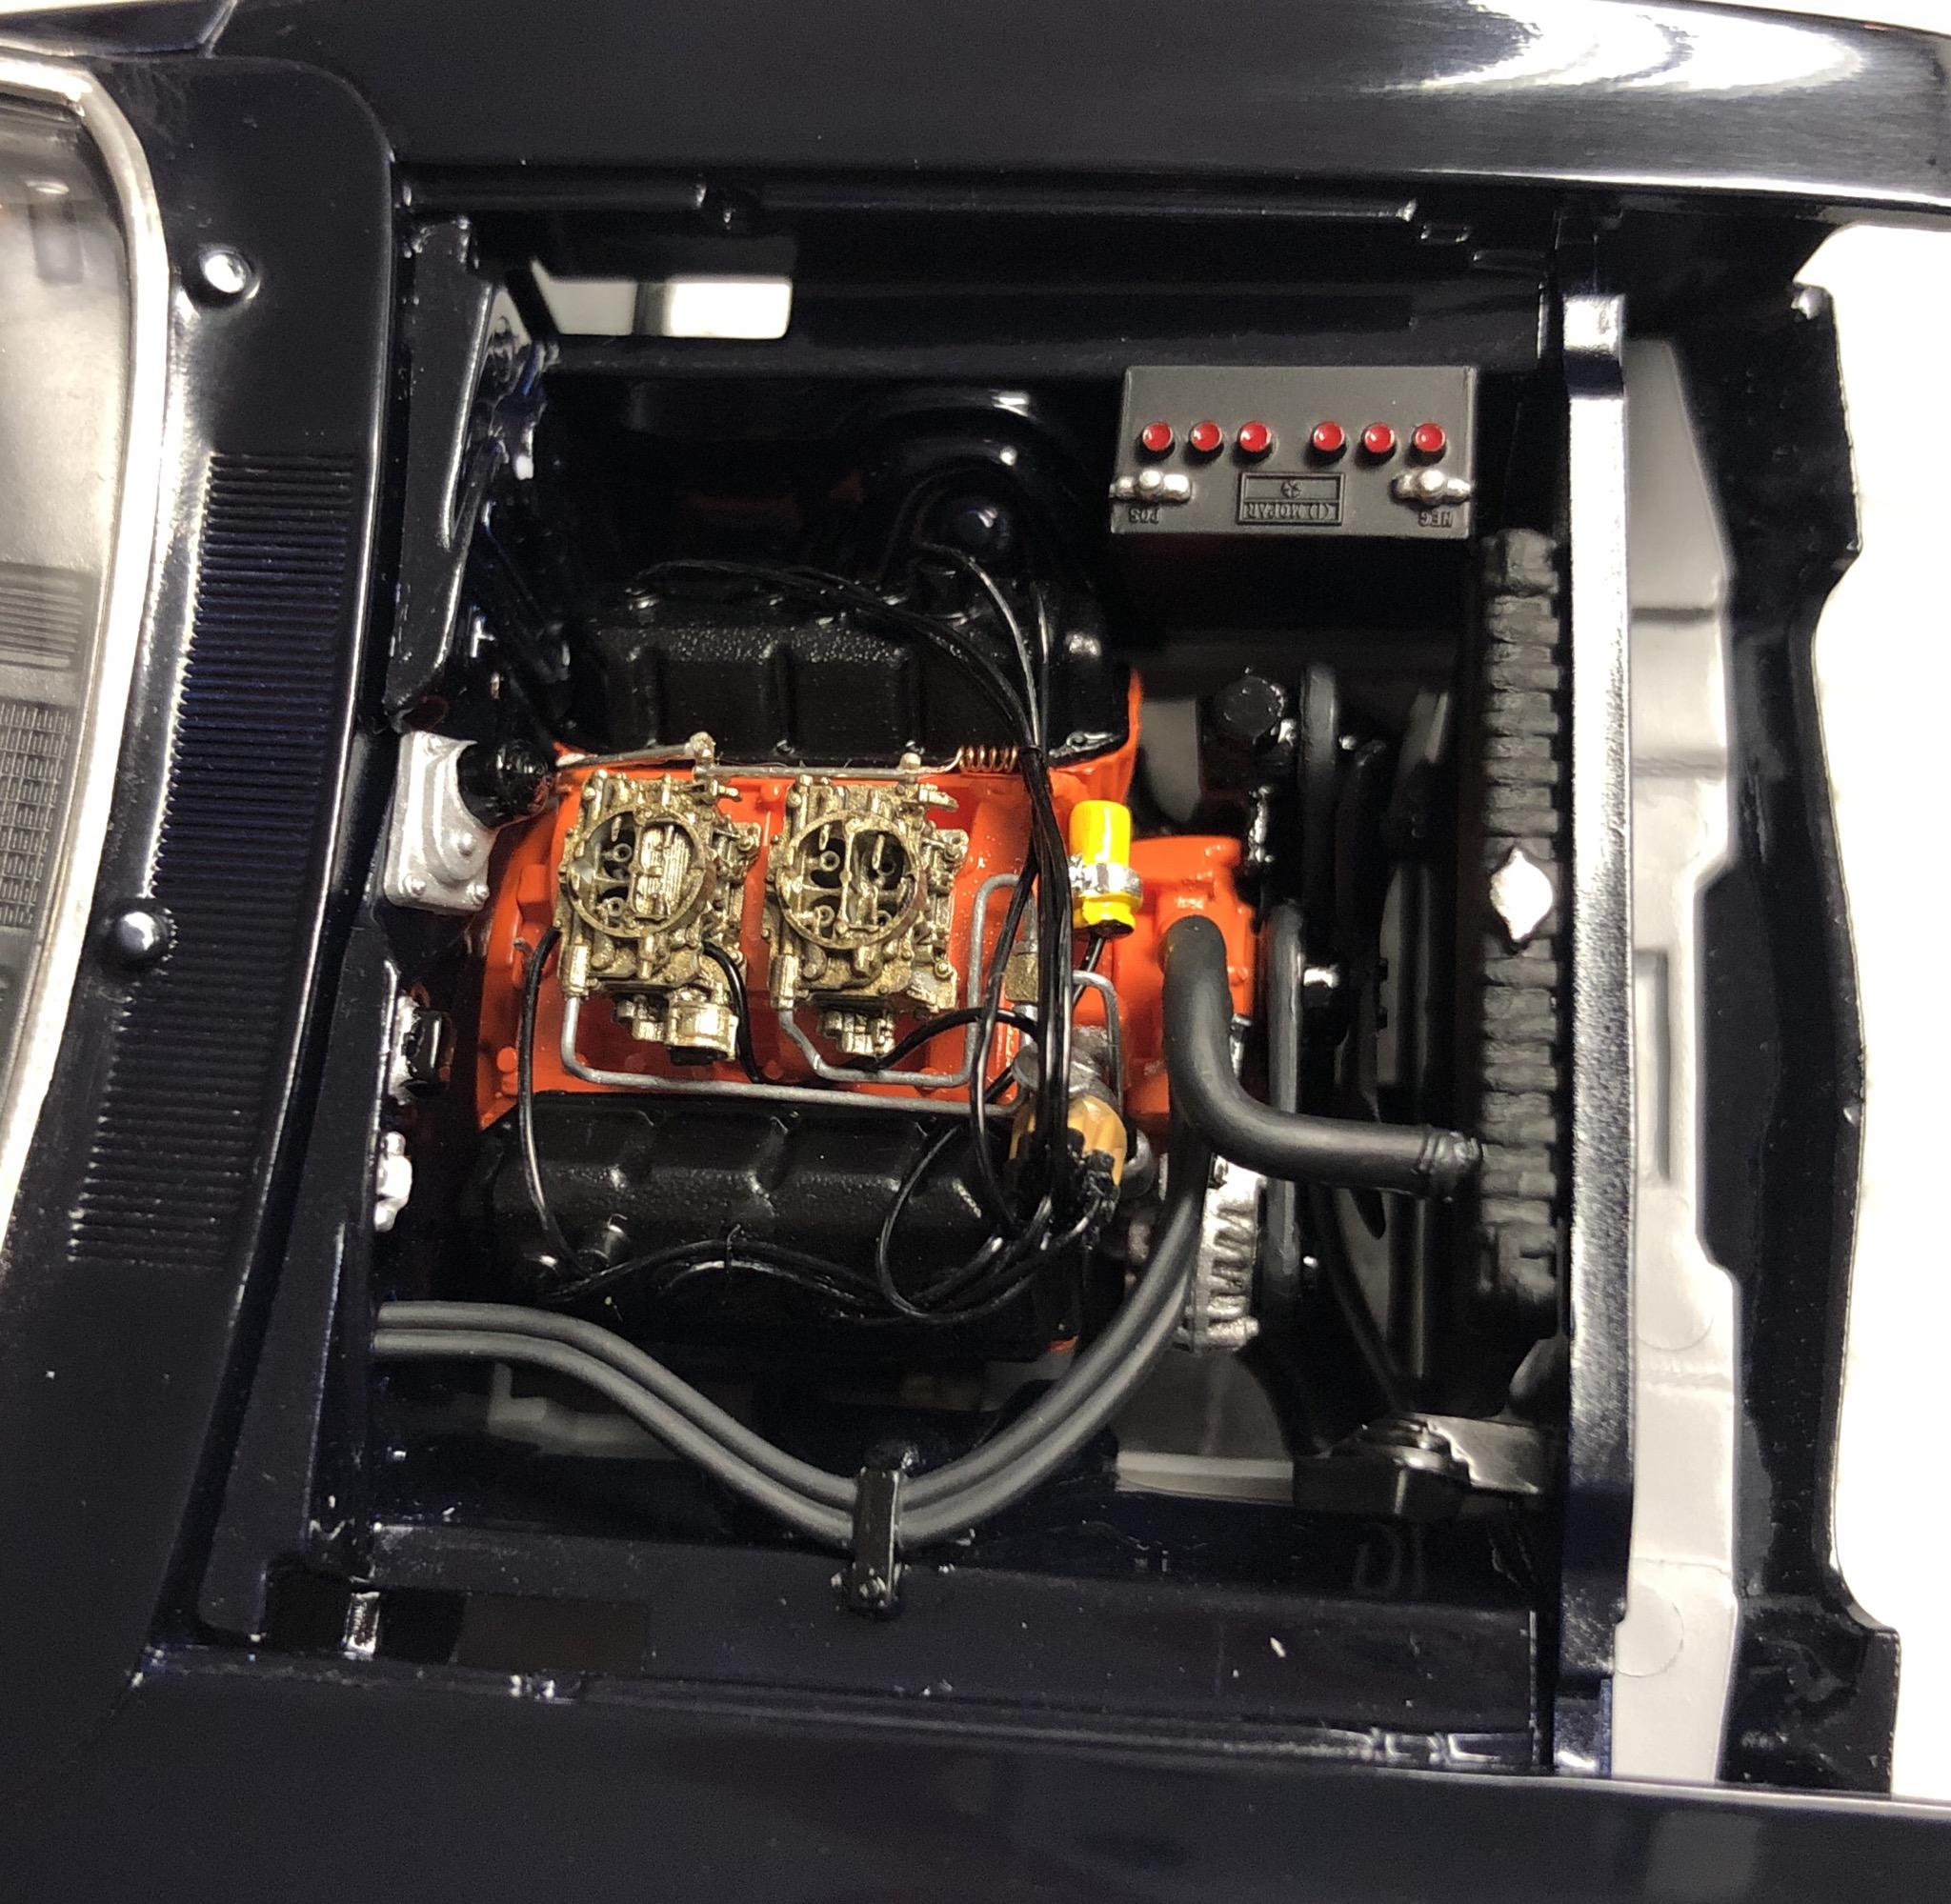
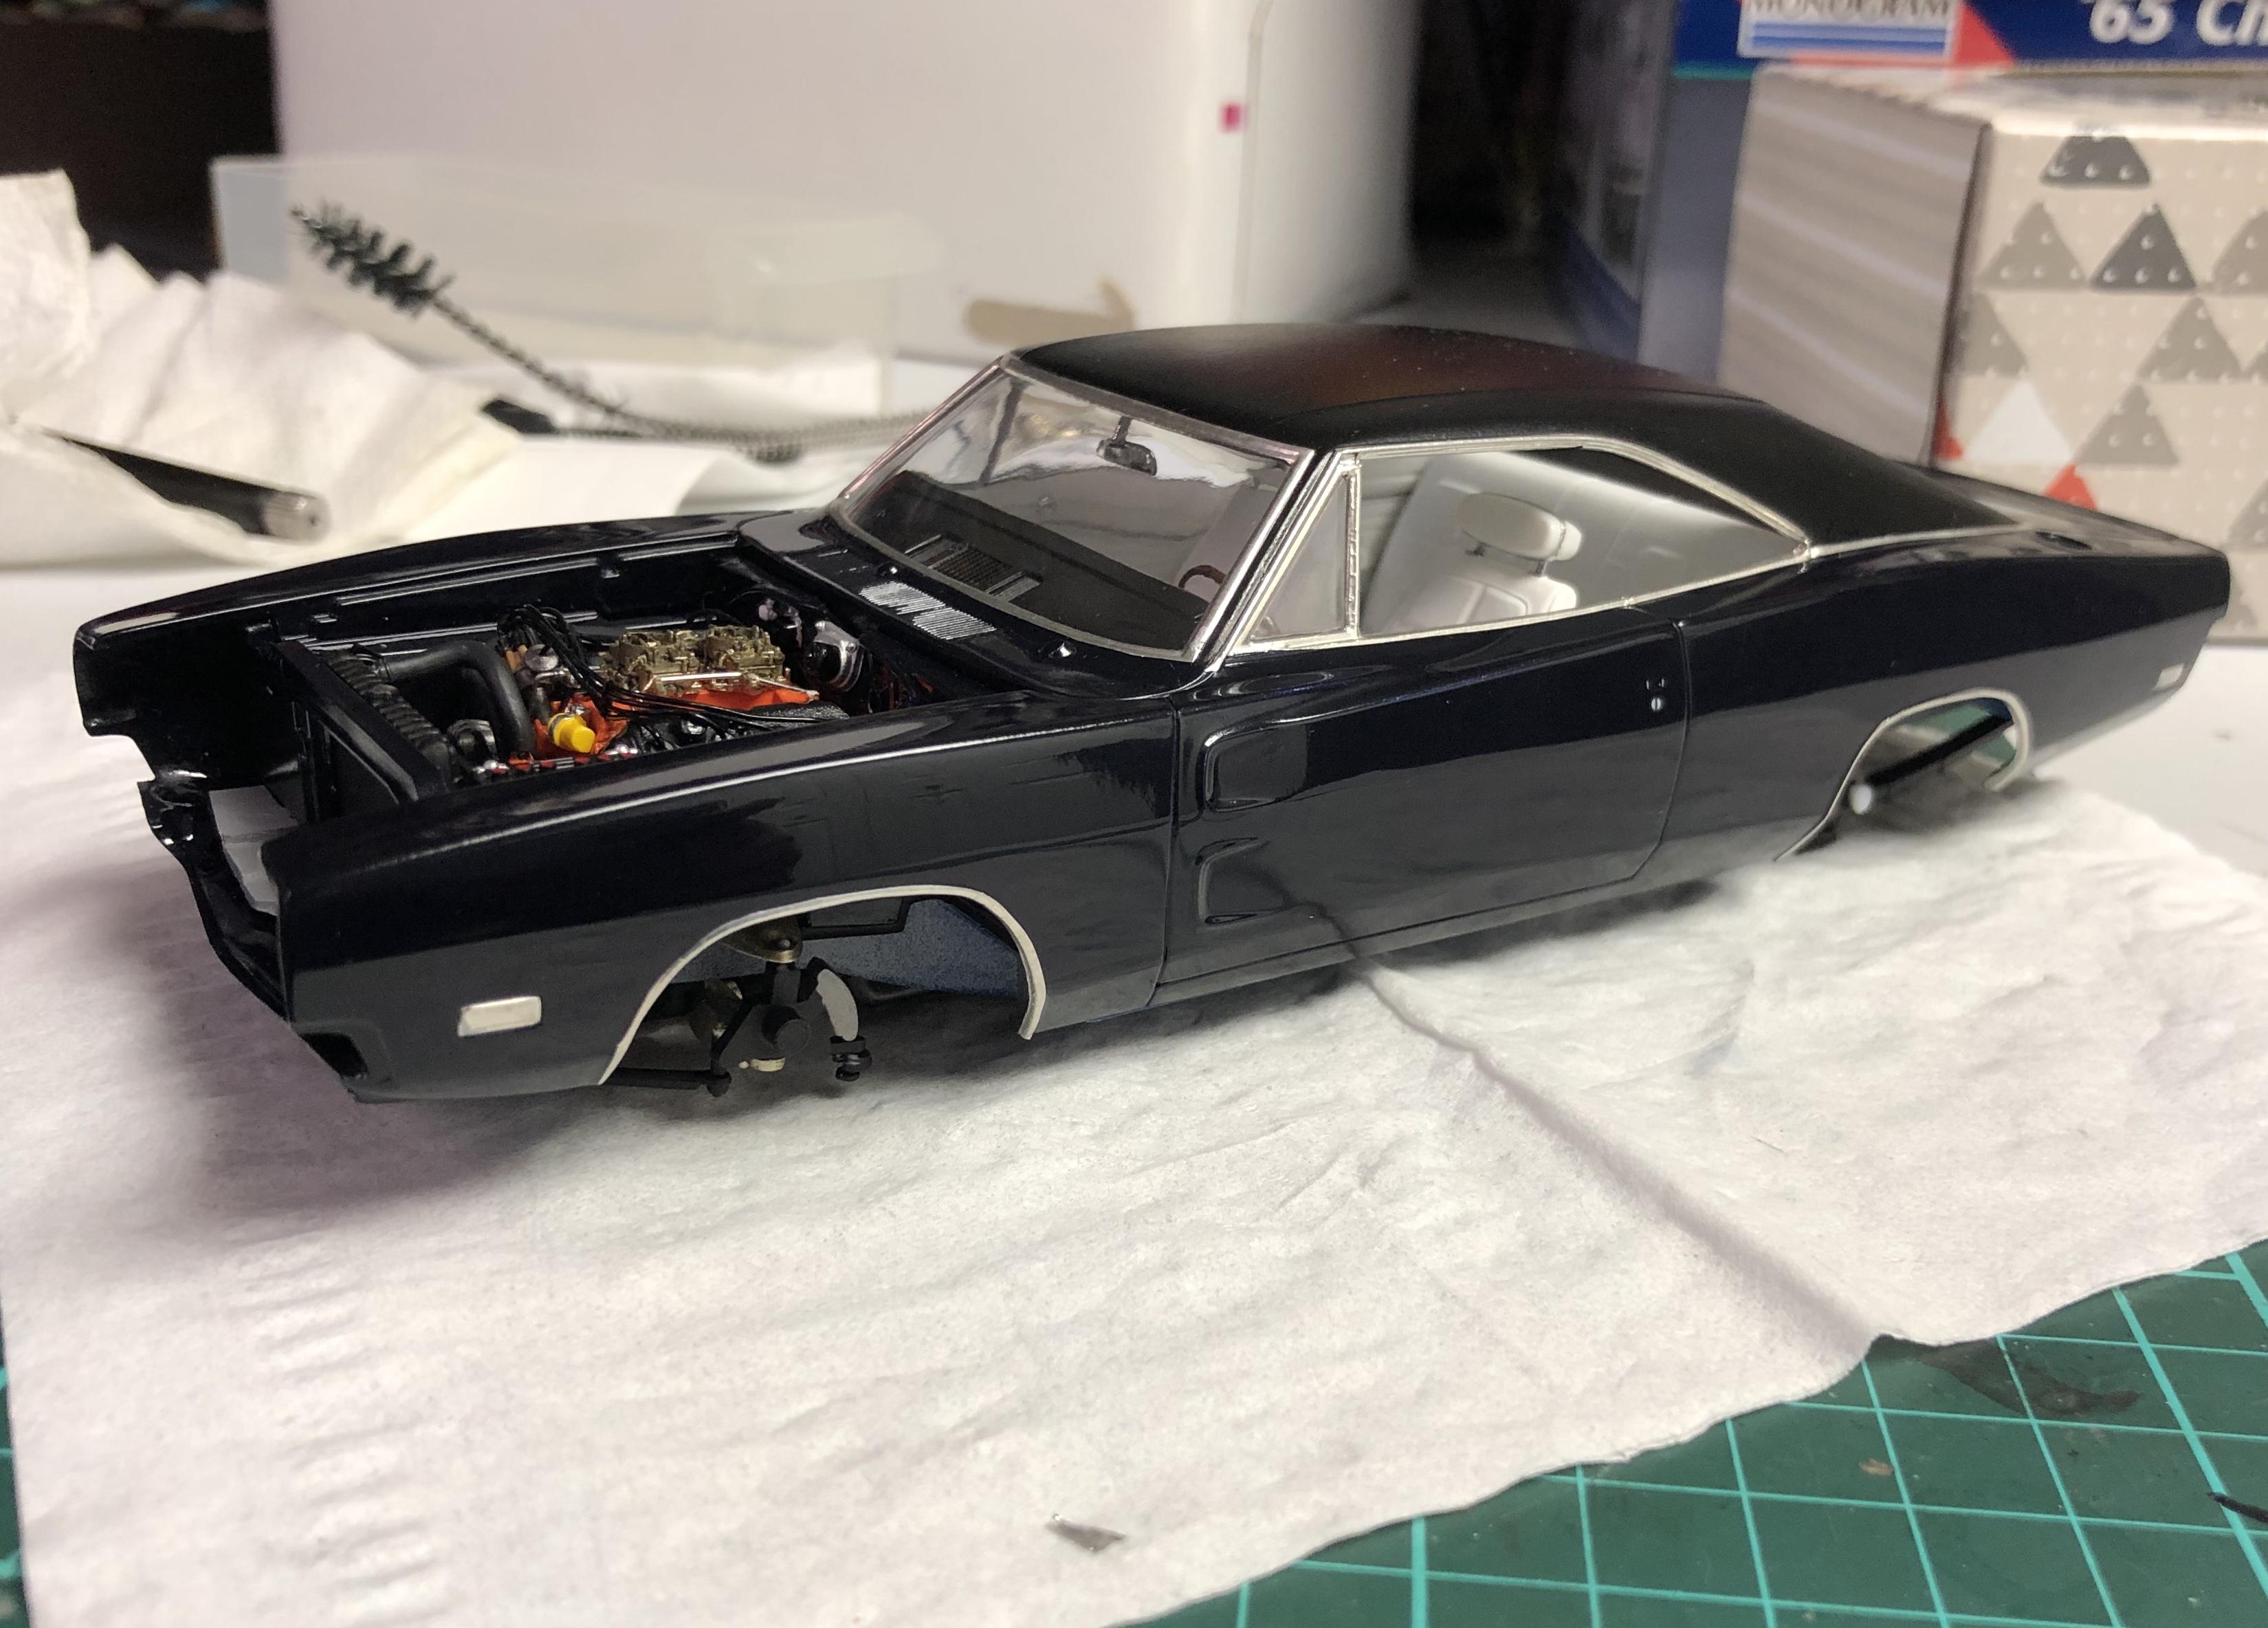
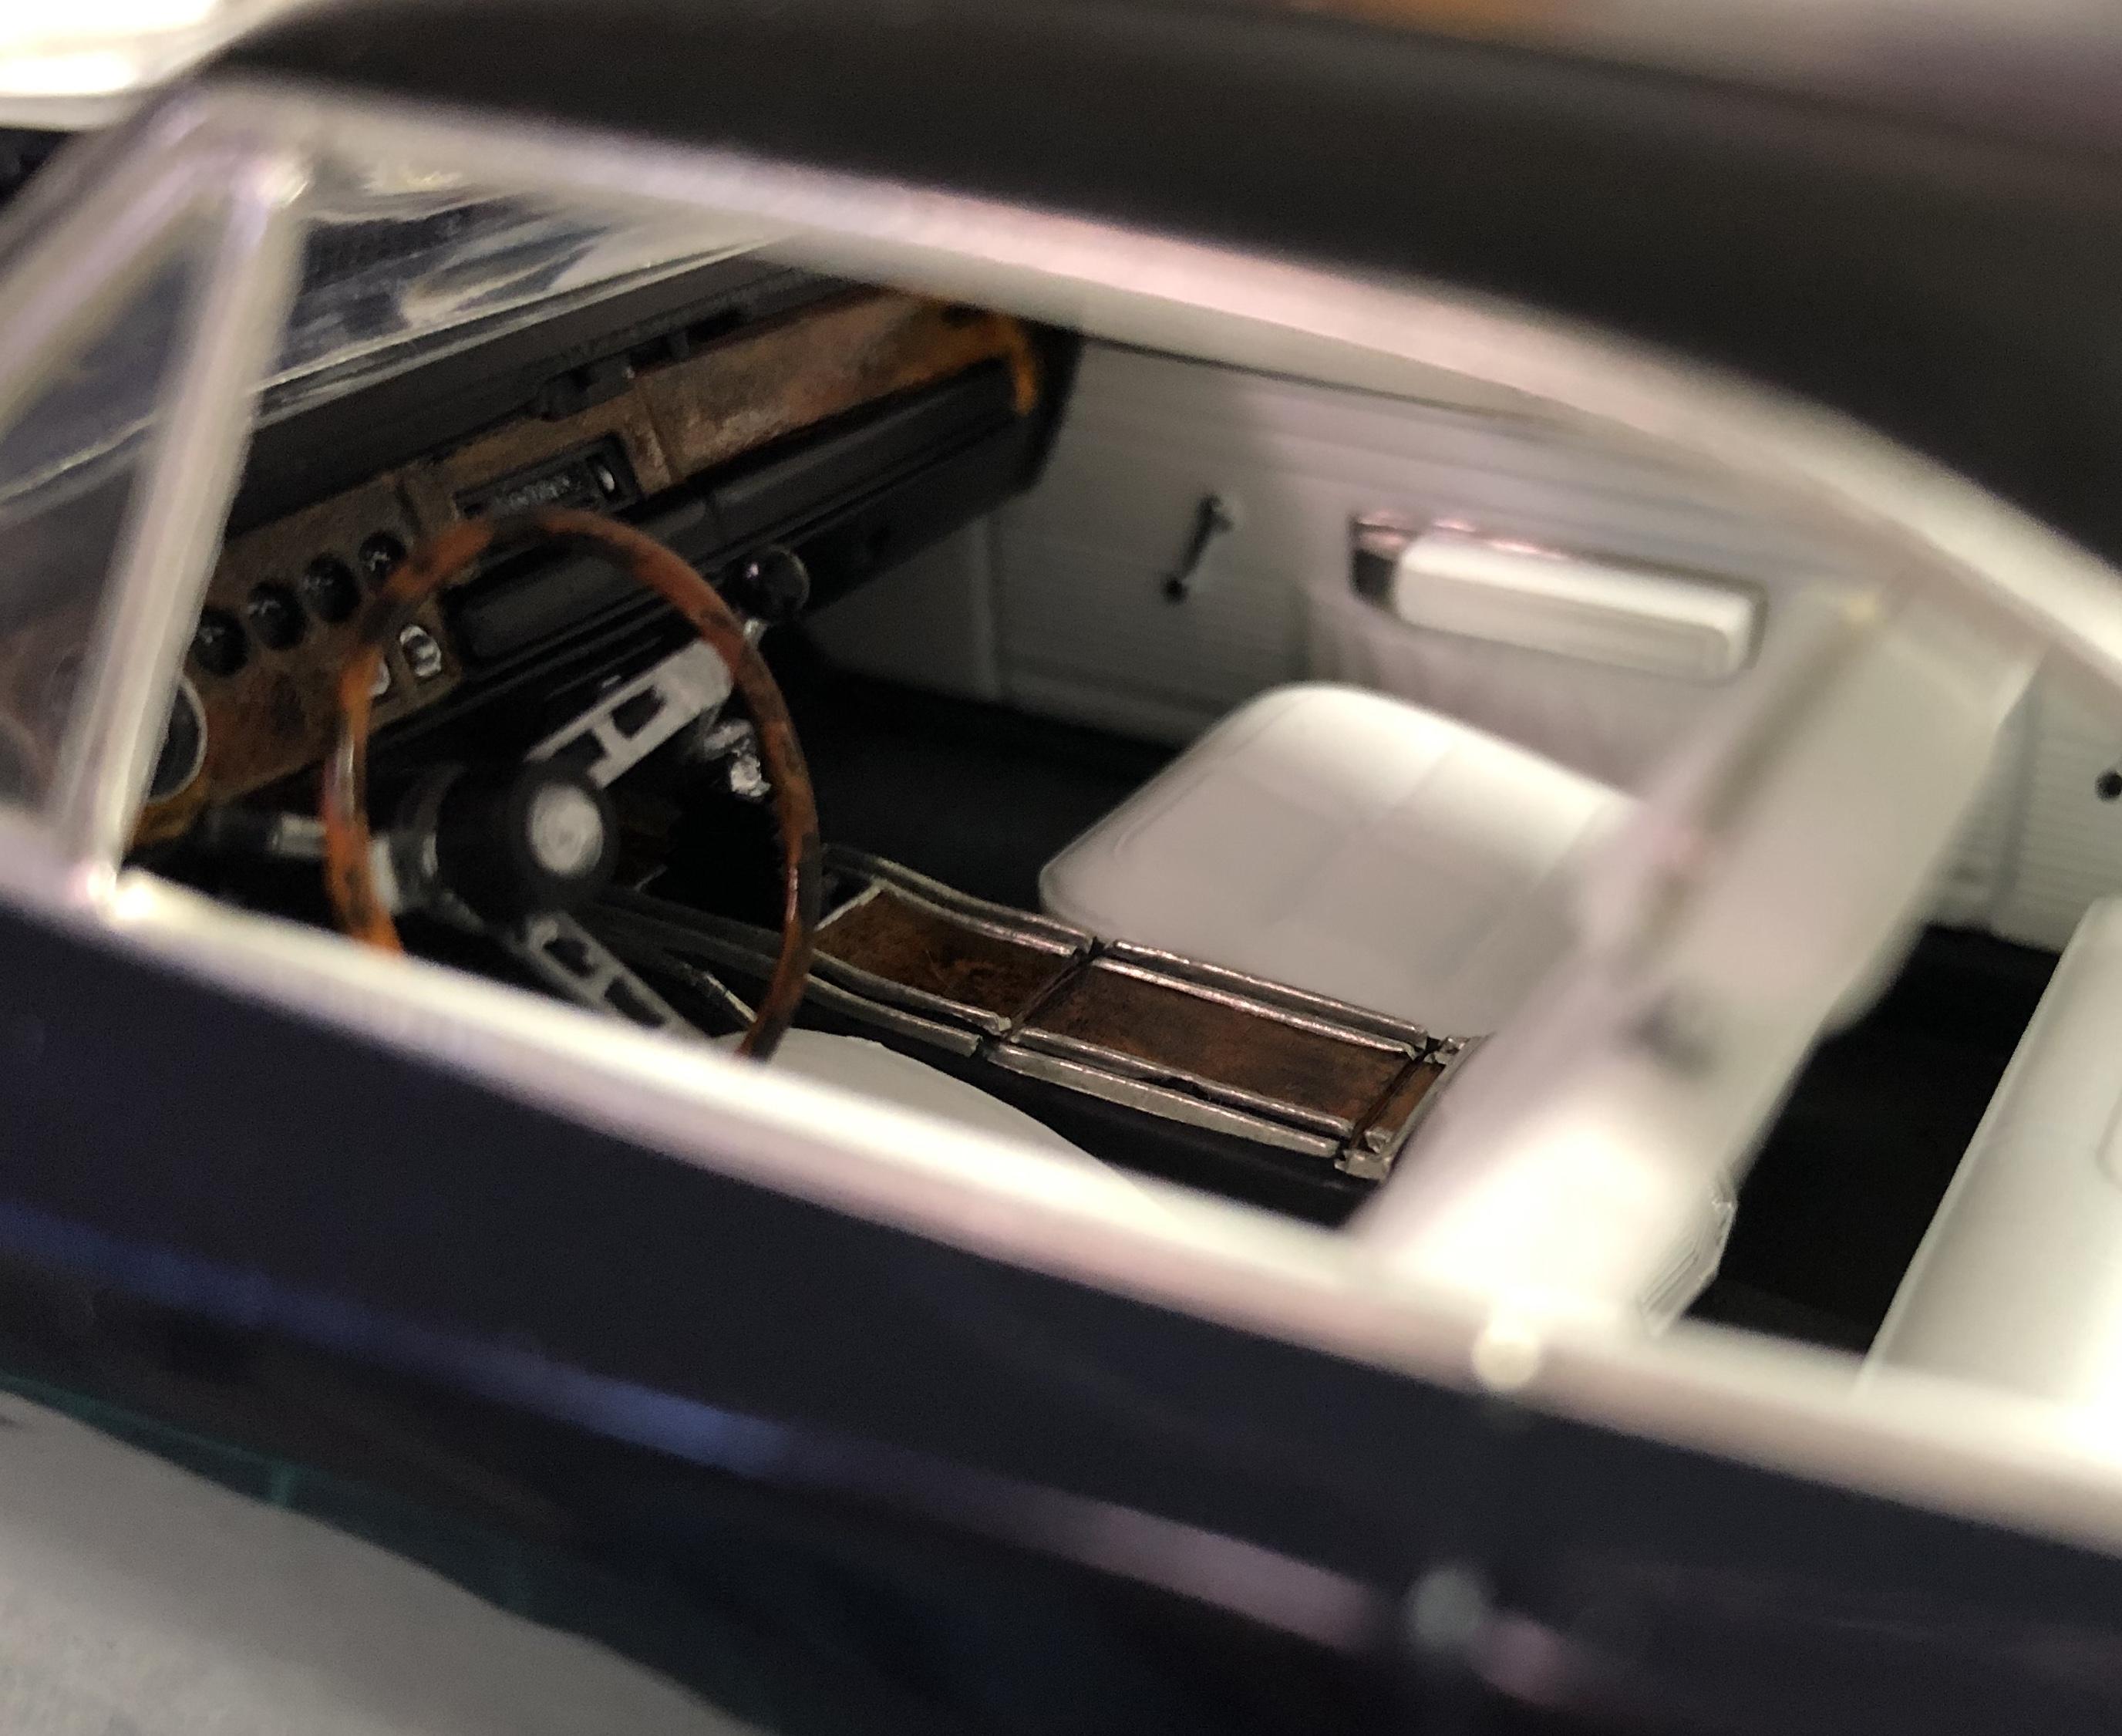
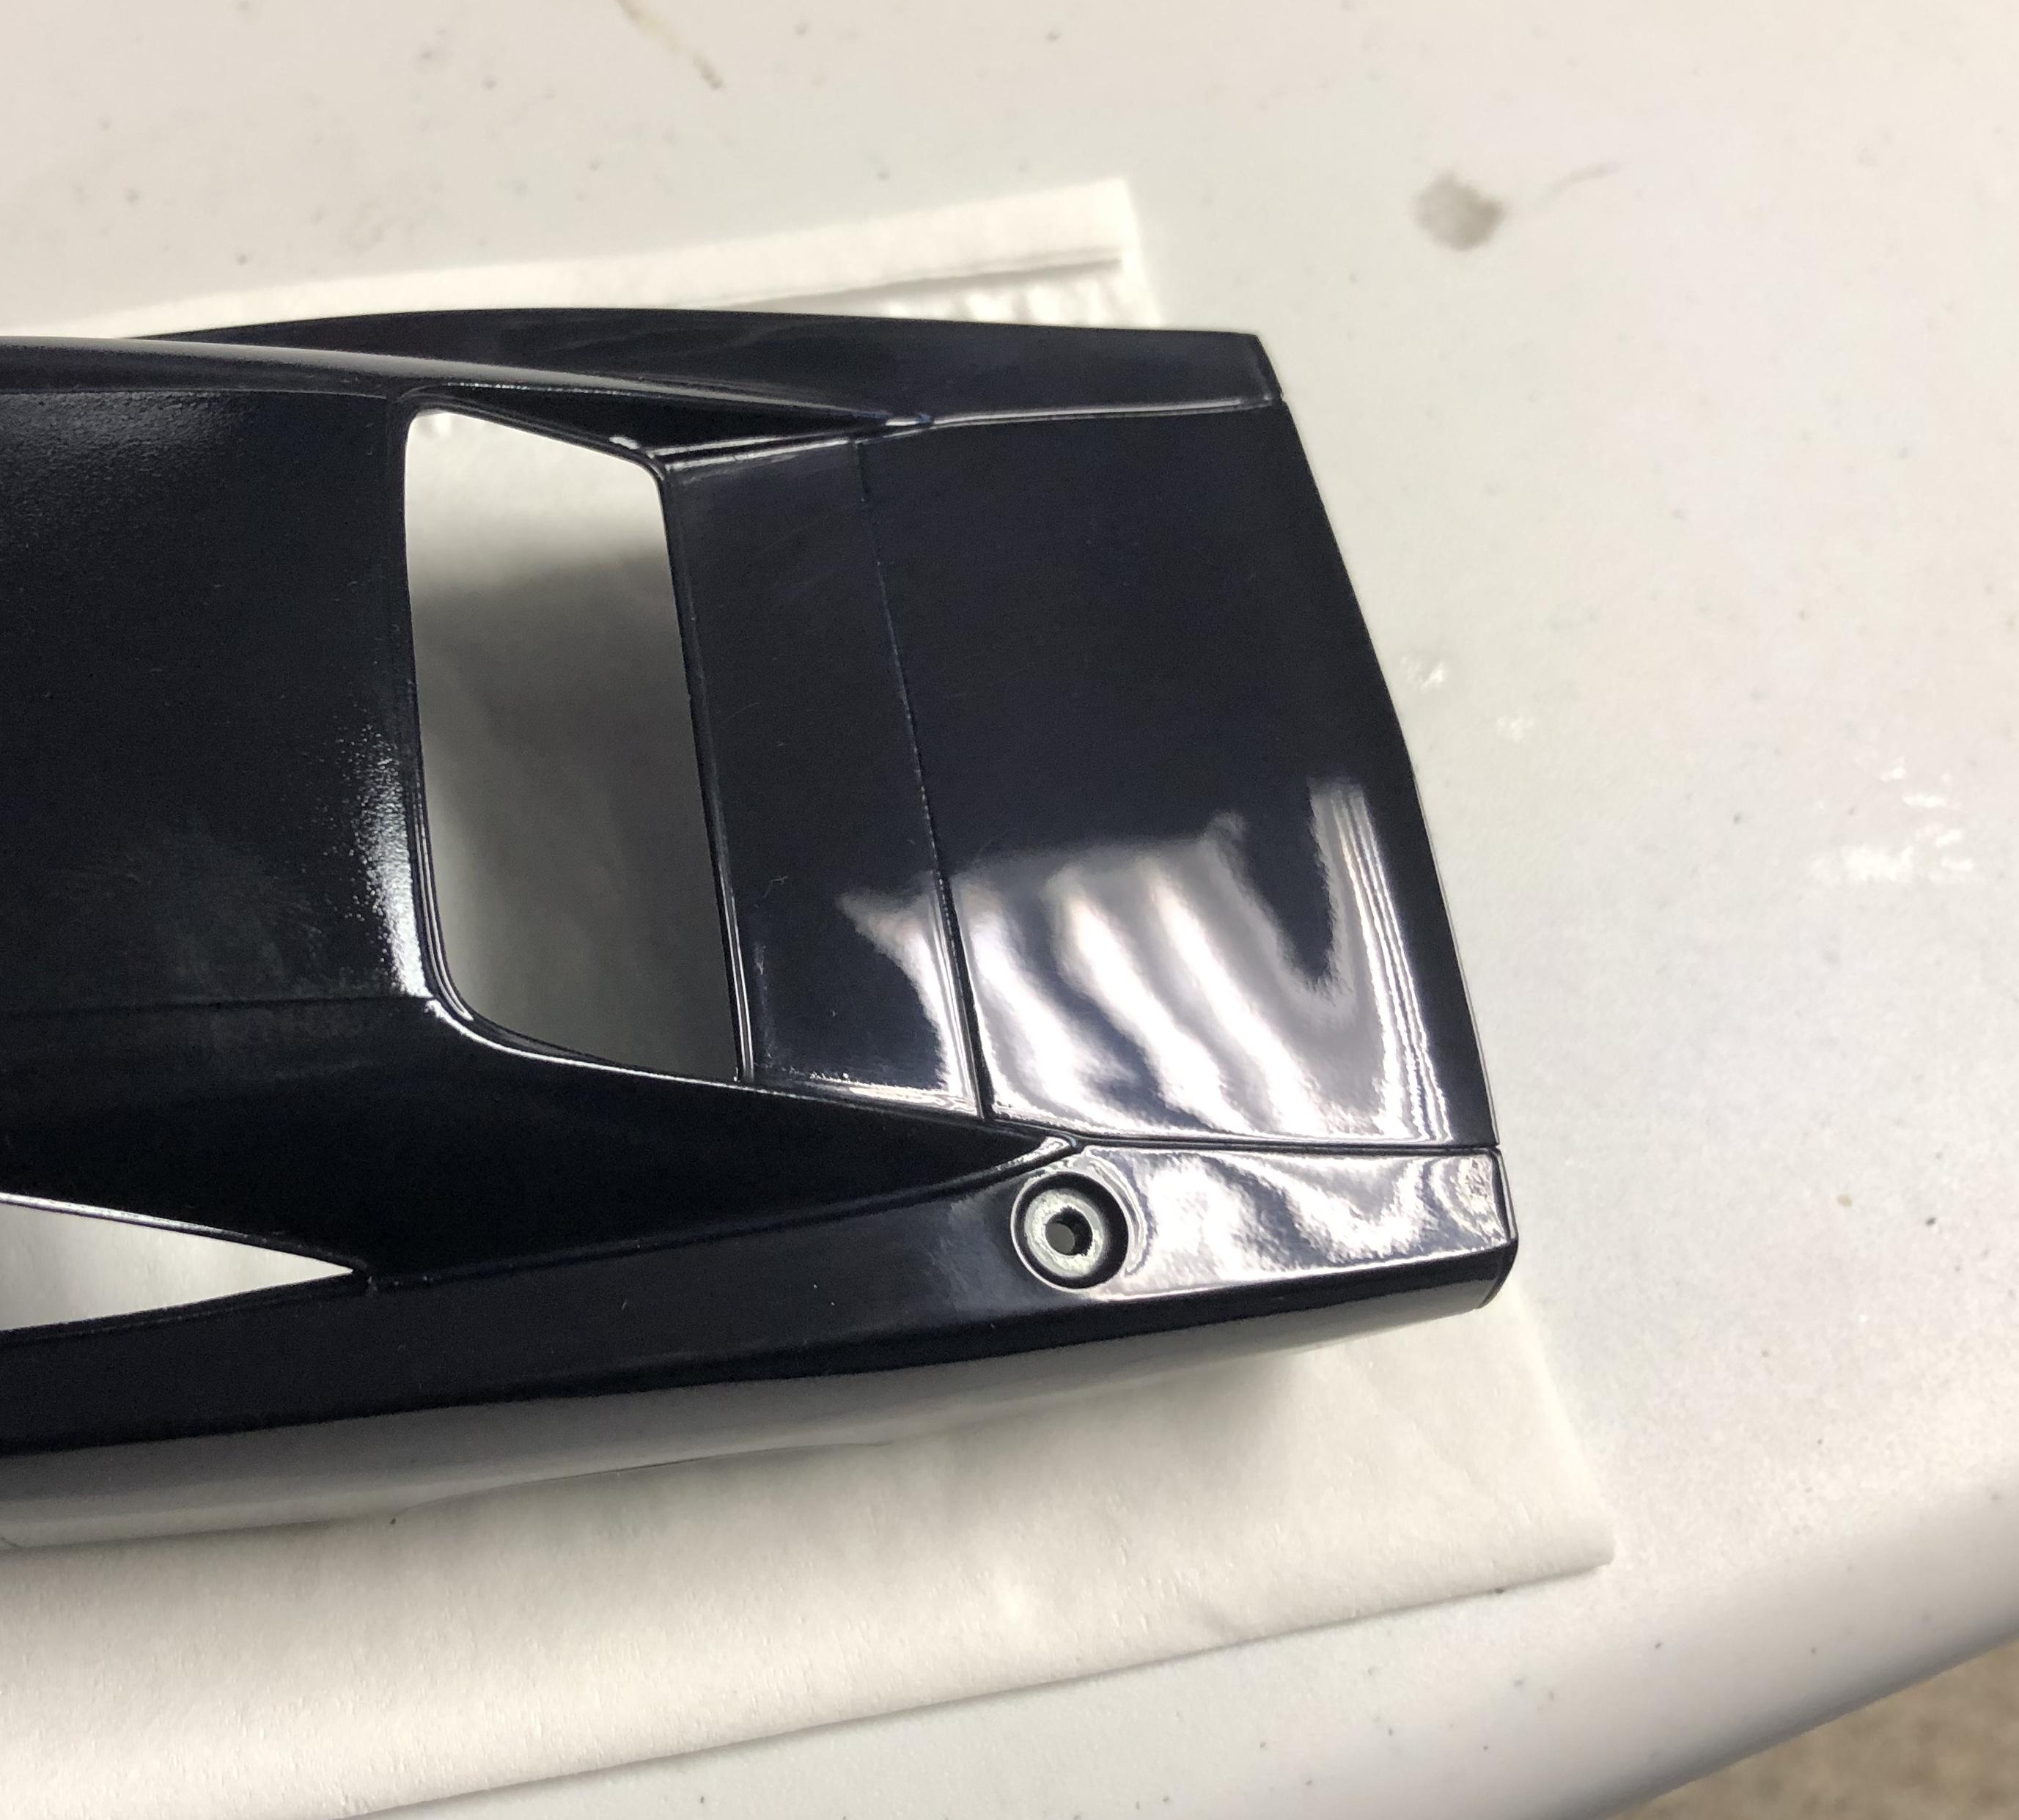
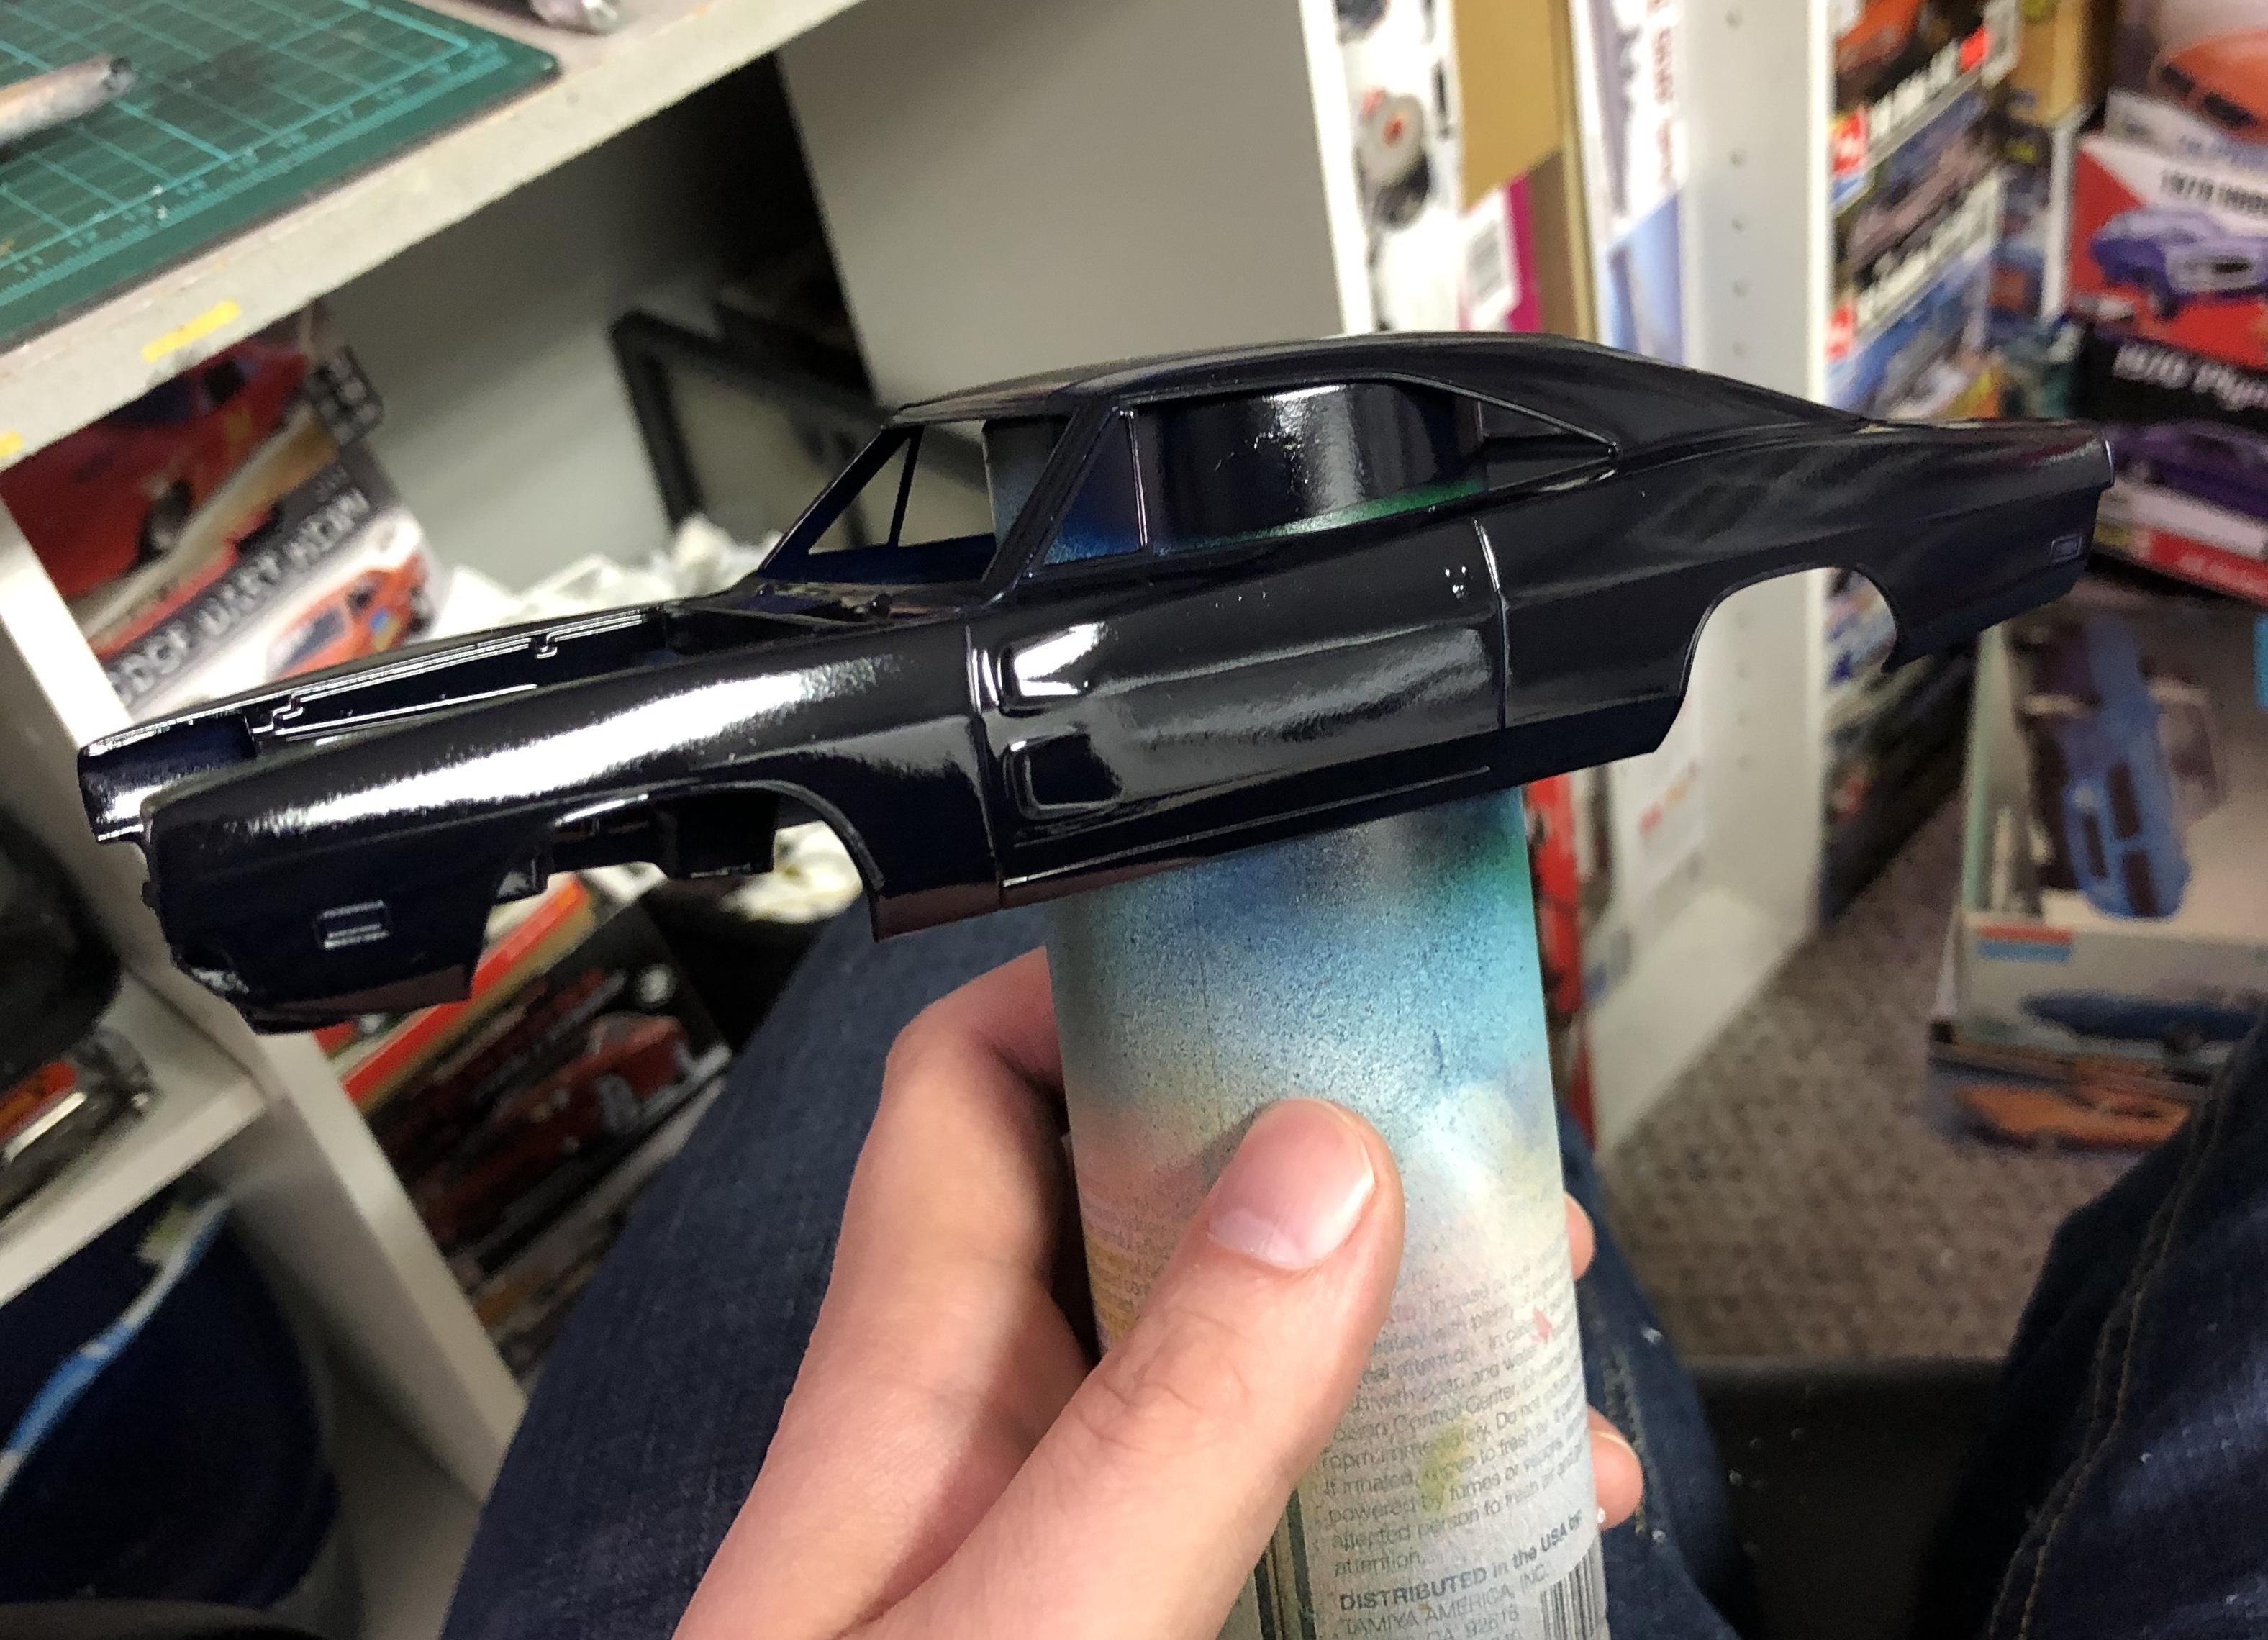
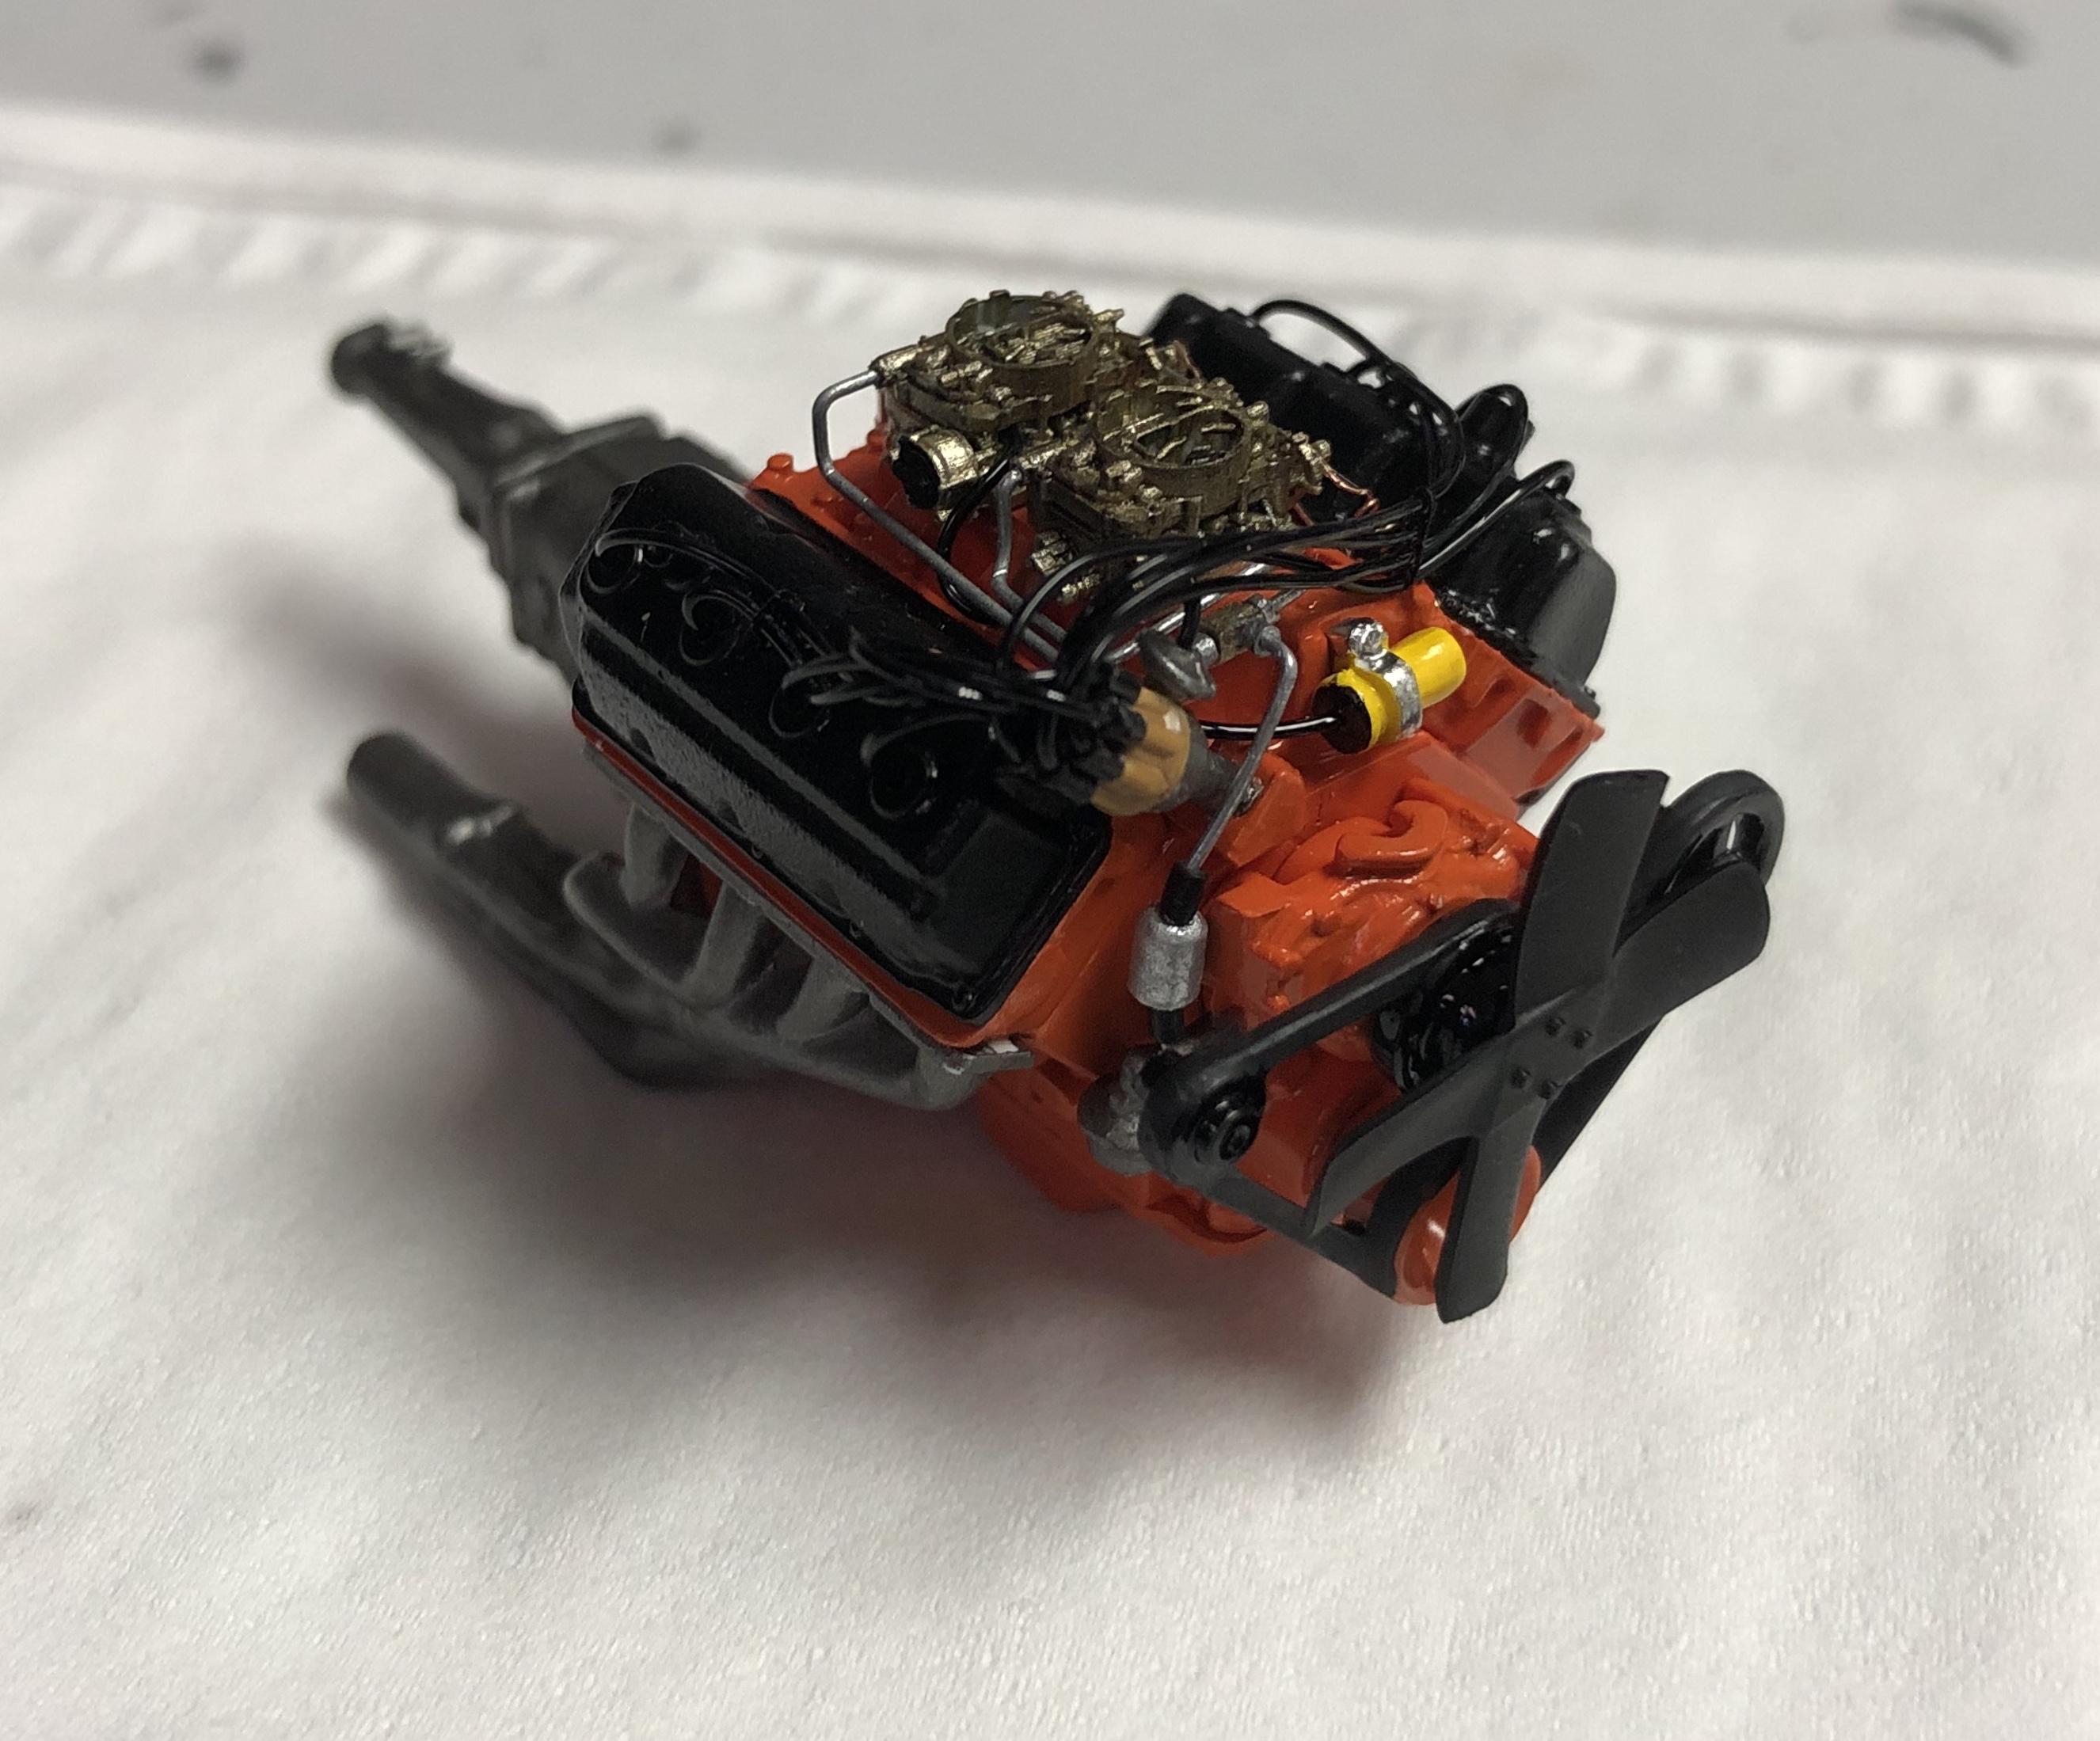
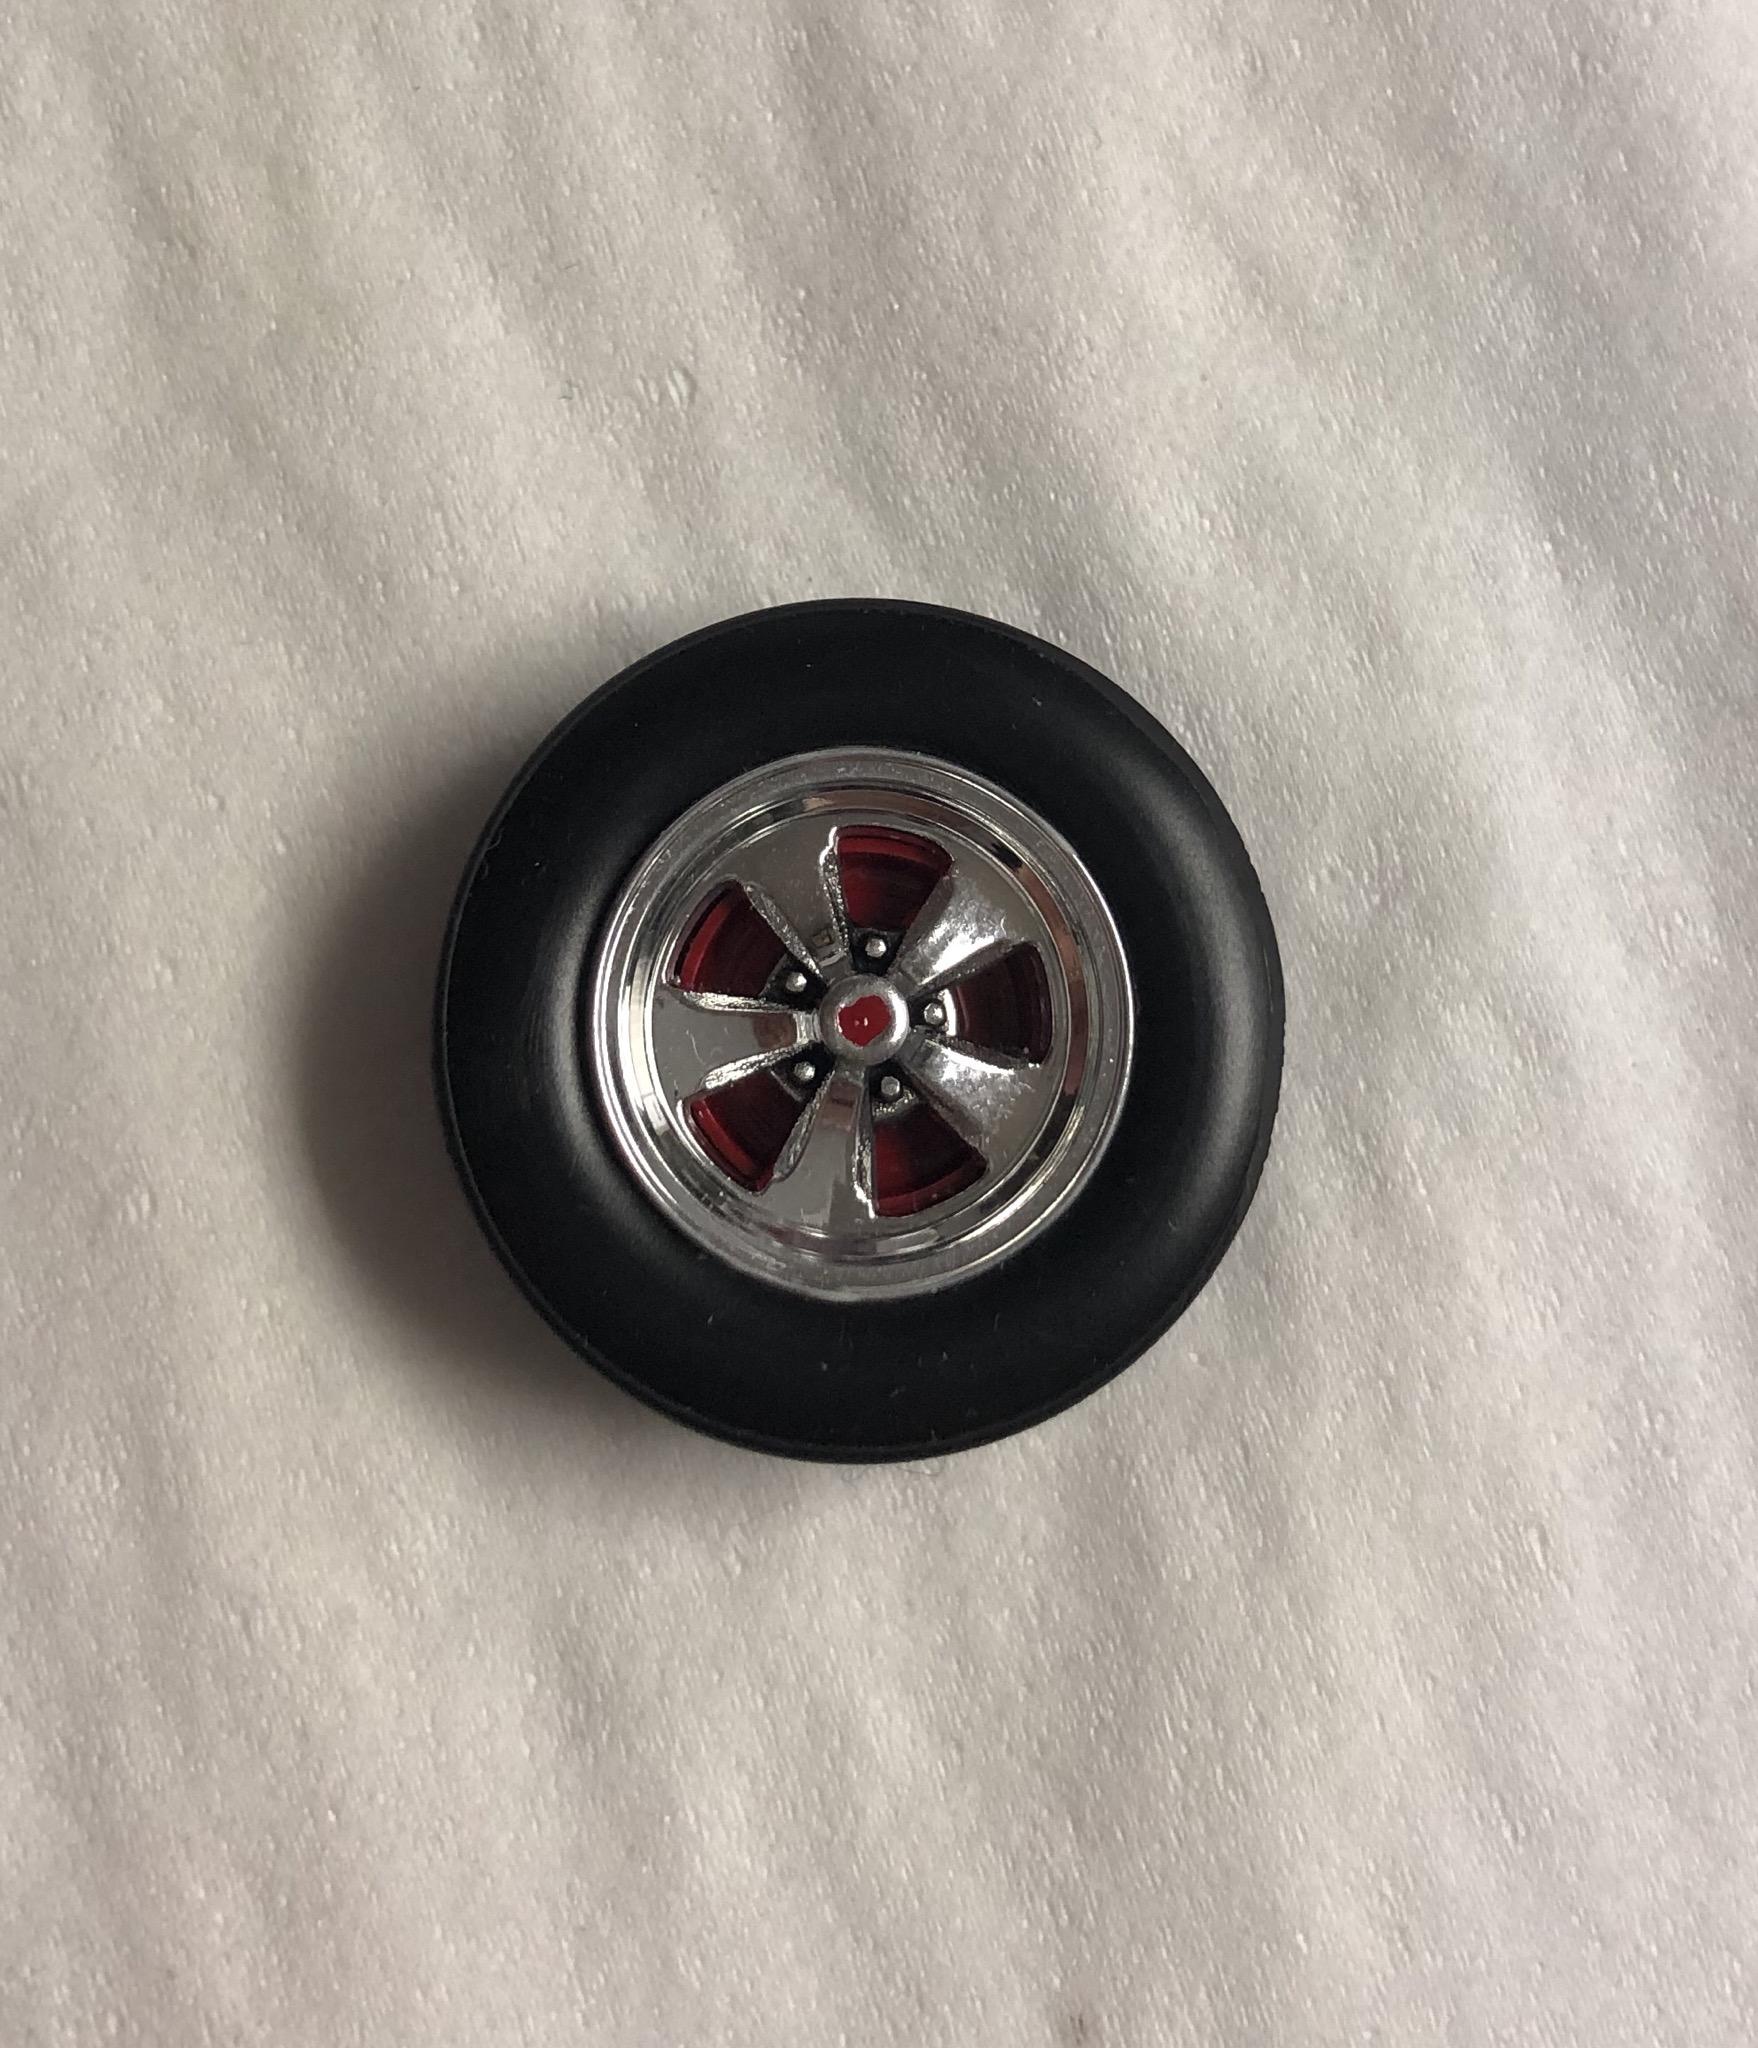
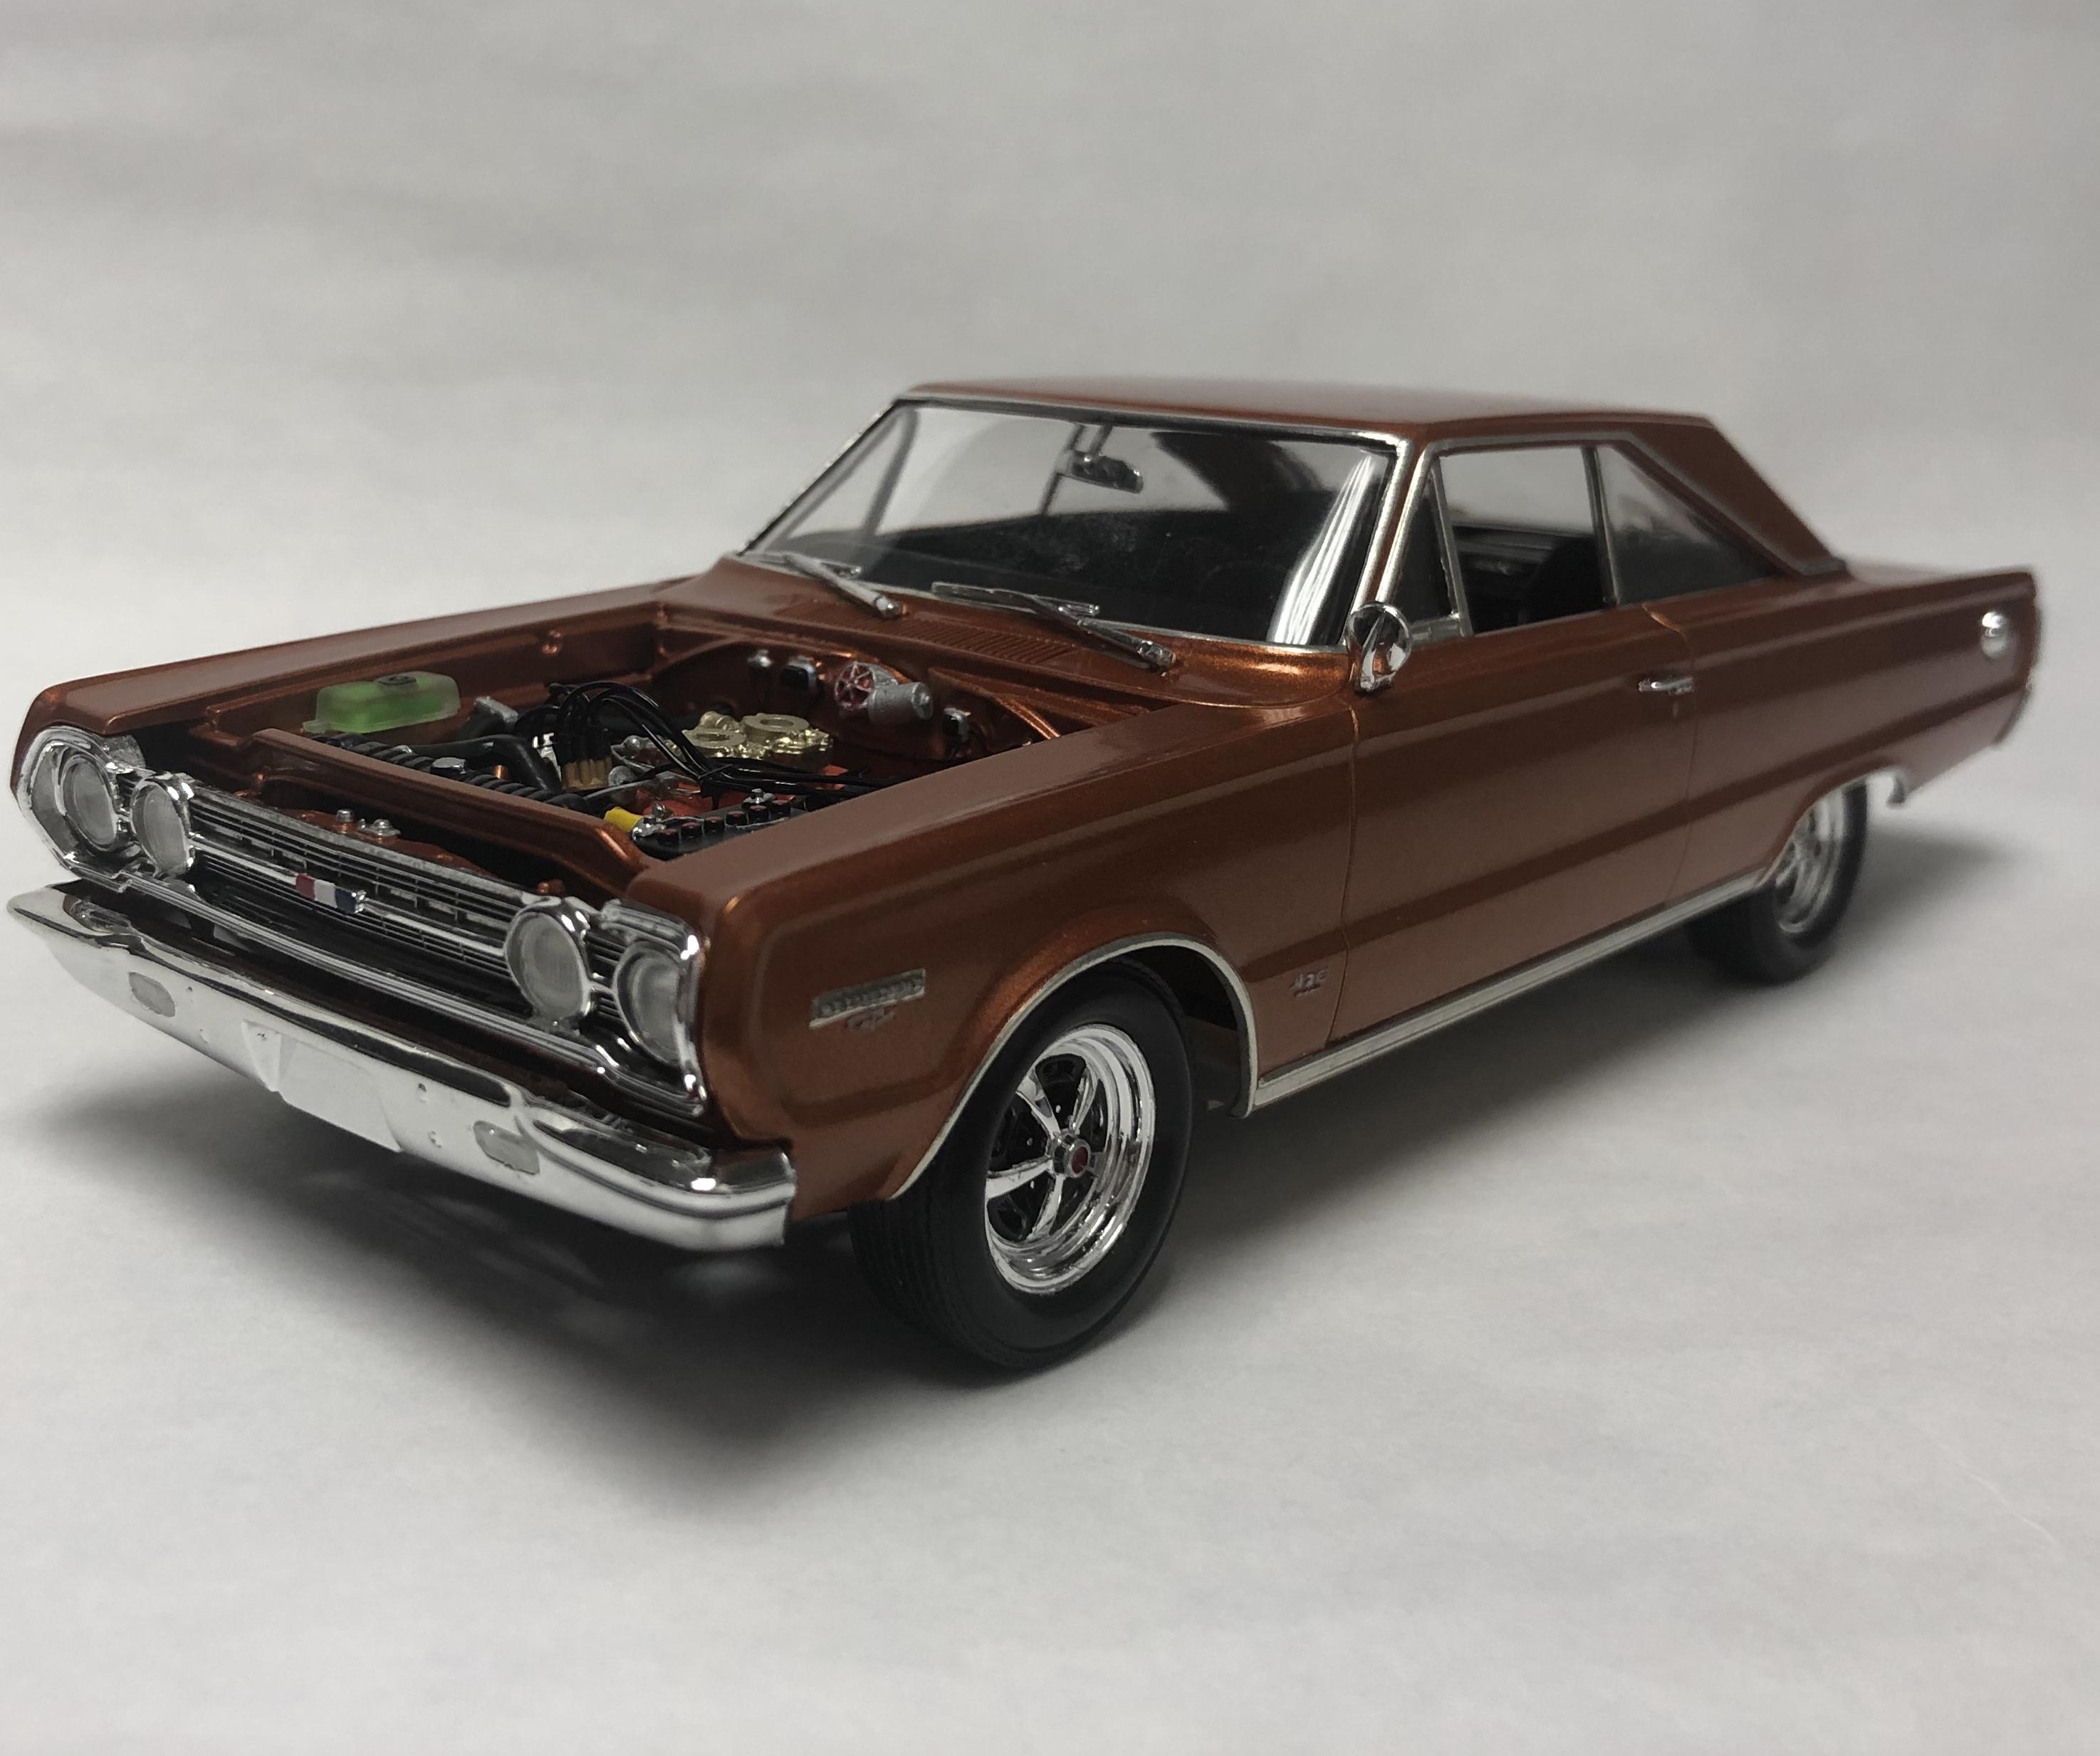
One of my favourite muscle cars, I have a few ‘69-69 Chargers and Daytona’s, but nearly all have 440’s, so I figured I needed a Hemi in the pack. It’s a little off stock, with the Mags and hood, but who could resist hot rodding a Charger, just a little bit? Painted Tamiya Dark Blue (rattle can), the paint laid down amazing right from the can, so a little wet sanding and polishing really brought it to life! White interior and headliner (which I usually don’t bother painting), with foil where it’s needed. The white tail stripe was a bit of a pain. It’s just a wee bit too long, so I had to cut it along the trunk panel lines and trim some out. The Hemi is plumbed and wired, with Fireball Modelworks Carter carbs (love his stuff!). The rims are from the ‘68 Dick Landy Charger (I think). All in all, one of my better builds I think. Looks great sitting on the shelf anyways!

-
Alright, all finished with this one! I’m pretty happy with how it turned out! I did miss filling in the holes in the chassis for the exhaust, but I’m fine with that. Final pics over in Under Glass.
-
Ok, on the home stretch with this one! Just decals, marker lights and a few paint touch ups. It’s incredibly hard to keep shiny paint clean!
-
Ok, I hit the bench pretty hard these last few days and got some progress done (mostly forward, but a wee bit backwards as well!). As it sits now, the body/chassis/interior are together, had a few parts come off in the process, but nothin major. The worst of it is the firewall come loose, and that’s not a big deal. There are some paint touch ups here and there, and some grinding to do on the front bumper guards. Then just wheels, bumpers and the little exterior bits. I tracked down a second white stripe, so hopefully the blue won’t bleed through them both! If it does, then black stripe it is!
-
Thanks everyone! Anglia105E- I'm a bit limited to what products are available to me. I live in a small town, and there is only one place that sells car wax and polish. So I got what I could. I'm just glad they had good name brand stuff and not cheap garbage! Seems to work good, I just need to work more on the sanding/wet sanding. espo- yes, Tamiya doesn't mess around with paint names! When they say dark, they mean dark! I got the vinyl sprayed the other day, and that brings out the blue a bit more, but without it, it's very close to black! I've always found the interior on these Chargers and Daytona's to be easy to detail and get to look good! The carbs are from Fireball Modelworks, he makes amazing stuff! mrm- I did a wet sanding with Micro Mesh sanding/polishing cloths, but they're getting some years into them, and need to be replaced soon. I kept burning through the paint along the rear edge of the trunk, and door panel lines, so I called it good before I completely ruined it! Today I should be able to finish the foil trim, and a respray on the upper rad support. Then its onto final assembly! This car has gone really well so far, so I'm sure this is where it'll all go pear shaped!
-
Thanks! I just realized that the body pictures were taken prior to the sanding and polishing. I picked up some Mothers Brazilian Carnauba Wax and Meguiars Ultimate Polish. I tried out the polish on the truck, haven’t tried the wax yet though. It made a difference in taking out some of the really fine (barely seeable) scratches. It’s not glass smooth, but I’m getting there! Still one of the best paint jobs I’ve managed to knock out!
-
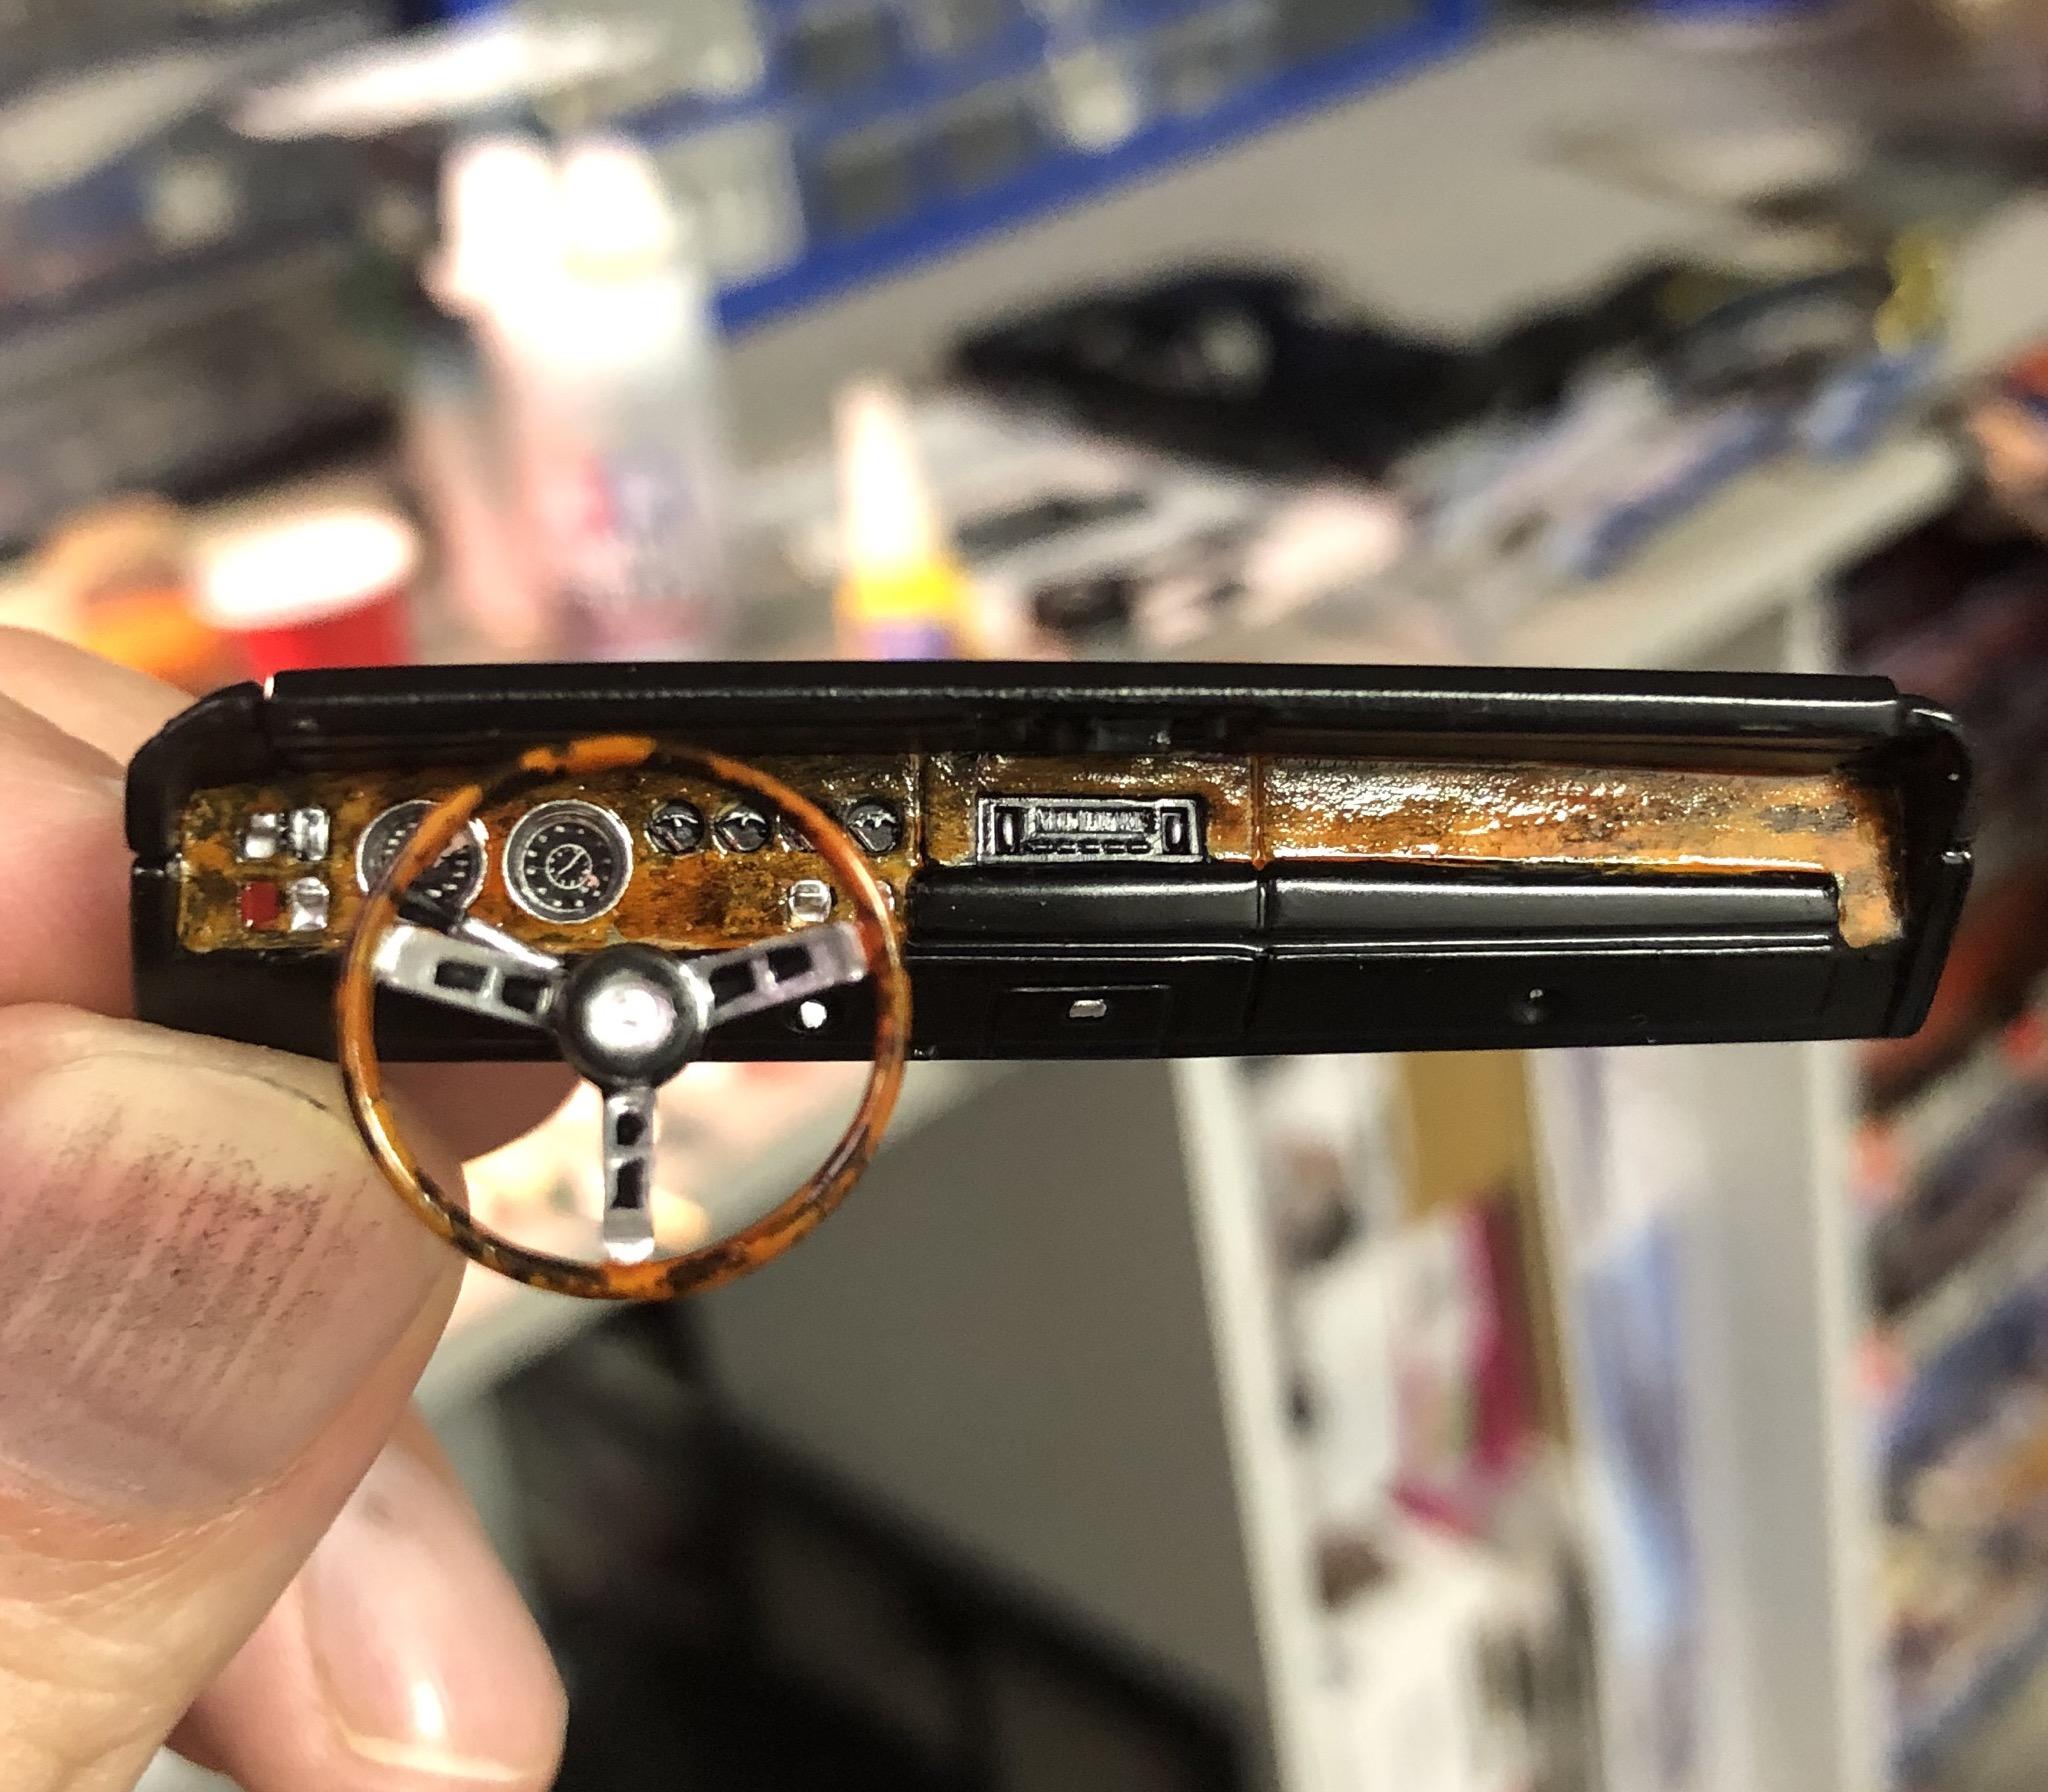
I figured I’d post this one up. It’s half done, but coming along nicely! Painted Tamiya Dark Blue, with white interior and stripe, black hood, and the venerable Hemi. I’ve done quite a few Chargers over the years, but I usually stick with the 440. I have a Dick Landy Hemi Charger I built when I was a kid, and a ‘70 Hemi Charger, so I figured I’d do up a ‘69. The Hemi is wired and plumbed, I used Fireball Modelworks Carter carbs. I learned a much better way to do fuel filters. I usually use resistors I got from The Source (used to be Radio Shack), painted silver. But they are kind of an hourglass shape. With this one, I cut off a bit of rod (.080”), rounded out the ends a bit, drilled a hole through it for the fuel line, and added bits of wire insulation to either end. Much better I think! I also added throttle linkage and springs. The interior is finished, with woodgrain on the console, dash and steering wheel. A bit of foil finished it off. The wheels are from (I think) the Dick Landy ‘68 Charger. Tires are from the pile. The paint turned out really good, Tamiya rattle cans tend to work well for me these days! It dried nice and smooth (as smooth as it gets considering there are 5 people, two cats and a dog in the house, and the paint booth is right beside the dryer!). I went over it with my good ol’ Micro Mesh sanding/polishing clothes. I ran out of polish, so I need to grab some today (there are some incredibly fine swirling/scratches in the otherwise great paint job). Not sure why this one has turned out so much better then most I do, but it has.
-

2020 Round2 Car Kit News & Announcements
Furiousgeorge replied to Casey's topic in Car Kit News & Reviews
Too bad. I seriously doubt they’d retool a ‘68/69 Coronet, since it isn’t a big name muscle car. -
2020 Round2 Car Kit News & Announcements
Furiousgeorge replied to Casey's topic in Car Kit News & Reviews
Weren’t the ‘68/69 Coronet molds chopped up to make the ‘70 Coronet/Super Bee? -
Thanks! It’s nice to have something different on the shelf! I thought about glows in the floor, but just didn’t get around to it, next time I guess.
-
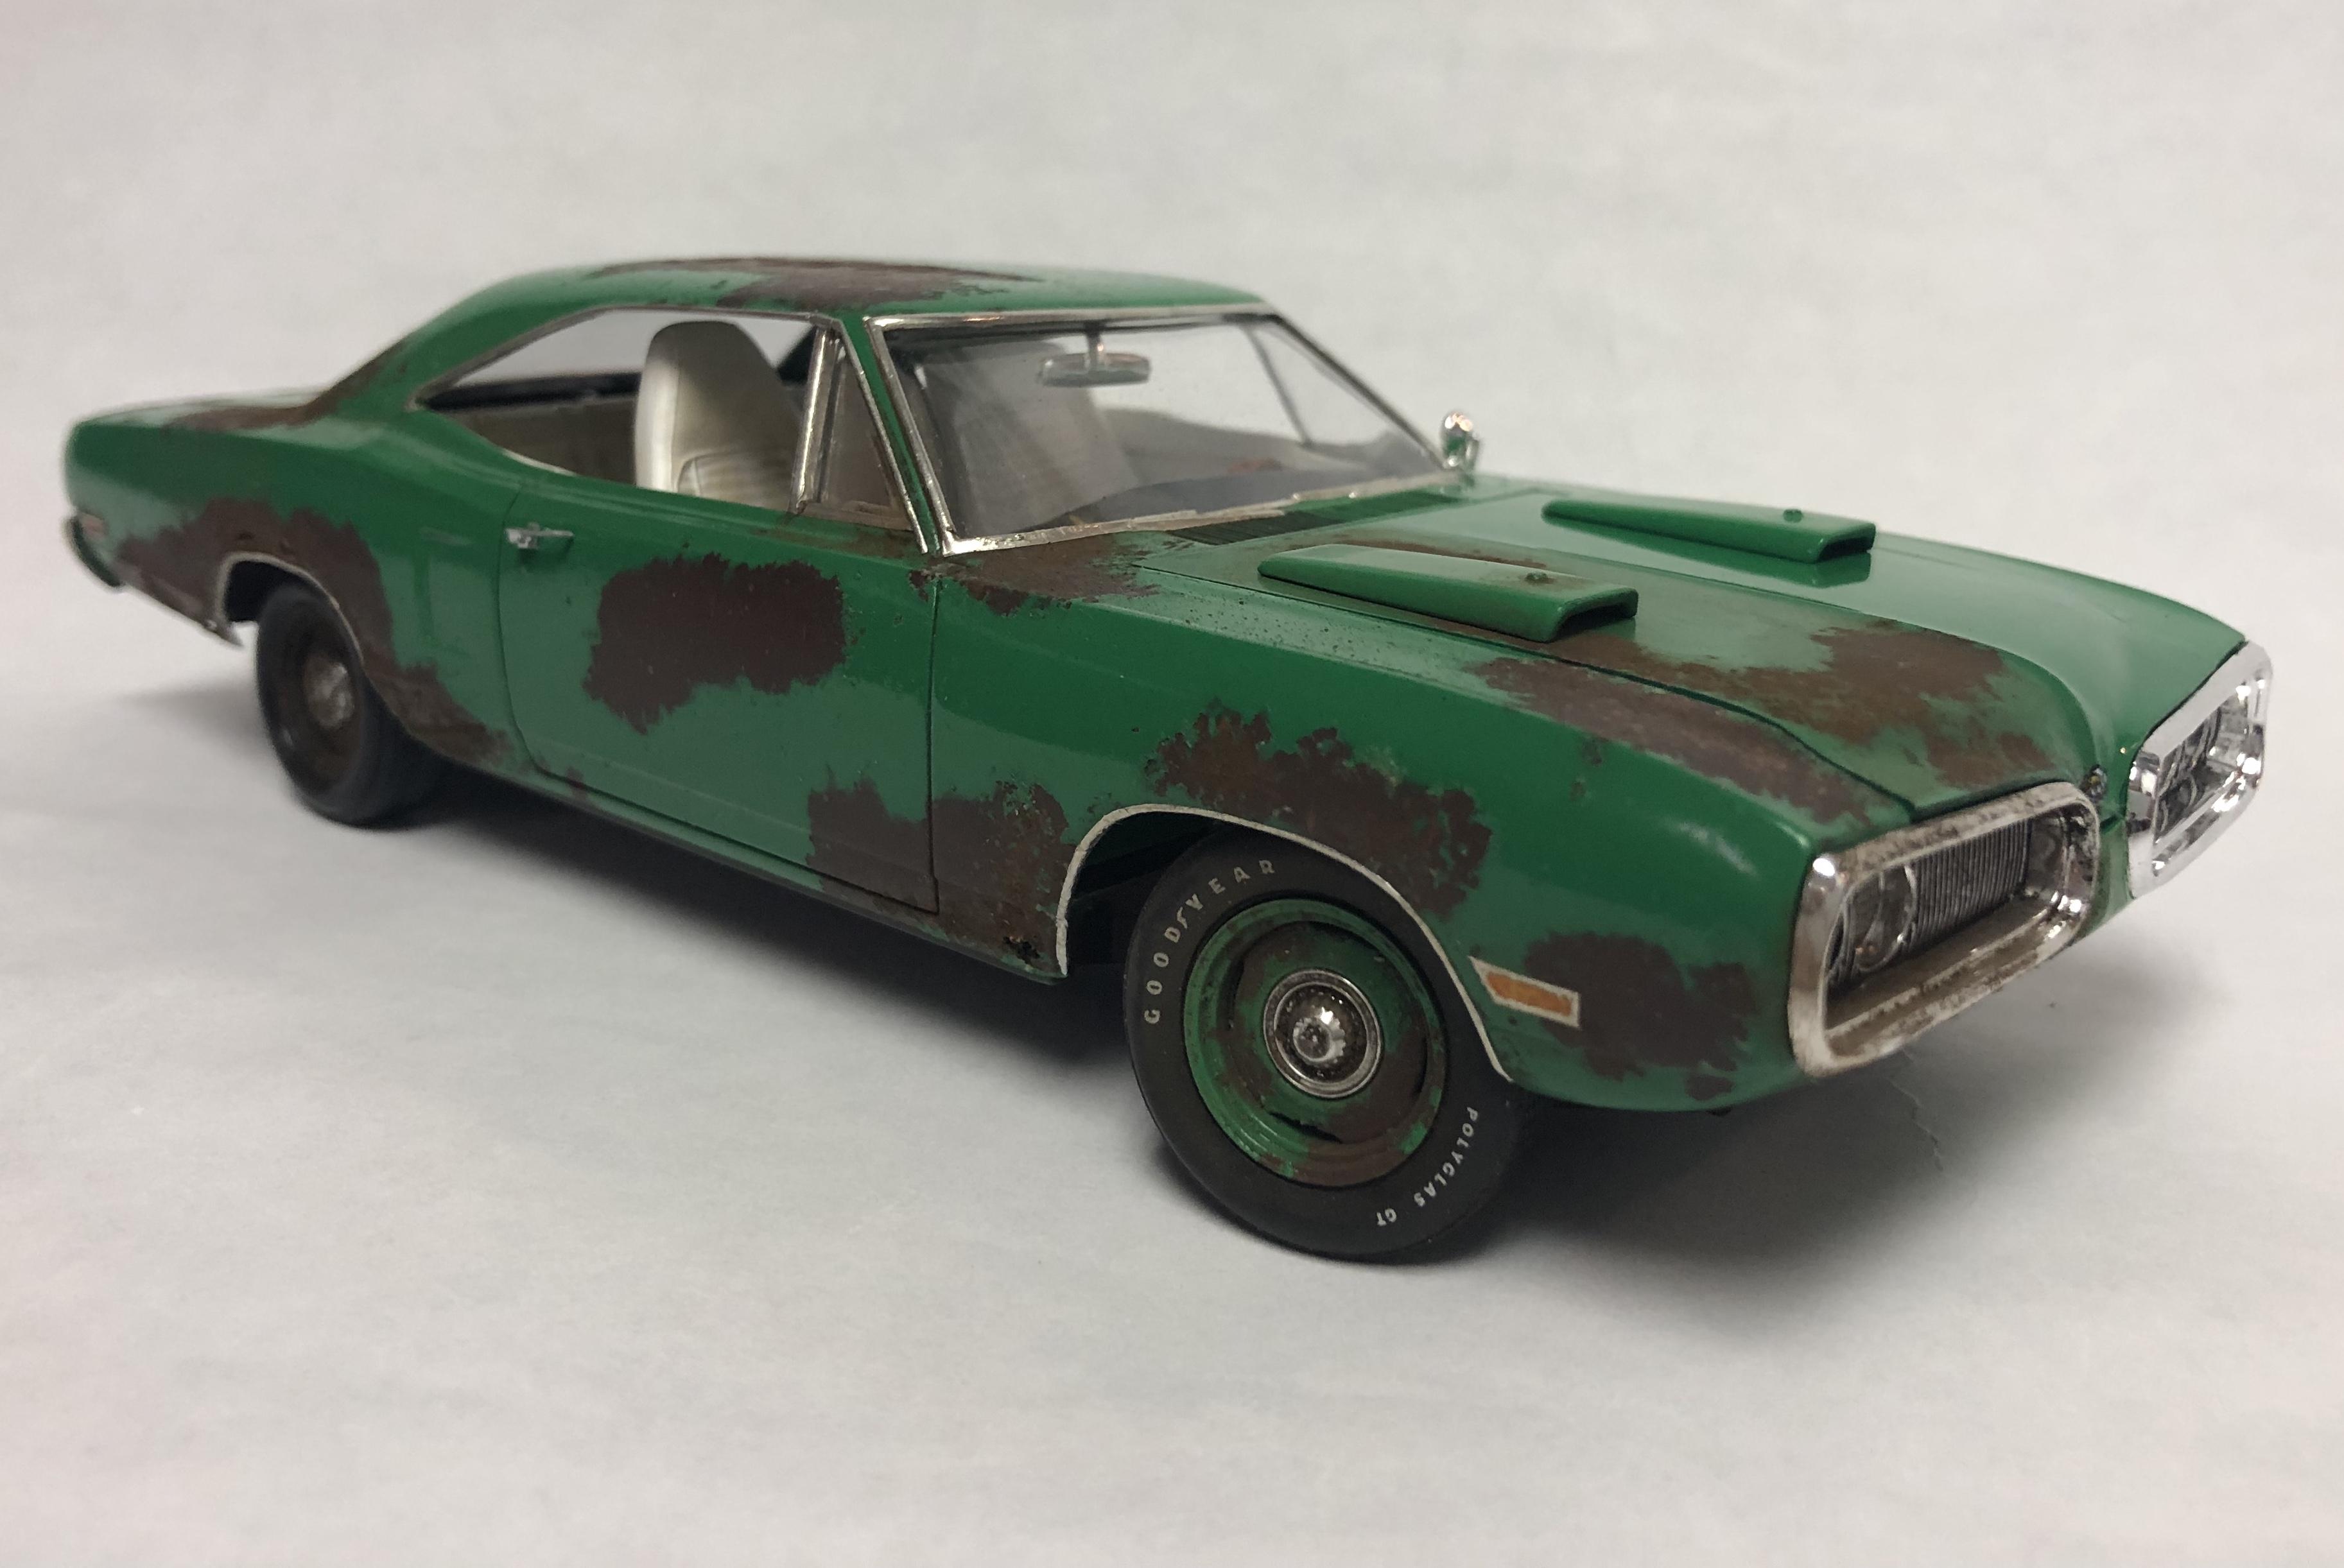
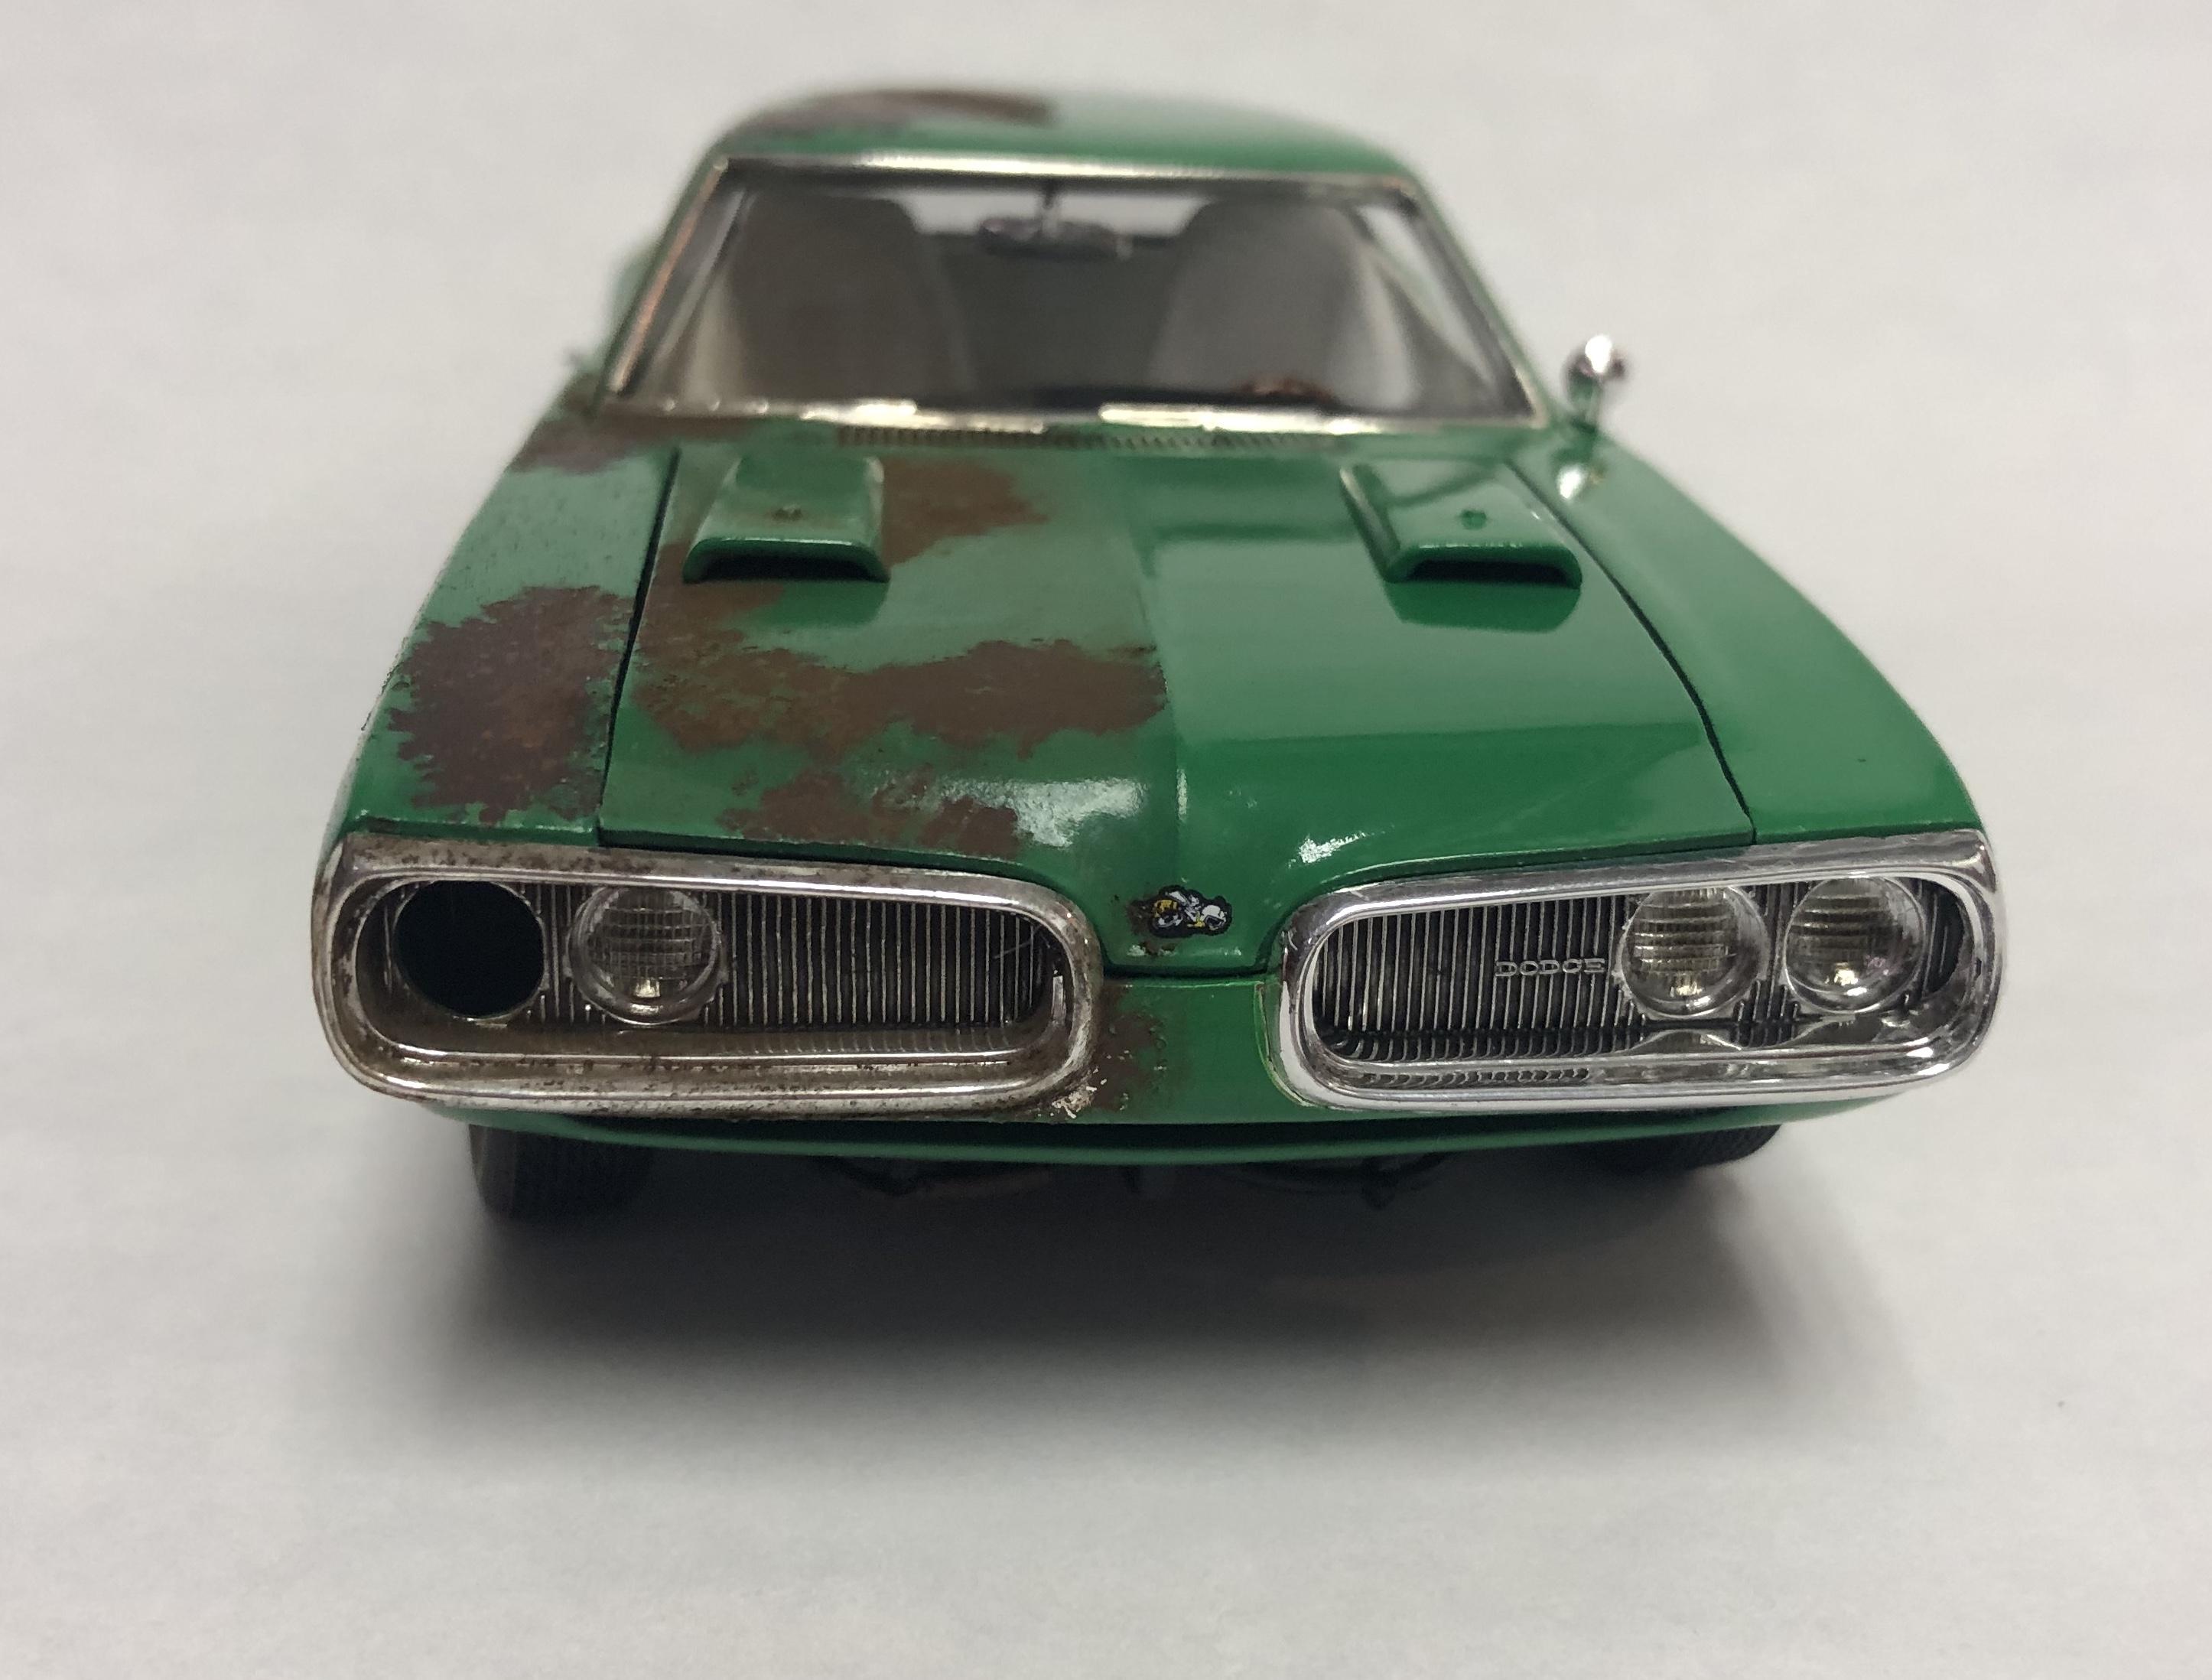
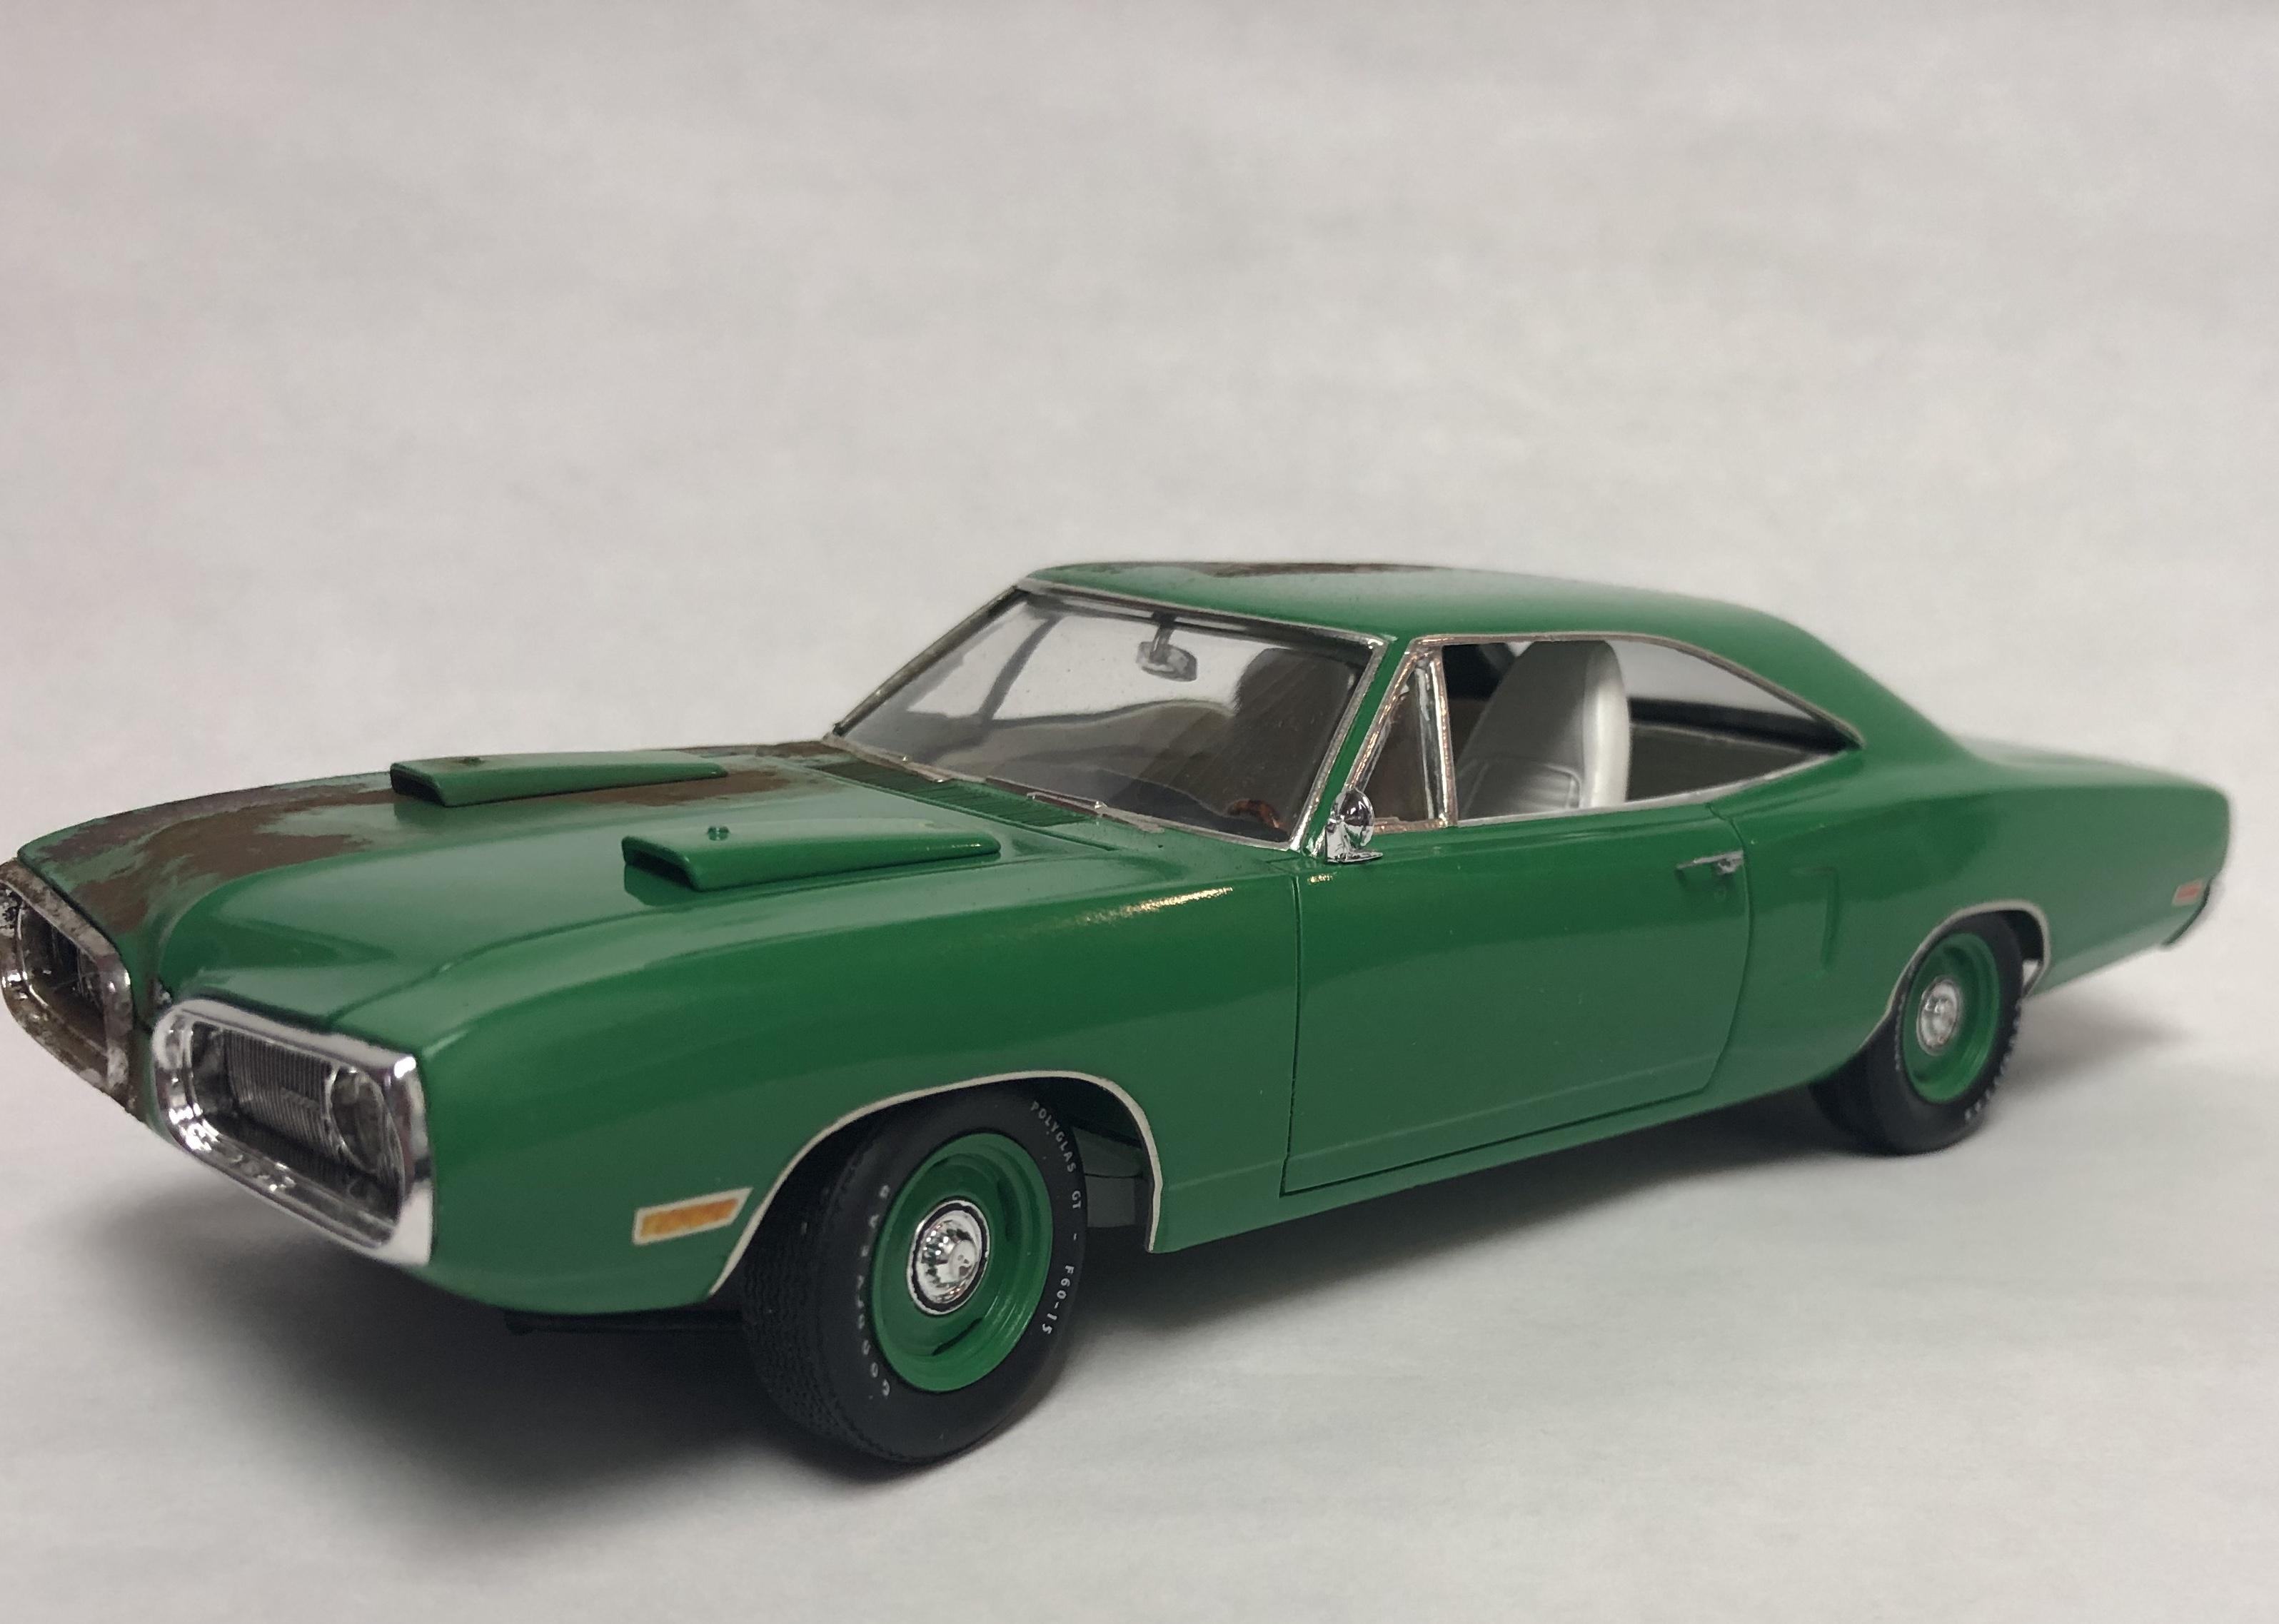
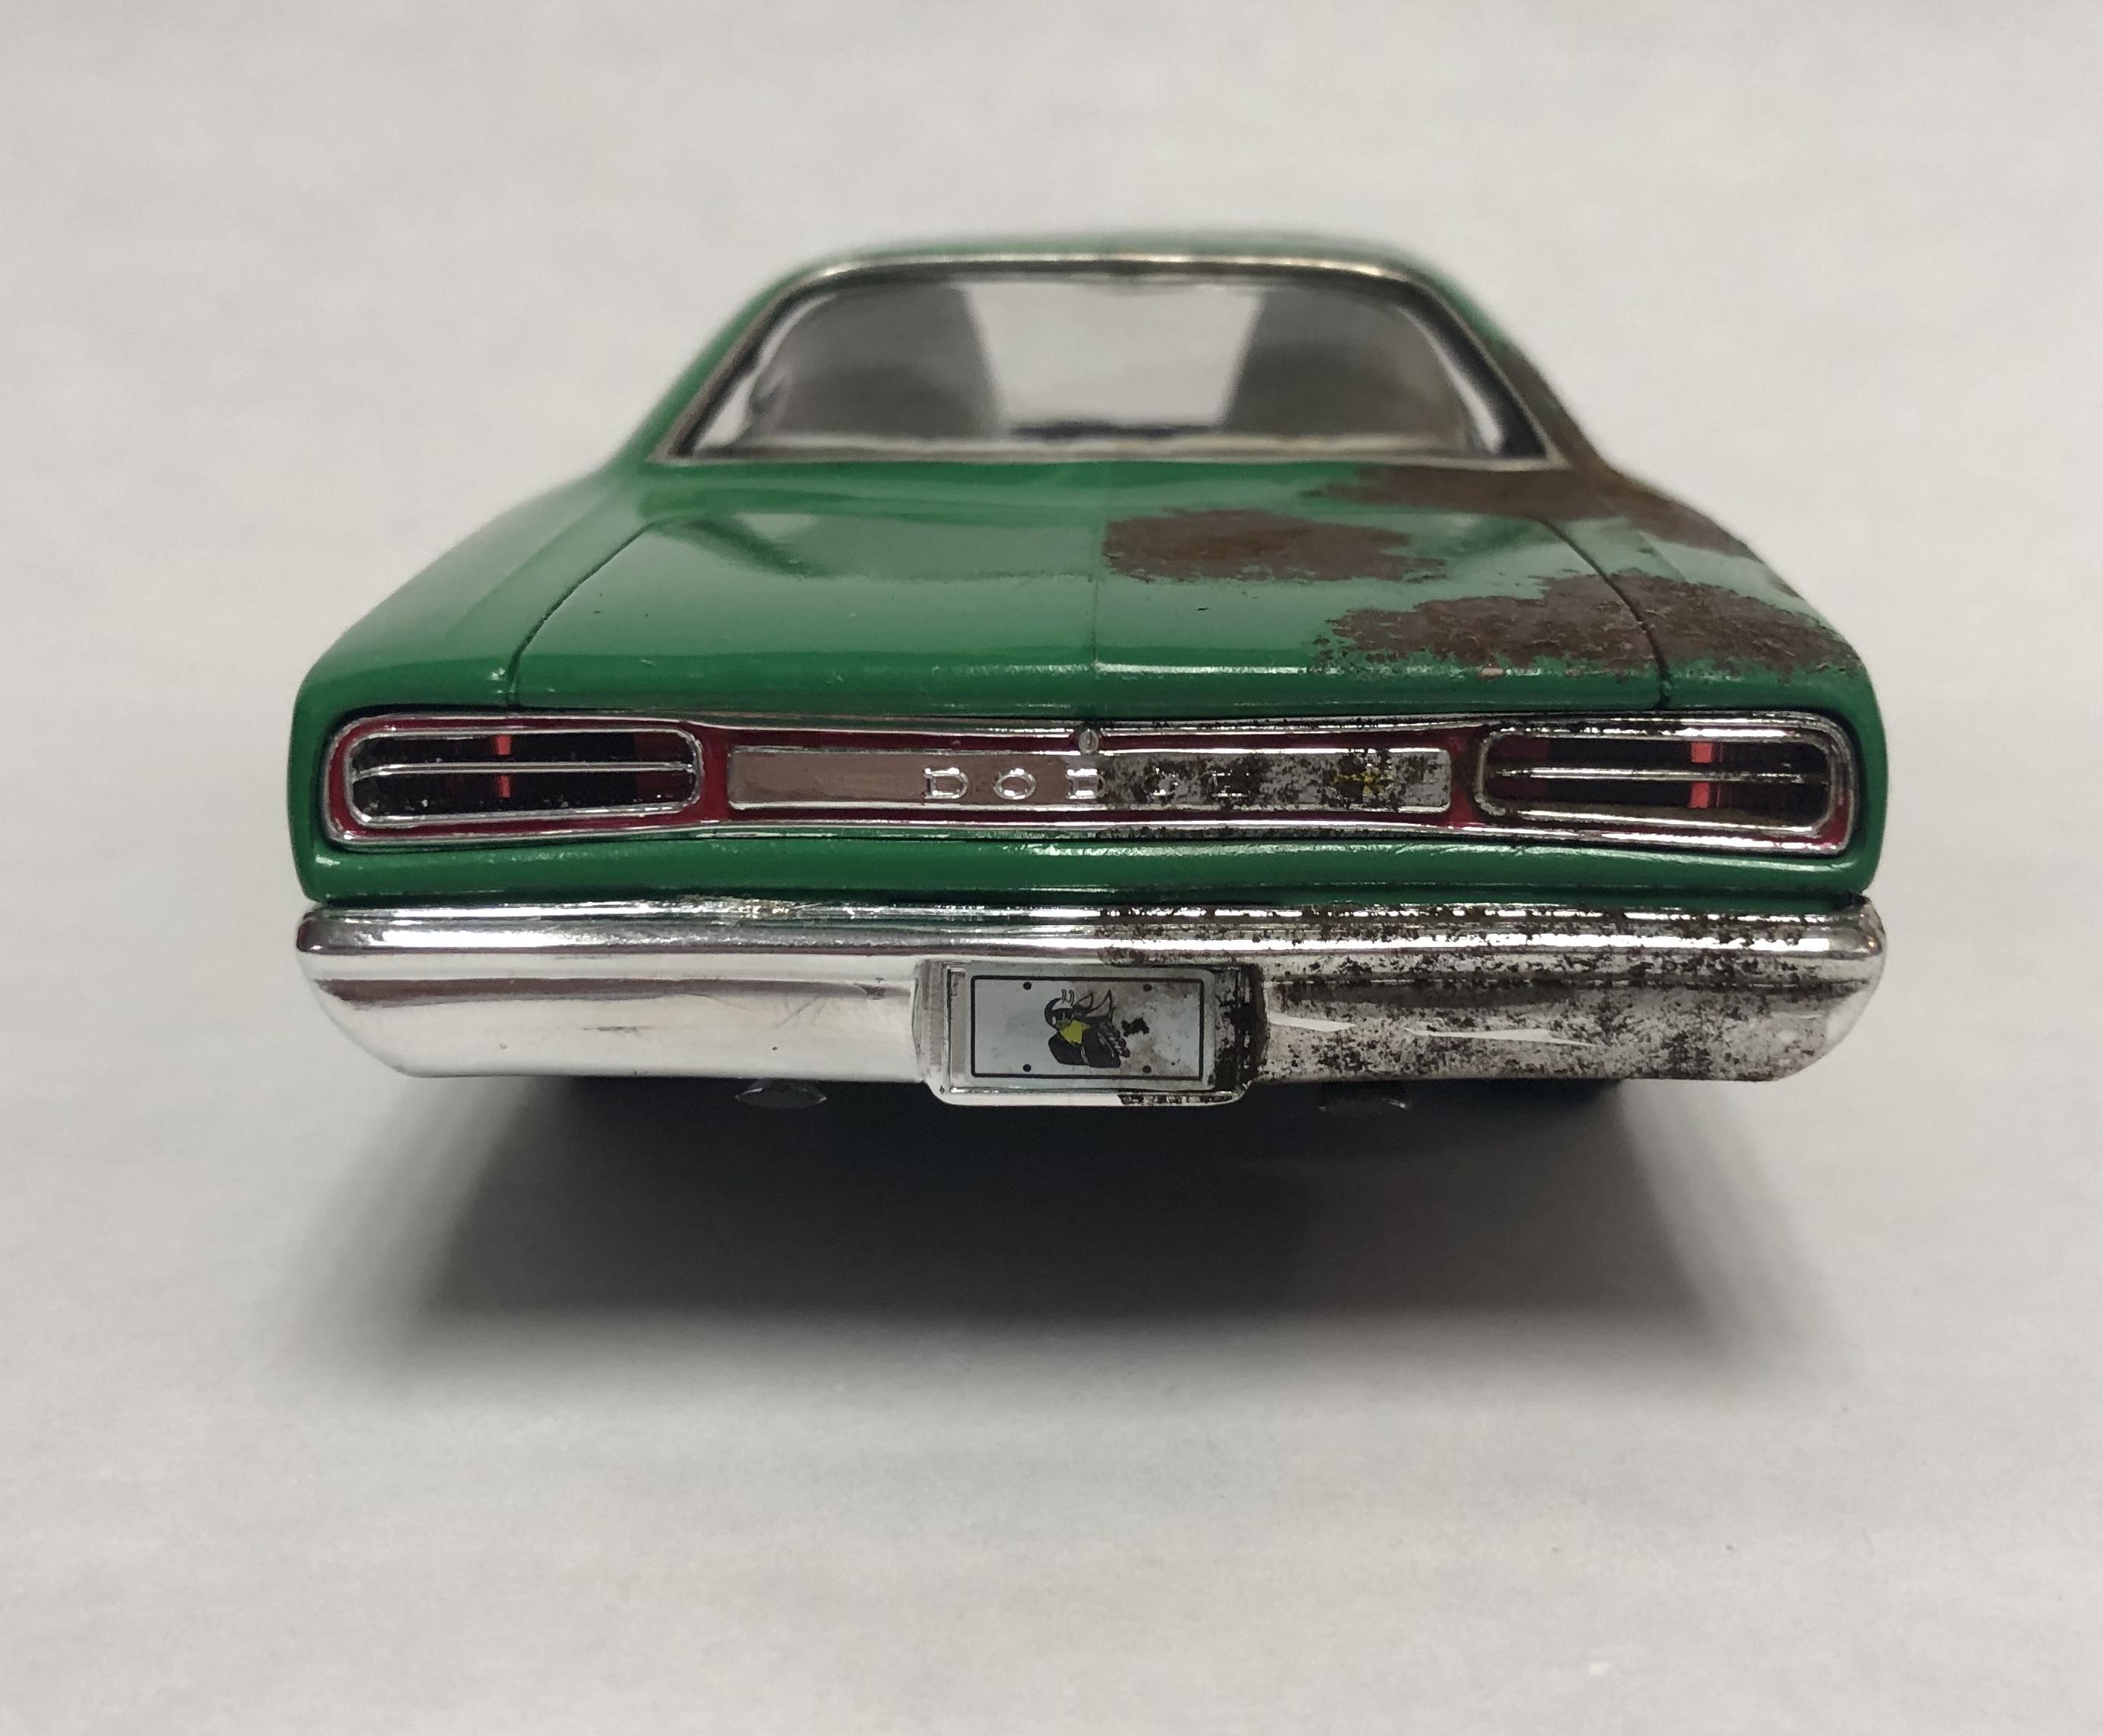
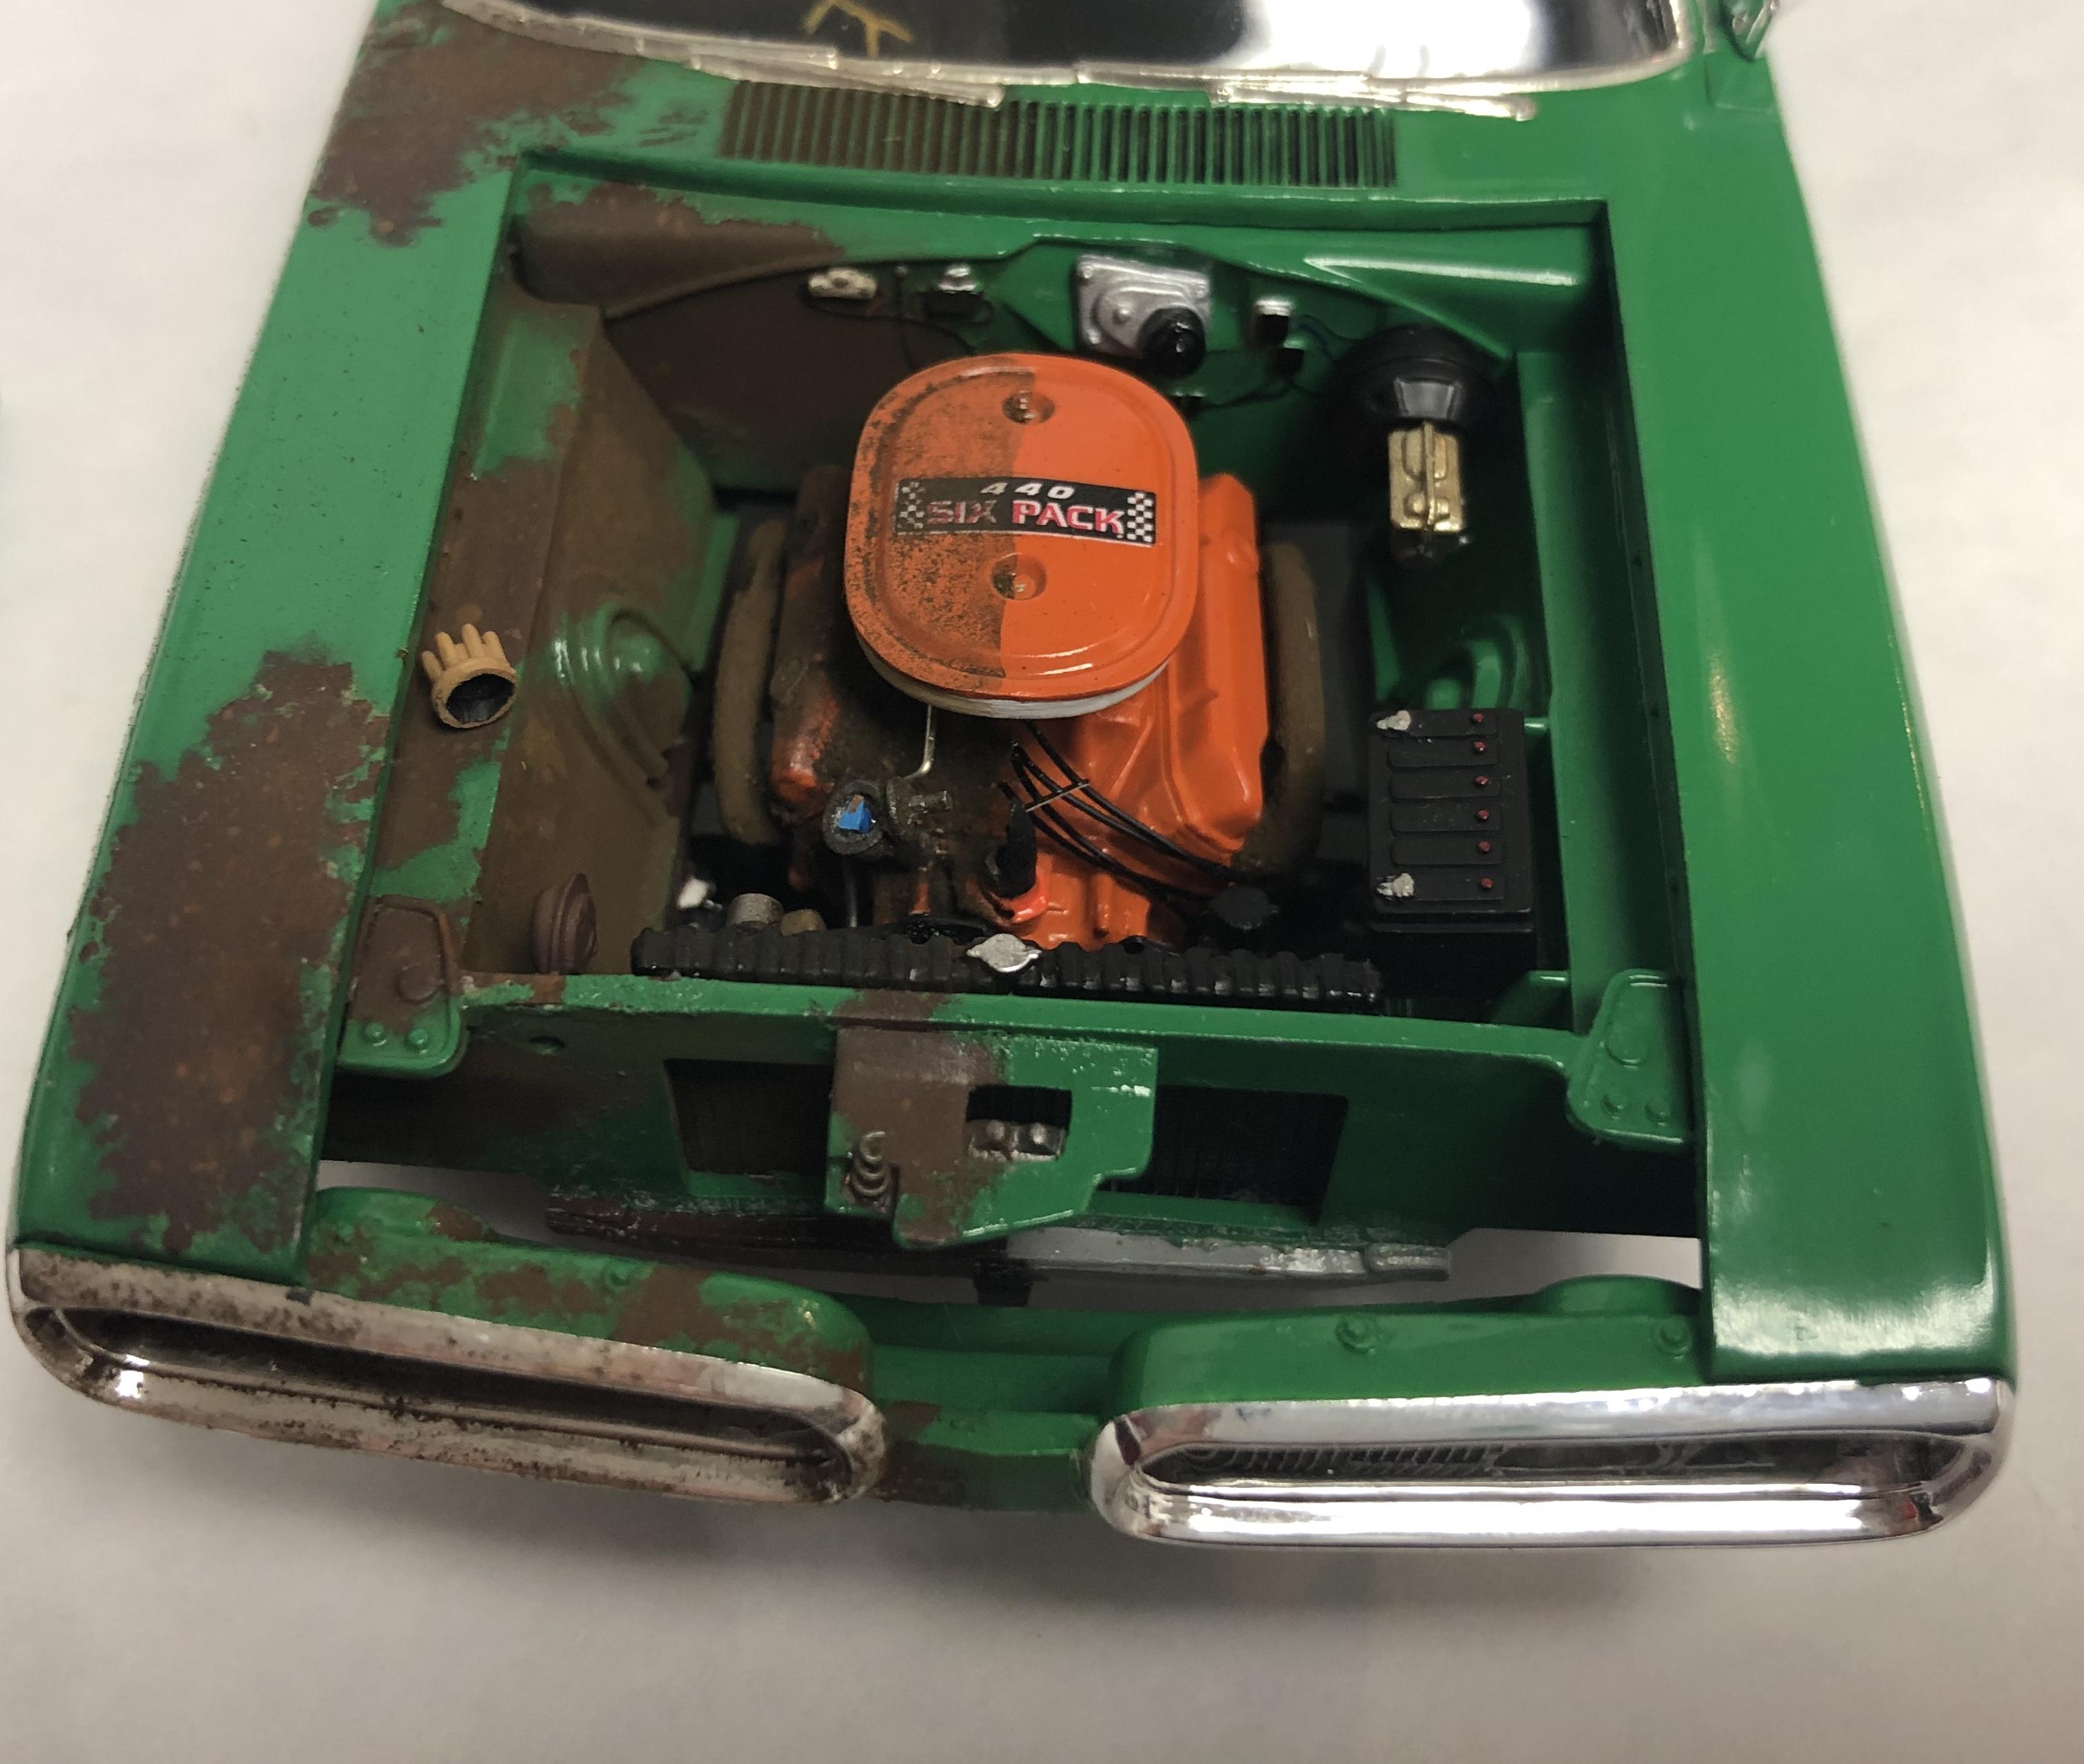
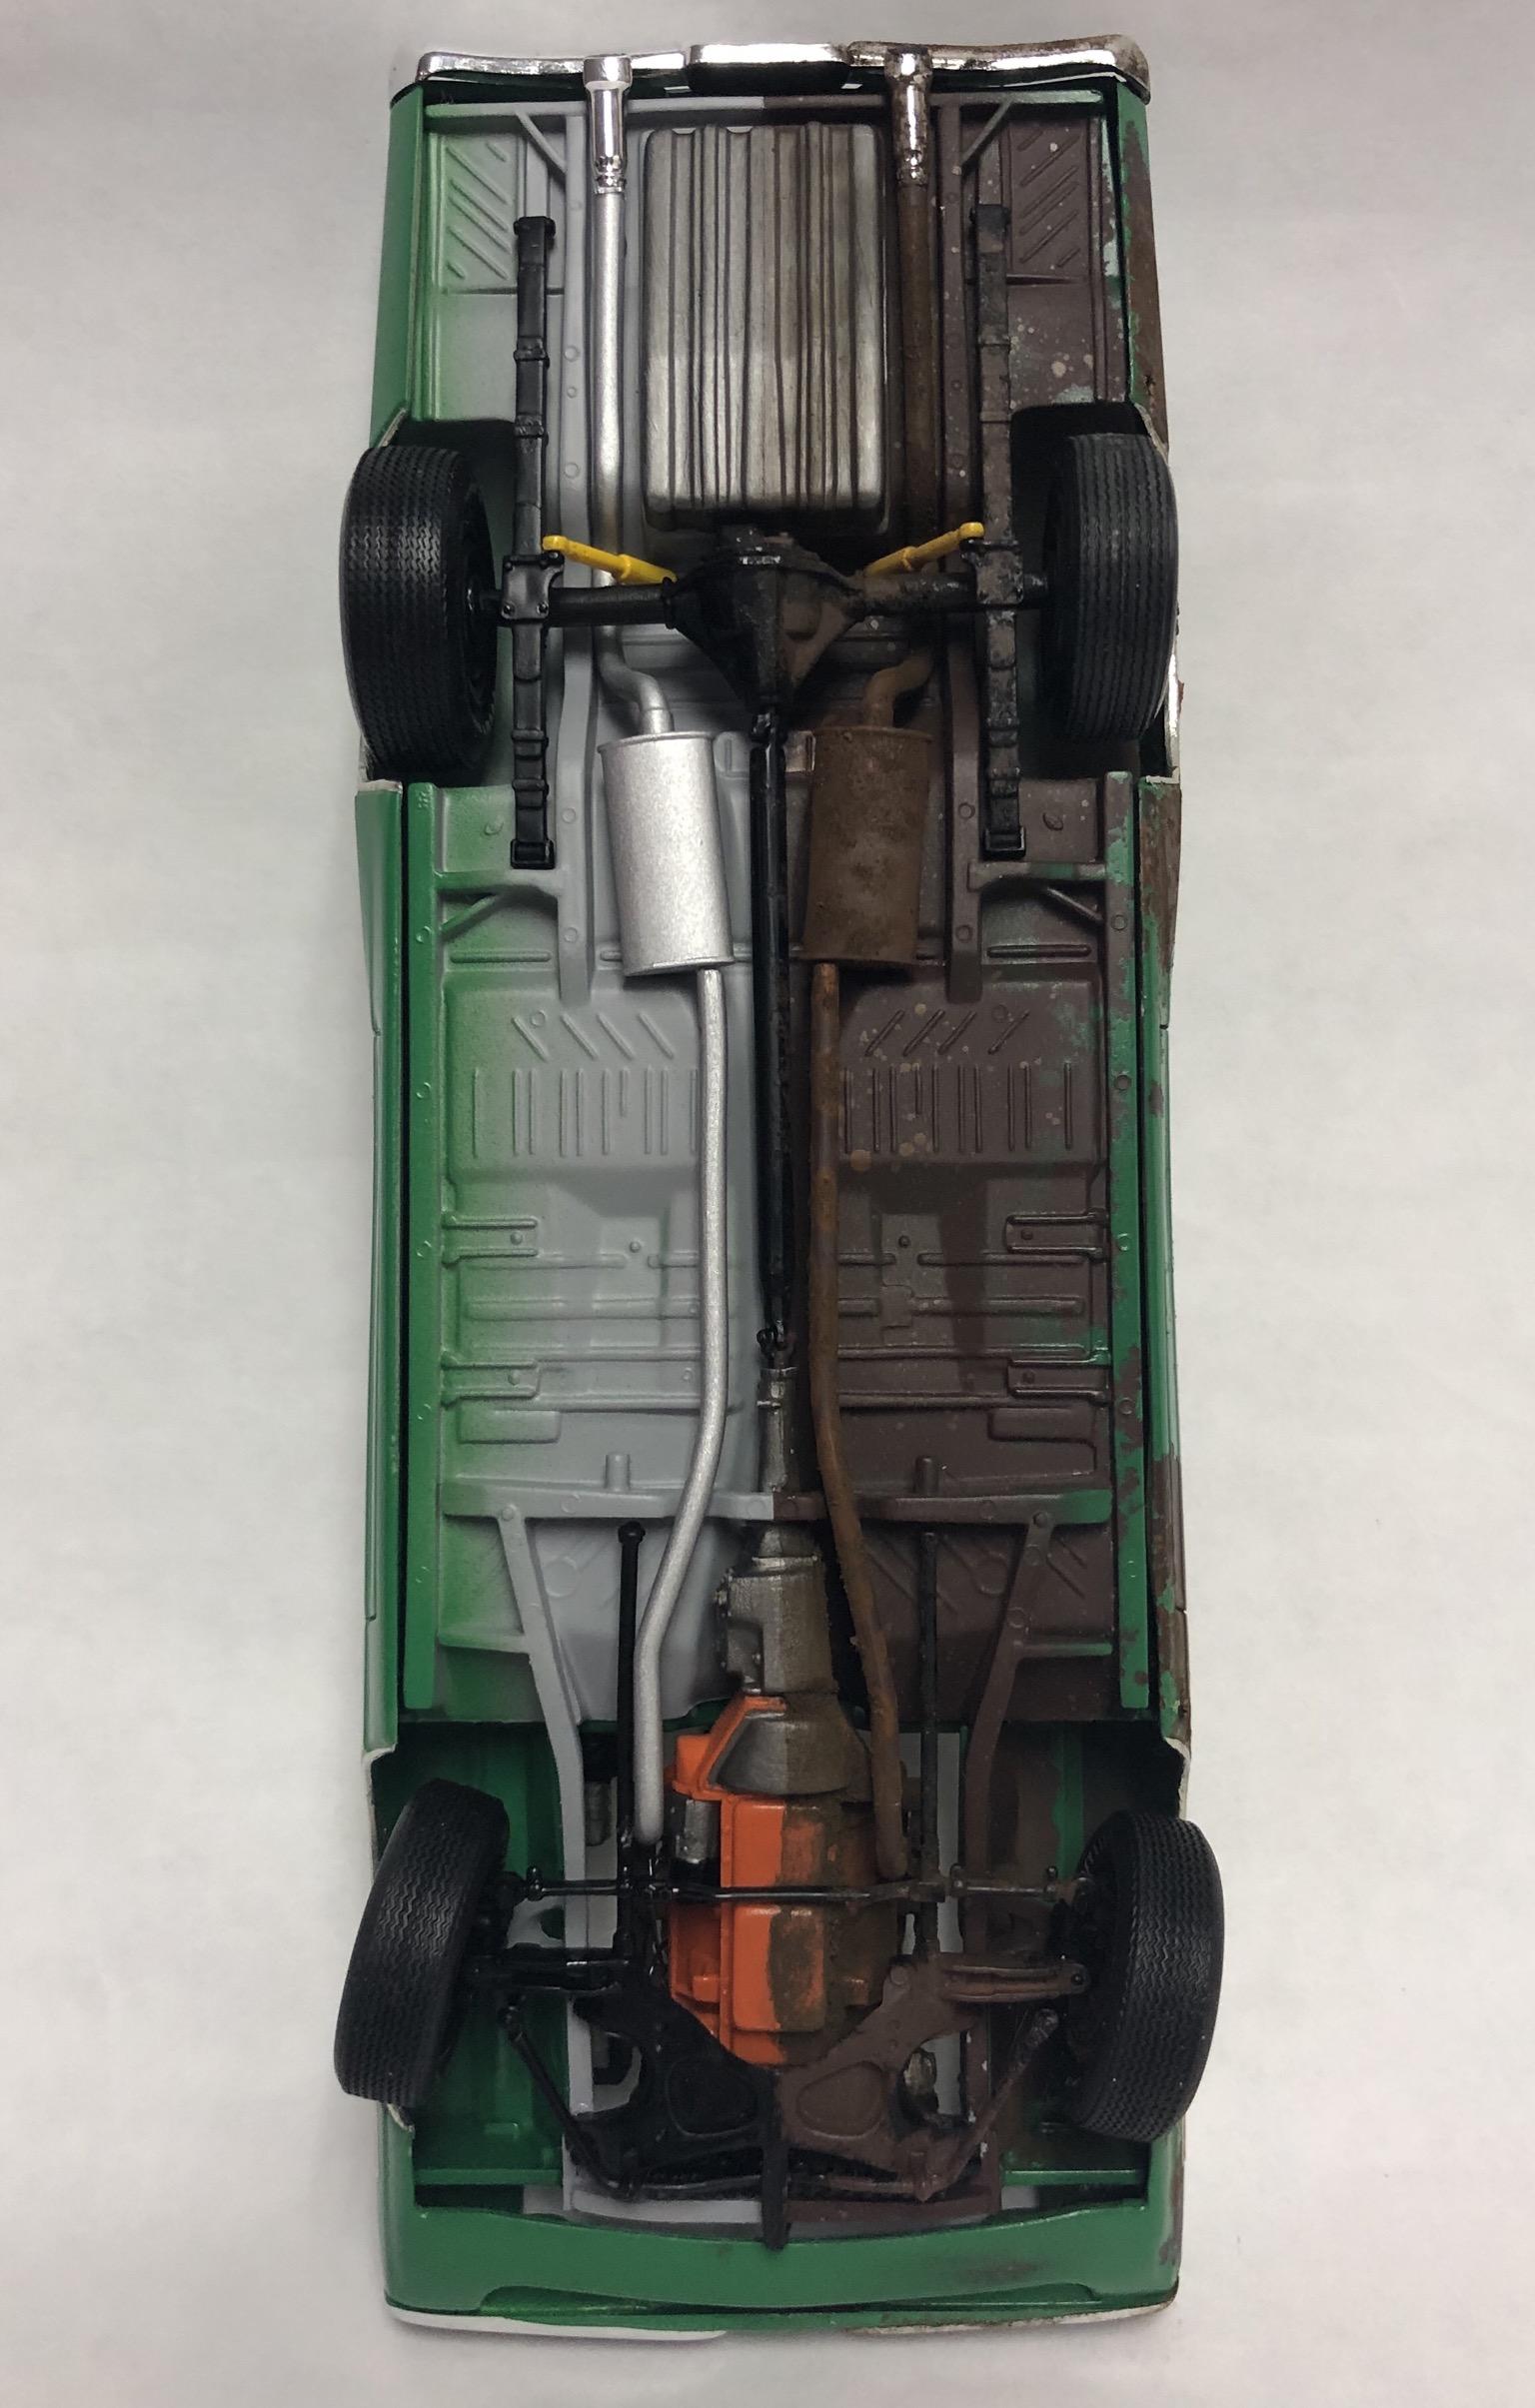
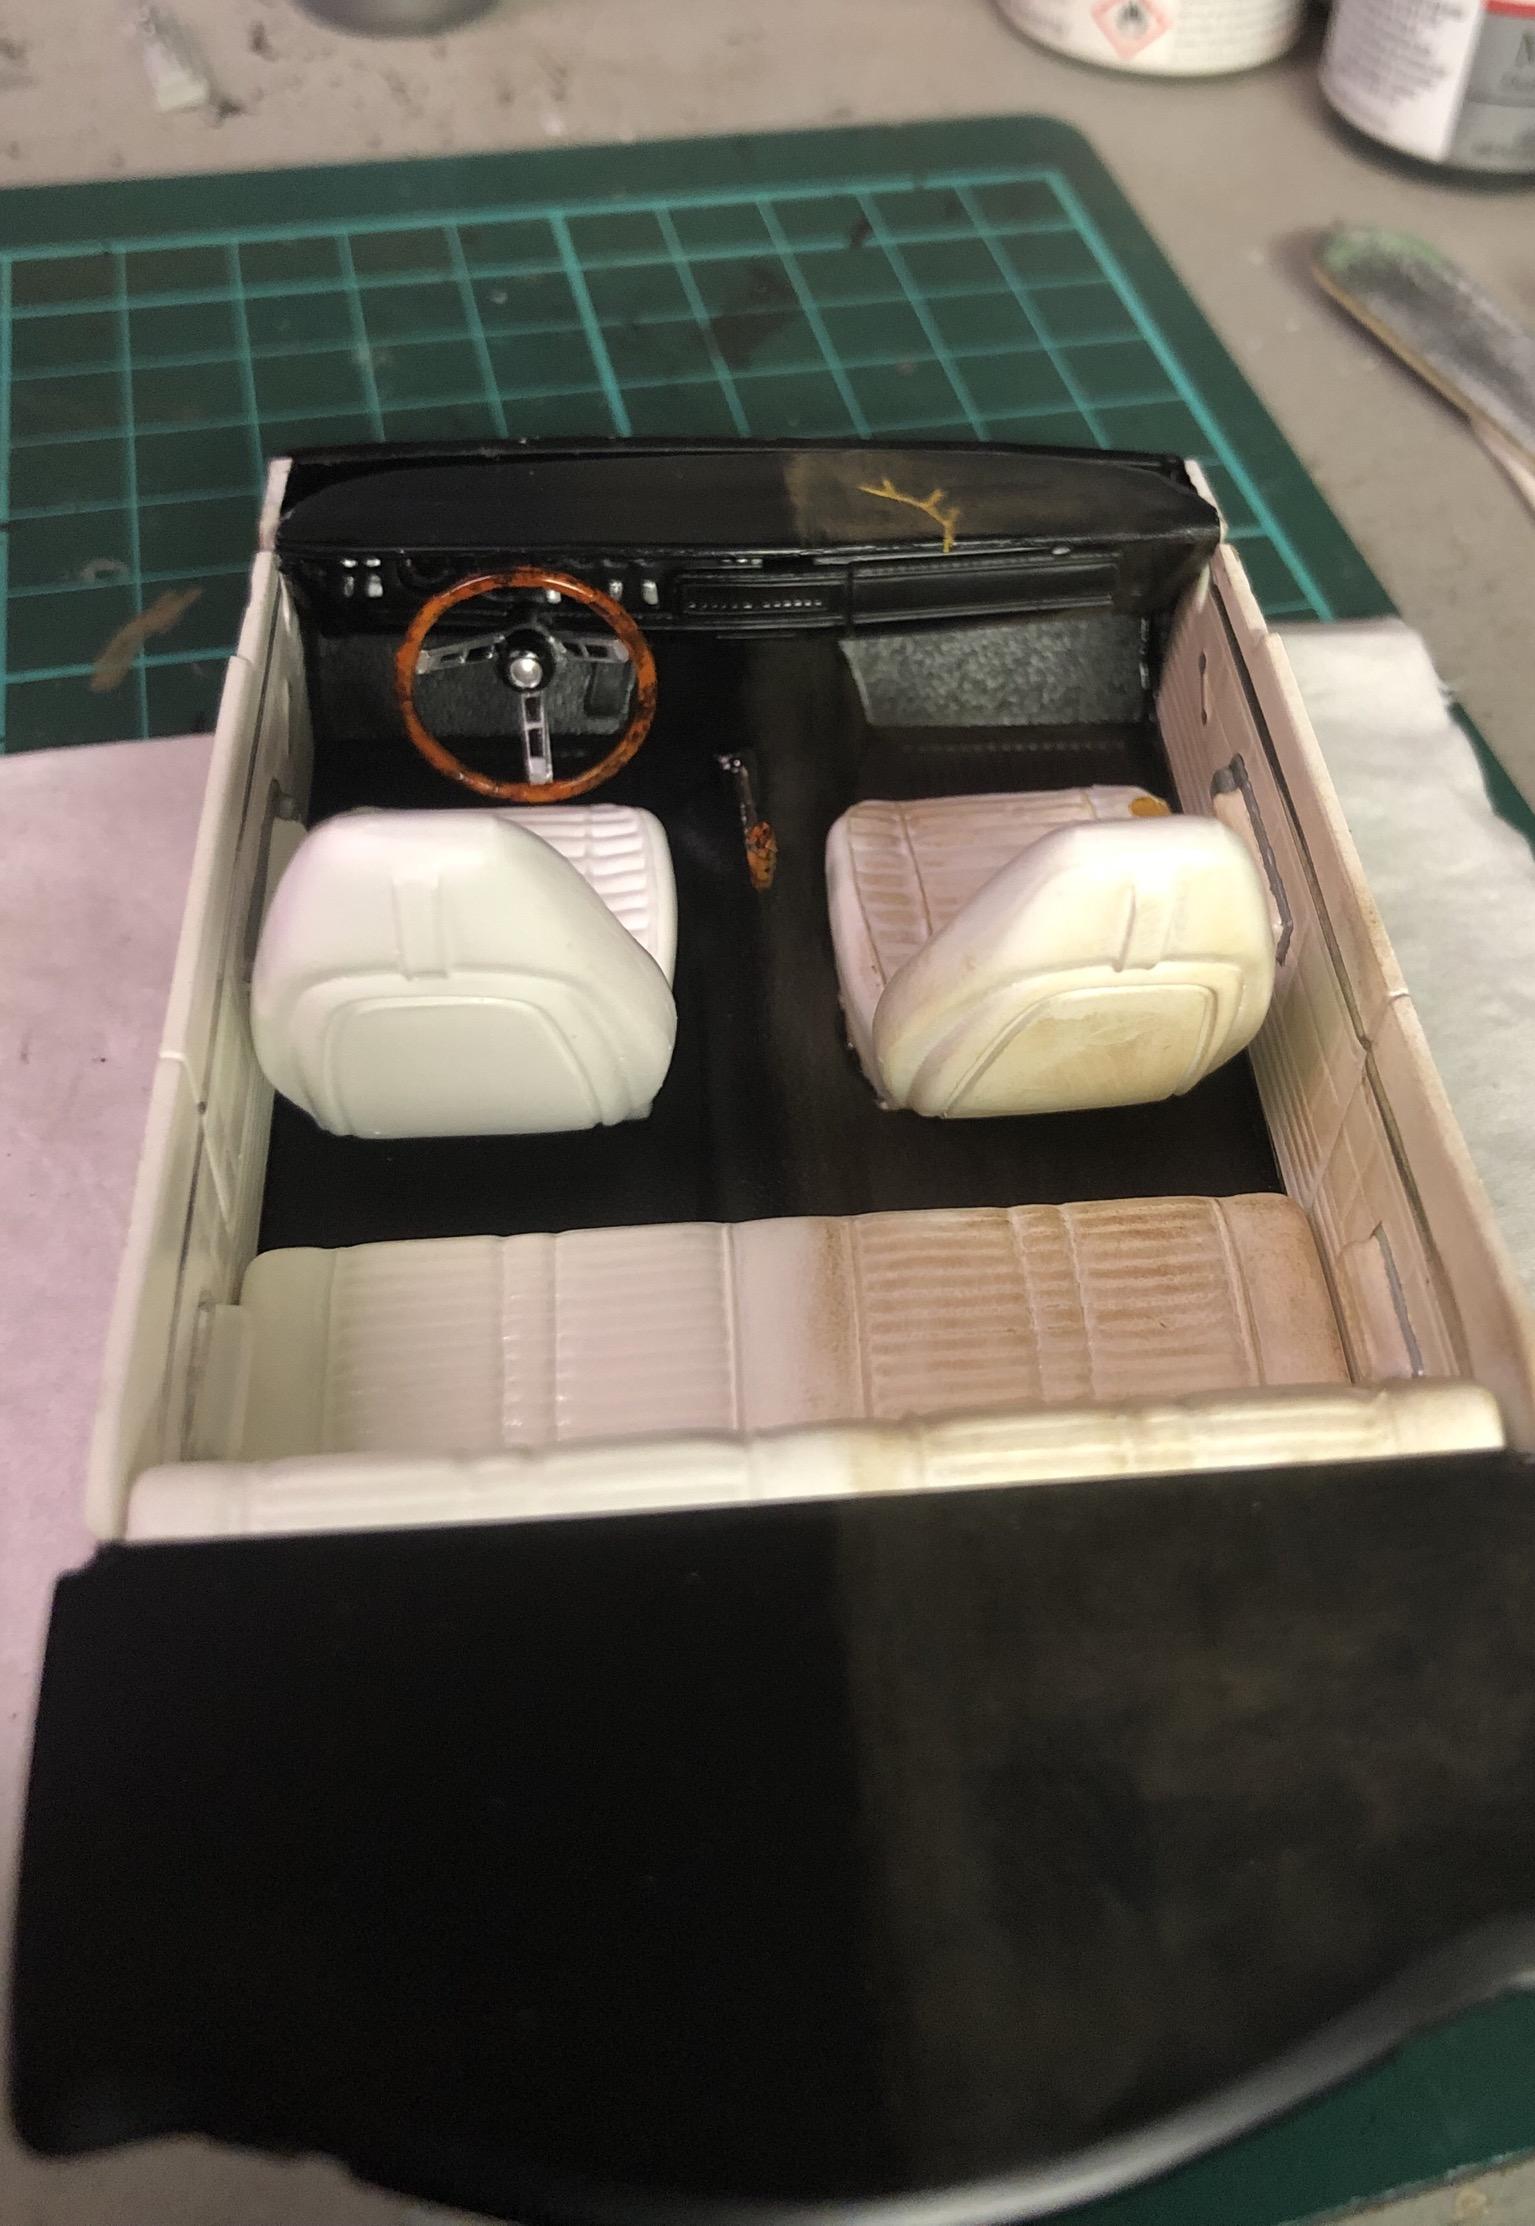
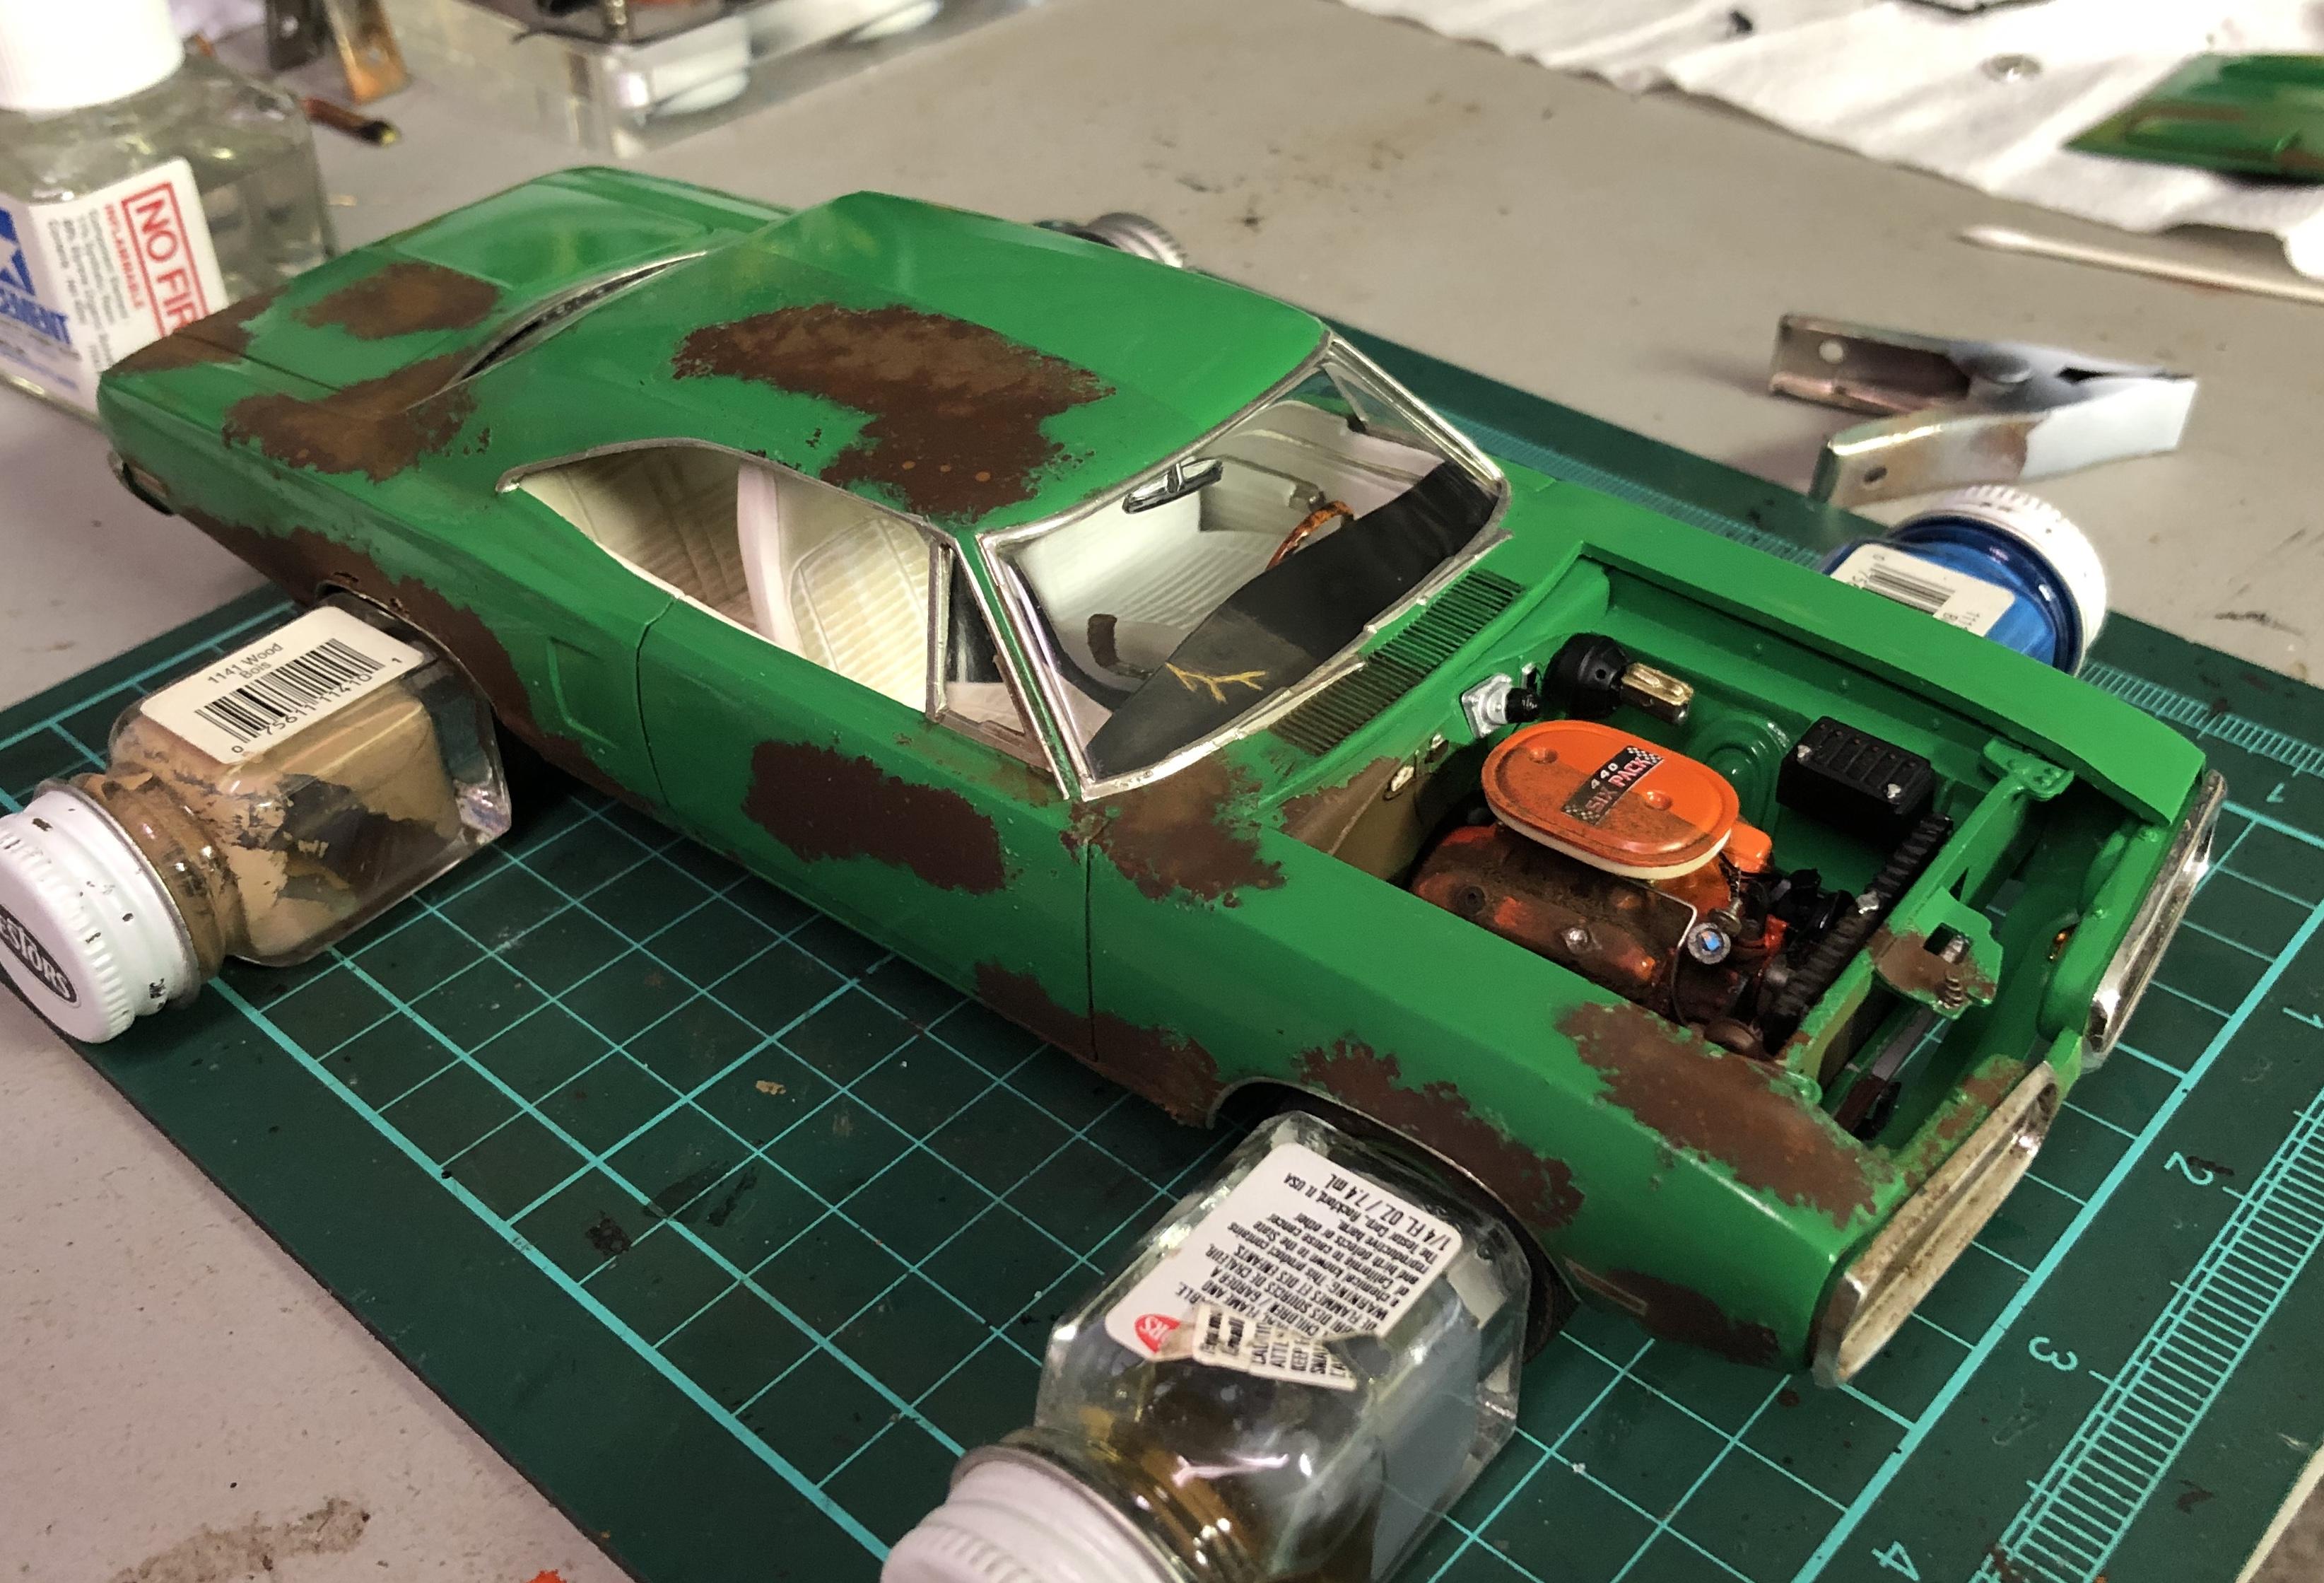
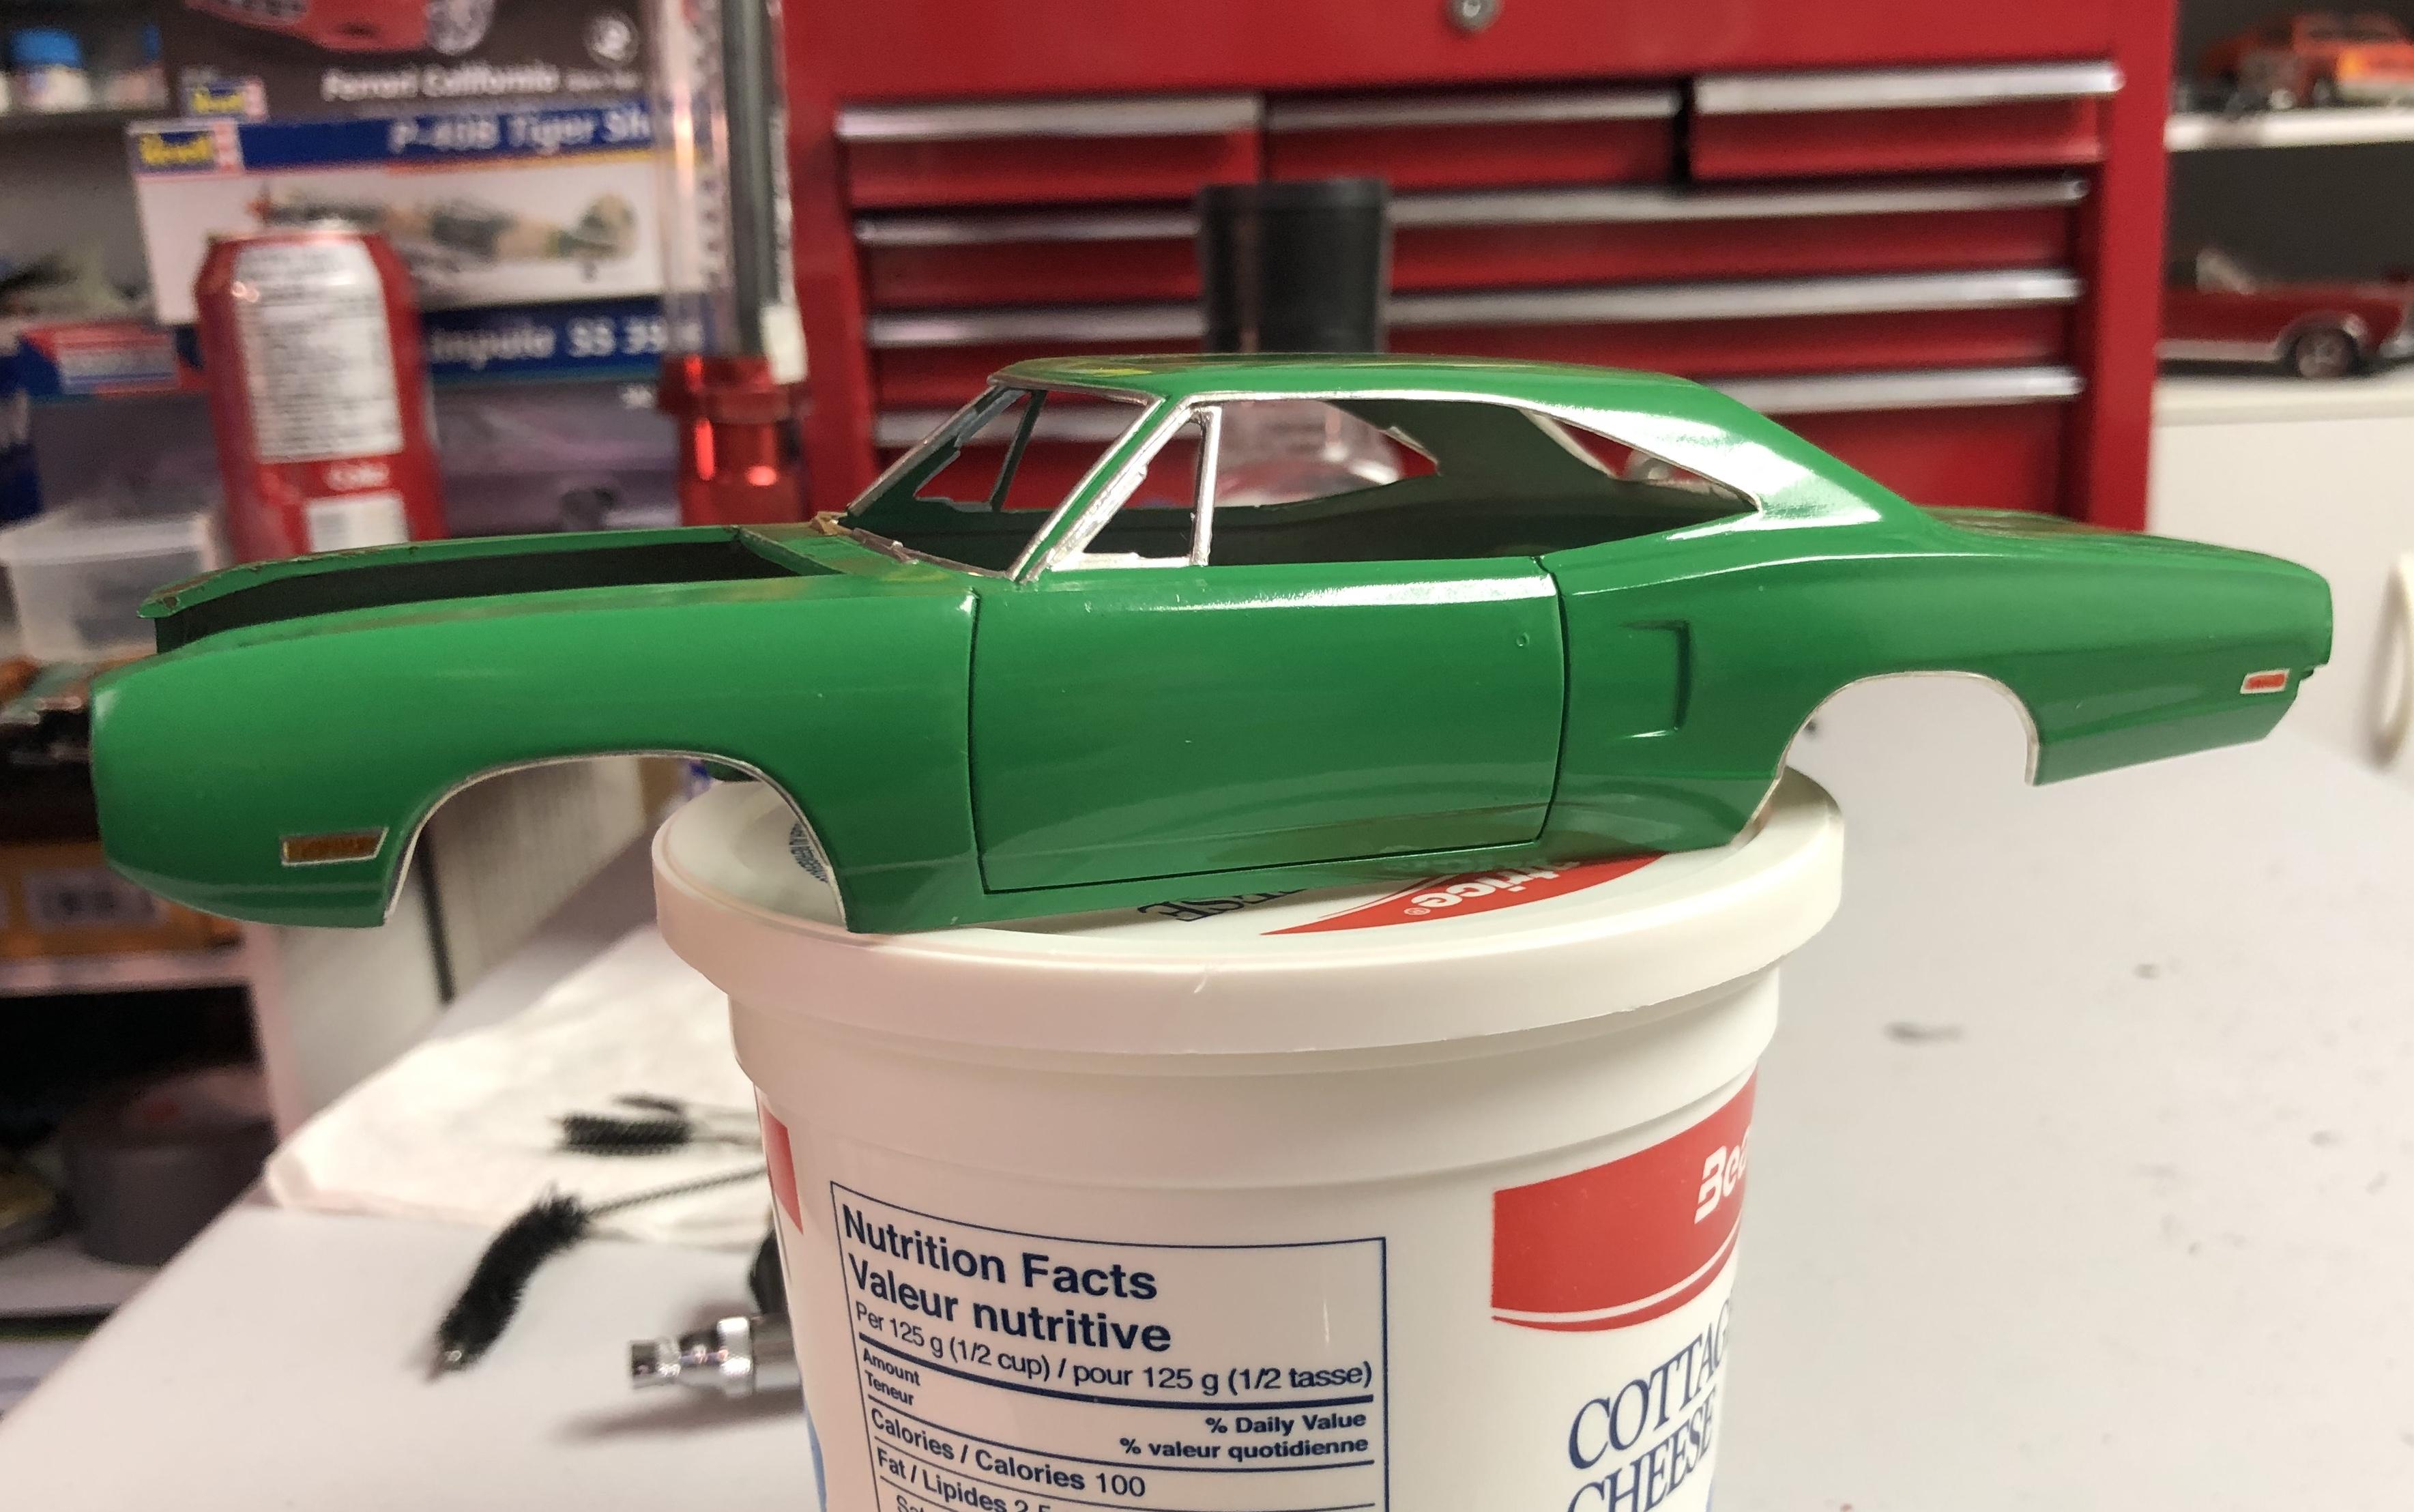
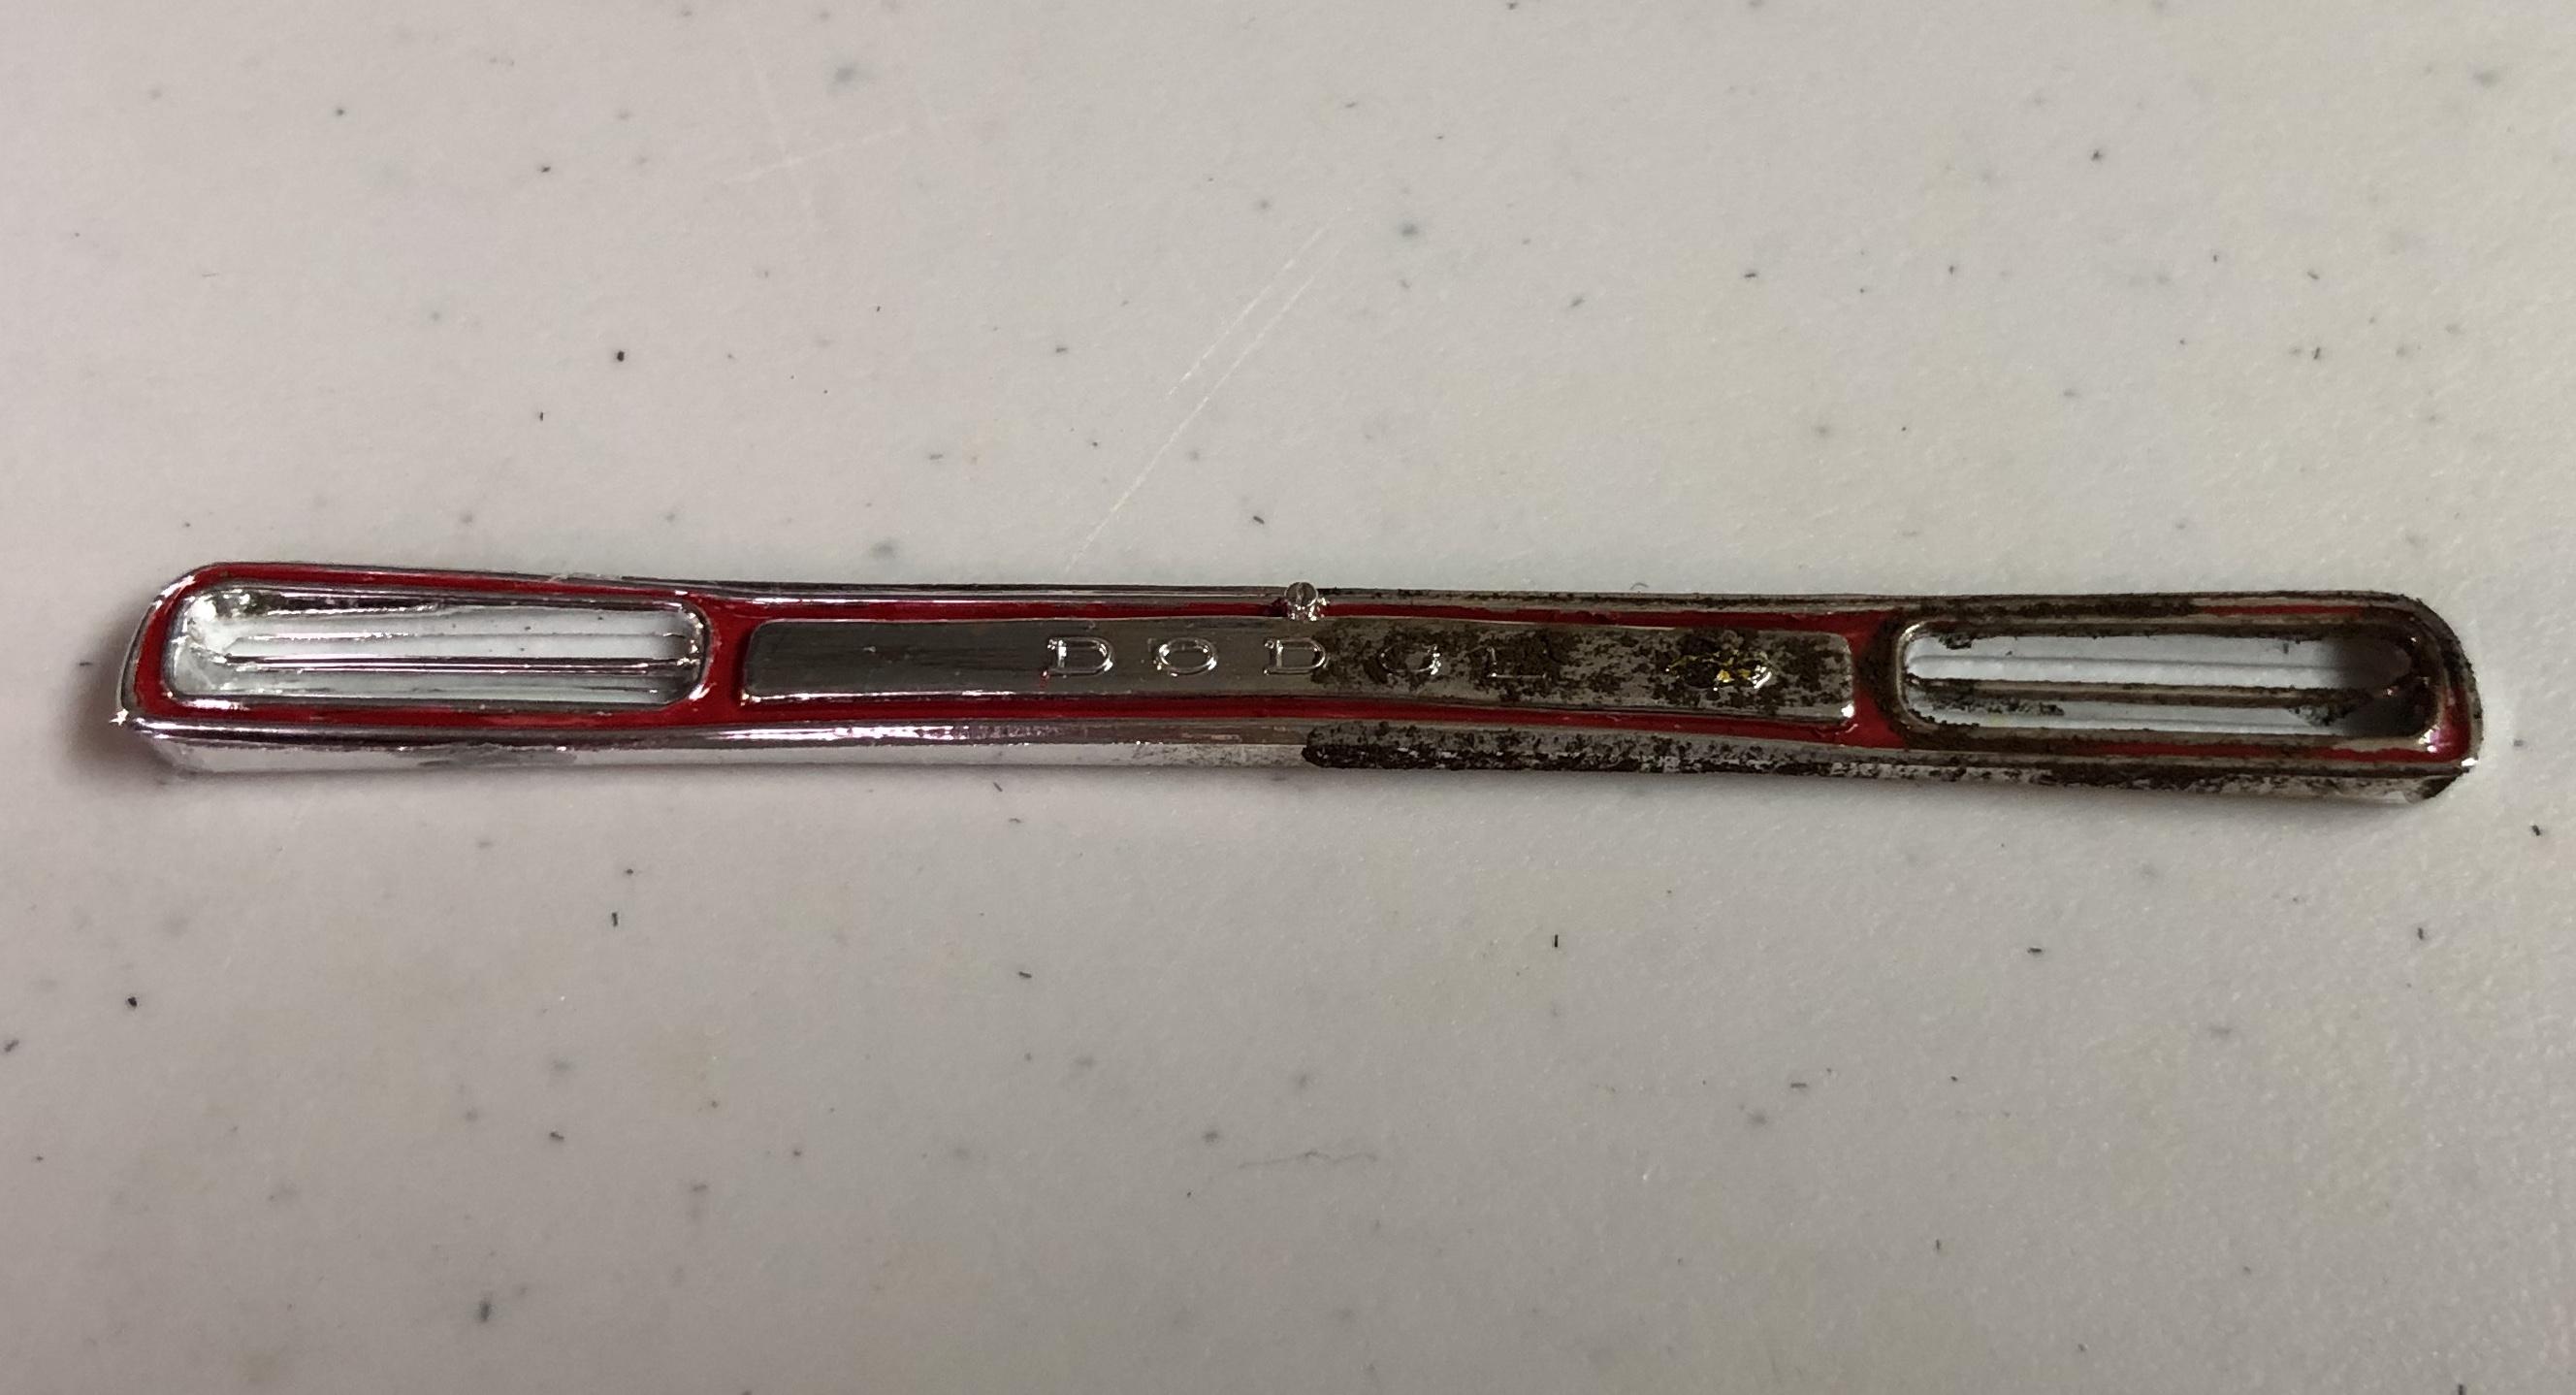
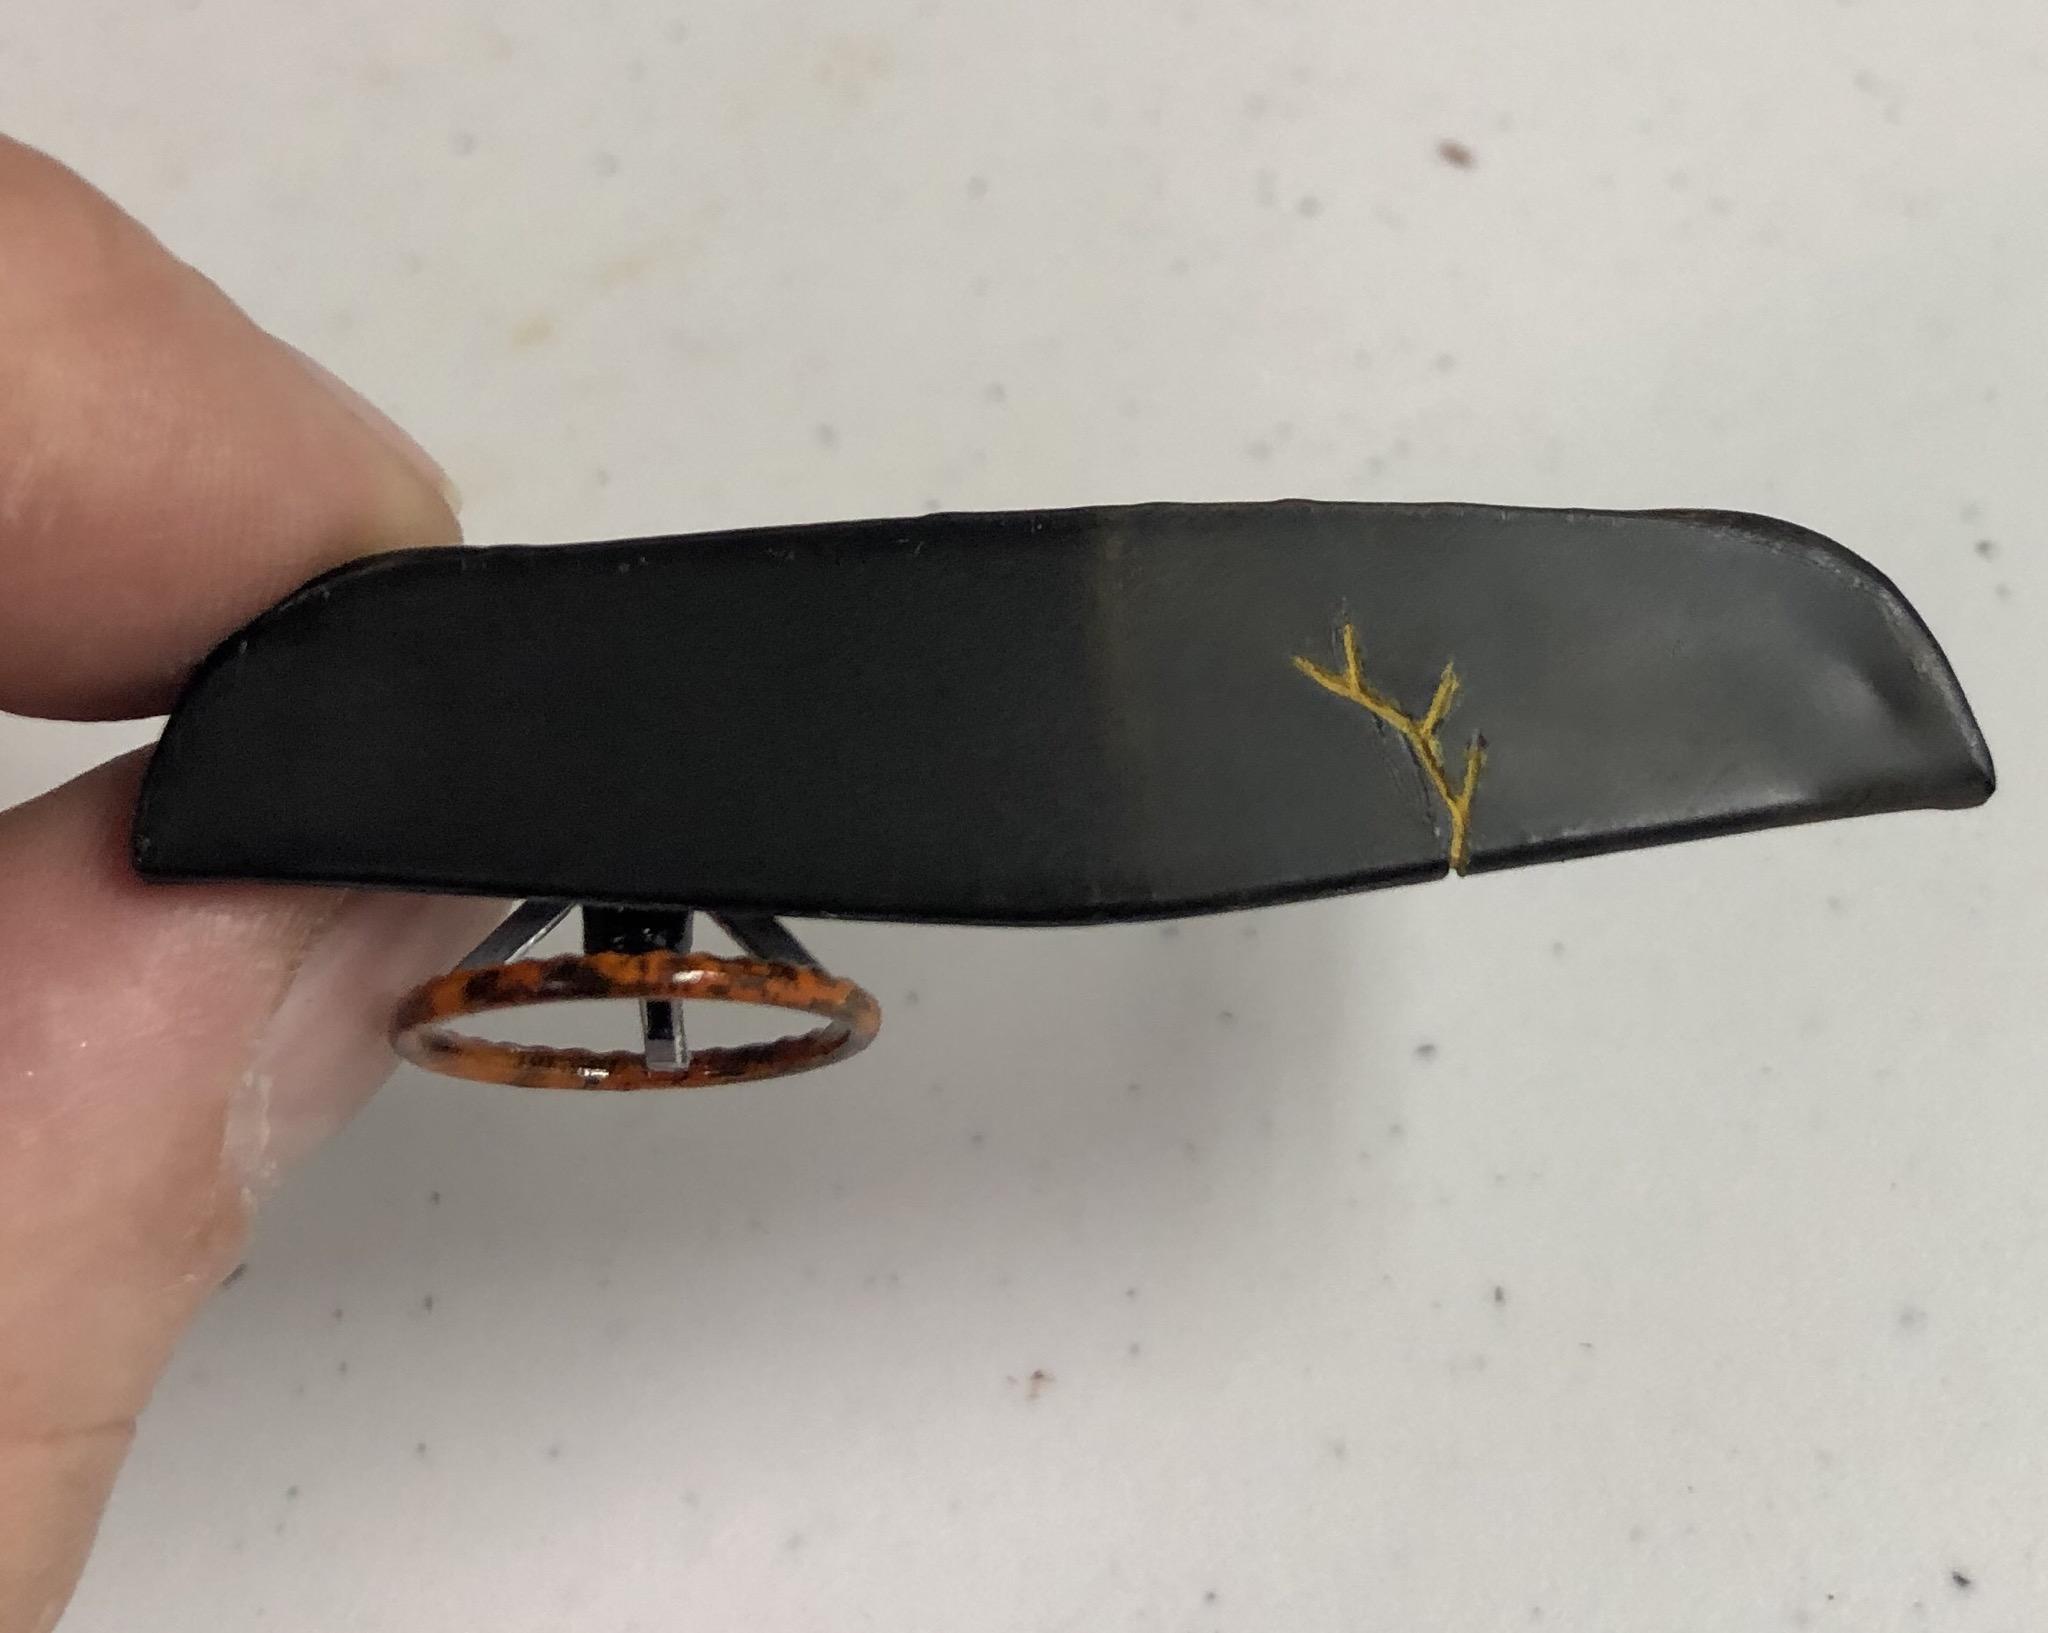
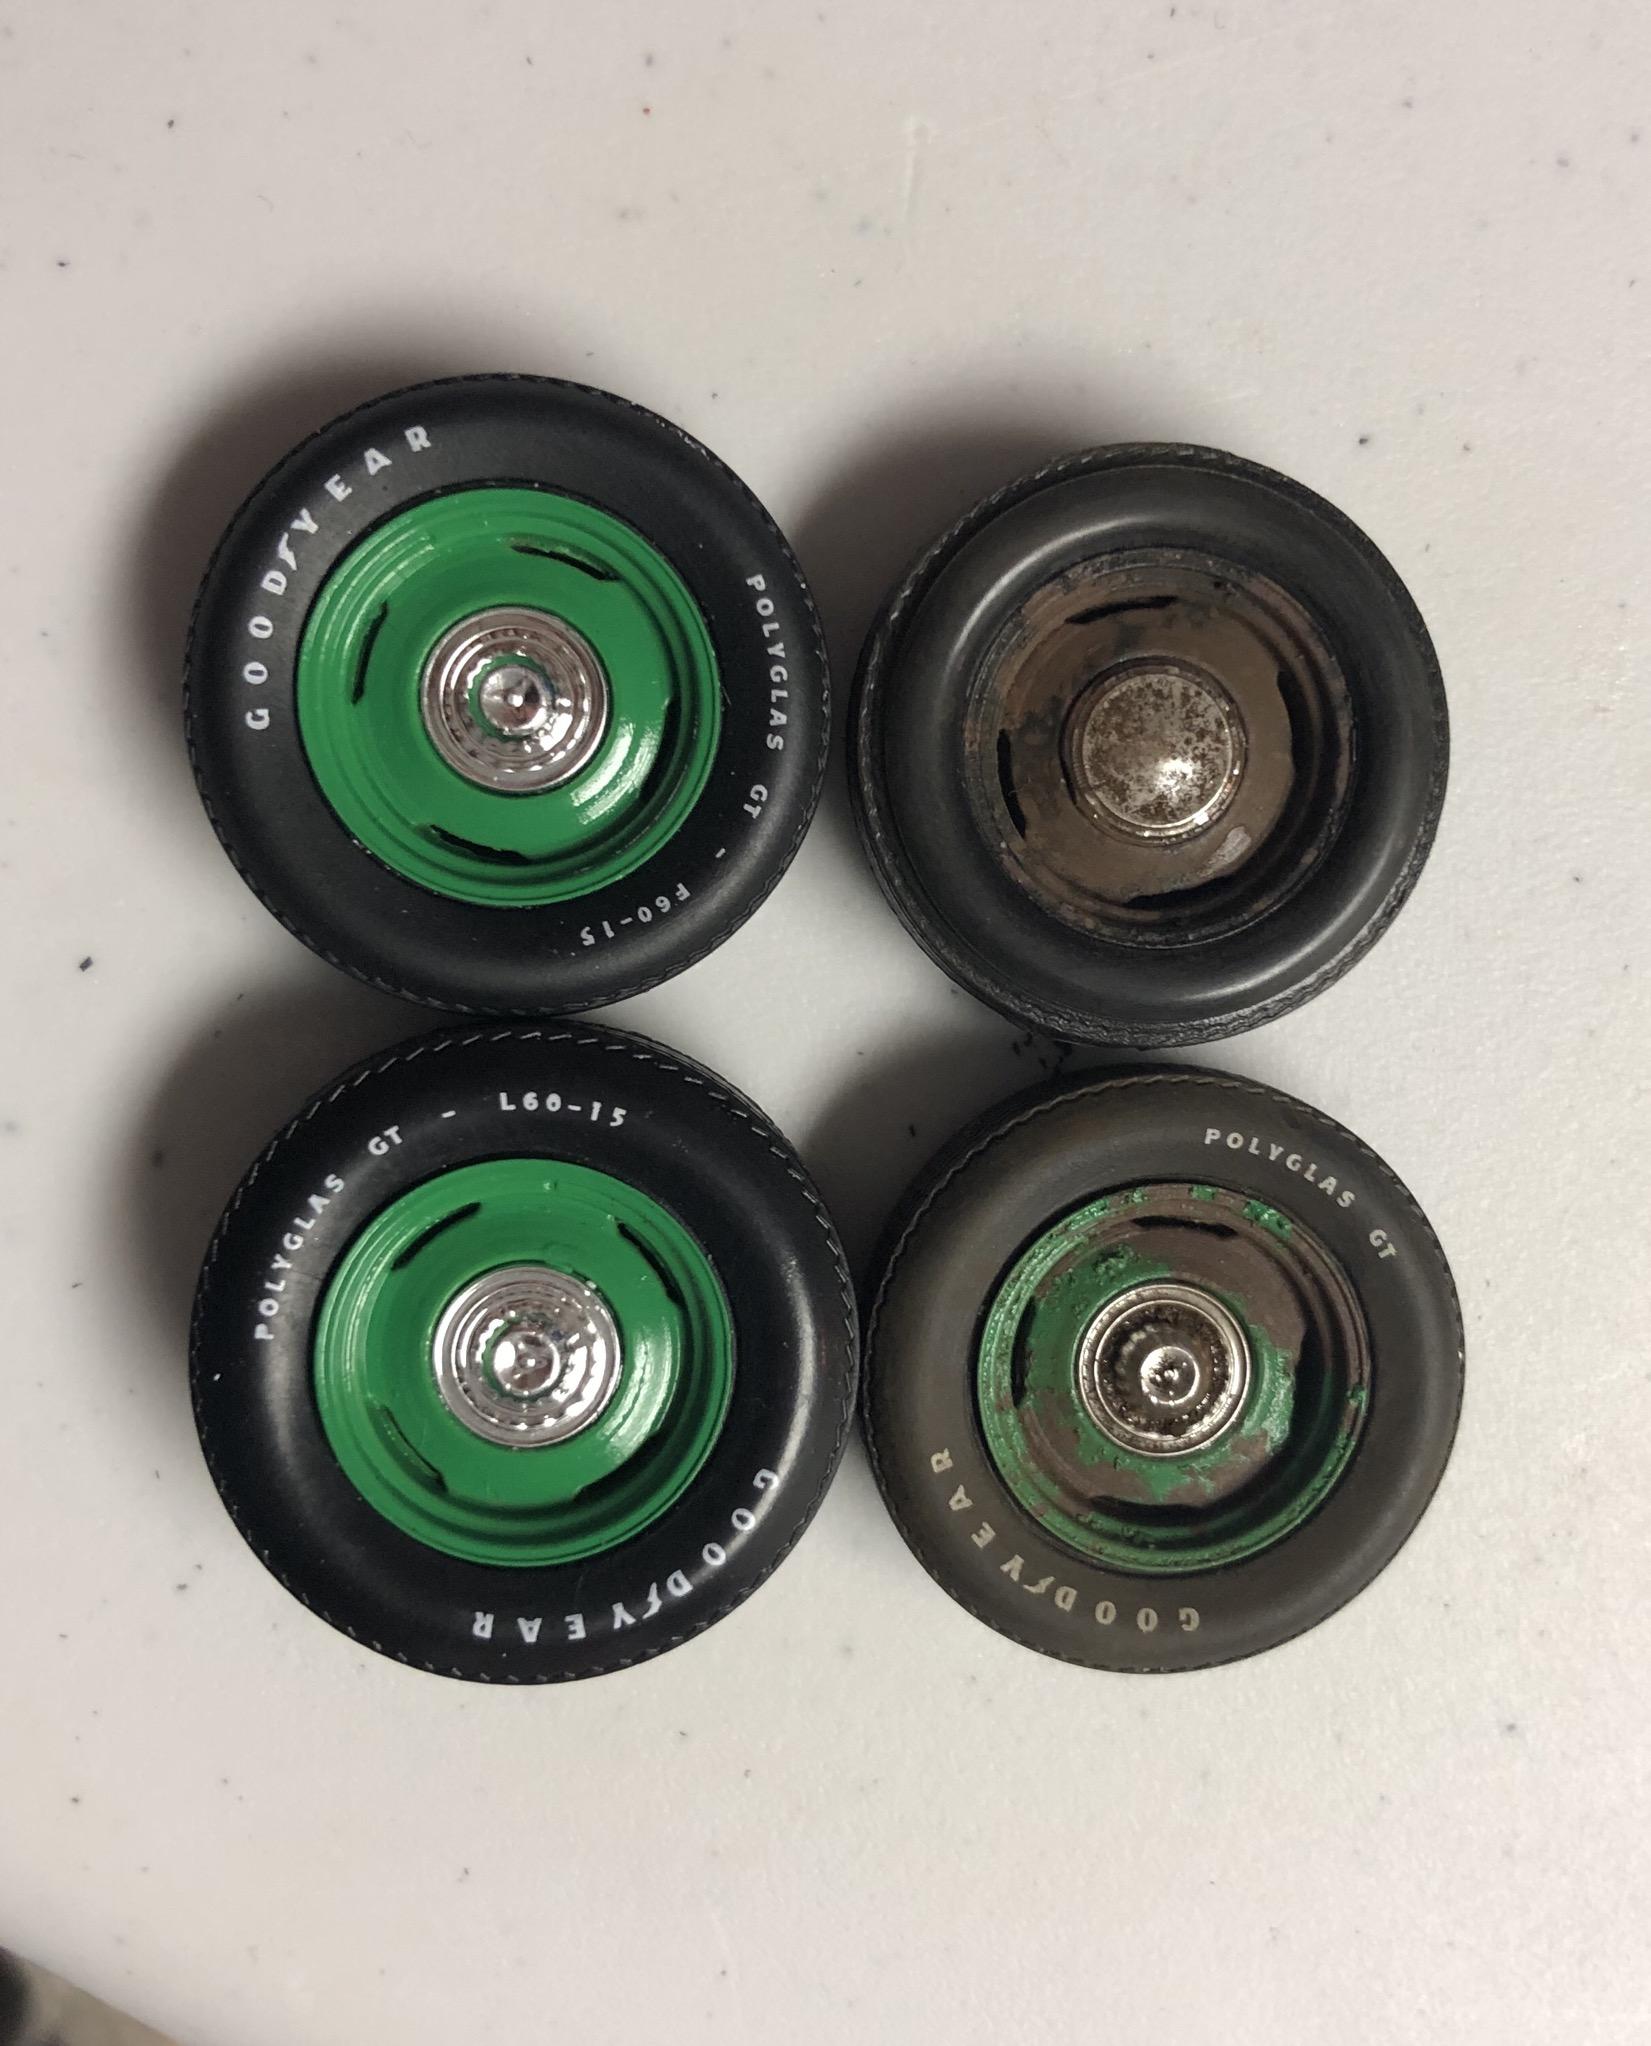
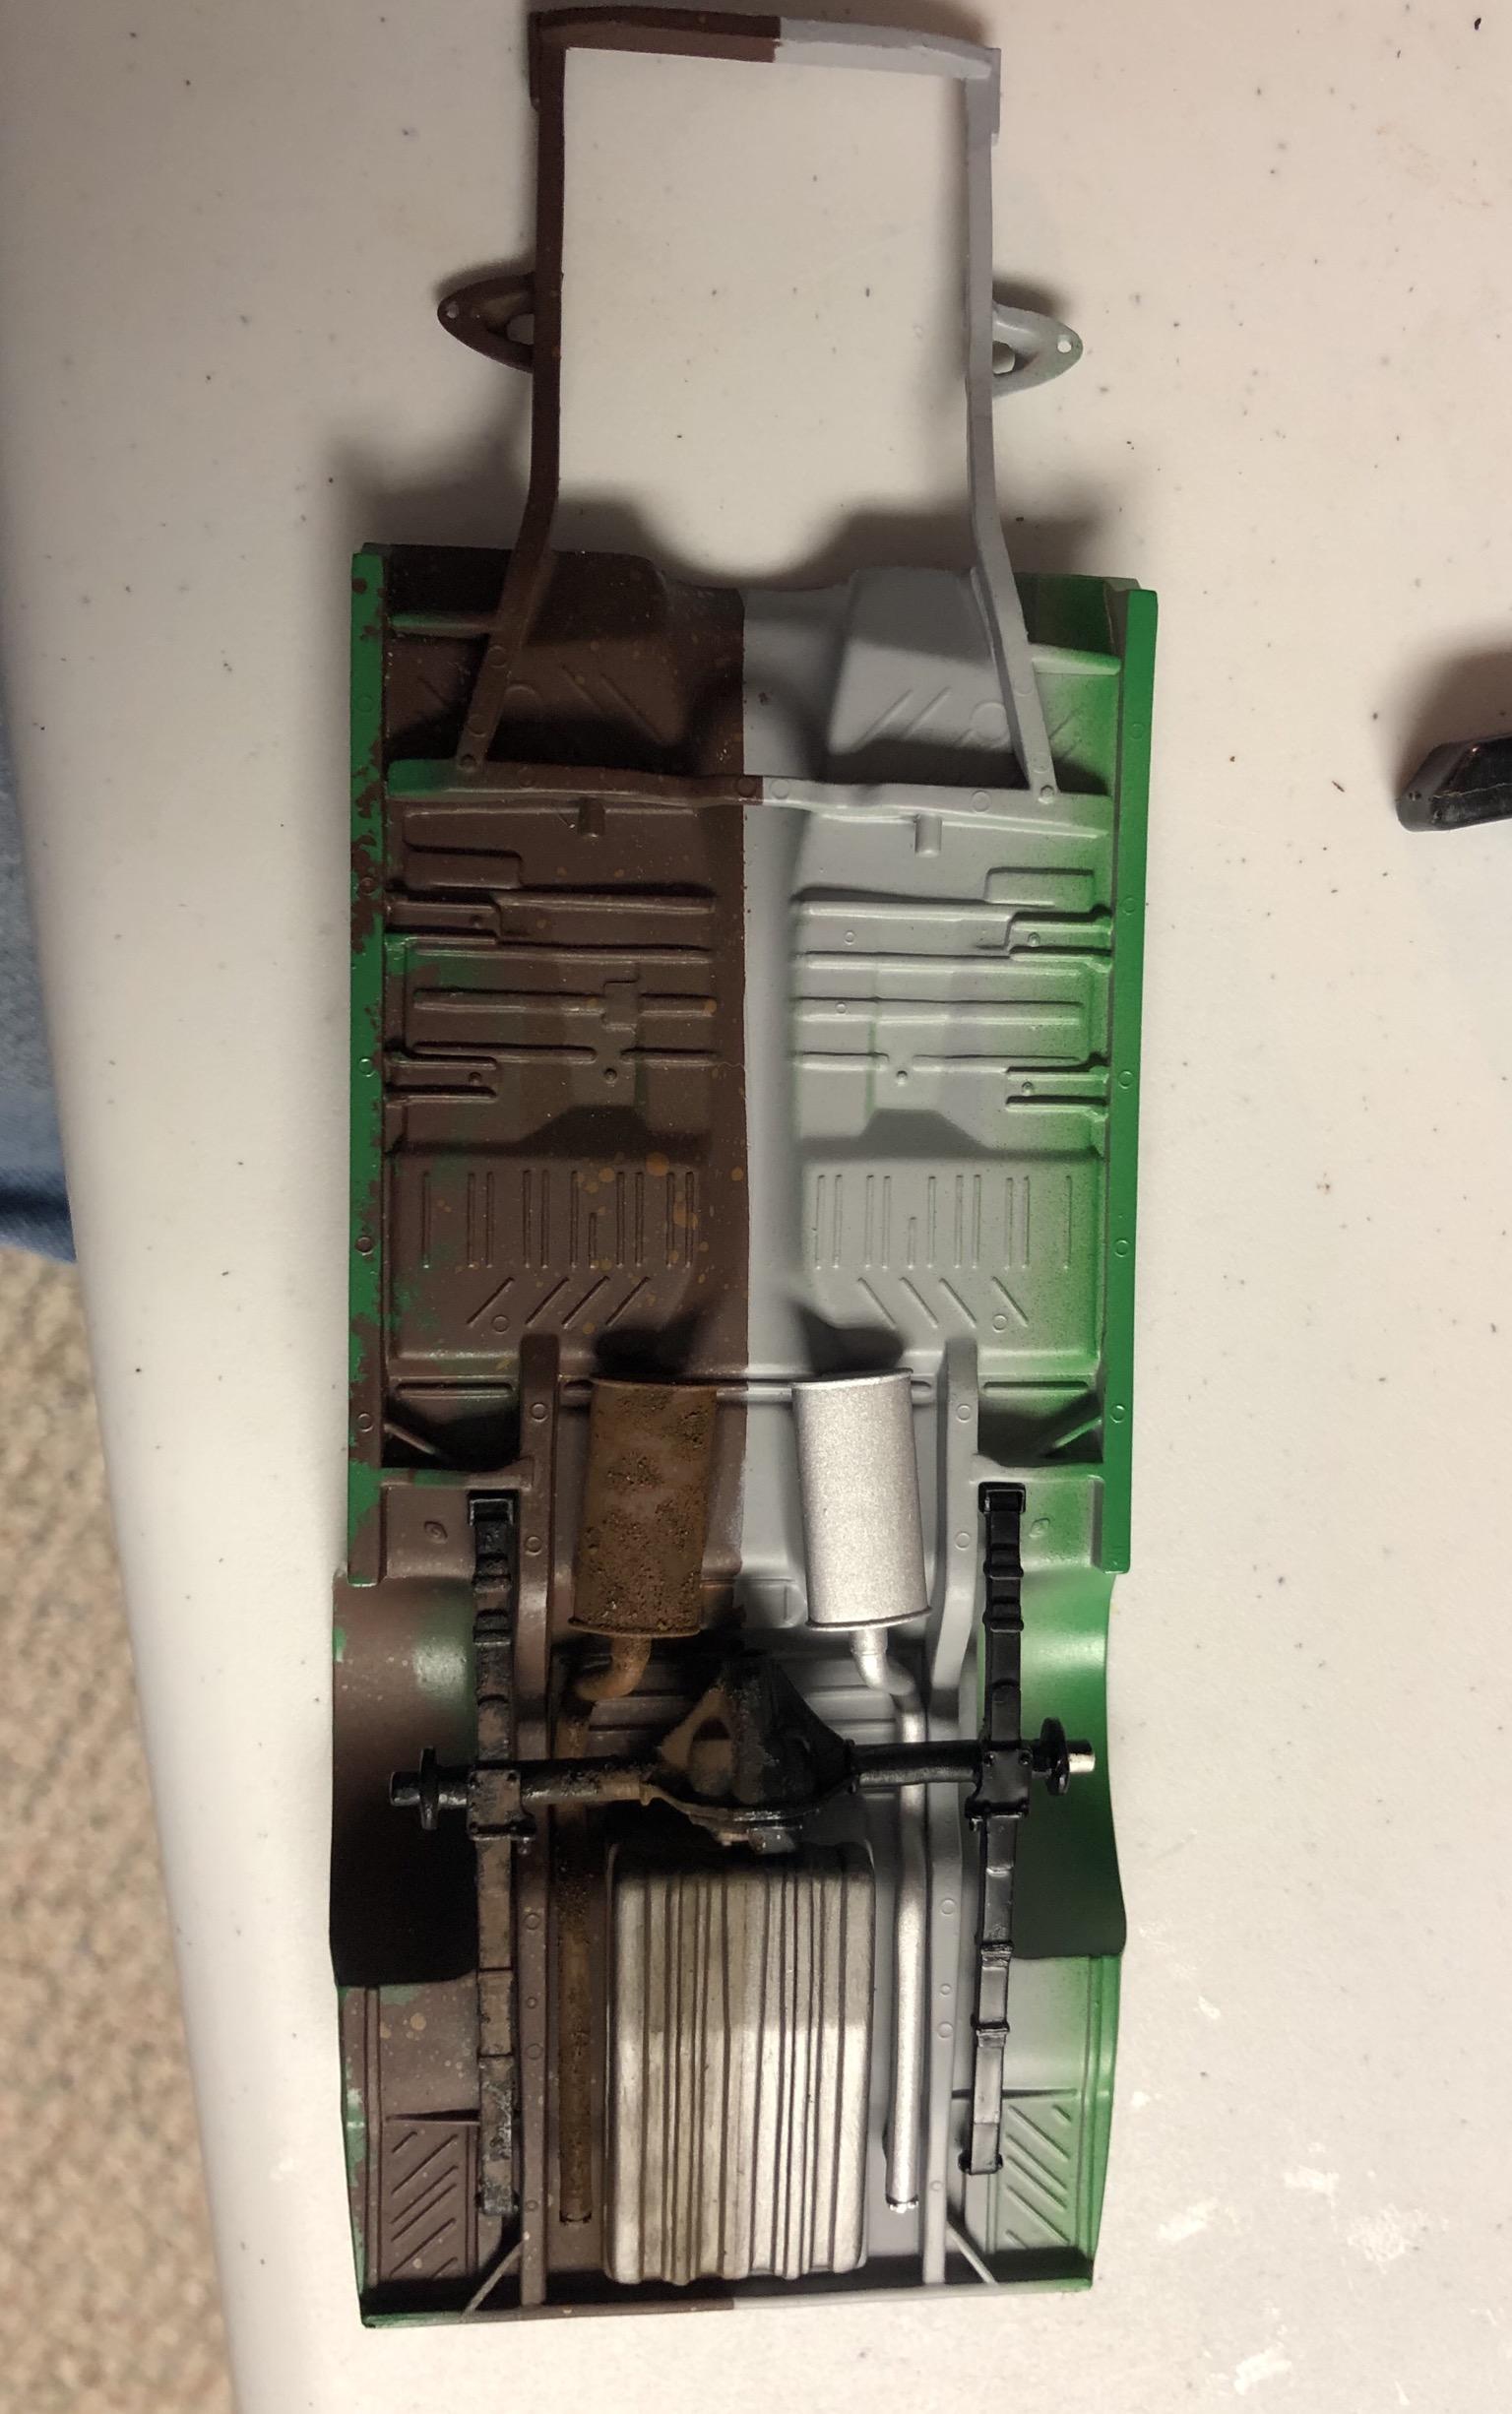
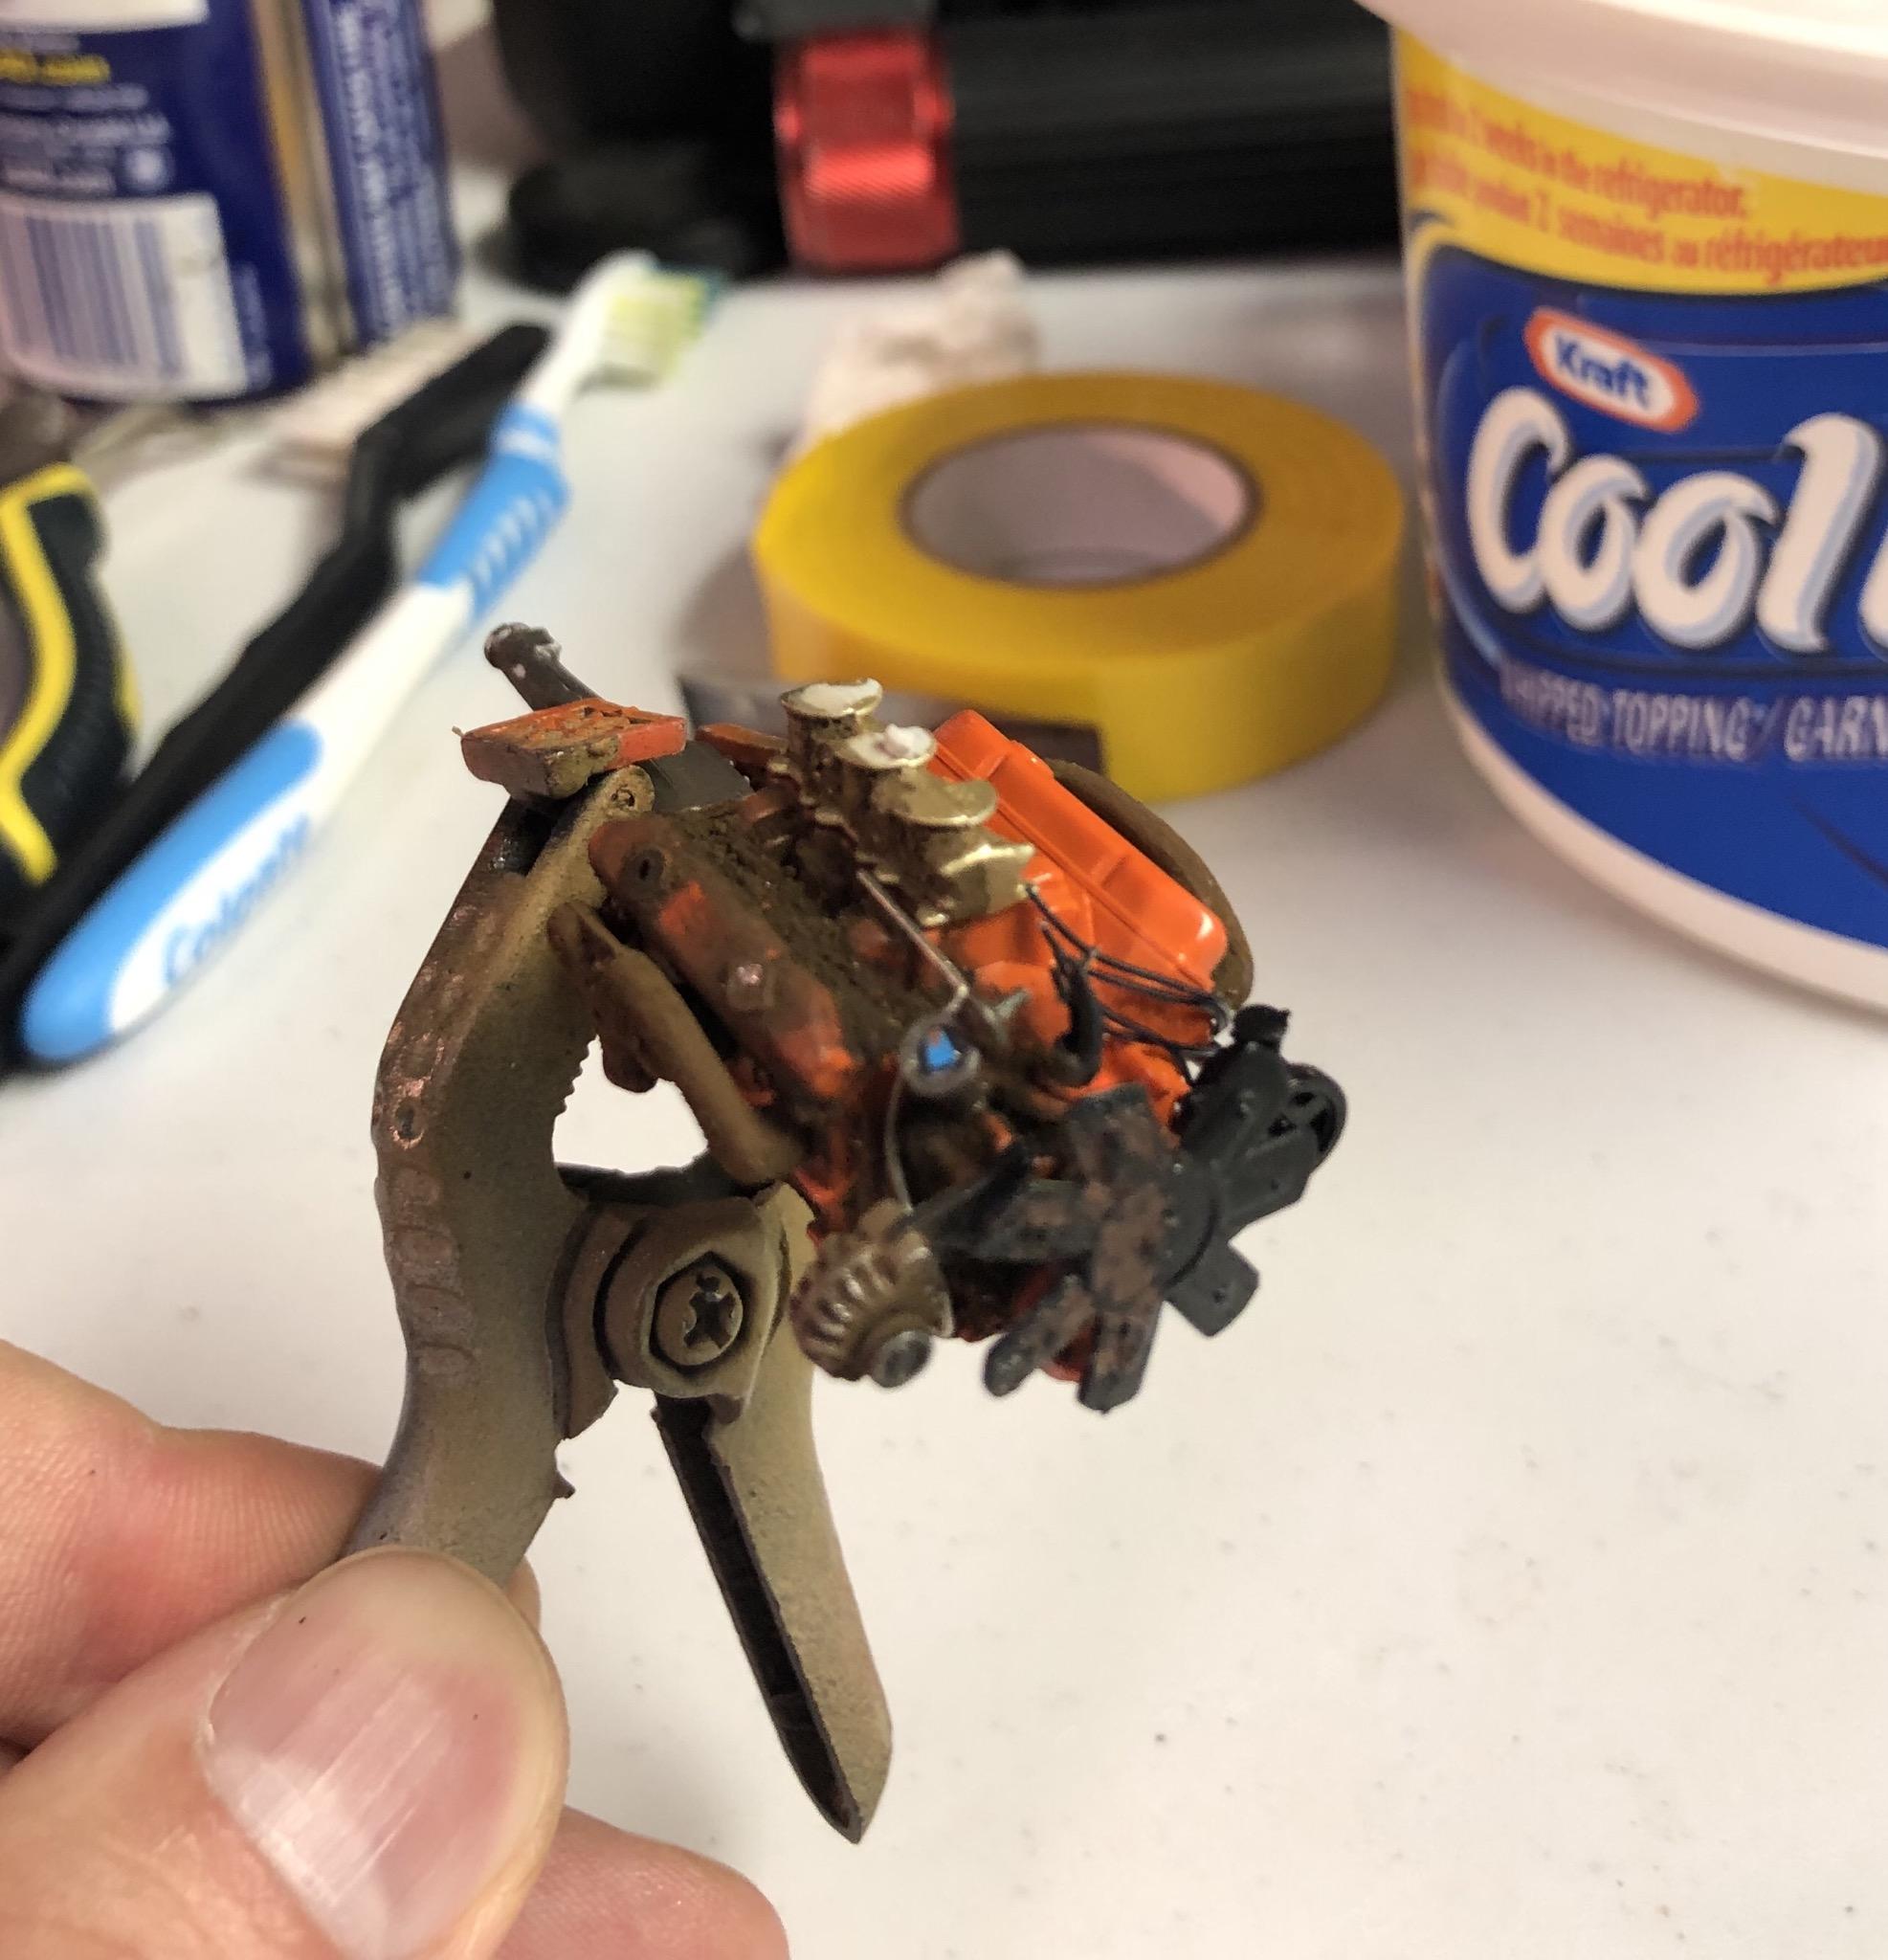
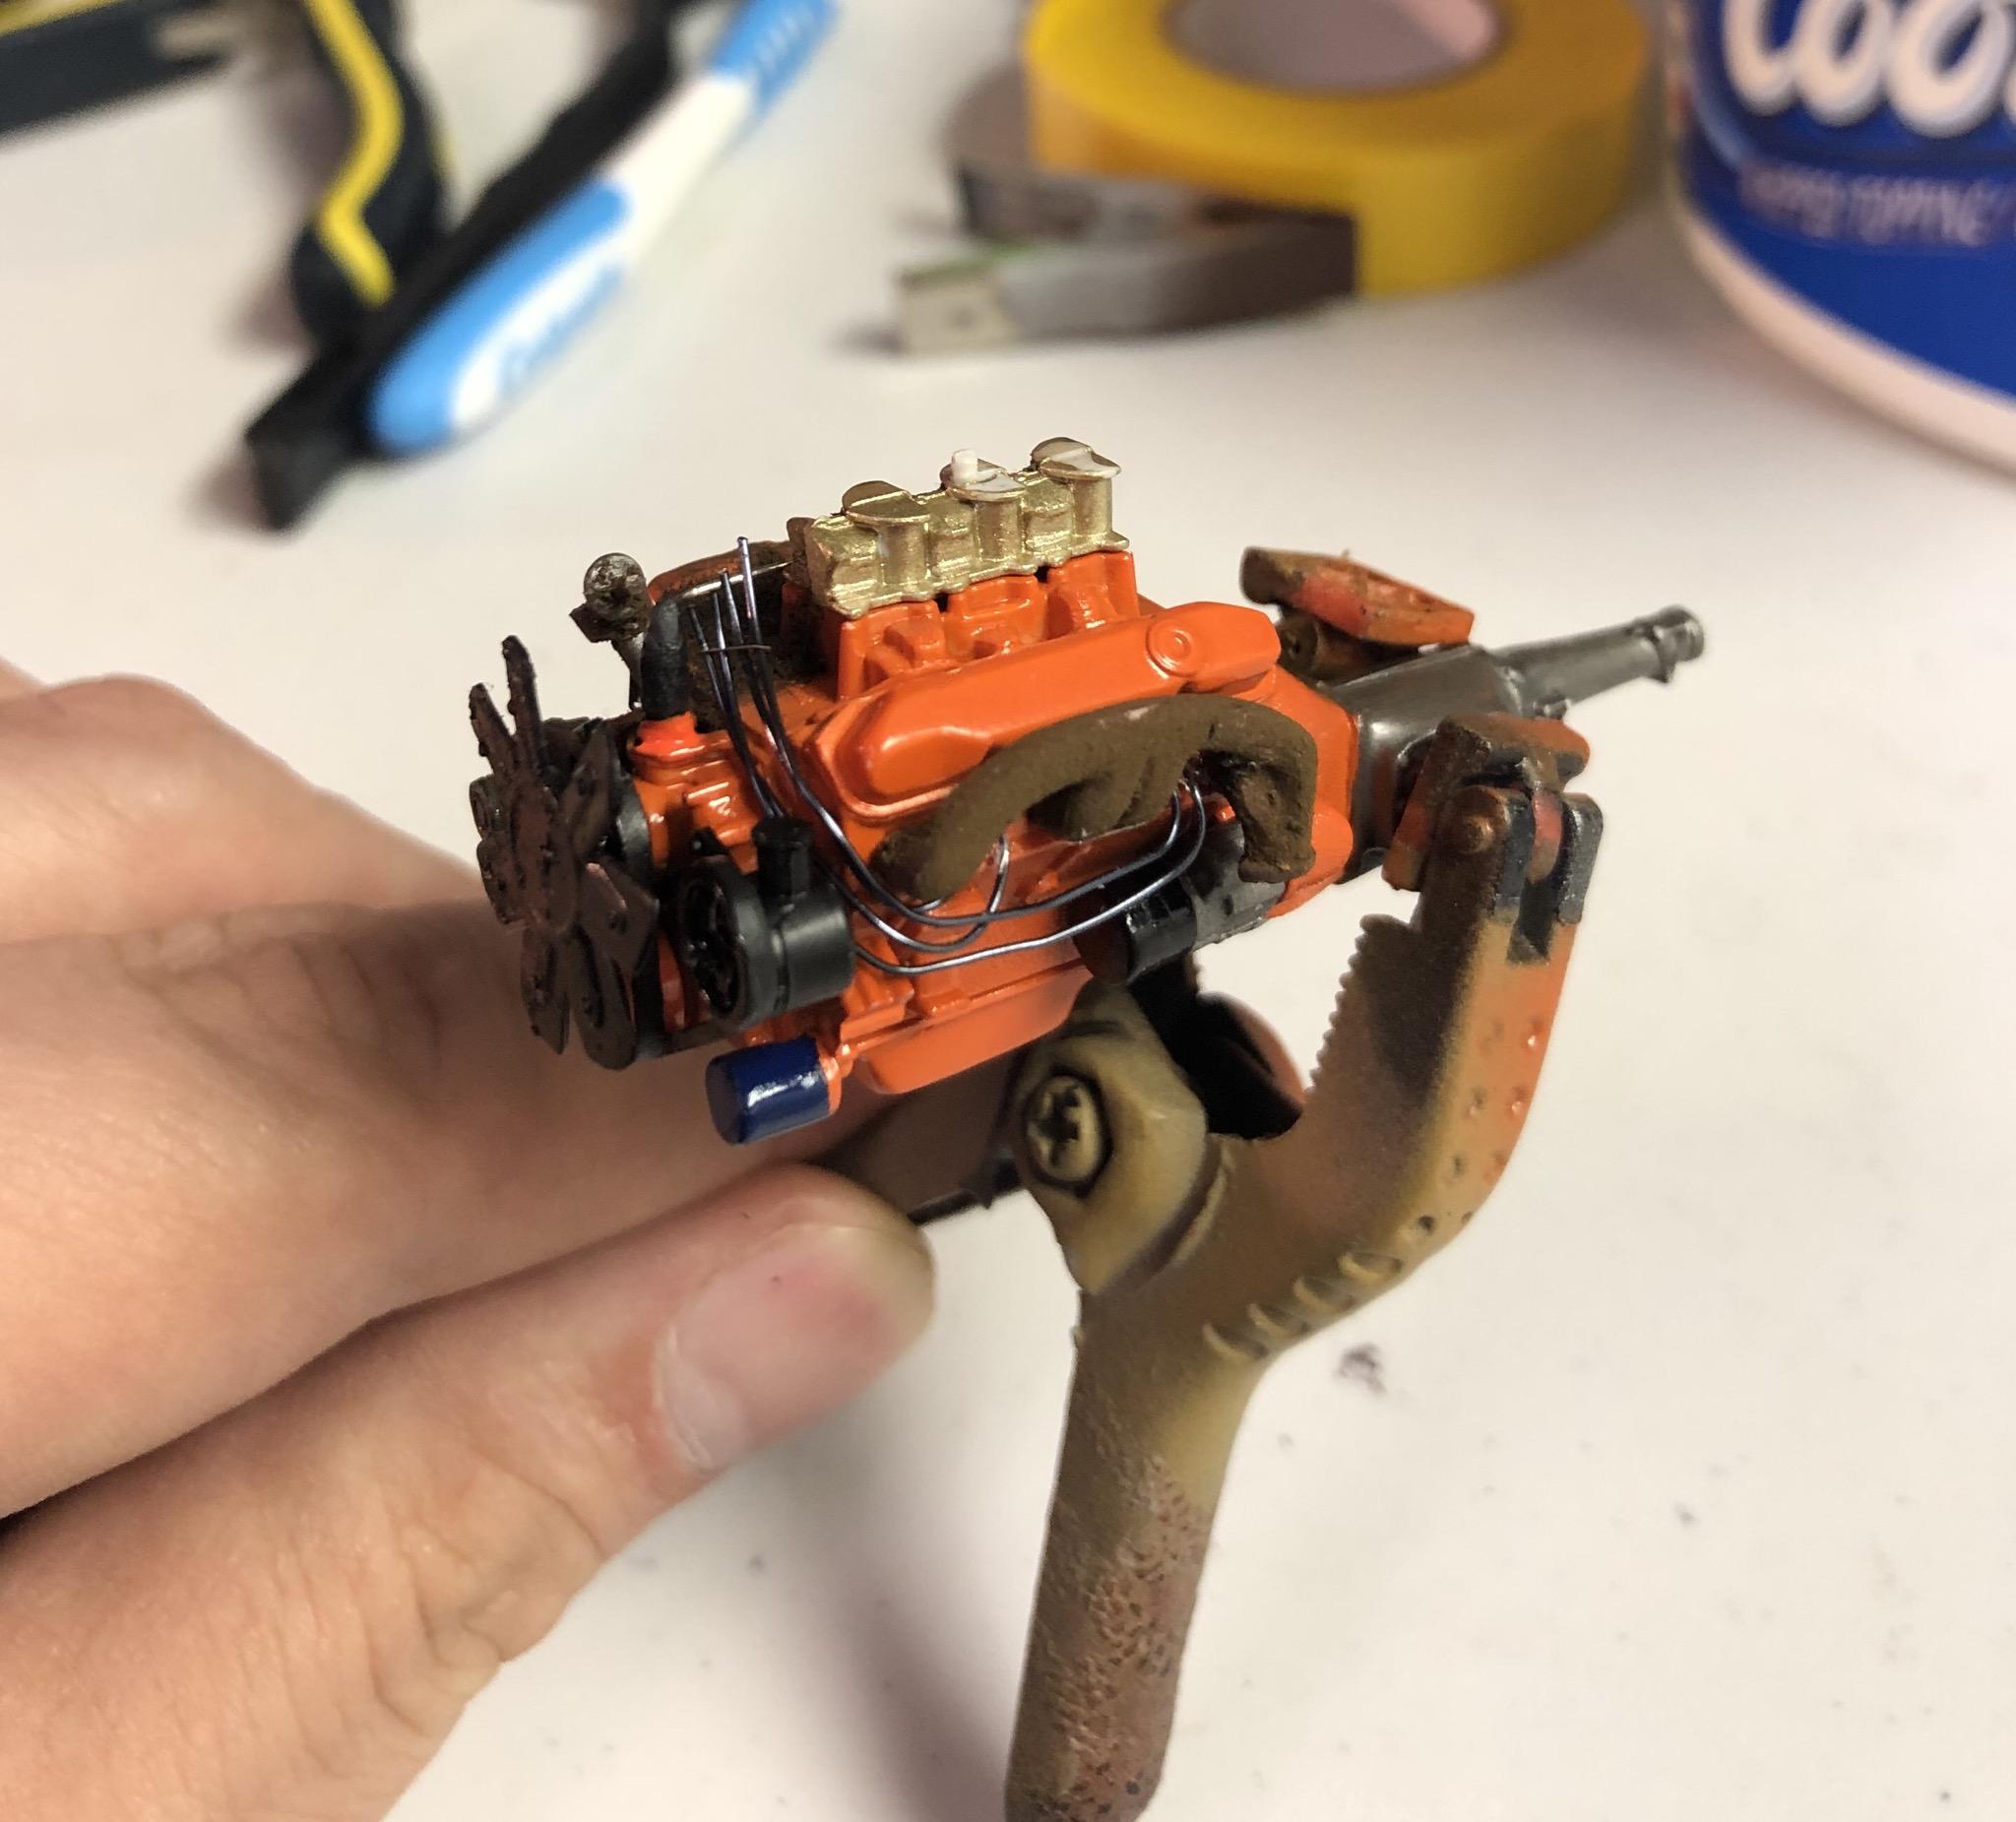
A fun build, though the final assembly was a very irritating challenge! After hours of trying it finally got together. Though I couldn’t get the tail stripes (2 white and a black) to work out, it’s good enough for me. Paint is Tamiya Park Green. Done in a half junk-half new style, I enjoyed adding and scratch building the small stuff. I added bracing in the engine bay, along with some nuts to liven it up some. Junk side of engine is mid tube up, with the distributor cap and plug wires removed. Leaking upper rad hose has been removed. The owner forgot to change the washer fluid to winter stuff, and the tank cracked, so it was removed. This car has the front suspension and rear axle from the ‘68 Charger kit to widen the stance (these kits are way too narrow!), and I used the interior tub from a ‘68 Roadrunner. Not correct I know, but the kit tub was just terrible! Rims are Fireball Modelworks resin pieces with three caps from the ‘68 Charger and one from the Monogram ‘70 Roadrunner (with miss-matched tire). All in all a fun build, but definitely glad it’s done!
-
This ones all wrapped up and over in the Under Glass section.
-
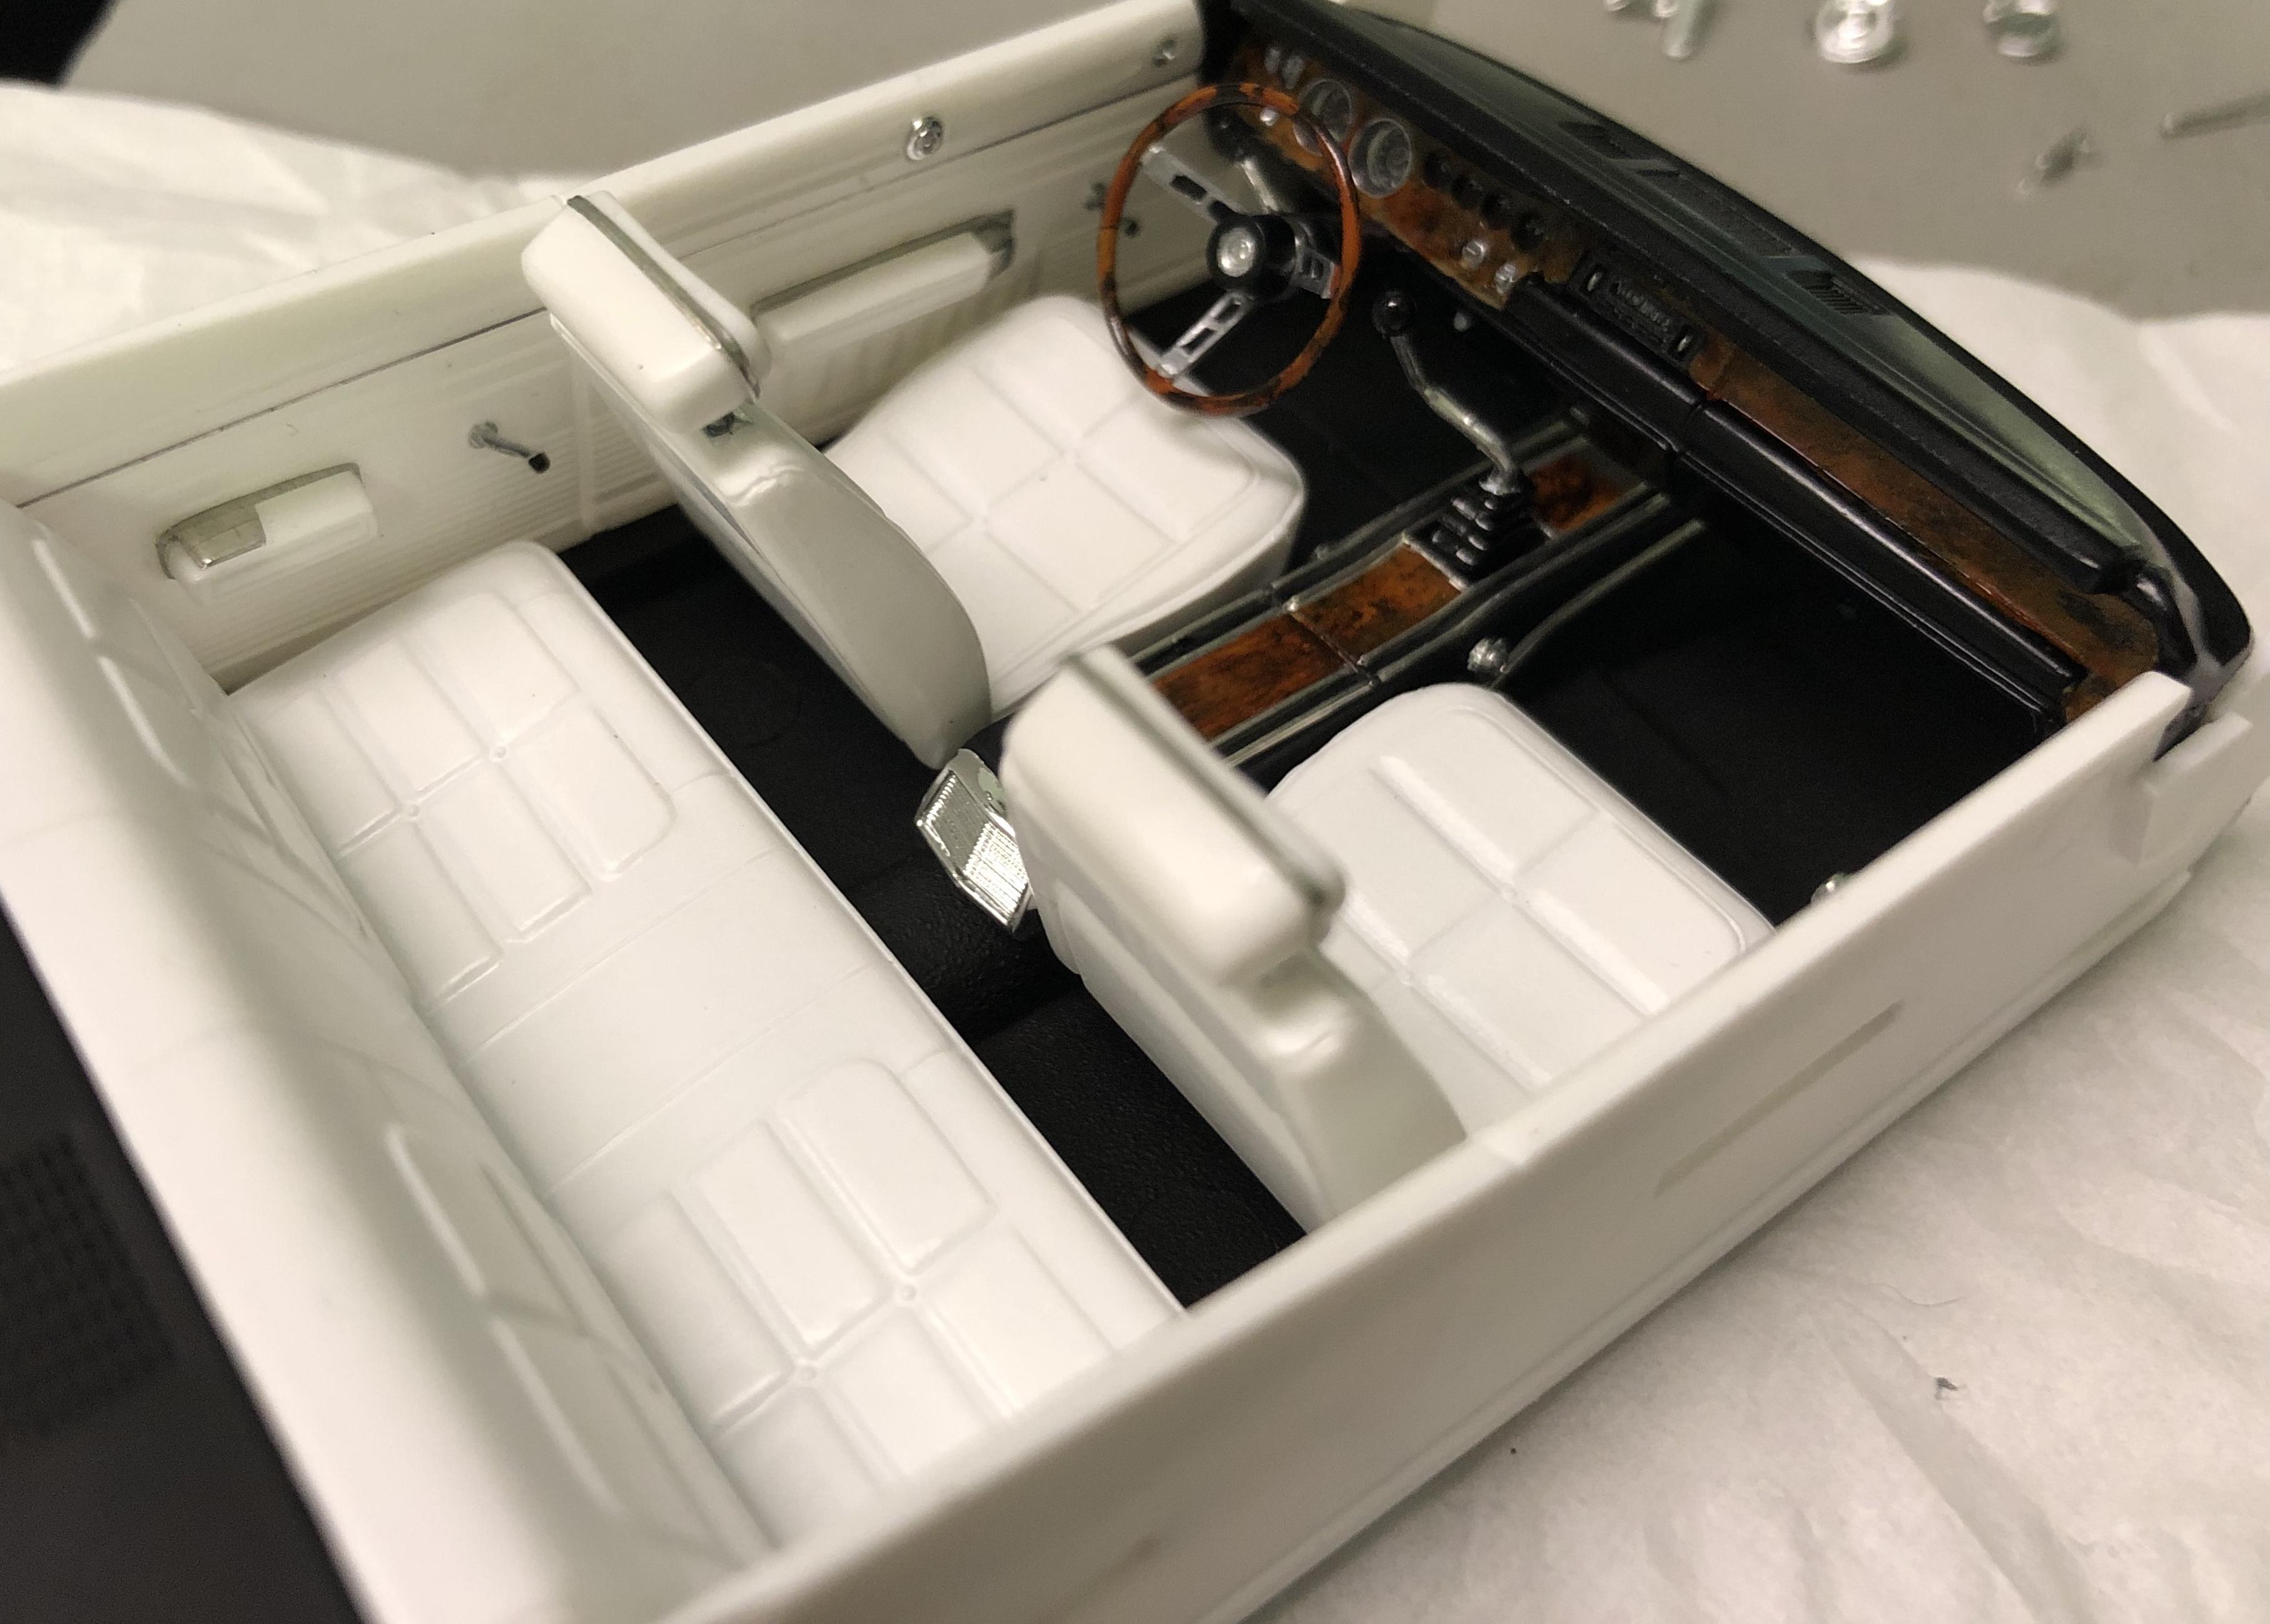
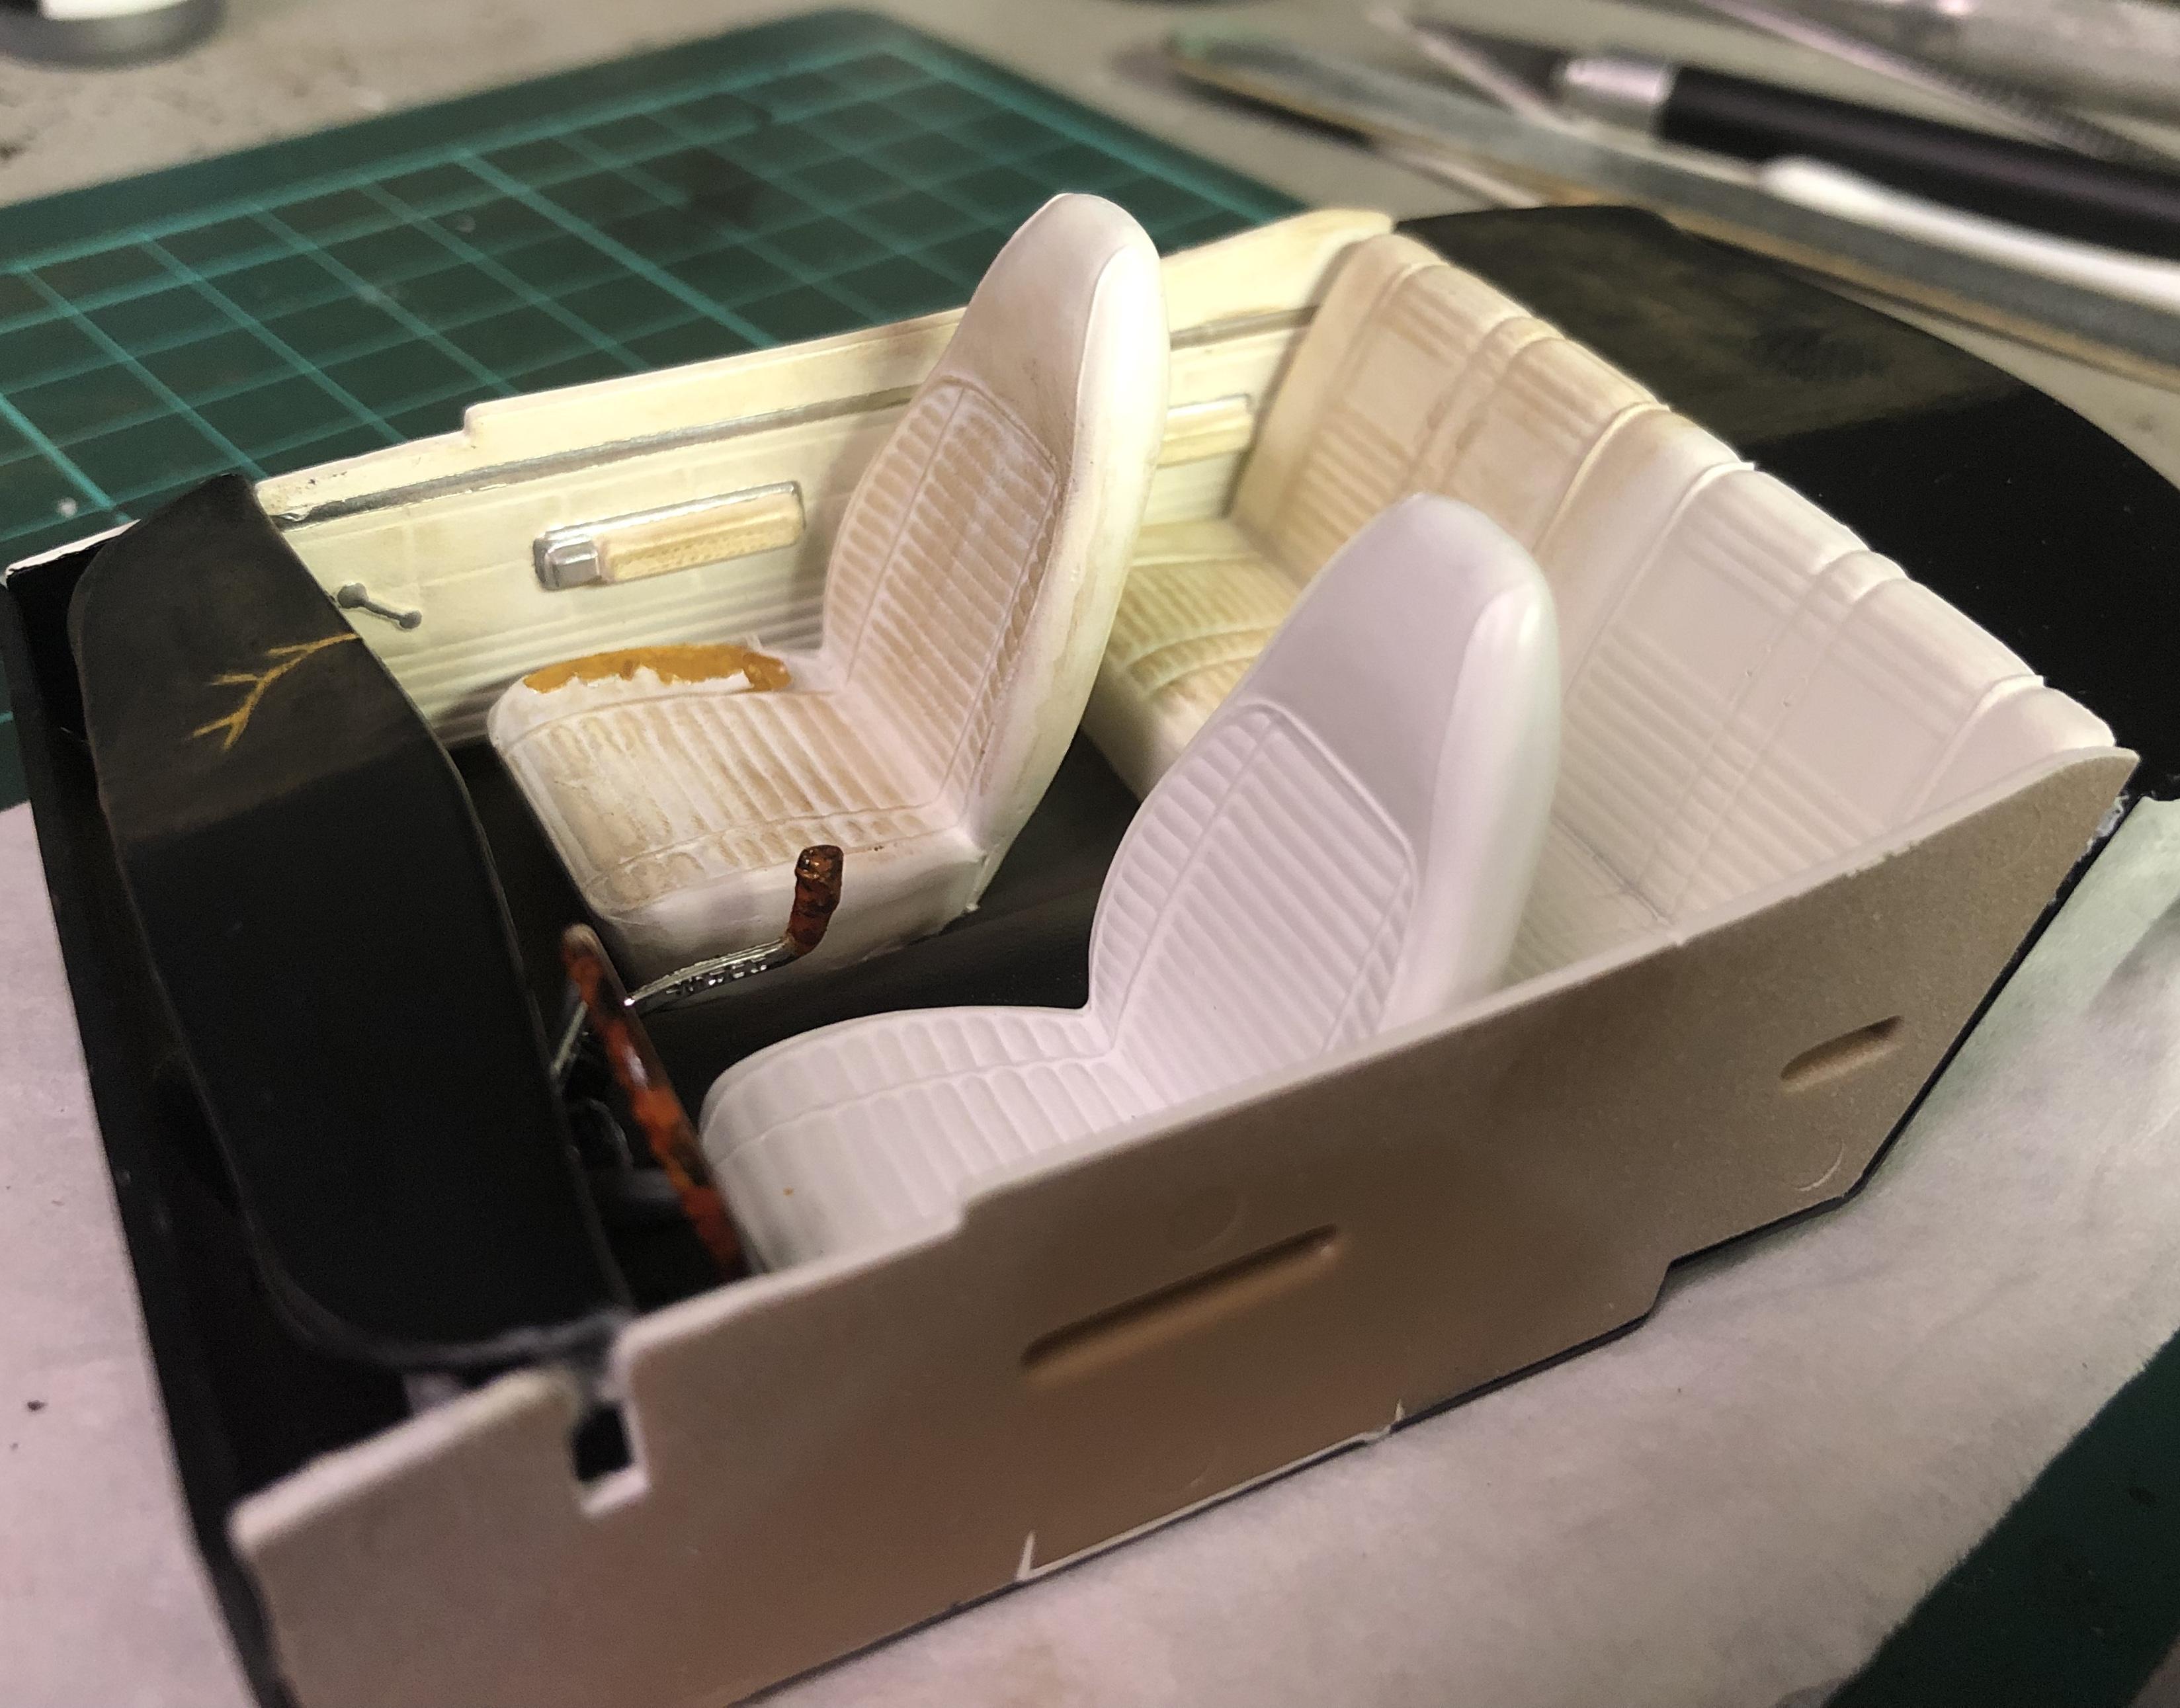
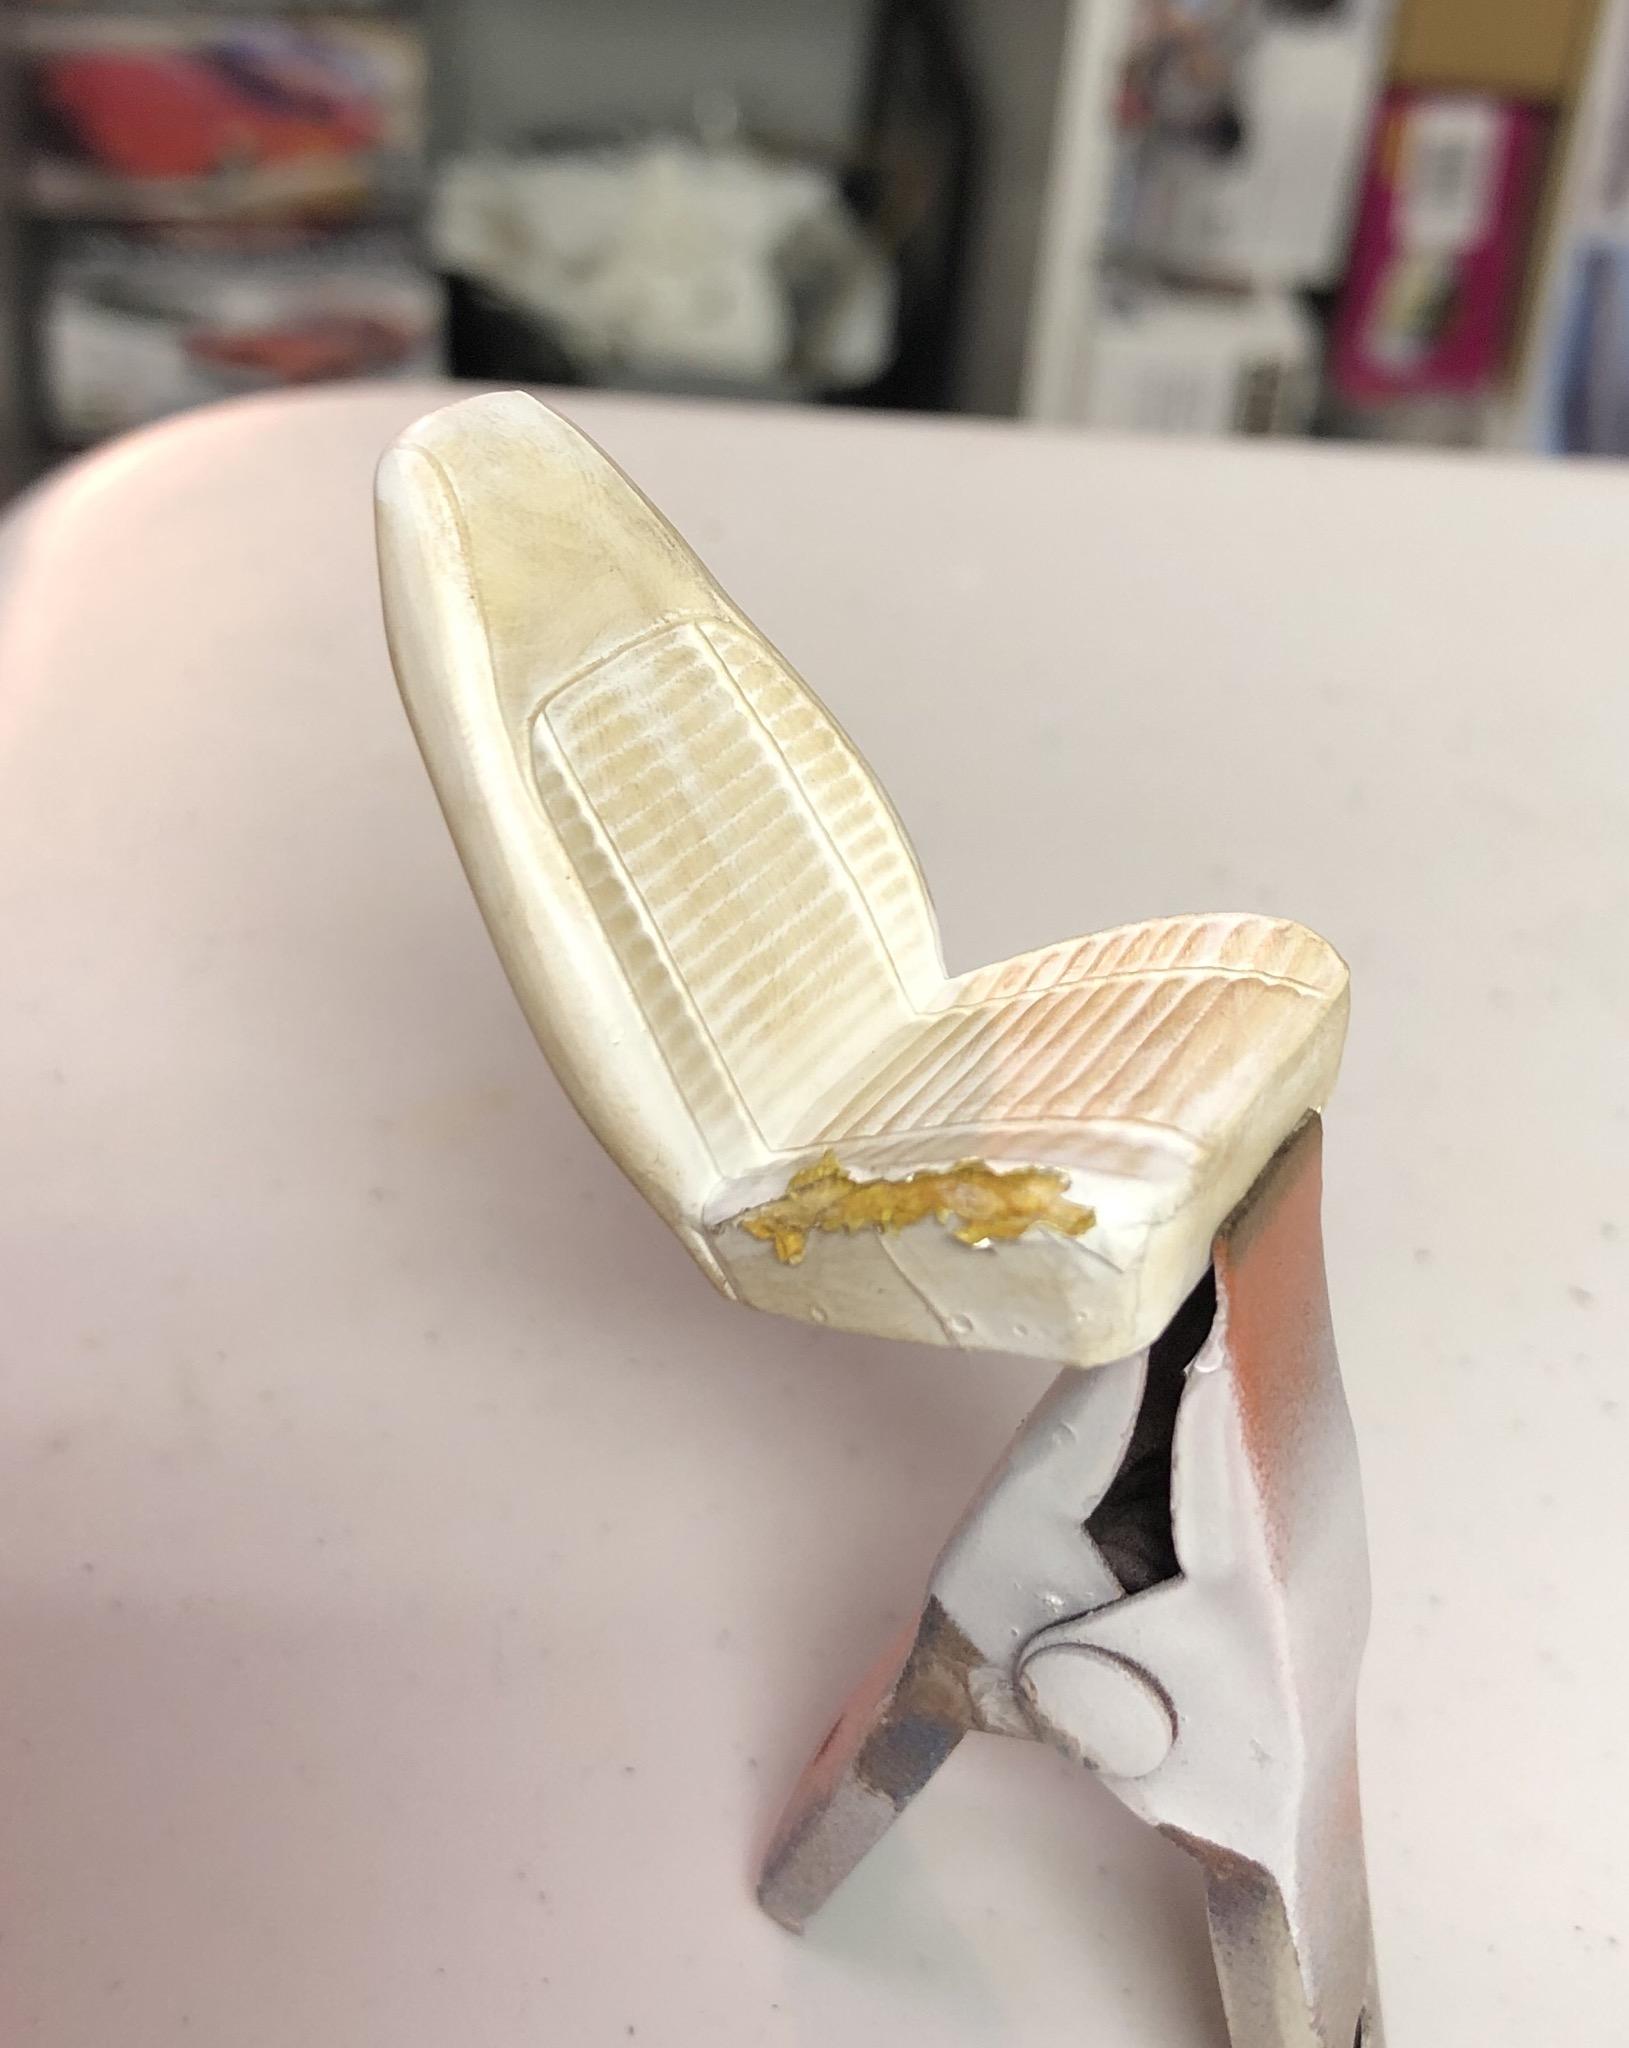
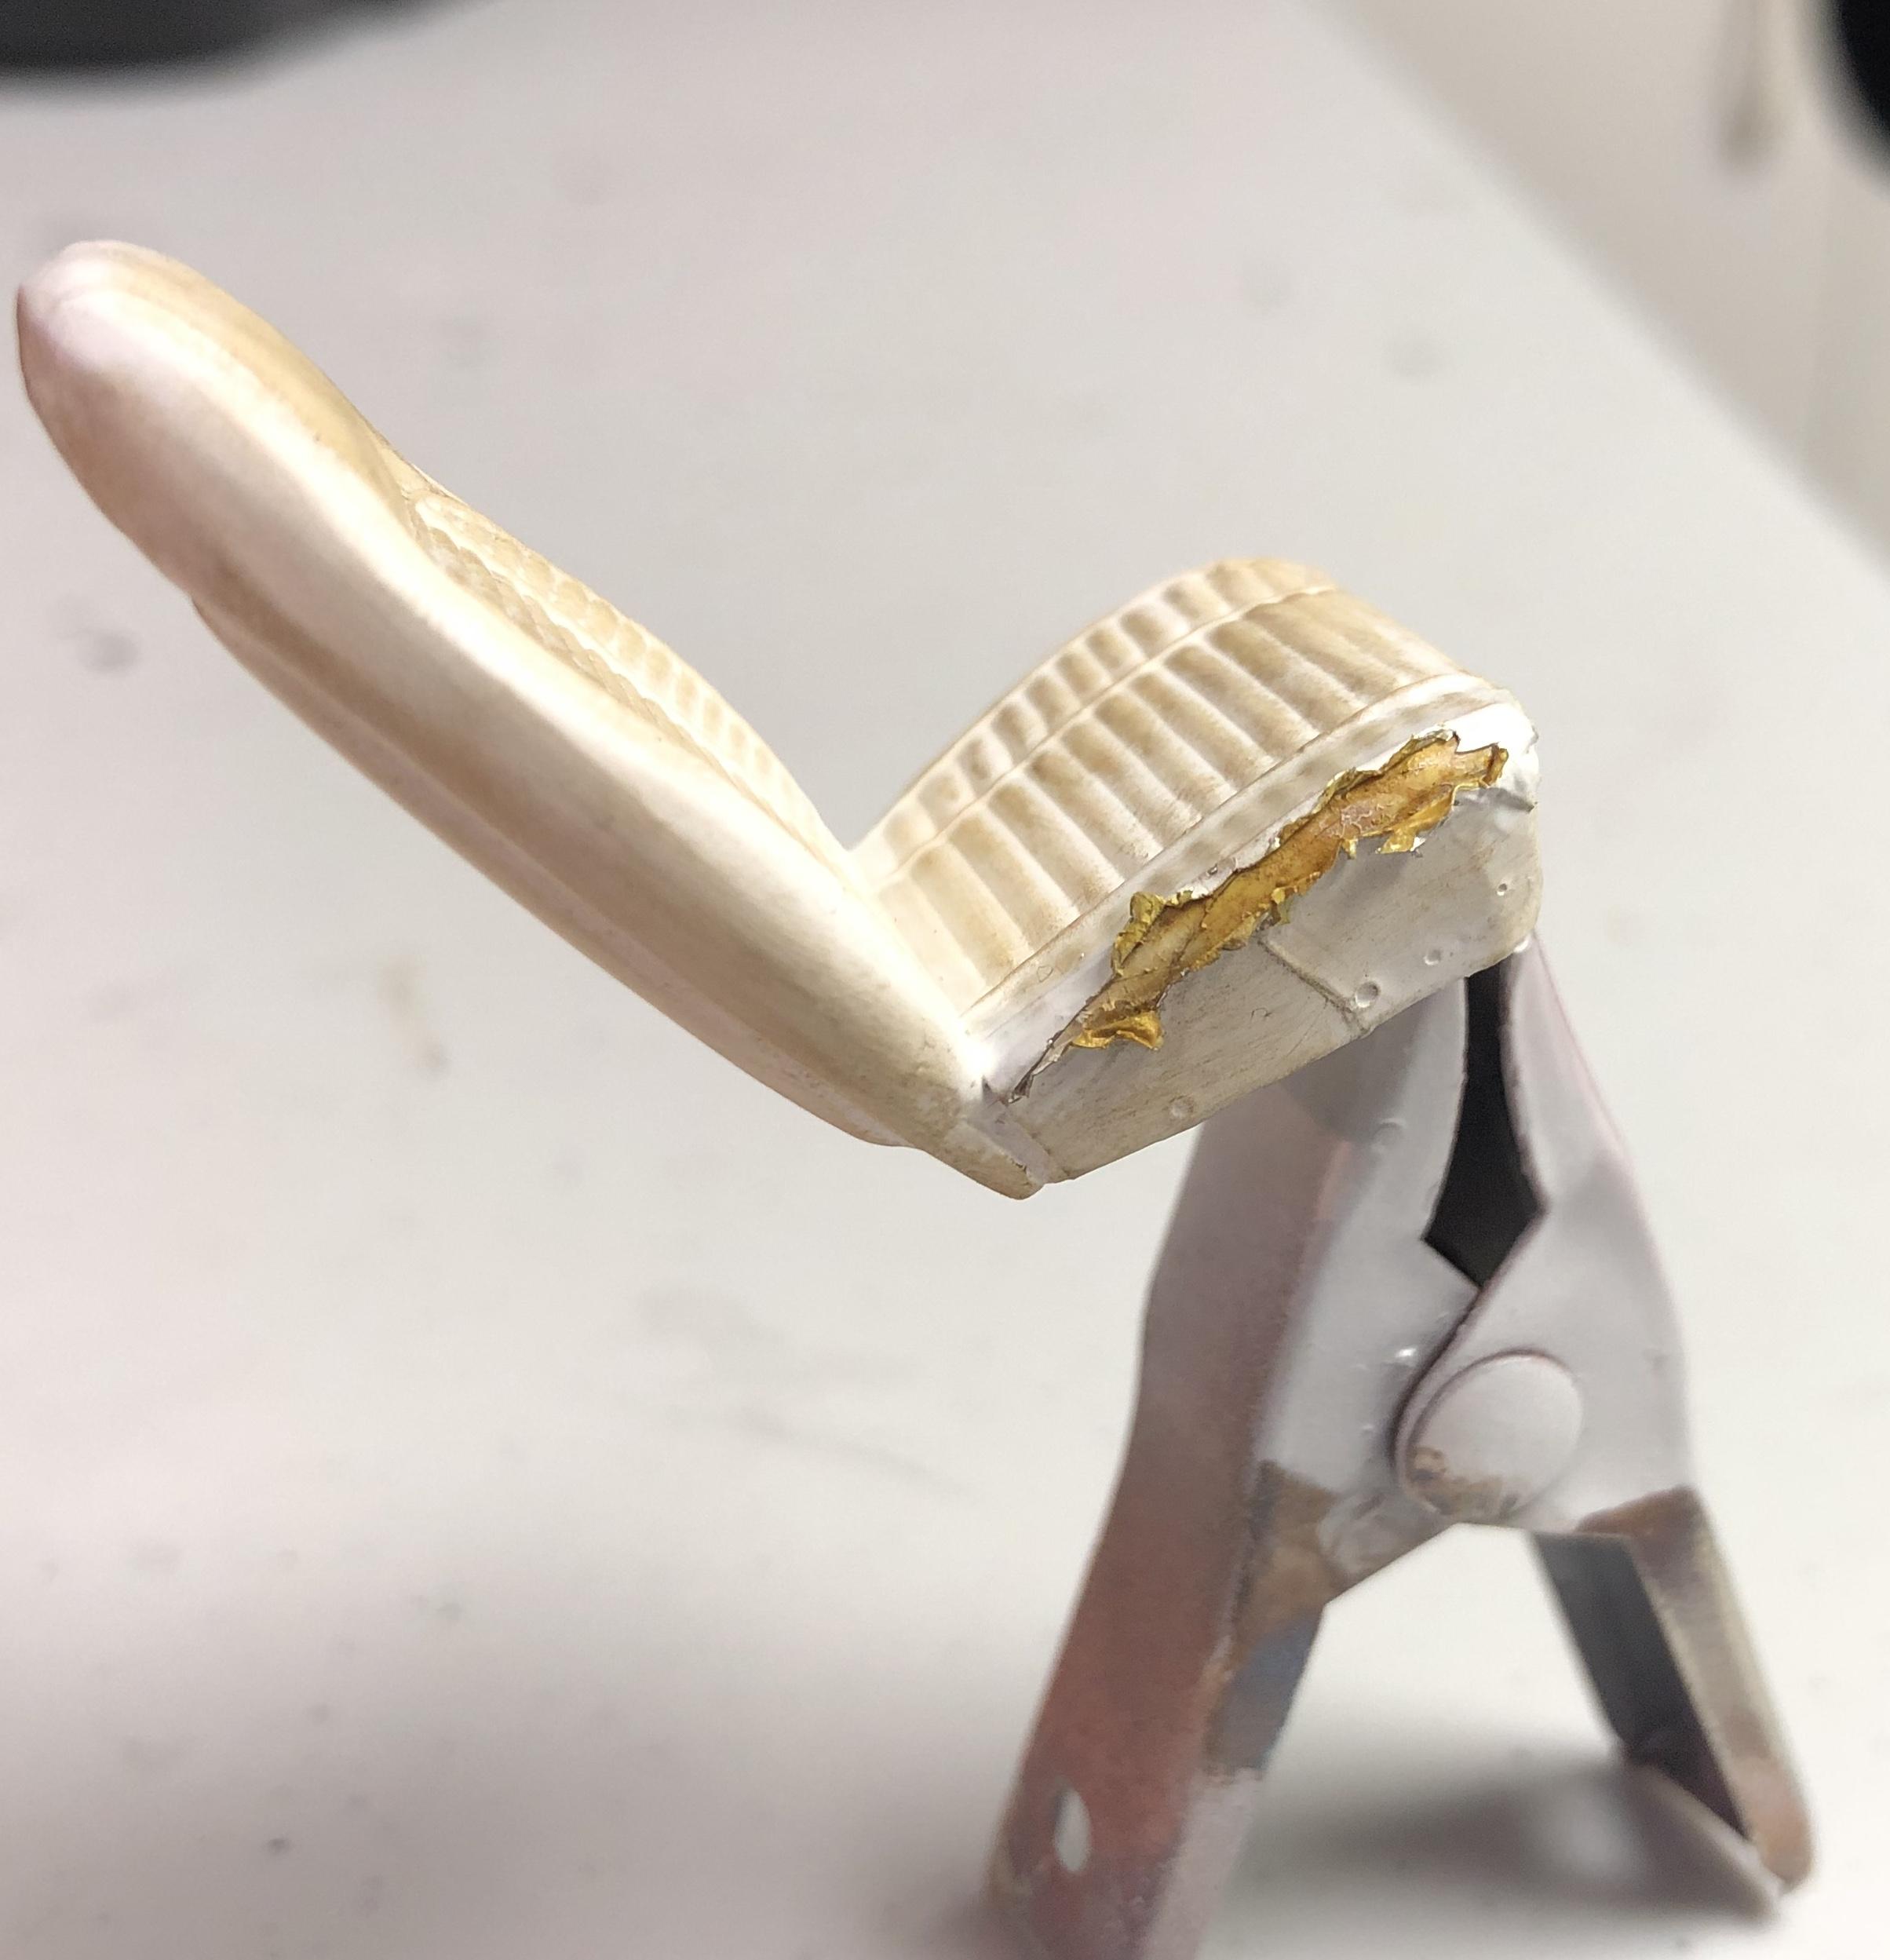
Final stretch on this one! It was a nightmare to get the chassis/interior/body together properly, and it’s still not perfect, but it’s as good as I can get it! A few pics of the finished interior. I had to widen the tearing on the seat, as the door panel his nearly the entire year before. I’ll be so glad to have this one on the shelf!
-
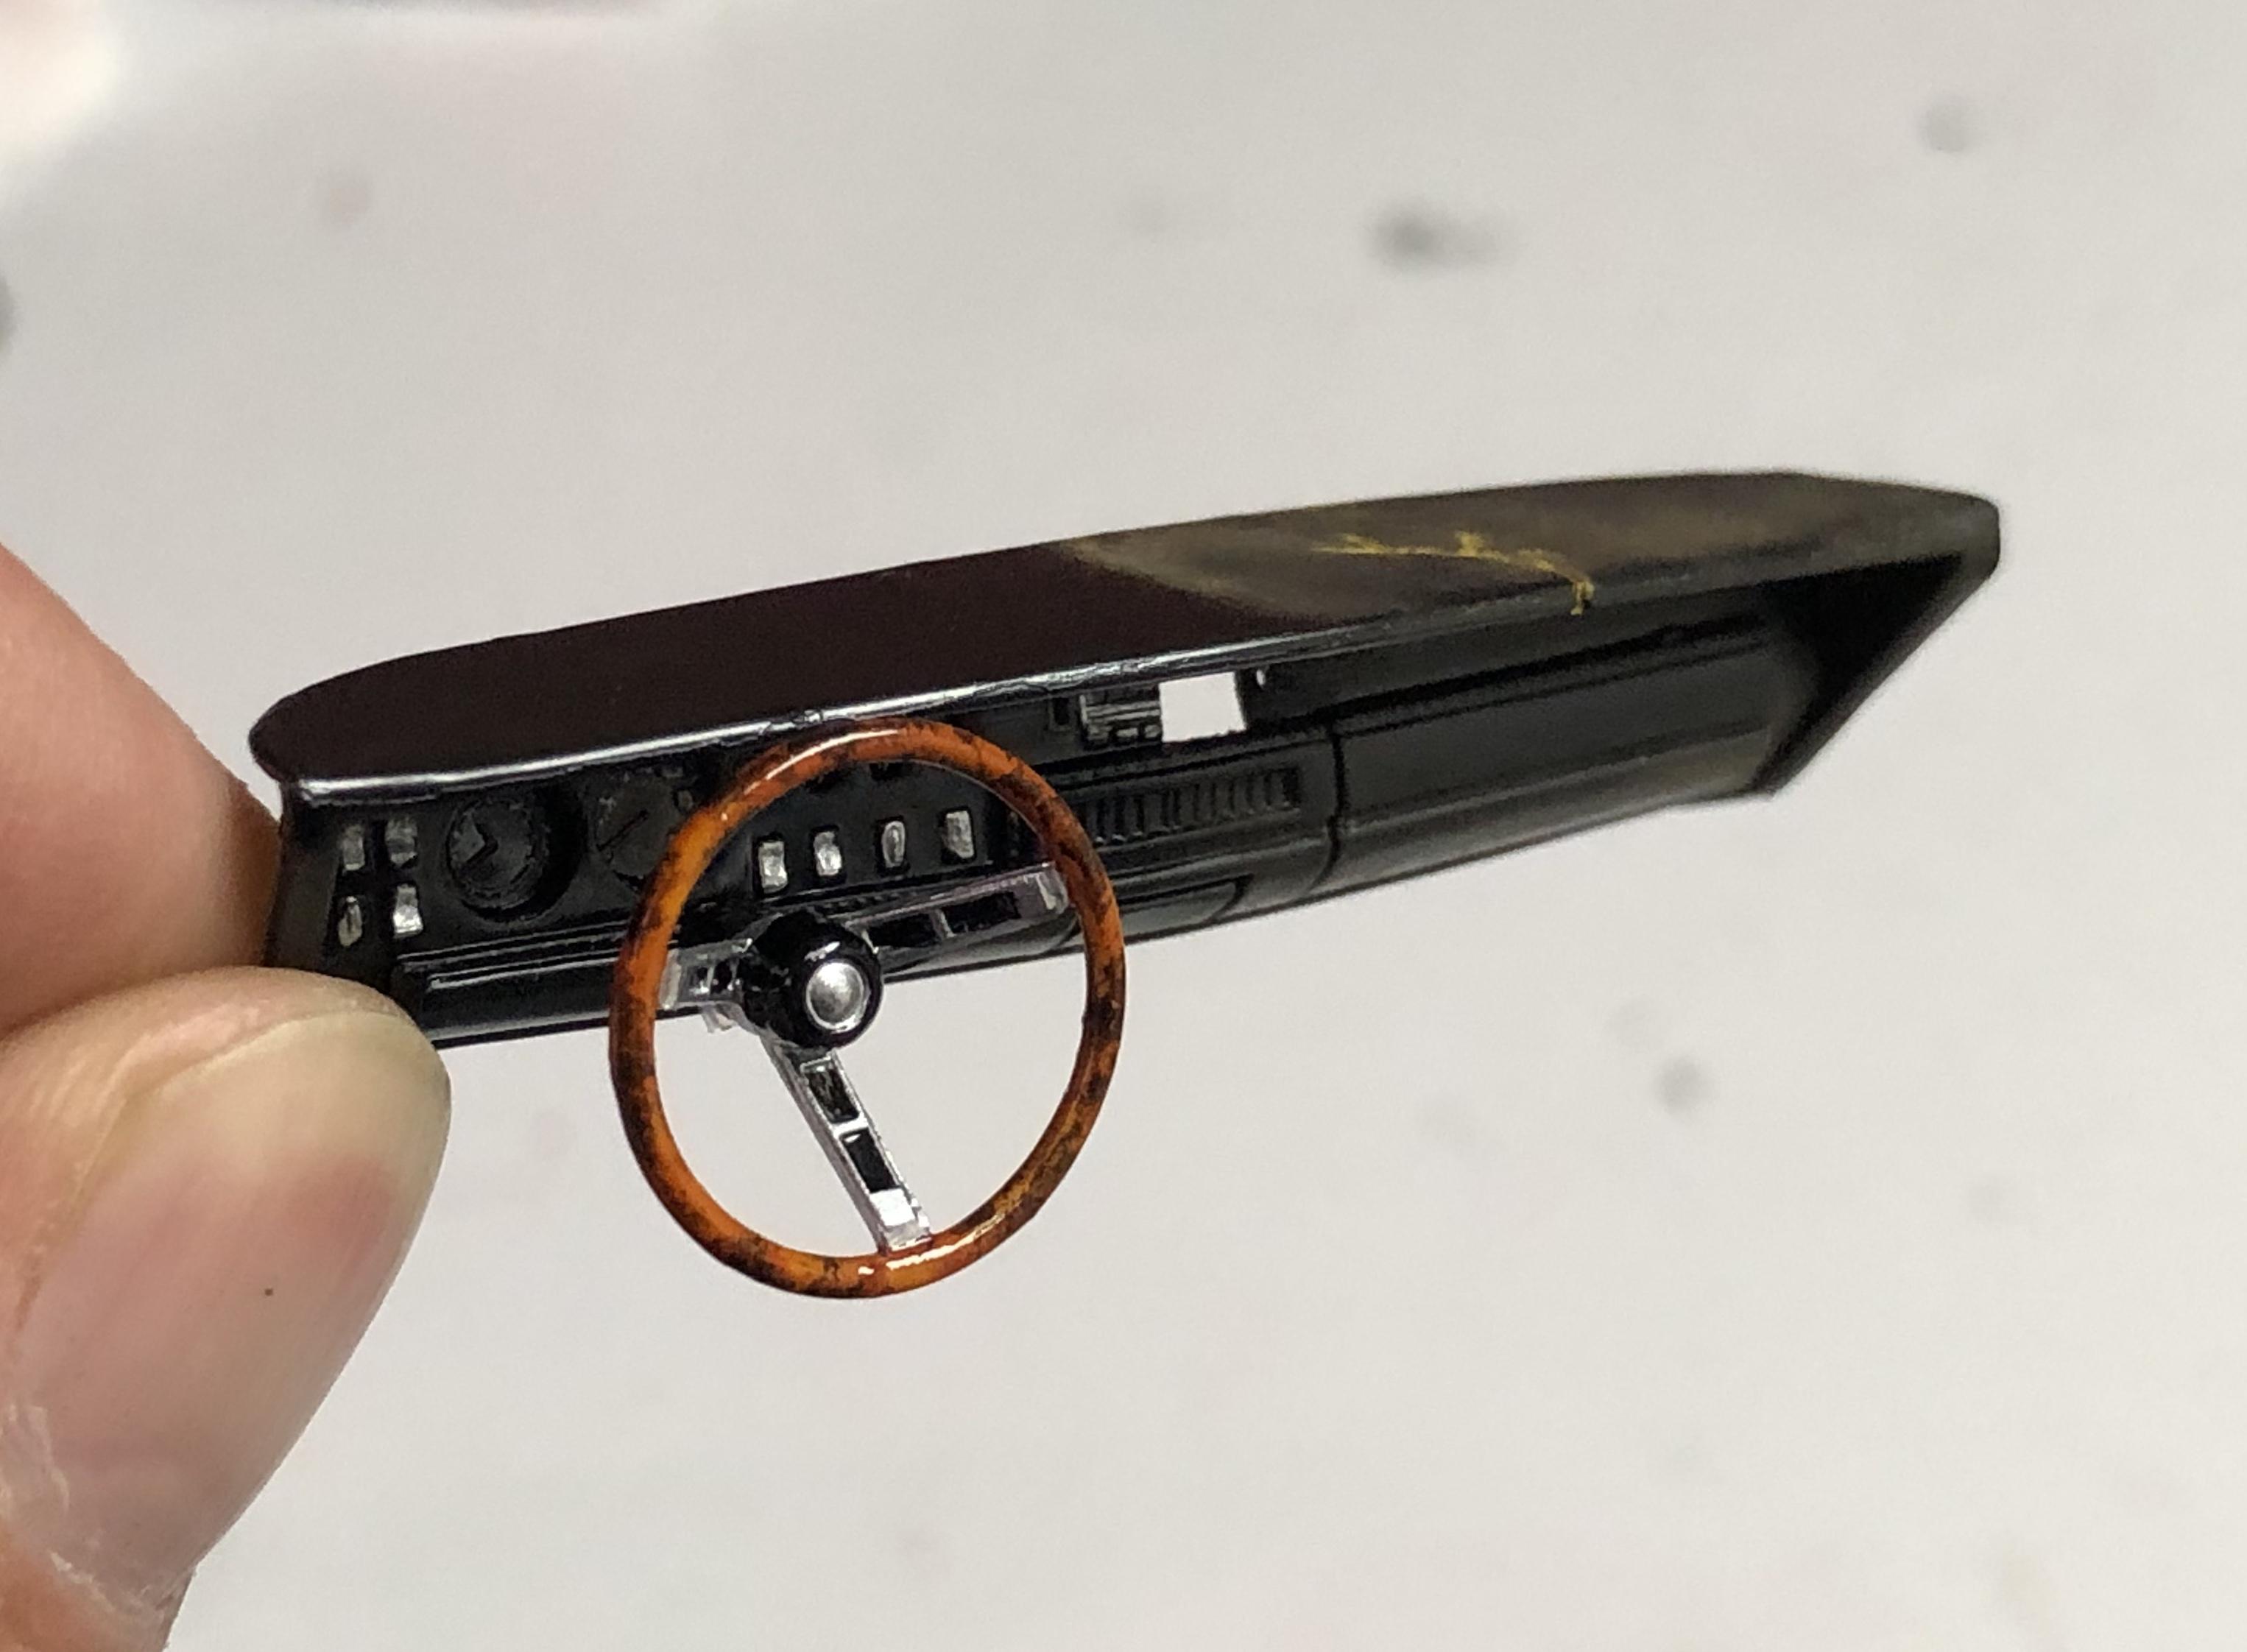
Deuces- Thanks! The wood grain is an easy addition, and really looks good (though I also love the look on 1:1’s, so I might be biased!) I thought about opening up the rectangular openings in the spokes, but I figured it’d be such a small thing it’d be too easy to miss. The paint looks just as good I think.
-
Forgot to add these. Foil and marker lights done.
-
Slow going on this lately! I did manage to get some little things done. The green paint for the interior went sideways, so it’ll just be white/black.
-
Thanks! It’s slowly coming together. I’ve got the wheels figured out, just need to detail paint the good caps.
-
Alright, had a good day at the bench today. I’ve got the body paint finished, chassis parts painted and the engine finished minus the air cleaner I messed up. Just down the the interior and foil.
-
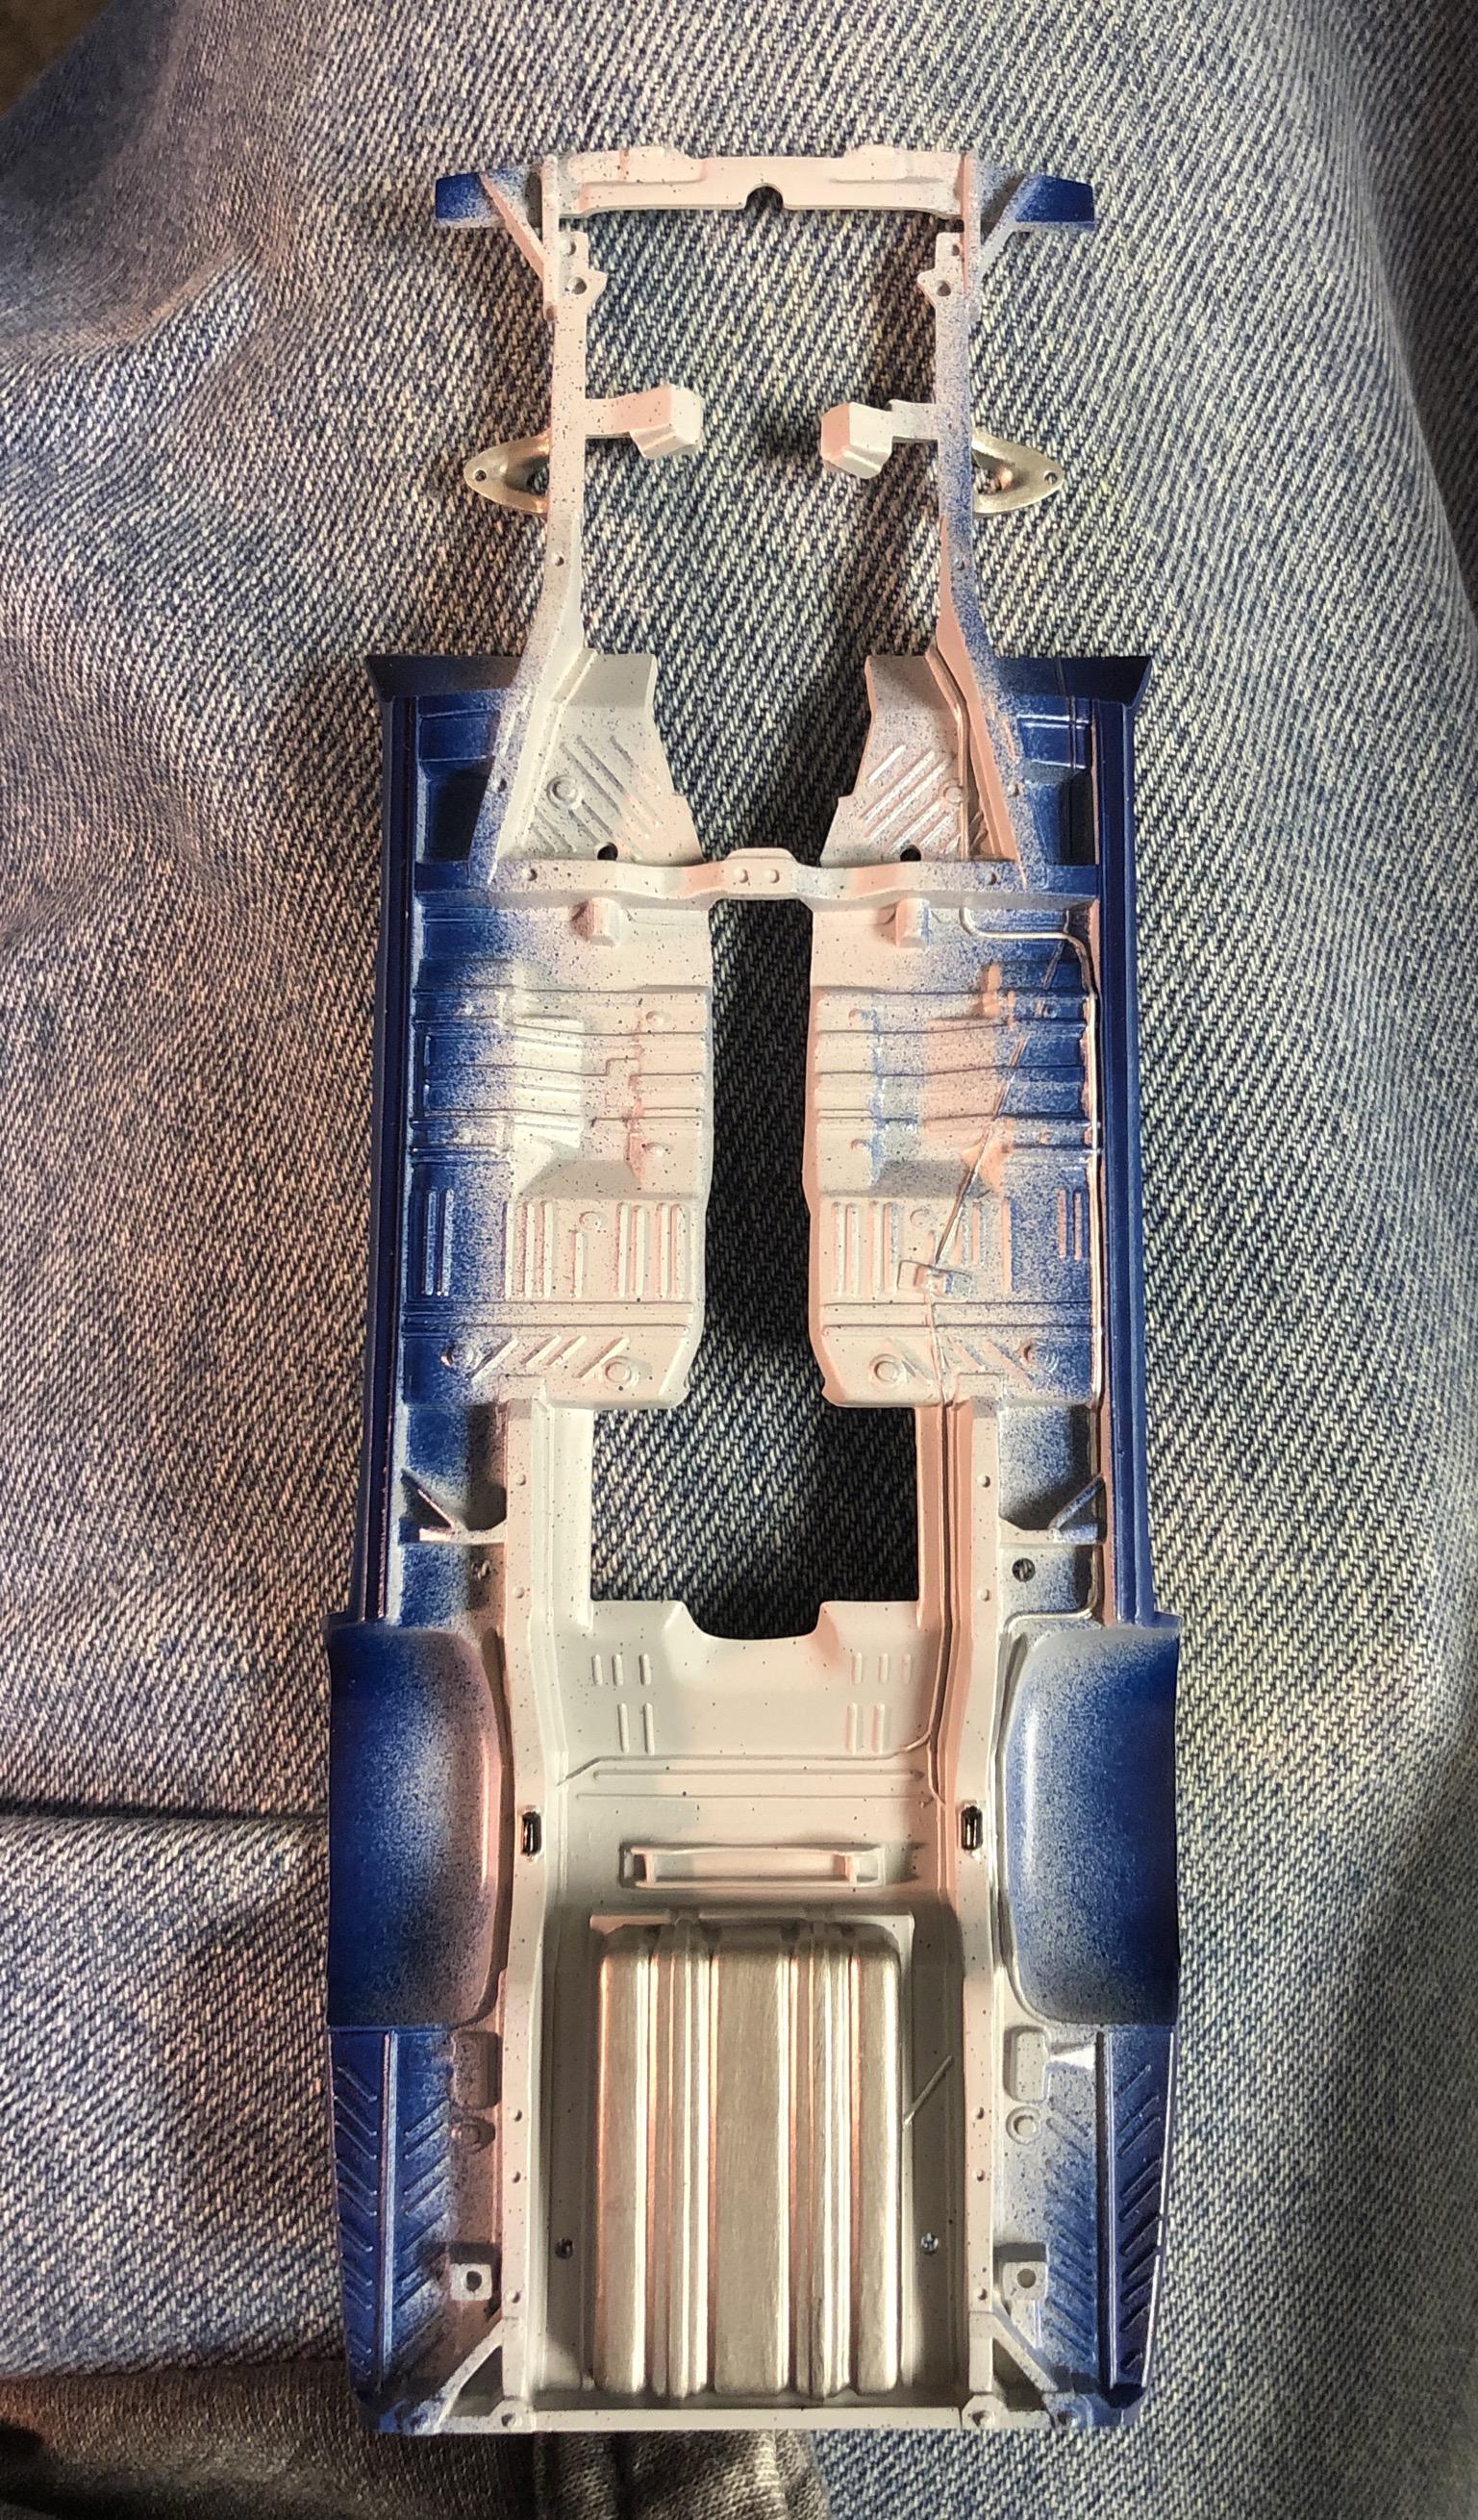
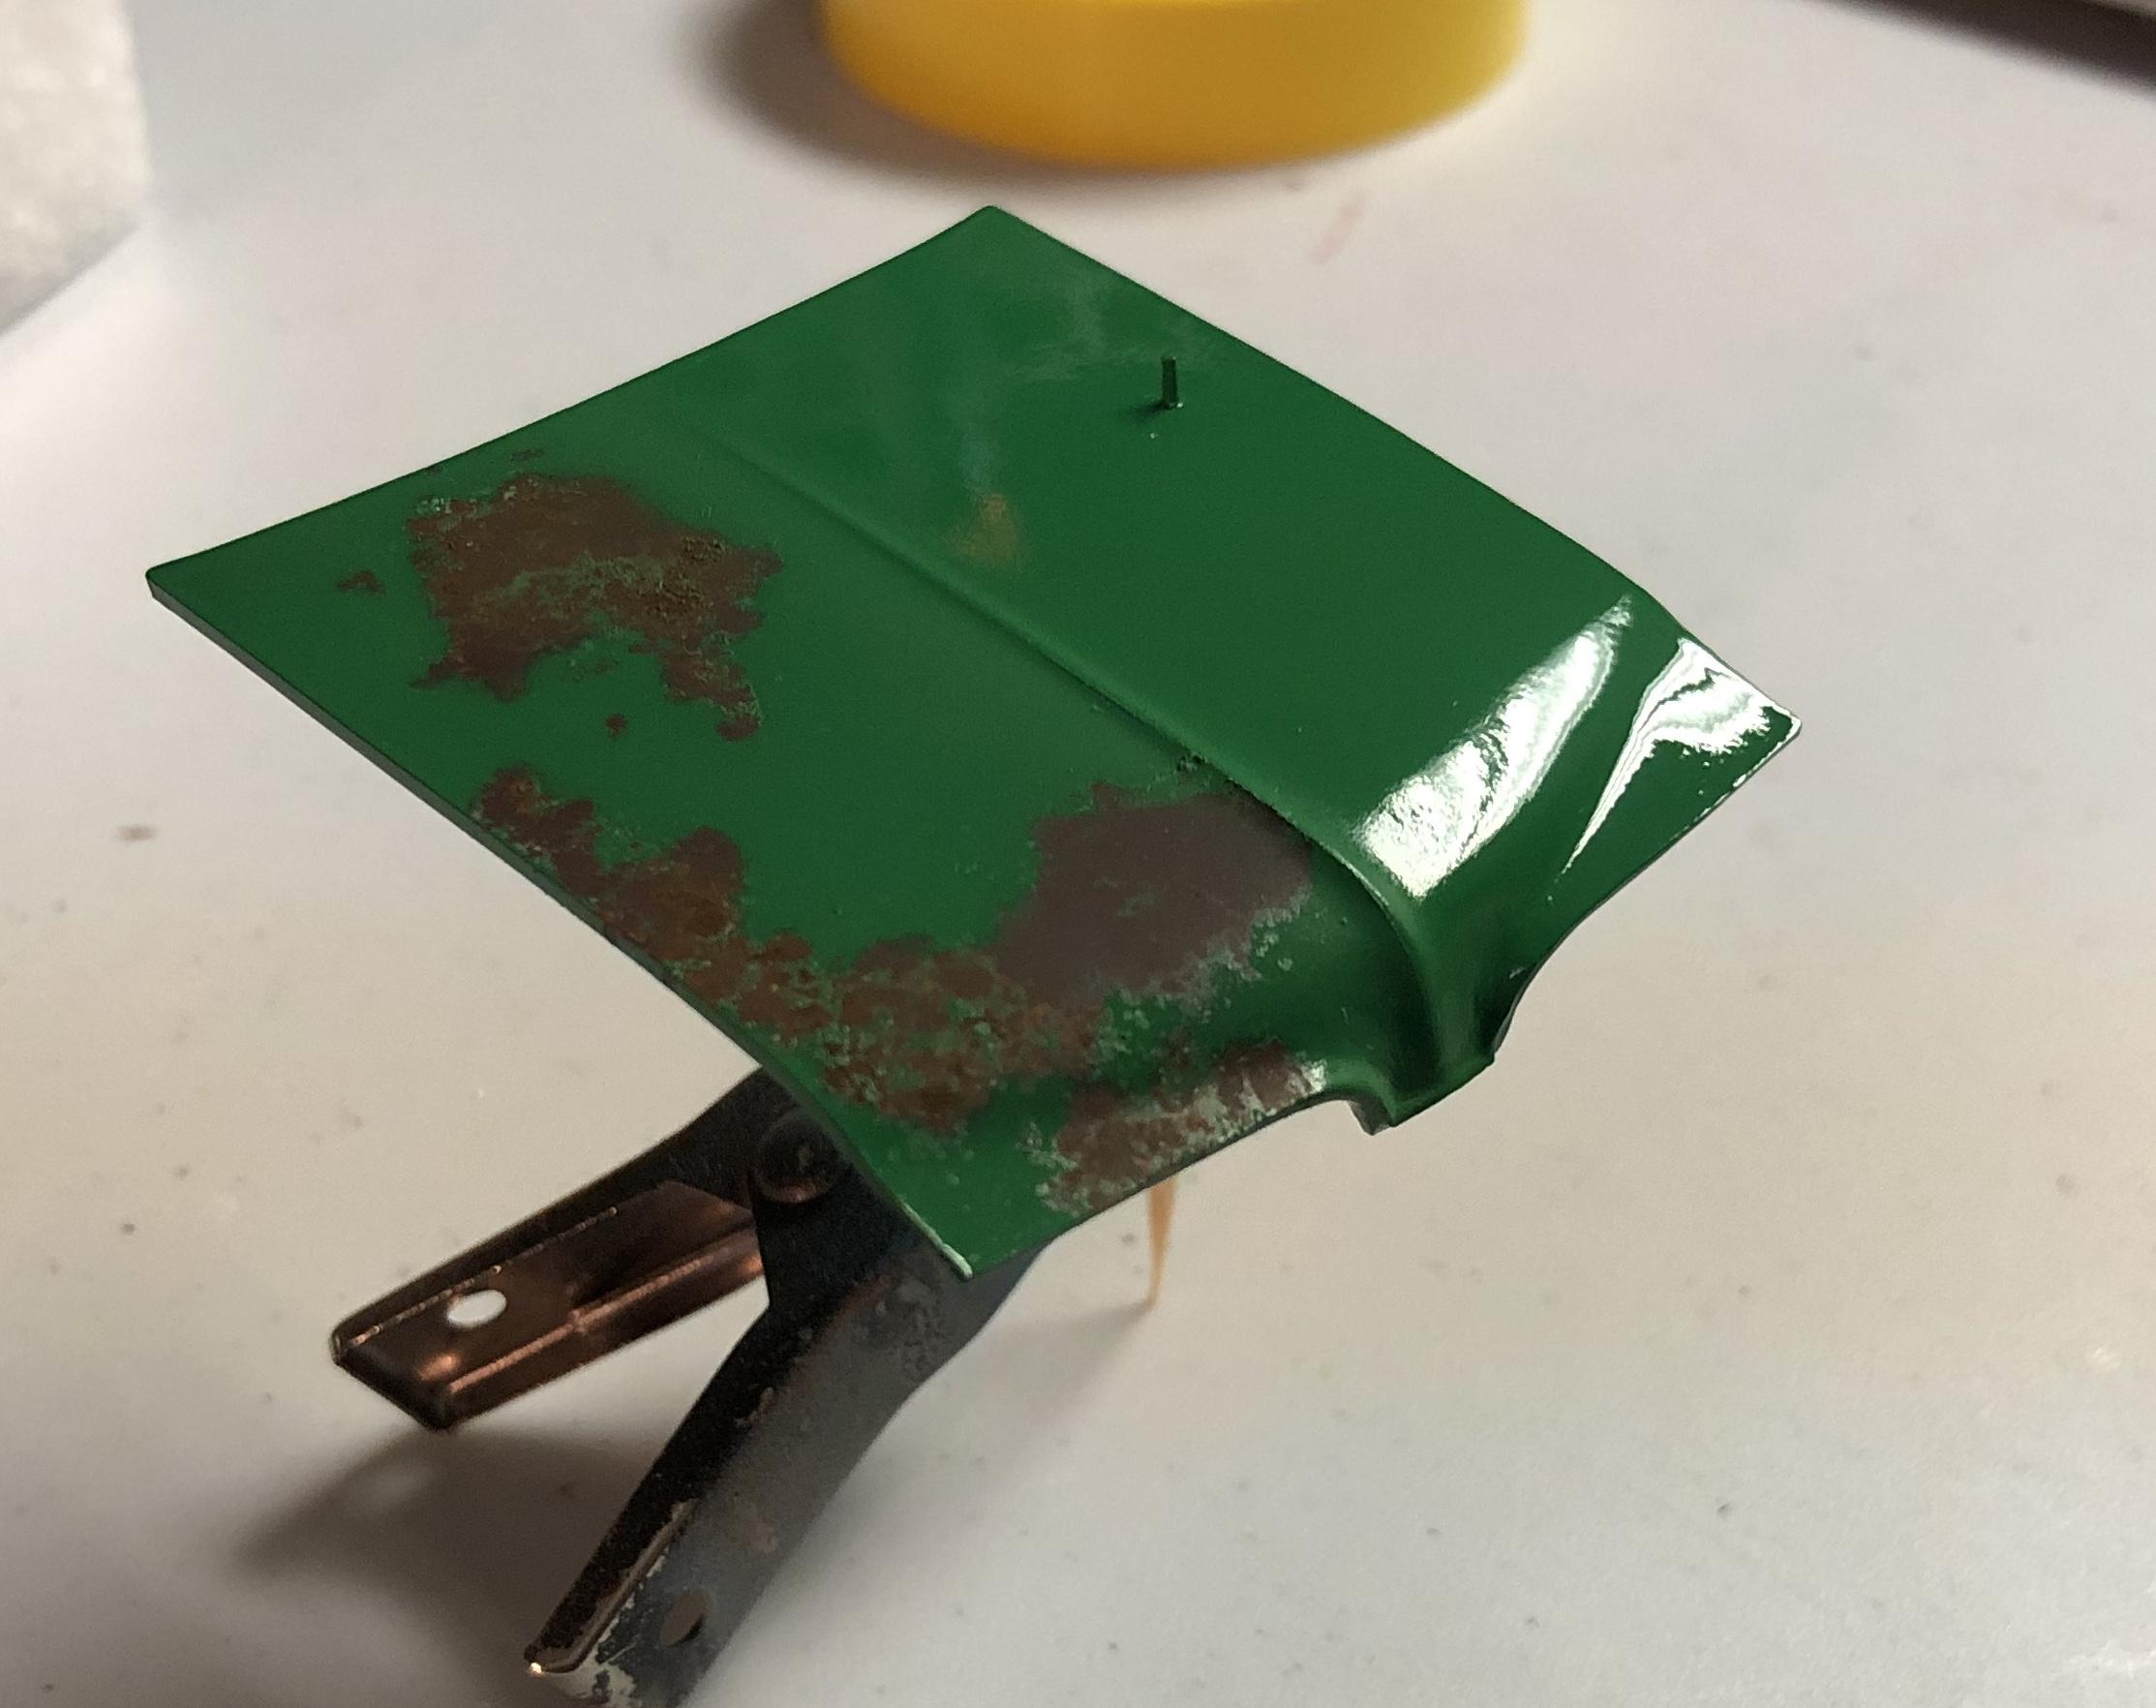
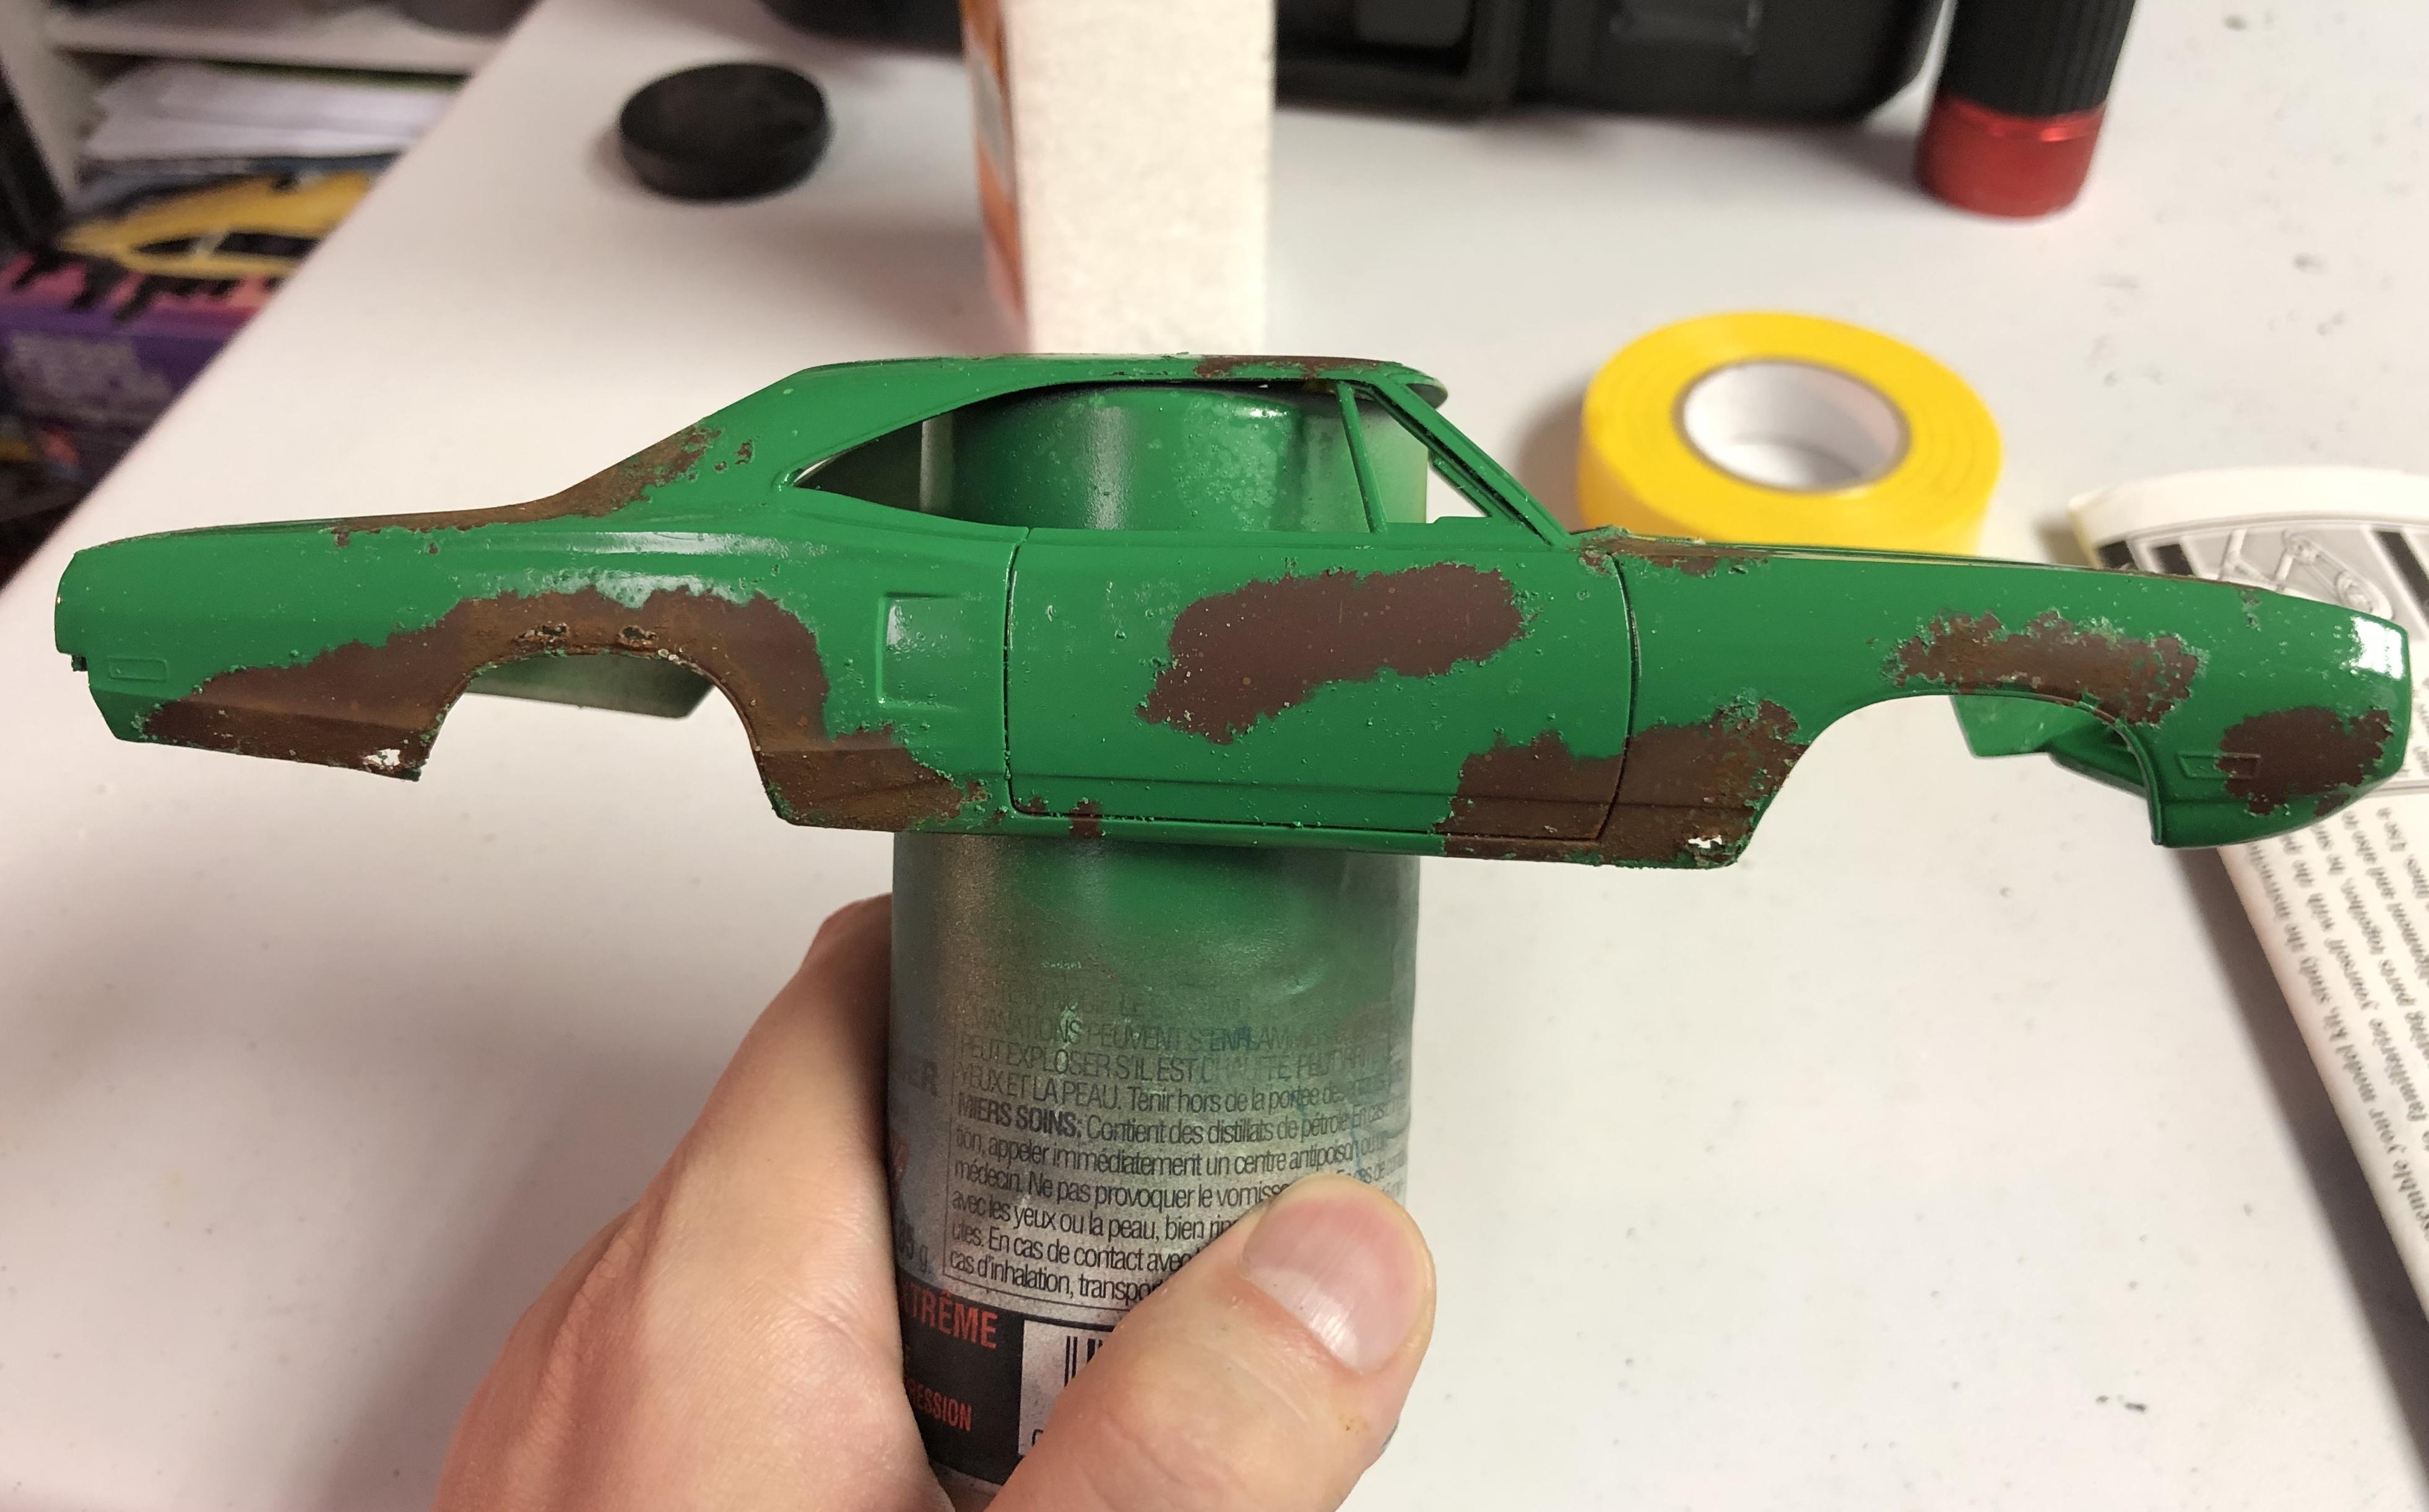
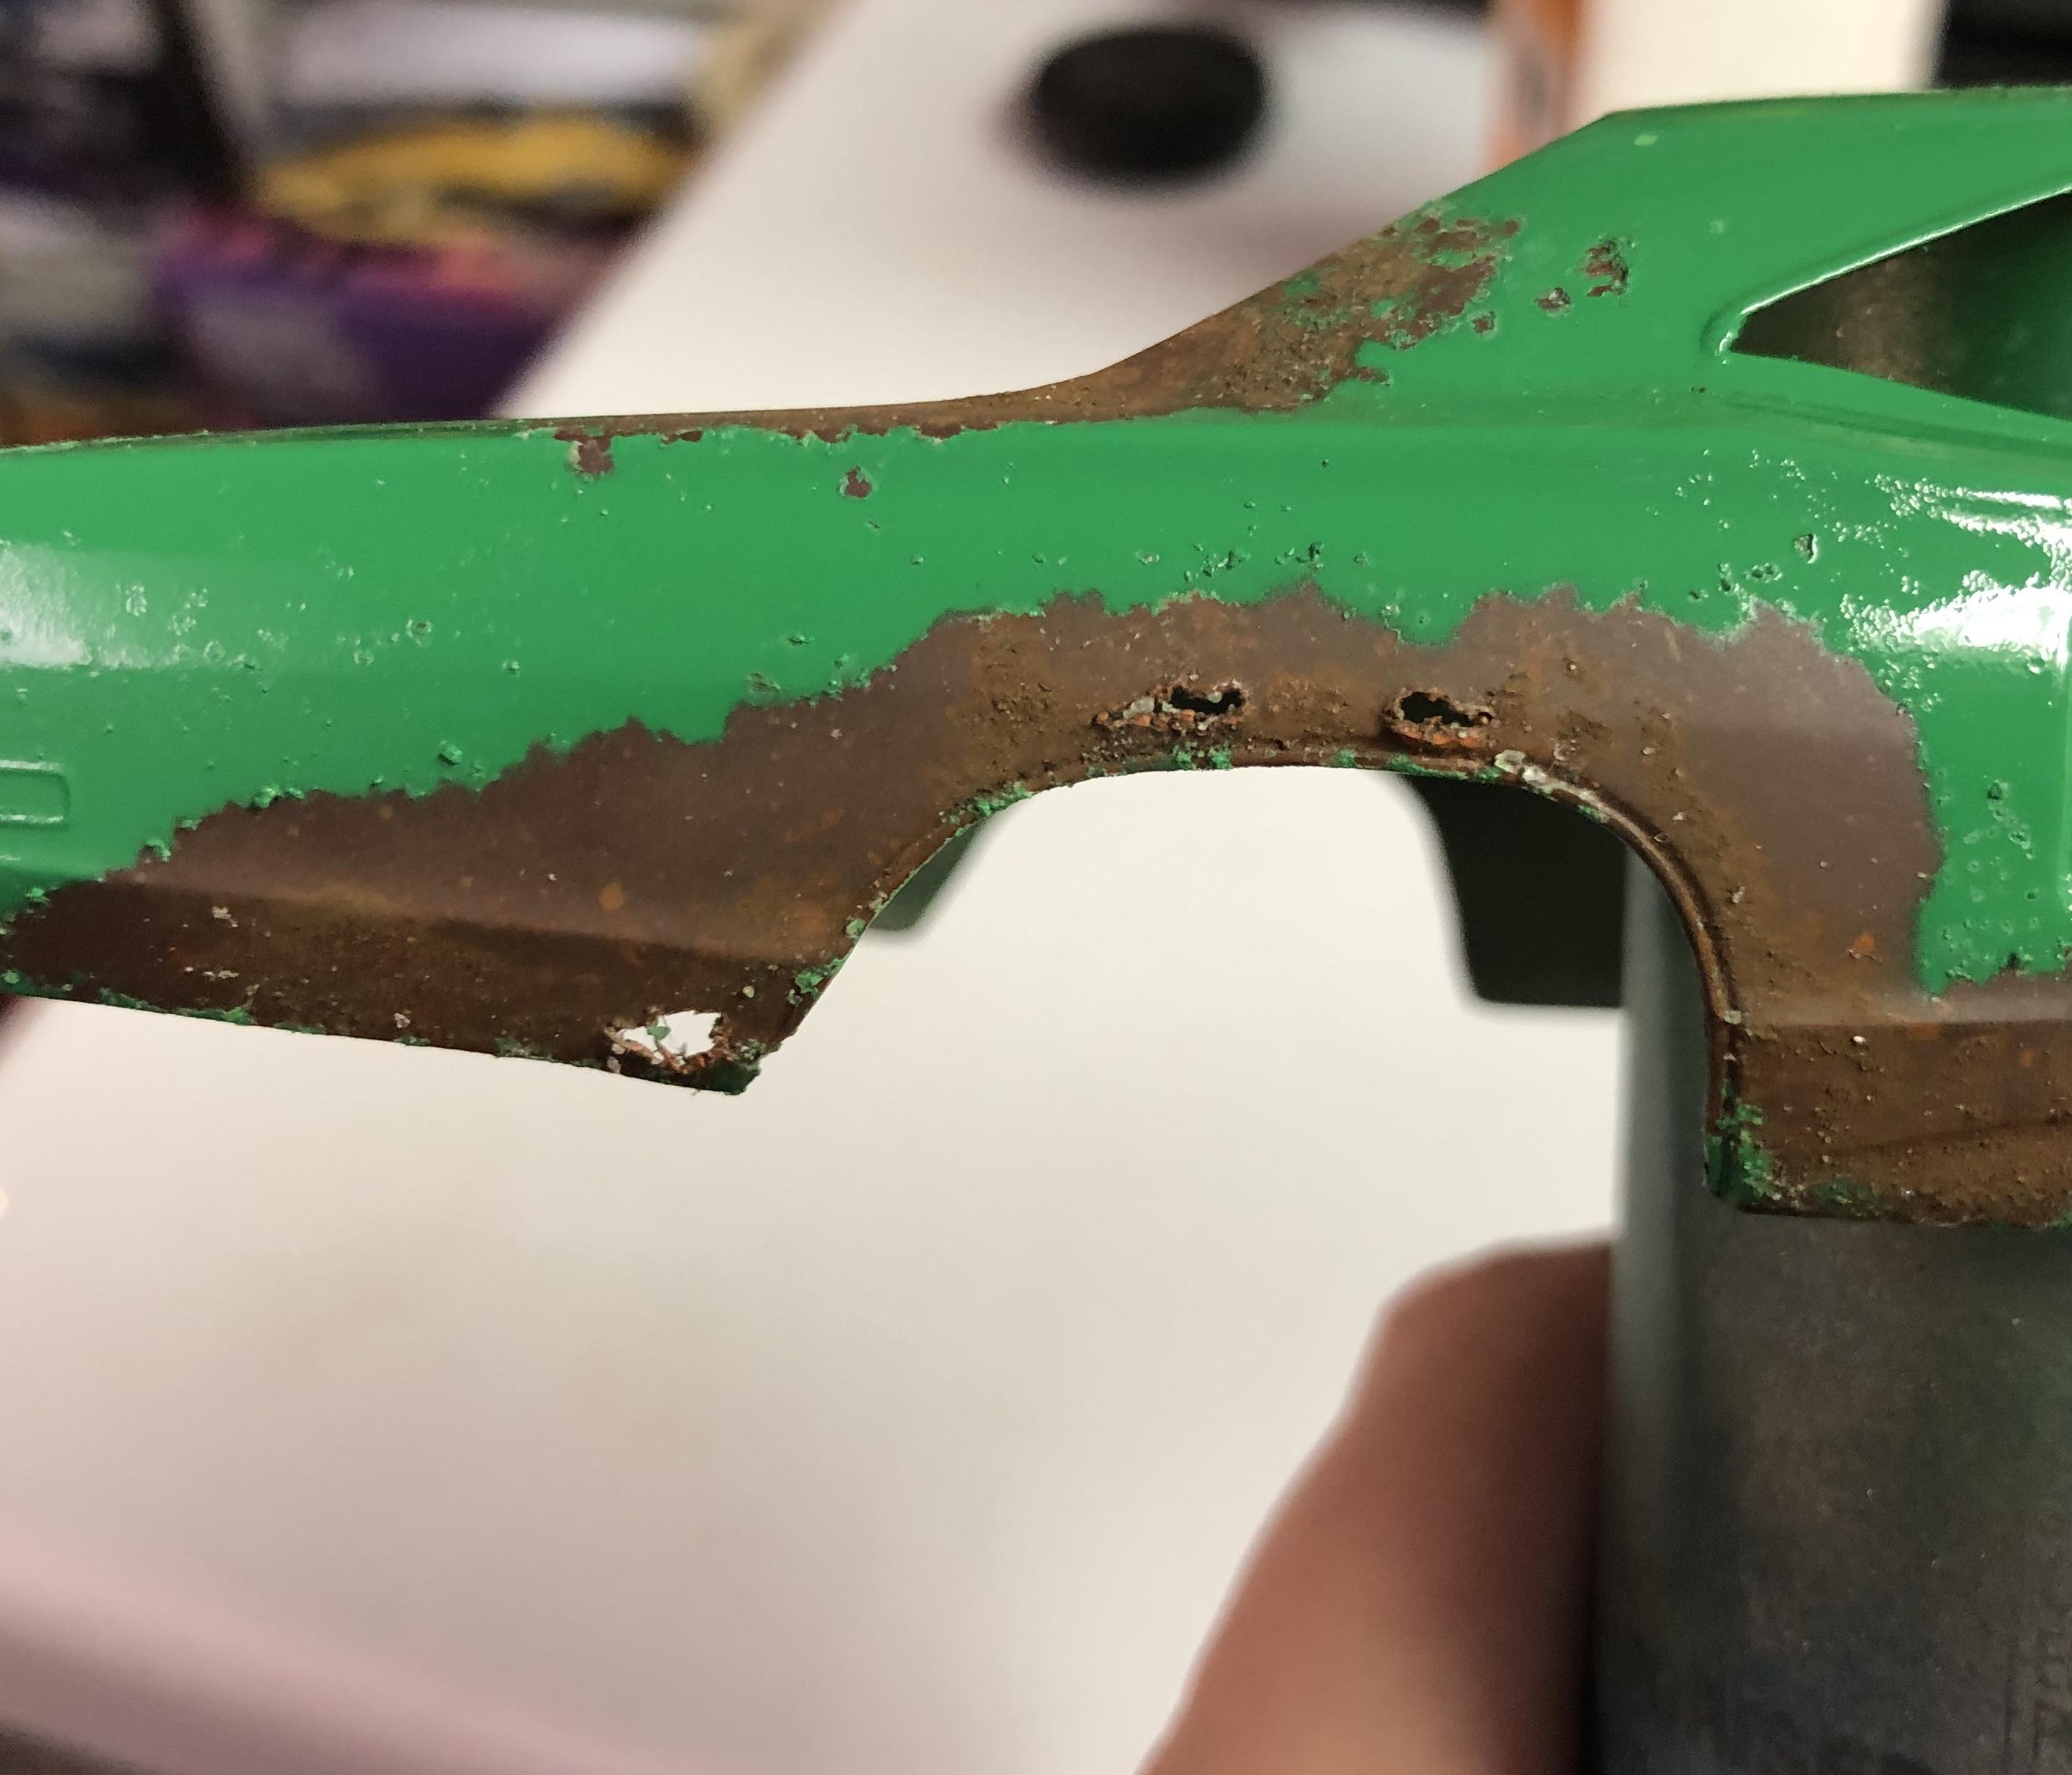
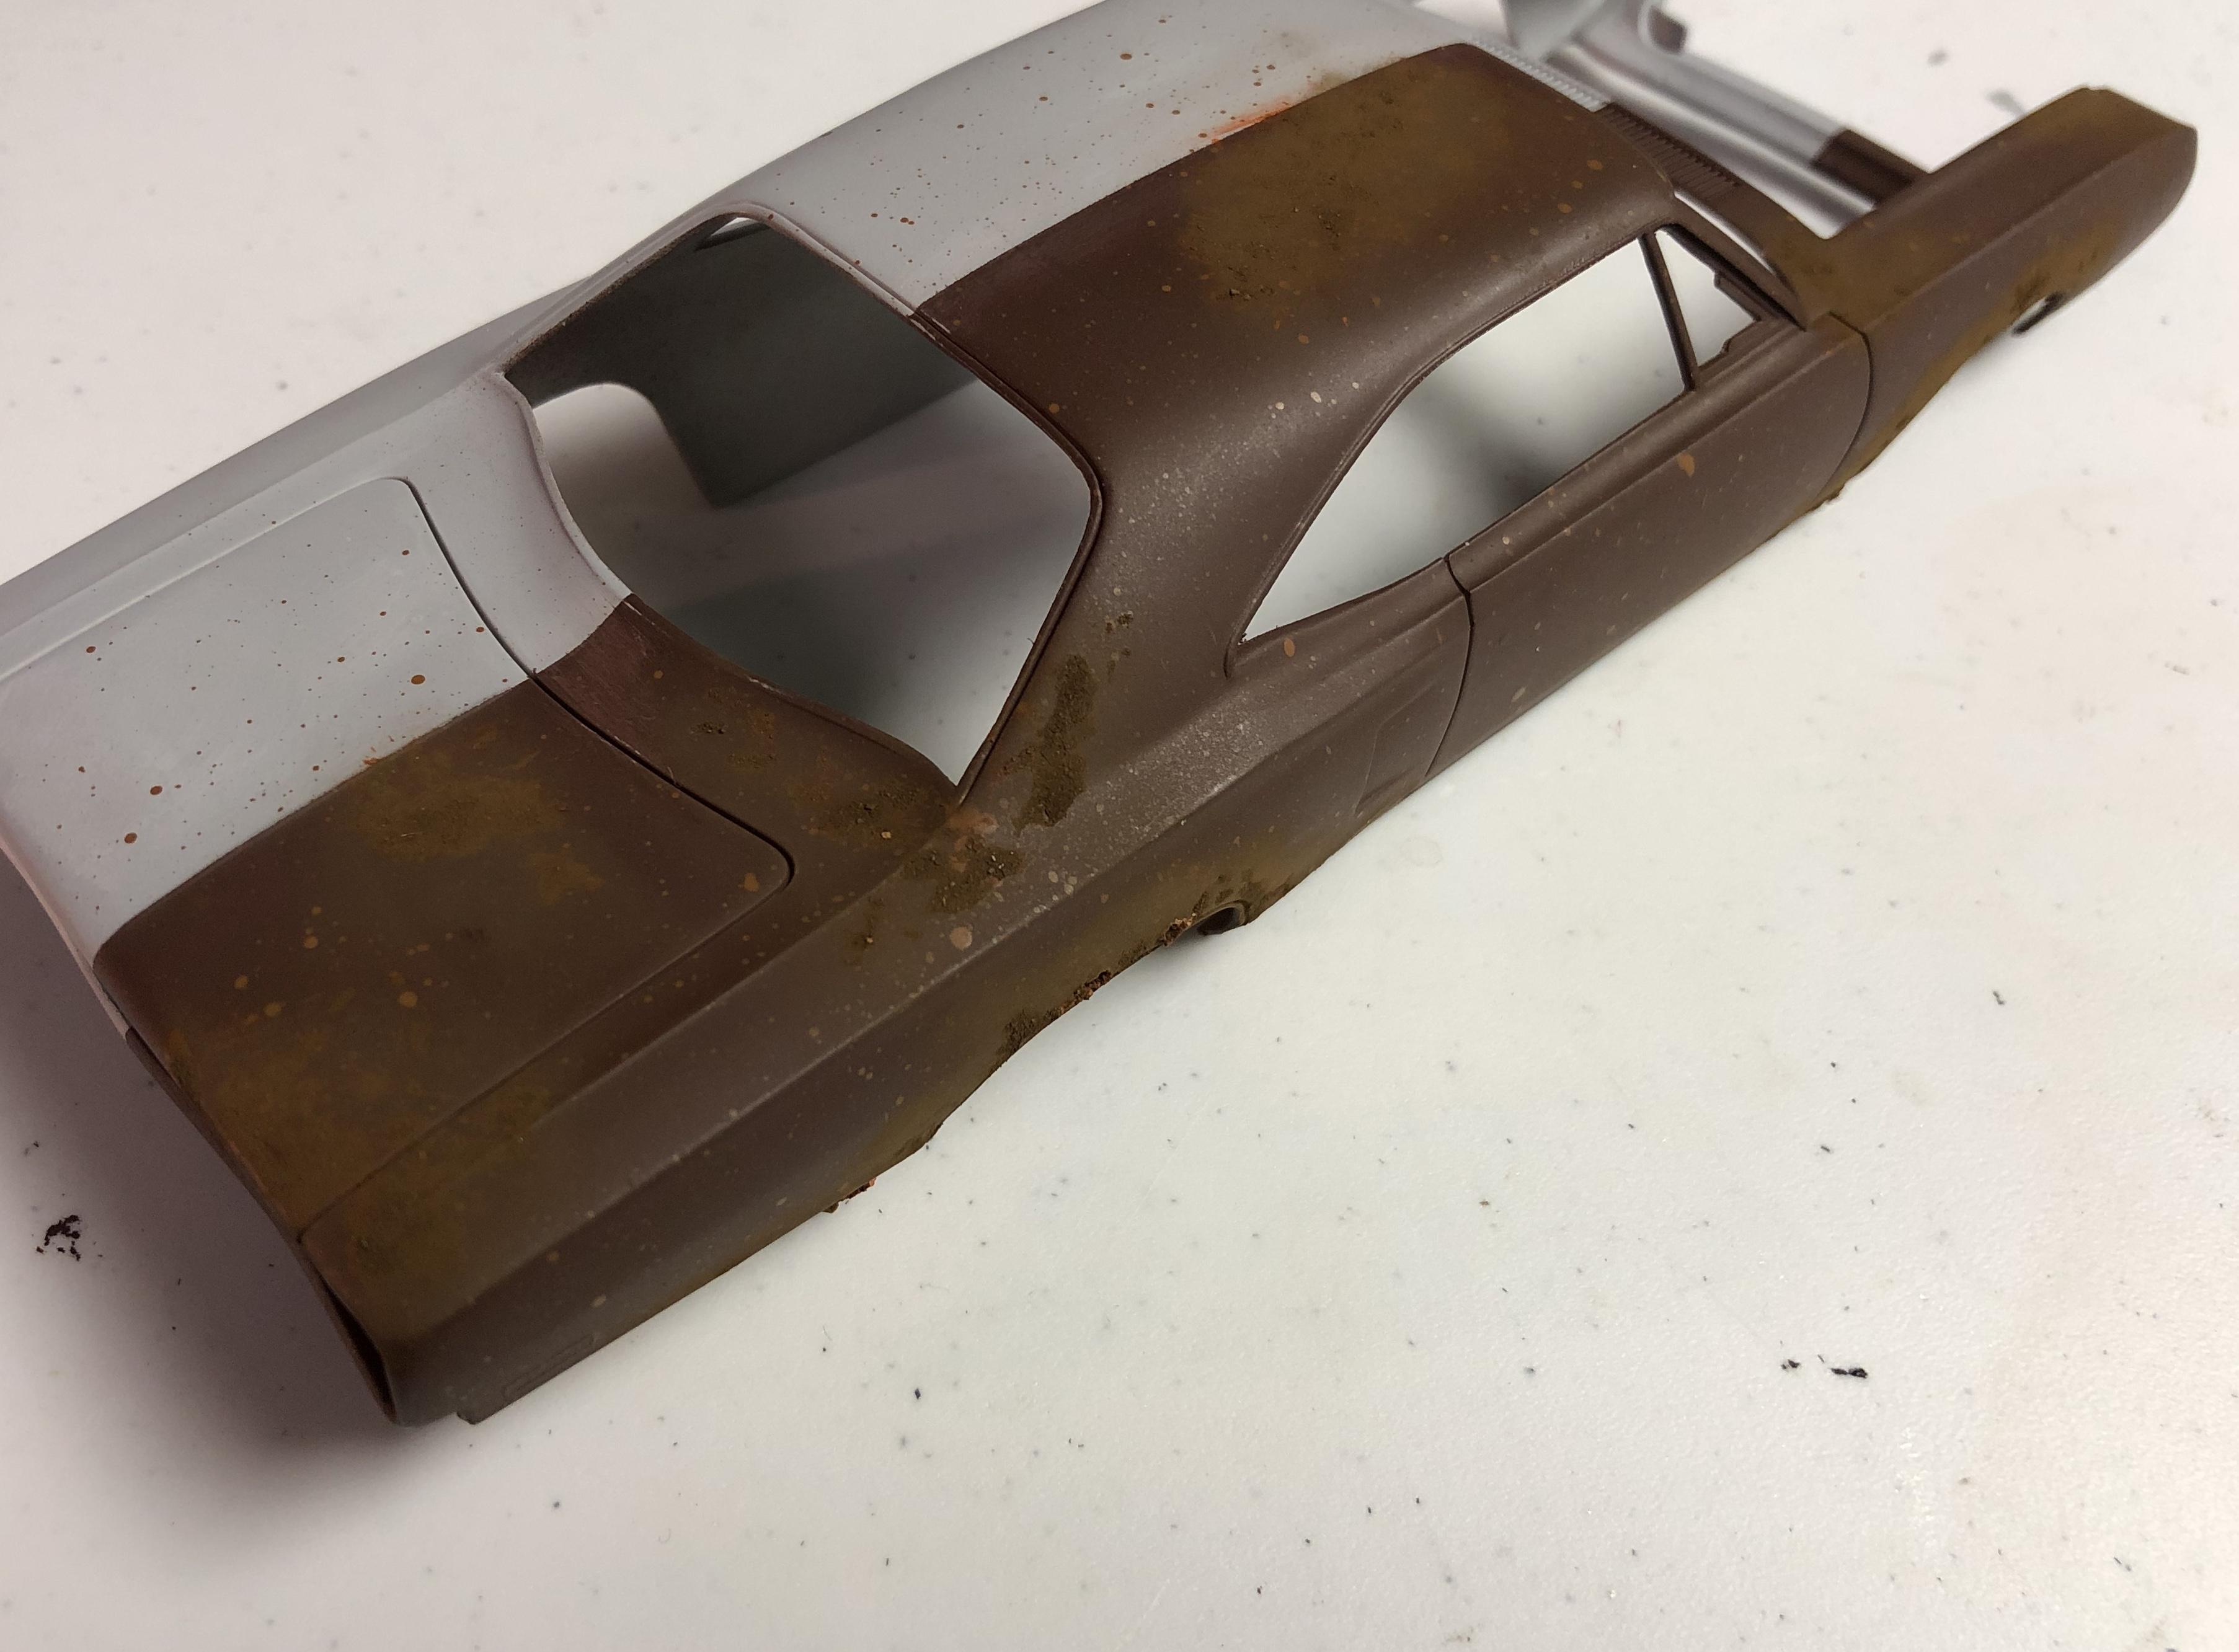
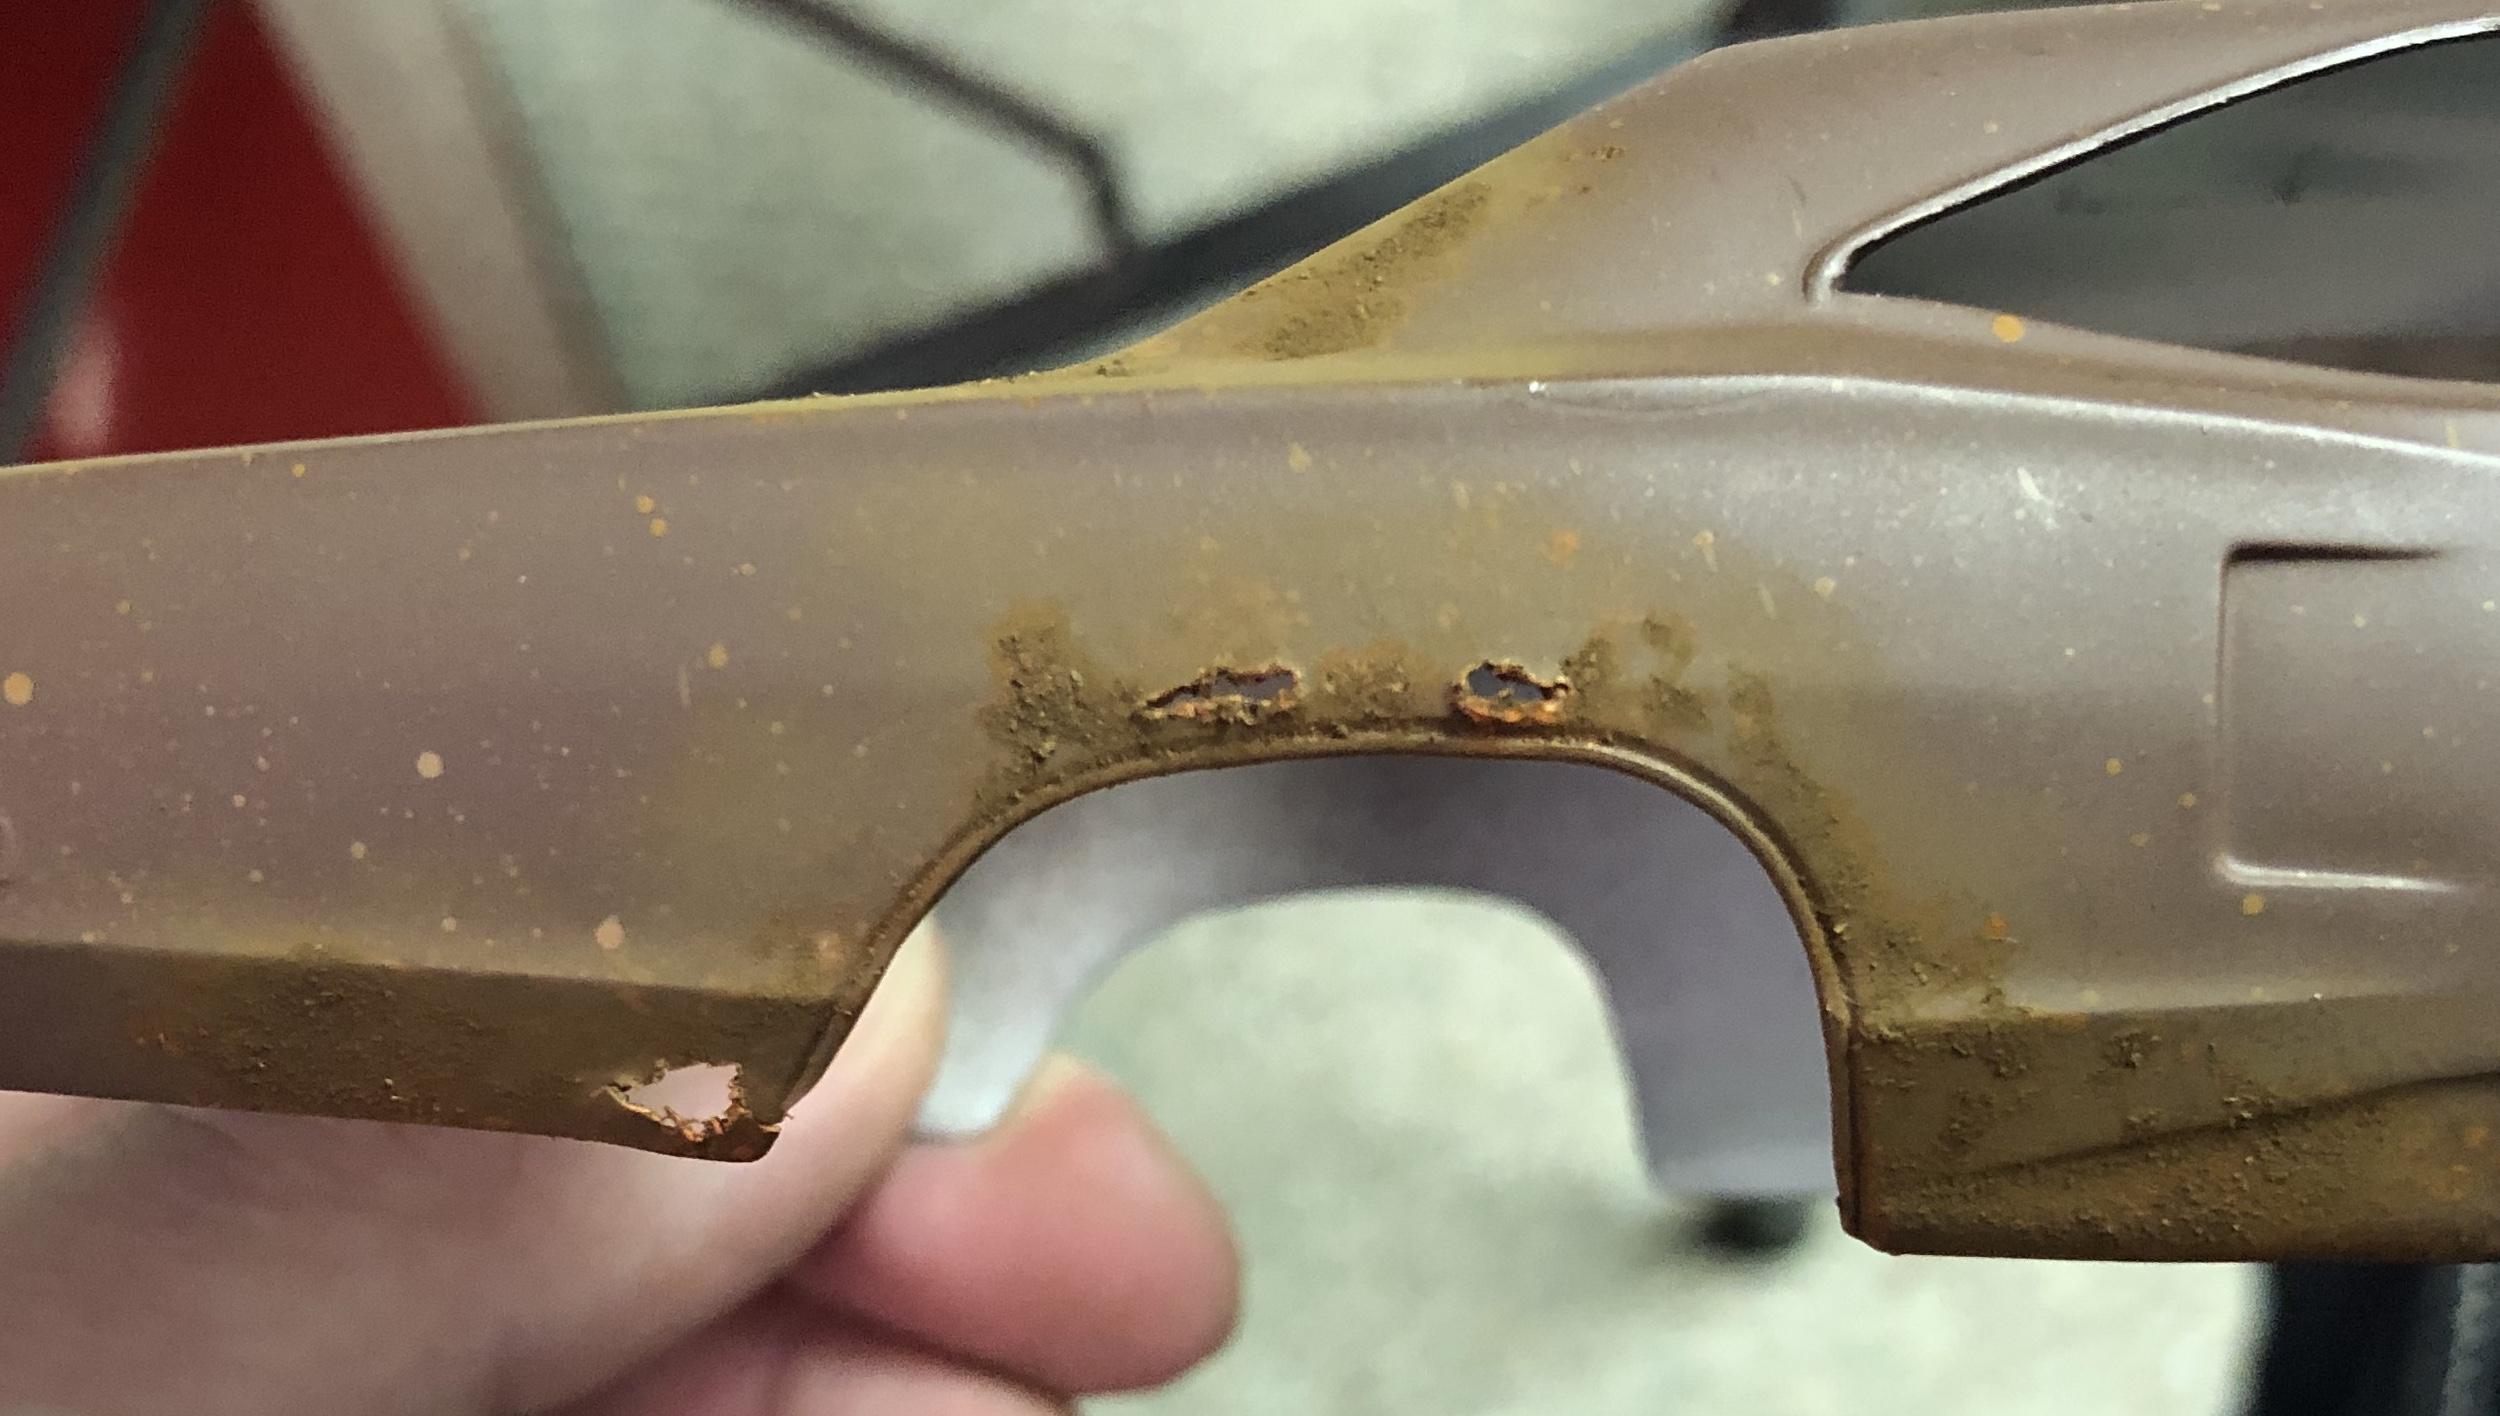
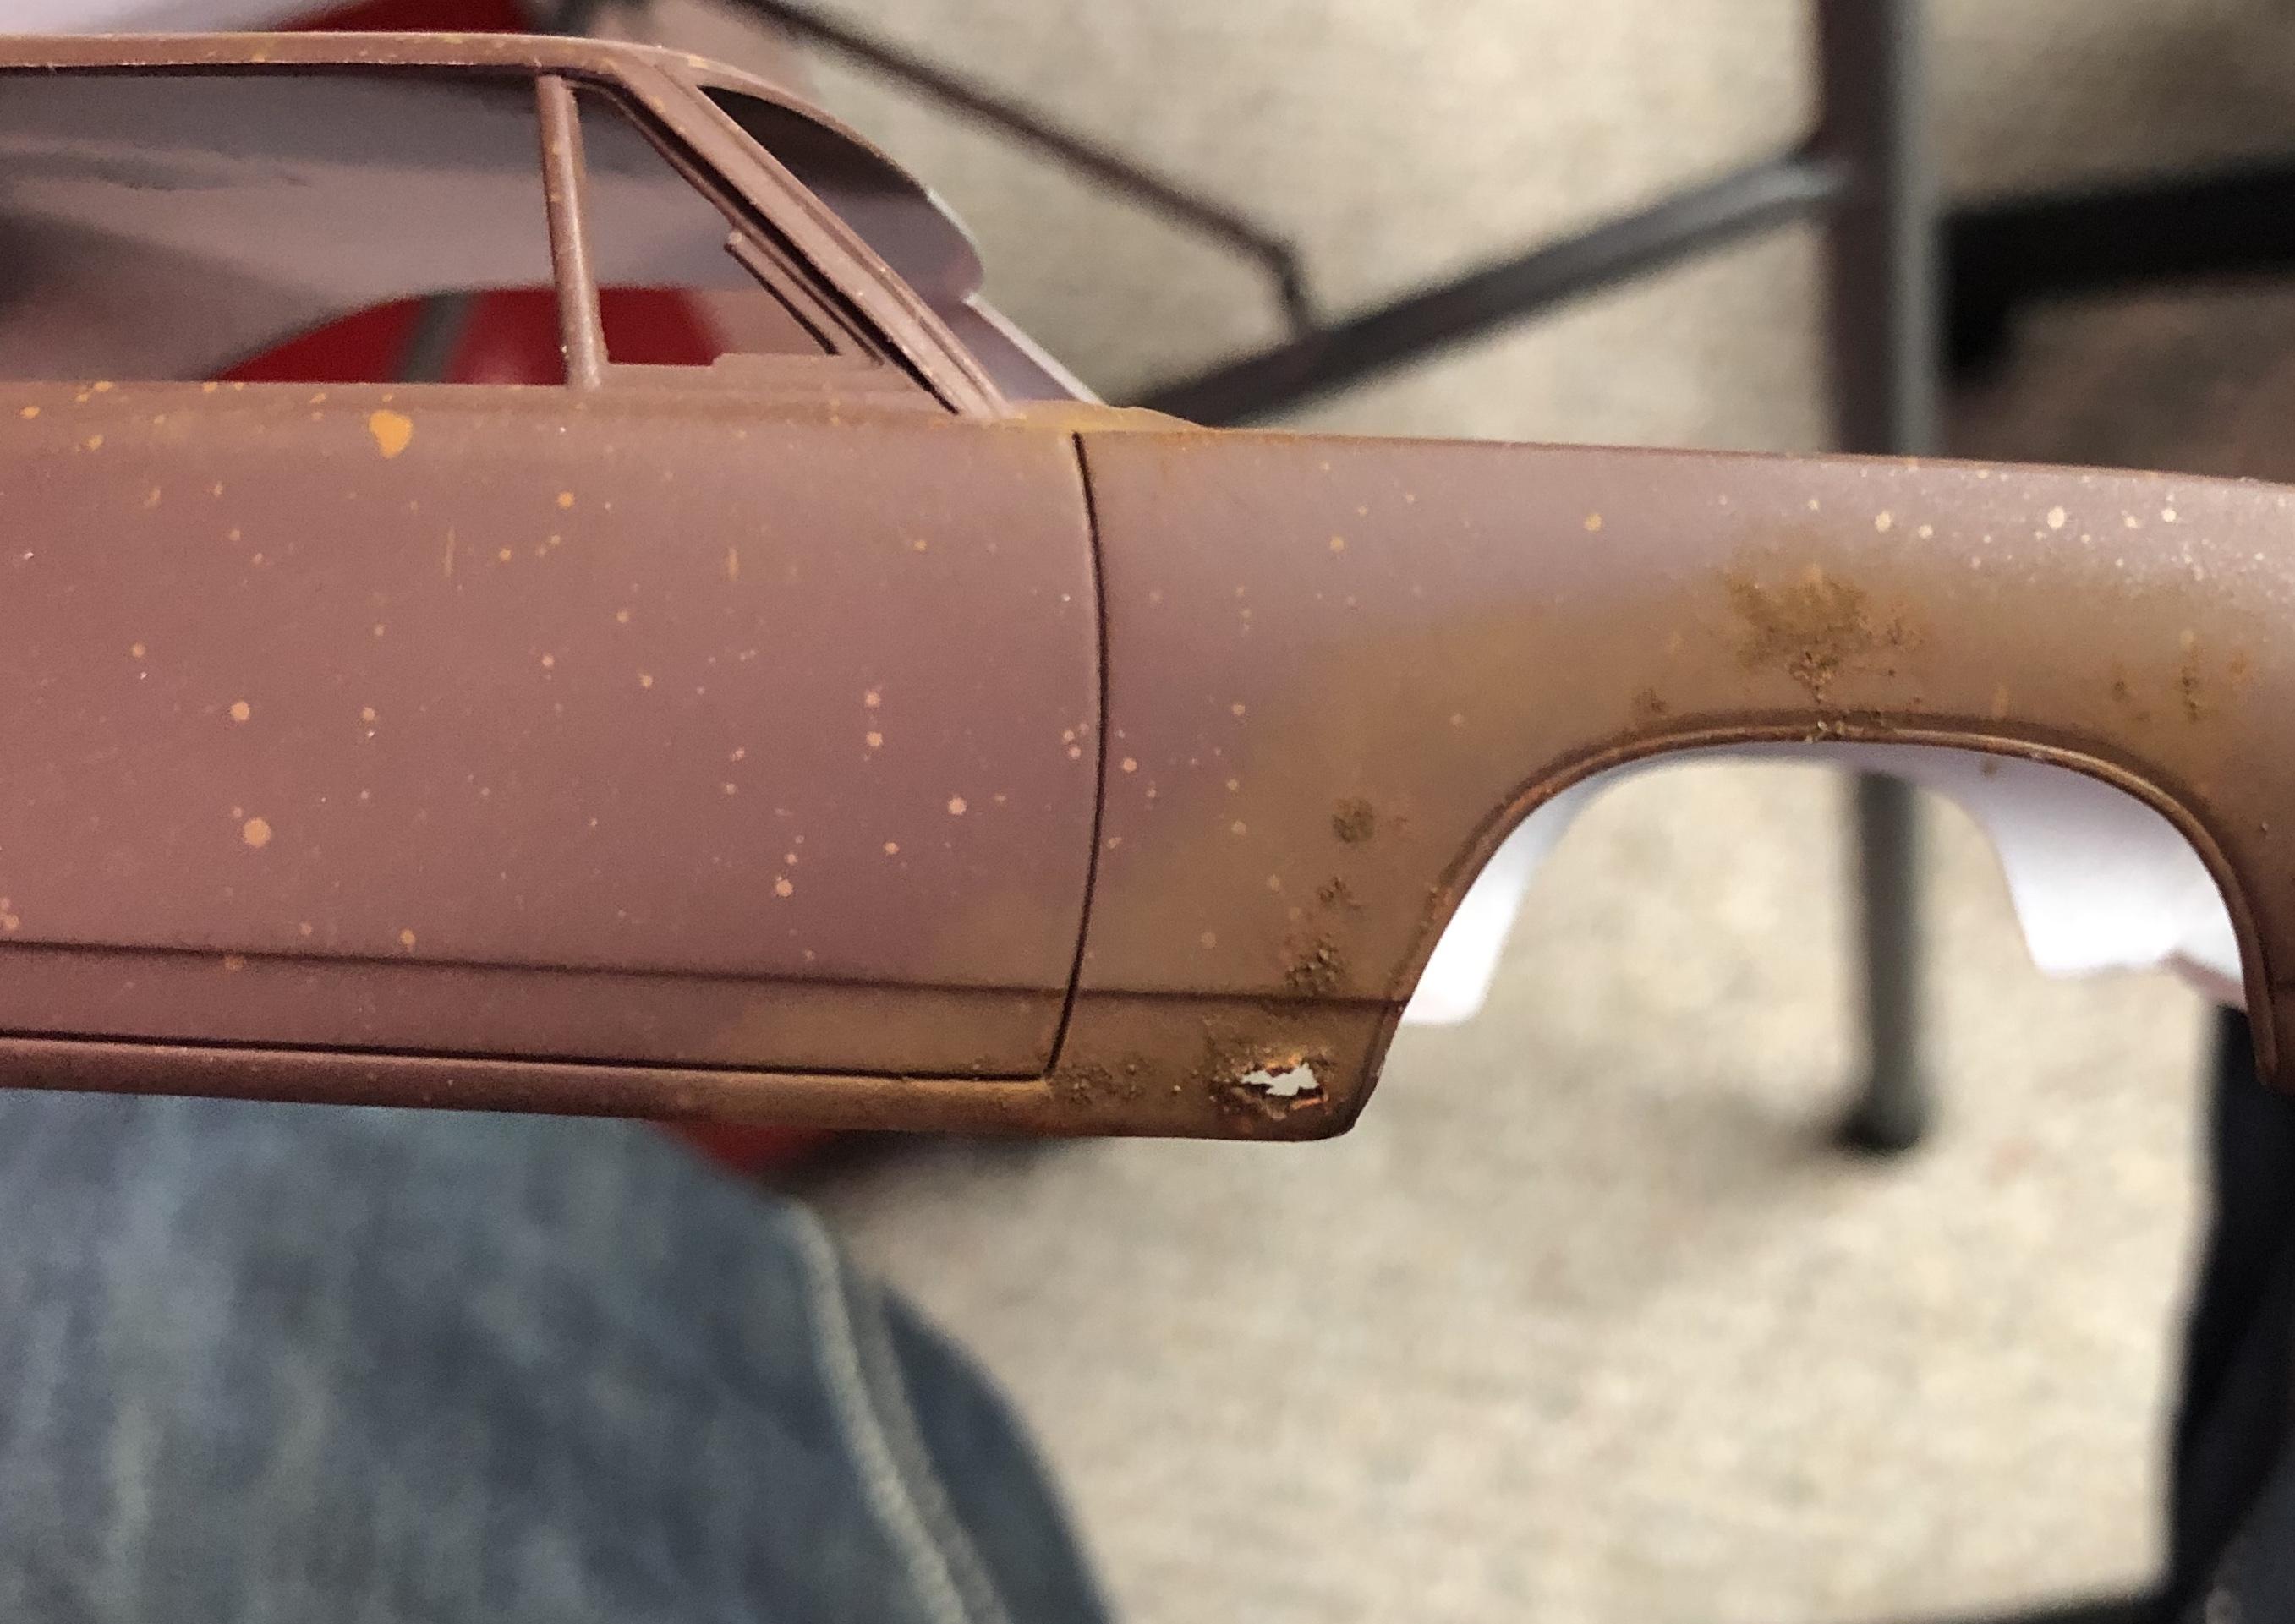
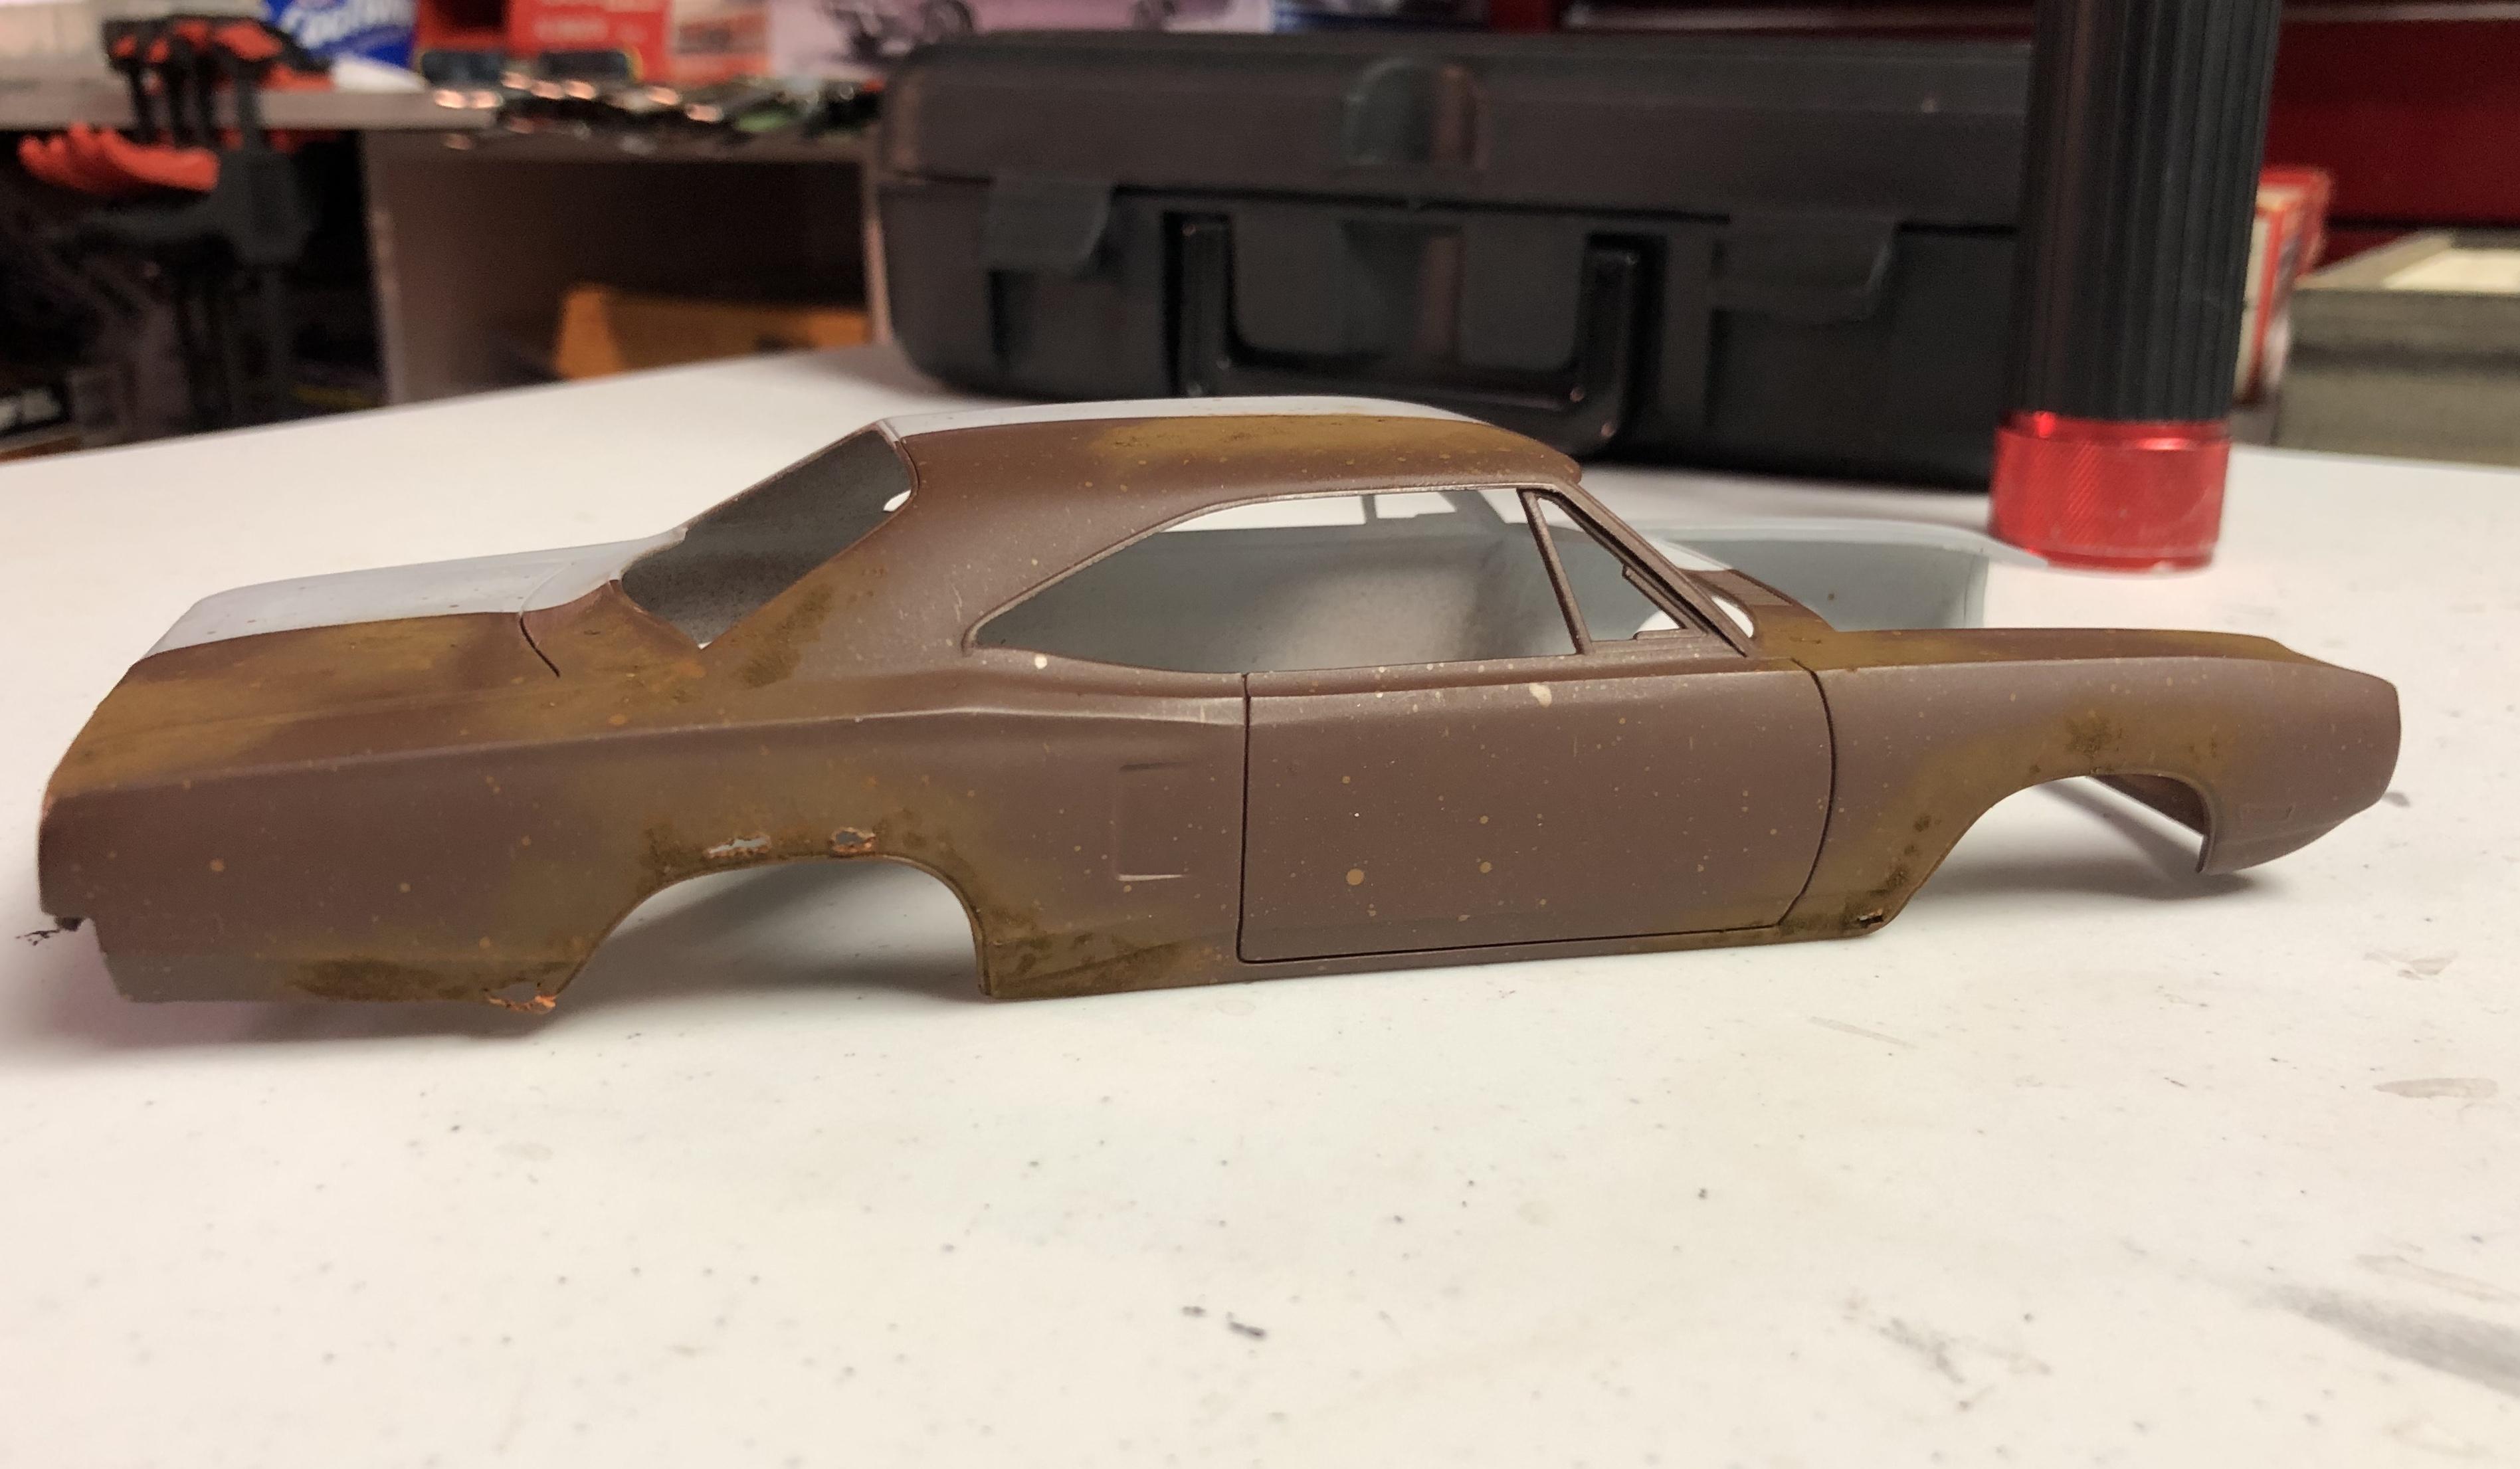
I’ve only ever done three rusted builds, every so often I just like to change things up. I find it helps develop and sharpen skills. This one was more to see how the “half and half” idea would turn out, and it’s gotten me out of a little slump.
-
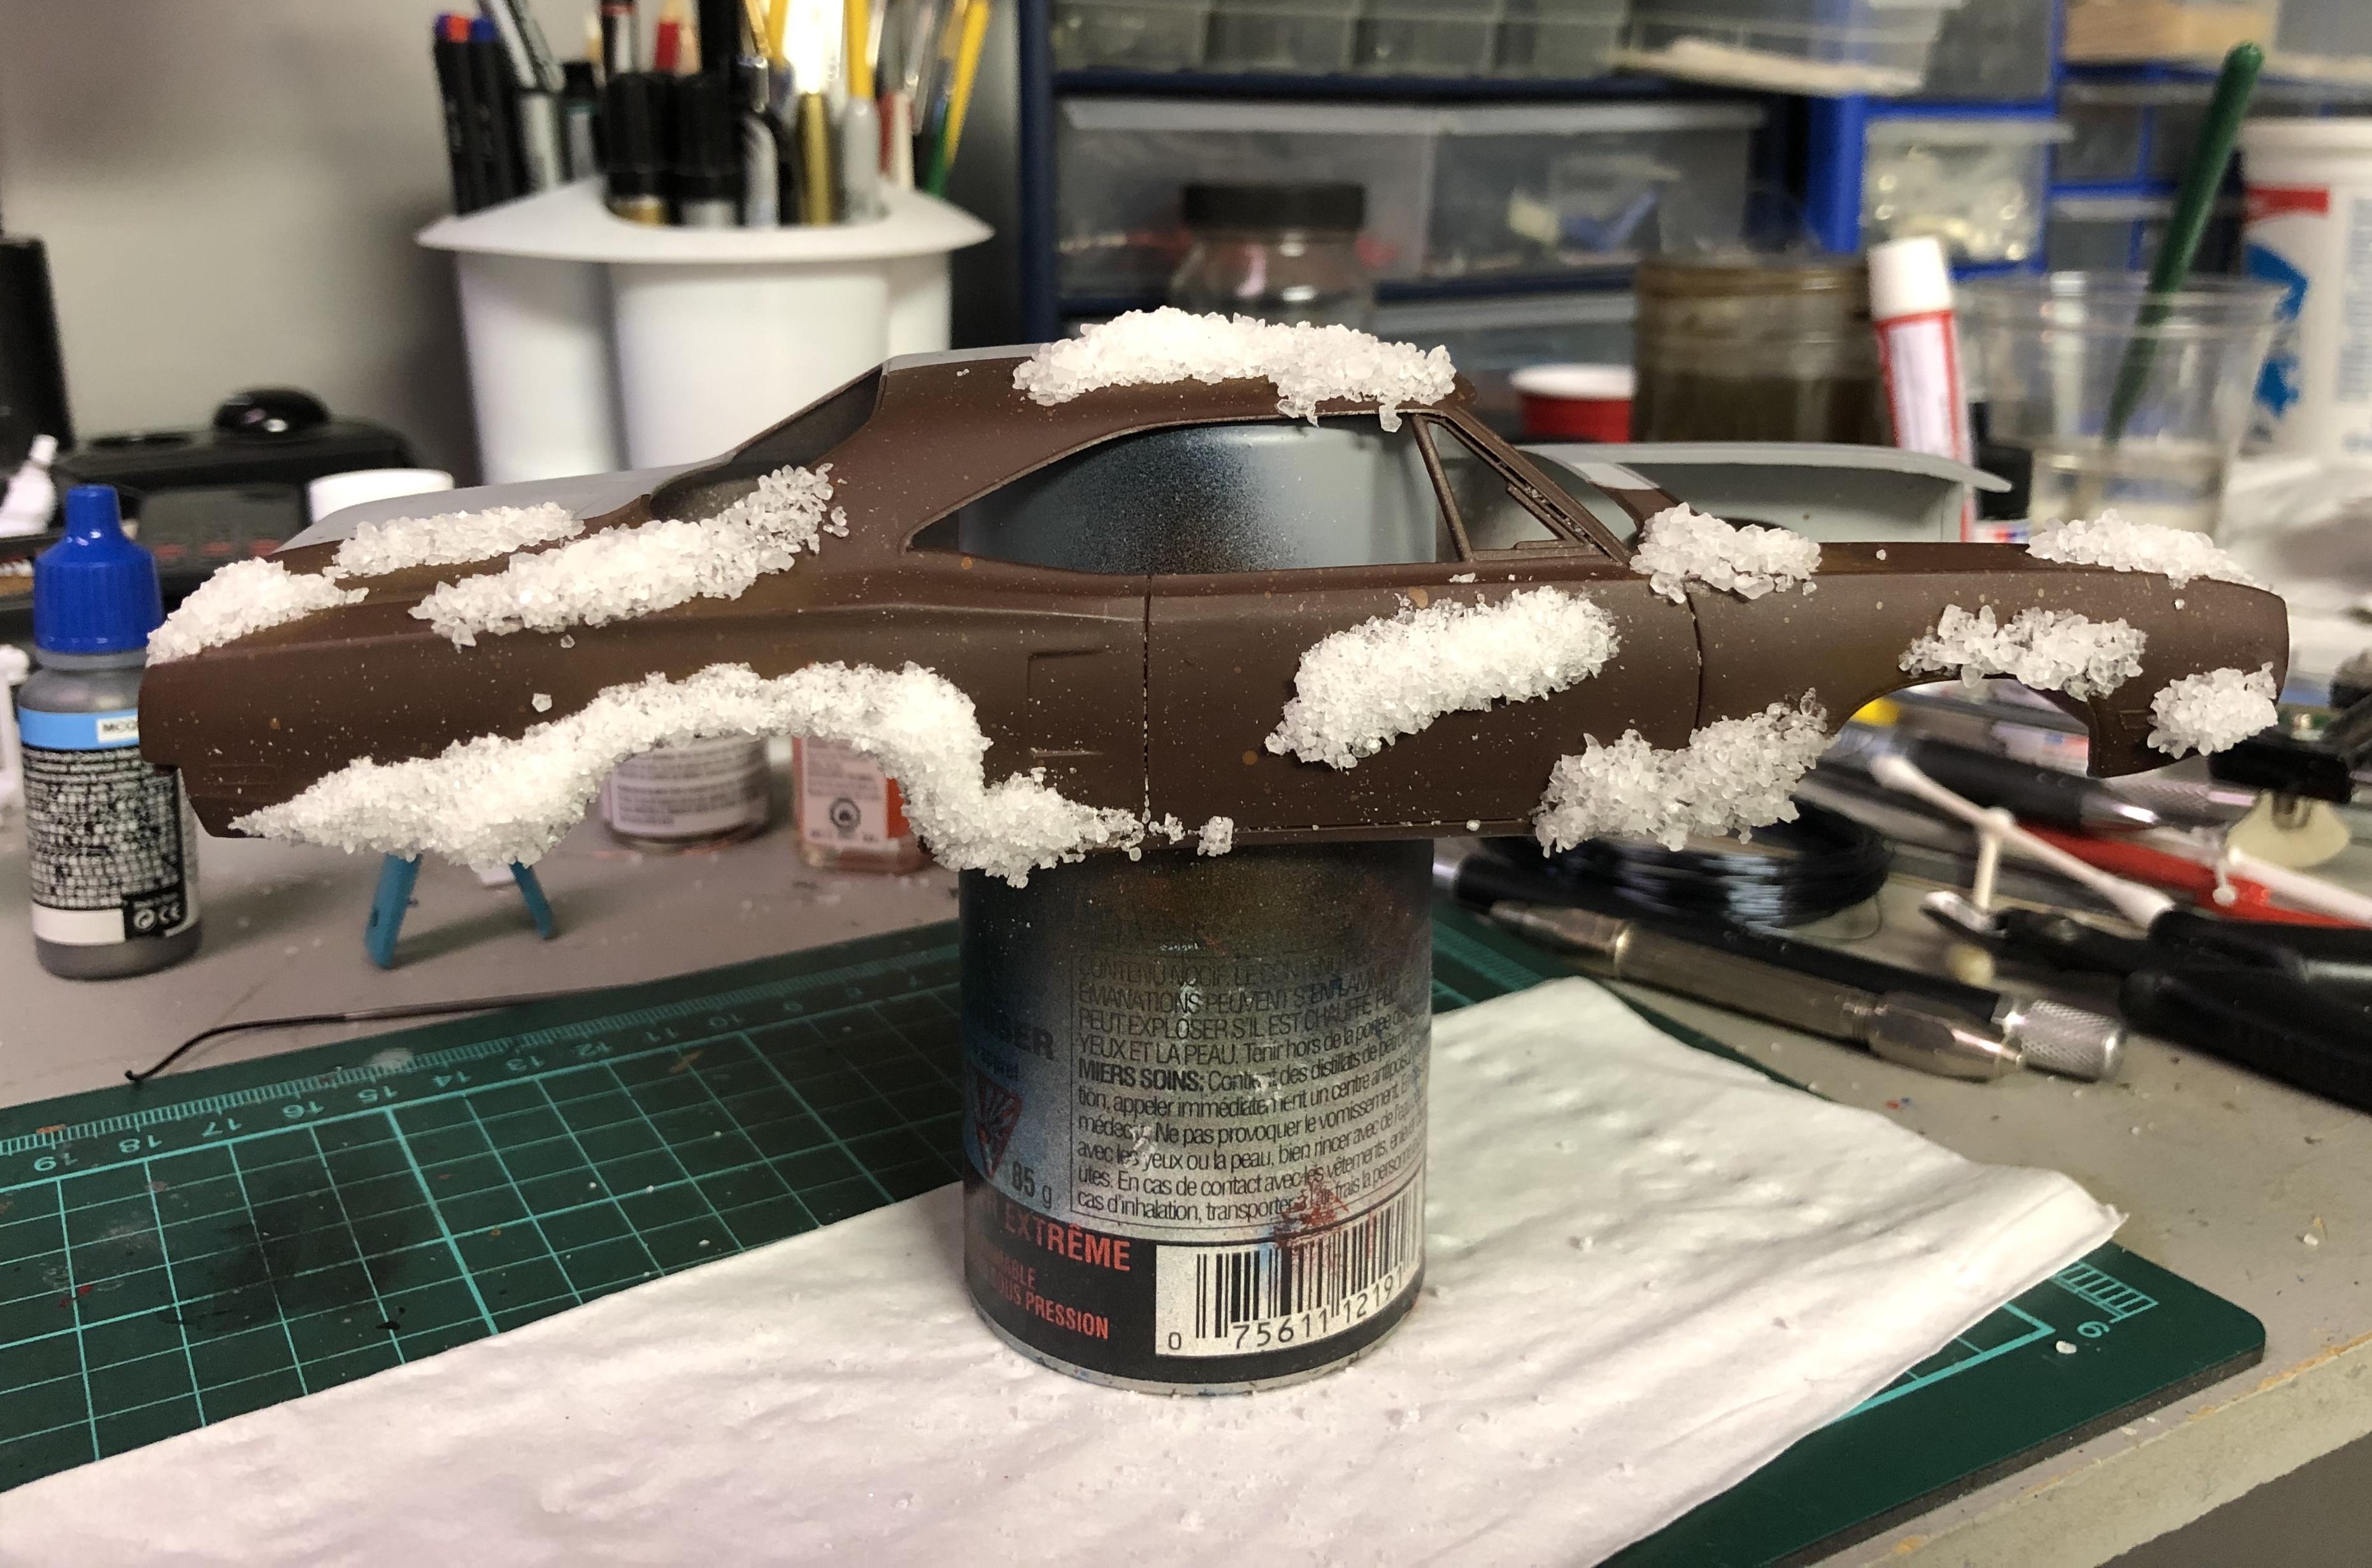
Thanks! Ive got some salting and painting done. I need to touch up the clean side in a few spots, and dull and dirty up the worn side, but it’s coming along!
-
I believe this Dick Landy Charger is my oldest surviving build. I was around 11 or 12 then, so 25 years ago. I didn’t even paint the body, since I couldn’t get any spray paint, and I was too impatient to wait! The GTX is my latest build. I’m getting more and more info detailing and scratch building to push myself.
-
Thanks, hopefully it turns out somewhat how I see it in my head! I finally decided on a colour, Tamiya Park Green, with green/white interior, and white stripe. I don’t have many green builds, and for whatever reason, I have a fair bit of this colour. The interior green will be a bit darker.
-
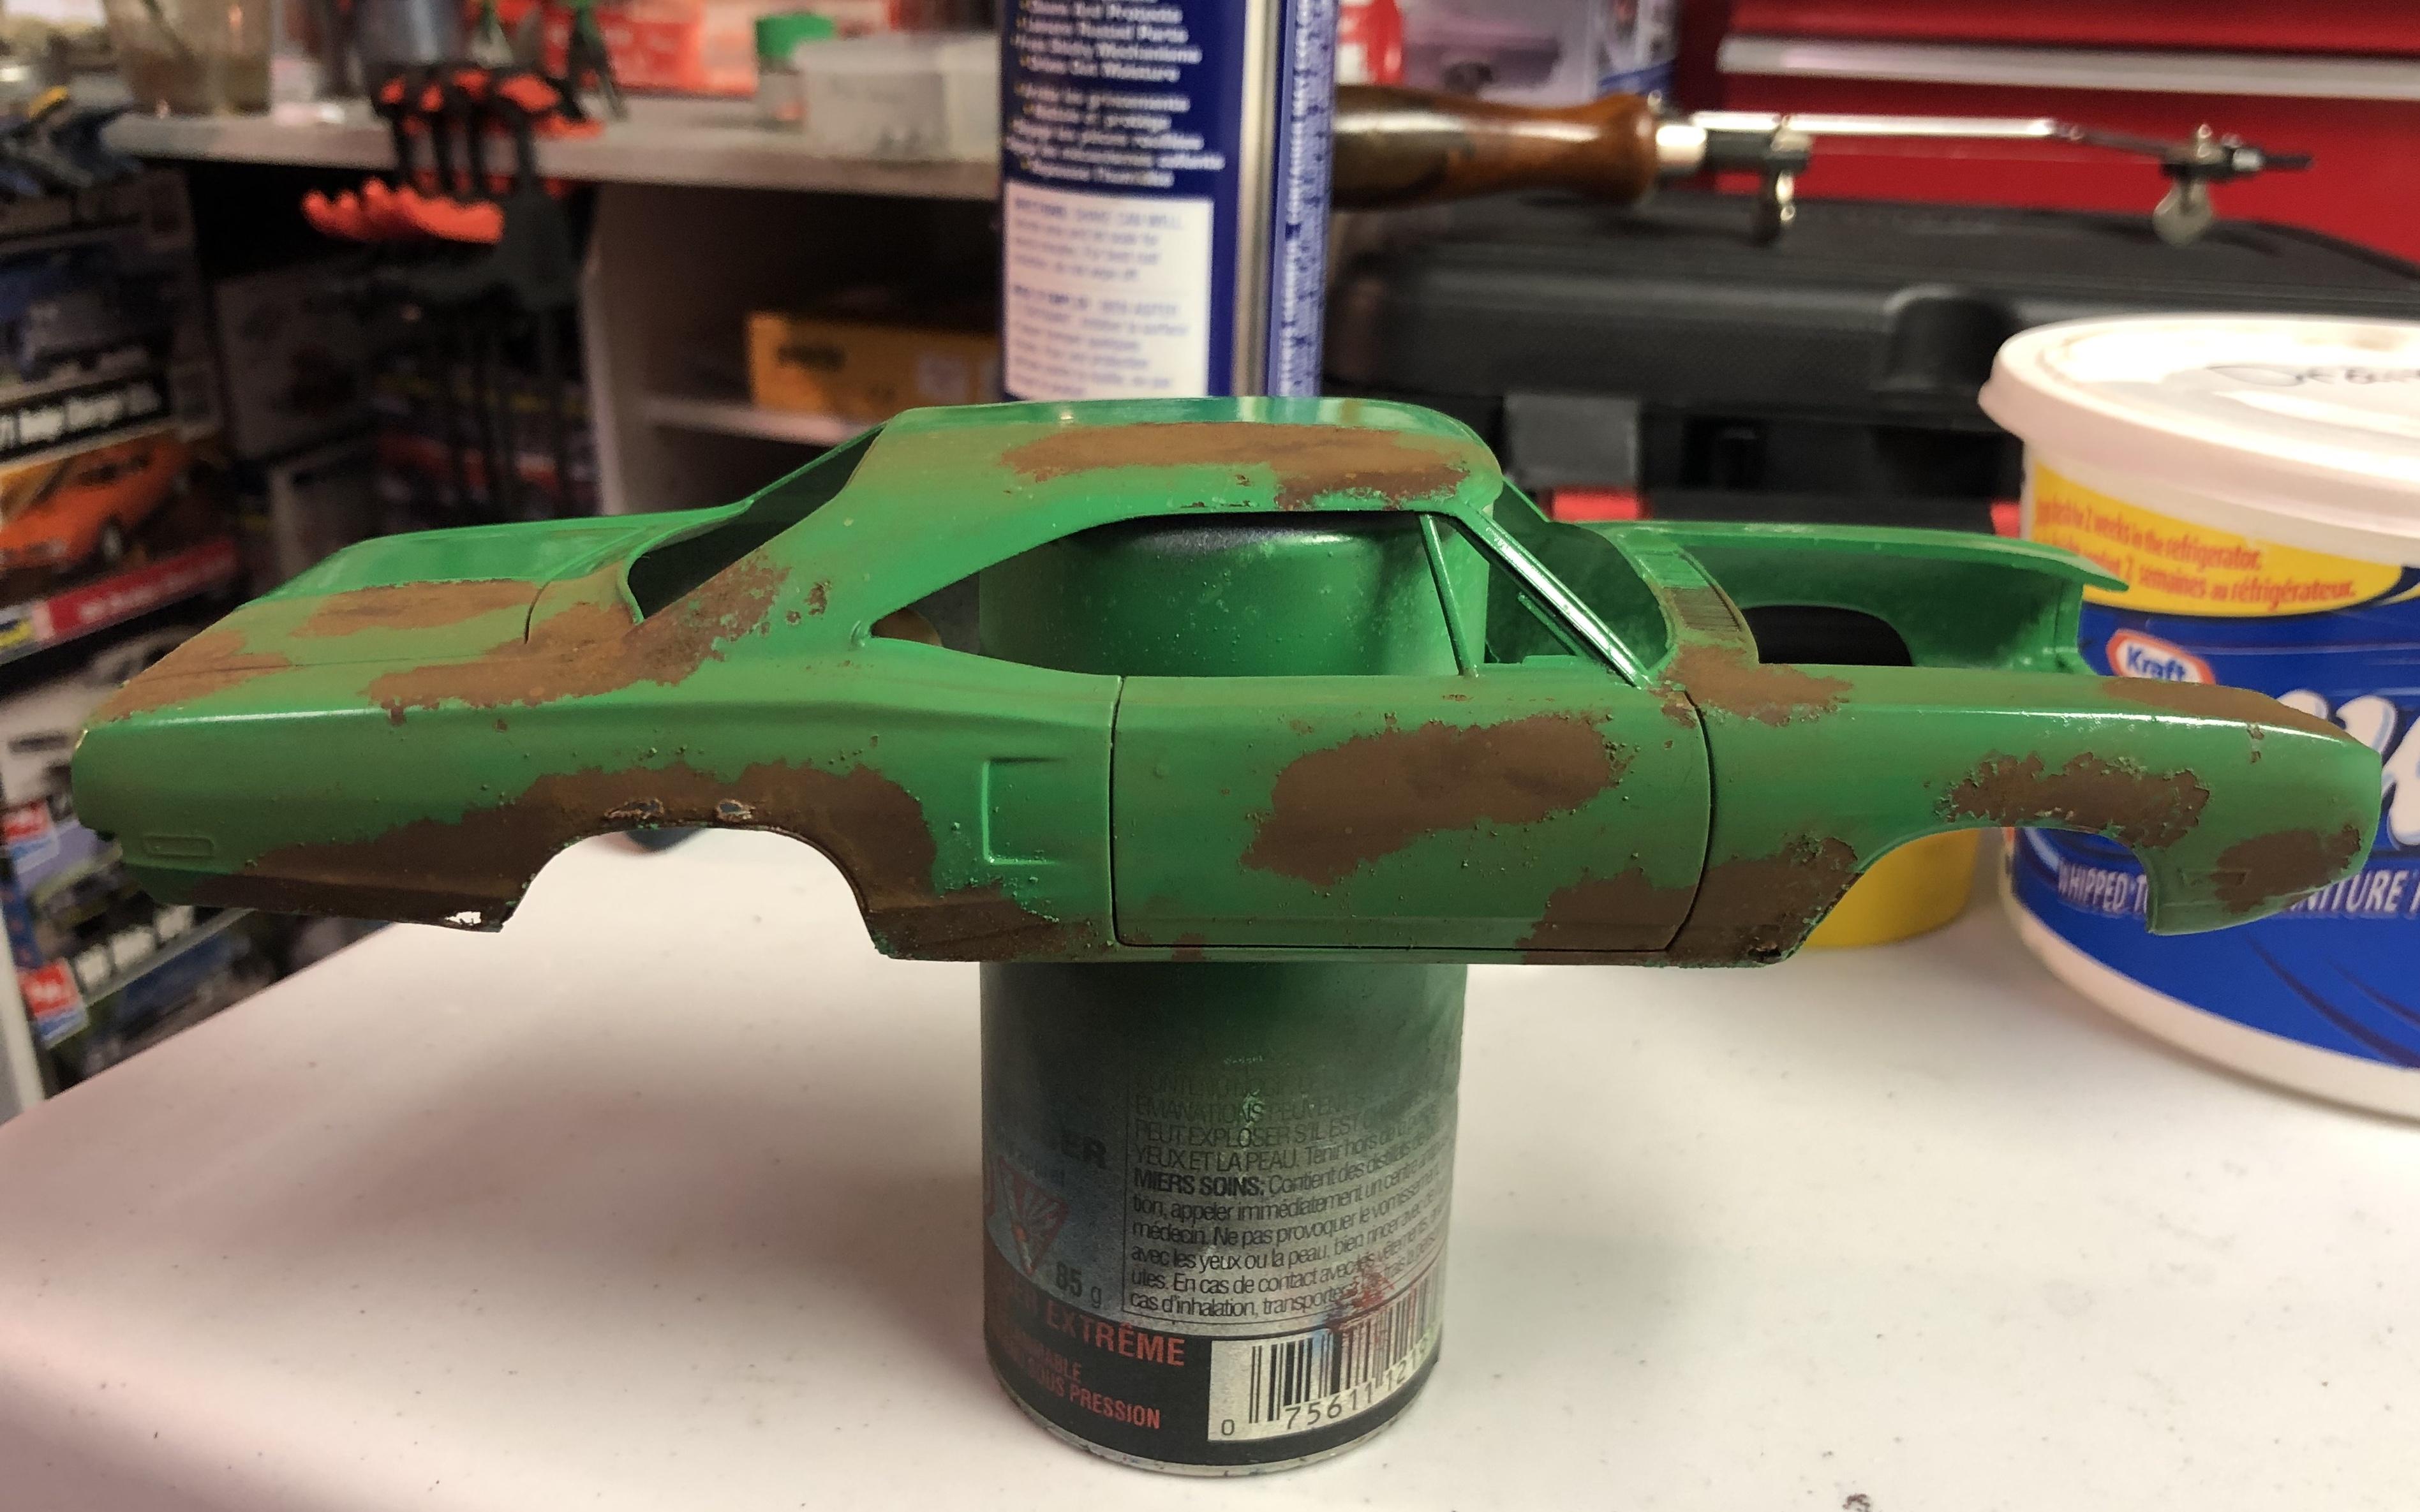
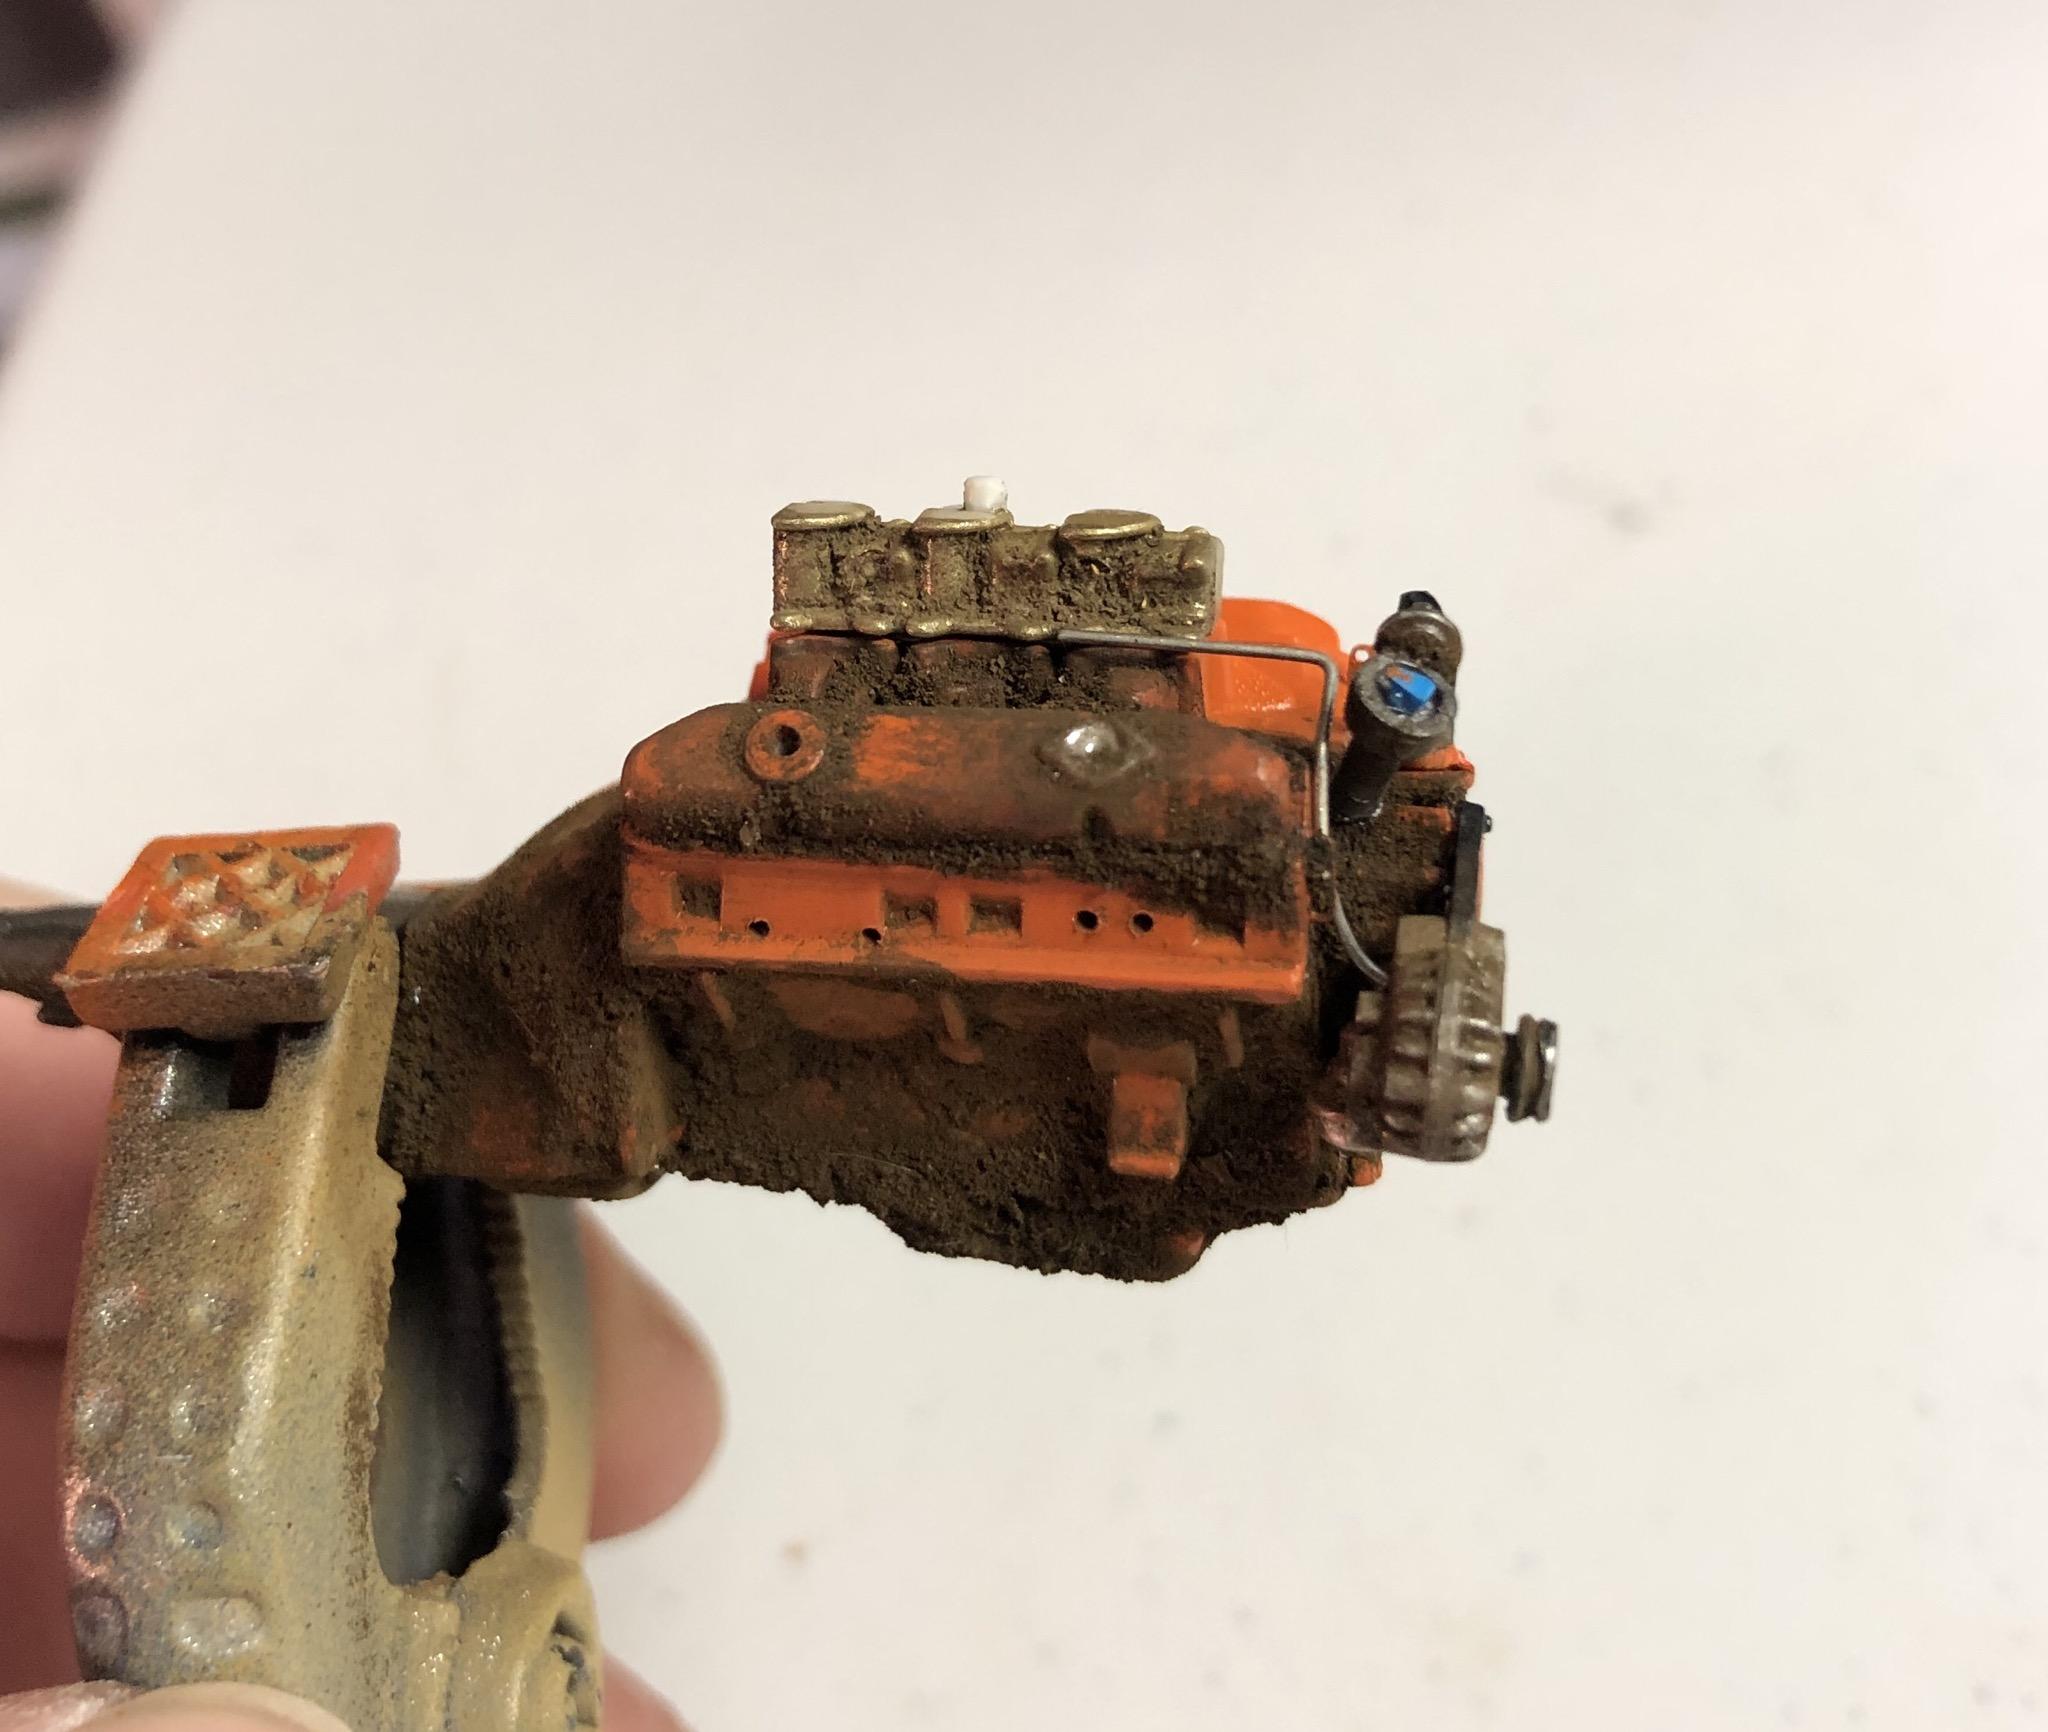
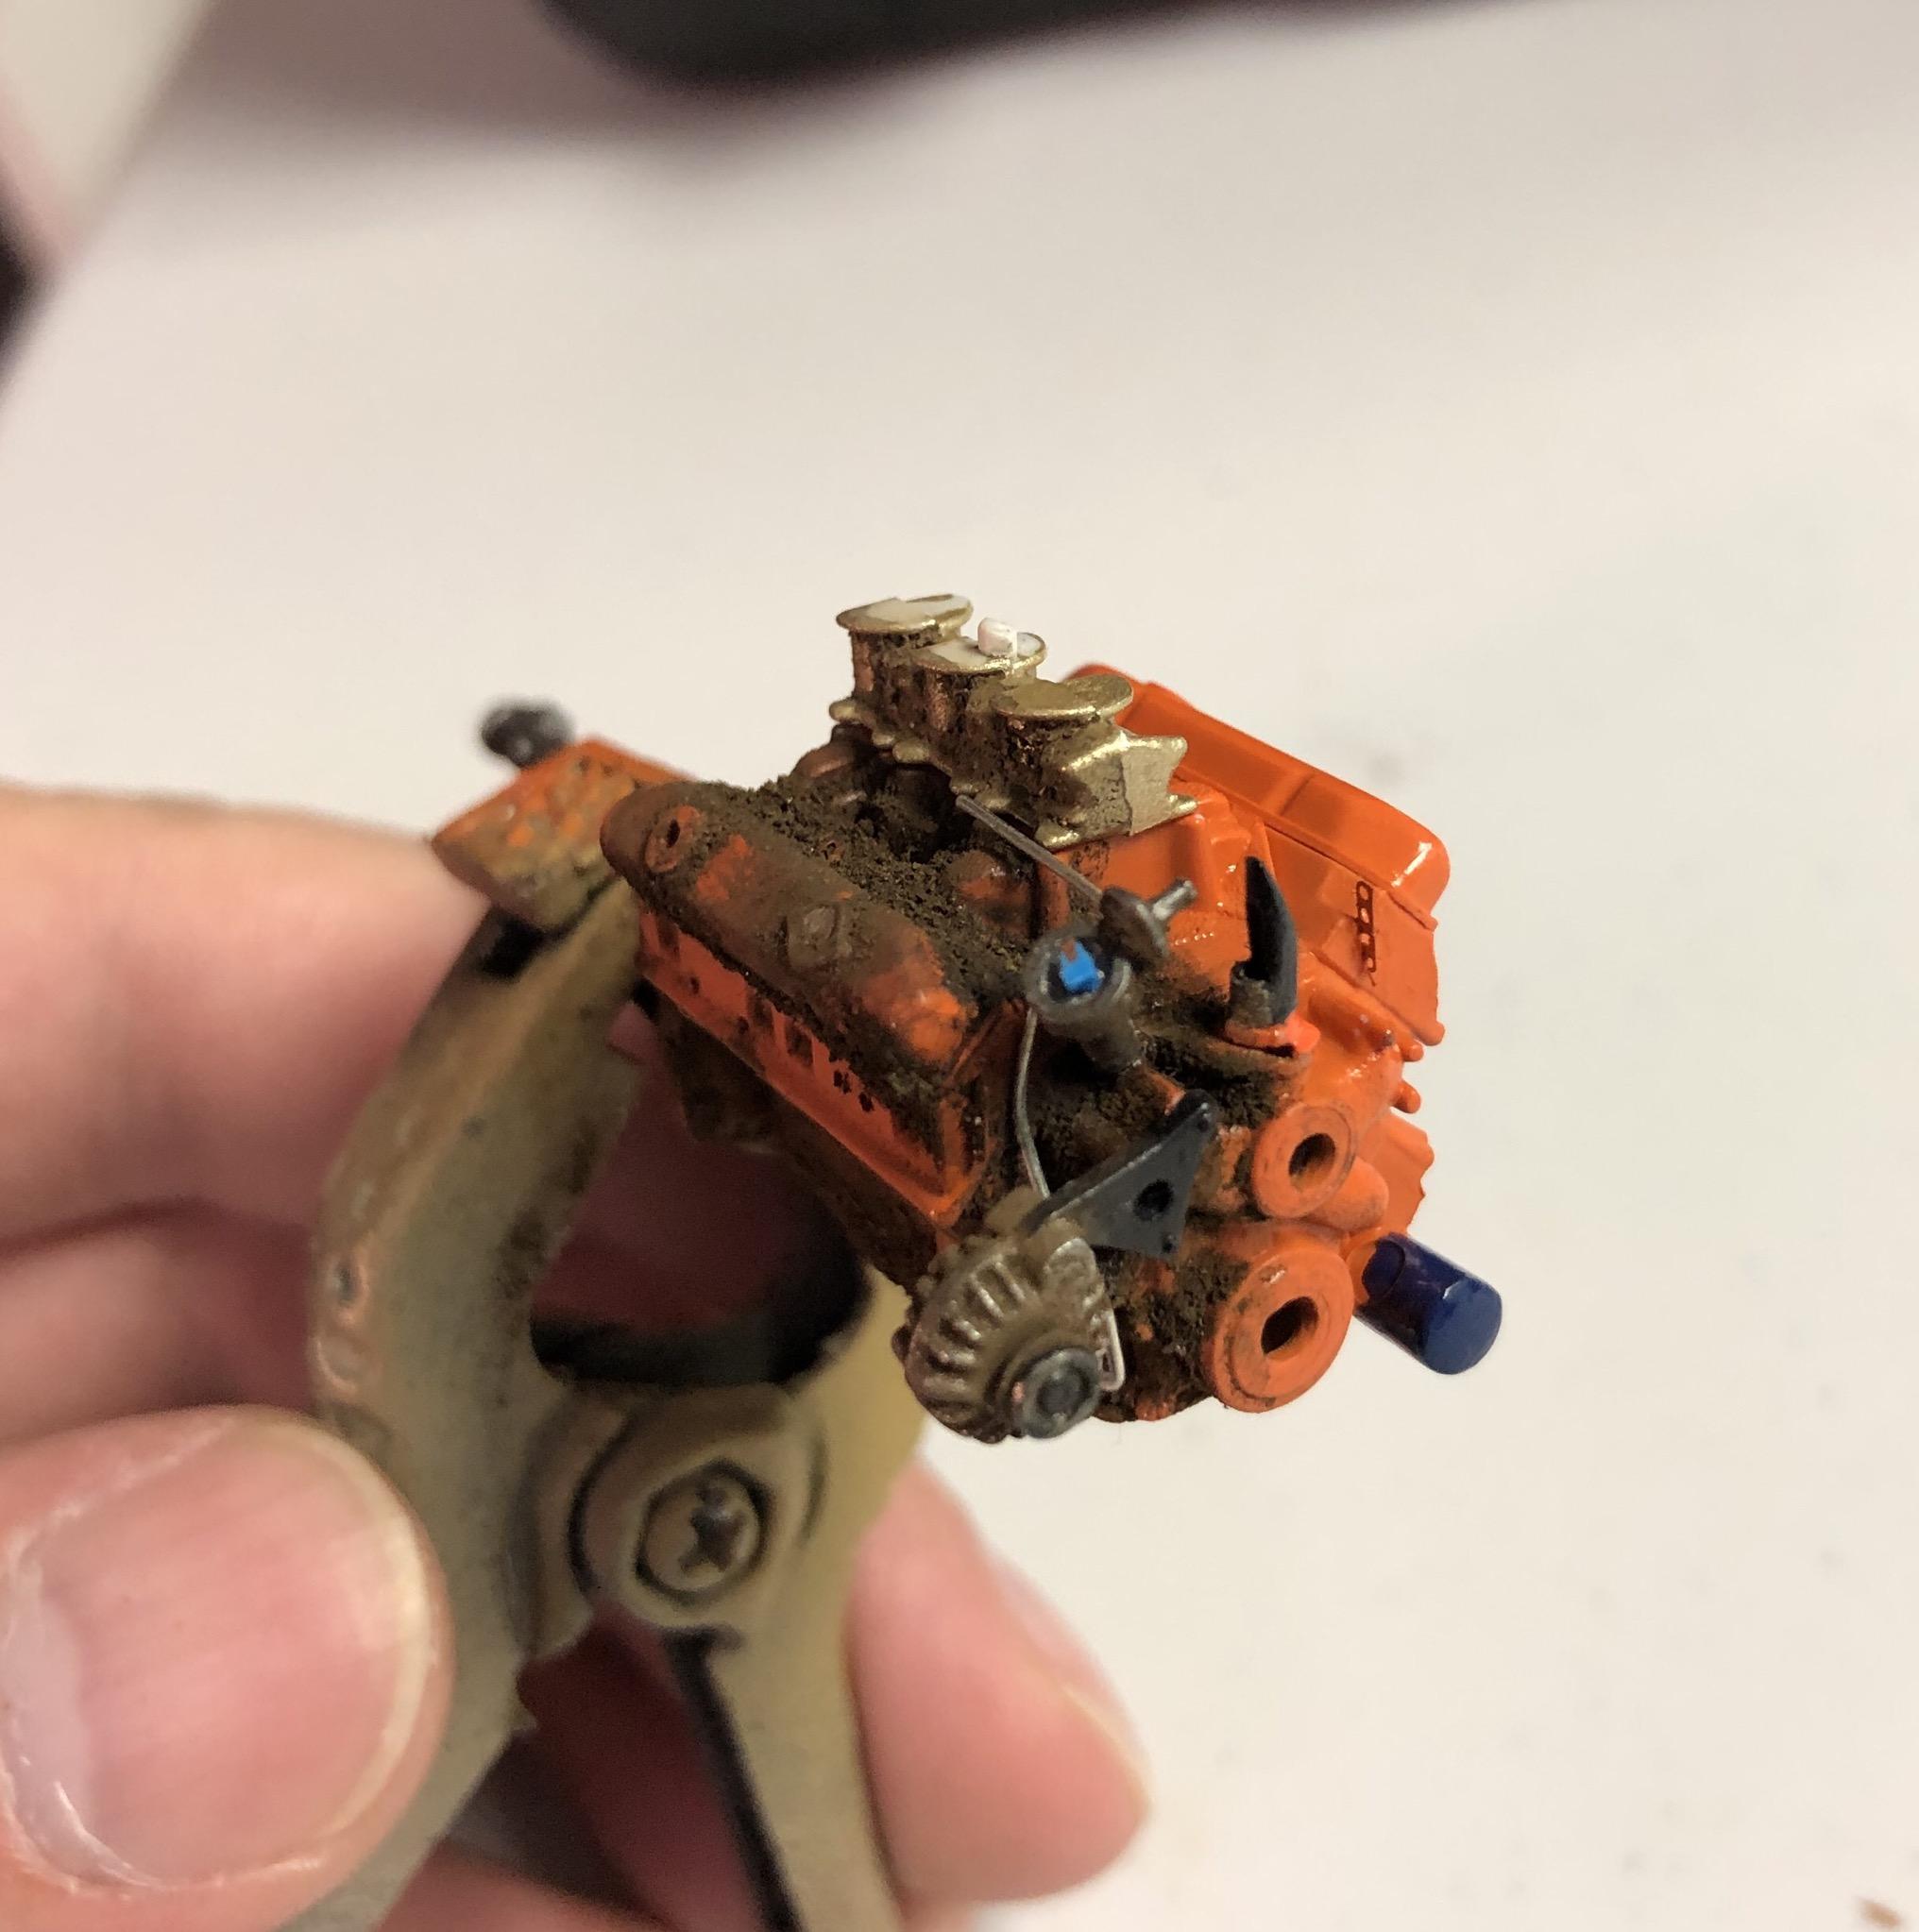
Got some work done on this. Some bits added to the engine, and most of the rust layering on the body. Having fun with this one!
-
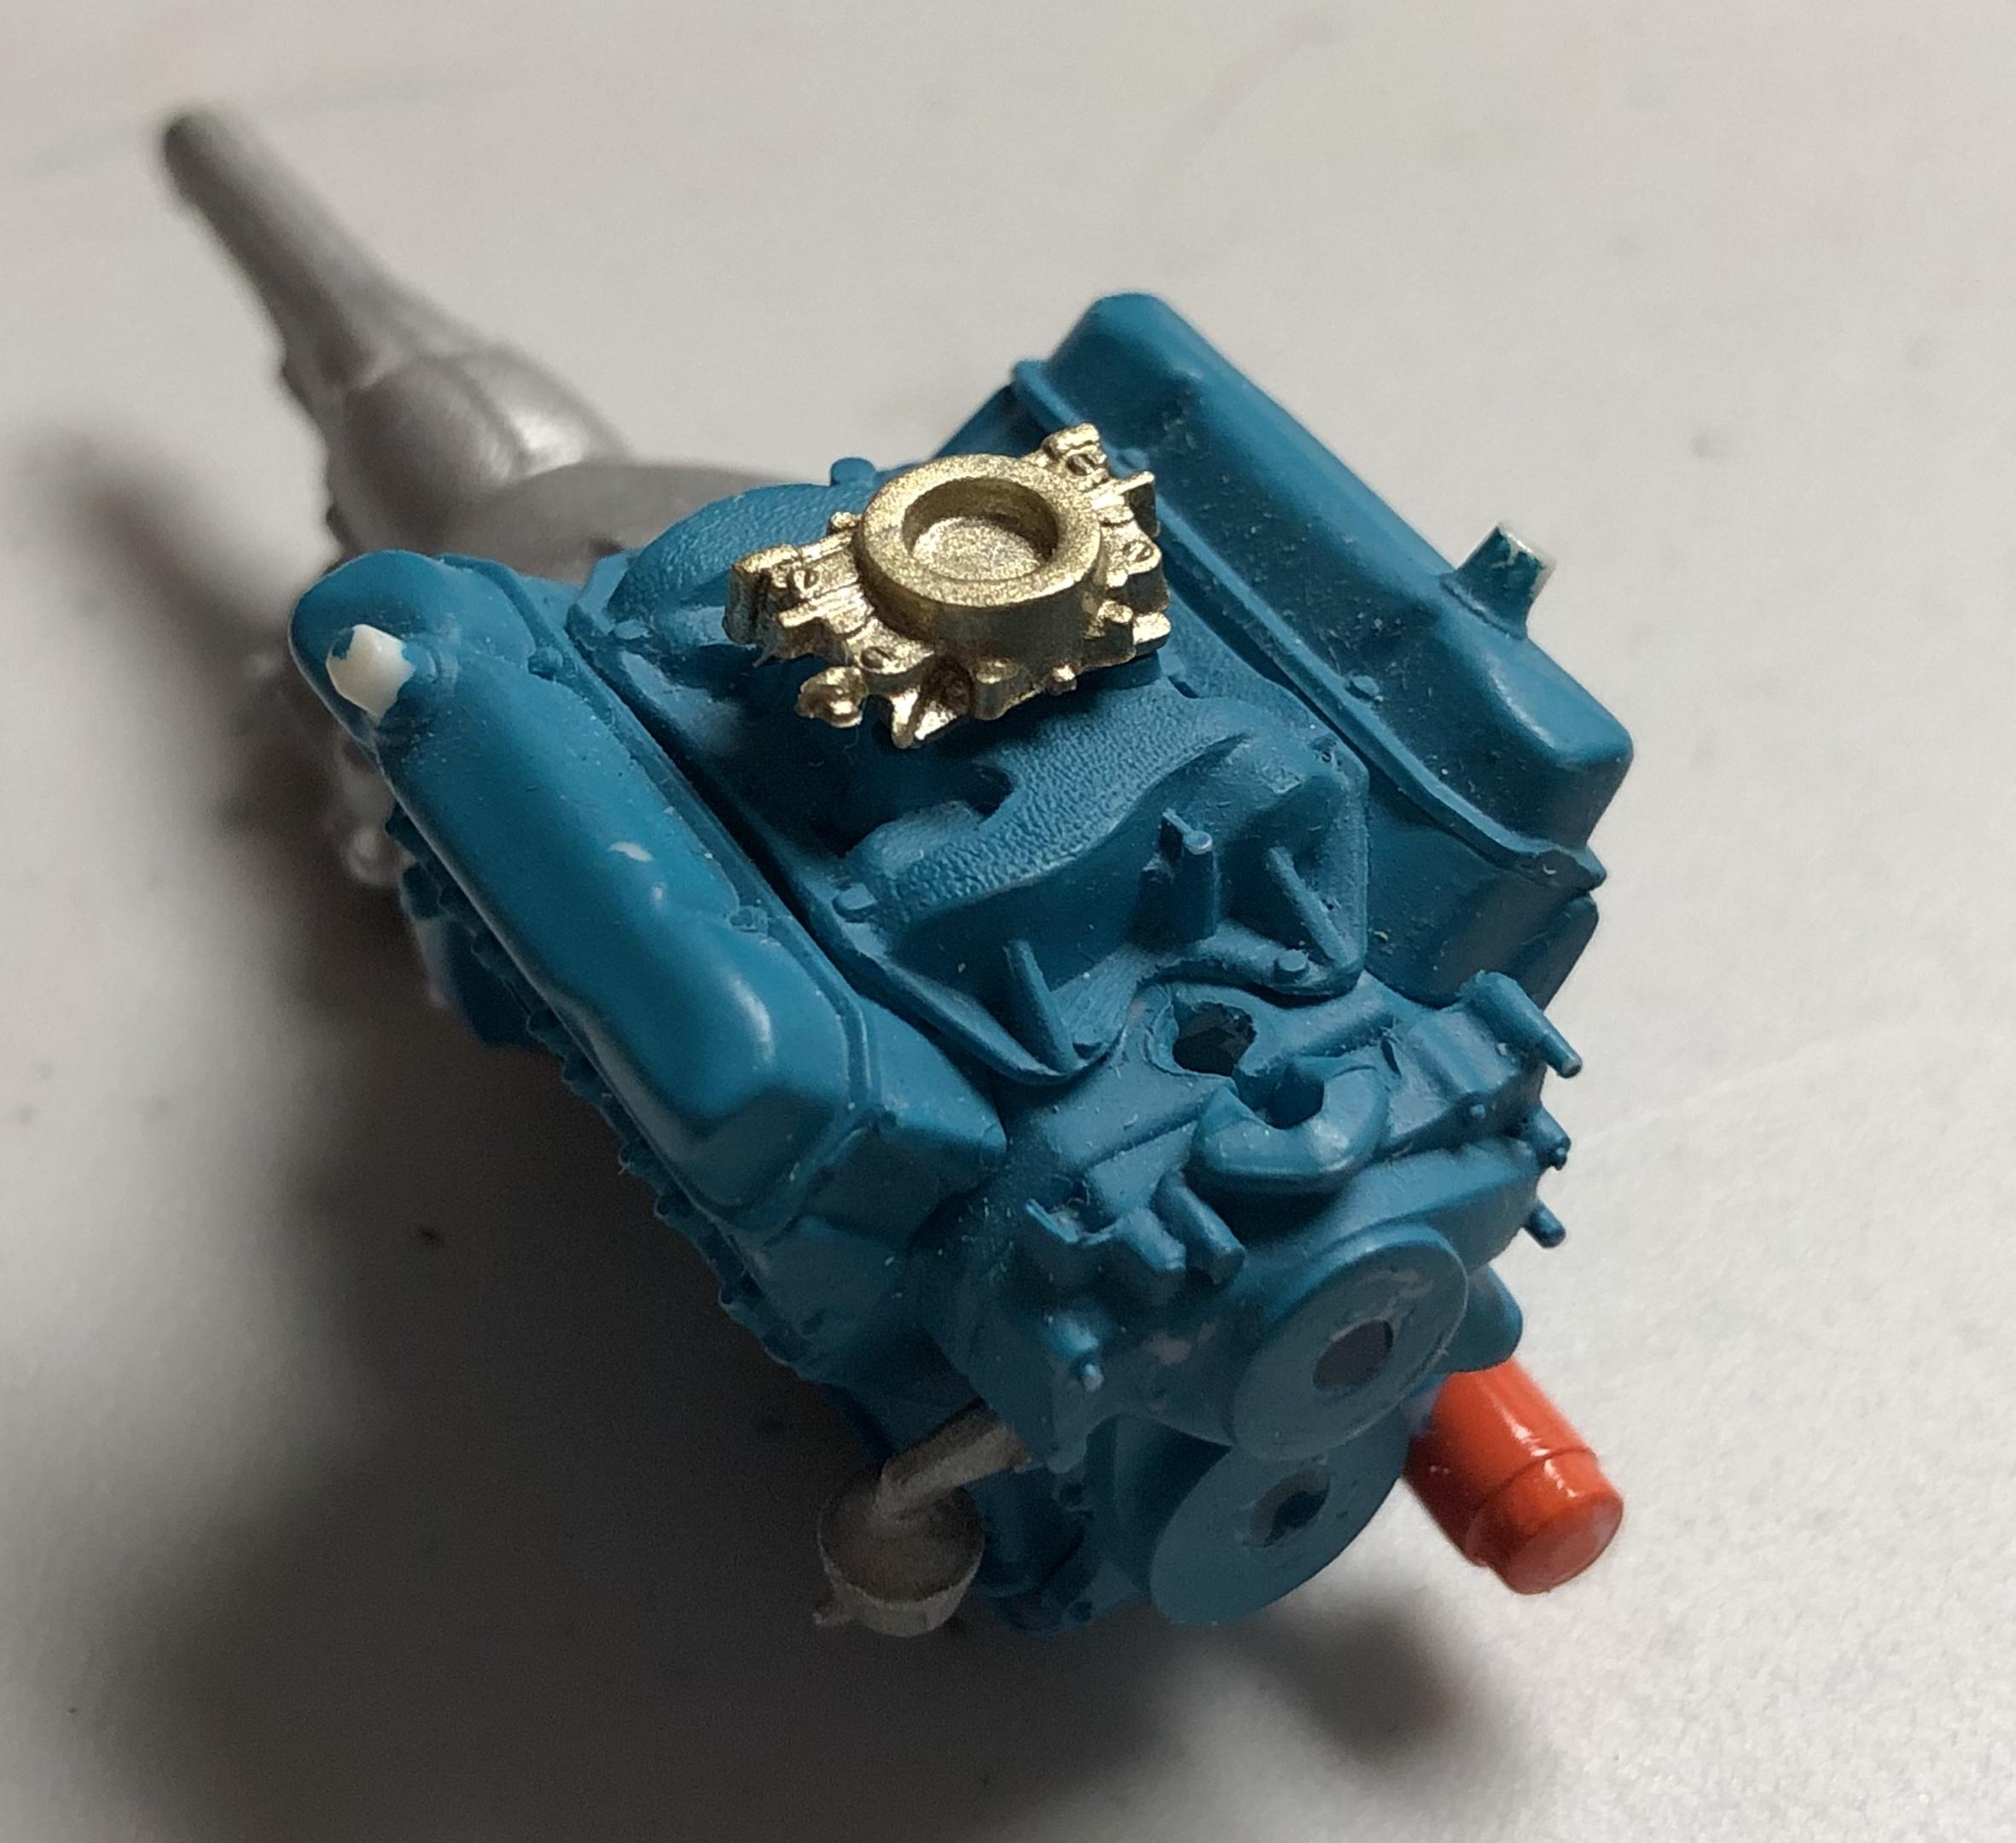
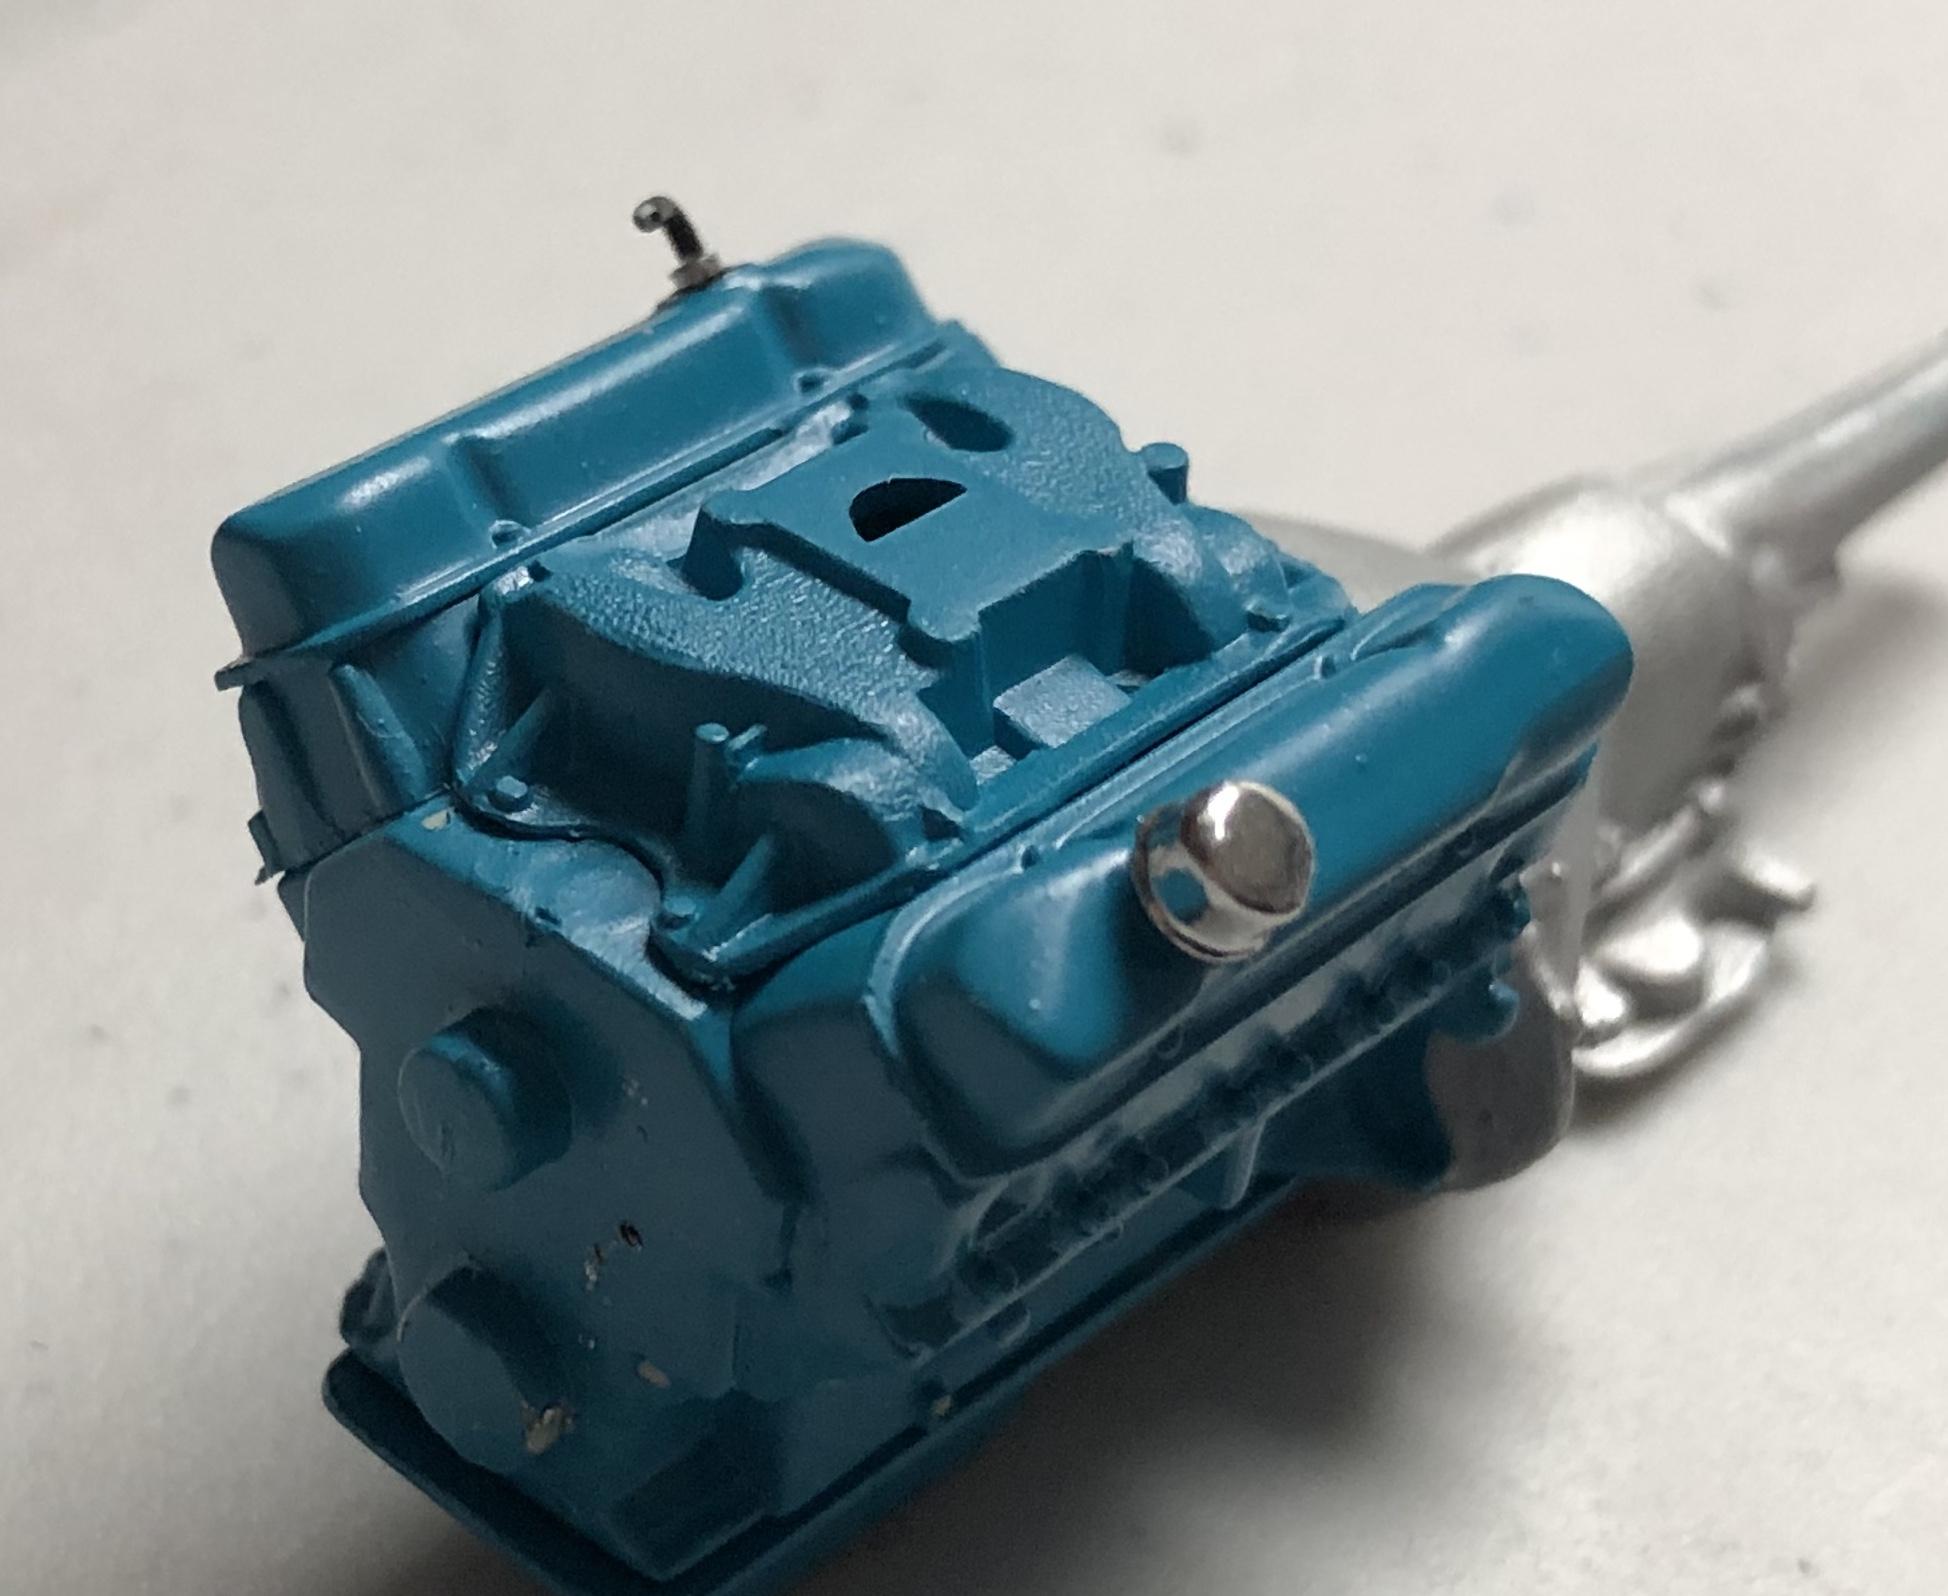
A bit of engine work getting done while I wait for parts for the Super Bee to dry. The valve covers for the 383 were just generic, and didn’t really do it for me. I cut off the breathers, and made a PCV and a much better breather/oil fill cap. The first picture is of a spare 383 I’m building for a Dart (for a comparison), the other two are the Fury’s 383.