customline
-
Posts
3,791 -
Joined
-
Last visited
Content Type
Profiles
Forums
Events
Gallery
Everything posted by customline
-
If I paid full price for this kit I might have some very minor complaints but the paint cost me more than this kit did. A 3 oz. can of Tamiya clear gloss cost me $9.25, The red was $7.75. Primer runs around $12.00. $13 for the kit is a fantastic bargain. I know, you don't have Ollie's. It's a decent kit, Greg. There's some tedious scraping and sanding of the gluing surfaces of all that chrome but it's worth the trouble. The motorcycle fenders are a cool element that doesn't show up very often in kits. I dunno, Greg, I like it and I may try to grab one today (I need more coffee 😏).
-
Thanks, Bob, it's a good color for this subject. I'm tempted to use the flame decals. WDYT?
-
Pardon me.
-
Thanks, Sonny, and yes the grille is kit and is a fairly decent representation.
-
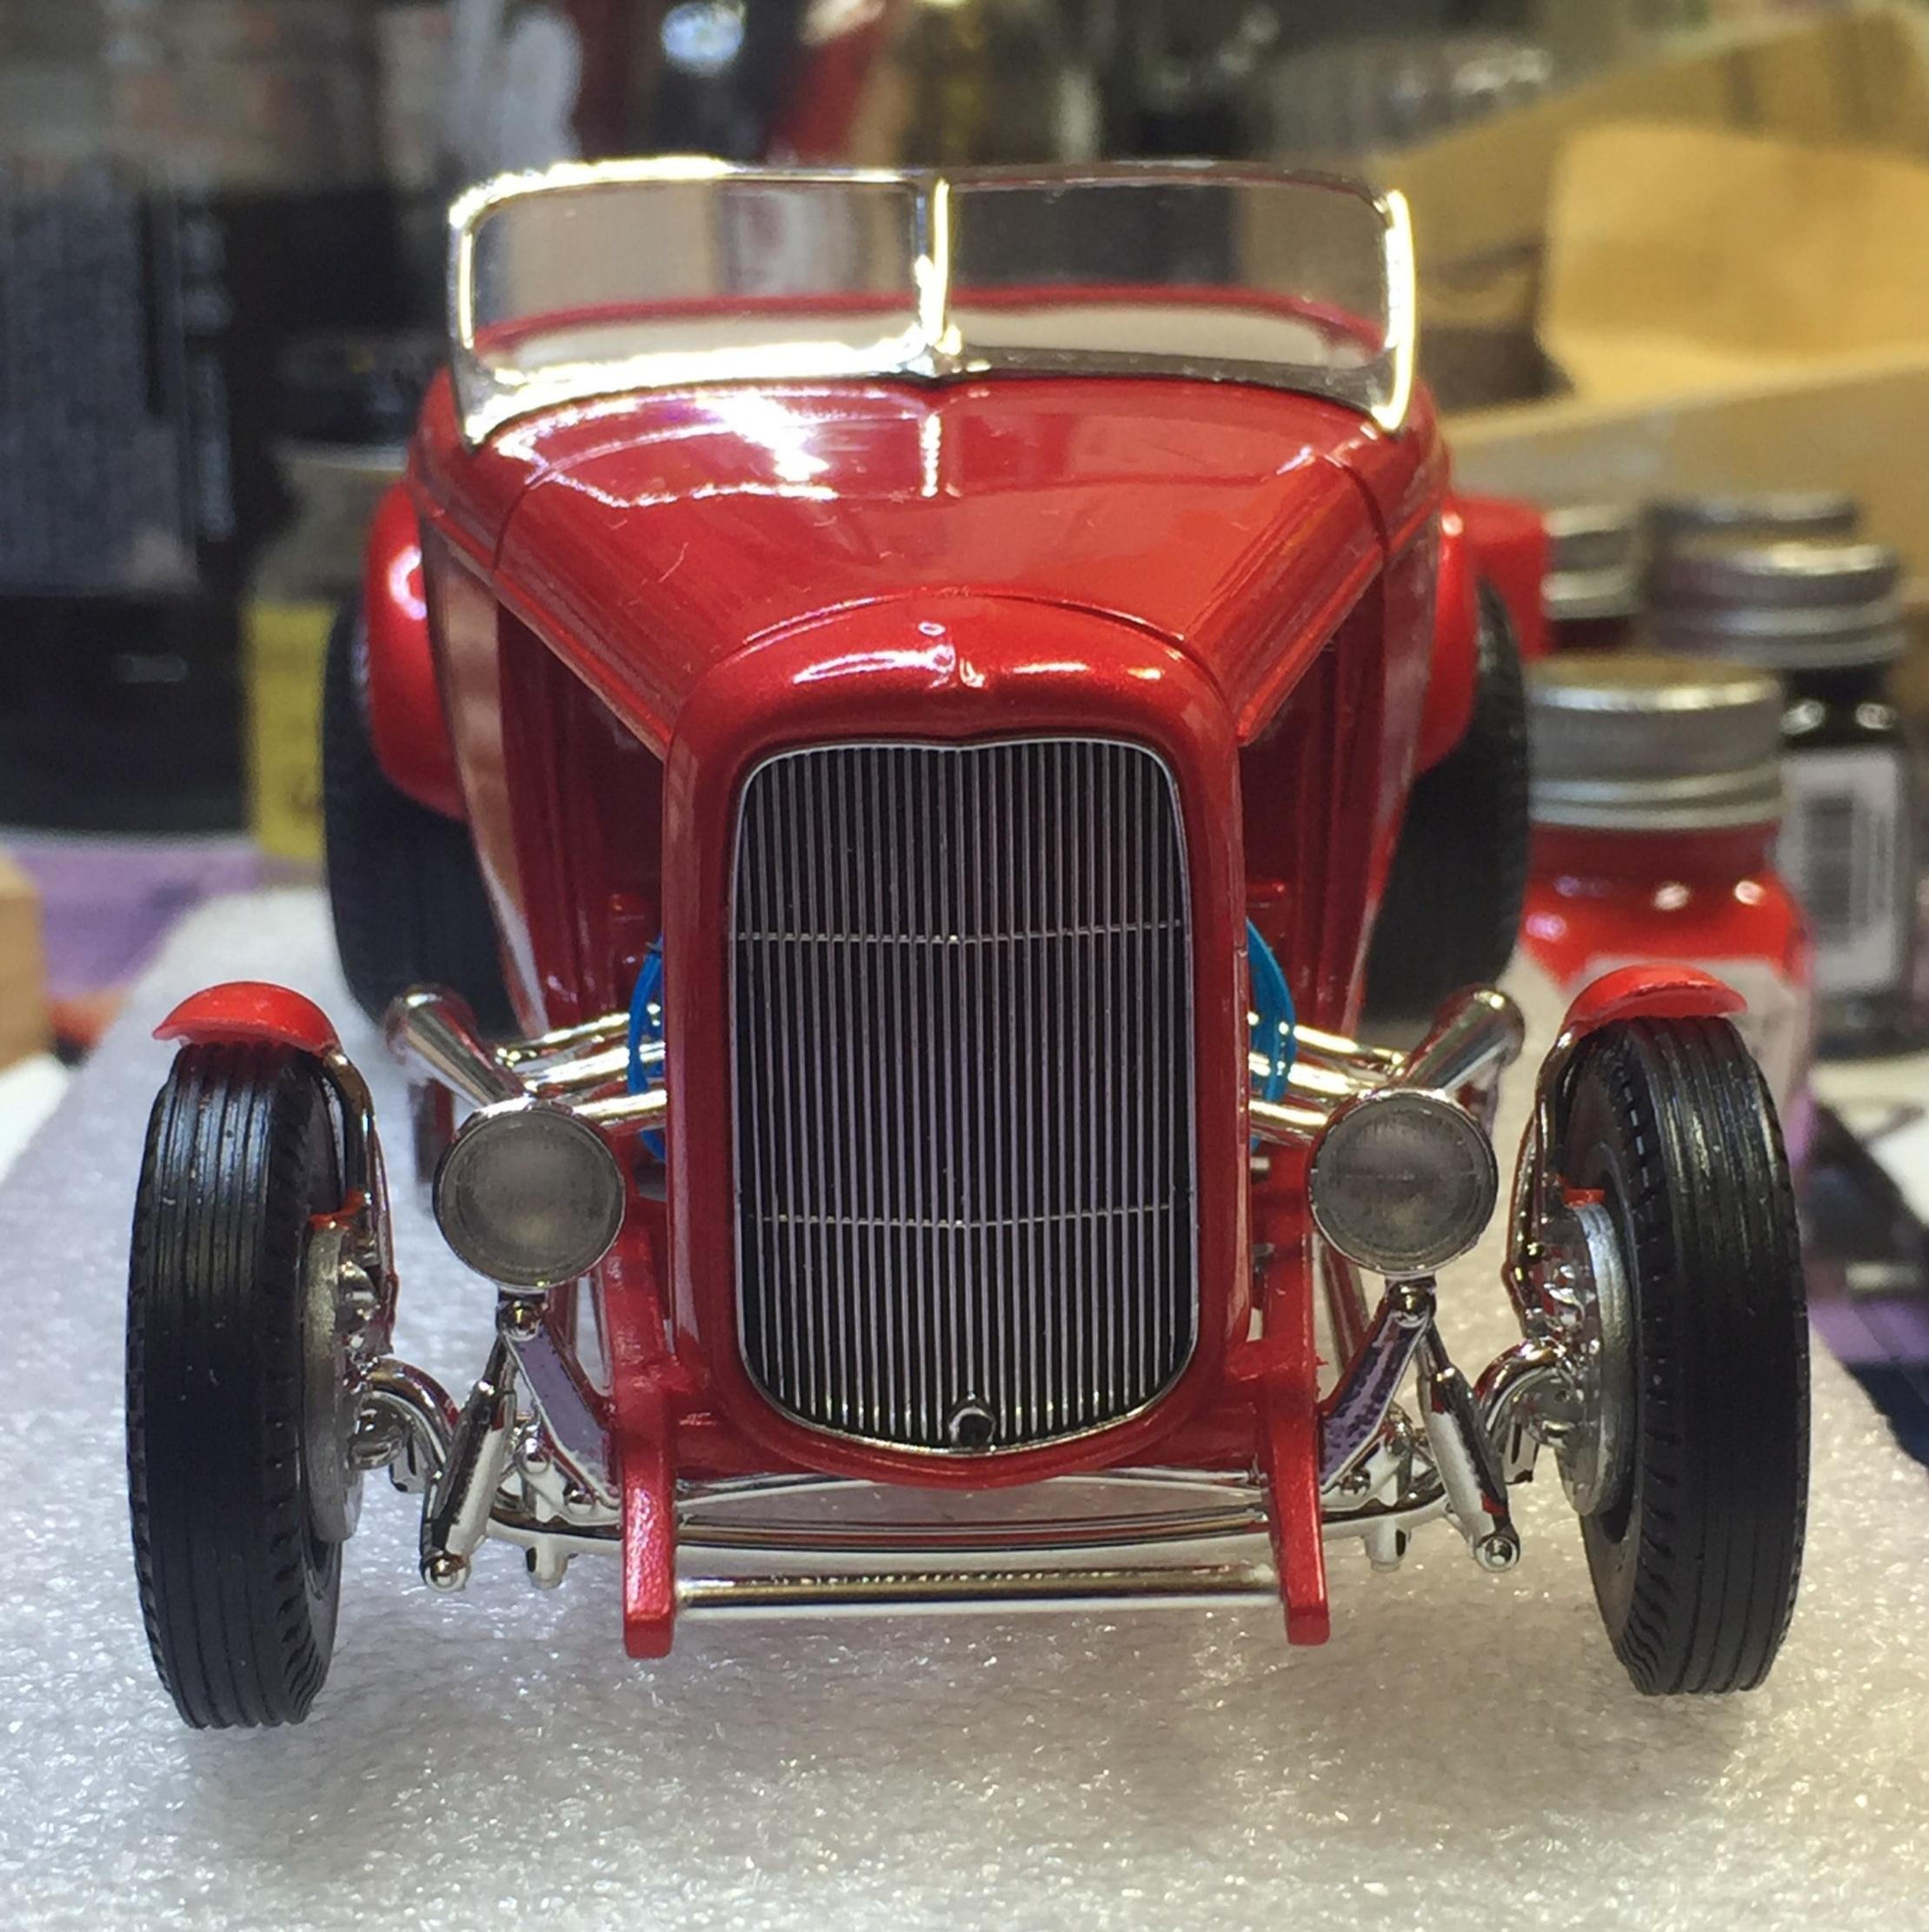
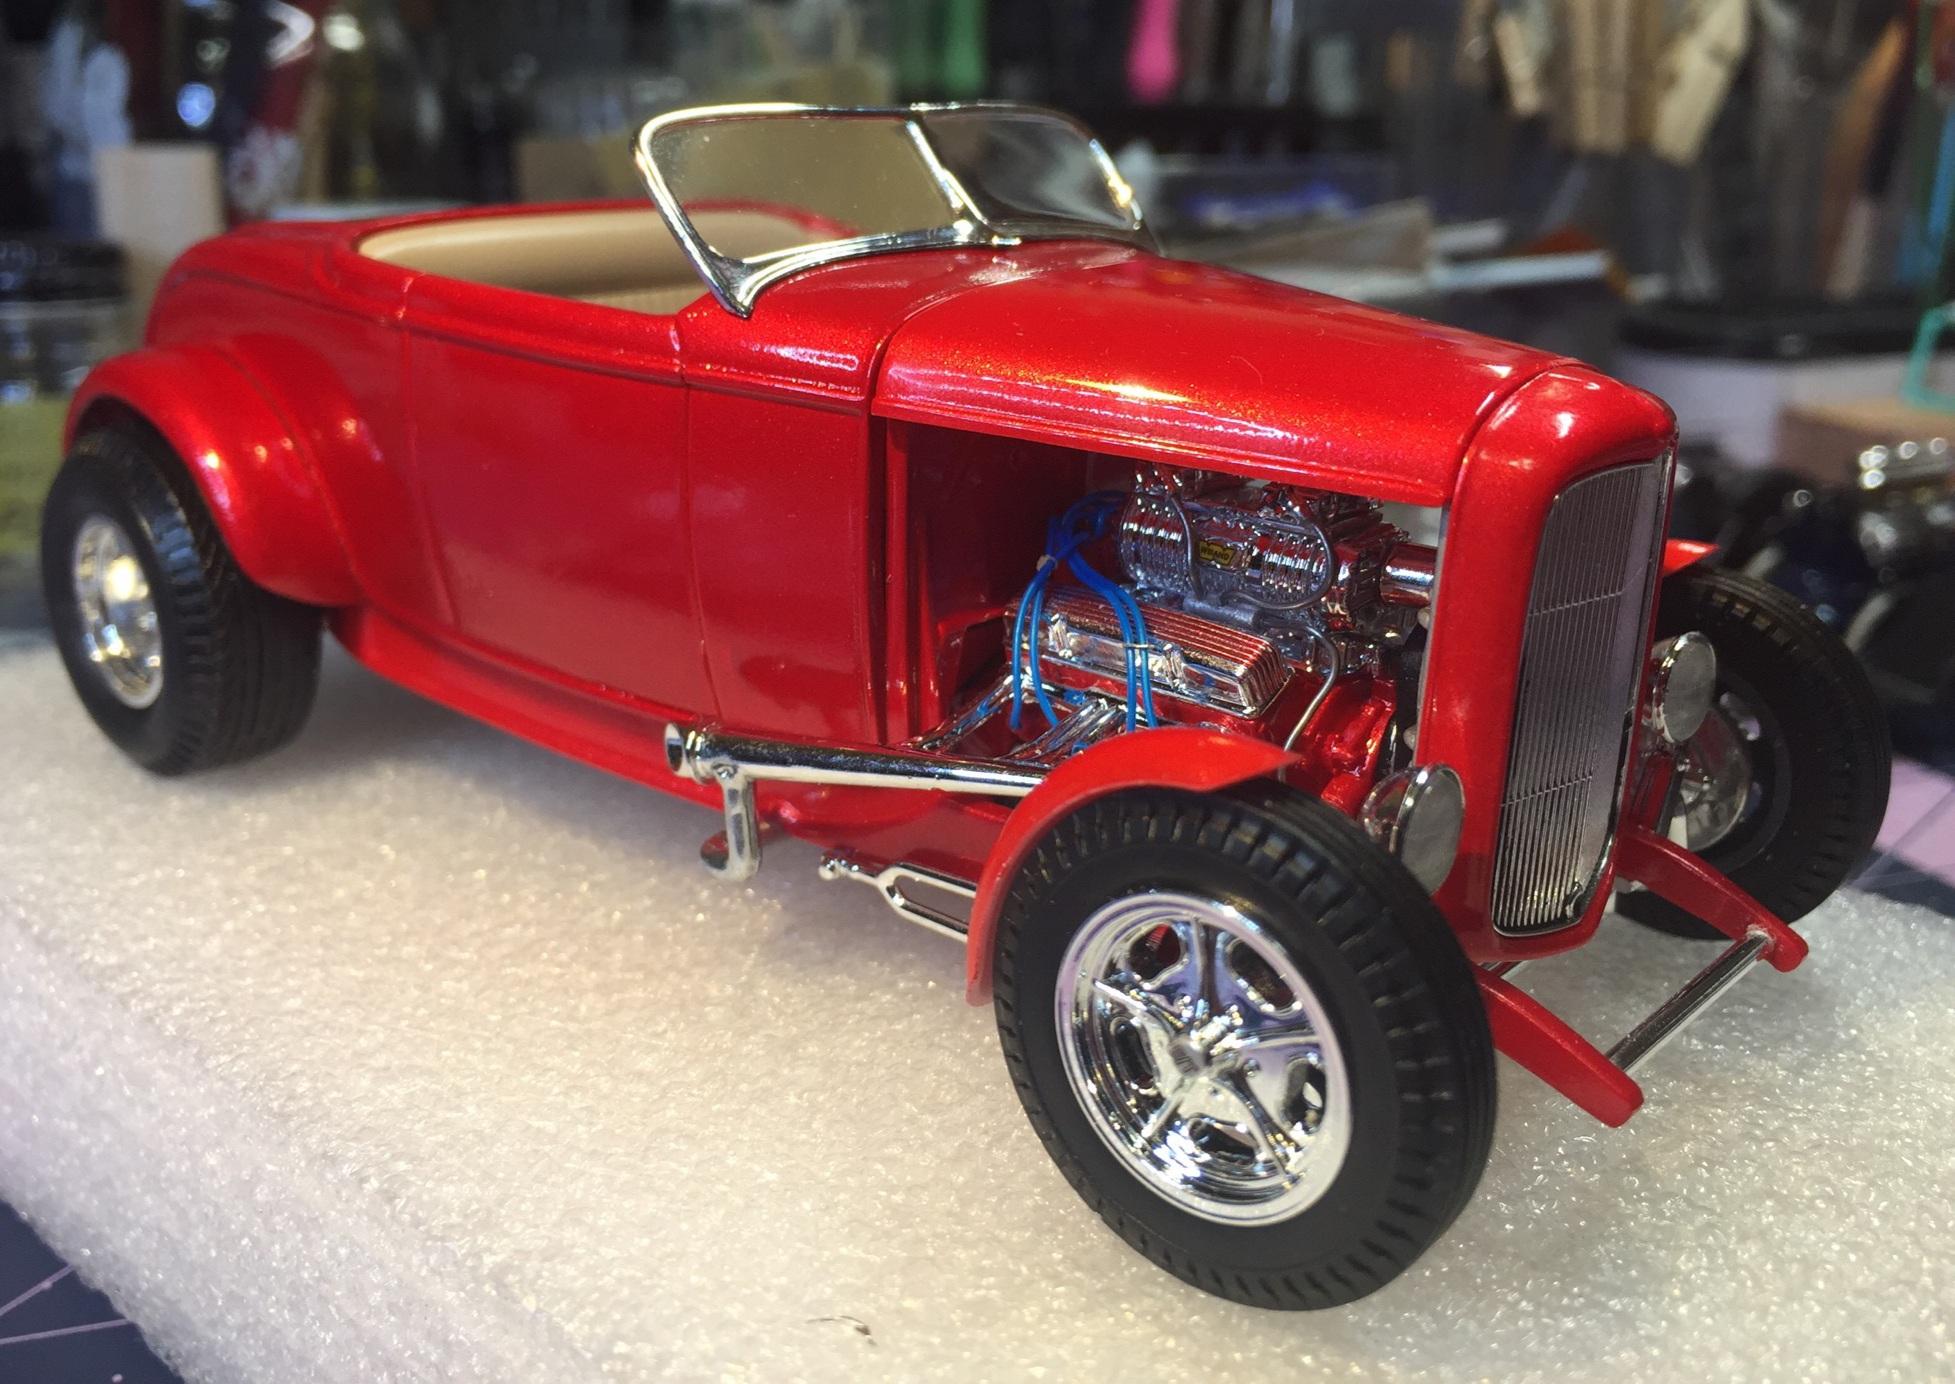
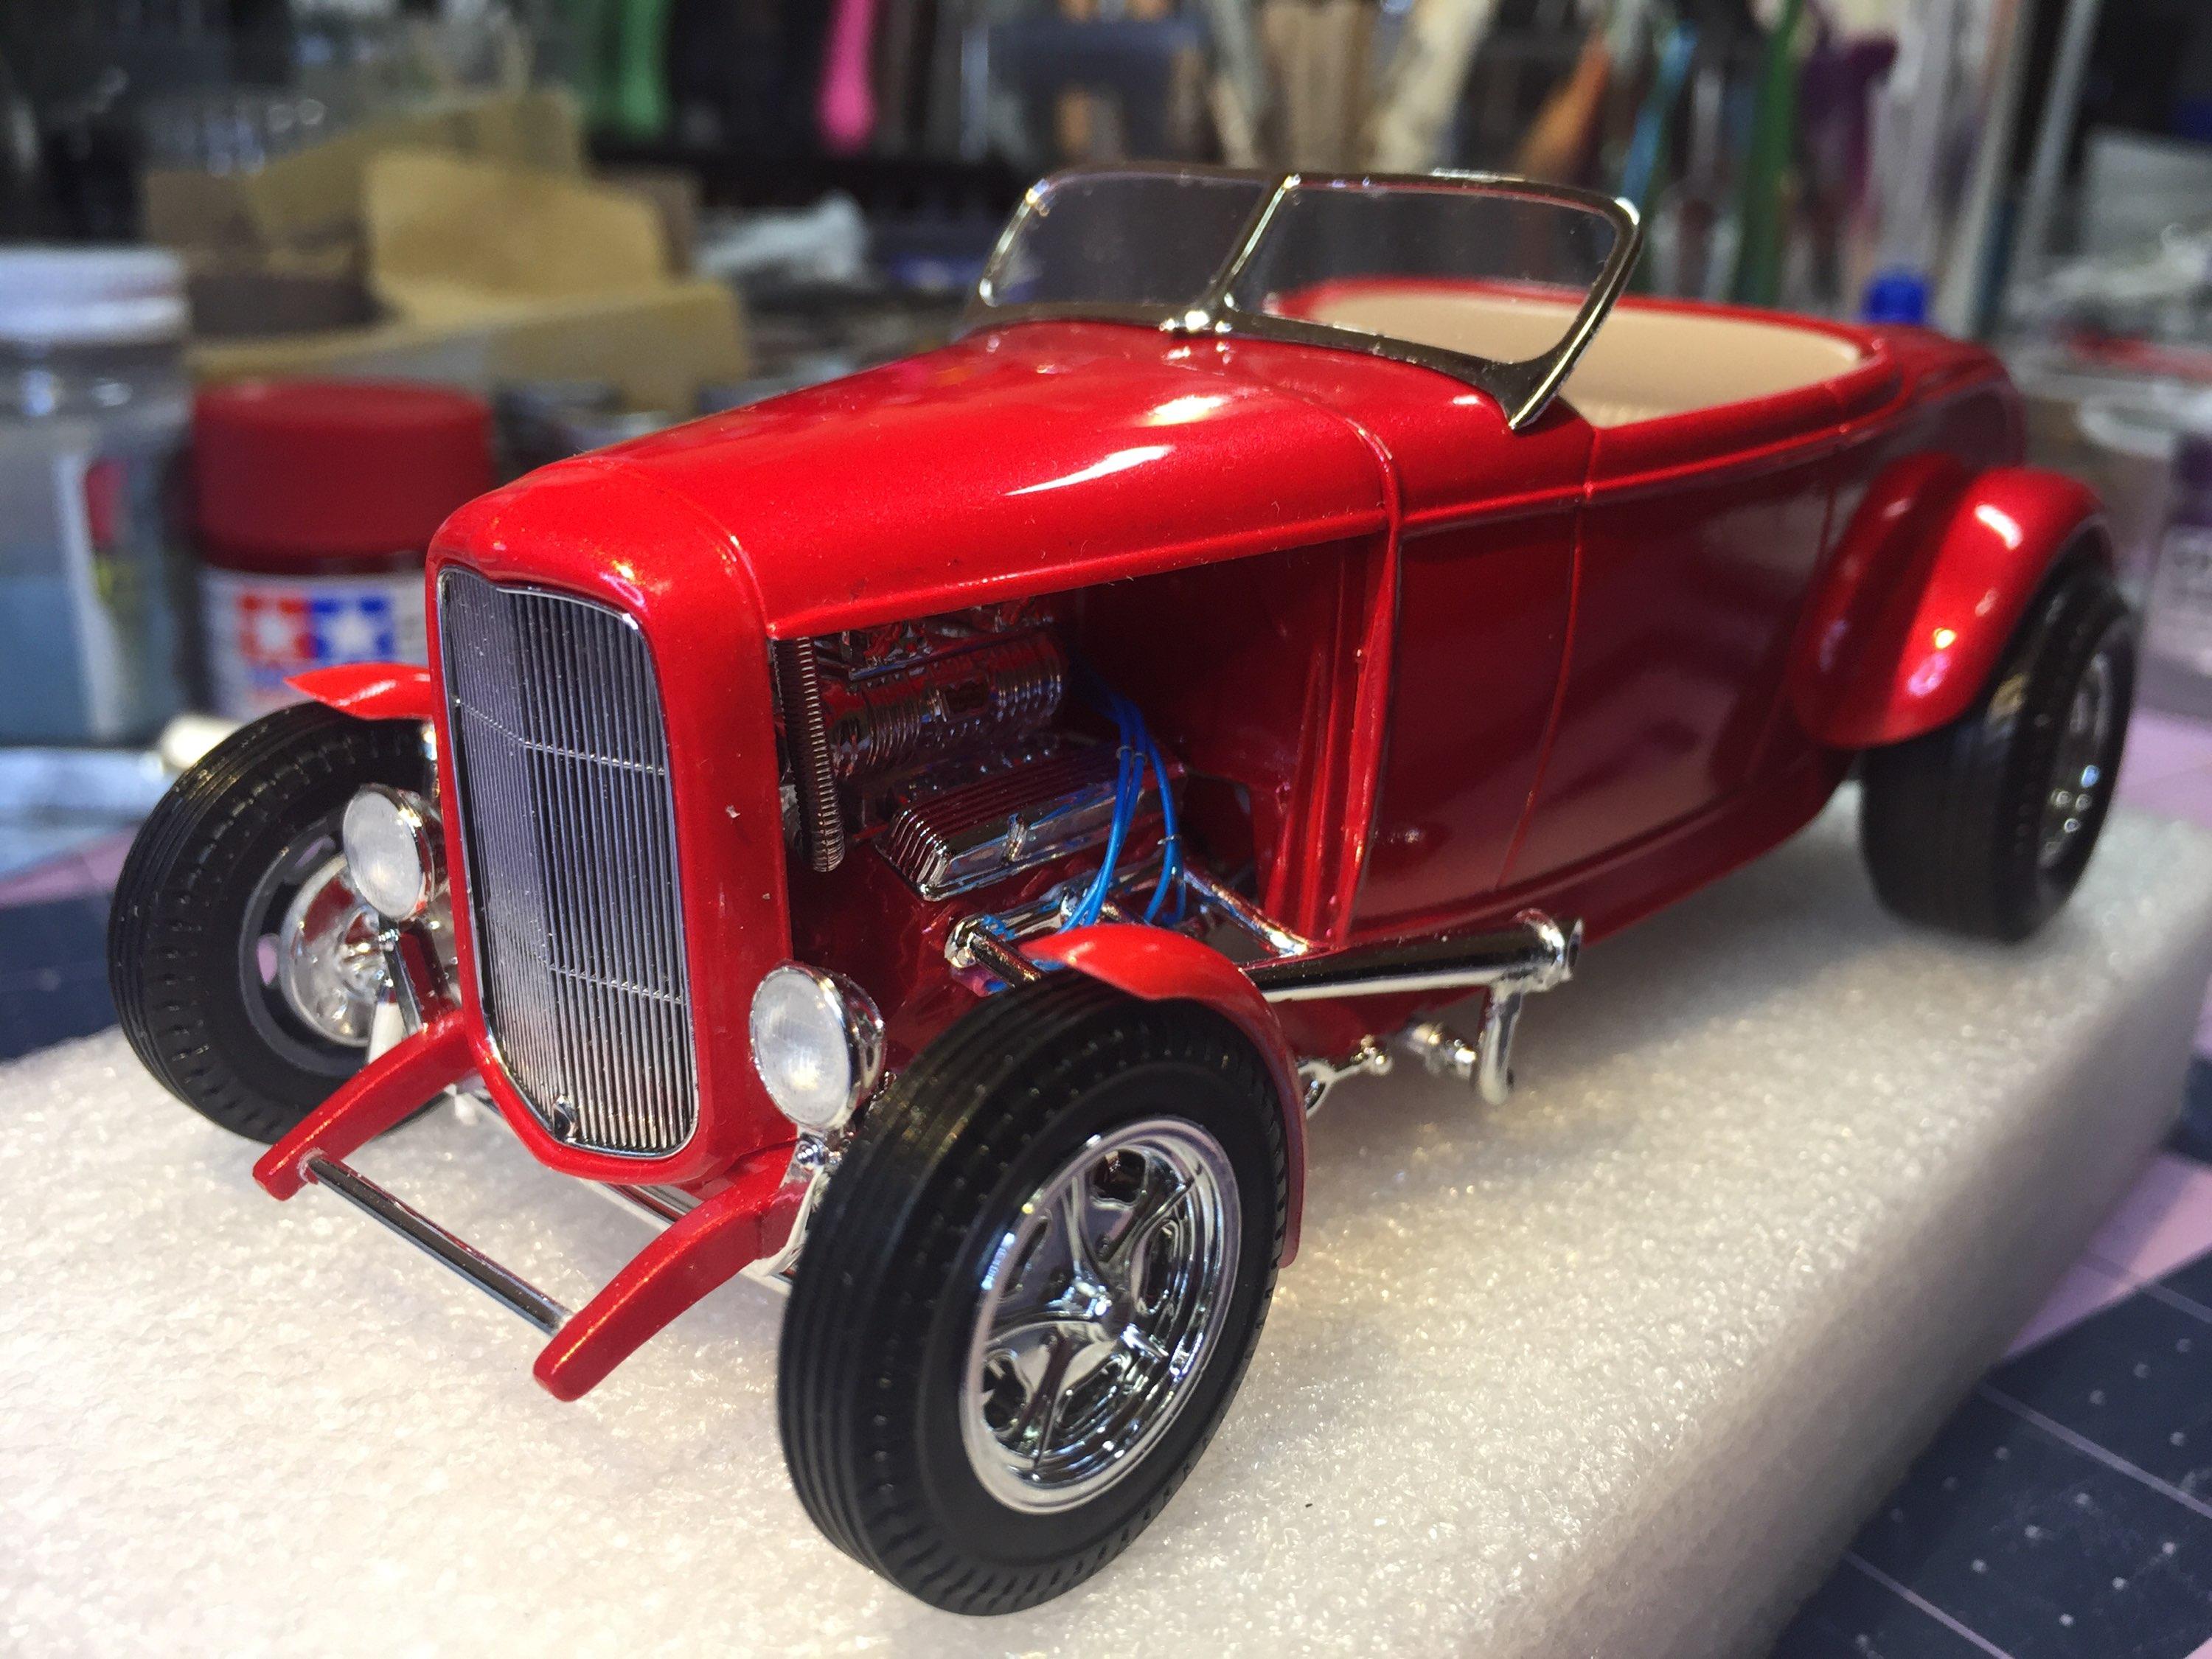
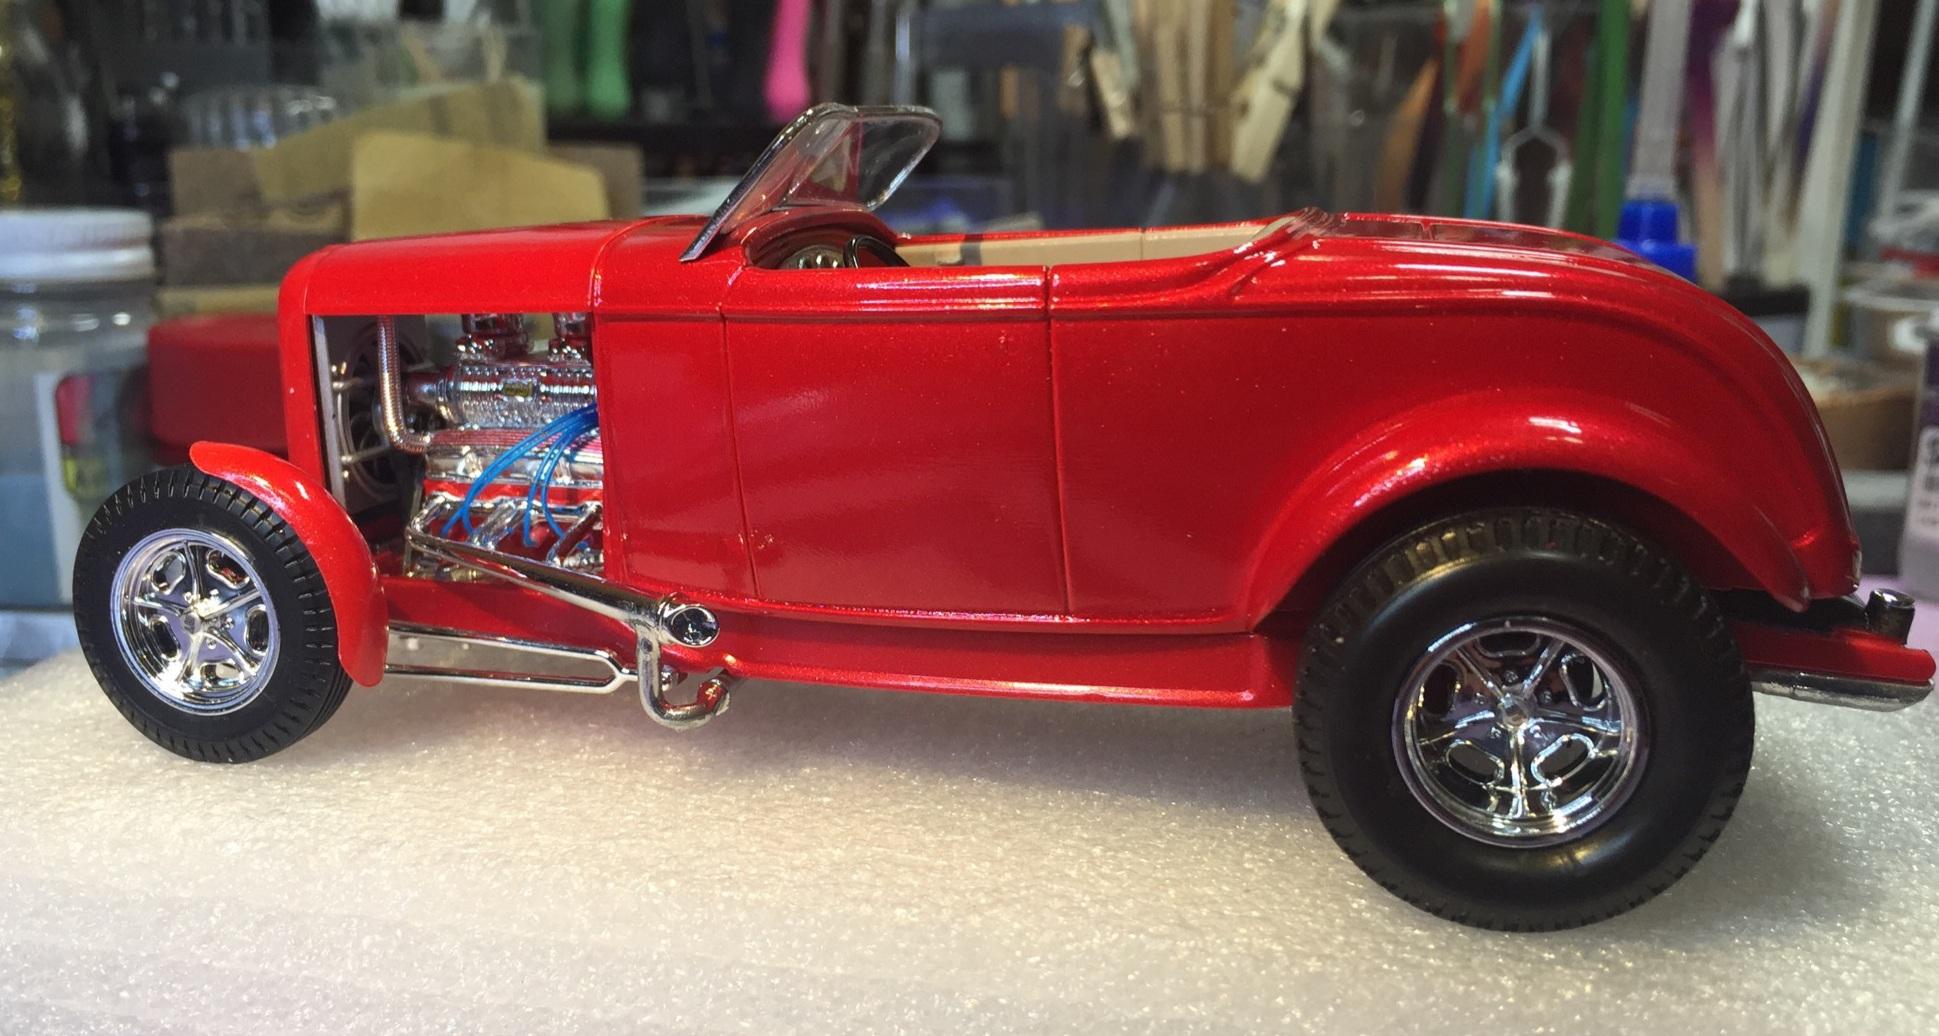
For the mock-up junkies 🙂👇

- 148 replies
-
- 12
-

-

Lindberg's '53 Ford - following the instructions
customline replied to customline's topic in WIP: Model Cars
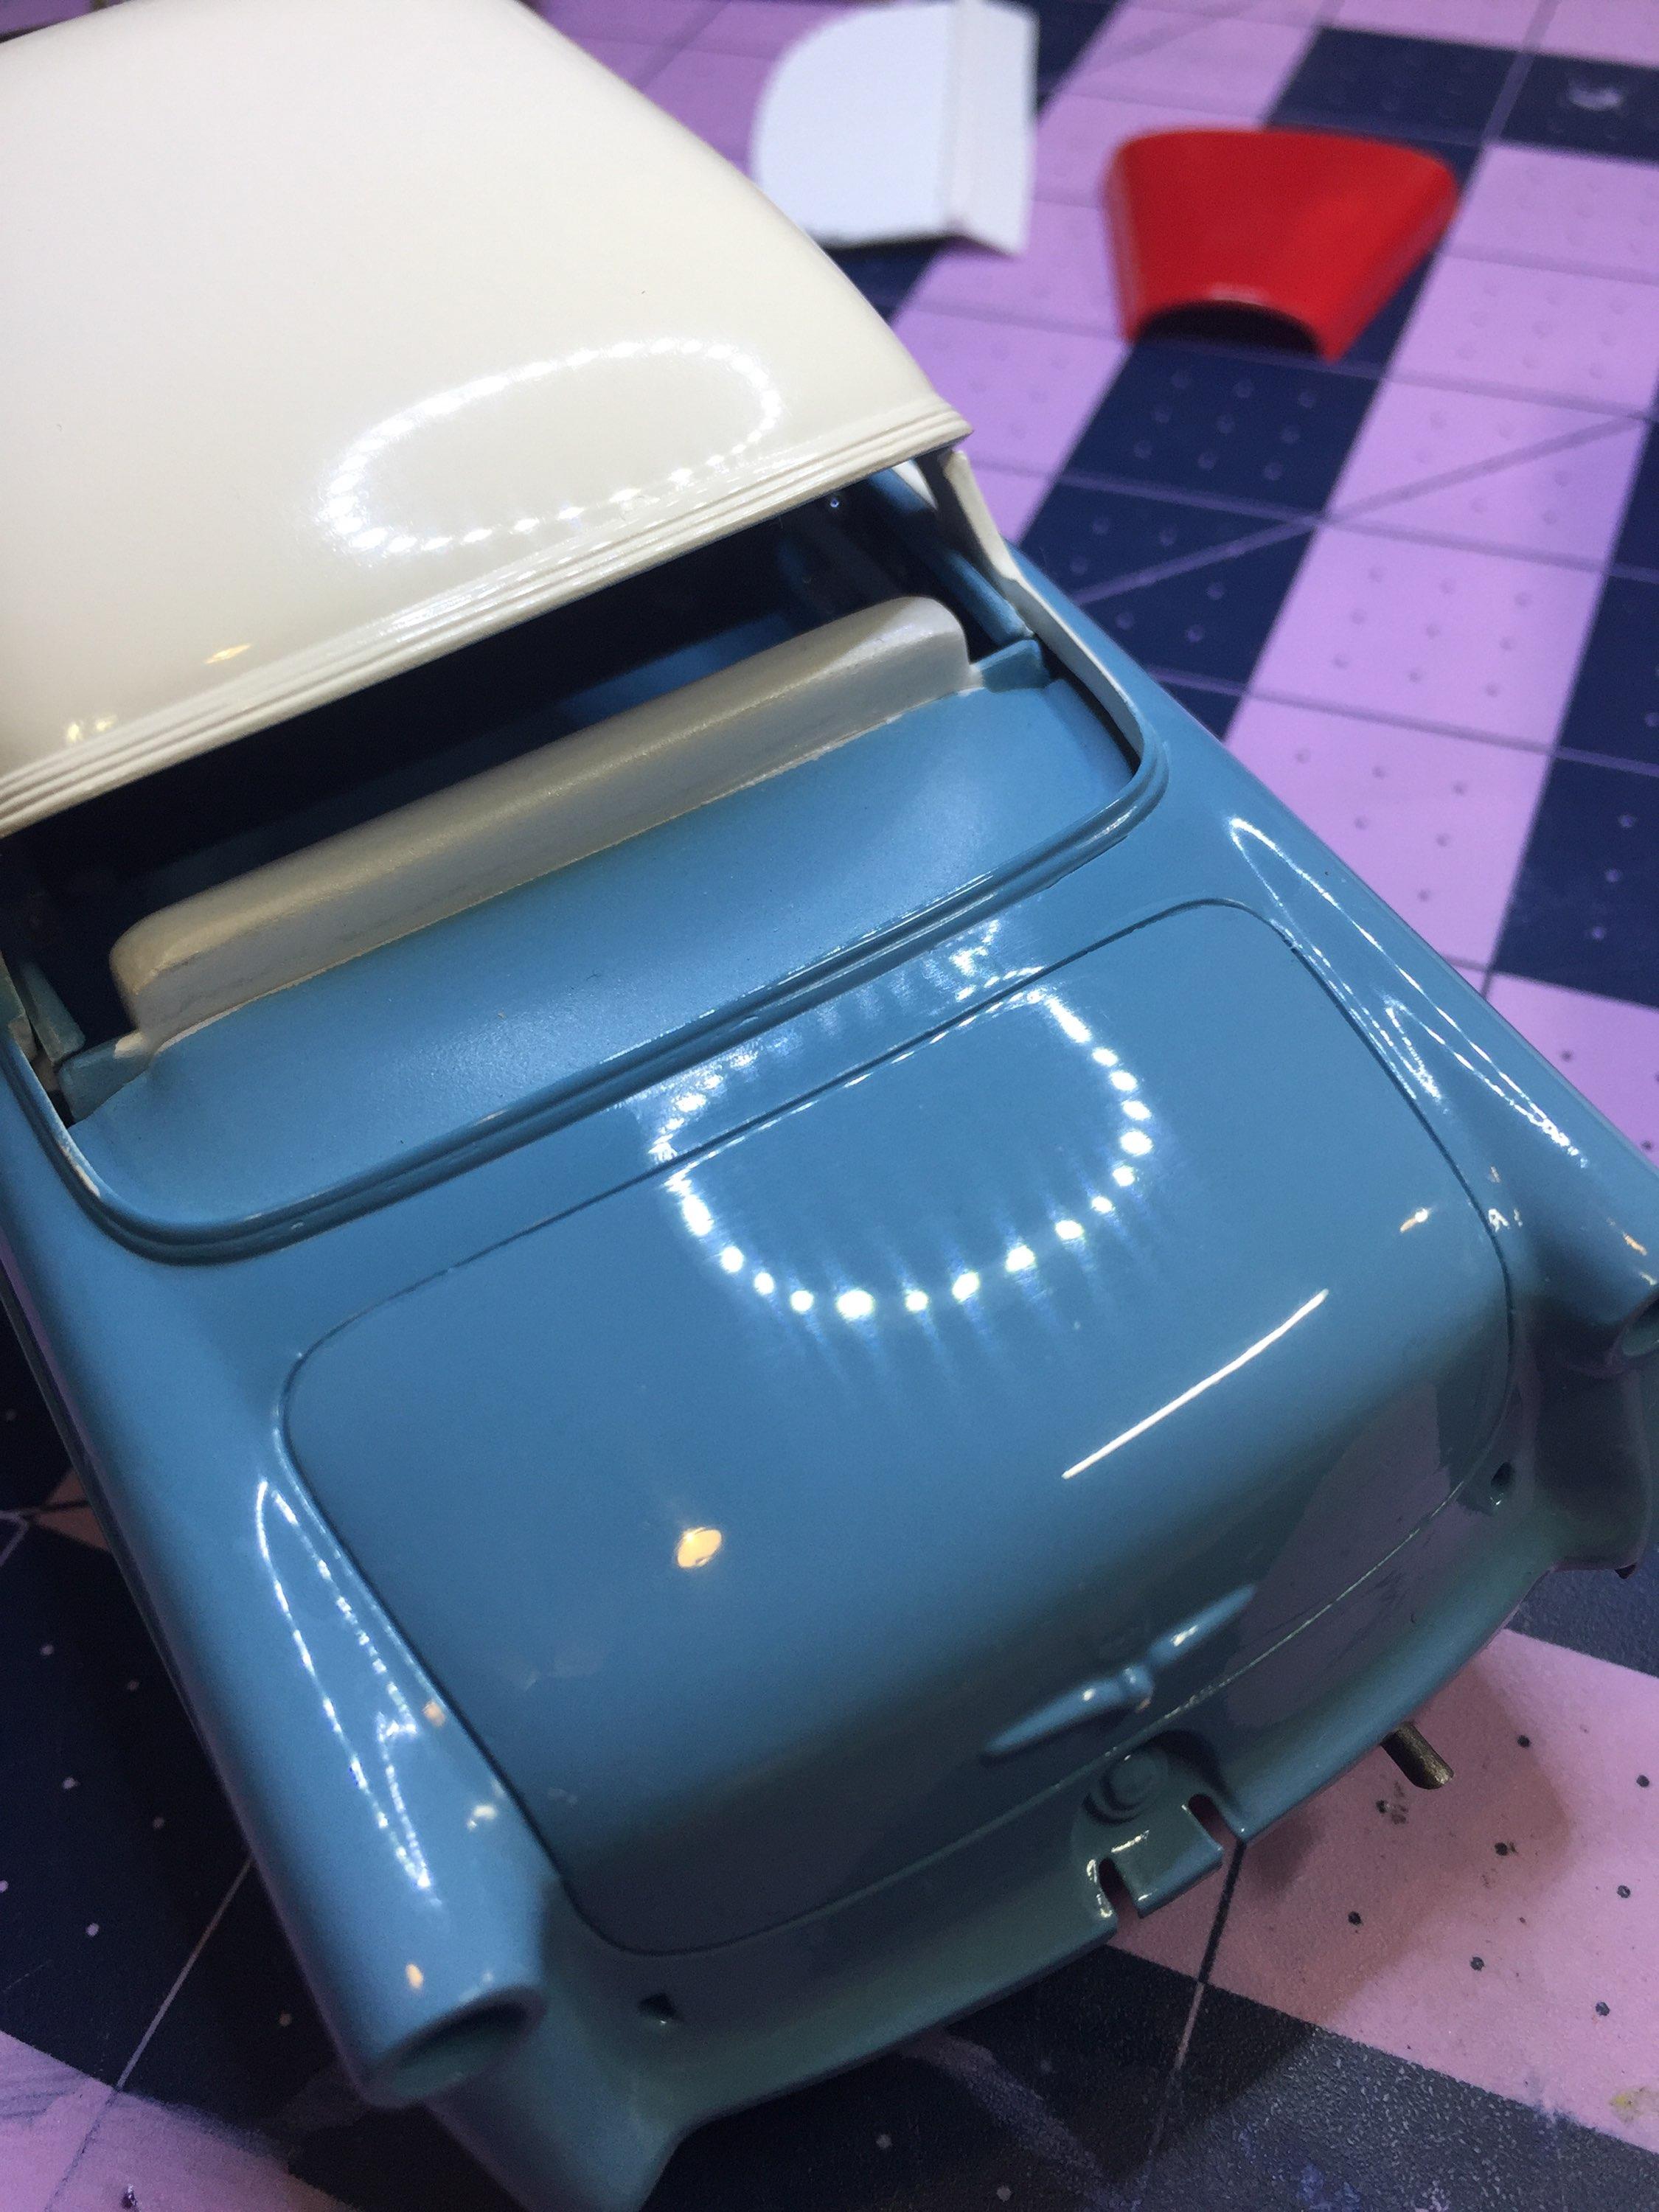
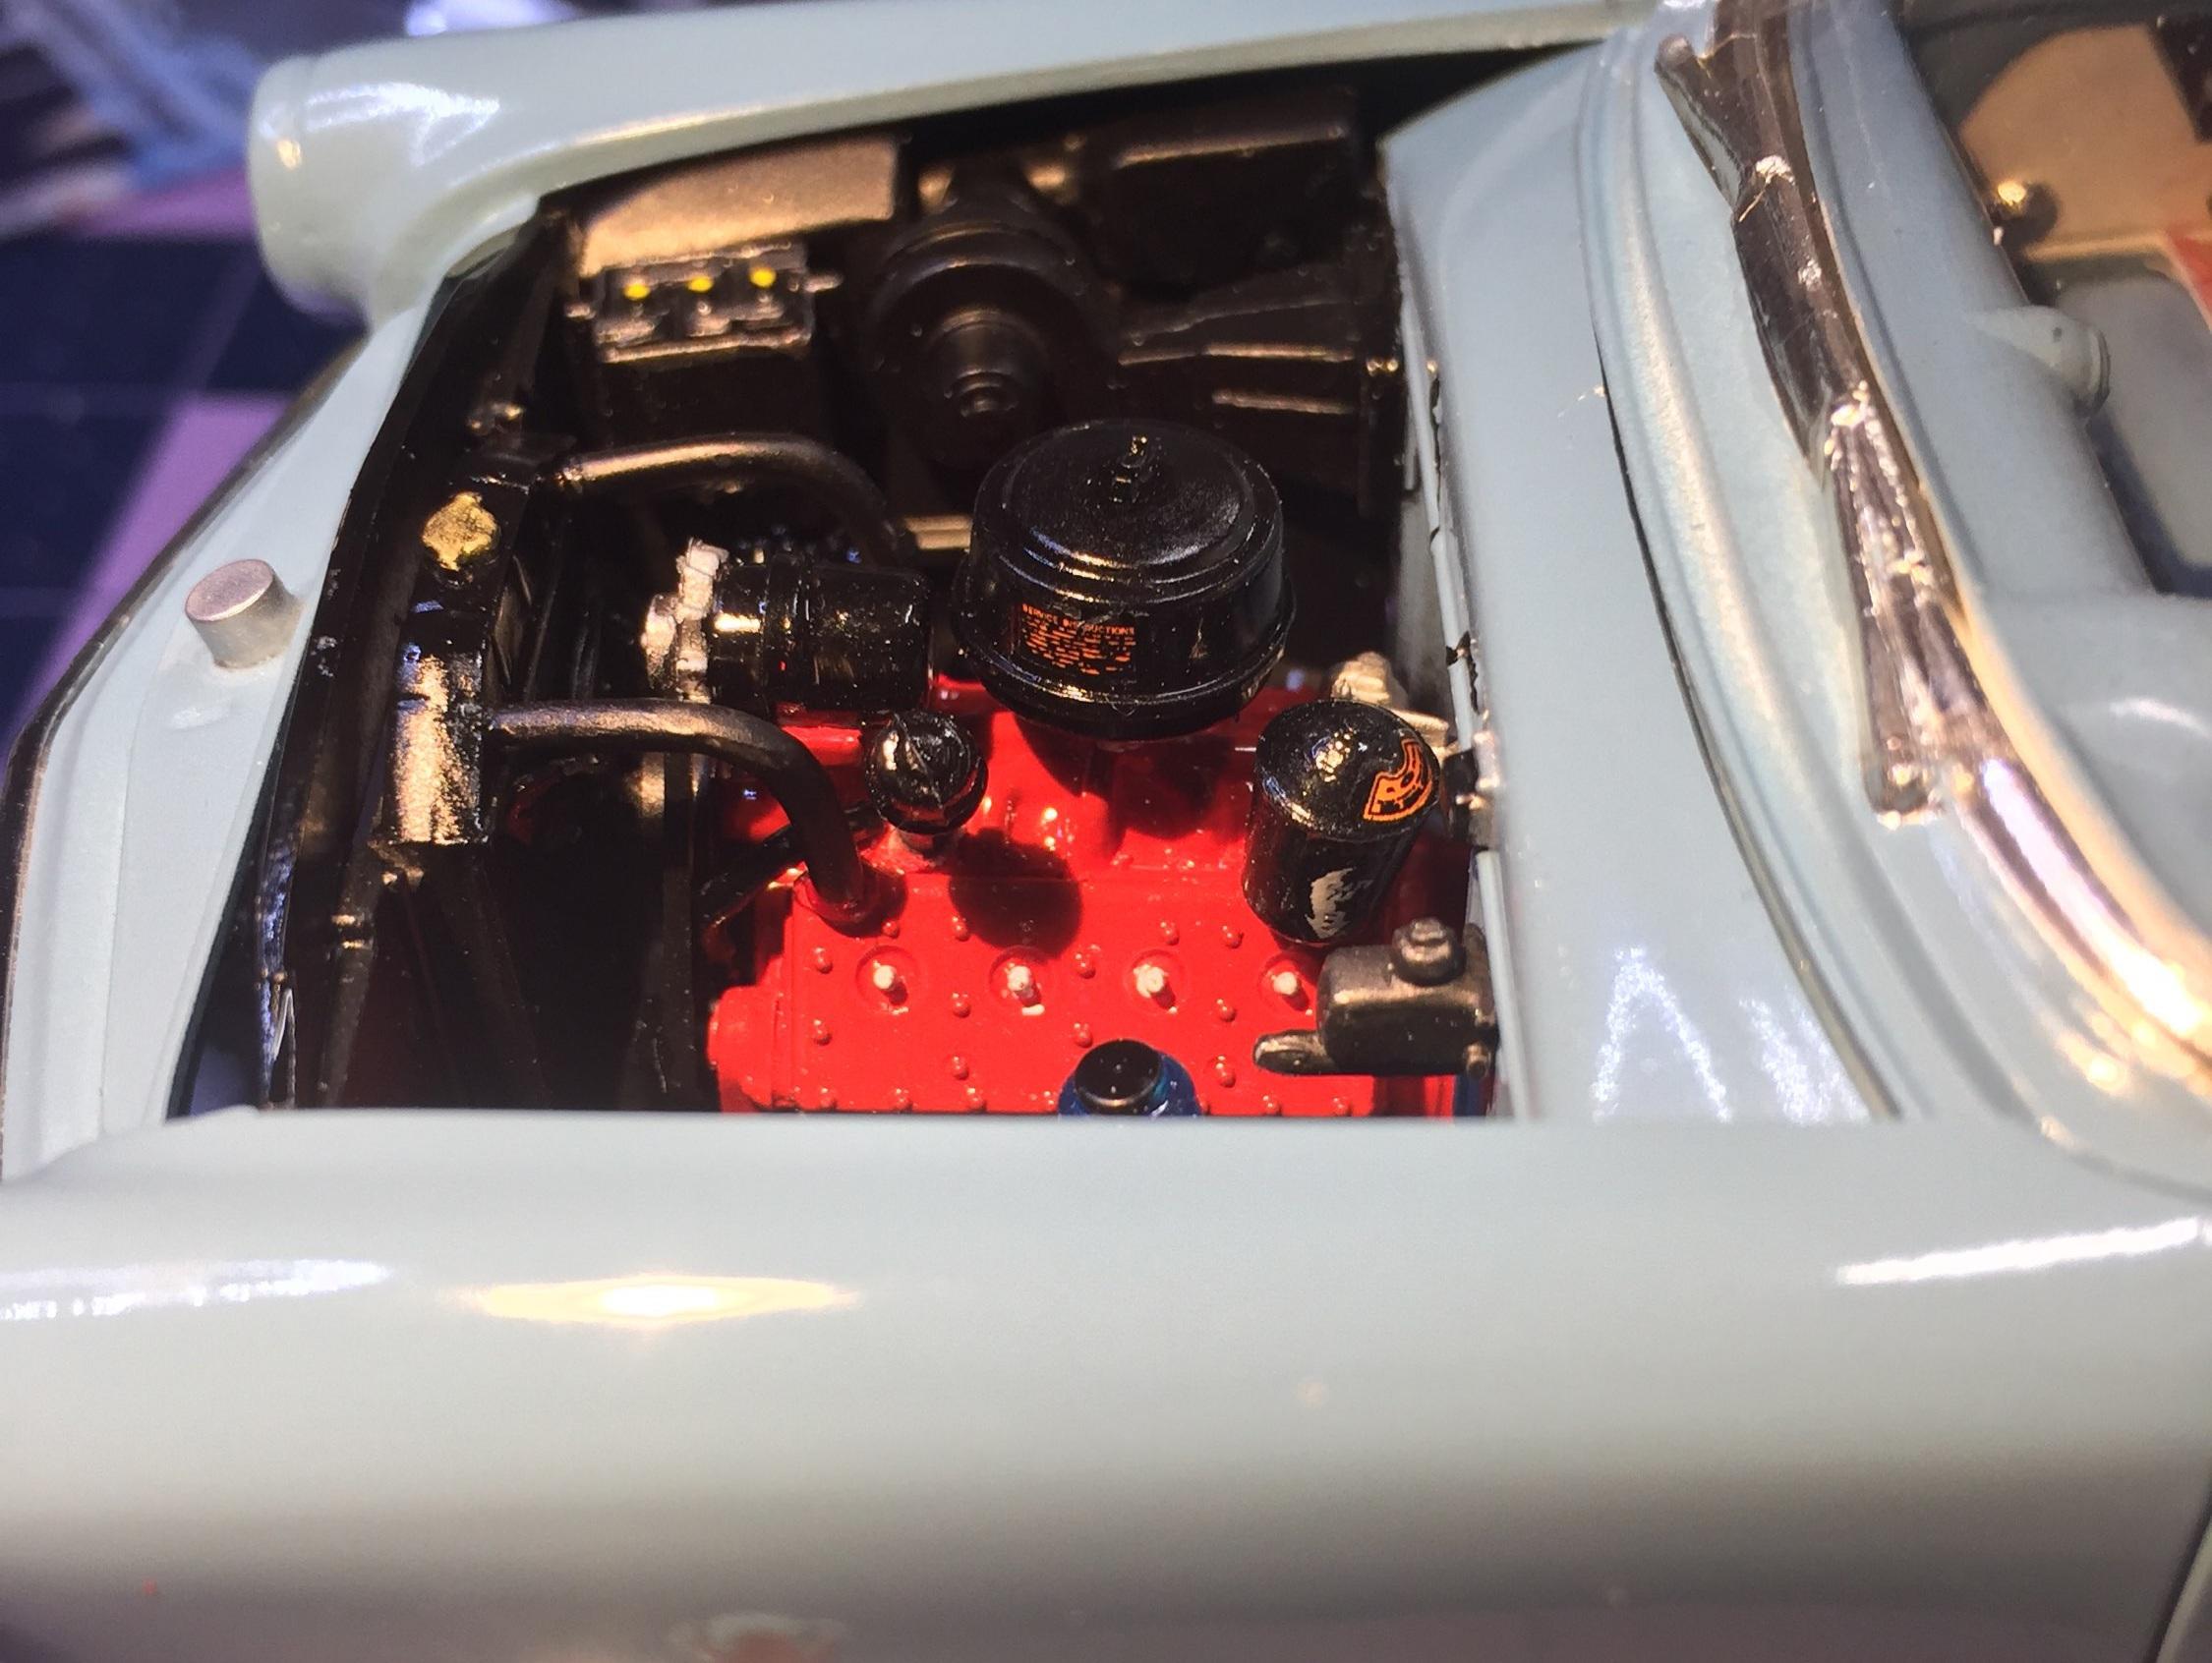
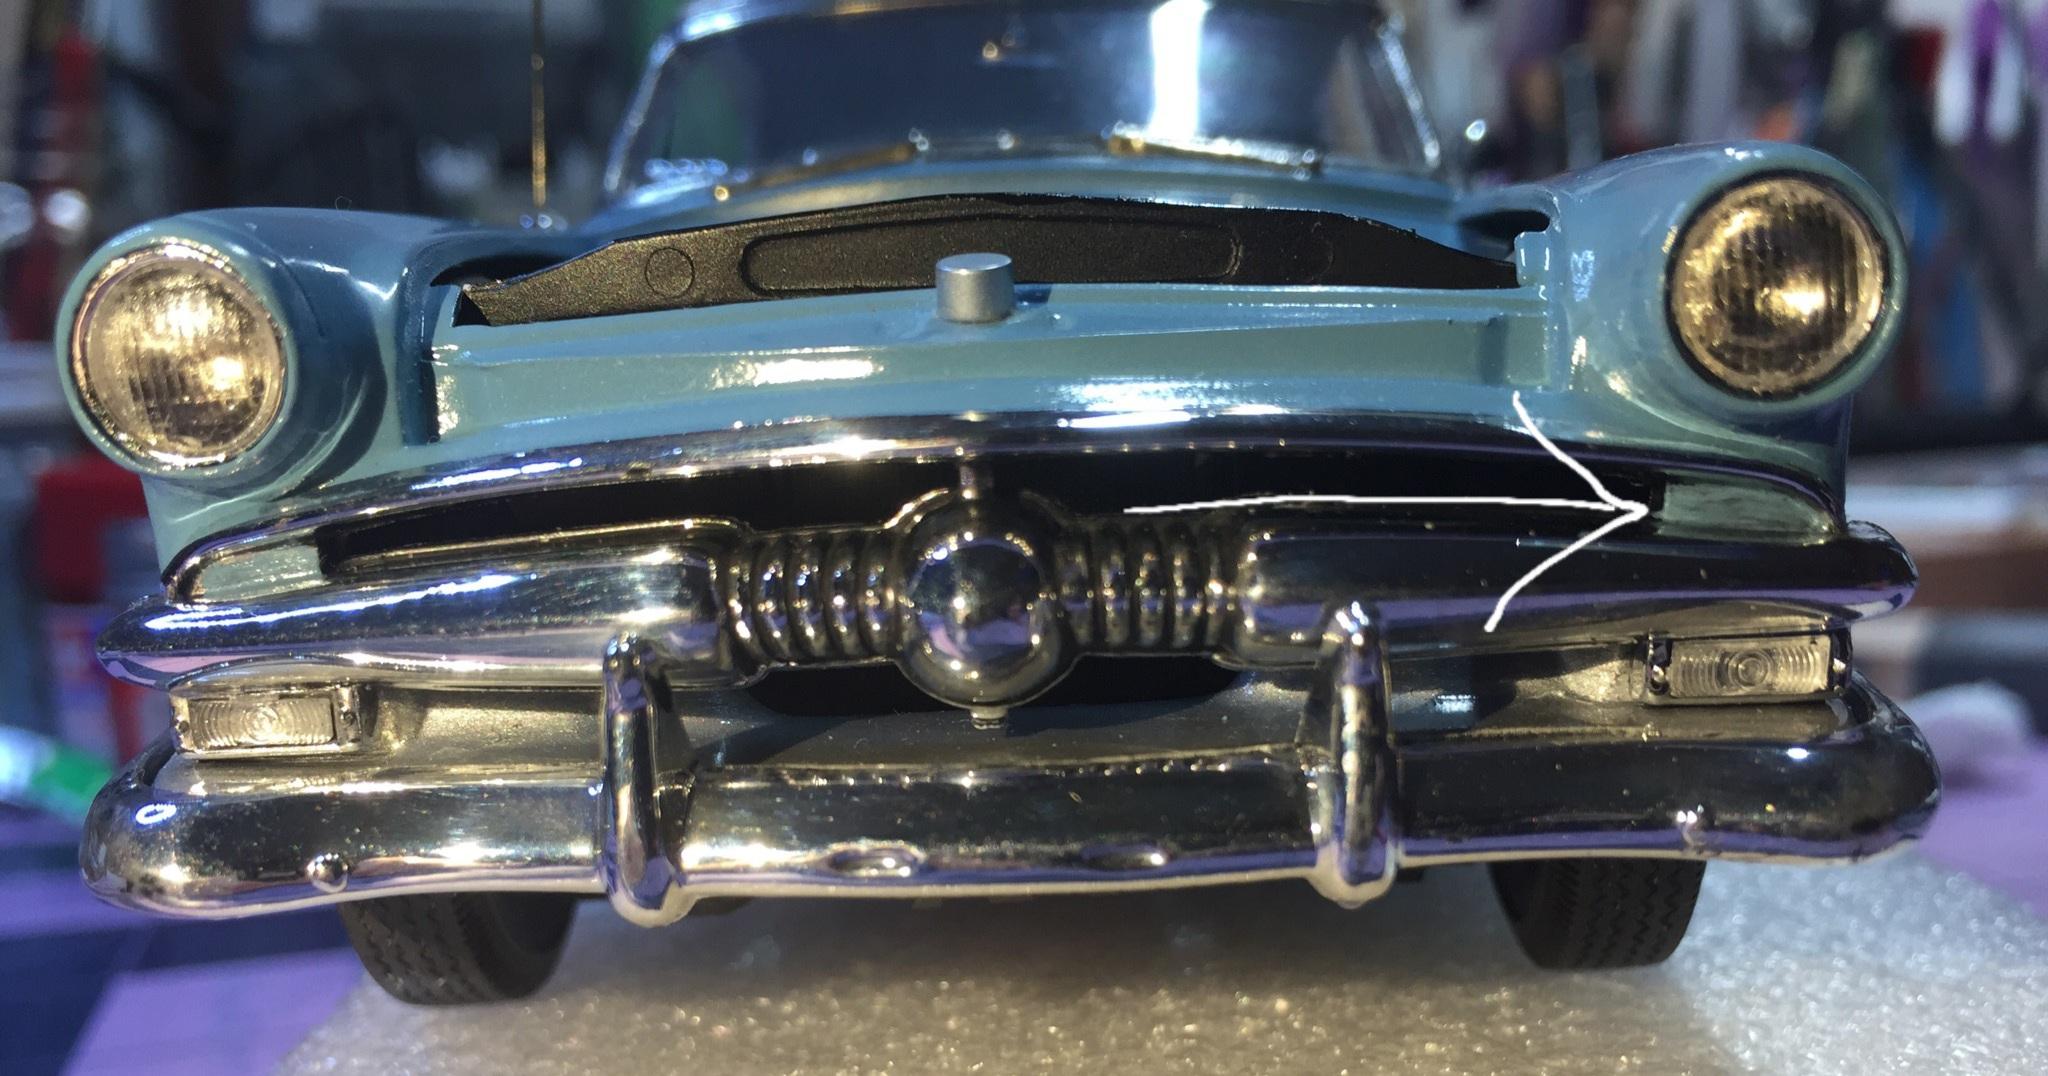
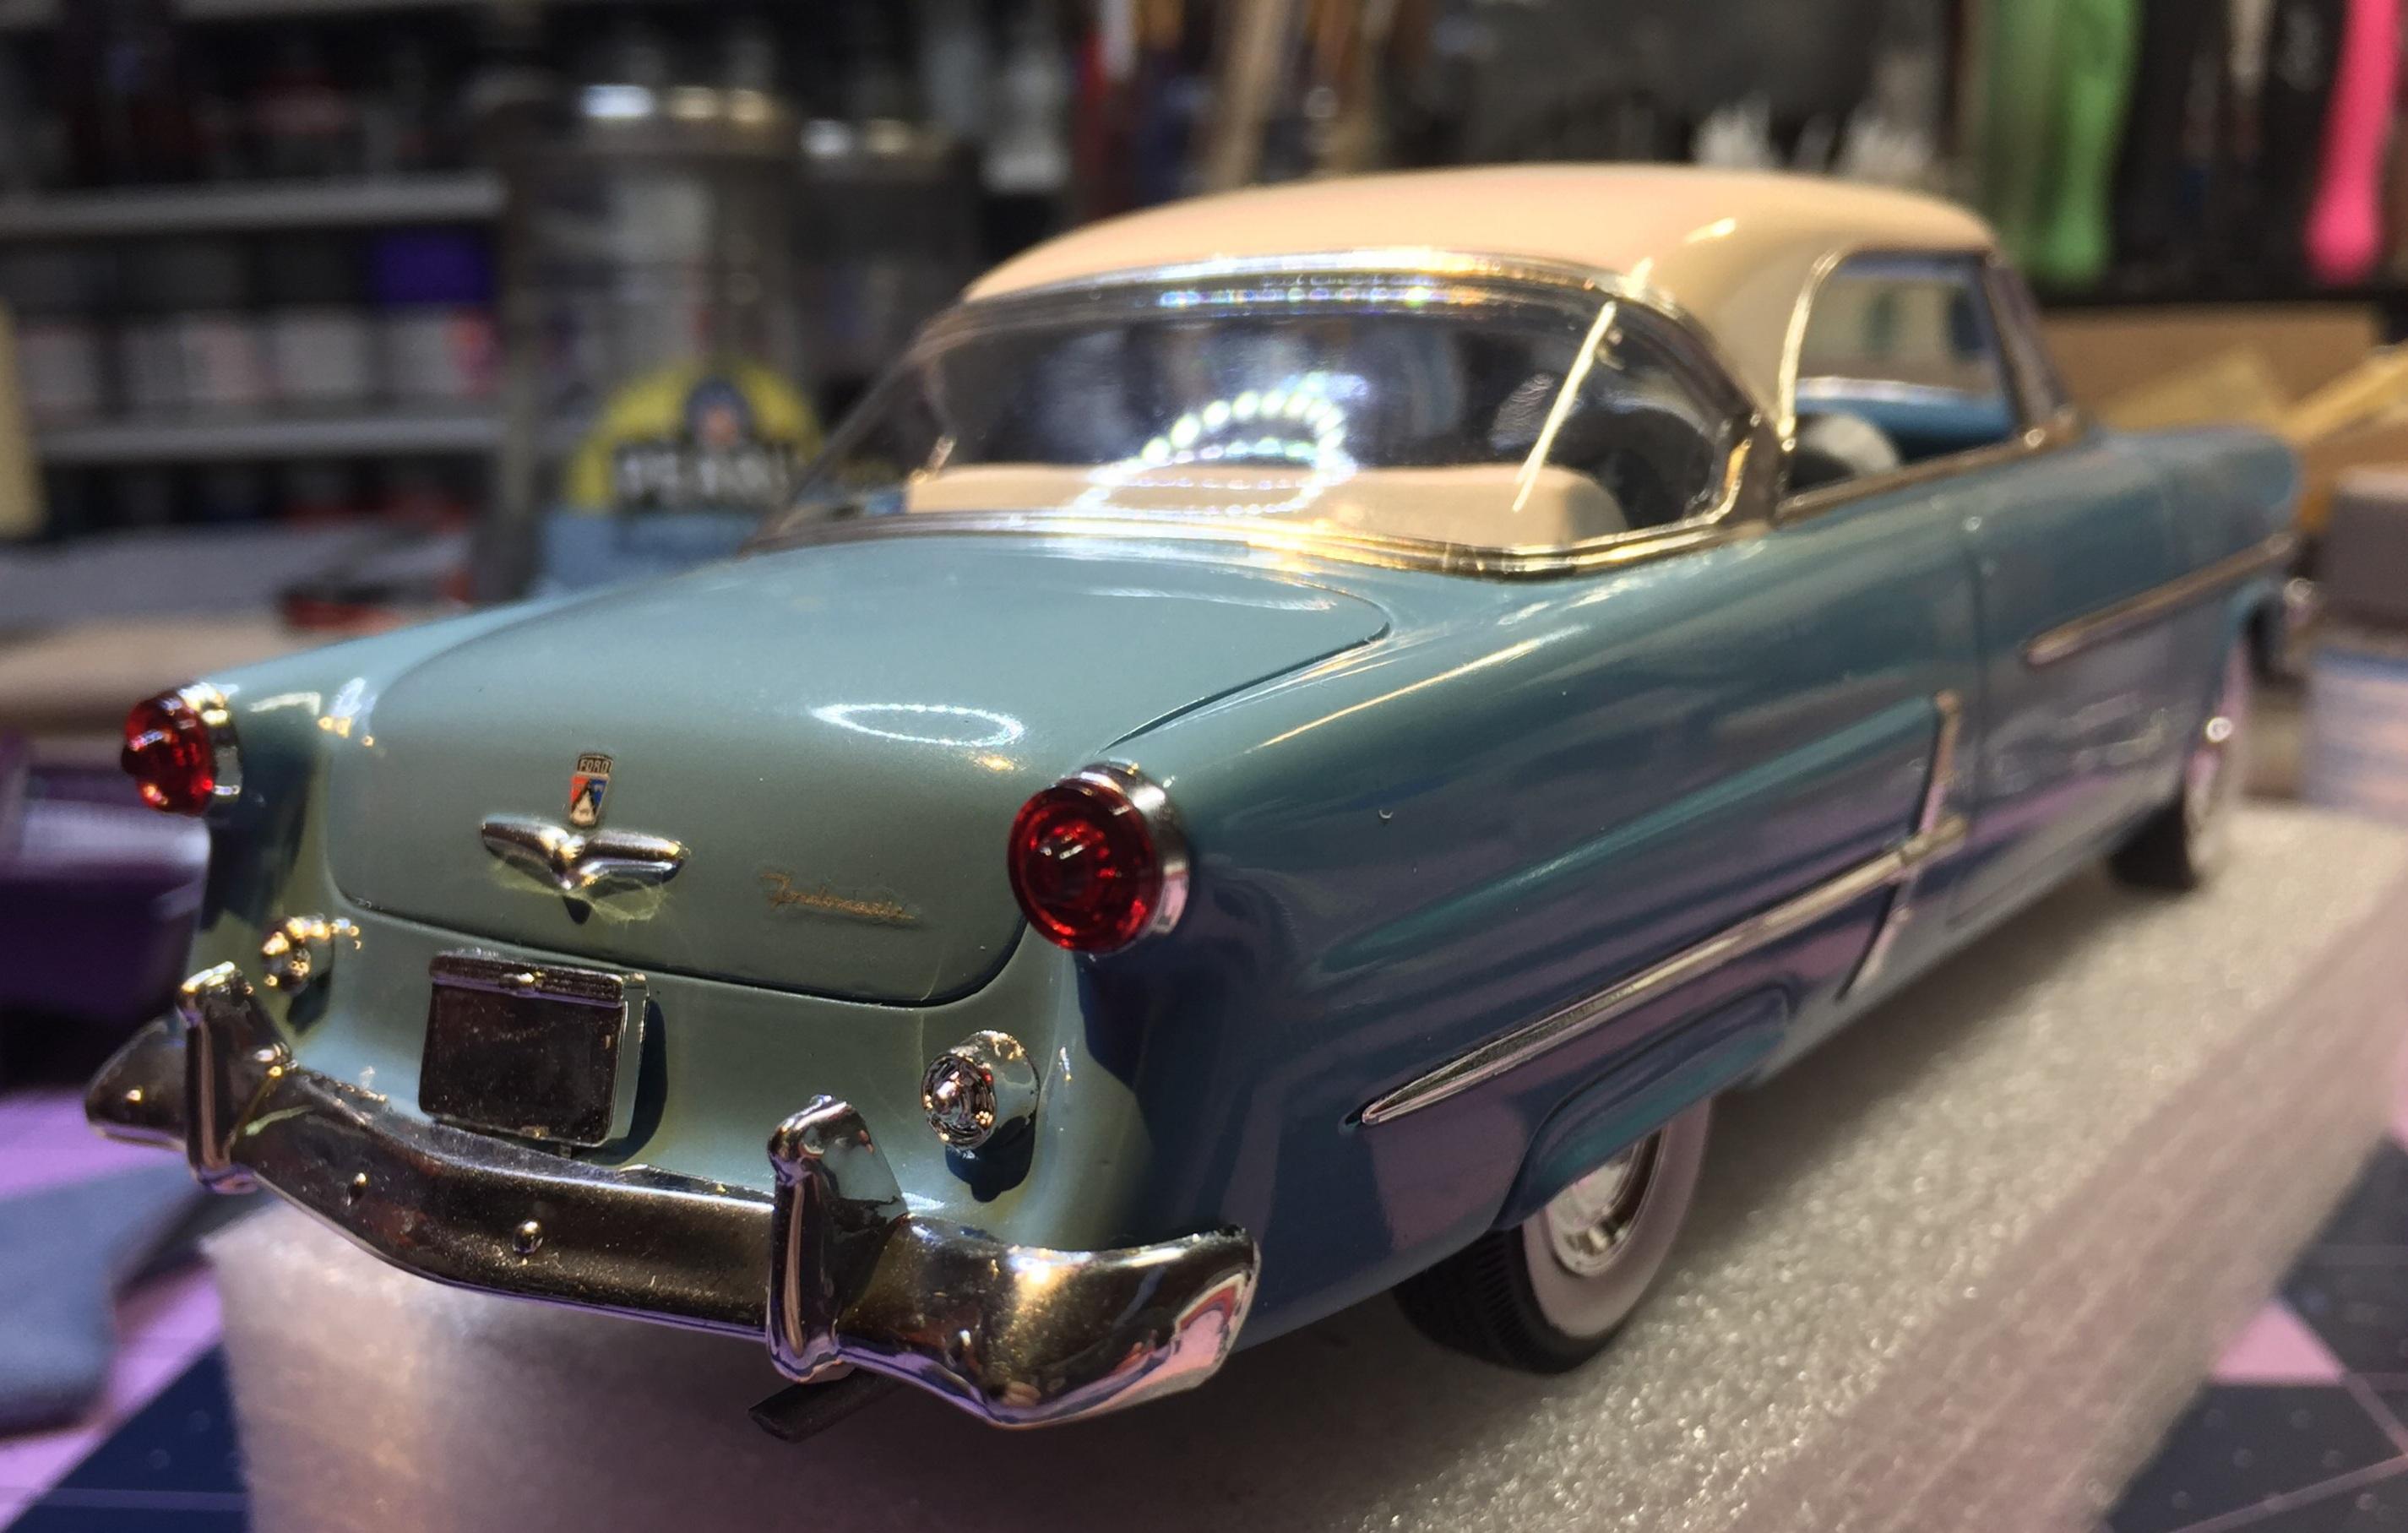
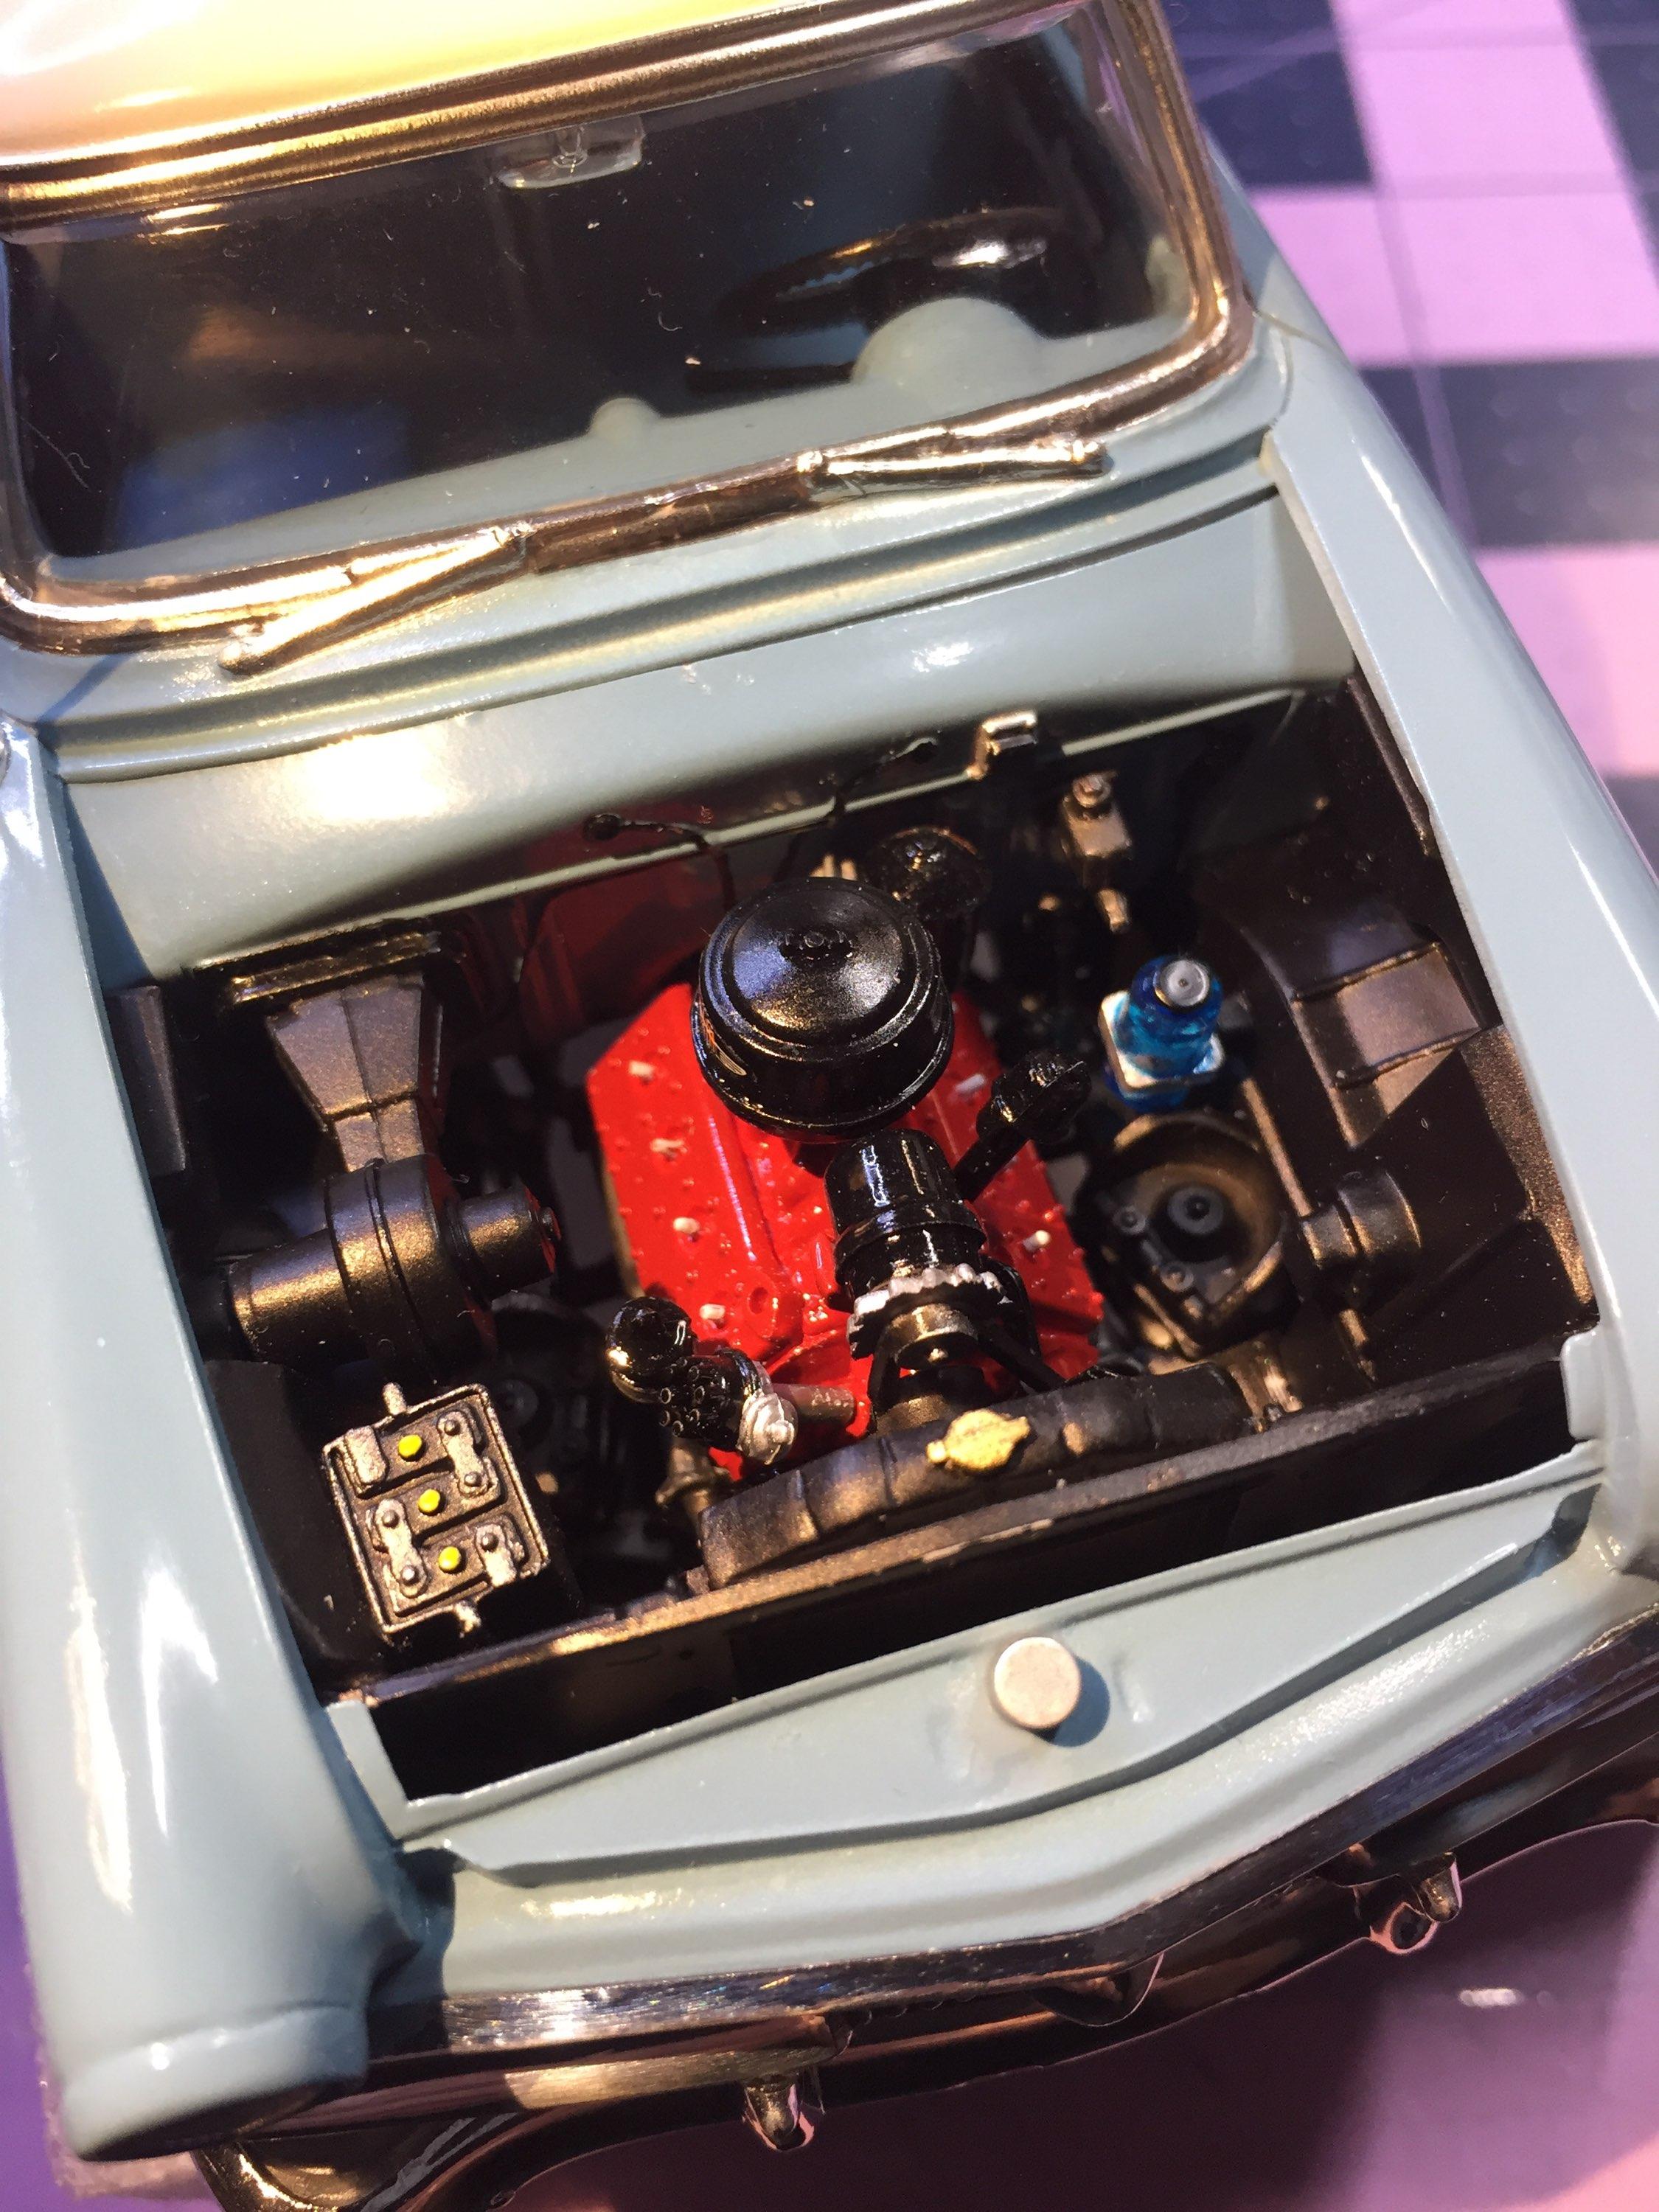
The engine room is done now that the upper hoses are in place. After looking g at some cars on the web, I found that body color is what you would see in these spots (arrow) in case you build this pretty decent kit. My instinct was to black them out but then I figured I should check 🥴.
-
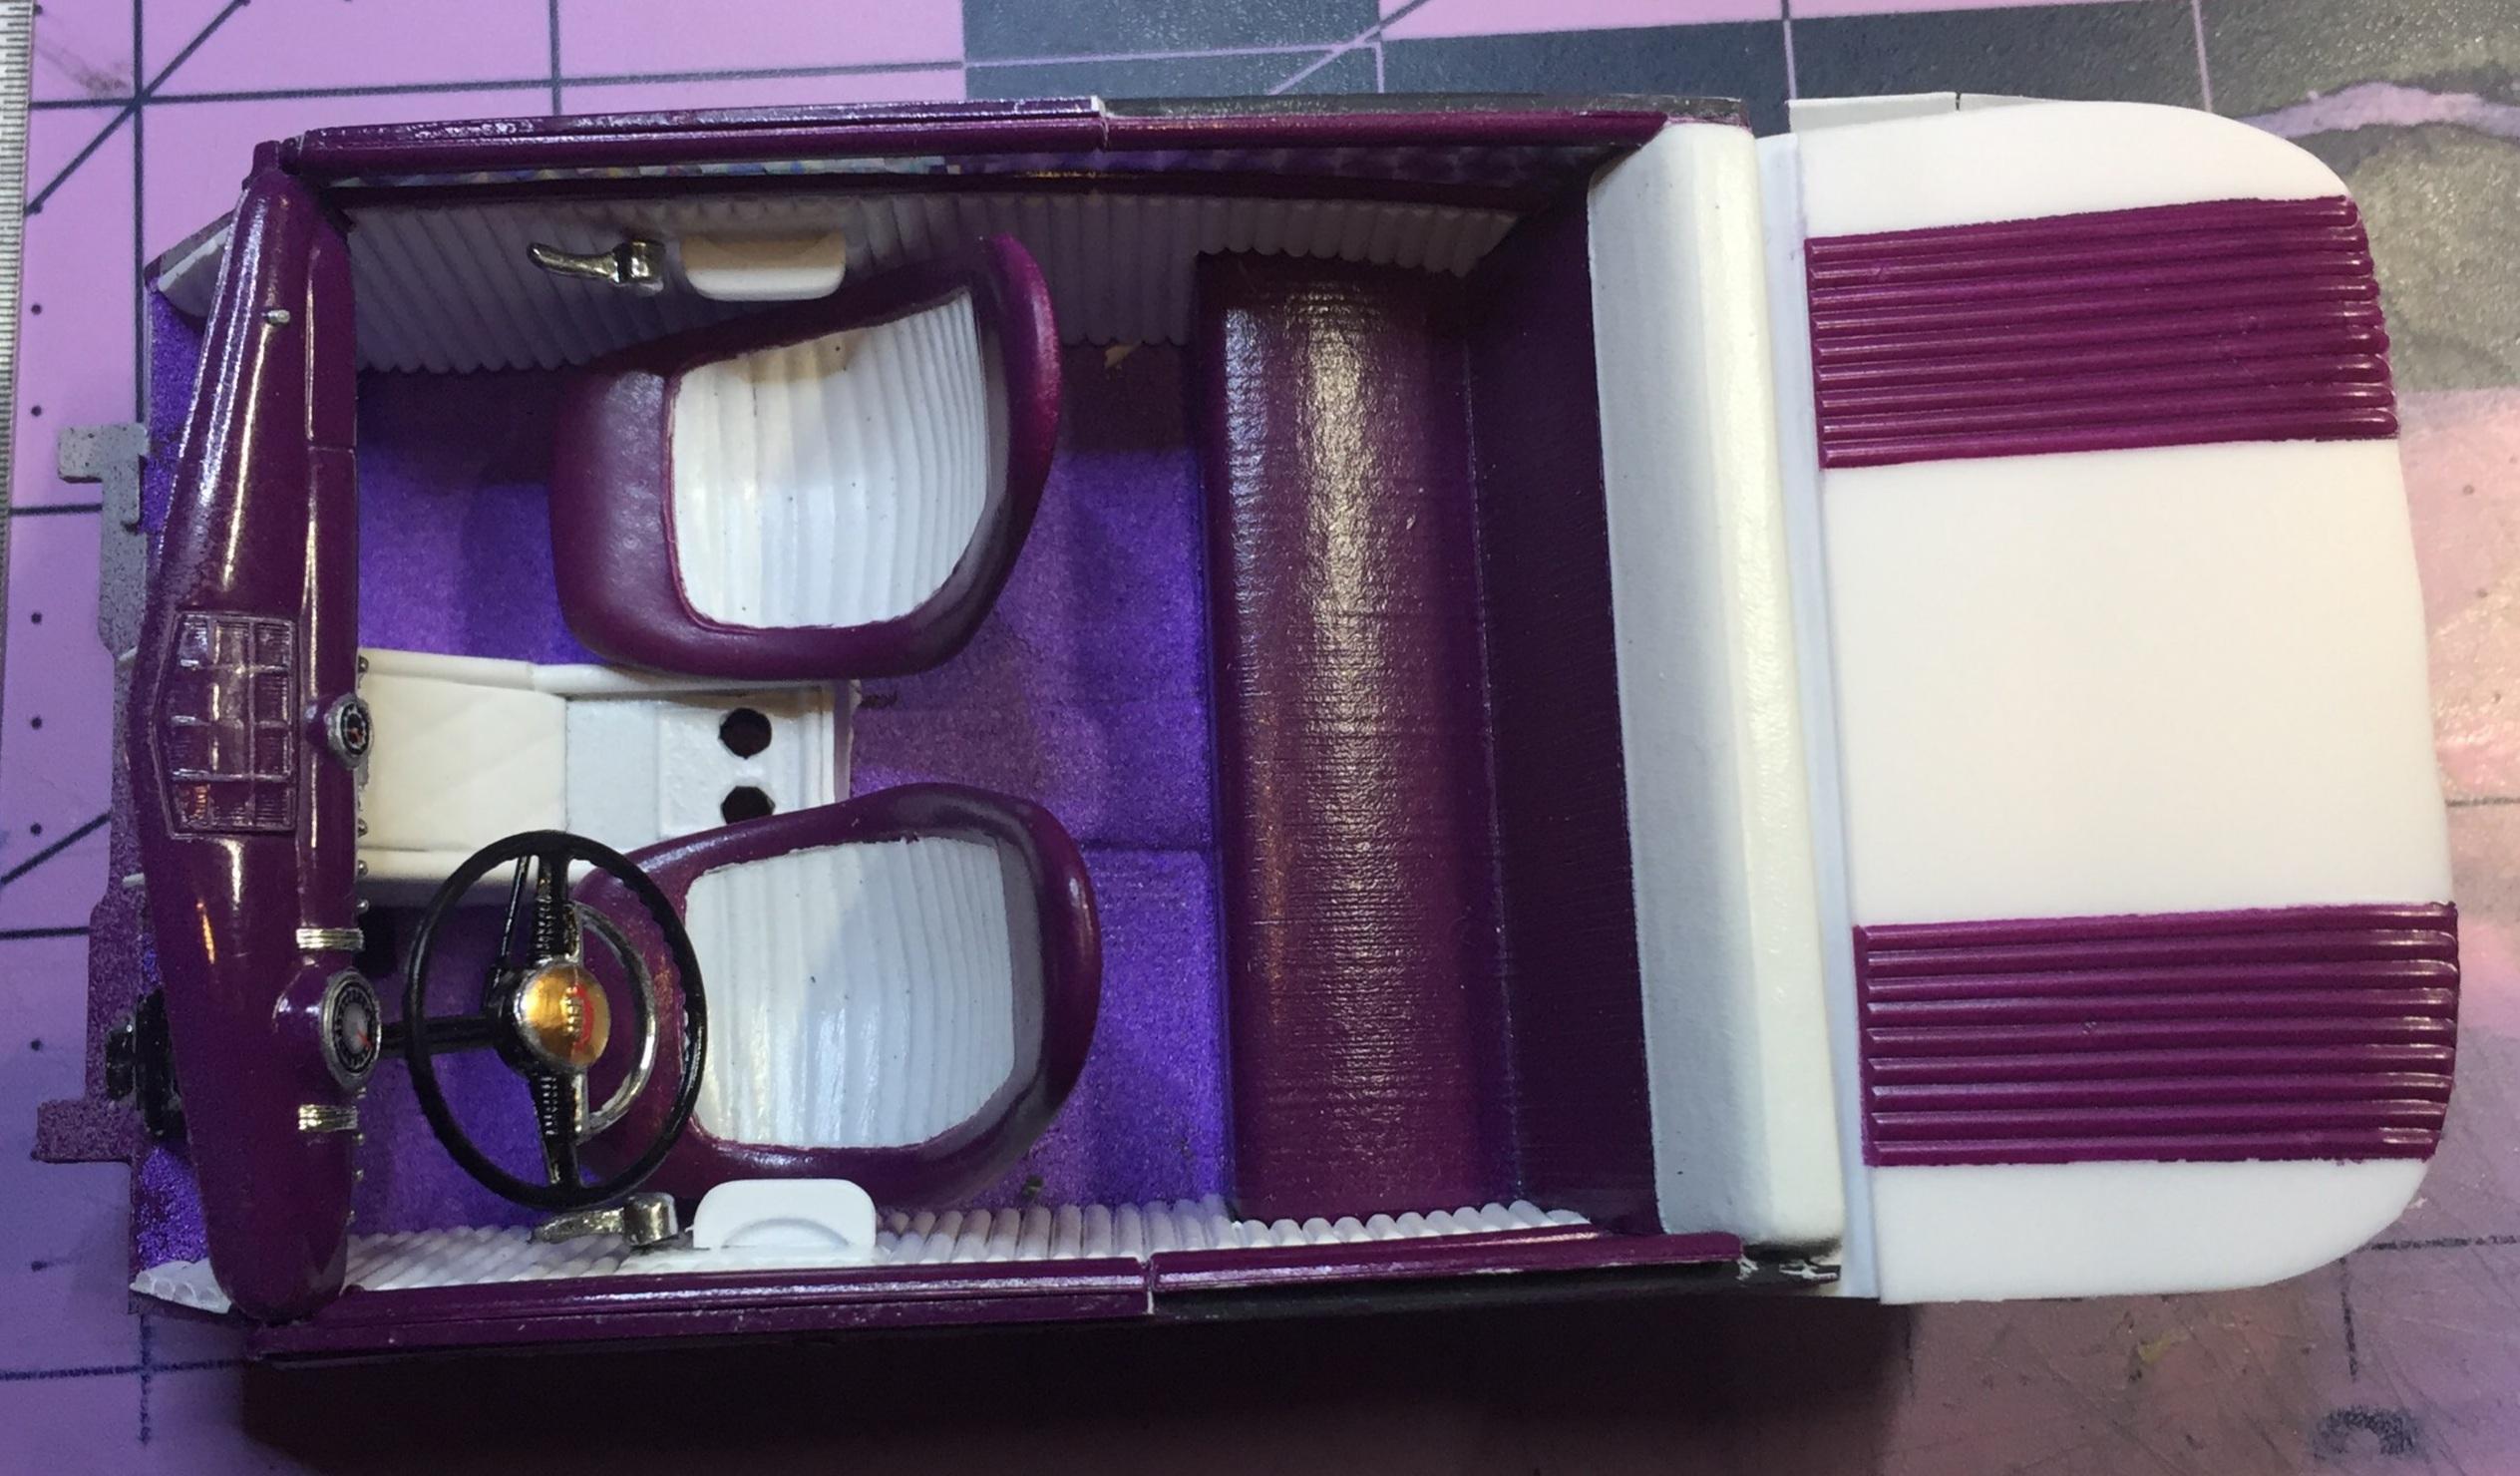
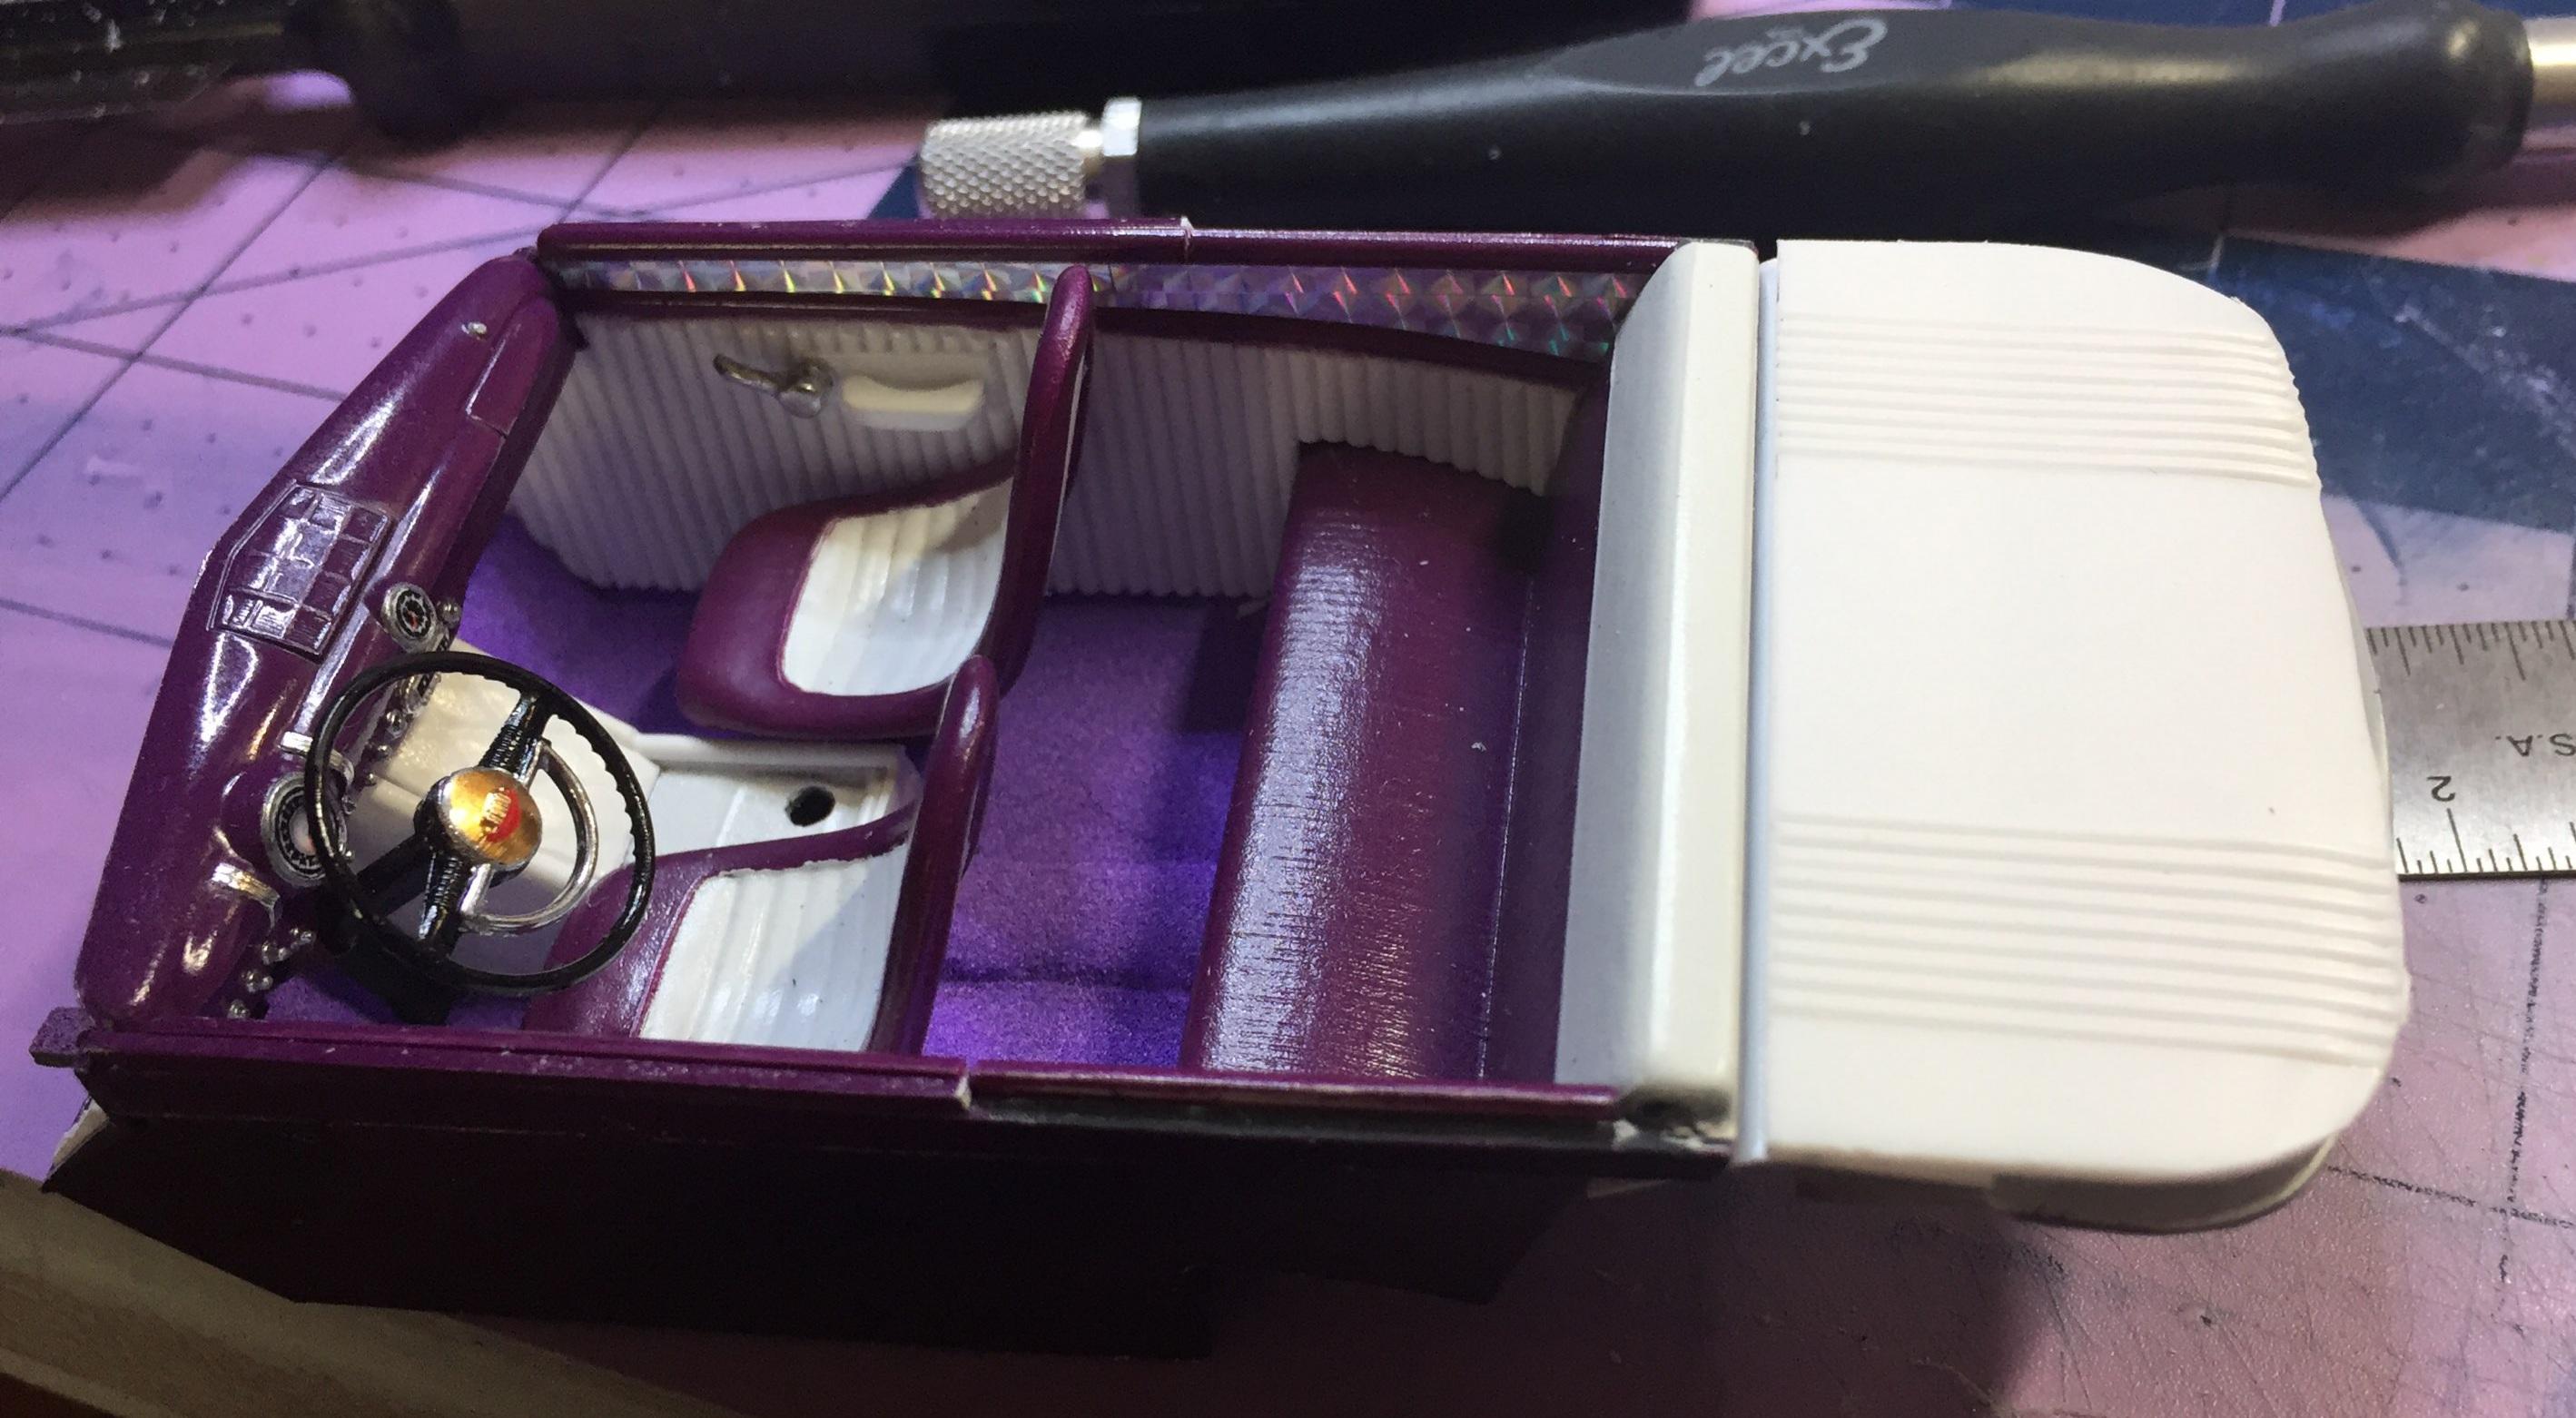
The new package shelf is a bit more congruous with the whole custom interior thing. I repainted the hood again. Two coats of clear this time. Gotta watch those edges this time. 💩
-
Lindberg's '53 Ford - following the instructions
customline replied to customline's topic in WIP: Model Cars
Thanks, David. There are some...rashy areas that are hard to see unless you look really close. That's the down side of clear. Rub-through 😵 -
Lindberg's '53 Ford - following the instructions
customline replied to customline's topic in WIP: Model Cars
Anything worth learning is pretty much done. The fit on final assembly had nothing to locate the floor relative to the body so I added some styrene inside the body at the gas filler area. This gave me something to anchor the rear while I clamp down the front fenders. The kit had some twist issues. Next time I would do some easing of the windshield edges and the dash mating surface. It doesn't need much. The most annoying thing is detailing that dash 😣. Adding the side trim is not to be attempted while under the influence of caffeine. I used CA for that operation. I sanded the plating very, very, very carefully 😬 with a white stick. I spread the glue with a green plastic toothpick In the trench. So when you're ready for the trim be SOBER, DON! -
Ooooo.....yeah.....I happen to have a $hit-ton of 1:25 Coke bottles 😅.
-
Lindberg's '53 Ford - following the instructions
customline replied to customline's topic in WIP: Model Cars
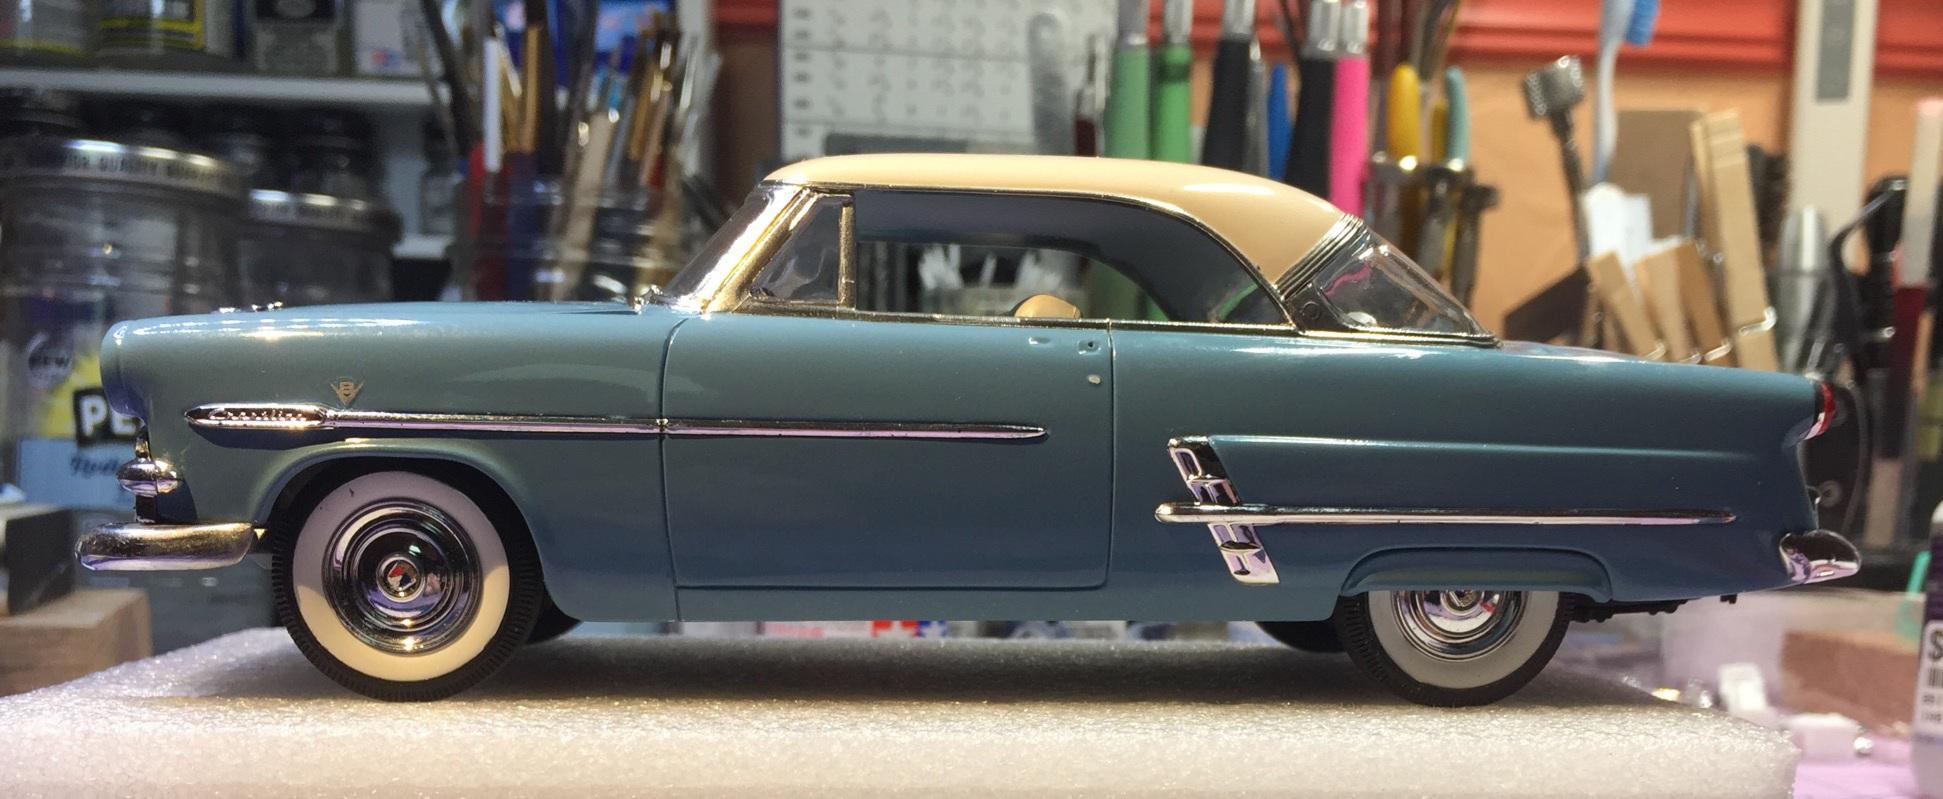
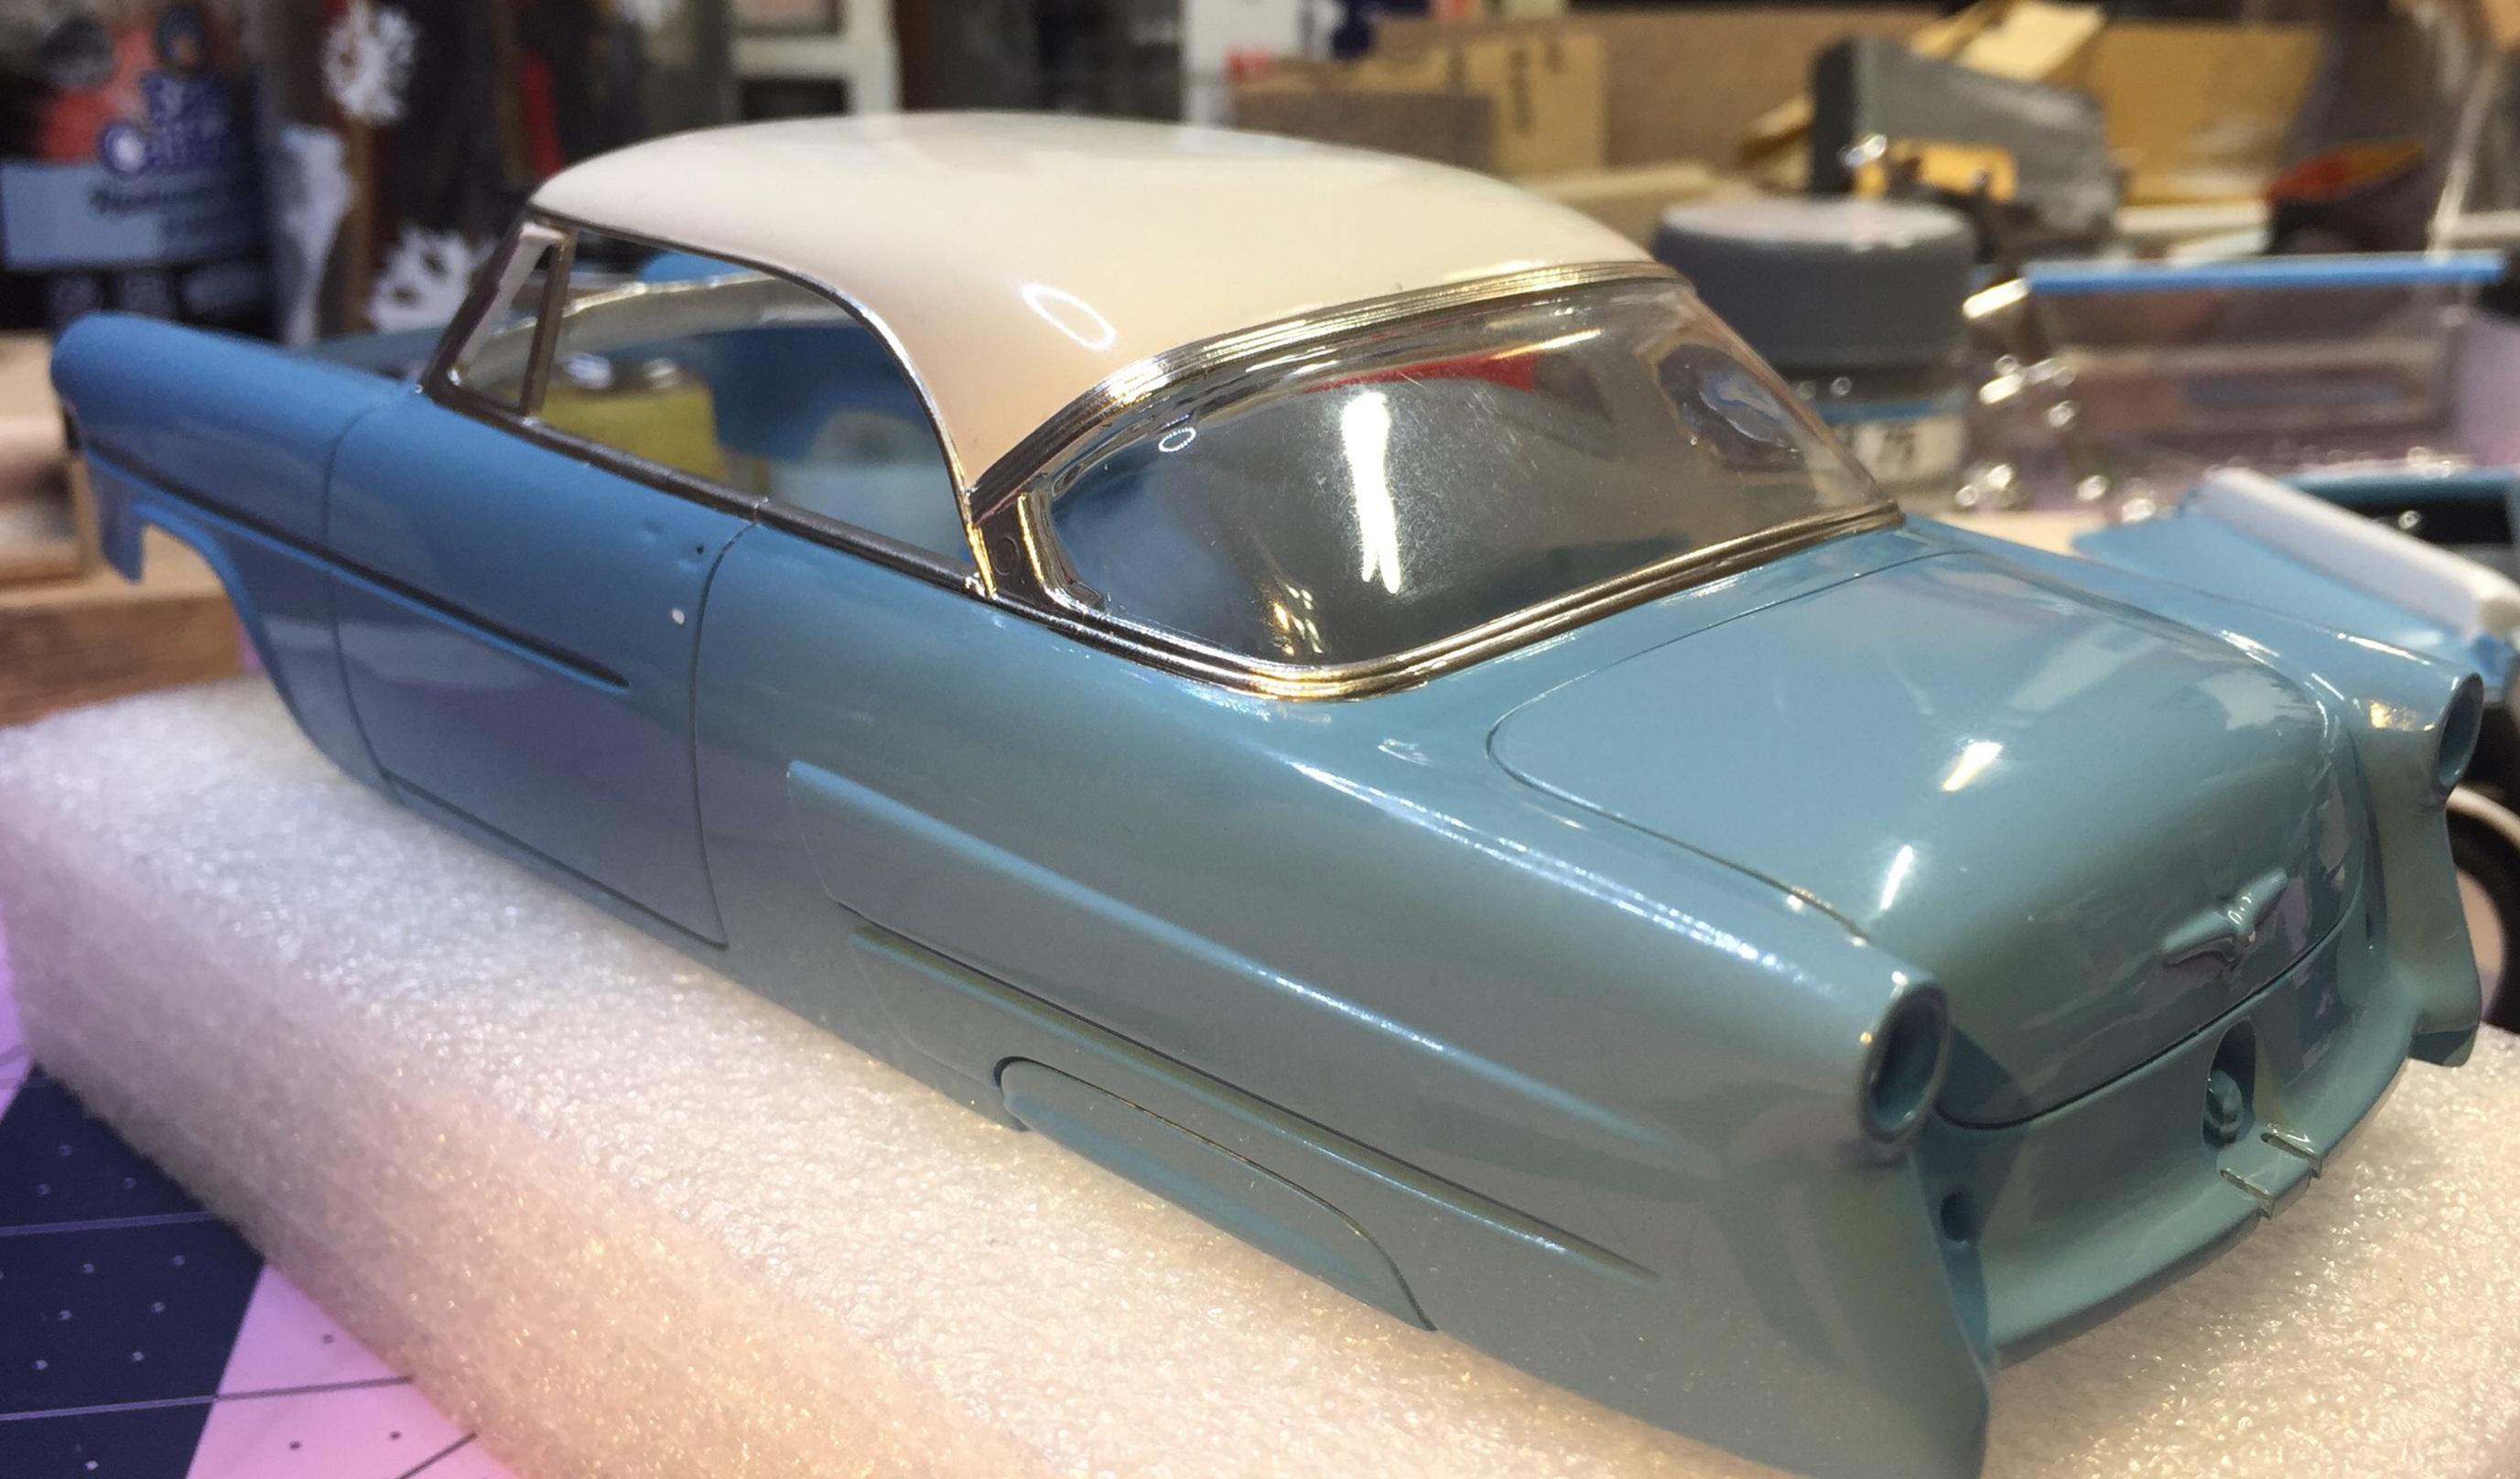
Except for the upper radiator hoses, this puppy is finished unless I find any more parts in the box that avoided my attention. Try to imagine them in place in that engine shot. 😉. I added an aerial that had to be there. They had to have a working radio back in '64. This build of the '53 Ford Victoria has a good memory for me. It belonged to my older sister's boy friend (she was 17) who is largely responsible for my life-long obsession with hot rods and old cars in general. He could remove the roof on nice sunny days and leave it in his yard. His dad owned a body shop. They got wet occasionally. And now you know. 😎 Thanks for all your comments, help, encouragement, and praise.
-
Thank you, David, I could not have explained this any better. 🤓
-
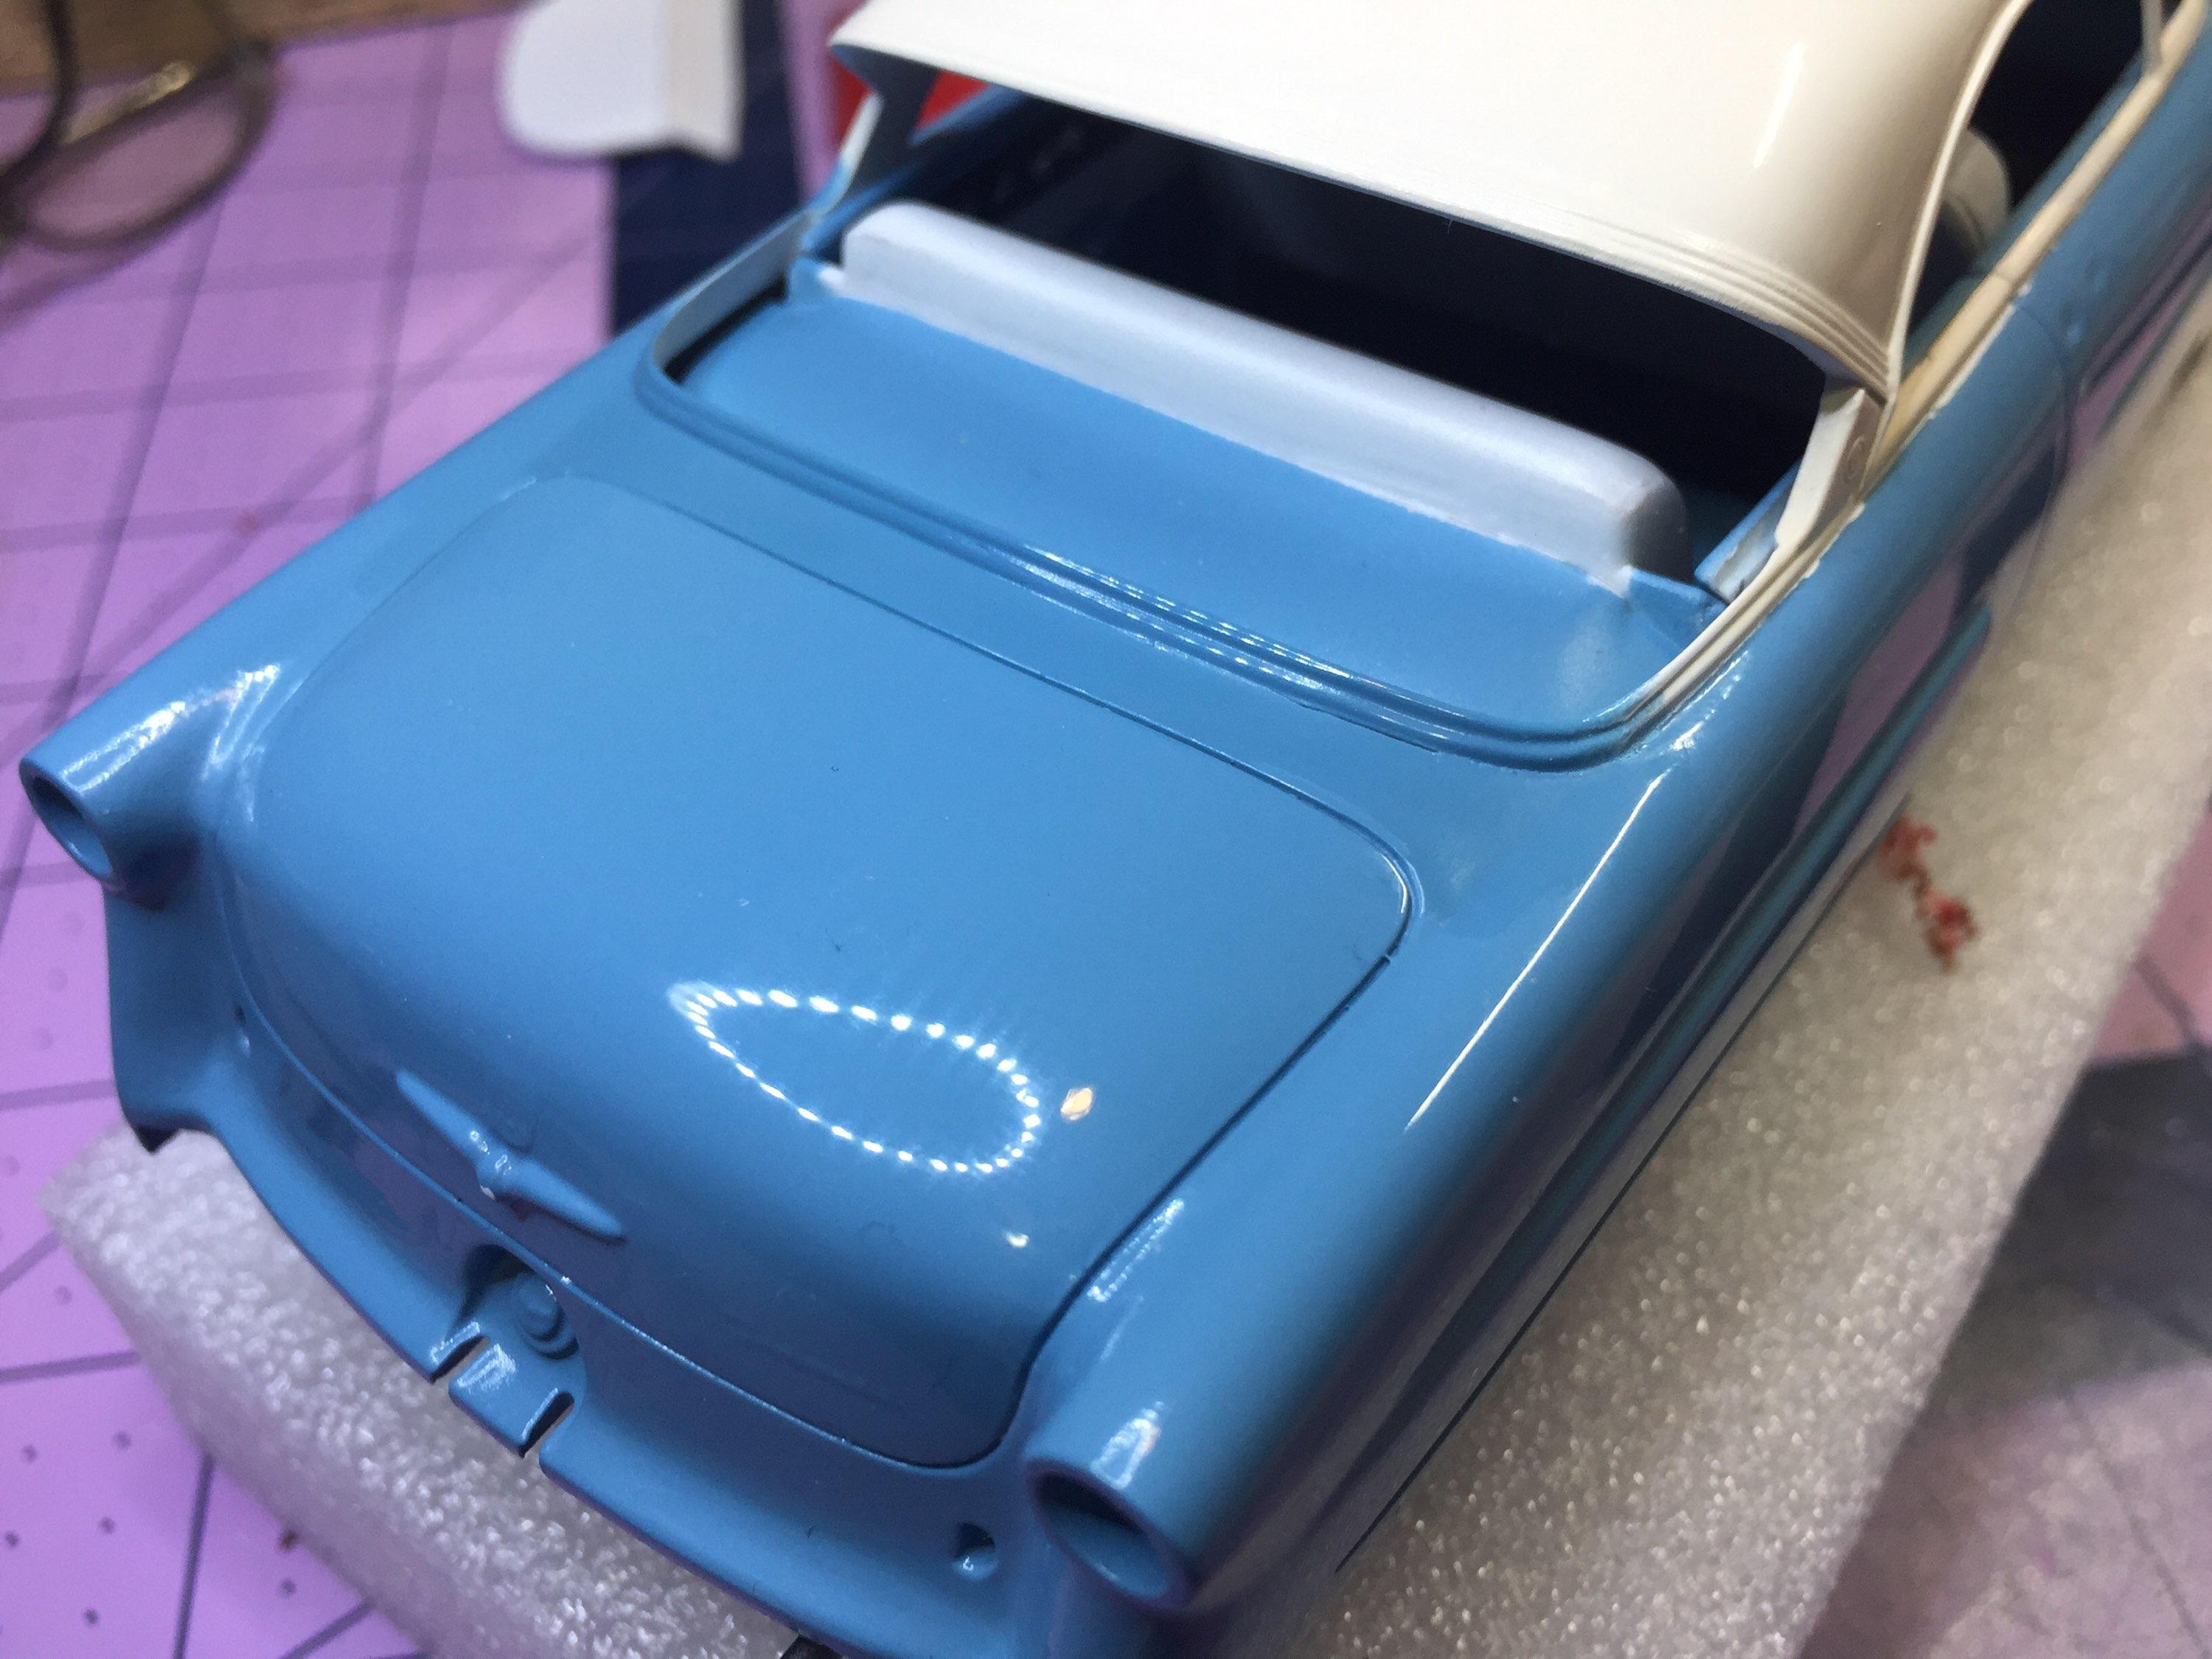
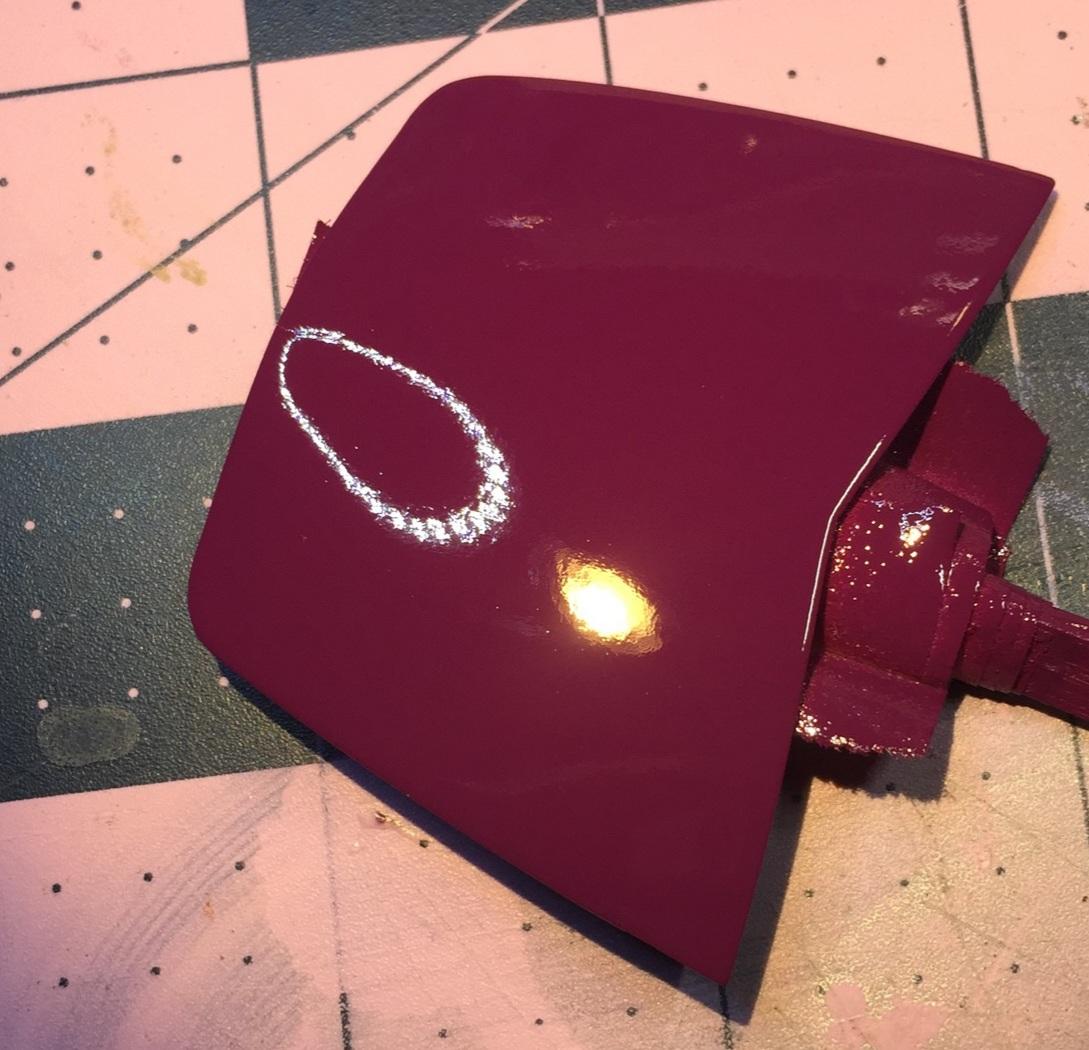
I have no idea now as to what made me look at the '65 Bonneville kit but I'm glad I did. What a beautiful body style! But I digress. The kit includes some fairly significant custom parts that might be useful on some other project (just not on the Bonnie 🤨). One of these parts that I found quite useful on this project is the back seat blank-off, aka "package shelf". My version, on the right, would have been fine but now I have this 👇 And yes, the rolls will be purple by the end of the day. The hood will be repainted also. For the third(?) time. Thanks for checking.
-
Lindberg's '53 Ford - following the instructions
customline replied to customline's topic in WIP: Model Cars
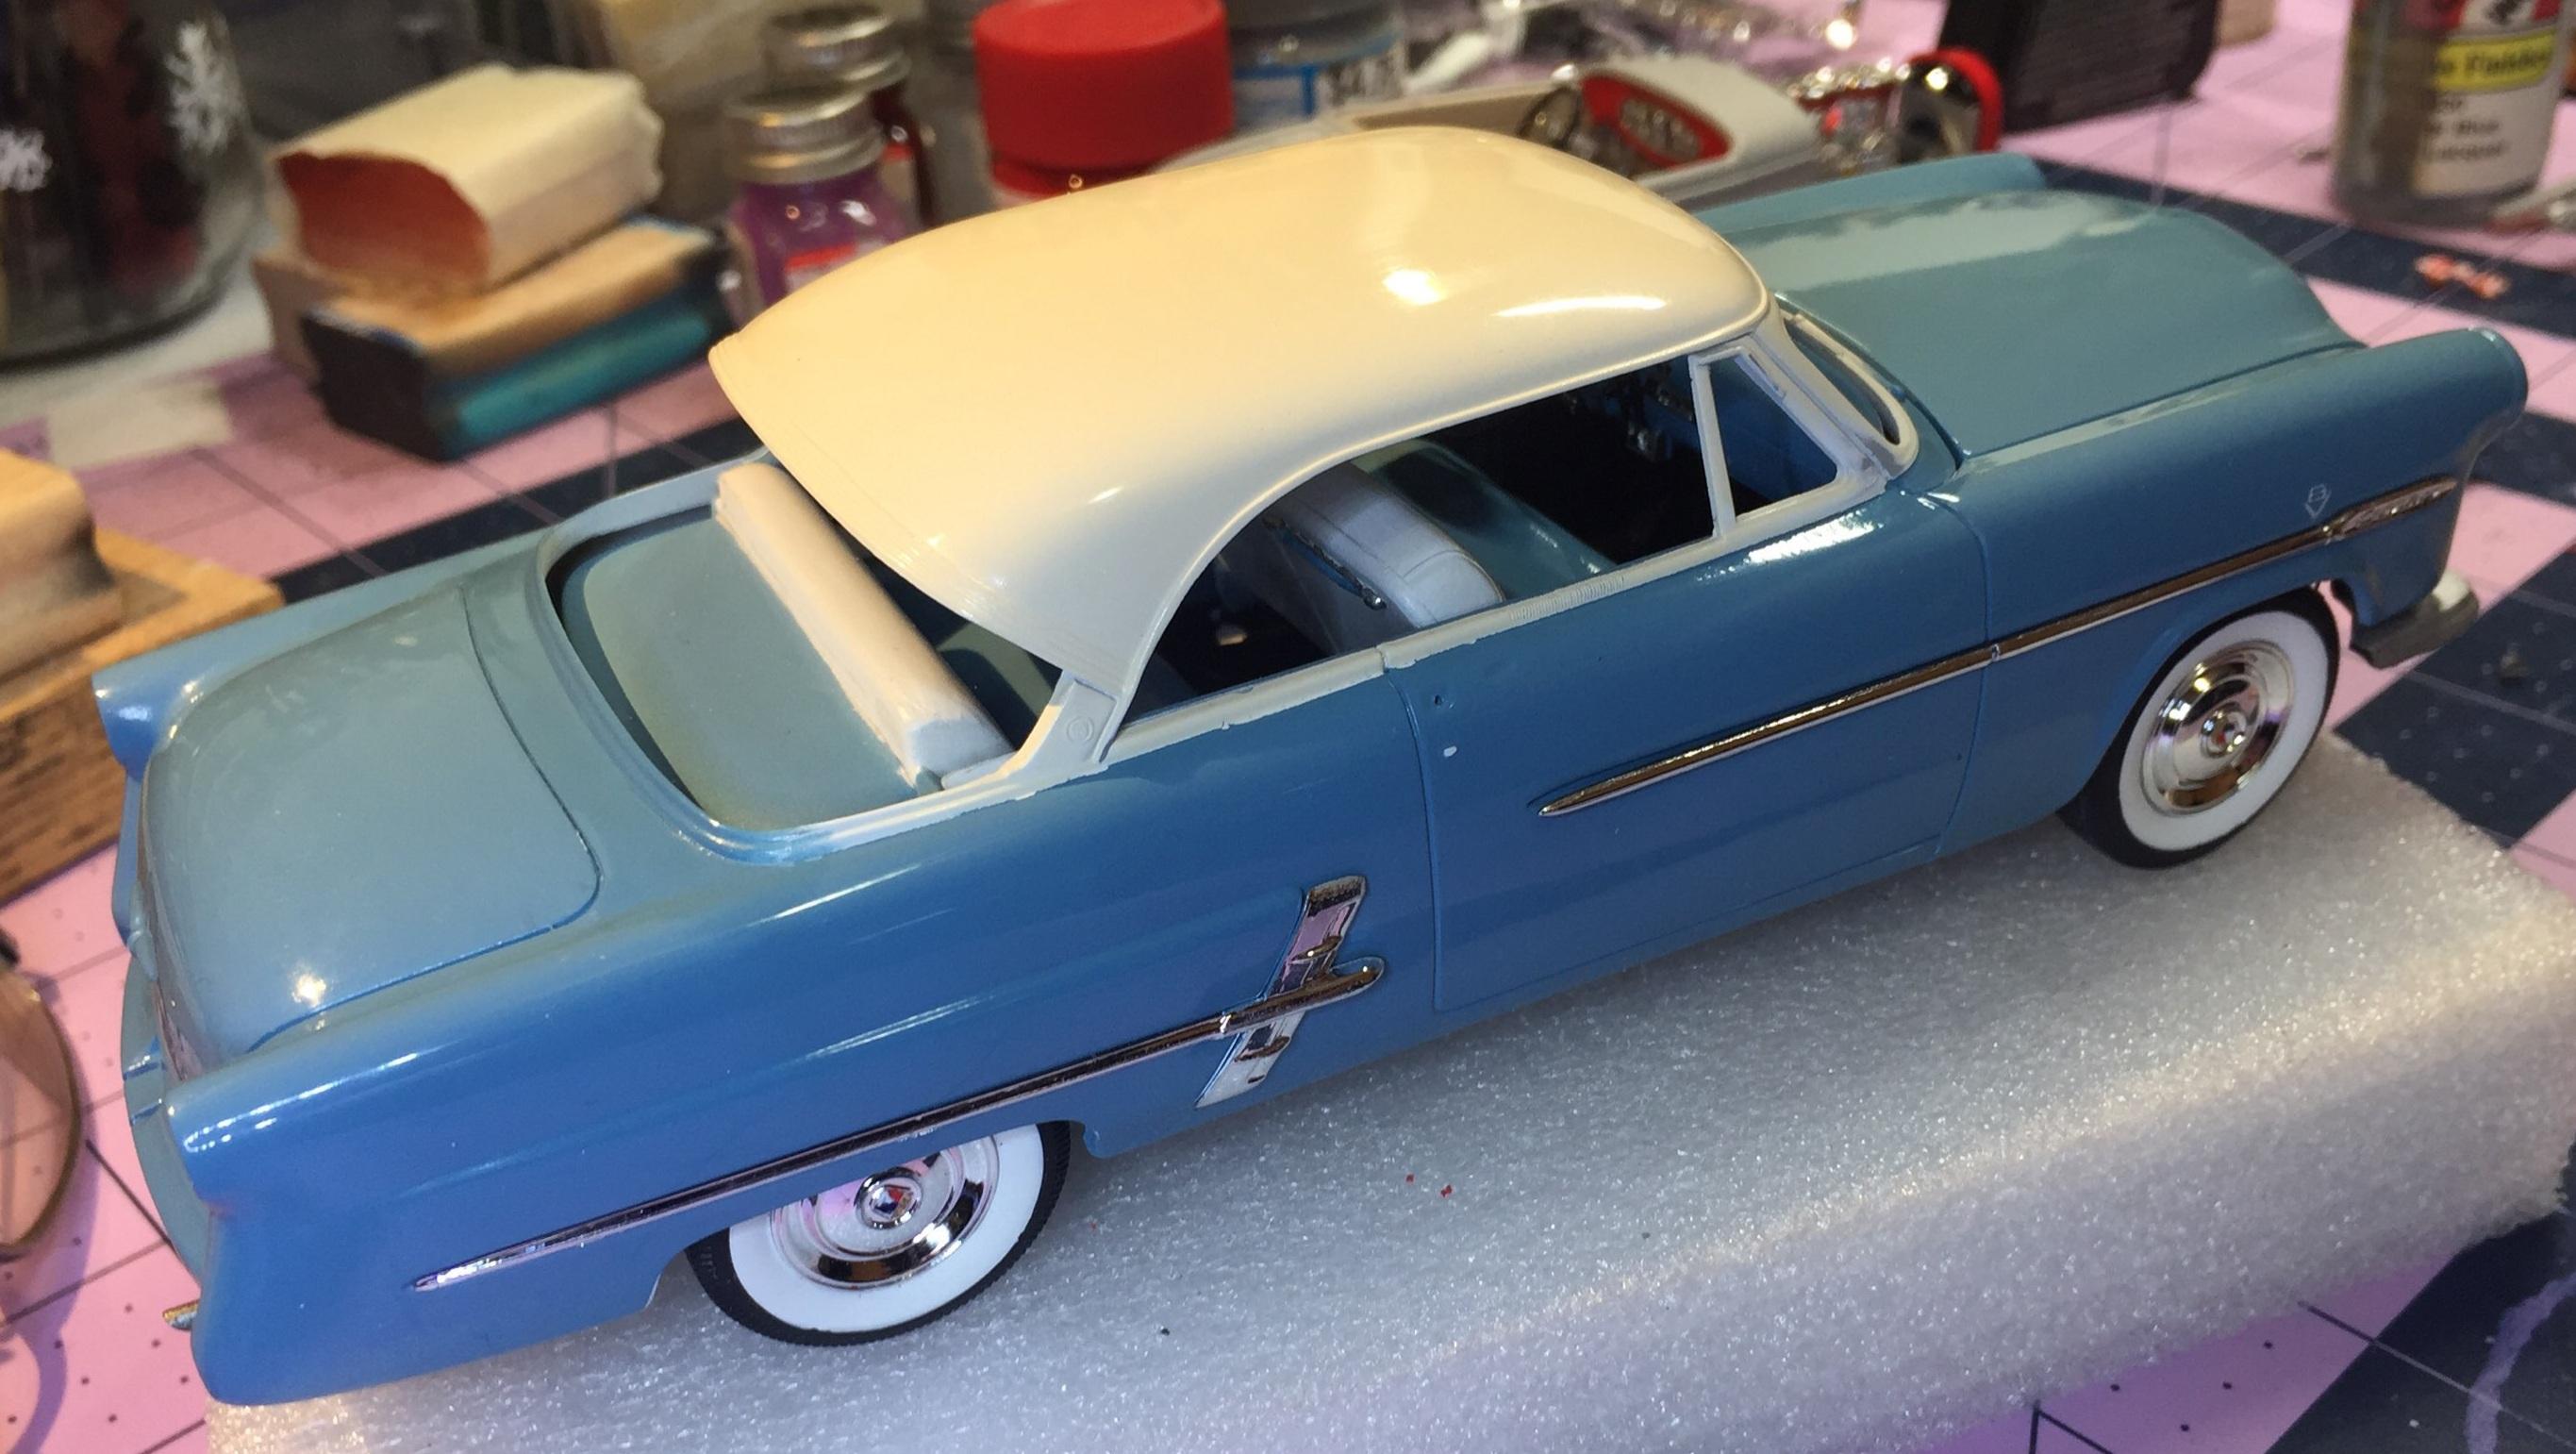
A picture is worth a thousand words. The left side skirt won't play well for some as yet unknown reason. The skirts were glued on way back when and were smoothed on the inside for the sake of chassis installation. Somewhere along the way after being brought into the house from the detached garage ("the paint department") the left skirt went missing. Luckily, I was able to use one from another kit. I painted it and glued it on with CA yesterday and before the the end of the day I was thinking about how it would look without skirts. It fell off again...hmmm......🤔
-
Lindberg's '53 Ford - following the instructions
customline replied to customline's topic in WIP: Model Cars
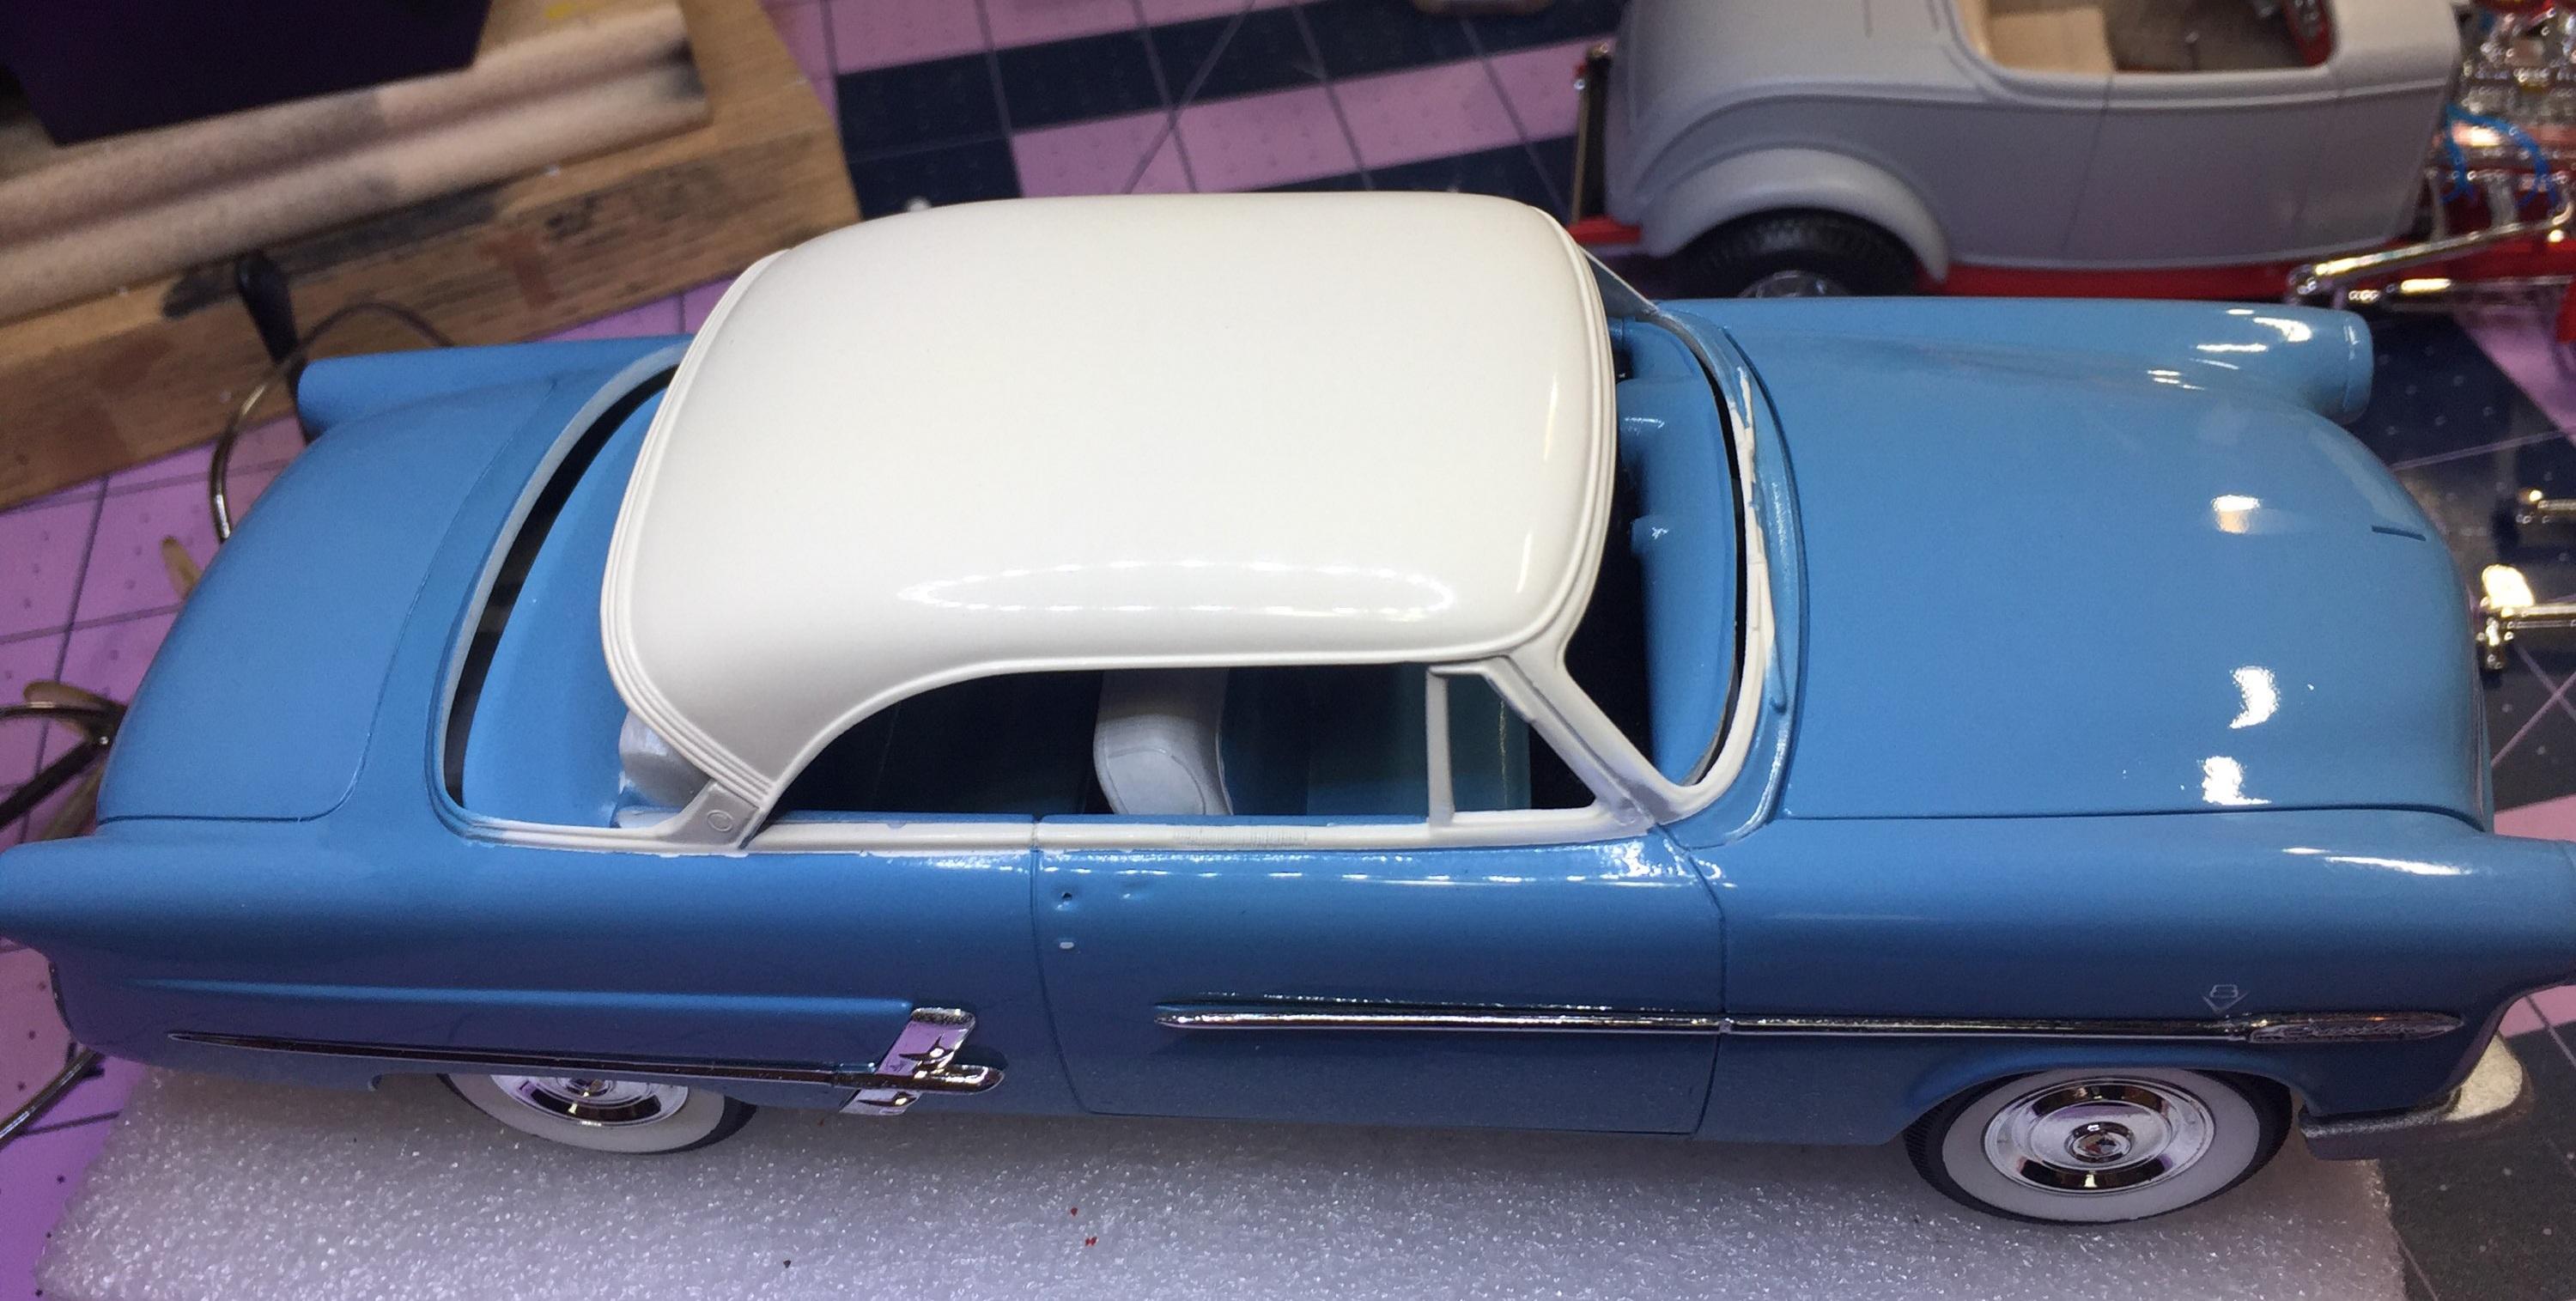
I built the ragtop. If I'm not mistaken, the ragtop is fitted with dual exhaust. Yes? I need to go look but it's way up high. 😒 -
Lindberg's '53 Ford - following the instructions
customline replied to customline's topic in WIP: Model Cars
Thanks, David. You didn't zoom, I guess 🤣 -
Great work on that radiator support, Elliot. I'm stealing that! 🤓
-
Lindberg's '53 Ford - following the instructions
customline replied to customline's topic in WIP: Model Cars
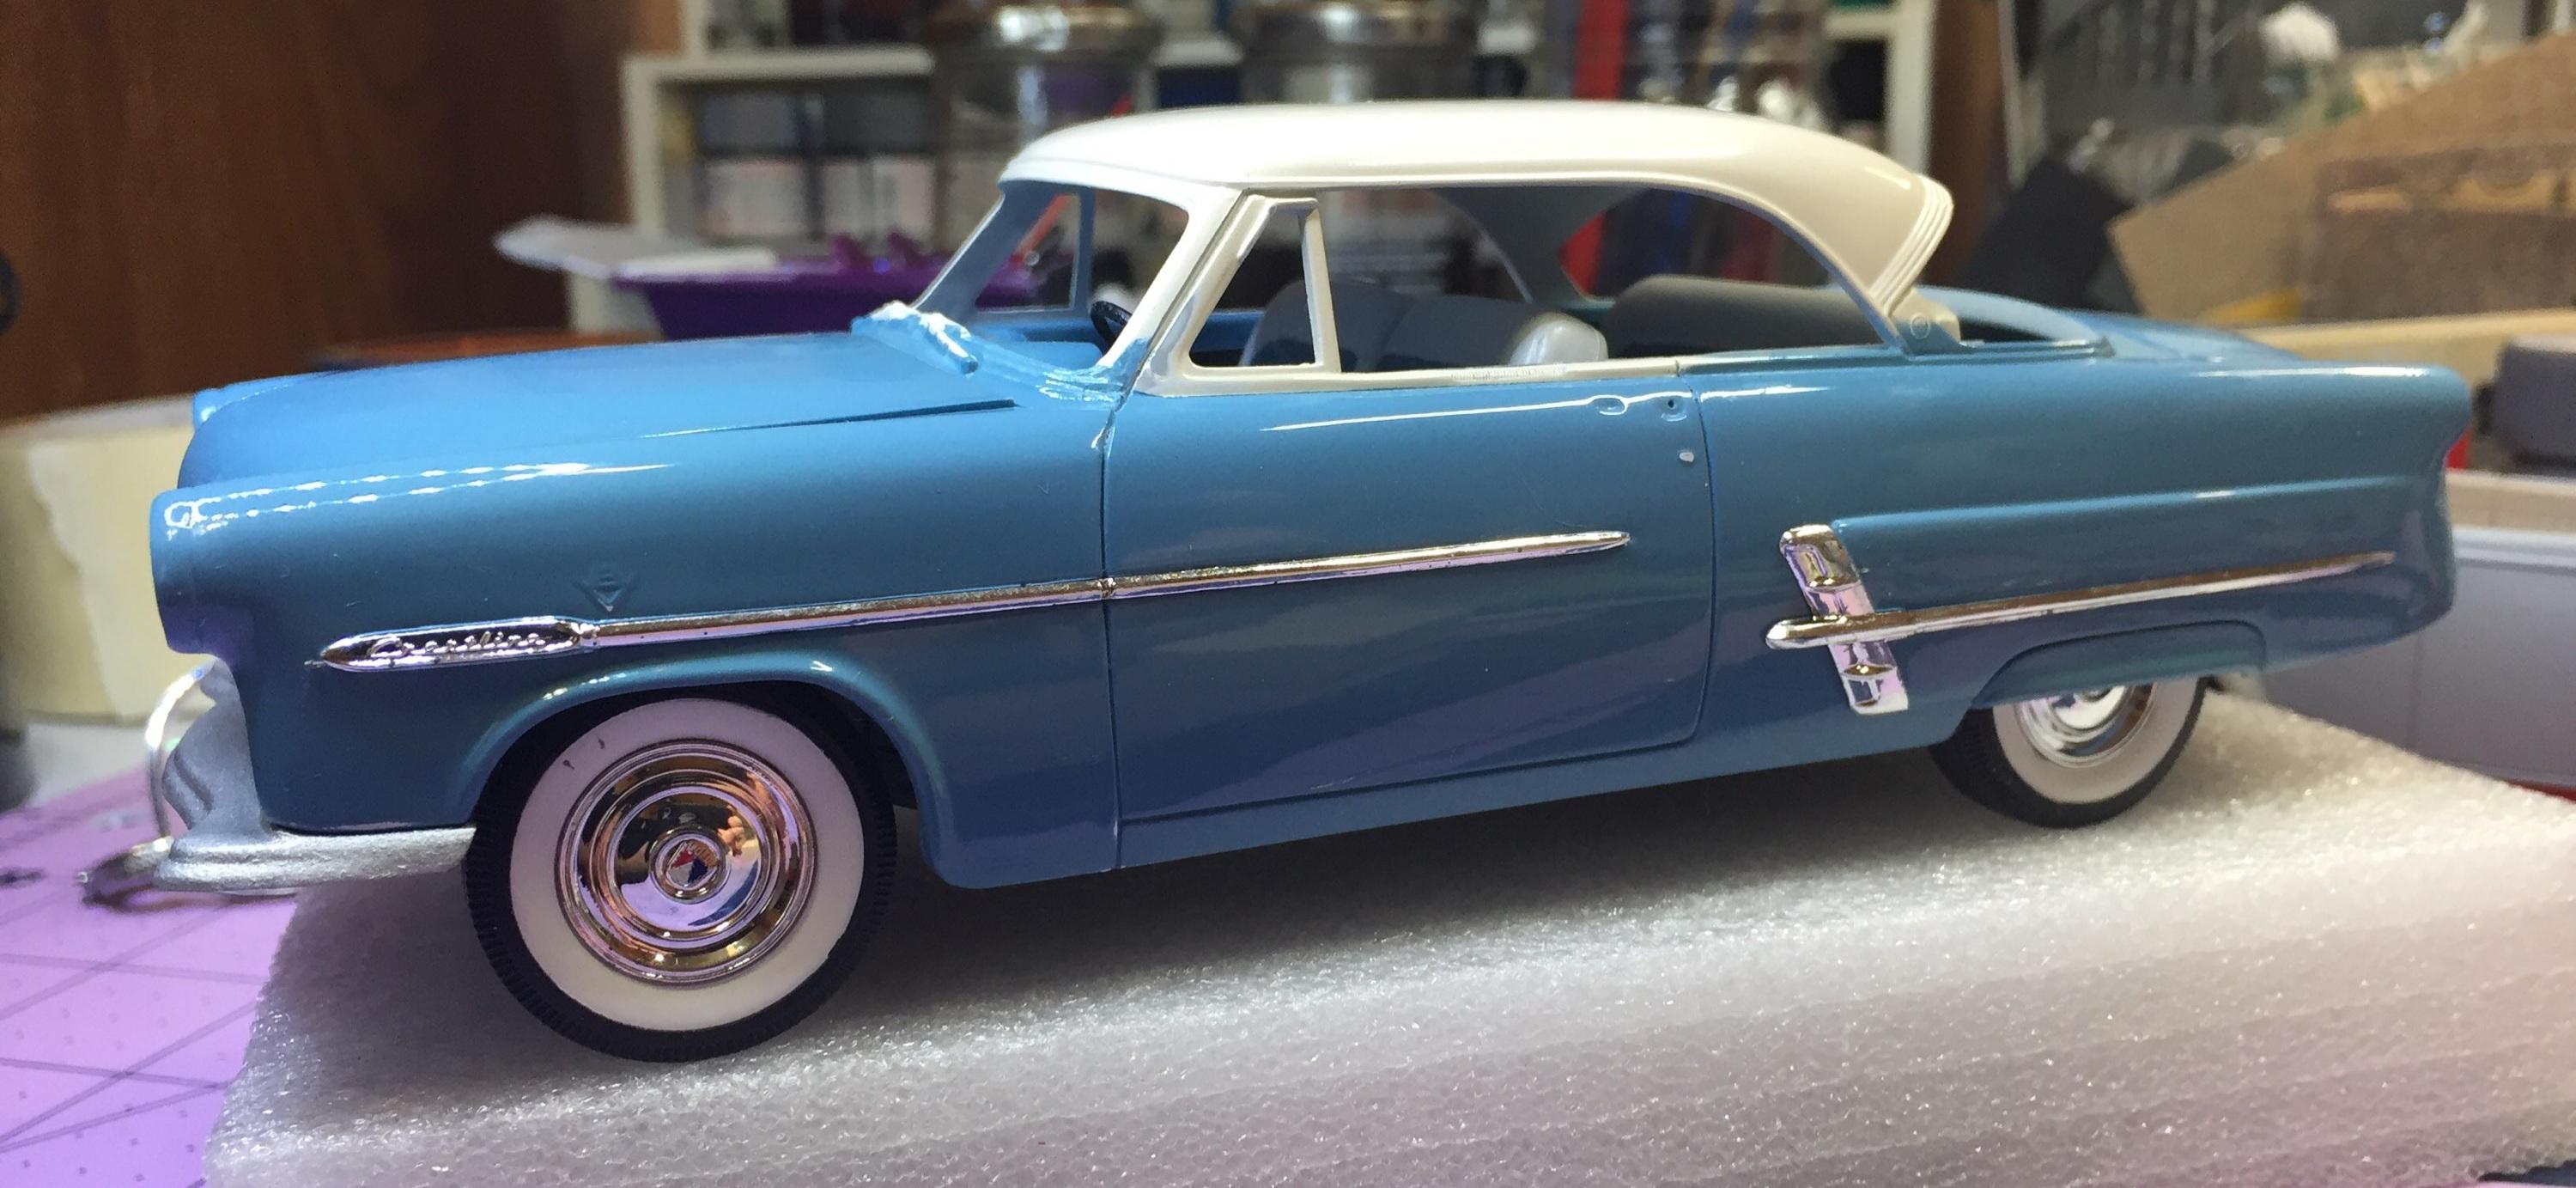
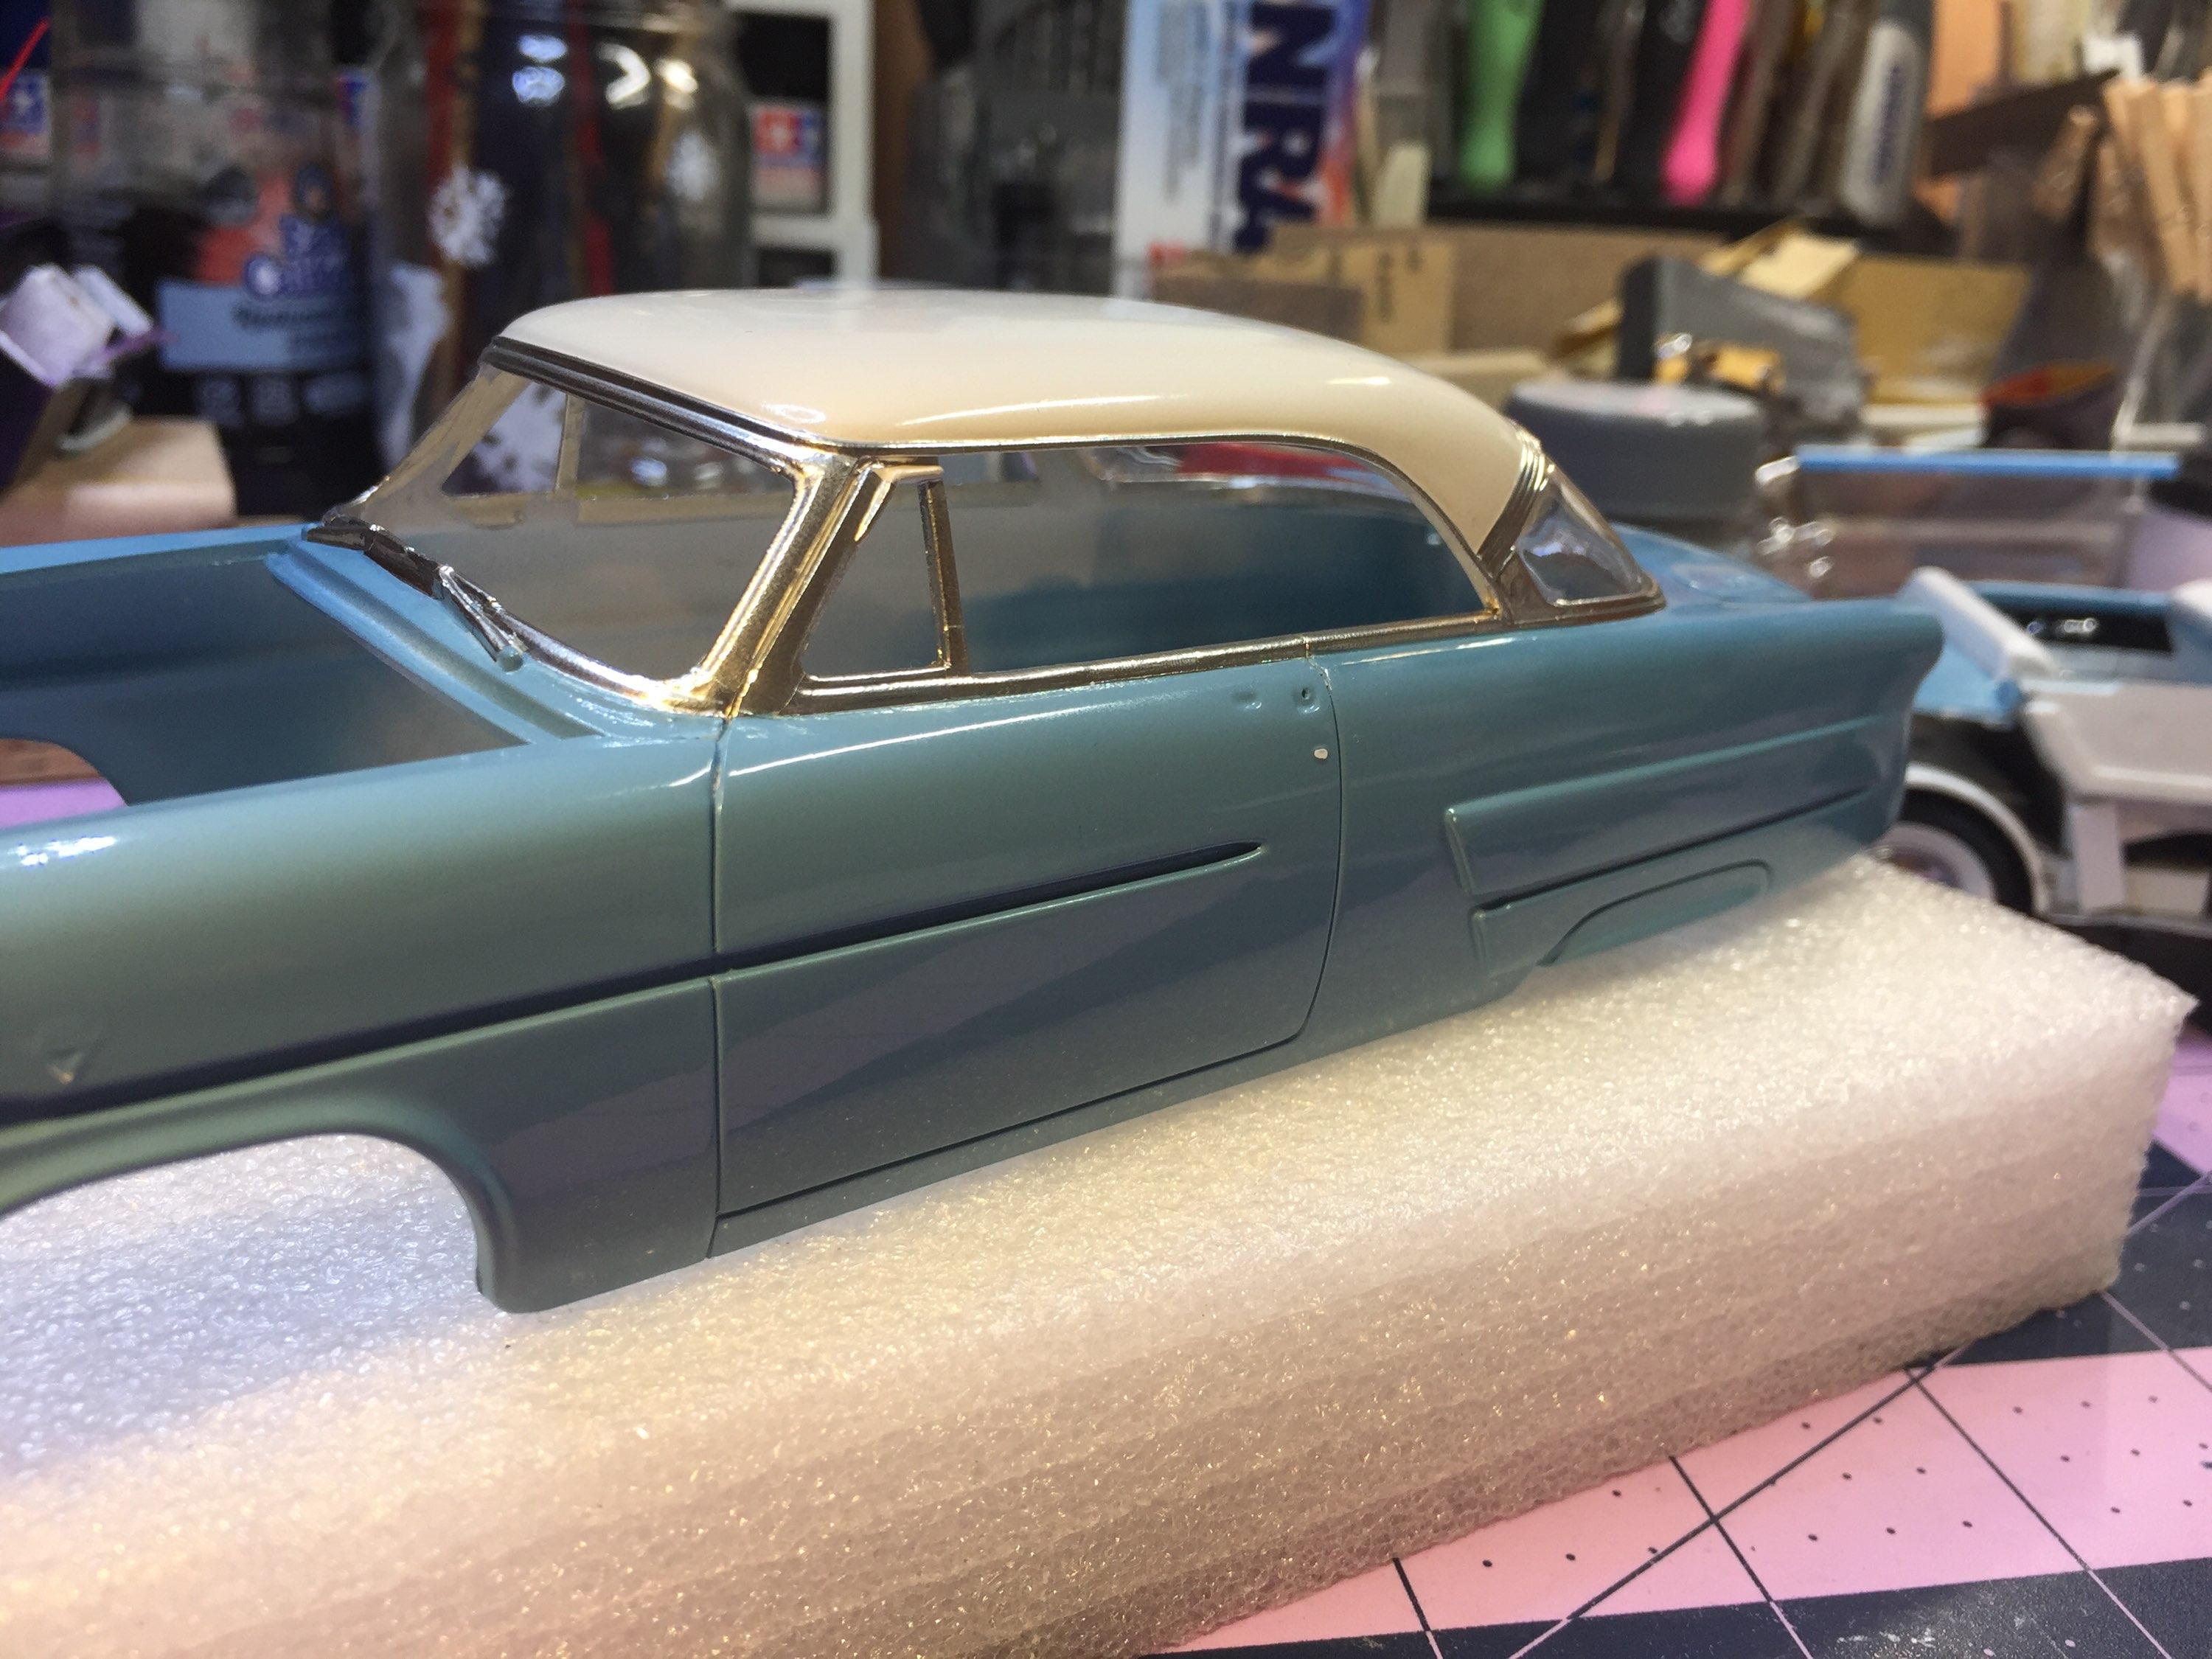
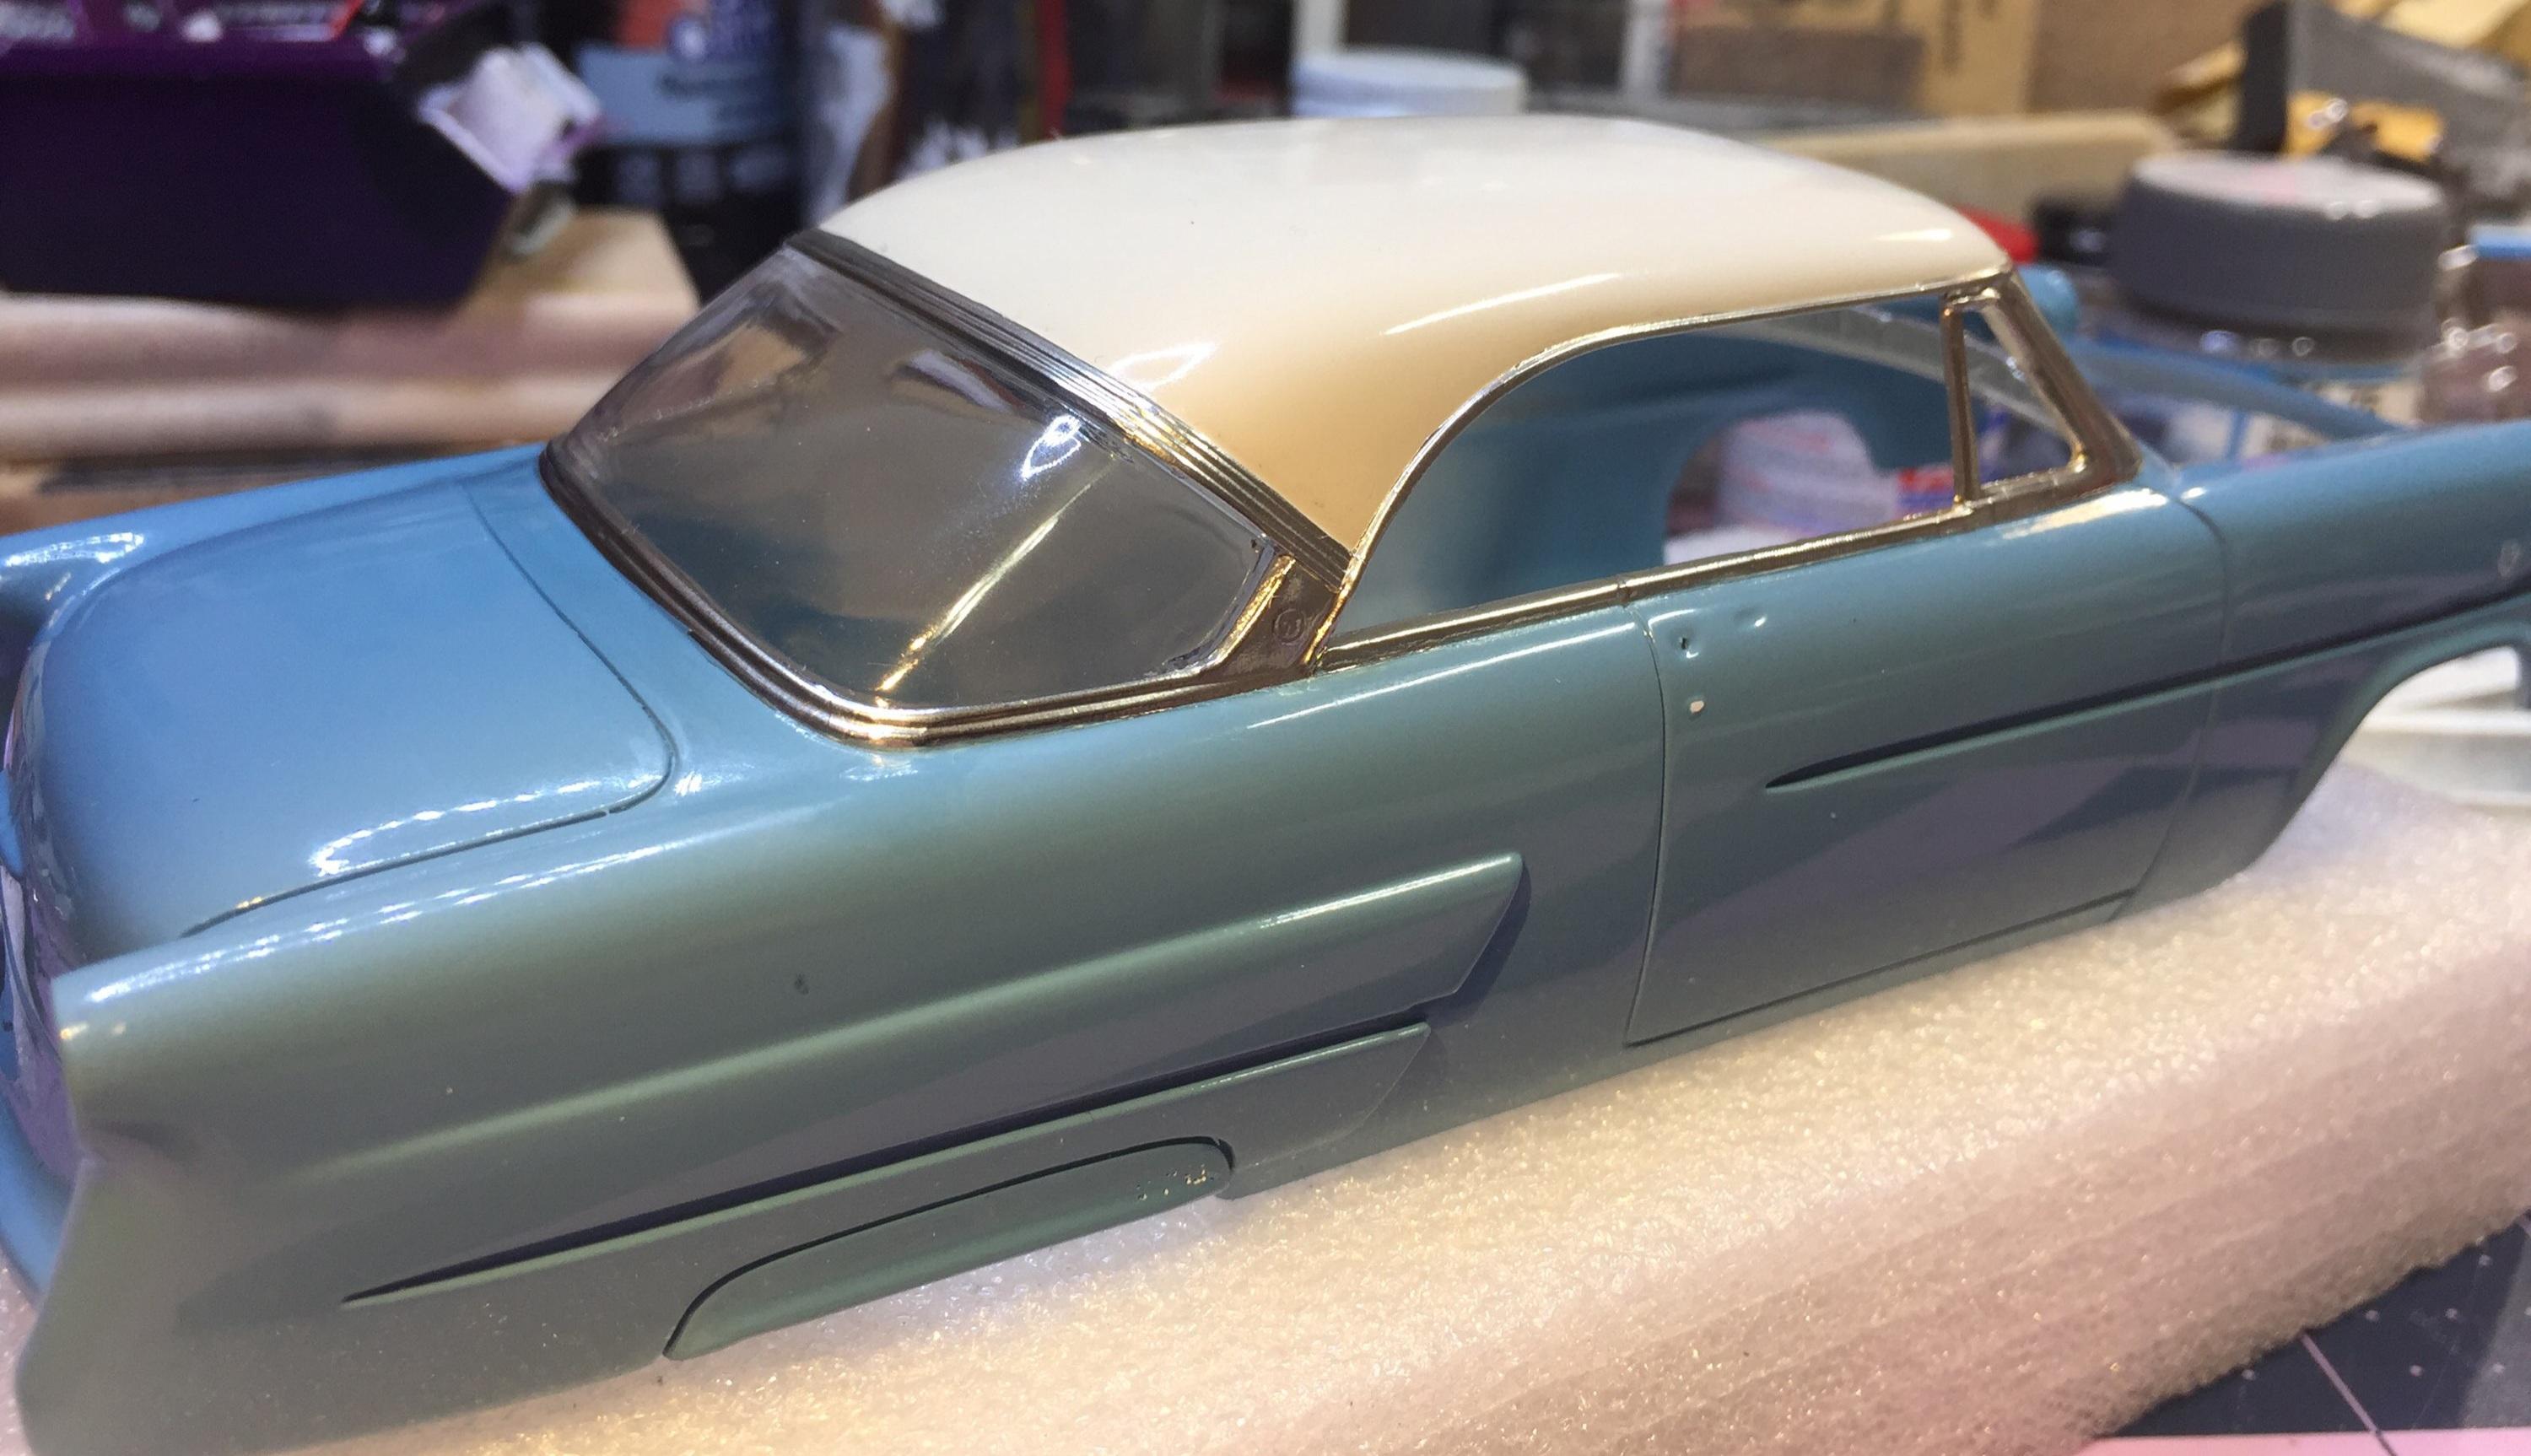
I use BMF "NEW IMPROVED CHROME" not the "ULTRA BRIGHT CHROME". I start with a fresh surgical #11 blade. Excel and Exacto both have "premium" blades but you can find surgical blades in 100 count pkgs. for cheap on fleabay. And they're sharper. The trim you cover must be smooth. I use a head mounted magnifier and plenty of light for everything. This one was not much fun. Figuring out how to do what and when and how is a skill that must be developed on the job. You need to think about it and plan it into your build scheme. And you need to like it. 🥴 BTW, this one really isn't my best foil job. I still need to deal with goofs by adding some Molotow here and there. I've done better but this one was tough at the vents and the C-pillars (are they still 'C' on a hardtop?) -
Lindberg's '53 Ford - following the instructions
customline replied to customline's topic in WIP: Model Cars
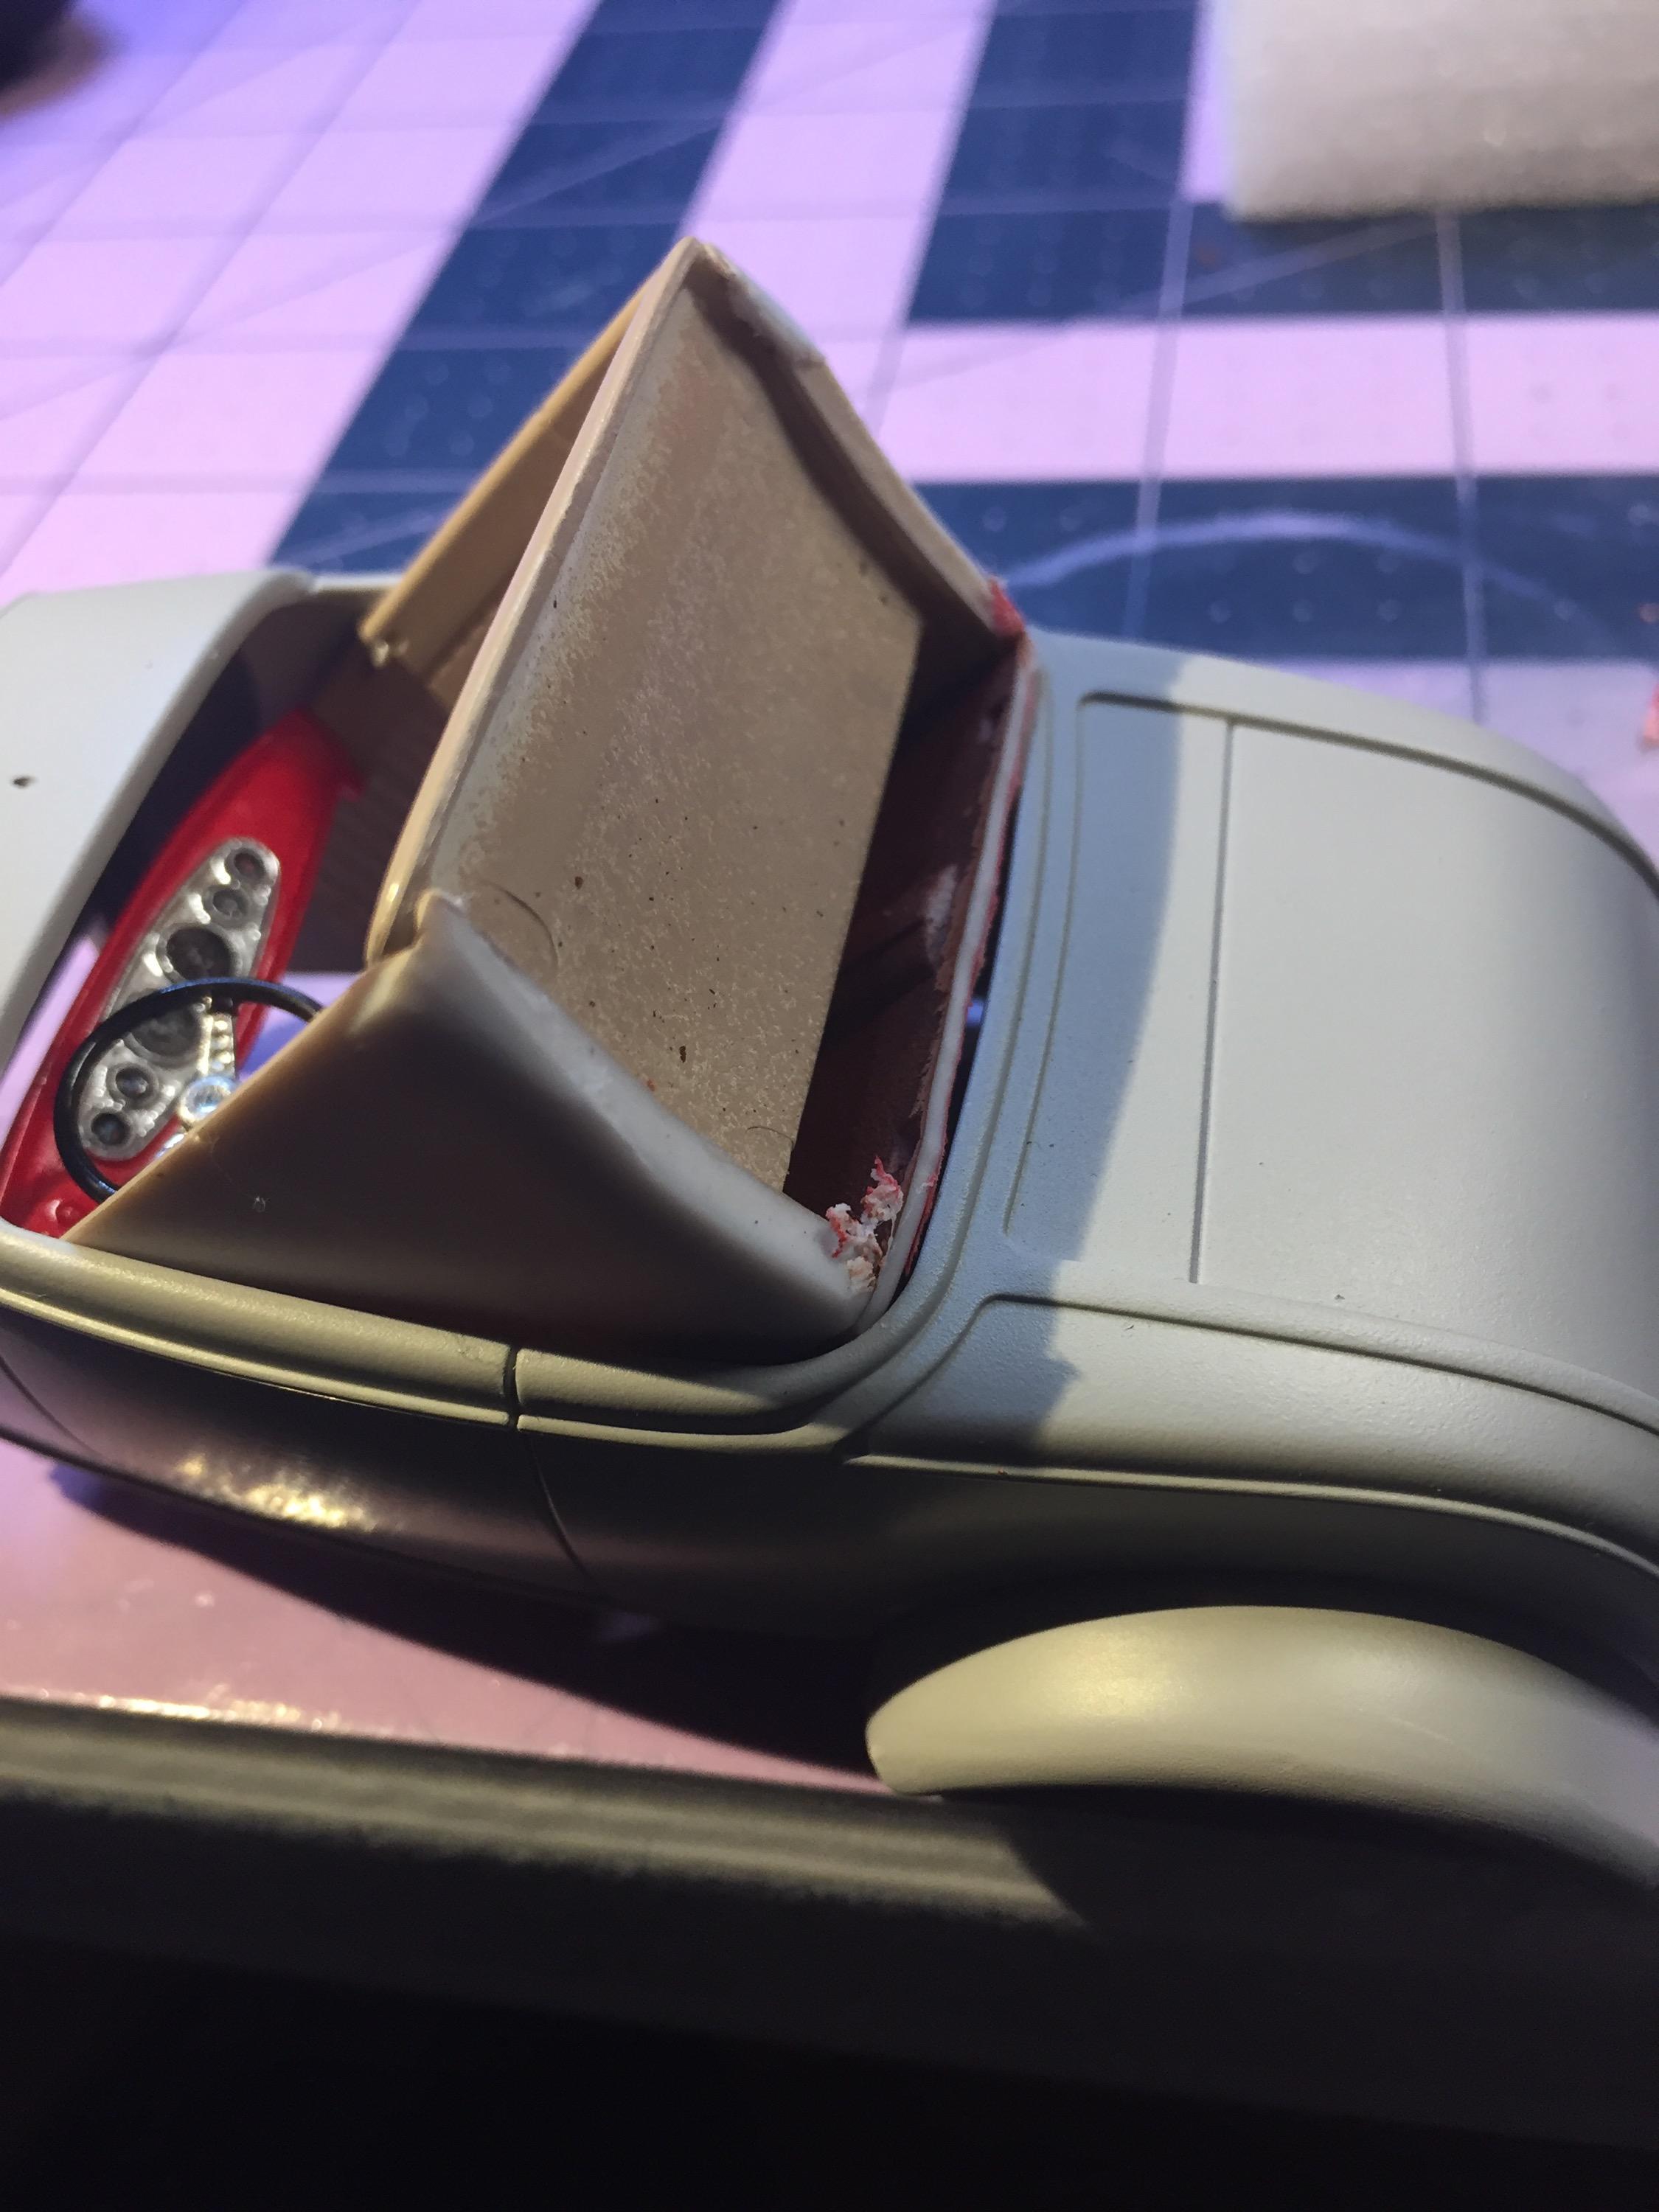
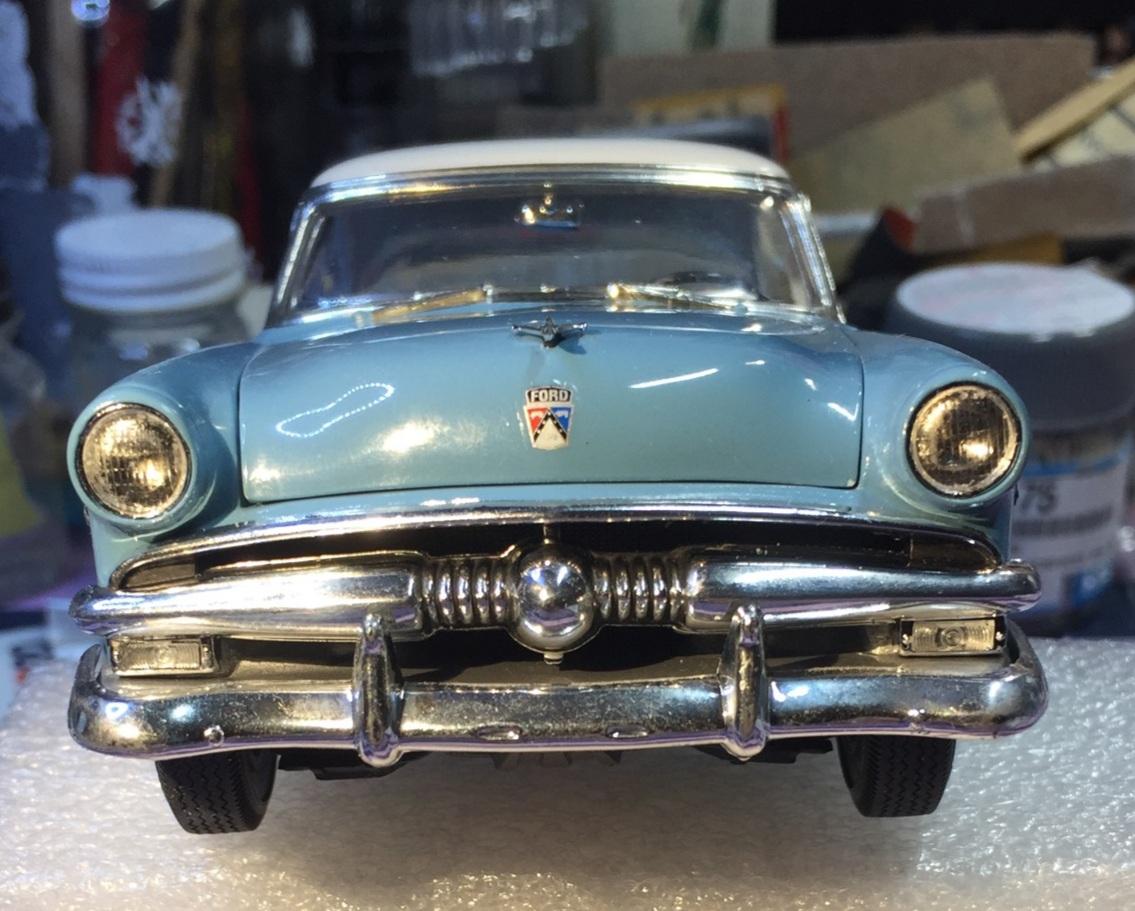
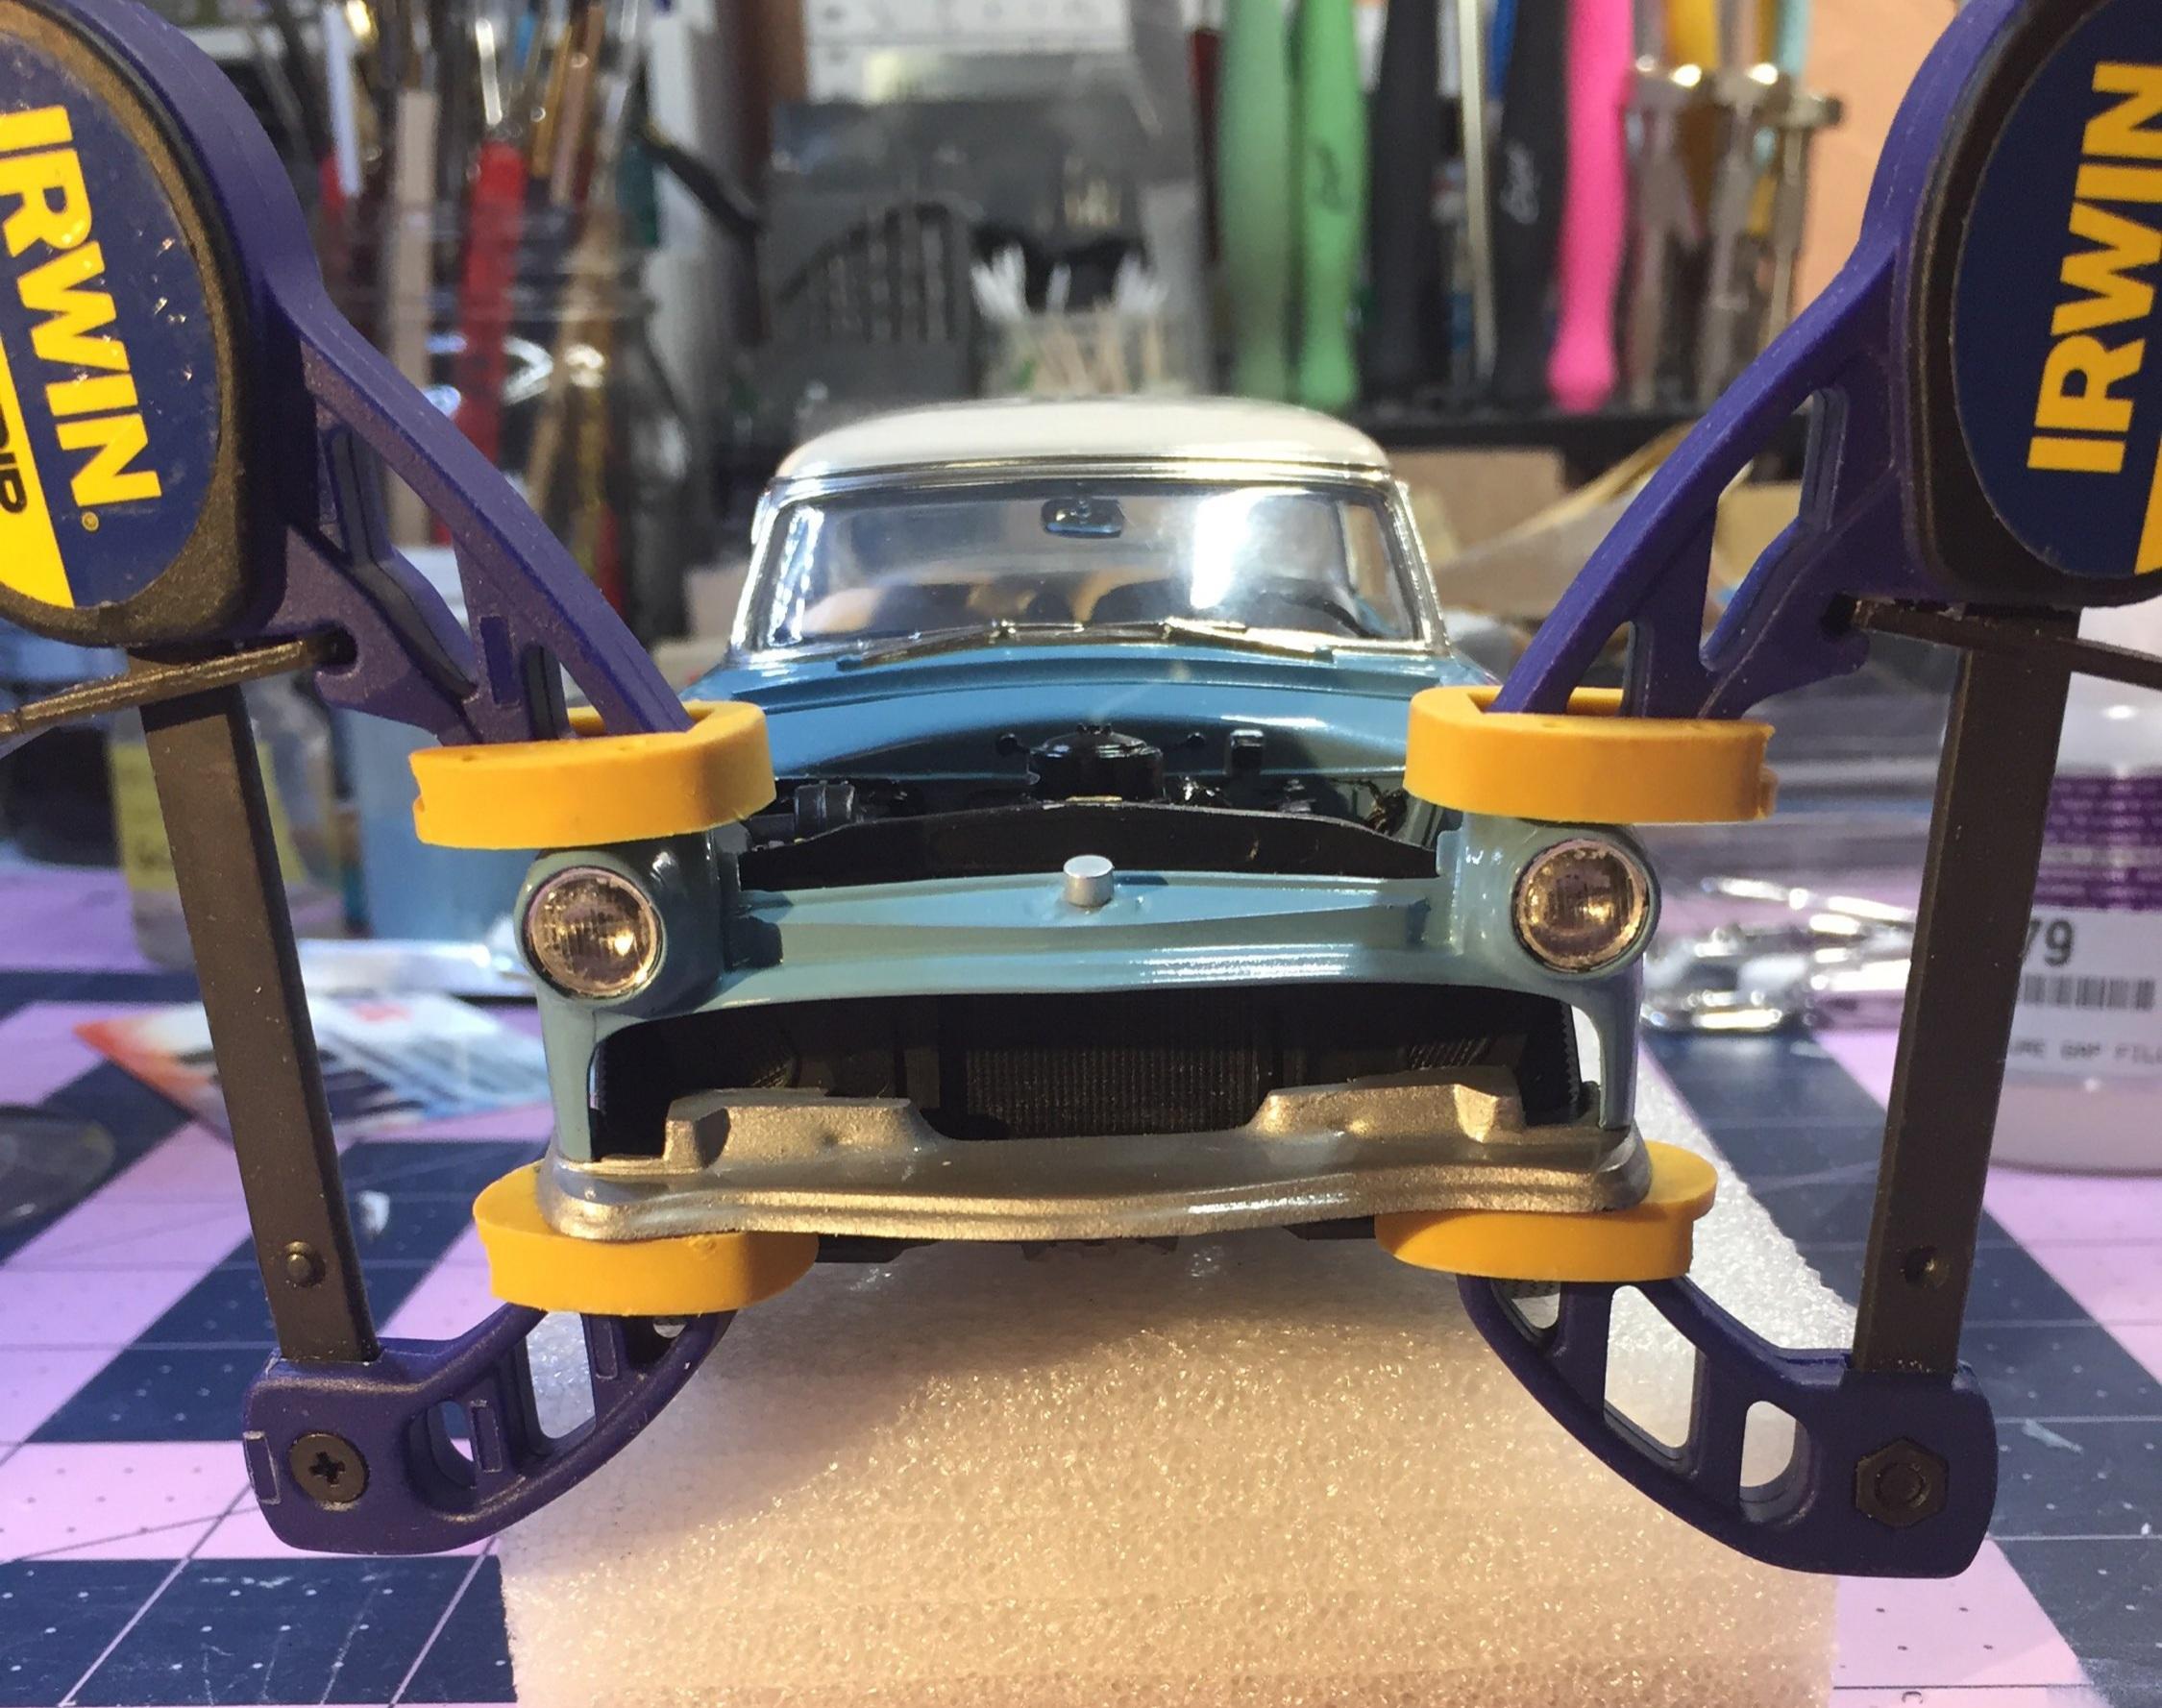
I realized that I didn't have a hinged hood. MAGNETS ! Here's the only thing I could think to do. I added a ....uhh....well, a nose 🤥. I taped the hood in place and experimented with shims. Like setting points 😉. Found the right, CA on the shim and "send it in!"......more coffee...... Looks like .030 maybe .... I used a heated blade to remove the excess shim. I added more CA and kicked the 💩 out of it. Since I just could not wait to see the hood ornament in place, I had to build a bubble around said ornament when the time came to paint the underside. Got that out of the way. Thanks.
-
Lindberg's '53 Ford - following the instructions
customline replied to customline's topic in WIP: Model Cars
Got some foil on it last night.
-
Lindberg's '53 Ford - following the instructions
customline replied to customline's topic in WIP: Model Cars
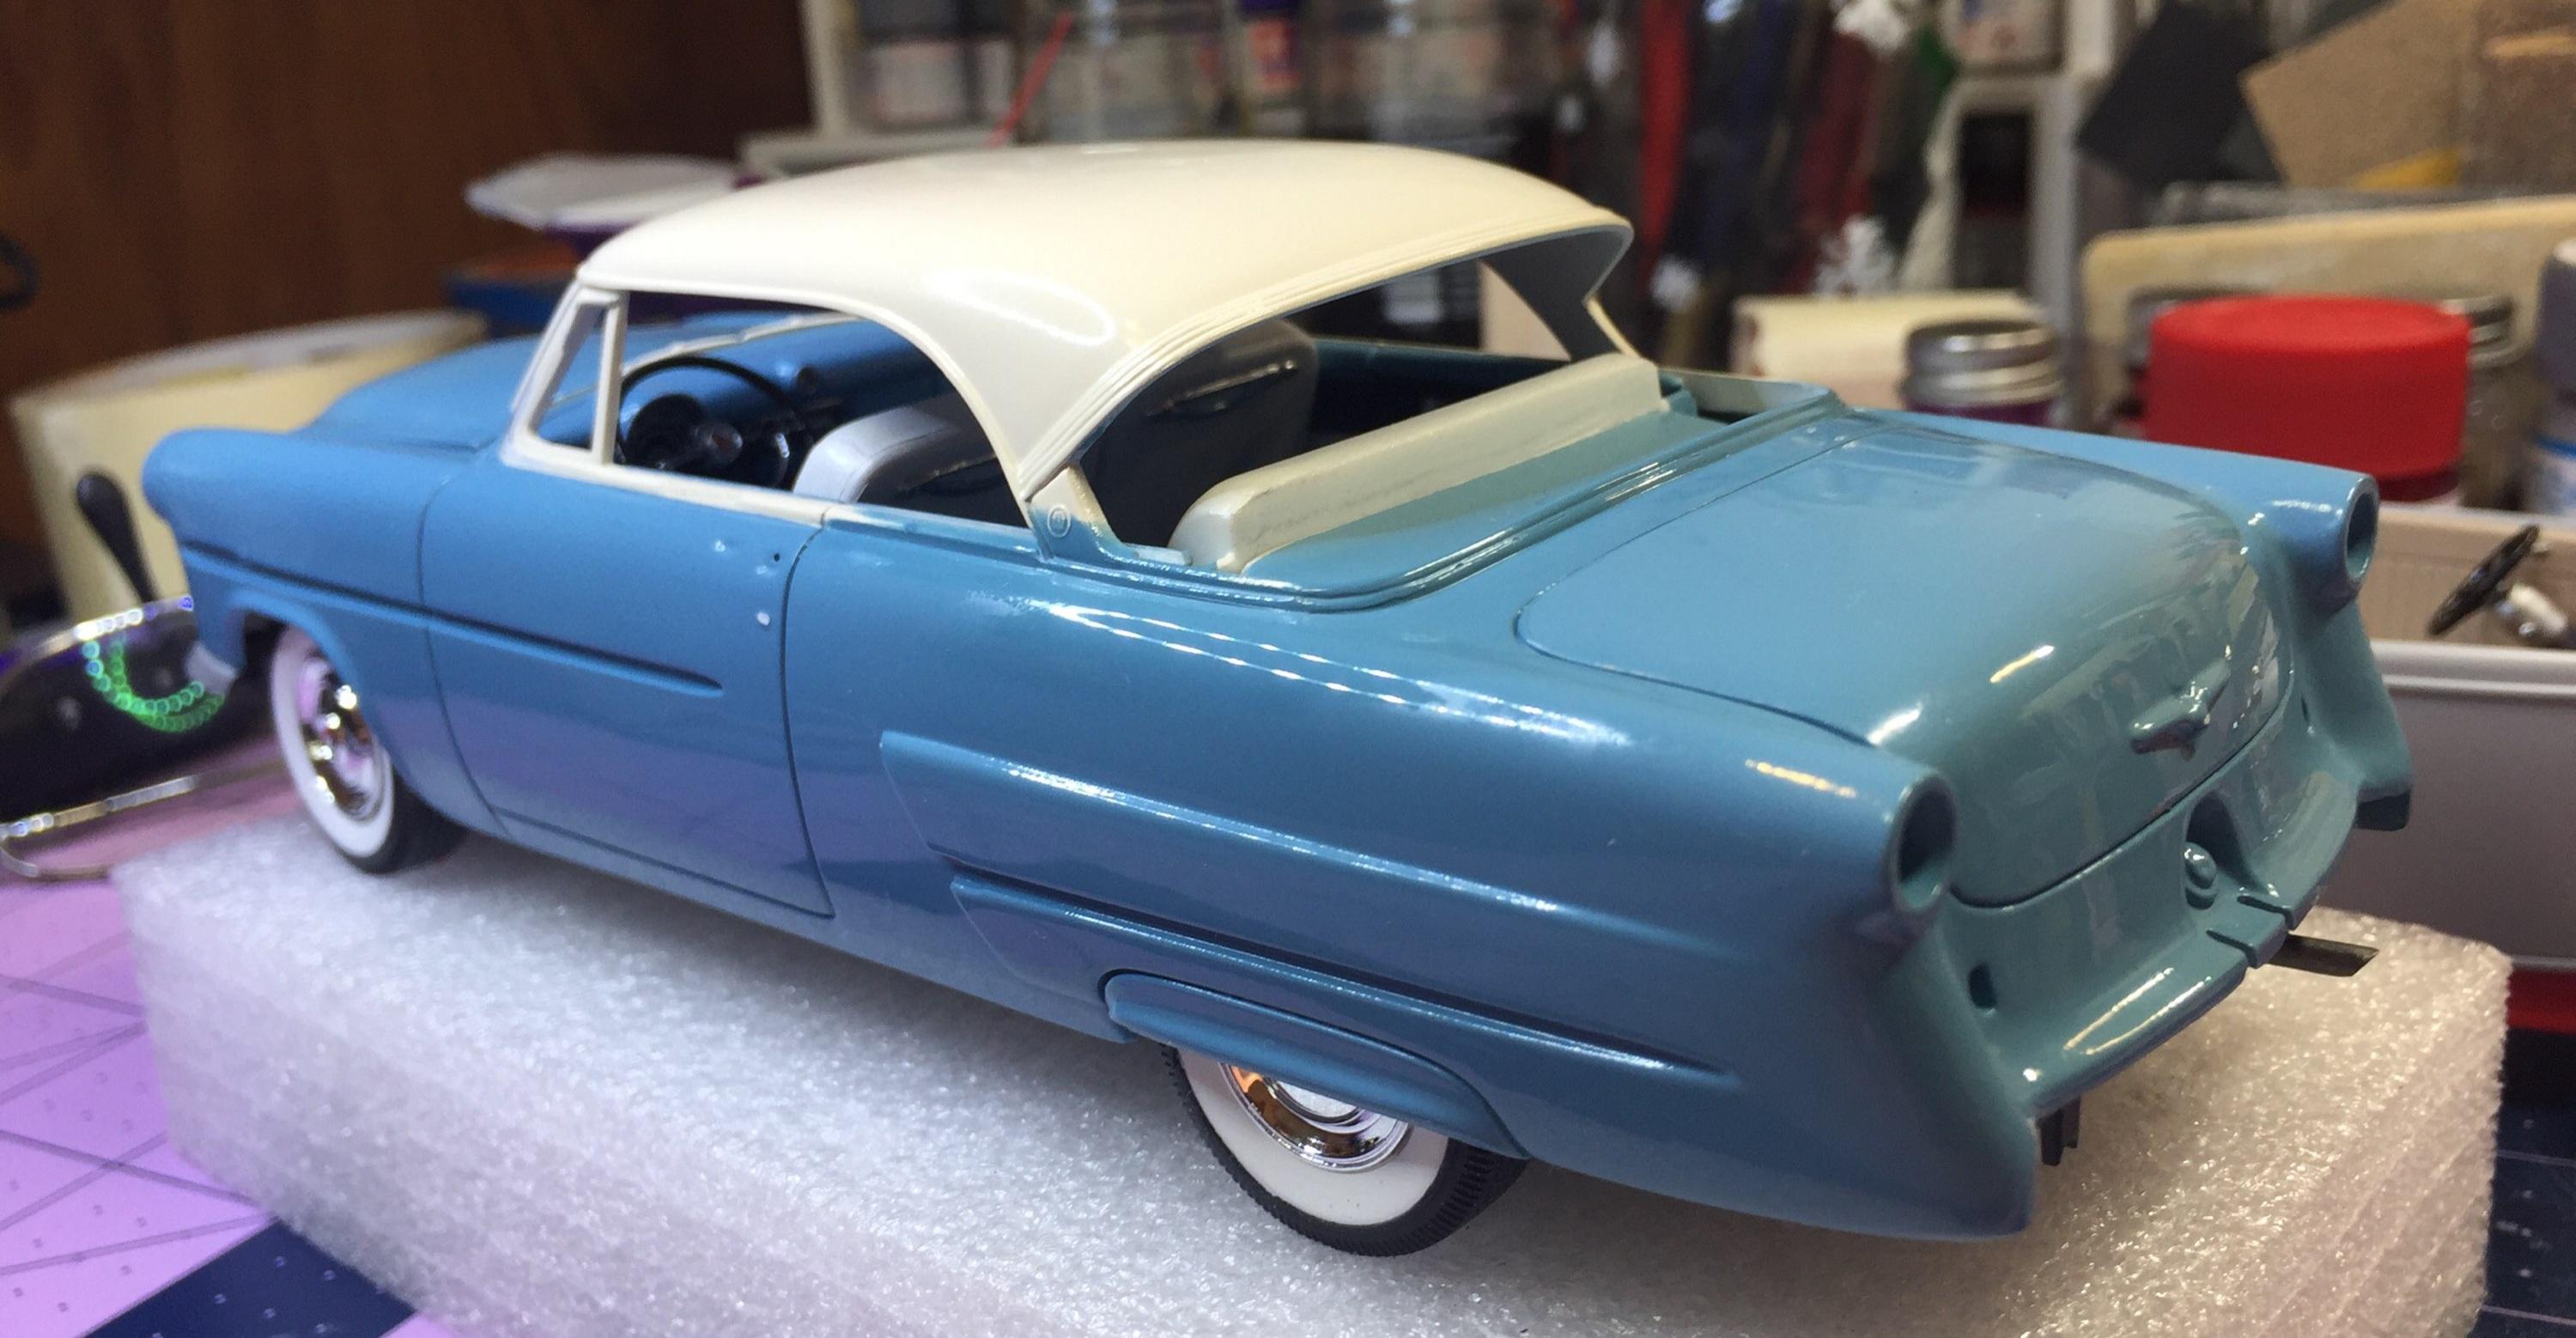
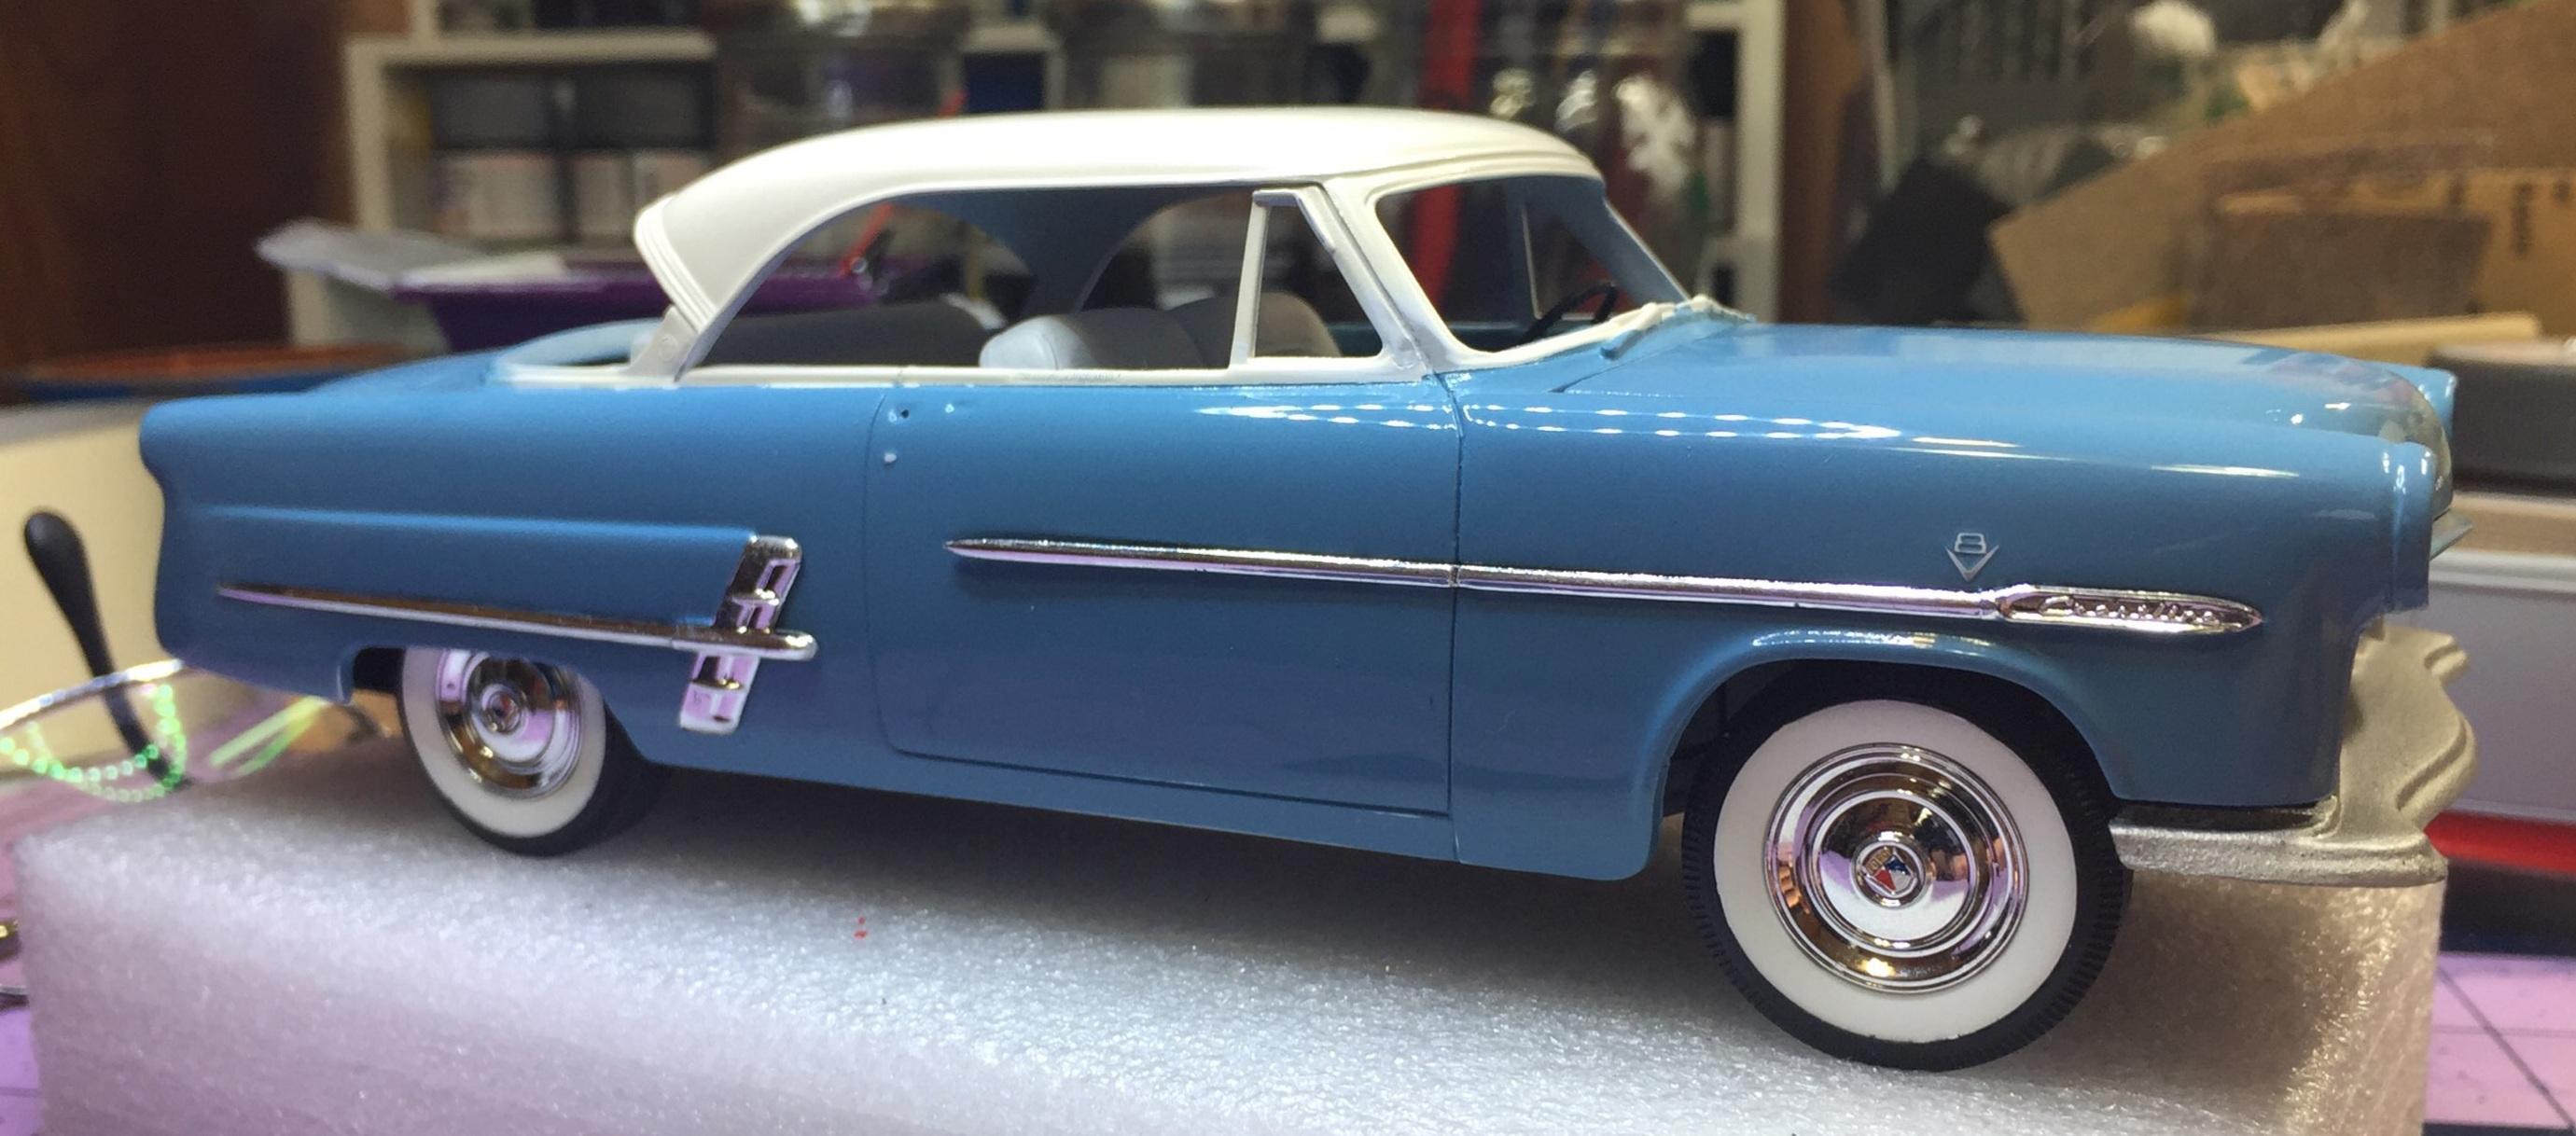
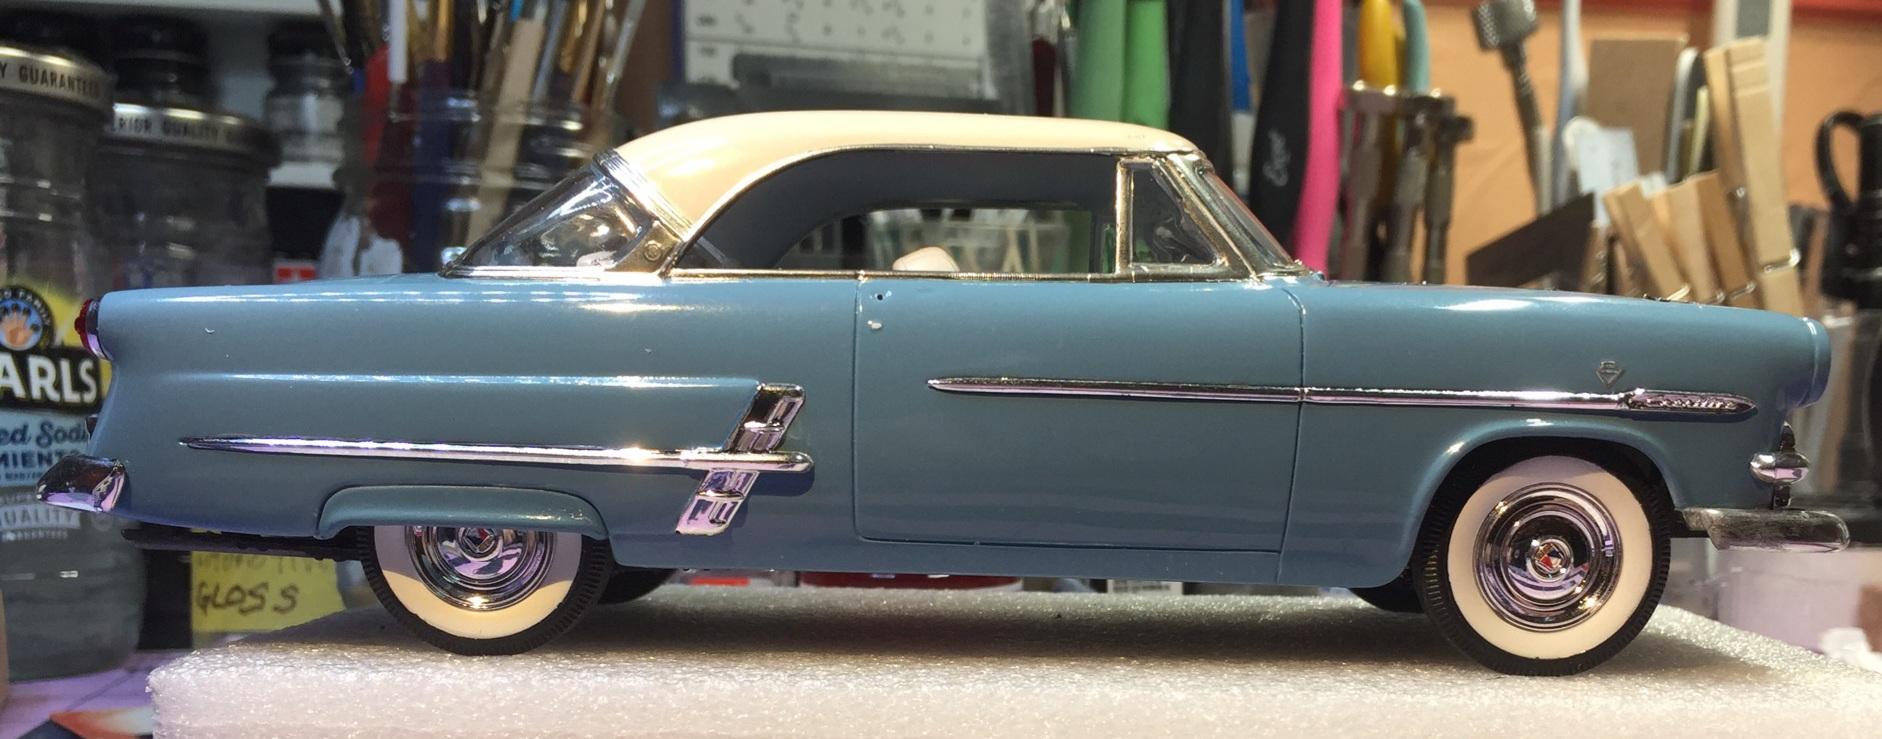
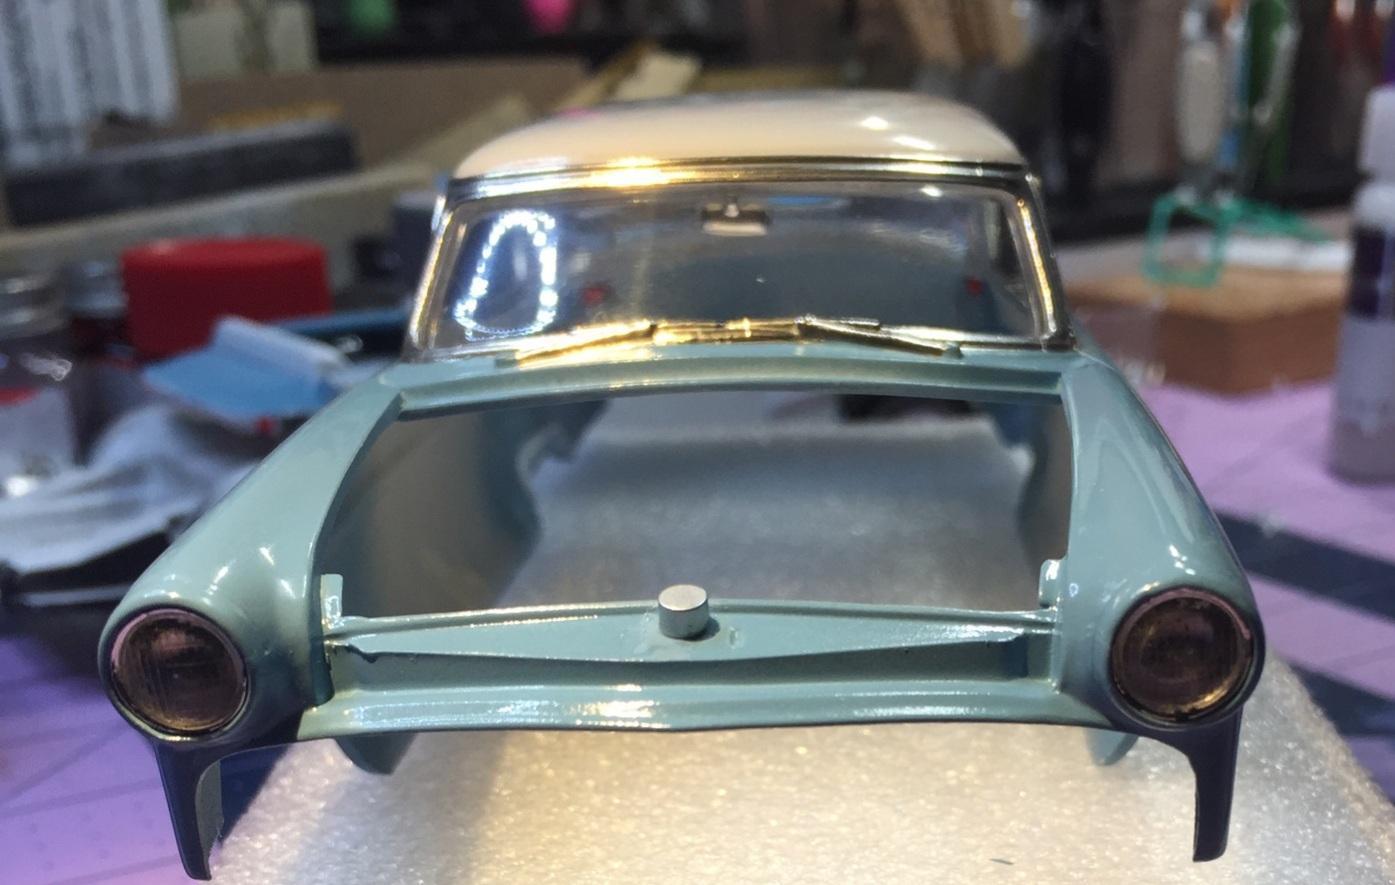
I spent about three hours on this today. I started with 4000 but It wasn't cutting . I went to 3600 and then 3200. The masking ridge on the right side (which was only a half inch long) gave me some greif but I persevered. It looked pretty decent so I just went ahead and rubbed out the whole thing. I did a bit of brush touch up in the usual places and then I wanted to see it with the side trim on. Thanks for checking in. You can see a difference due to the clear coat altering the light. I may try to patch the clear coat but I don't believe I can improve it much.
-
Actually, Elliot, it doesn't. The camera just isn't kind. 😒
-
Remember, Dave, I deviated from the instructions. Because I'm averse to gluing two painted things together, I, naturally, attached the firewall and the inner fenders to the "carcass" 😅. That got me in trouble later on, Dave, so this thing I did was a workaround for that 🥴. But I suppose you could build it their way, Dave.
-
Thanks, Bob. You should have heard me the first time I tried to put it in there. The neighbors did.🤣
-
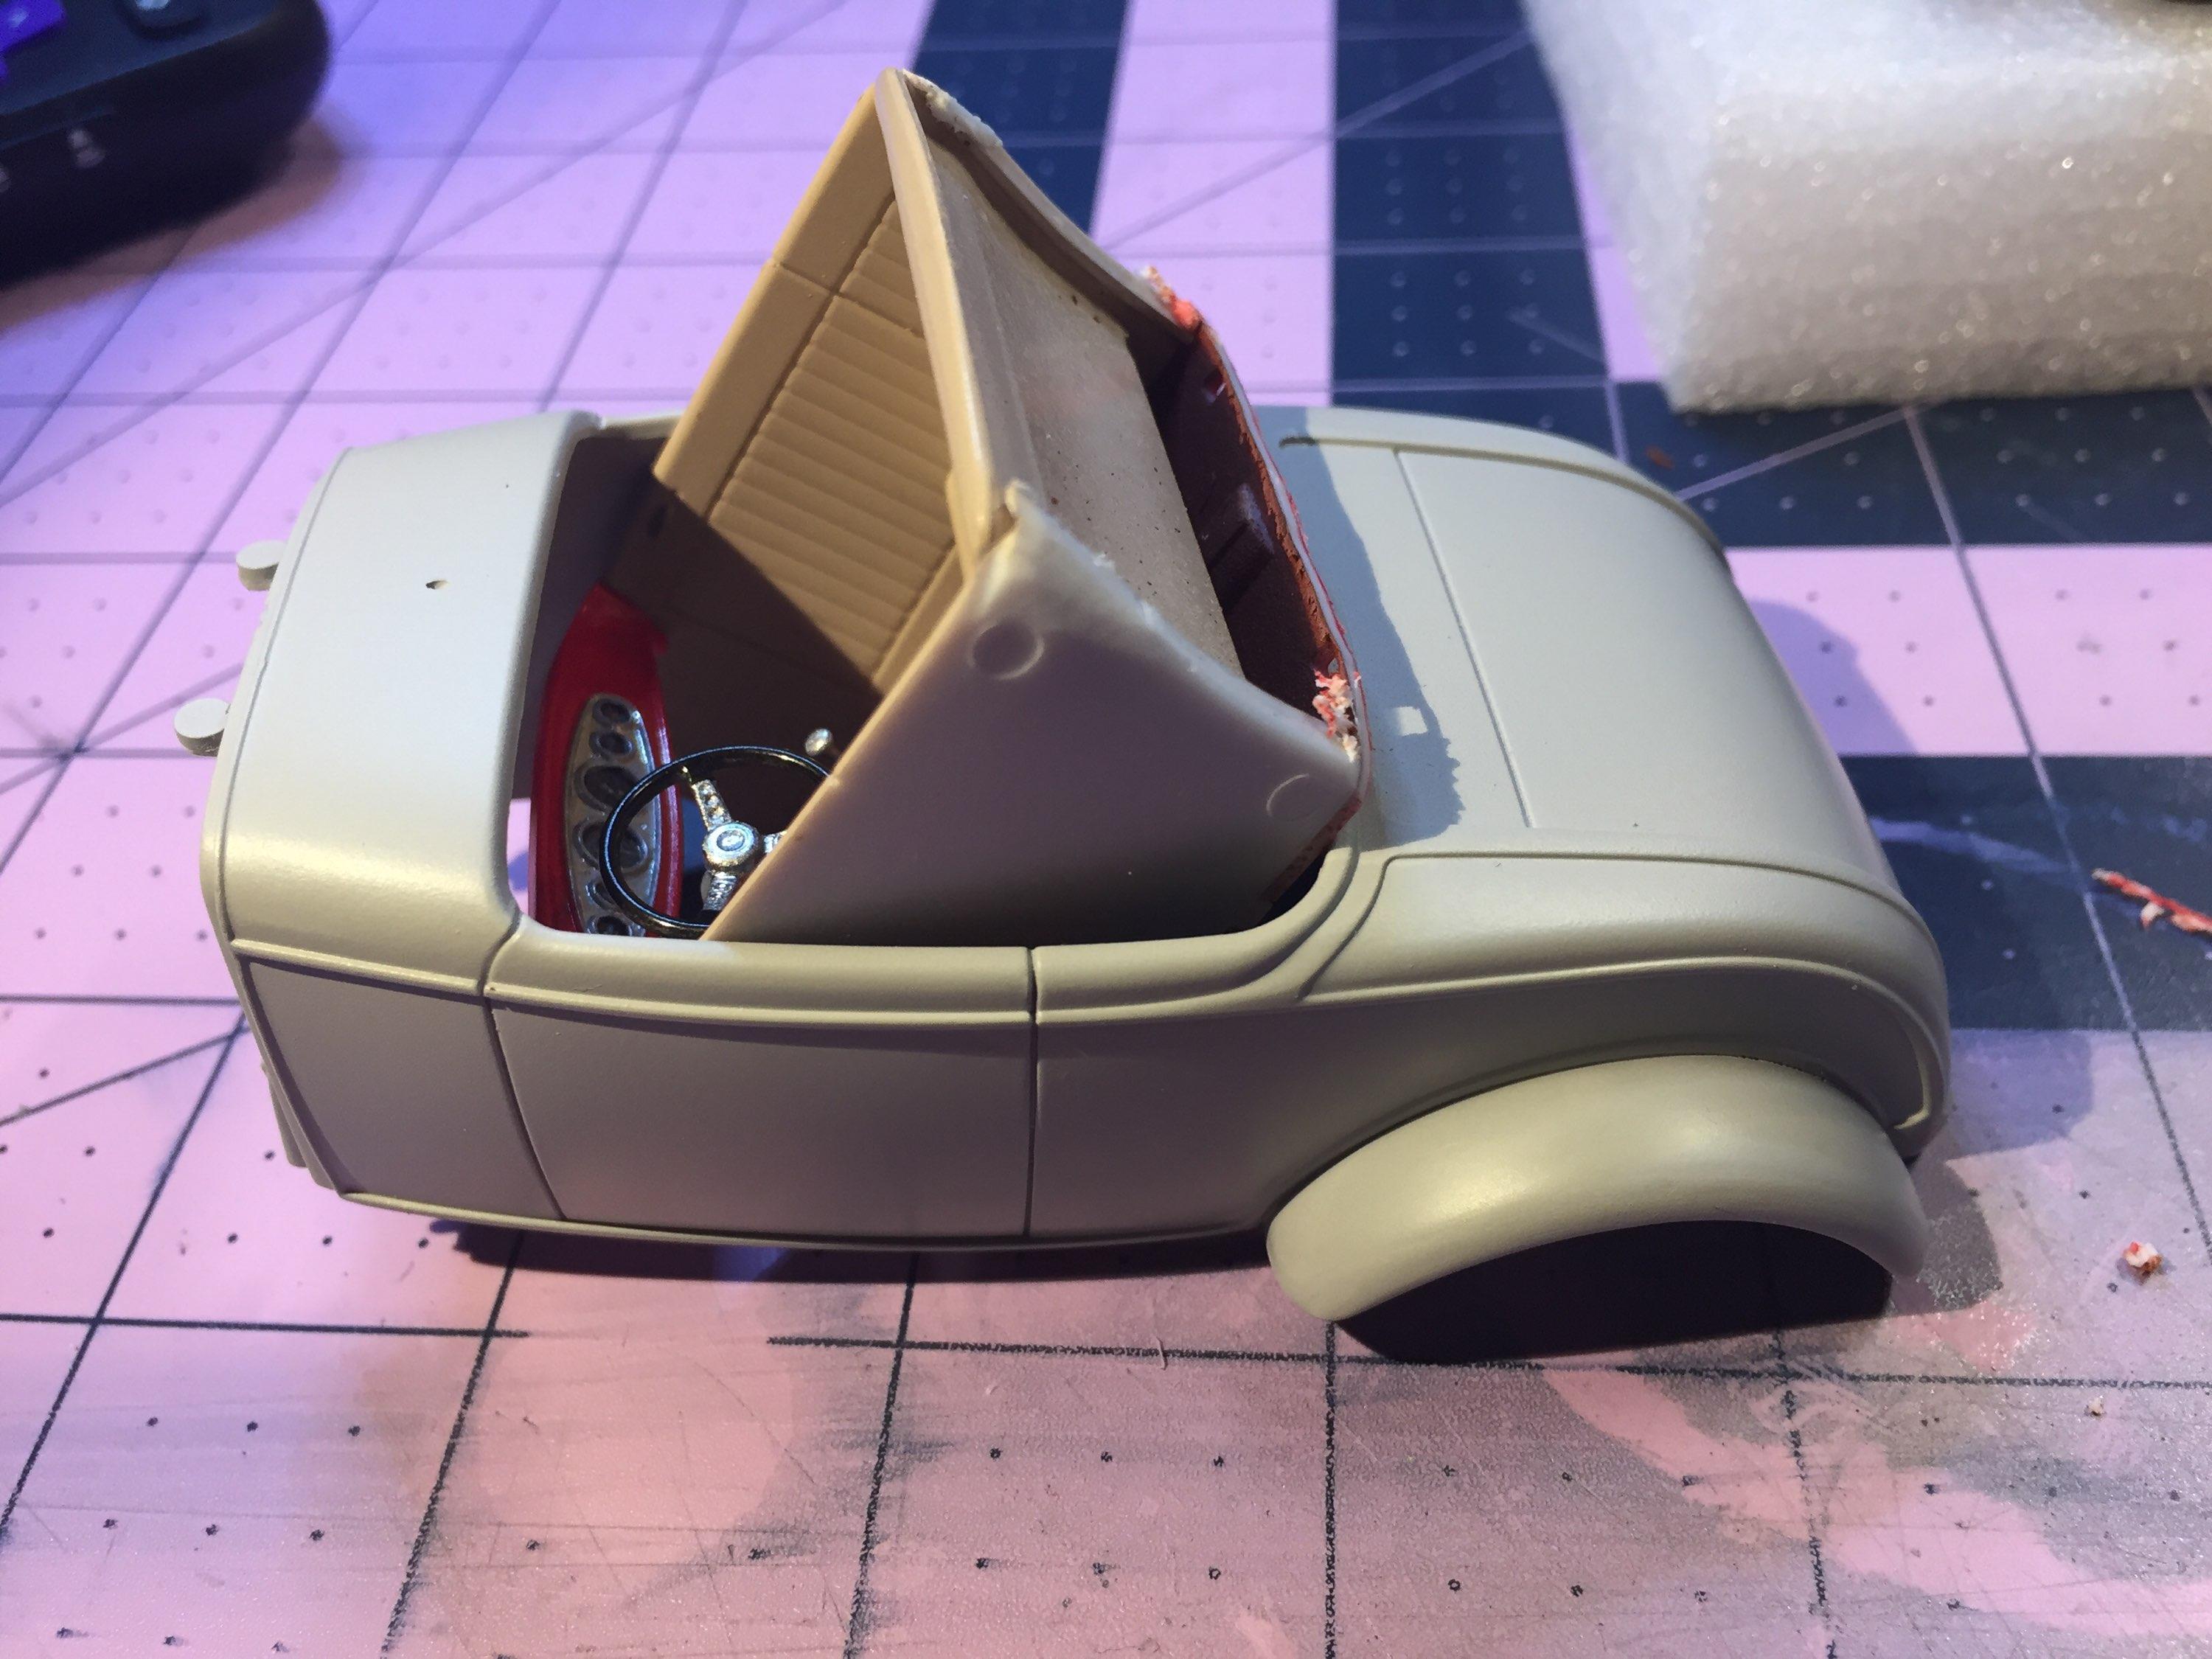
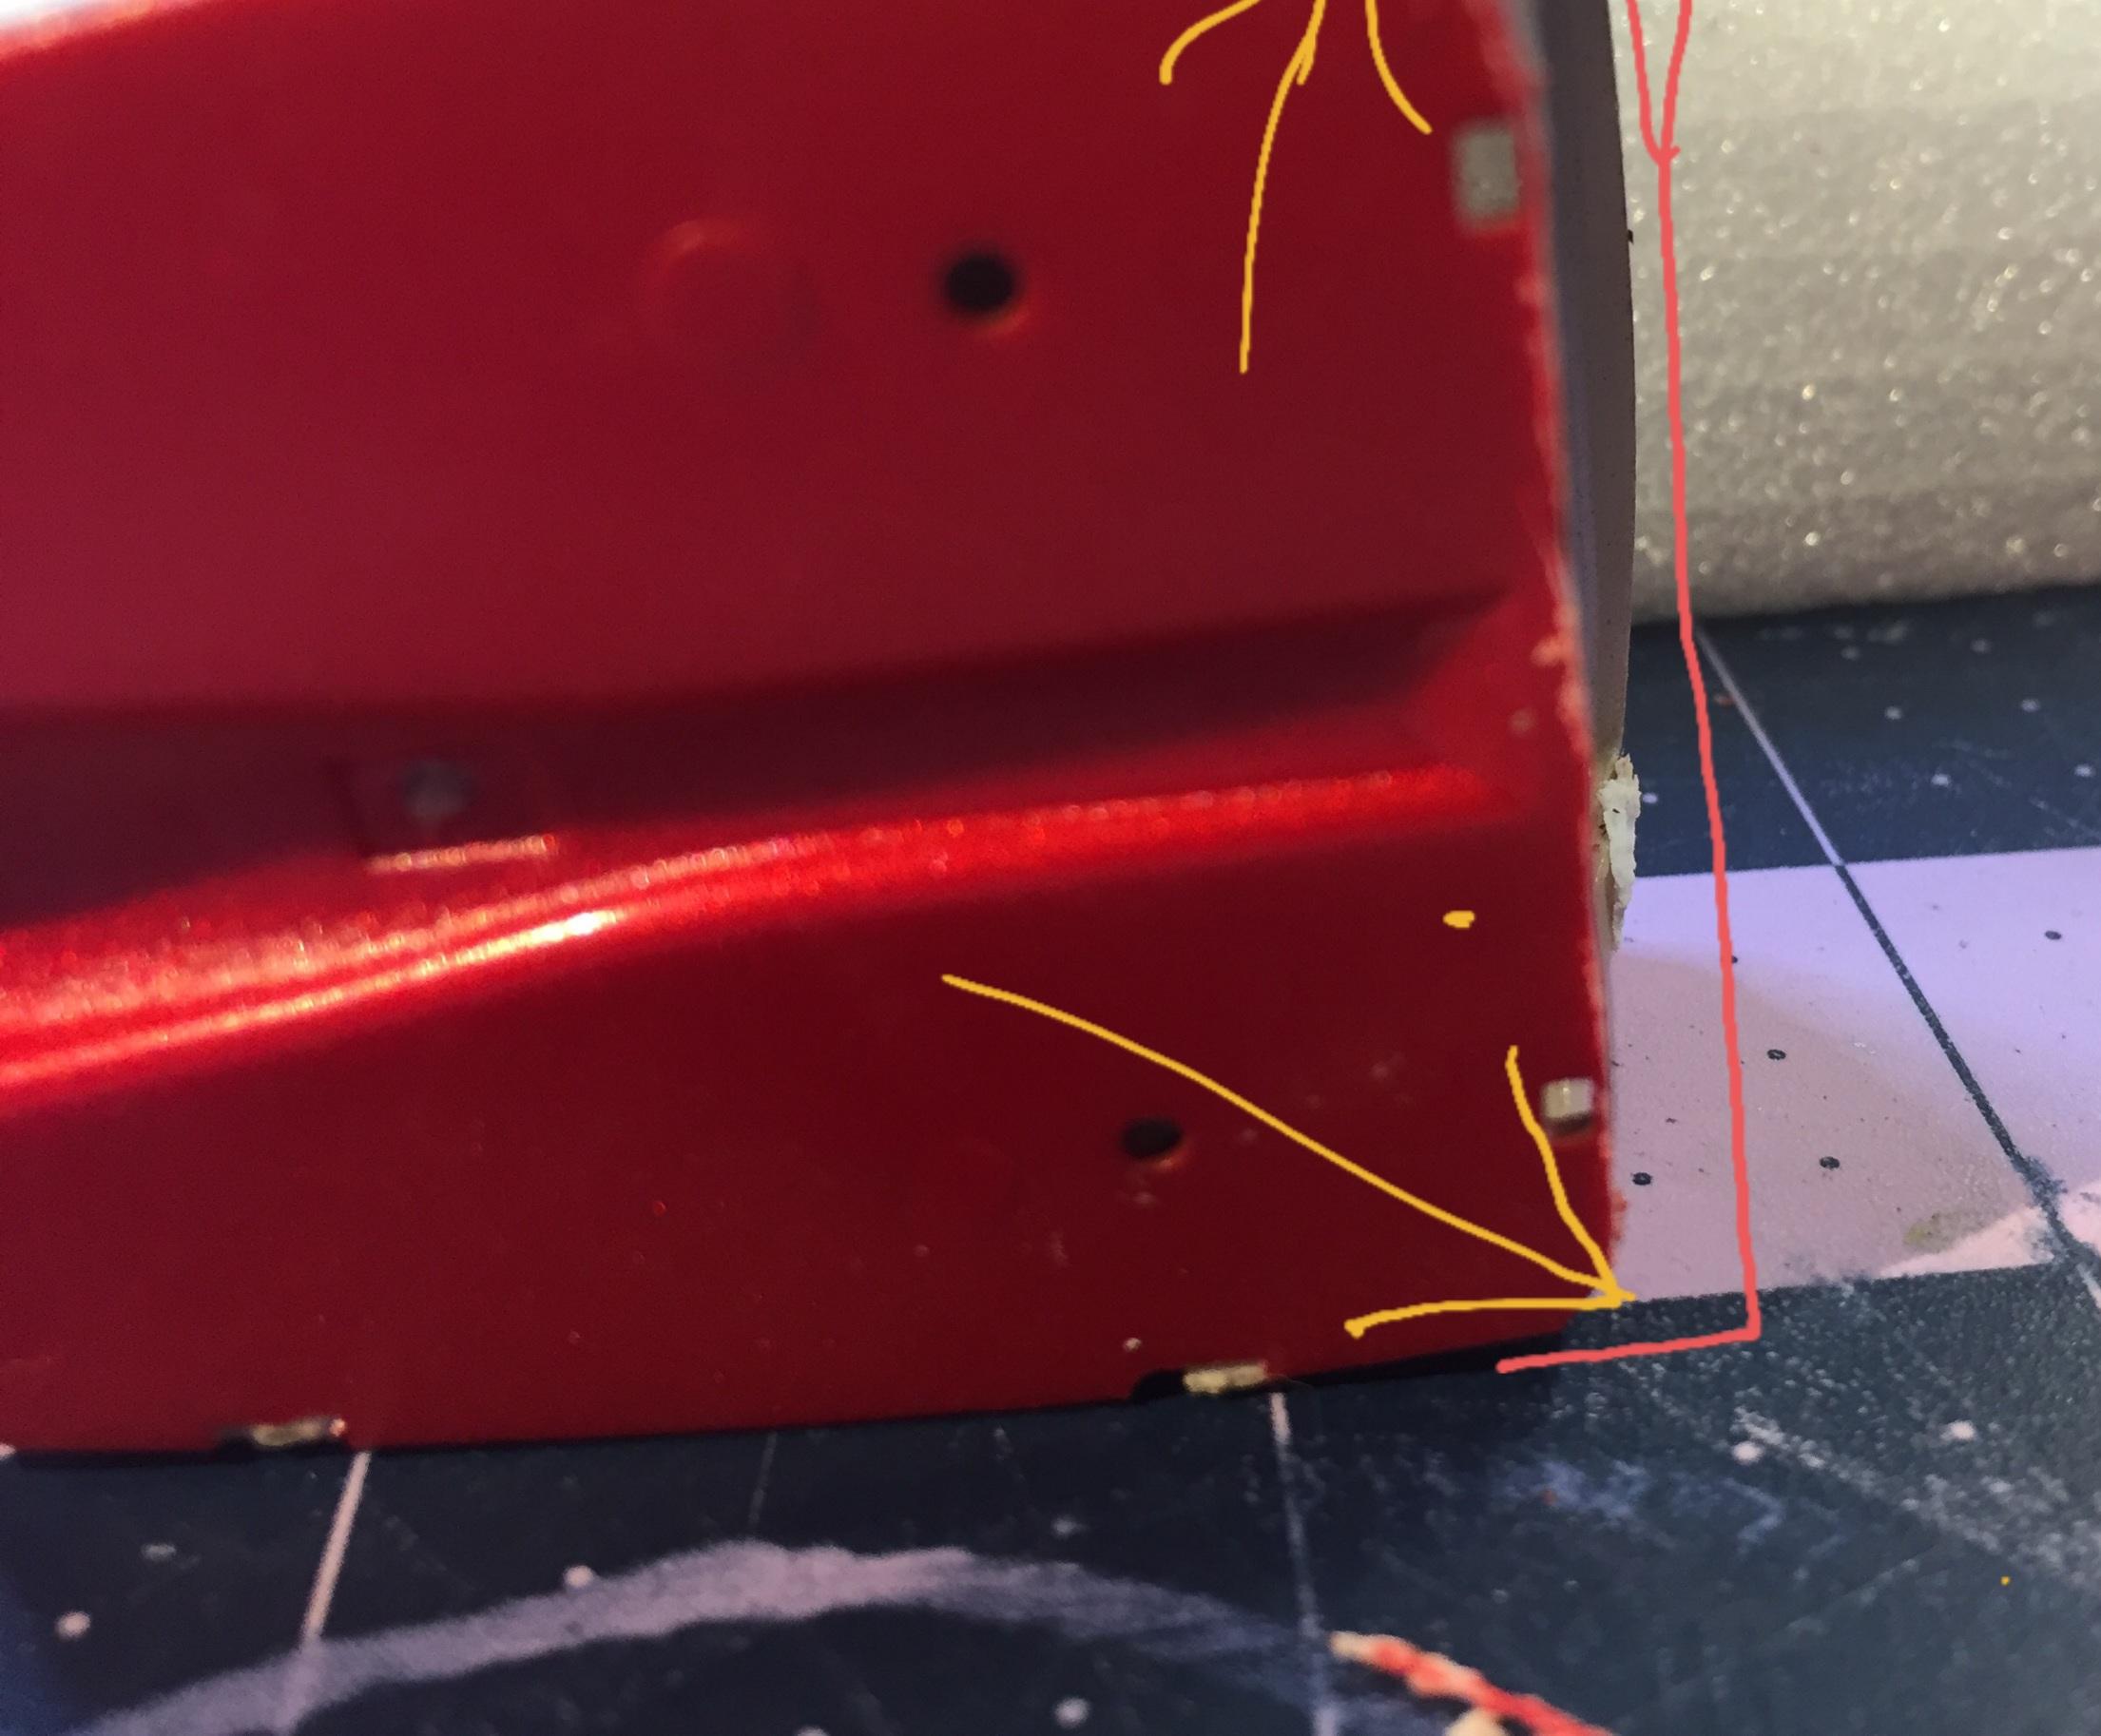
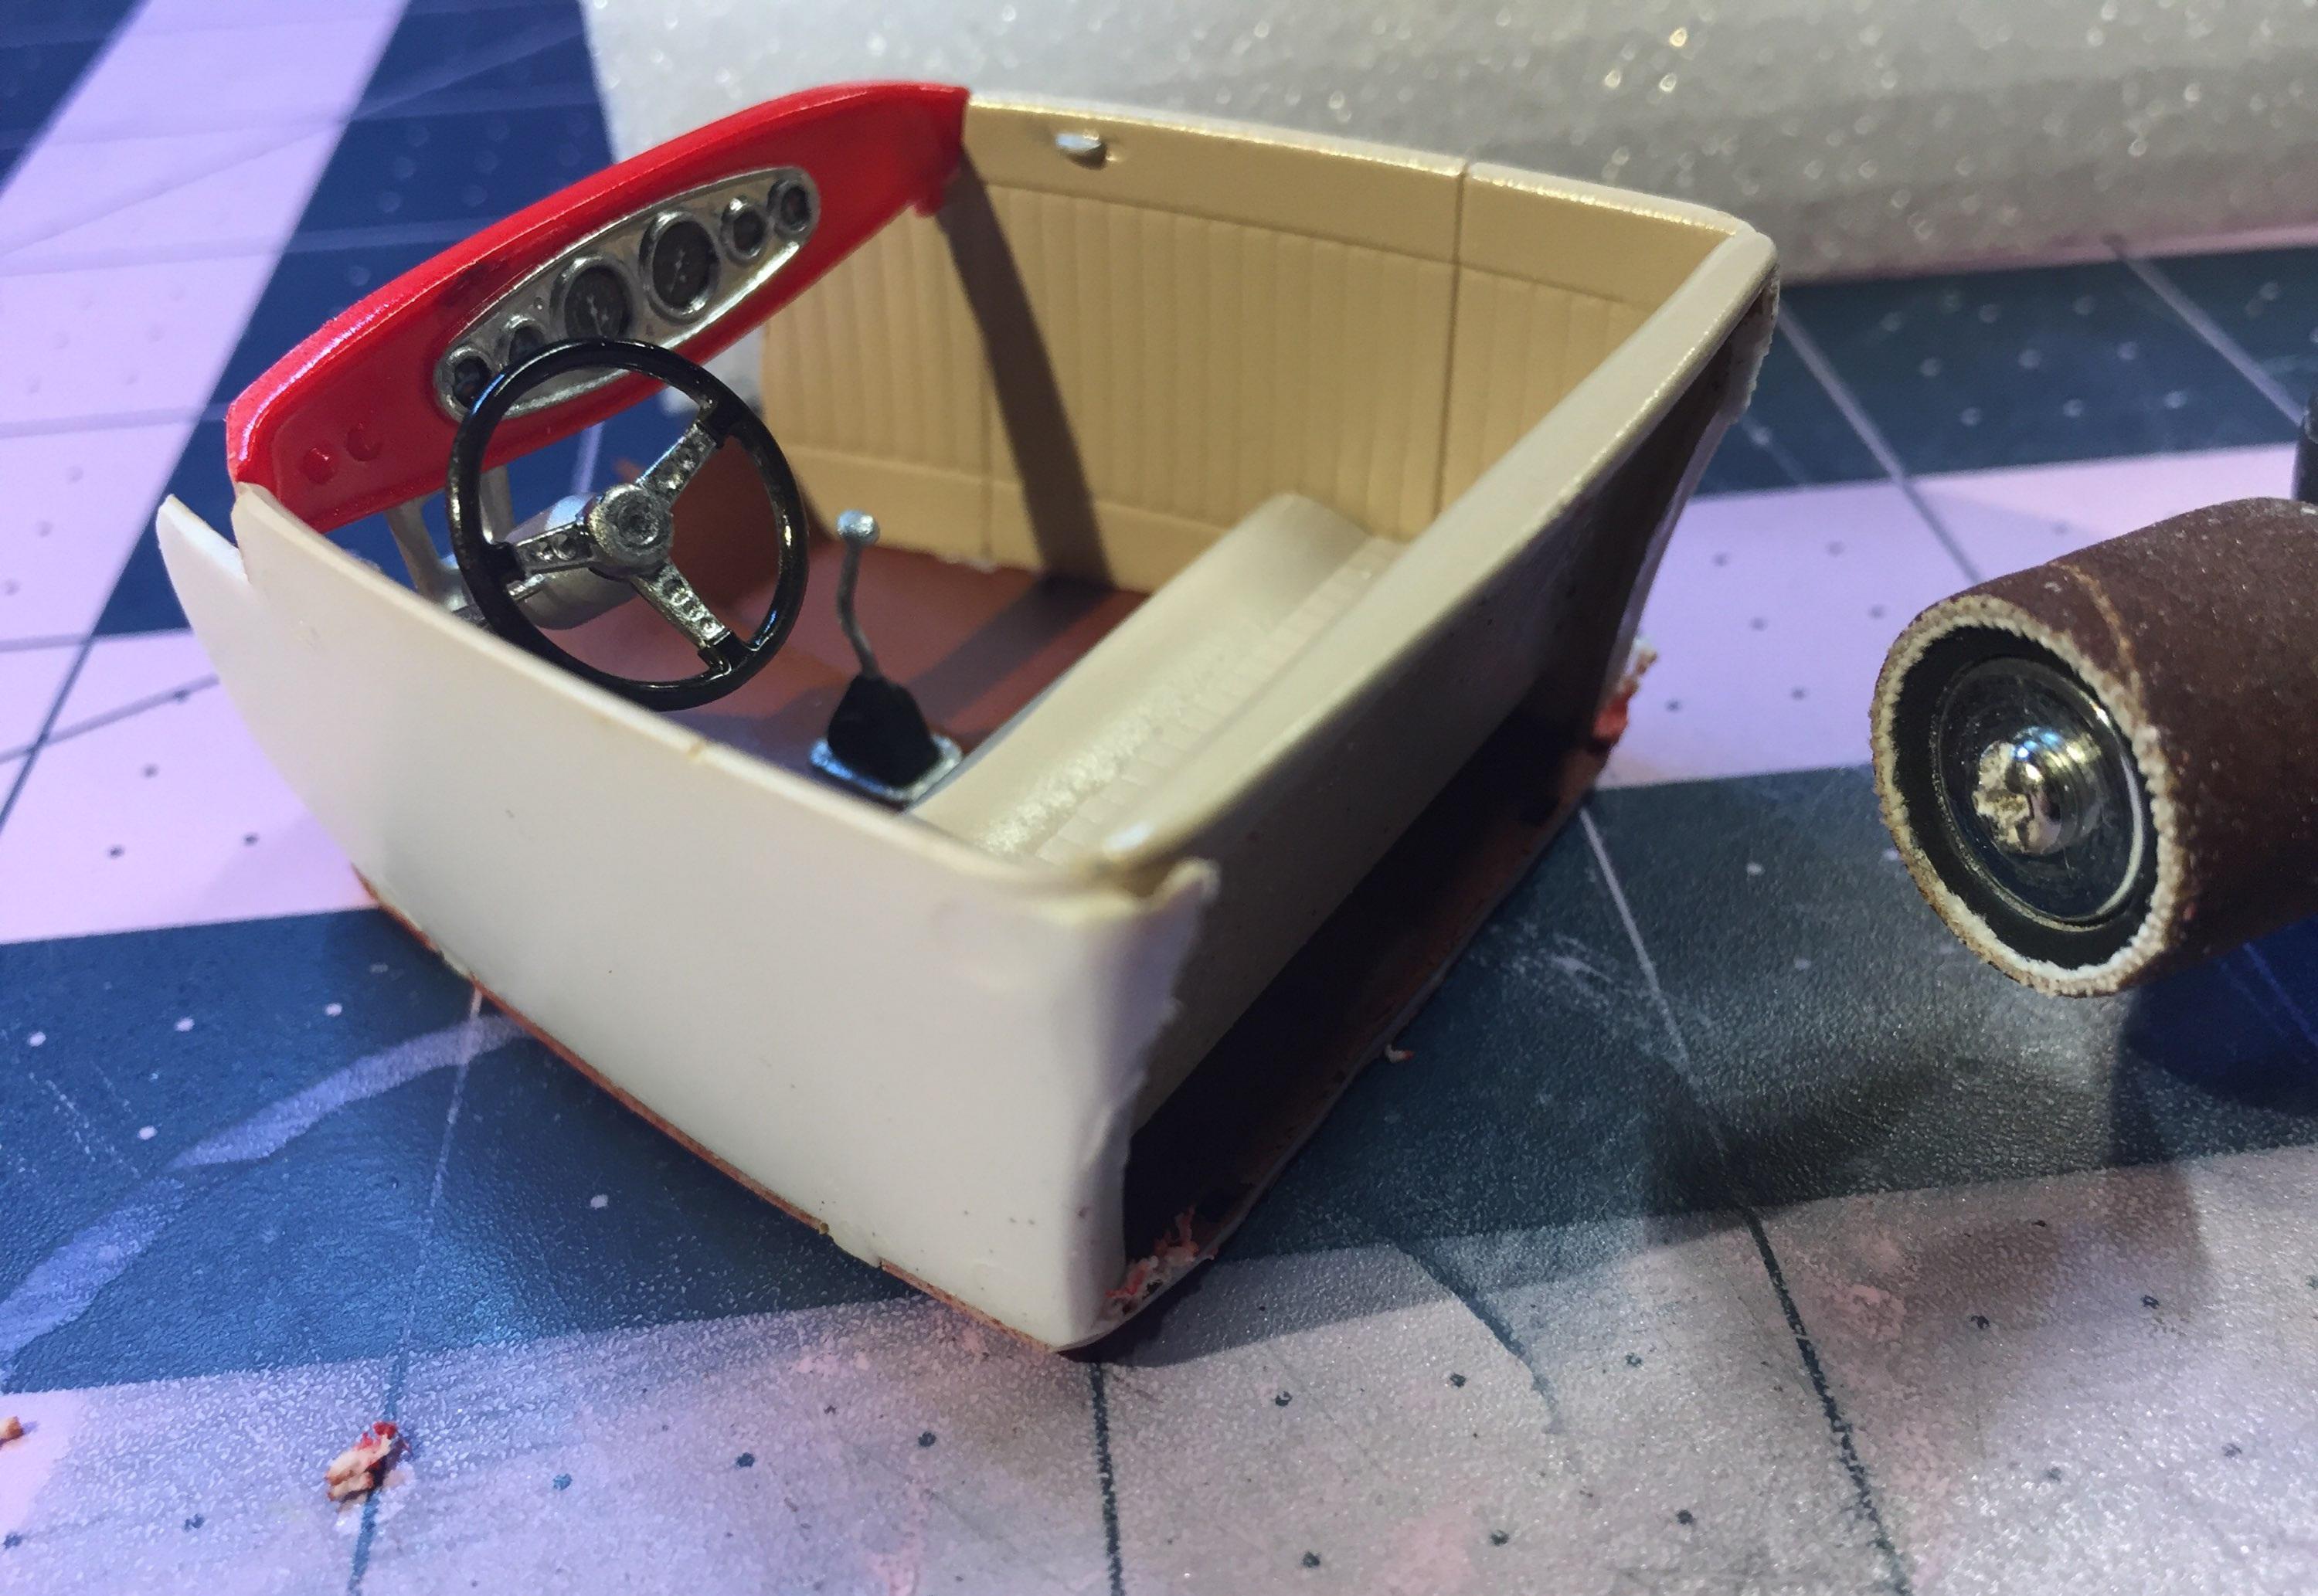
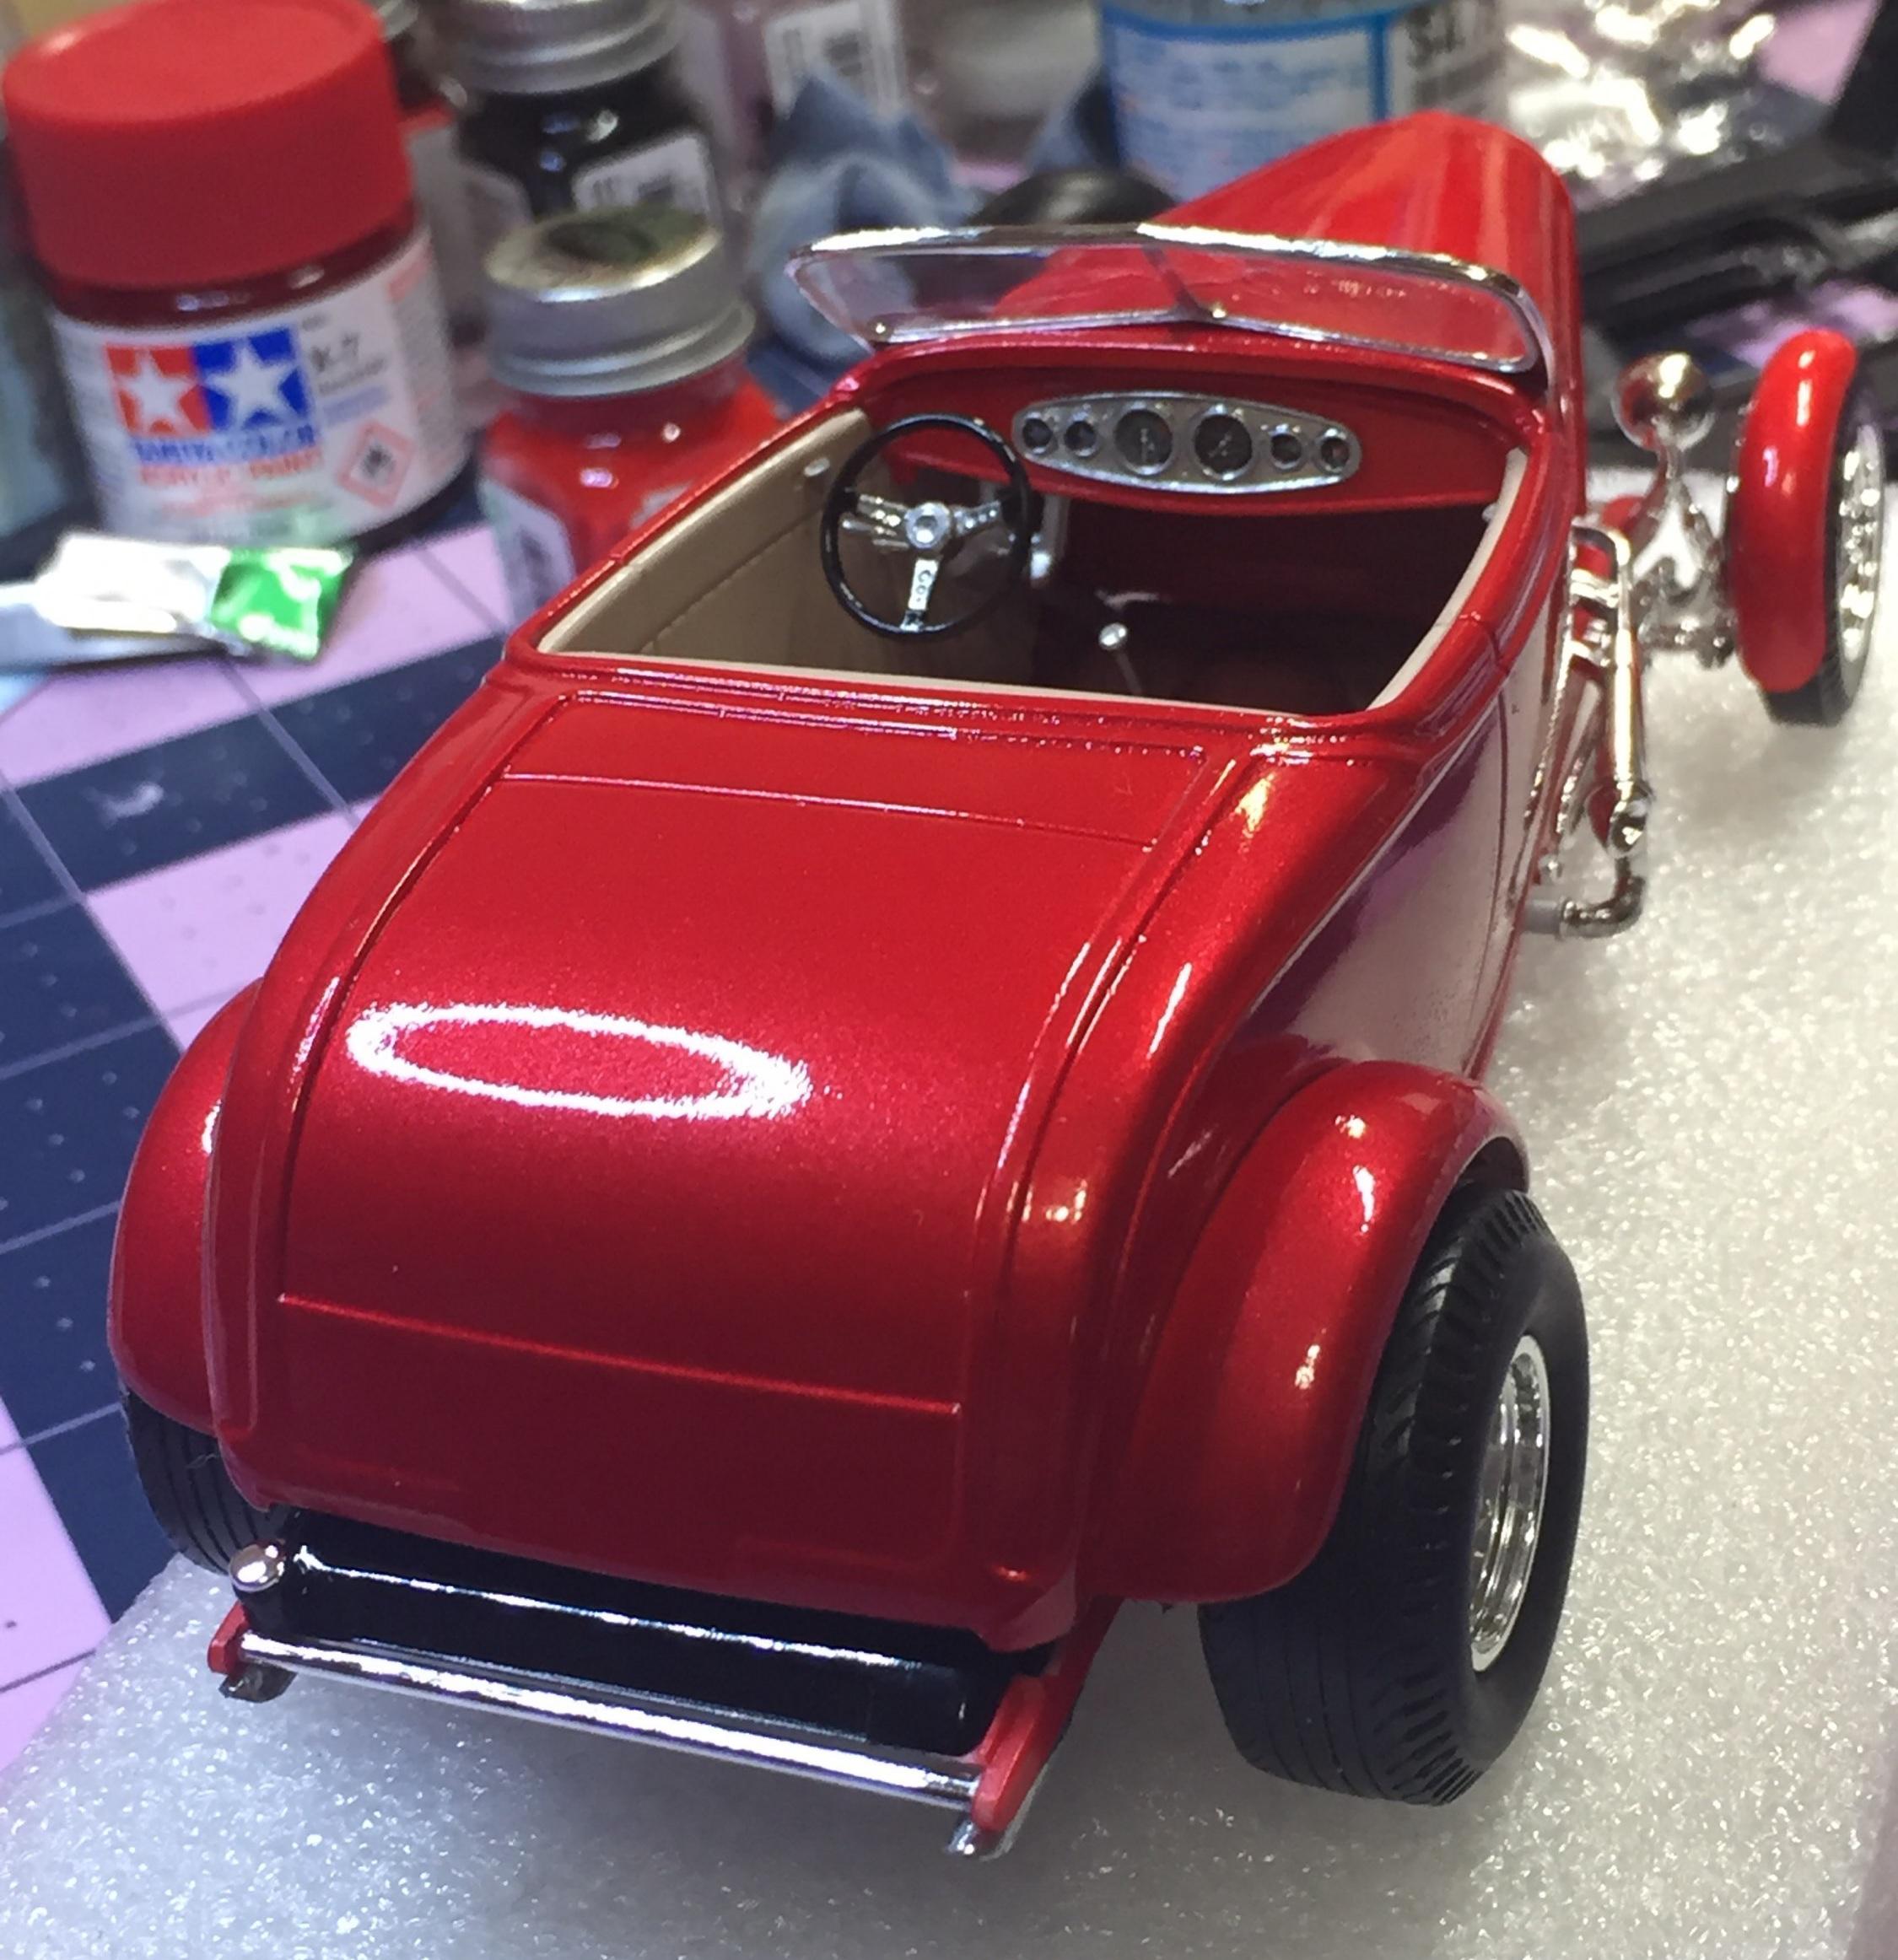
You may recall I mentioned the difficulty of inserting the tub Into the body. Oh. Well this is what I did to make it a bit safer for my paint job. All I needed was my trusty Micro. It's still pretty tight but that's a good thing (that's not what I meant 🤭) because.....it looks better when there's no gap. It worked. Slid right in like your foot in your Apex sneakers. Thanks for looking, time for coffee.


.jpg.cb3993151e8ca6e691e7dd0dea185fe3.jpg)
.jpg.86fe93d635a1f5331aeb94a5f8772137.jpg)
.jpg.7b63f96da0fd1dd455168965fe5ddddf.jpg)
.jpg.6a1df4cf089a16773d3cbceb82962c28.jpg)
.jpg.2cd9fc3b0ddcf9906df954e2e9cbcdd7.jpg)
.jpg.5ae31ec938ba20606ef0fabddc3bb6d2.jpg)