Bluemiles22
-
Posts
286 -
Joined
-
Last visited
Content Type
Profiles
Forums
Events
Gallery
Everything posted by Bluemiles22
-
Almost done with the interior, I just shot it semi gloss black. Originally I wanted to two tone it orange and white but I didn't have enough orange paint left over from the body. Also here's a picture of how it will stand with the wheels on it. Thanks for looking.
-
Thank you for the kind comments guys! I got started on the tea suspension. I made the coils out of brass rod and wrapped some wire around for a little more realistic look. I used some metal stock on the wheels bars as well and again some thin wire to simulate springs. Thanks for looking. I also did a little heat staining on the headers
-
I've got most of the polishing on this done, I did have a couple of trouble spots where I burned through the paint but they aren't all that bad. All of the foil is done and the badging was added. Next will be getting started on the interior. I'm not sure yet if I'm gonna use the stock interior or try and do something more custom.
-
Thanks! Valve covers are from tdr innovation, they're 3D printed pieces. They're a little pricey though, I paid 12 bucks for the one set. They do have a package deal where you get 8 sets with all different badging for 27 dollars. The prep work on them is a little bit of a pain but overall they're very nice pieces.
-
Pulleys are on. I have to reattach the fuel line cuz it had to be removed. Just need to wire up a distributor, add some headers and put belts on and it's ready to go in the car.
-
-
Getting started on detailing the engine. I added some fittings and fuel line to the carburetor and also got started on detailing the alternator. I have some nice aluminum pulleys that are gonna be added to get the belt assembly to really pop.
-
-
-
Seems I'm having trouble posting pictures. Anyone know an easy way to get them up?
-
Thanks mooneyzs. It is your build that I found pictures of I just saw the usernames were the same on the other thread. Killer build, if mine comes out half as good as yours I'll be happy.
-
I got some more done on the frame so it fills the gaps in the back, it's just about ready for paint. Also started on the engine, the block and heads are from the chevelle kit, the valve covers are from tdr innovation and the oil breathers are from pro tech I think. Timing chain cover and the manifold are from vcg resins and the carb is from fireball Modelworks. I should have it all wired up for the next update. Thank you all for the kind comments and for looking.
-
-
-
-
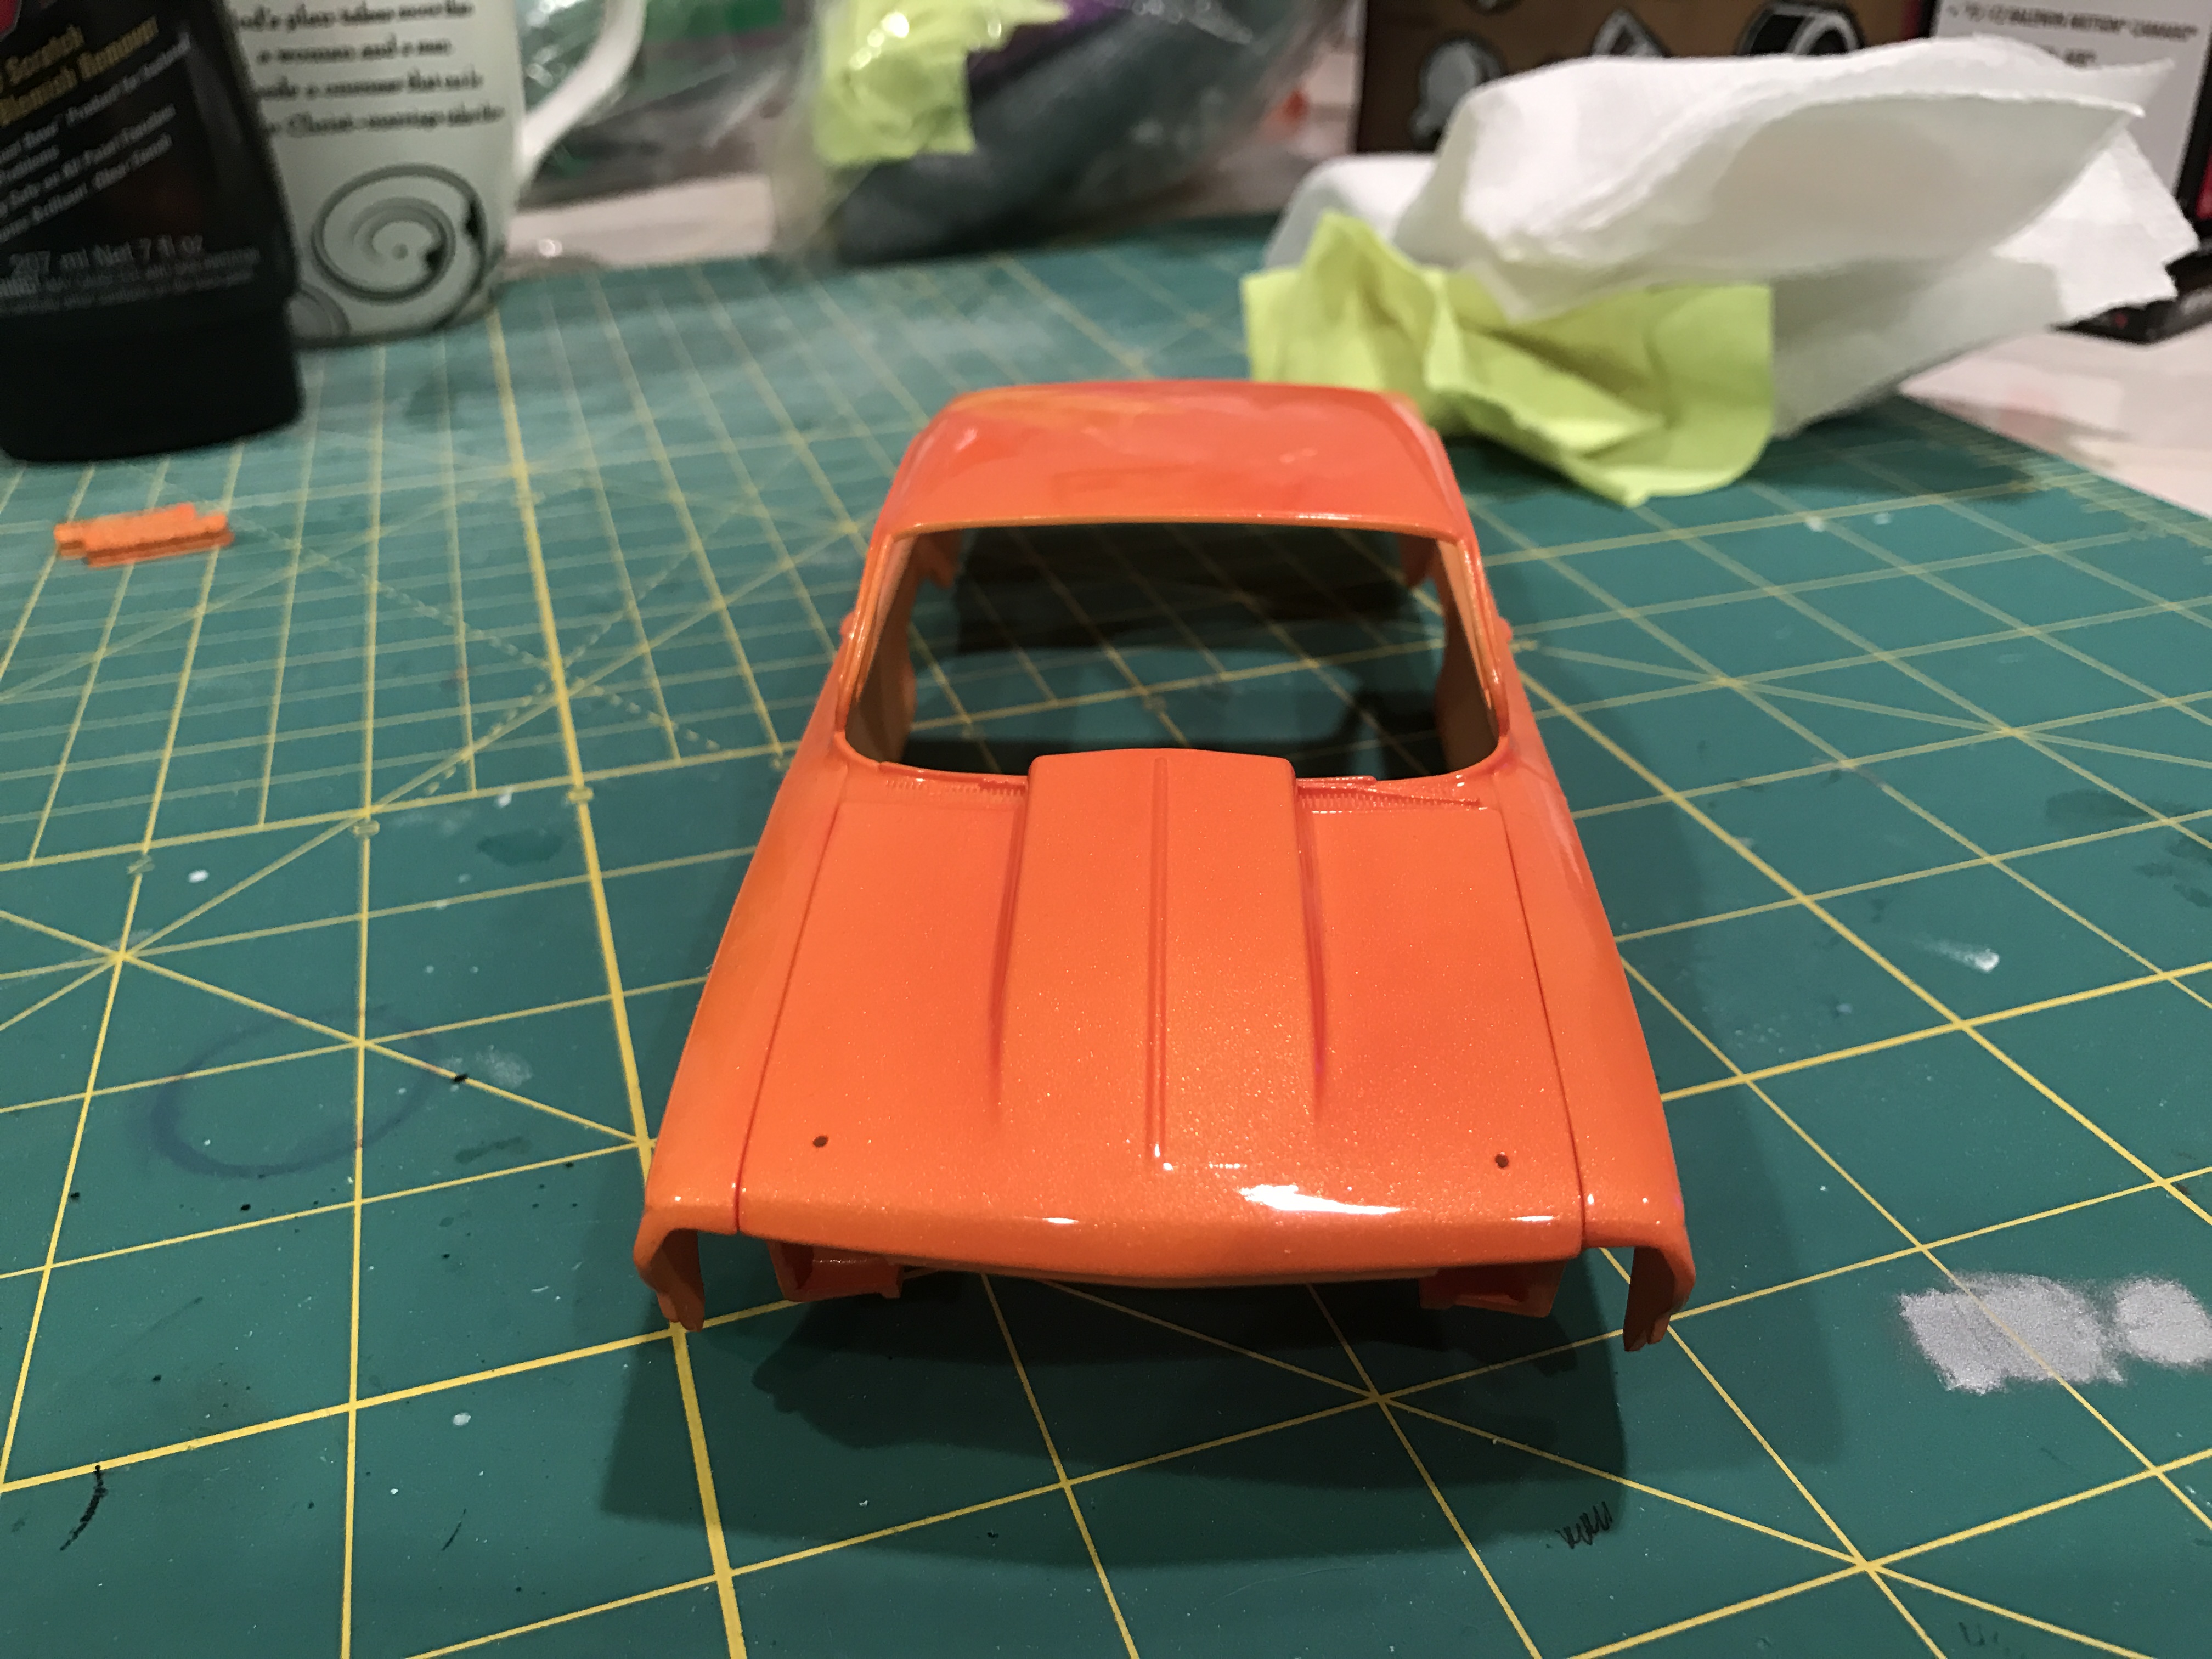
Got some color on the car. Flying lizard orange from gravity colors. Got a little polishing to do then I can move on to bare metal foil. I also drilled holes for a set of detail master hood pins to be added.

-
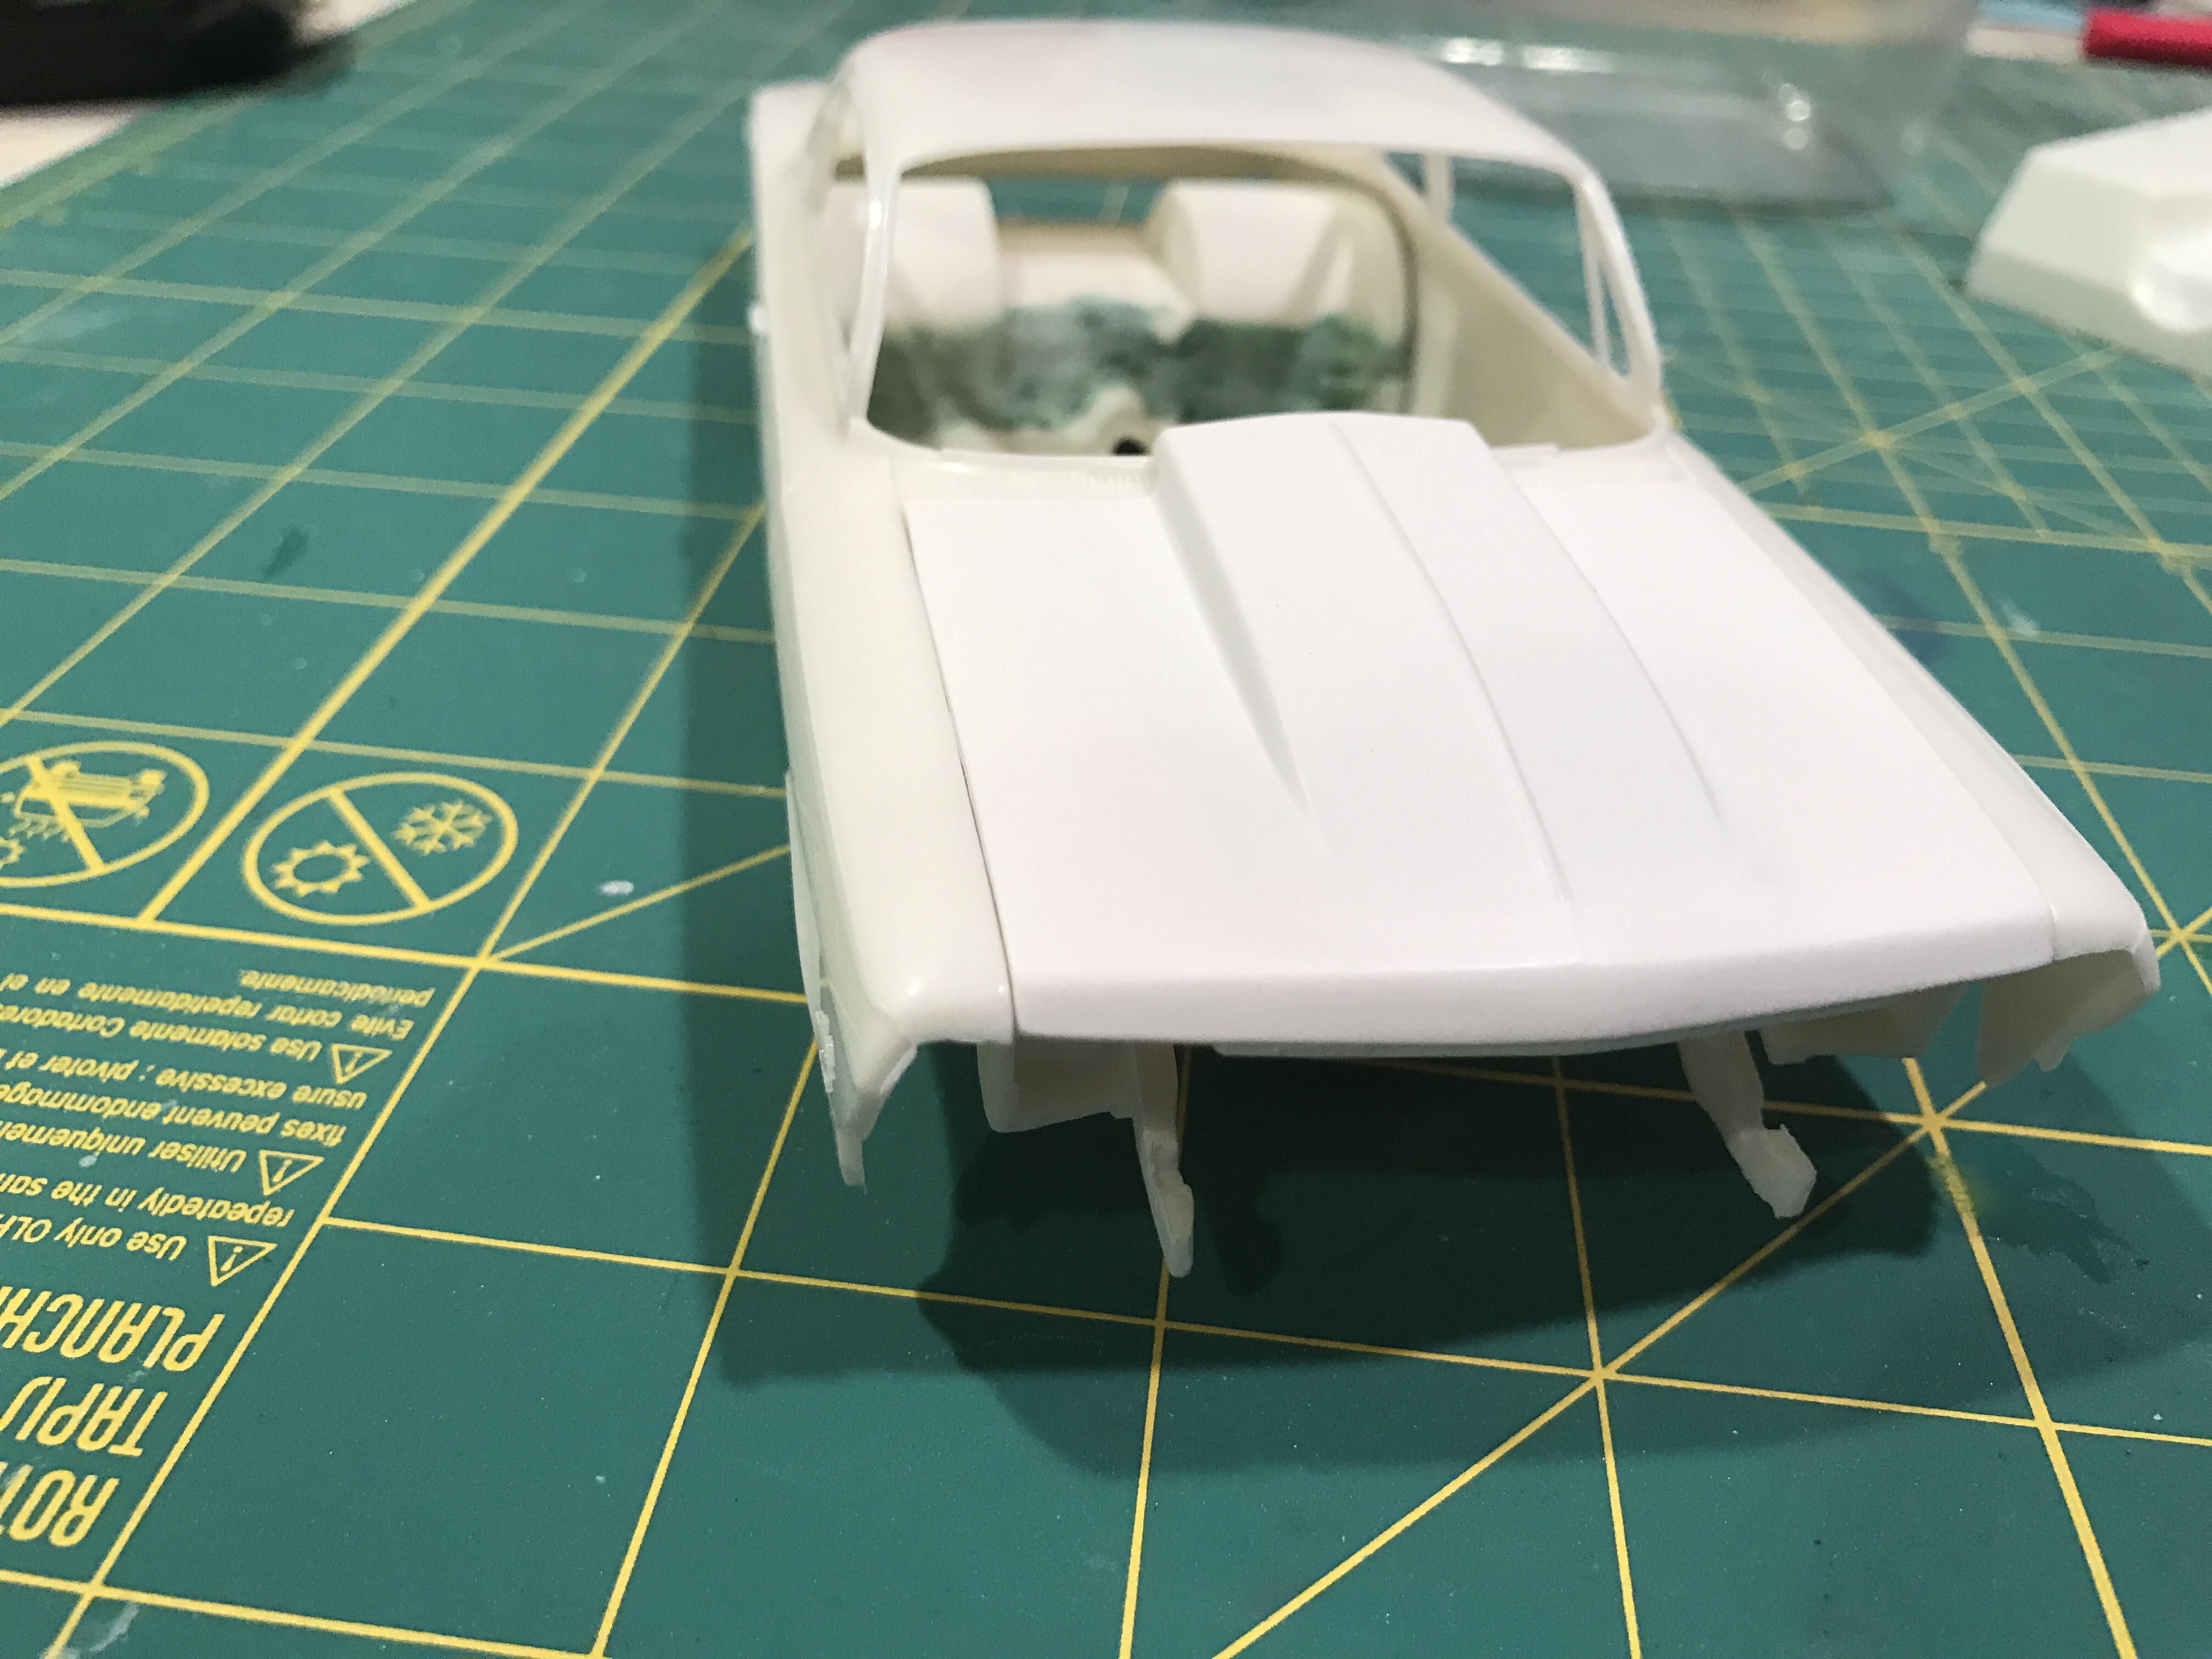
while I was looking for reference pictures for the last 62 bel air, I came across some of a pro street version someone built using a 67 chevelle pro street frame. I thought it was cool so that's what I'm going to attempt here. So far I have the tubs on the back of the frame. Still have a little more sanding to do and add some material to fill in the voids on the sides and back so the frame meets the body. The hood was done using the cowl from the 69 nova kit. A little bondo and a lot of sanding lol, it's in primer and almost ready for paint. Thanks for looking.
-
Thank you for all the kind comments. The wheels, grill, and rear bumper were all done with alclad chrome.
-
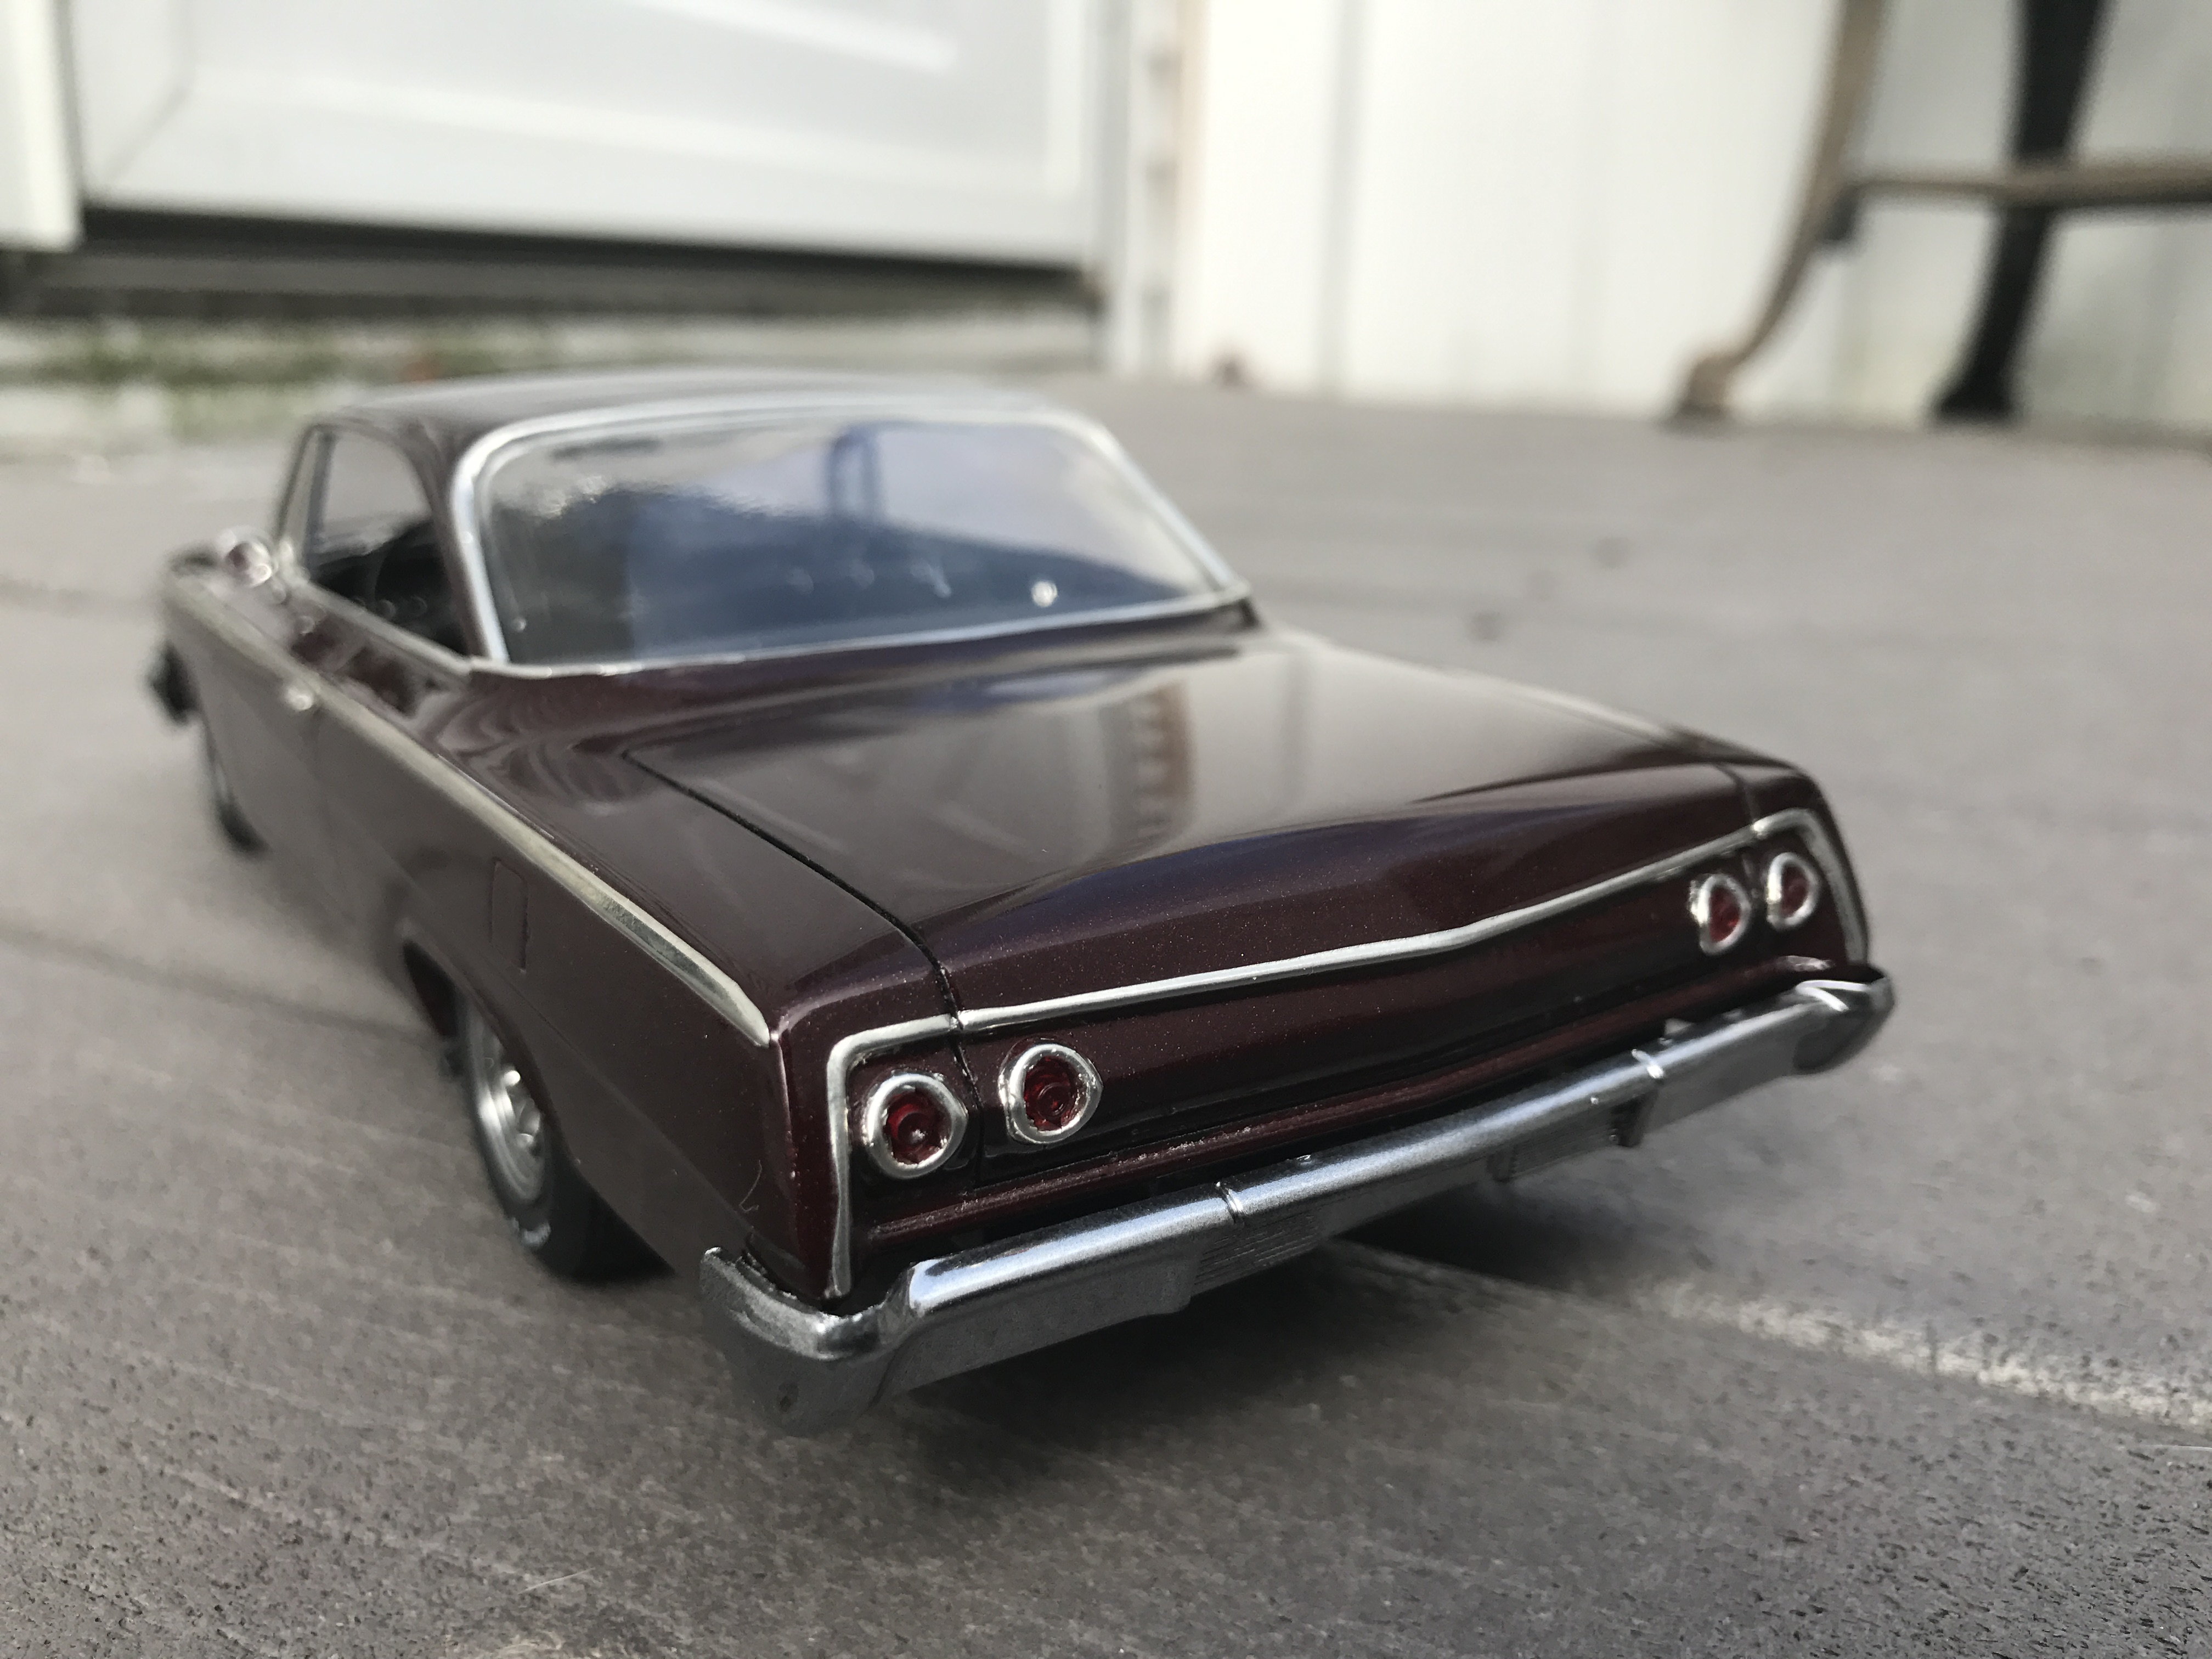
Hey guys, been away from building for a few years so this is my first project in awhile. 62 bel air from amt. built out of the box except the exhaust and the tires. Paint is dark cherry metallic and clear from gravity colors. Thanks for looking.
-
Thank you for the kind compliments guys! The scoop was mad from some clear acetate, I just scribed it with an xacto knife and folded along the lines, it was definitely a PITA lol, took about four tries to get it looking close
-
I was finally able to get this one finished. Been away from building for awhile and this one was sitting around collecting dust. Thanks for looking, enjoy!
-
No problem man anytime
-
If I remember right click on suspension, you'll find the rotors and calipers, as for the willwood decals those are off a slixx mini sheet. Hope this helps
-
Thanks mike! The wheels are prepped and ready for paint so I should have those done shortly. I may have to modify the inner fenders on the front to get them to tuck up in the body a little more, the nose looks like it sits just a tad too high right now. I started to put together the grill and headlights, and also got started on adding hood pins. Just have to figure out where to put the straight pins and I'm set. These will actually be functioning hood pins so hopefully everything lines up the right way. Also have a tiny chip in the paint which has to be touched up, there's no way I'm stripping the paint off the hood again this time lol.
-
Thanks guys! I decided to go with mikes wheels and tires instead of the set from pegasus, they looked a little too small and I didn't like the way the car sat. The wheel in the picture was shot with testors gun metal metalizer, still not sure if I wanna go with that color or maybe chrome. Maybe candy blue. Uh oh.... The blue temptation is creeping back in my head lol.