captin
-
Posts
249 -
Joined
-
Last visited
Content Type
Profiles
Forums
Events
Gallery
Everything posted by captin
-
Thanks Richard, and i hear you on the wheels and i think im gonna put a wash on them thanks for the advice much appreciated
-
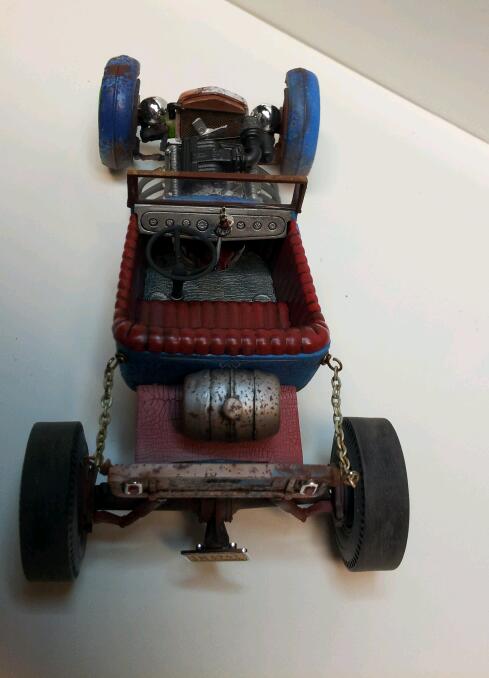
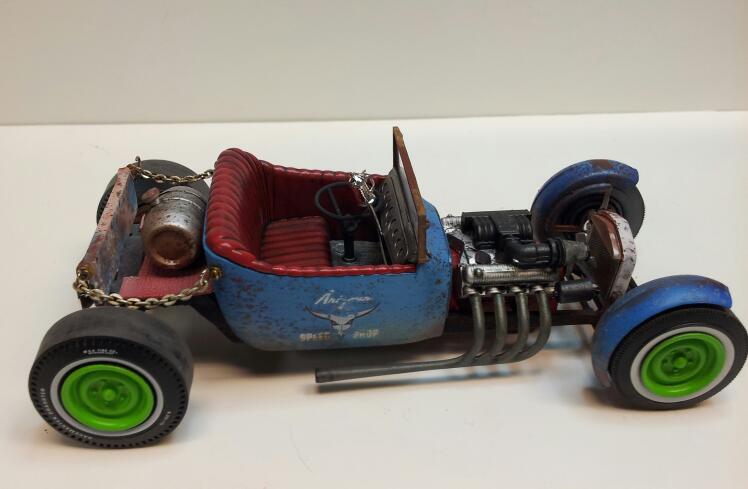
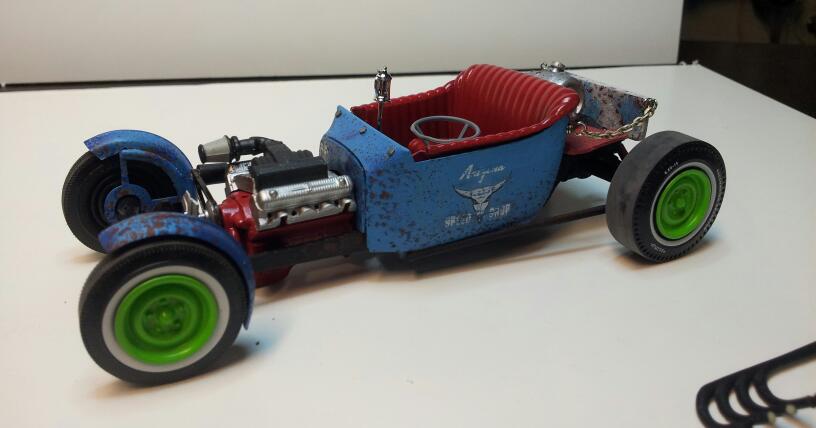
Few pics of the t-rat almost finished!!

-
Thanks Riley! The decals were from the amt. 25 ford model T 3 n 1 kit.
-
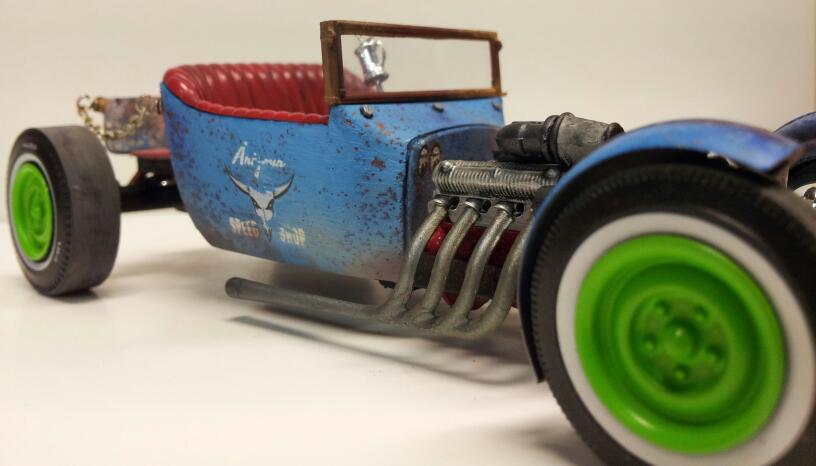
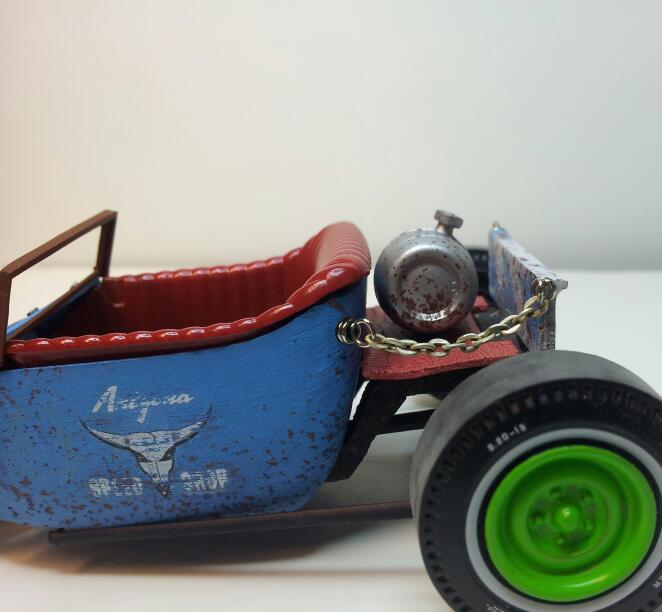
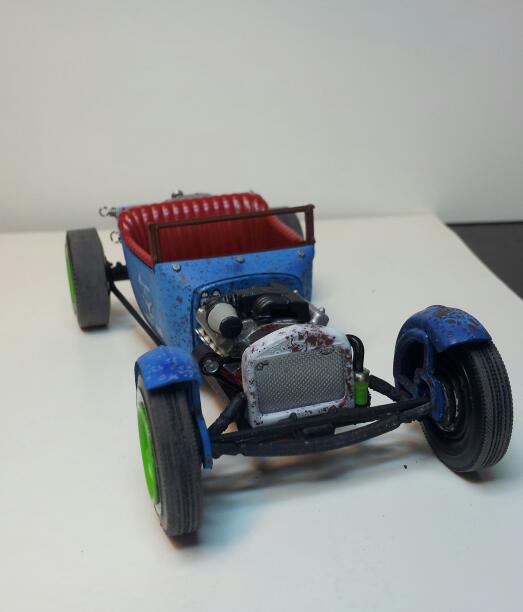
Here some updated pics of the progress on the T-rat. I've added a tailgail and some chains to complete the bed of the rat. i used a neckless that i bought at hobby lobby and some little hooks that were also in the jewelry section of hobby lobby. i also got the front radiator and front grill painted and add a hose from the radiator to a glass of radiator fluid that i found in my spar parts box. then just added some decals on the side of the body and sanded them down so it makes them look worn. hope you like
-
thanks guys much appreciated
-
update on the t rat just got all the salting method done but much more watering to do. hope you like
-
shane very nice model i love the paint job on this very nice!!!
-

1953 Cadillac Eldorado - - Class of '53 - - Entry #3
captin replied to Ramfins59's topic in Model Cars
very nice model!!! it reminds me of the car biff drove on back to the future . -
this one is getting the Doctor Cranky treatment for sure!!!
-
thanks Doc.
-
Bill thanks for the advice on lifting the front of the body a tad i agree with you on that i think it will flow better if it is raised just a bit. and thanks for the crash course on the turbo Jeremy im not that mechanically inclined so i just stuck it where i thought it would look cool and i look up some pics. on Google of rat rods with turbos so i just went with it. I guess its a good thing its not going to run lol.
-
thanks Kevin
-
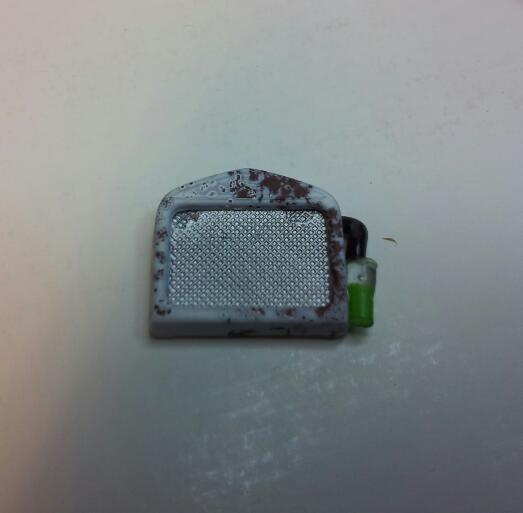
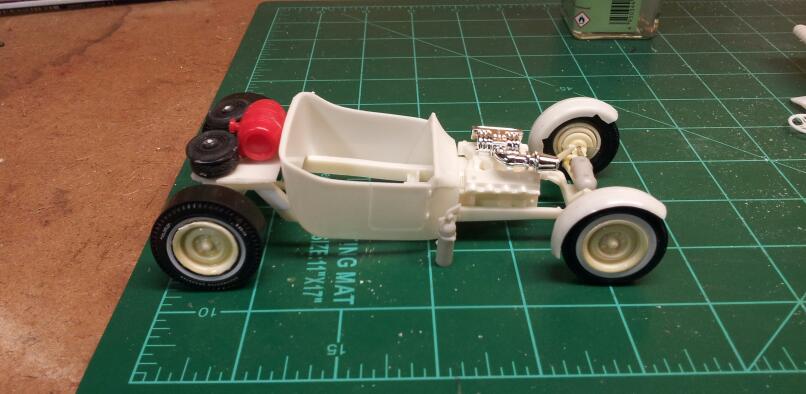
thought that i would stick a turbo on somewhere so i cut off the cone filter stuck it between and plastic weld them together turned out pretty good i think..
-
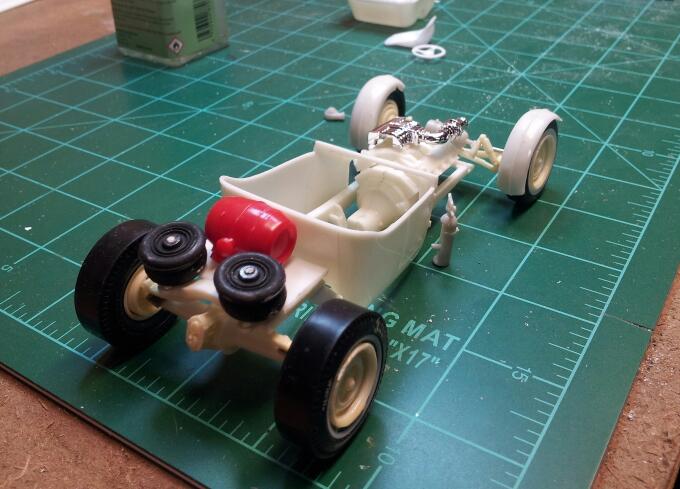
little update on the rat. i Z ed out the frame to get that low look an then i got a bunch of parts from my parts bin and started adding an this is what i have so far.. hope you like.
-
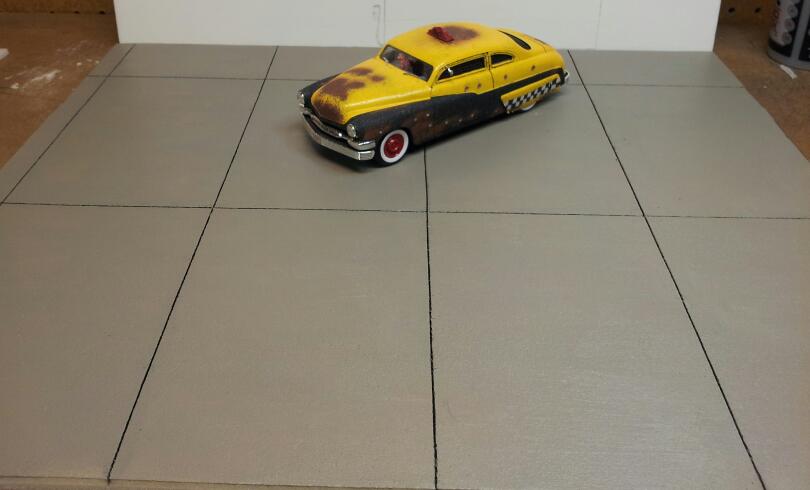
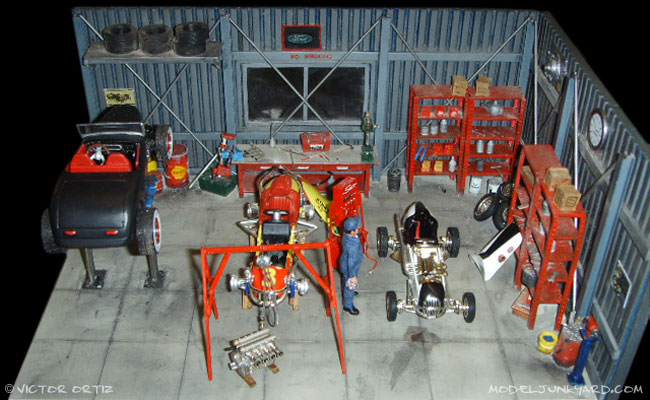
well got the shop floor started now just have to work on some weathering
-
thanks guys for the compliments and thanks Junior for the link that helps out a lot
-
ok guys i think i have the walls and the floors the way i want them here is a little sample of how it looks. now its time to start the full diorama .
-
thanks for the advice Richard
-
thanks Dave and i here ya on being your own worse critic, sometimes i think im a little to harsh lol
-
thanks for the compliments guys much appreciated...
-
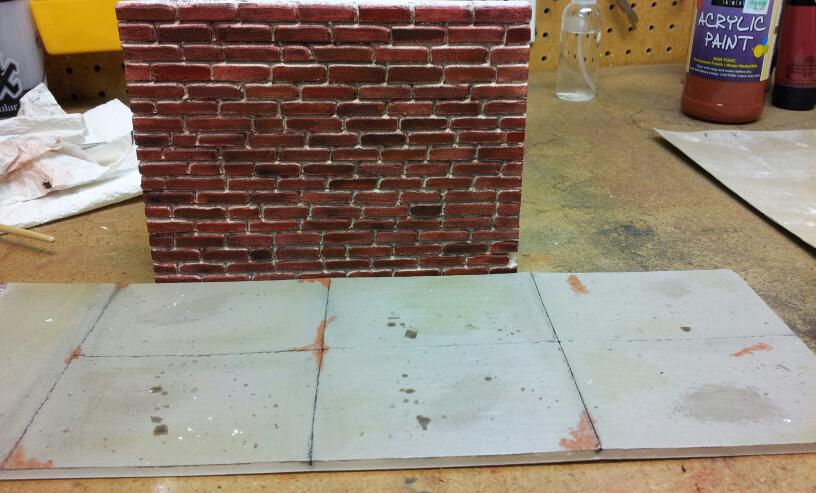
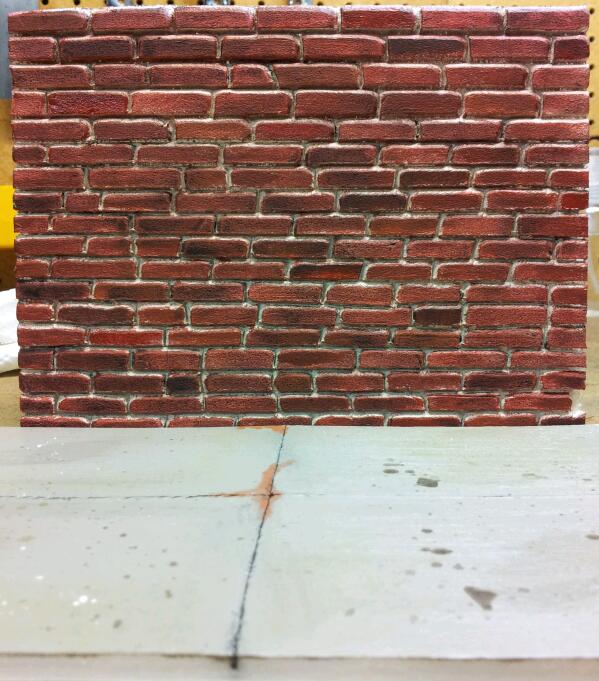
little sample of a brick wall im trying out. cutting the groves in the brick is tough its not that clean so im gonna work a little on that before i start the real wall.And was wondering does anyone no an easy way of taking off that paper backing on the foam boards mine keeps on tearing.
-
o and Richard your hotrod diorama is what inspired me to do one in the first place you have a good eye for detail very nice work on that one.
-
thanks Richard i think for my first go at it, it turned out not to shabby.
-
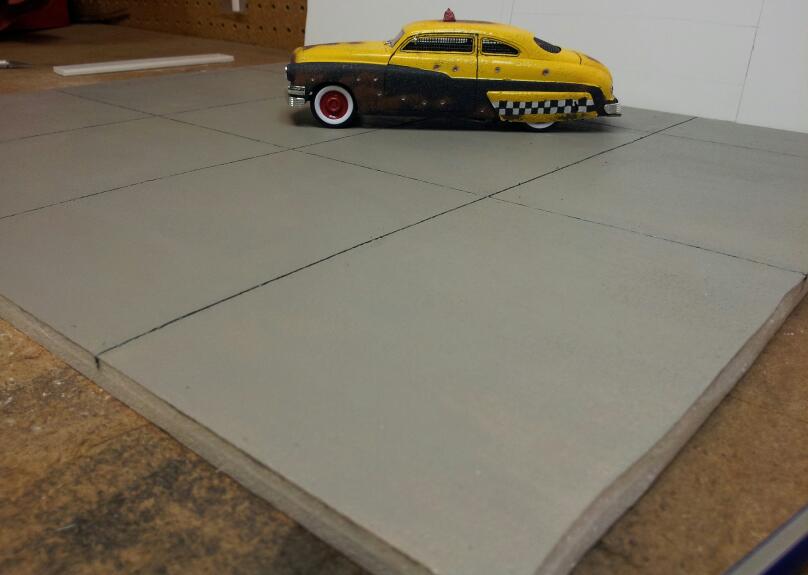
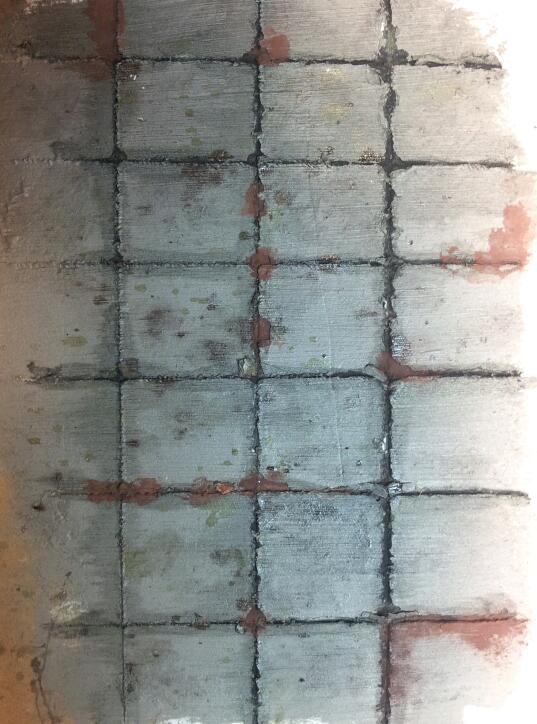
thanks for all the help guys... here is my first sample its on cardboard and i put some plaster over top the cardboard. then i mixed a tan and a gray acrylic paint and got a good concrete color. i didn't allow the plaster to dry long enough so the lines are a little sloppy but im going to do some more samples to see what i like best. once again thanks for all the advise let me no what you think of the first concrete sample.
-
i wanna go for the grease and oil stains and some small cracks. i saw this diorama on line that i liked the floor of some something like that is what im going for.