carl63_99
-
Posts
305 -
Joined
-
Last visited
Content Type
Profiles
Forums
Events
Gallery
Everything posted by carl63_99
-
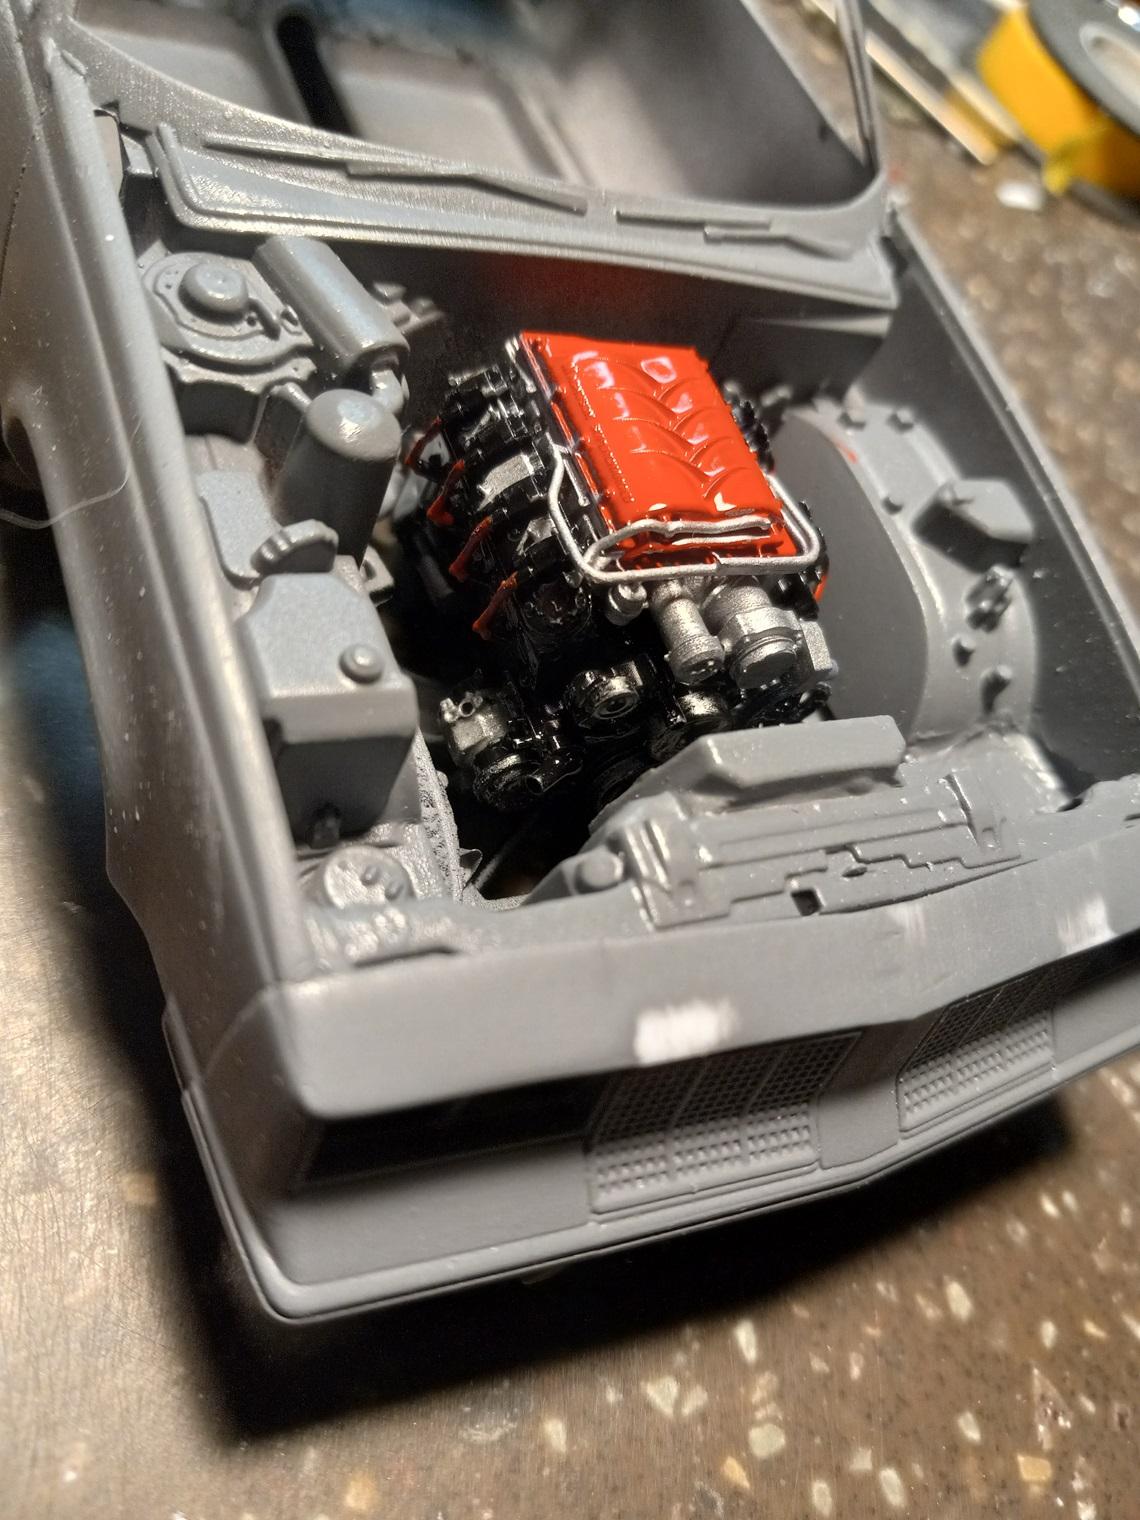
Been busy doing a kitchen remodel. Done with that, back to the Olds. Started painting the engine. Shown here is a test fit.

-
At this point its round and round of body filler, sand, repeat. I did take a break from that to work on the air filter box. It's going to sit right behind the cut out headlight, with the filter actually visible from the front of the car. The box, you ask? It's the tape player from the Lincoln Continental hollowed out. I'll finalized the intake tube when I have the body on the chassis for the last time.
-
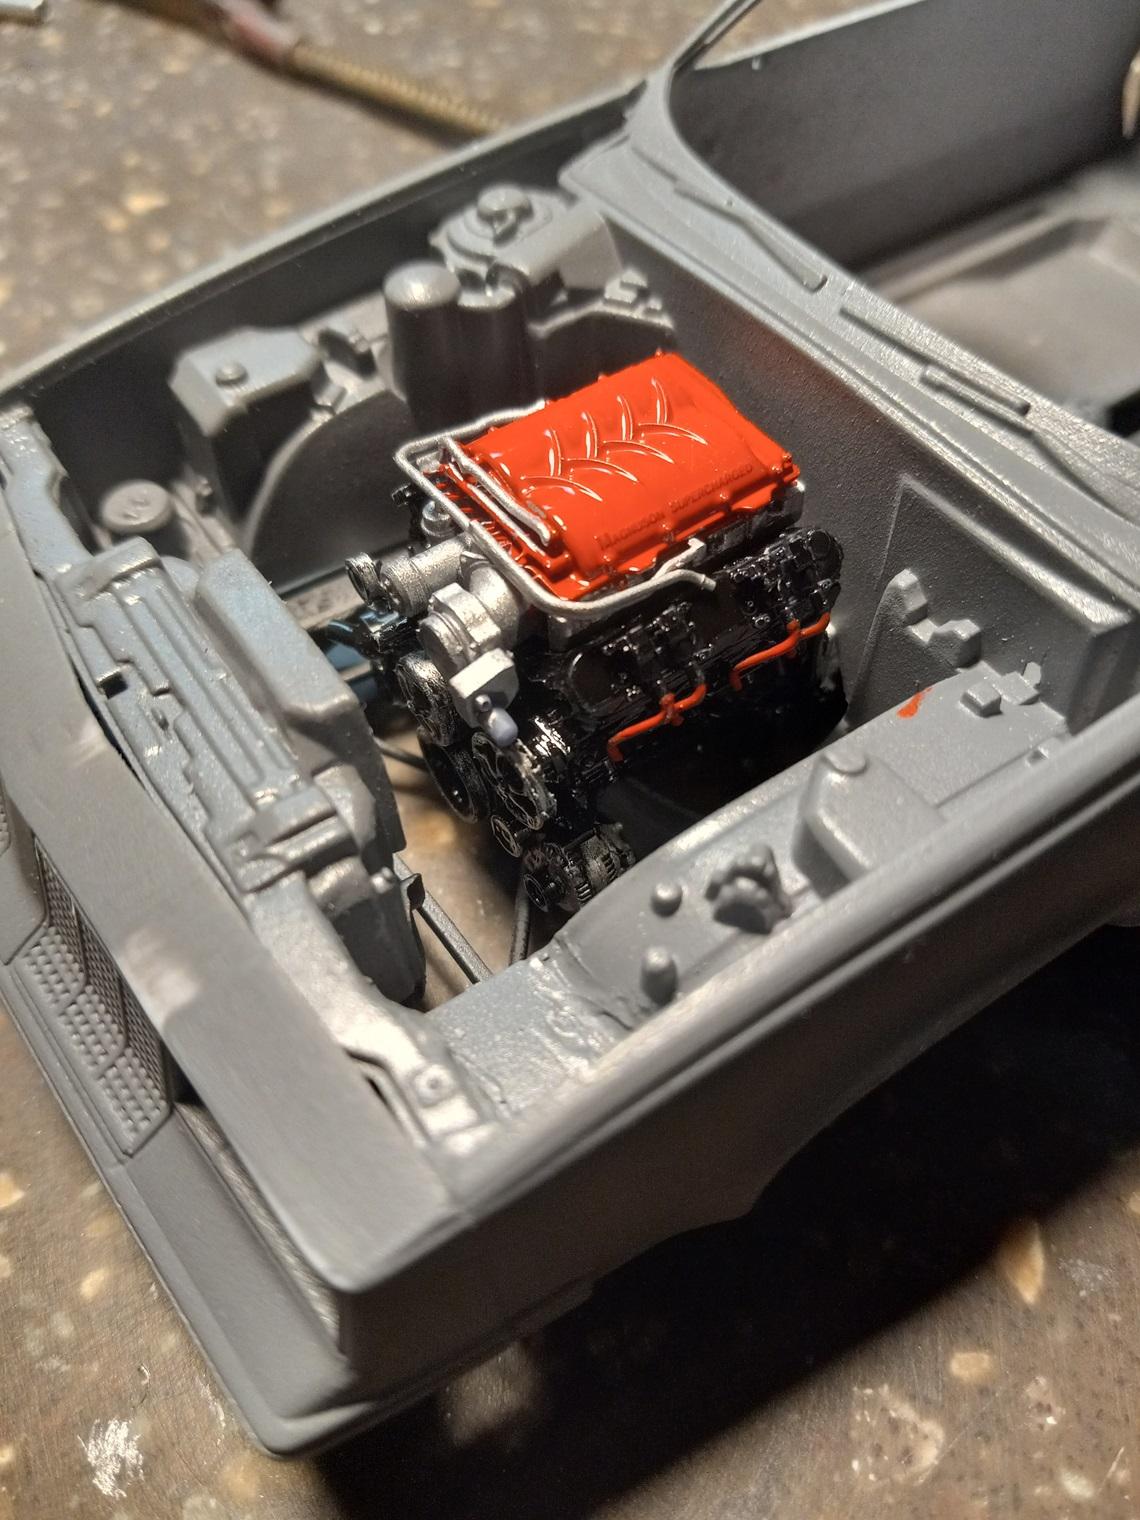
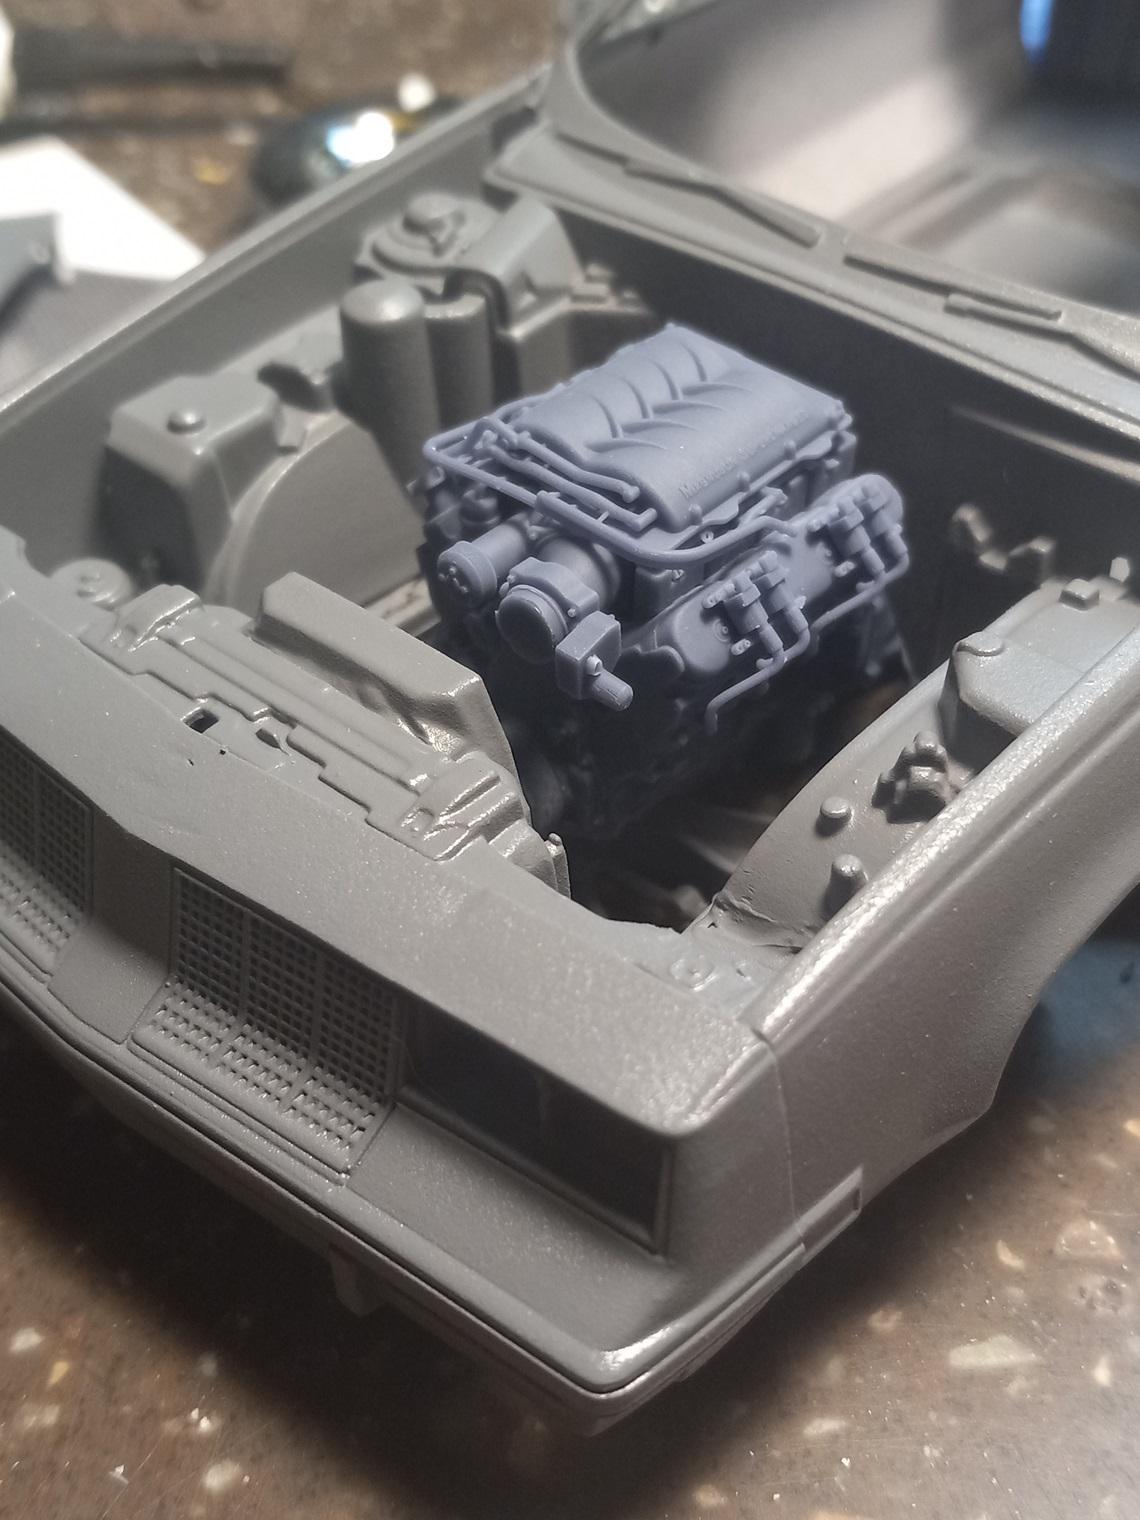
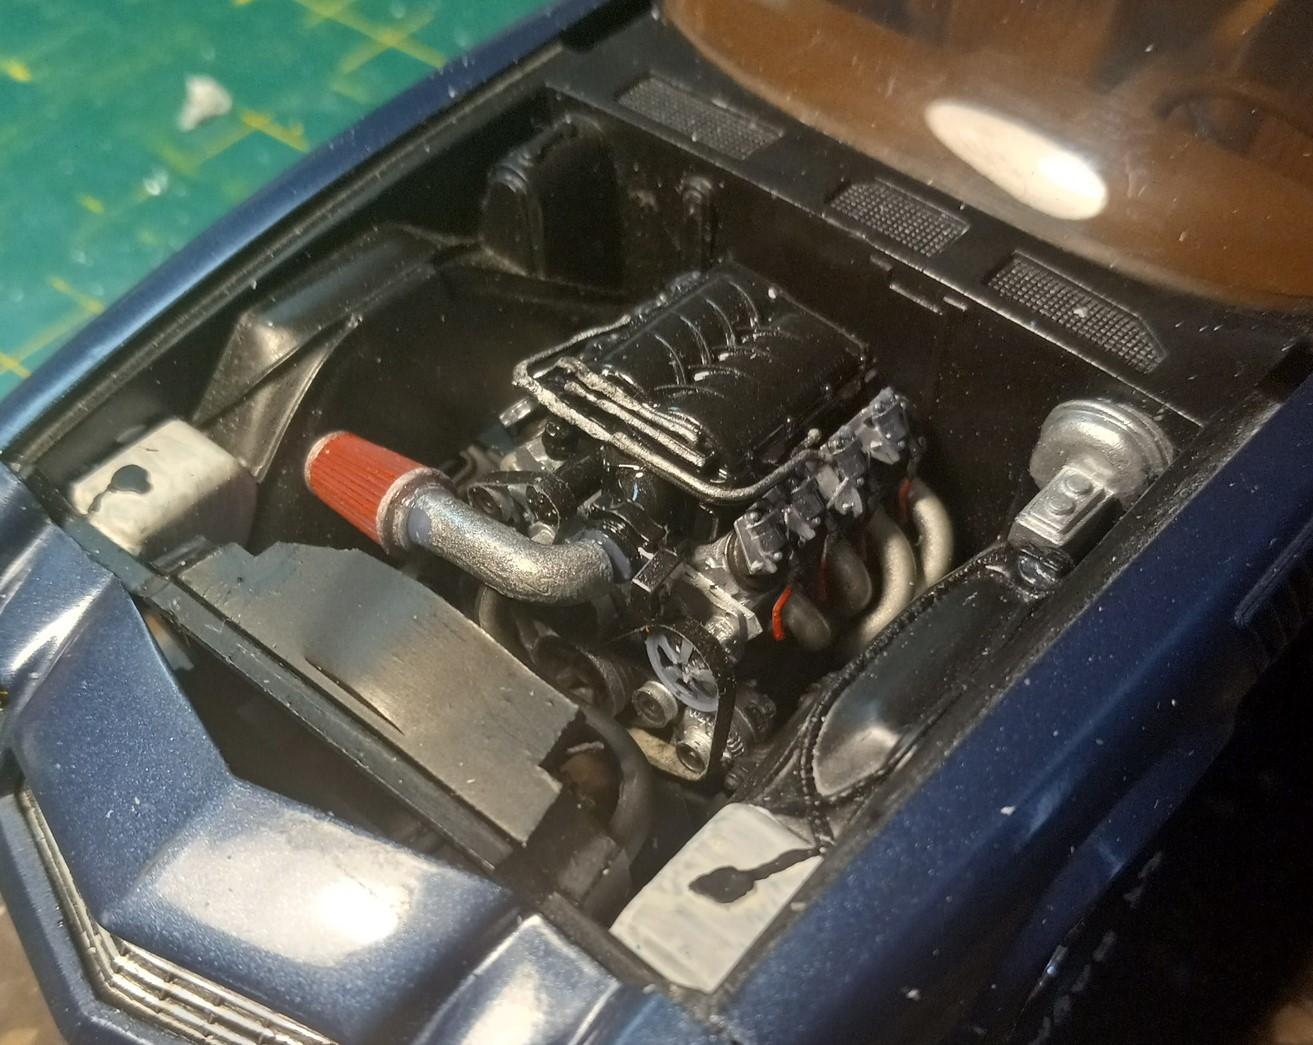
Engine came in today, WOHOOOOO! This 3D printed engine is so nice. Crisp detail, smooth mating surfaces, well worth the price. I test fit it and have plenty of room in the engine bay. And, if you note something else, yes, it's in primer! Now to get all the fine details of the body smooth around those rear fenderwells.
-
Not a bad kit, and those tires are the biggest street legal treads in 1/25th scale.
-
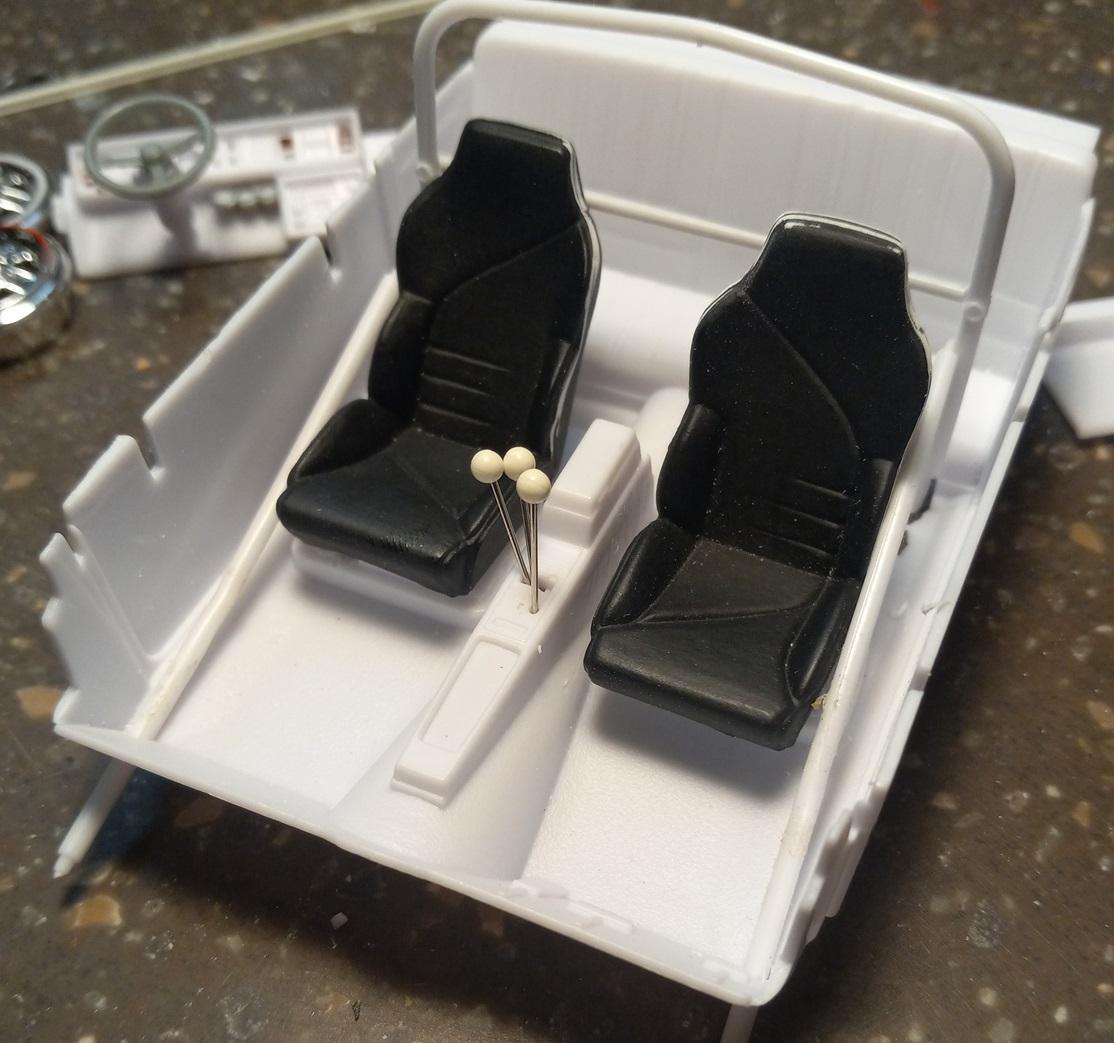
On to the Interior. I built a bit of roll cage, added shofters, guages for the dash. I also opened the vents and put card stock in for the blades in the vents. All this will get adjusted when final interior assembly happens. The door handle is a bent pushpin and I replaced the molded in door pull with 1/2 round Evergreen strip.
-
I build for me. I'm happy with my work.
-
Latest updates: Fender inserts are set, gives me a comfortable amount of room for those huge tires. Also did the trunklid underside so it looks more presentable and leaves the hinge mount JB bonder lumps less visable.
-
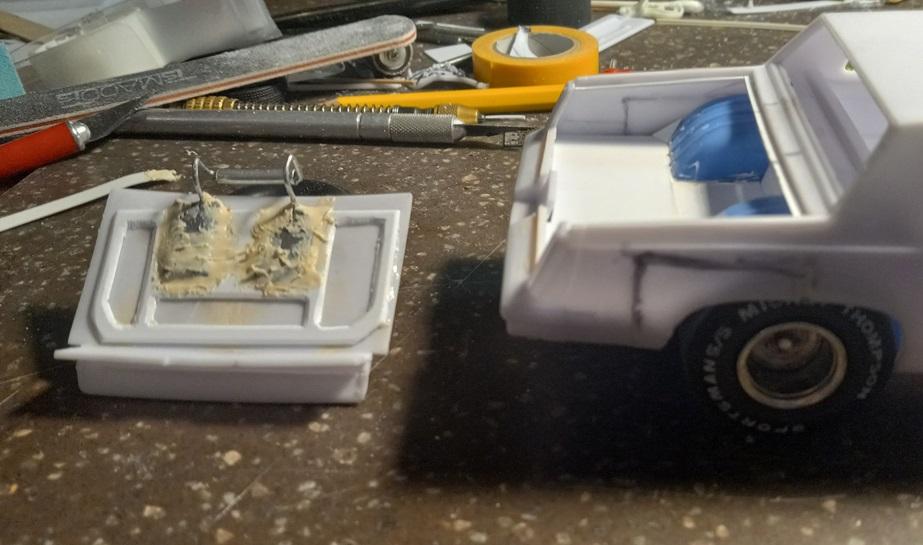
Back from vacation. Got caught in Tropical depression Nadine while on Cozumel. Rain, rain, rain. Anyhoos, Found the Mickey Thompson sportsmans and Centerlines to go on this project. Tires are a tab bid, so I'm going to extend the wheelwells back a bit to maintain the shape of the original wheelwell. Gonna measure a few more times before I do any cutting.
-
And the fix! With hot melt glue gun and some time, I now have a correctly functioning trunk.
-
Ooops! After spending time selecting the right tube for the trunk lid hinges, bending paperclips to get the angles just right, taping everything together on the body and checking for smooth operation, I get this. The mistake? Not taking the tubbed fenders into account. Now I have to carefully undo all that work and move the hinges to the inside. UGH! At least the fuel cell and battery will fit!
-
This will be the engine.
-
I showed a quick mockup of this idea a short time ago. Well, two Lamborghinis and a Bronco later, this is the next one up. Chassis from the pro-street 66 Nova already mounted and aligned. I'll be using another 3D printed supercharged LS motor to be ordered soon. Gas tank mounting and battery moved to the trunk. Mostly stock interior. Color, oh not sure, maybe pearl white, maybe a medium green that was a factory color back in the mid-80's. Holding the Nova chassis to the Cutlass chassis is a good-sized chunk of JB weld. I like to use it as it provides a strong bond and support for the transition. One headlight cut out for the air intake; more to do on that.
-
Nice!
-
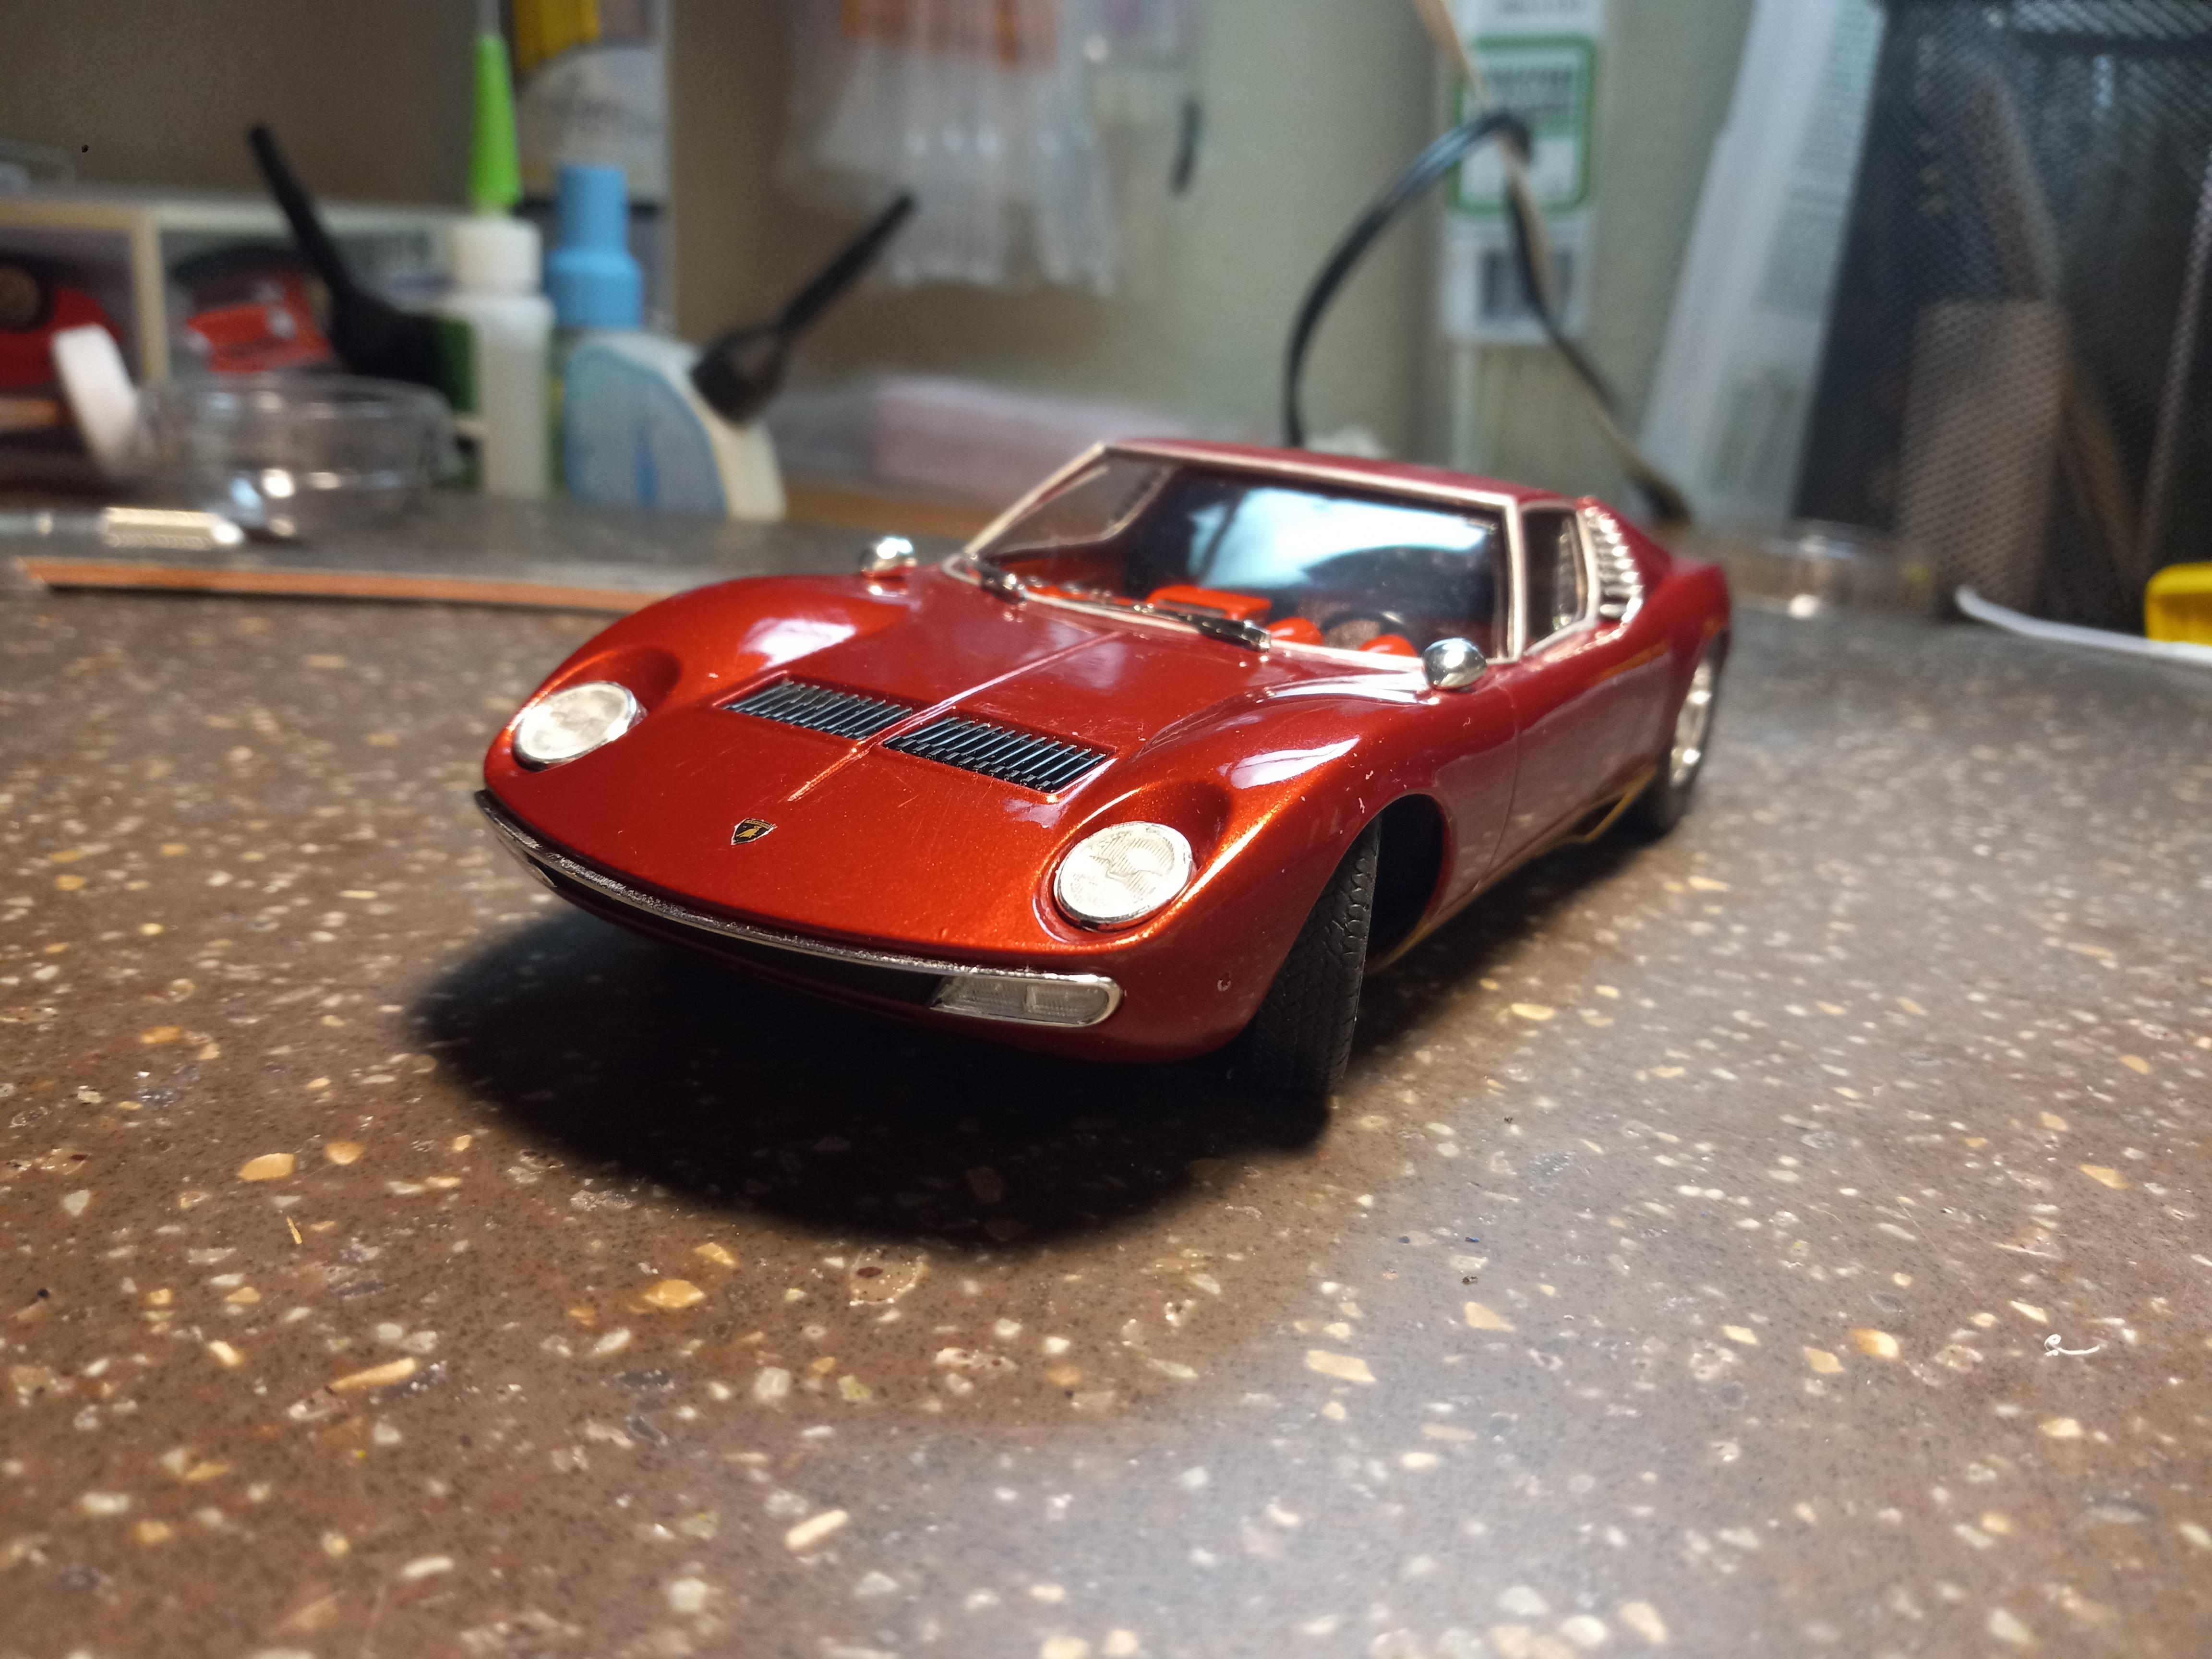
Finished this one today. After about a month of rest, I will come back and do some touchup. Hawagawa kit was great. Loved the photoetch body scripts, they really make it pop. Now if I could find 1/24 GT350 or GT400 and a Revuelto I'll have the whole V12 collection.
- 10 replies
-
- 13
-

-
Who doesn't love a mock-up? Let's see yours!
carl63_99 replied to Belairconvertable's topic in WIP: Model Cars
#1 rule of modeling, don't start another project until you finish one. Oops! The Countach is getting close. I started it 15 years ago, damaged chassis, but couldn't part with the body that I've polished a few times over the years. New kit = new chassis, so getting close to the finish line. Next up is a pro-street Cutlass using the chassis from the '66 Nova. I'll put a 3D printed LS motor in it. Still lots to decide on this one, though.
-
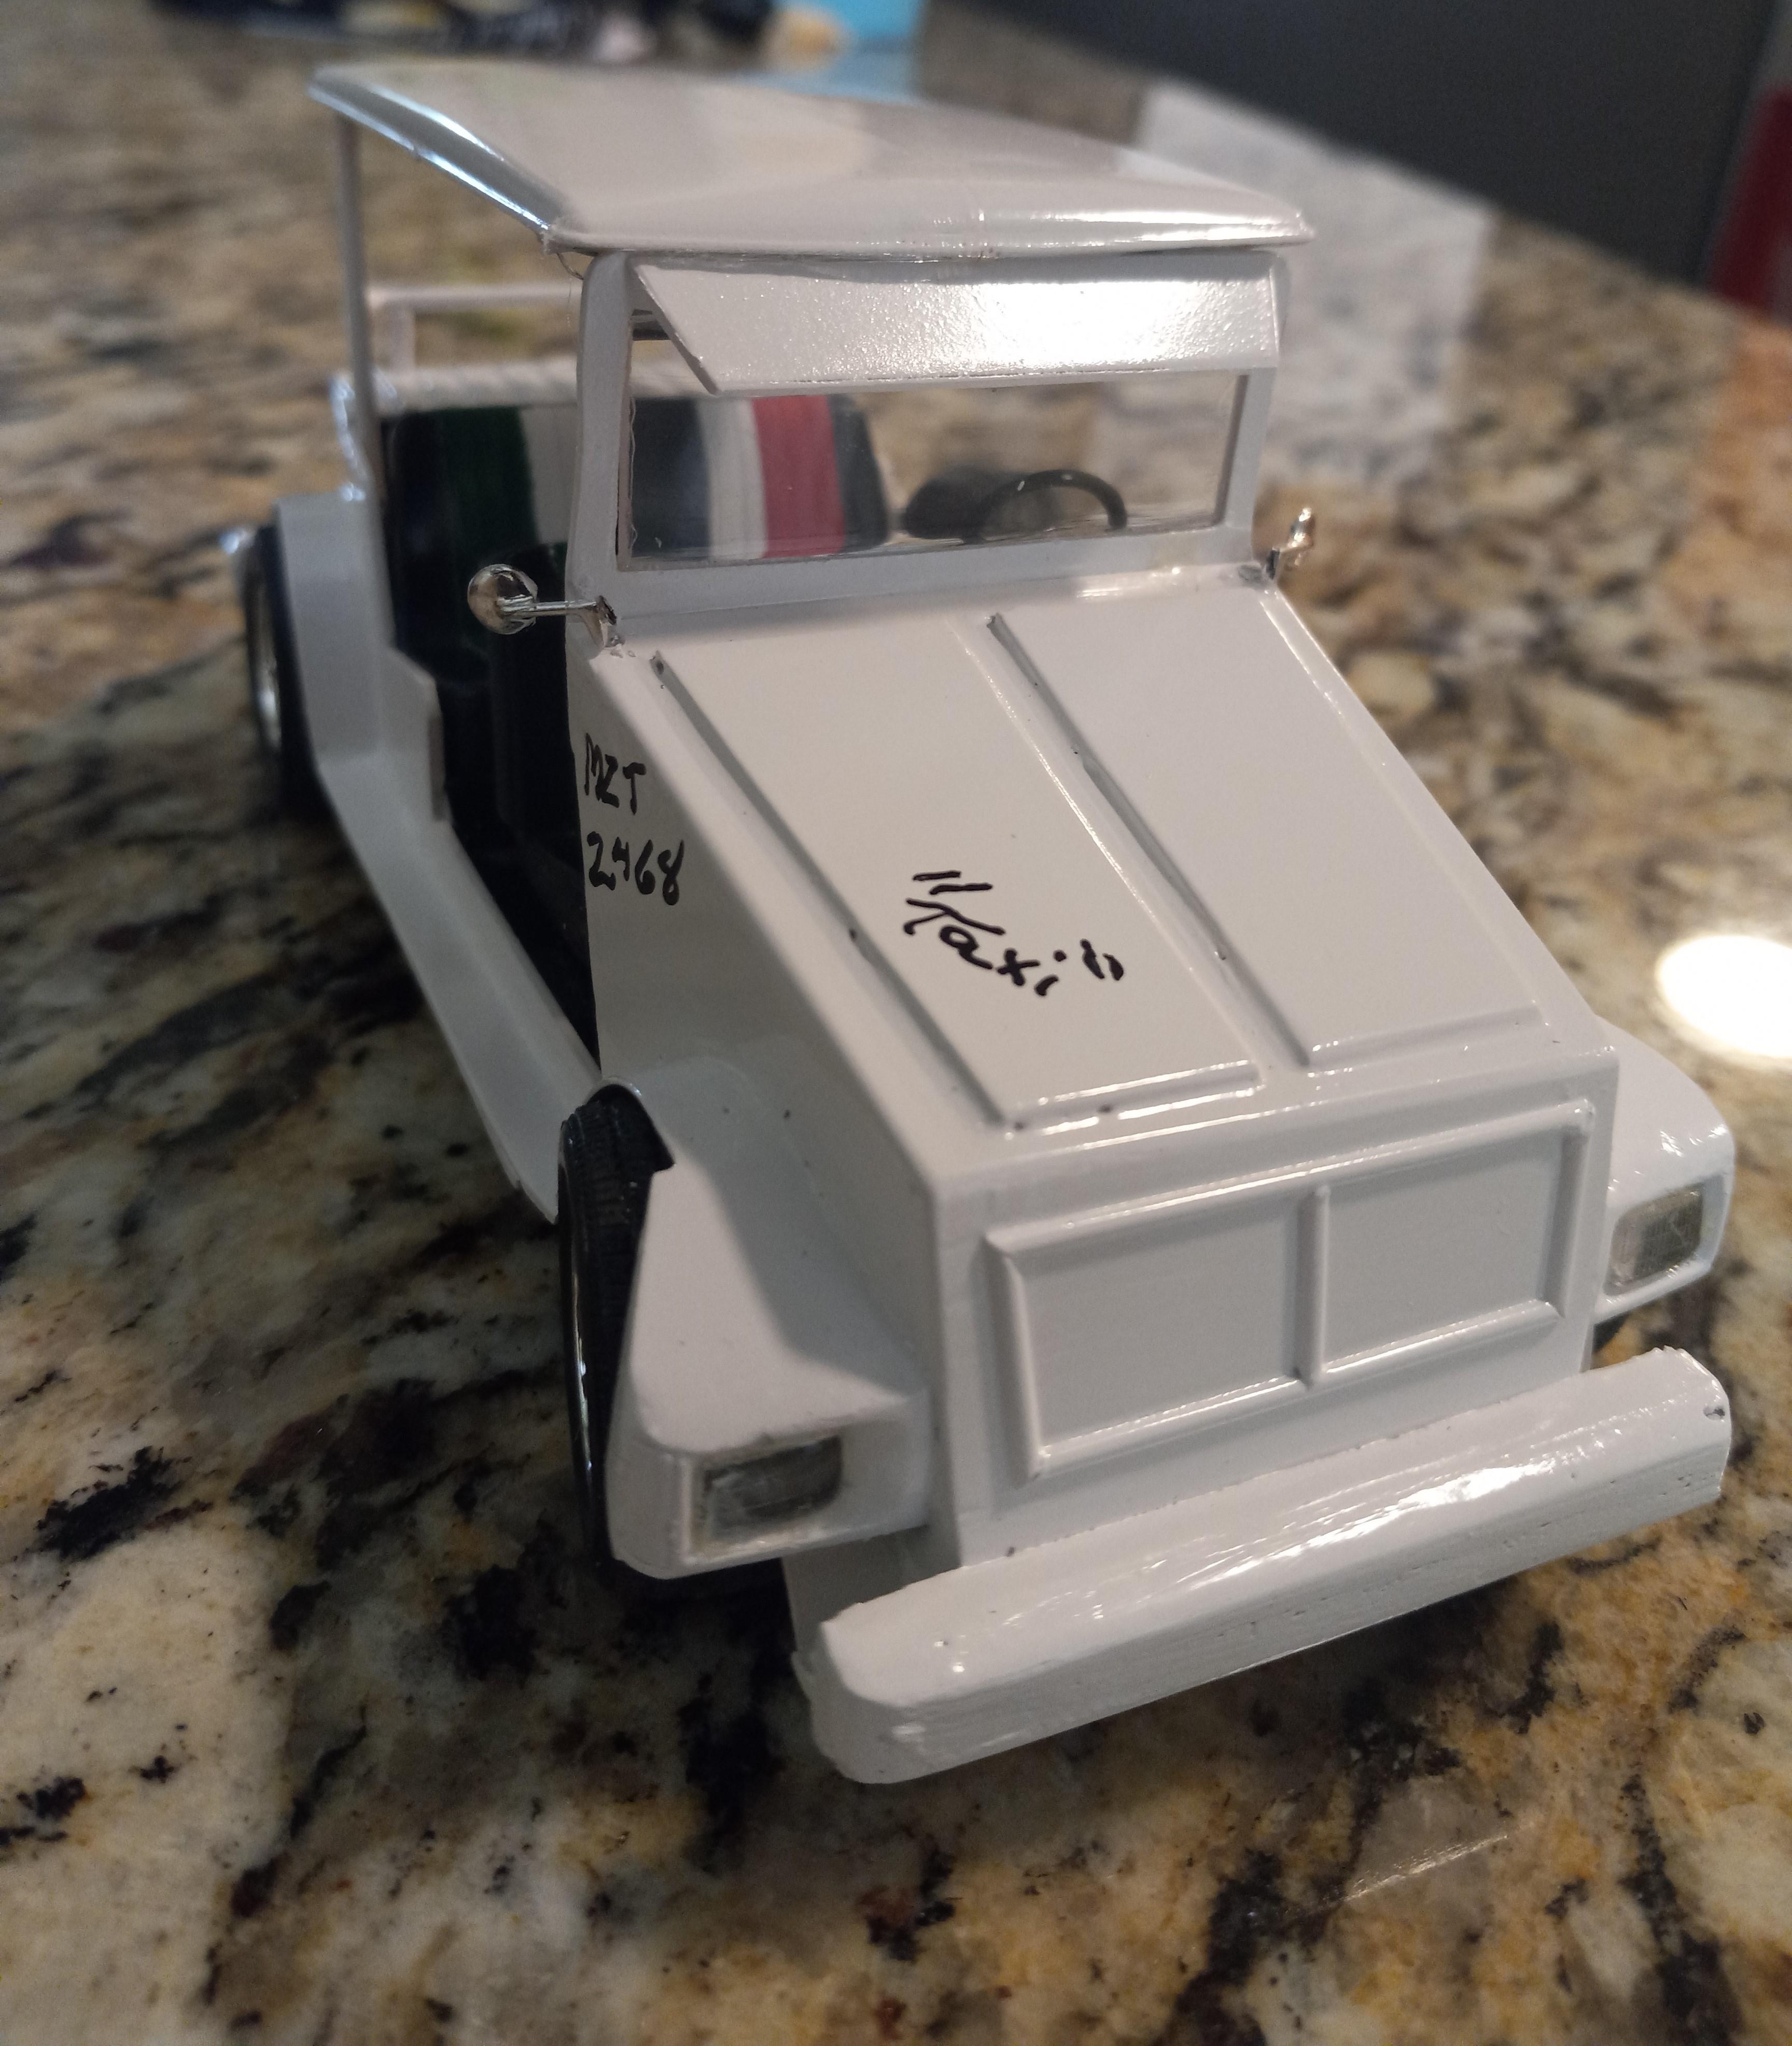
While looking very similar to the "Thing" or kampfwagon, it really has only the base chassis in common. The Thing was metal, corrugated for strength. I've asked and nobody really knows who did the bodies for the pulomias, but they are fiberglass kits. As the old Beetle is no longer in production, they also don't make any of these new. Over the years, repairs and customizations have made some of them look pretty rough while a few are borderline custom cruisers. One rides around town with neon Mario Brothers all over it, probably wouldn't pass inspection anywhere! As for the ride, yes, fun. Hopping in the back and riding up and down the Malacon makes for a great evening! The ocean on one side, hotels and businesses on the other side make for lots to take in. The drivers often like to point out the hotel El Chapo was staying at when he got captured.
-
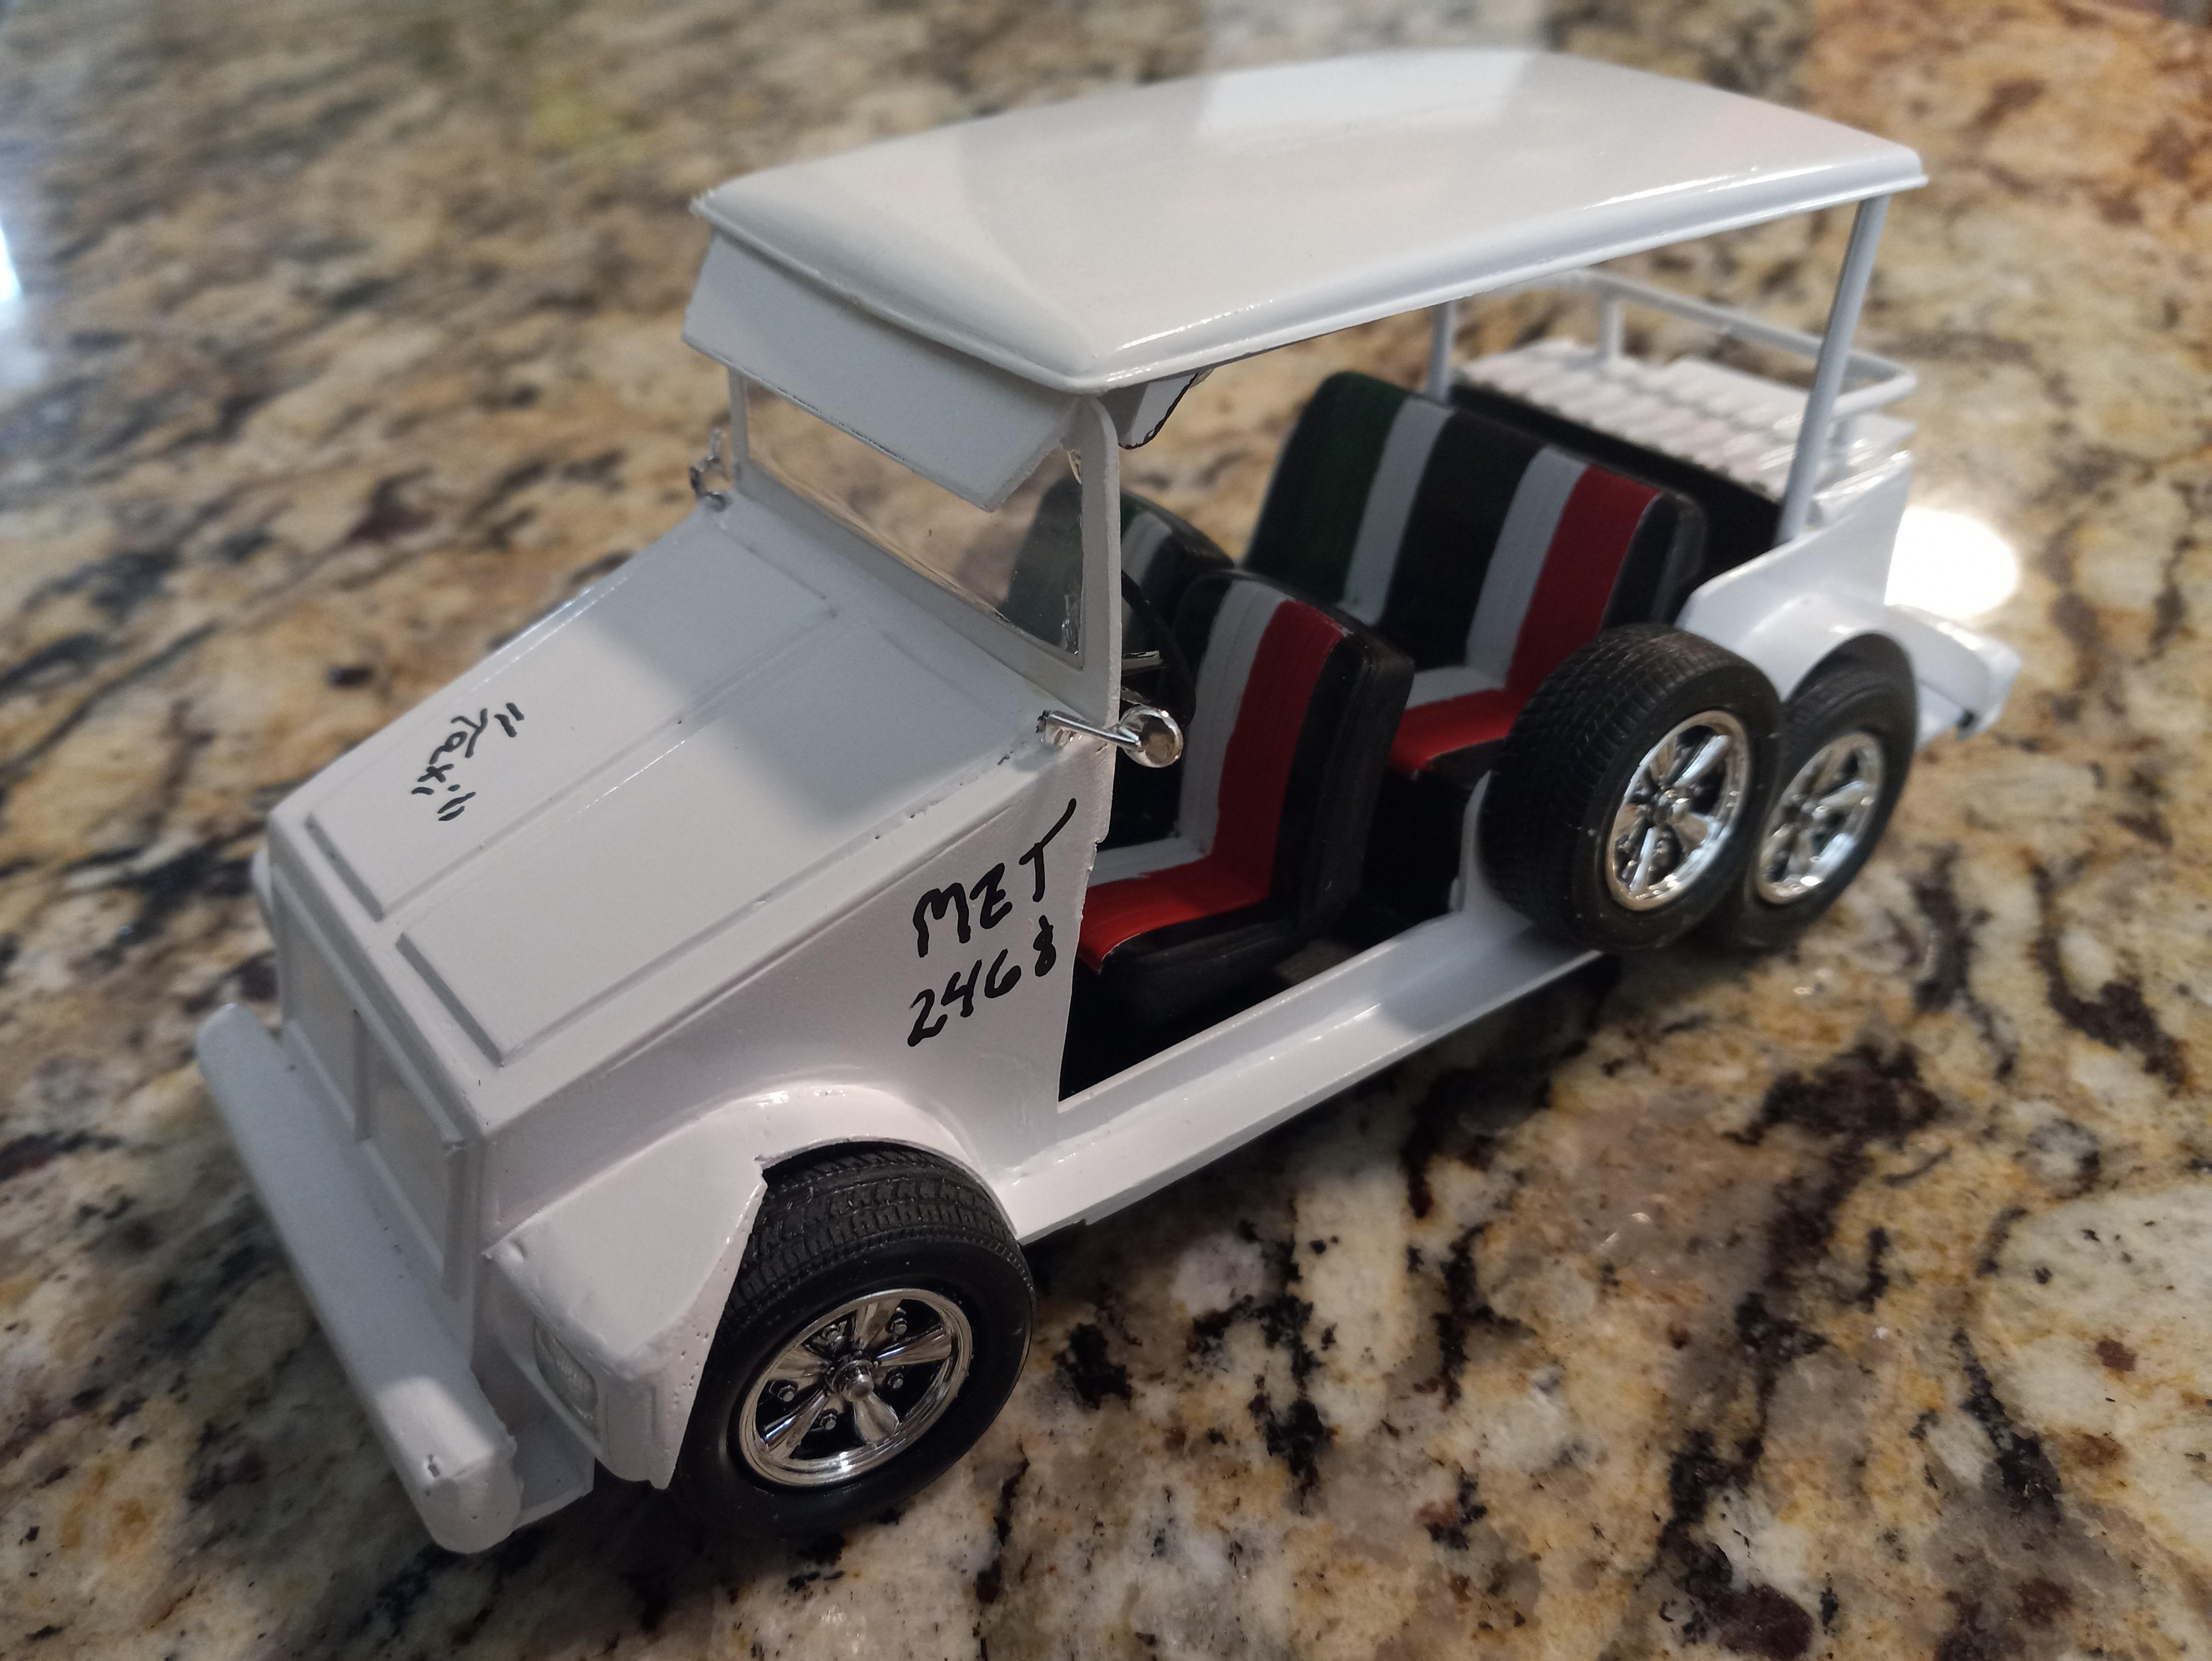
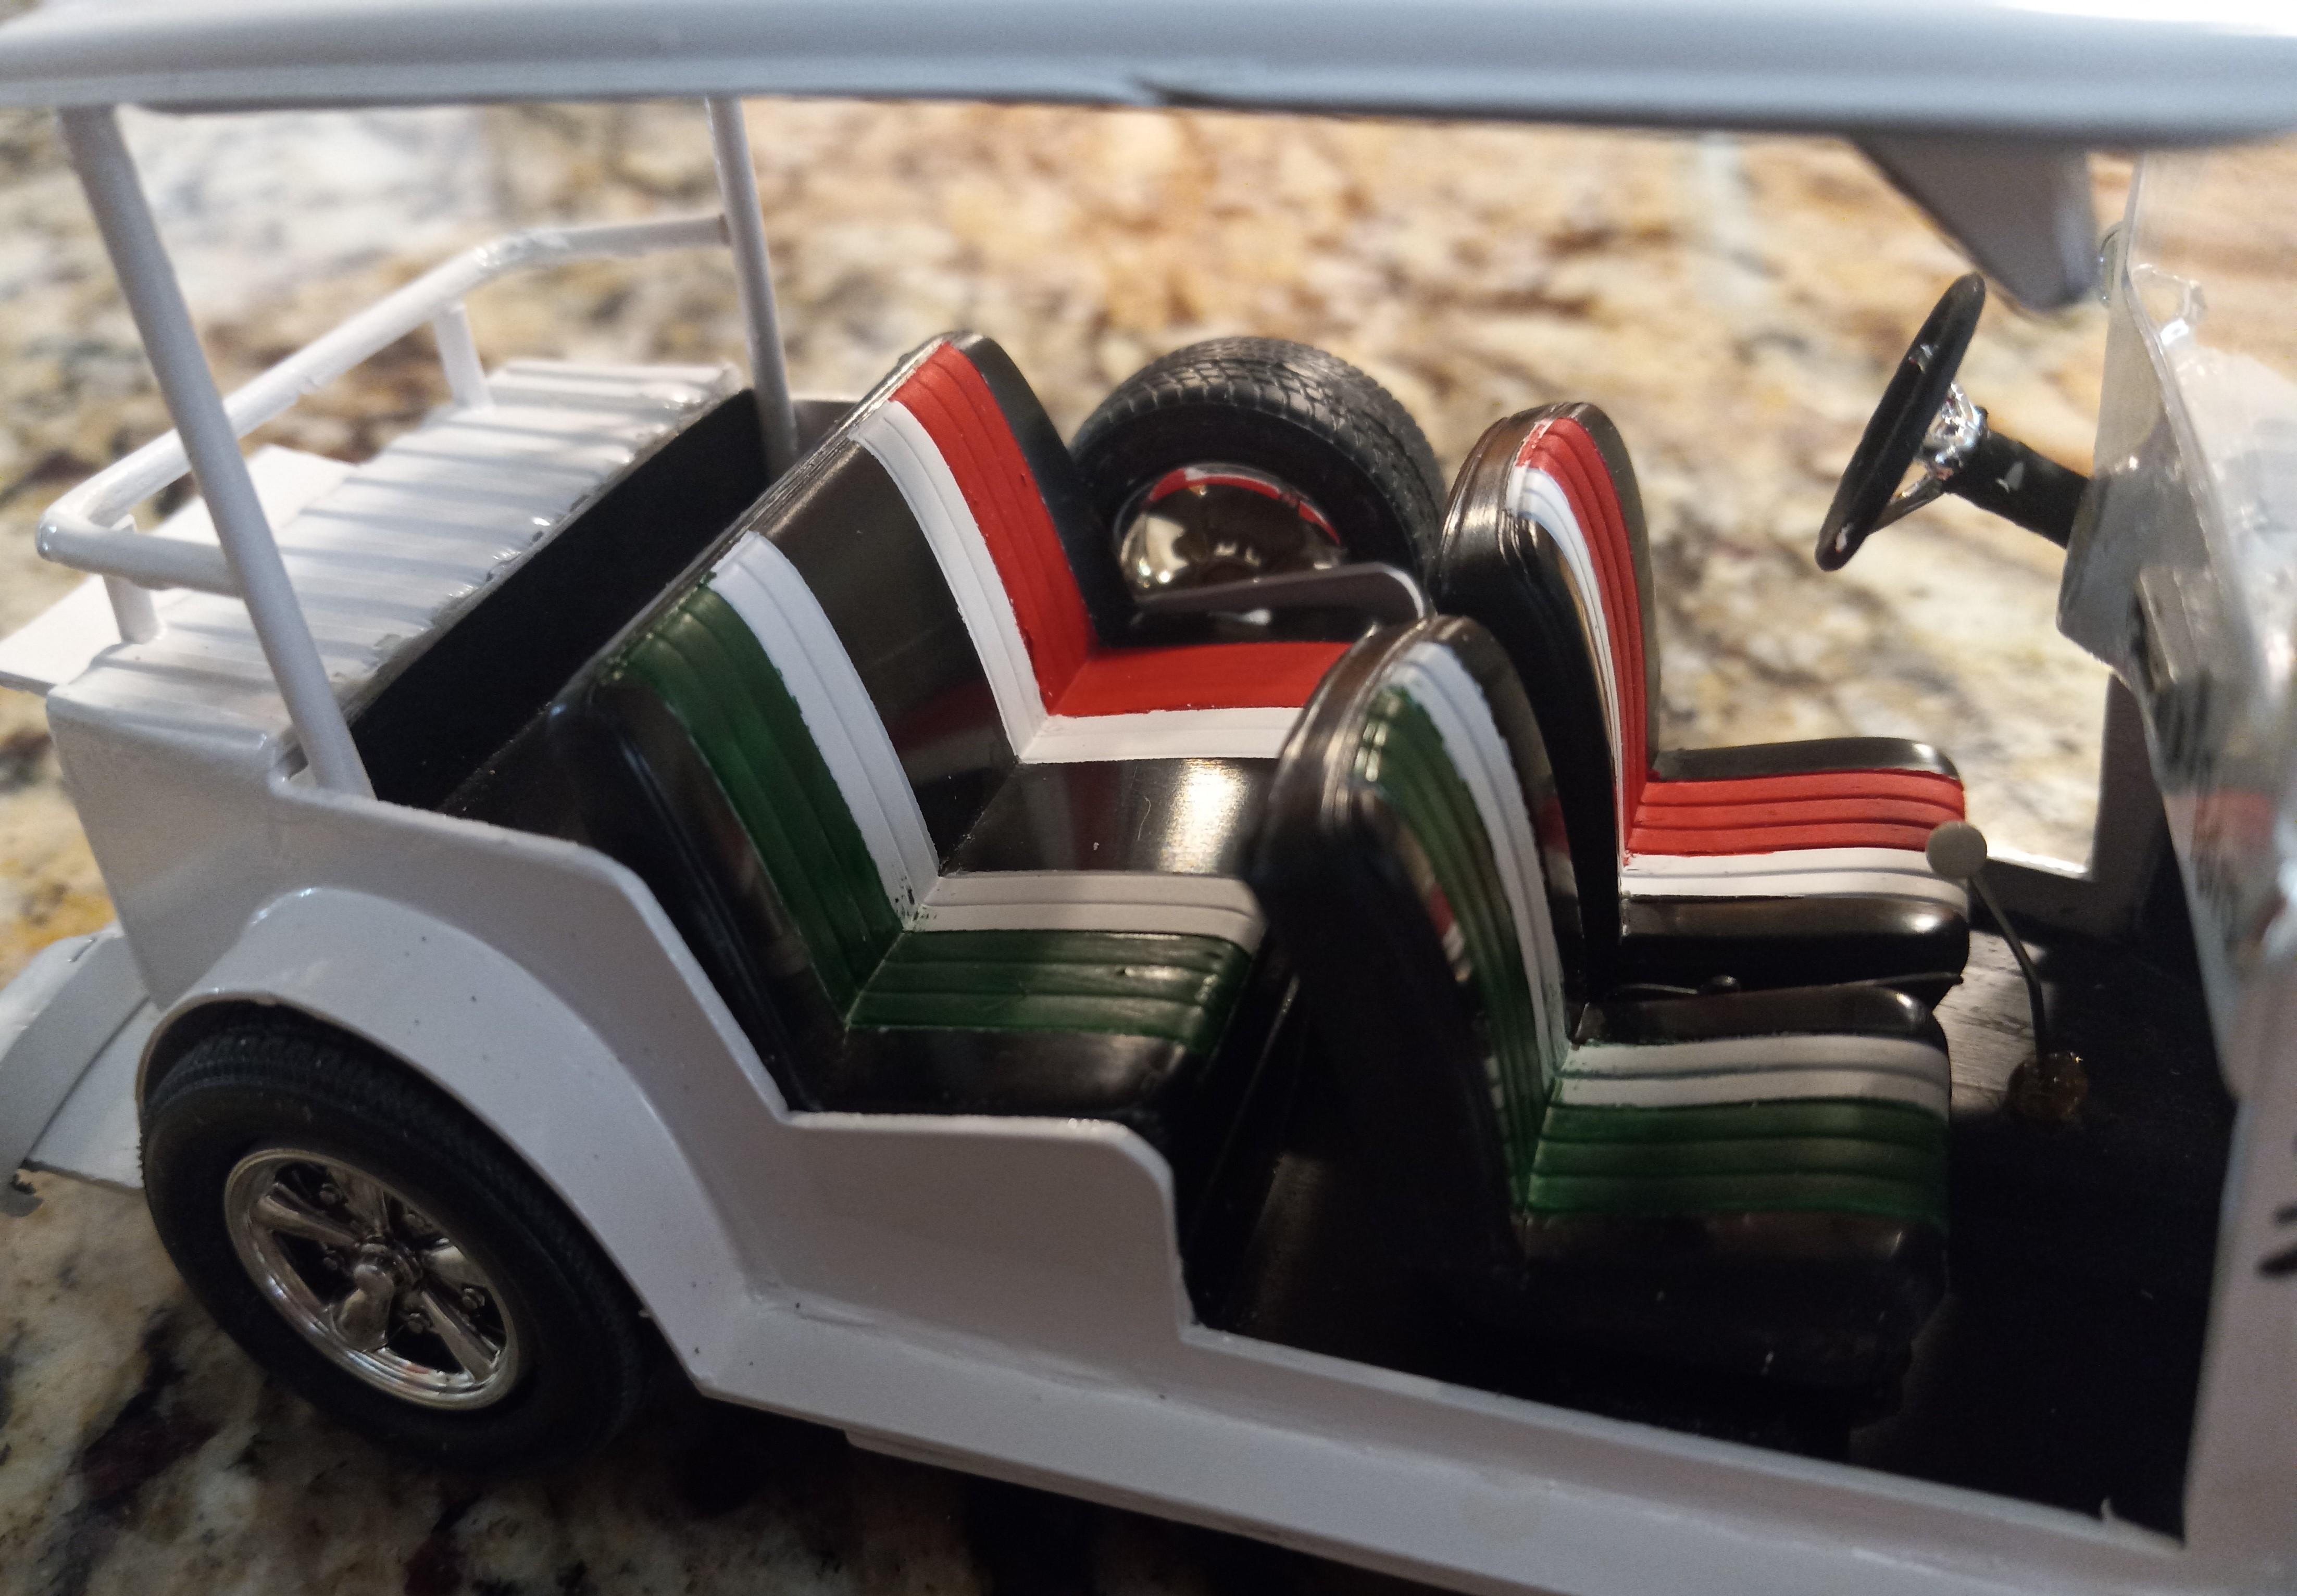
If you've ever been to the beautiful Pacific city of Mazatlan, Sinaloa Mexico, you've surely seen the VW converted taxis that run all over the city. They're a fun ride and allow you to get a great view of all the fun stuff going on around you. Having been there many times, I decided to build a model of one. The real car is a VW Beetle chassis with a fiberglass body on it. I built the entire body of this model from scratch and a few spare parts lying around my model bench. As the real pulmonias are built cheap, they lack fit and finish. They also tend to be modified or repaired in many ways, sometimes not done with the most professional results. Seatbelts? We don't need no stinkin seat belts! This was a fun build. Note the seats are done in the colors of the Mexican flag.
-
Who doesn't love a mock-up? Let's see yours!
carl63_99 replied to Belairconvertable's topic in WIP: Model Cars
This is the Revell kit. Copyright 1989, but the actual kit is much older. -
Who doesn't love a mock-up? Let's see yours!
carl63_99 replied to Belairconvertable's topic in WIP: Model Cars
I've had this Cord 812 for years, tried to build it a couple times, couldn't get into it. Yesterday I was looking for some parts for another project and these Mercedes tires and rims crossed my view. I look up and there's the box for the Cord. Hmmm, now I'll have to build a retro-custom of it. Focus found!
-
chassis looks perfect now!
-
Looks really nice. I sure hope you remove the "TM GM" on the bottom of the chassis.
-
For the life of me, I don't remember. I think they were in an old MPC kits but no way to know for sure.
-
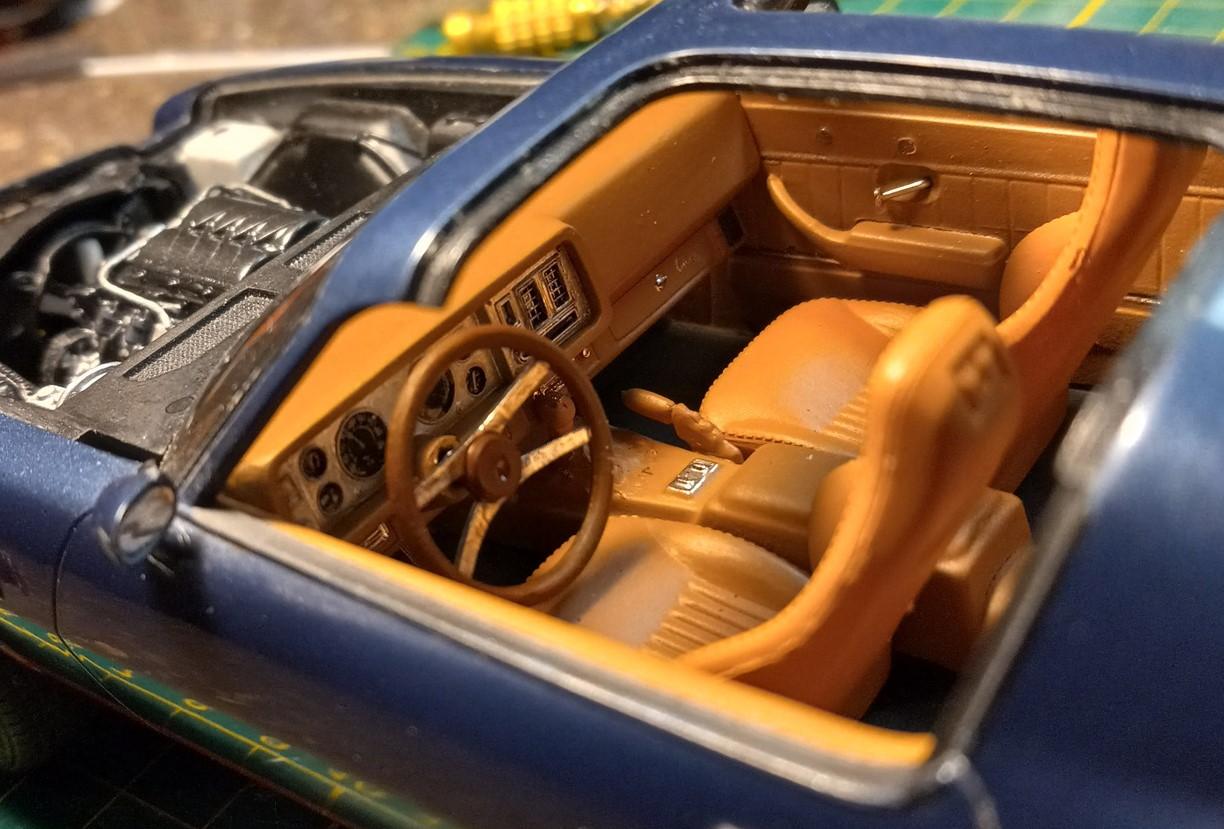
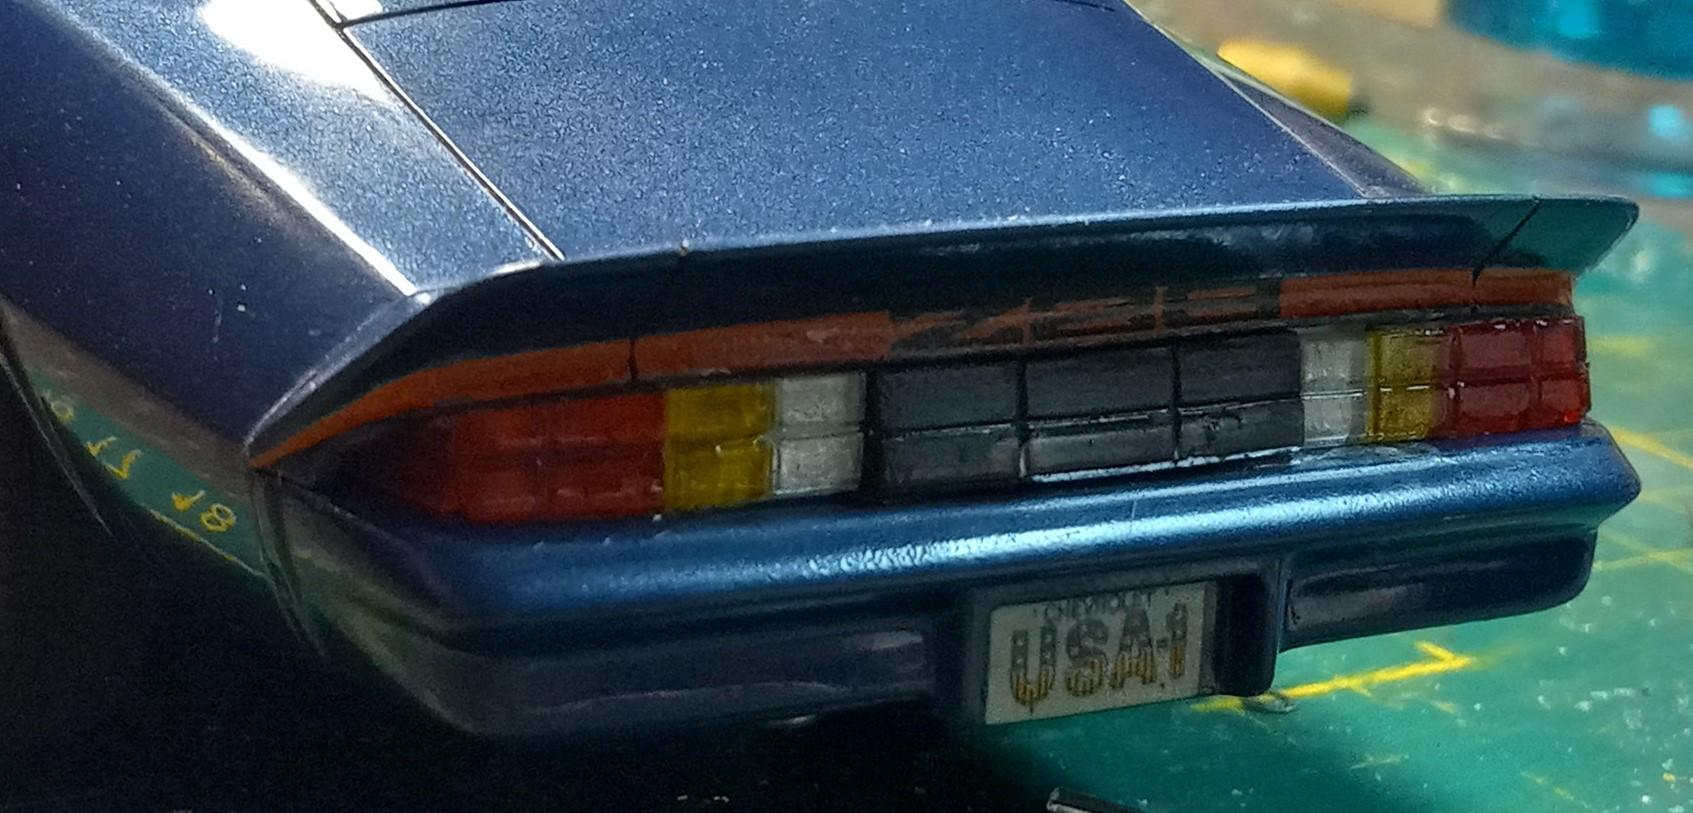
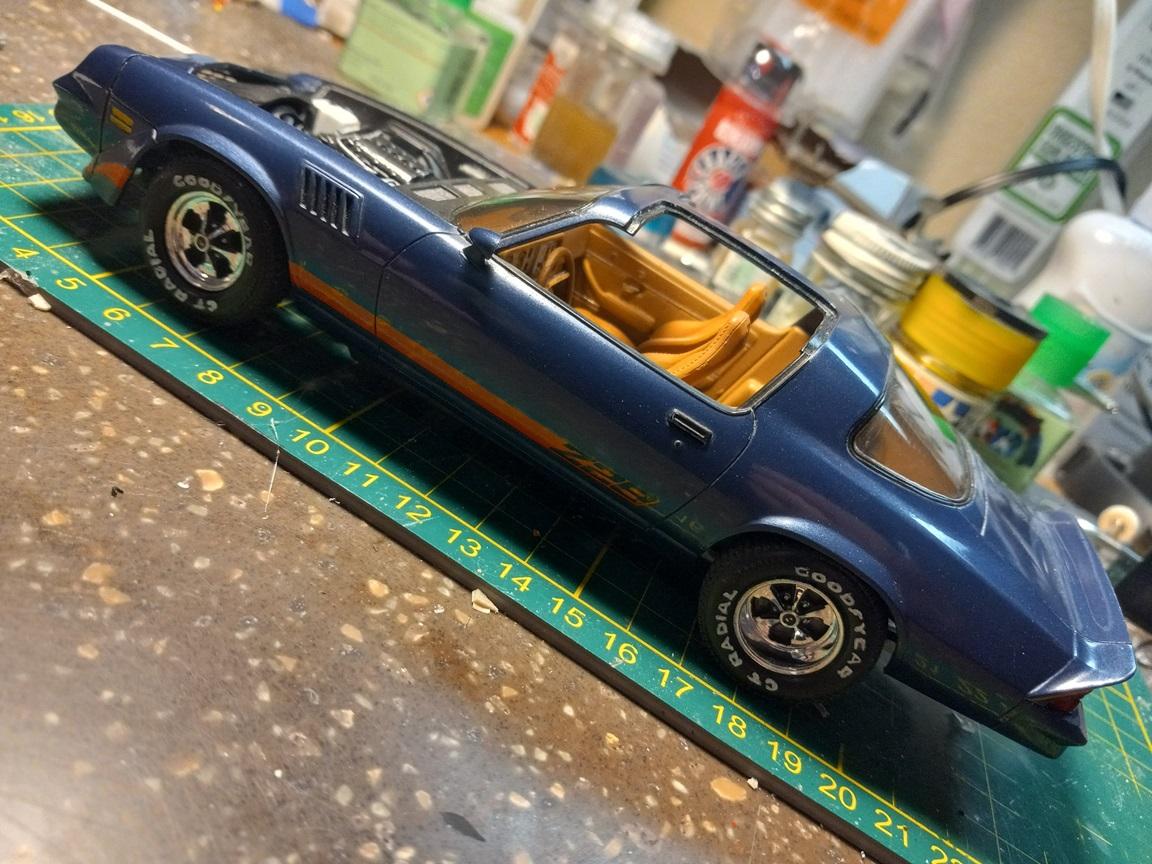
A few months back I did a tutorial where I opened the grill on this Z28 that I had built about 25 years ago. After finishing the grill I decided the car really needed some updates. I got a 3D printed supercharged LSX engine for it, redid the interior from gray to this tan mix. I opted for Corvette seats. The tail lights were done in a dark smoke color which I never liked. I found clear 1985 Camaro tail lights in my parts supply and cut them down to fit. I do have to mount an exhaust, but need to hit the store for materials for that. Done for now!
-
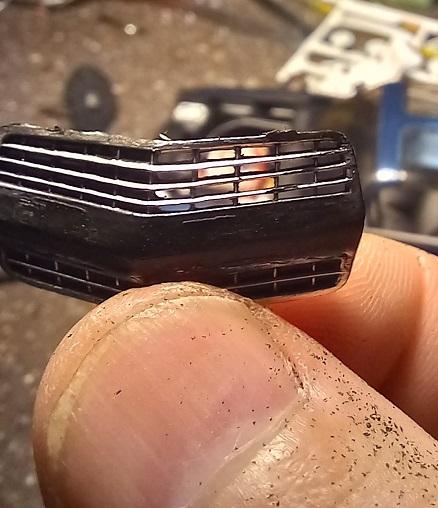
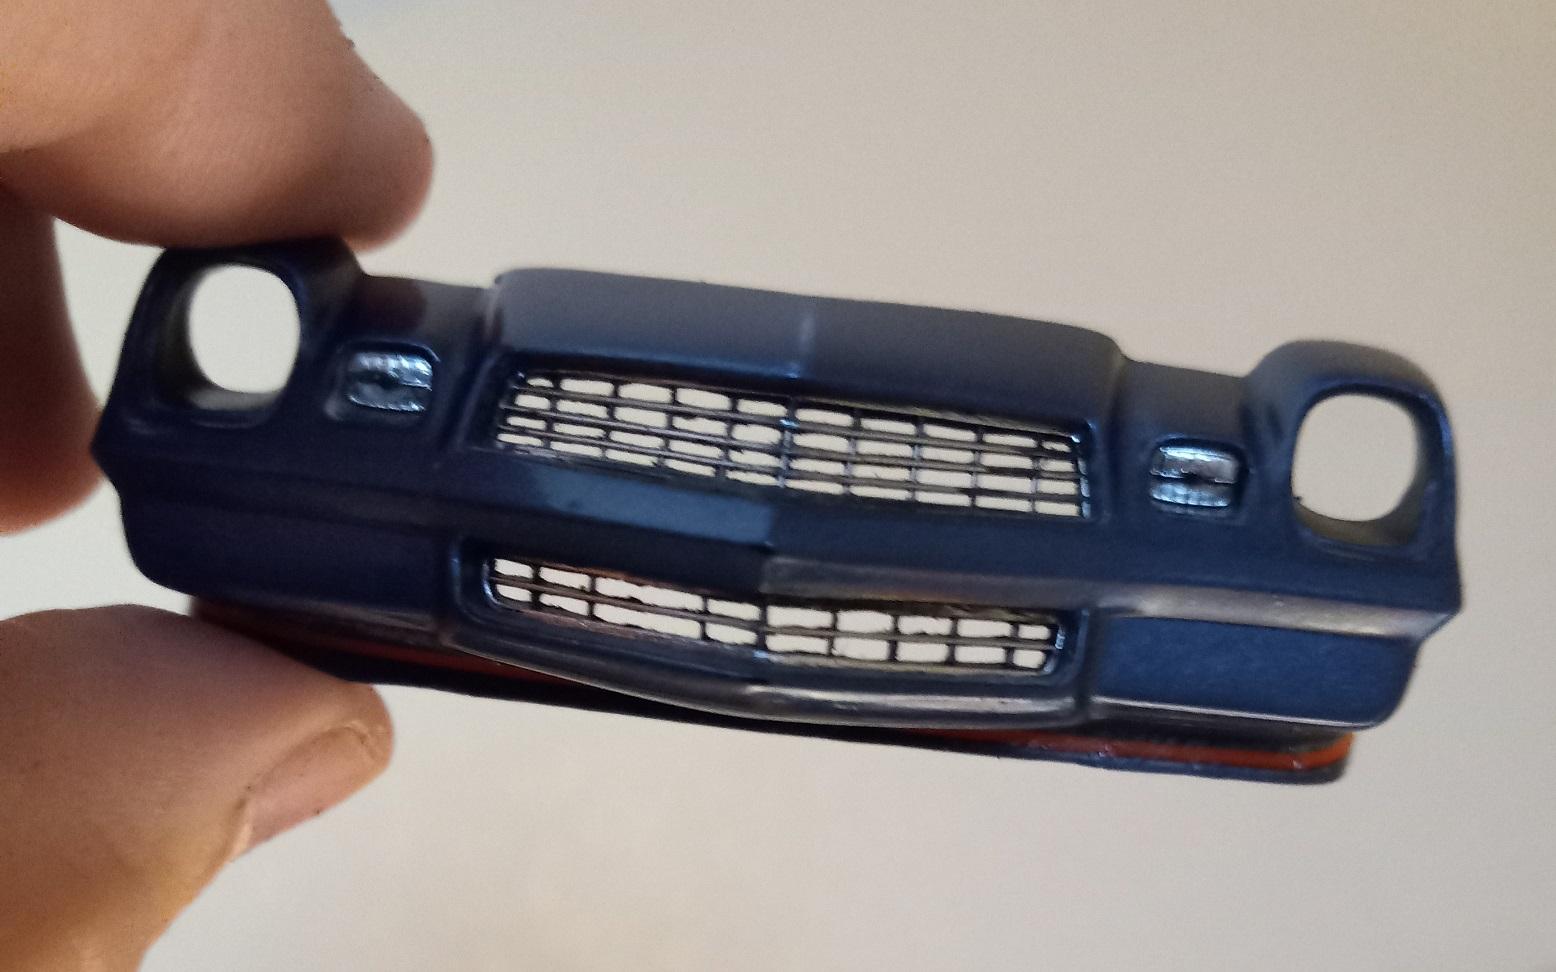
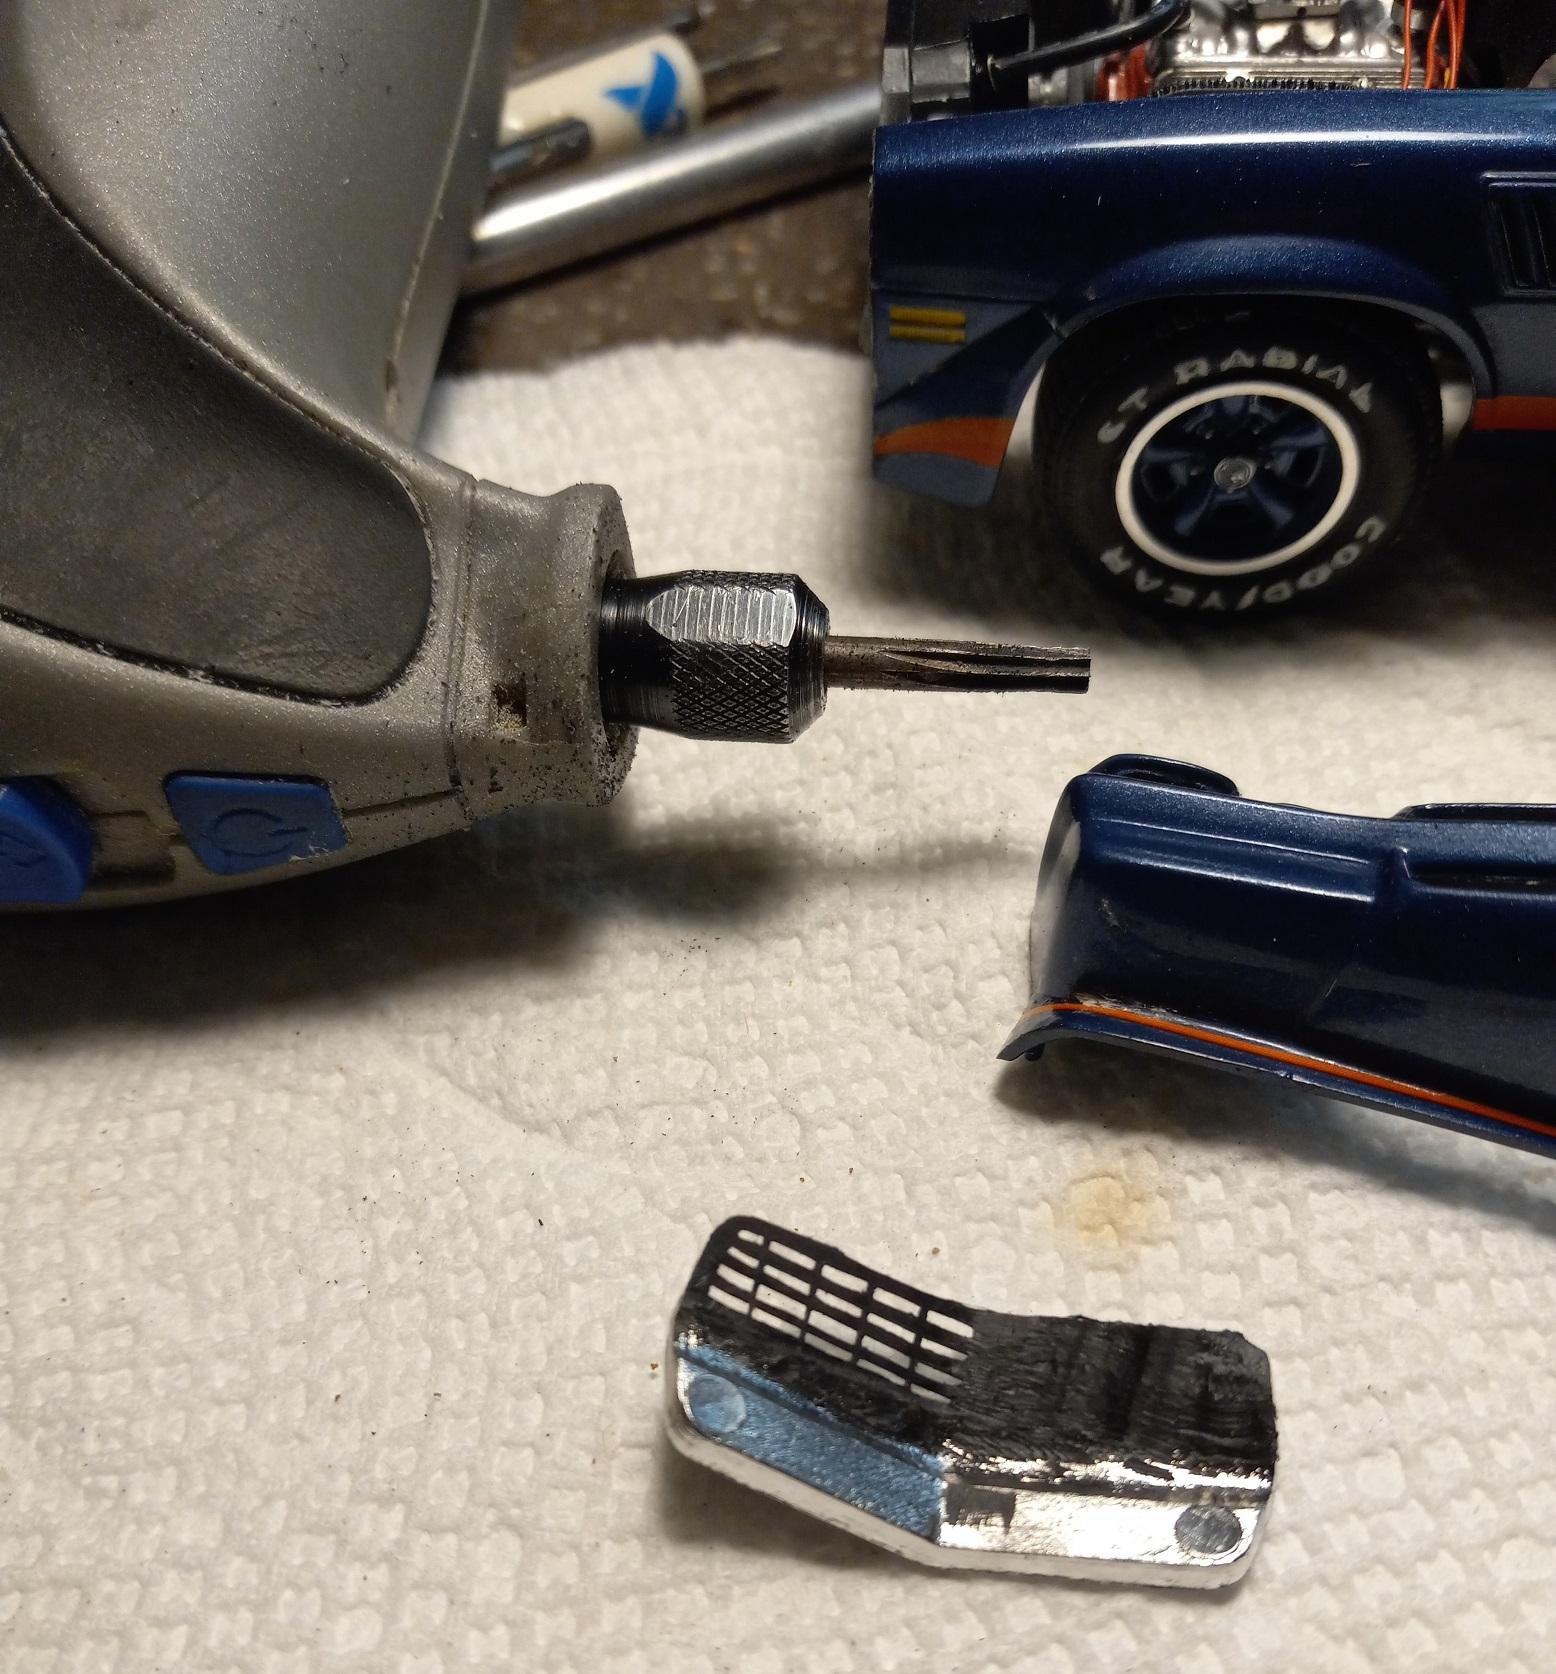
Opening up grills and other openings really enhances the look of model cars. I use a Dremel on low speed and slowly grind away the backside of the grill until you start to see the chrome. Then, using a fresh-bladed X-Acto gently cut away until all the openings are clean and free of any stray plastic. You can paint the grill afterwards. This allows for you to see through the grill, unlike how the model came from the box.
-
Who doesn't love a mock-up? Let's see yours!
carl63_99 replied to Belairconvertable's topic in WIP: Model Cars
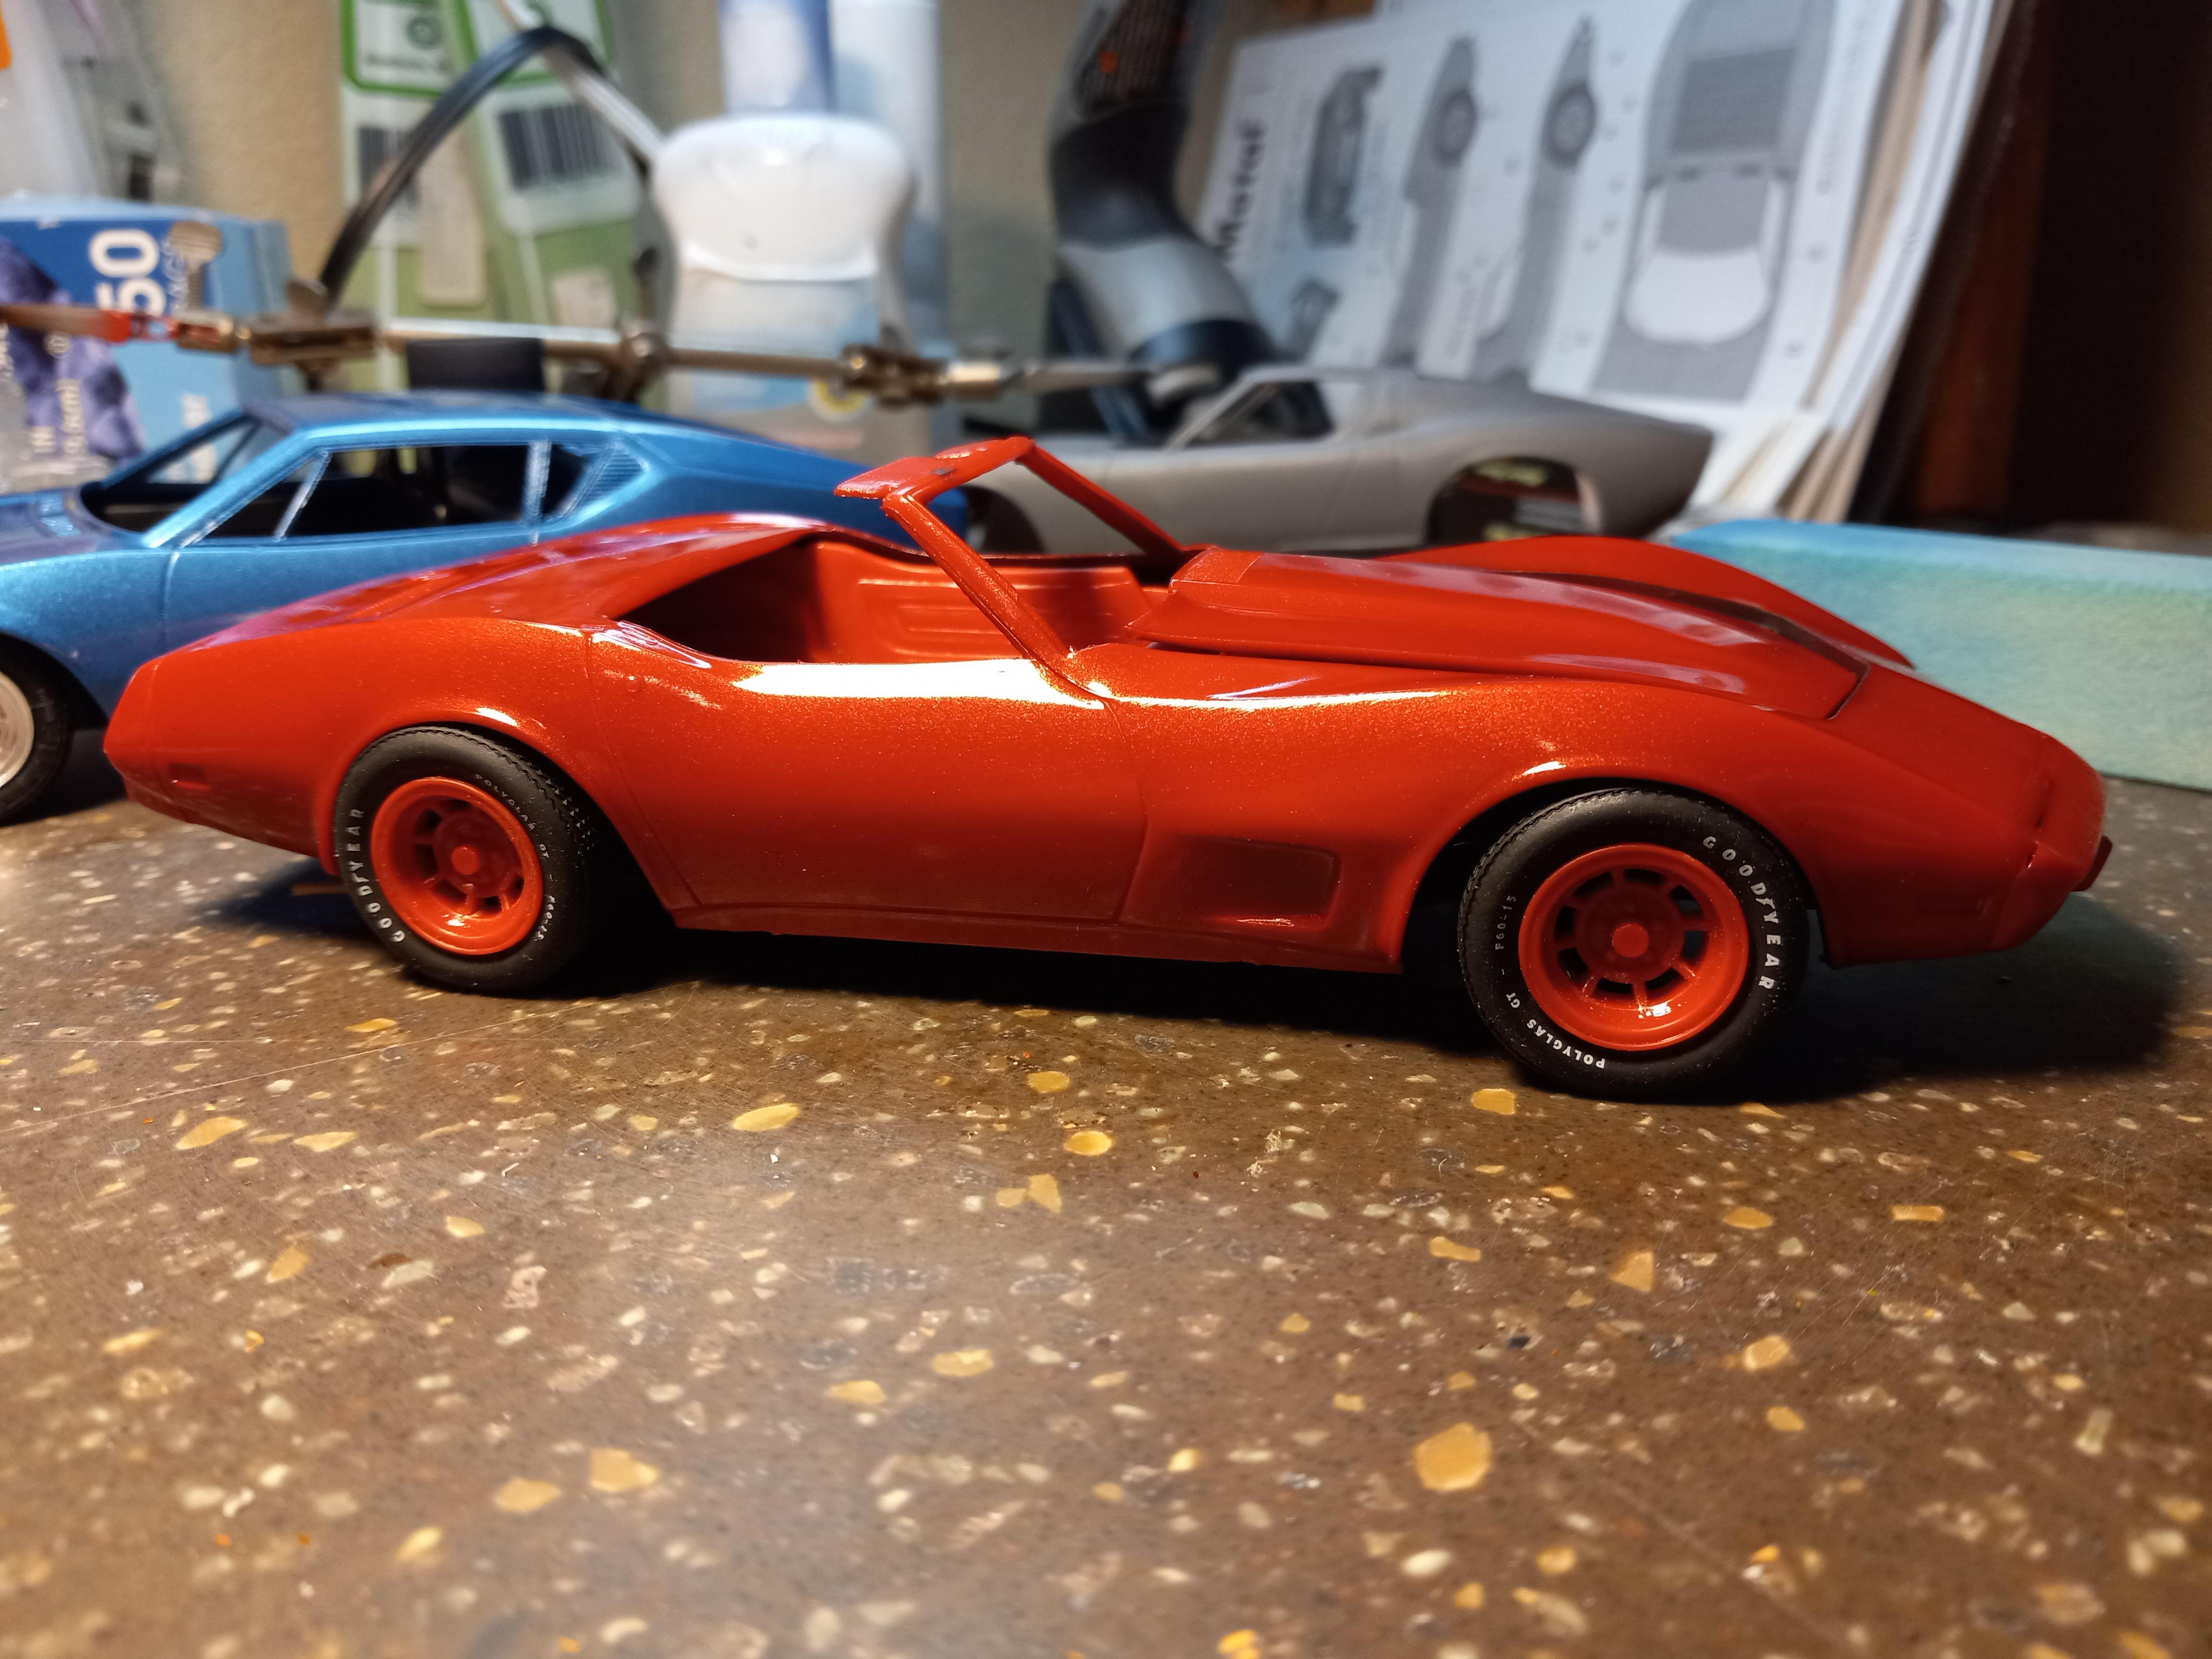
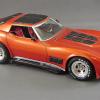
75 MPC Vette. Tires came from I dunno where, but going bias-ply for the white lettering. Dechromed the wheels to repaint flat aluminum.