Metalmad
-
Posts
1,309 -
Joined
-
Last visited
Content Type
Profiles
Forums
Events
Gallery
Everything posted by Metalmad
-
 Well I have looked through my stash of parts and it looks like I will be scratch building a set of calipers for the rotors and the caliper brackets so its off to the bench !
 -
Awesome Build !
-
Was able to get in a little bench time this evening and I was able to get the front hubs built for the front rotors and they are drilled photo etched Detail Master brake rotors which are probably not the correct rotors for a Funny Car but they look good on her and to me. So next I will scratch build the brake caliper mounts and possibly scratch build the front calipers as well. I have also shot some primer on the Pro Tech ignition box's and the Pro Tech coil's and I will also have to scratch build the mounts for these as well.

-
1/16 Scale Army Vega Funny Car - Finished 10/14/2018
Metalmad replied to Mooneyzs's topic in WIP: Drag Racing Models
Chris I have been following you on this build and I must say that this is quit impressive ! A Master Piece ! Dig your signature John 3:30 -
Dale I will be painting the car a bright red just as the real car is.
-
Thank you Scott & Bill ! I have found a few reference photos of the front caliper / brake system but the photos are of a later Funny Car I think so I will be tackling the front set up next.
-
I have finished the under body bracing plus I have painted it stainless steel, the center of the wheels are painted and installed back into the wheels also, the rear brake caliper mounts are ready to be installed with the brake rotors , I have drilled the caliper half's for the hard lines so next will be to paint them then install to the caliper mounts. I also have the rear end mocked up for fitment which it took a little modifying to get the So Real Tires to fit under the body and it's a little tight but looks good to me so next will be to mock up the rear brake line and to scratch build the brake line fittings. If anyone has any reference photos of the brake system or where to look for the brake system online it would be greatly appreciated since I have not been able to locate any. Thank You For Following
-
She's looking good Art !
-
Today I also wanted to paint the center of the front and rear wheels so I attempted the removal of them.The fronts where the easiest but the rears I was a little a skeptical about on removing them but hey came out without a hitch. I primered them first then shot them with silver then gold so now I will wait until the paint cures then I will shoot them with some clear.
-
Looking Good !
-
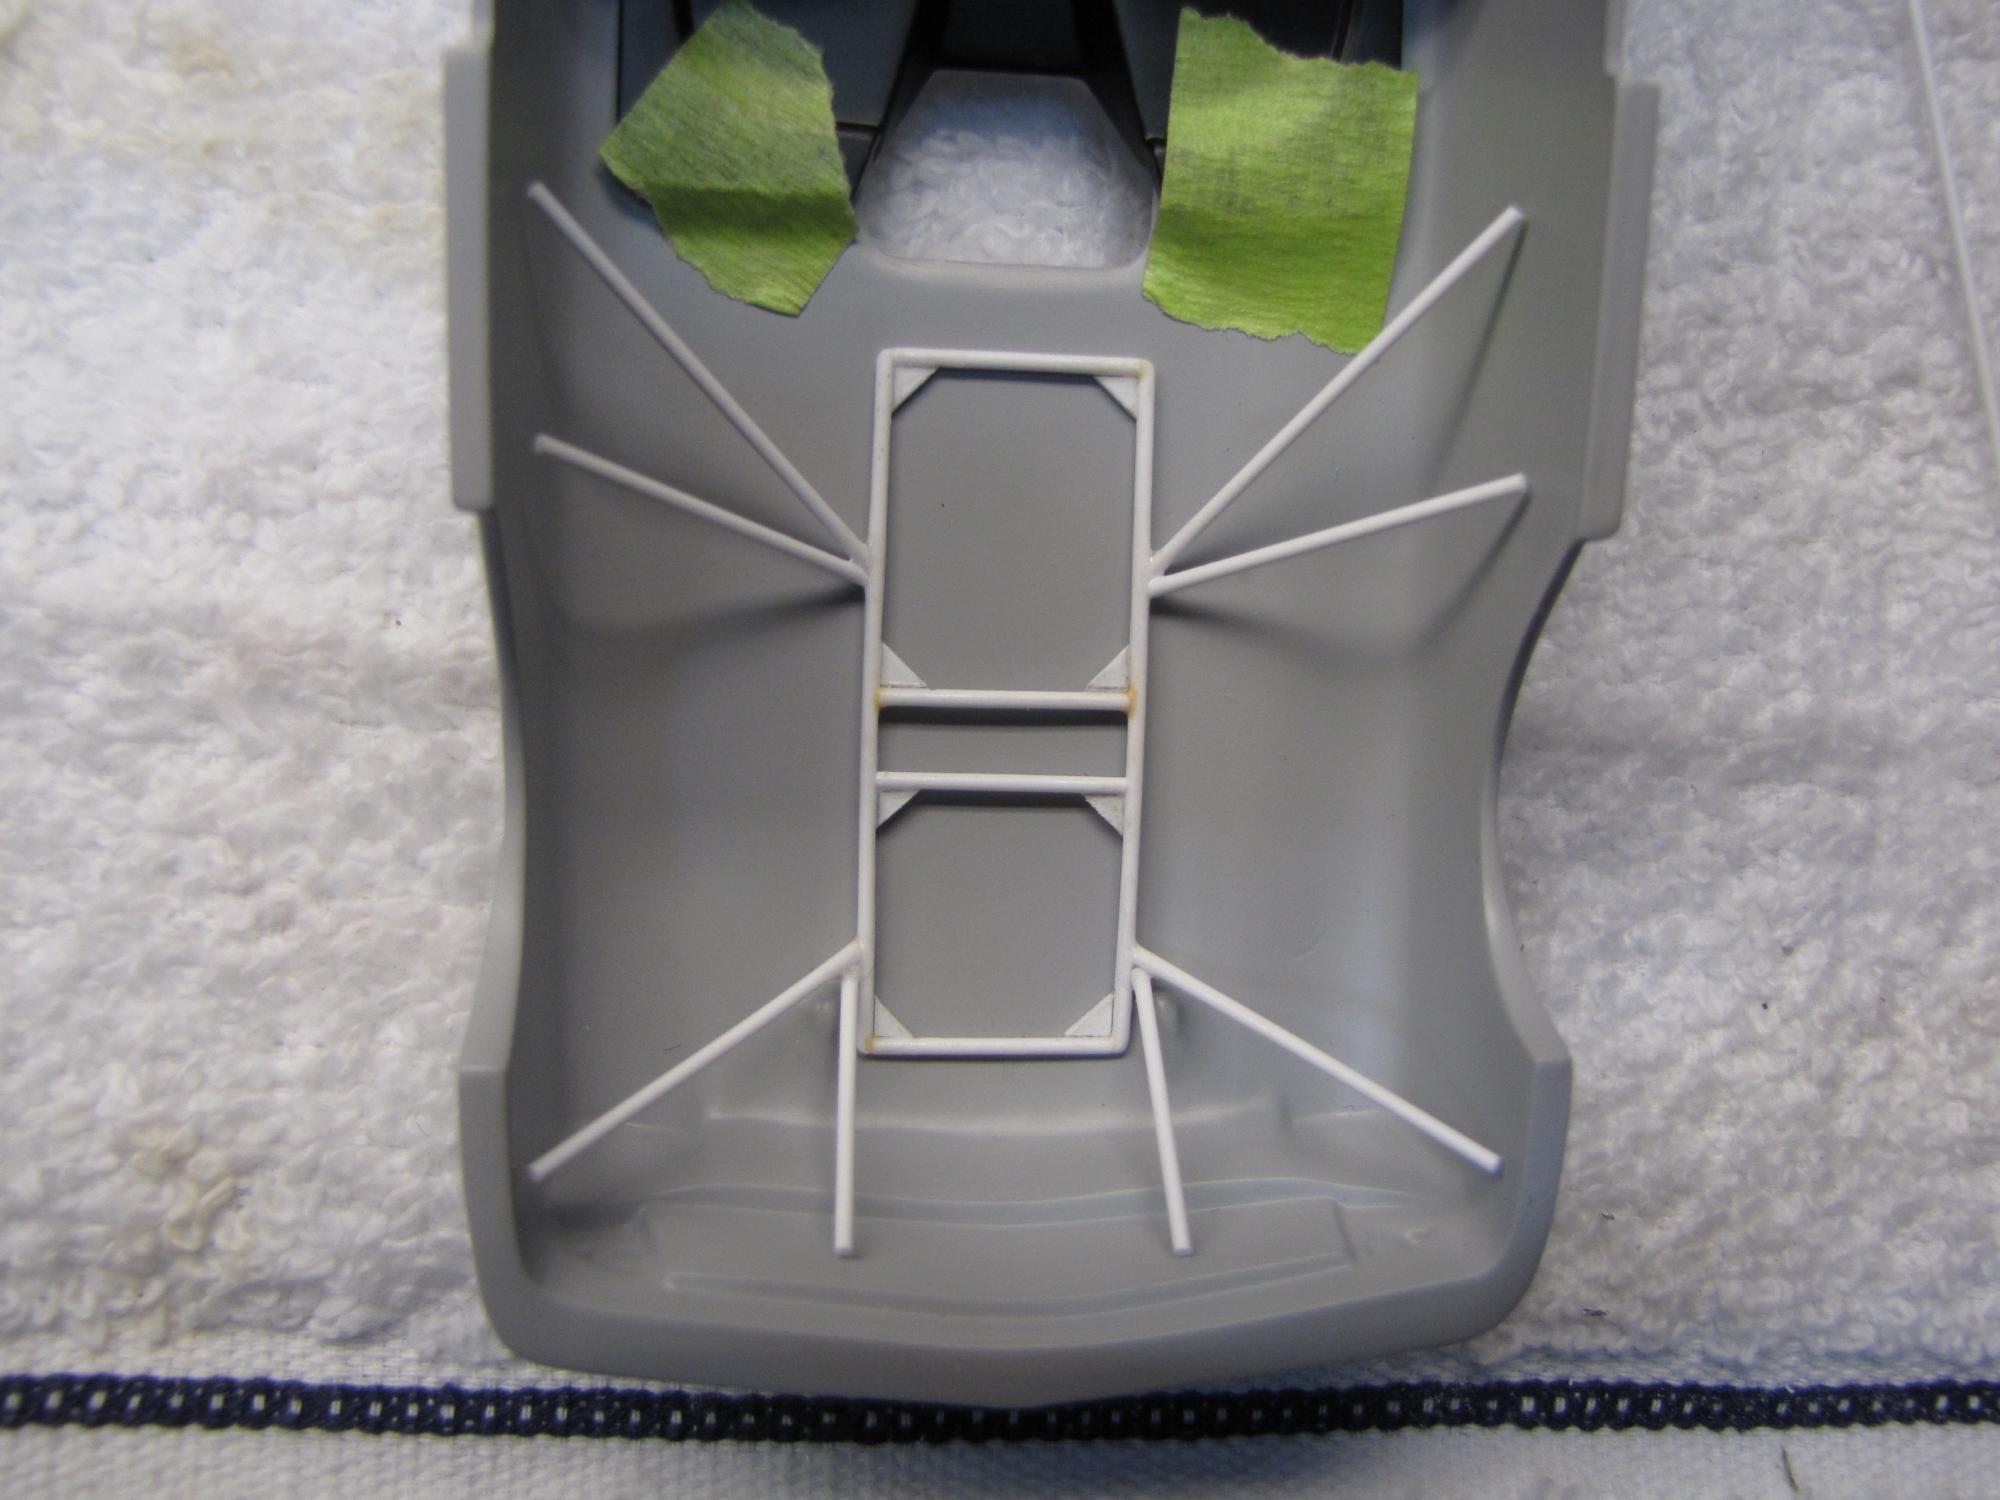
Cleaned up the bracing last night and then shot some primer on it this morning so I will see how it looks after the primer drys to make sure it is nice and smooth then I might shoot it with some Testers Stainless Steel since I don't really know what the bracing is actually made of on a 1: 1 Funny Car. Will have pictures after it is painted.
-
Thank you Scott ! and I would like to commend you on how you package your products its awesome !
-
Thank you Art !
-
Got a little bench time in this evening to attach the rest of the scratch built brace plates to the bracing arms so now I will let the glue cure for a day or two then I will start cleaning up the bracing then I will need to decide on what color to spray on it which I'm thinking stainless steel.
-
Eric Goodrich`s:: "IRON LUNG" - On the Workbench 2/8/16
Metalmad replied to John Teresi's topic in WIP: Model Cars
John the engine detail is amazing ! especially the visual of the coolant. -
Looking good ! Yes the challenges are very rewarding as you conquer them one at a time.
-
Its an honor that you are checking in on this build John and to all that are also following me on this build. Thank You !
-
Was able to get in a little bench time in this evening so I was able to get the eight brace plates scratch built and then started securing them to the brace arms.
-
Good start with this one but it sounds like it is throwing you a bunch of challenges.
-
Nice scratch building Art ! Art what kind of lath are you working with? Been looking into possibly purchasing one in the future.
-
Was able to get a little more done last night on the scratch built bracing which is I have added bracing in the corners of the bracing frame and on the center braces. Next will to be scratch build the plates where the bracing will attach to the body. By the way Happy Easter to everyone !
-
Art had no idea you had another build going and I'm sure this will be killer when your finished with her.
-
This is just a small update which is that I have added a couple more braces that are for the under side of the body and a few of the aftermarket products that will be incorporated into this build from Pro Tech & Futurattraction.
-
Thank you all for the encouraging comments ! At the NNL West no awards but another model magazine photographed the Shelby.
-
Eric Goodrich`s:: "IRON LUNG" - On the Workbench 2/8/16
Metalmad replied to John Teresi's topic in WIP: Model Cars
Just Beautiful John !