Johnt671
-
Posts
920 -
Joined
-
Last visited
Content Type
Profiles
Forums
Events
Gallery
Everything posted by Johnt671
-
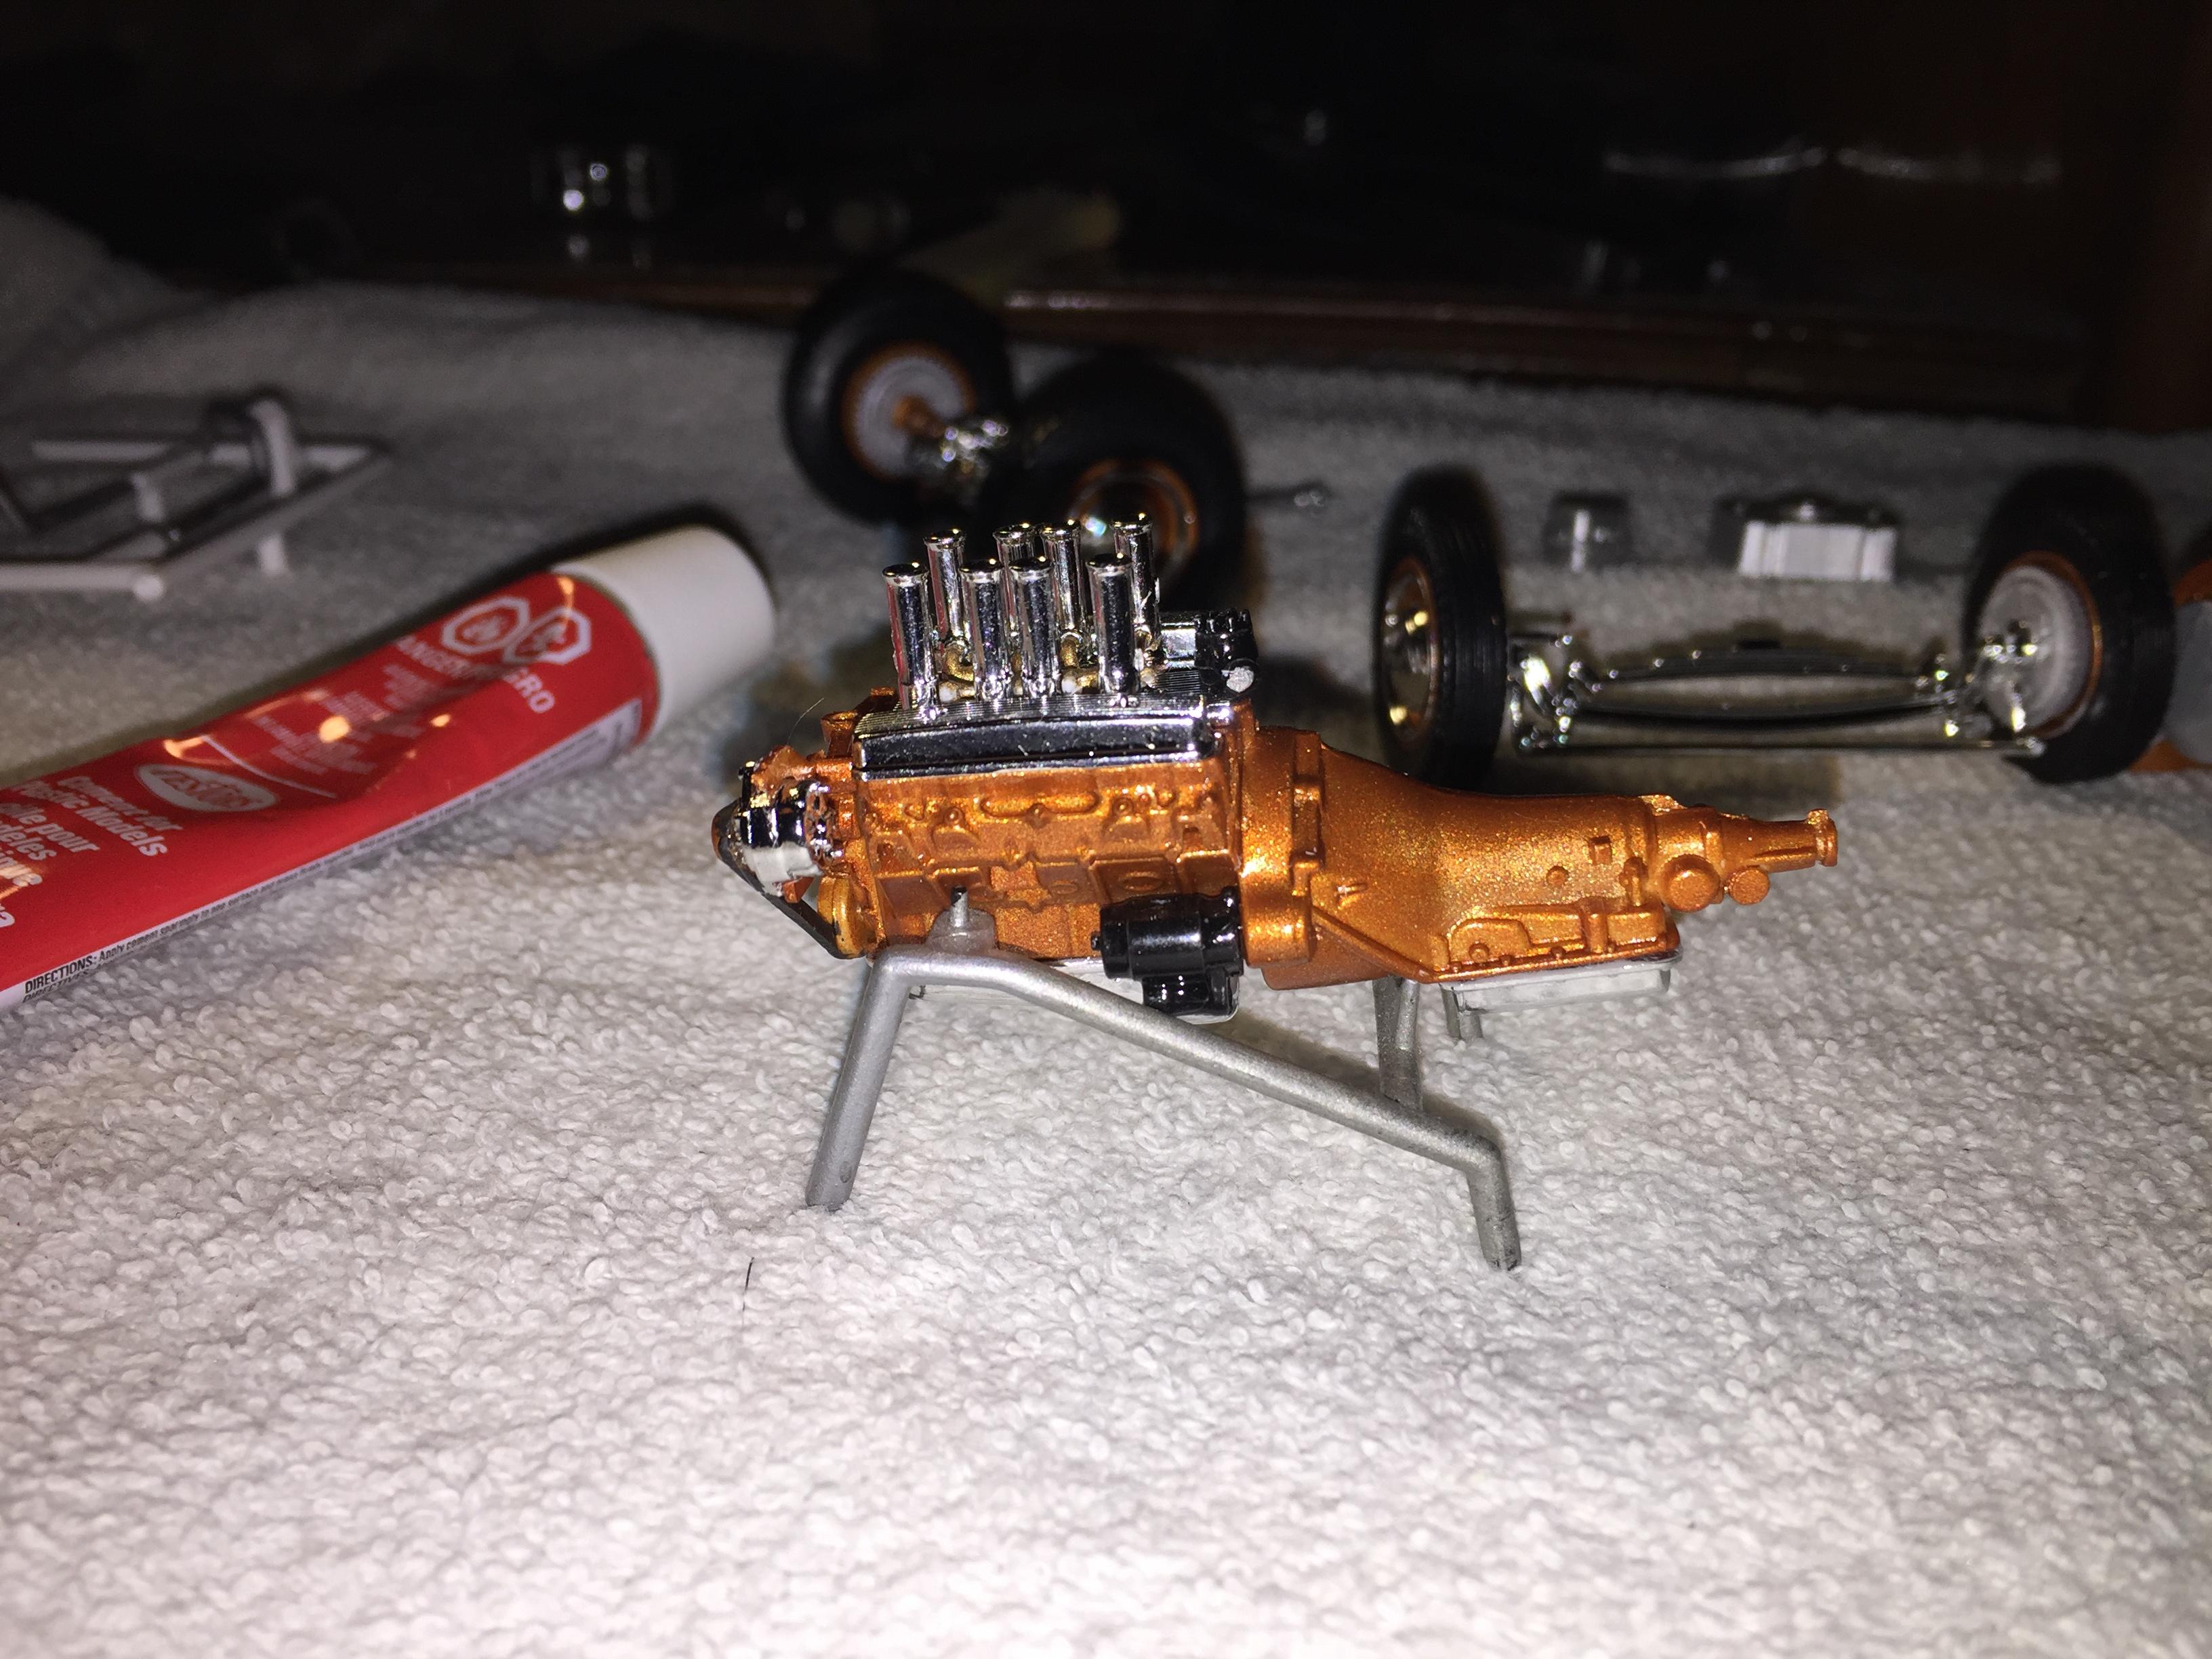
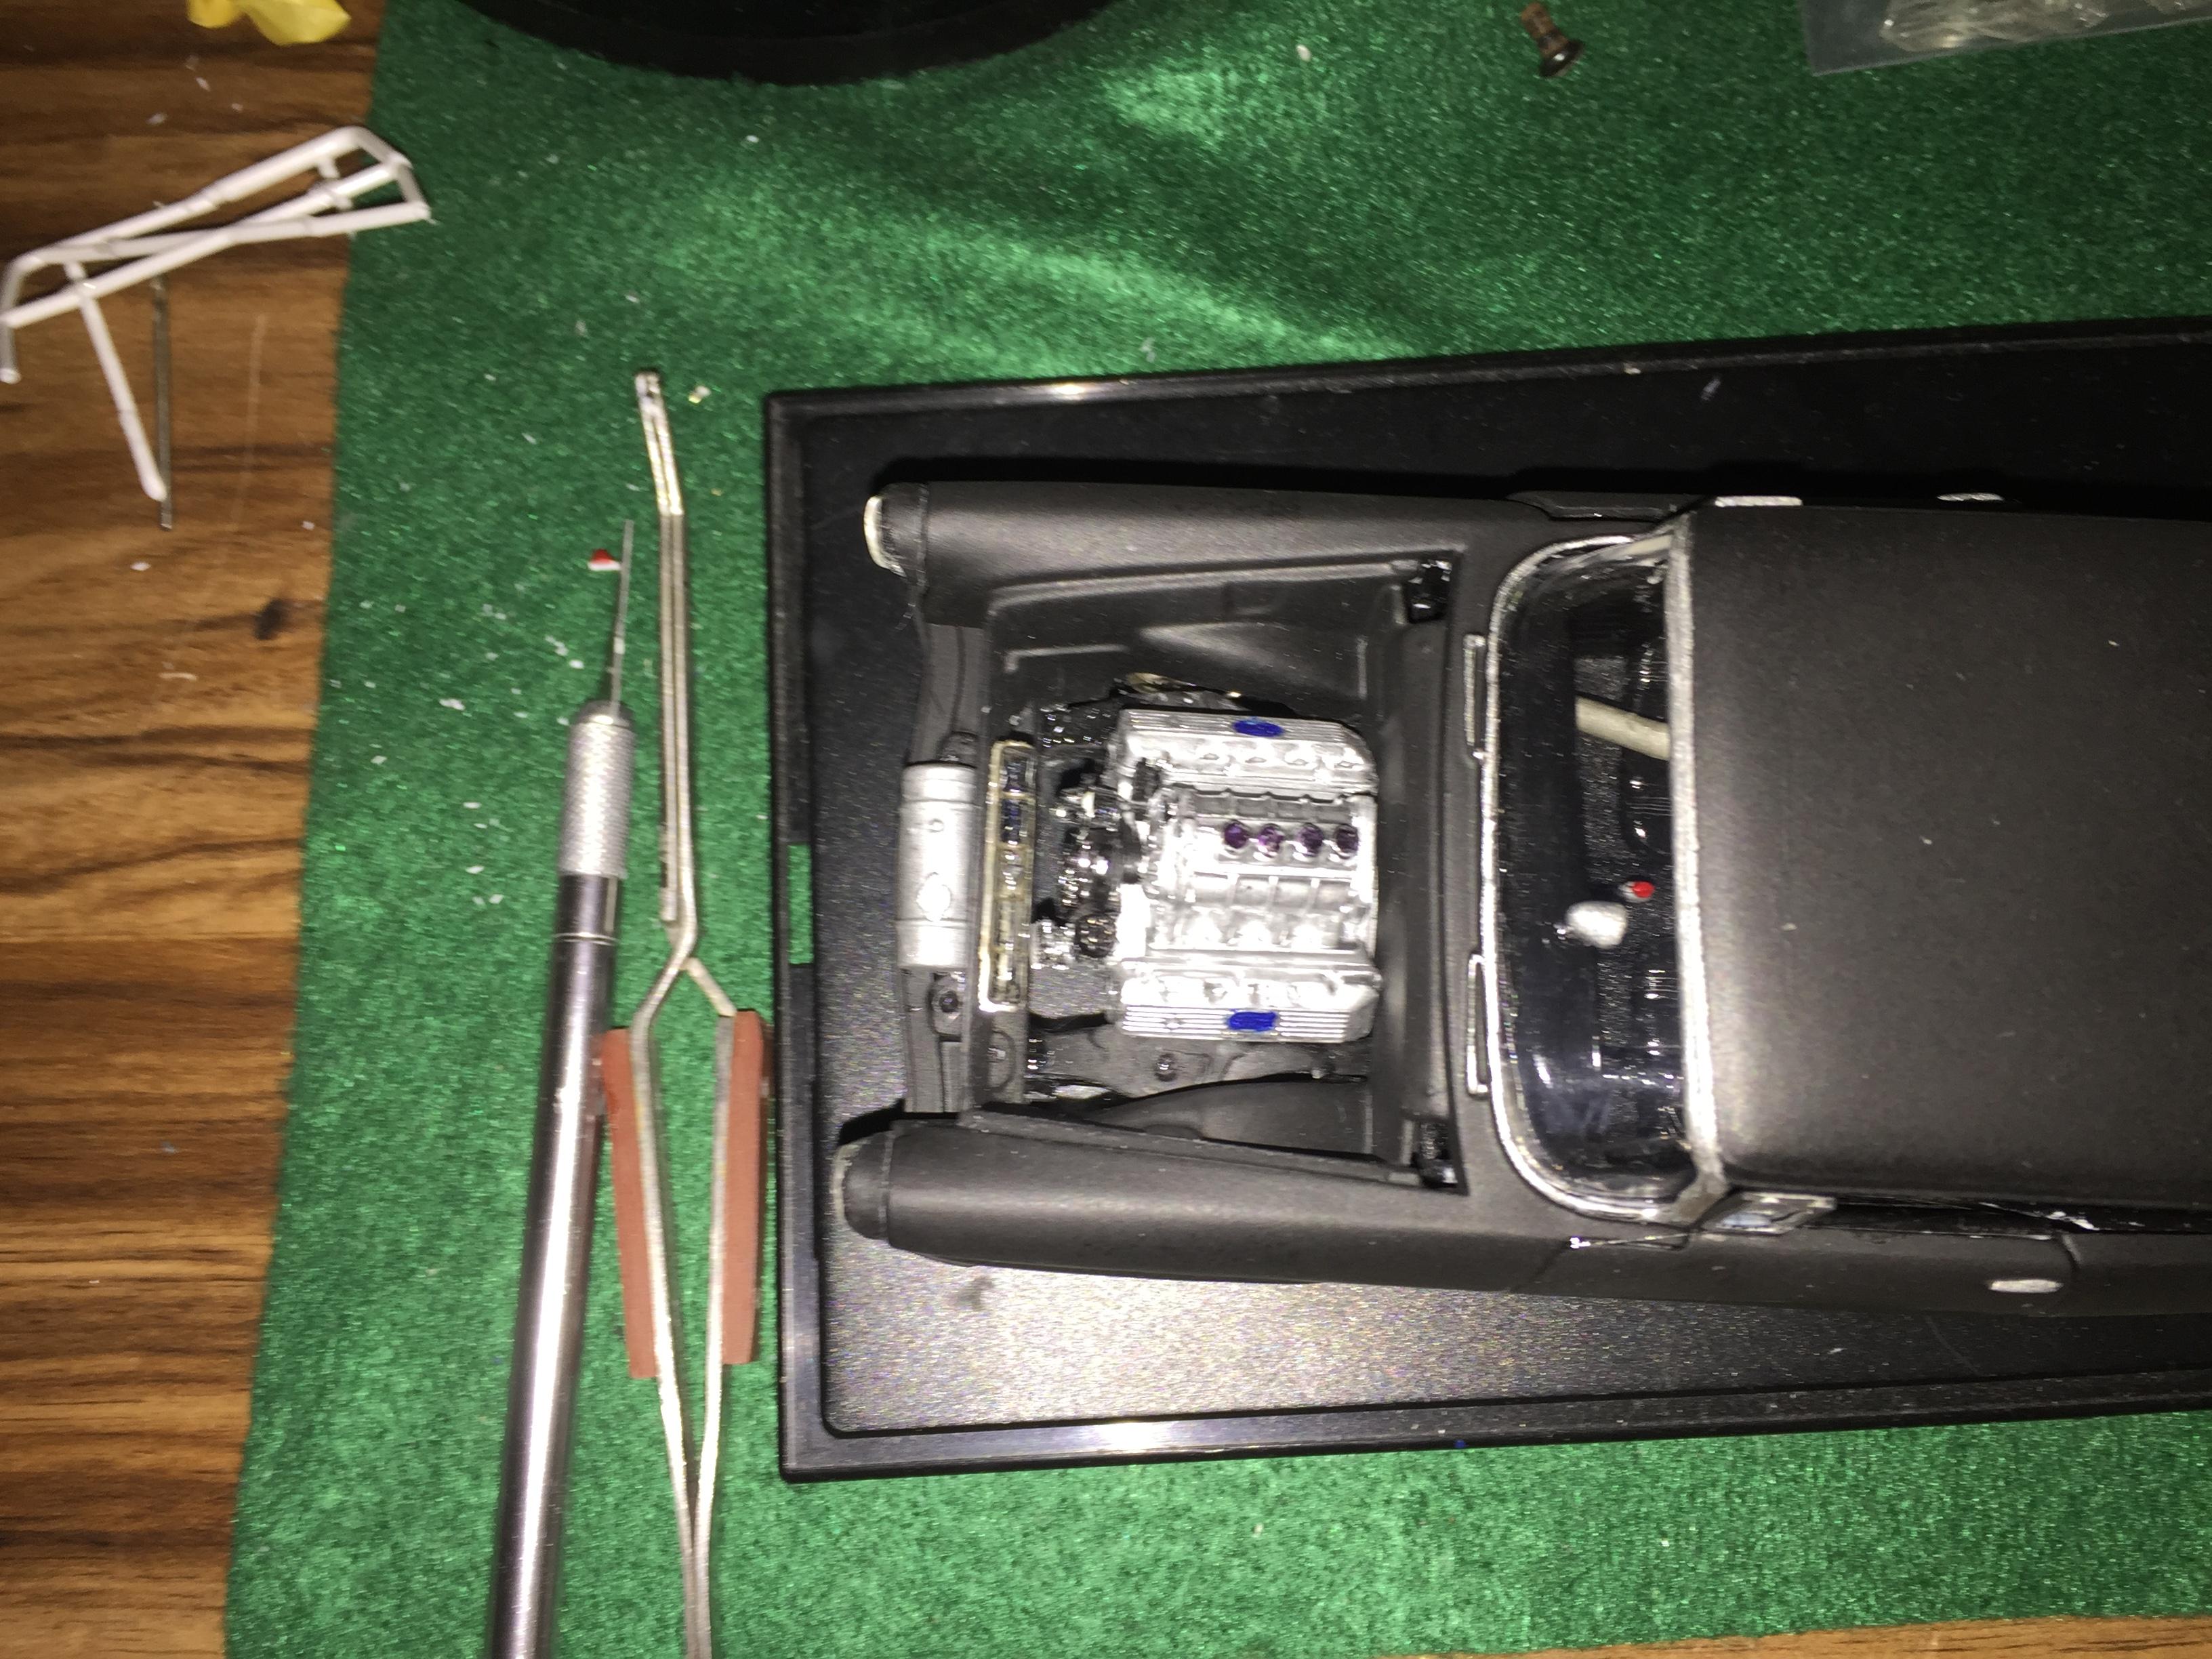
The chrome seems really well done on this motor.
-
Thanks to the others for the compliments.
-
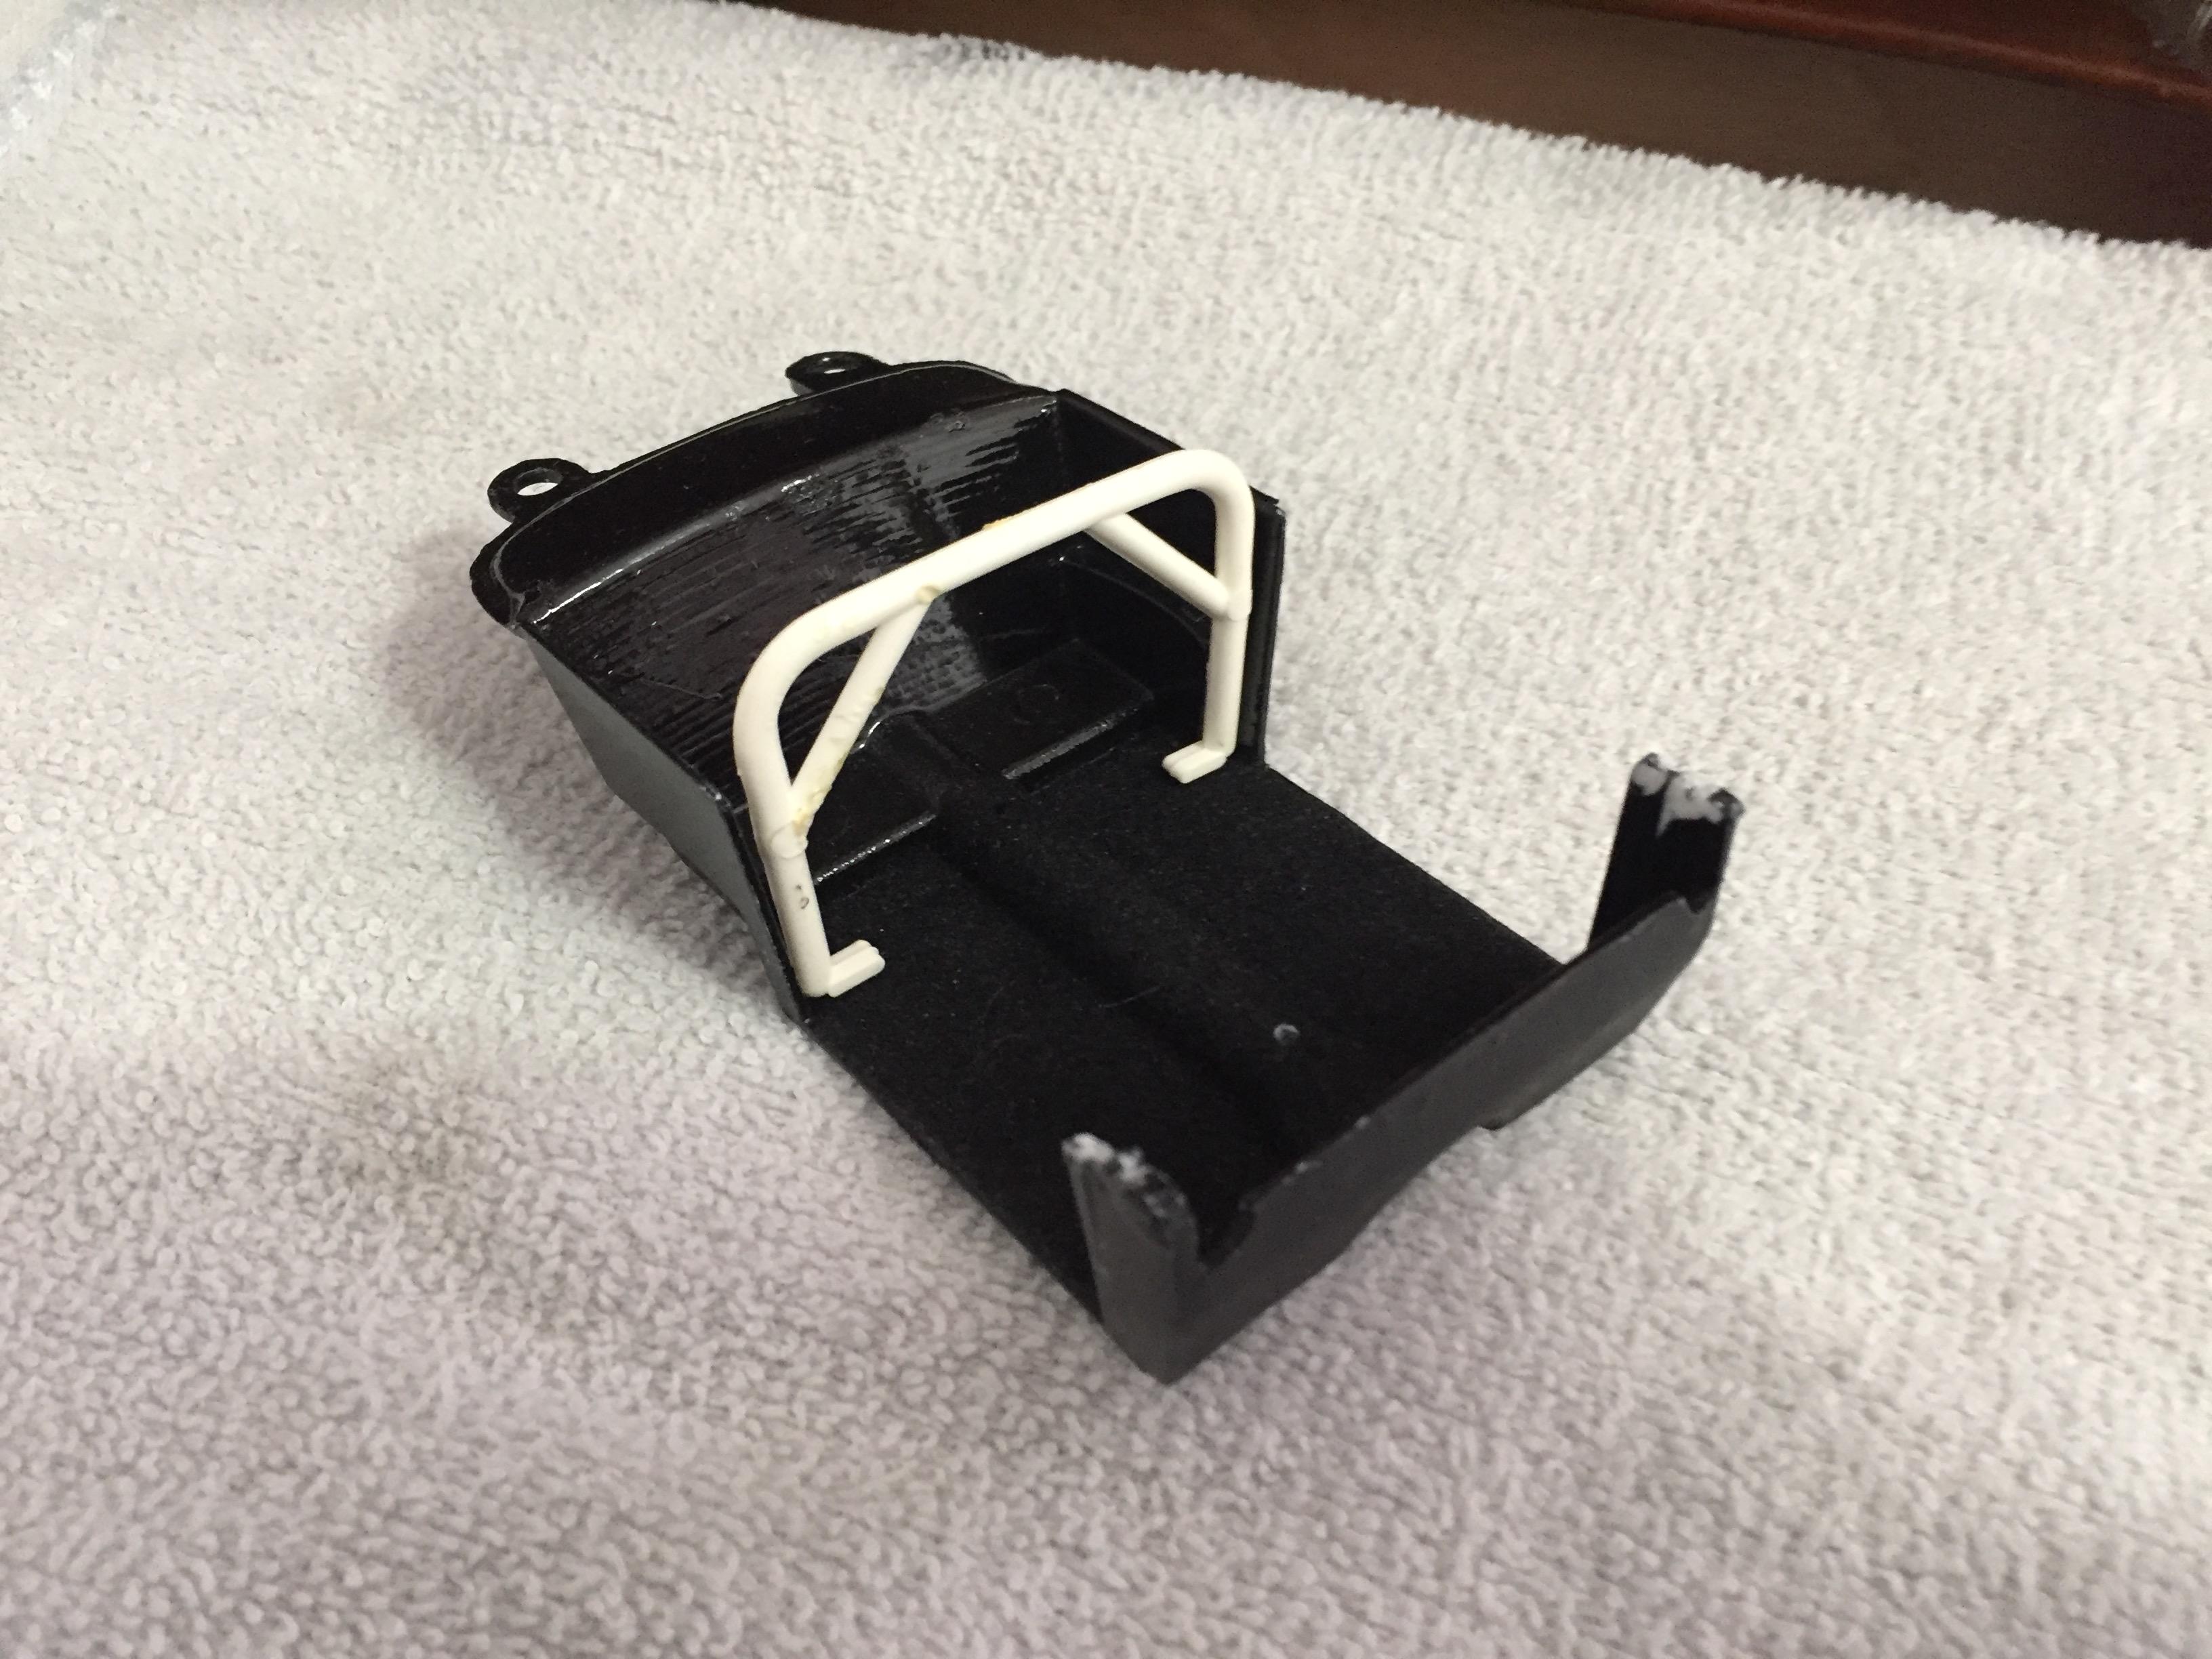
From the Model King 56 Ford kit. I had to trim the arm rests to get them to fit but that worked out well and allowed me to make the body removable to show the junk in the trunk.
-
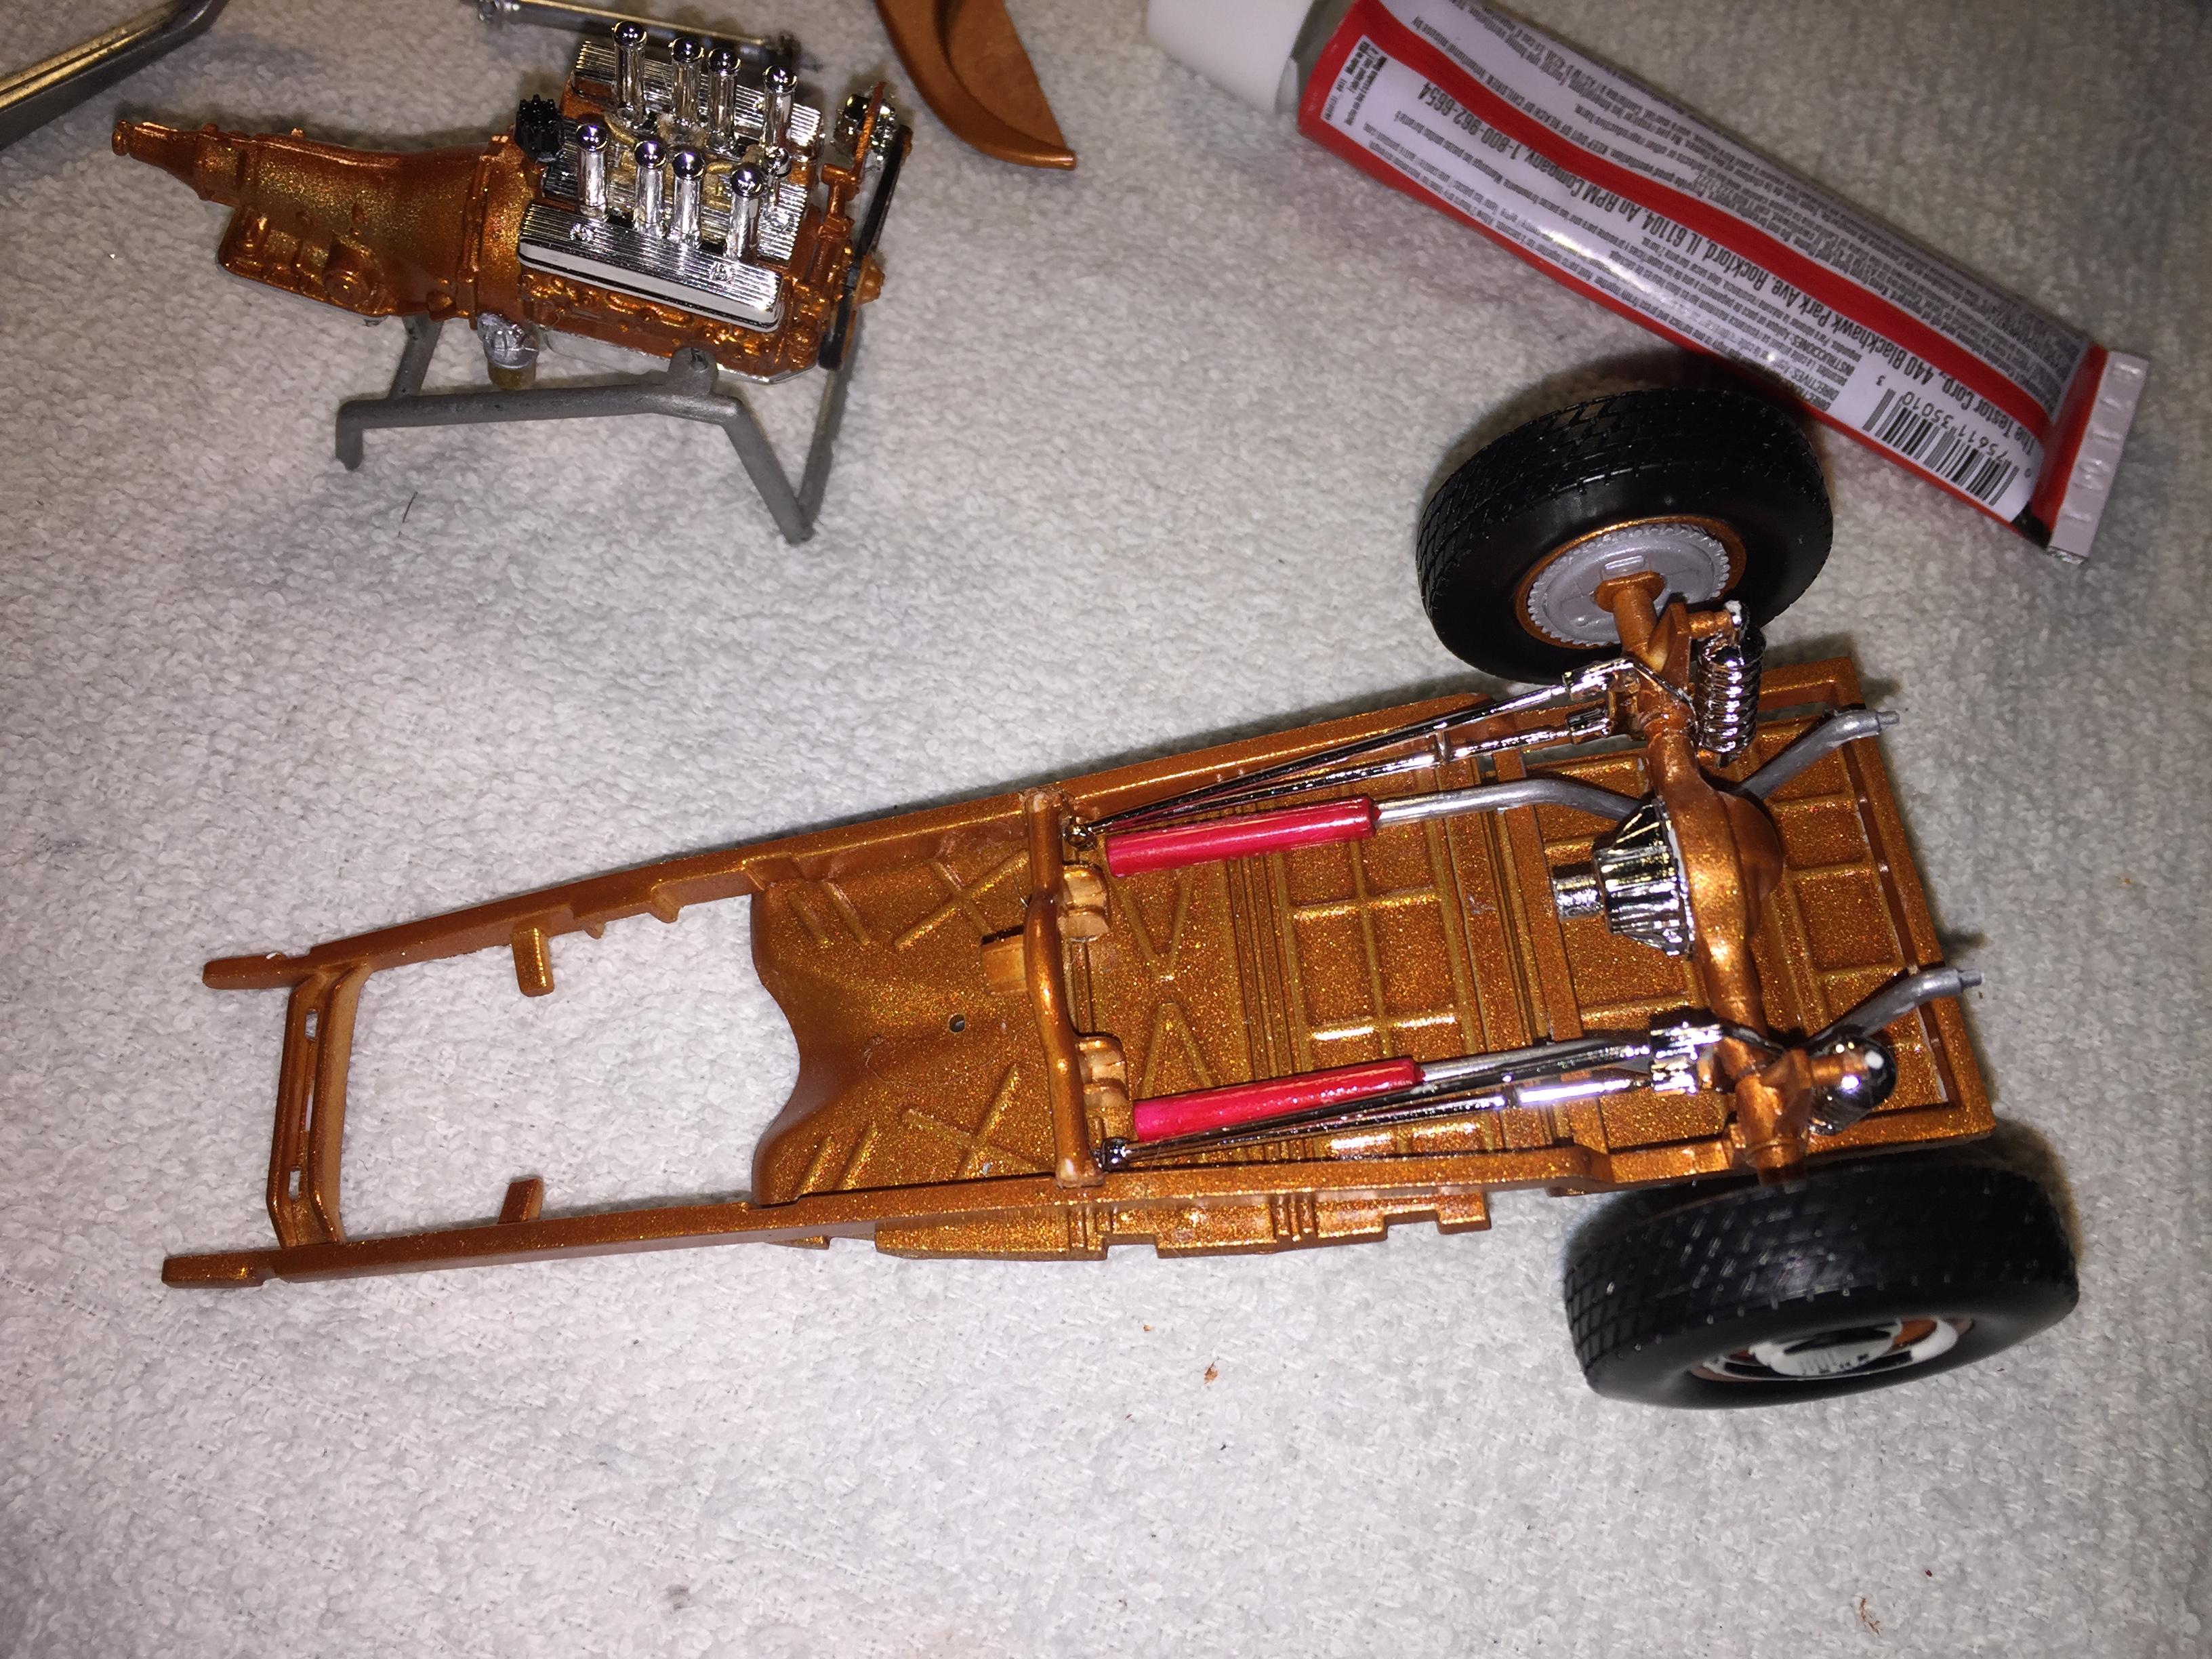
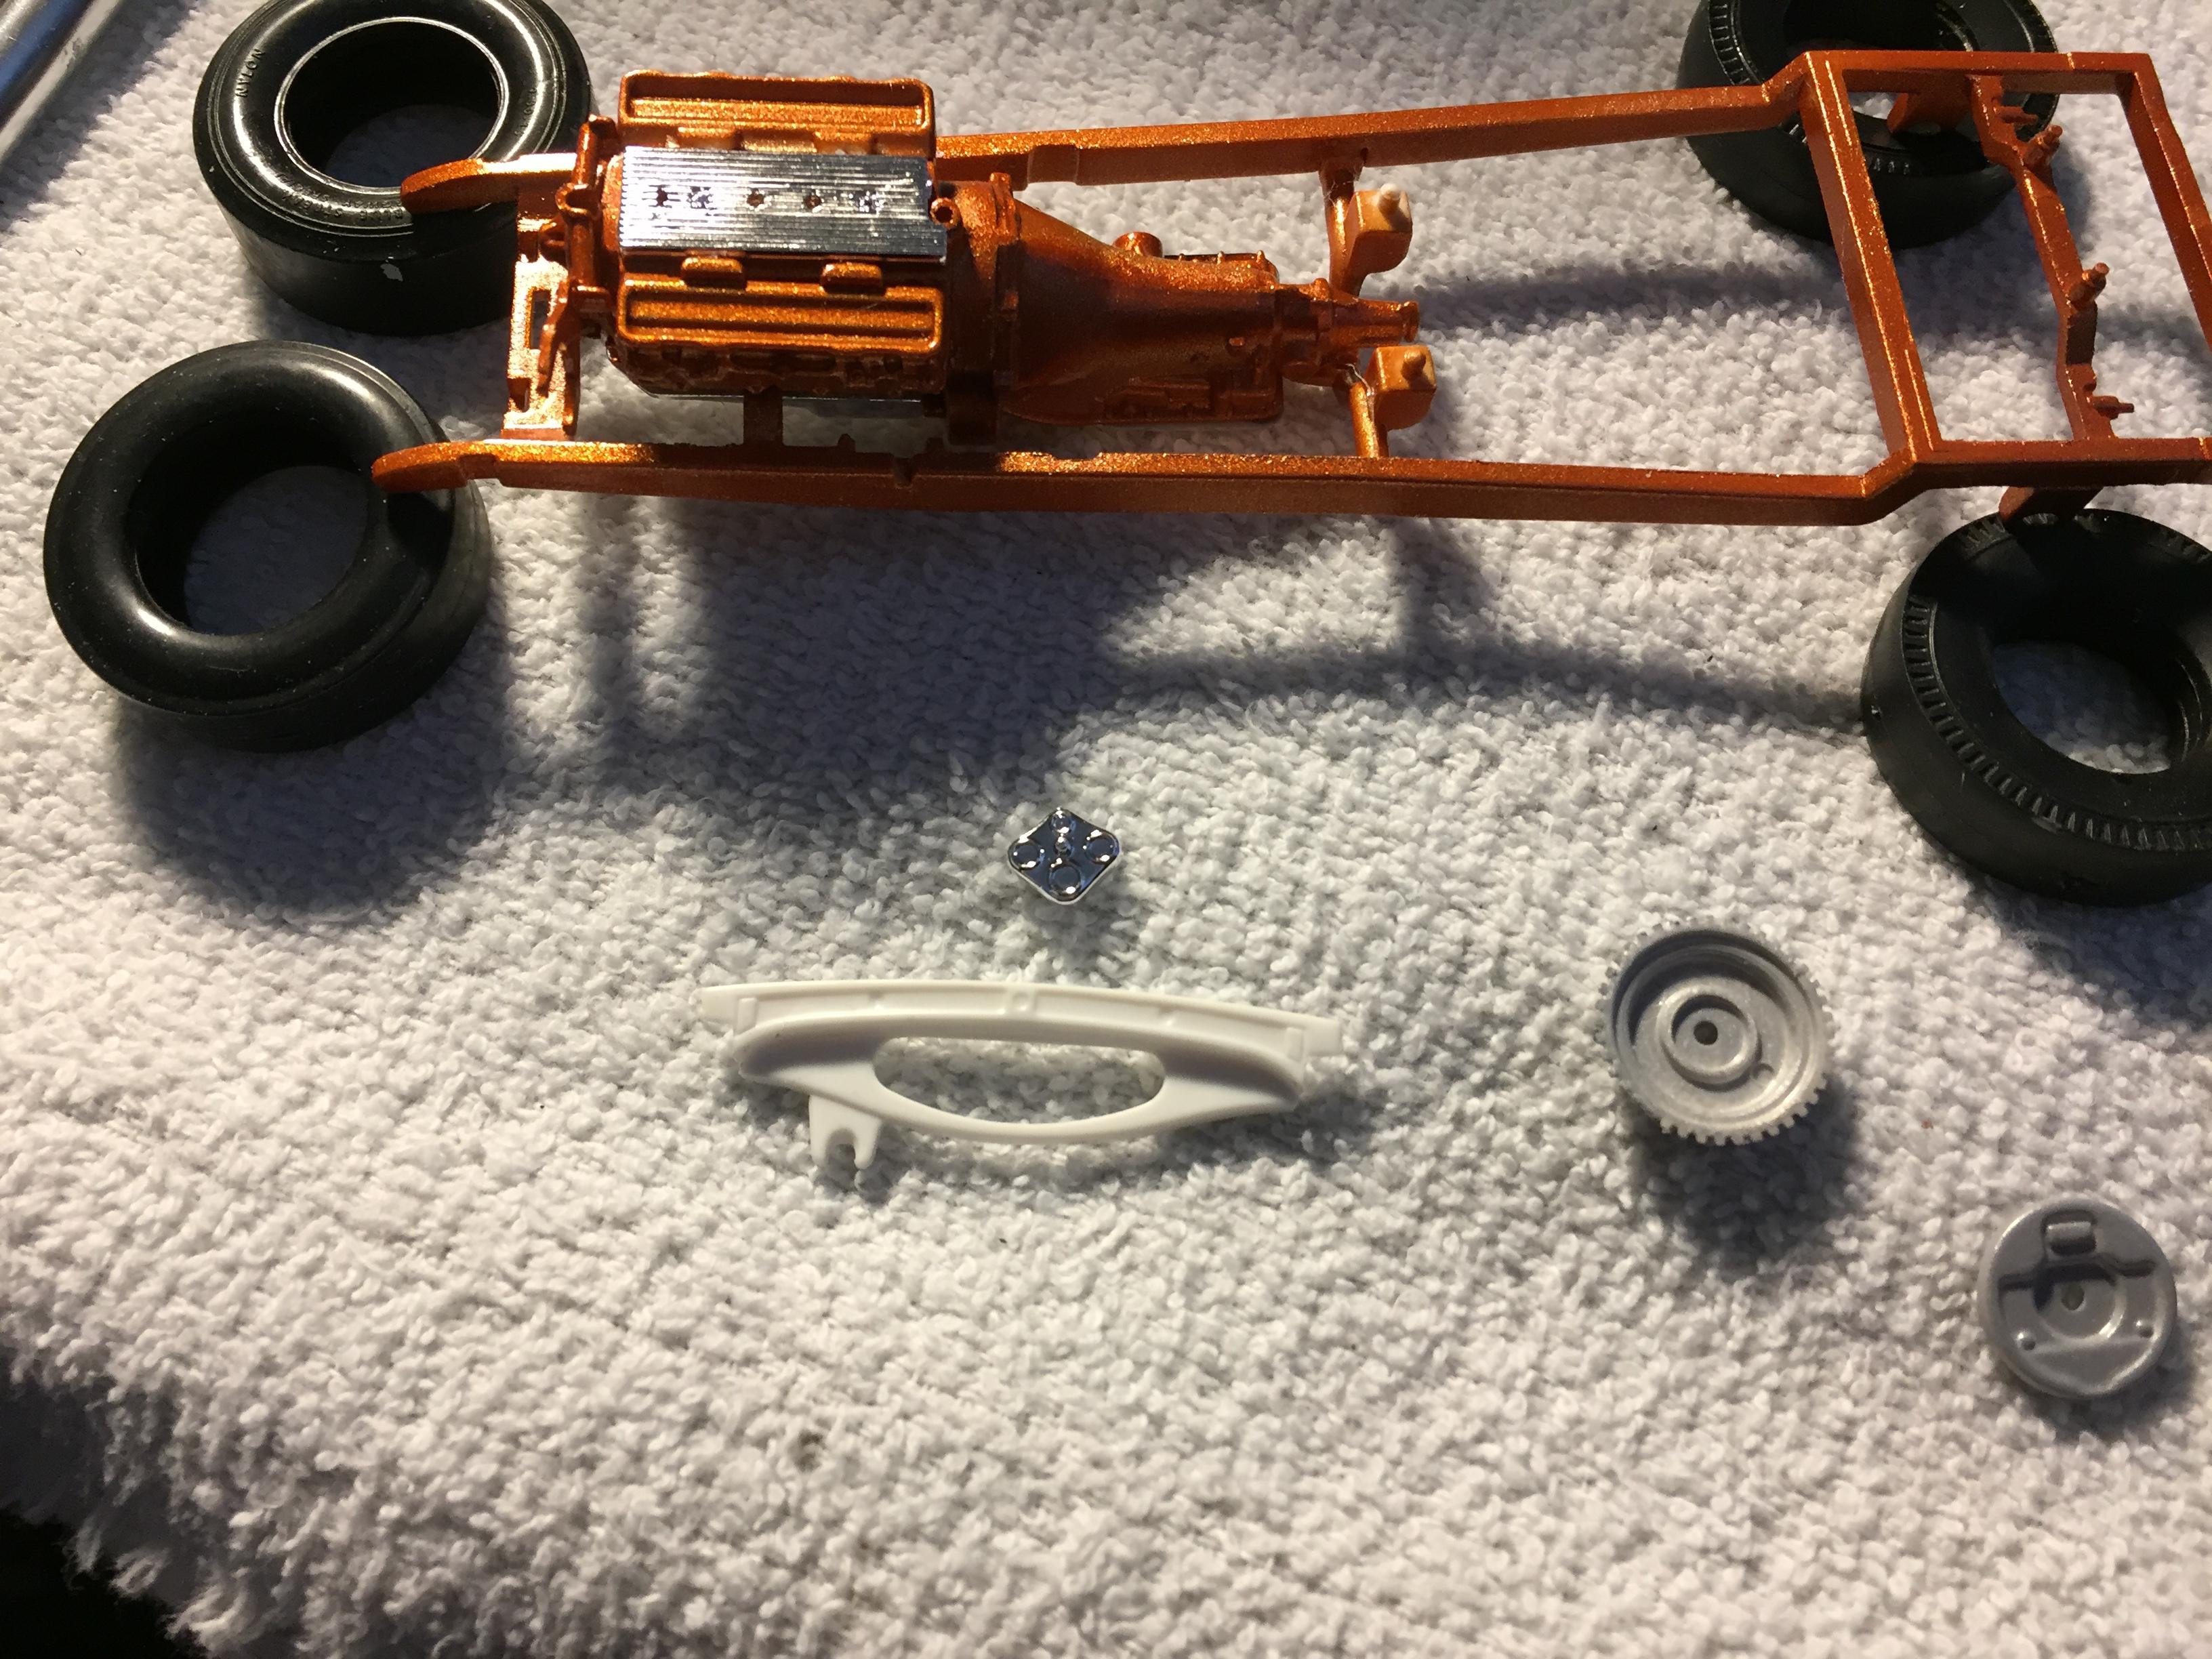
It's Testors Extreme Lacquer Fiery Orange. Michaels has a pretty good selection of colors and it's easy to use. The last three pictures also have one coat of Pledge over the paint.
-
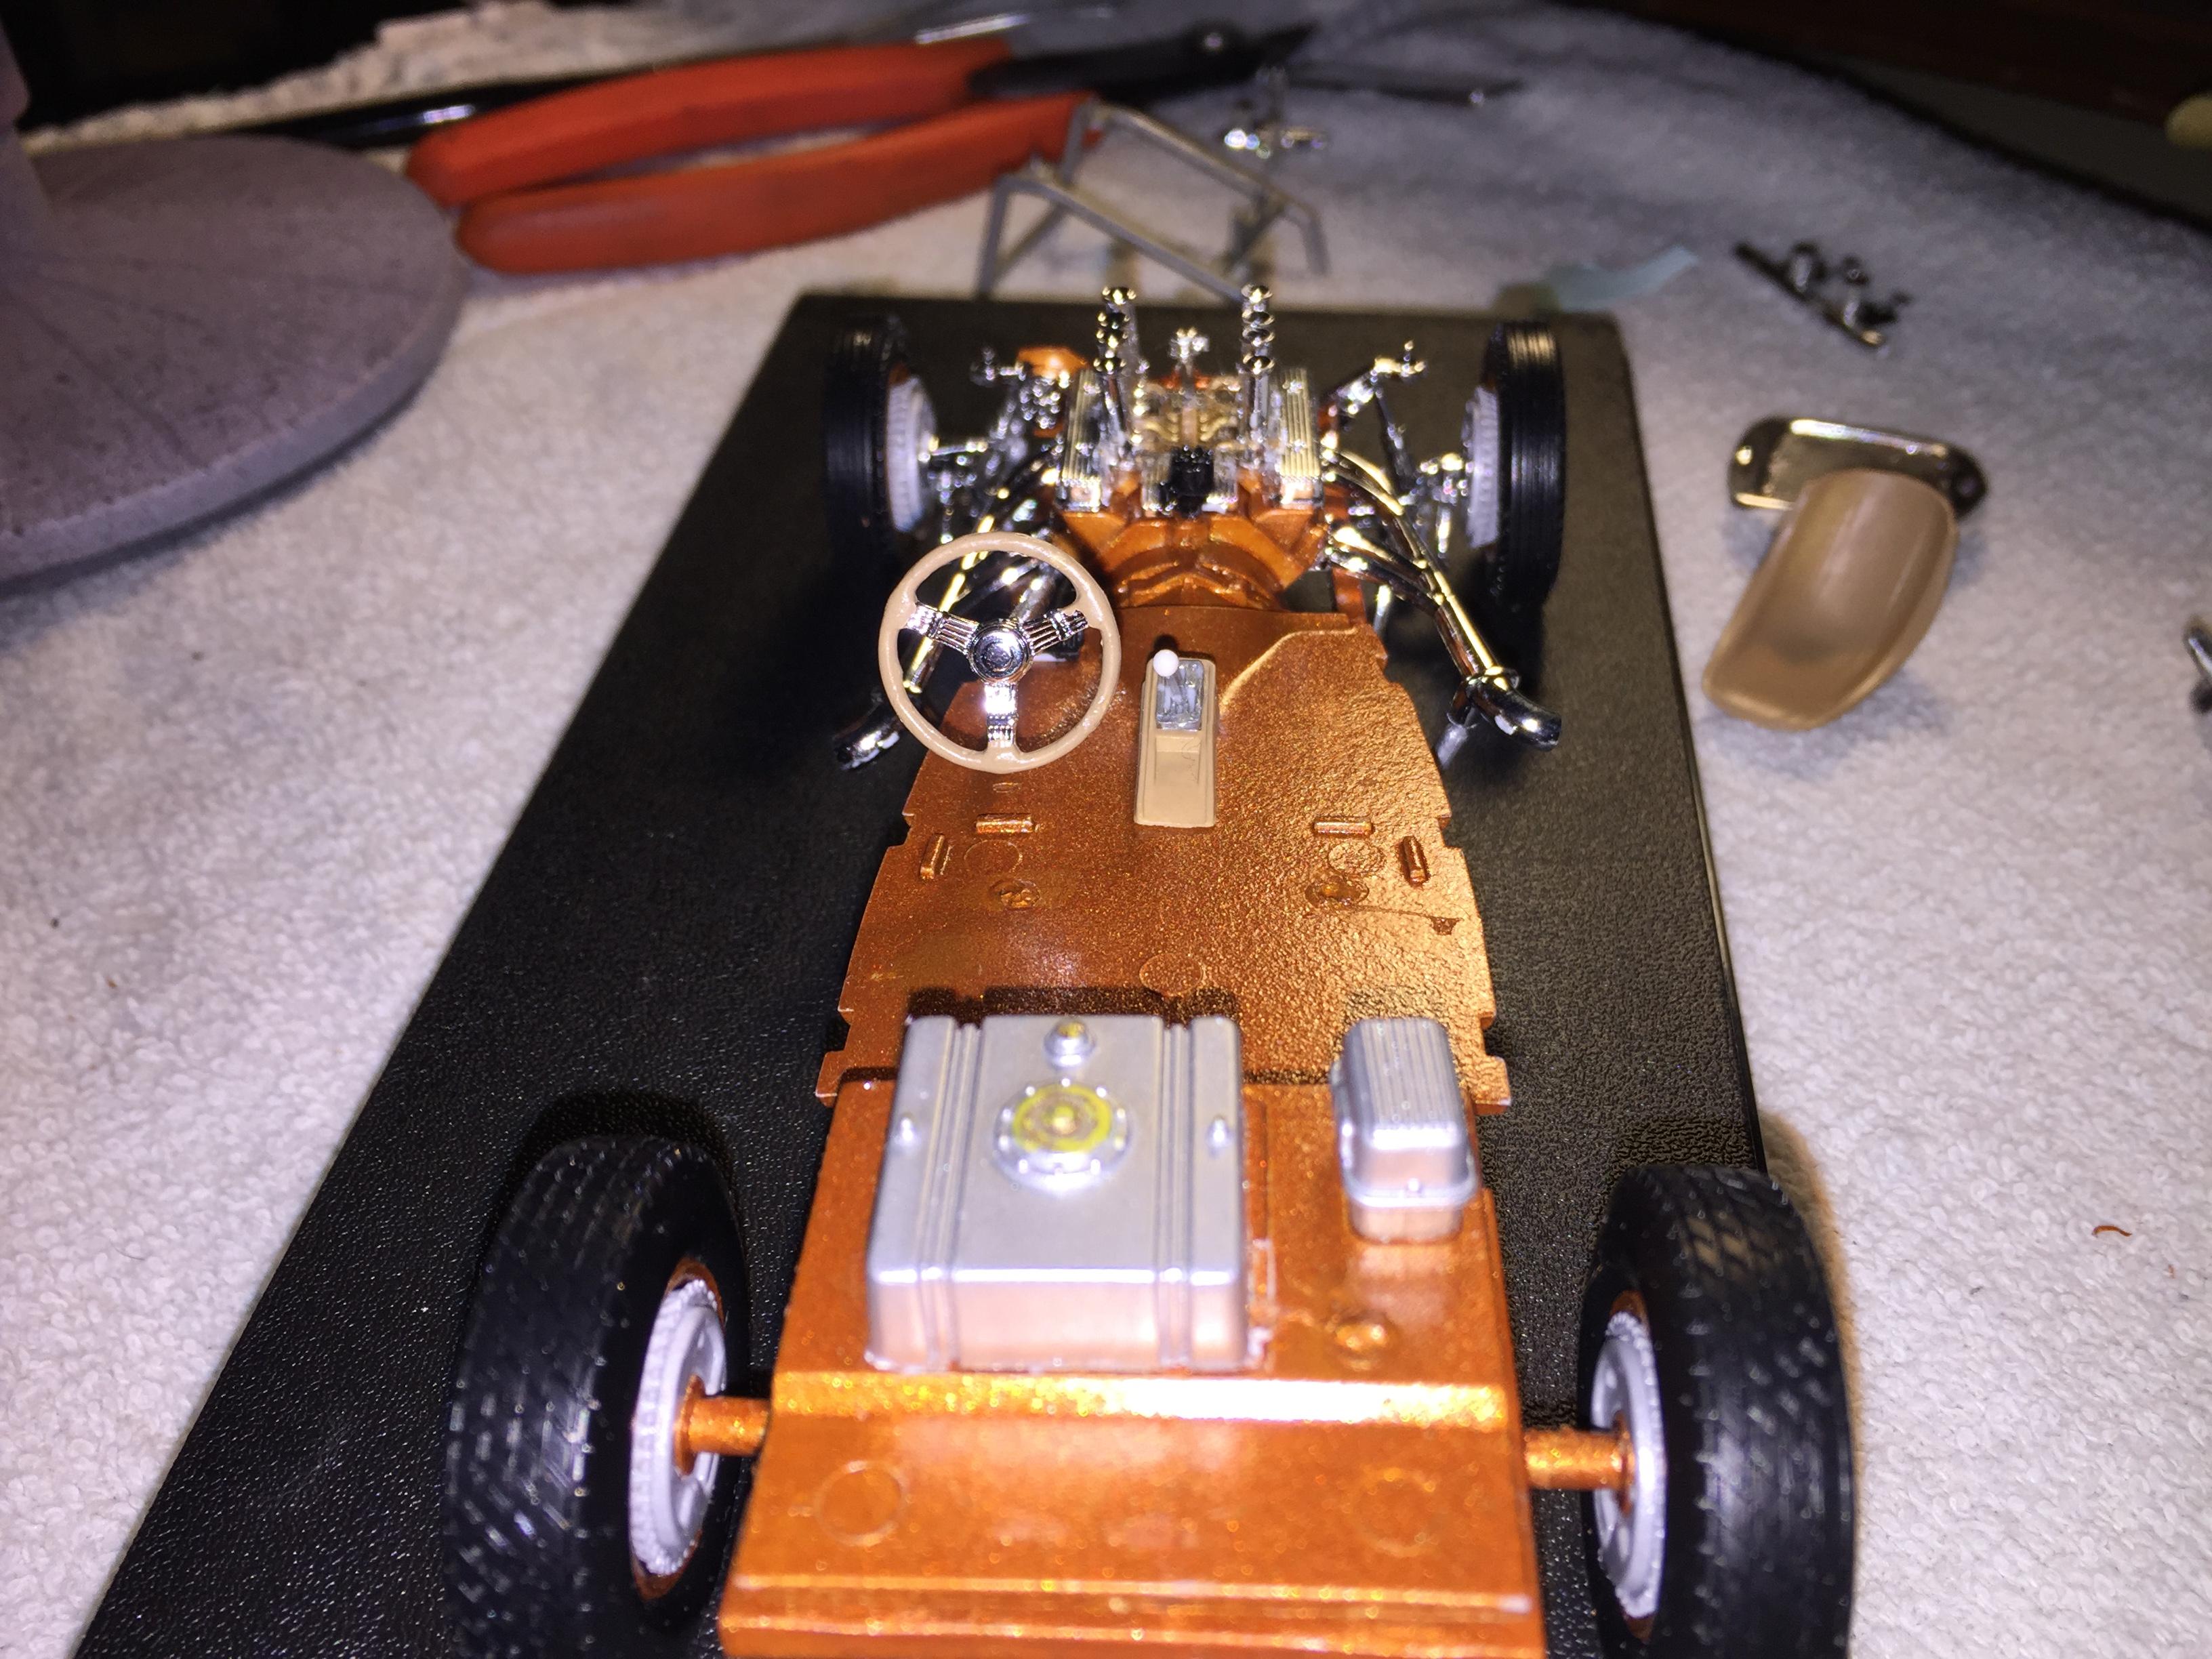
You're right. I painted the floor pan the some color as the body so it doesn't show up as much on mine. Some more done. A little detailing on the injector stacks as well plus a coat of Furture.

-
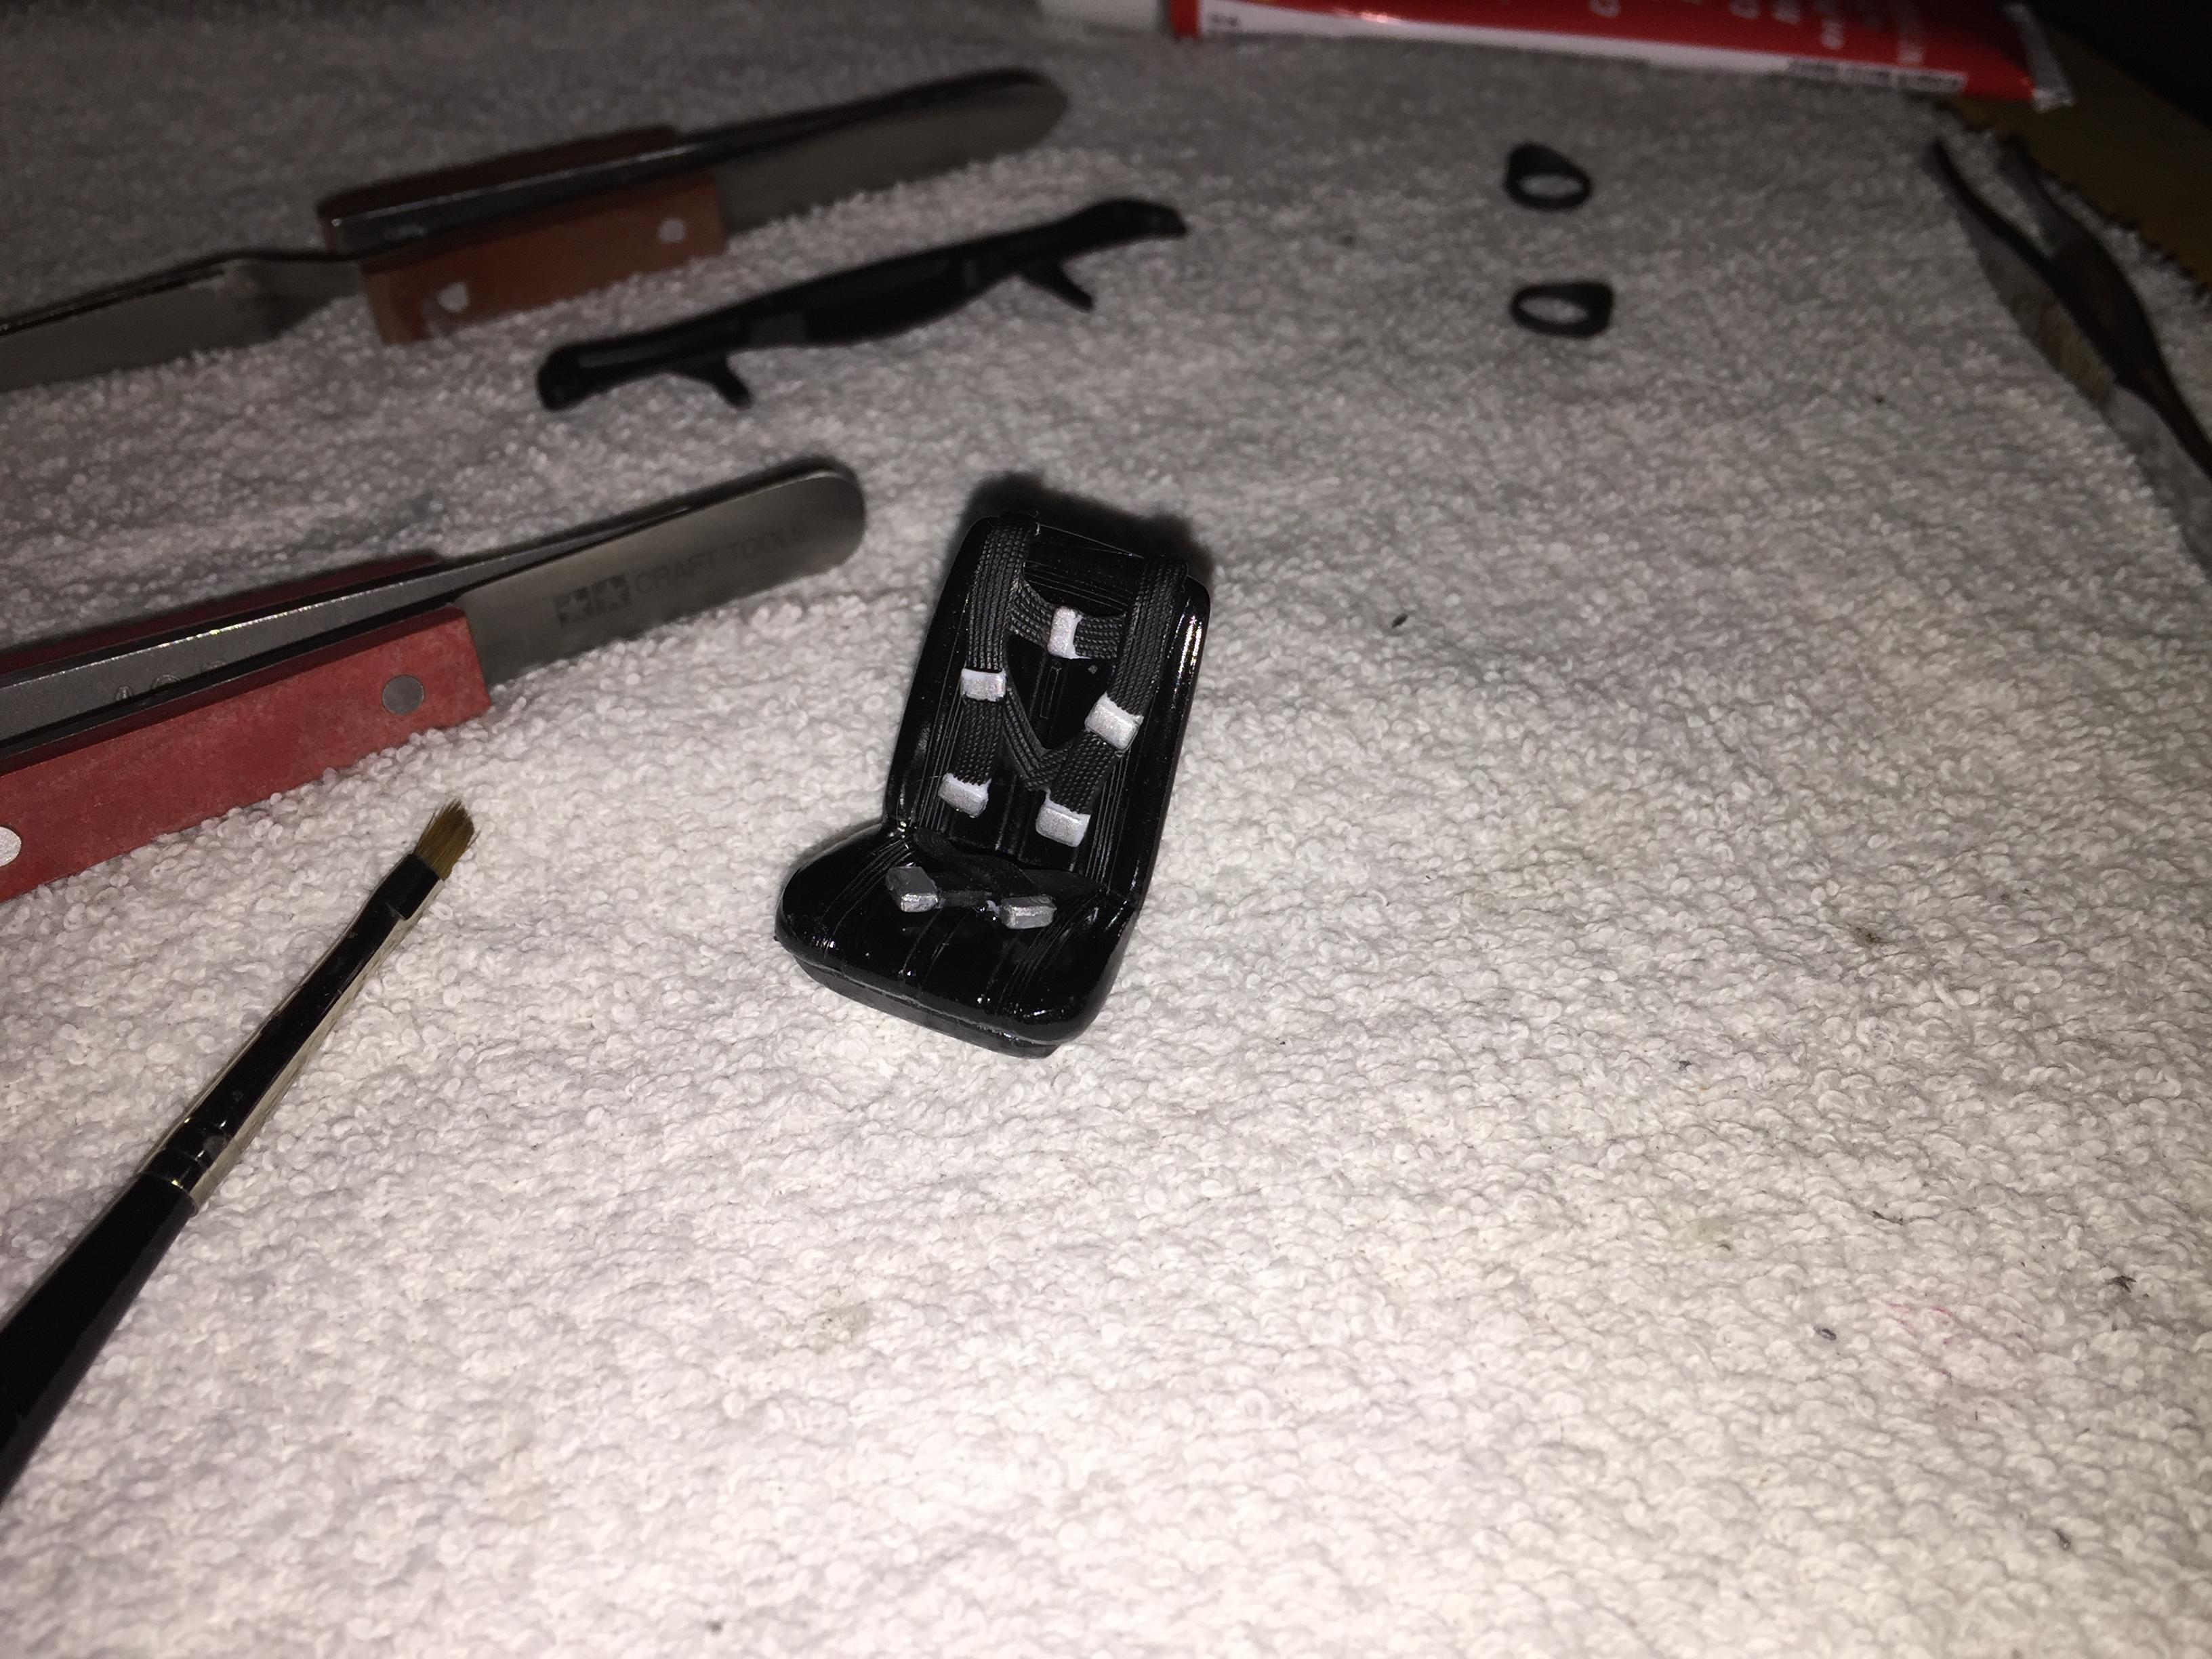
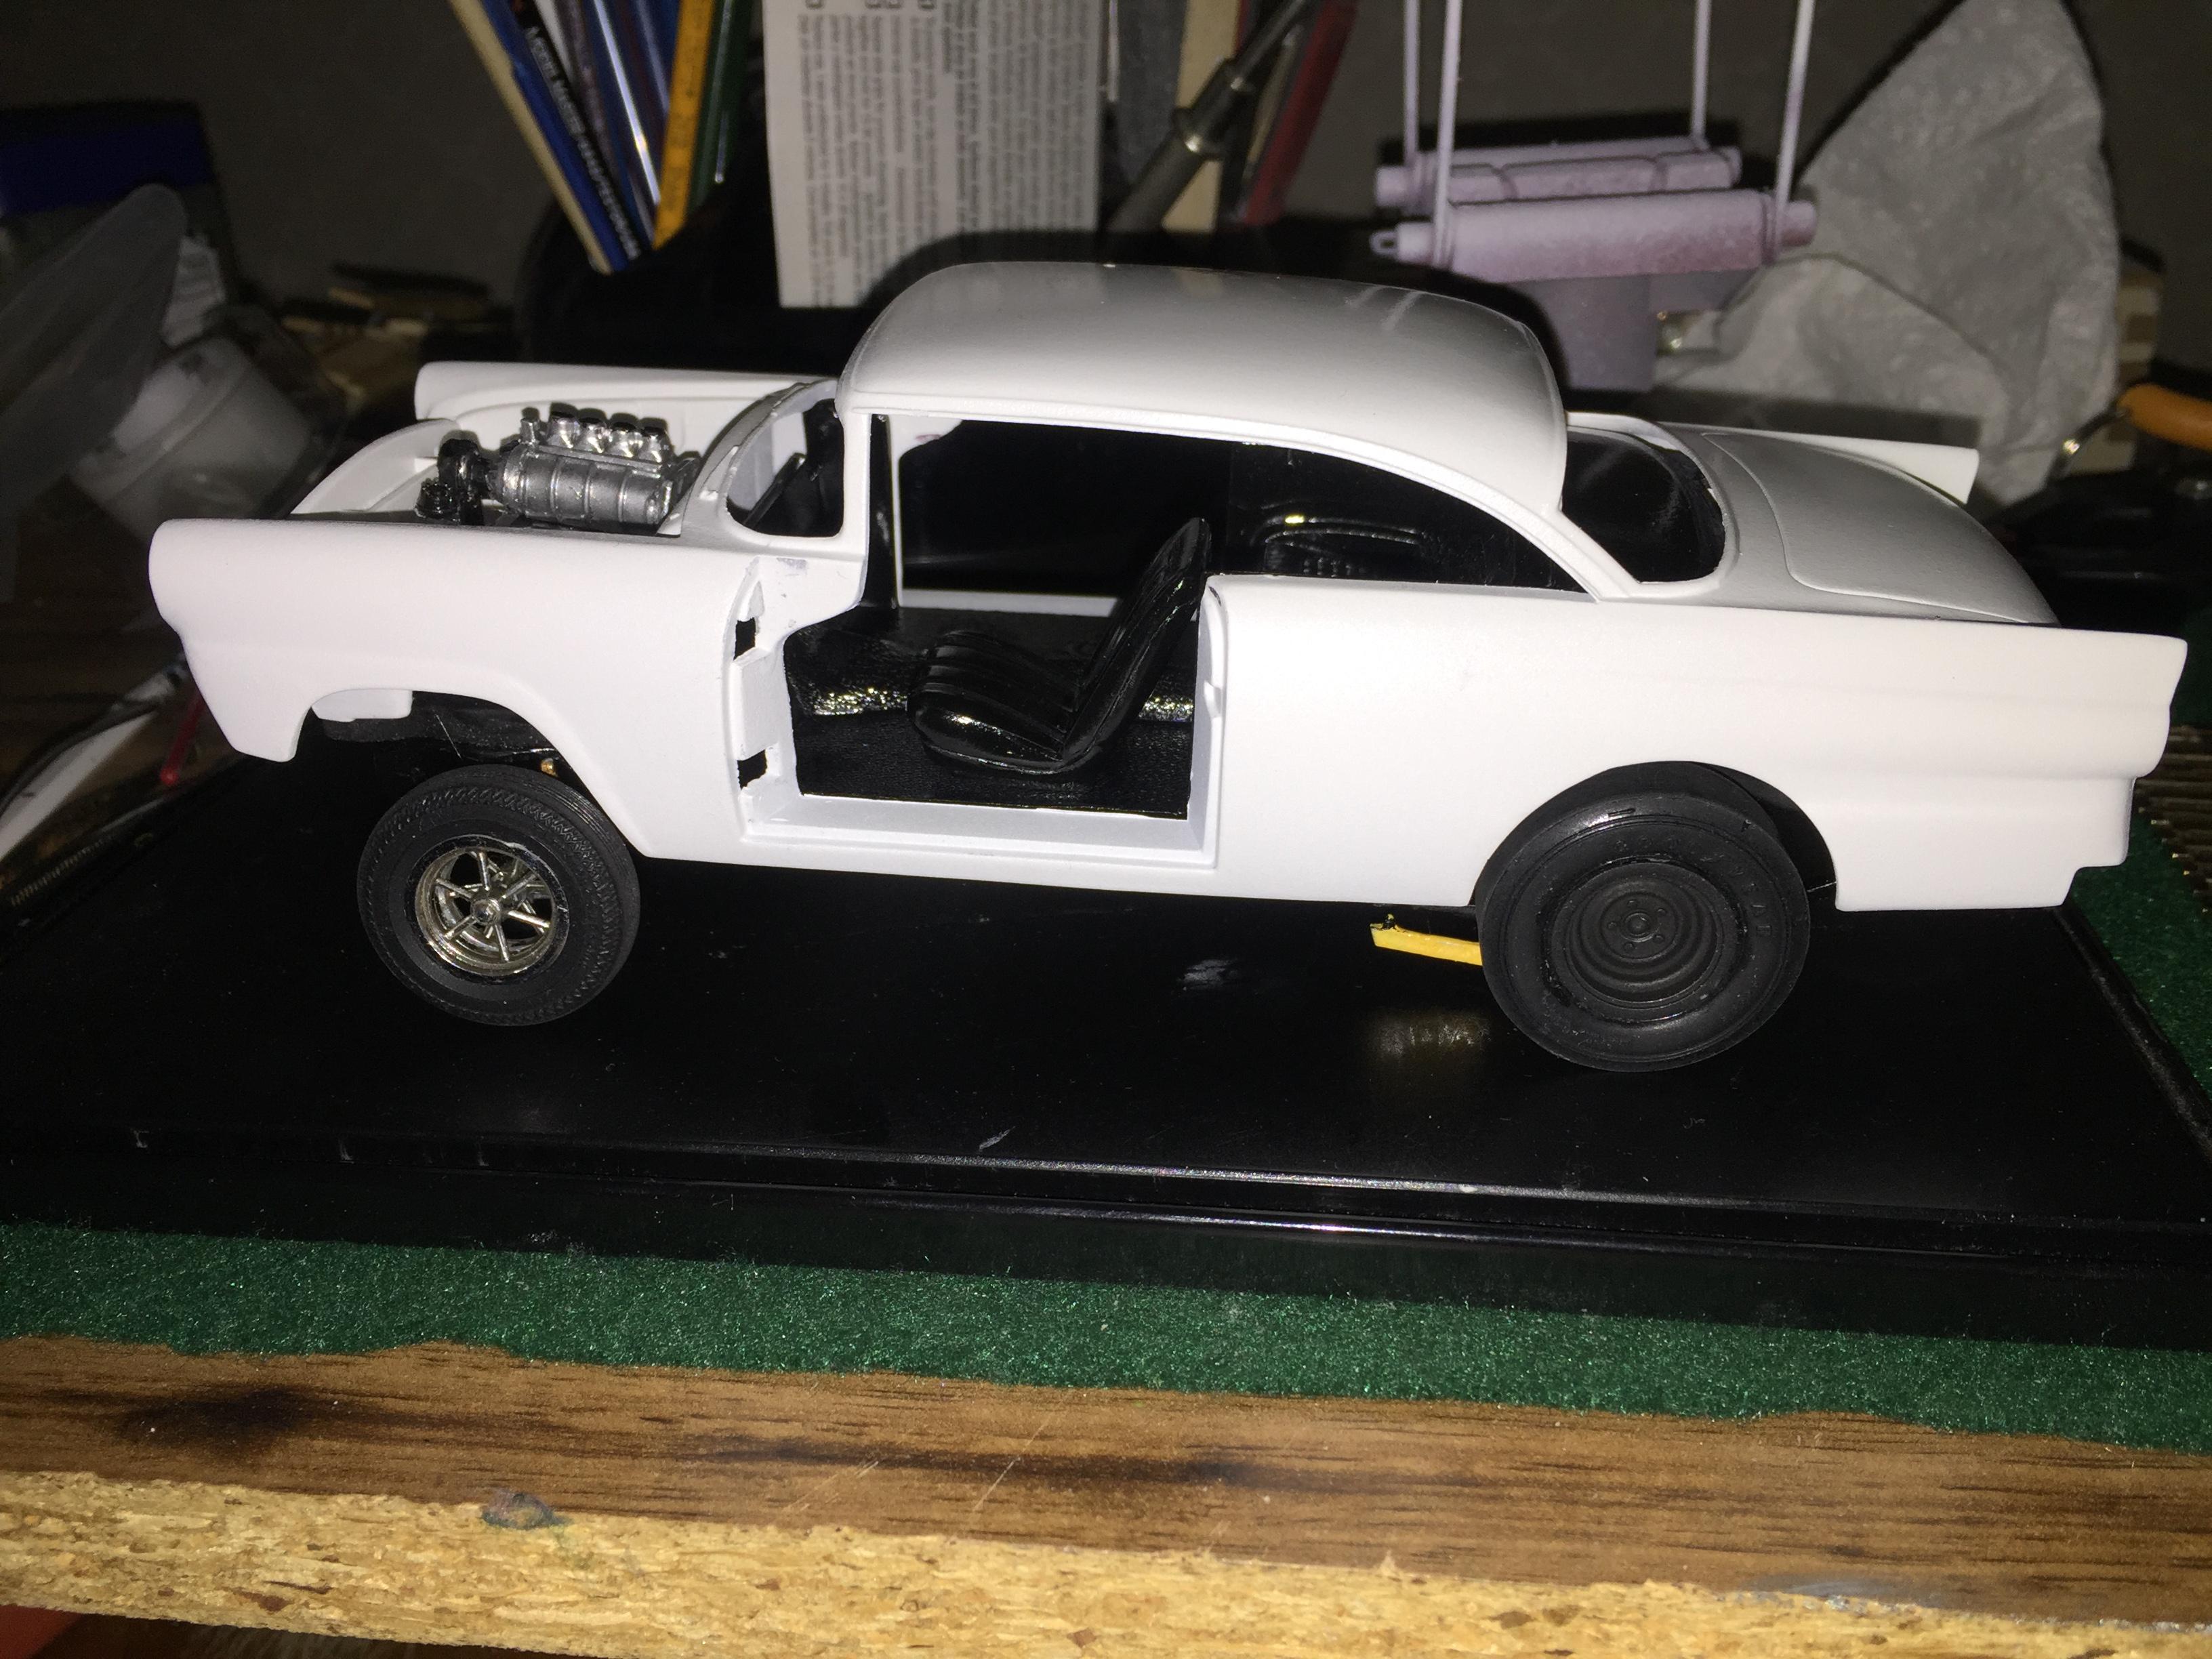
It is a sweet kit and is going together smoothly. A few more pictures. I may go with bucket seats because of the fuel tank and battery box. I can detail the inter more and the bucket seats would let me take the body off to show the interior details off. Other than a little detailing the power plant is done.
-
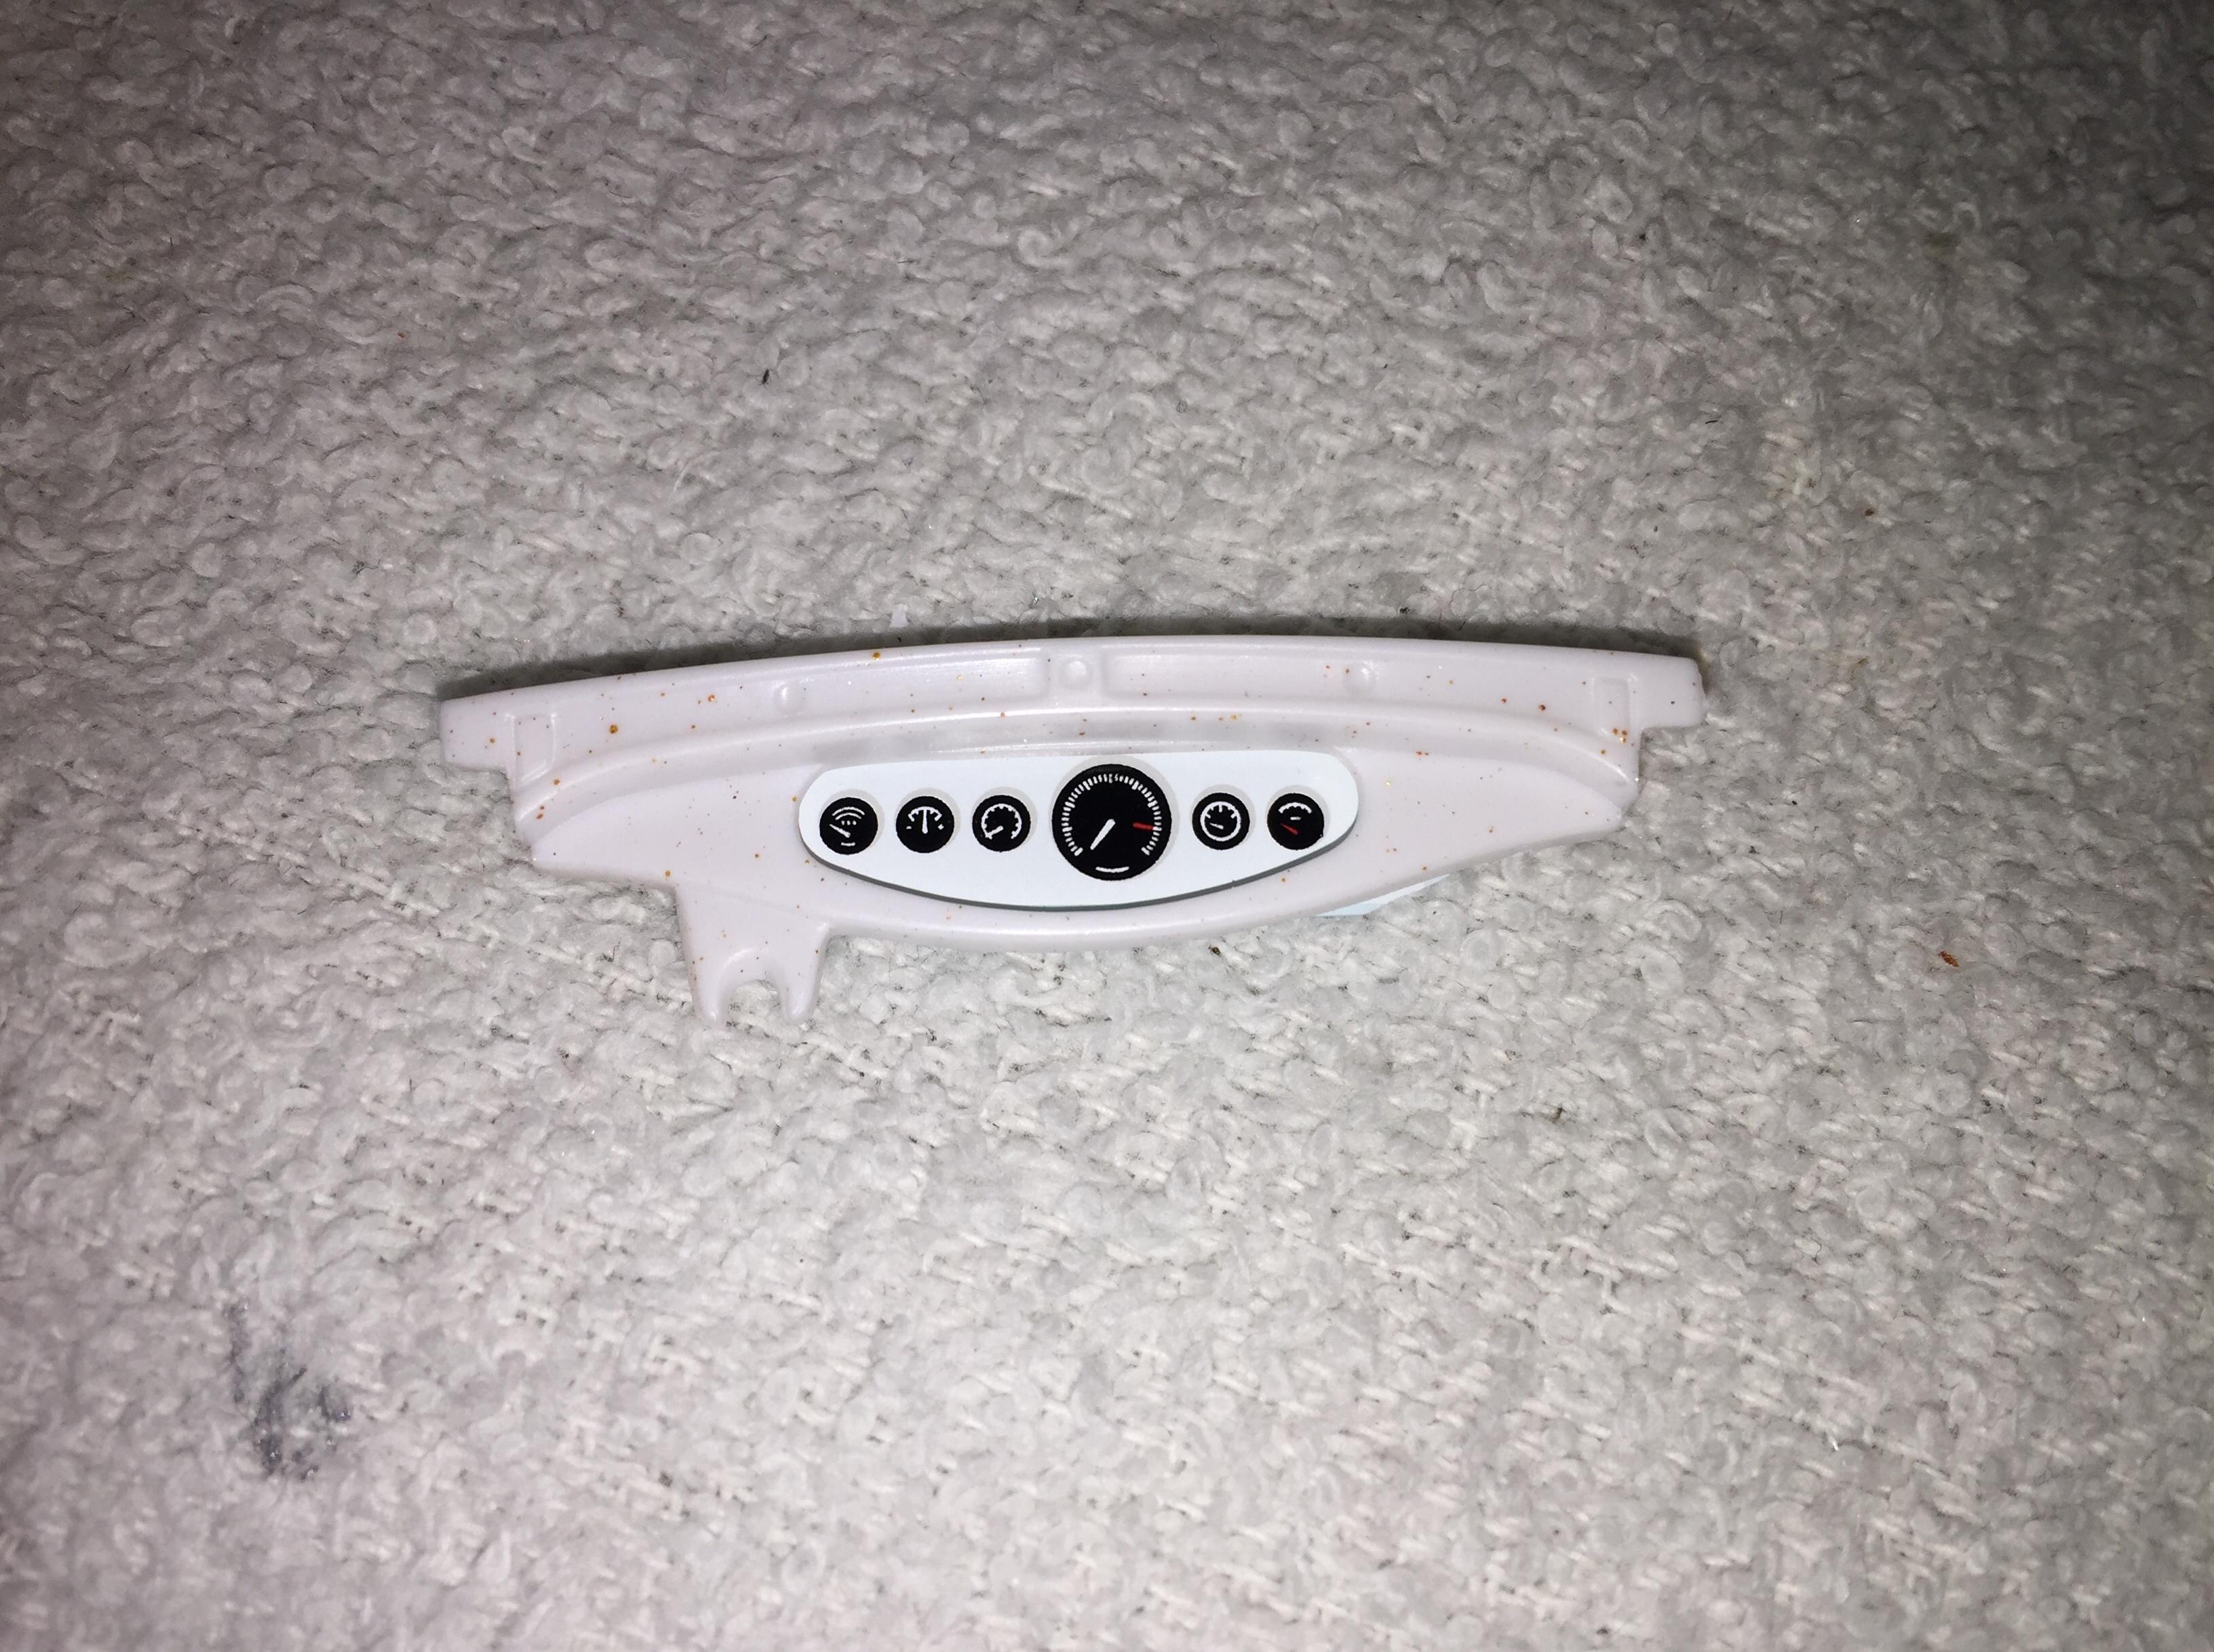
Thanks for the suggestions on the back up dash, but they aren't decals. It a solid set of gauges on paper, so I'd have to cut the paper apart to change the layout. I do have a few different panels so I'll see if another set work better.
-
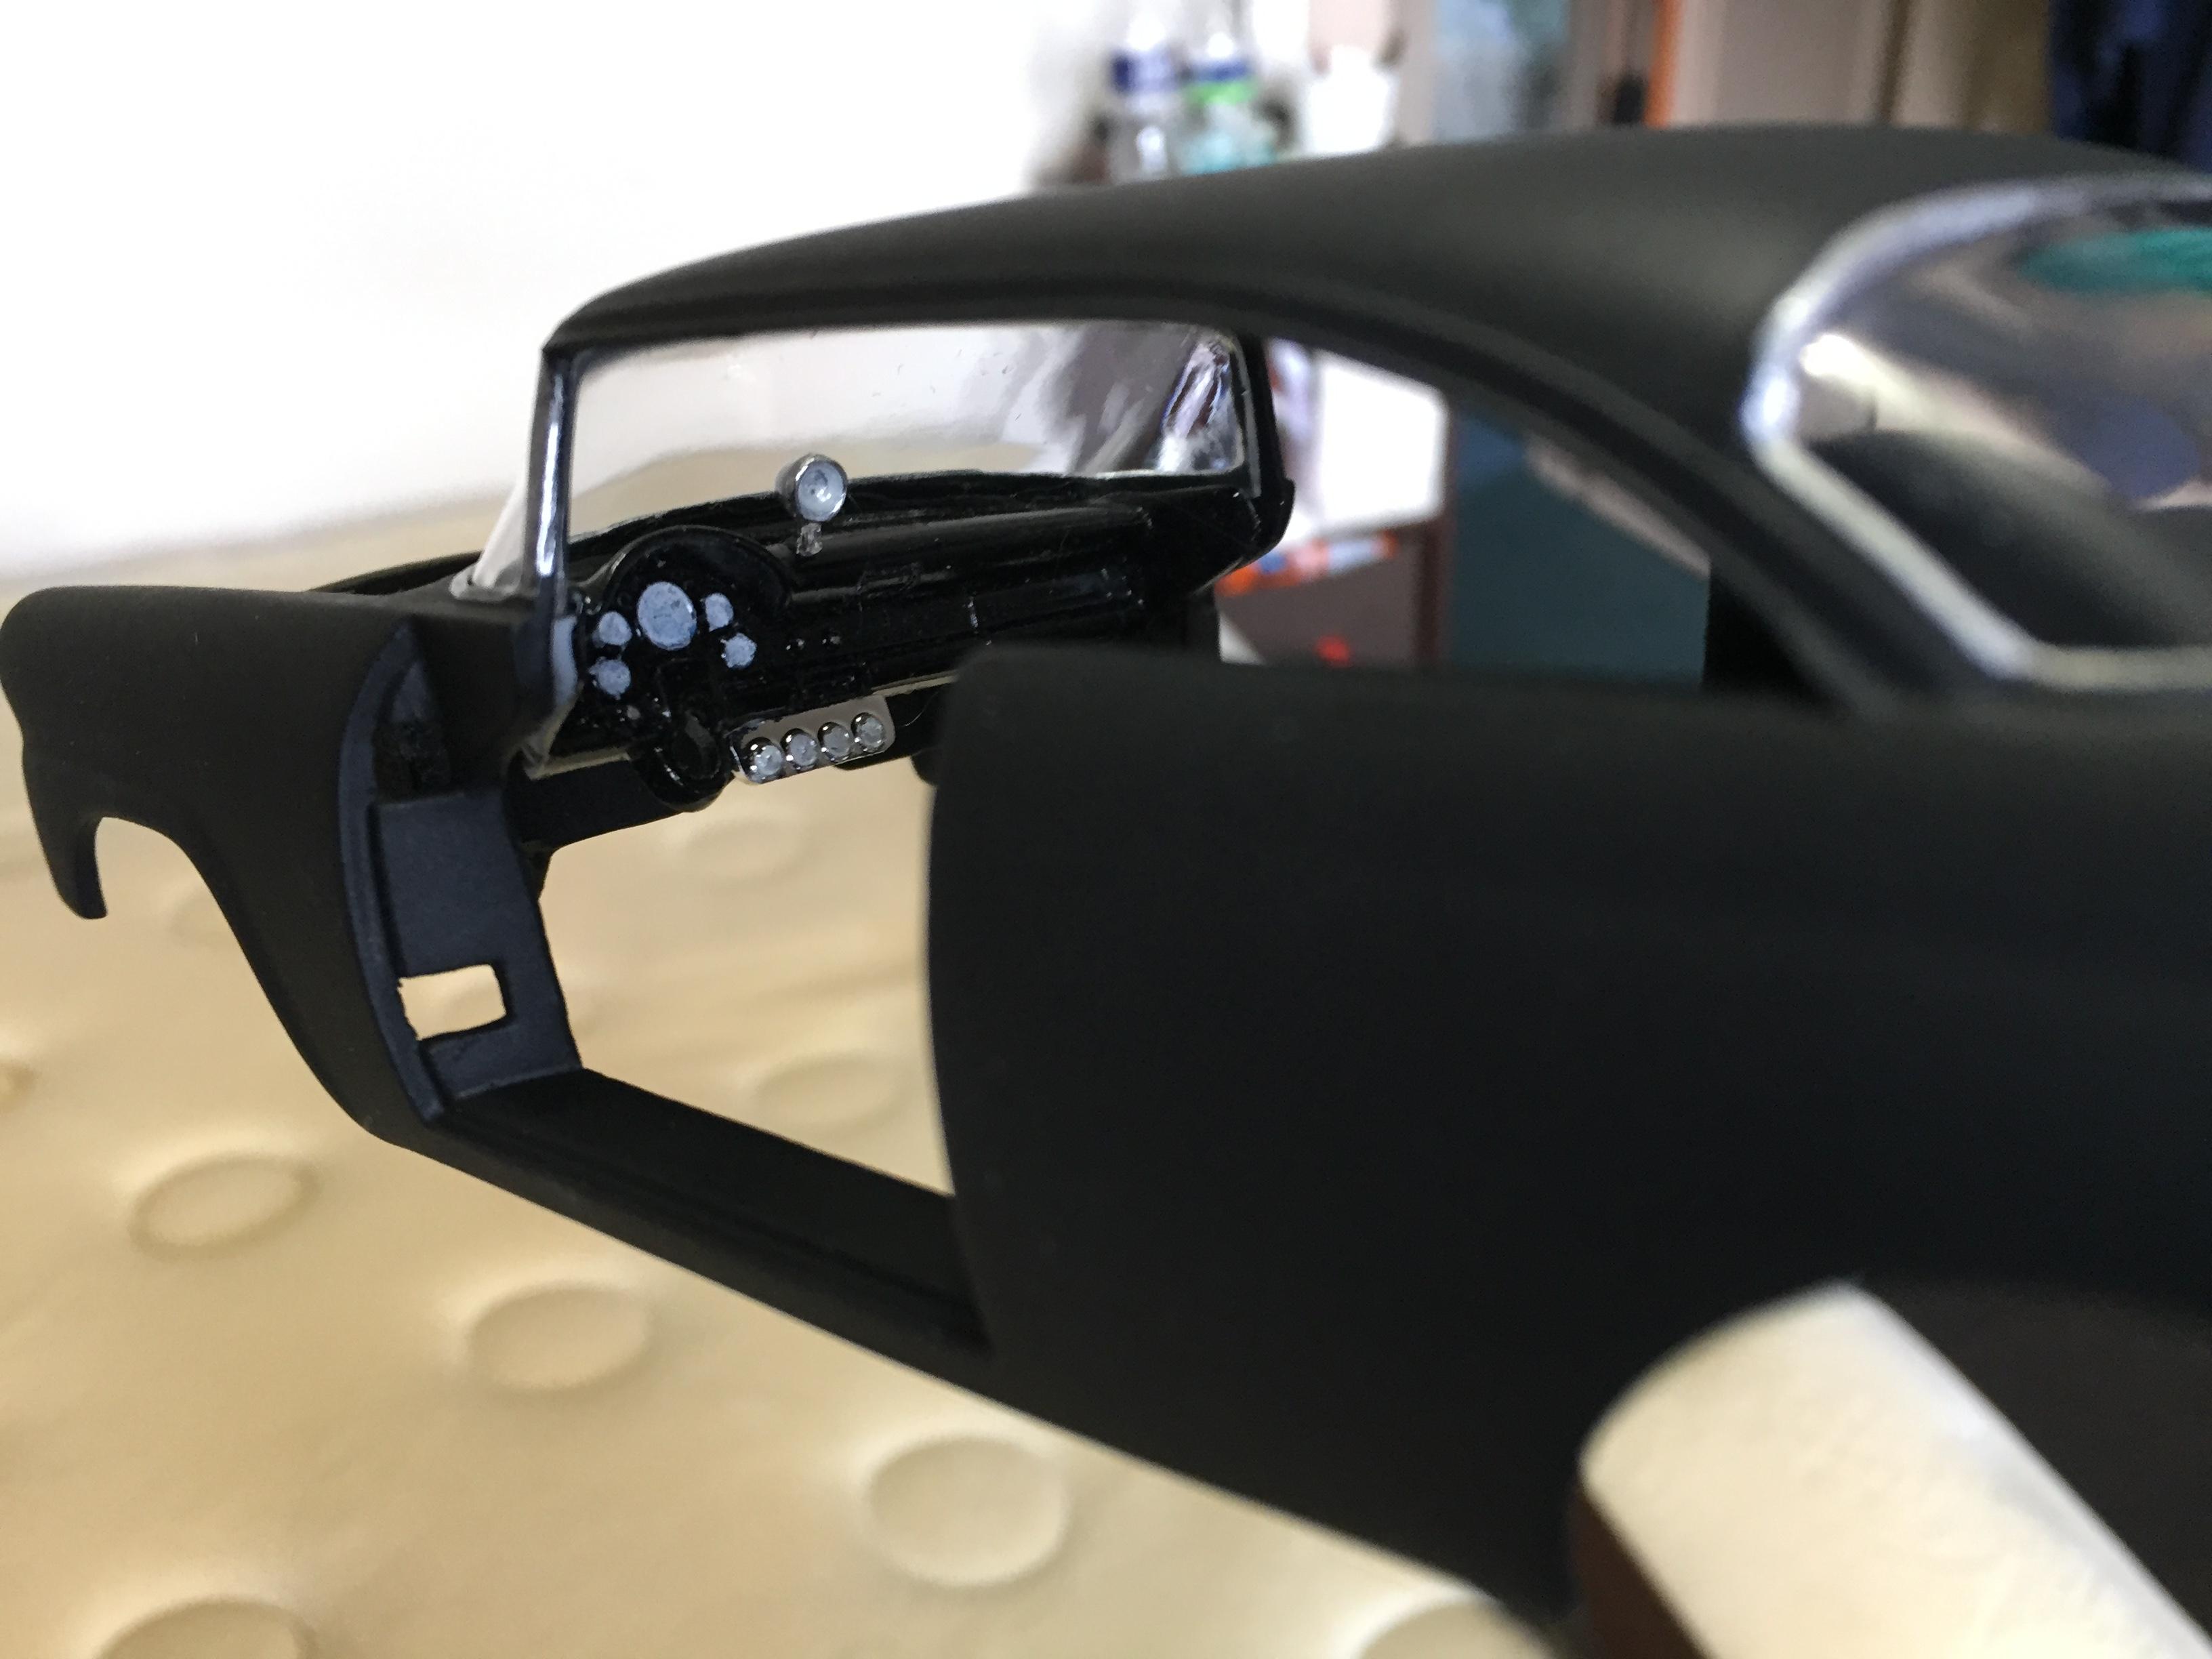
I'm posting a shot of my back up dashboard idea. I think I may go this way because I like the look. It doesn't show up in the picture but the gauges are surround with white which shows up in the oval opening.
-
Nice. I build my midget exactly like yours but with a early fifty's Ford pickup. I was amazed with the details on the midget motor.
-
Thanks. I found it in a plastic bag I stored it in when I painted it. I was going nuts looking for it.
-
1950 Chevy 3100 engine change
Johnt671 replied to Wm David Green's topic in Model Building Questions and Answers
Any small or big block Chevy should work. Tons of choices on E-Bay. -
Thanks. I'll go through the box again. If I can't find the other dash I found a work around.
-
All ready a challenge. I found the dash board and gauges, but I can't find the oval shaped piece to fill the dashboard in, and the instructions don't seem to show the part and number for it. Please see the pictures. Anybody know anything about this part?
-
I painted this one in the summer so the important parts were done before the winter got here. It will be box stock since I just finished and build from the devil.
-
I'm really disappointed in the way this turned out, so I gave up and just slapped it together. I had the doors lined up fine and opening good, so I put the interior in and the chassis on and things went downhill fast. I tried to make the googled eyed head light look better, but no lunck I started to put the grill on and somehow the windshield popped loose, and the doors were wonky. I wasn't about to take it all apart again, so I pushed it in place and found the doors were wacky. I glued the doors shut and called it finished. I really wanted this one to turn out nice, but it wasn't in the cards. Maybe some day I'll take it apart and give it another shot, but most likely it will be a parts car.
-
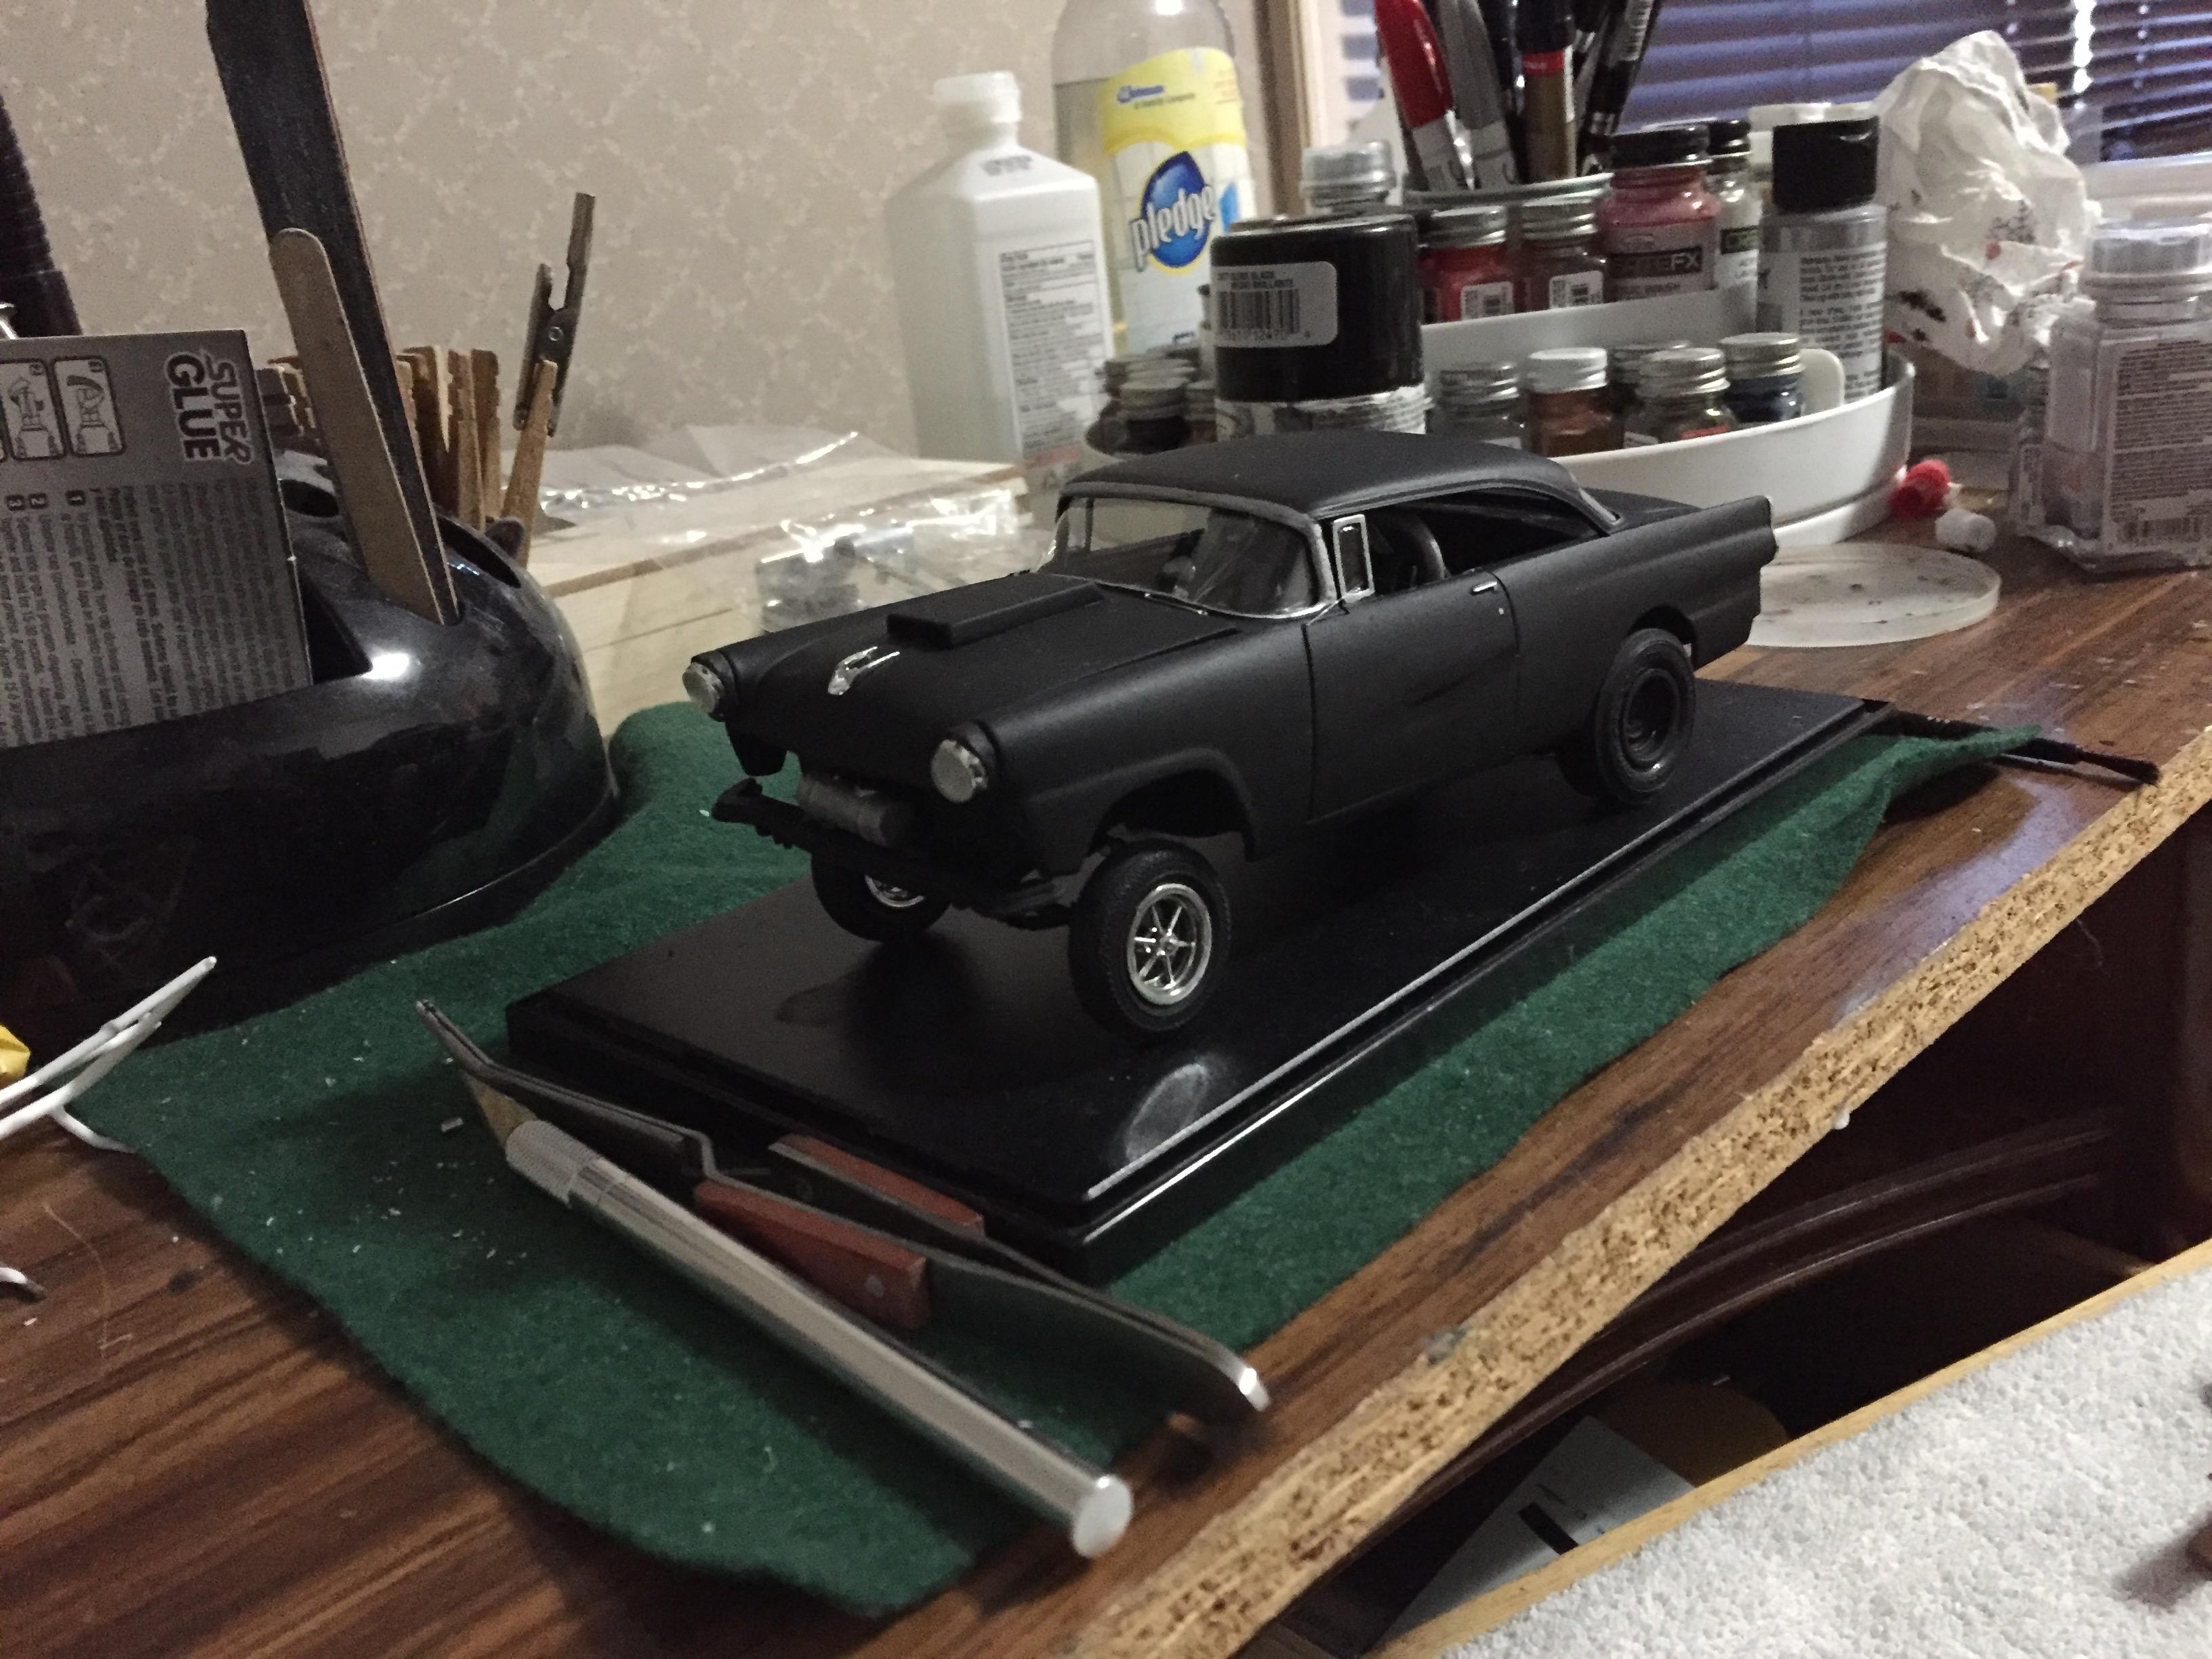
More pictures. Almost done. I need to hunt up some decals now. Any tips on the headlights? I built them the way the instructions show but the body fender cap doesn't fit right and it looks looks all bug eyed.
-
Thanks.
-
Super sweet work on that one.
-
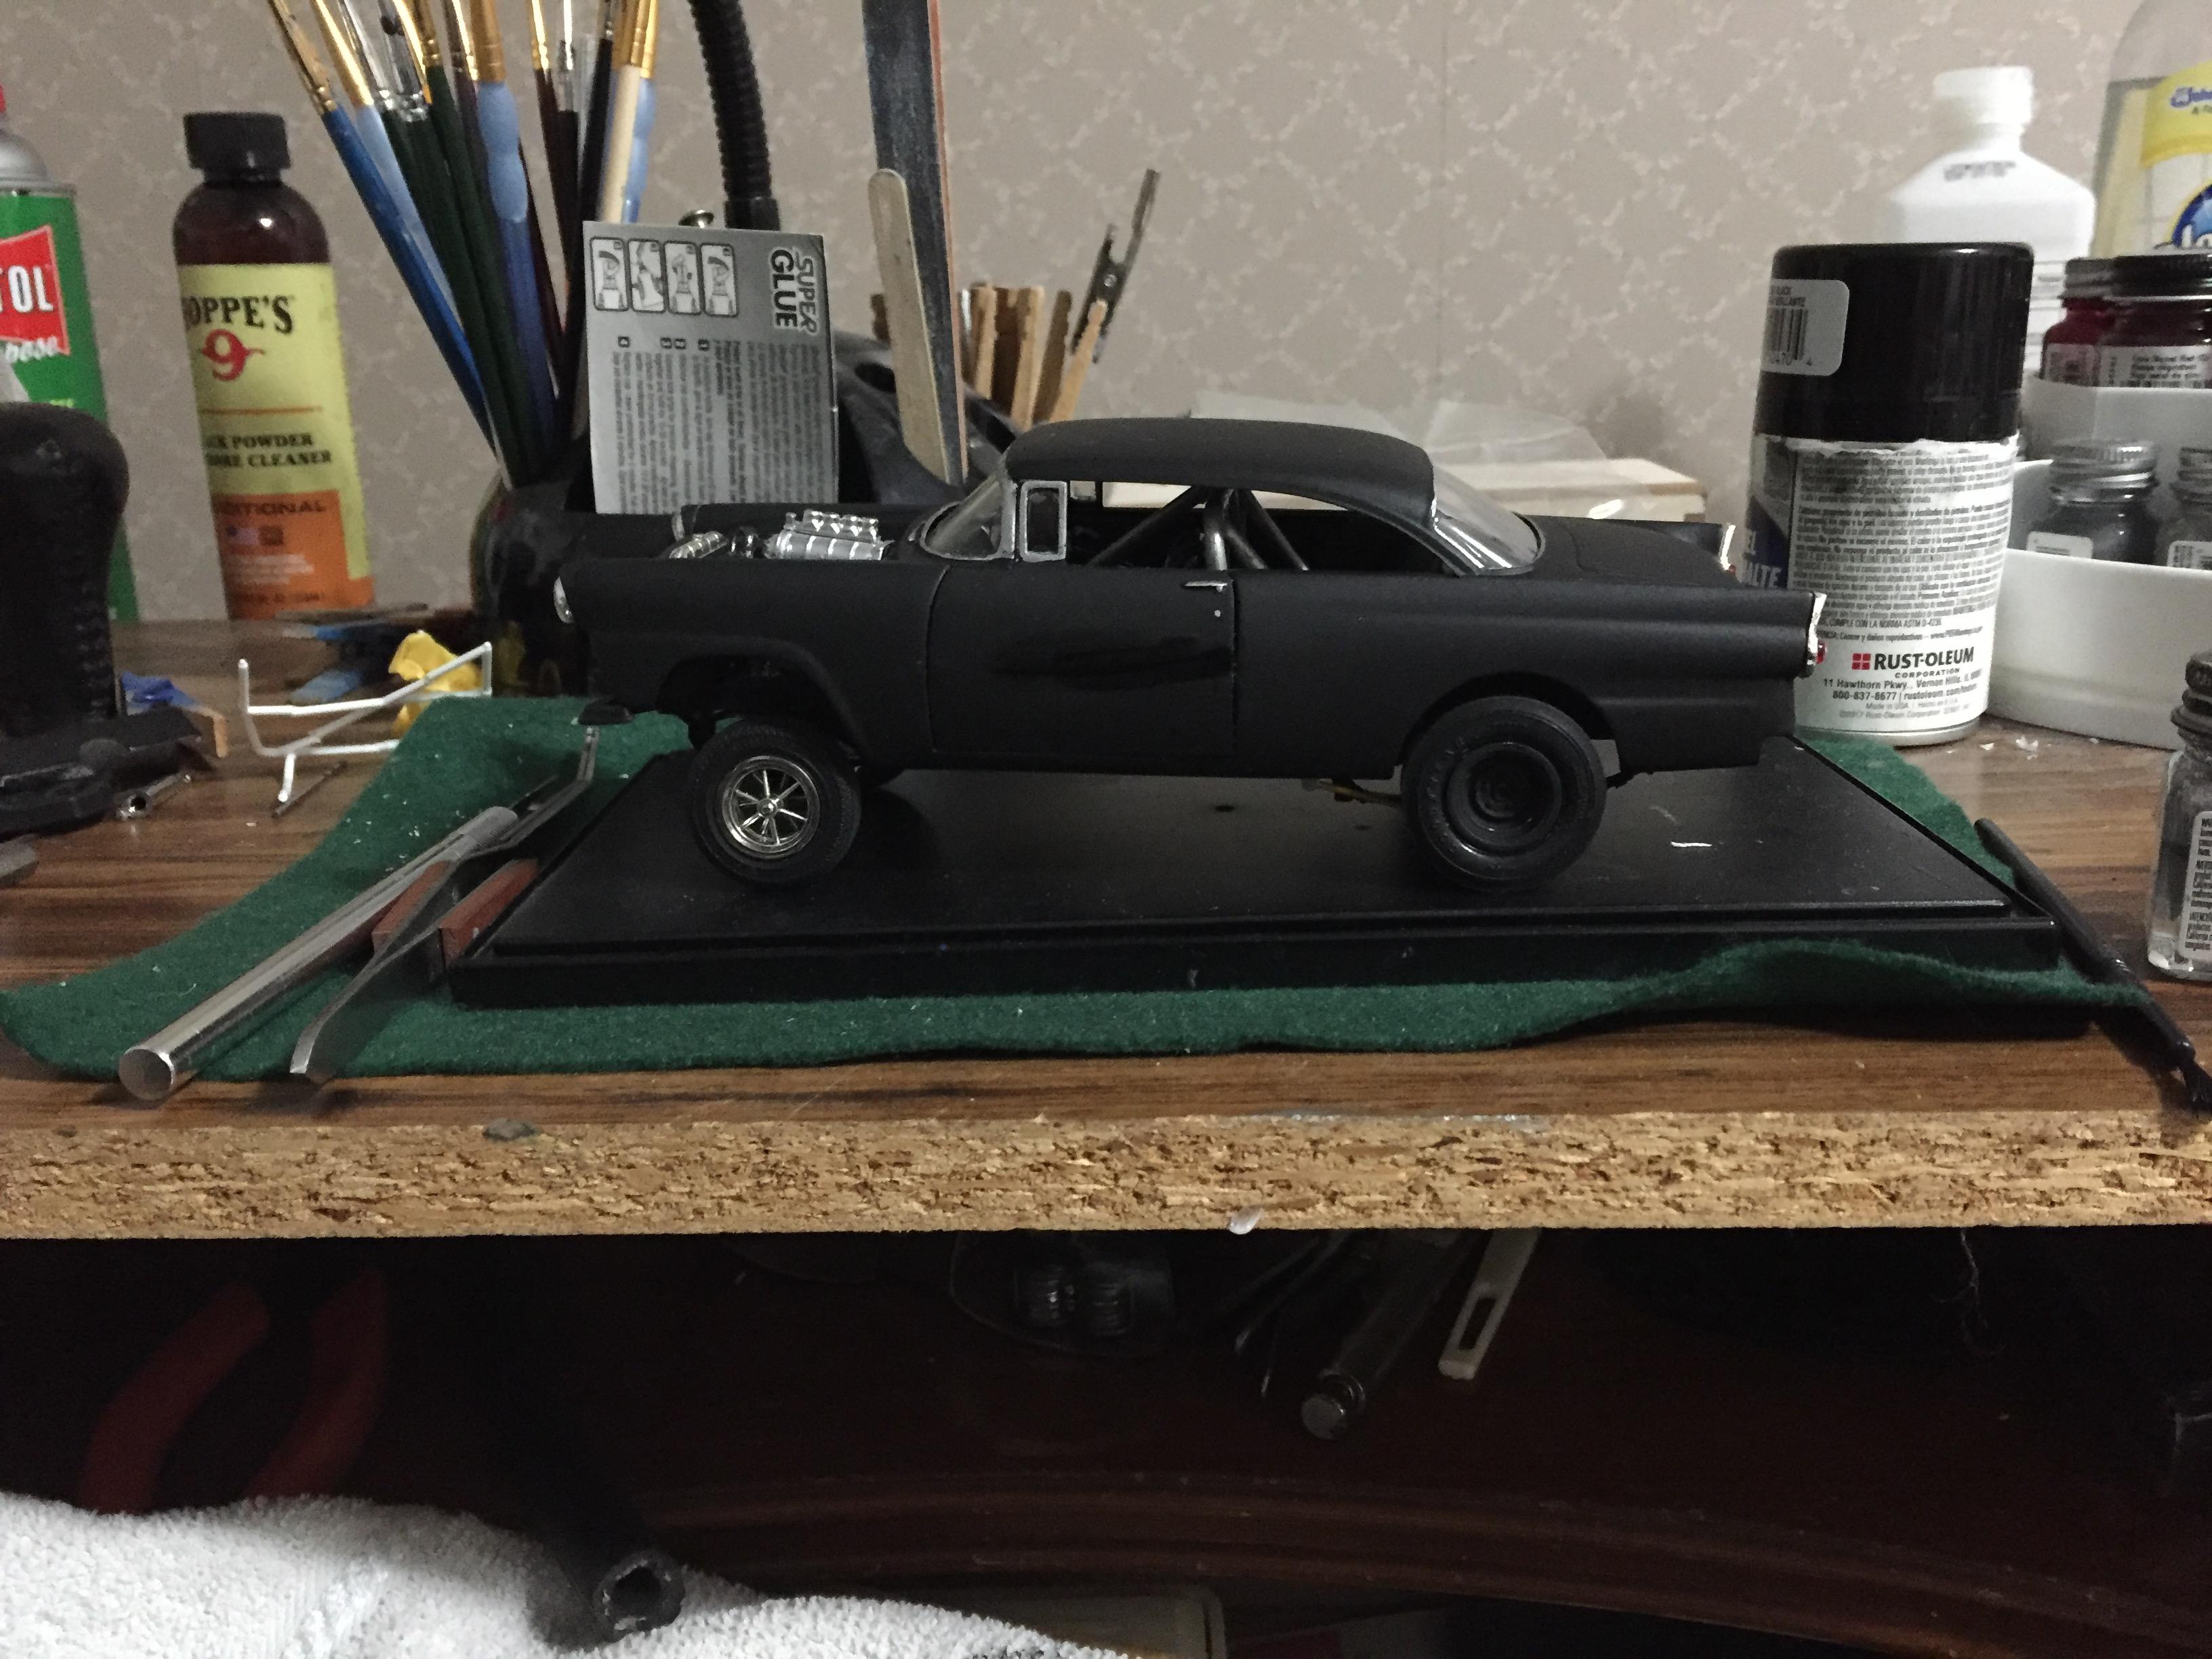
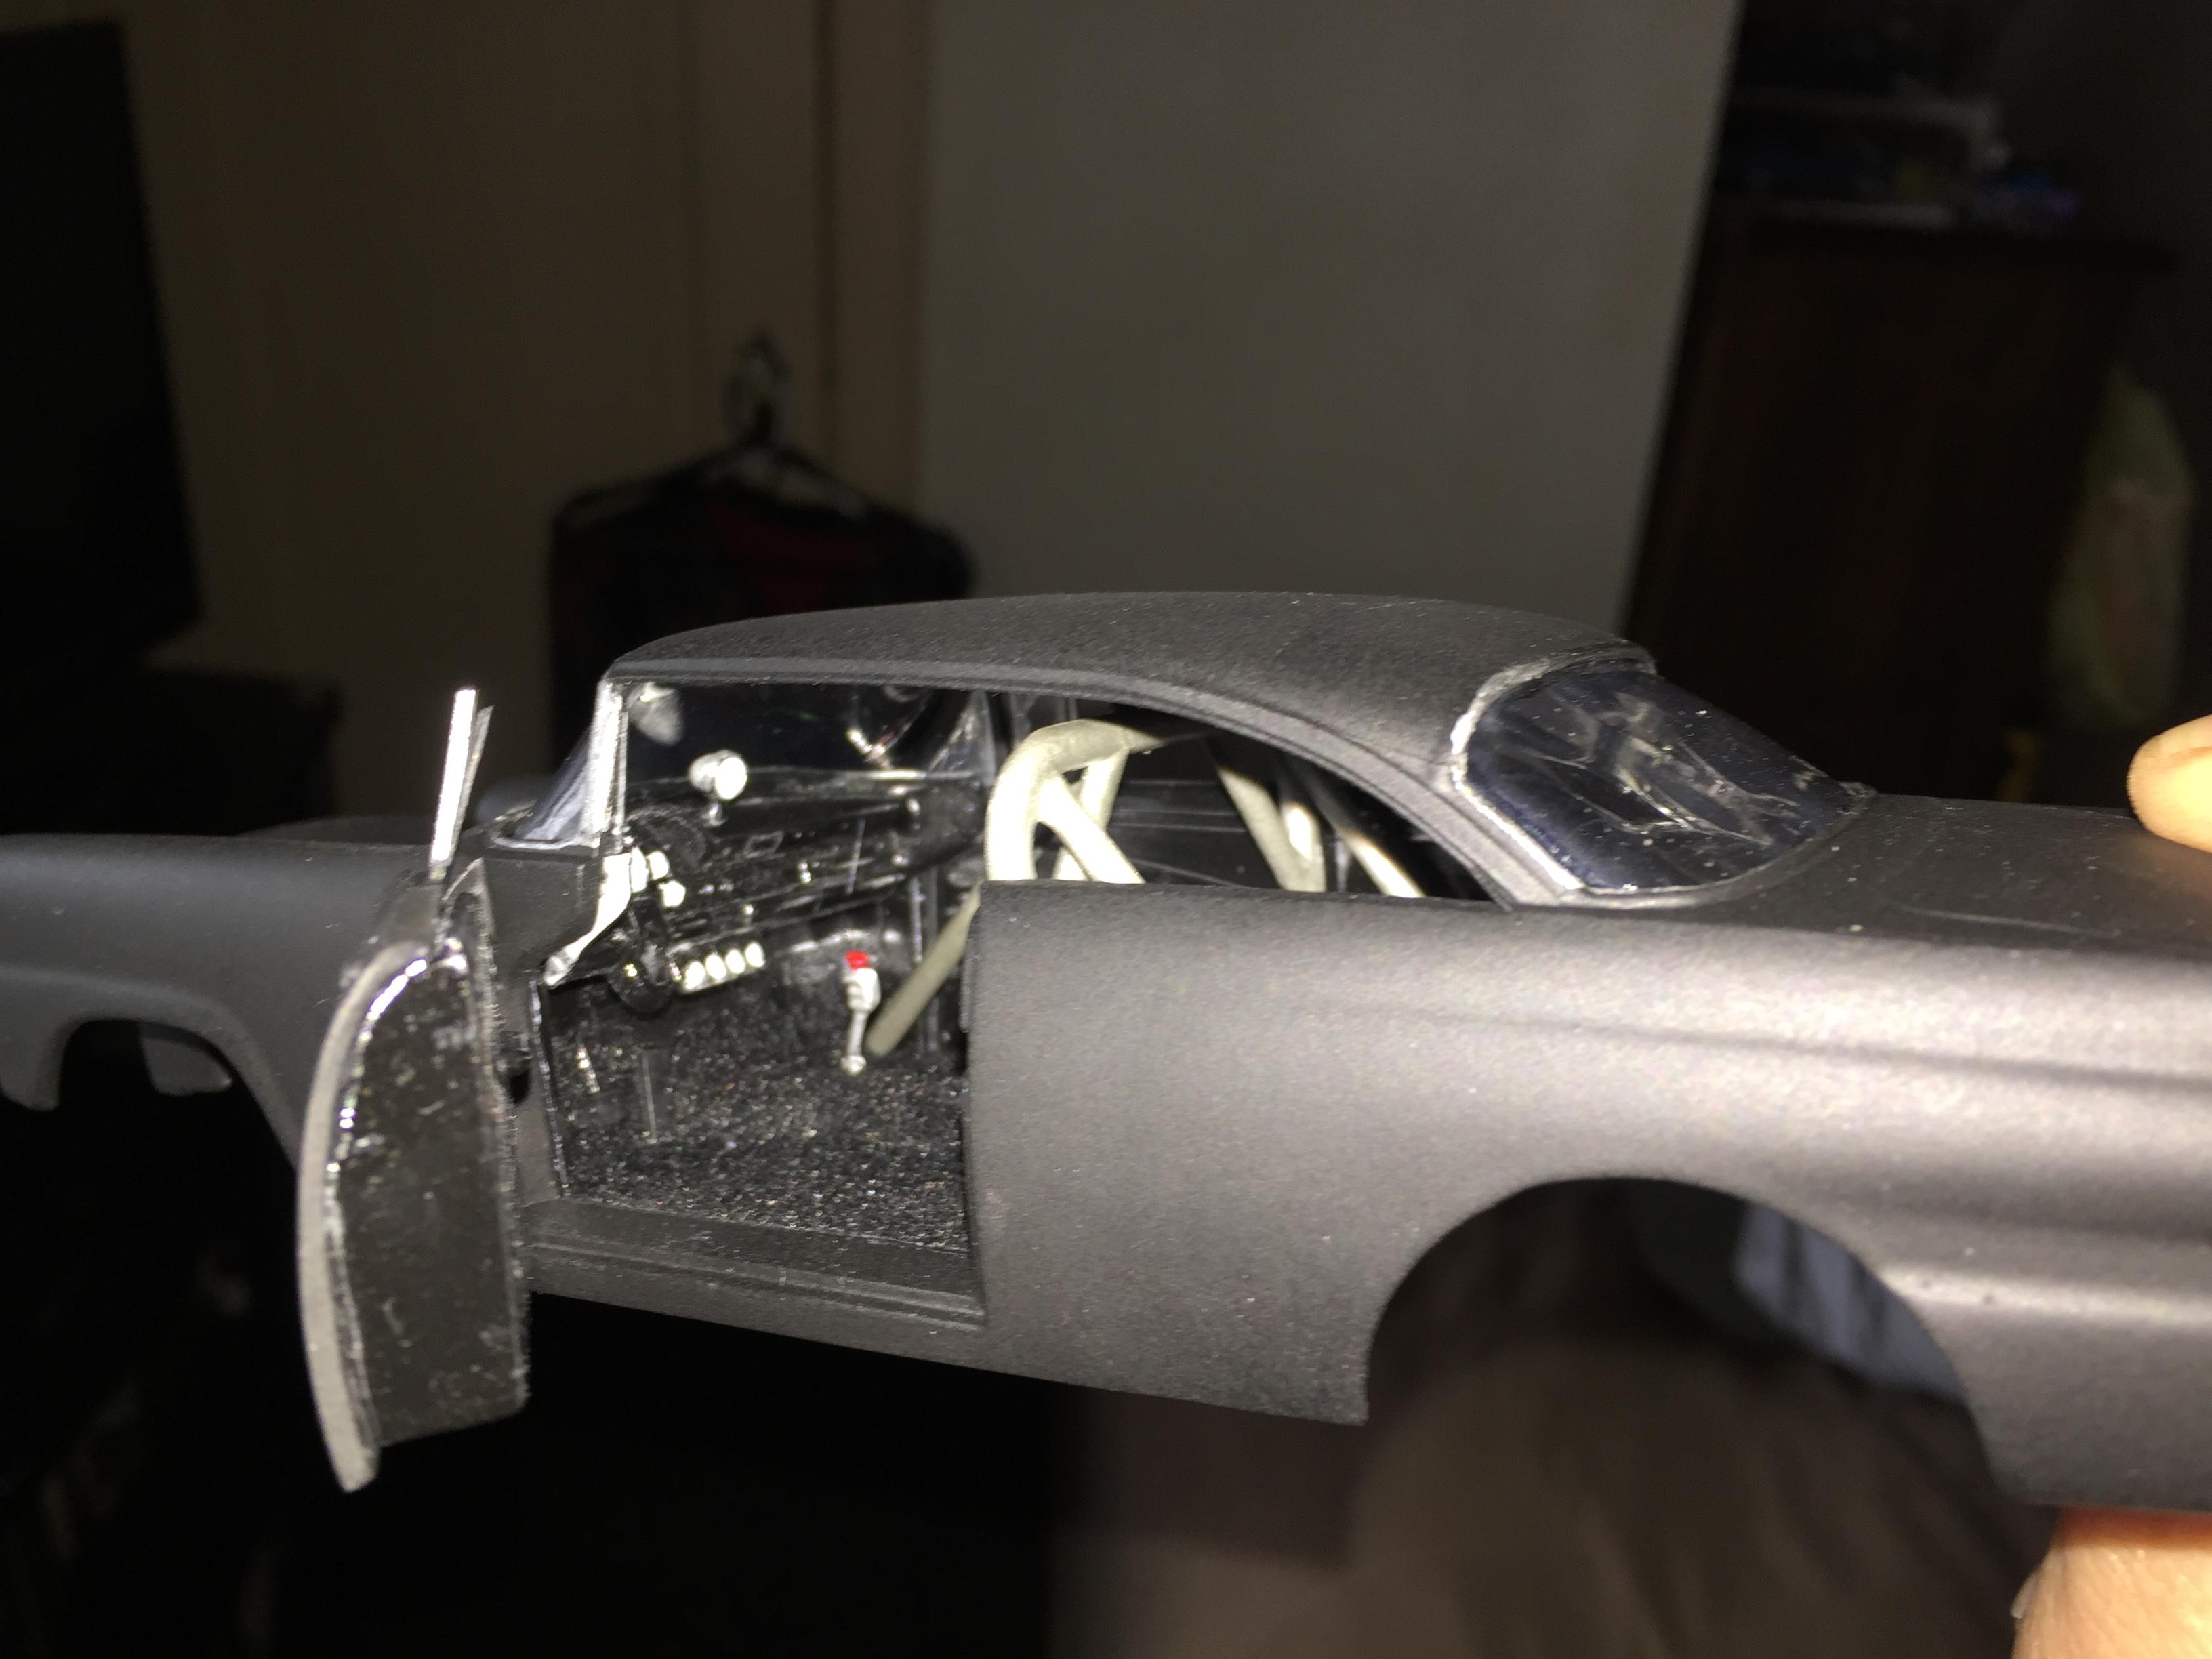
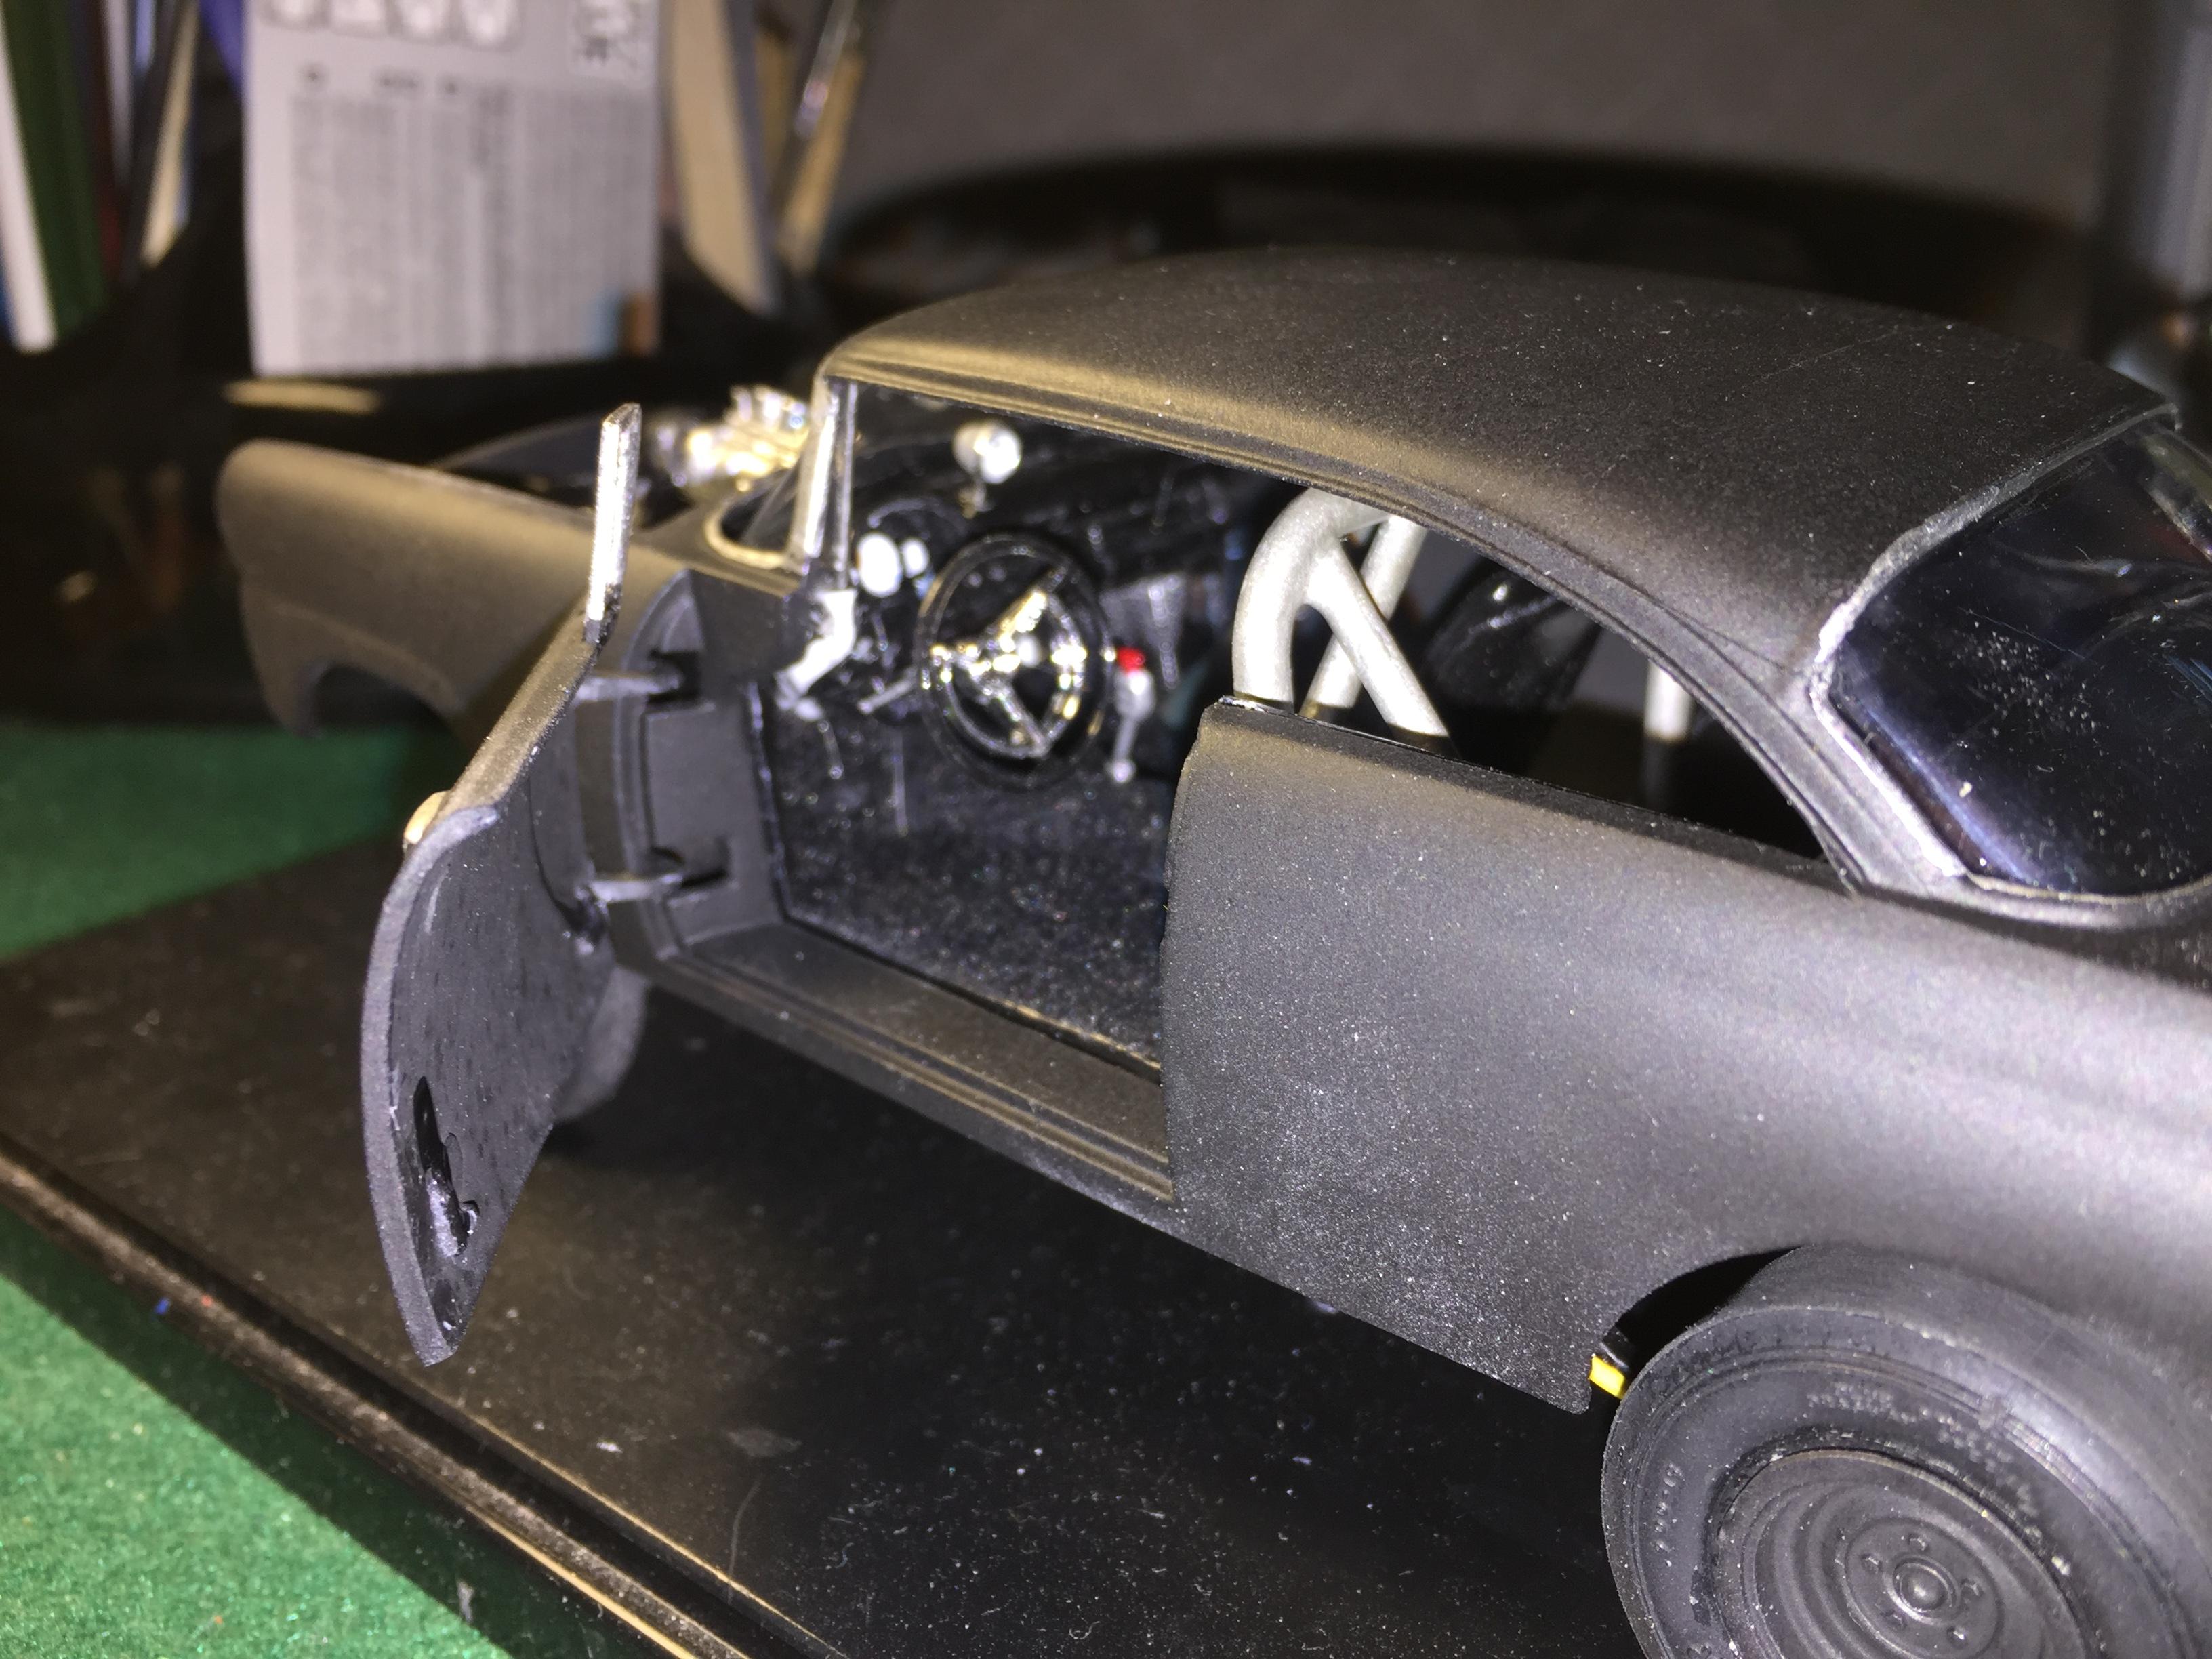
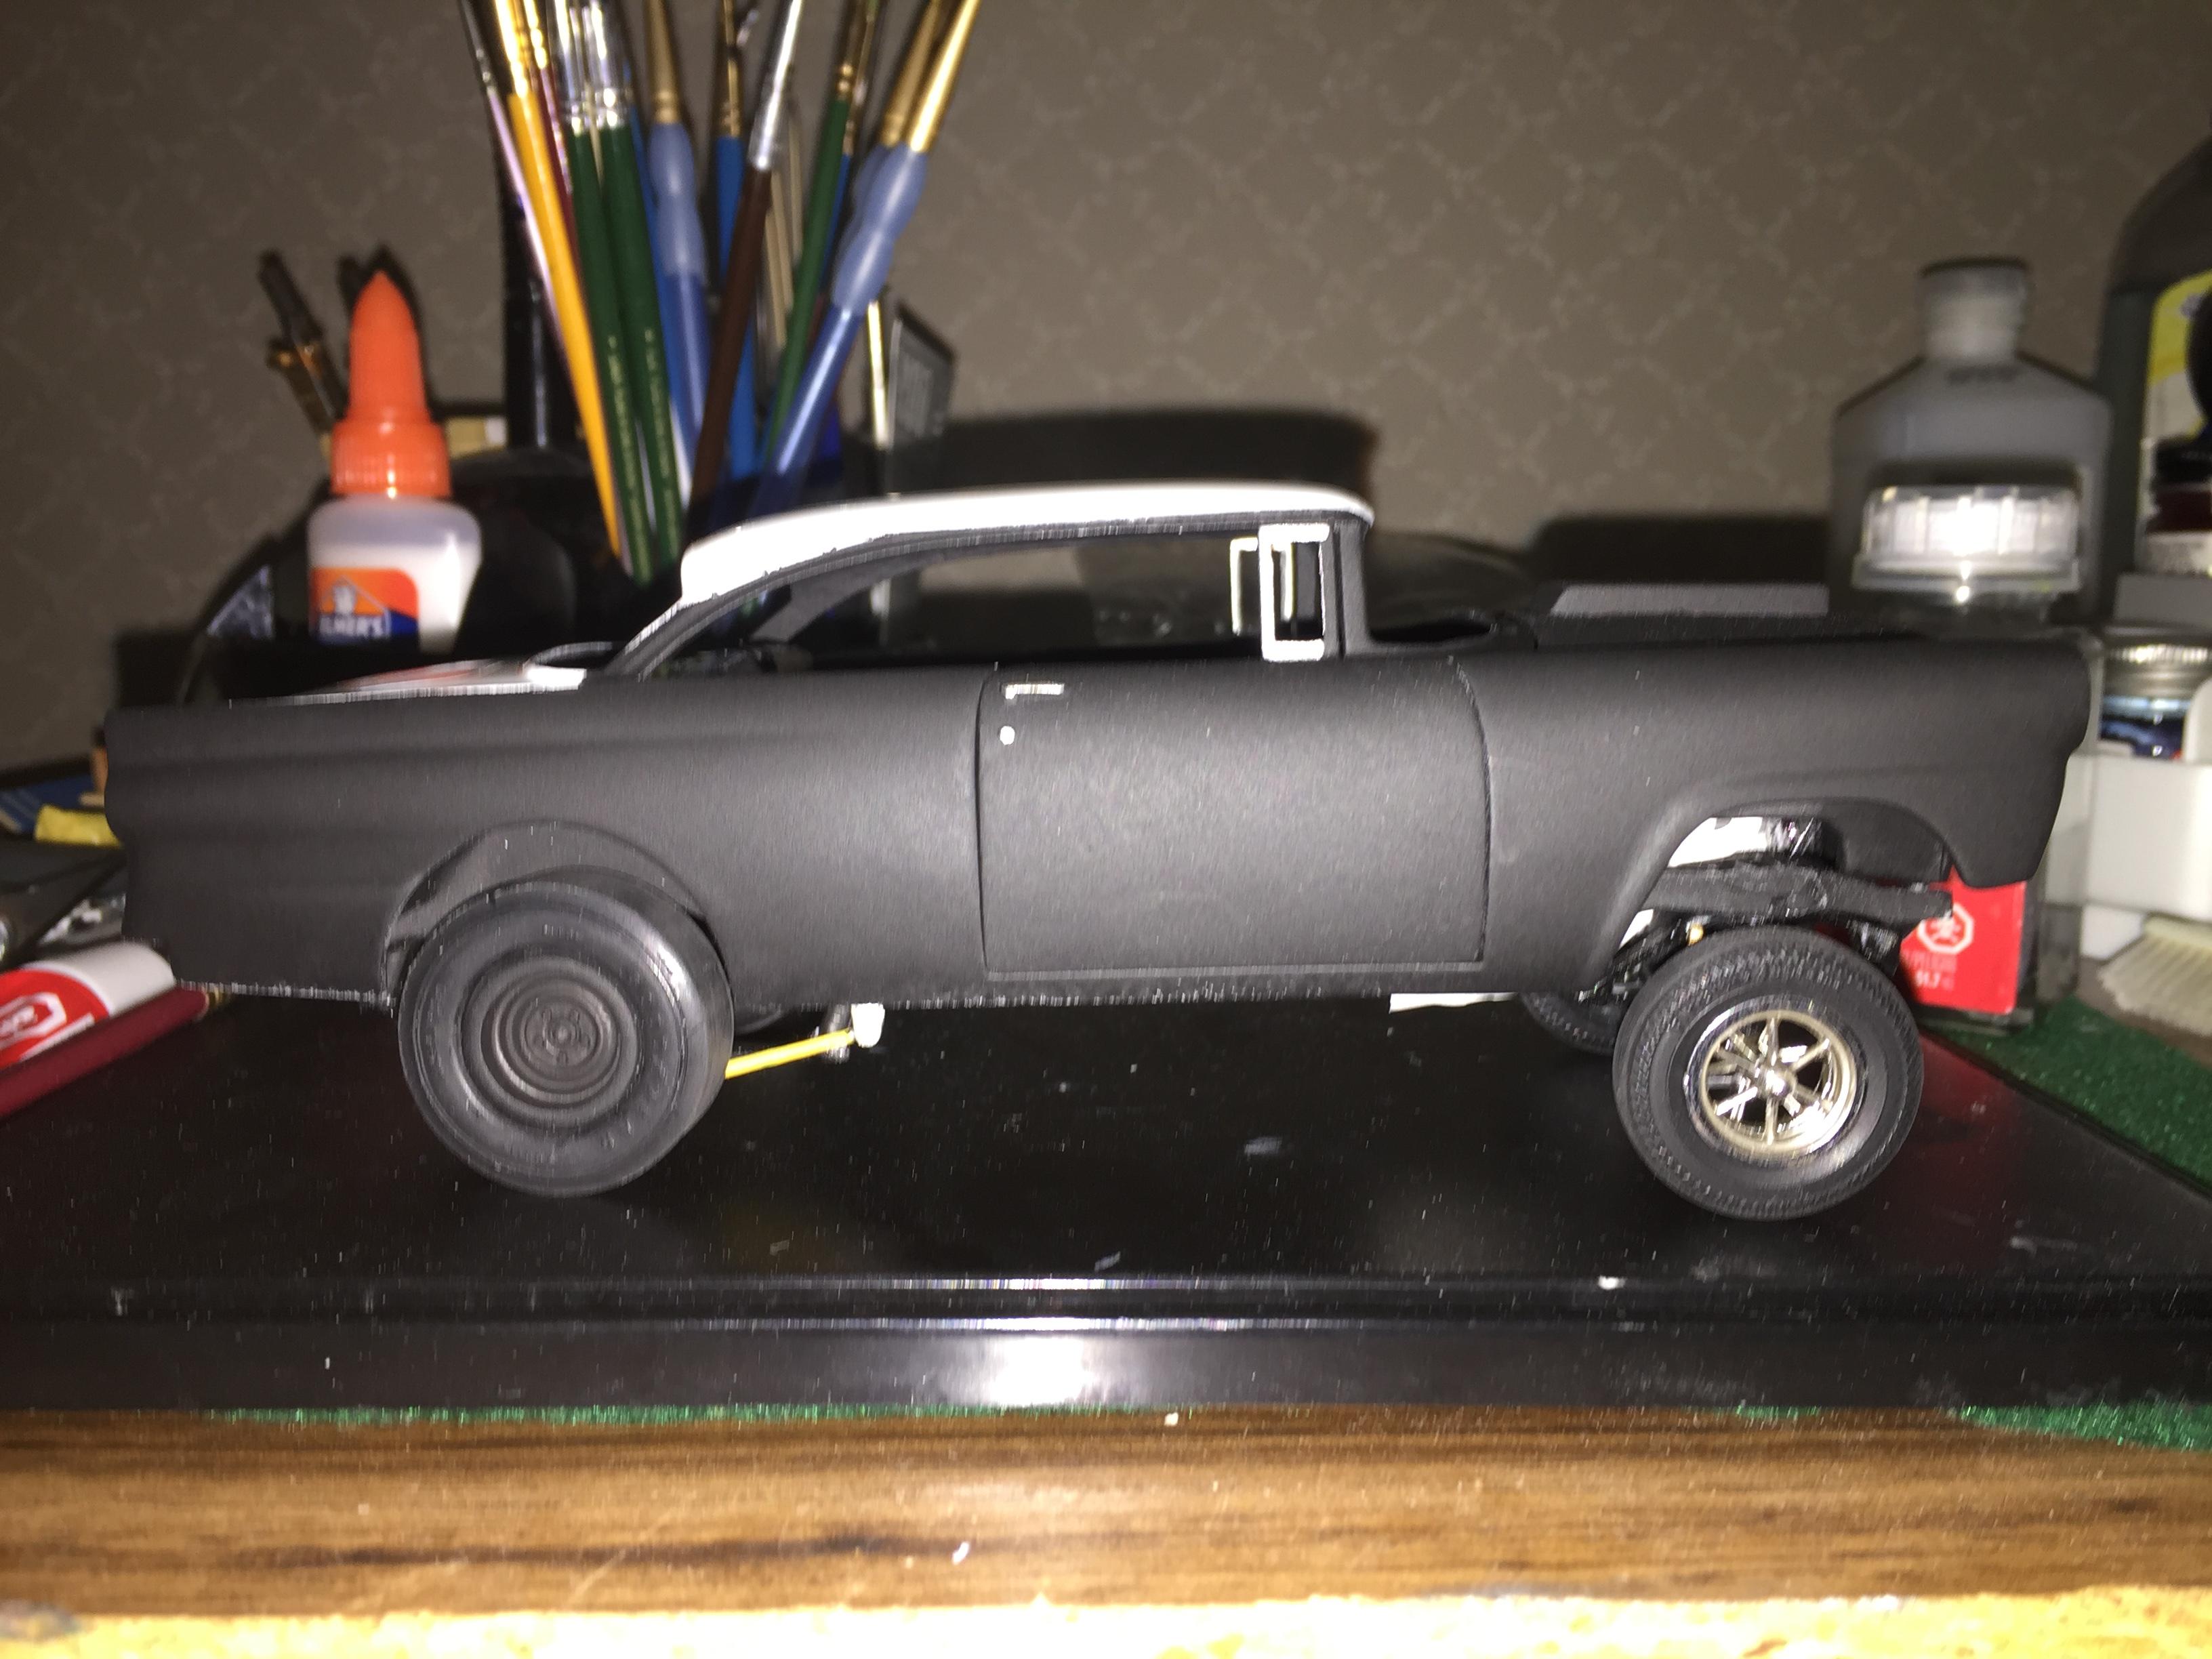
I really messed up the two tone paint job and stripped it twice trying to get it right. No matter how hard I tried pressing the Tamiya masking tape down it still seeped and I couldn't get a neat line on the curve of the roof, so I gave up and painted it all flat black. The windows and dash are in and I'm working on a roll bar.
-
I haven't had much time to work on this, but we finally got a dry day and a half to finish the paint. Now I'm touching up a few bad spots The interior is flocked, ans the dash needs a little touching up but it's getting there.
-
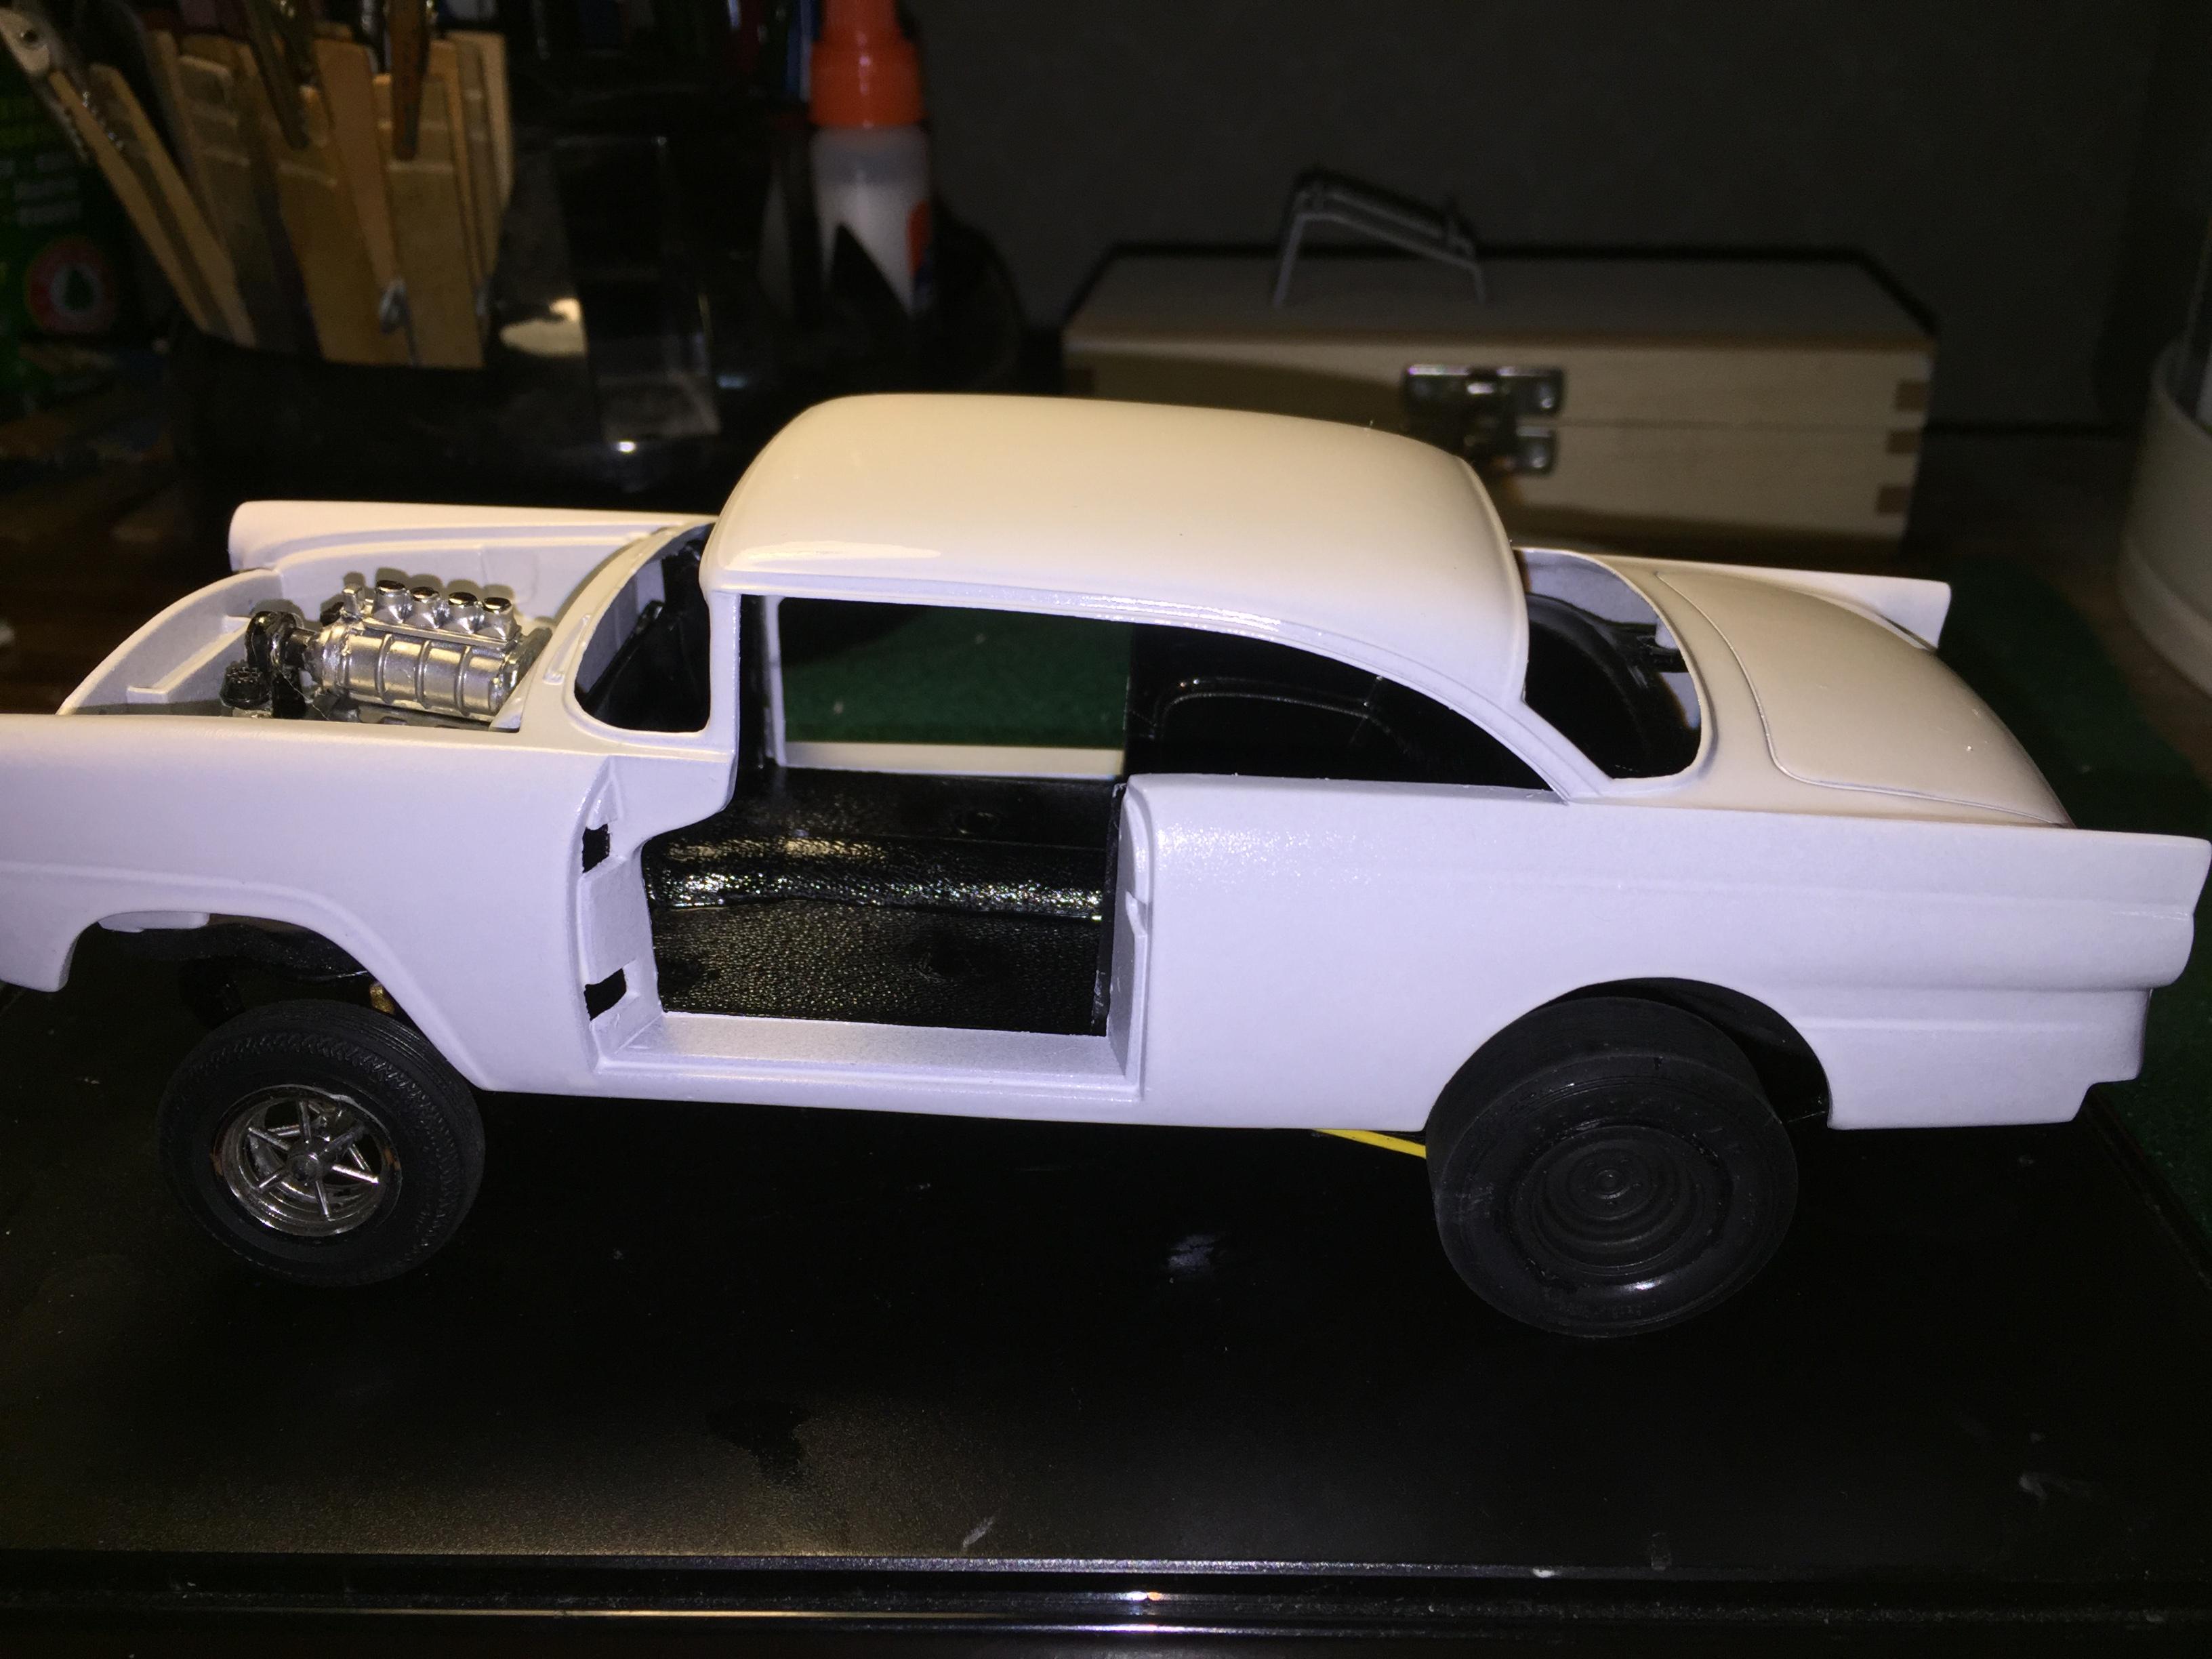
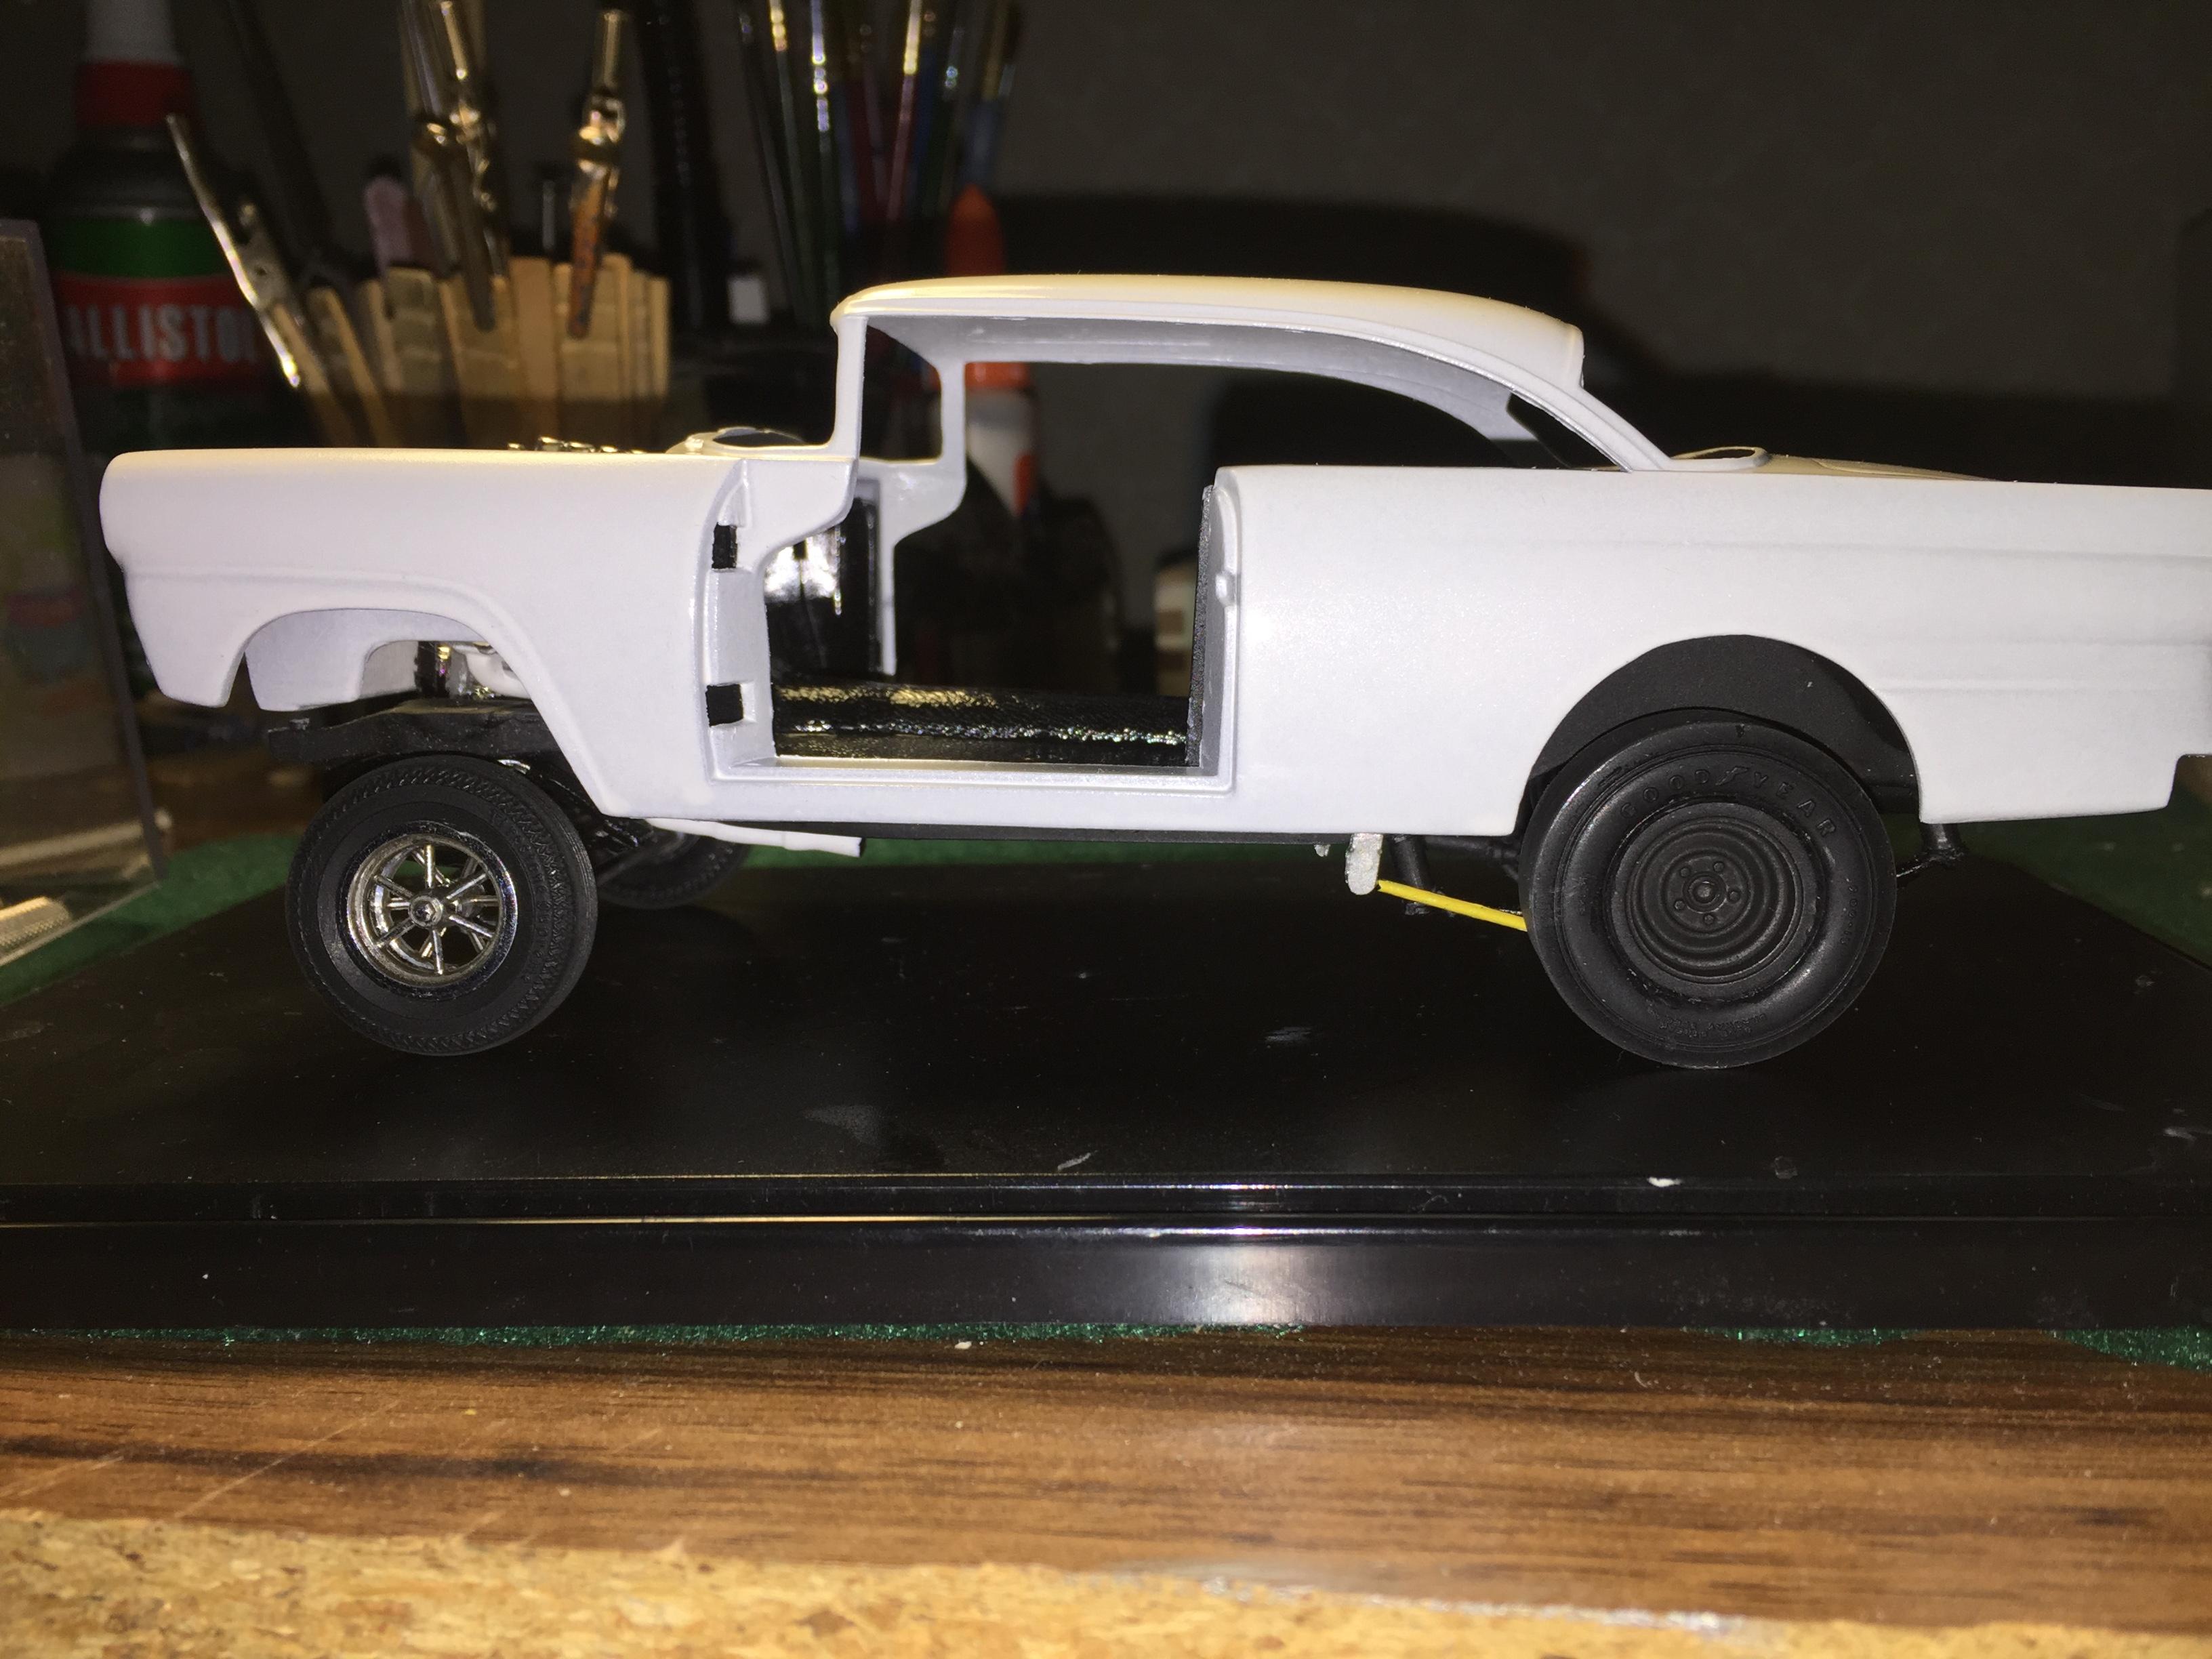
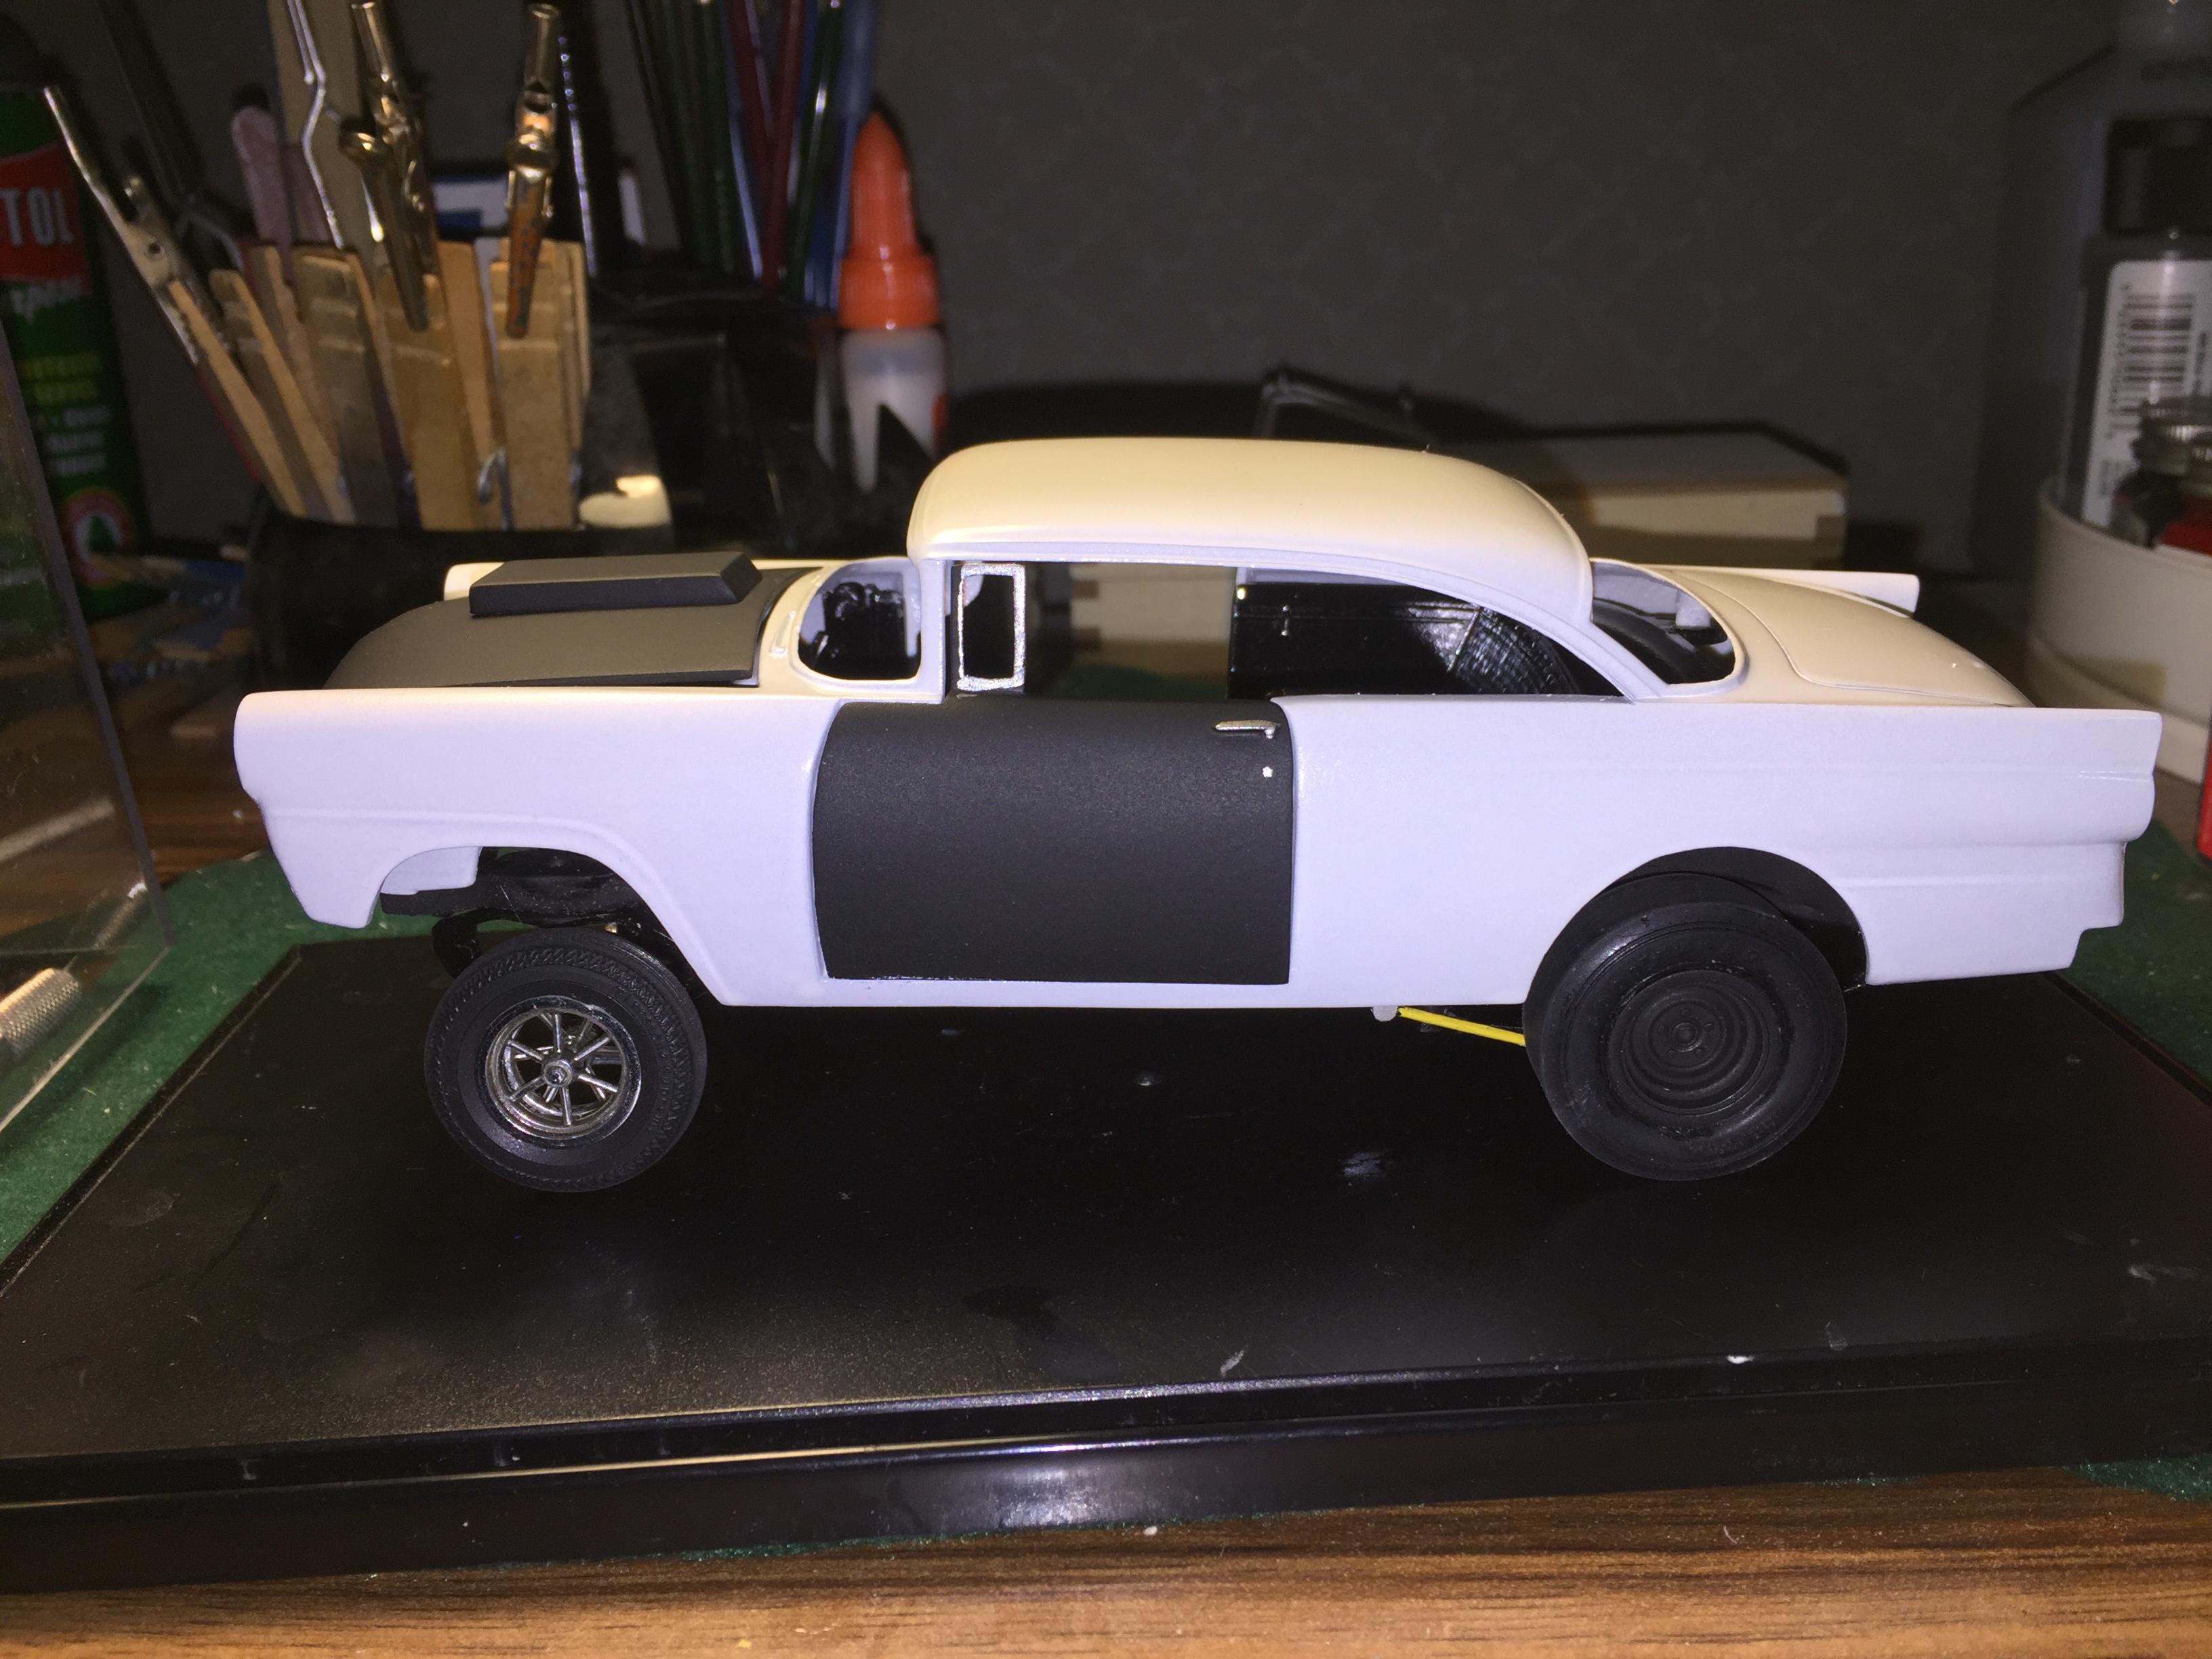
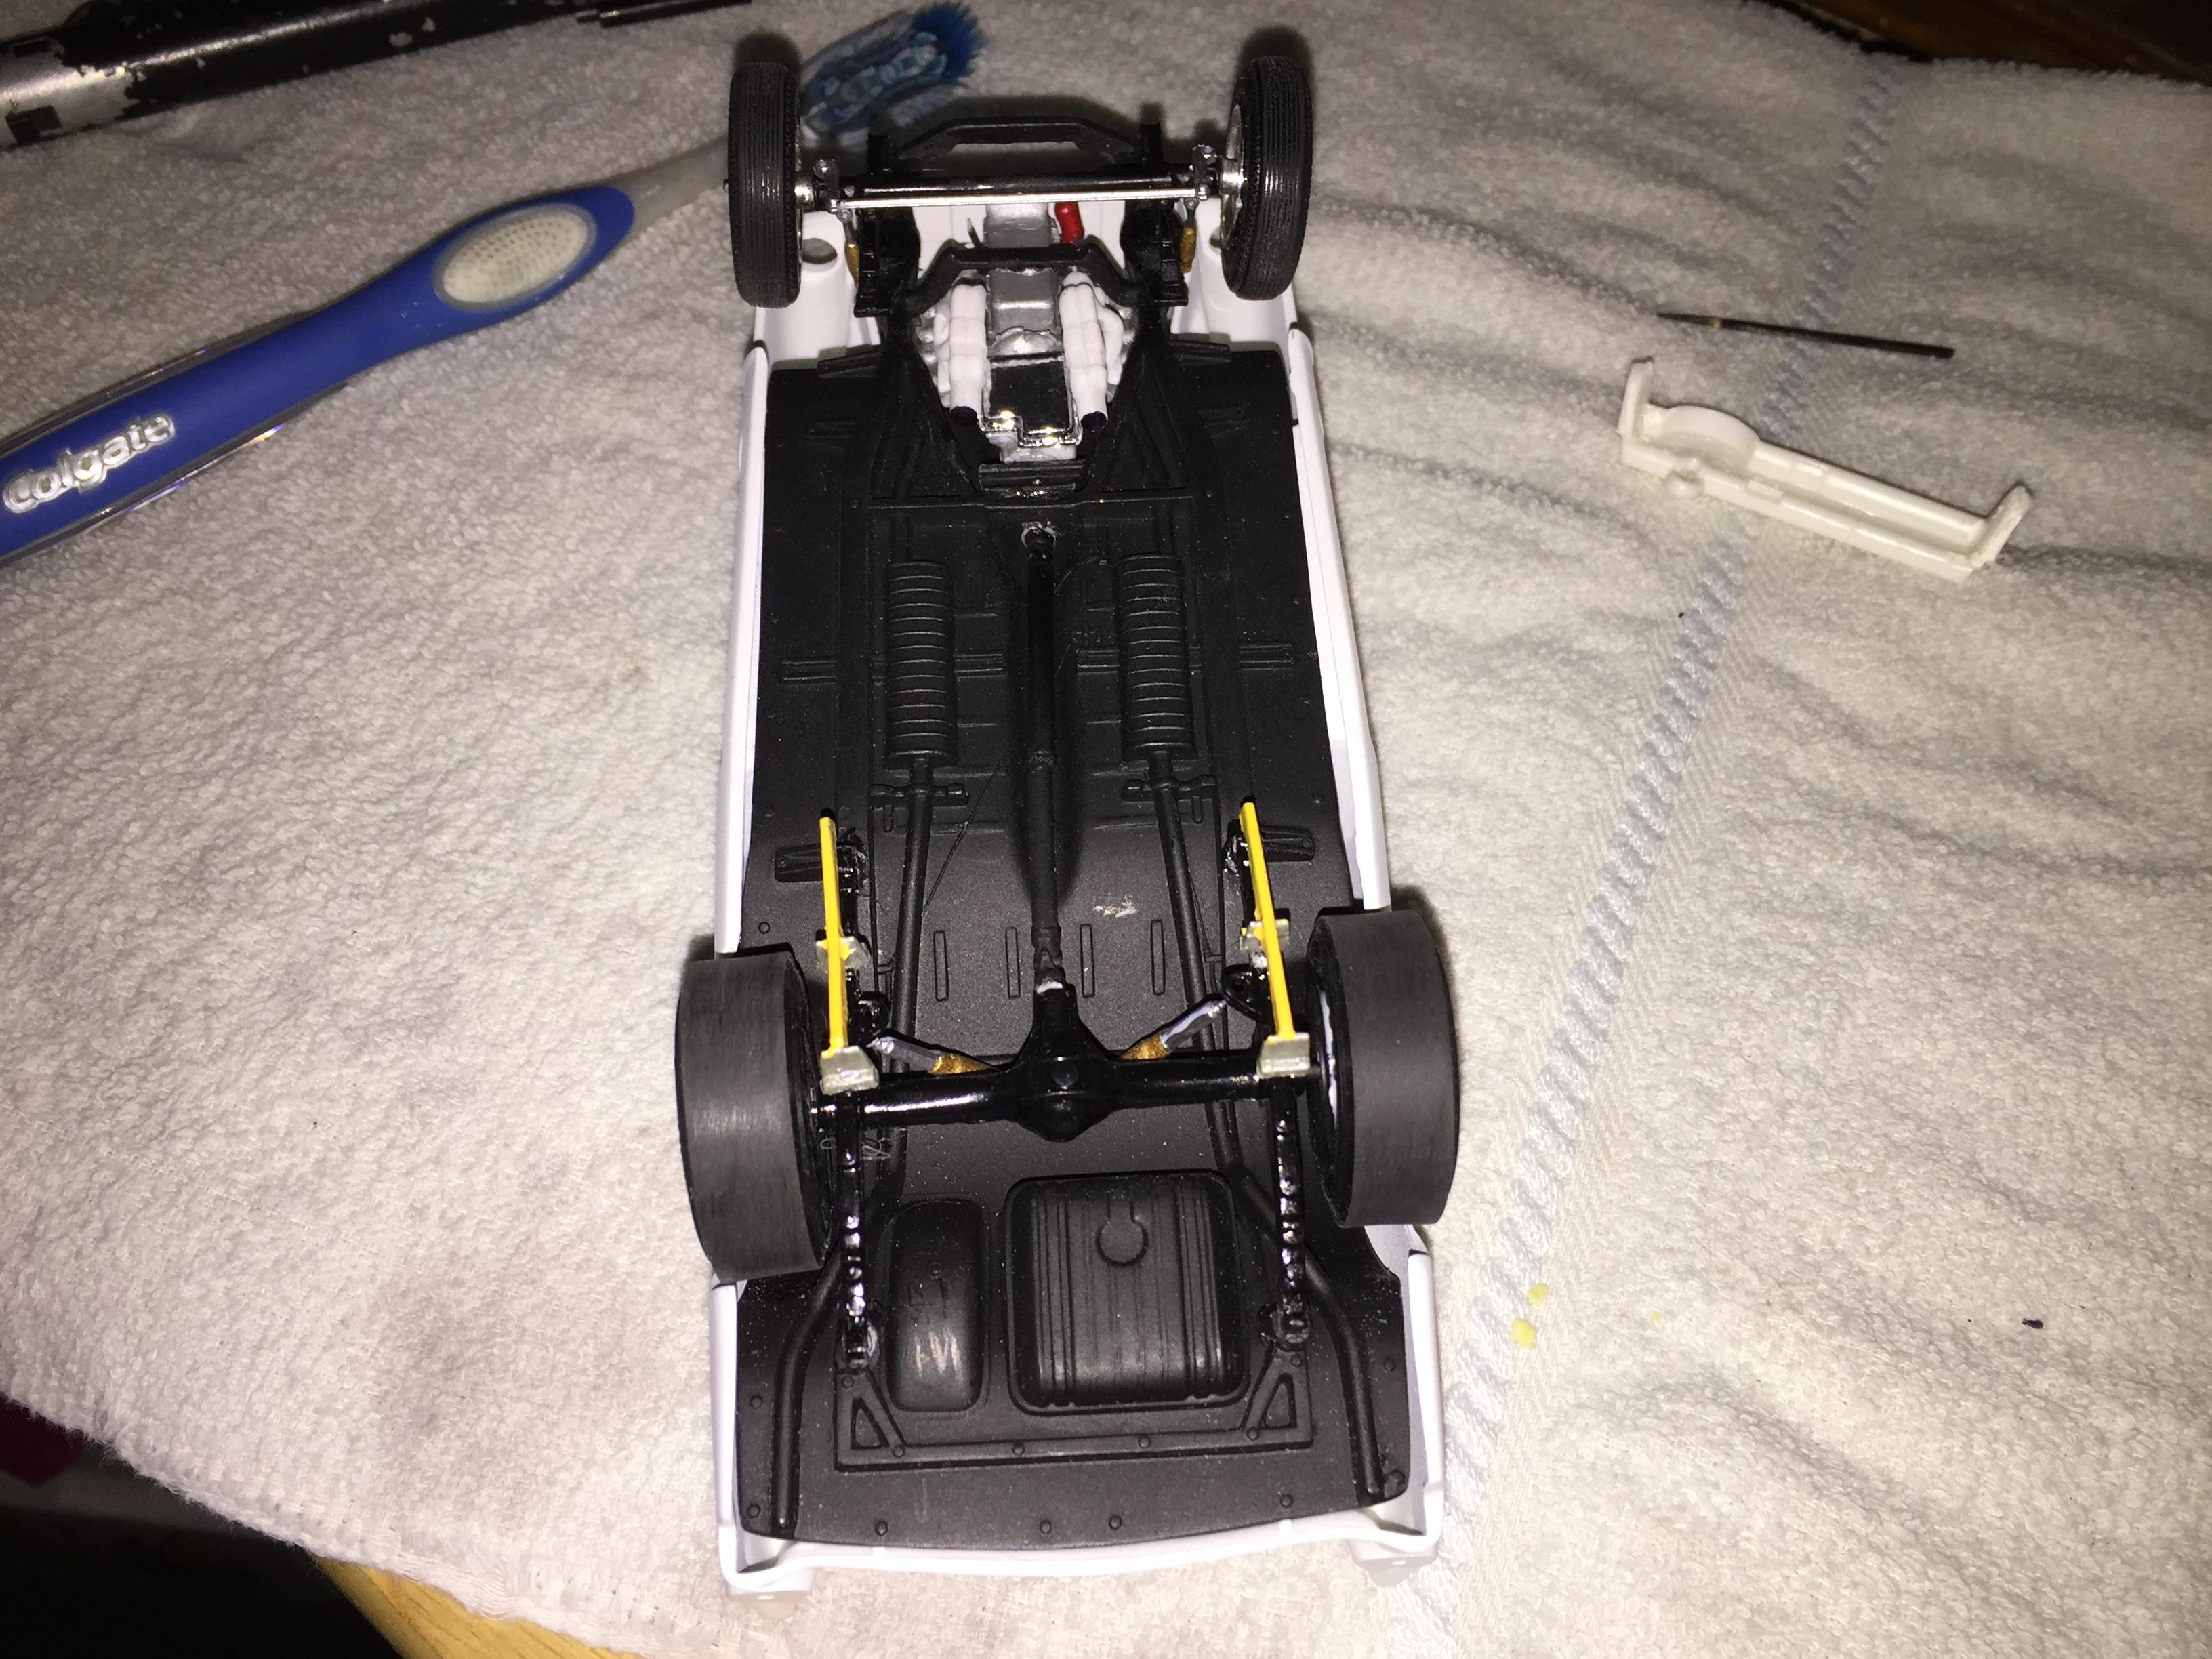
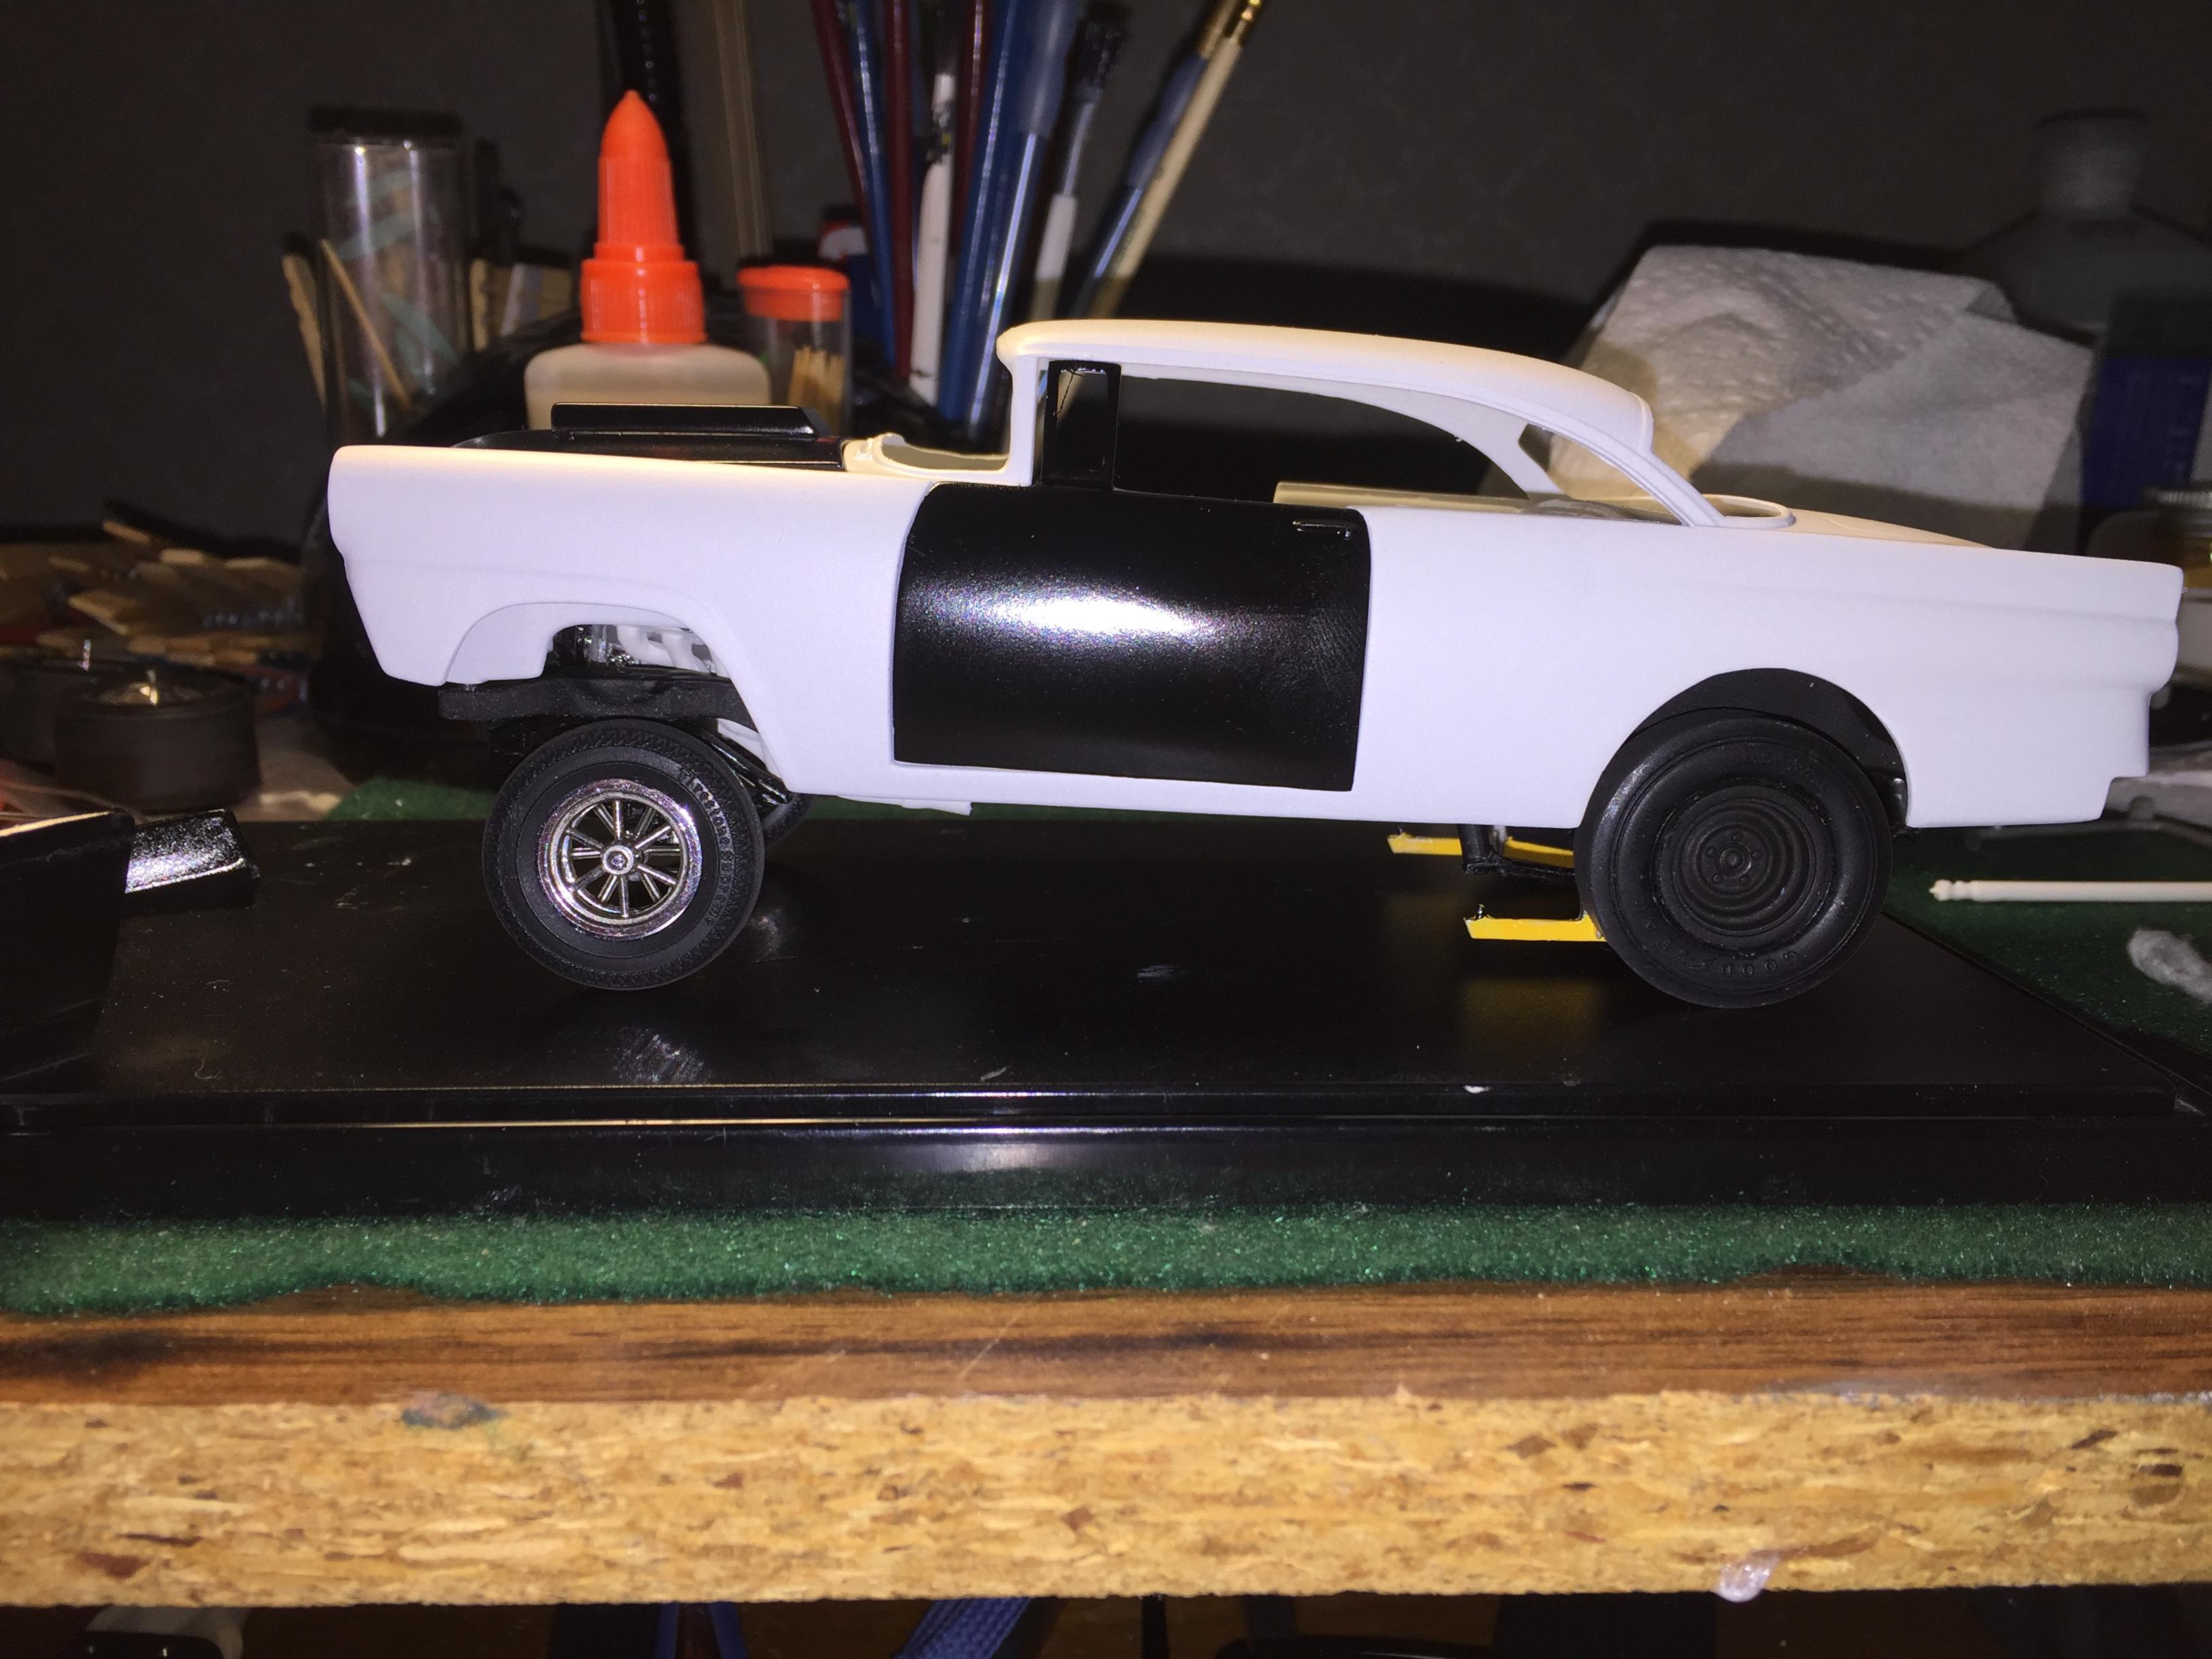
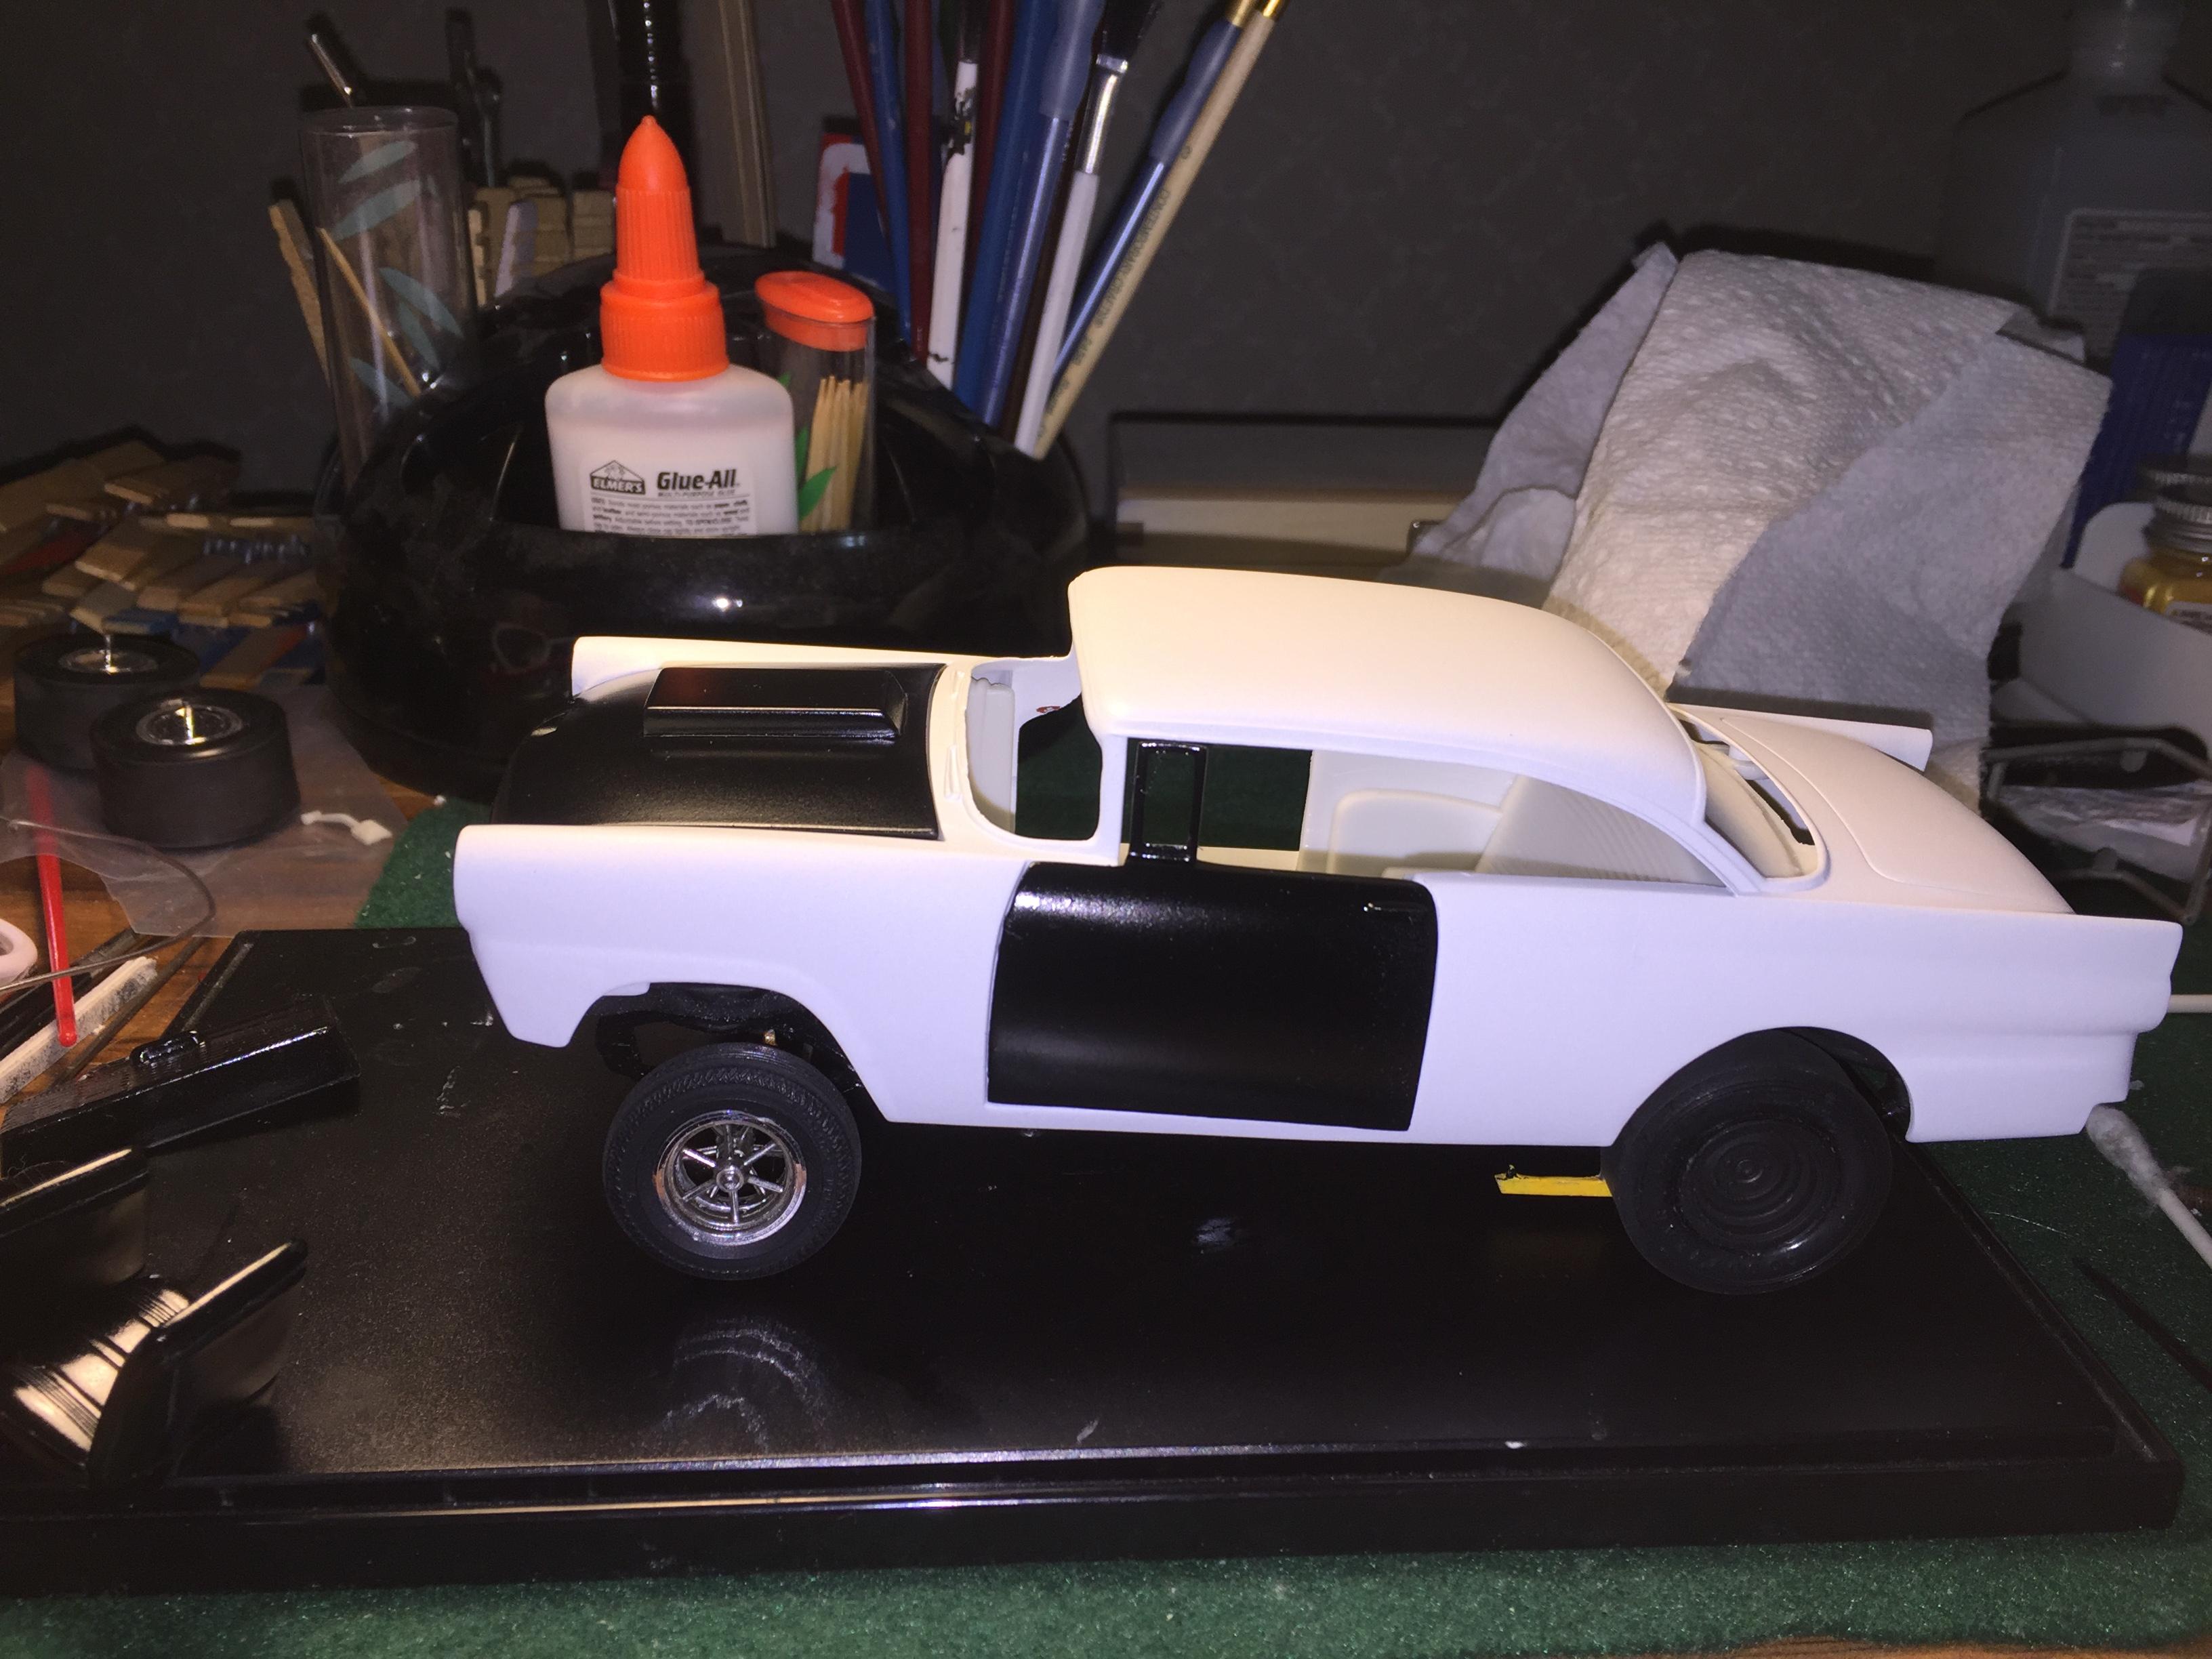
I stripped it but I had to wait a week and a half for the rain to stop so I could start repainting it. I did the white on the trunk and roof pretty heavy, and a couple of light coats on the rest of the body before I do the rest of the body. The other traction bars look much better and are closer to the 1:1 then the first ones did. i'm letting the white dry until Wednesday before I mask the white off and paint the flat black. Also just flocked the interior today.
-
I made a poor choice of primer so even though I had the white part of the body painted, the finish was still rough. I wet sanded the primer, and the final coat was too rough to get smooth with out cutting into the body so now the whole thing is in a brake fluid bath. A little bit of progress. I got the traction bars looking a little better, but just a few minutes ago found the kit bars that will fit better. Seat choice is painted. Two steps forward, five back.
-
Thanks. Tom, I've studied on making door hinges, but I haven't worked up the nerve to try it yet. I have have a couple of pictures of progress but my computer has been slow for a week now
-
De-chromed and primed. I tried semi gloss black on the hood and doors, but it's too shiney, so I'll stick with flat black. I'm not crazy about the traction bars, so I'll work on making them look better or find another pair. I forgot to work on the huge gap at the drivers side vent window, so after stripping I'll take care of that.
-
Thanks.