vincen47
-
Posts
1,656 -
Joined
-
Last visited
Content Type
Profiles
Forums
Events
Gallery
Everything posted by vincen47
-
American La France super pumper
vincen47 replied to Firebuilder's topic in Model Trucks: Big Rigs and Heavy Equipment
Excellent! It’s great to see a big pumper like this. The extra time and effort to modify it was worth it. -
Congrats on finishing a great project. I’ve enjoyed watching it come together. Such a beautiful truck. I’d be afraid to get it dirty on the job!
-
Kenworth W-925 (mild custom)
vincen47 replied to Gary Chastain's topic in WIP: Model Trucks: Big Rigs and Heavy Equipment
Sadly, we’ve all been there. -
Clearing over Revell Chrome Spray
vincen47 replied to DoctorLarry's topic in Model Building Questions and Answers
I’ve had success with this method, too. -
Round2 to release Mack B-61 semi kit.
vincen47 replied to maxwell48098's topic in Truck Kit News & Reviews

- 71 replies
-
- 12
-

-
Kenworth C500
vincen47 replied to Gary Chastain's topic in WIP: Model Trucks: Big Rigs and Heavy Equipment
Yeah, that’s the downside. Not sure how long it’ll take to ship. In August, A&N posted that they temporarily couldn’t ship to the US. Not sure what the status is on that now, but I’m also thinking about placing an order with them. -
Kenworth C500
vincen47 replied to Gary Chastain's topic in WIP: Model Trucks: Big Rigs and Heavy Equipment
3d Concepts has great transmissions, too. Lots of other parts to outfit and upgrade this project. I’d recommend A&N for the tires, very detailed. They have aggressive 385 front floats, and the perfect X Works heavy tread 315 drive tires. -
TIGERCAT SKIDDER 3D PRINTED
vincen47 replied to Swamp Dog's topic in WIP: Model Trucks: Big Rigs and Heavy Equipment
Really cool project. Very unique. -
Peterbilt 379 RV
vincen47 replied to vincen47's topic in WIP: Model Trucks: Big Rigs and Heavy Equipment
I agree, somewhat of a fish-eye effect with the iPhone camera. I bet there’s some way to avoid or correct it, but it is annoying. -
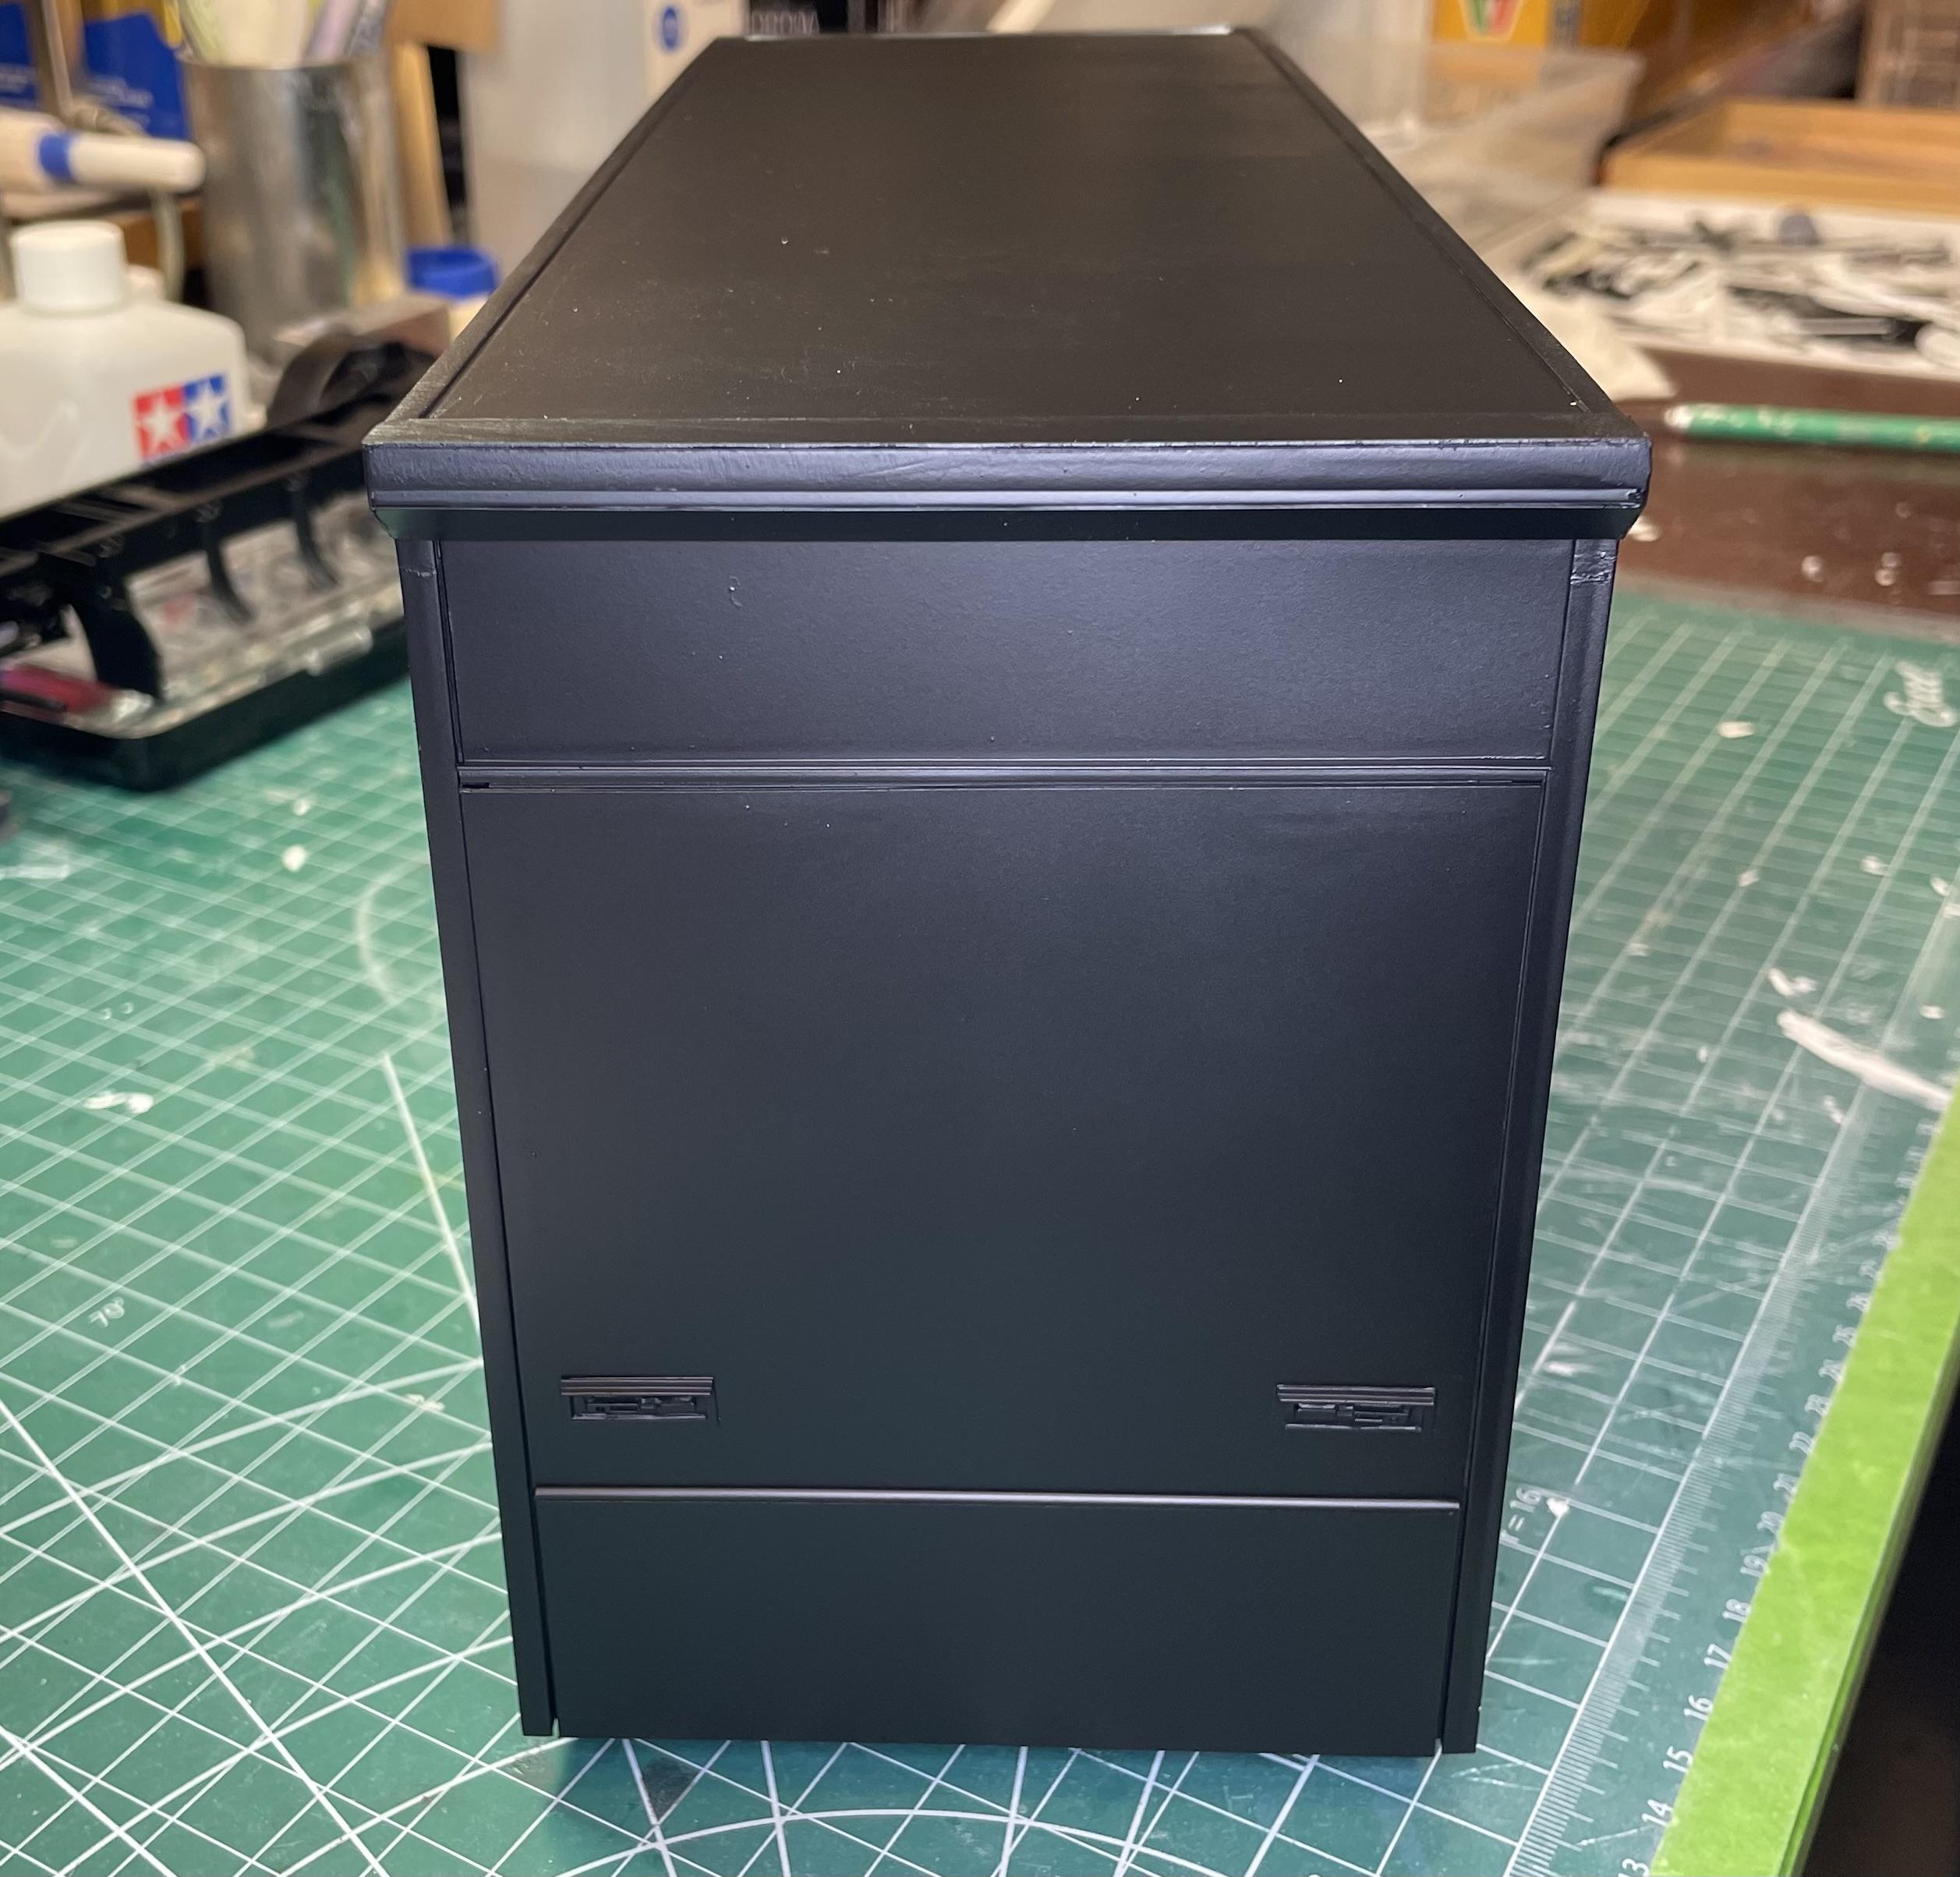
Peterbilt 379 RV
vincen47 replied to vincen47's topic in WIP: Model Trucks: Big Rigs and Heavy Equipment
Not sure why that second photo makes the roof look like it’s sagging a little. It’s straight. Must be the camera angle? Anyway, I’ll do a mock up with the toter when I get a chance. -
Peterbilt 379 RV
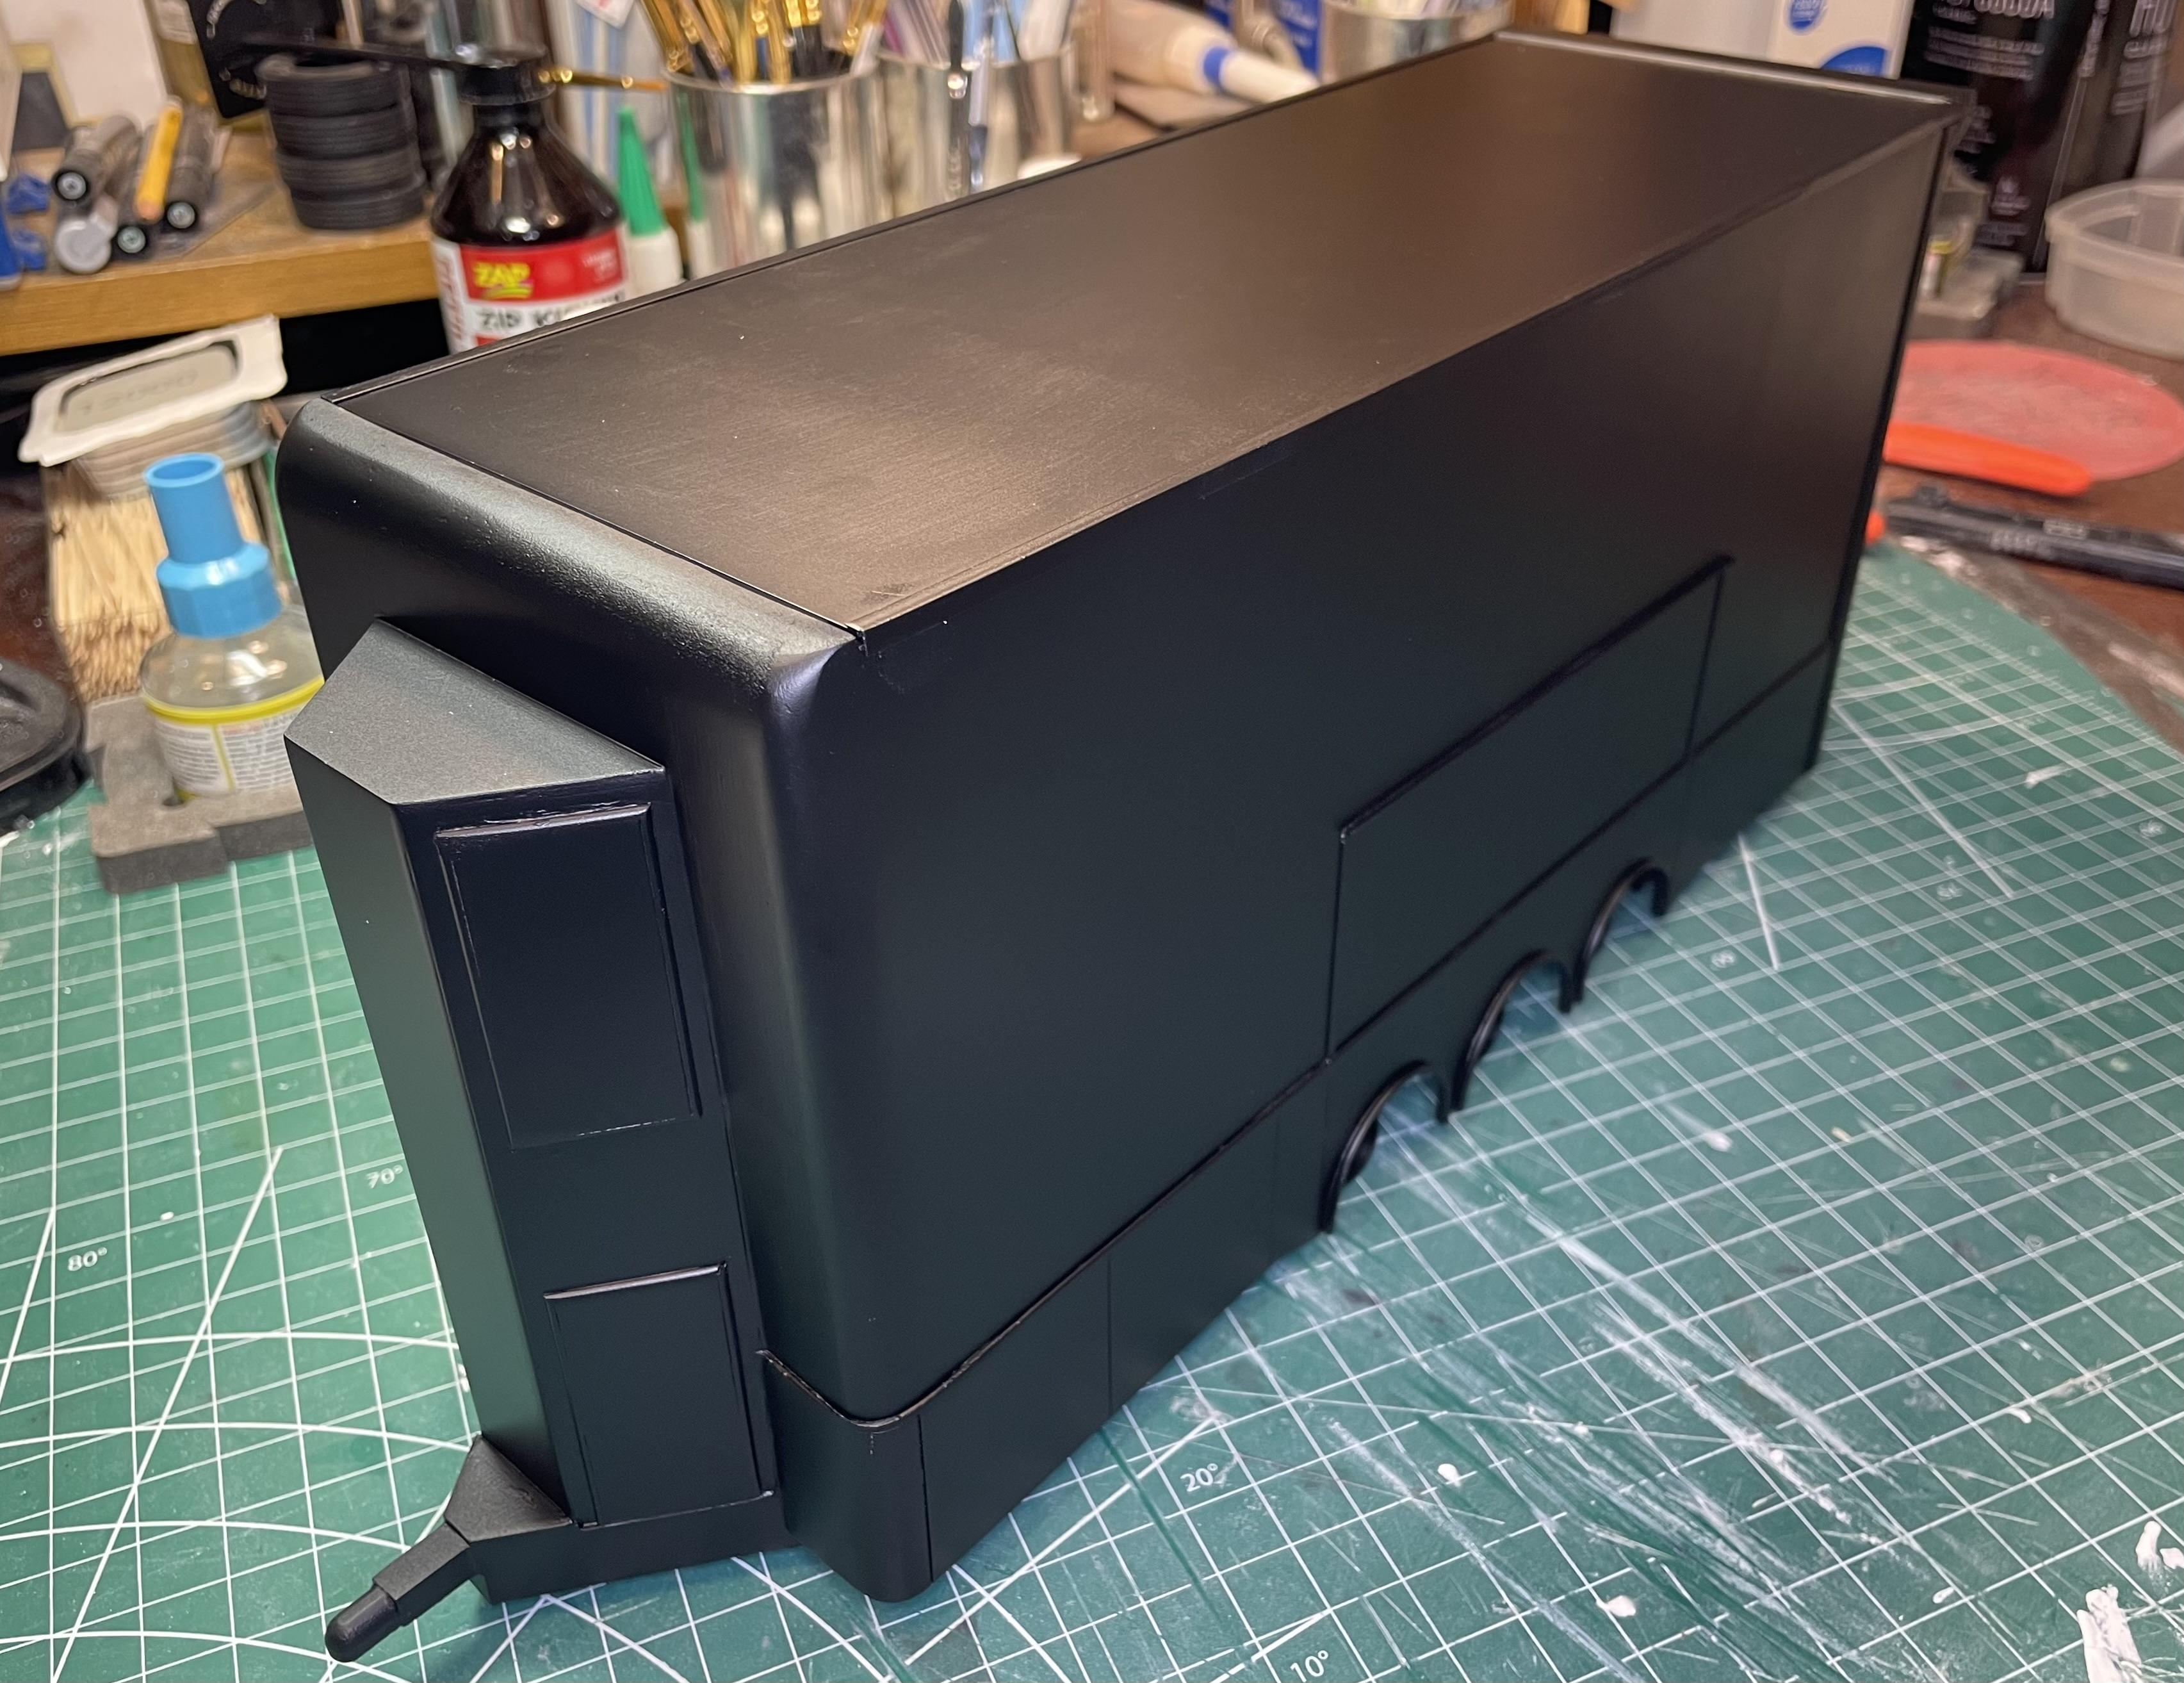
vincen47 replied to vincen47's topic in WIP: Model Trucks: Big Rigs and Heavy Equipment
I haven’t had a lot of time to dedicate to the project in the past month. But, I managed to get the body work done on the exterior of the trailer, and I was able to begin the process of laying down primer. There wasn’t as much filling and sanding as was on the coach body, so I was able to skip the heavier primers and go straight to Mr. Hobby Black 1500. As usual, the primer exposes small, but noticeable flaws that’ll need a little more work. However, just getting it into black, even if it’s primer, makes me feel like I’ve accomplished something.
-
Lonestar - Hot Rod custom
vincen47 replied to LOBBS's topic in WIP: Model Trucks: Big Rigs and Heavy Equipment
Nice new workbench area. Looks like you’ve got a nice amount of space to work and a comfortable chair. -
Factory Photo Freightliner...
vincen47 replied to purepmd's topic in Model Trucks: Big Rigs and Heavy Equipment
It’s great to see your work on the forum again. I remember some of the awesome cabovers you’ve done, and this one is no exception. Going the extra mile with the detail, paint scheme, and body corrections (especially lowering the headlights) is so very much worth it in the end. The aftermarket parts are great. Your scratch building is also top notch, like the aftercooler. -
1980 Kenworth W900A
vincen47 replied to Jay Lankford's topic in Model Trucks: Big Rigs and Heavy Equipment
Welcome aboard! Nice build. I like the paint choices and detail trim. I hope to see more in the future. -
It’ll be another great build!
-
AMT Ford C-600 Stake Truck
vincen47 replied to Stt226's topic in Model Trucks: Big Rigs and Heavy Equipment
Ultra realistic weathering, especially the wood. I like the two-tone paint, great color scheme. Nice work. -
Kenworth W-925 (mild custom)
vincen47 replied to Gary Chastain's topic in WIP: Model Trucks: Big Rigs and Heavy Equipment
The double drop is a great choice for a trailer. Unique, versatile, and good-looking. -
Kenworth W-925 (mild custom)
vincen47 replied to Gary Chastain's topic in WIP: Model Trucks: Big Rigs and Heavy Equipment
That grille and hood looks great. The see-through mesh is excellent. -
Big “R” Roadboss 2
vincen47 replied to DRIPTROIT 71's topic in Model Trucks: Big Rigs and Heavy Equipment
Excellent is every way. Love the wheels and tires. The engine choice is perfect and the weathering is spot-on. Wonderful build. -
Kenworth L700 Hustler
vincen47 replied to Rbray47's topic in Model Trucks: Big Rigs and Heavy Equipment
Bravo! Unique and a high quality build. -
Exactly. When they are branded, the lettering is often raised out of scale, and/or raised when it should be recessed.
-
Kenworth W-925 (mild custom)
vincen47 replied to Gary Chastain's topic in WIP: Model Trucks: Big Rigs and Heavy Equipment
Much improvement with the latest bumper. -
Kenworth W-925 (mild custom)
vincen47 replied to Gary Chastain's topic in WIP: Model Trucks: Big Rigs and Heavy Equipment
Coming along nicely. I love the color. Glad the printer line issue is solved. -
Lights…Camera…Action! Seriously, this one is so cool! Unique and impressive. I don’t think I’ve seen one modeled before. What a good use of A&N’s kit.
-
Peterbilt 379 RV
vincen47 replied to vincen47's topic in WIP: Model Trucks: Big Rigs and Heavy Equipment
Thanks so much, guys. So many very talented builders on here like yourselves, means a lot from you.