Jeremy Jon
-
Posts
1,127 -
Joined
-
Last visited
Content Type
Profiles
Forums
Events
Gallery
Everything posted by Jeremy Jon
-
67 Impala Supernatural - Weapons and stuff...
Jeremy Jon replied to Drago's topic in Model Building Questions and Answers
Cool project, post more pics up in the WIP section, so we can see your progress! Nice work! -
Wild paint work, very nice!!
-
Coyote - Hardcastle & McCormick - kit re-build
Jeremy Jon replied to Jeremy Jon's topic in WIP: Model Cars
You mean the Monogram kit build? Yes, it has many many problems, including the rear axle height, but it uses the GT40 kit as it's underpinning, where as my kit has the fabricated chassis shown above, so that will all be fixed Also the tires and wheels in that original kit were horrid, so this one will be supplied with correct dimension BF Goodrich tires - by Joseph - and correct wheels from my Vector W2 kit, slightly modified for this kit, which will make the appearance and stance of this finished kit correct! Yes the season 2+3 Delorean based car was quite hideous, but as you say the Judge likely couldn't throw himself in through the window LOL Here is a screen shot of him struggling into the Manta - season 1 - car, and another of the Delorean - season 2+3 - car, with gull wing door open
-
Very nice, that paint work looks great!!
-
Coyote - Hardcastle & McCormick - kit re-build
Jeremy Jon replied to Jeremy Jon's topic in WIP: Model Cars
Widened & shortened & reshaped the tail section, opening the middle for new light panel yet to add, along with a new face panel used to make it crisp along edges, but also add the rearward curve shape
-
Coyote - Hardcastle & McCormick - kit re-build
Jeremy Jon replied to Jeremy Jon's topic in WIP: Model Cars
Thanks Bill! I don't recall the episodes now, but loved it as a kid, and primarily due to the car! There will be literally nothing shared with the M-kit once I'm done, and be an entirely new kit as a result, but as you rightly said, my goal in this build is to make it correct to the real car, but foremost it's a fun build subject! A facebook friend messaged me earlier today, that he has come across a 1:1 unbuilt body of this car, in his town, in a storage building recently condemned, and made a cash offer to the owner, so we'll see if he gets it? -
A lot of the process for main stream makers is likely to be done by a rapid prototyping sub-contractor, they can take a male wood buck, 3D image it to then CNC 5 axis machine out a female metal mold, and even injection mold the parts, it's pretty cool to see actually For smaller independents then the process is still much more hand build still, hand formed master bucks from plastic/resin, and cast either by themselves or outsourced
-
Comparison Revell Shelby GT500 kits?
Jeremy Jon replied to Jeremy Jon's topic in Car Kit News & Reviews
Could be Rob, we won't know without comparison, I got my #85-2097 - a Revell of North America release - now, but still haven't found a RoG version for decent price yet -
Cool build Chris!! Love that center console, the detail is unreal!
-
Coyote - Hardcastle & McCormick - kit re-build
Jeremy Jon replied to Jeremy Jon's topic in WIP: Model Cars
Thanks Bill LOL as they say "In for a penny...." -
That is one bada*s 'stang, nicely done!!
-
Paint color looks great IMO, nice work Paul!
-
Coyote - Hardcastle & McCormick - kit re-build
Jeremy Jon replied to Jeremy Jon's topic in WIP: Model Cars
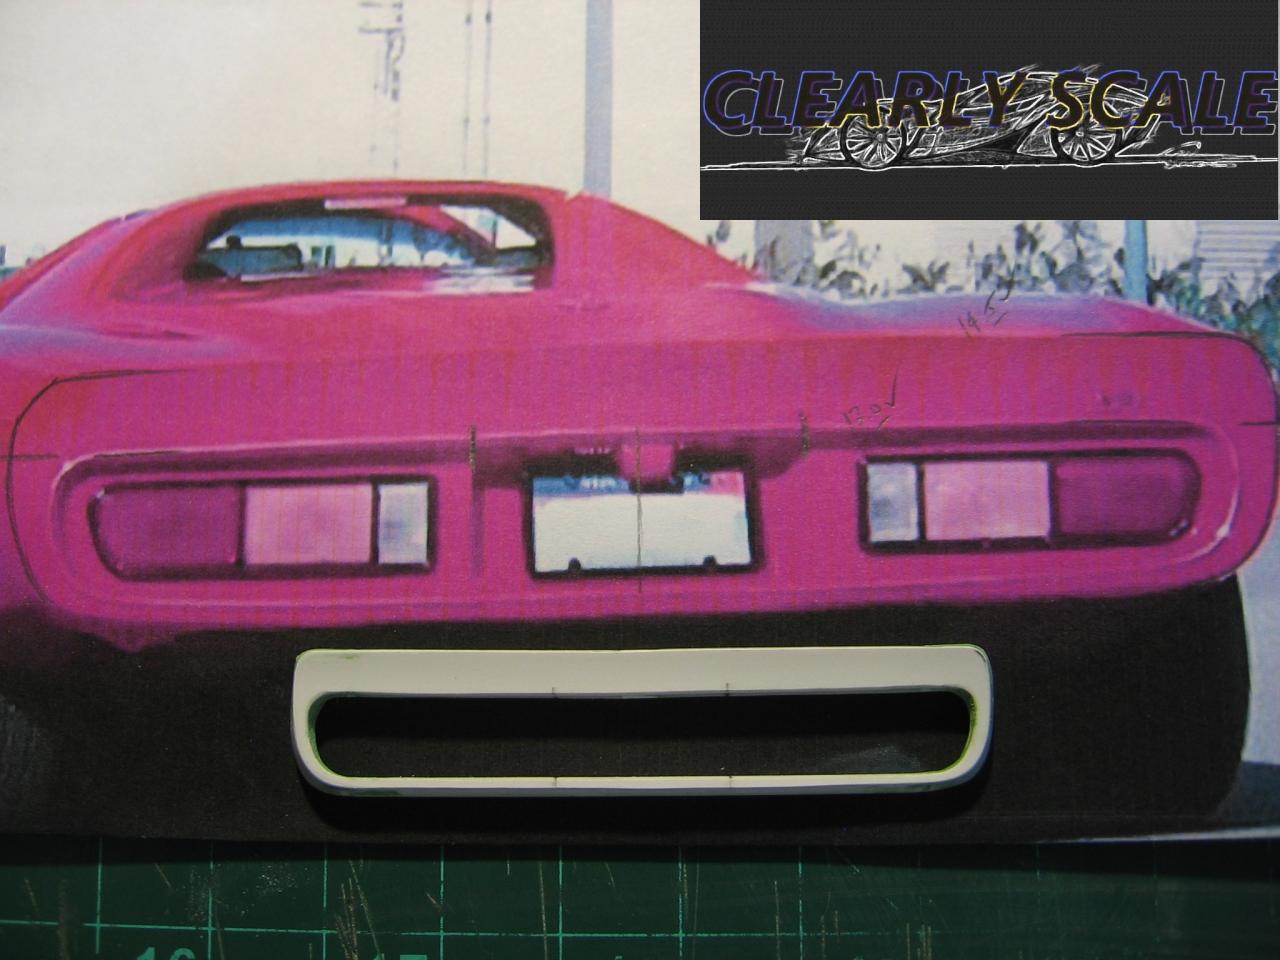
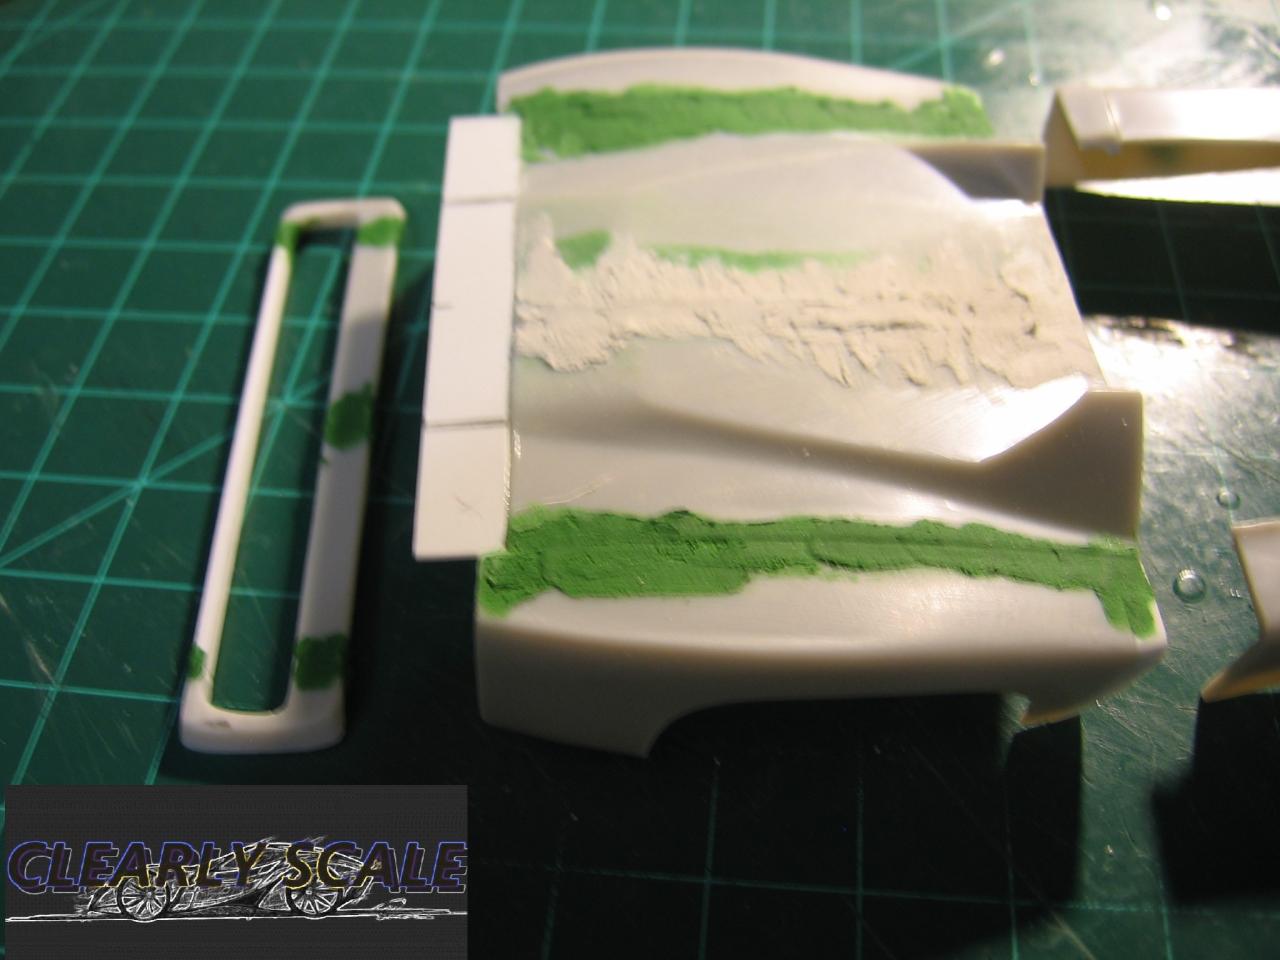
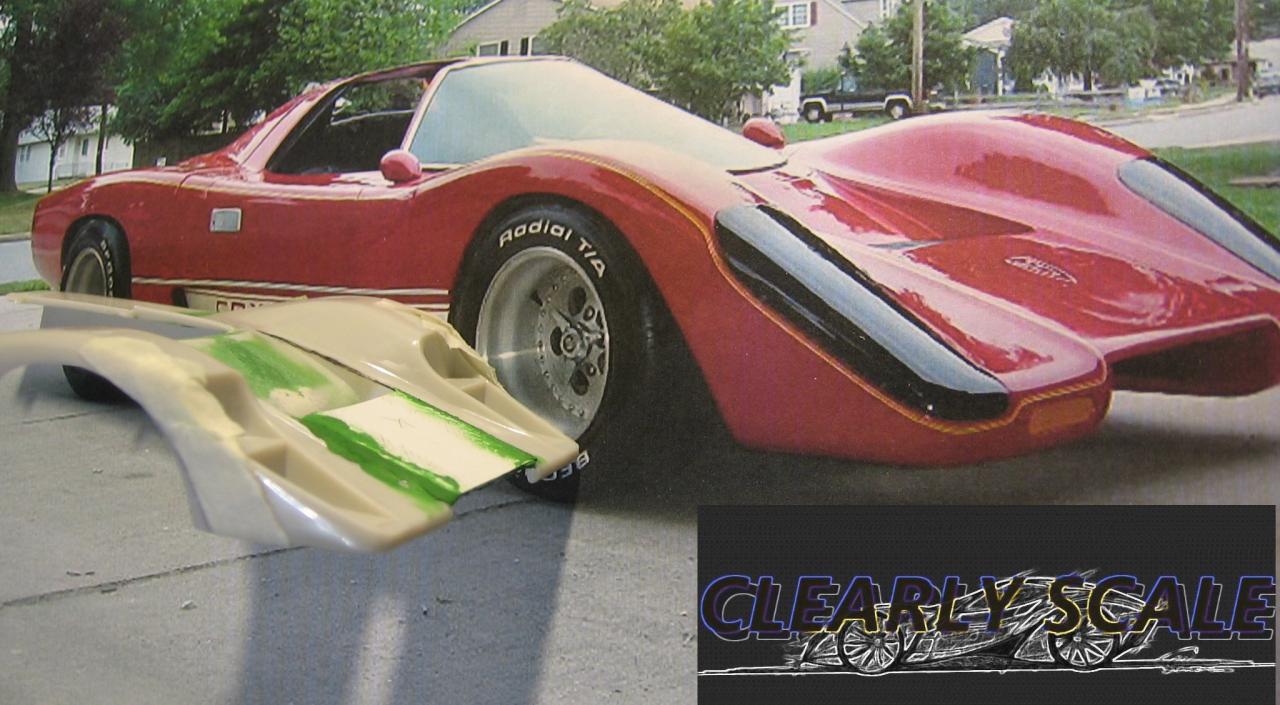
Start of the body work re-vamp, some major work is needed here First 4mm added width to the whole body, then rear fenders added 1mm width on each side of canopy, then fenders moved back of canopy leading edge & section increased, after the tail aft of the rear wheels wells needs 5mm added, so tail cut off in prep Begin re-shape of the nose, center (would be radiator cover) area changed from recessed to more flat, the headlight buckets / area will need extensive re-work yet also
-
You can find them on ebay often, it was technically a very cool purpose built race car IMO and of course an Alfa!
-
Very cool subject idea! Nice!!
-
The weathering is looking good, keep going!
-
1970 Road Runner, another build for dad
Jeremy Jon replied to jrherald420's topic in WIP: Model Cars
Looks good James! That engine wash works well! The interior could really pop with an "ever so subtle" wash - off white shade - in the upholstery seams -
Got an airbrush & Compressor Now What ?
Jeremy Jon replied to WizPorsche944's topic in Model Building Questions and Answers
Lots of good starter tips on Don Wheelers site too ...start by reading the left column "tips" each, good info in there! https://sites.google.com/site/donsairbrushtips/ -
Super cool Delfin!!
-
Coyote - Hardcastle & McCormick - kit re-build
Jeremy Jon replied to Jeremy Jon's topic in WIP: Model Cars
Thanks Jeff! Thanks for the props Kenny! Ya, me too, I see lots of rare kits, and think I glue bombed one of those as a kid! LOL Thanks Chris! Those pics look great, very nice work! I do a lot of scratch building, make kits, etc, so for me this is a fairly nice kit rebuild in between a couple of other more involved projects, but definitely I'm doing because I want one for my own collection but with correct bodywork, this one will get copies made also -
Very nice work Chris! The paint is a great color & finish!!
-
Coyote - Hardcastle & McCormick - kit re-build
Jeremy Jon replied to Jeremy Jon's topic in WIP: Model Cars
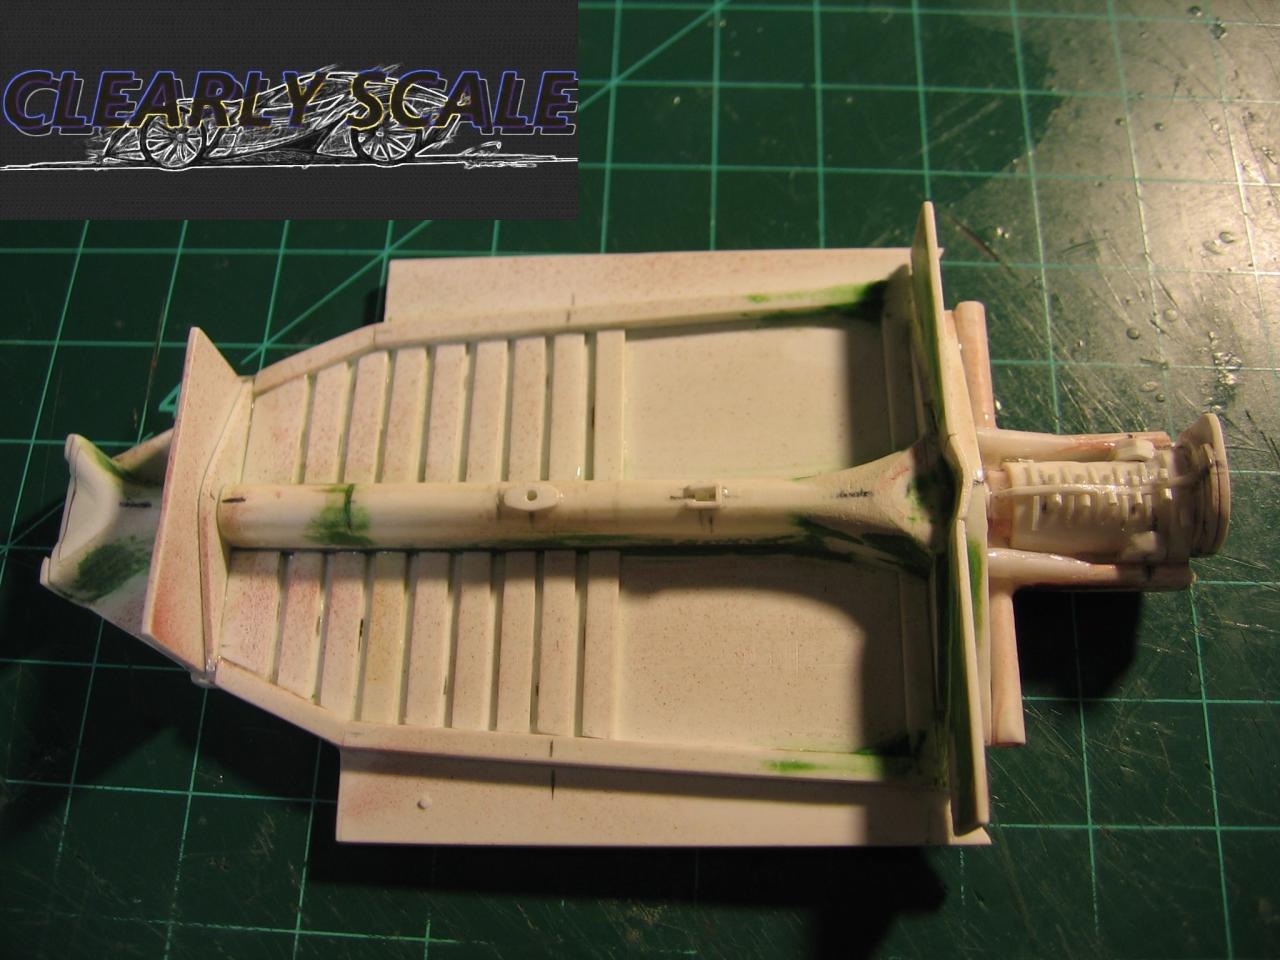
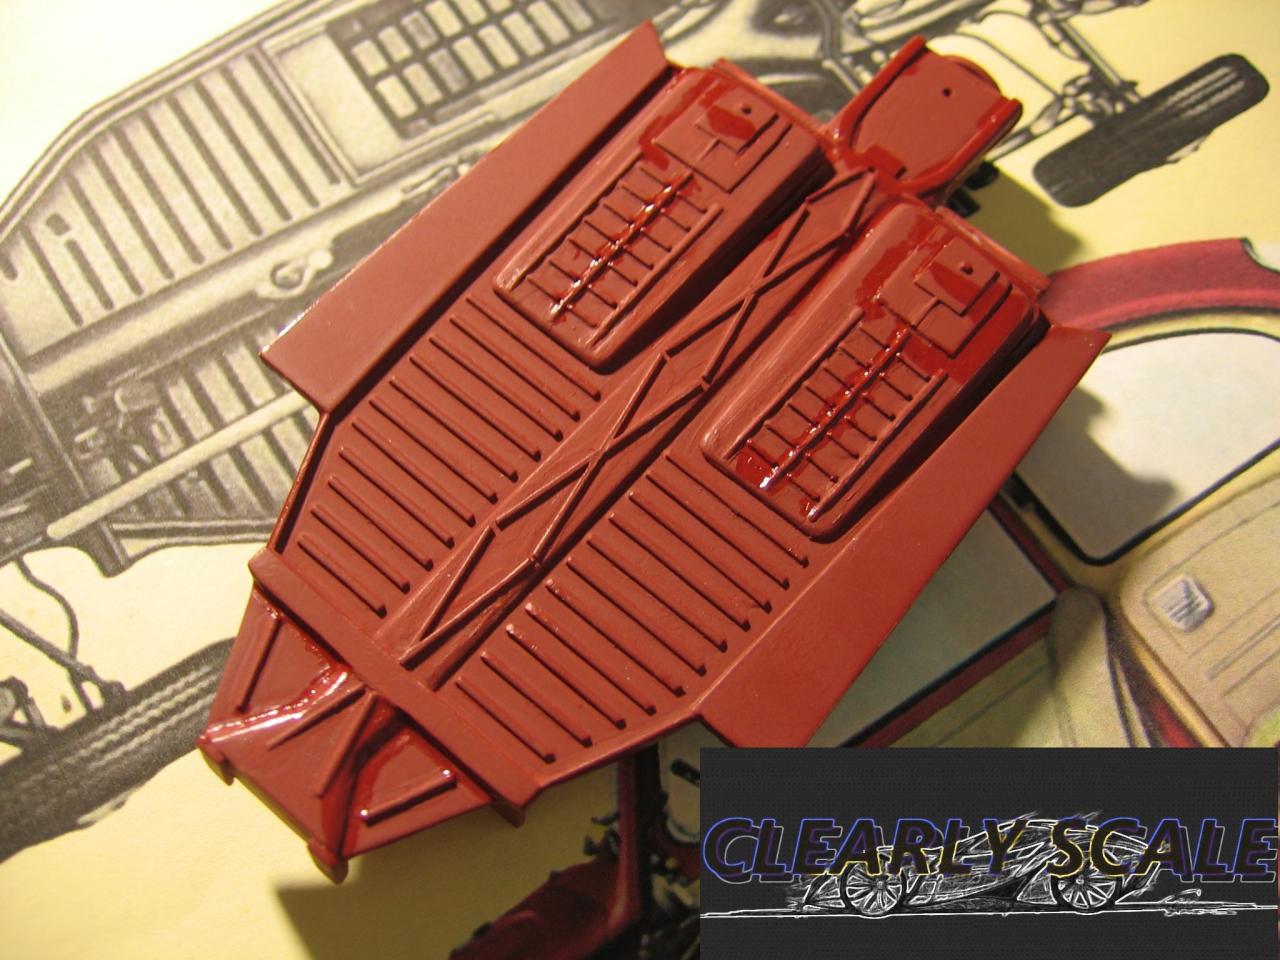
Thanks Jose! My OCD struck dang it! The chassis was originally just supposed to mild detailing, but after getting hold of some better diagrams, I noticed that much detailing needed changing to be correct, changed belly pan detailing ribs, added the front + rear center beam ends, gear shift and ebrake mounts, and the transaxle incorporated as part of the rear chassis base ....so in typical fashion, very much work was done, yet with a primer coat looks almost the same! Start of the bodywork, the first immediate issue is the kit body being to narrow, so 4mm added into the center, of both front & rear clips, which will match up to the modified and widened windscreen + canopy The body is going to need quite a lot of modifications yet to make it look right!
-
Michael Paul Smith's Incredible dioramas and models
Jeremy Jon replied to Sixties Sam's topic in WIP: Dioramas
Wow! Amazing work! Some of those you can't tell from photos of the real thing! -
Looks like you're off to a good start! For building up around the edges, you can use a modeling putty, but I really prefer to use an emery board - because of it's larger flat surface - and file the edges down "just" enough to lay a thin strip of styrene along it - until tight fit in opening - then fine tune it from there ...often it's nice to have that strip rise "just" above the surface, so that it can be sanded with body, and leave a nice sharp edge along the seam, avoiding need to build up the typical "rounding" that can occur around edges of panels/openings
-
Wood Grain Decals " Woody " specially
Jeremy Jon replied to plastiktruck's topic in Car Aftermarket / Resin / 3D Printed
Very nice work, I like the finer wood grain decals, I wish I could find some in full sheet, and not pre-cut - I haven't checked those links further I admit