StevenGuthmiller
-
Posts
15,071 -
Joined
-
Last visited
Content Type
Profiles
Forums
Events
Gallery
Everything posted by StevenGuthmiller
-
Very true. That is the most daunting part of the transformation. But, all it takes is time and patience. Steve
-

More realistic tires
StevenGuthmiller replied to FLHCAHZ's topic in Model Building Questions and Answers
I sand the treads as well. Another trick stolen from aircraft modelers is called "flat spotting". This is not particularly useful for a hollow tire, but it works quite well with a solid tire. Basically you just shave a little off of the bottom of the tire so that it sits a little more like a real tire would. Steve
-
Go for it!! You can look at it this way. If it doesn't go as planned, the MPC/AMT '69 interior is not hard to replace. Steve
-
That might be an interesting option. I might look into it. Steve
-
I was thinking more along the lines of a forum member who more or less “dabbles” with resin casting, but could do a satisfactory job, enough to offer a few examples to other members and friends without going commercial on the whole thing. I’m not interested at all in making any profit from something like this. My only interest is to help out. These are by no means professionally done masters. More along the lines of a “home brew”. ? Steve
-
I’m going to assume that being as the red stripe was available, it could be ordered on a white car. No idea if they are strictly factory, but I’ve seen numerous examples on line in white with red stripes. I’m pretty sure that I’ll be going with that. Steve
-
I would be more than happy to send these parts out to a trust worthy caster for duplication. Any ideas? Steve
-
Well, it probably won’t matter anyway. At this point I’m most likely going with the ‘68 dog dish caps from the Revell Charger anyway. Steve
-
In light of the information that I’ve received from the wonderful members here, I believe that I’ll be sticking with my original plan of white with red stripes and a red interior. I’ve had thoughts of silver with red, but if so, I had better decide soon because if I go with silver, I’m leaning towards a black vinyl top with it. Steve
-
Thanks Casey. Chief Joseph makes some awesome products, but I doubt that even his stuff will have stampings by the valve stem holes. I guess the A-12s will work perfectly for what I'm doing. Not using full wheel covers, but I guess it's a moot point anyway. Steve
-
I also learned that the Hemi powered Coronet was equipped with 15 inch wheels only, so it's good that I passed on some of the wheel covers offered by Fireball for the '68s, and Magnum wheels. Apparently, the only options for the Hemi were 15 inch wheels with poverty caps, or the special disc brake Charger caps, which I really don't like the looks of anyway. Luckily I made the right call inordering a set of 15 inch wheels and tires from Fireball Modelworks several weeks ago. They're supposed to be on my doorstep on Monday. The only question is, are A-12 wheels different from what would have been on a Hemi Coronet in '68? The A-12s are what I got. Steve
-
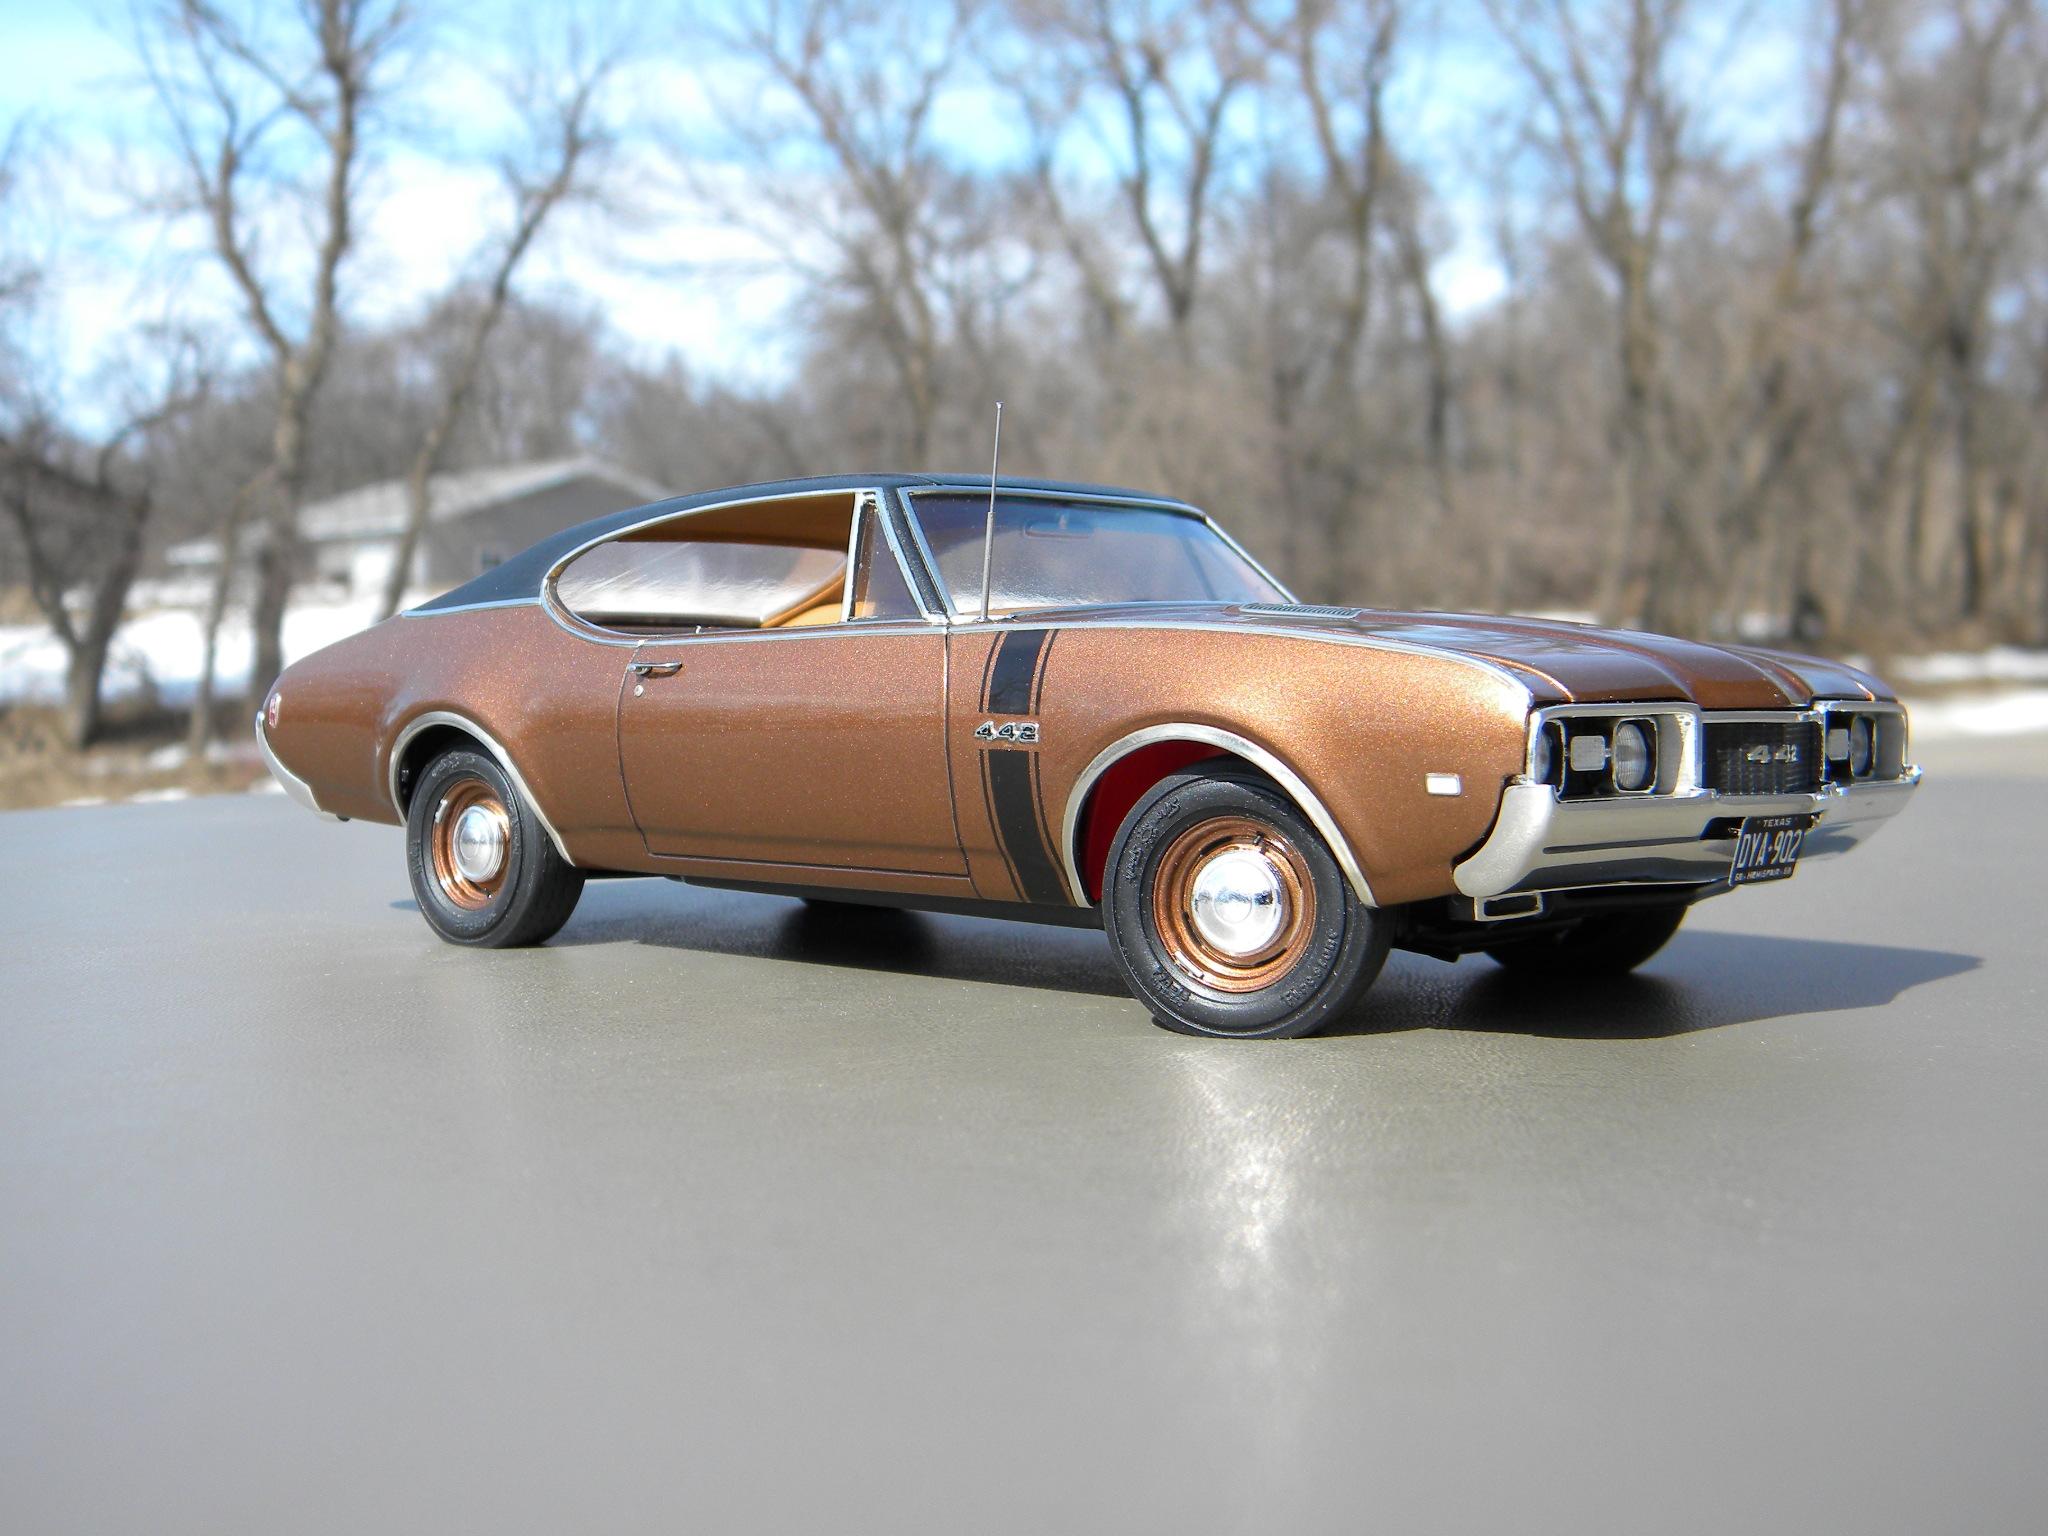
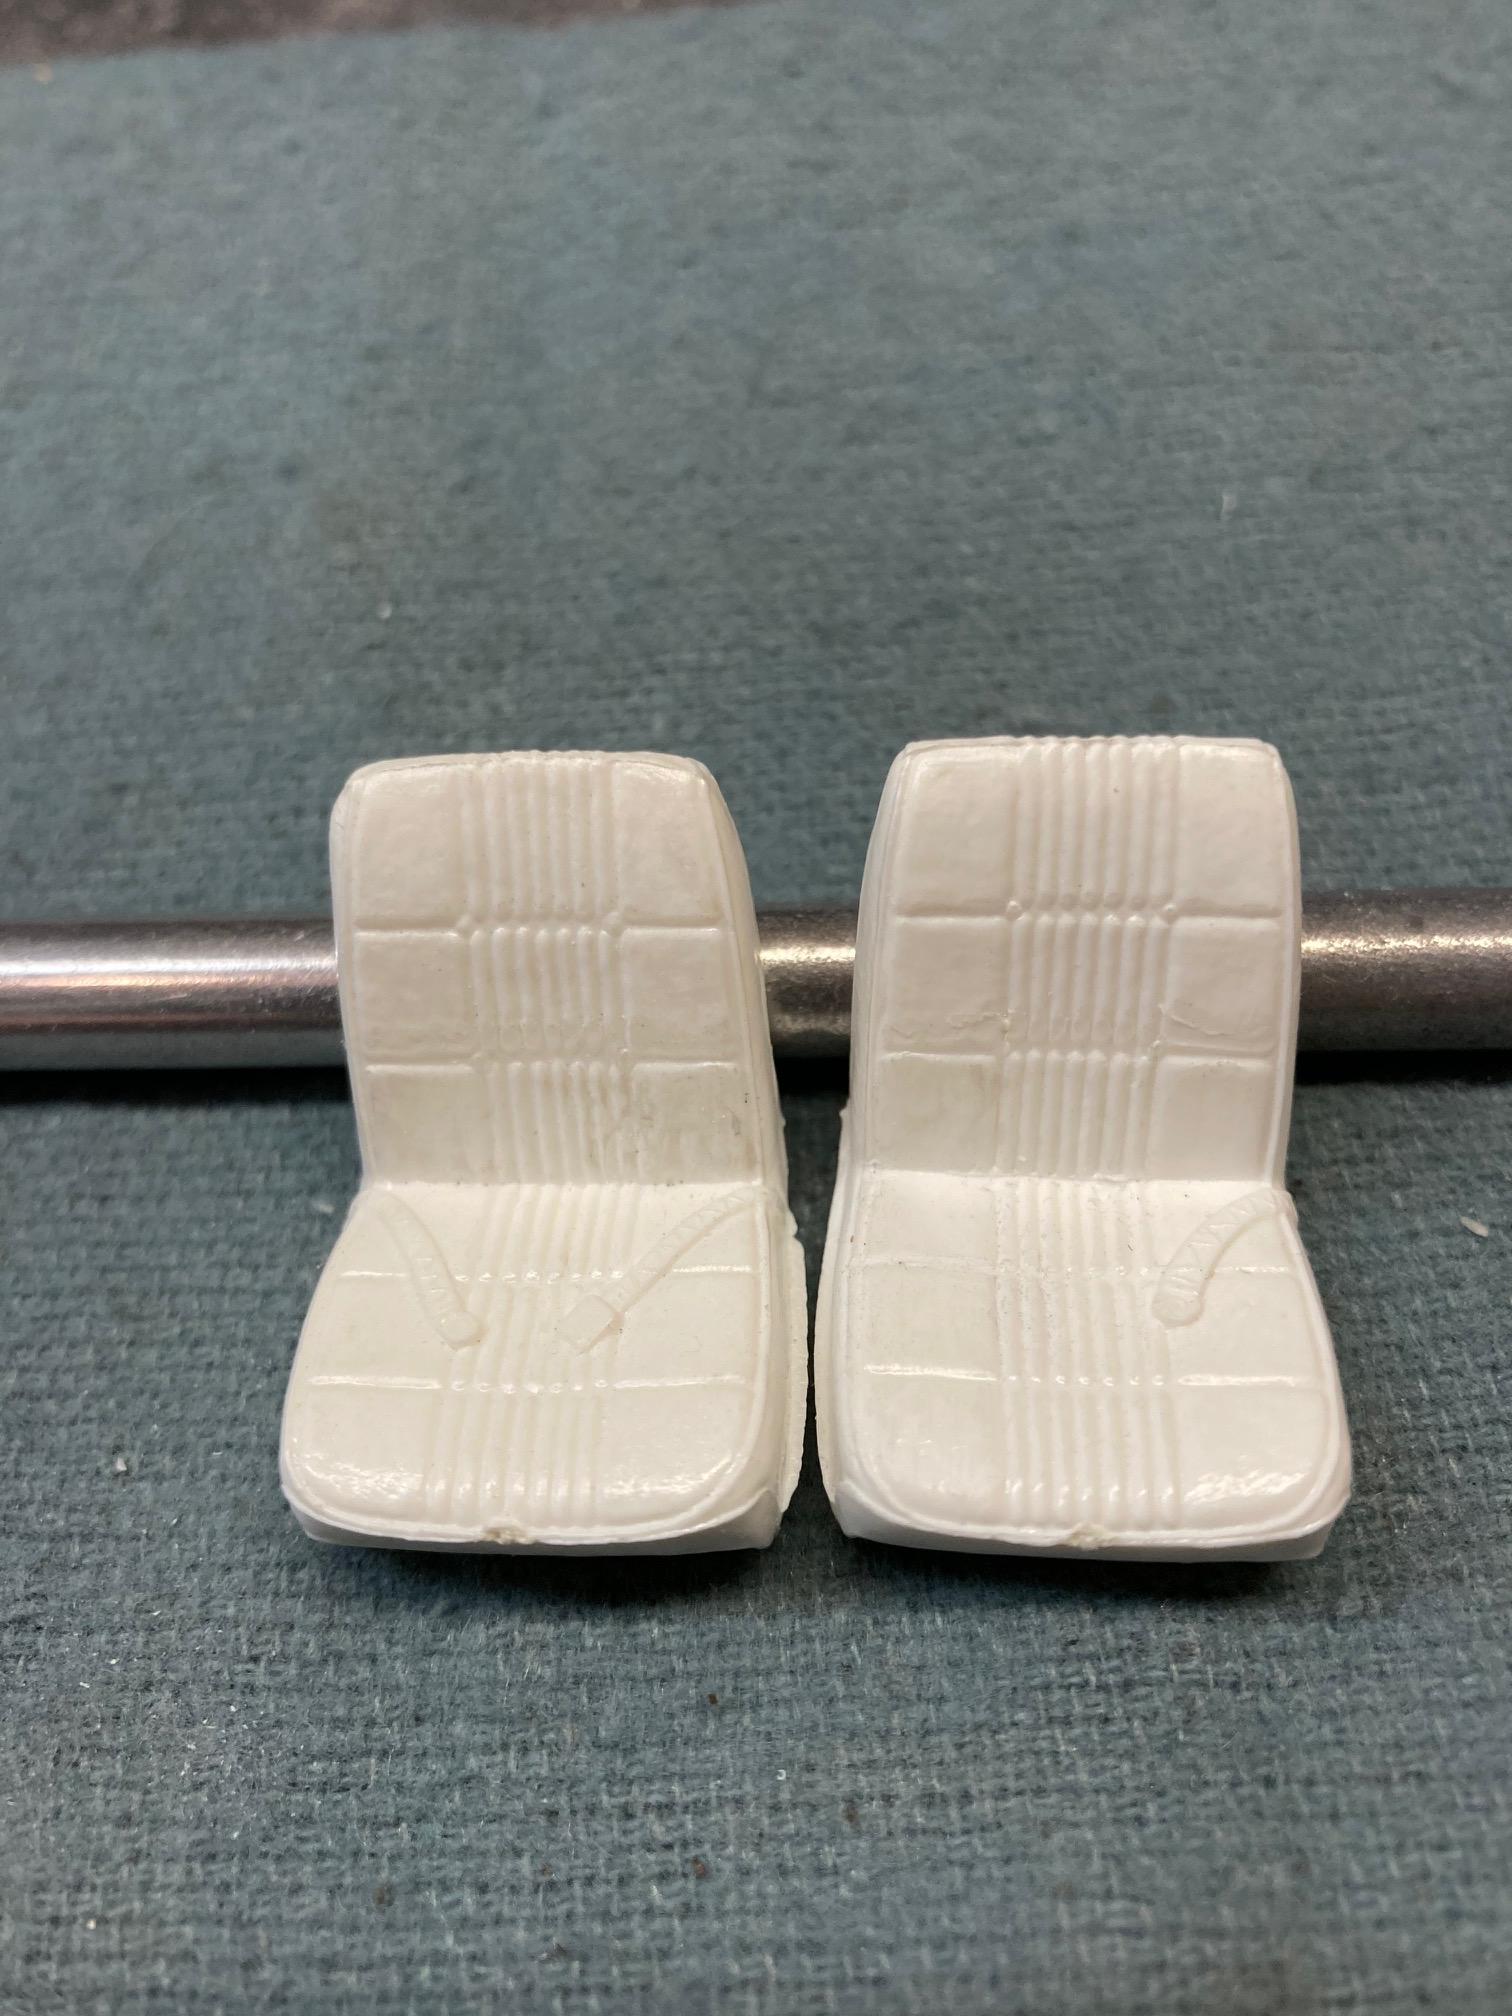
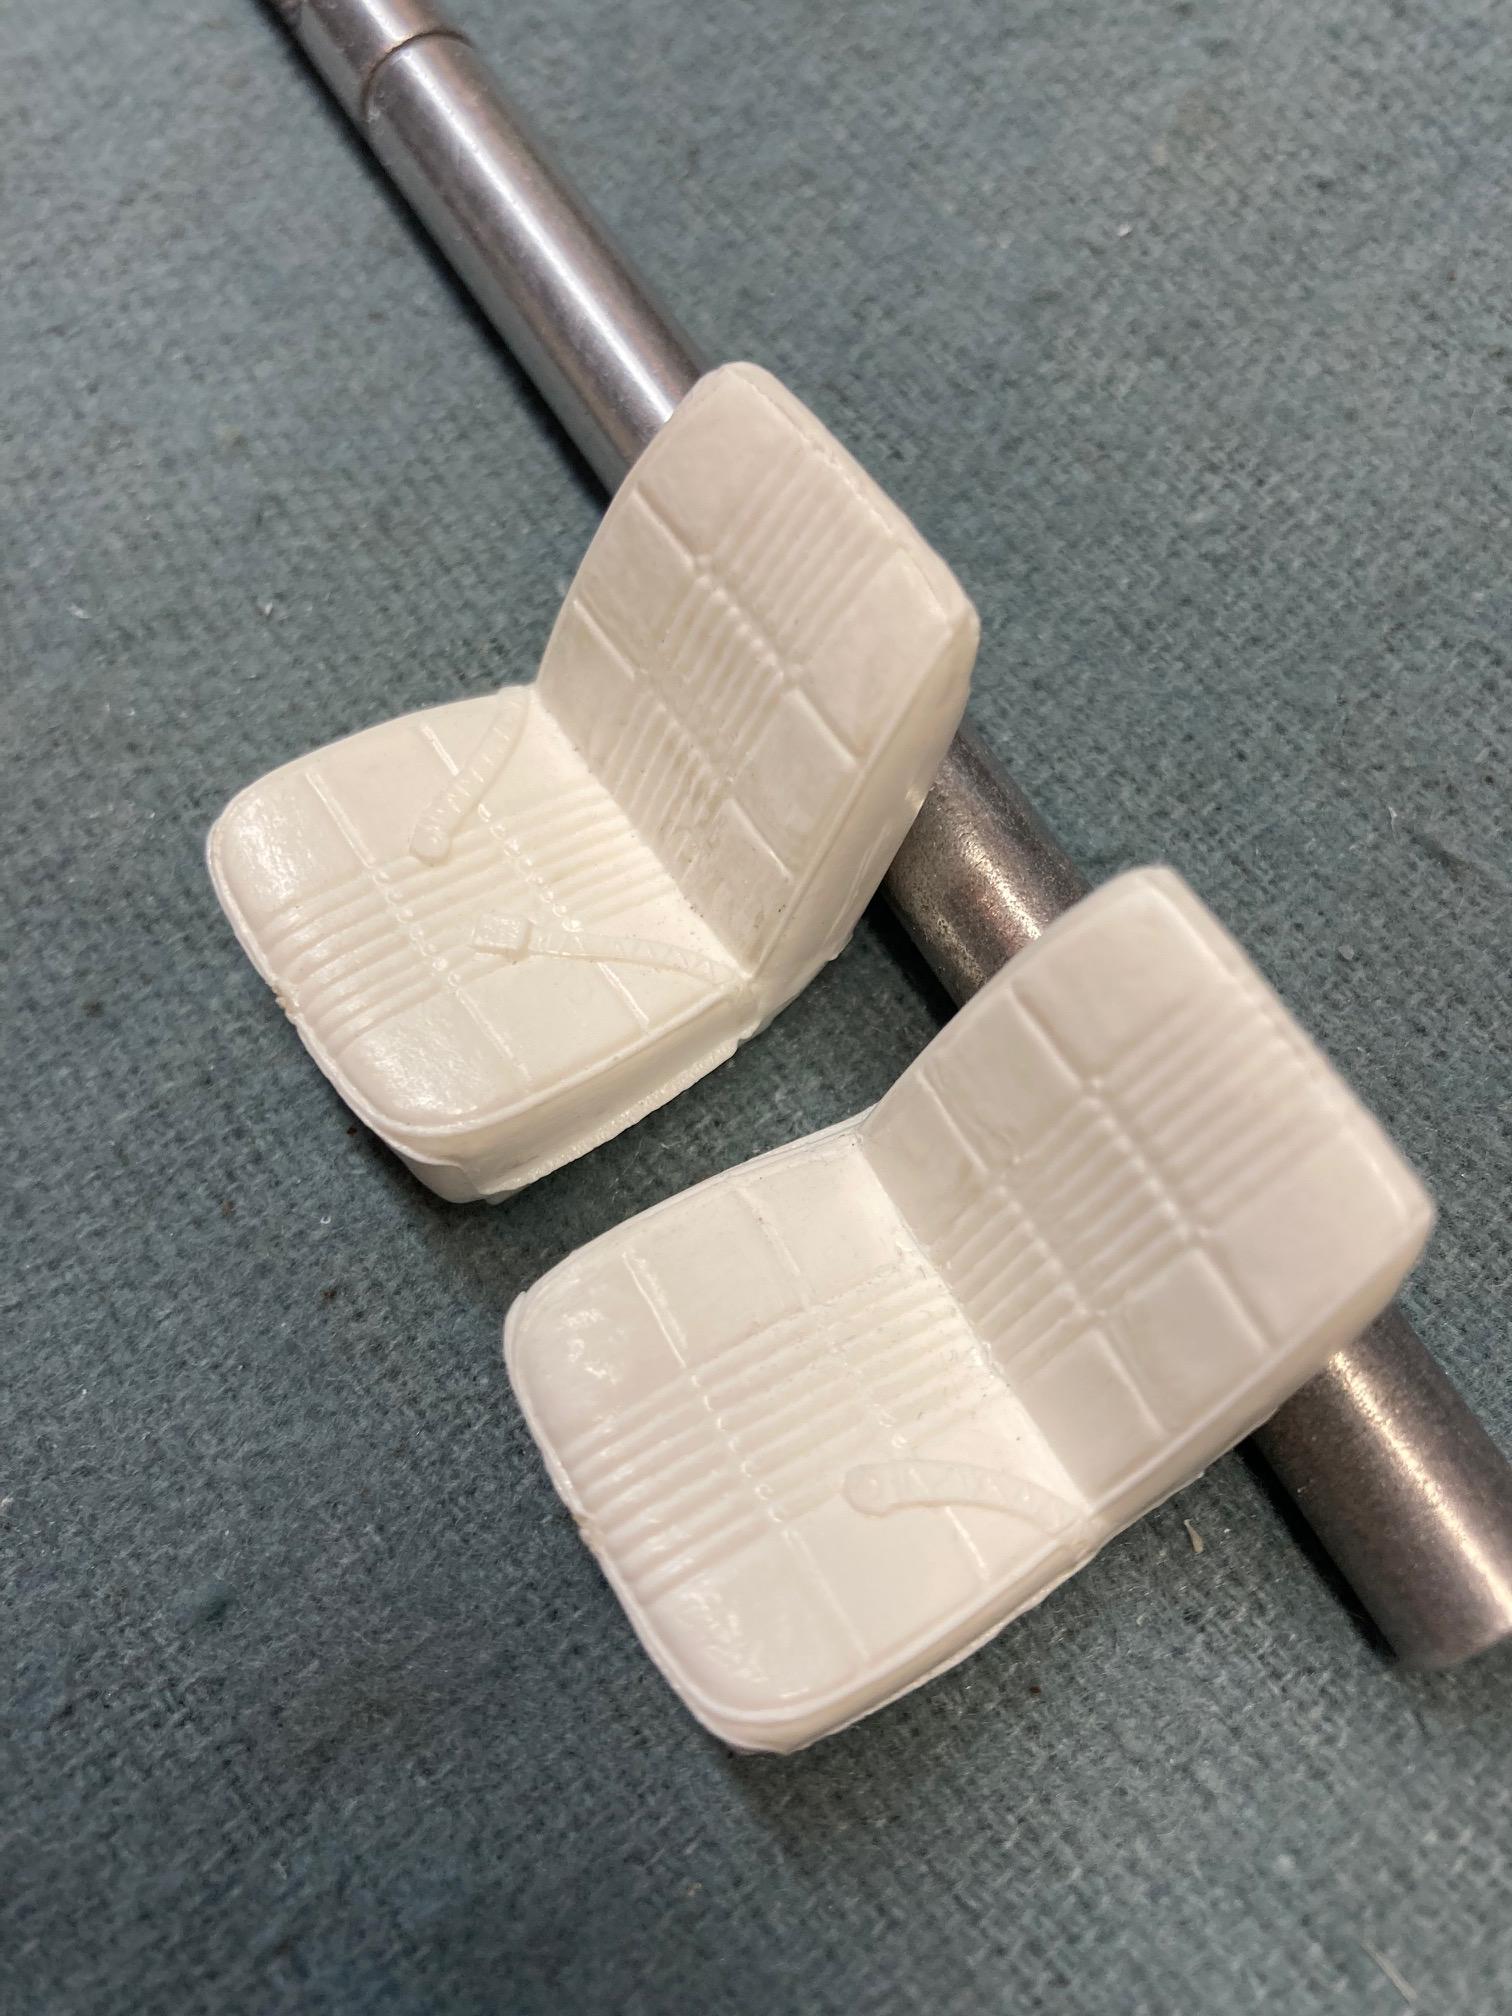
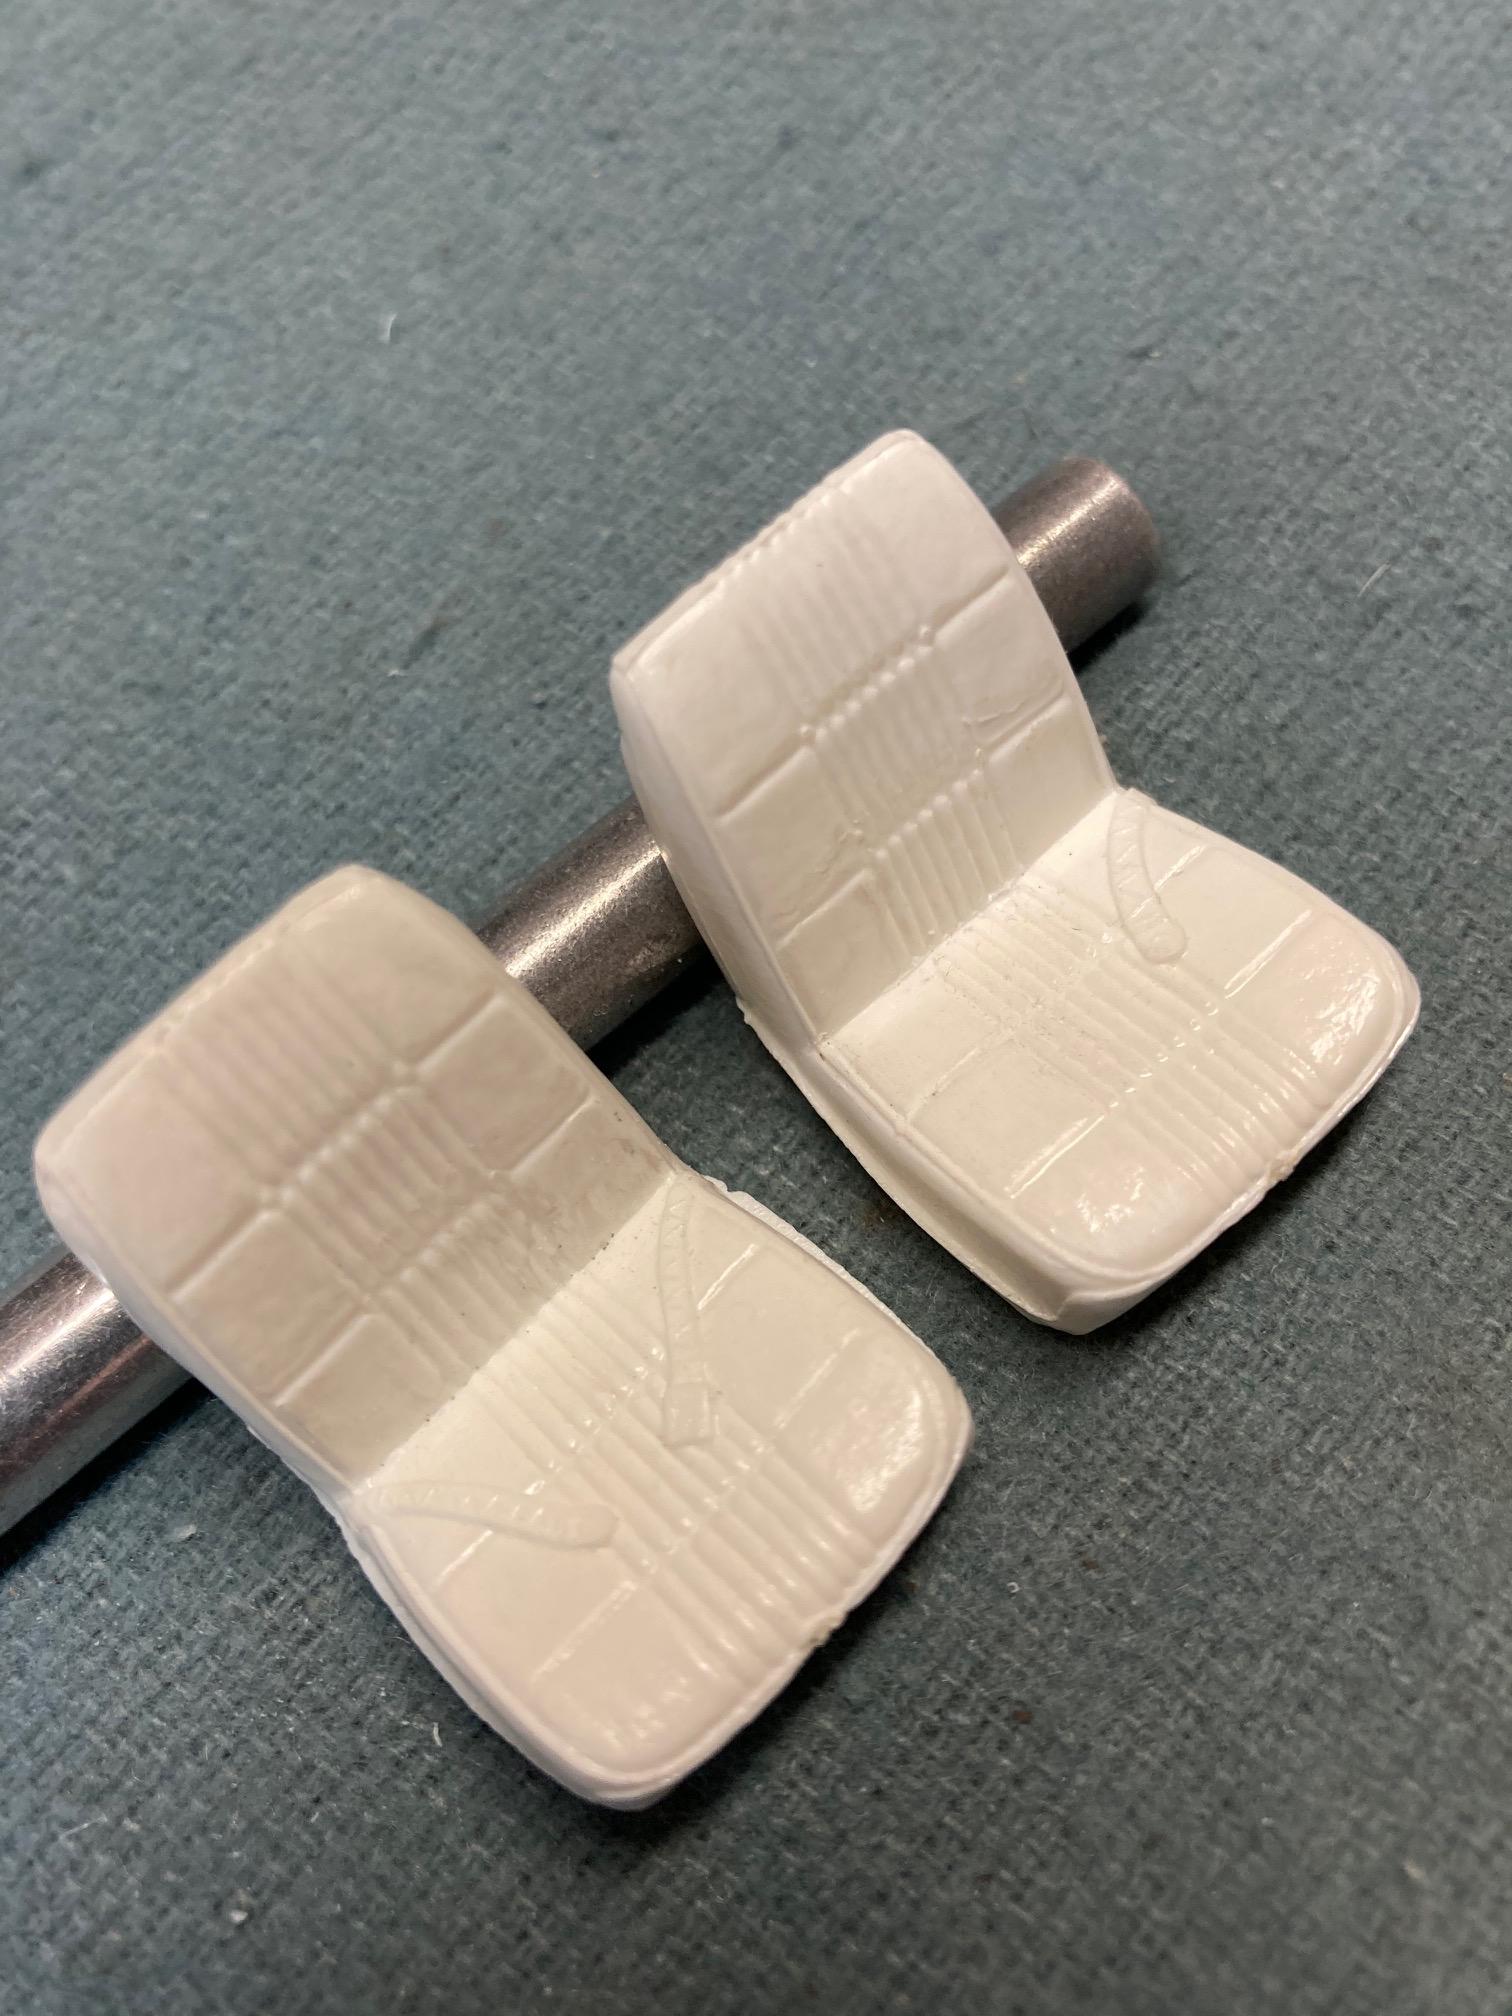
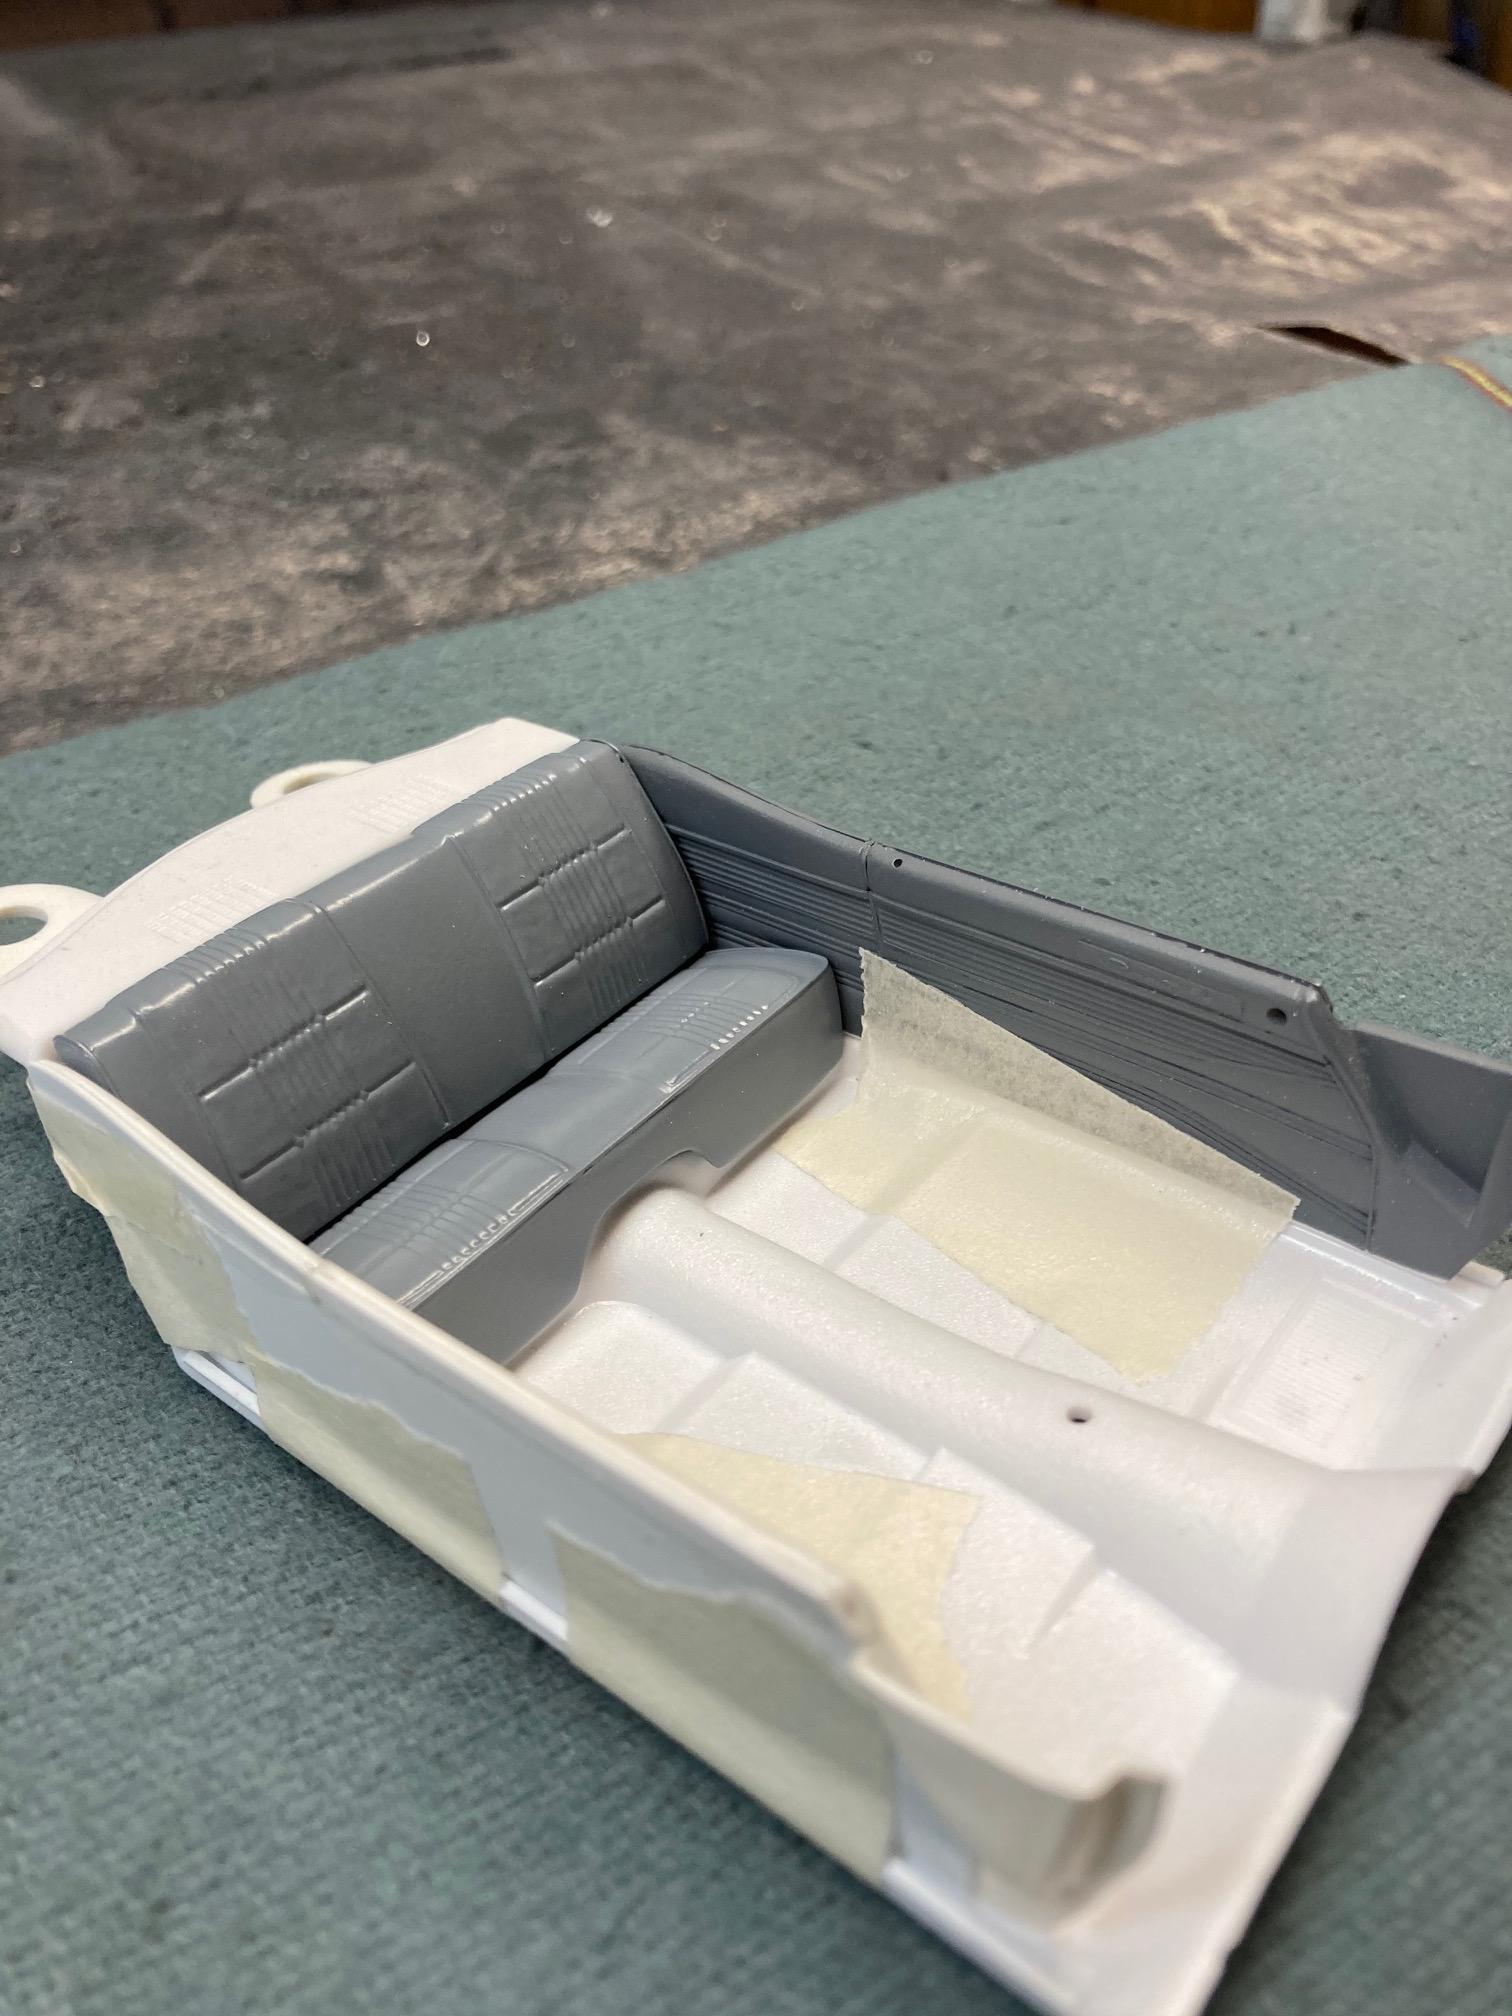
Thanks Steve. I've already decided that I'm going to go back to the Charger Dash. No vents in that, and I decided that it will fit better than the Coronet dash in the end. As you're probably aware, the tubs on these old kits tapered inward at the bottom of the tub making them narrower at the bottom and wider at the top. The new interior configuration will eliminate that, so the mounting tabs on the lower portion of the Coronet dash were going to stick out and be visible under the dash. It was either return to the Charger dash, or spend a bunch of time filing down and removing portions of those tabs. It will be easier this way, plus the Charger dash was a correct option for the Coronet anyway. The modified dash top/pad will still work perfectly with the Charger dash. Today I've been modifying a few more interior parts. The Coronet door panels were a little bit shorter than the Charger tub, so I added some stock to the front of the kick panels to fill in that gap. I also dove in to one of my least favorite jobs. Removing the molded in seat belts on the Coronet bucket seats. It wouldn't be so bad, but the seat belts cross over several creases in the upholstery pattern and a section of piping on the side of the seat. Though with some careful filing, sanding and rescribing, it's not too terribly difficult to make them look like they never existed. Now I'm considering drilling out and replacing the seat back upholstery buttons as well. God, help me!! Steve
-
Kitbashing,,,
StevenGuthmiller replied to thomascoffey1959@gmail.com's topic in General Automotive Talk (Trucks and Cars)
I agree! That's part of the reason why I've really begun to enjoy heavily modifying and/or scratch building parts and assemblies, especially interiors. I really get a lot of satisfaction knowing that some of the highly modified and scratch built vintage interiors that I've been undertaking lately, are completely unique and something that nobody else will have. Although I have professed my willingness to offer up some of these parts for duplication if a good resin caster was interested. So far, no takers. Steve -
I think that I may have found the answer to my question Tim. According to the link that Mr Mopar attached, "The center console, or fixed center cushion with folding center arm rest, are optional at extra cost". I guess that means I can do whatever I choose. Thanks guys!! Steve
-
Thank you! That information will come in very handy! Thanks Tim! I guess at this point, the only other item that I was curious about was "console delete" info. I have the option, using the Revell Charger interior tub, of either using the provided console, or just eliminating it and going with a 4 speed without it. I was kind of leaning towards building it without the console, but am unaware as to whether or not the '68 R/T could have been ordered without a console. What can you tell me? I also have the option of removing the console from the MPC kit and retrofitting it to the Charger floor, but that's my least likely option. Steve
-
Does anybody have any information on what colors were available for interiors and bumble bee stripes on the 1968 Dodge Coronet R/T? Thank You!! Steve
-
Kitbashing,,,
StevenGuthmiller replied to thomascoffey1959@gmail.com's topic in General Automotive Talk (Trucks and Cars)
For me it's AMT 1962 Pontiac Catalinas and Lindberg 1964 Mopars. I've got a ton of Johan Mopars and AMT/MPC Pontiacs to upgrade! Steve -
Kitbashing,,,
StevenGuthmiller replied to thomascoffey1959@gmail.com's topic in General Automotive Talk (Trucks and Cars)
I do a lot more bashing now than I used to a couple of years ago. Although I don't think that it's "bashing" in the sense that most in this thread are thinking of. My bashing consists of raiding factory stock chassis, engines and other parts for upgrading vintage annuals. Right now I'm stealing a large portion of the chassis, engine bay, engine and interior parts from a Revell '68 Charger in order to upgrade an MPC 1968 Dodge Coronet R/T. I've really begun to enjoy these types of endeavors. Steve -
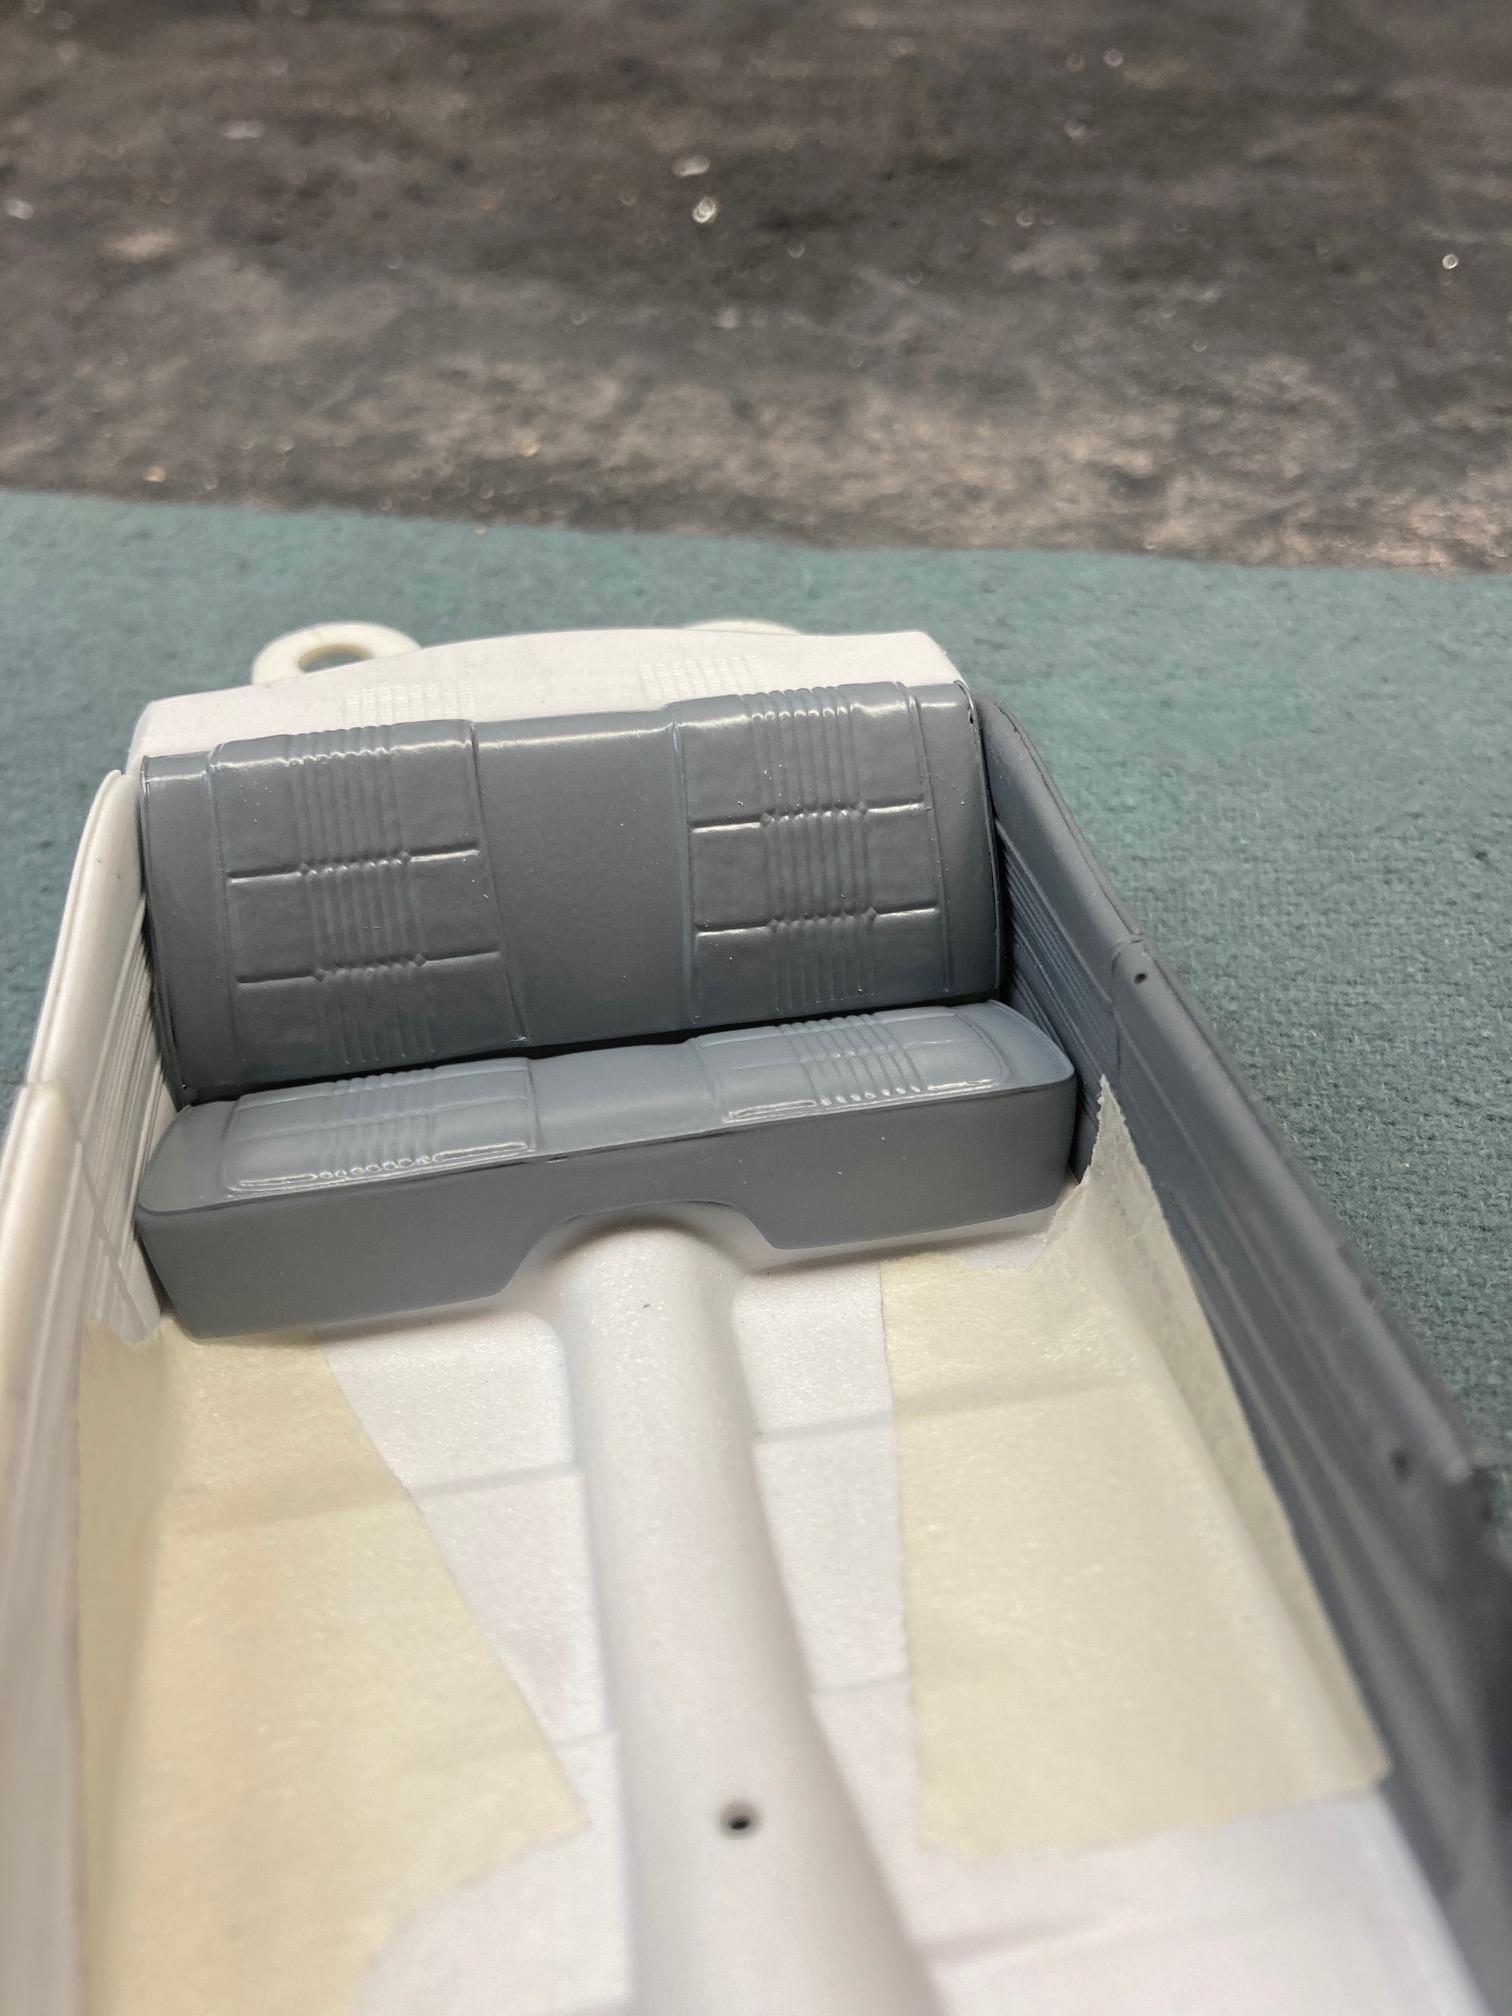
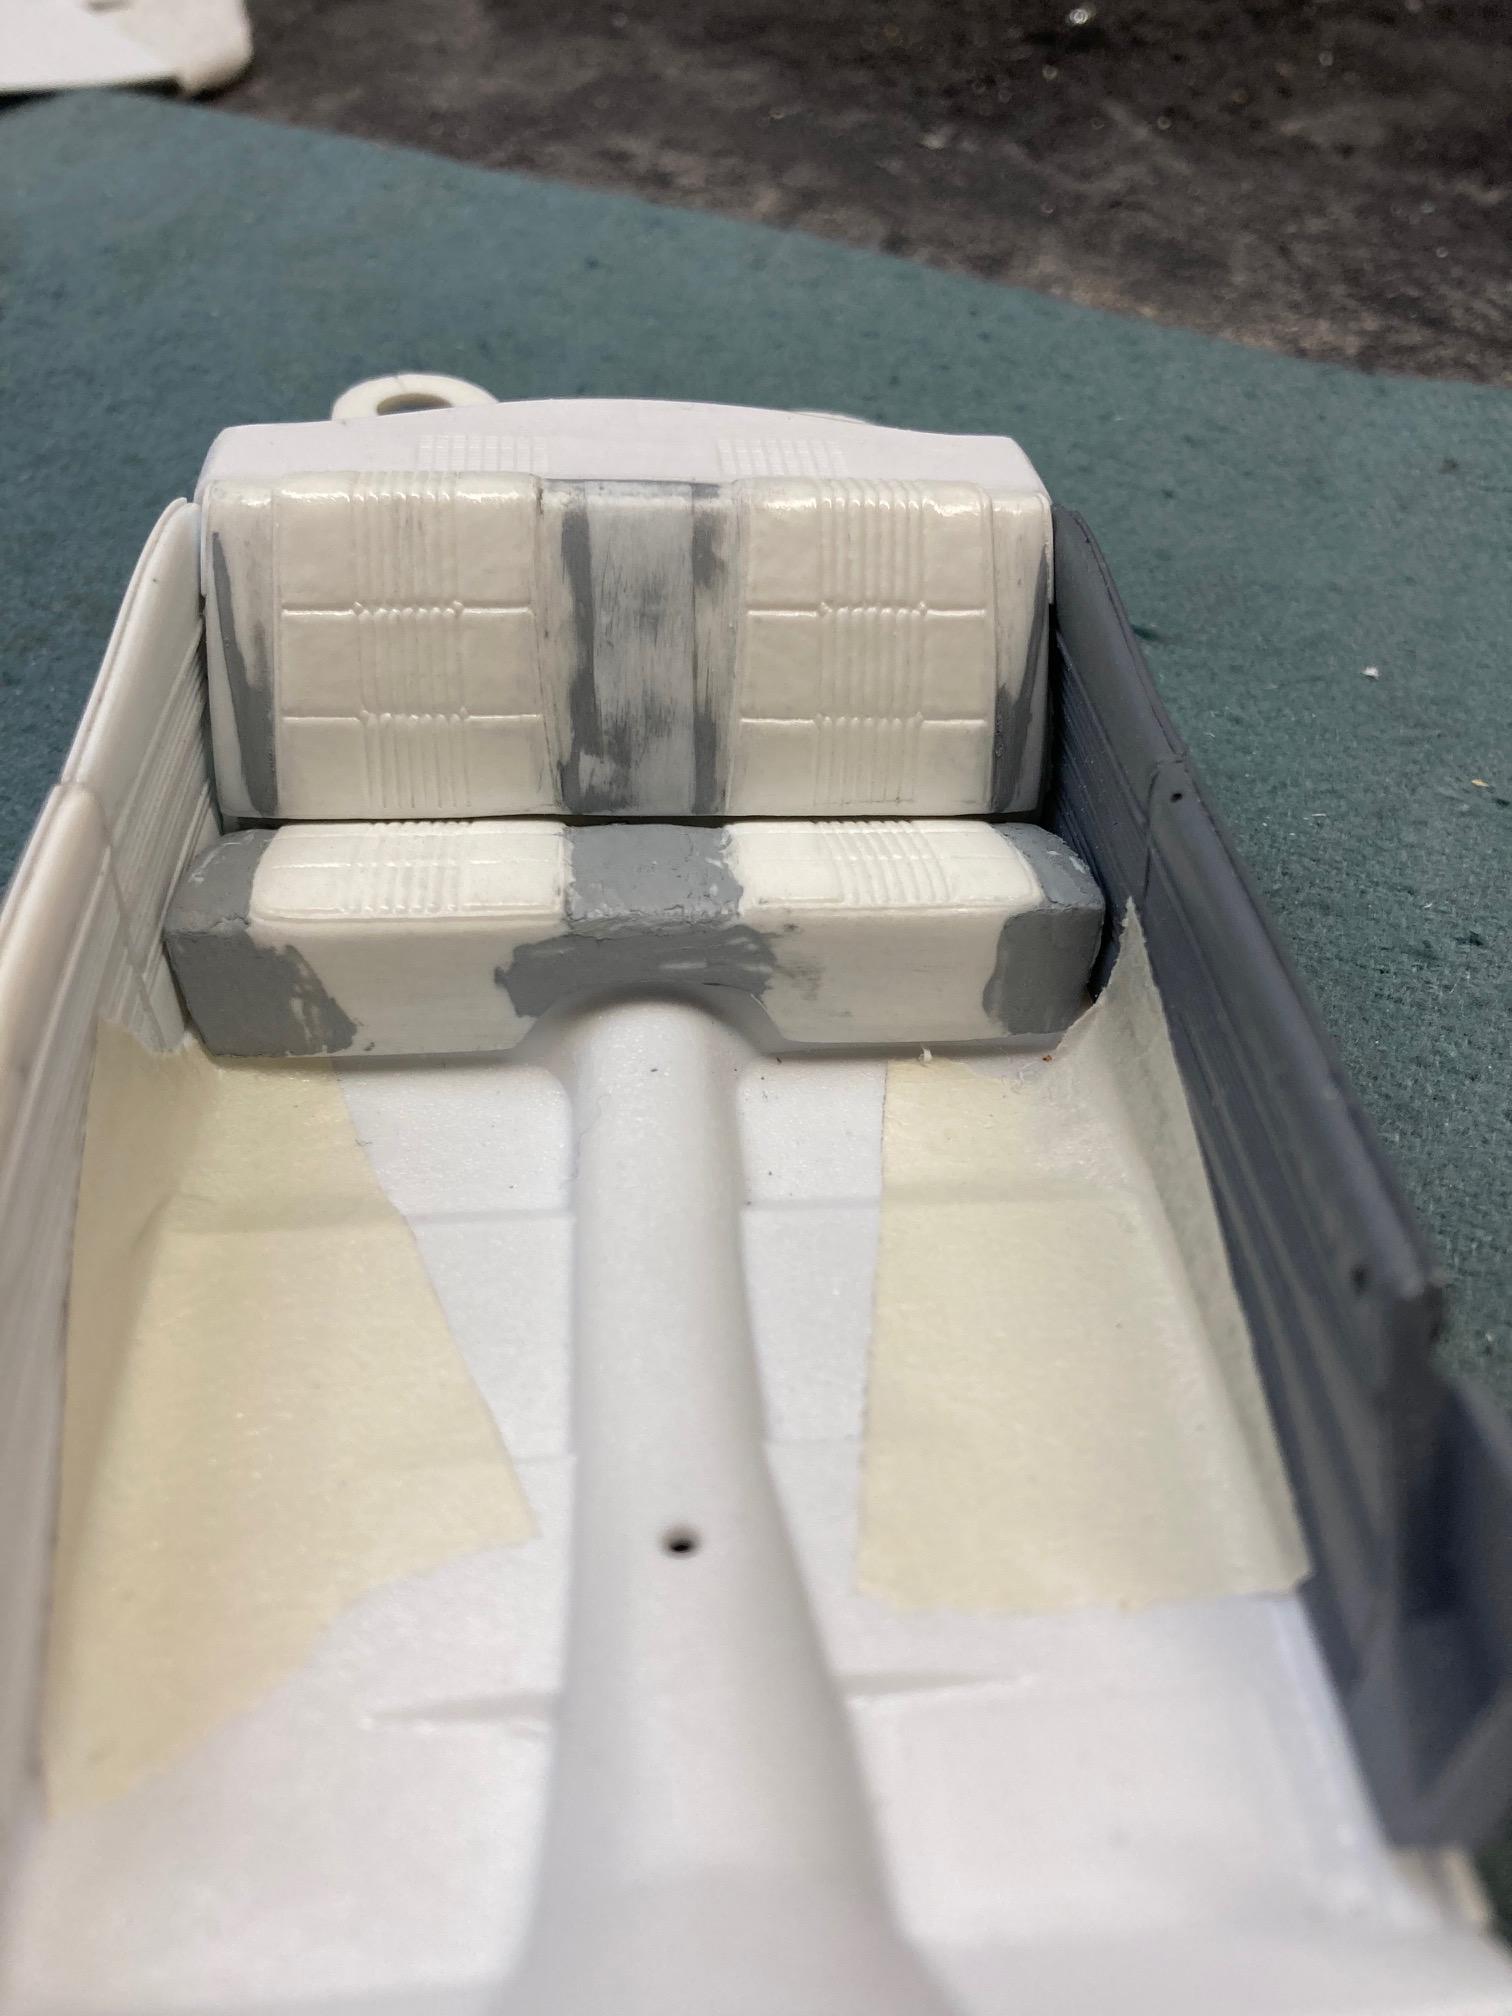
Thanks Bill. I had seriously considered one of these sets, but I think I'm settling on steelies, with maybe the poverty caps from the Revell '68 Charger. Well, I think the rear seat is good to go. Steve
-
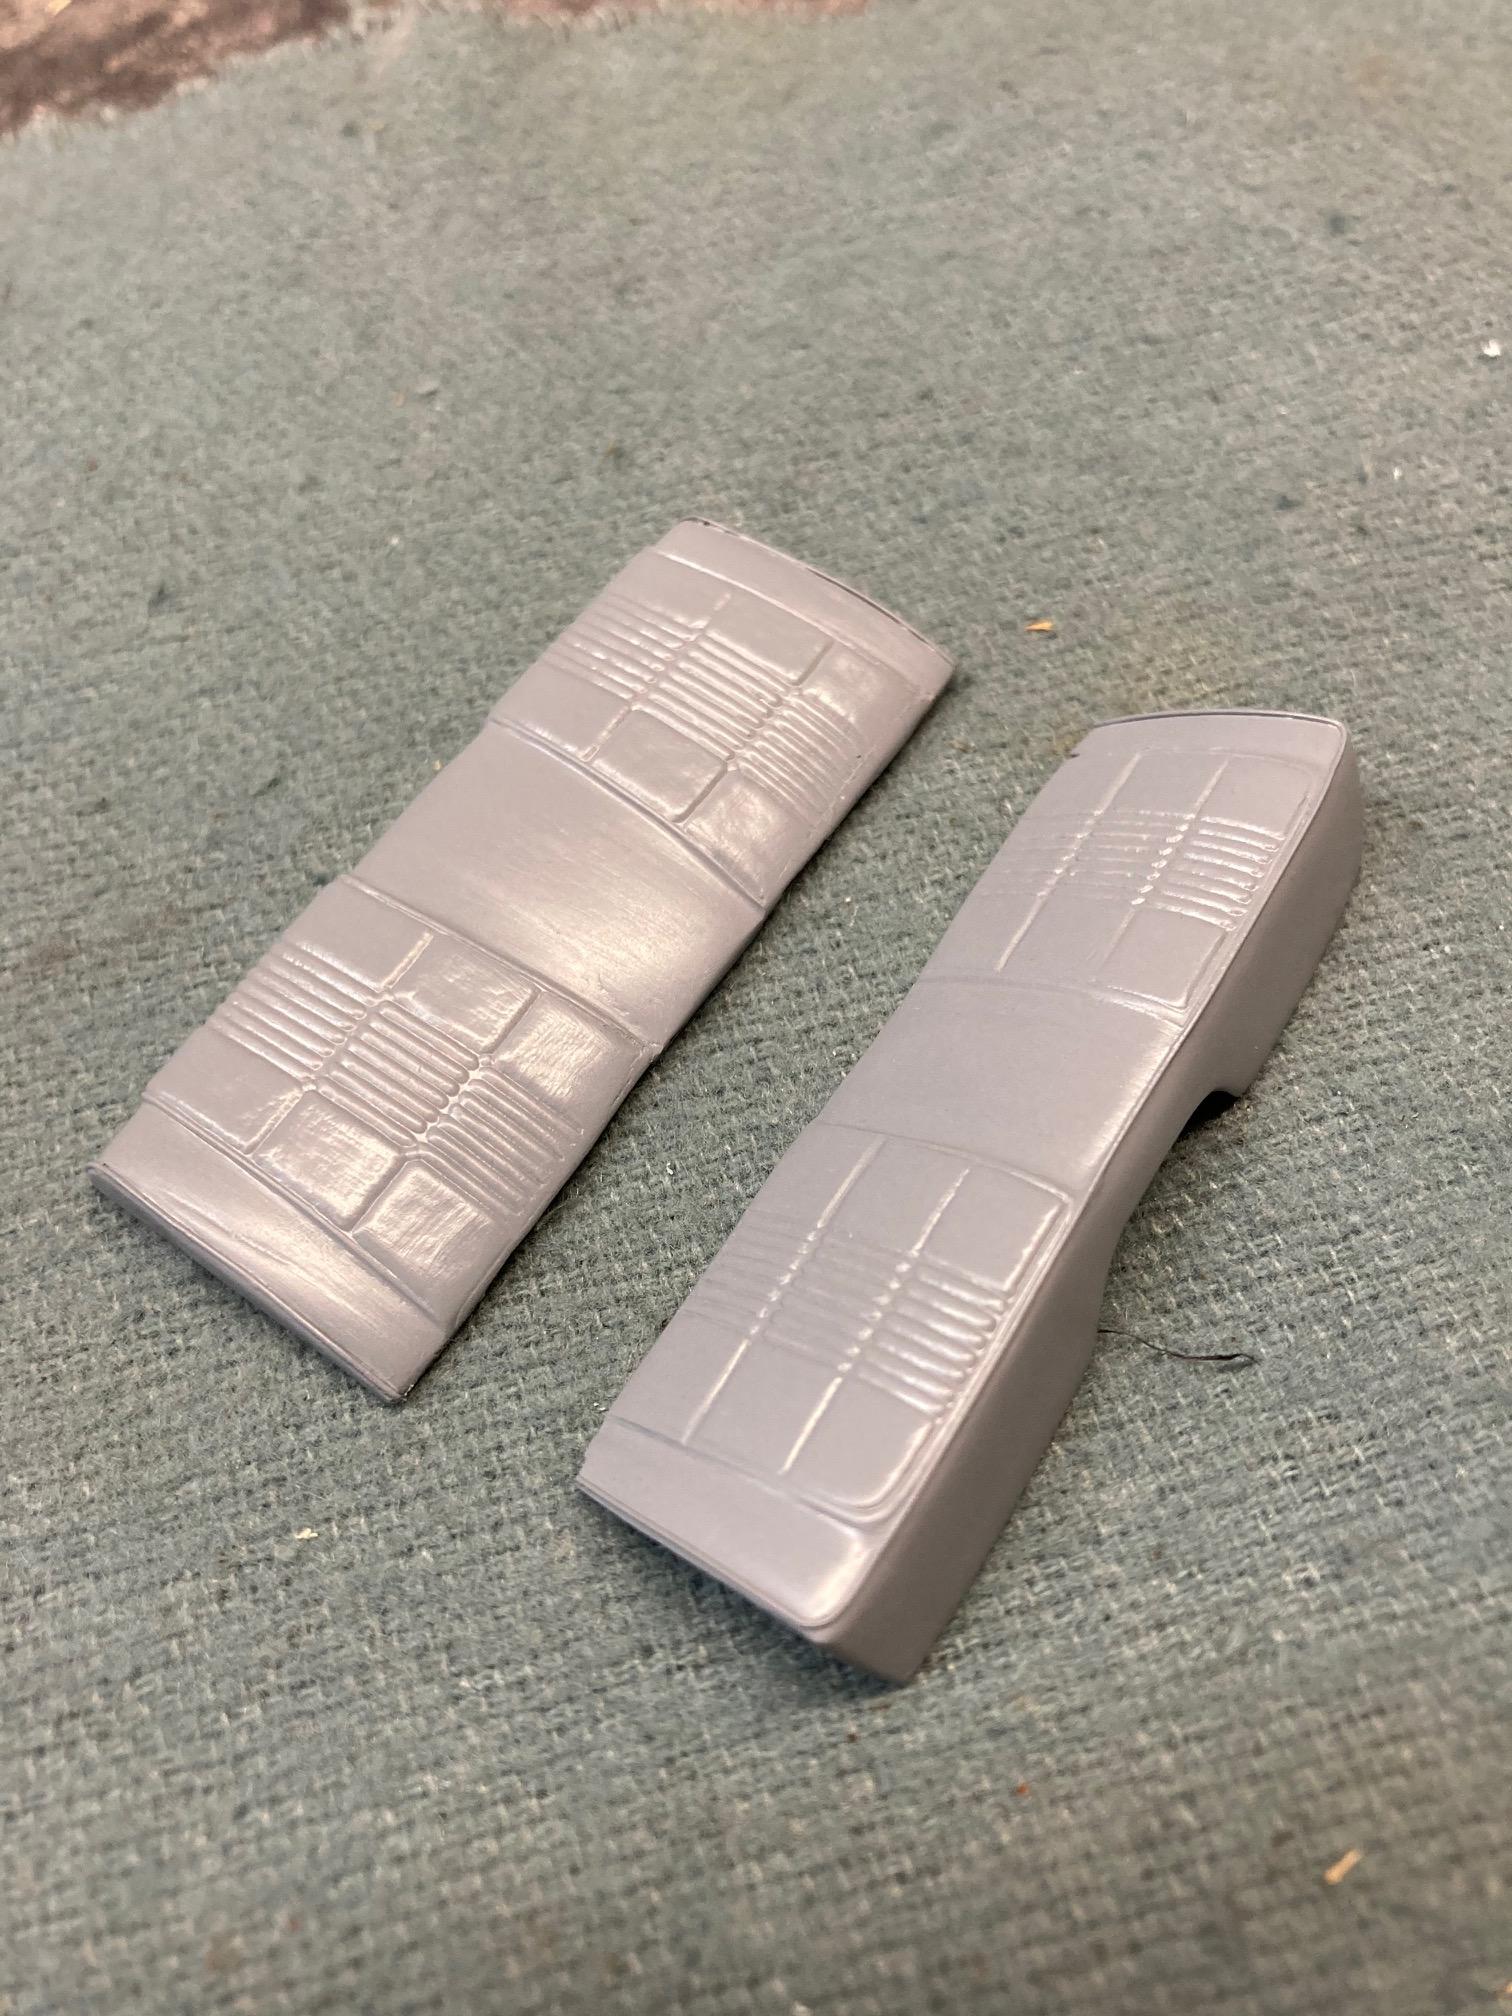
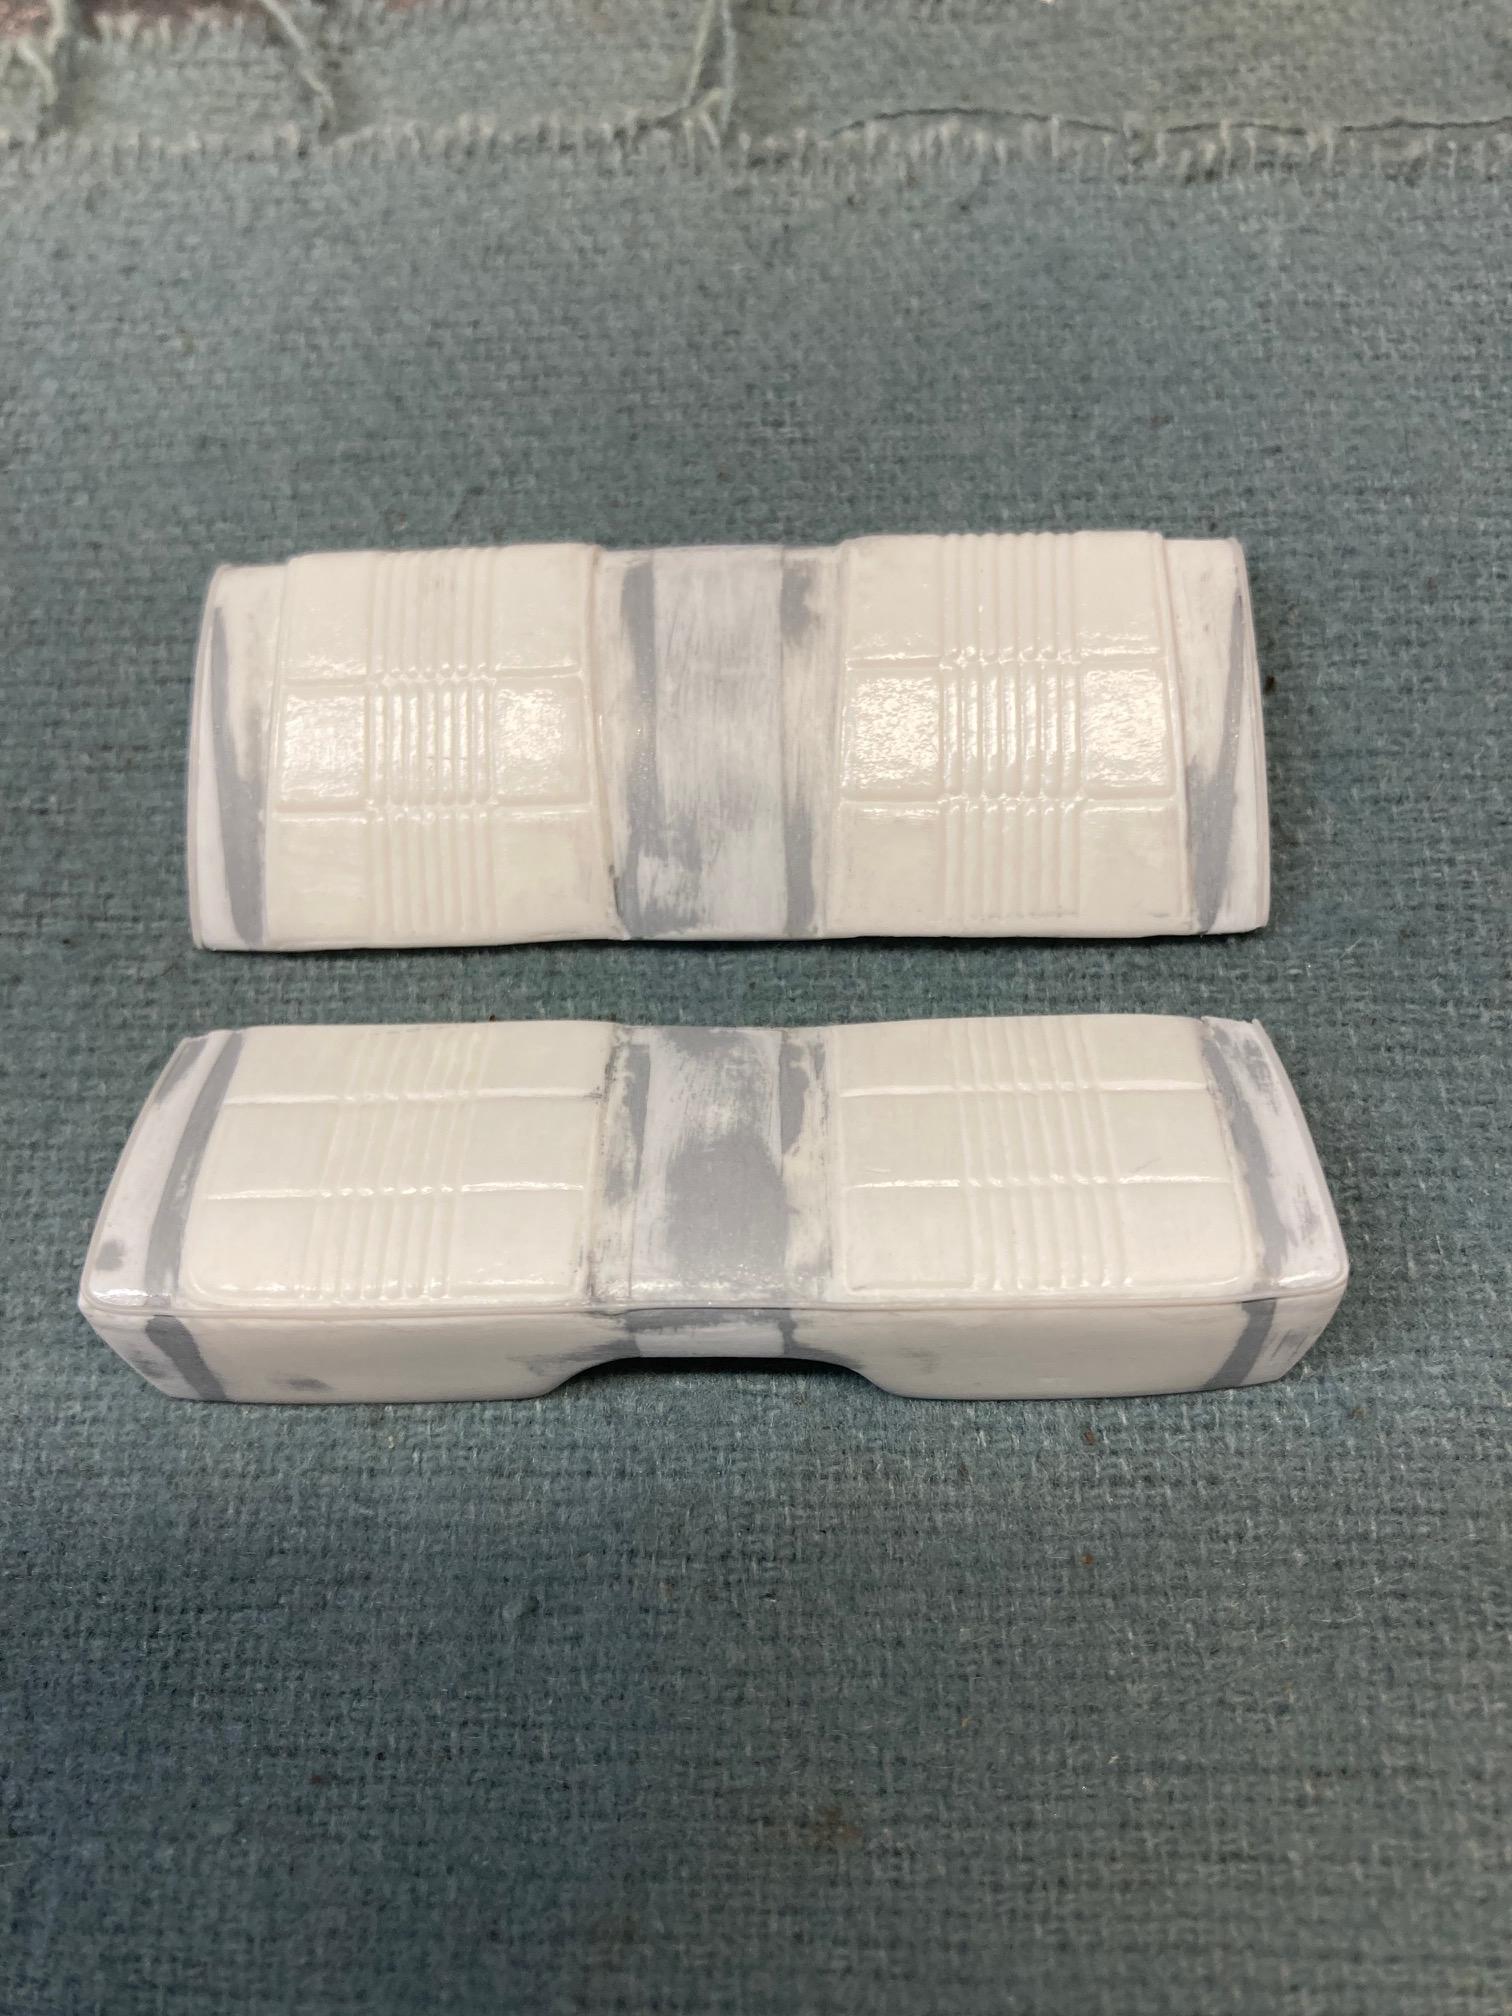
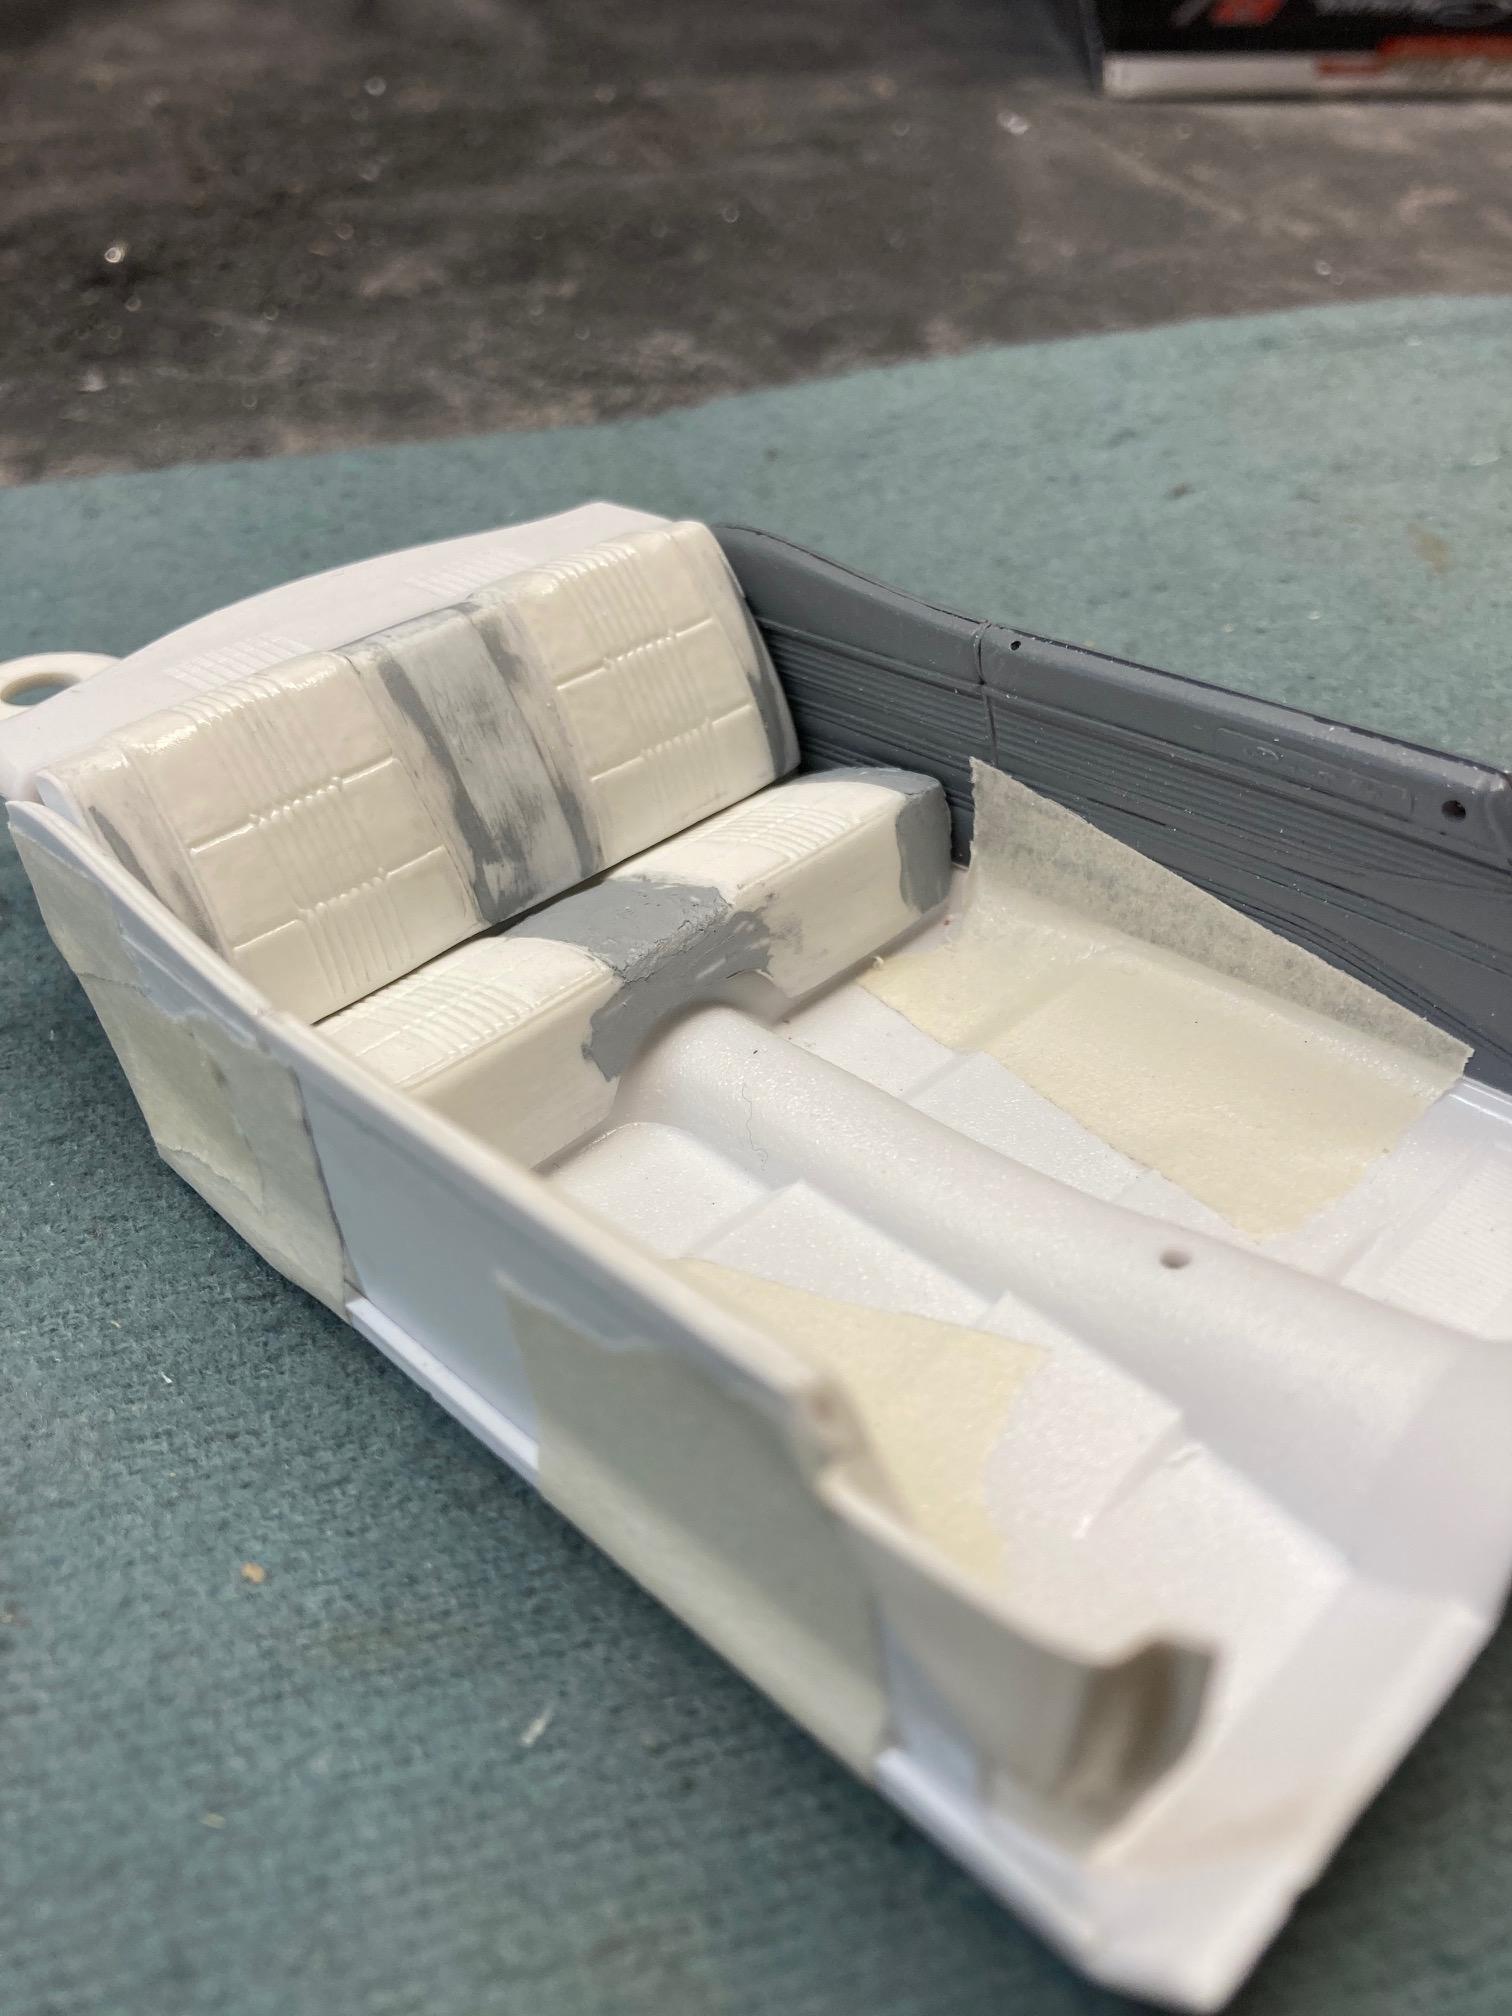
The rear seat didn't turn out half bad! A few small areas to be addressed. There are a pair of creases in the side bolsters of the seat back that I didn't get filled as well as I would have liked, but after looking at them, I decided to leave them alone. Often times these vinyl seats had wrinkles and stuff in them, and if they will even be noticeable after paint, they'll add just a little more character. Steve
-
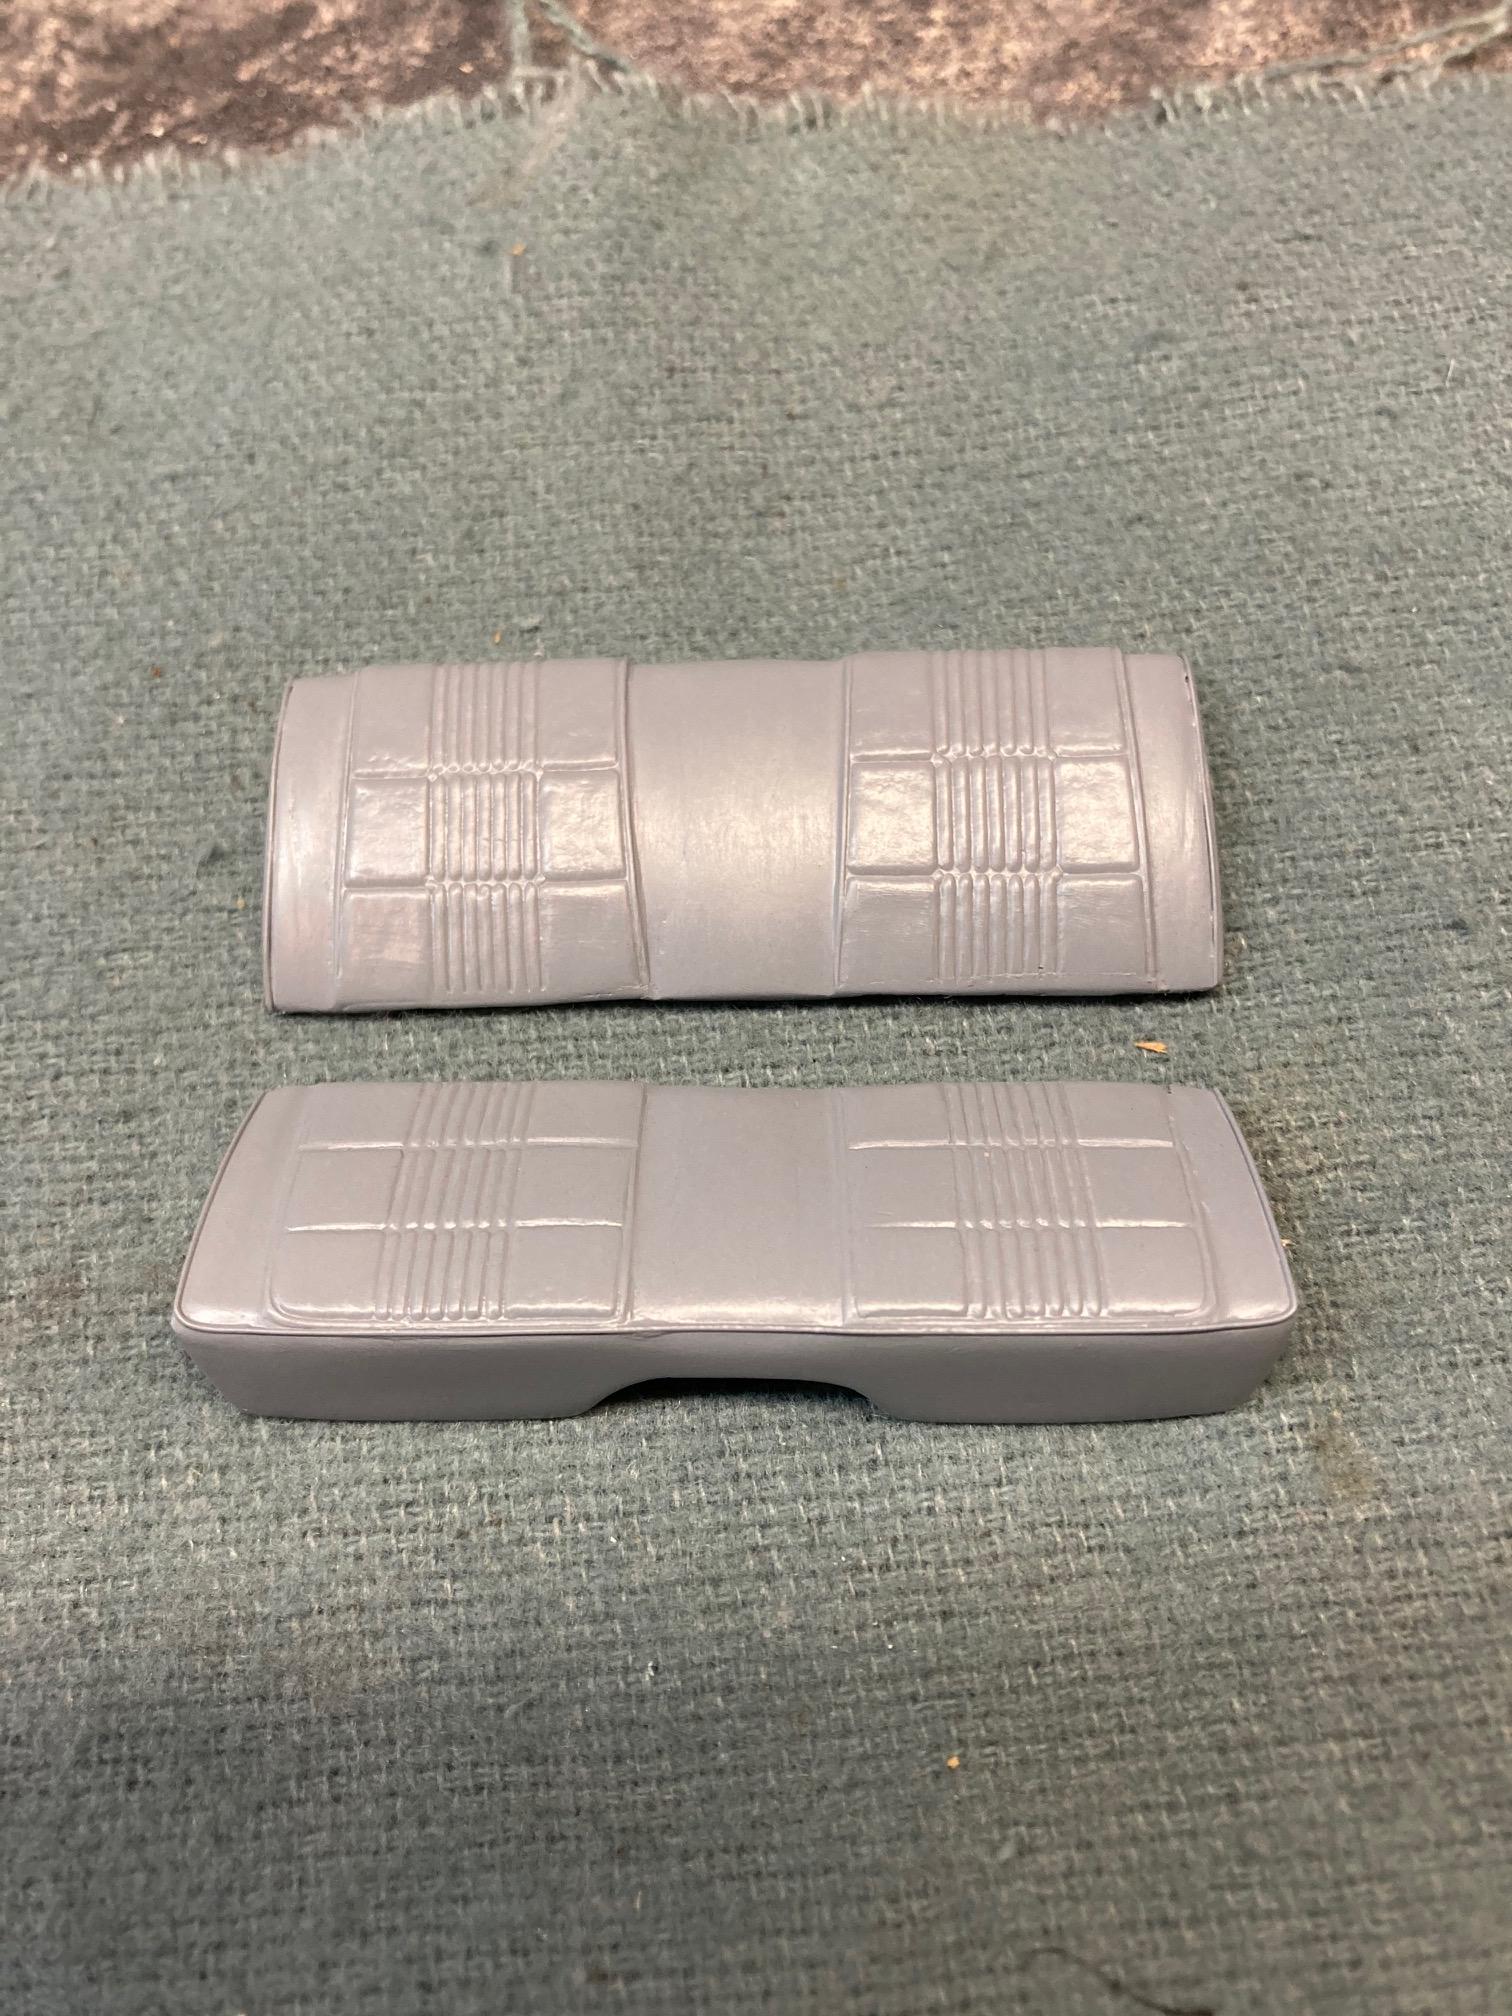
Yeah, I just really dislike working with putty in general. I guess that all of the ones that I have used have their pluses and minuses. The Squadron is really too soft and shrinks quite a bit, but it dries very fast, (actually too fast. I usually have to throw out half of the tube because it dries up) and the green stuff gives a good contrast with the plastic so you can tell what you're doing. The glazing putty probably works the best and there is virtually no shrinkage, but there's less contrast and I really hate having to mix the stuff. The Tamiya gray gives a good contrast, doesn't seem to shrink as badly as the Squadron, but it's really filthy to work with. But all in all, I think I'll stick with the Tamiya for the time being. I usually don't have to use a lot of it on my projects anyway........Thank God! Steve
-
I think that the rear seat is finished and ready for primer. Hopefully it won't need any more work. Steve
-
This is Tamiya putty. I've tried Squadron and glazing putty in the past and so far, I hate them all! Steve
-
Thanks John! Still working on widening out the rear seat. I think I have them pulled out to the width that I need. Just getting the seams filled and sanded and then I will add some piping and hopefully they will be ready for priming, and then we'll see what we have. Steve
-
First post TKM resin 1956 Lincoln Premiere mock-up
StevenGuthmiller replied to Kah puts's topic in WIP: Model Cars
I bought a 1957 Cadillac convertible from TKM many years ago. It more closely resembled a door stop than a '57 Cadillac! Steve