StevenGuthmiller
-
Posts
15,071 -
Joined
-
Last visited
Content Type
Profiles
Forums
Events
Gallery
Everything posted by StevenGuthmiller
-
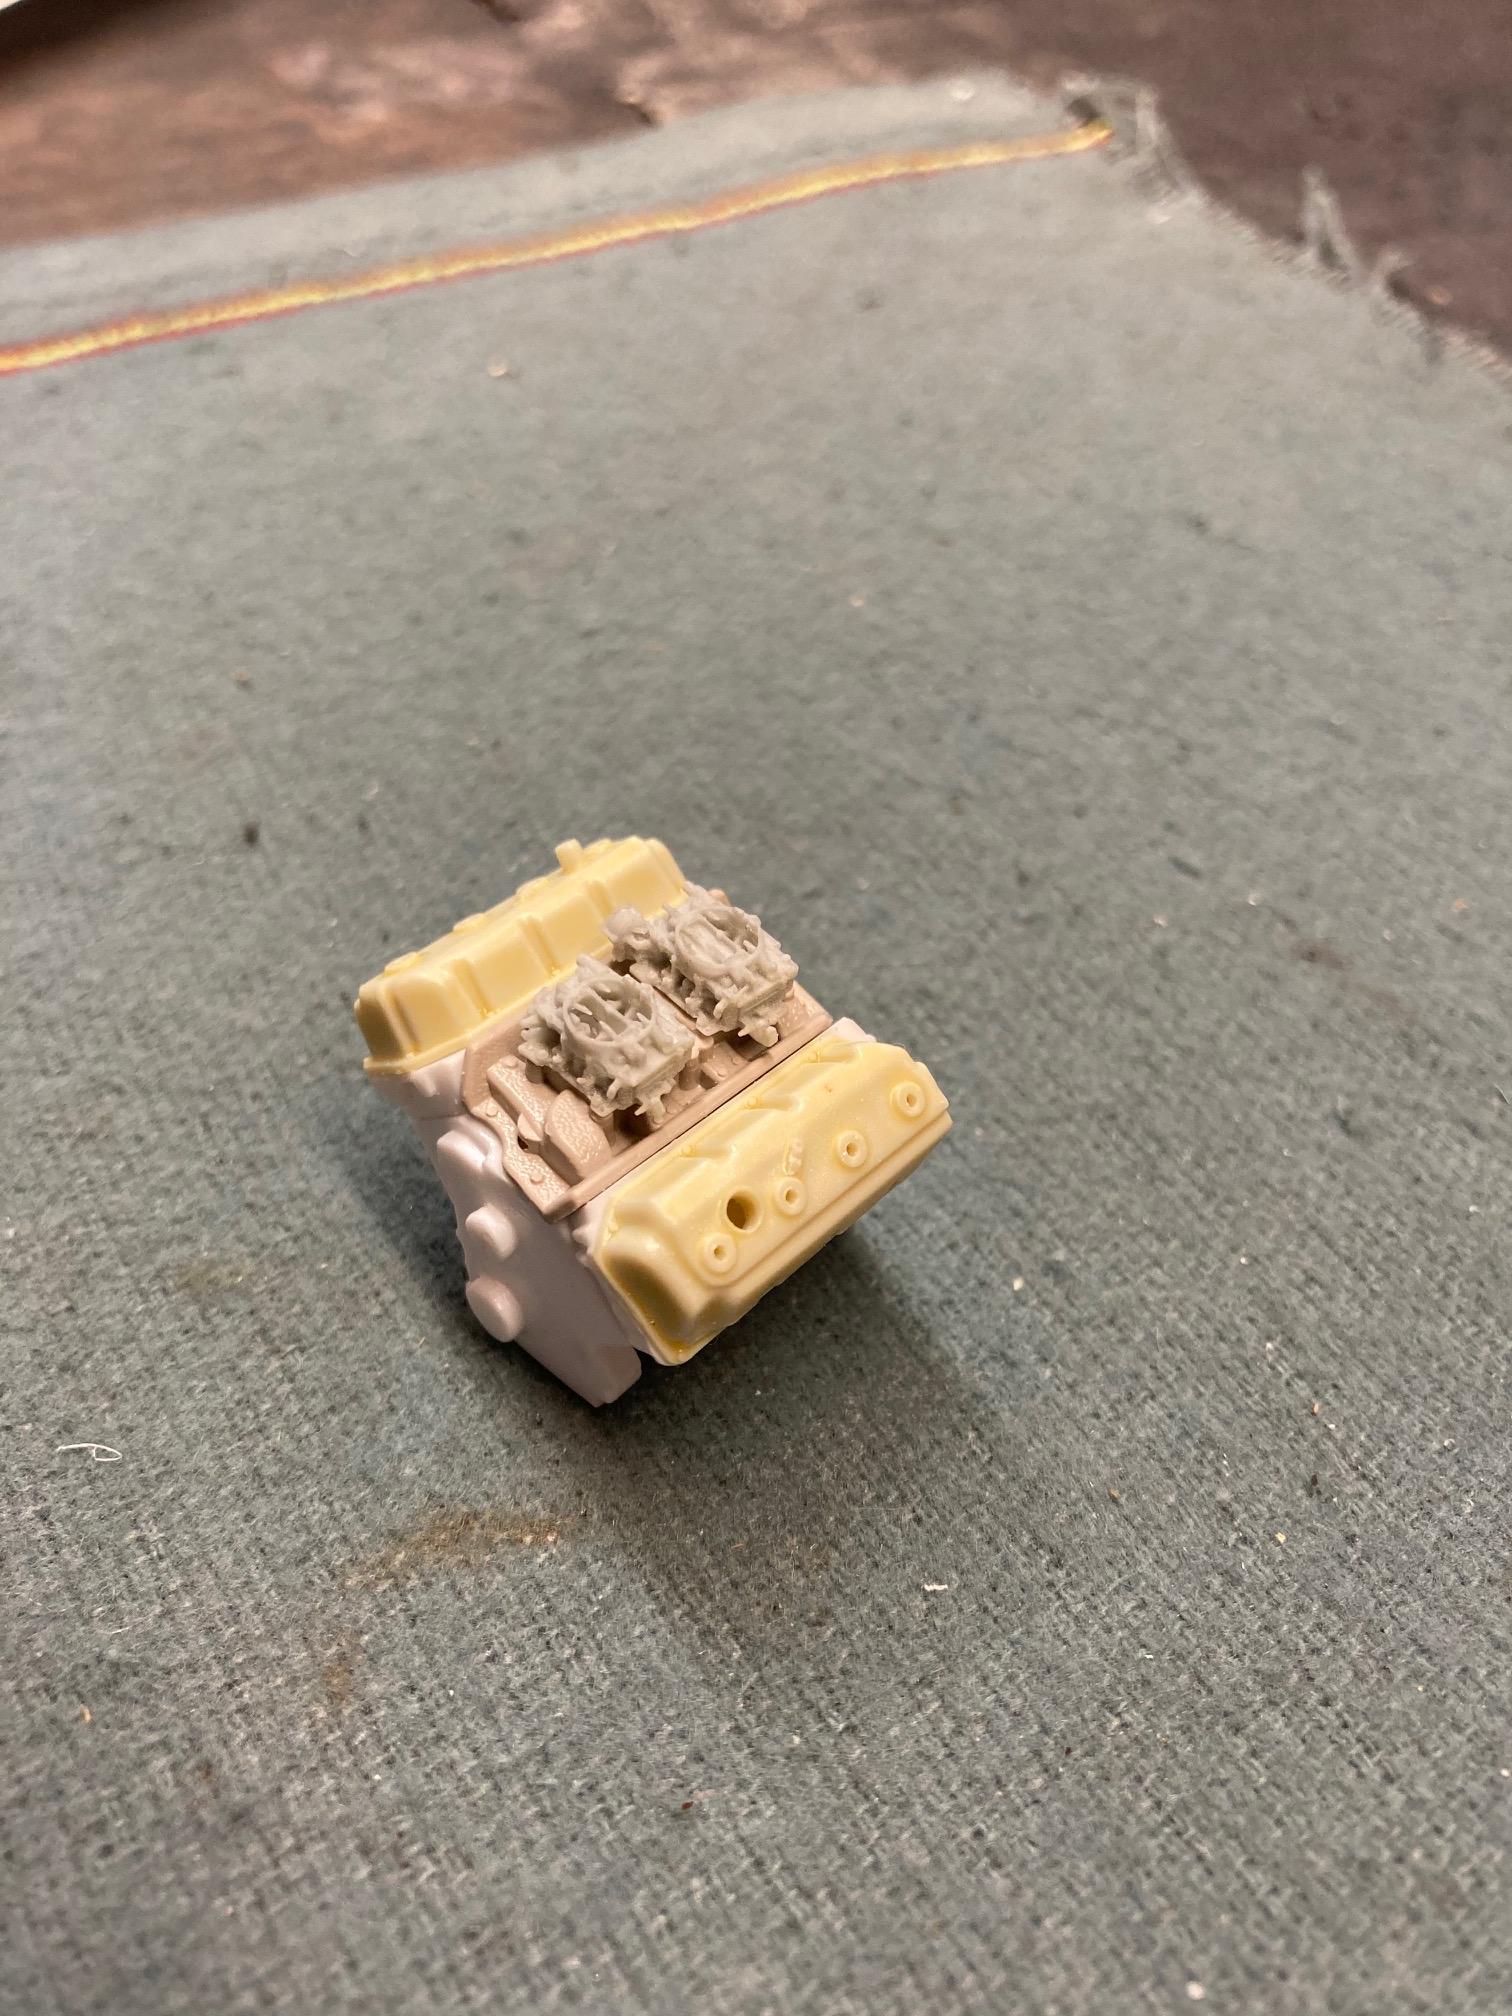
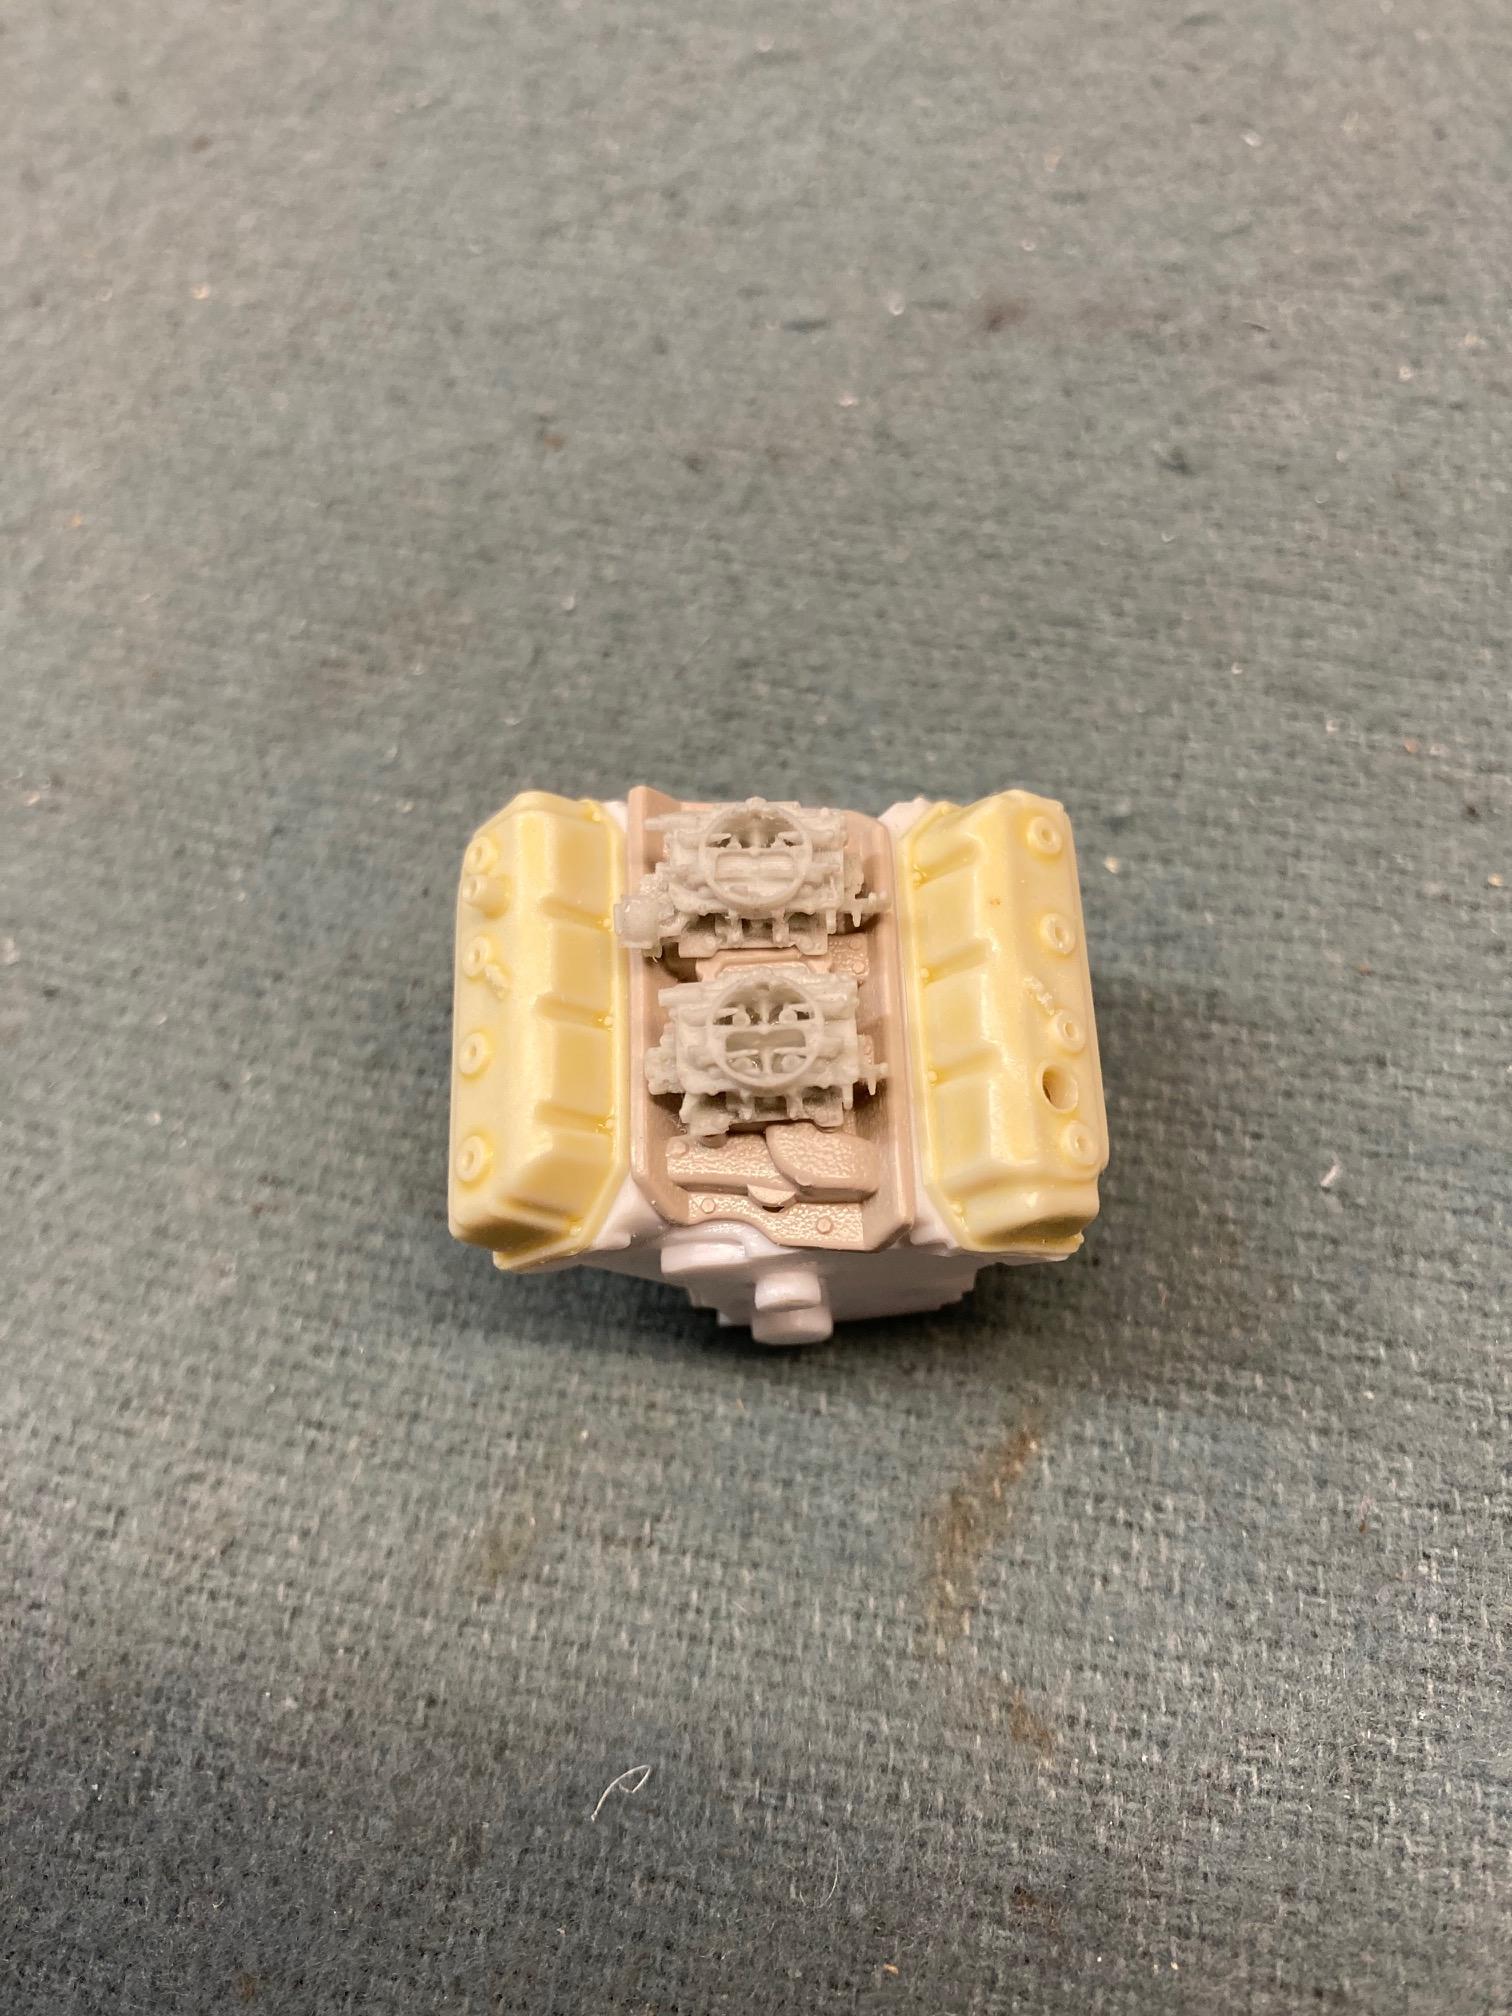
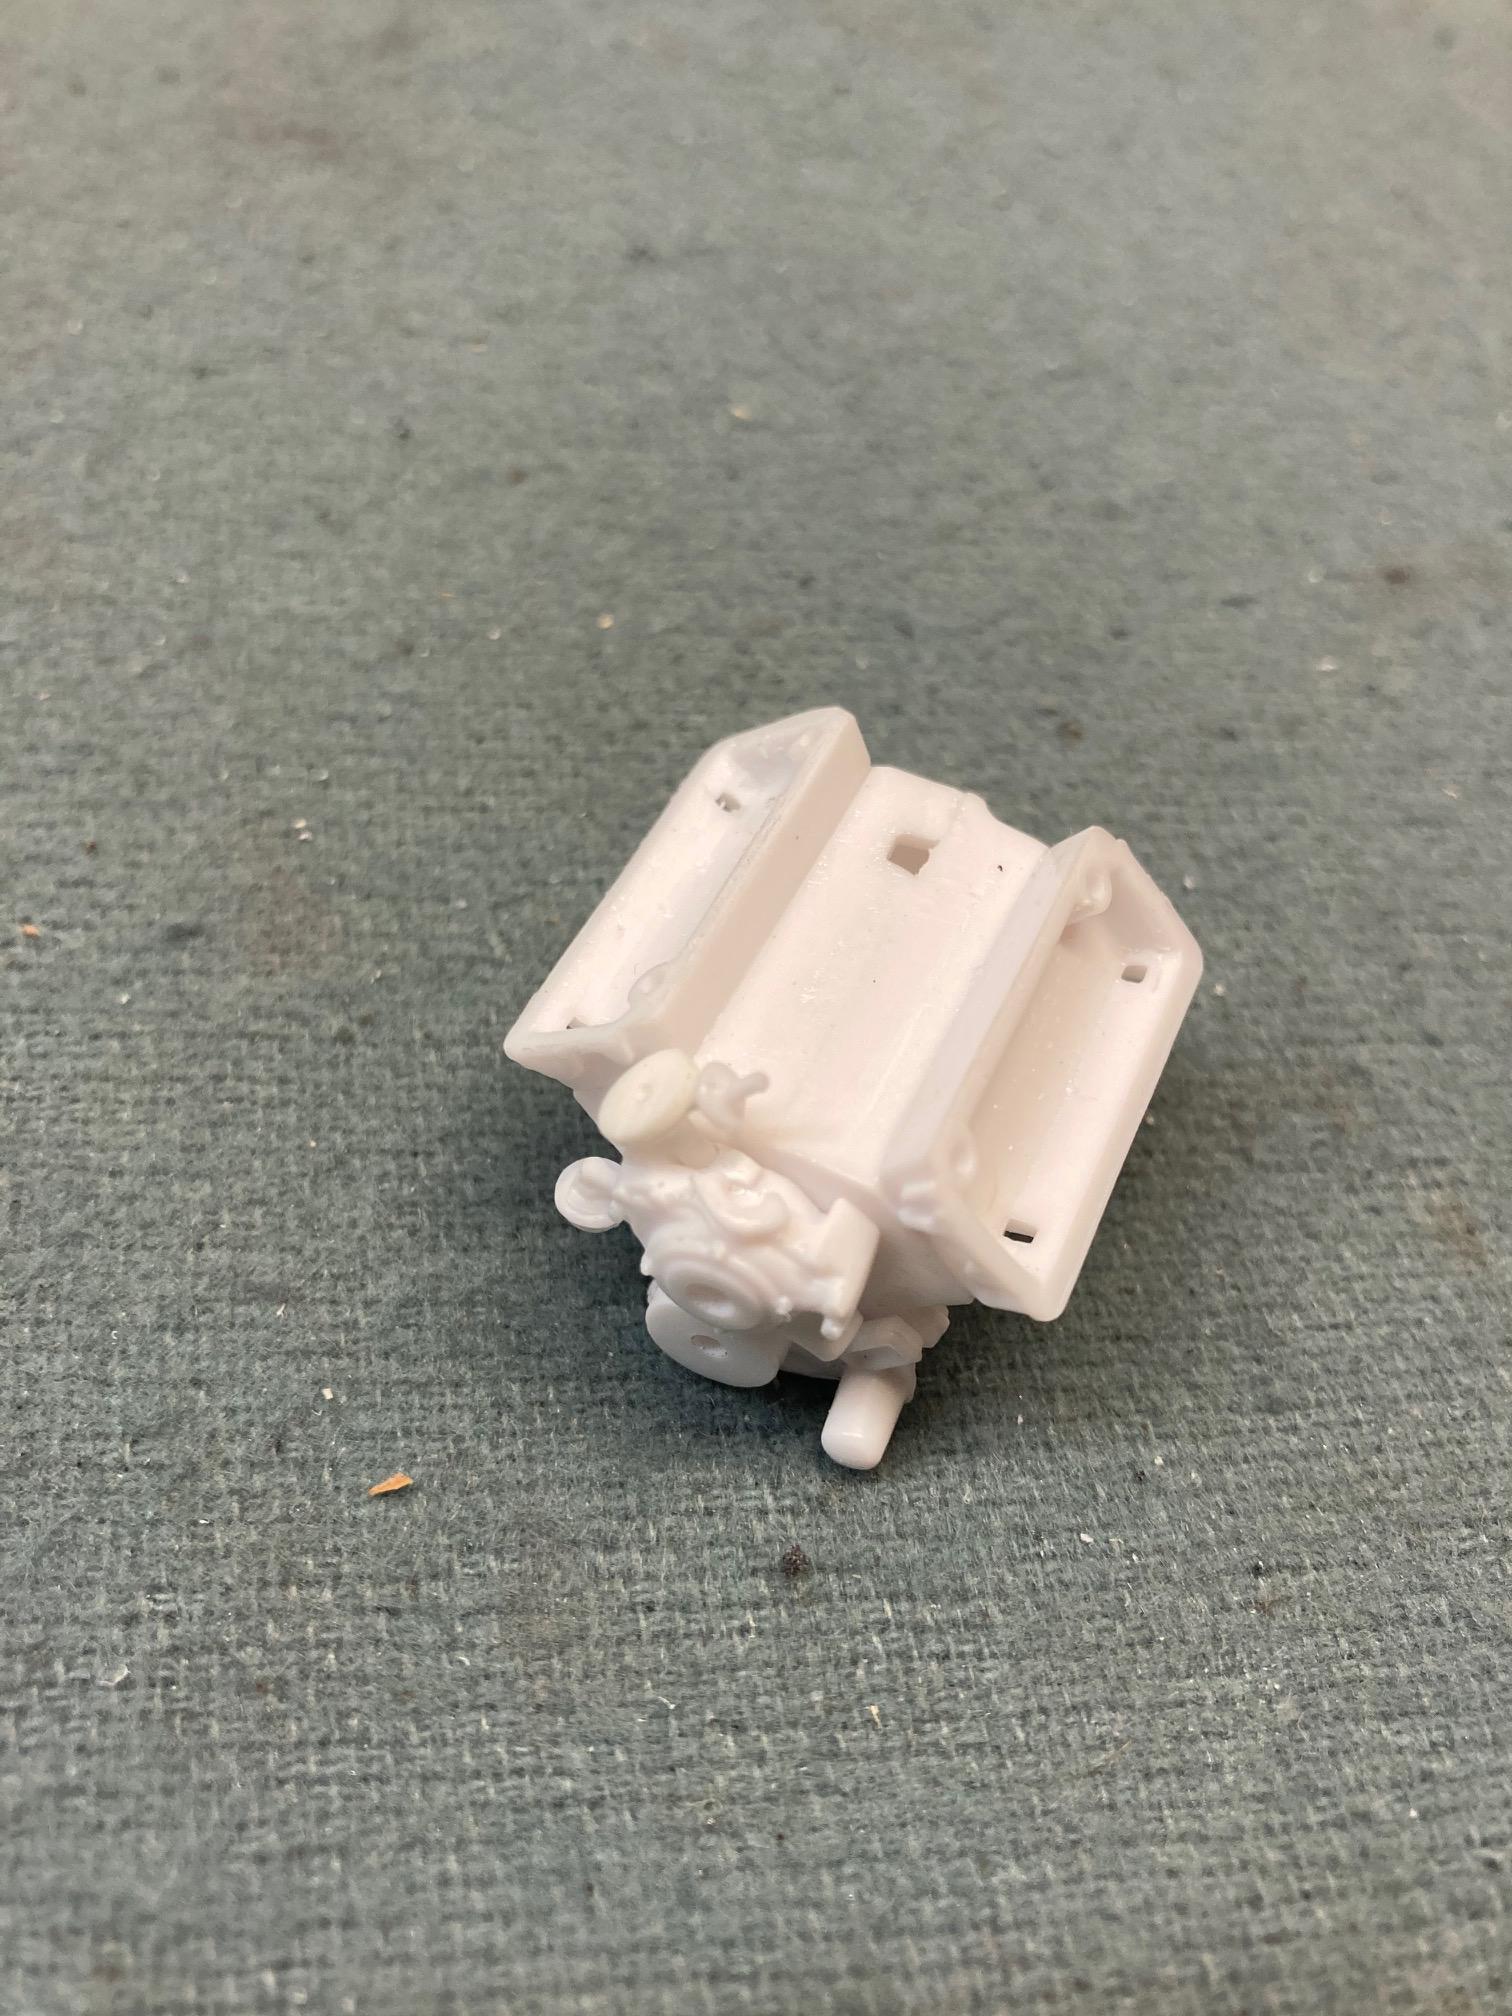
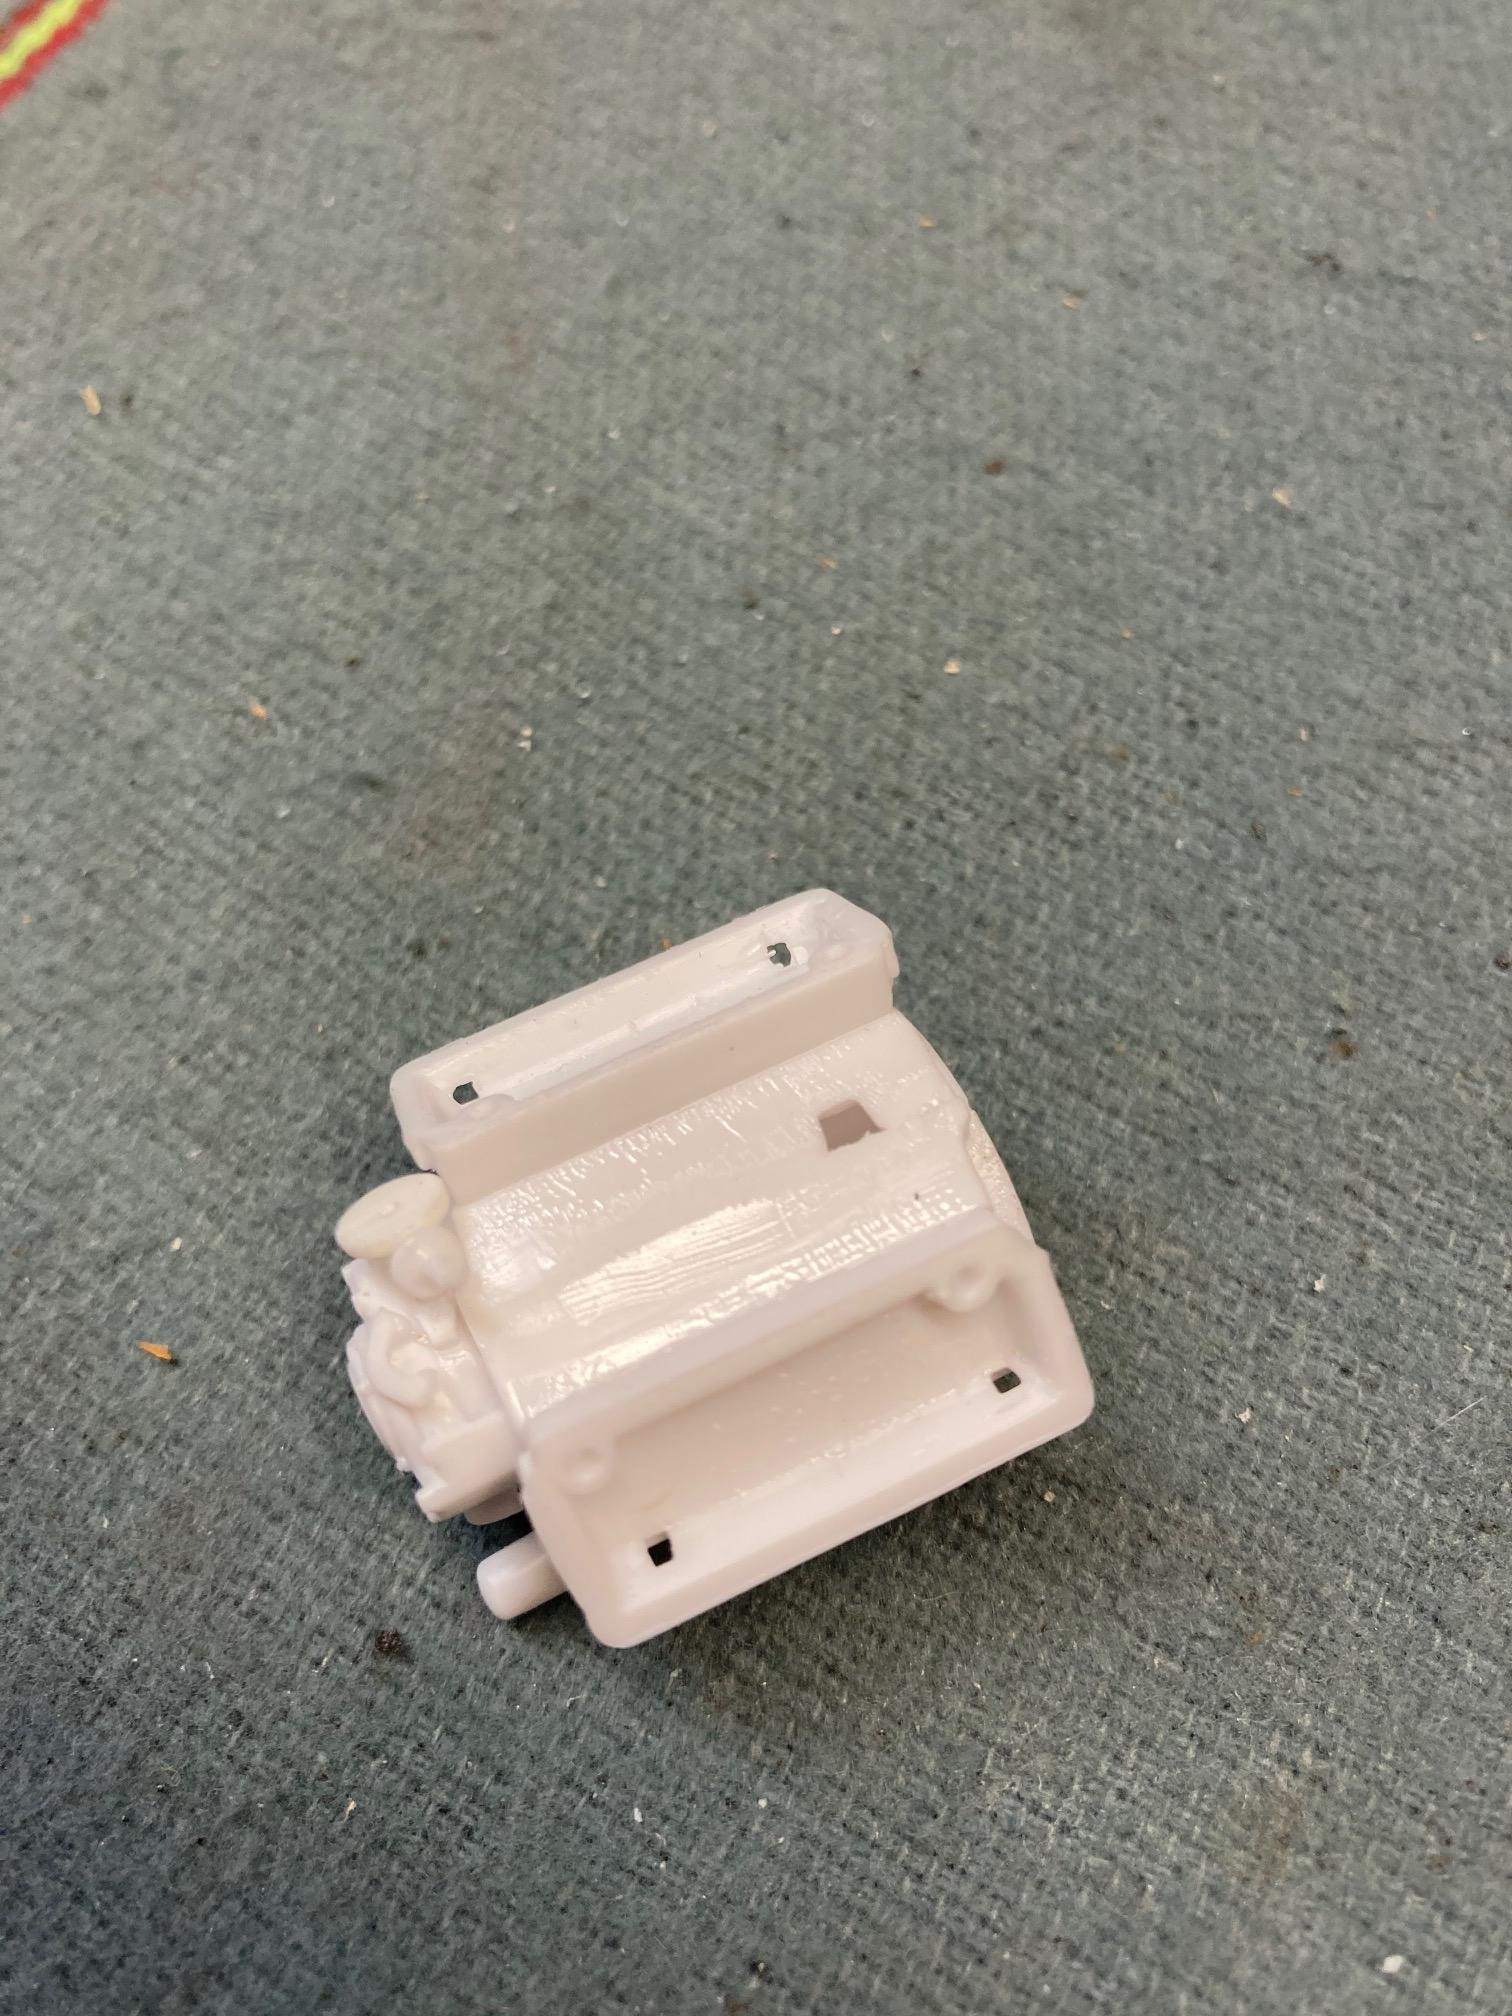
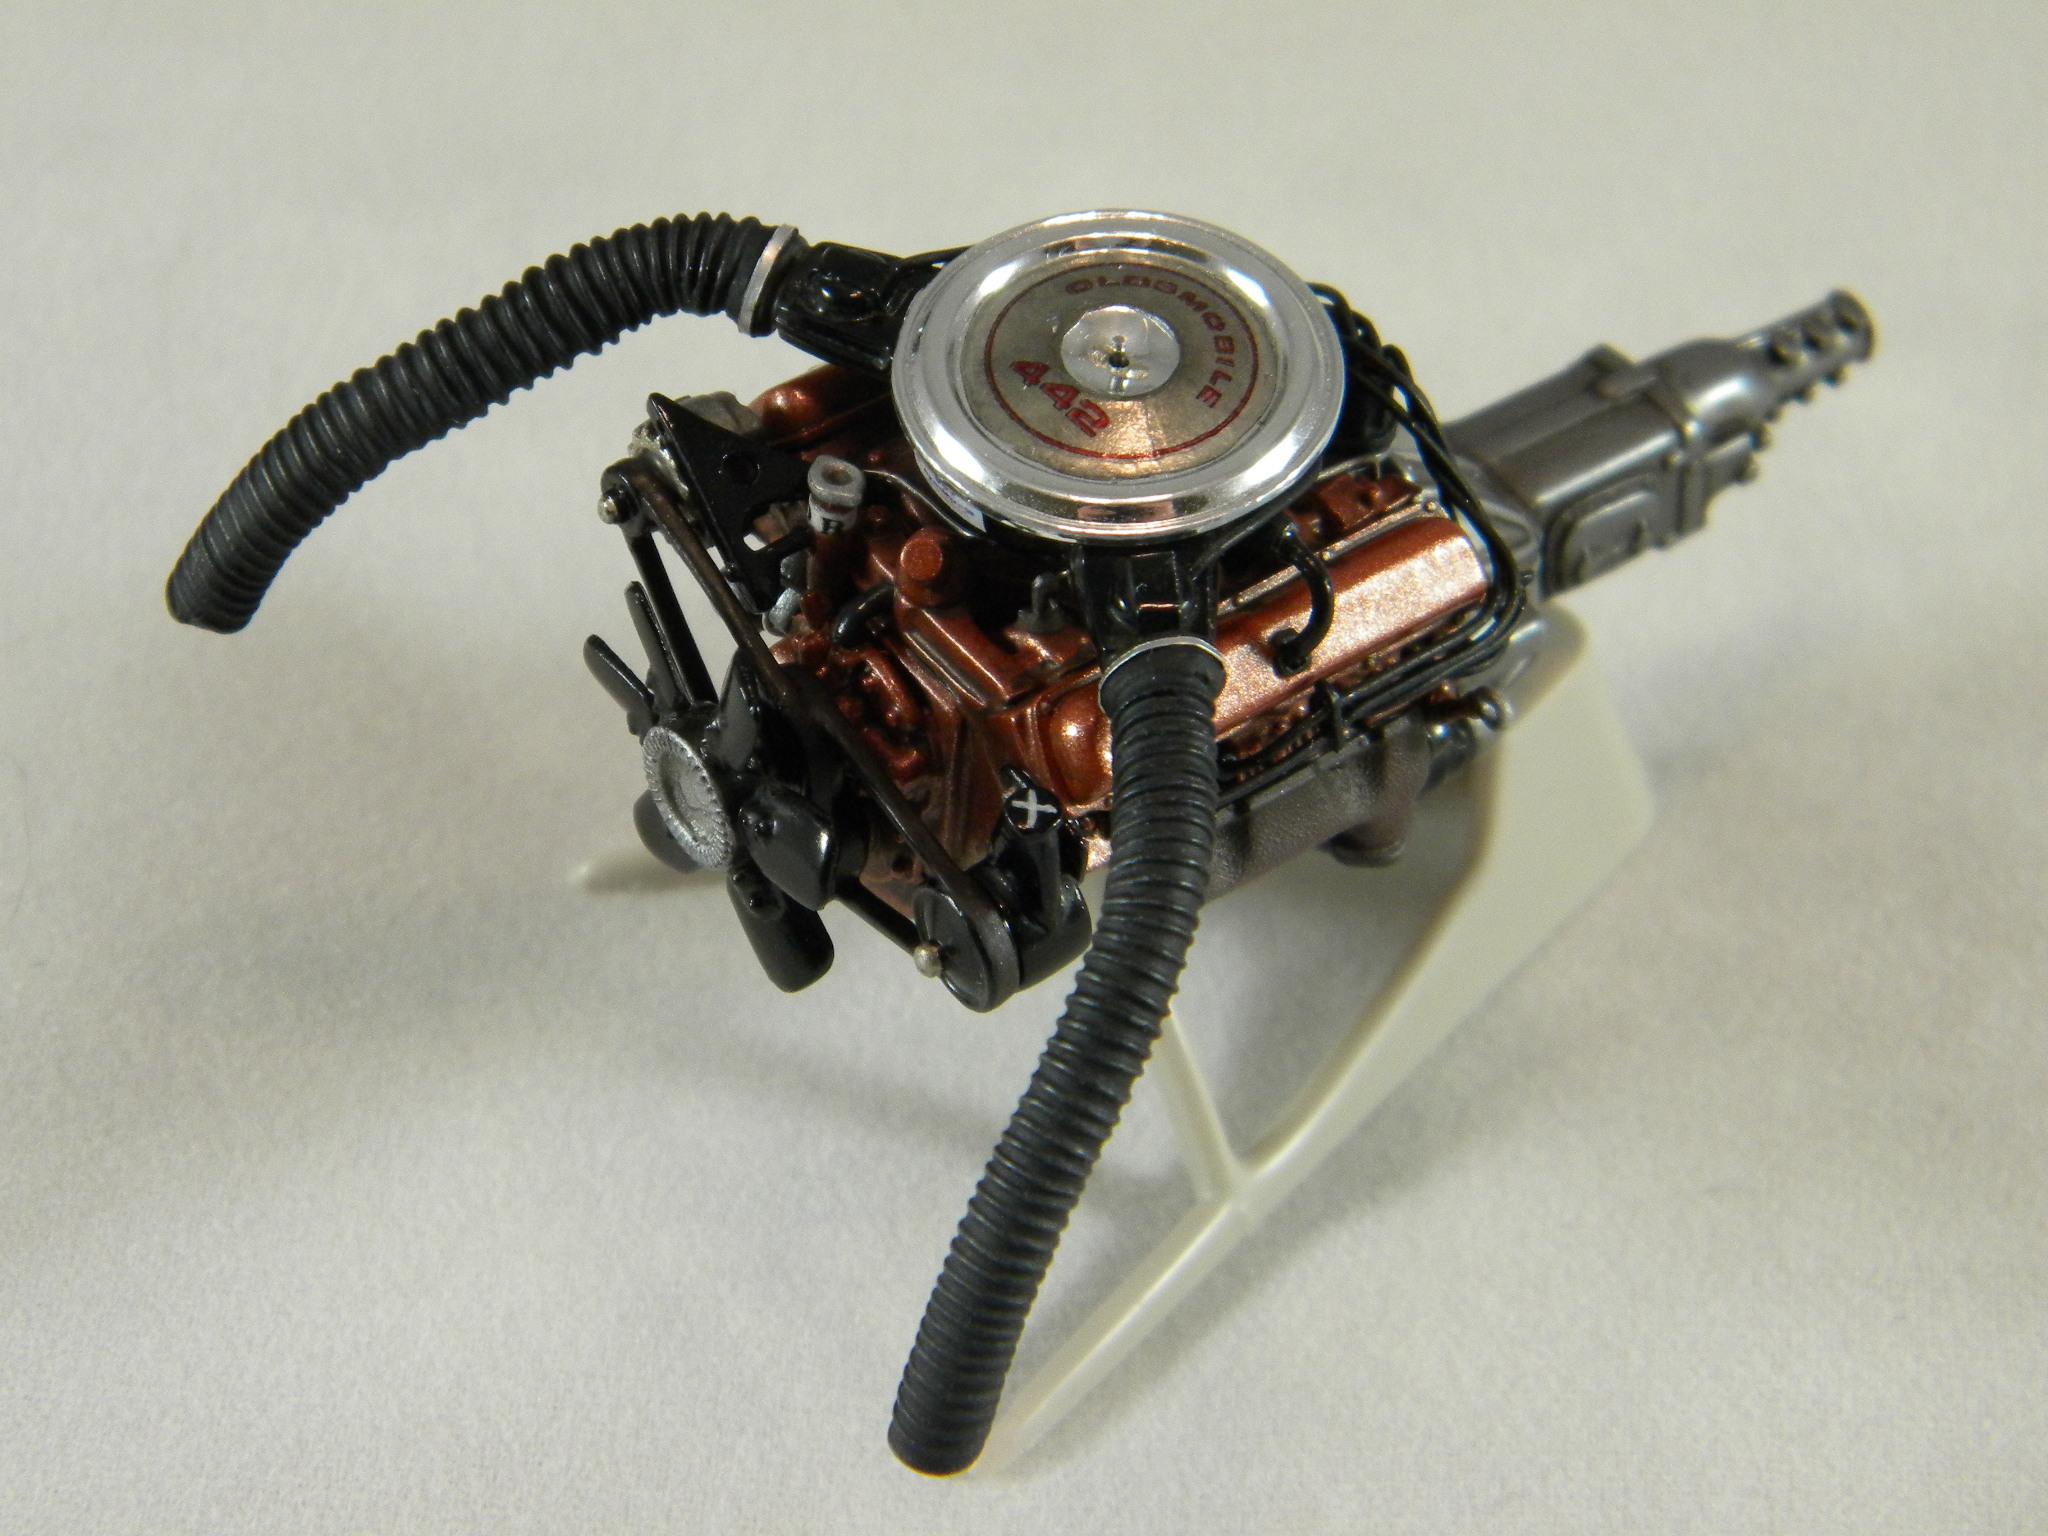
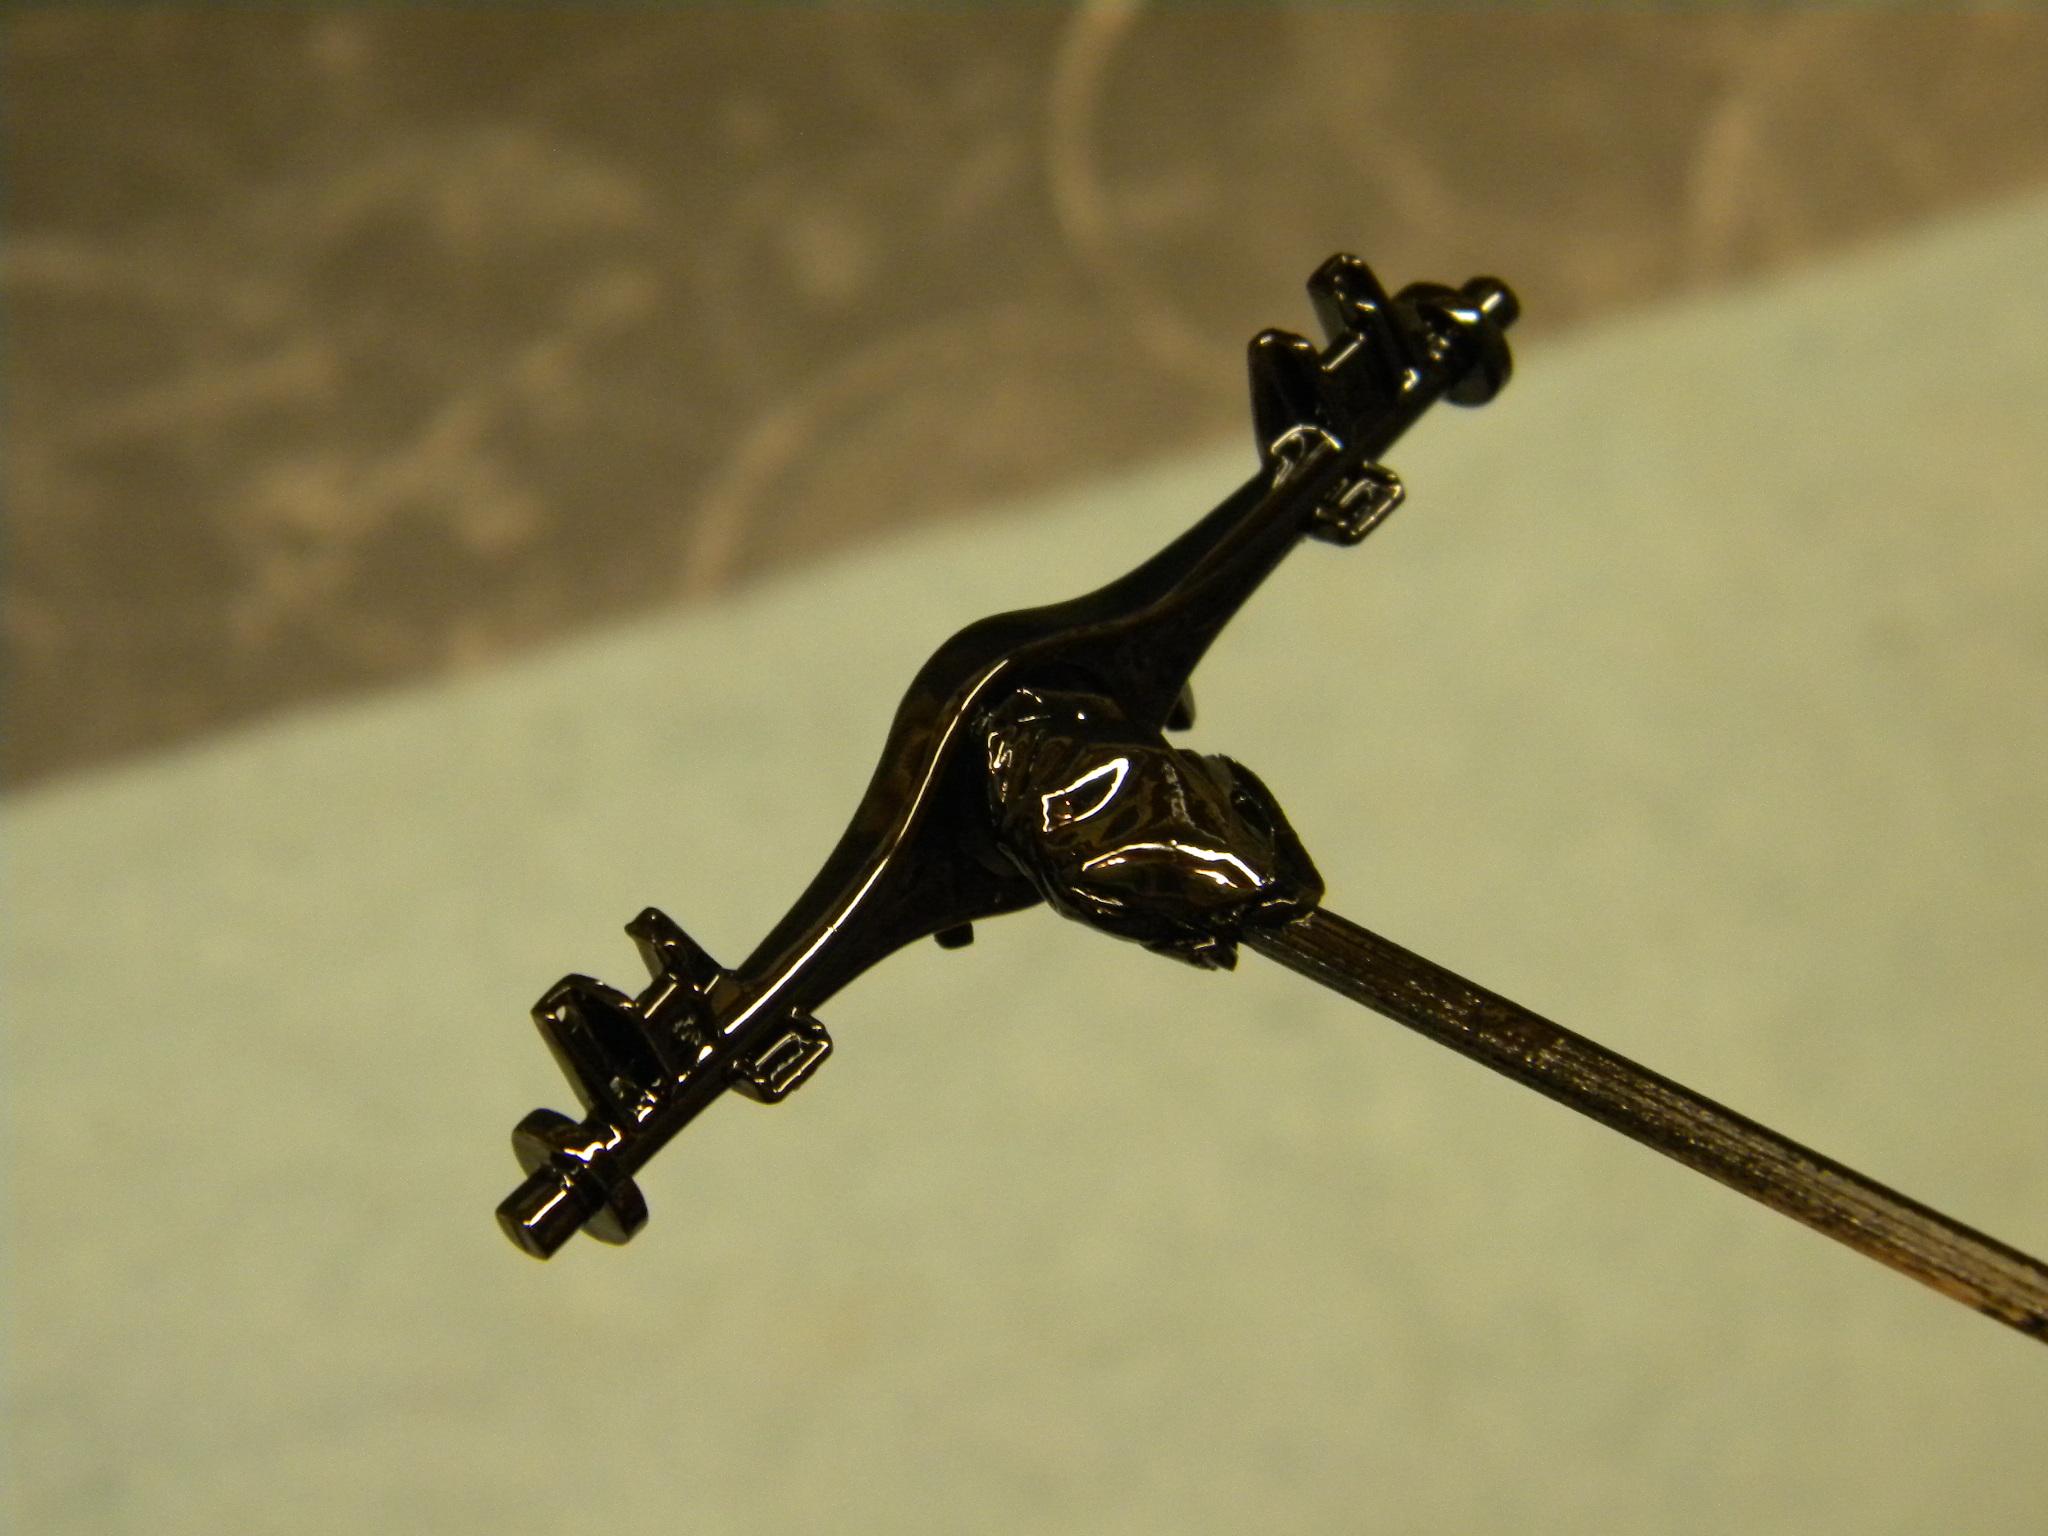
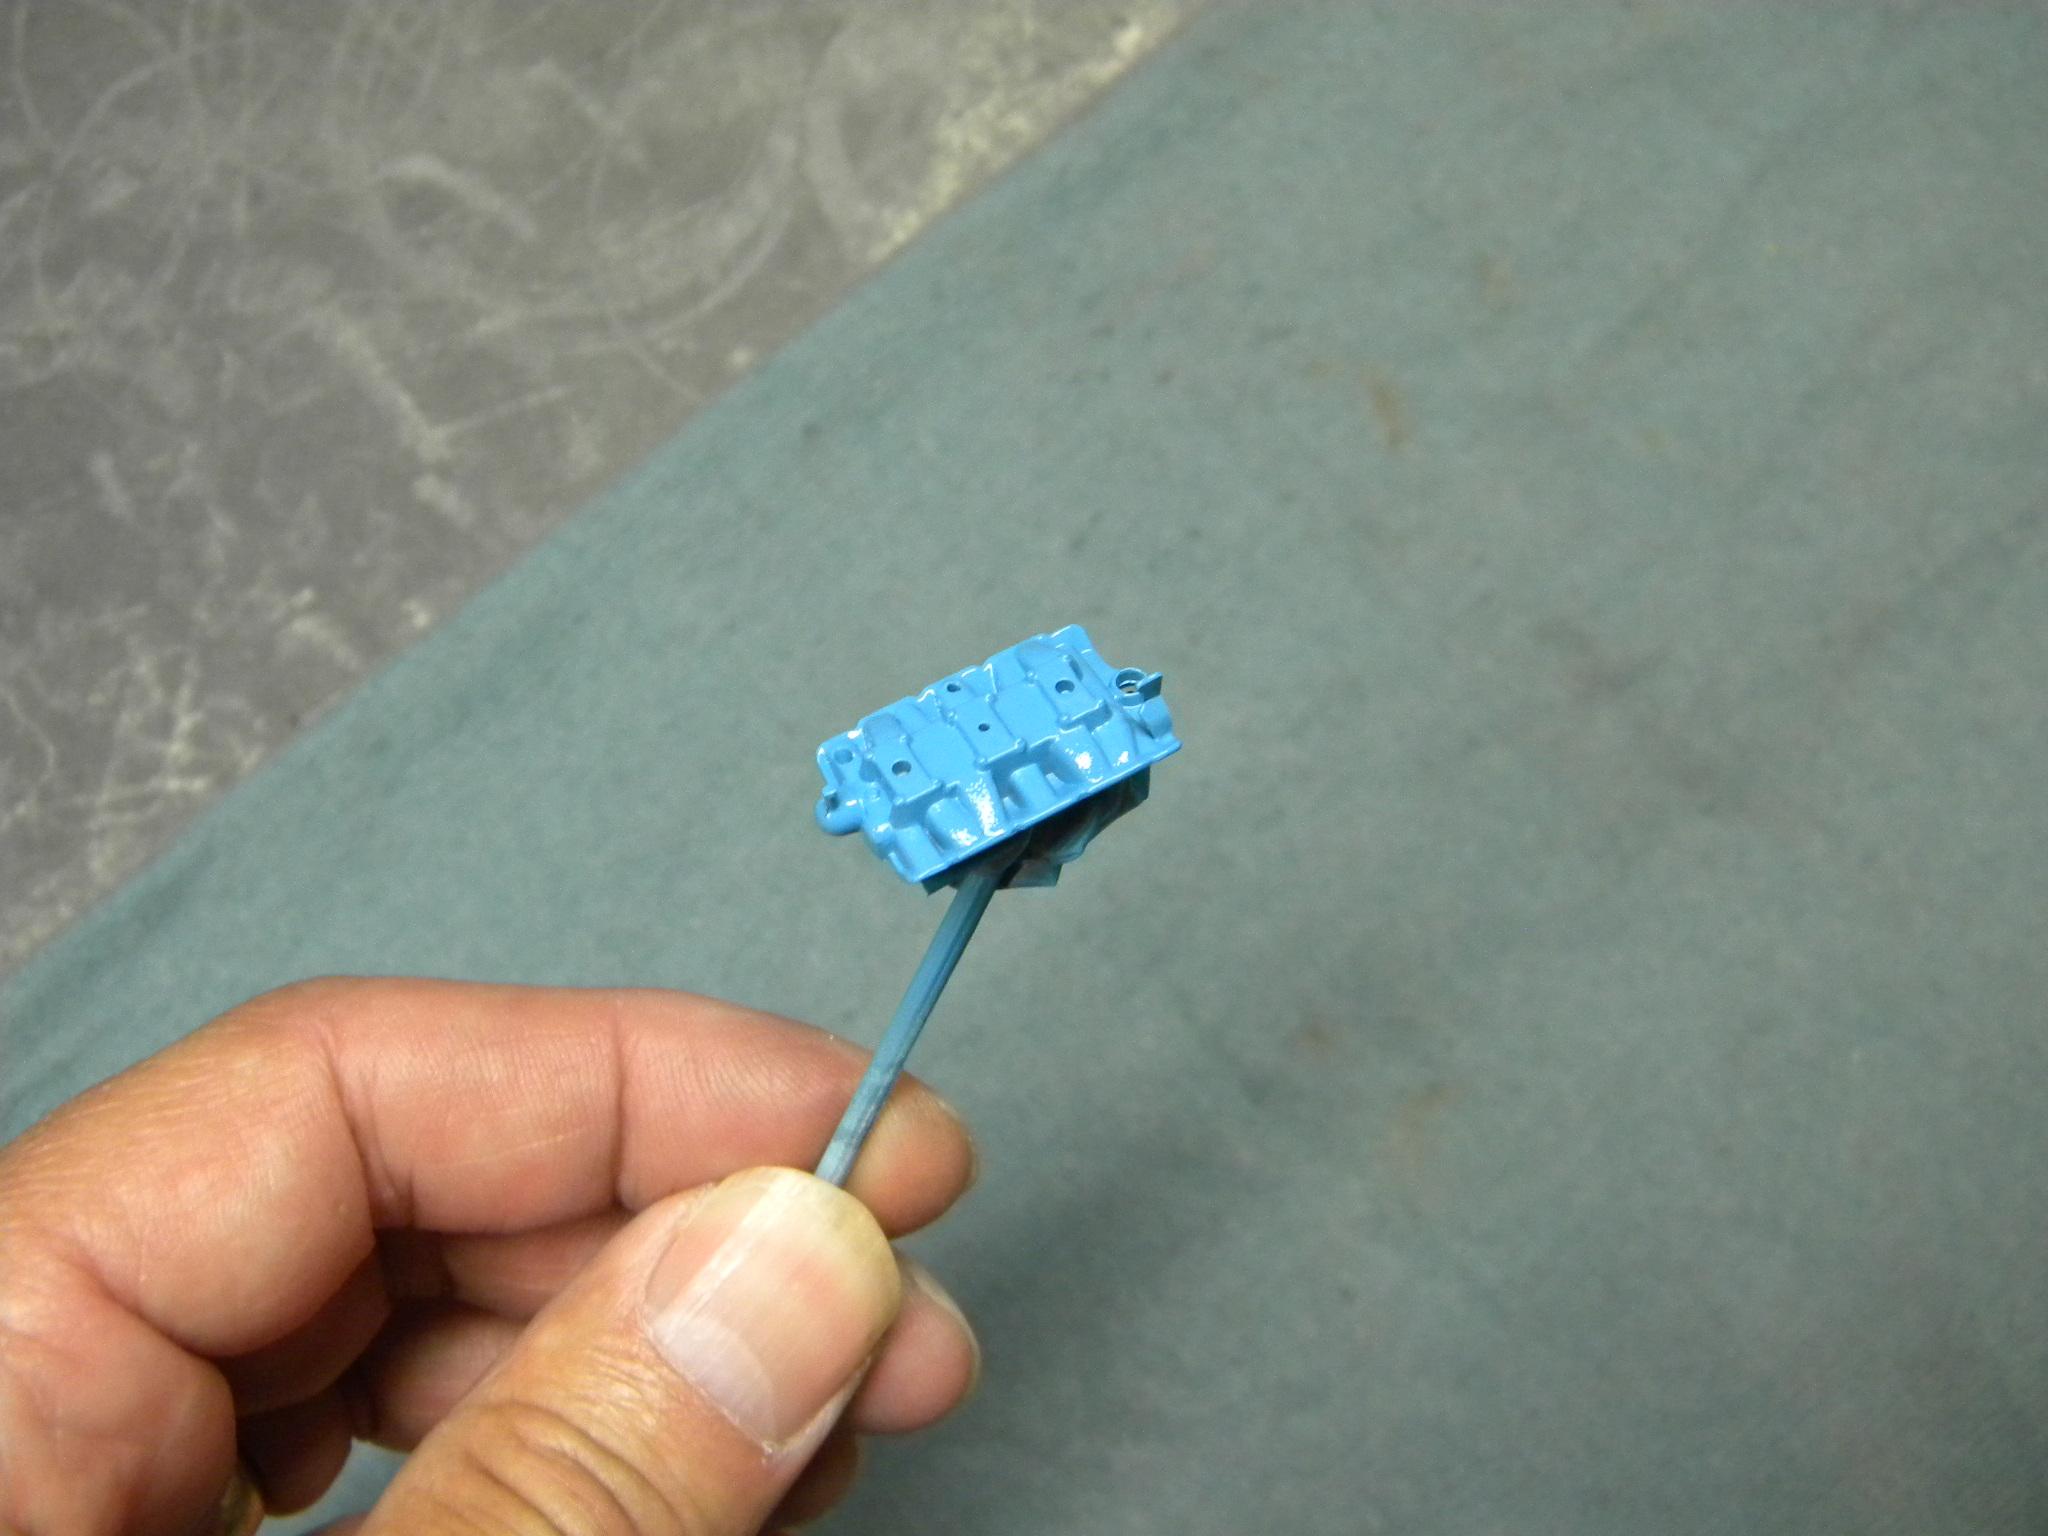
Getting started on some engine work. I'll be using the Hemi from the Revell '68 Charger kit, with the substitution of the intake and exhaust manifolds from the AMT '68 Roadrunner. Carbs are from Fireball, and I added the vacuum advance from the Revell kit to a M.A.D. distributor base. Steve

-

how many built models?
StevenGuthmiller replied to Paul Payne's topic in General Automotive Talk (Trucks and Cars)
Since I returned to the hobby somewhere around ten years ago, I've built somewhere in the neighborhood of 50 models, but the real genesis of what I'm doing today probably began about 8 years ago. Since then I have restored about 40 vintage annual kits that I currently prominently display. The other 10 modern builds are in a box somewhere. In that 8 years, my production has slowed from building one simplified or curbside model every month or two, to one much more detailed project about every six months. Steve -
I watched a story about this on my local news last night. The film was made in a bowling alley in Minnesota. The pilot of the drone used VR goggles and he was being directed by another individual, as were the other people in the building. The video you see above was the tenth take. The pilot, who is apparently an exceptionally good drone pilot, was worried about the portion of the film where he transitions from the front of the bowling alley to the rear, but said he made that transition without incident on every take. He said that the difficult part proved to be flying the drone from the outside through the front doors. Exterior winds and people passing by who were not aware of the project were apparently the most challenging hurdle. Steve
-
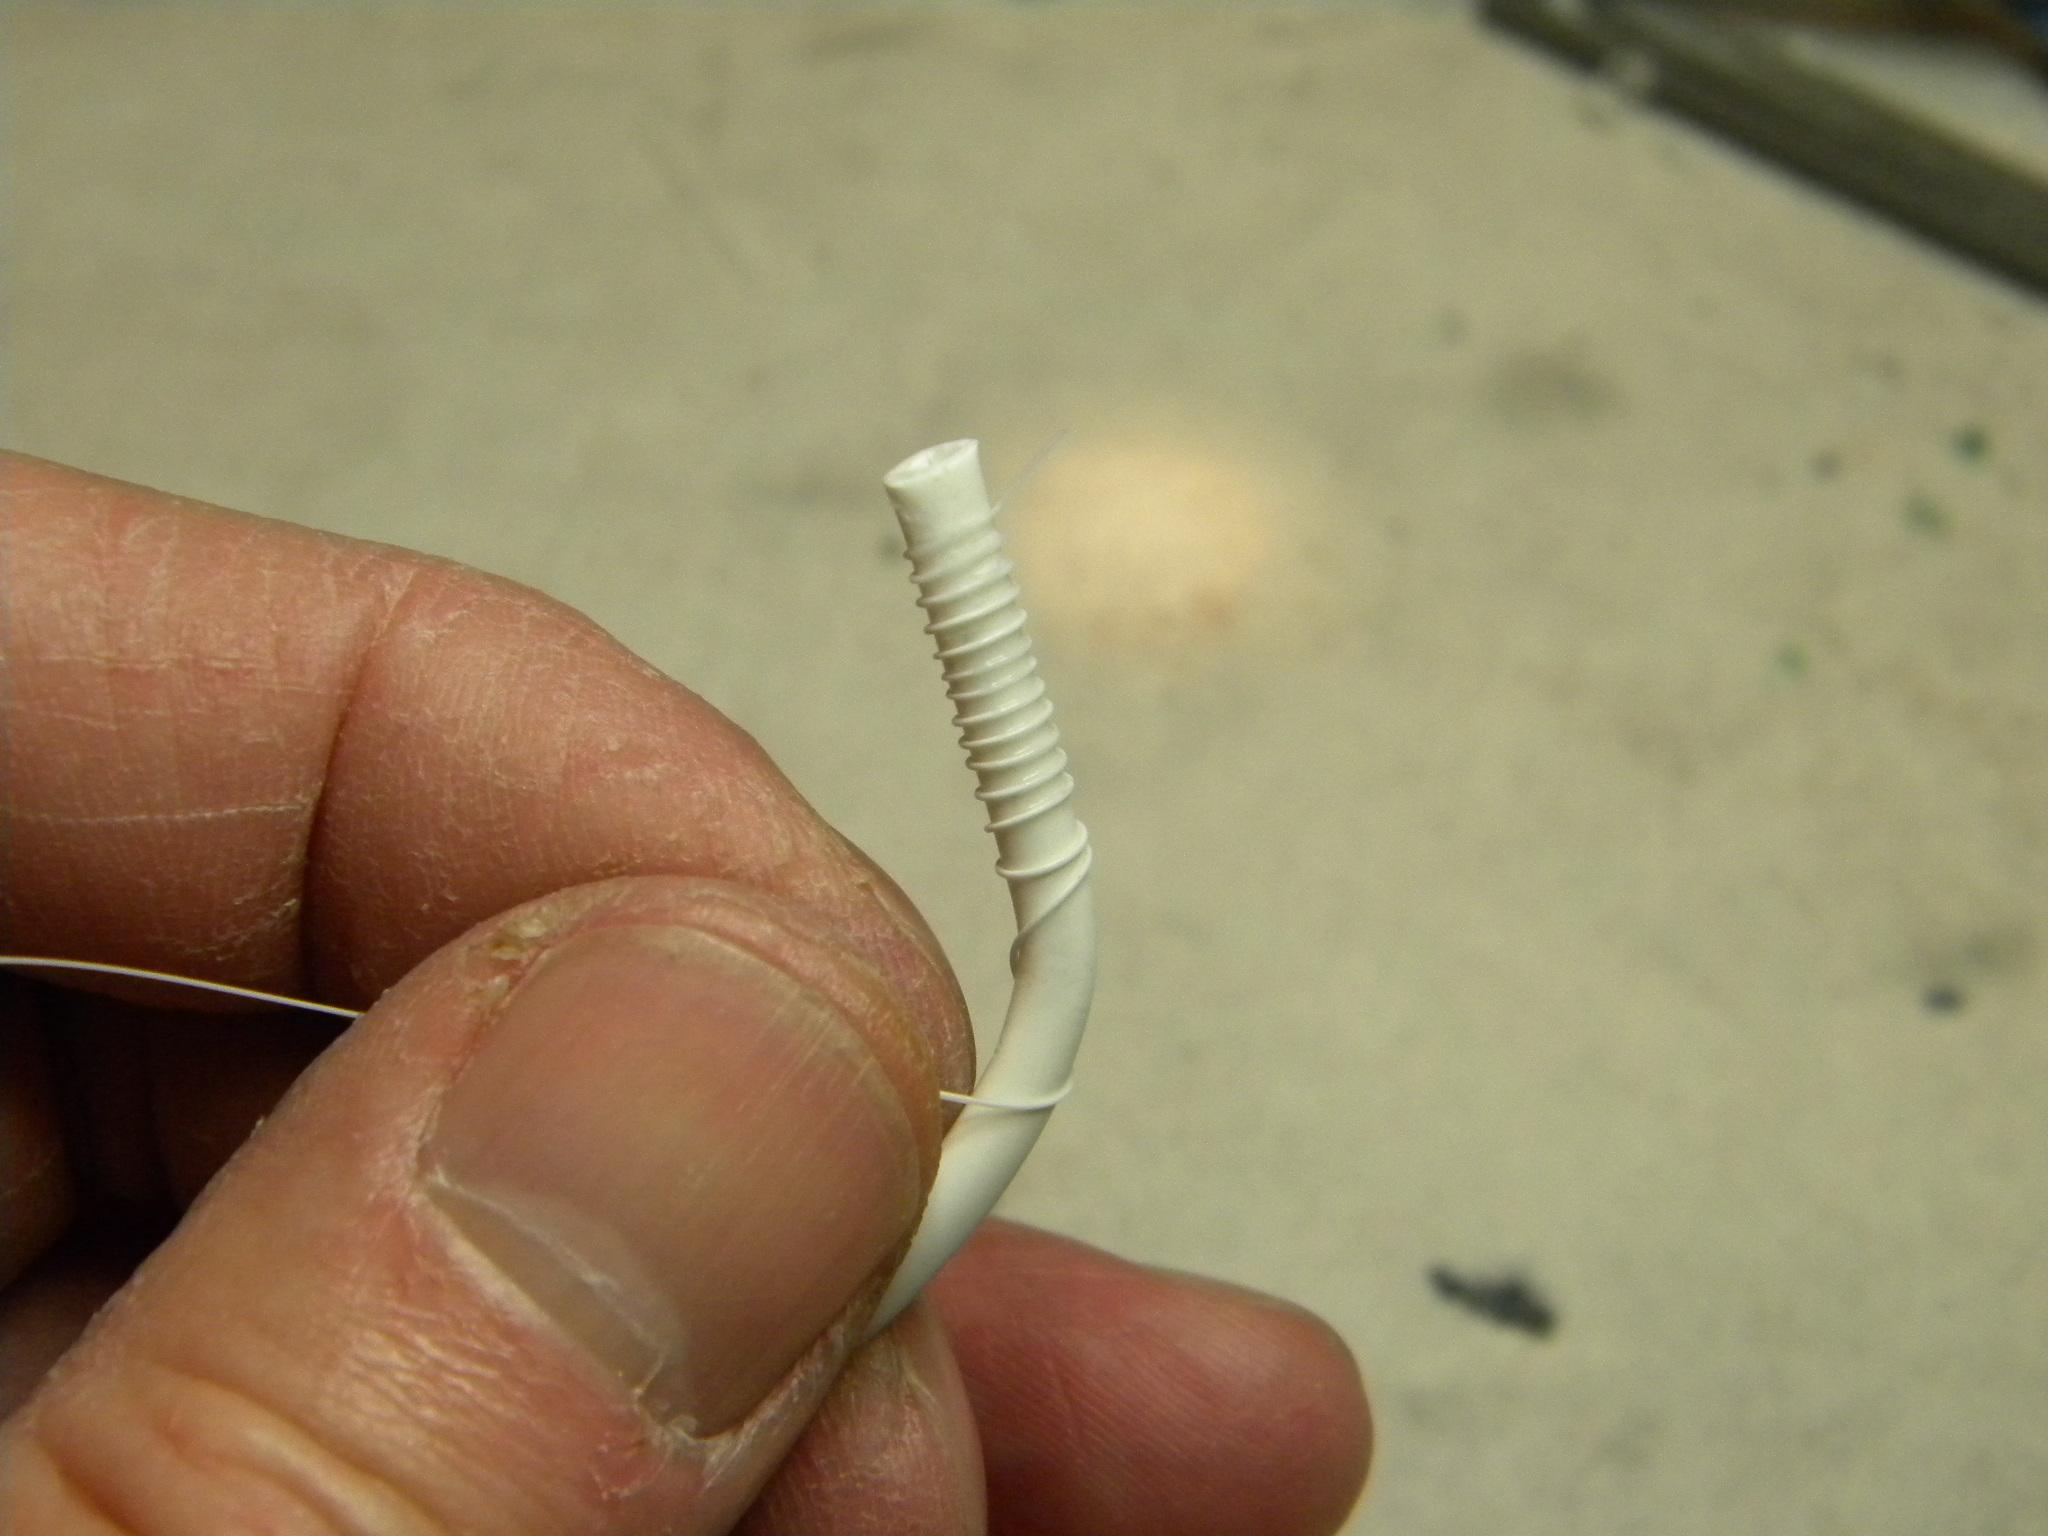
Needing some brainstorming help
StevenGuthmiller replied to Venom's topic in Model Building Questions and Answers
I use Plastruct "Plasti-Weld" liquid cement. Do two or three wraps at a time and dab on the glue while you hold it in place. Repeat. Steve -
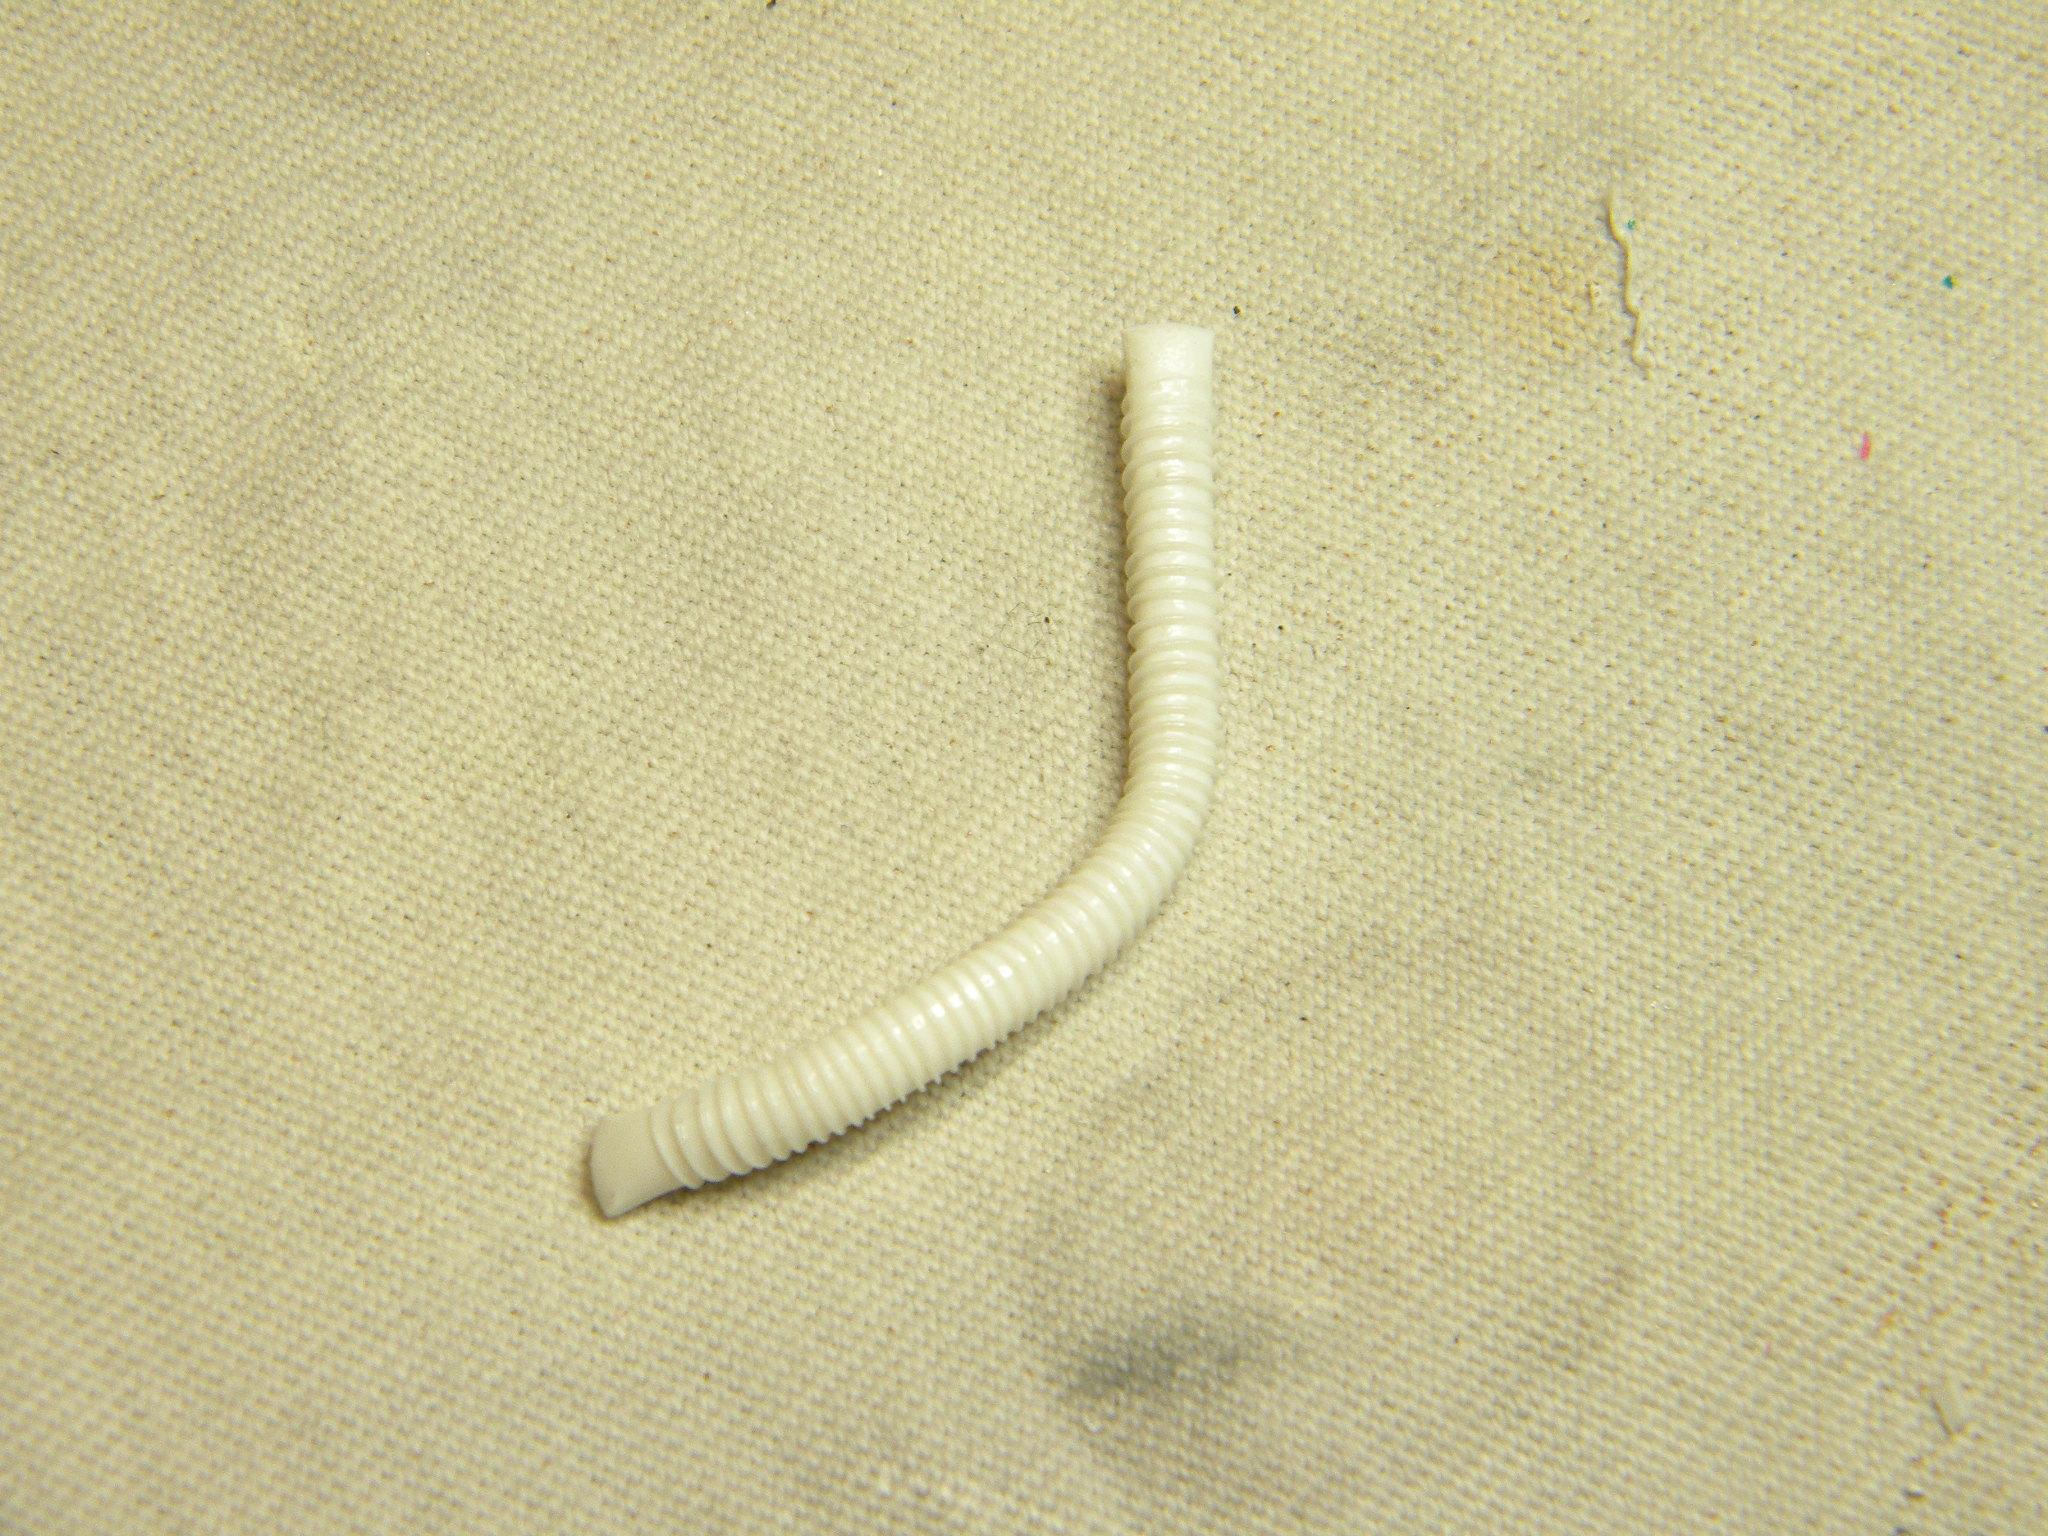
Needing some brainstorming help
StevenGuthmiller replied to Venom's topic in Model Building Questions and Answers
That is exactly how I did the intake ducts for my '68 W-30. Steve
-
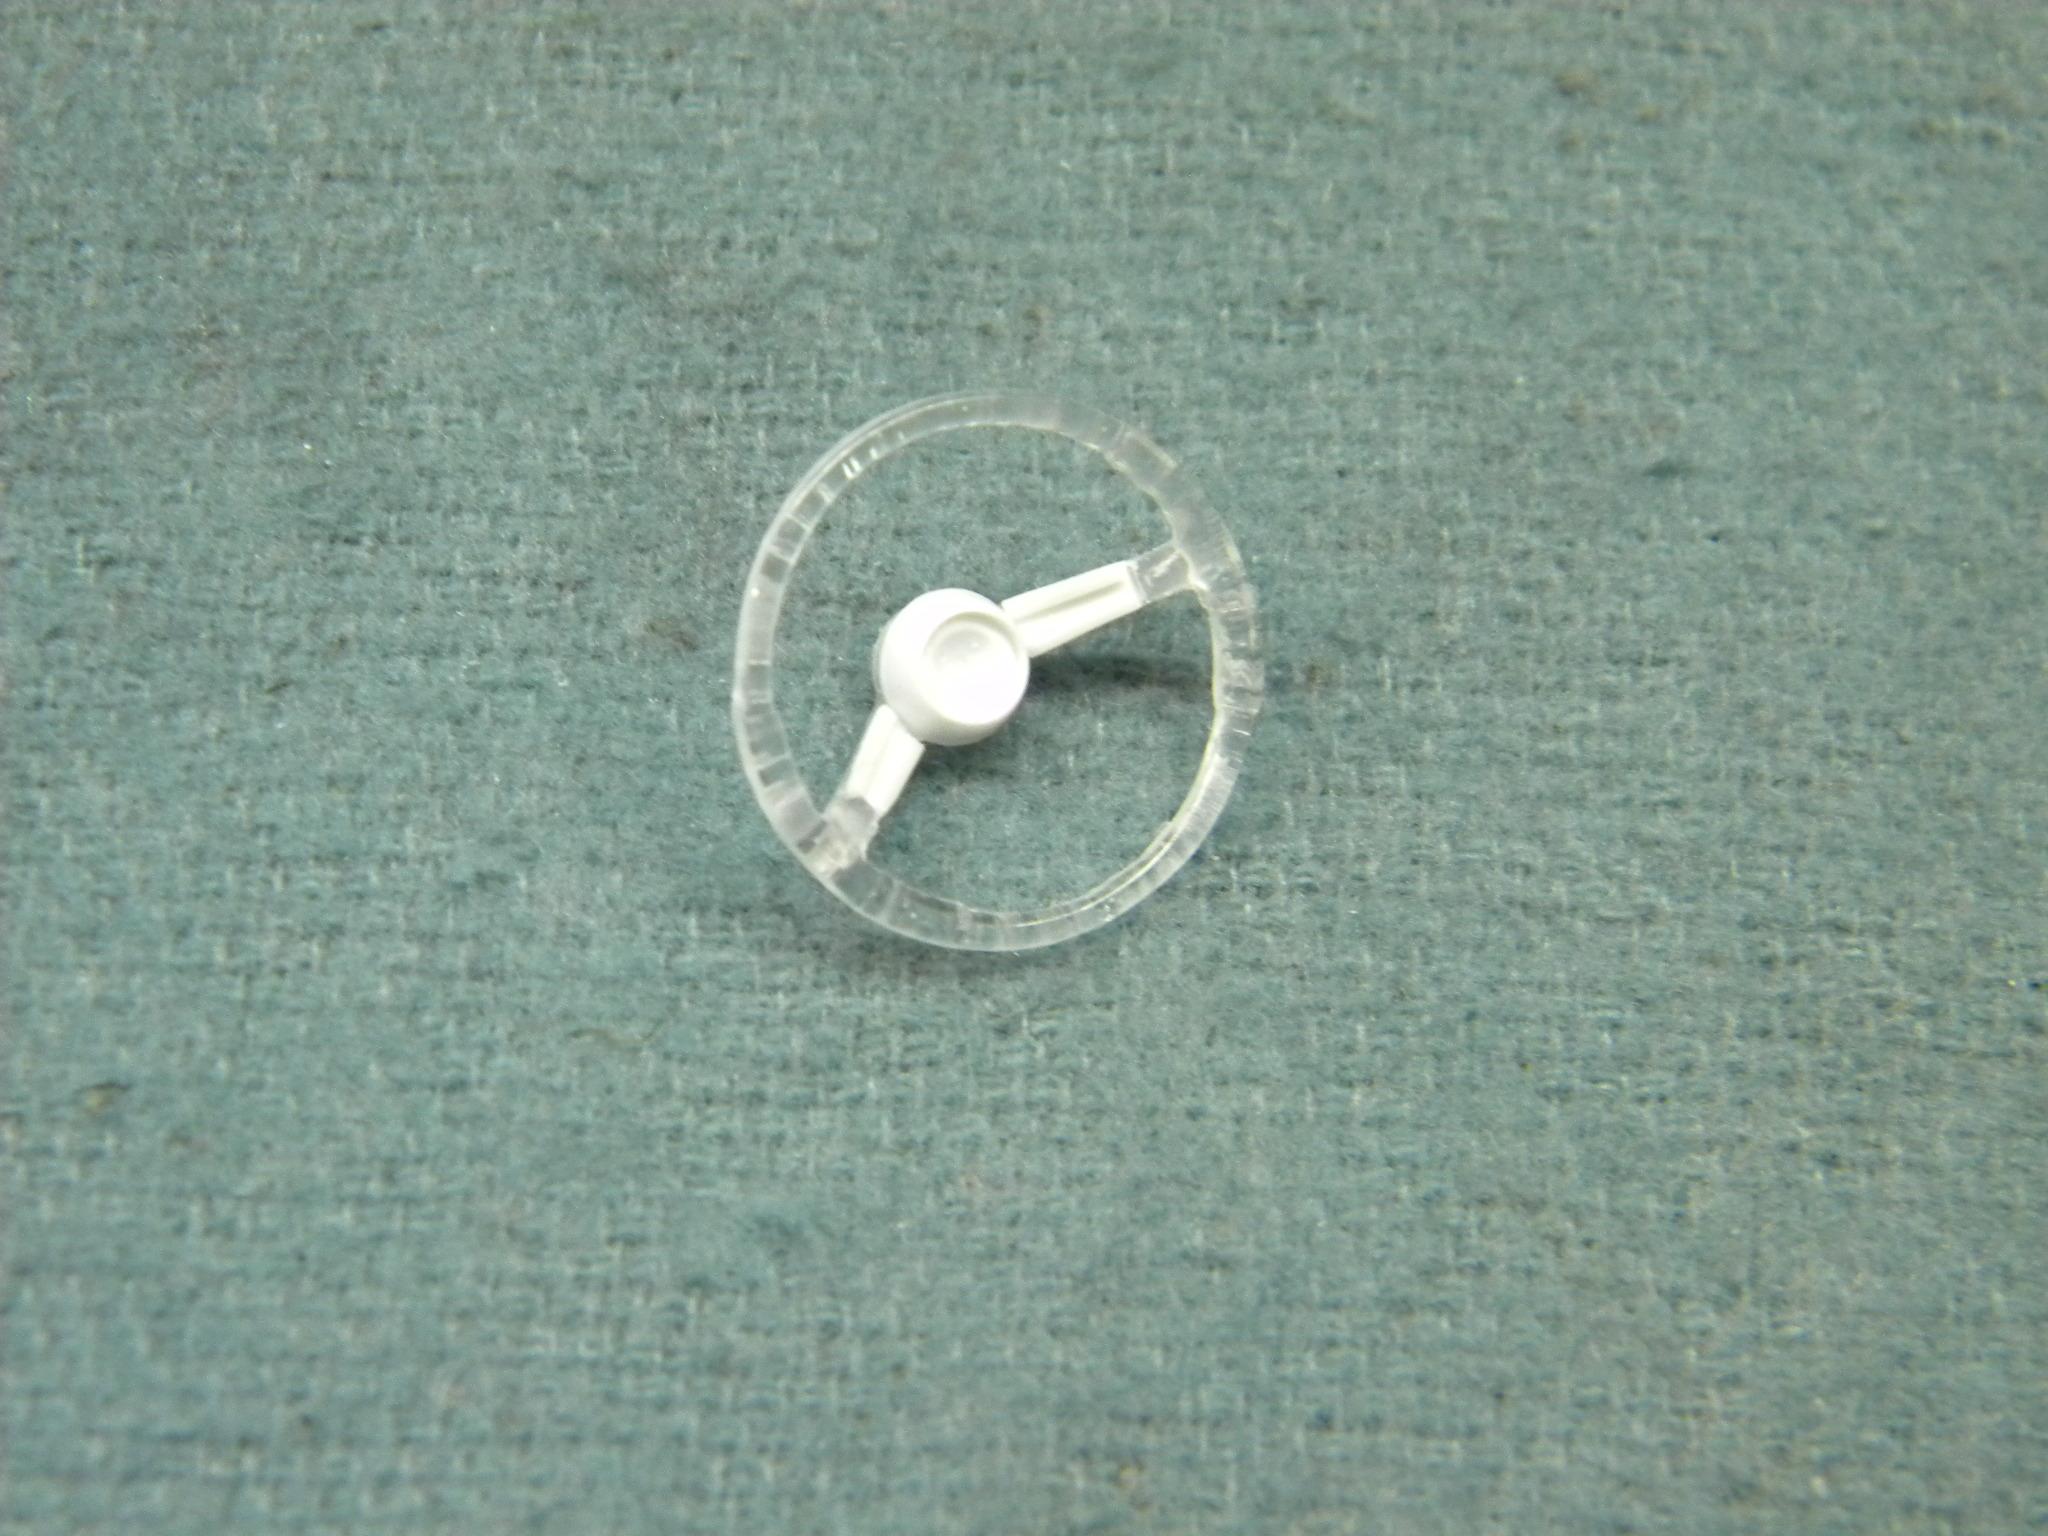
Be aware that the Testors clear enamel will yellow very quickly over light colors. I use the clear lacquers on small parts, but never on bodies any more. Had too many problems with them. But I only use the enamel when the severe yellowing is either not an issue, or is desired, like when I sprayed it over this Pontiac transparent steering wheel to achieve the aged look that I wanted. Steve
-
how do you paint the model pieces
StevenGuthmiller replied to youpey's topic in Model Building Questions and Answers
I use virtually the same technique as you do Miles. Larger parts that only need paint on one side get done exactly the same way as you do them. Smaller parts are done a couple of ways. First, if the part only needs finishing on one side as above, a piece of tape wadded up on the end of a tooth pick or skewer works just fine. If the part has a hole in it, I will insert a tooth pick firmly into that hole for painting. If the hole is small, I will sharpen the tooth pick until it fits snugly into the hole. Another option for very small parts without a hole is to make one. I drill a small hole in the part in an area that will not be exposed on the finished model and then either use a tooth pick, or in some cases a plastic pin. Pinning parts can come in very handy for assembly later on, so this is a good practice to get used to anyway. Parts with pins already present or added afterwards can be held with alligator clips fastened to wooden skewers and inserted into a piece of scrap Styrofoam. There are a lot of options for holding parts for painting. You just have to think about it a little sometimes. Steve
-
Agreed. There's no problem with chroming resin as long as the casting is acceptable to chrome. There's nothing wrong with the plating process, only the quality of the resin parts. I have tons of plated resin parts that are every bit as good as a plated styrene part. Case in point is this Modelhaus 1958 Ford rear bumper. There's no possible way to tell that it's a resin part. Steve
-
Plated tanker trailer
StevenGuthmiller replied to James Maynard's topic in Model Building Questions and Answers
Yes, I buy my epoxy at O'reilly auto parts. I get JB-Weld "Clear Weld". Been very happy with it. Of course you can buy it almost anywhere on line as well. Steve -
Well there's absolutely no question that sending them out for chroming is going to give you the best result. It's pretty tough to beat real chrome with spray on chrome. The others will give you some resemblance to chrome, but they are not going to give you the same reflectivity, and they will definitely fall far short in the durability department. BMF would probably give you the closest thing to chrome, but good luck covering a wheel with foil. Steve
-
I really need to get another one of the Johan kits. Probably one of the most beautiful, best engineered and most detailed kits I’ve ever built! Steve
-
Painting Chasis parts
StevenGuthmiller replied to Hws5283's topic in Model Building Questions and Answers
You don't necessarily need a gloss black base under Alclad. Only on the chrome or maybe polished aluminum. You're correct about durability to a certain extent, but a shot of clear will make all but the chrome paint as tough as nails. Every metal part that you see here is Alcad of various colors. All shot over primer, (except the chrome air cleaners, exhaust tips and radiator cap), shot with Testors clear lacquer, and slightly weathered. Steve
-
Plated tanker trailer
StevenGuthmiller replied to James Maynard's topic in Model Building Questions and Answers
I agree. Nix on the Testor's cement. It's always been a PITA as far as I'm concerned anyway. Get some 2 part epoxy for a job like this as Tom suggested. Liquid cements and CA glues can cloud, or otherwise mar the chrome finish if you're not extremely careful. Epoxy will not harm the chrome, and it will give you an extremely strong bond. Steve -
Painting Chasis parts
StevenGuthmiller replied to Hws5283's topic in Model Building Questions and Answers
Alclad is your best bet for metal paints in my opinion. They have a full line of different paints that are very realistic and quite easy to work with if you have an airbrush. Steve -
Yup. Steve
-
Absolutely! MCW, (Model Car World) and Scale Finishes make lacquer paints that are just as good if not better than Tamiya, and the color palette is endless. Steve
-
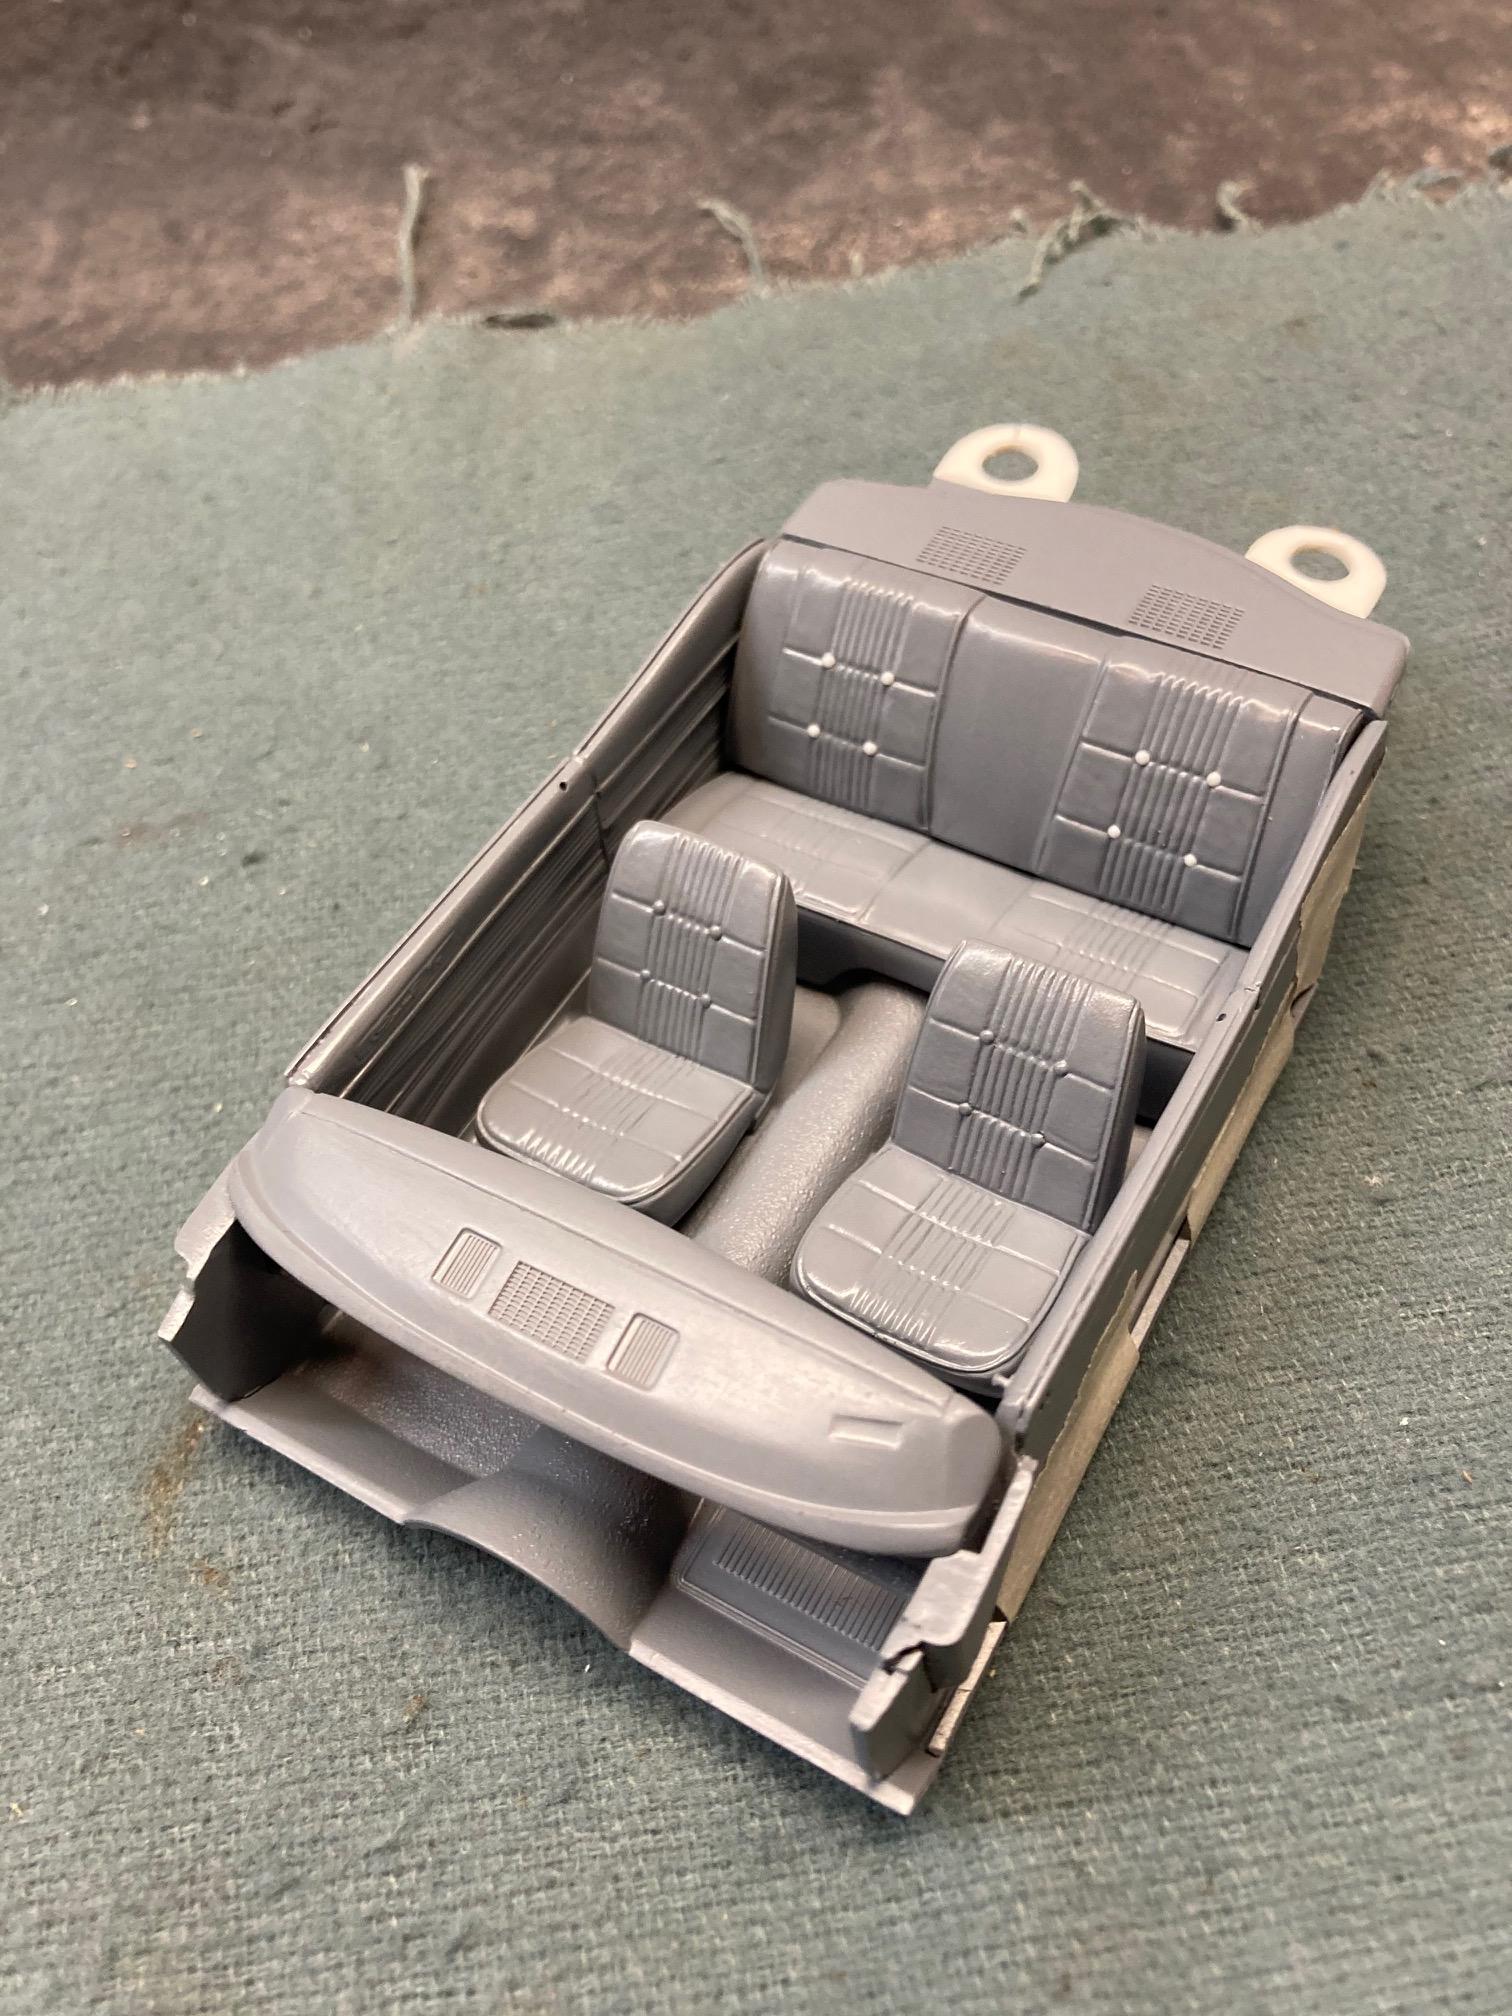
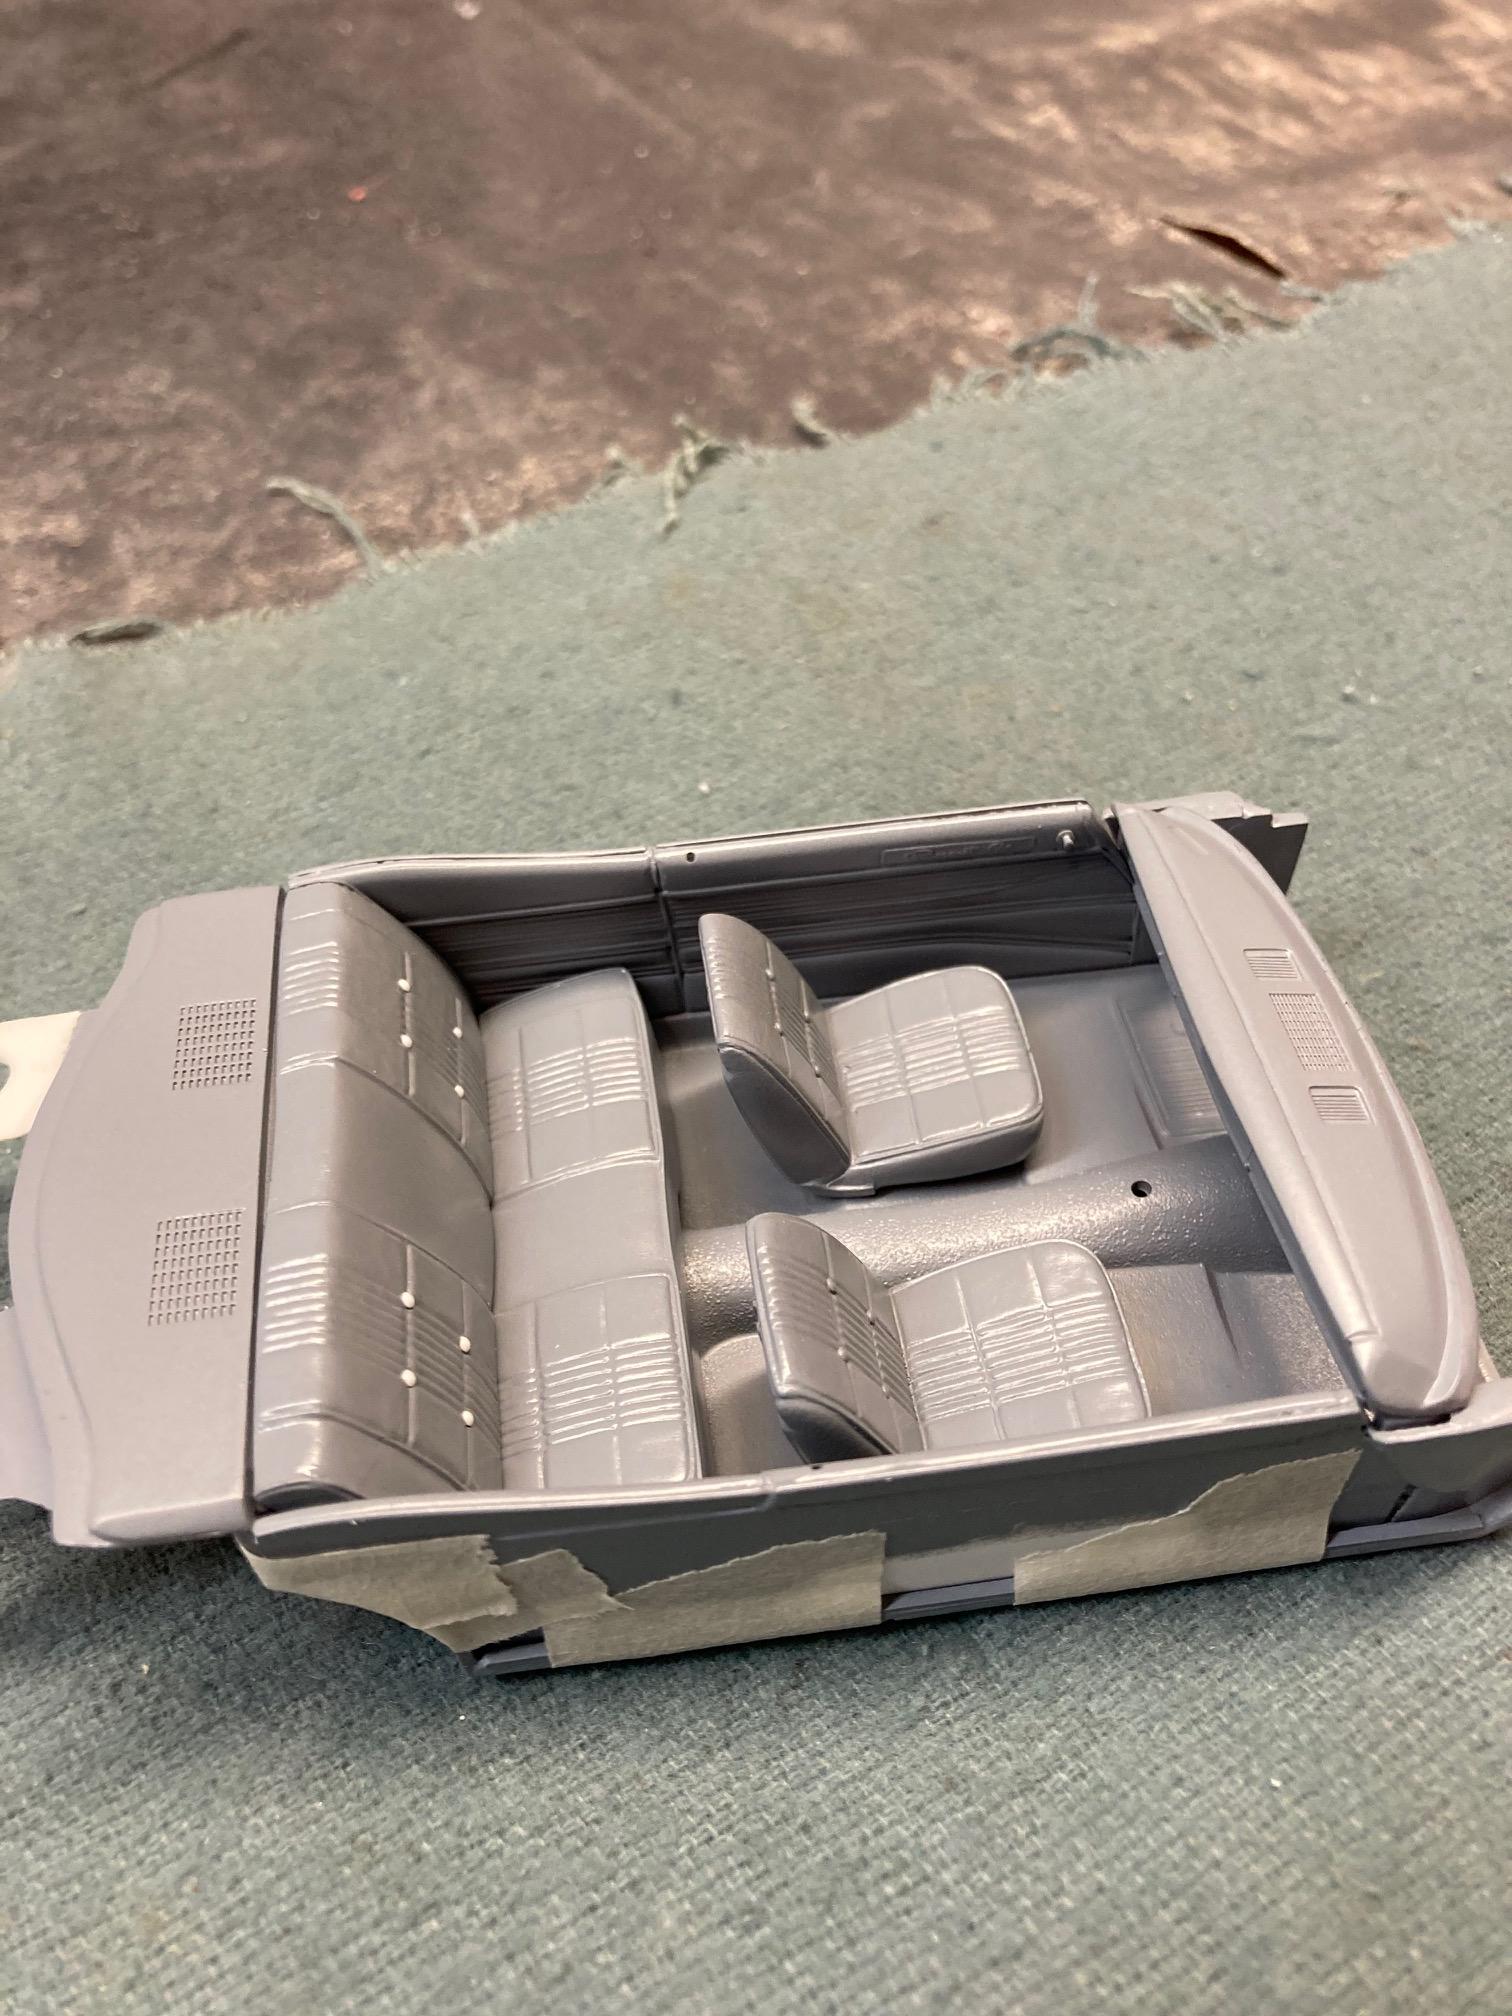
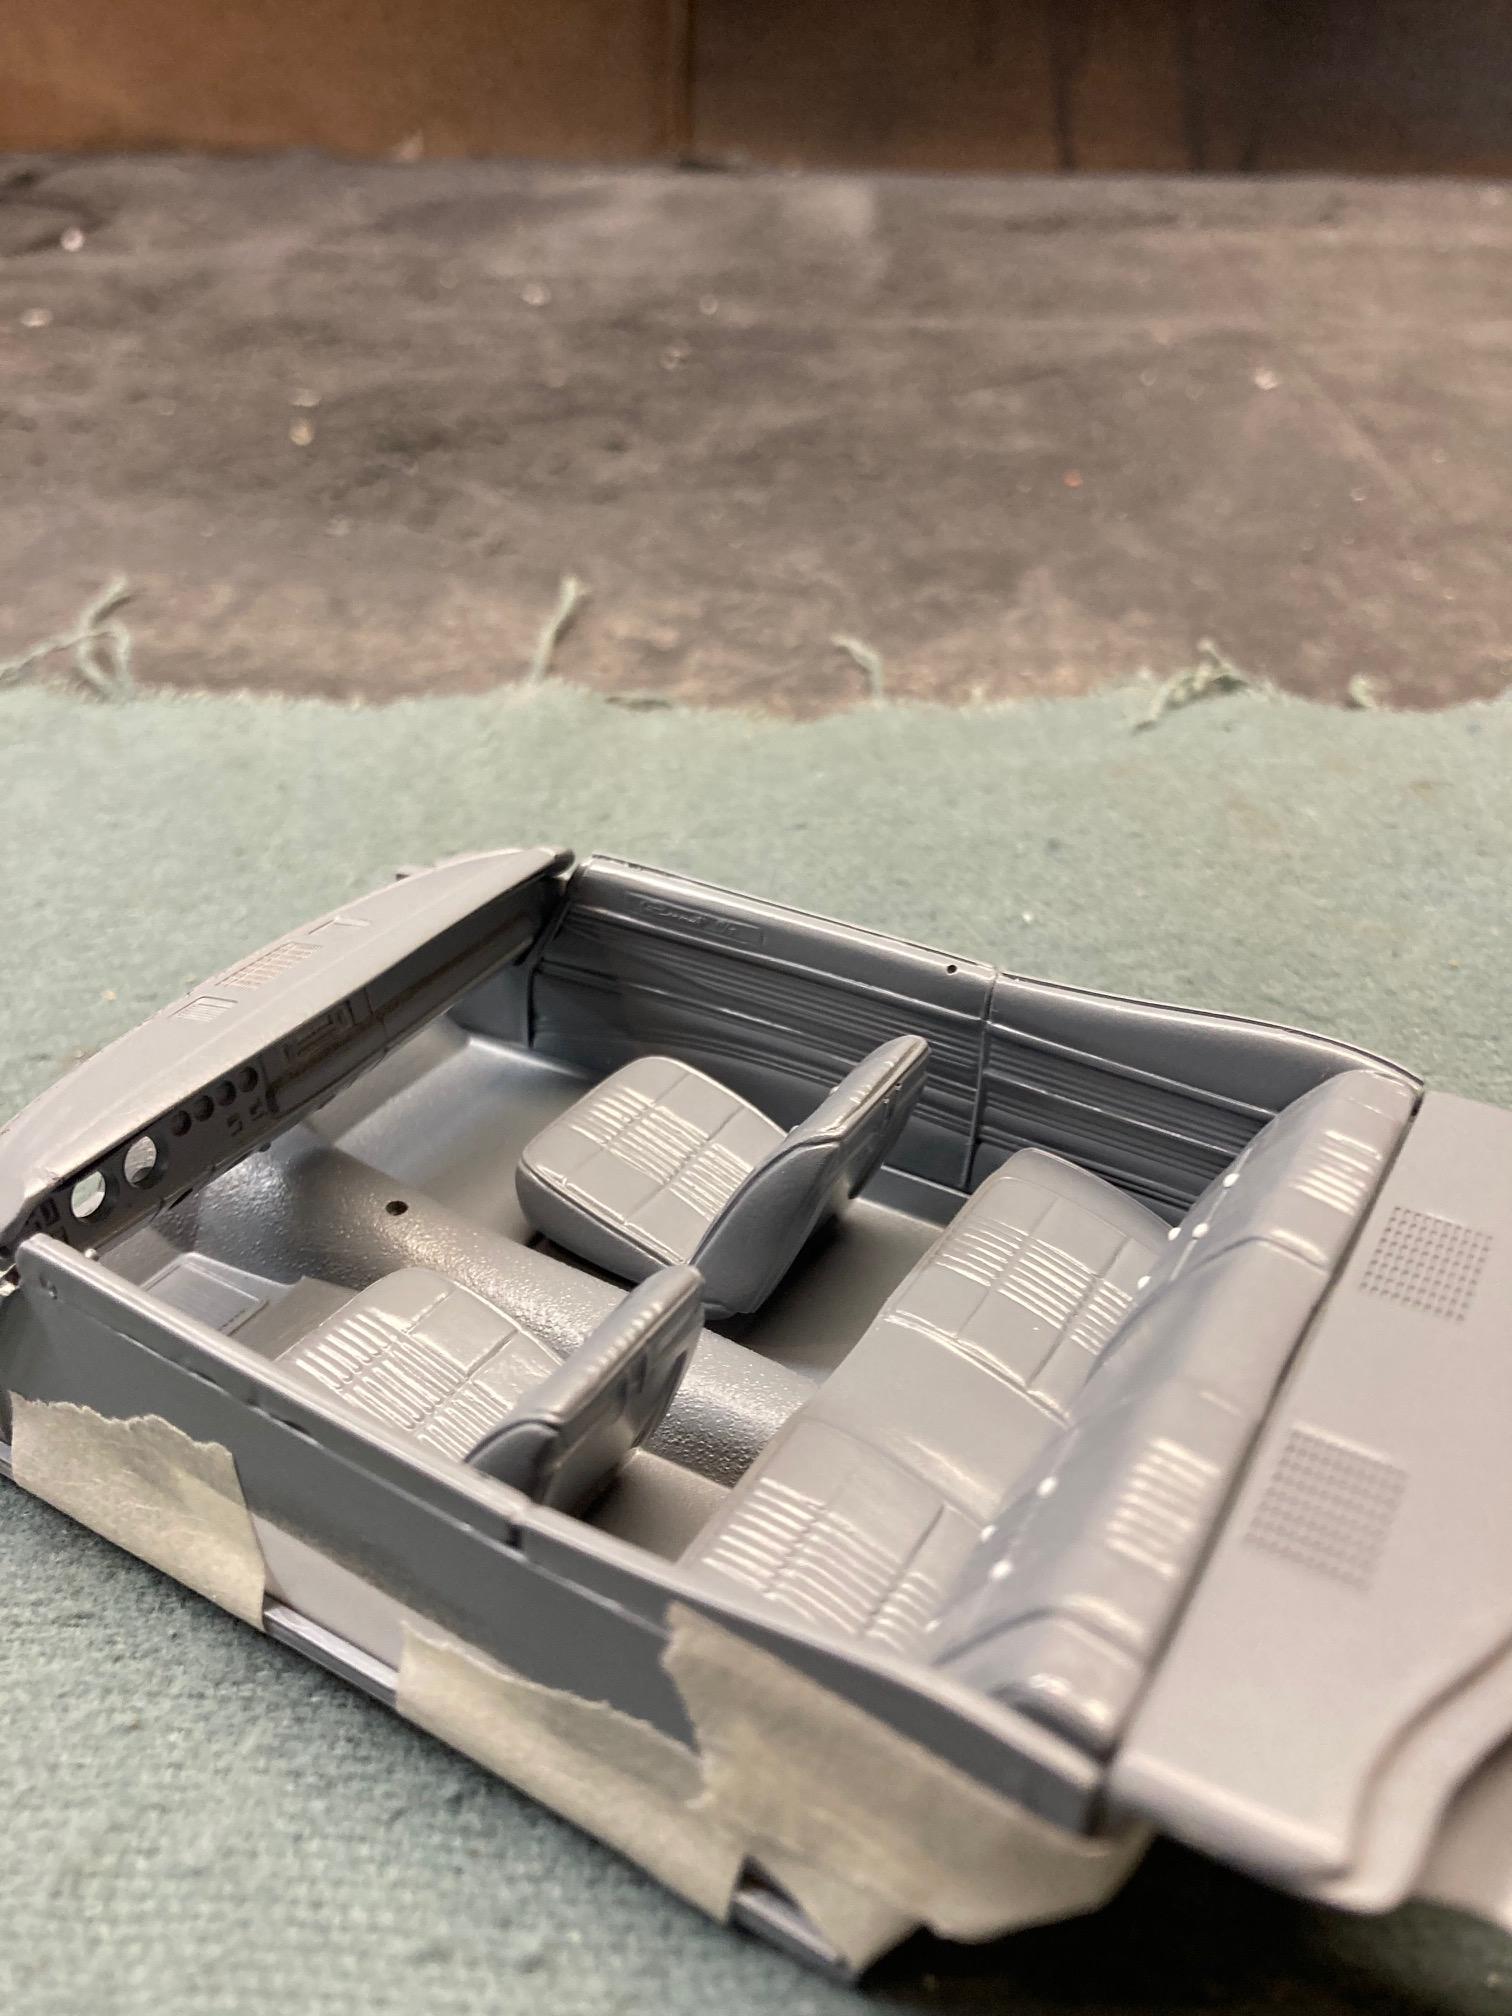
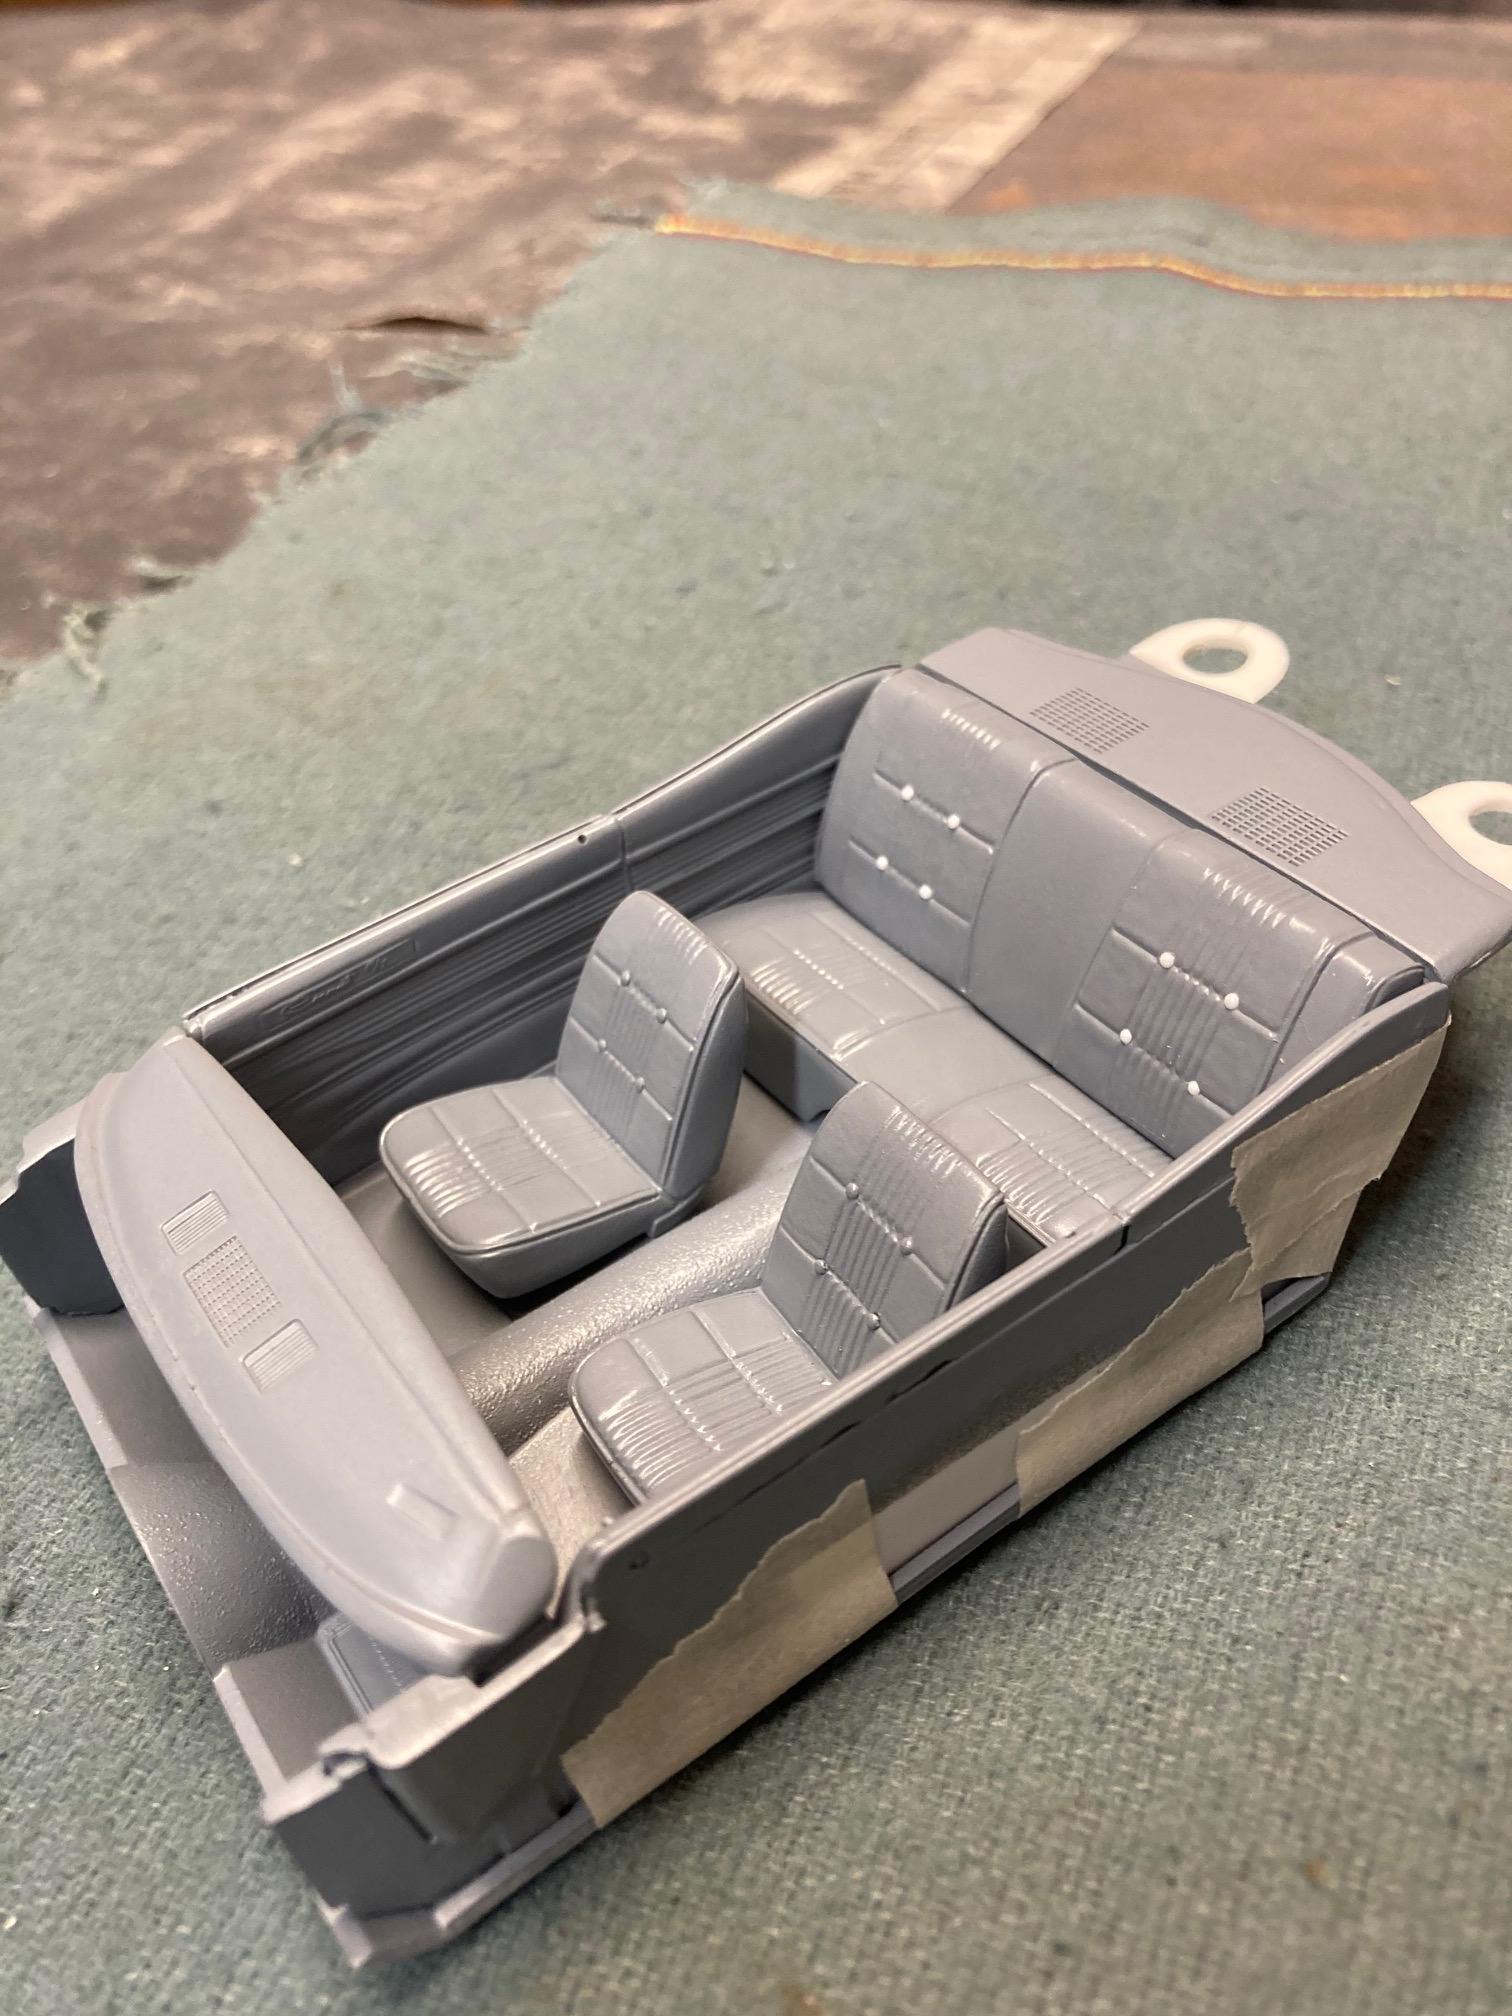
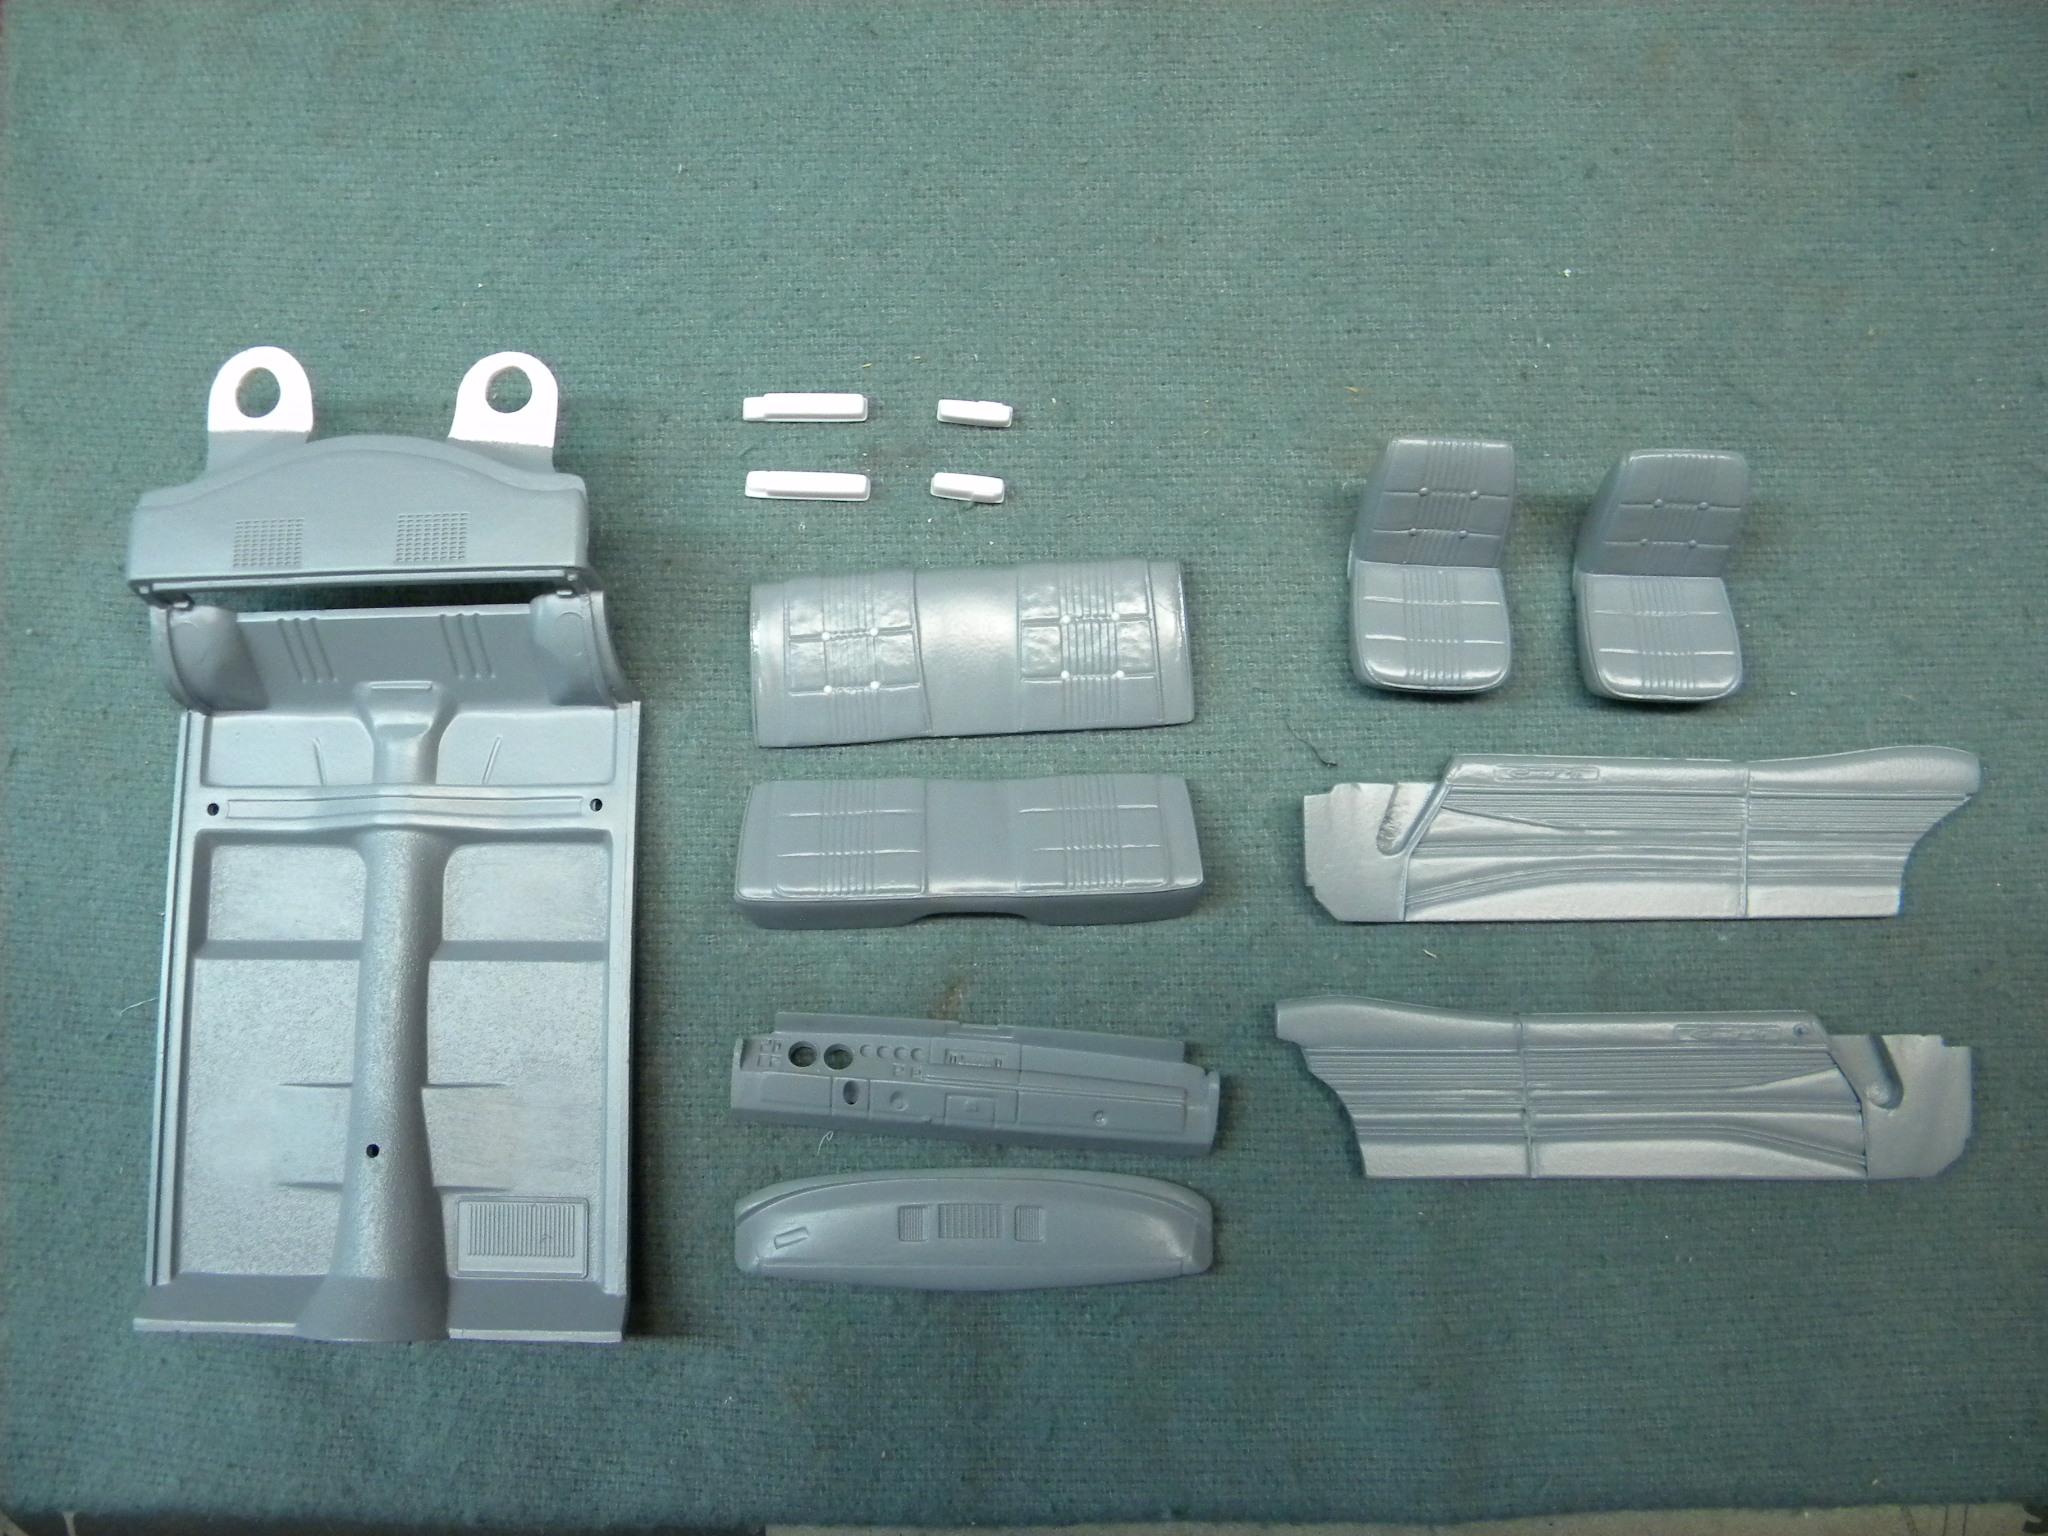
Yesterday I finished the interior for my MPC 1968 Dodge Coronet hardtop. The parts have been sent to Ed Fluck Jr. to be reproduced in resin to be offered to the public soon. If anyone is in need of a bit better detailed interior for their '68 Coronet, they will hopefully be available from Drag City Casting in the near future. The kit will include interior floor and rear package shelf, 2 piece rear seat, front bucket seats, door panels, 2 piece dash, arm rests and window cranks. The set is designed to work in conjunction with the Revell 1968 Dodge Charger chassis. Steve
-
A thin coat of Testors "Turn Signal Amber" over the chrome would probably get you very close. Steve
-
Very nice work Tom! I know what you mean about the trim. When I did my '68, the trim from the top of the front quarter to the bottom of the rear quarter window opening was no picnic. The fender well moldings aren't exactly fun either! Steve
-
Thanks guys! These interior parts are finished and on their way to Pennsylvania for Ed to reproduce in resin. Get your check books ready fellas! Steve
-
We all know that AMT muffed the rear quarter shape pretty badly on their '68 and '69 Roadrunners and GTX's. Has anyone ever noticed how closely the shape of the rear quarter on these kits matches the MPC '68/'69 Coronet kits? Could it be that there was an intention to do a Coronet instead of, or after the Roadrunners? Or maybe they used the Coronet rear quarter as their "template"? If that were the case, is there the possibility that the MPC '68 or '69 body still exists in a form that is possible to be resurrected? Or is it all just fantasy and they just dropped the ball? Anyway, I found it kind of interesting how closely the rear quarters of these two kits seem to match in overall shape. Steve
-
1/25 AMT '64 Olds Cutlass 442 Hardtop
StevenGuthmiller replied to Casey's topic in Car Kit News & Reviews
Guess now I'll have to get one of each! Just what I need. More kits! Steve -
Lindberg 53 Crown Vic help
StevenGuthmiller replied to Bob Warfield's topic in Model Building Questions and Answers
X3. There is really no need for all of these contortions. The grooves in the body of the '53 Ford are quite deep. Mix up a little 2 part epoxy and lay some into the bottom of the groove. Allow the epoxy to tack up a little, (maybe 2 or 3 minutes) and then place the trim into the groove. If the epoxy is placed only in the bottom of the groove, (none on the sides) in a relatively thin application and allowed to tack up, there will be no glue squeezing out and therefore no excess glue to clean up. Once the epoxy cures fully, you'll have a tough time prying the trim out with a screwdriver! Steve -
66-69 Corvair differences
StevenGuthmiller replied to Oldcarfan27's topic in General Automotive Talk (Trucks and Cars)
Well, I haven’t spent much time on Corvairs. ? Steve -
Thanks guys! I believe that the relevant interior parts are now about finished and ready for duplication. Steve