StevenGuthmiller
-
Posts
15,071 -
Joined
-
Last visited
Content Type
Profiles
Forums
Events
Gallery
Everything posted by StevenGuthmiller
-

66-69 Corvair differences
StevenGuthmiller replied to Oldcarfan27's topic in General Automotive Talk (Trucks and Cars)
I’m no expert, but I believe that there is little difference from ‘66 to ‘69, except for marker lights, upholstery patterns and wheel covers. Steve -
Gluing short pierces of wire jacket into holes in the head to represent boots, and then slipping wires into the boots. A very easy way of doing it. Steve

-
Wow! That's a pretty car! Nice work! Steve
-
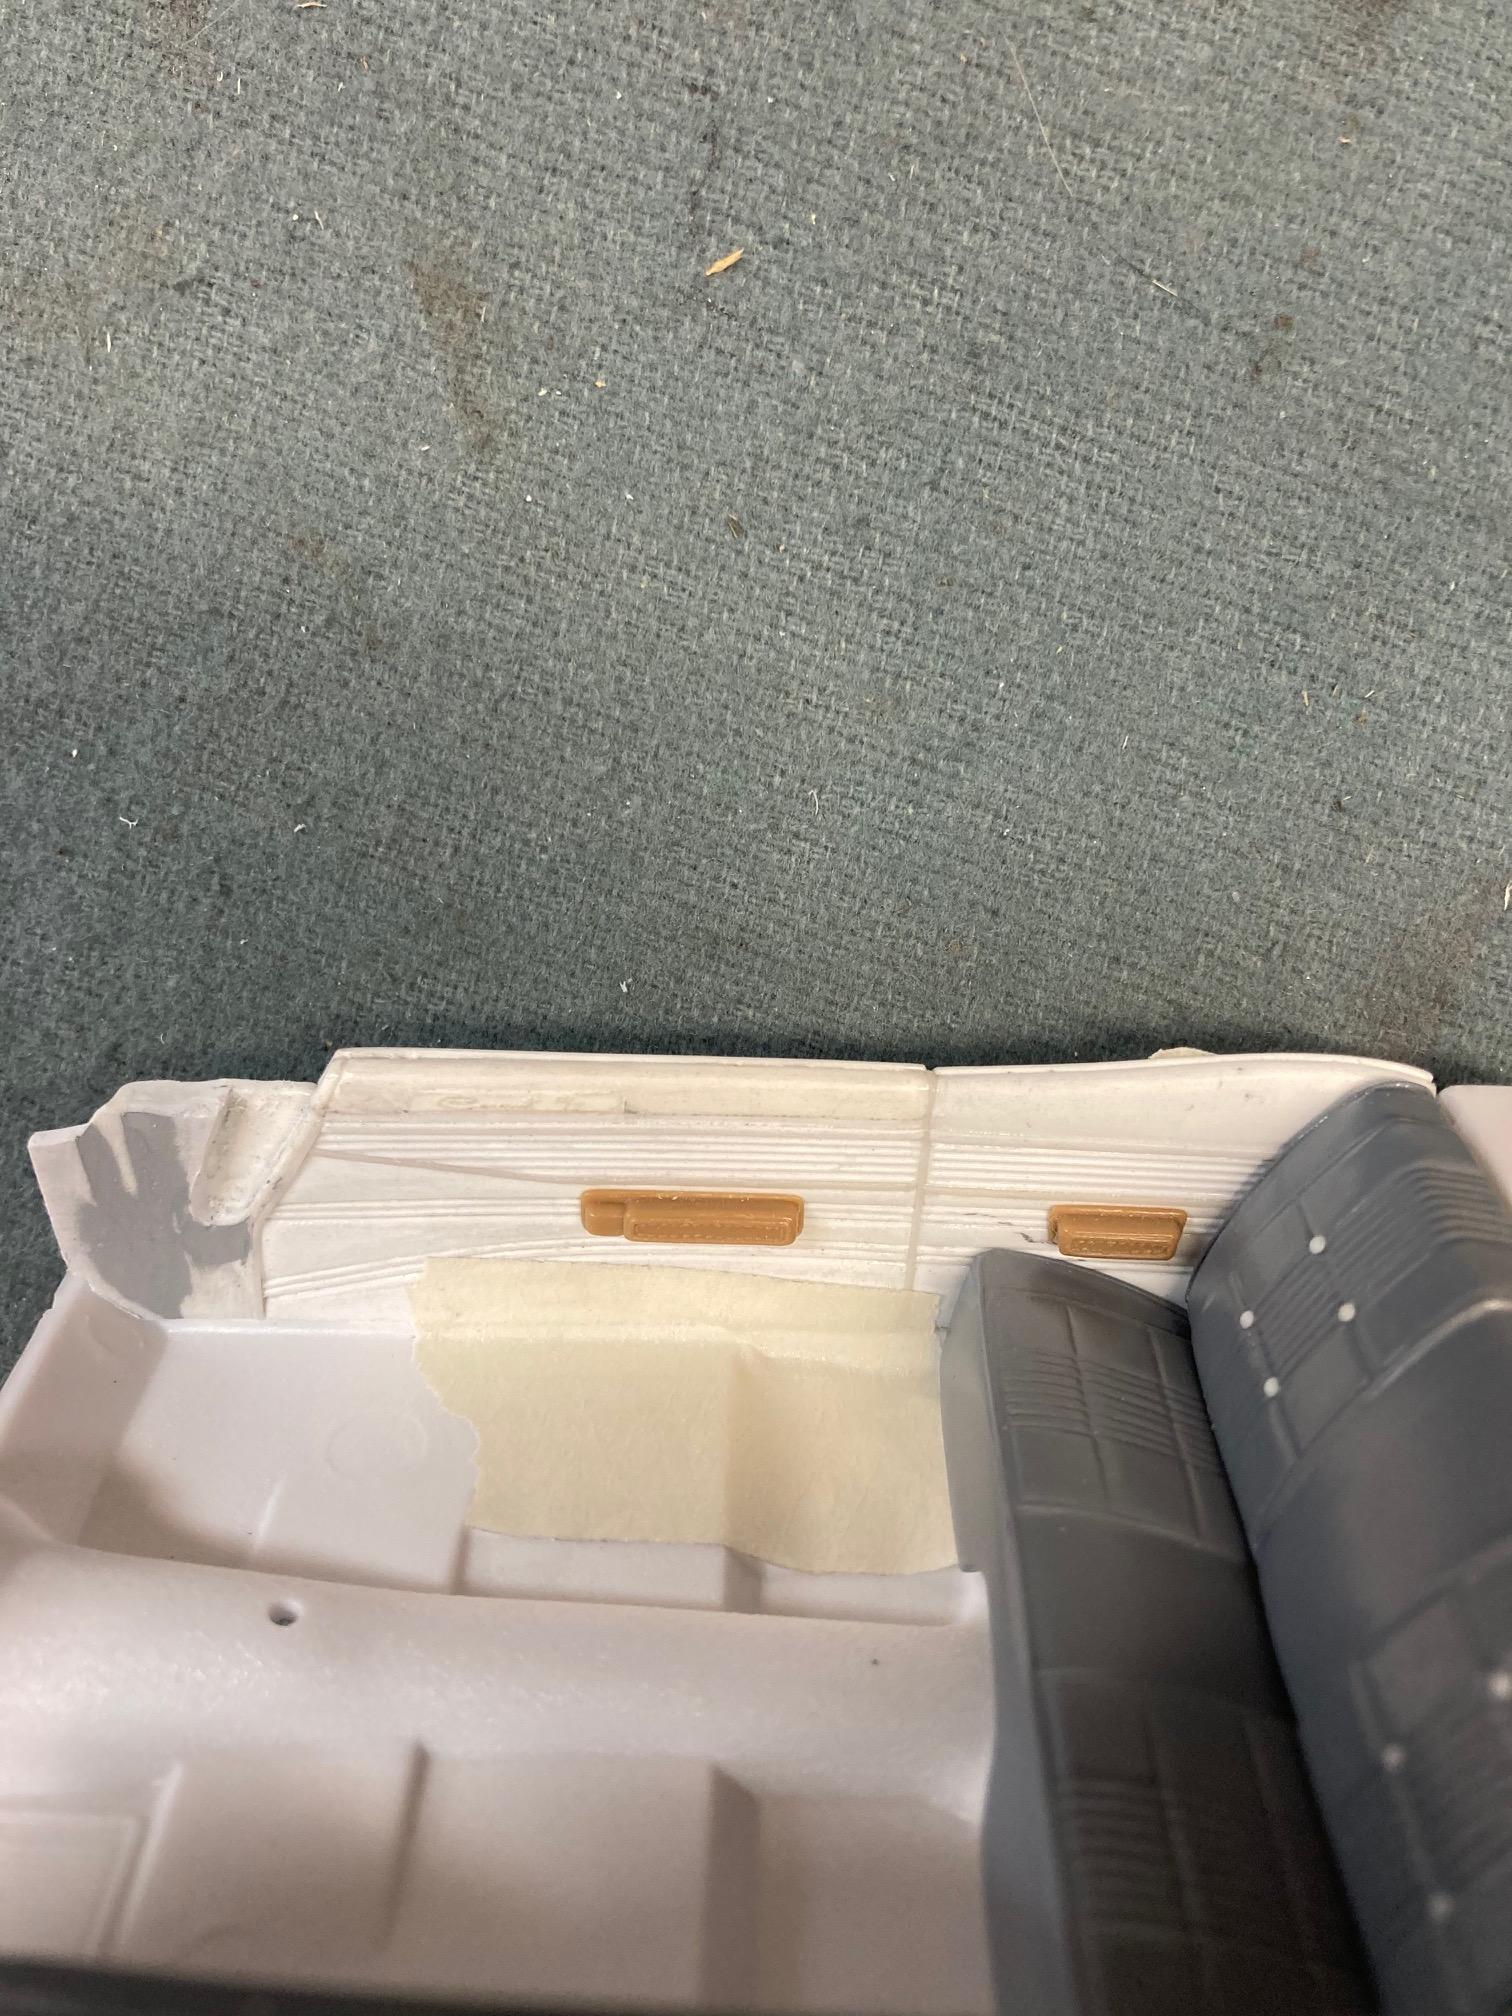
Well fellas, if it happens, you'll be first on the list! In the meantime, the seats should be about wrapped up. I will still need to make some seat tracks for mounting, but other than that, the interior should be fast approaching the finish line. I'll get everything cleaned up and primed and we'll see what we've got. Later! Steve
-
Canyonlands junk cars - diorama idea
StevenGuthmiller replied to 89AKurt's topic in General Automotive Talk (Trucks and Cars)
Too late. Steve -
Canyonlands junk cars - diorama idea
StevenGuthmiller replied to 89AKurt's topic in General Automotive Talk (Trucks and Cars)
I think you're right. As a matter of fact, I think that there are 2 light blue first gen Falcons in that group of photos. Directly above the bottom Falcon is a turquoise '61 Impala, then what appears to be a yellow '59 Chrysler judging by the rear bumper. Right above that is another light blue Falcon. Above that appears to be a red mid 60s Buick, followed by a tan '63 Ford? Top man on the totem pole is a gray '66 Olds. Looks like the car on it's side on the bottom is a Corvair. Hard to tell what the turquoise one on the top with the rock on the roof is, but if I were to guess, I would say a '60-'61 Studebaker Lark. Steve -
Hi Ed. Thanks for the interest. Yes, I'm planning on keeping the arm rests and window cranks as separate parts. If you really think that it would be worth while to cast these, I would be more than happy to farm them out to you for that purpose.......as long as it doesn't take too long to make the molds. I need them back to finish the model! Let me continue to get these parts all to the level that I think that they need to be and we'll see what we can do. I'm no resin master, so I'm just wondering if it would be okay to make molds from them with primer on them? I really want to have them all primed to be certain that they are up to snuff. Just to reiterate, these are not professionally made parts by any stretch! There will undoubtedly be inconsistencies between parts. (left and right door panels not exactly the same for instance) They are all pieced together individually, so they will not be exact. But, they will be engineered to fit the Coronet body well, and will be a fairly good ready to drop in alternative for anyone who's looking for a hard top interior with a little more detail. Talk soon! Steve
-
Canyonlands junk cars - diorama idea
StevenGuthmiller replied to 89AKurt's topic in General Automotive Talk (Trucks and Cars)
Top right. '57 Olds. Right below it, '60 Impala. The mess wedged in the back appears to be a '68 Olds cutlass. Steve -
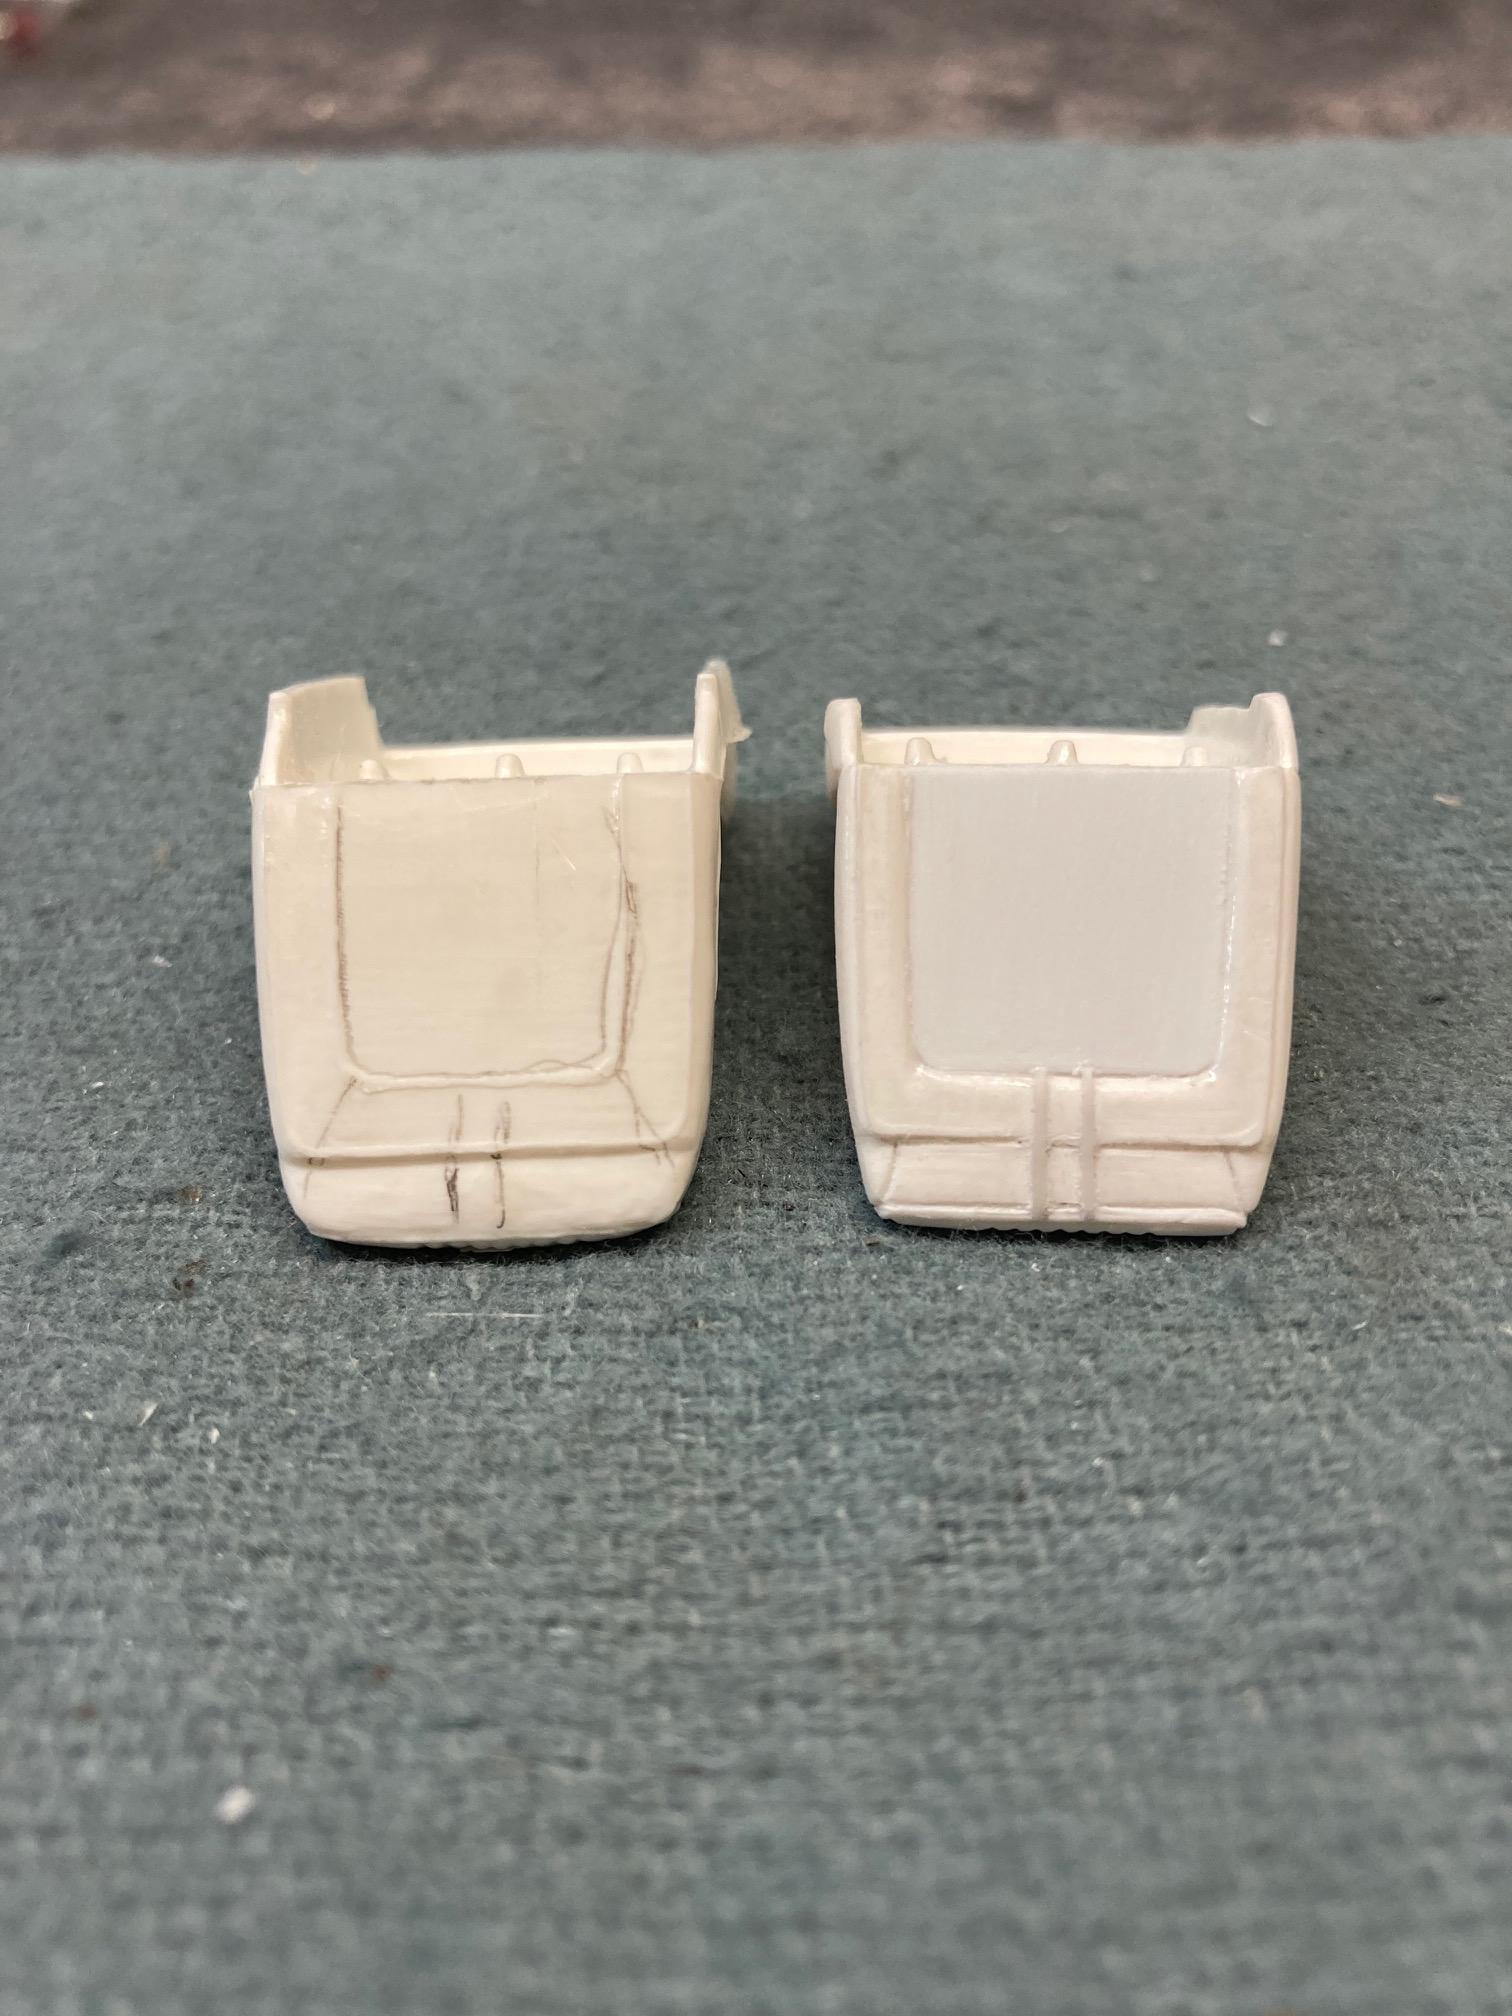
I appreciate that guys! Still working on the finer points of the interior. Shaving the arm rests from an AMT '68 Roadrunner's door cards for the new door panels. Steve
-
Canyonlands junk cars - diorama idea
StevenGuthmiller replied to 89AKurt's topic in General Automotive Talk (Trucks and Cars)
You're absolutely correct. Those handles should be readily available for restorations, either NOS or reproductions. I can still get outside door handles for my 1:1 '69 Pontiac Grand Prix, and they are much more unusual than a standard GM handle. Steve -
Oooo! I didn't catch that! Yes, that is WAY too much paint! I do most of my painting with an air brush, but just as a comparison, I generally get by on somewhere in the neighborhood of 1/2 to 3/4 of an oz. of color. The average spray can of hobby paint is in the 3 oz. neighborhood. While you will very likely use more paint spraying from a can, you should be able to get it done with less than a half of a can of color. Steve
-
That depends a great deal on when the debris occurs in the process, the nature of the debris and the color of the base coats. If the base color is a light color, such as you are using, debris can be much more visible than on a darker color. If the debris is small and colorless and occurs on a "late" color coat, I will often leave it and rely on the clear coats and polishing to eliminate it. Steve
-
Agreed. If you have ever used a metallic paint designed for airbrushing, you can see this phenomena in the jar. If you stir/shake the paint and then set the jar down, even for a minute, when you pick up the jar and look at the bottom, you will immediately see a layer of lighter colored sediment at the bottom of the jar. This is the heavier metallic particles and solids settling out, and the same applies to rattle cans. I shake my paint, even in an air brush cup, continuously throughout the painting process. Steve
-
Canyonlands junk cars - diorama idea
StevenGuthmiller replied to 89AKurt's topic in General Automotive Talk (Trucks and Cars)
Here's a fun exercise. Who can identify the cars in the photo? I think I've got at least 7 figured out. Steve -
I would like to add to be careful about letting the can sit for too long after shaking. I respect Bill a great deal, but I believe that letting it sit for a half hour is too long for a paint with metallic or pearl in it. The metallic particles will settle to the bottom of the can very quickly, and when you start spraying after you let it sit for that long, you'll get a blast of very heavy metallic particles that have settled as the paint is drawn from the bottom. Steve
-
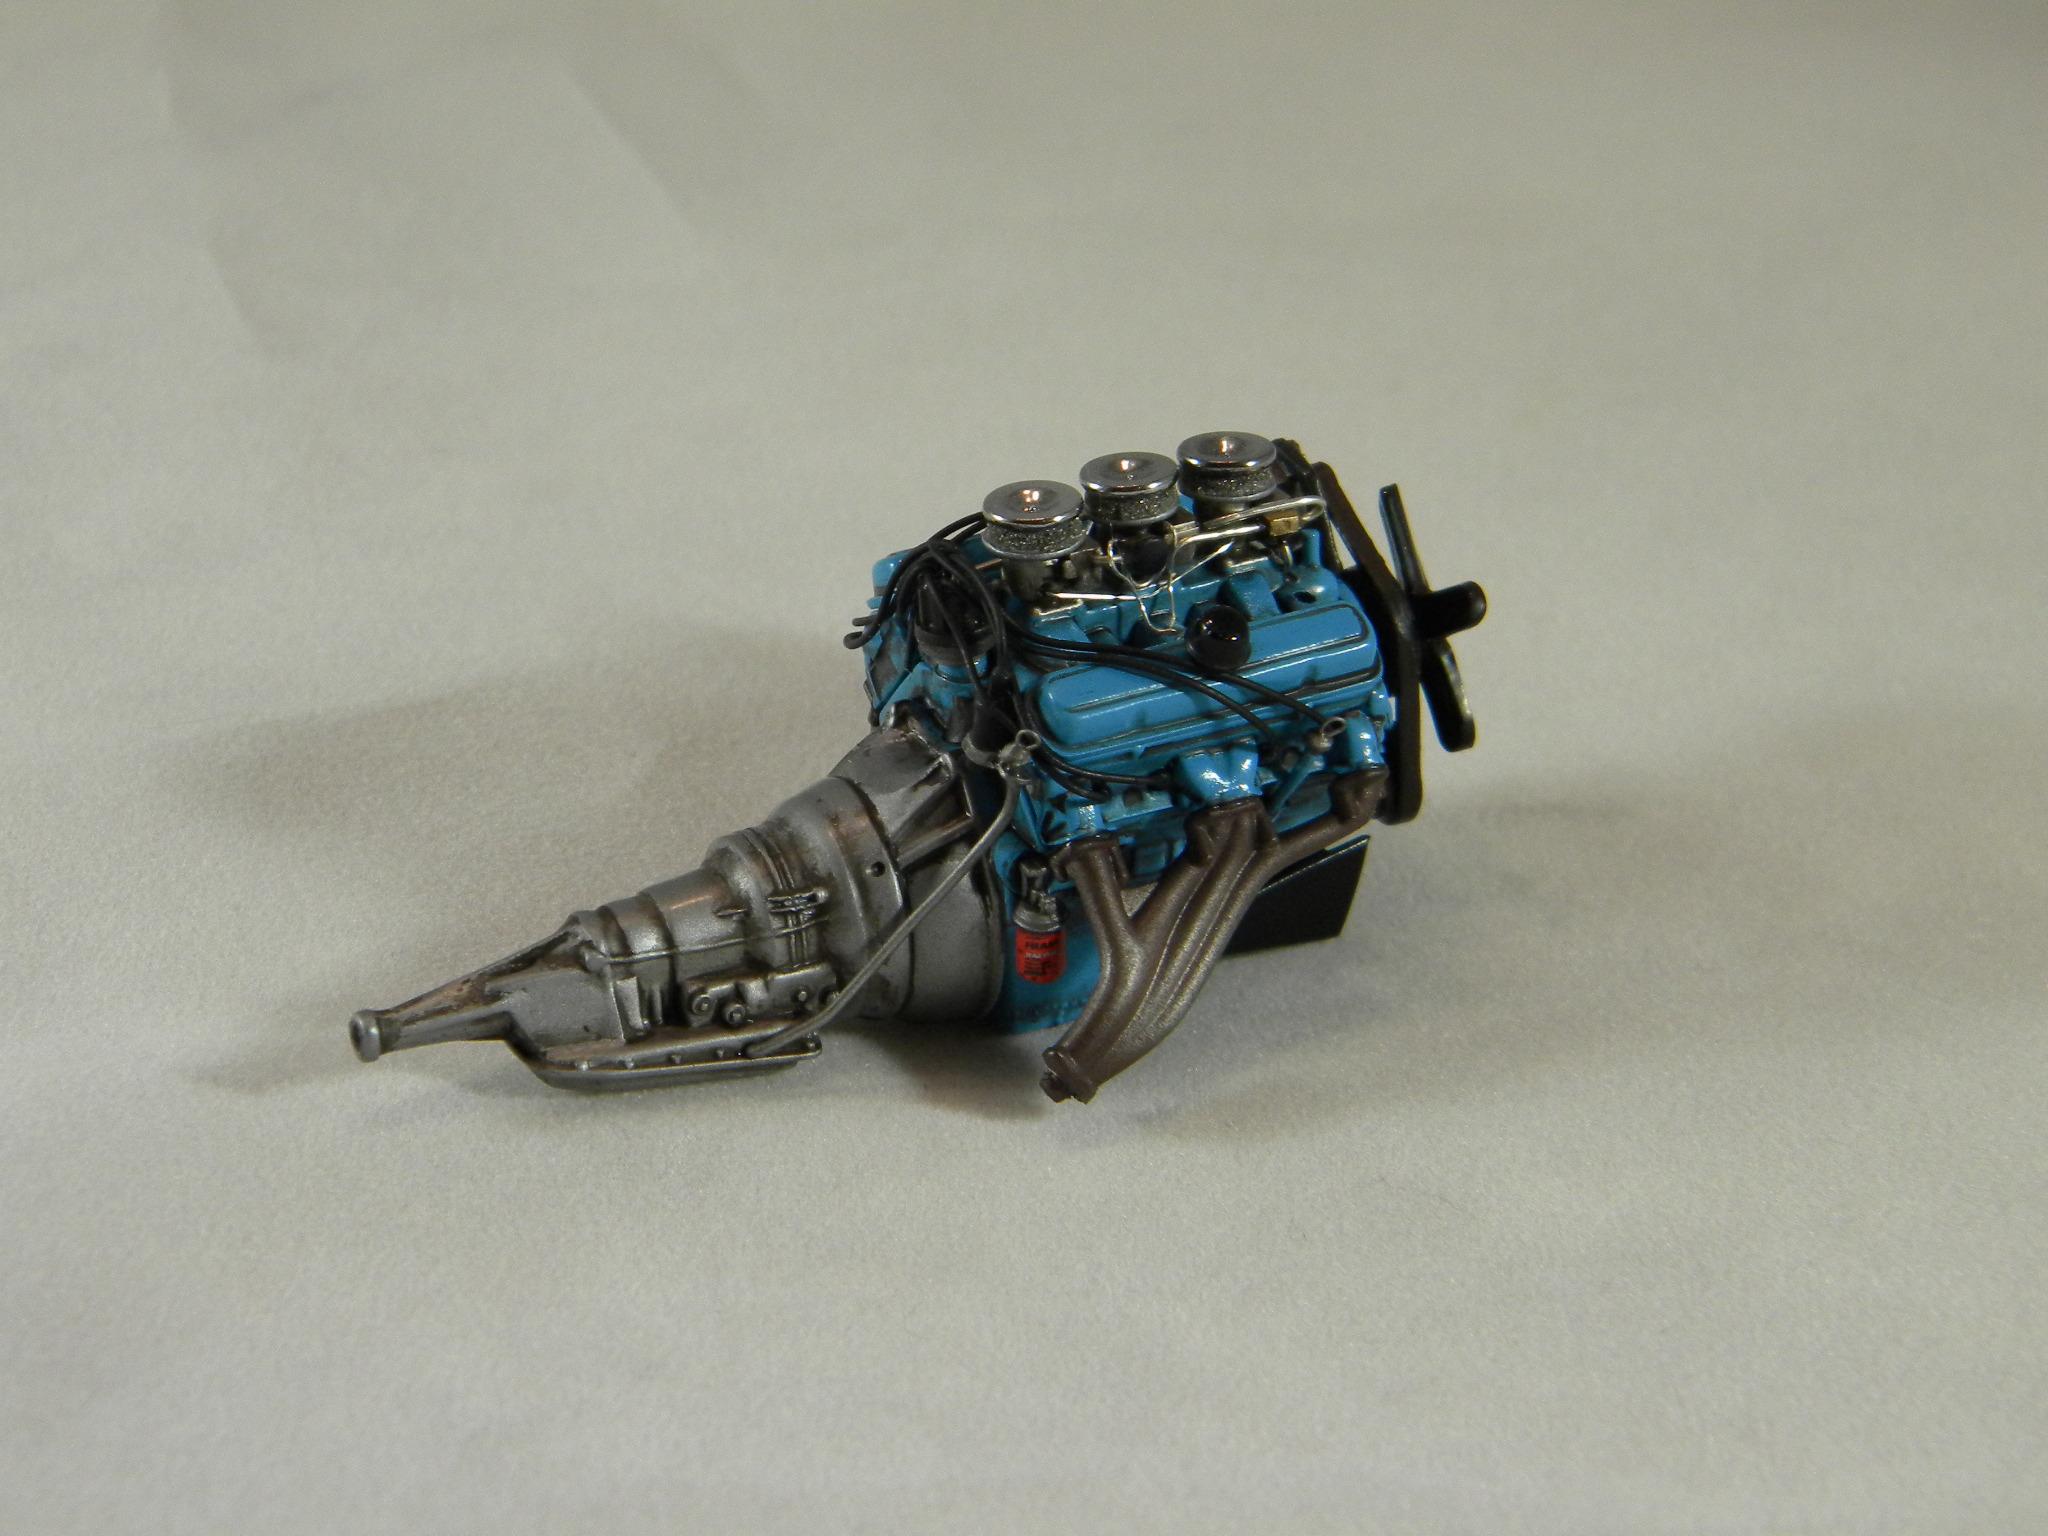
Another terrific bunch of parts from Chief Joseph! A couple of pairs of Carter street Hemi carbs and a set of 15 inch wheels and tires for my '68 Coronet project. Steve
-
I'm just not feeling the black top with white and red. But for some reason I have the feeling that it would look okay with silver. Go figure. Yeah, after seeing the white presented with this option, I definitely feel that it needs a little more "flash". Bumble bee stripes it will be. Steve
-
Tinting clear plastic and chassis parts color
StevenGuthmiller replied to RDF's topic in Model Building Questions and Answers
No, you didn't mention anything about cheap. He was only offering an idea. Sugar is going to get you a lot further on this board than vinegar. Steve -
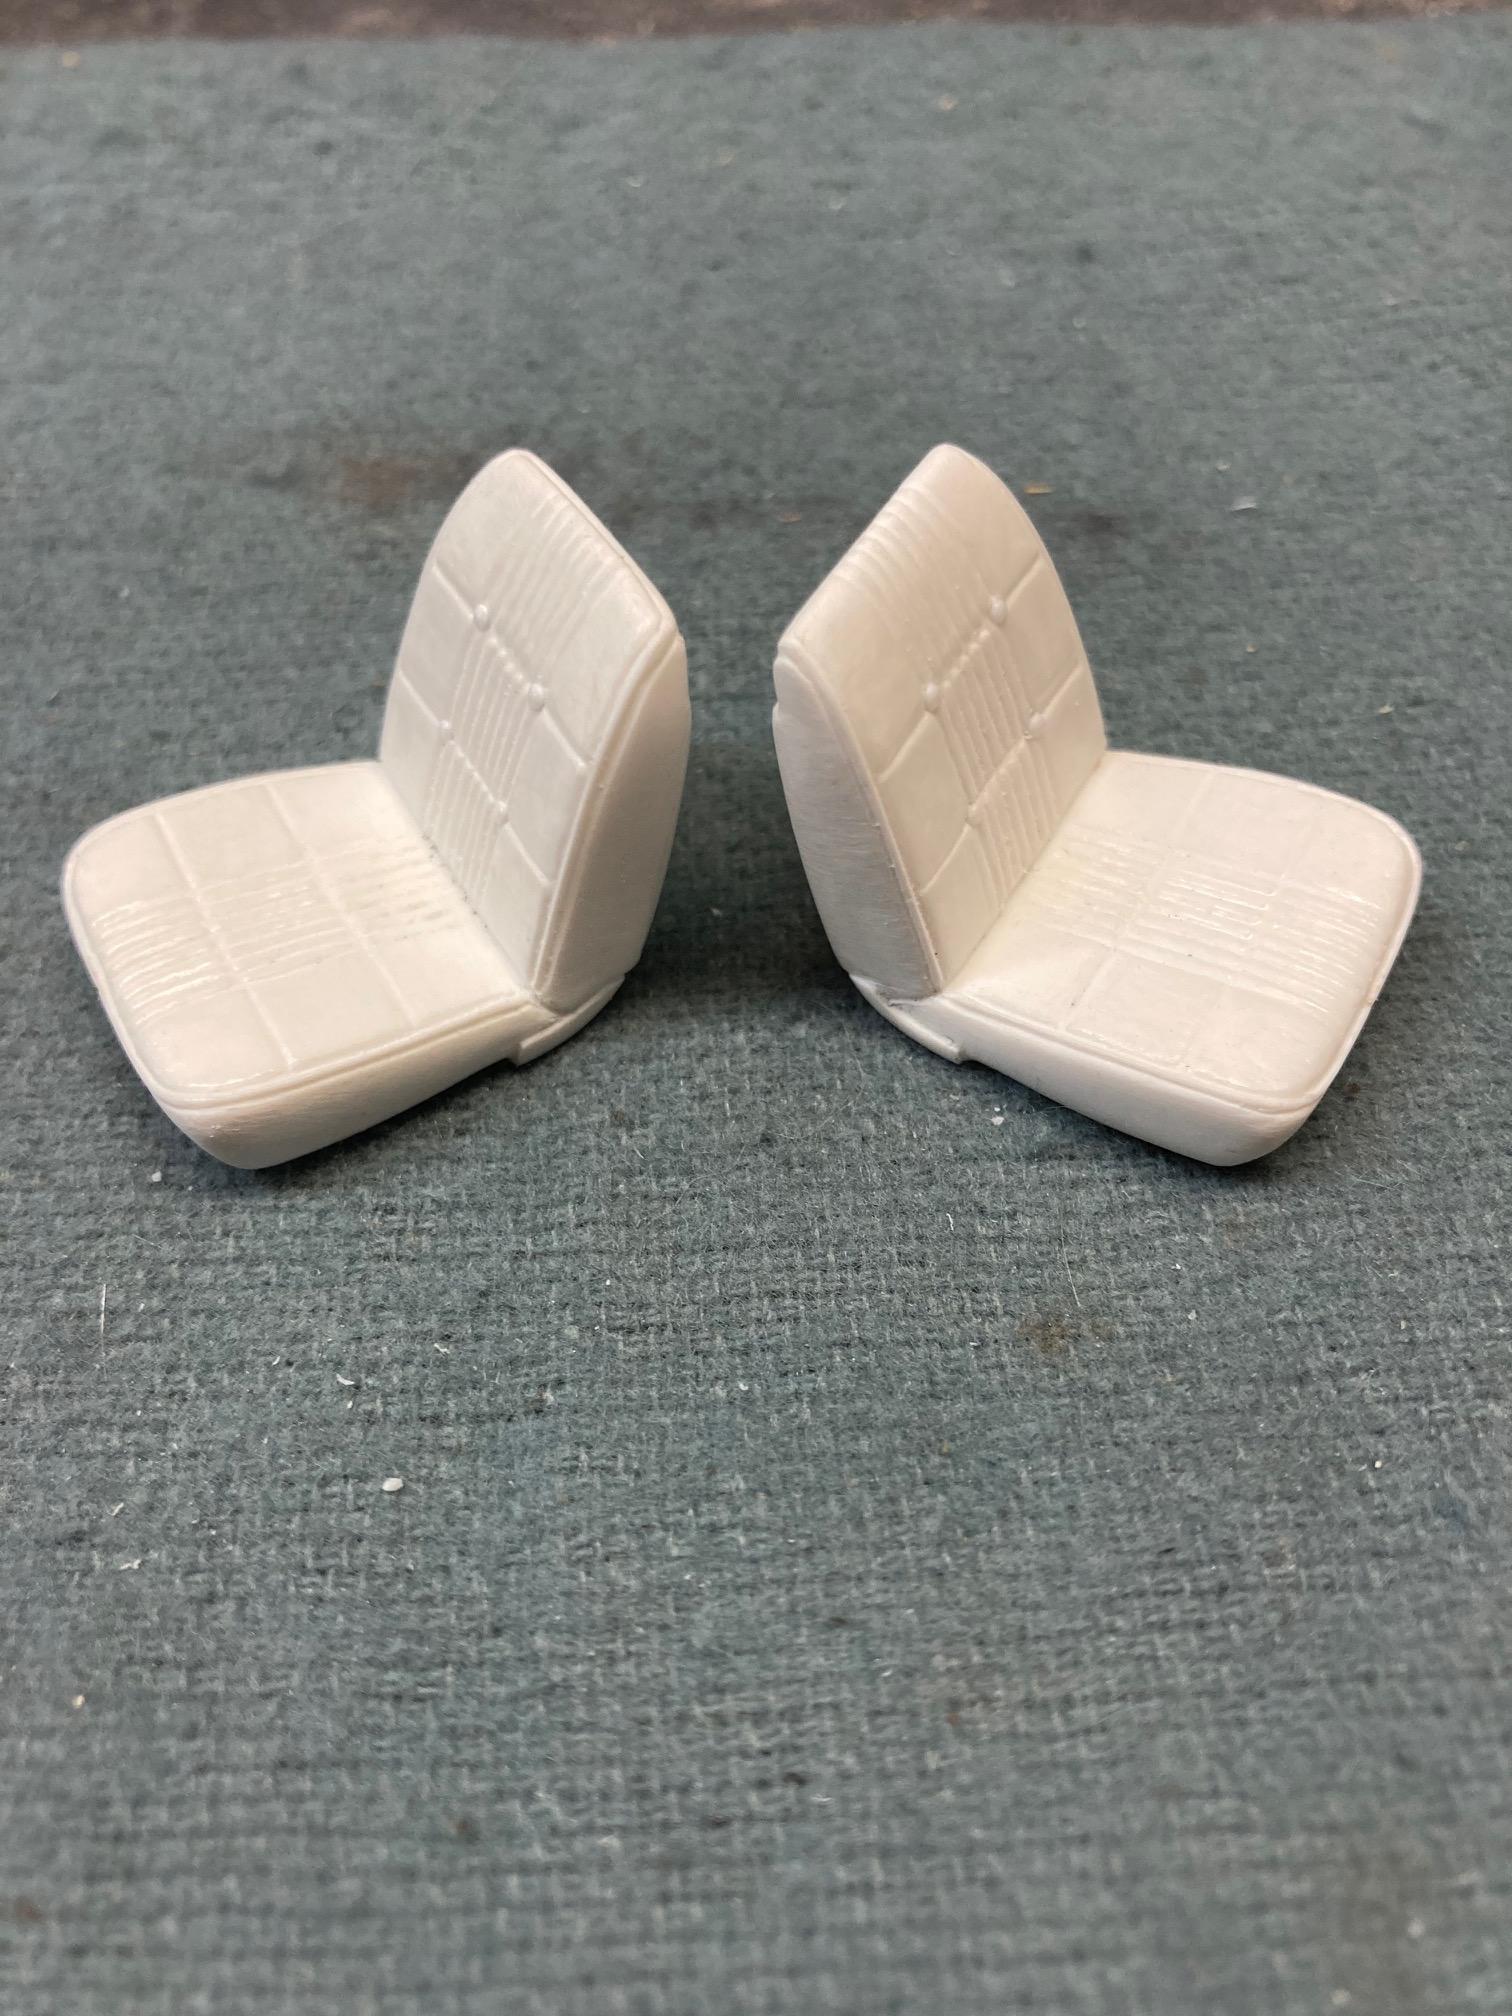
Thanks guys!! Been spending time today refining the bucket seats a bit. Just general clean up, some re-shaping and re-scribing. I added new upholstery buttons and will add new seat tracks after they're done. Steve
-
Protecting paint
StevenGuthmiller replied to Hws5283's topic in Model Building Questions and Answers
I used a thinned mixture of black and brown acrylic craft paint for this wash. I mixed it to about the consistency of 2% milk and then just brush it on all over the parts. After the paint has dried for a while, I then took a slightly dampened Q-tip and wiped over the entire part to remove the wash from the high spots. I did this for the engine, engine bay and all of the chassis parts. Steve -
The Johan 1968 Chrysler Imperial comes to mind. As far as I know, there was never a kit produced, only promos. Steve
-
Protecting paint
StevenGuthmiller replied to Hws5283's topic in Model Building Questions and Answers
I quite often clear coat engine parts with one of the Testors clear gloss spray lacquers. I use flat enamel colors very often for engine parts because I like the properties and workability of flat paints over gloss, and then I can clear coat to add the amount of shine that I want. This also protects the paint underneath as you stated. With the gloss coat method described above, you would be better served to apply your washes after the gloss. Otherwise your grime will be unrealistically shiny. Steve
-
There are no dumb questions James. Let 'em fly! Steve
-
Seat identification
StevenGuthmiller replied to tbill's topic in General Automotive Talk (Trucks and Cars)
Thanks Tom! I have a complete '64 Tempest rebuilder, but as is often the case, seat belts were glued to the buckets damaging the upholstery pattern. I just thought that if they were something that you really didn't need, a fresh set would save me a whole bunch of work trying to restore the ones I have. Steve -
Seat identification
StevenGuthmiller replied to tbill's topic in General Automotive Talk (Trucks and Cars)
Yes, the buckets are from the AMT '64 LeMans. I would be more than interested in making a deal with you for them! Steve