StevenGuthmiller
-
Posts
14,971 -
Joined
-
Last visited
Content Type
Profiles
Forums
Events
Gallery
Everything posted by StevenGuthmiller
-

Monogram ‘59 Caddy
StevenGuthmiller replied to NOBLNG's topic in Model Building Questions and Answers
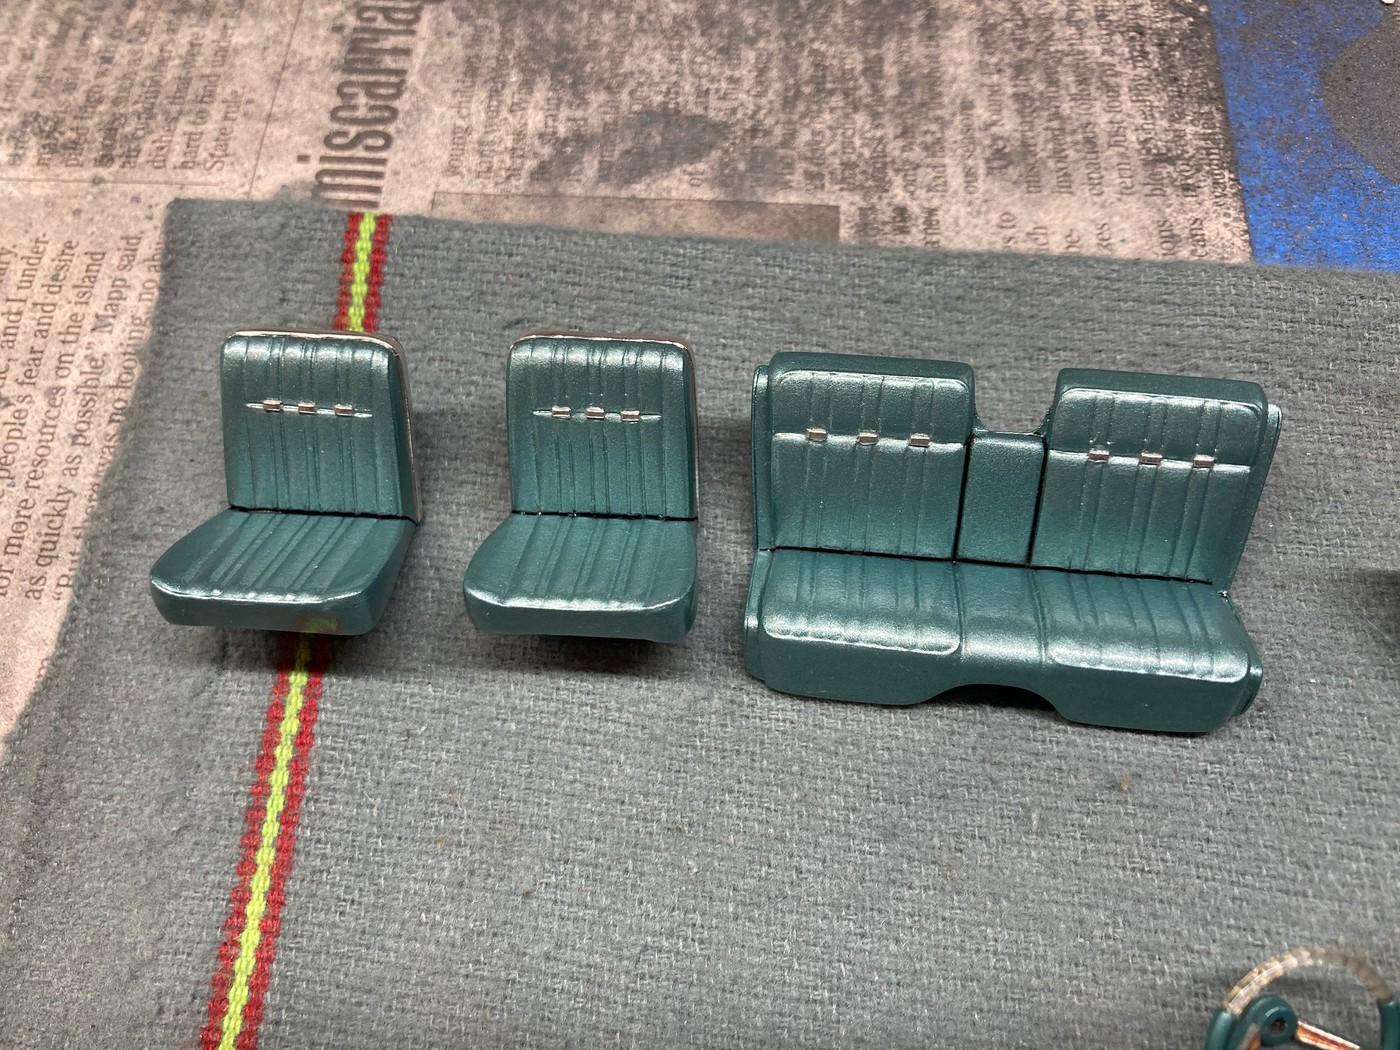
Yes. Both seats are in the convertible kit. Steve -
I used a custom mix of MCW enamel thinned with lacquer thinner for my interior parts. Worked well. Steve

-
I’m starting to think you’re possibly having compatibility problems between your paint and primer or something. If you truly gave it a “wet” coat, there’s no way it should be grainy. My thought is that you got started on the wrong foot right out of the gate by using Mr. Hobby primer under automotive lacquer. Could be a big part of the problem. Steve
-
Monogram ‘59 Caddy
StevenGuthmiller replied to NOBLNG's topic in Model Building Questions and Answers
Not the best pictures, but looks right to me. '59 Eldorado Biarritz. Steve -
Just ideas. The tail lights and the lack of a firewall seem to be the biggest sticking points for most people with this kit, but they’re both pretty easy to remedy with a little kit bashing. The tail light lenses could be drilled out pretty easily, and I have to believe that between the AMT ‘62 and ‘64, and the Revell ‘62, ‘63, ‘64 and ‘65 Impalas, one of them should work for replacement lenses. Likewise, a firewall, and/or chassis from almost any one of them would probably work as well. I could only wish for this many parts options with most of the old annuals that I like to update. Steve
-
Anybody here have the original......or one of the many re-issues? I’ve had several of these kits since the late 70s and I’ve never had one with clear red tail lights, so the absence of them is not exactly a new phenomenon. Steve
-
I just have to wonder sometimes, either how young some of the posters are online these days, or what rock they’ve been living under. AMT produced one 1963 Chevy Impala kit......back in 1963! To expect anything other than what was offered back then, or what’s been re-popped a thousand times since then, is a little naive. It is what it is, and it’s probably never gonna change. Steve
-
MCW Finishes
StevenGuthmiller replied to bluestringer's topic in Model Building Questions and Answers
Absolutely not. Now you can sand and add another color coat, or polish after clear coats have been added, but Joe’s right. I don’t think a lot of people realize that trying to sand and polish some types of metallic paint can just make a mess out of it. Steve -
If you’re familiar with spraying acrylic lacquer through an airbrush, you shouldn’t have any real problems. They’re all pretty comparable. Steve
-
Wire Tie Downs from Aluminum Cans
StevenGuthmiller replied to StevenGuthmiller's topic in Tips, Tricks, and Tutorials
Just a plain old sewing type scissors. Steve -
Wire Tie Downs from Aluminum Cans
StevenGuthmiller replied to StevenGuthmiller's topic in Tips, Tricks, and Tutorials
I’ll have to try it. Steve -
It is an automotive lacquer primer, so it can be hotter than some other primers, but if you use several light coats, you shouldn’t have any crazing issues. But if you’re apprehensive, you could start with a coat or two of the Tamiya primer, followed by a couple more of the Duplicolor. The initial coats of Tamiya will help guard against the hotter Duplicolor primer. I often do this, except with Testors lacquer primer instead of Tamiya. Steve
-
No, Duplicolor makes many different primers. The one that I’m talking about is called “primer sealer”. It’s not a “high build”. Just a primer designed to seal what’s under it, and enhance the shine of what goes over it. Duplicolor primer is actually more economical than Tamiya, at around $10.00 or $11.00 for 12 oz. vs. about the same price for 6 oz. of Tamiya. Steve
-
If you want to do a much more detailed build, (at least if I were doing it) I would investigate using the interior from the Revell ‘63 Impala, and the chassis, engine and engine bay from the Revell ‘64 Impala. Steve
-
Remember, I believe that I heard somewhere on the forum recently that MCW recommends not using Tamiya primer in conjunction with their paint. I didn't pay much attention because I don't use Tamiya, but it might be something you'll want to investigate. If I'm correct, it apparently had something to do with a recent primer reformulation by Tamiya. My recommendation would be a good primer sealer such as Duplicolor. But that's just one guy's recommendation. Your post was exactly why I took a little bit of exception to James' post. MCW paints are wonderful stuff and it concerns me that people could get scared off by one bad experience that may or may not be an actual paint problem. I use MCW all of the time, and I have nothing but good things to say about their product, and I would hate to see people not even giving it a shot because of a bad revue or two. Steve
-
MCW Finishes
StevenGuthmiller replied to bluestringer's topic in Model Building Questions and Answers
I will confess James, that back when MCW first changed hands to the current owners, I did get a bad batch of paint. I chalked it up to the fact that they were new to the game, and made a mistake with the reducing. The paint was too thin. (not enough pigment and too much reducer). It didn't make the paint unusable, but it was harder to work with. I suppose that with the back log of orders due to the move, there is a possibility that a mistake could have been made. If that is the case, contact them and request a remedy. They're human too, and can make mistakes. In the meantime, you could try this. Turn up your air pressure to around 30 psi and give it a light coat from a little further back with your airbrushes paint flow opened up pretty much all of the way, but in order for this to work, you need to have a spray pattern that's probably at least 2 inches wide, and you need to do full and complete passes beyond the body on both ends, as straightly, steadily and evenly as possible. This won't help with the grainy texture, but if you do it right, it should even out the color. The graininess, as long as it's not extreme, can be addressed with some clear and some polishing after. This is the model that I was working on when I discovered the bad paint, but with some adjustment, it still came out fine. Steve -
Okay. But, like I offered in the MCW thread, I've had these exact same problems in the past when using some acrylic lacquers, and I can tell you from experience that there's a 90% probability that there's nothing wrong with the paint. Some lacquers use fast drying reducer, and you have to make adjustments for that. It's really no more complicated than that. As far as the streaks go, it's pretty hard to blame that on the paint. Judging by the color variation in the photos, the paint is heavier in some areas than others. It's up to the painter to make sure the coats are even. Steve
-
MCW Finishes
StevenGuthmiller replied to bluestringer's topic in Model Building Questions and Answers
Well then James, I can't help you. I would be very surprised if there would be anything wrong with the paint. MCW is usually pretty good about quality control. All I can tell you is that every paint acts a little differently. Just because you have luck spraying one paint in a certain fashion, doesn't mean that all paints will universally react well to being applied the same way, and spraying from a spray can, whether it be Tamiya, or anything else, is an entirely different proposition than spraying with an air brush. I can tell you for a fact however, that I have seen exactly the same effects that you have brought up in this thread with MCW paints, as well as other lacquers from time to time I might add, (ie, a pebbly finish, and streaking or blotching) and it was never the paint itself. It was all my technique without question. I just modified my technique to rectify the problems, and all has gone well since. Edit: If your jar is metal on glass, that's a mistake. MCW jars usually have a foil seal in the lid. If not, the lid is defective. Not normal from MCW by any stretch. Steve -
I can tell from the photos that a large part of the problem is probably your airbrush. Looks to me like the streaks are because of a narrow spray pattern. These paints have very fine metallic particles and require a wide spray pattern, and even strokes while spraying. The graininess is likely caused by spraying too lightly, too far away, or too high of an air pressure. These paints dry extremely fast, and will dry in the air if not sprayed properly. A couple of lighter coats to start to get a good base, followed by a couple of wet coats is a good practice, but spraying with an airbrush with too small of a needle, causing too many overlaps, is still likely to leave streaks. I have to ask, at this point, how much of the paint have you used? Steve
-
MCW Finishes
StevenGuthmiller replied to bluestringer's topic in Model Building Questions and Answers
I can understand the "not drying shiny" part, as these are modern acrylic lacquer automotive paints, and although it says "gloss" on the bottle, I never plan on trying to get by without clear coat. Can't tell you what the spraying problem is, but my guess is user error. Not to give you a hard time James, but I've been using MCW paint for decades, and it has always sprayed nice. Check your air pressure, needle size, spraying distance, etc. "Streaky" or "blotchy" is without a doubt an application issue. A larger needle size is always best when spraying bodies for the widest pattern possible especially if you're using metallics, and with MCW's much finer metallic particles, it's particularly important. Primer could be an issue too. It's a hot paint, and can have a tendency to dissolve the primer to the point of it "bleeding" through the paint if applied to heavily. A good "primer sealer" is a good idea. Also, I hope you're not using Tamiya primer under it. I believe that MCW recently began recommending that Tamiya primer not be used with their paints, apparently due to a Tamiya formula change. As far as a jar sealing correctly goes, there's always the possibility that there could be a seal problem with the jar. MCW doesn't make the jars. But that said, of the probably 50 bottles of paint that I've bought from them over the years, I've only had one bottle of black vinyl top texture leak. I have bottles of paint from MCW that I've had for over 20 years that still look like the day that I bought them, and all of them have been opened at some point. But keep in mind, that once the jar has been opened, there's the possibility that it can destroy the seal thereafter, and that's true for all paints. Most times they won't necessarily leak, but the paint can dry out very quickly. Steve -
Pre-building
StevenGuthmiller replied to Sidney Schwartz's topic in Model Building Questions and Answers
Pre-planning is especially important if you’re doing a lot of modification on a kit, and the engineering involved requires a large amount of test fitting and mock-up. I can spend literally months working on a project without ever applying an ounce of paint. But, in the end, I have learned so much more about model building by deviating from the instructions than I ever would have by being content to build them out of the box. For me I’ve gotten to the point where it has become nearly impossible for me to answer your question. It’s just an automatic part of the building process. Steve -
Wire Tie Downs from Aluminum Cans
StevenGuthmiller replied to StevenGuthmiller's topic in Tips, Tricks, and Tutorials
Should work just as well, although maybe a little harder to bend? Steve -
1964 Pontiac Bonneville Convertible.
StevenGuthmiller replied to StevenGuthmiller's topic in WIP: Model Cars
Thanks Glen! Fender well wiring finished. Steve -
Wire Tie Downs from Aluminum Cans
StevenGuthmiller replied to StevenGuthmiller's topic in Tips, Tricks, and Tutorials
Thanks guys! An update after painting. Steve -
I've been making these easy wire tie downs for some time now, so I thought I'd share. A very simple operation consisting of cutting thin strips of aluminum from a soda can, (or as most of us might prefer, beer cans ) and then bending them into a "U" shape. I wrap them 3/4 of the way around the tip of a sharp dental pick, and then bend the ends at a 90 degree angle with a tweezers. Snip the ends to the length that you want, and glue them into place. Some of these photos are not good, (too small of an item to photograph well with my phone) but I think you'll get the idea. I'll paint them black after their installed, and then add a little more weathering. Be prepared to lose about 3 of these for every one that makes it on the model! Luckily, you can probably get a few thousand of these from one aluminum can. Steve