Samiches
-
Posts
77 -
Joined
-
Last visited
Content Type
Profiles
Forums
Events
Gallery
Everything posted by Samiches
-
Beautiful model. Good luck in the contest!
-
He has made a nice how-to video on youtube. Here is a link to it: https://www.youtube.com/watch?v=QvIhmbbtmE4
-
Eric Goodrich`s:: "IRON LUNG" - On the Workbench 2/8/16
Samiches replied to John Teresi's topic in WIP: Model Cars
I'm a bit late to the party, but man is this one cool build. Thank you for posting this as a WIP and sharing your techniques with us! -
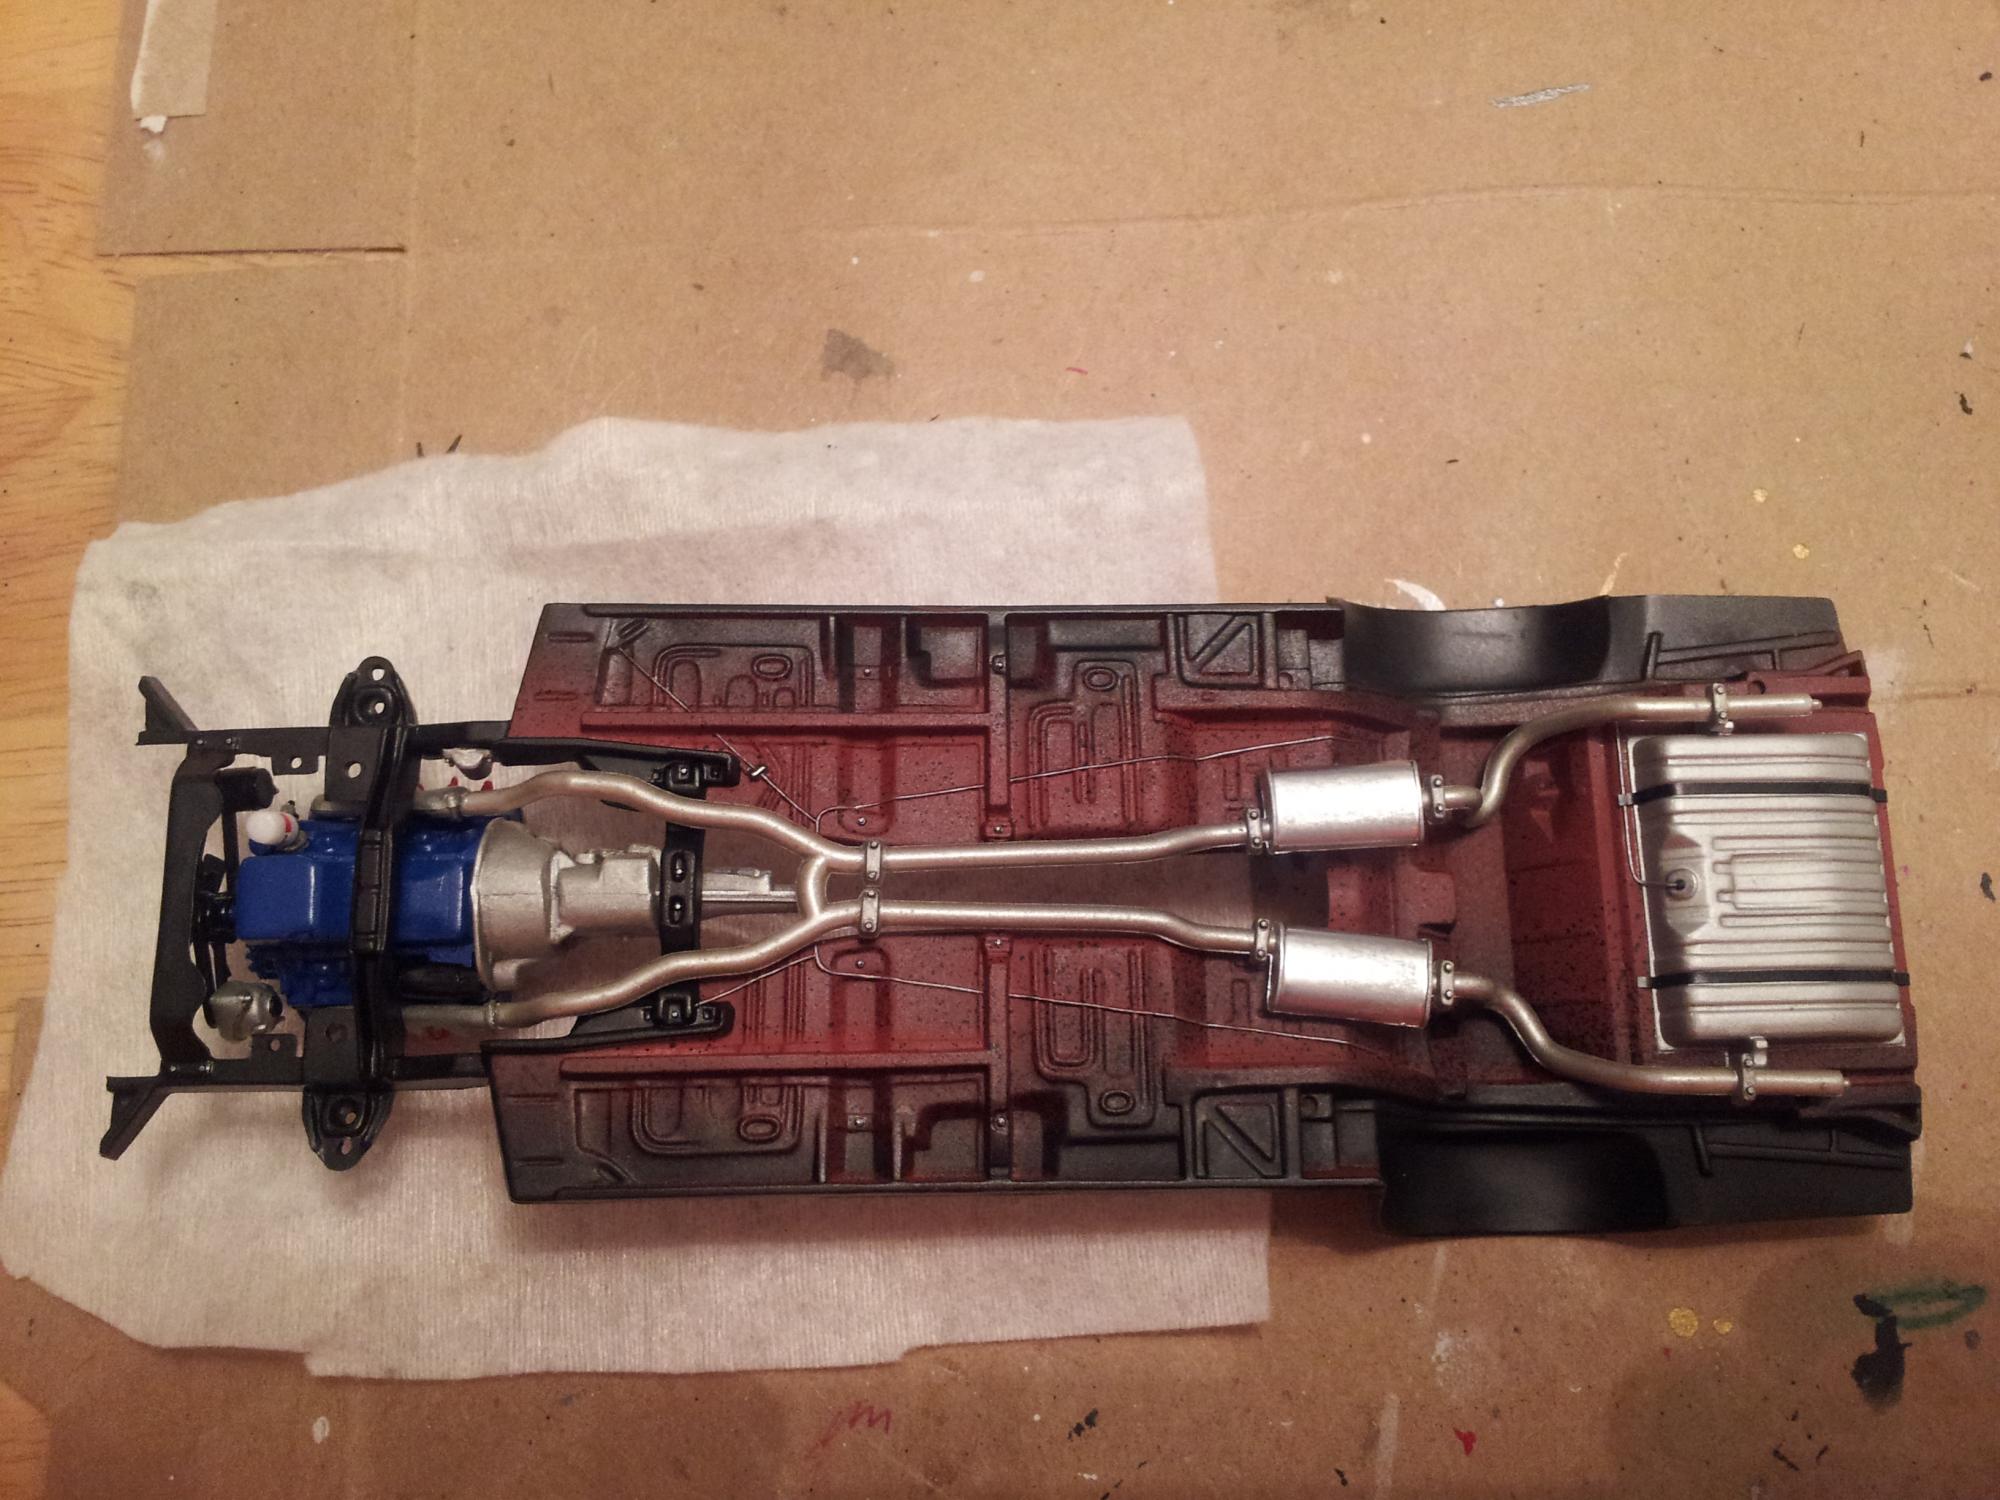
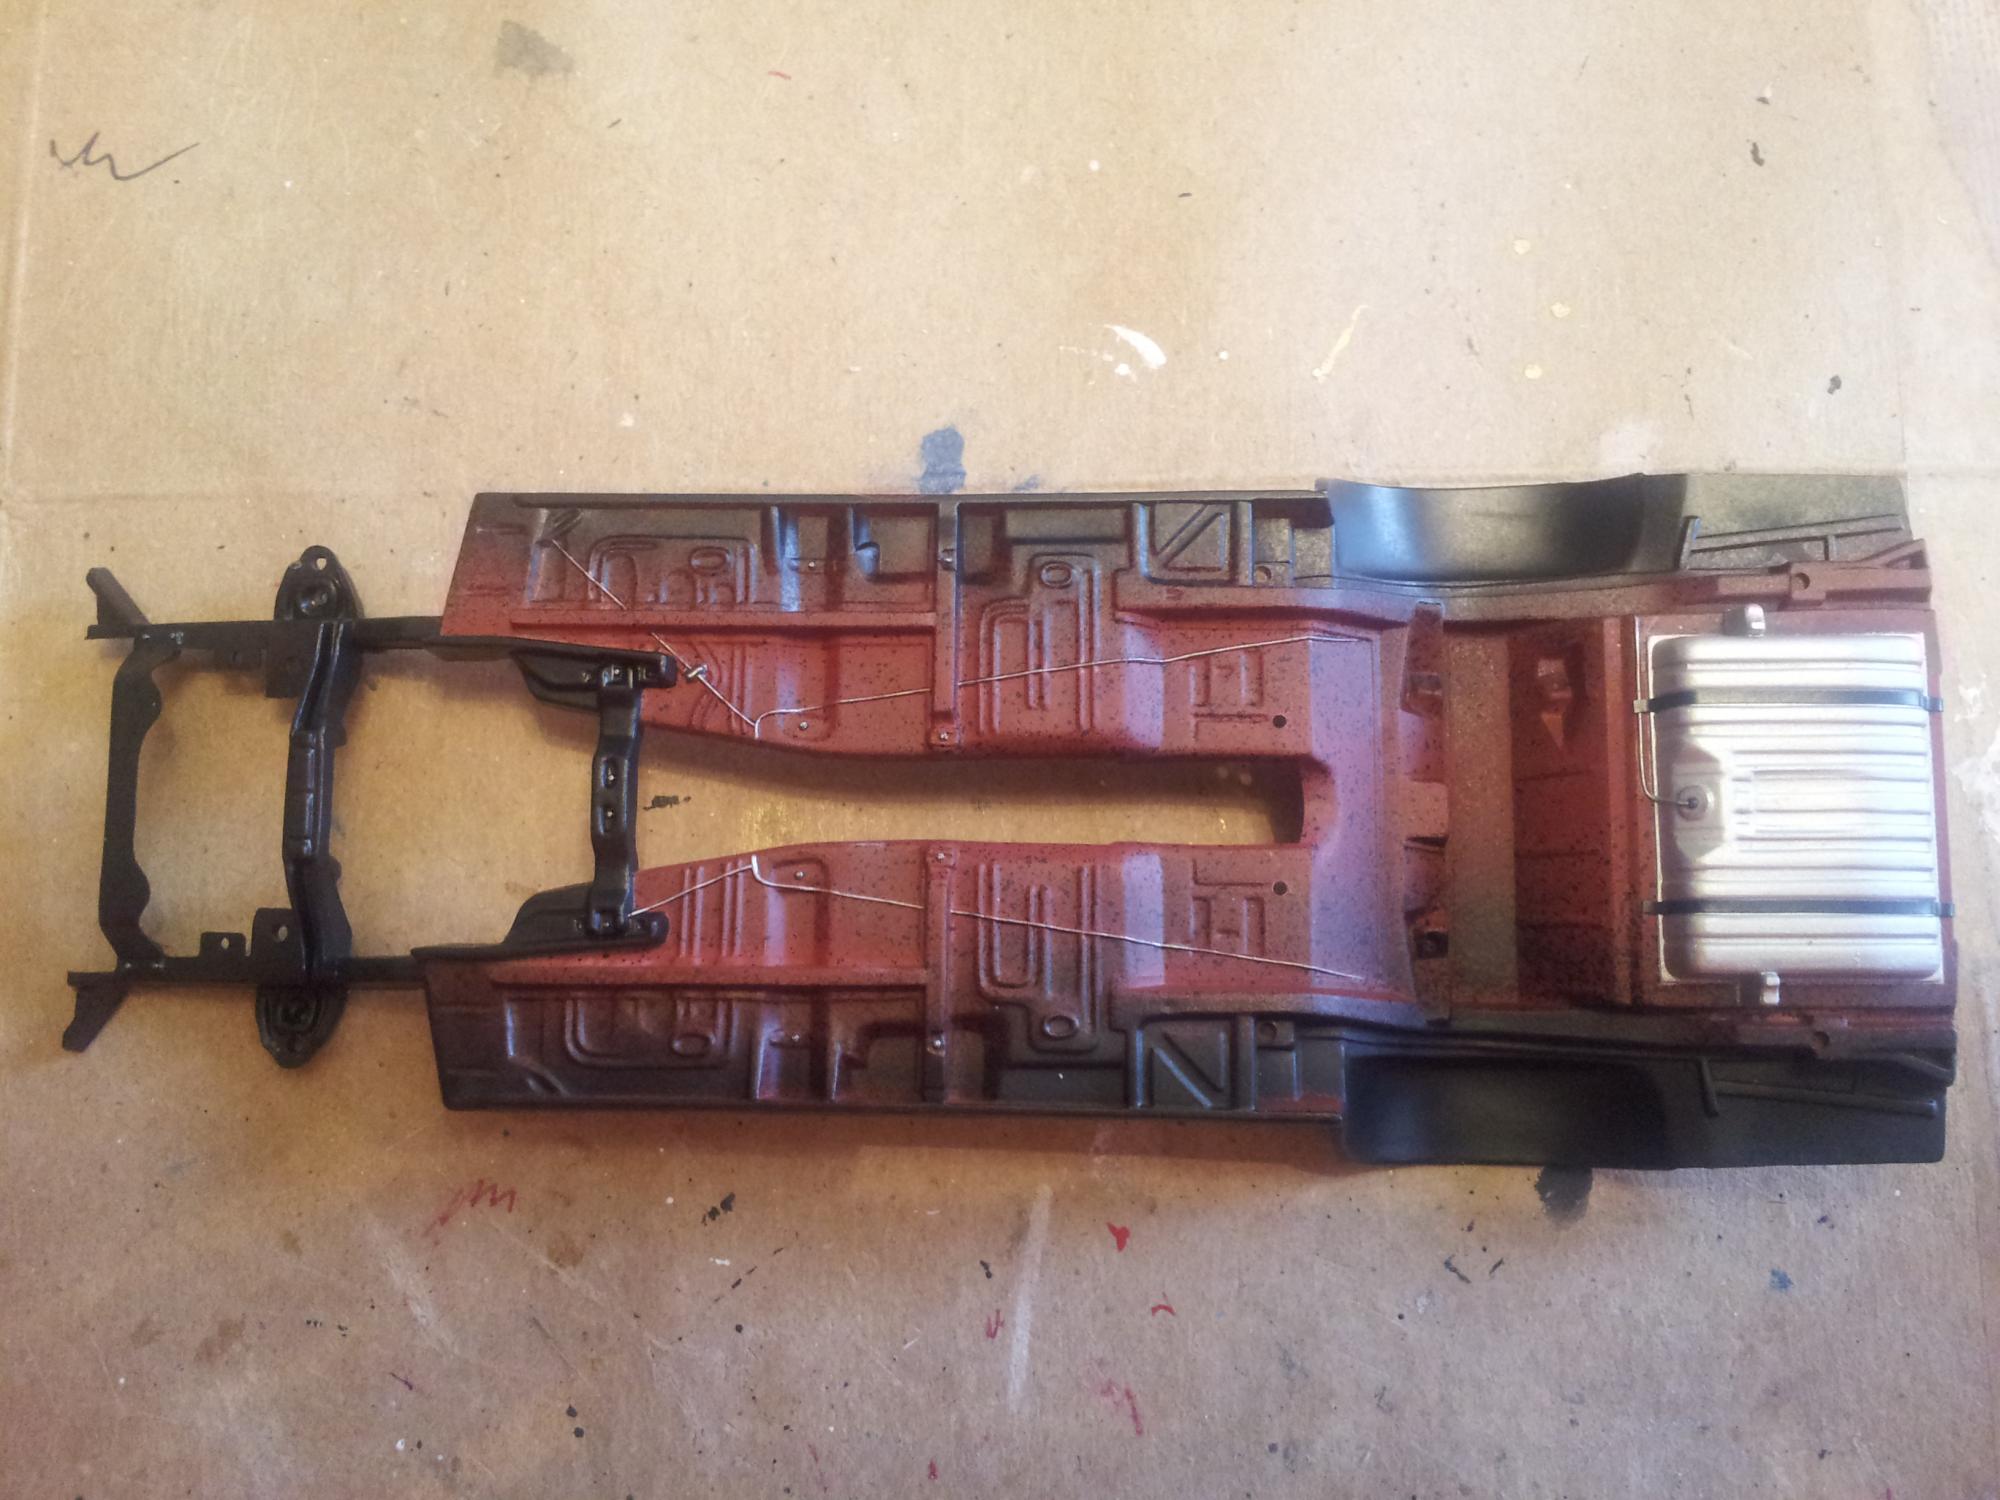
I made a bit of progress this week and should be onto the interior soon. Comments and/or questions are appreciated and welcomed. Thanks for looking!

-
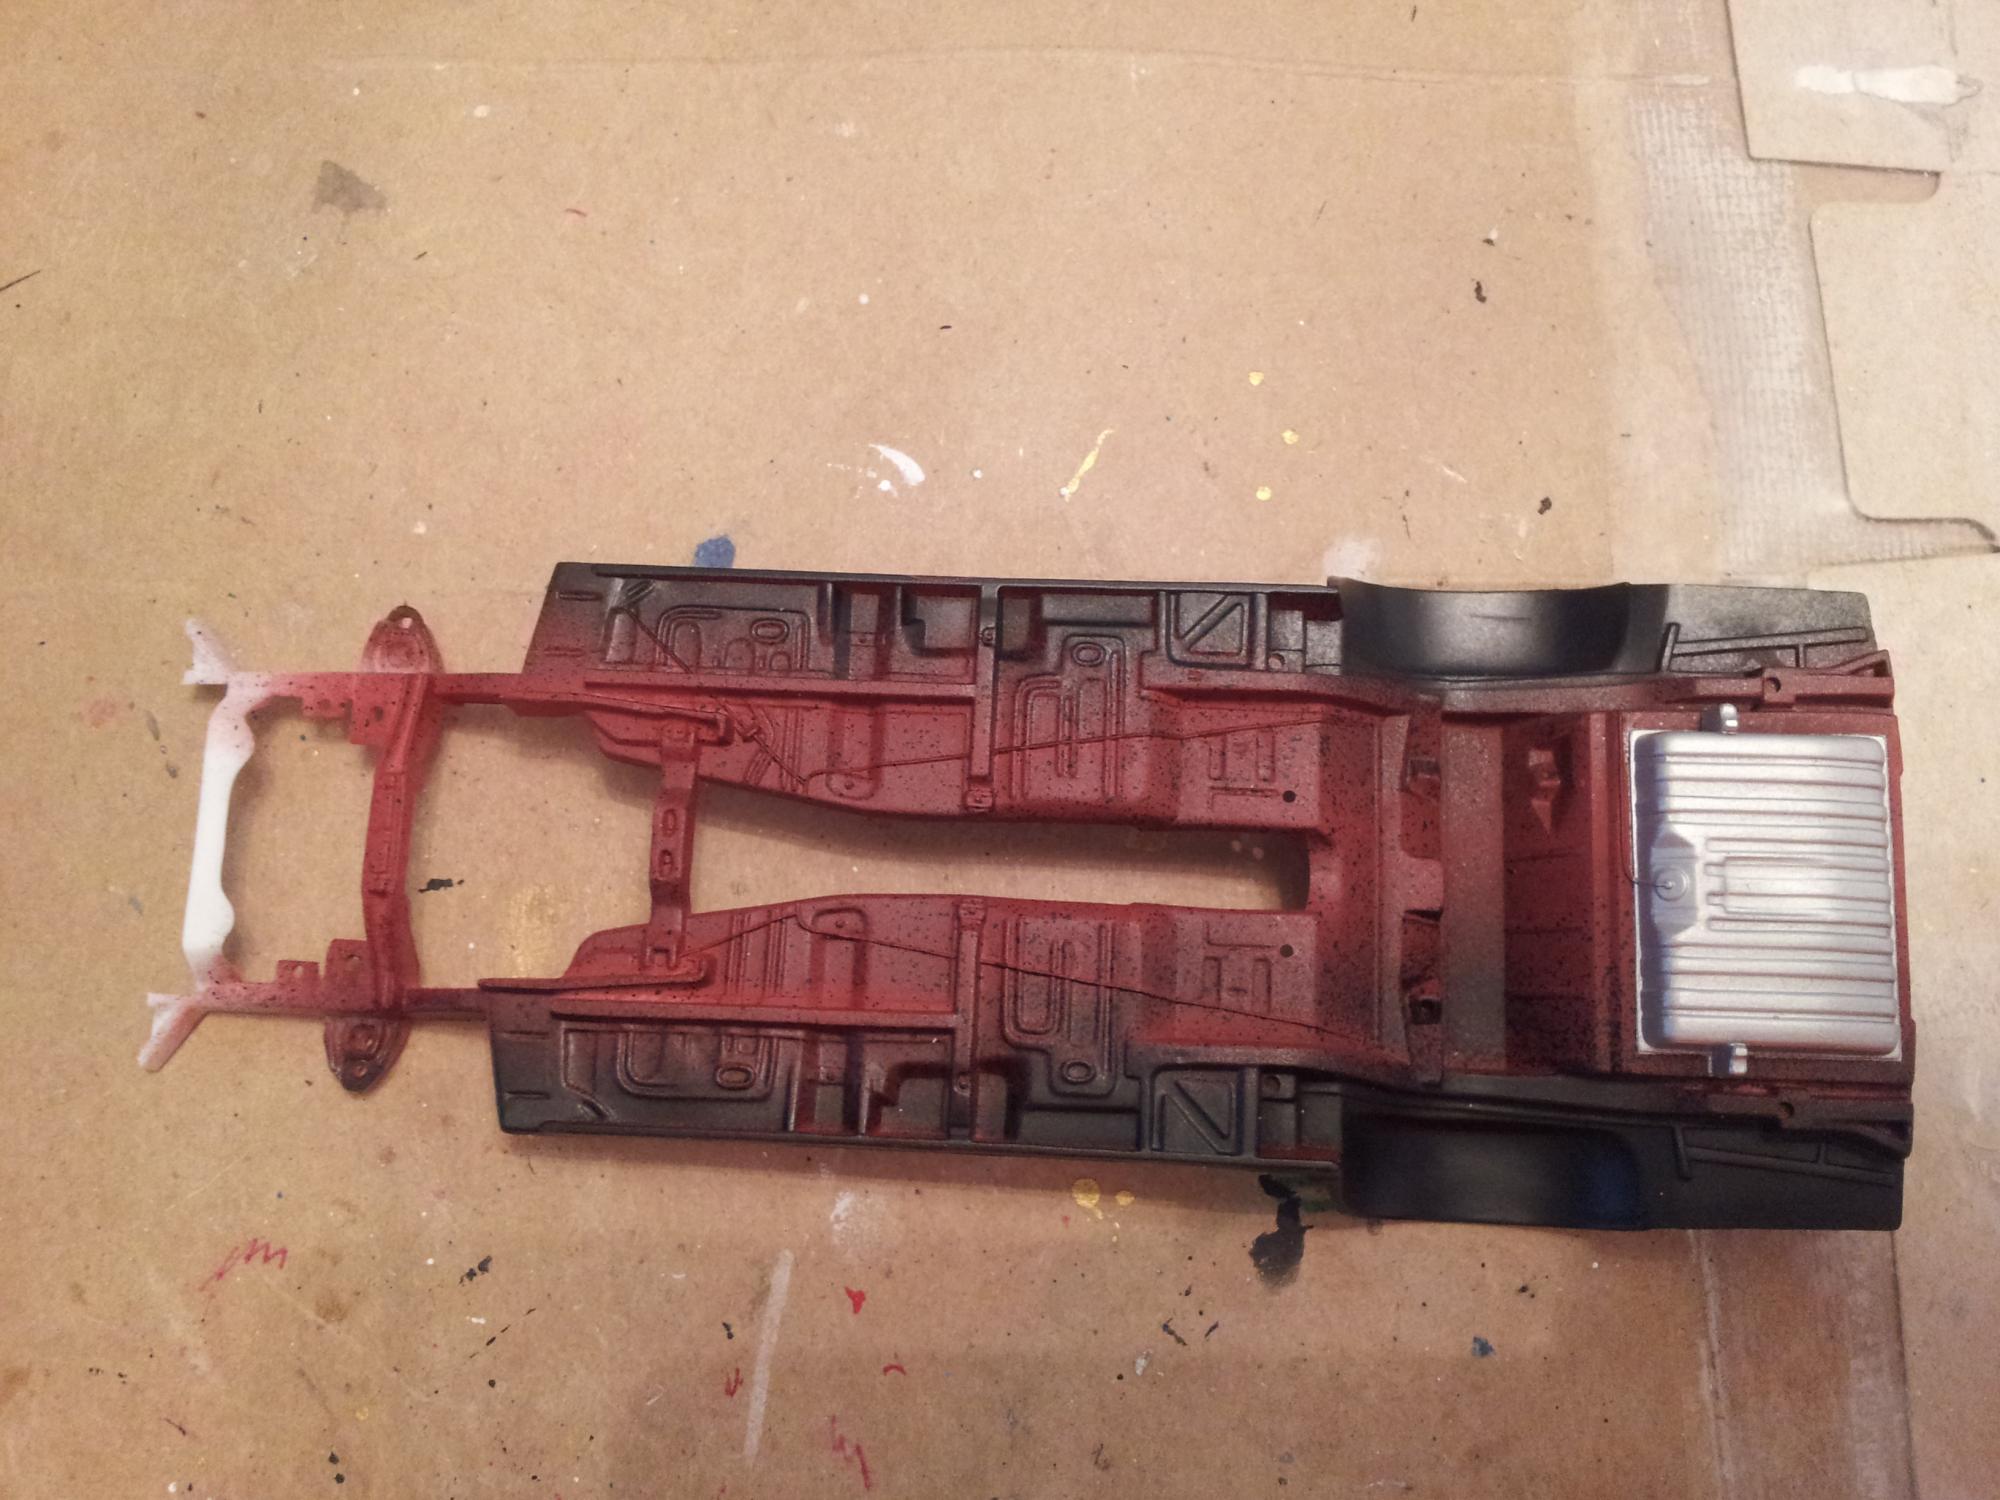
The paint was black petroleum 2x cover with either rustoleum 2x clear or krylon acrylic clear. I've had good results clearing with same combo before. Maybe I missed the within 1 hour or clear after 48 hours window. Oh well, it's all been stripped off now. It was just a weird surprise. Also, the paint didn't do that on the lower half of the vehicle.
-
I paint the lines slowly with very little paint on a fine brush.
-
I was thinking all chrome as in all shiny and no steel or aluminum treatment like the Rally 1 wheels. Glad my misinformation was cleared up.
-
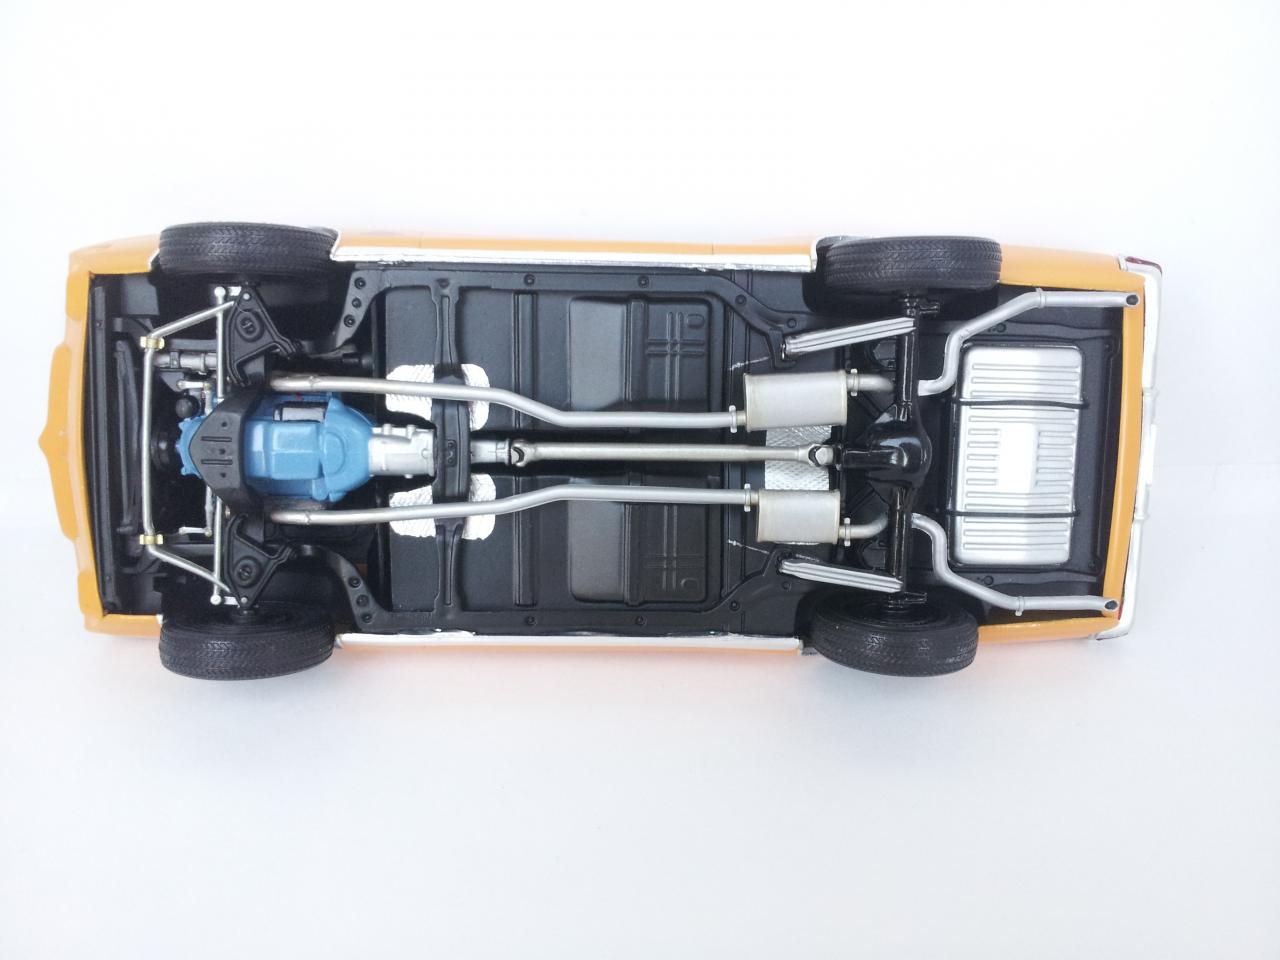
I had to look up the chassis to see what was frame and what is molded into the chassis. I thought the rear wheel wells might of had inserts so I made sure to give them full paint coverage. I don't think that is the case in real life. Thanks for looking!
-
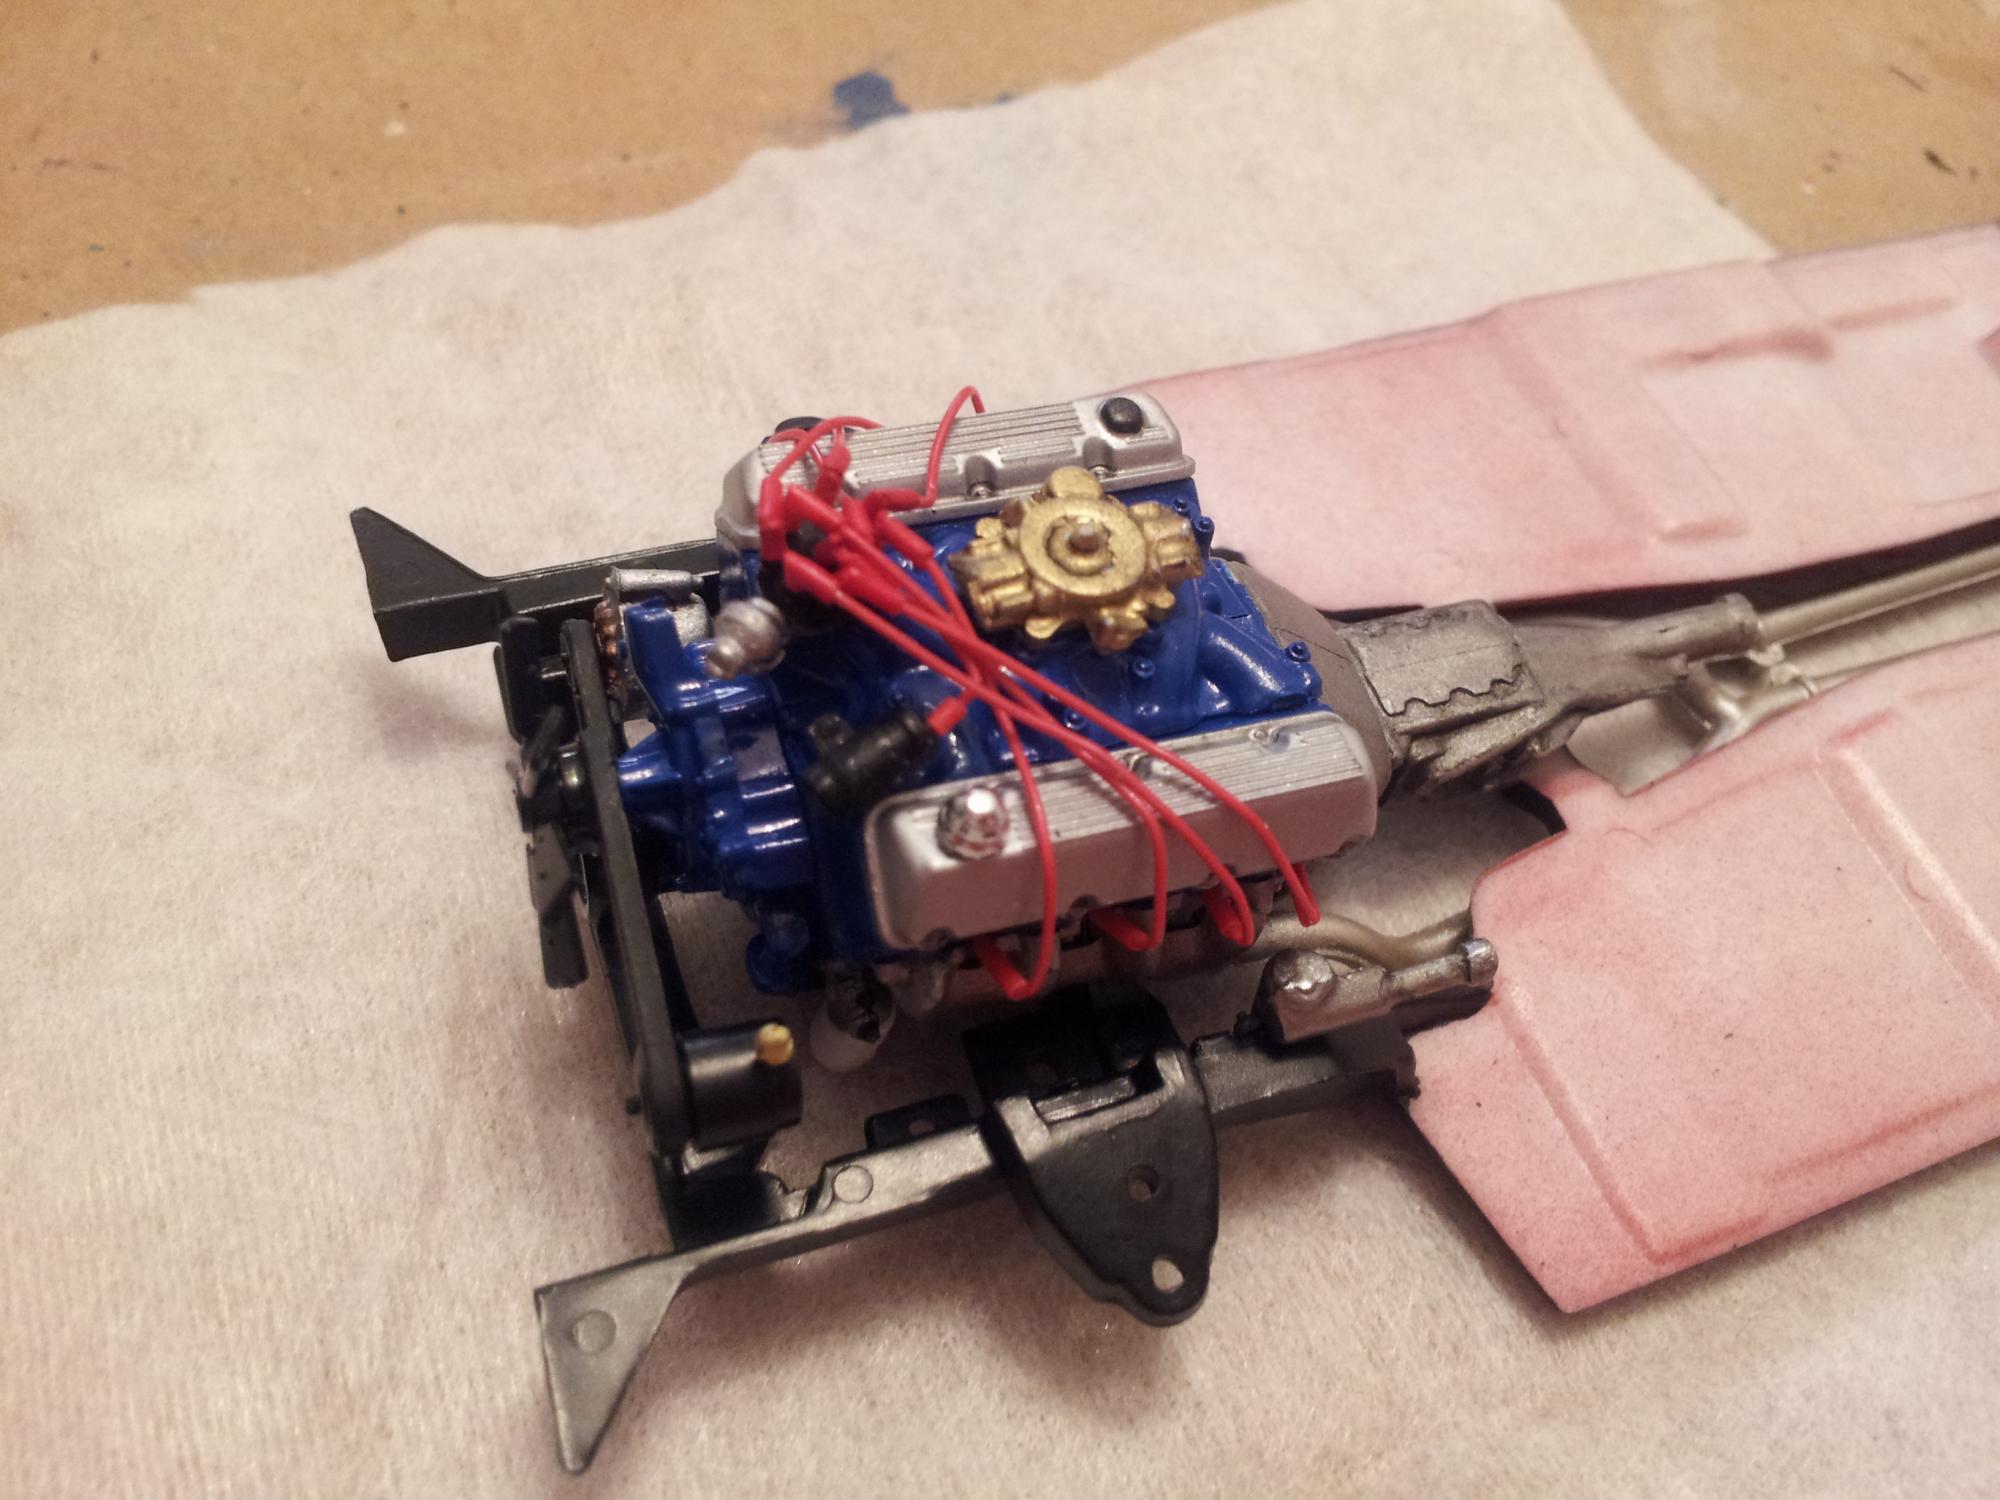
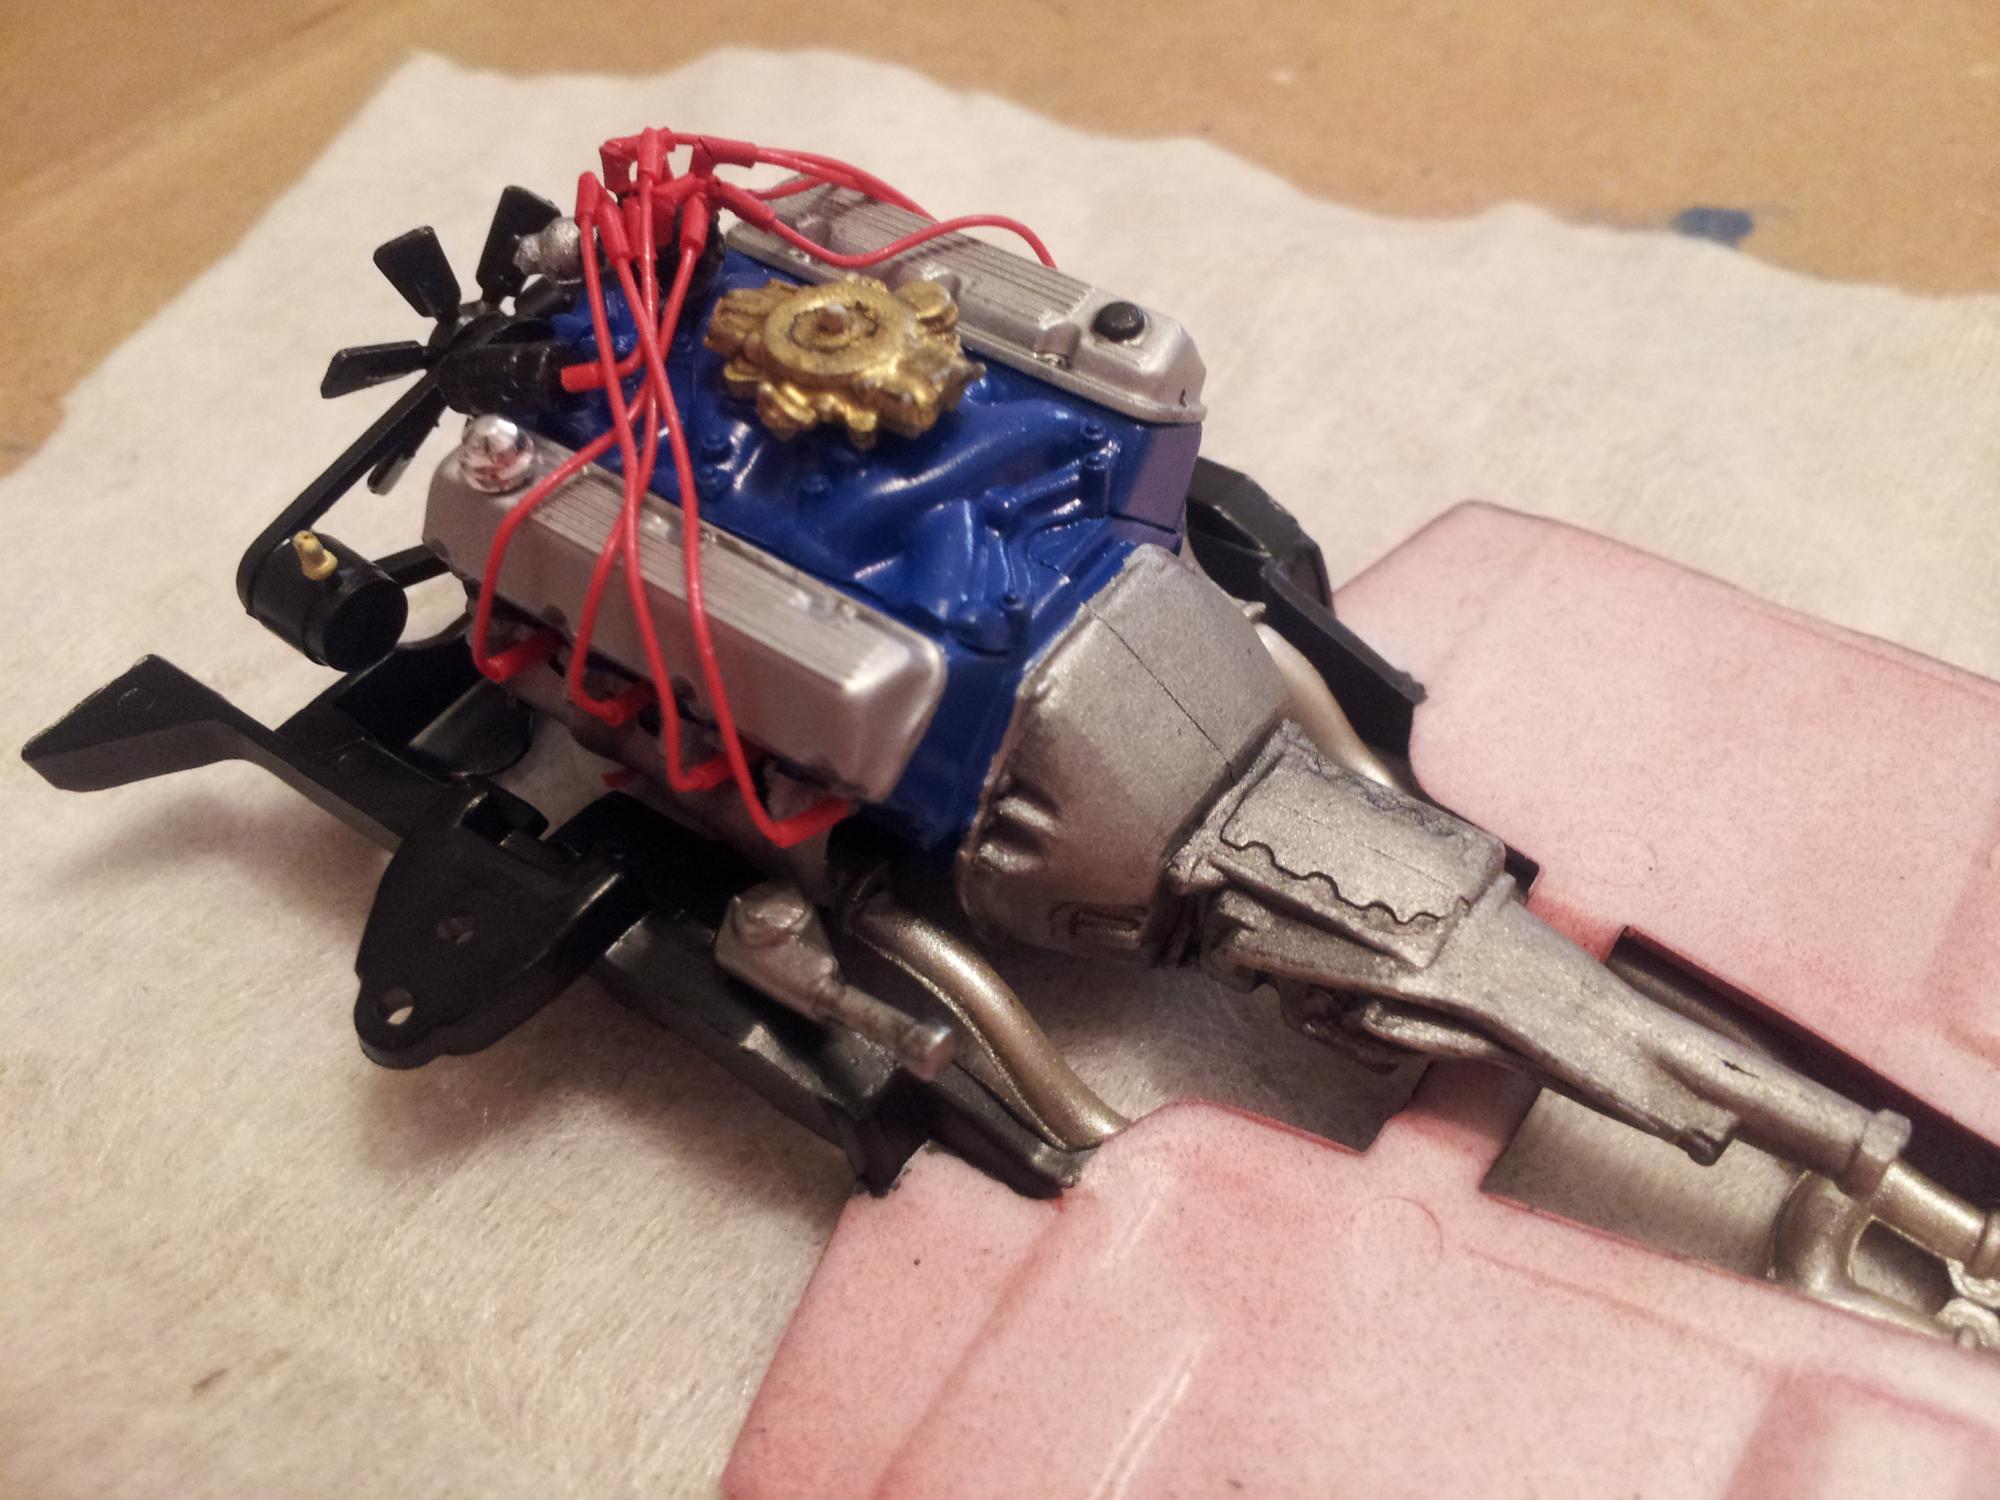
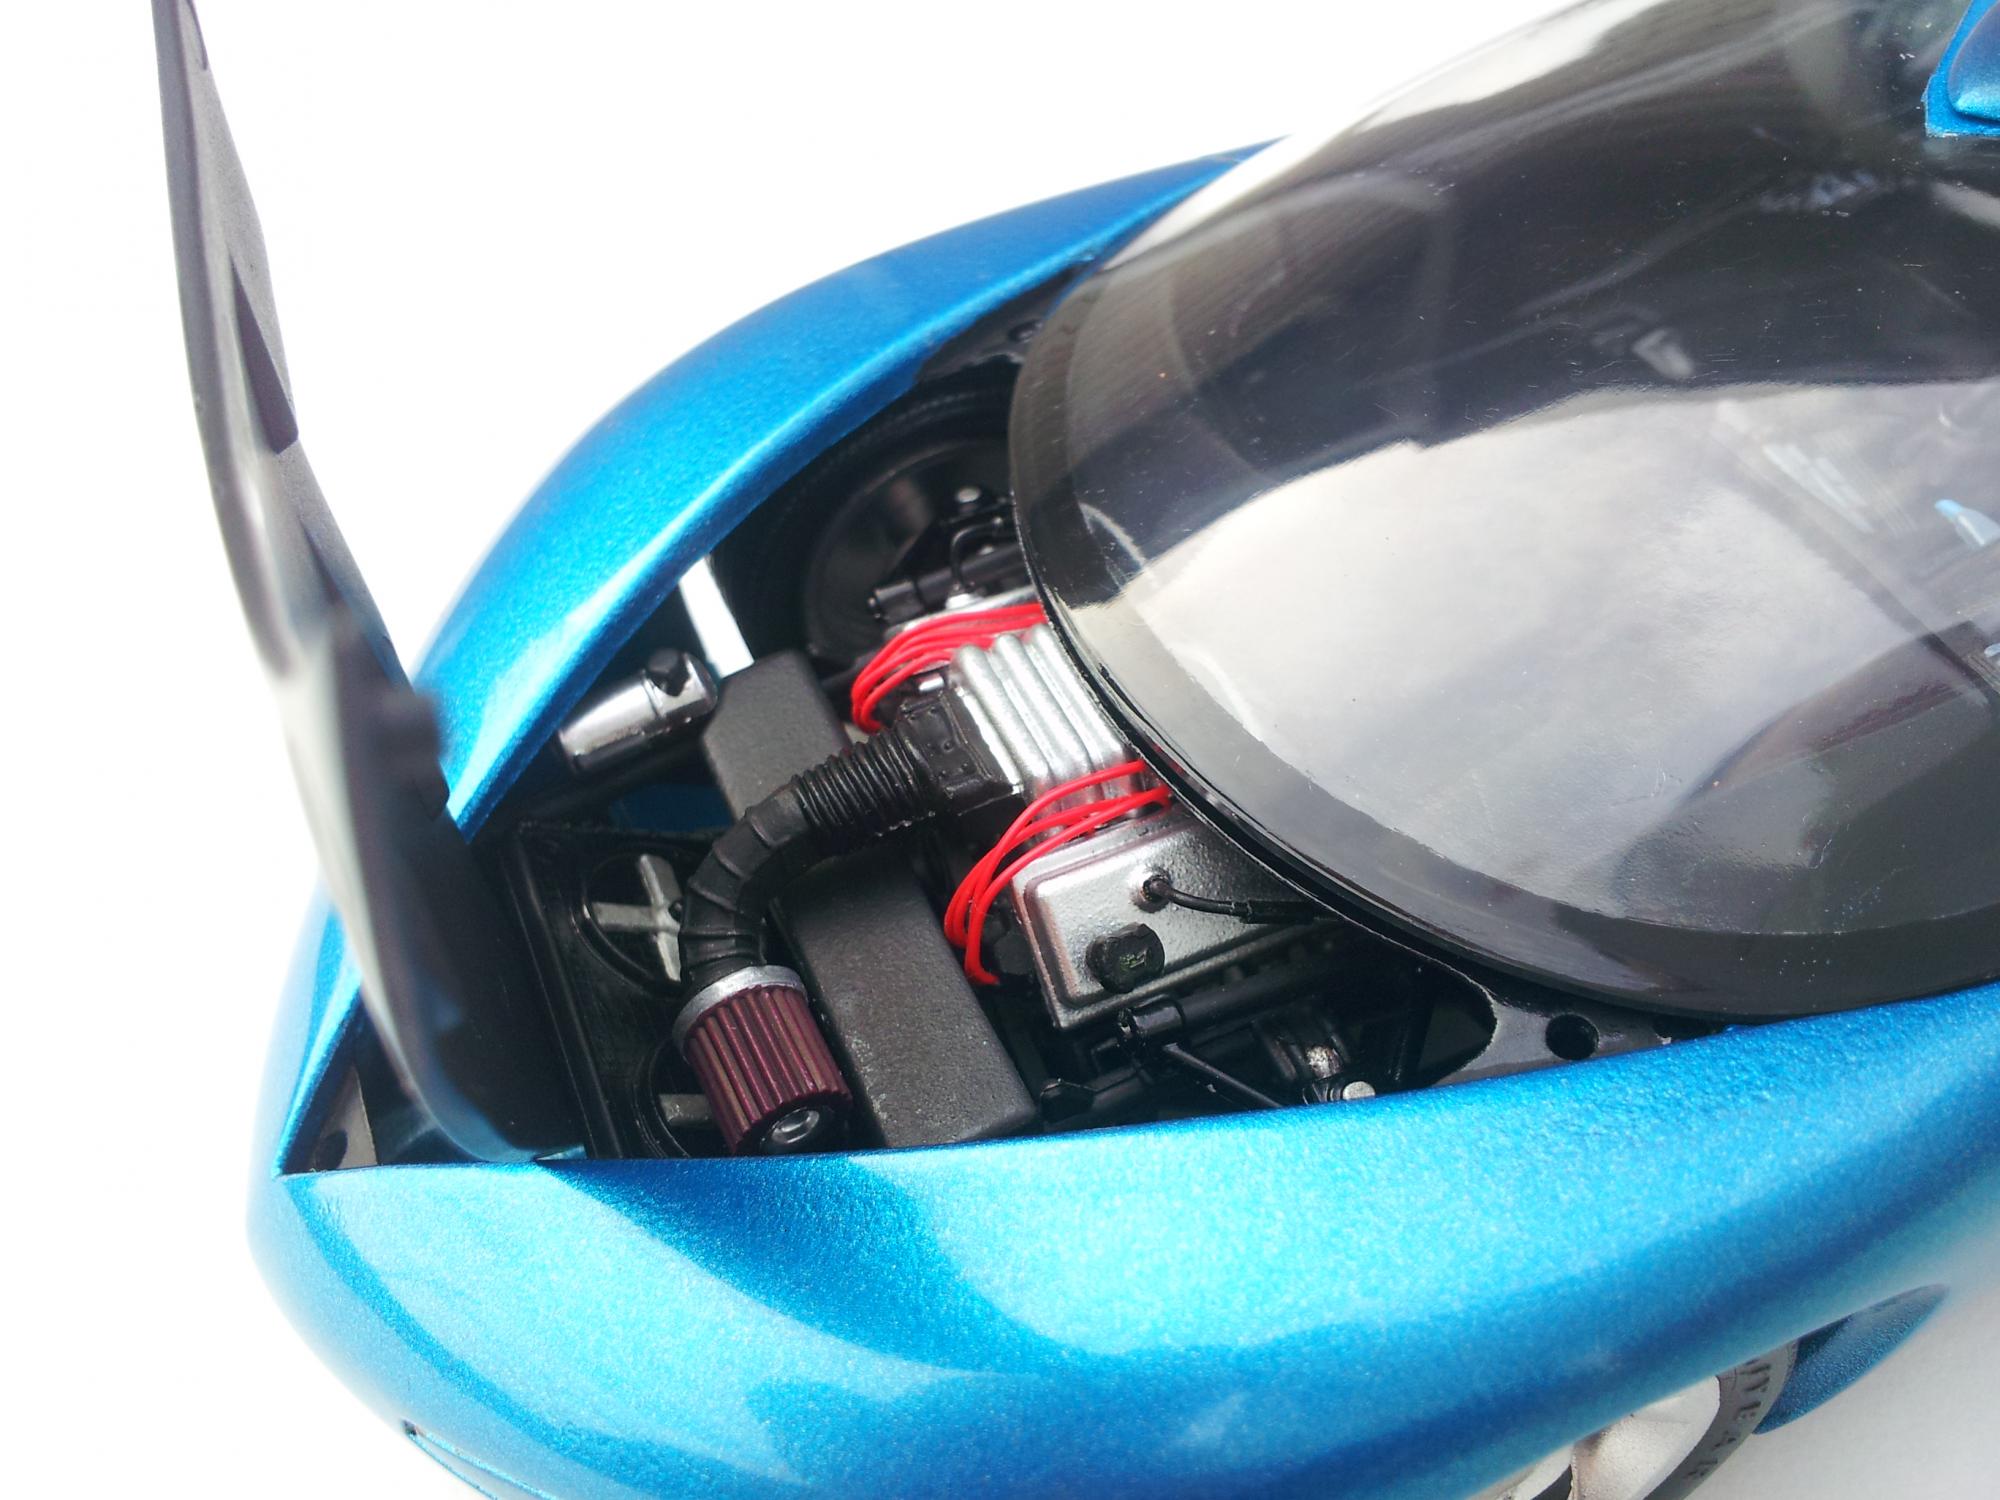
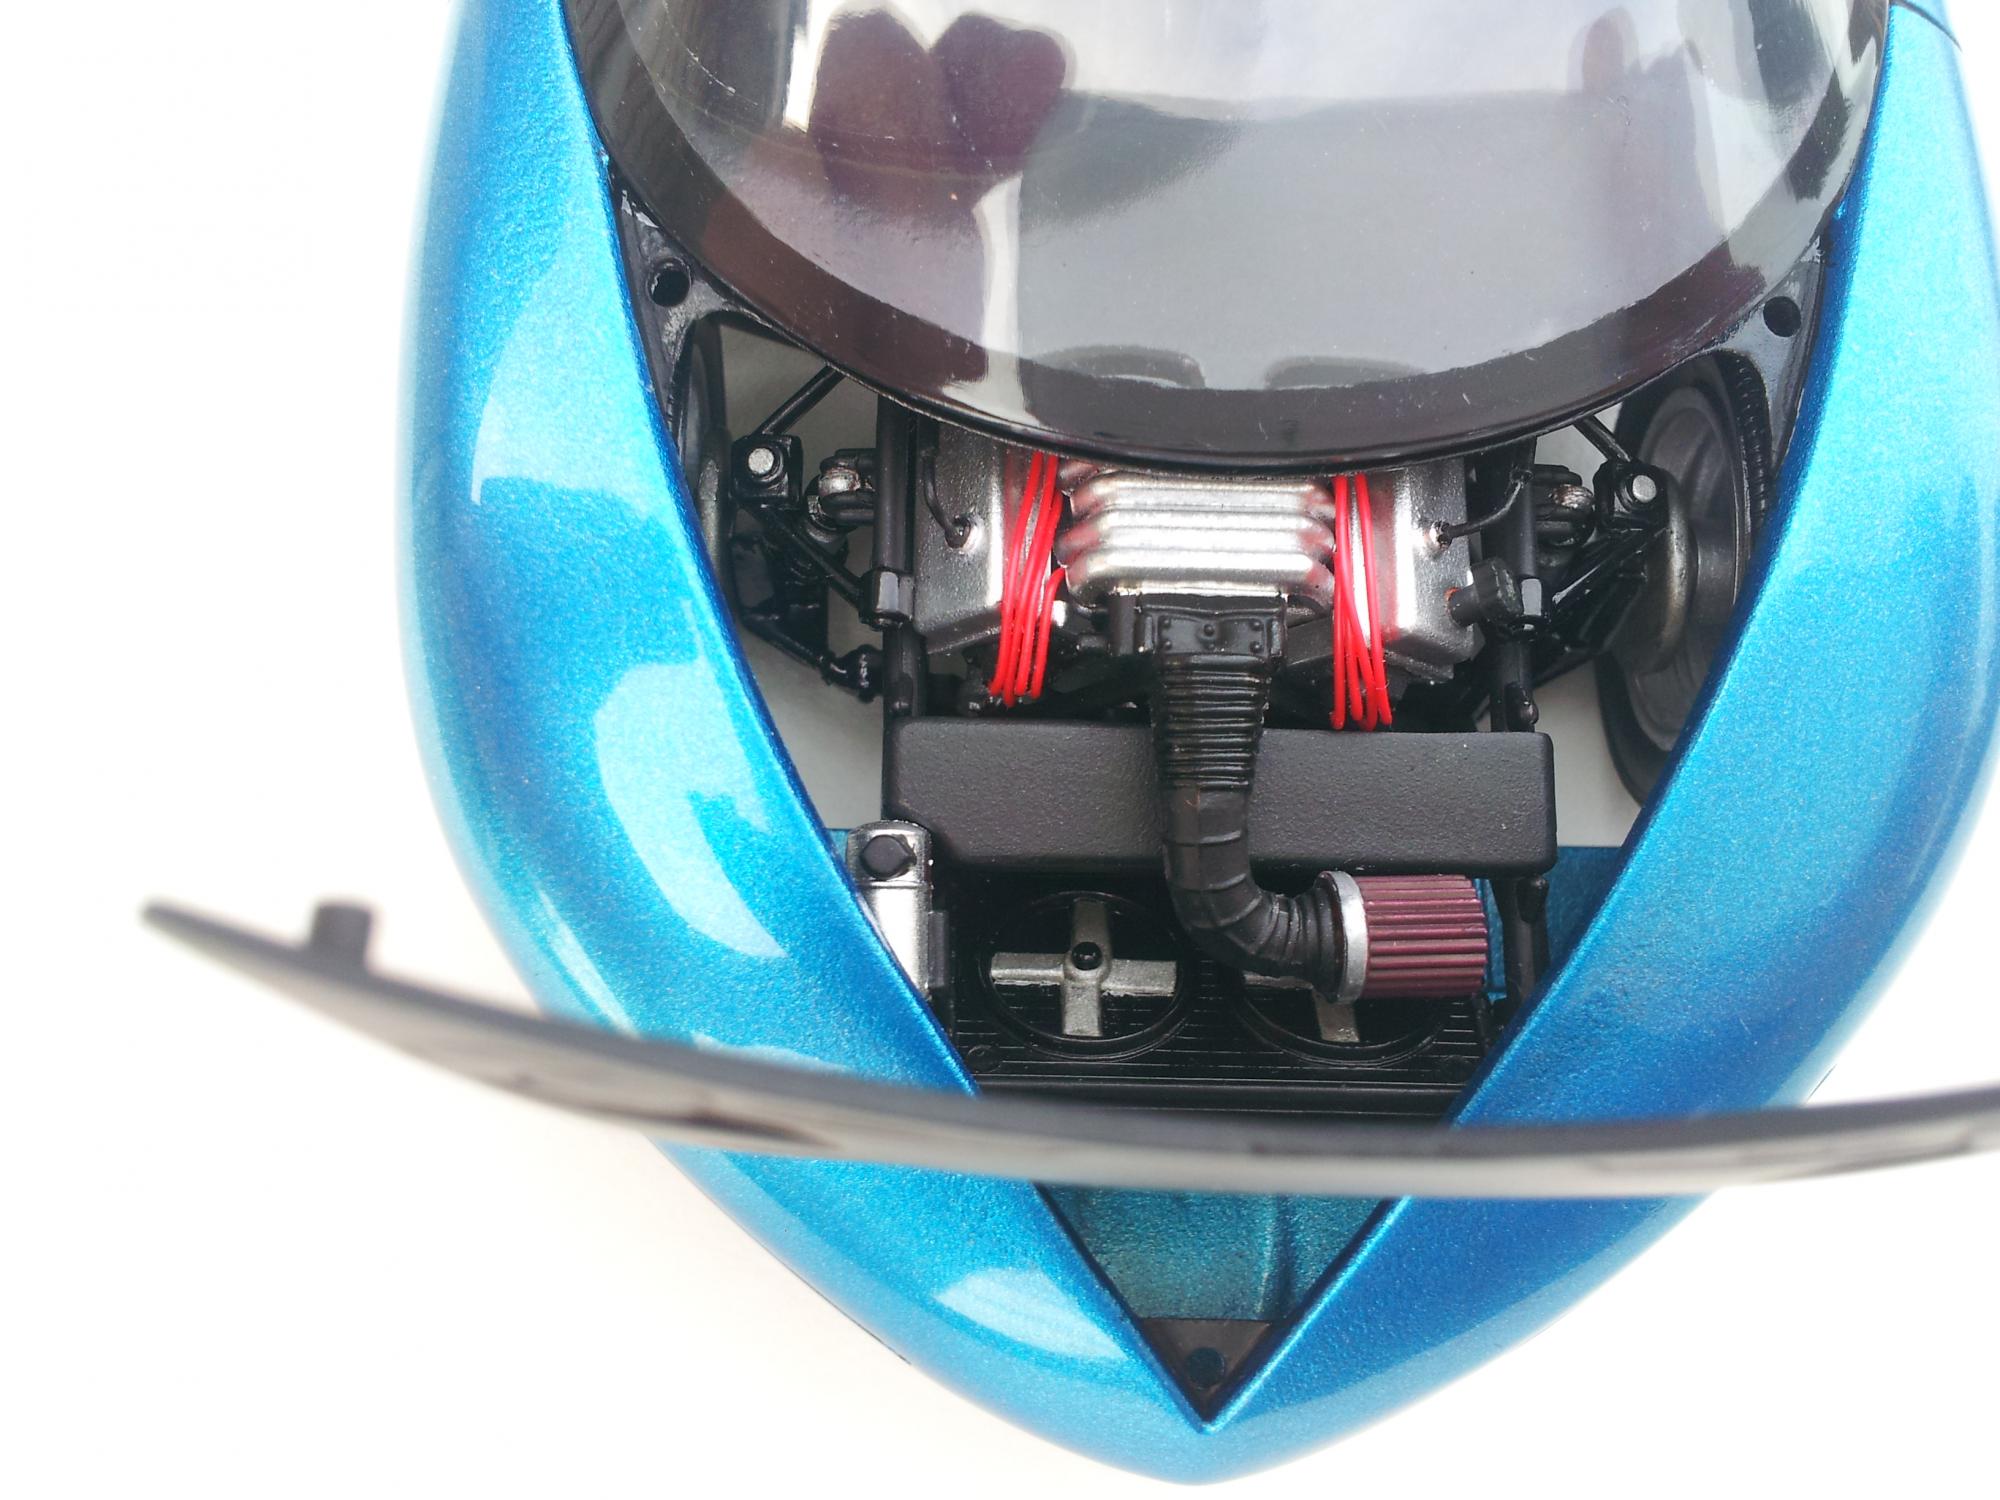
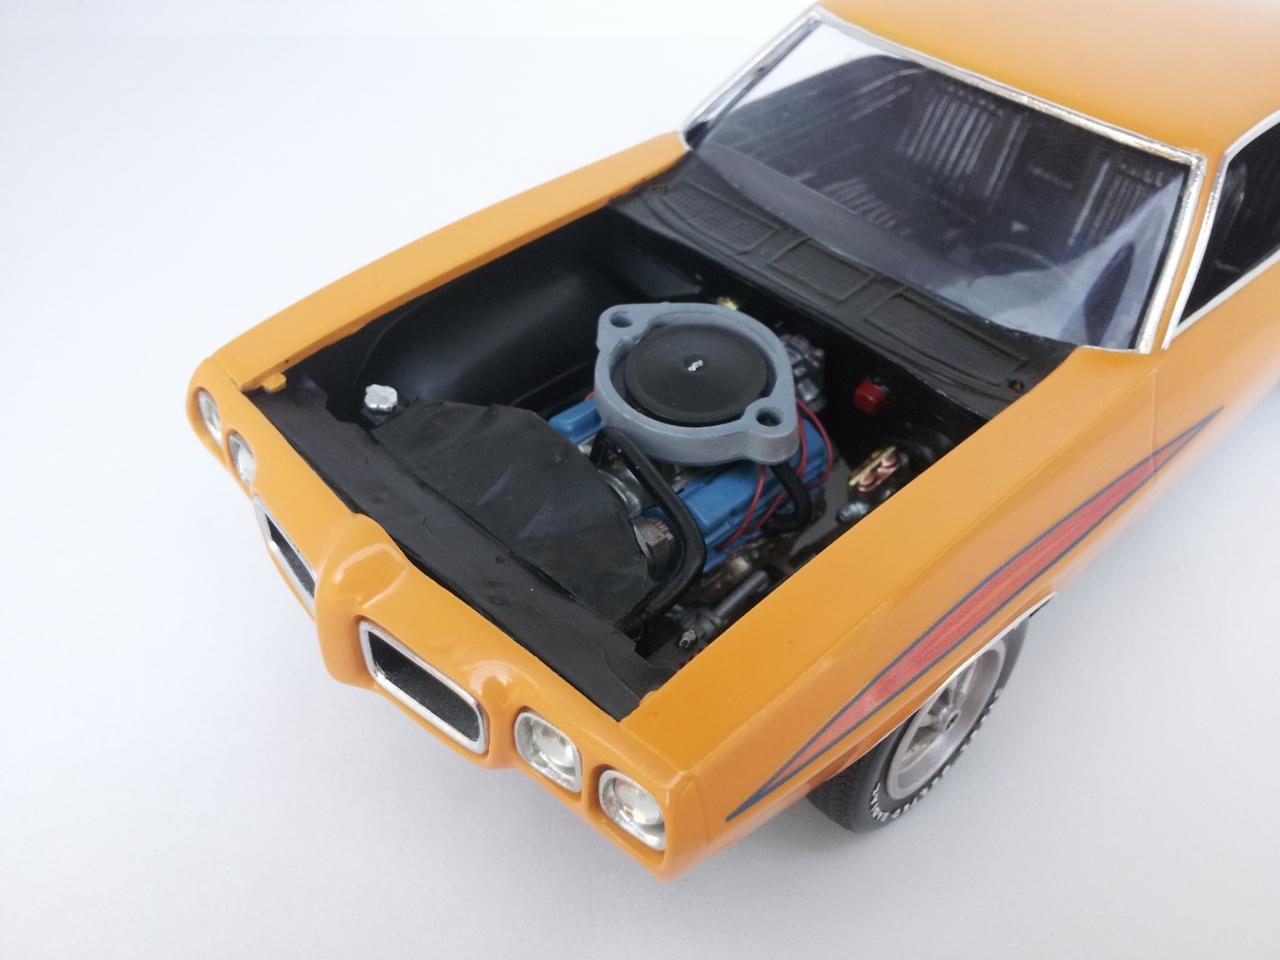
The clear coat fail was an unpleasant surprise. Its been soaking in the purple pond for a good week. I'll have to wait a little bit for a nice day to try and paint it once again. On the upside, the engine is coming out nicely. I tried to use the distributor points molded in the kit, but I had no luck with the 90 degree boots. I ended up cutting them off and drilling them out. I then used Spencer1984's method for making 90 degree boots which worked out nicely.
-
I painted the body and a few other parts last summer and let it dry for about a week before I put it away in my build pile. I usually paint several models in advance during the summer so I have something to build in the winter. I opened up the box last week to discover the following:
-
Good luck with the Vette! I too know what it is like to have issues with a black paint job. I think you will find this kit fun to build. The particular wheels you show that have the knock offs are all chrome. There is a video on youtube by ARS-TV that shows an "all original 1964 gto". The wheels are all chrome. The video might be a good source for detailing your GTO.
-
Nice work on the kit. Those decals can be a pain in the butt sometimes.
-
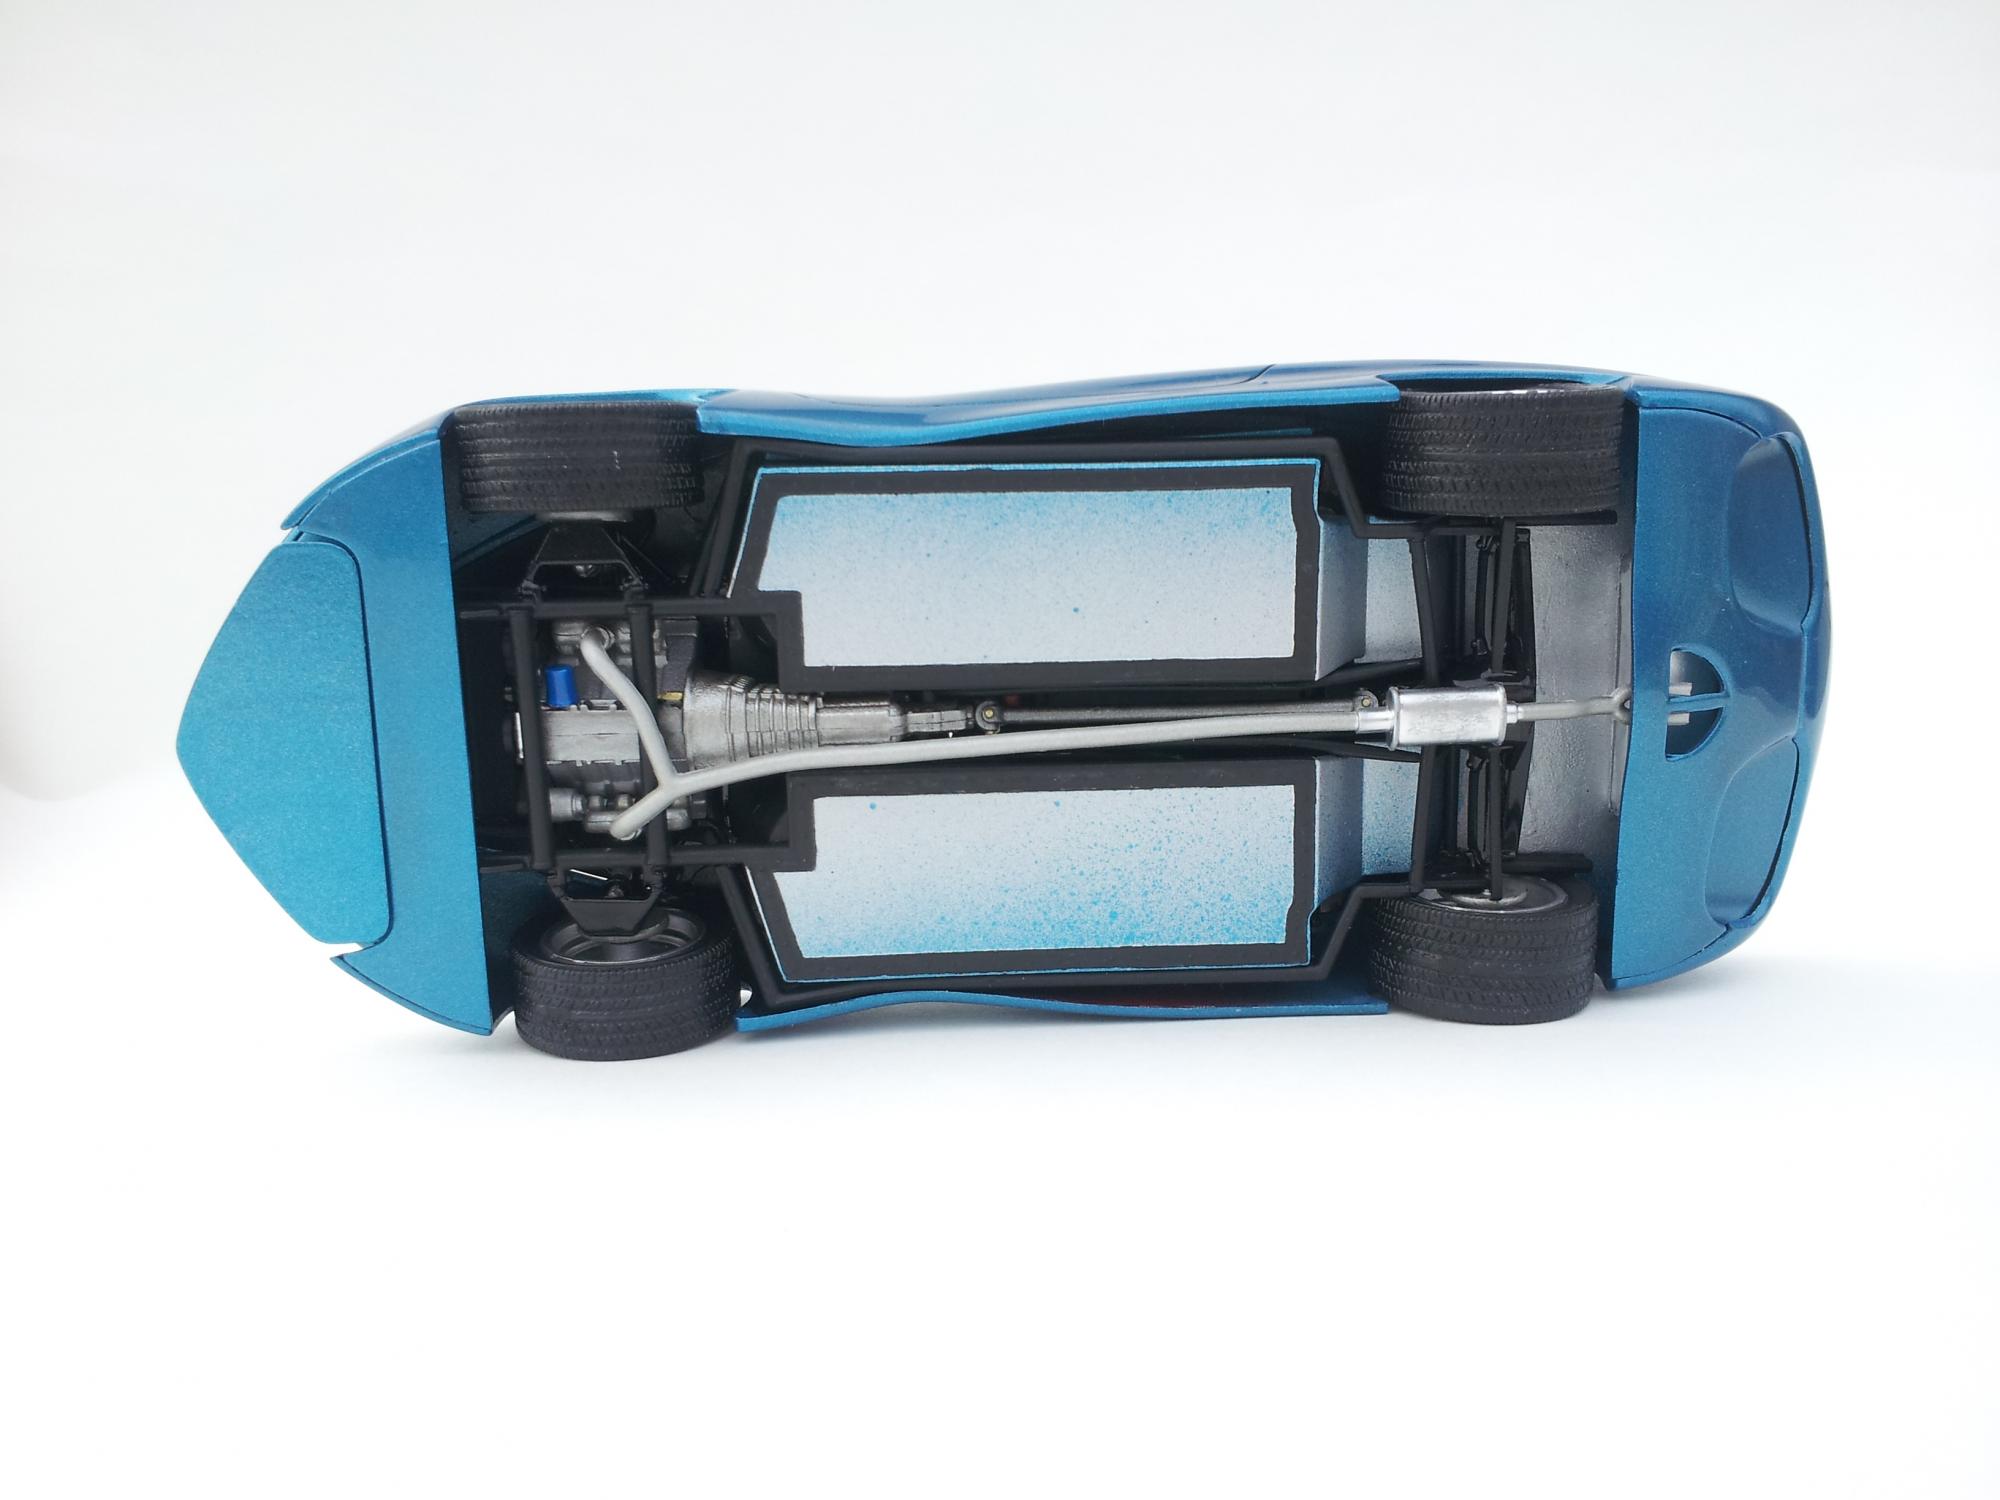
Thanks all! The Bahama Blue paint from Dupli color is one of my favorites. The build may have only taken about a week, but I put probably a good 25-30 work hrs into a kit that only has 50+ parts.
-
Thanks Scalper and Cobraman. I had a hot wheels toy of this car when I was a little kid and it was by far my favorite. While looking for pontiac models on eBay, I found this kit and had to buy it.
-
This was a fun build that took a little over a week to complete.
-
That white paint job came out super clean. Well done!
-
1973 GTO Street Machine, Up on it's wheels! 6/2/18
Samiches replied to am73grand's topic in WIP: Model Cars
Very cool! -
Excellent work as always Spencer!
-
The lettering is hand painted. I used acrylic paint. It took 2-3 coats for each letter. I just barely put paint on the brush. Using acrylic made it easy for me to correct my mistakes.
-
I tried making the actual foam part myself, but I couldn't get perfectly machined holes. What did you use?
-
Cool car, who makes the kit?
-
Thanks for all the nice comments! I had a lot of fun building this goat and have several more GTOs with bodies painted waiting in line for me to build them.
-
I used un-faceted rhinestones.
-
Unfortunately, the only extra 1/24 scale wheels I have in my small collection are from the '67 GTO, which are the same rally wheel, but with poorer detail.
-
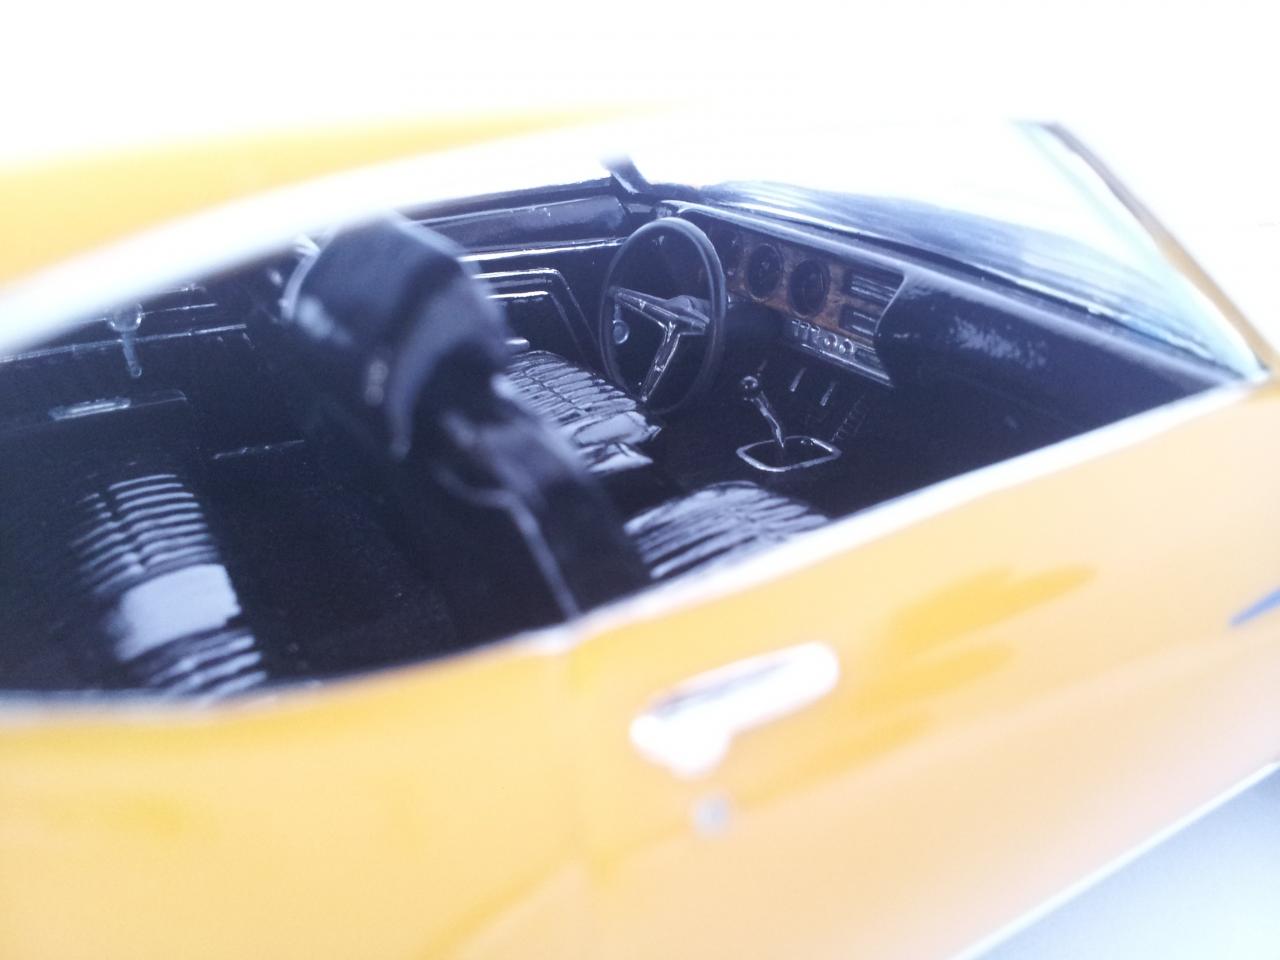
I love GTOs, and the 1970 model year is one of the tops. It is too bad that Round 2 hasn't retooled this kit, or better yet, Revell hasn't come out with one of their own. Comparing by the quality of the '64,'66, and '68/69 GTO kits that revell has put out it would most certainly be better than the aged molds that Round 2 is using. For this build I used the '70 body, interior, and firewall. The chassis,engine and small details to the interior and firewall (arm rests, brake cylinder, and wiper motor) are from revell's 69 GTO kit. I used a donor glue bomb that I had from my childhood. I ended up scratch building the spoiler chopping a couple of the incorrect spoilers that came with the '70 kit and oddly came with the '67 gto kit. I then cut a scale license plate in half to make the spoiler pillars. Finally, I used one of those fake plastic credit cards that comes in the mail for the spoiler ends. I had to cut the chassis short by about 1/4" since it is from a 1/24 scale model and the '70 is 1/25. I also drilled out the headlights since I hate kits that have them molded into the bumper. The interior is carpeted (a first for me) and the decals are from Kieth Marks. Thanks for looking!