-
Posts
520 -
Joined
-
Last visited
Content Type
Profiles
Forums
Events
Gallery
Posts posted by Shambles
-
-
Thanks, David. I shoulda known better than to get on that #!!@#$ step stool. My rolling work table came today and my shoulder has gotten a lot better so I plan on assembling it tomorrow (the table, not my shoulder). I want to get back to work on my diorama!
-
Cool! I like your paint box too. I've got one out in the garage that I use a lot. I thought about getting a 3D printer, but didn't know how much I'd use it, and they ain't cheap! In the last year, I splurged on the MicroMark' decal maker package so I can print decals with a white base coat, and a Wondercutter, also from MicroMark. That pretty much wiped out my budget for a while!
-
Me too, but I had two cars and a pickup and a golf cart. My Silverado stays in the driveway and my Corvette and golf car still stay in the garage. It's climate controlled so it's comfortable year round and I have plenty of room for my diorama out there.
-
Yall don't give up on me. A couple of weeks ago, I was on a step stool trying to set up some stuff at the back of the diorama, stool squirted out from under me, I fell and hurt my shoulder so I ain't been able to do much on it lately. I should know better at my age! I've ordered a rolling work table that will be at a little lower height, and I'll be able to access the diorama from any side as opposed to my current set up which is fixed to the wall and about 4'5" off the floor.
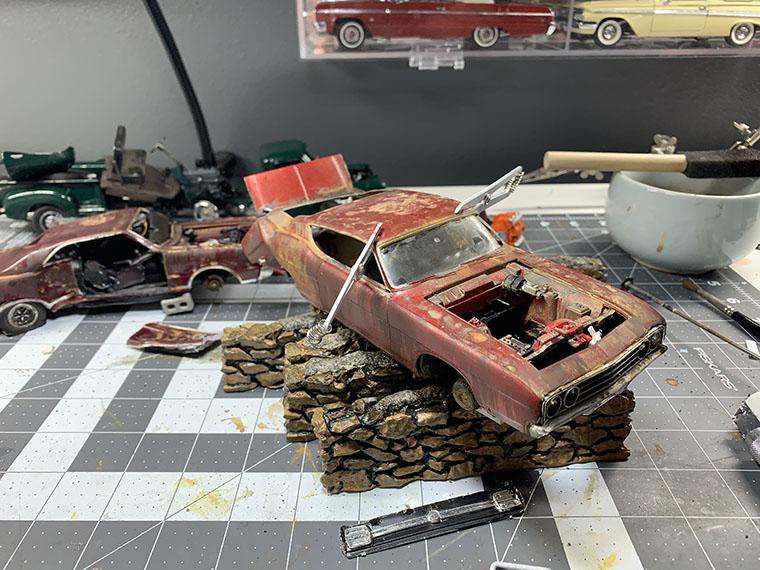
Meanwhile, I'm still working on my "inventory", cutting out doors and deck lids, doing a little weathering...
-
Off to a good start. I had to get rid of one (real) car and move my diorama to the garage.
-
-
-
Nice work, Jason. The Caddy looks very real! Keep us posted on your progress.
-
1 hour ago, Tom Geiger said:
Go to YouTube and there are plenty of videos of crushers in operation. Note that they remove the tires first.
Thanks. I probably won't "crush" that GTO, but I'll remove the tires on the ones I do crush.
-
On 3/22/2020 at 11:46 AM, Rotorbolt73 said:
Man ,I dig the car crusher. You scratch build that?
I've thought of doing the same..buy a bunch of old prebuilts and weather and wreck em up..much easier than using new kits since most of the paint and assembly is already done.
Nah, I ain't nearly good enough at scratch building. Found the crusher on eBay: https://www.ebay.com/itm/Car-Crusher-For-Dioramas-1-24-1-25-scale-model/222545131853?ssPageName=STRK%3AMEBIDX%3AIT&_trksid=p2057872.m2749.l2649
-
Impressive collection and a great diorama!
-
Thanks y'all. I'm self quarantined and almost out of toilet paper? Oh well, more time to work on my projects
-
Nice work. Keep us posted.
-
-
Does anyone know where to find resin 1:25 hood hinges? I could find them a few years ago, but not having much luck now.
-
21 hours ago, wrenchr said:
wow, to cool and thanks for explaining it all!! I buy old builds as well for my wreck / junkers.
Do you post any of your wrecks or junker photos here? Love to see 'em.
-
Impressive work, Paul. At my age (68), I'm finding it more difficult to work in 1:24 and 1:25 scale than it was just a few years ago. I'm impressed with what you're doing in 1:64! Your shots are nice too. Good perspective and lighting. After trying a couple of kinds of cameras, I settled on my iPhone X. It has some amazing capabilities. My sister is a retired photography professor and she says her iPhone produces better results than some of her high-dollar professional cameras. I'm a retired graphic designer, so I enjoy using Photoshop and some other apps to add backgrounds to my diorama shots. It can be a little tedious, but I enjoy it.
-
Impressive work! You're way more patient and tenacious than me.
-
20 hours ago, wrenchr said:
Hi John,
What is your heating method for the damage?
I started out long ago using a Bic lighter and/or a candle. I have scribed out doors and deck lids for years, but this "Wonder Cutter" from Micro-Mark really speeds things up. It takes some practice, and it's easy to mess up but, since these are wrecks, I can get away with it. I sometimes use a Dremmel butane soldering tool for short bursts, but it can easily overheat the plastic and make it shrink, especially thin items like A- posts and exhaust pipes. I do most of the heating with a Micro-Mark heat gun but still have to be careful to distribute the heat evenly and stay off of the thin parts. I often take the model apart, "wreck" the interior and exterior separately, test fit a few times, then put them back together.
After years of trying to make realistic flat tires, I found something that works pretty good; a hot plate and a 7/16 deep socket for 1:25 tires. I remove the tires from the rims so the rims don't flatten too. Then, trim away the excess rubber, and insert the rim. I've found resin "steel" wheels on eBay if I want it to look like the wheel cover came off in the wreck. It also helps to have something solid to "crash" into the model being wrecked. For this one, I'm using the cab from a disassembled DM die cast '53 Chevy pickup (a whole other project that's in the works).
Sorry... didn't mean to go on and on. I didn't know if yall would be interested.
-
7 hours ago, DrKerry said:
Very kool, both would be nice to have!! Thanks for the info again!!
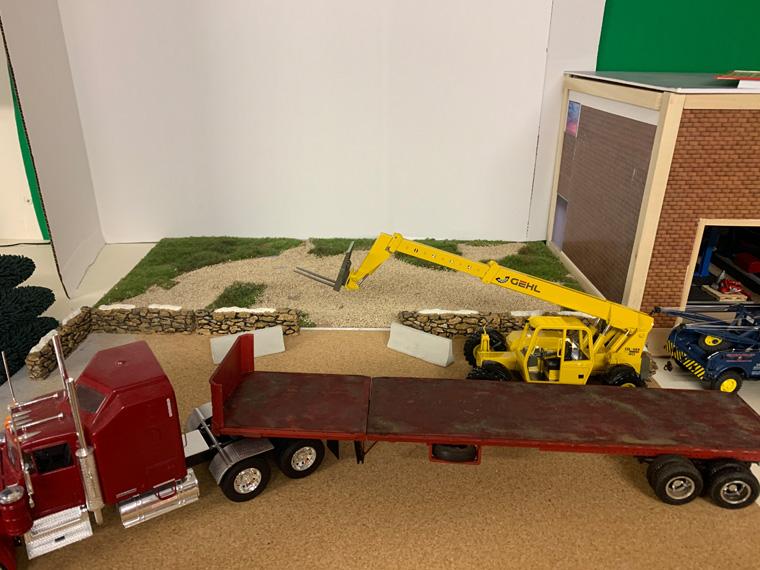
I didn't find that exact same one, but something close: https://www.constructionscalemodels.com/en/gehl-dynalift-dl-6h-telescopic-handler-forks-die-cast-promotions-dcp40069
-
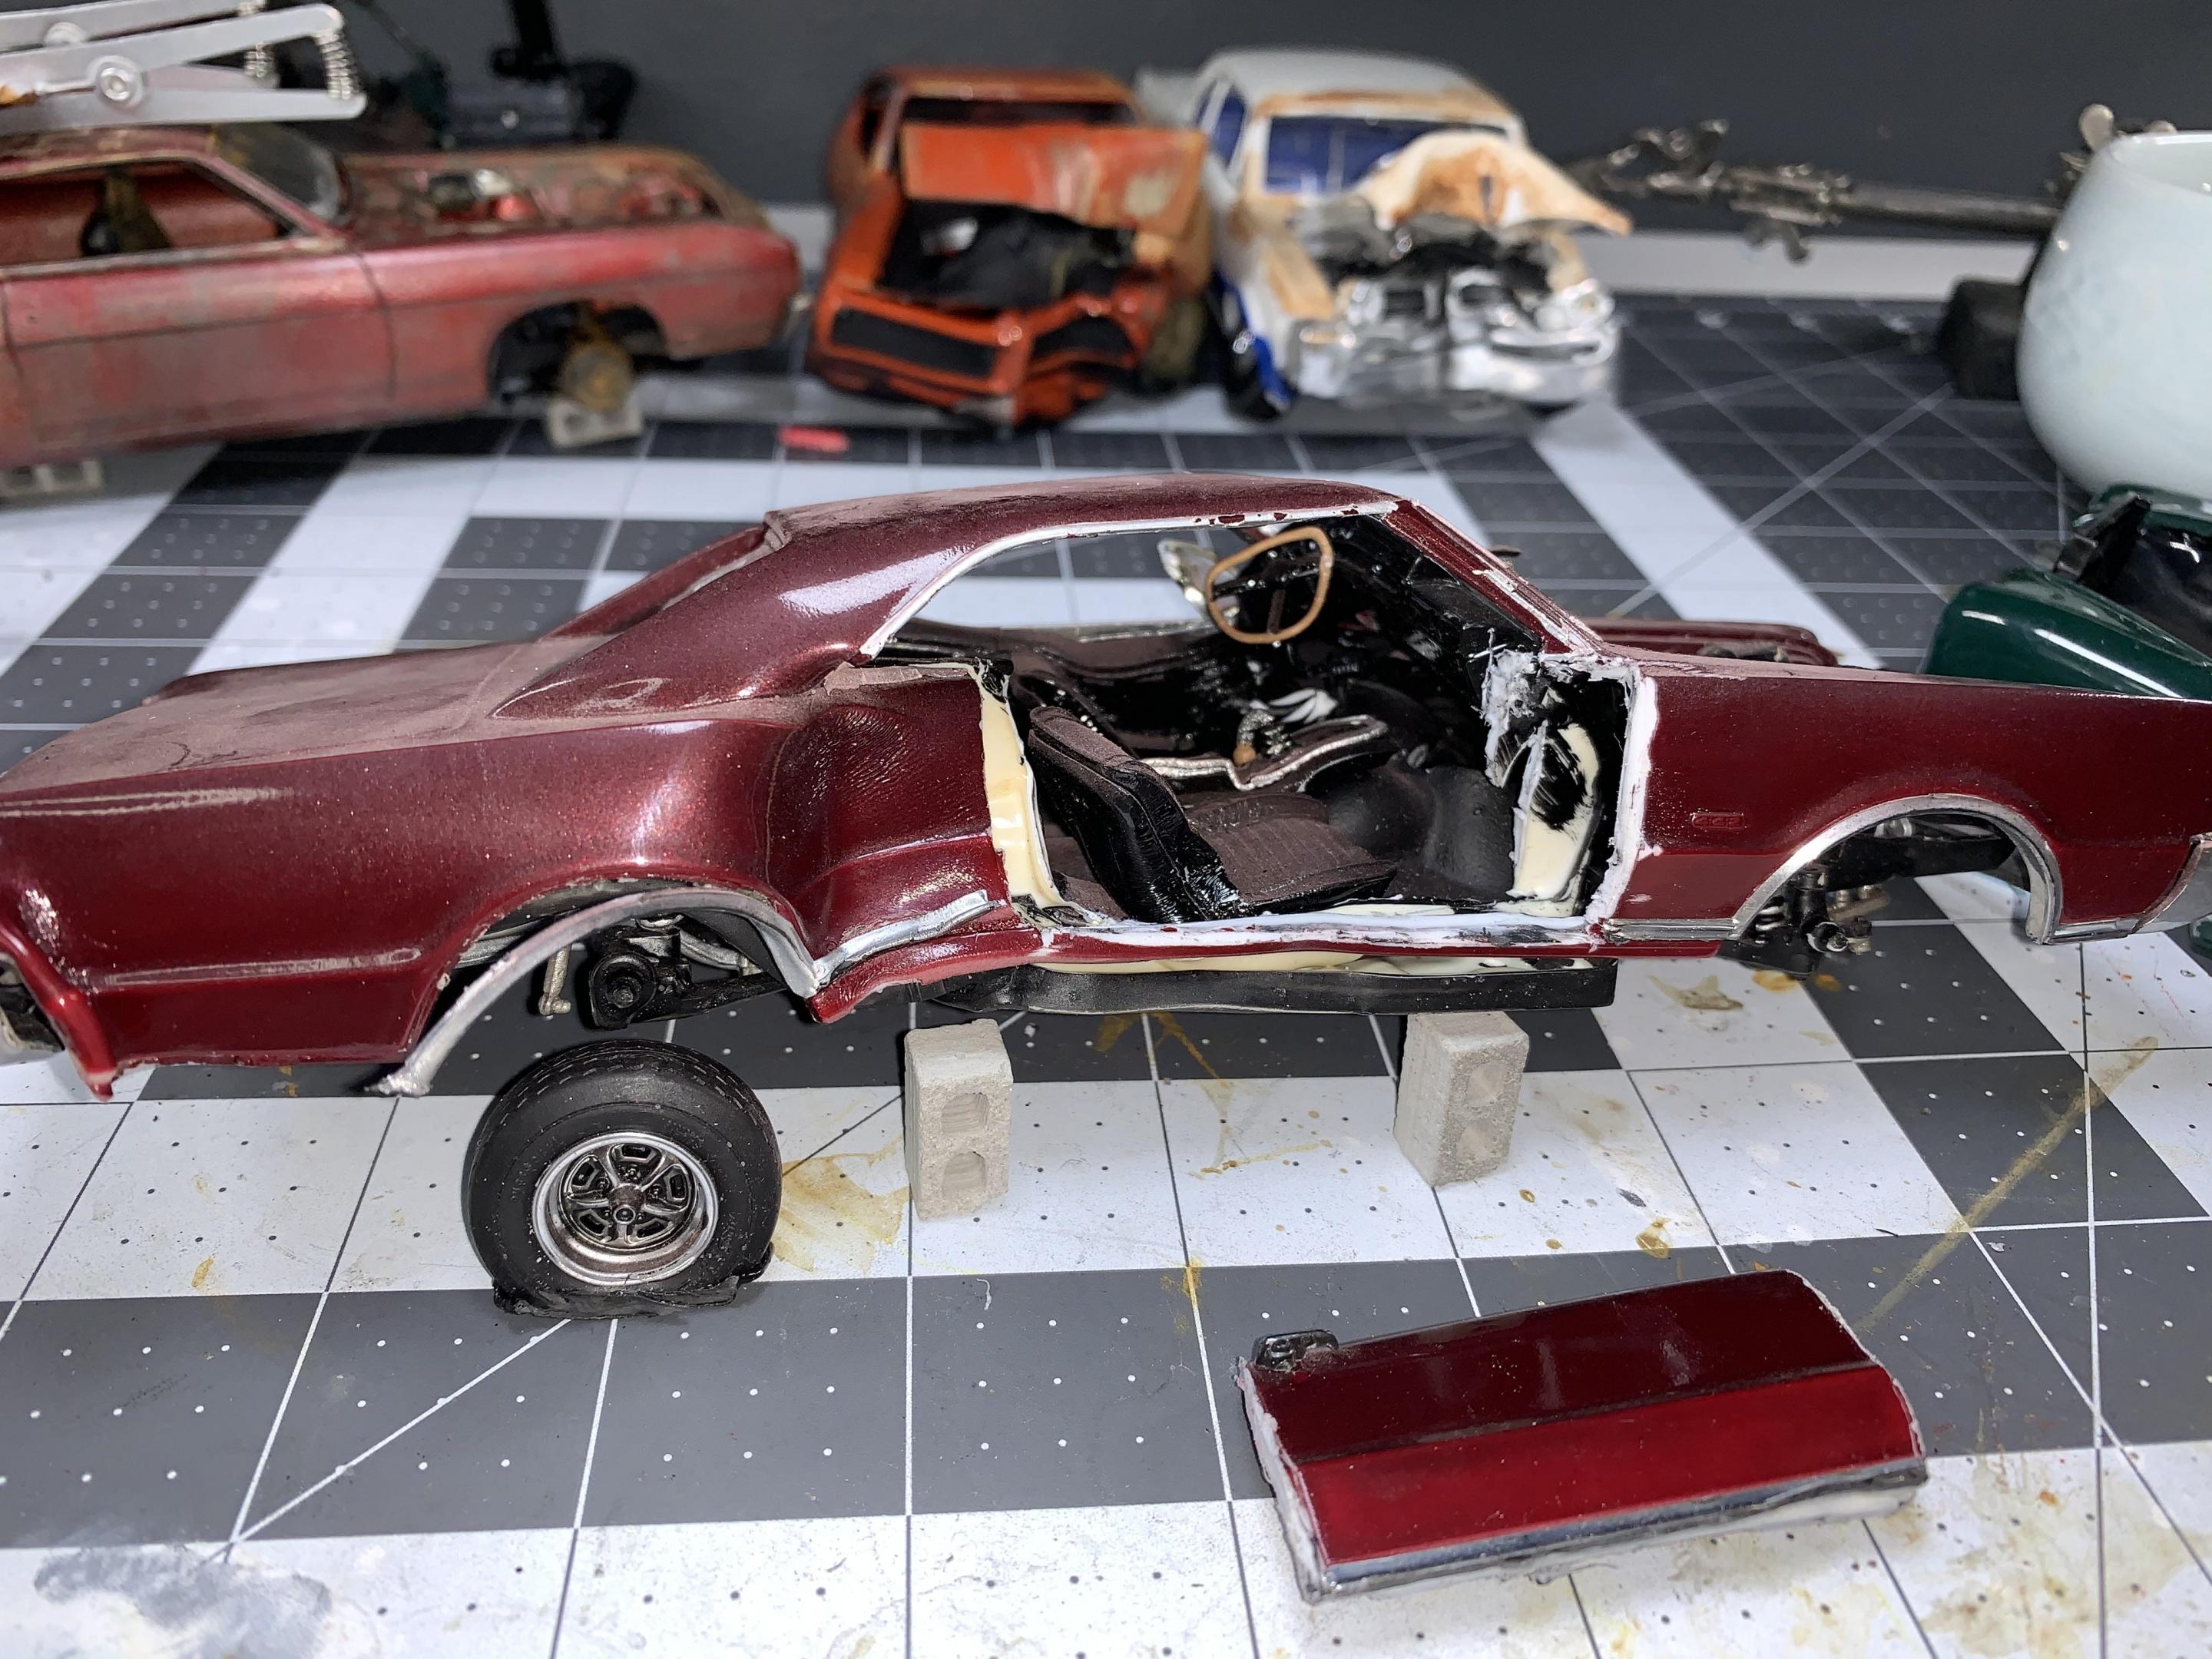
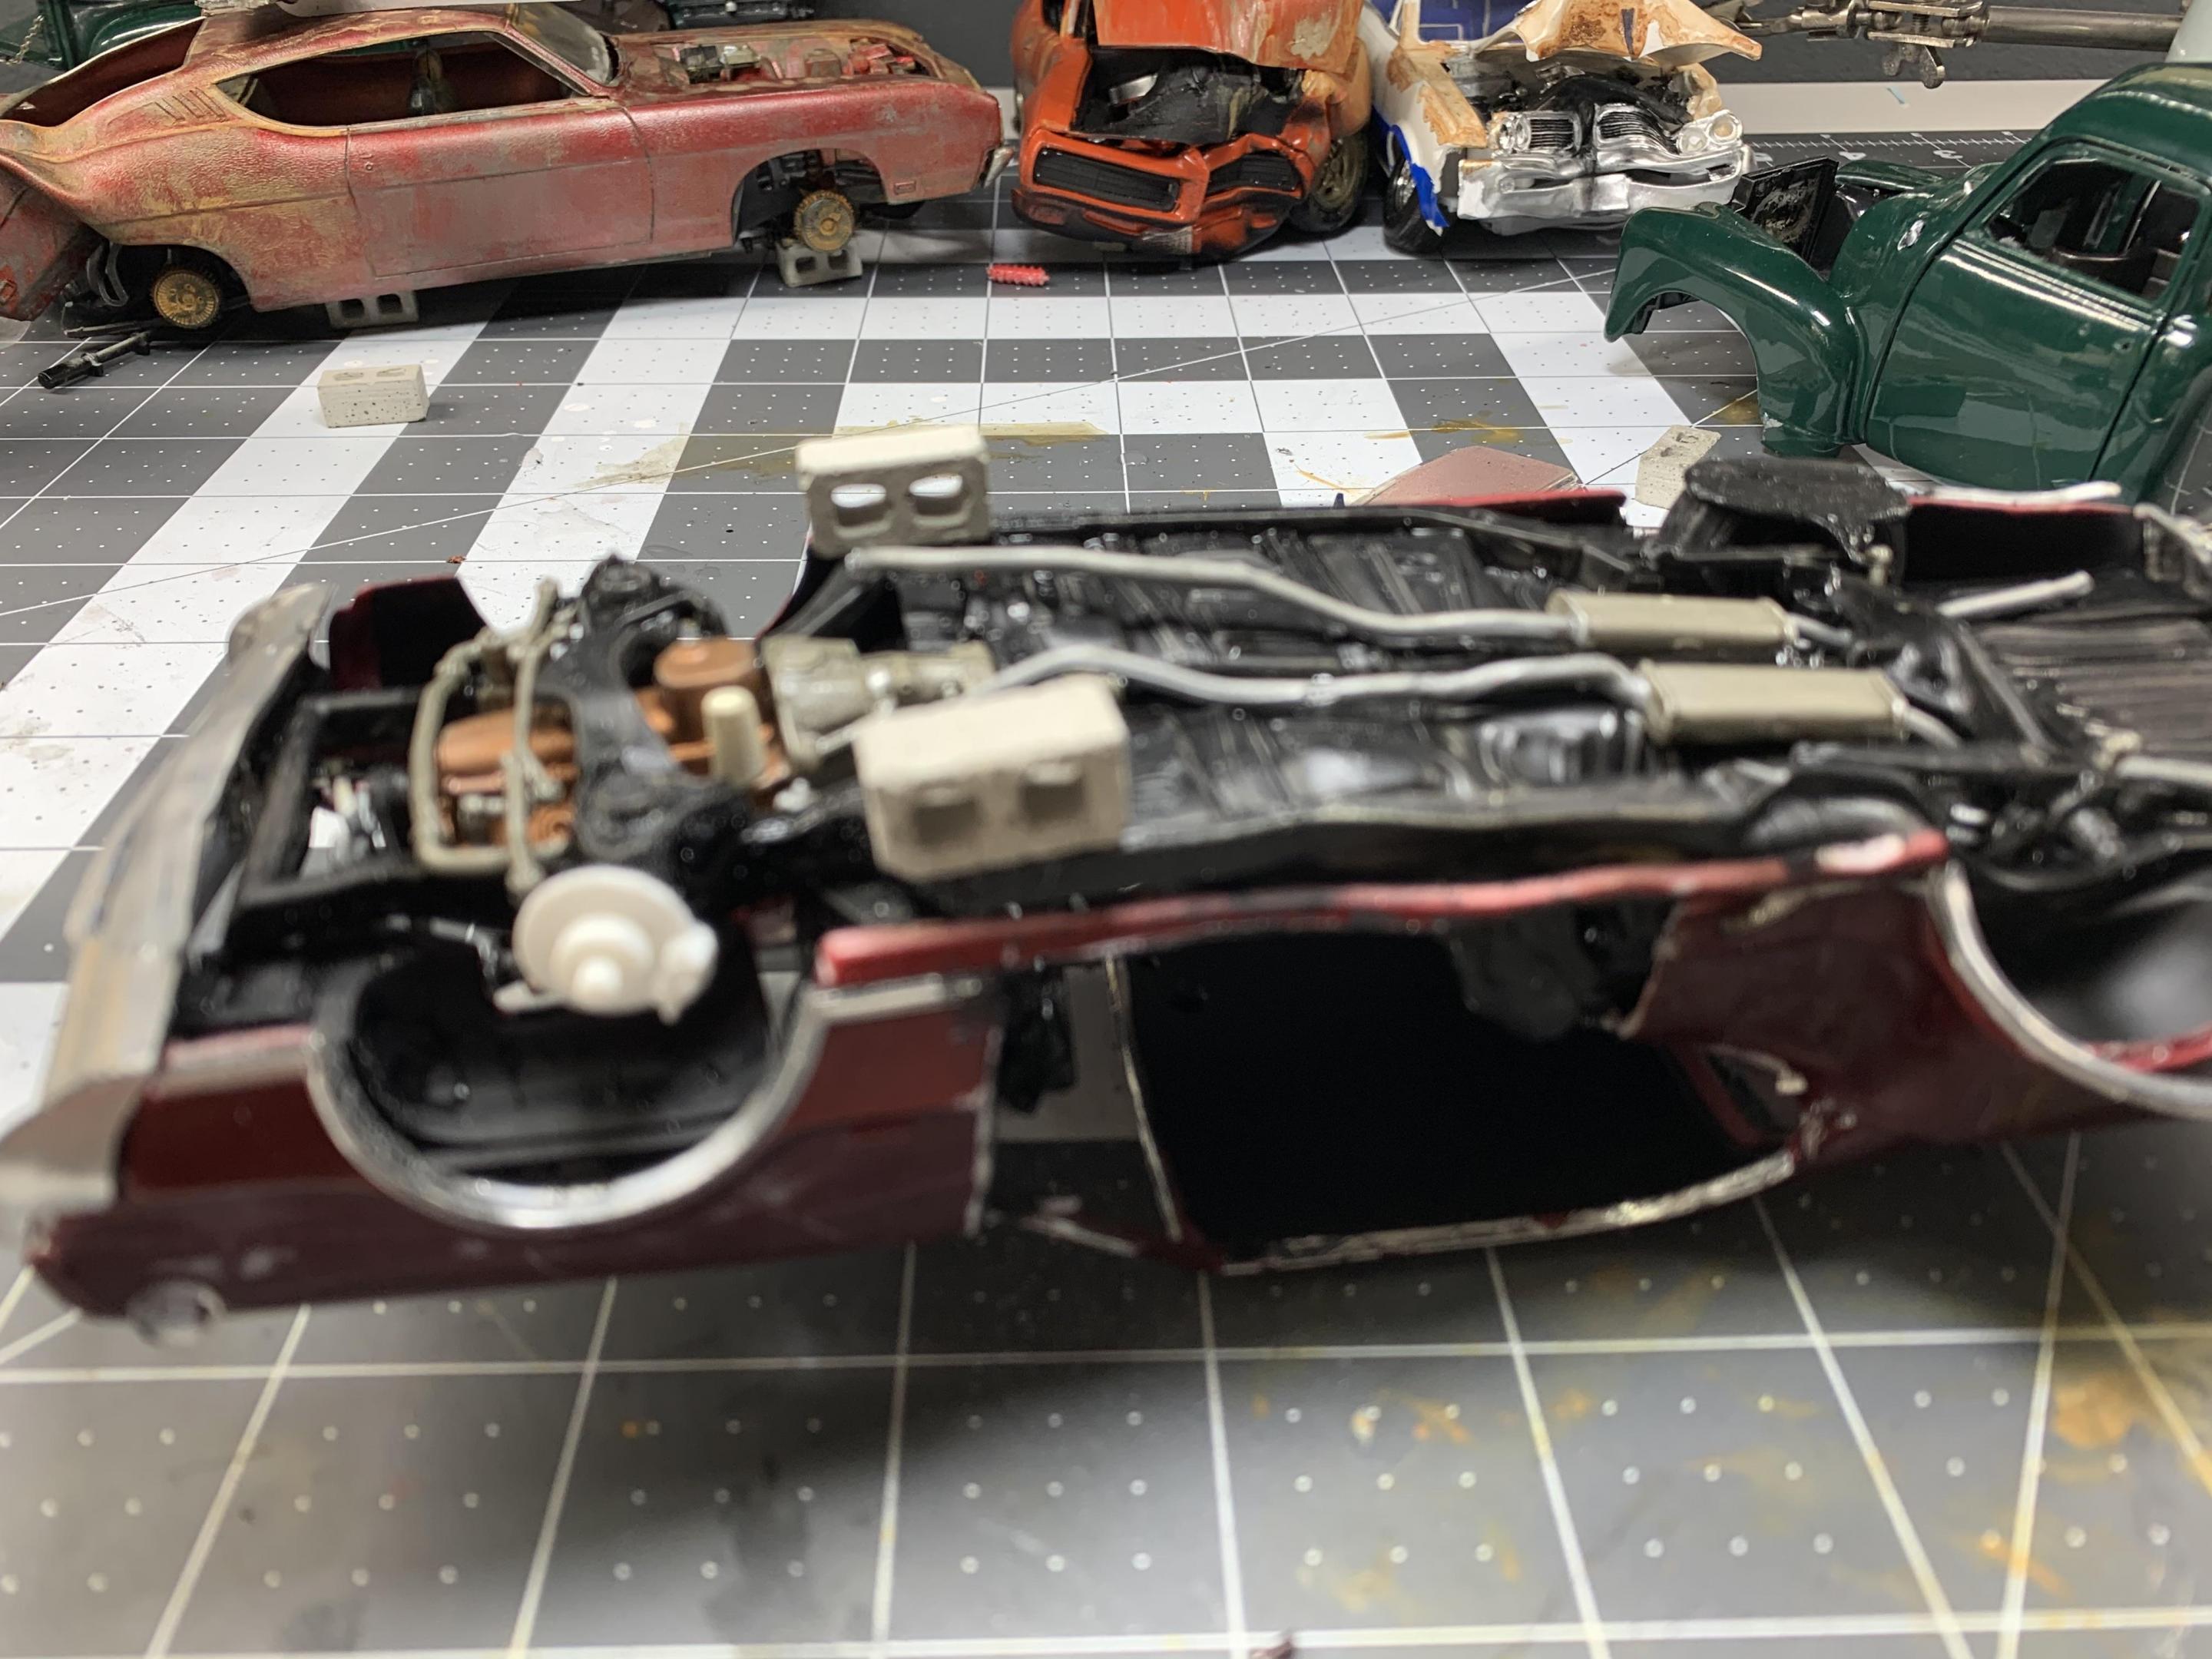
Wrecking another one tonight. An Olds 442, nicely built model I found on eBay. Sorta hate to wreck it but it was dusty and, well... destined for Shambles Salvage Yard. A tedious process to make it look real. This one was T-boned on the passenger side. Door cut out, exterior and interior carefully heated and "crunched". Brake rotor attached, concrete blocks glued to the undercarriage. Weathering is next. The details probably won't be visible in the final diorama... but it's fun doing them.
-
On 2/29/2020 at 6:10 PM, tbill said:
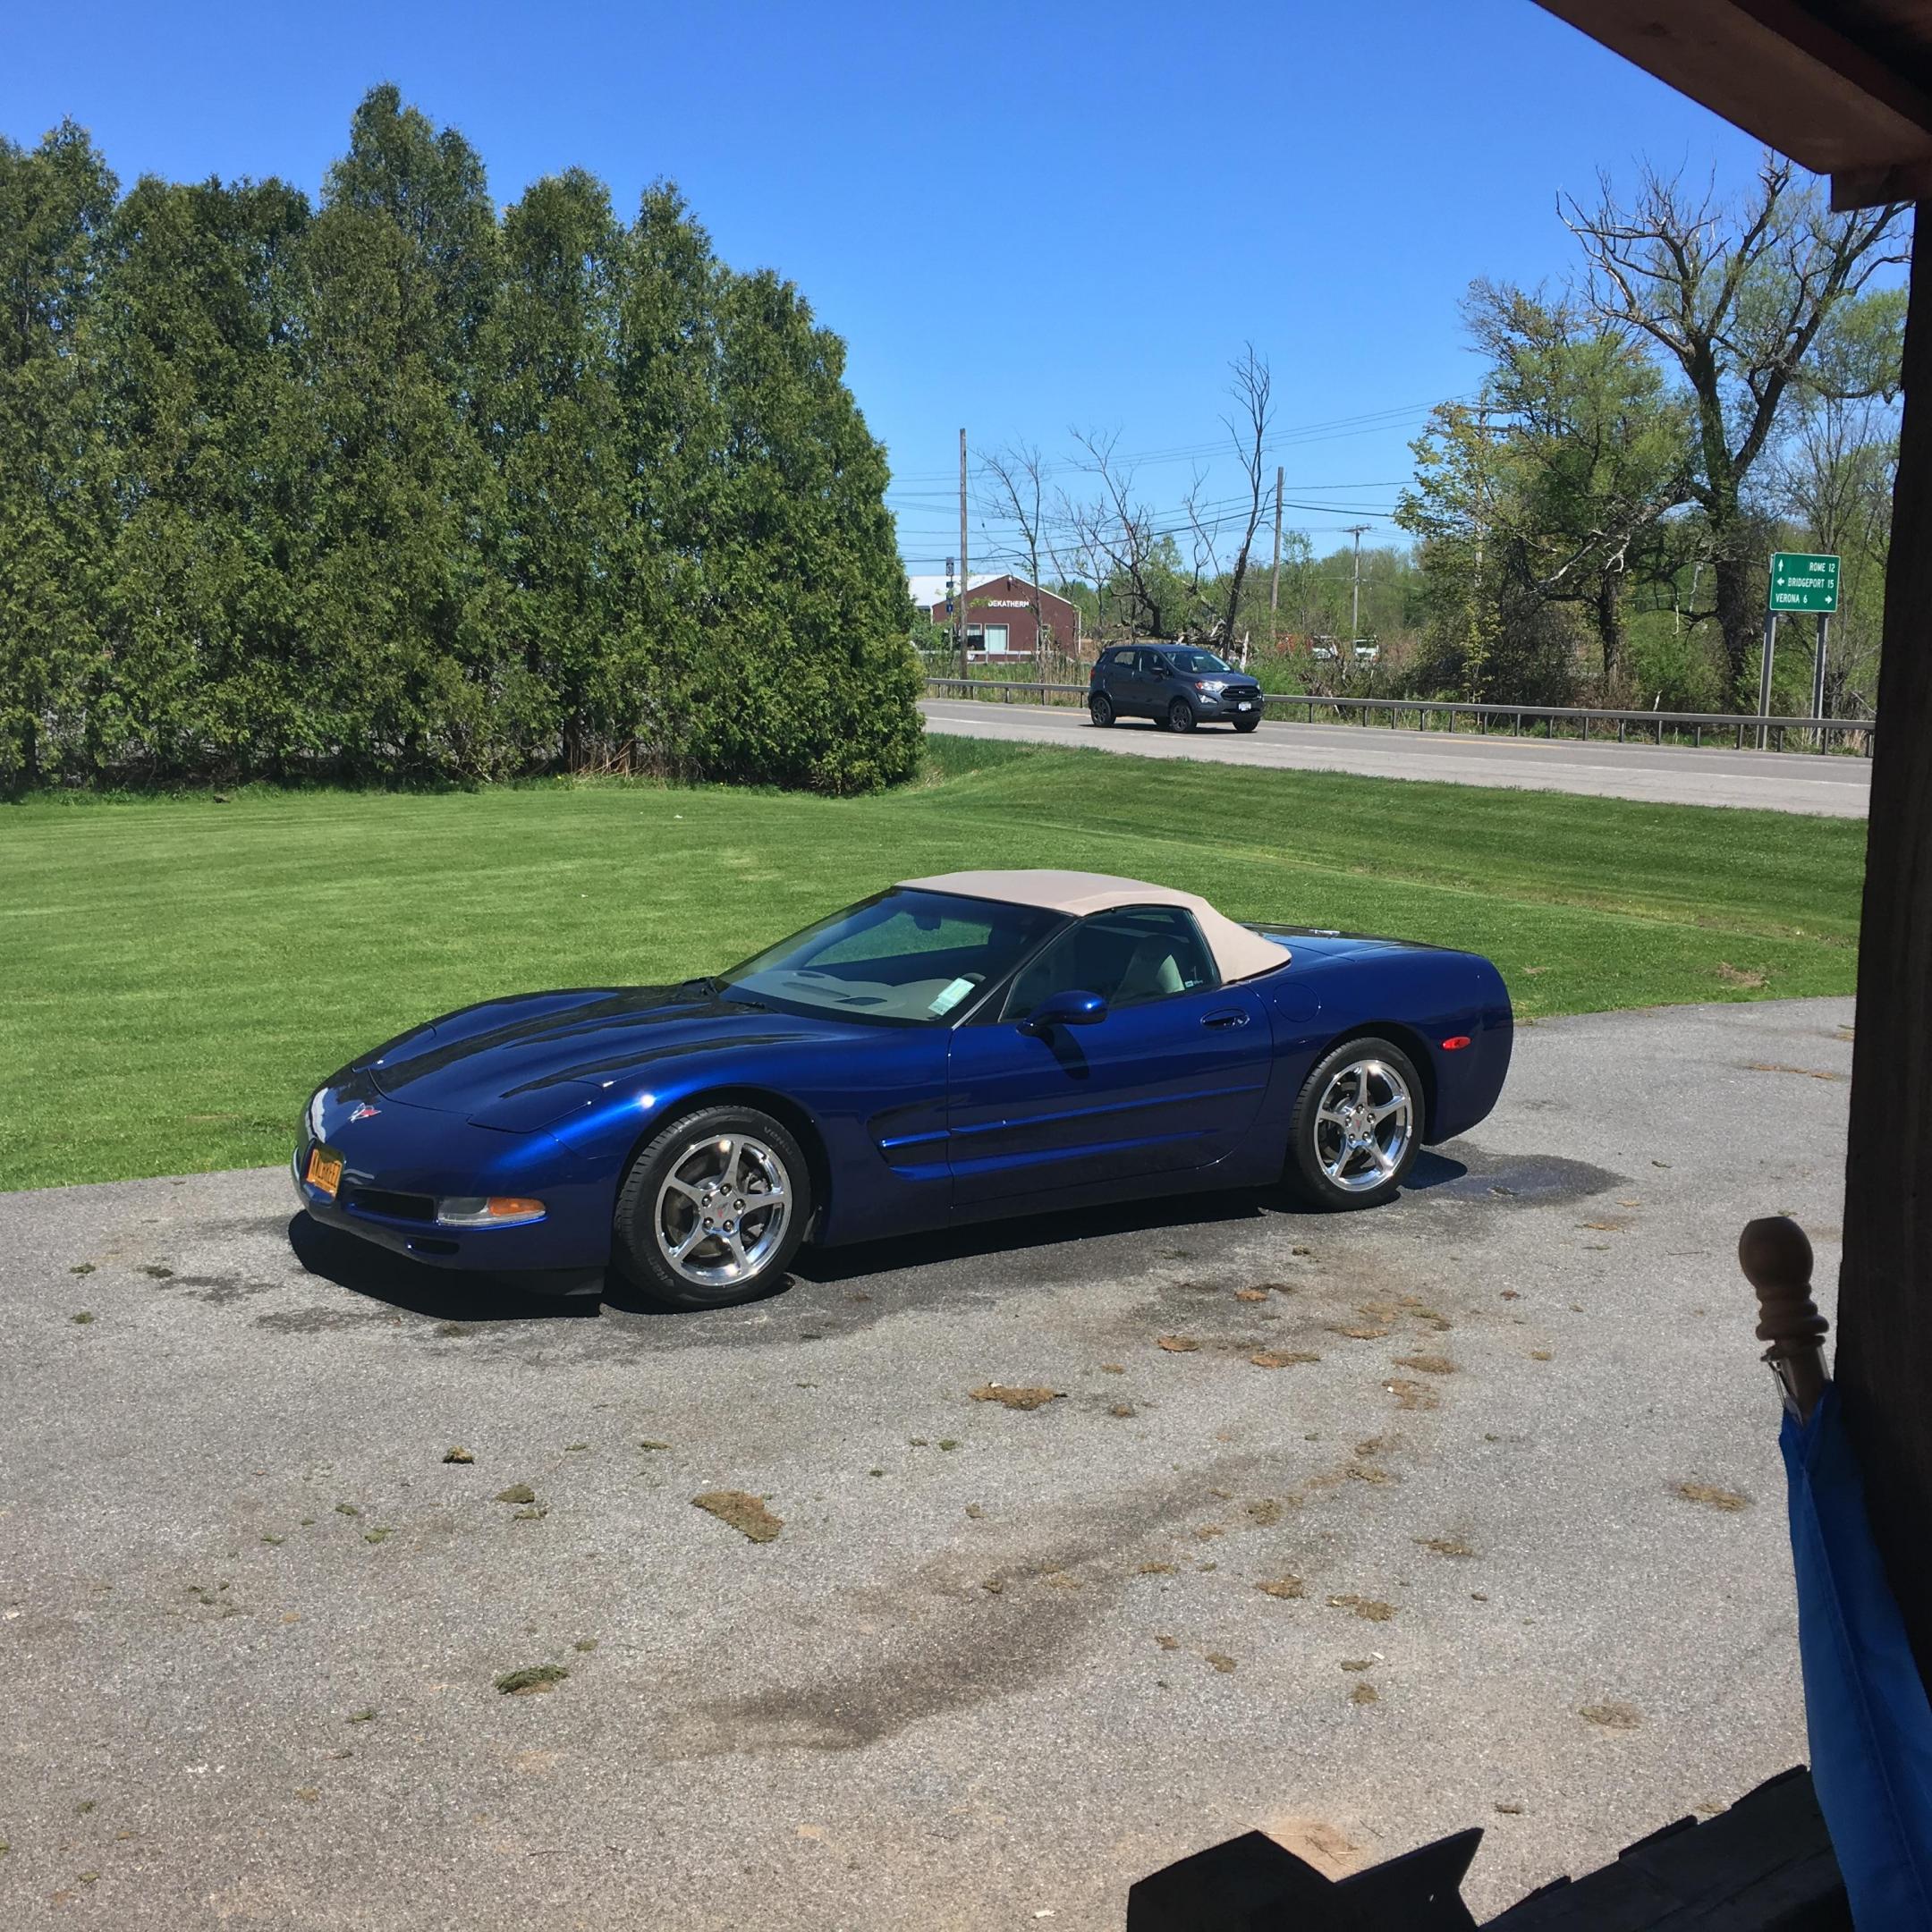
Nice C5. Love that color! I'm also Corvette enthusiast. I have one real Corvette, and about 30 die casts in my collection: https://www.shamblesmodels.com/real-cars.html
-
I love the B&W. My sister is a retired pro photographer/professor and did much of her creative work in B&W and I developed an appreciation for it. The Andy Griffith Show just wasn't the same when it went to color!
-
This will be an addition to my Shambles Performance Motors garage. I've bought up a bunch of cheap but nicely built plastic models and am in the process of wrecking and/or weathering them. I found some static mat "grass" for the yard and added scale gravel and have other detail items on the way. I'll keep yall posted...


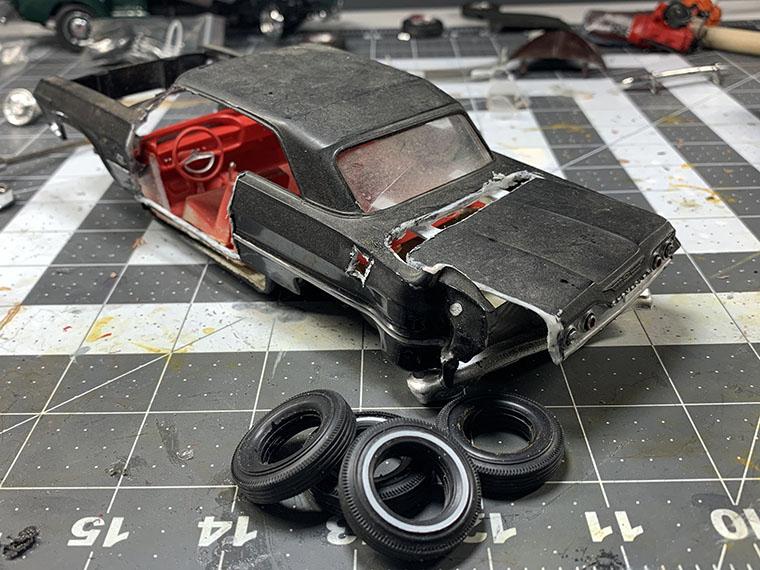

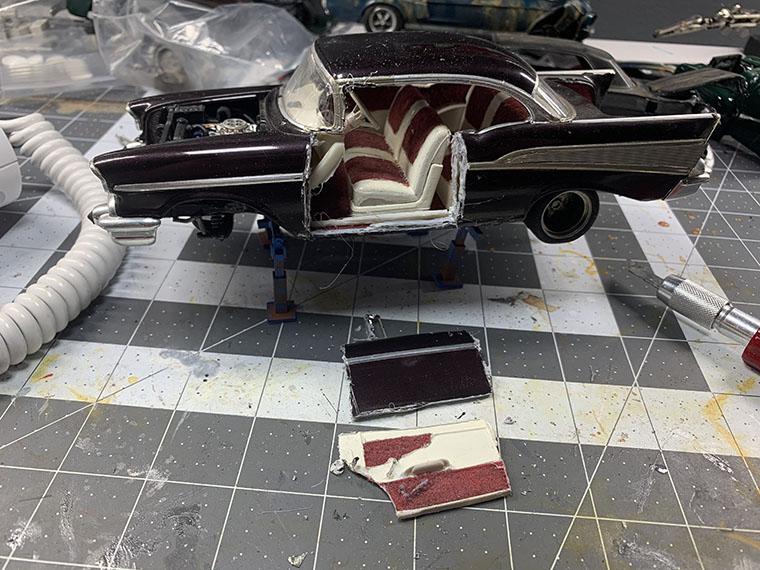

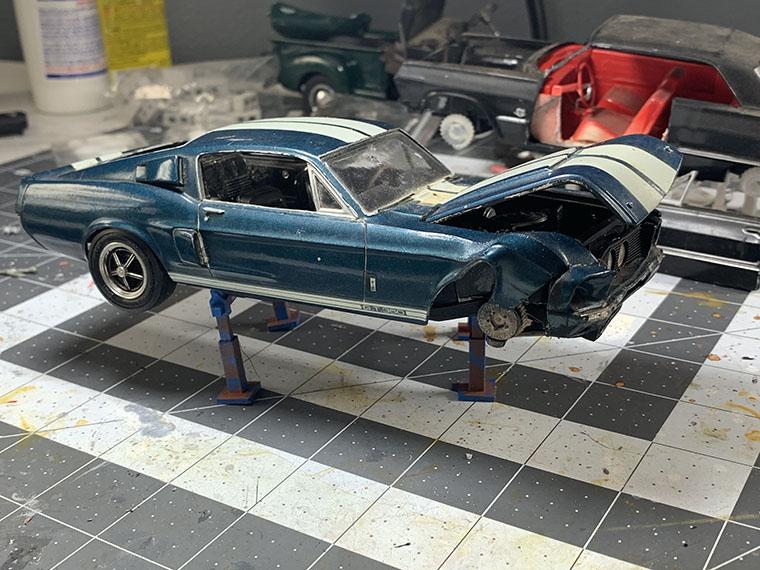
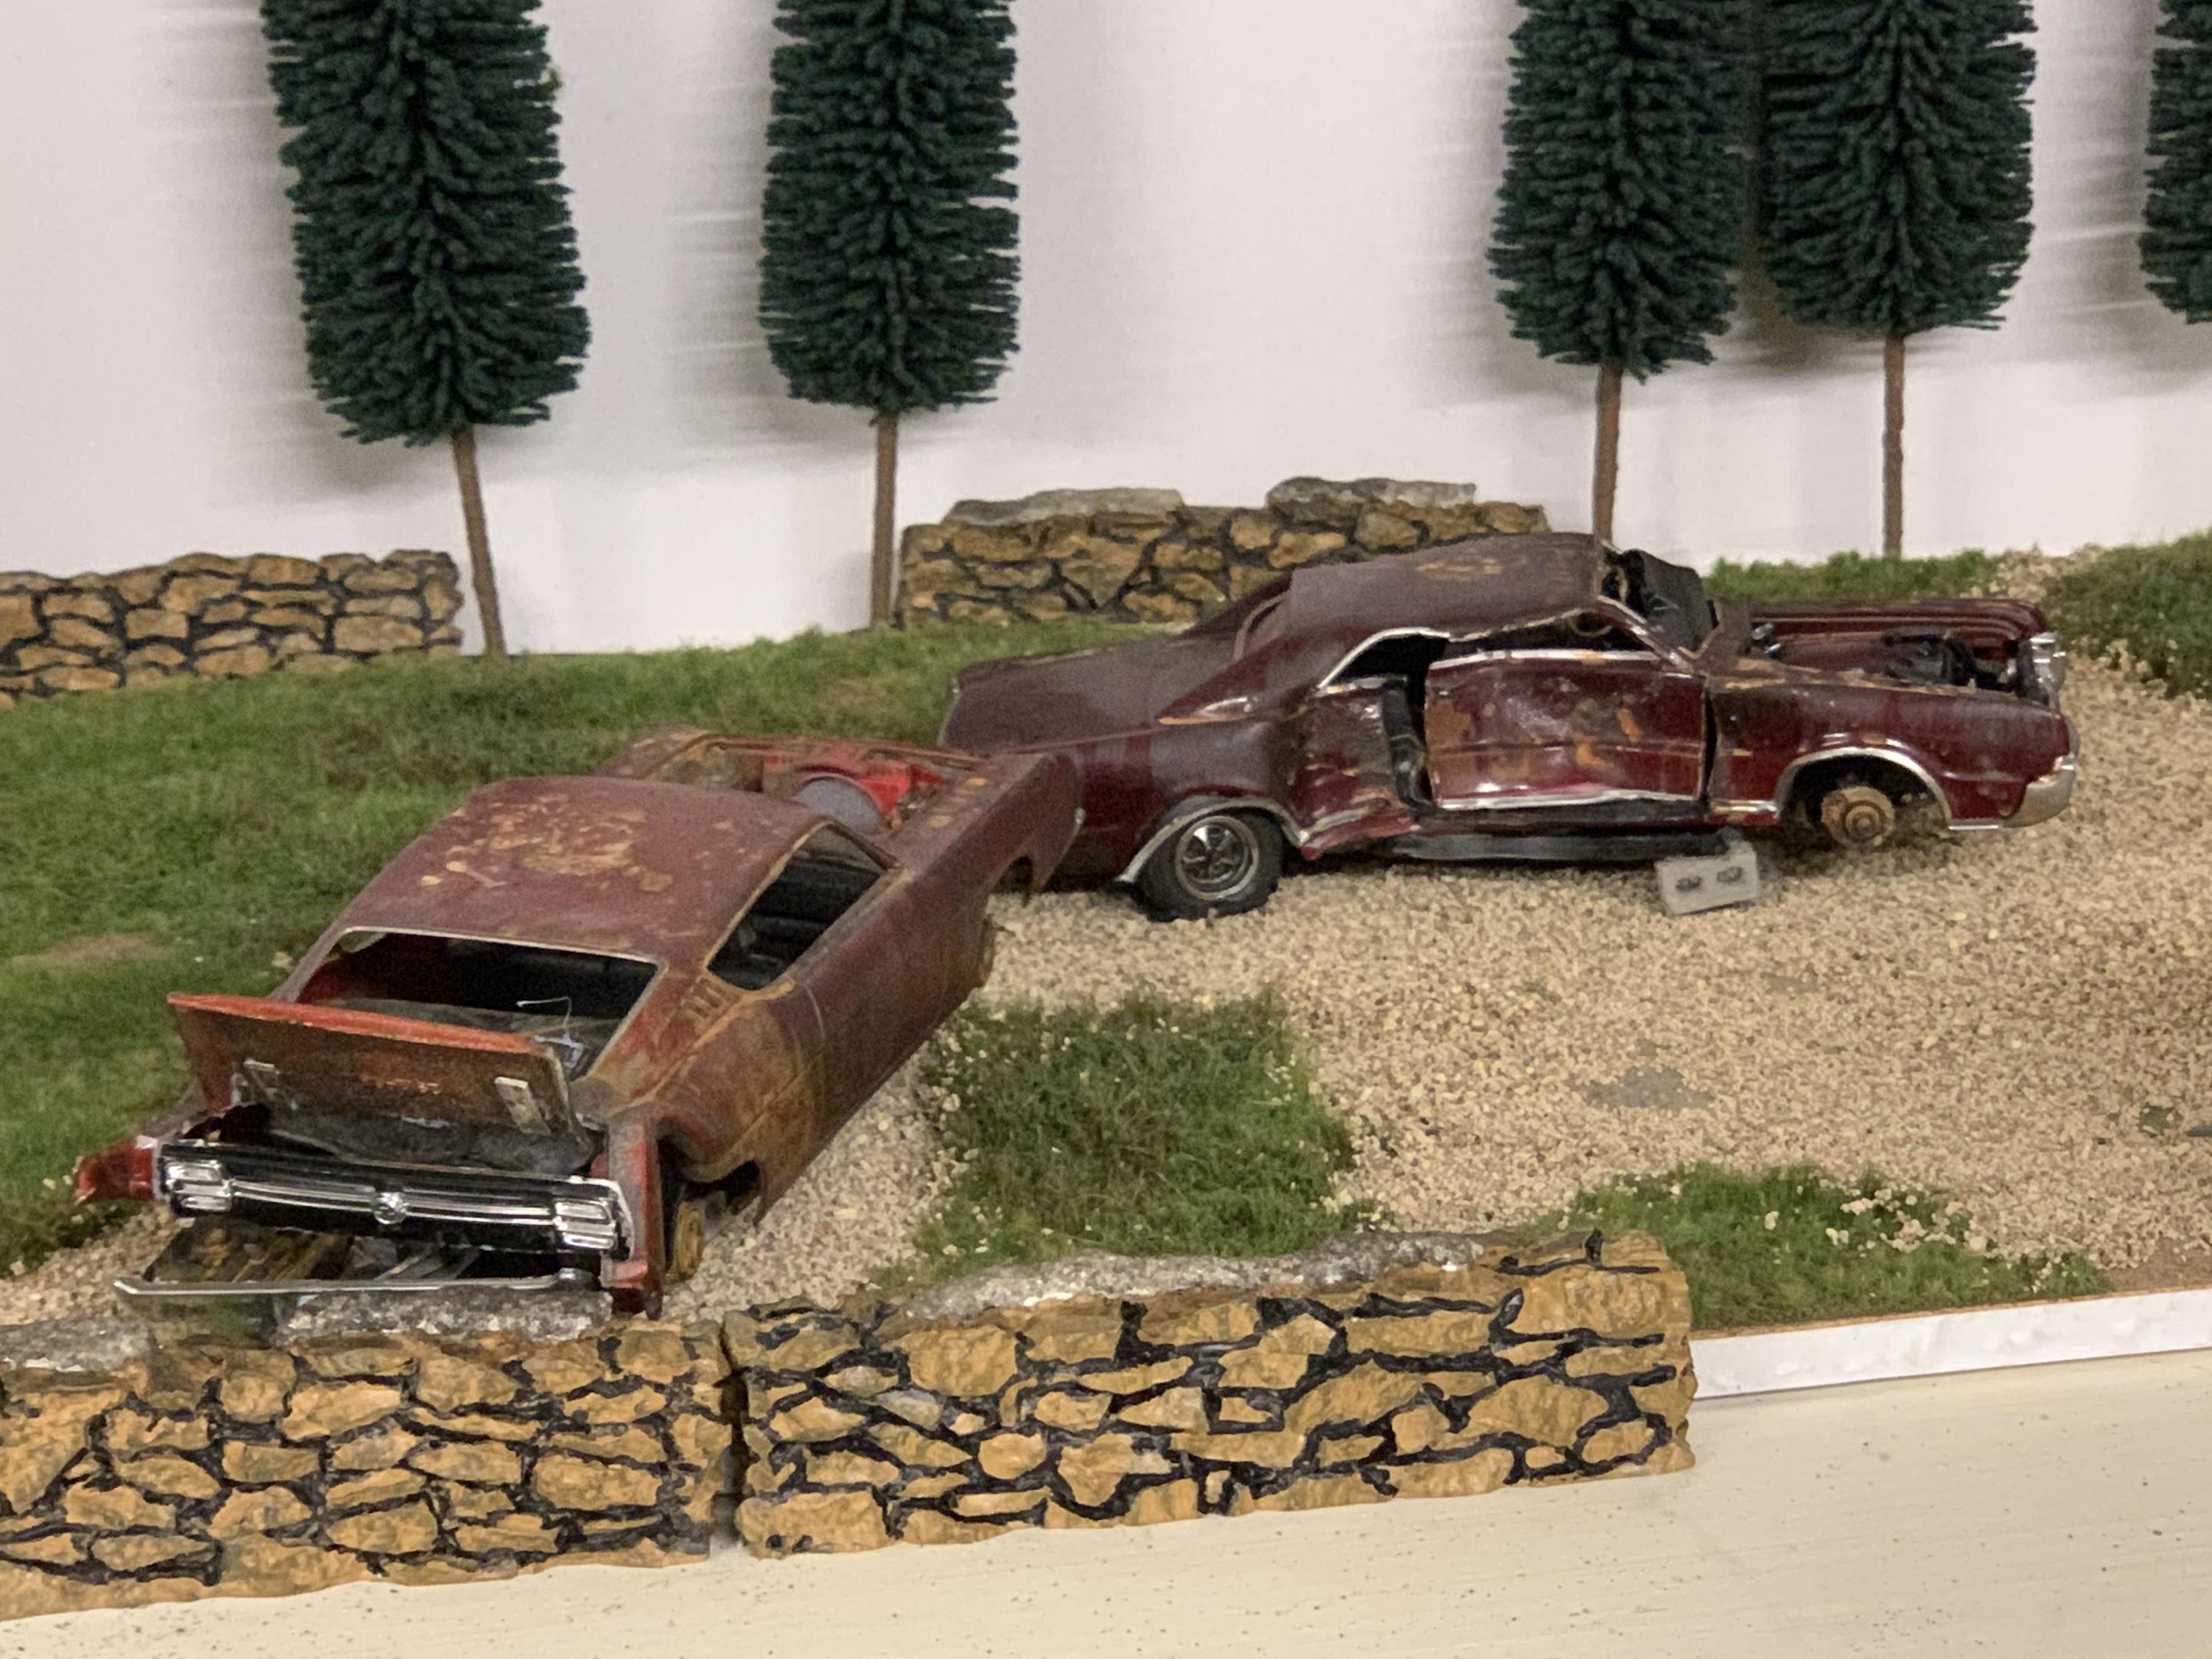






4 bay "Day 2" Hobby Garage
in WIP: Dioramas
Posted
That's why I splurged on the decal printing package from MicroMark. It came with at white cartridge for the laser printer that you can swap out with the black cartridge. It's a little tedious, but you can run the paper though the first time with the images converted to all "black"... which prints white if the cartridges are swapped. Then, run the page through again and print the 4 color process. Works pretty good but the registration is a little squirlly on the really small decals.