Roadrunner
-
Posts
4,469 -
Joined
-
Last visited
Content Type
Profiles
Forums
Events
Gallery
Everything posted by Roadrunner
-
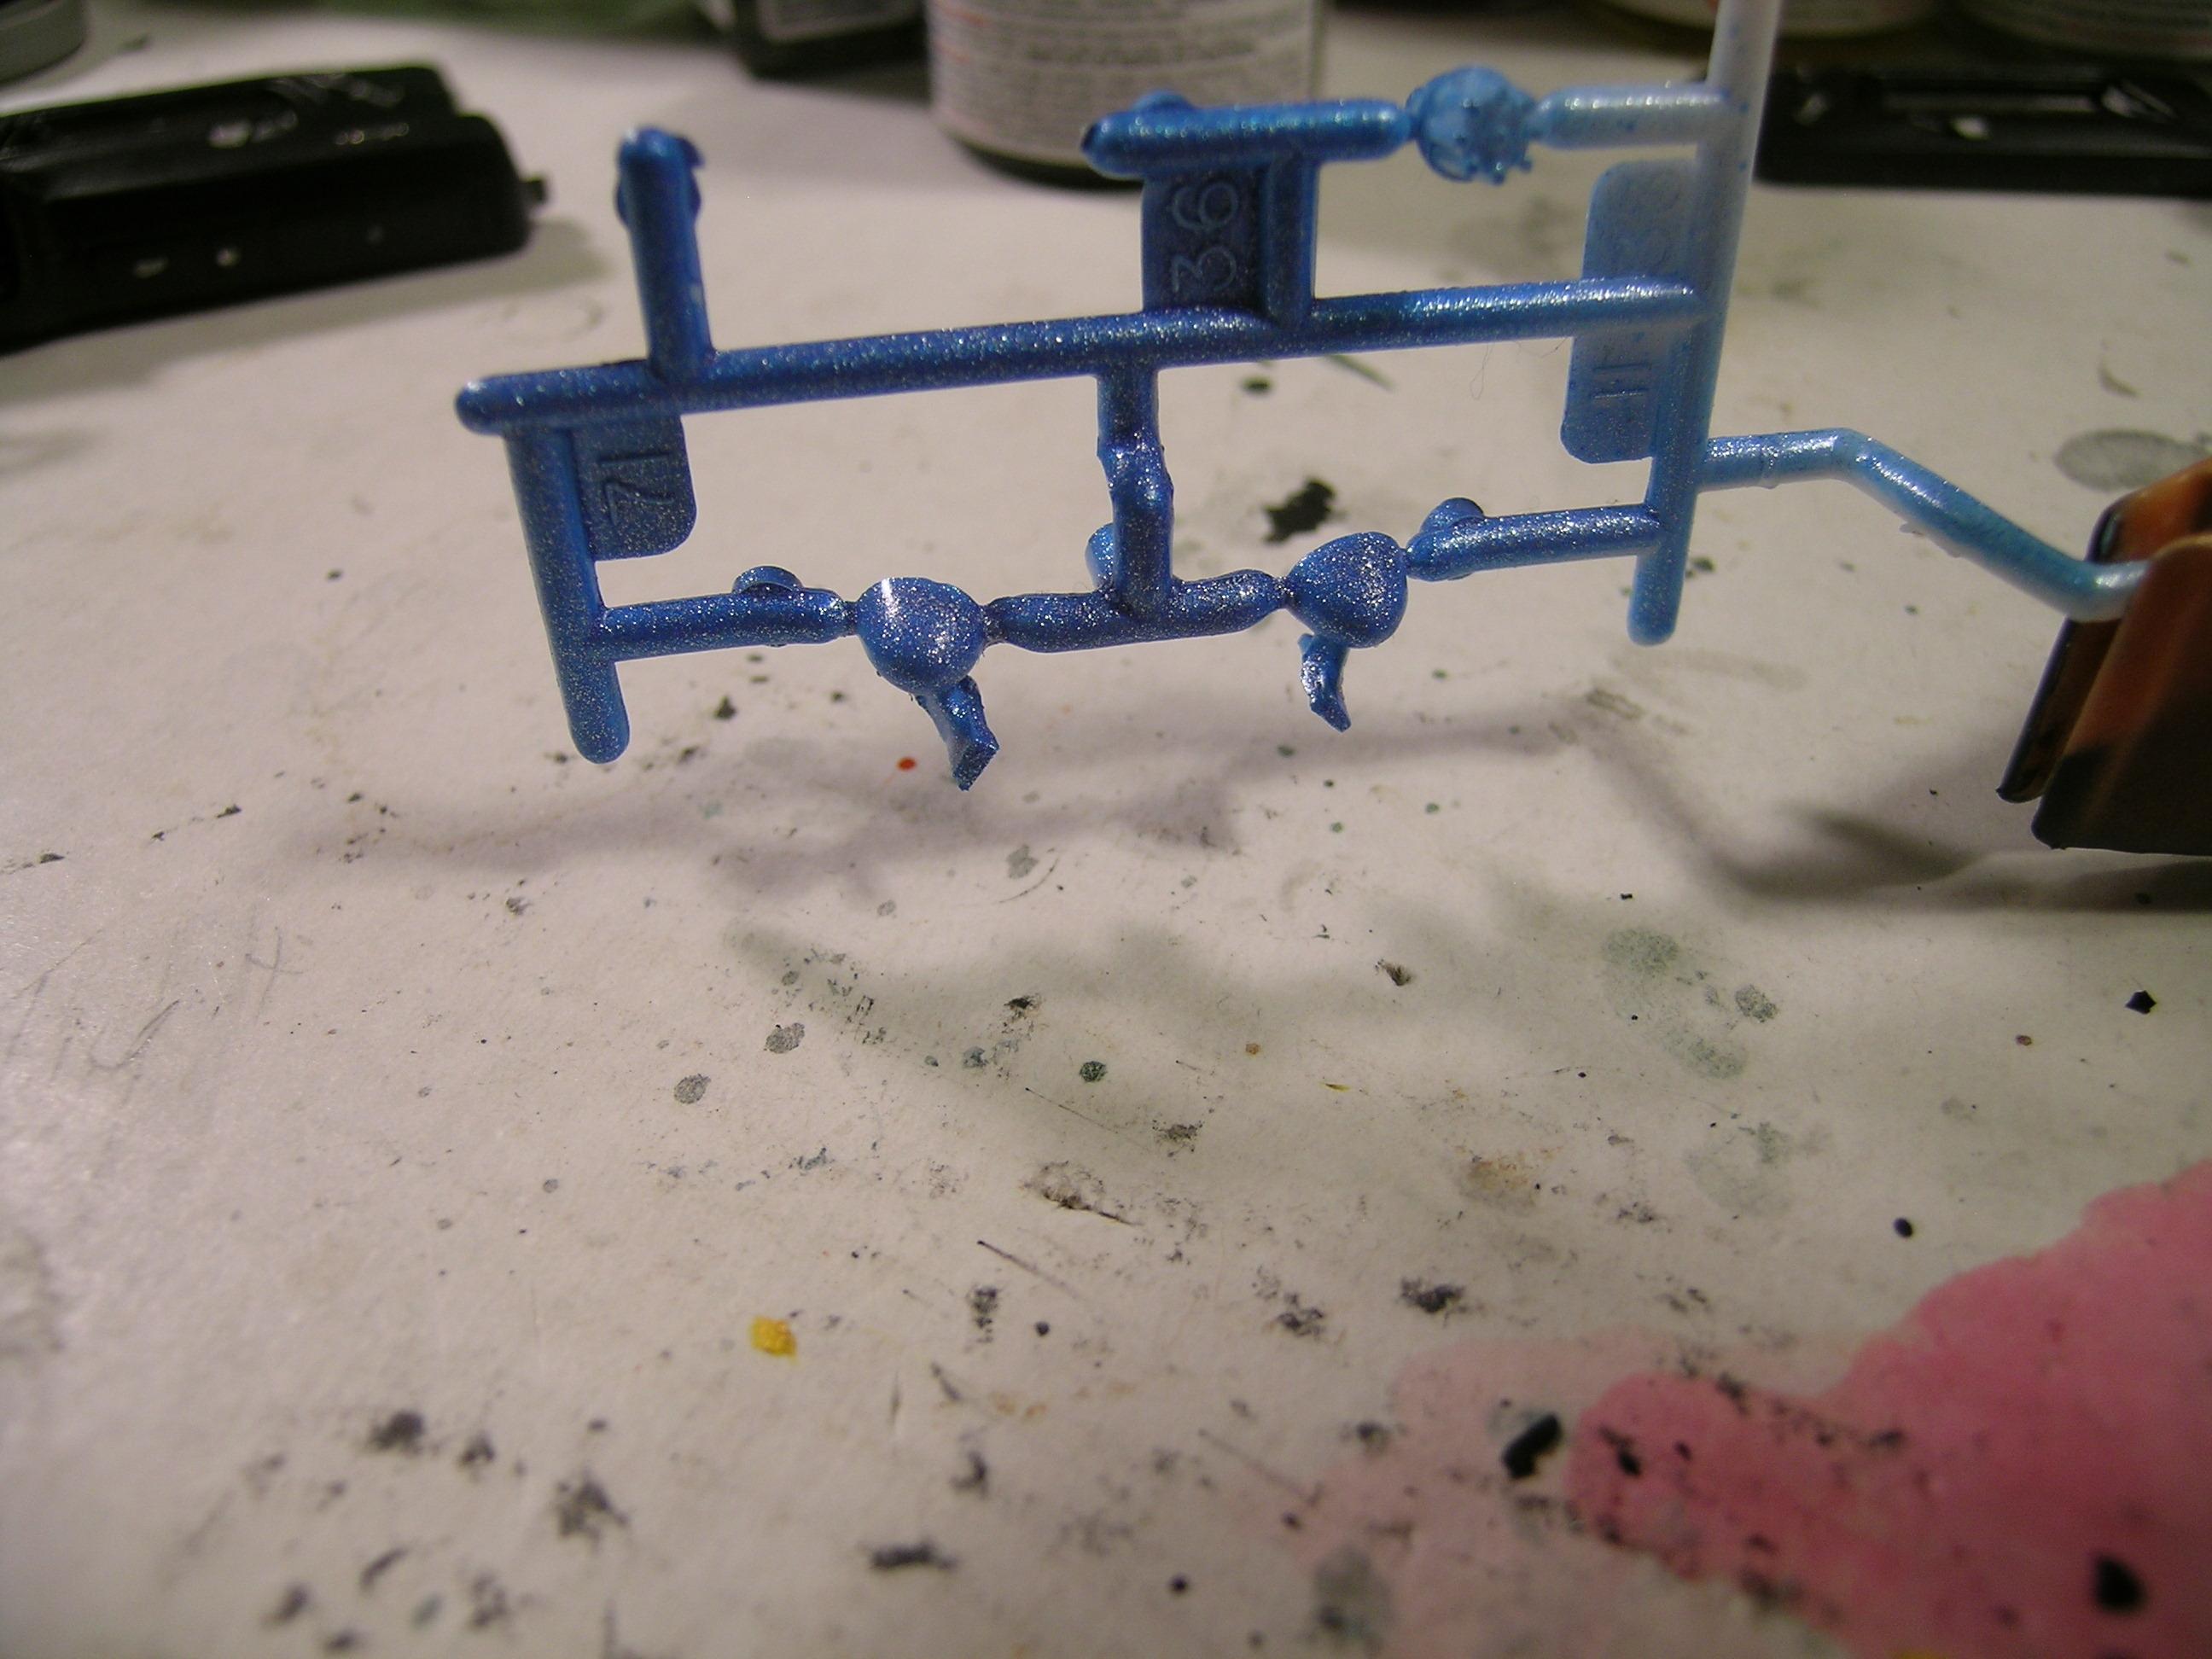
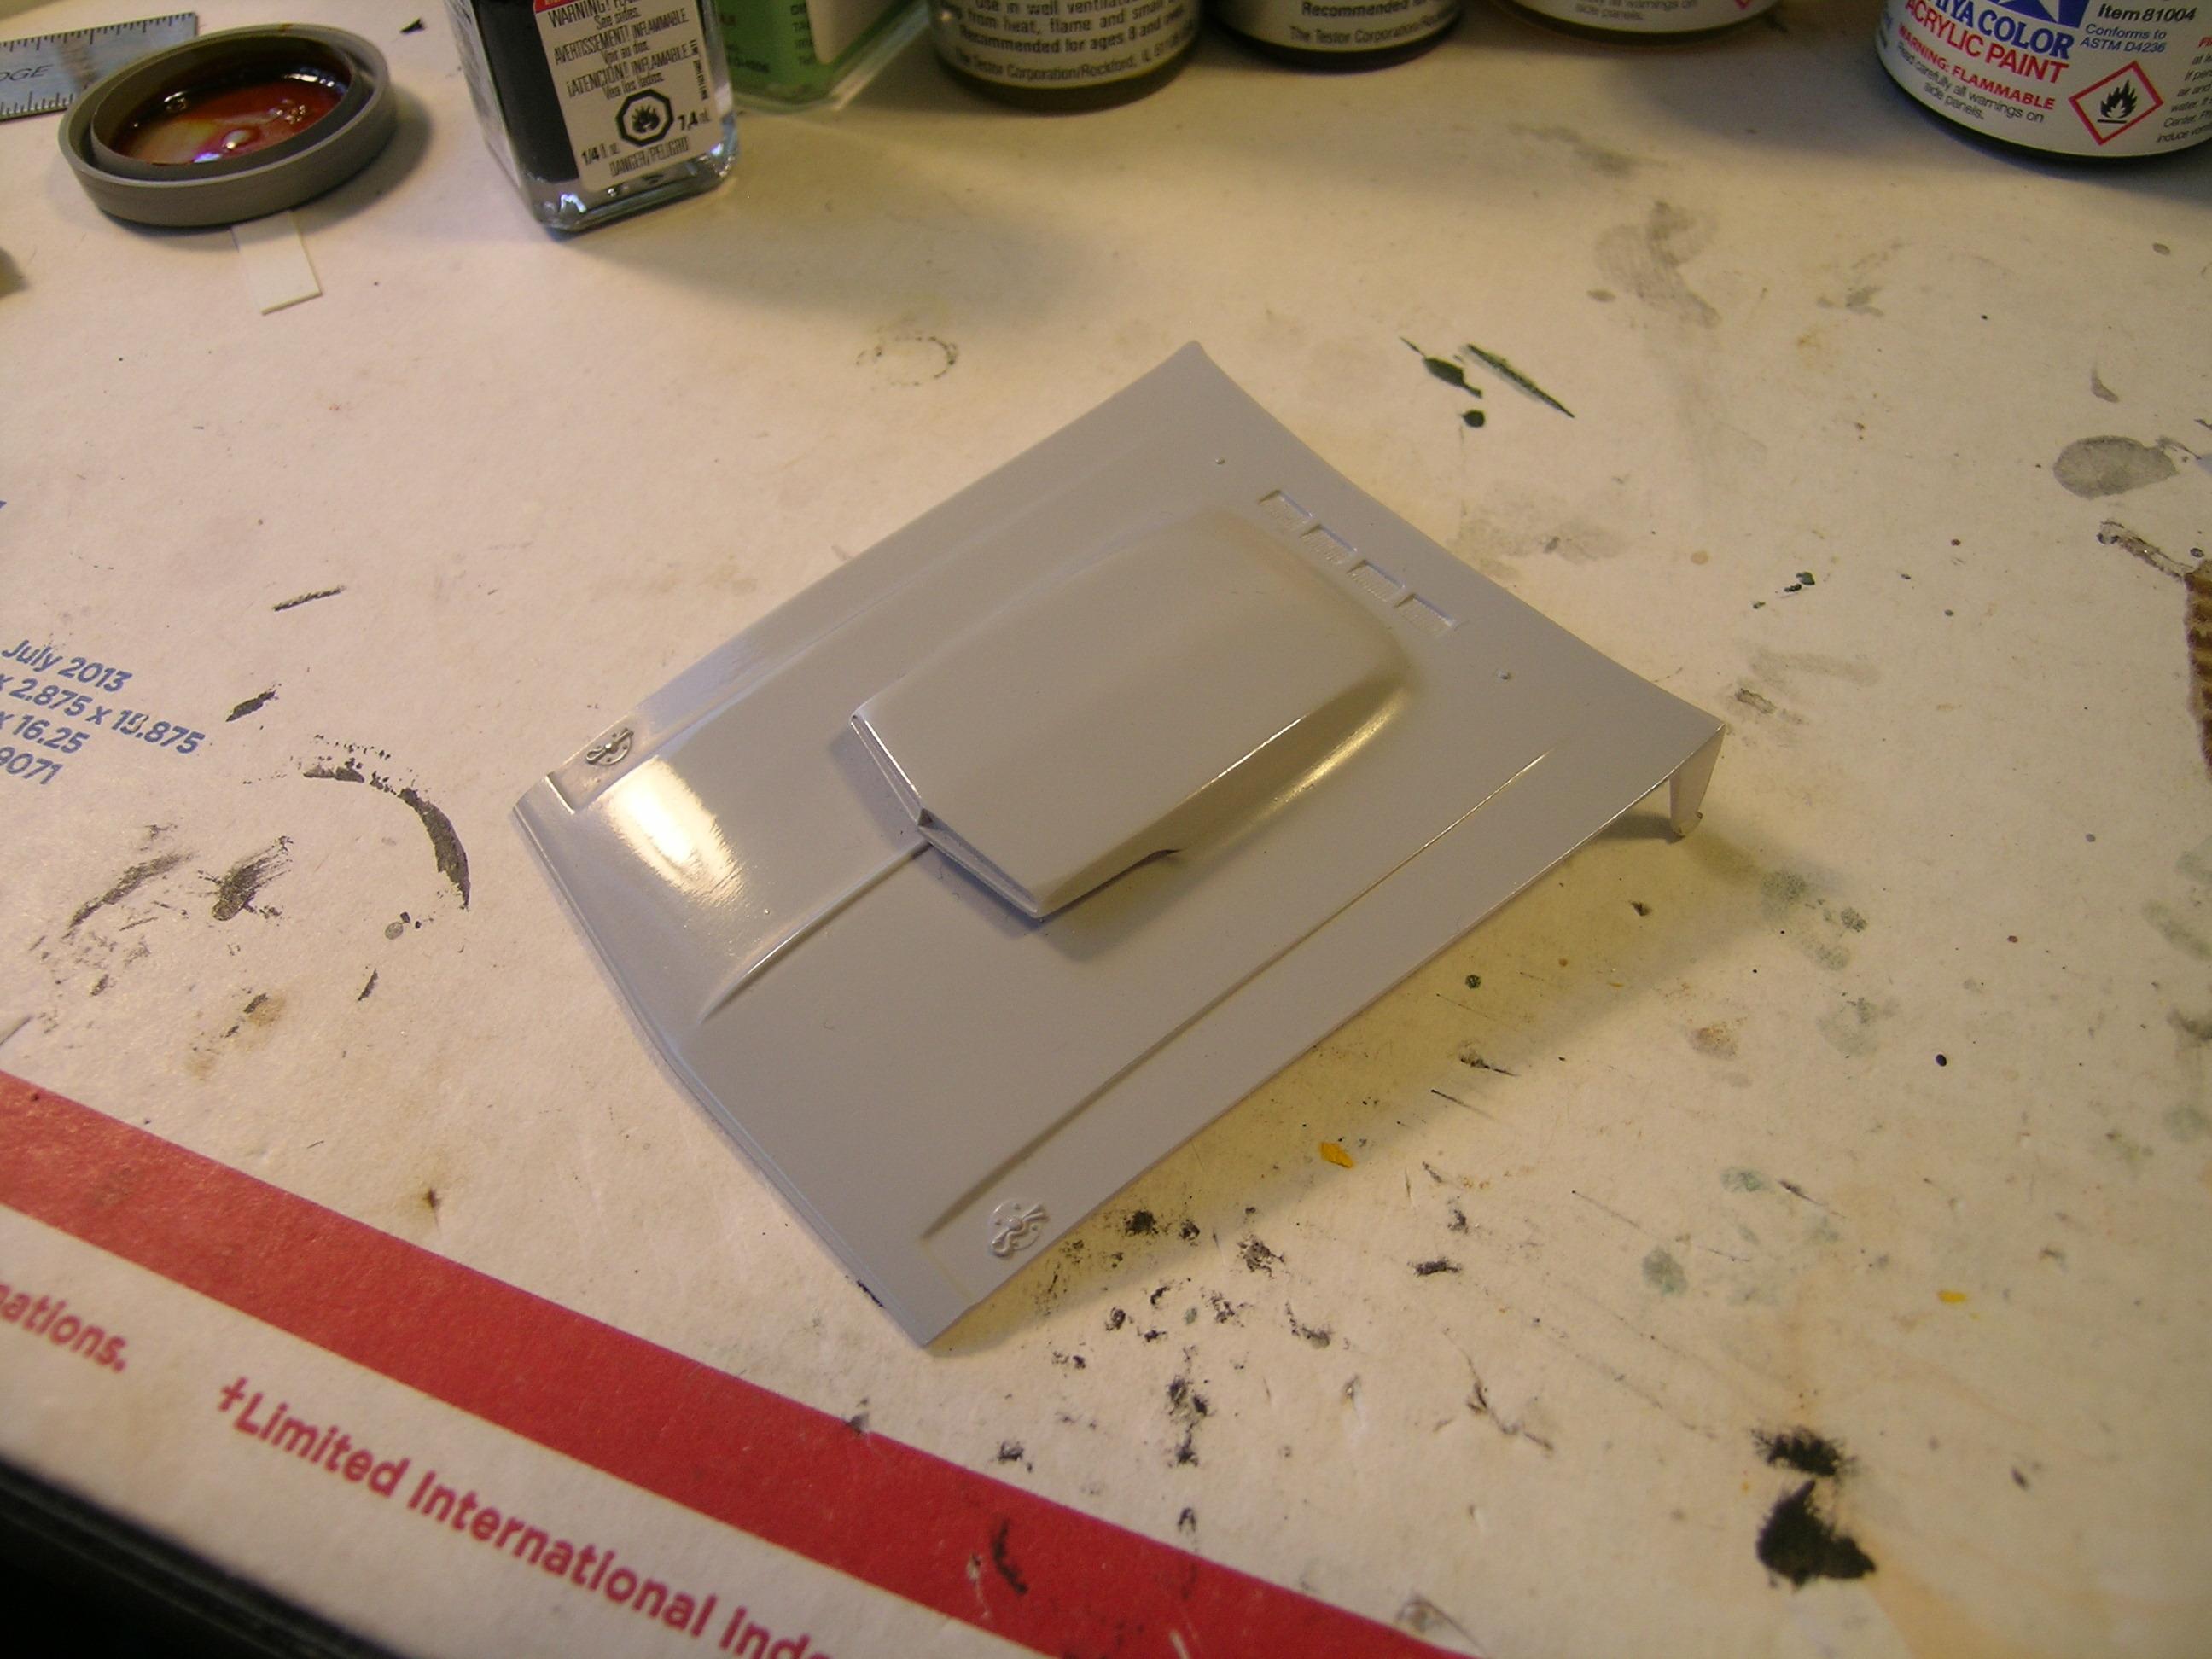
This (spoon A), will be color for this baby.

-

My first WIP here; '70 Dodge Challenger T/A, Parts
Roadrunner replied to Roadrunner's topic in WIP: Model Cars
Outer part of inner wheel now sprayed with a light grey metallic color. The grey is not really correct, but close as I could get at the moment. Excess spray was carefully wiped away with Testors thinner. Now I just need to spray the area around the lug nuts themselves (using a dark aluminum color), clean that all up, again with Testors cleaner and tiny Tamiya buds, add a very thin black wash, specifically to the half circular arches, and wheels will then be finished.
-
First order of business was to completely sand off that funky panel on the roof. That's just too much area to let be covered with some canvas (or whatever material the real car used).
-
While still a couple of weeks away from going full blast on this, this will be my next project. I have been slowly plugging away on this for the last couple of weeks, whenever time allows.
-
My first WIP here; '70 Dodge Challenger T/A, Parts
Roadrunner replied to Roadrunner's topic in WIP: Model Cars
Yet another dumb mistake I made (poor planning on my part), was to use flat black and gloss blue enamel for my door & trunk outlines, leaving a way too glossy appearance to those lines, so I’ve now toned that down with matt lacquer, and polished/waxed again. I really needed to polish this area anyway, to remove some dark blue enamel staining remnants from the wash that I never noticed until I photographed the car, so no big deal there.
-
My first WIP here; '70 Dodge Challenger T/A, Parts
Roadrunner replied to Roadrunner's topic in WIP: Model Cars
I think it's possible that I just didn't shake the can well enough too. That would certainly account for spitting out so much flakiness. -
My first WIP here; '70 Dodge Challenger T/A, Parts
Roadrunner replied to Roadrunner's topic in WIP: Model Cars
Side mirror bullet housings now sprayed with my old can of Icy Blue. The new Icy Blue (second photo), is way too flaky for my liking; a real shame, as I just bought three new cans of the stuff, and I imagine they’re all the same, though I certainly hope not. These still need to be clear coated and polished. All four were sprayed over Tamiya white primer, and as can be seen, are quite different from each other. Thank goodness the old stuff is still good, or I would have ended up just painting them gloss black, which I was prepared to do if need be.
-
What did you use as primer for that Teal? I sprayed mine (bought as a result of your choice) over both black and light grey primer, and like both, even though they are distinctly different from each other.
-
My first WIP here; '70 Dodge Challenger T/A, Parts
Roadrunner replied to Roadrunner's topic in WIP: Model Cars
Thanks a bunch. No matter how small, progress is being made daily, and I should be fairly easily able to wrap this up by the 28th. -
Nice! Chrome looks just great.
-
Classy! Nice color too.
-
Looks great. I like that color a lot.
-
My first WIP here; '70 Dodge Challenger T/A, Parts
Roadrunner replied to Roadrunner's topic in WIP: Model Cars
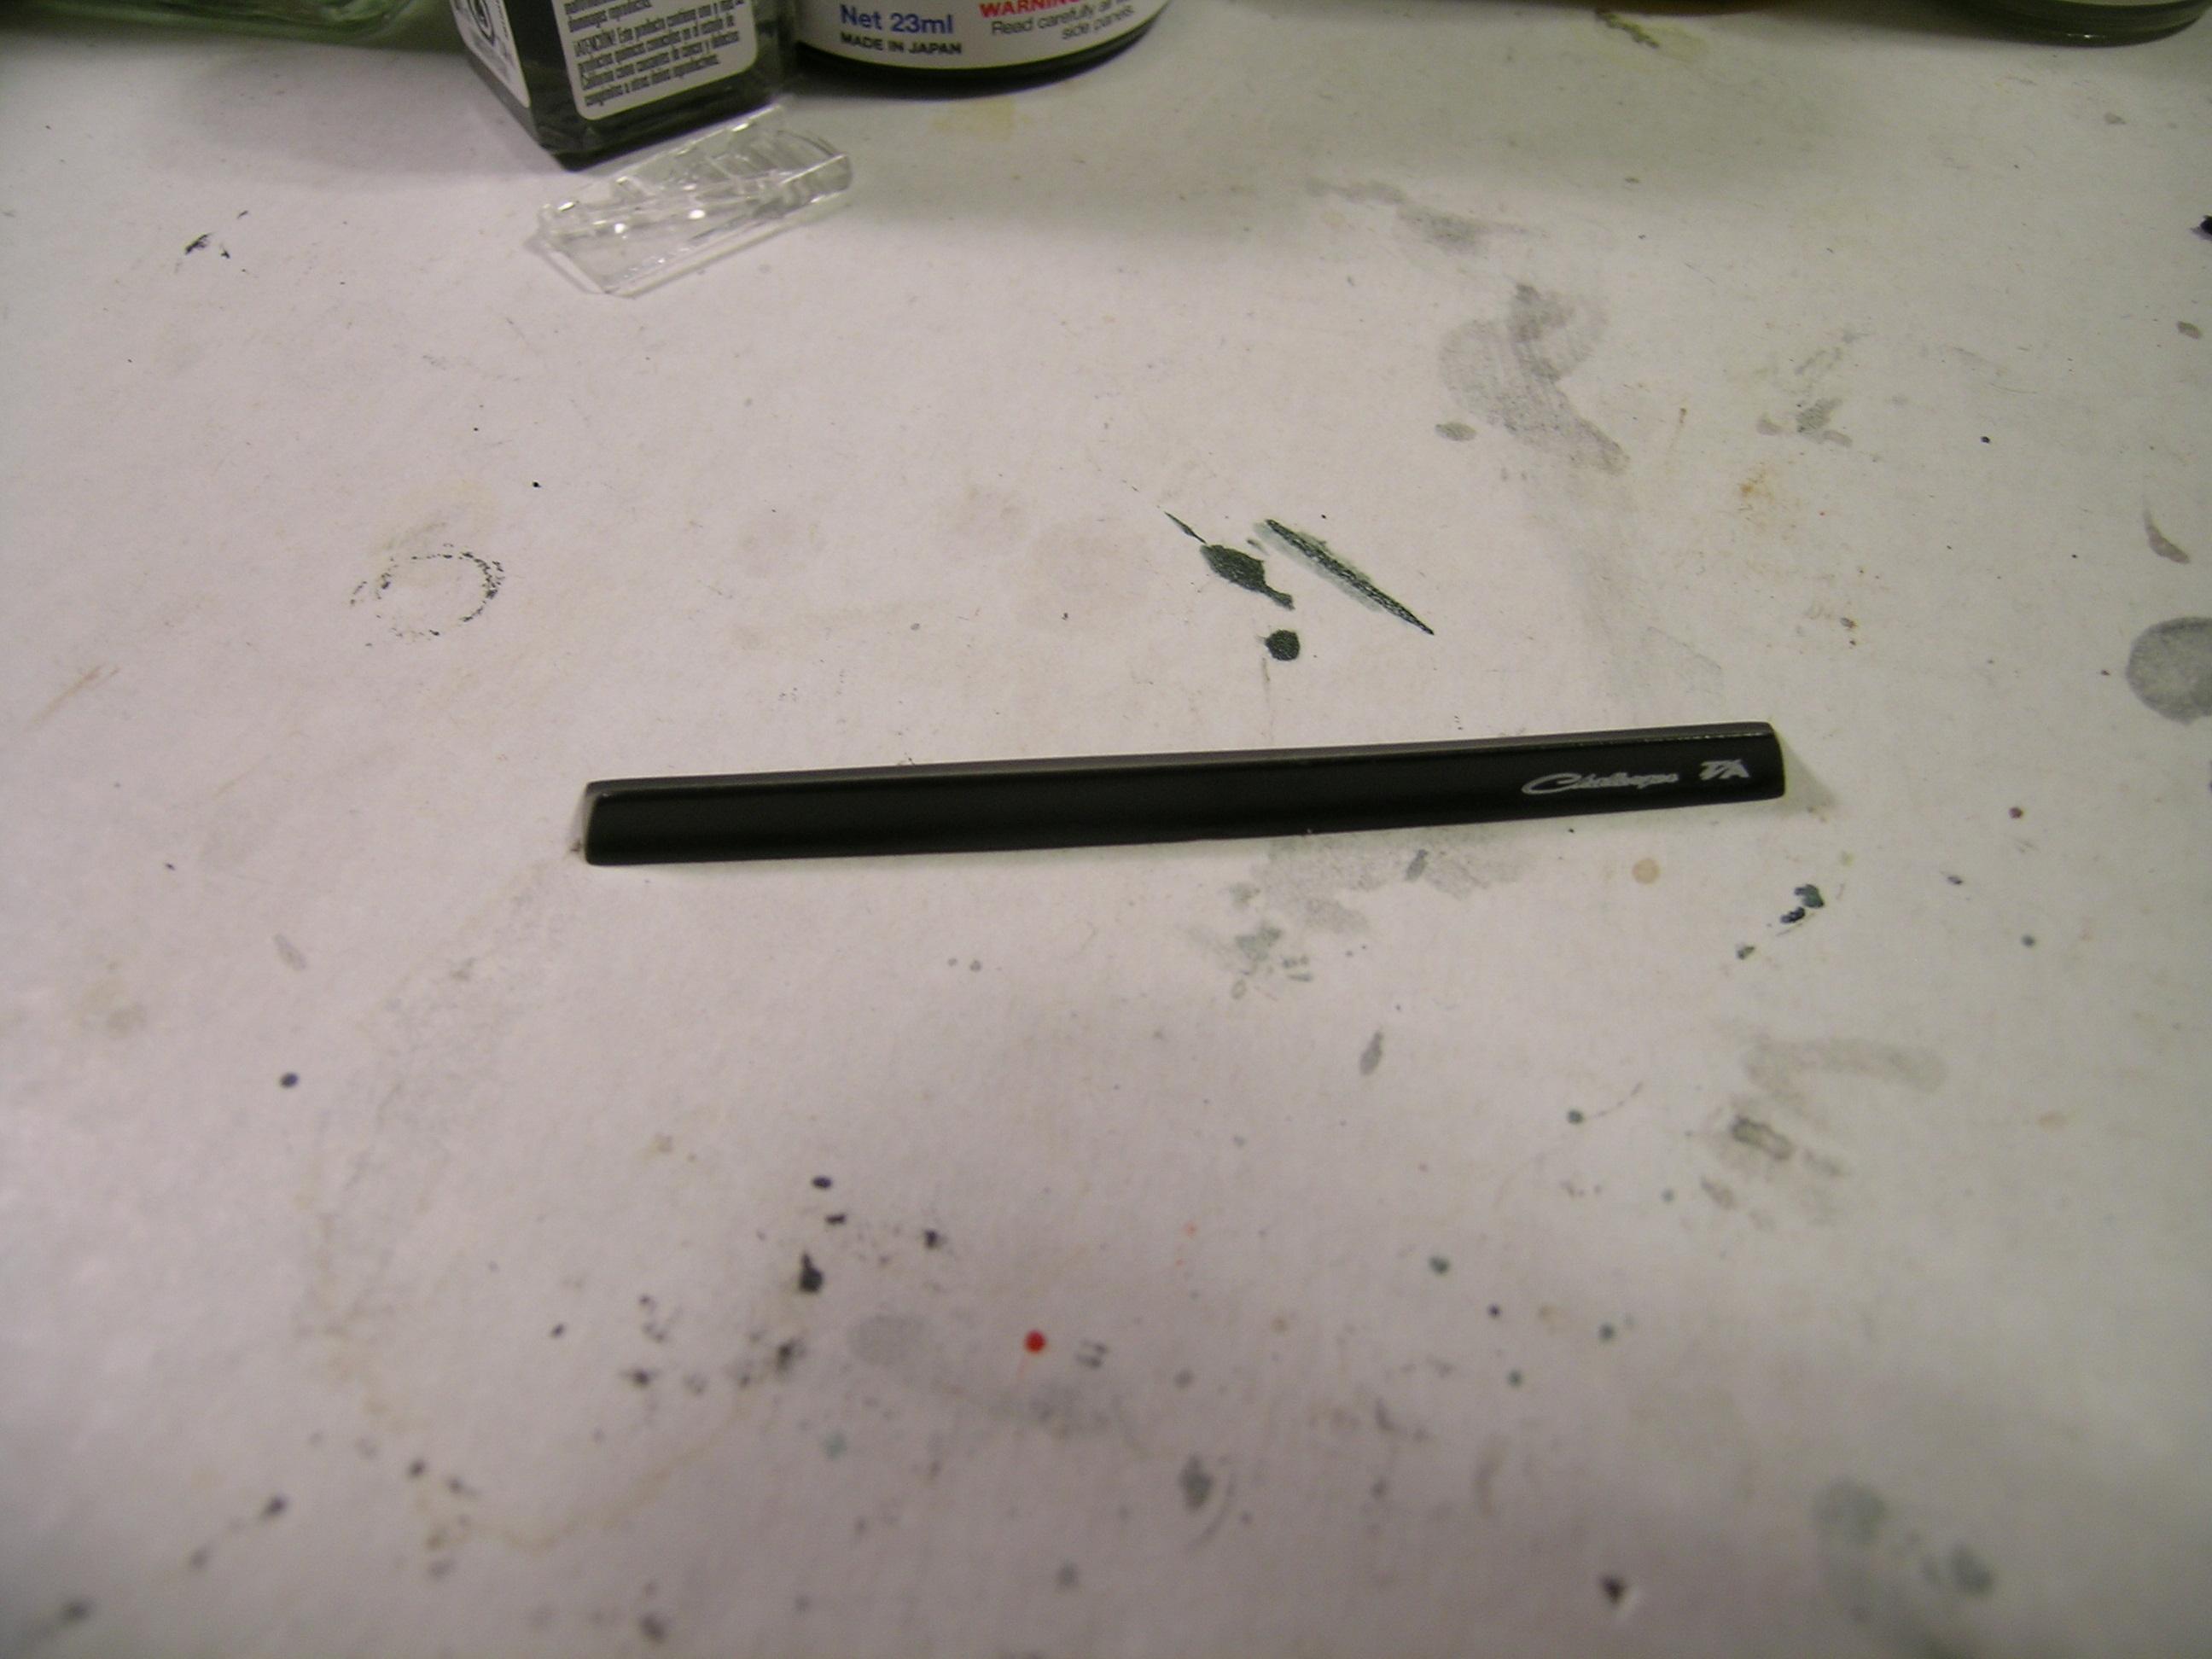
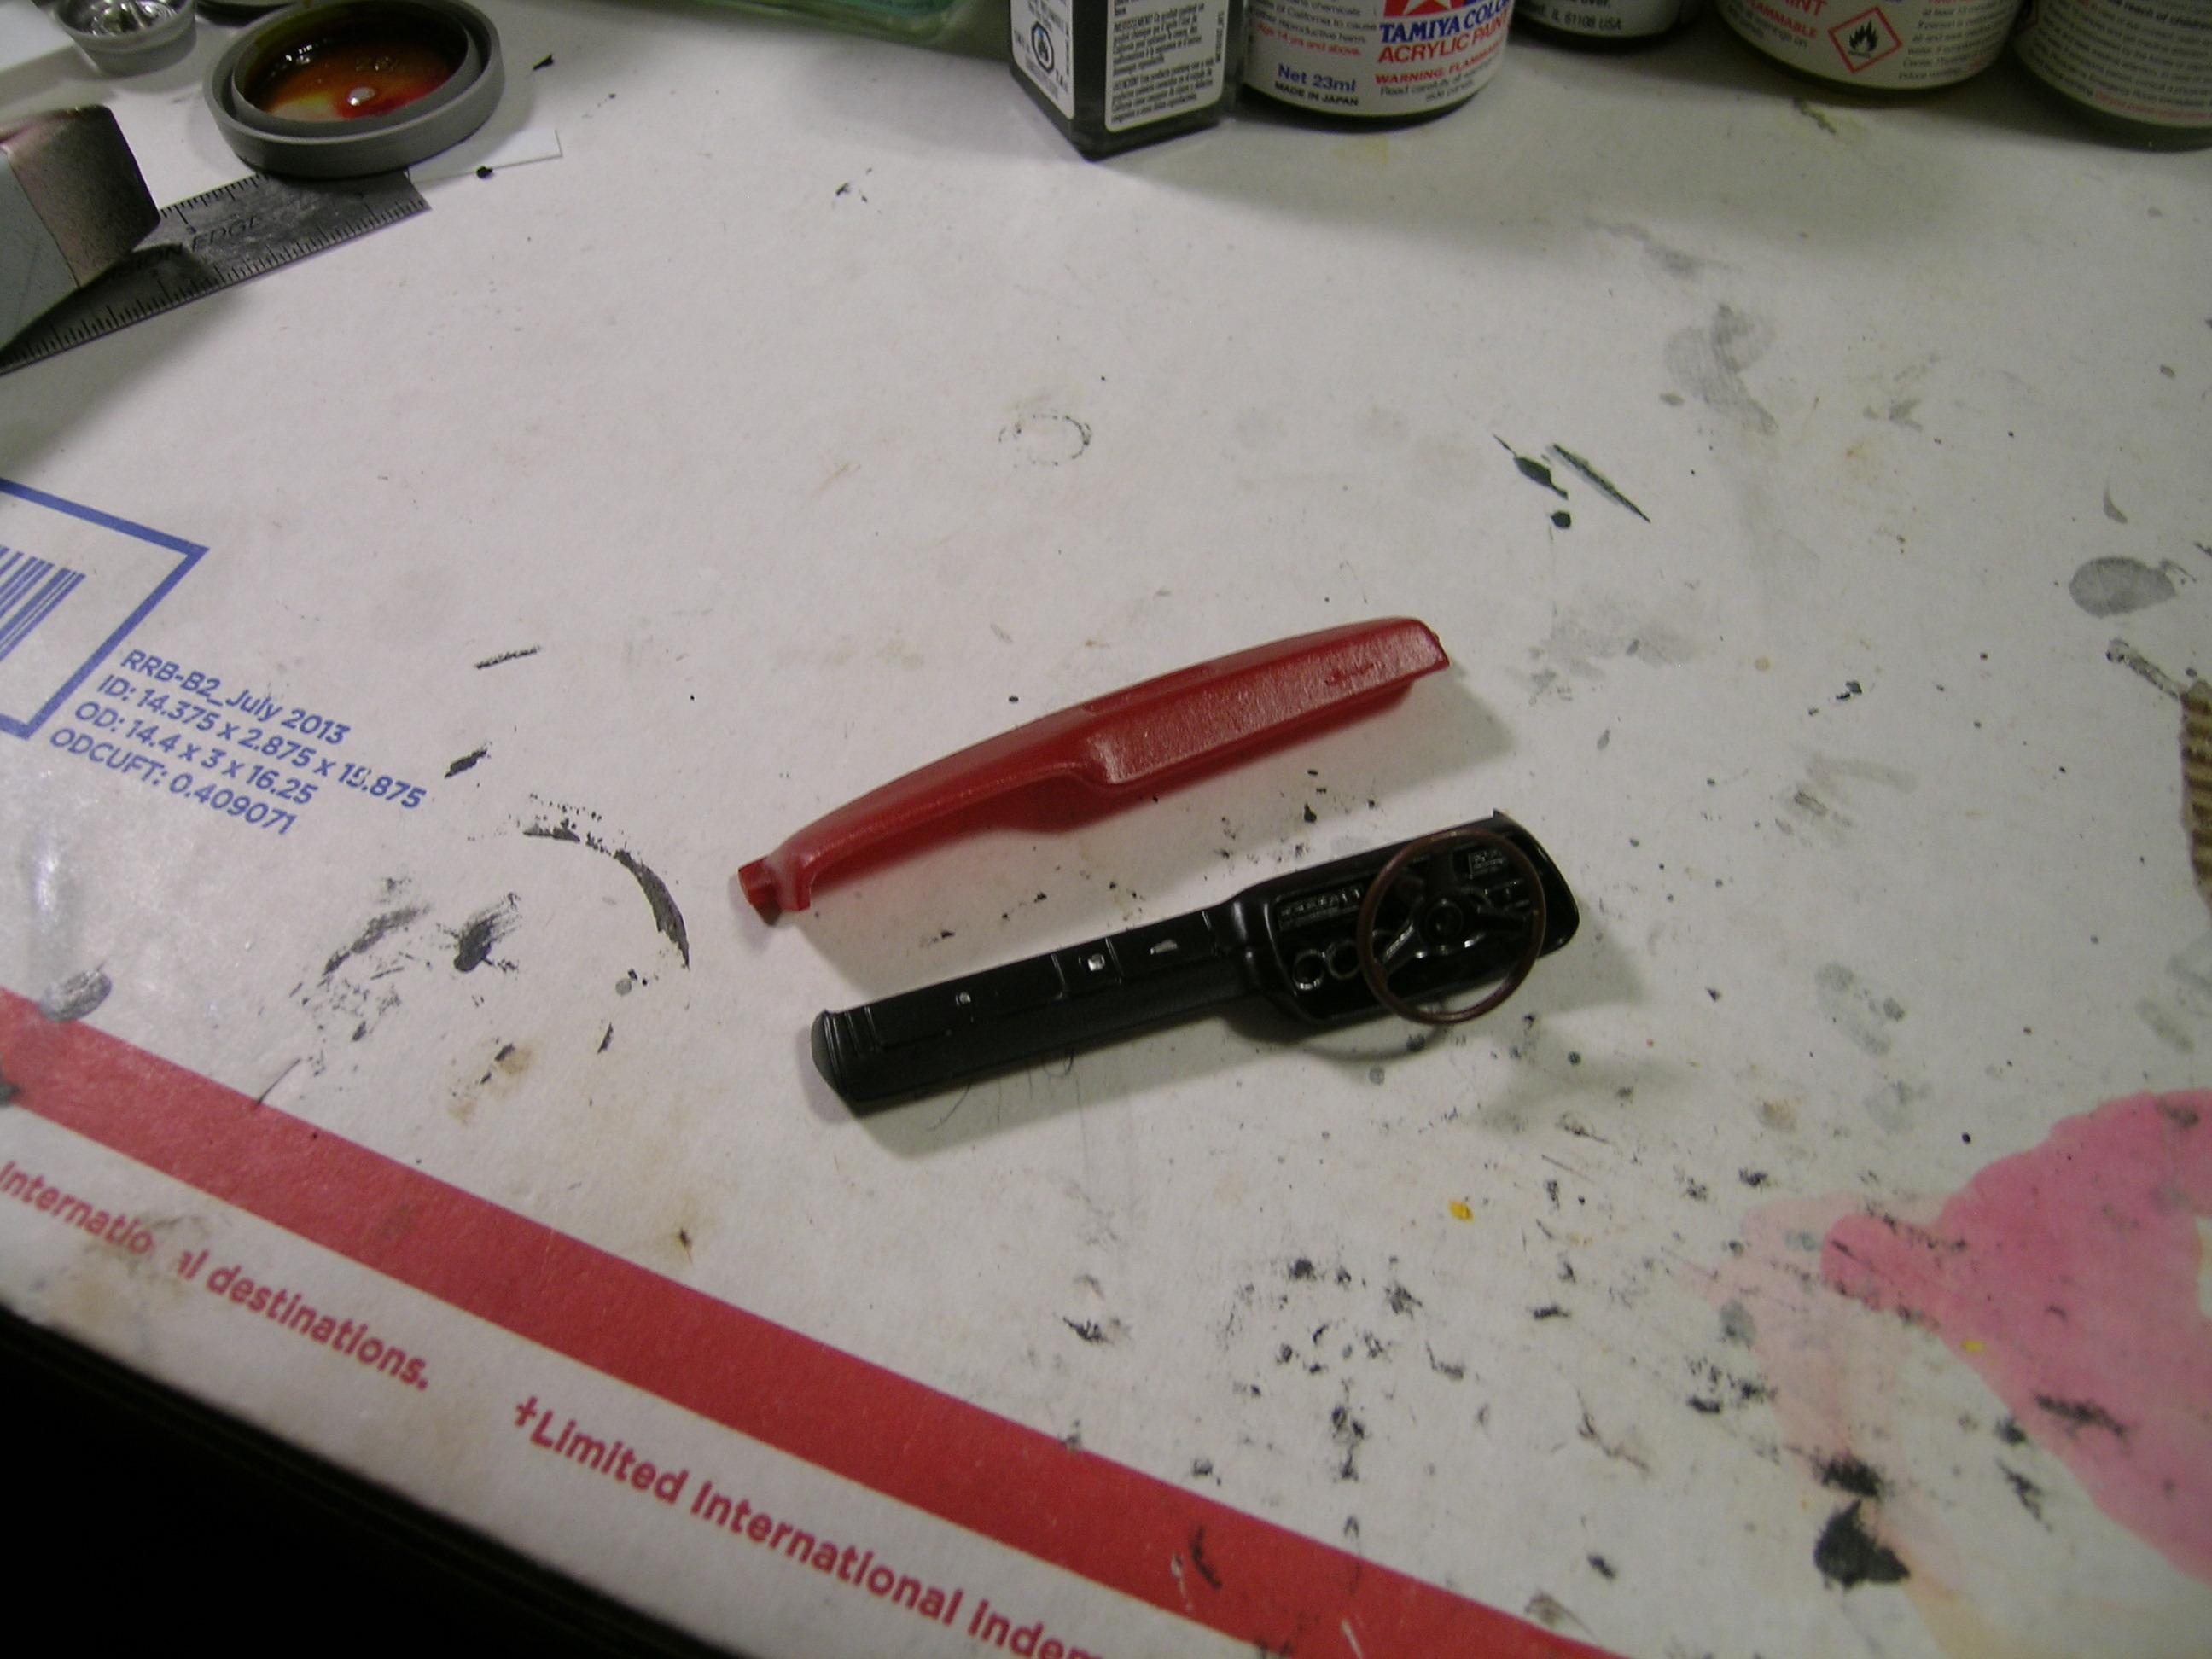
Dash pad now finished, and looks so much better, at least to me. As you can see, the hood, which has been giving me fits, has been completely stripped . Once I correct that, it'll receive paint and BMF.
-
My first WIP here; '70 Dodge Challenger T/A, Parts
Roadrunner replied to Roadrunner's topic in WIP: Model Cars
I'm in much the same boat, I started this one 9 years ago, but it's time to finish it up and move onto the next kit. -
My first WIP here; '70 Dodge Challenger T/A, Parts
Roadrunner replied to Roadrunner's topic in WIP: Model Cars
With a small blob of BMF added and burnished tight, I’ve gone ahead and spritzed the dash pad semi-gloss black. Once dry, I’ll polish off the Challenger script, then hit it (the dash pad) with semi-gloss clear.
-
My first WIP here; '70 Dodge Challenger T/A, Parts
Roadrunner replied to Roadrunner's topic in WIP: Model Cars
Testors Icy Blue metallic, old school. I recently bought three more cans of the stuff, and it seems to have larger flakes, which is unfortunate. Thanks. I really like it too, but it's very metallicy, more like metalflake. -
My first WIP here; '70 Dodge Challenger T/A, Parts
Roadrunner replied to Roadrunner's topic in WIP: Model Cars
Rear spoiler also now finished. The decal should actually be a bit further inboard, but too late now. I'll pay more attention next time.
-
My first WIP here; '70 Dodge Challenger T/A, Parts
Roadrunner replied to Roadrunner's topic in WIP: Model Cars
What a silly guy. I’ve been scratching my head trying to figure out why the dash won’t fit, and discovered that I never addressed the dash pad itself! Oops!
-
My first WIP here; '70 Dodge Challenger T/A, Parts
Roadrunner replied to Roadrunner's topic in WIP: Model Cars
Door and trunk lines now given a dark blue wash. I may still need to tone this down a bit.
-
My first WIP here; '70 Dodge Challenger T/A, Parts
Roadrunner replied to Roadrunner's topic in WIP: Model Cars
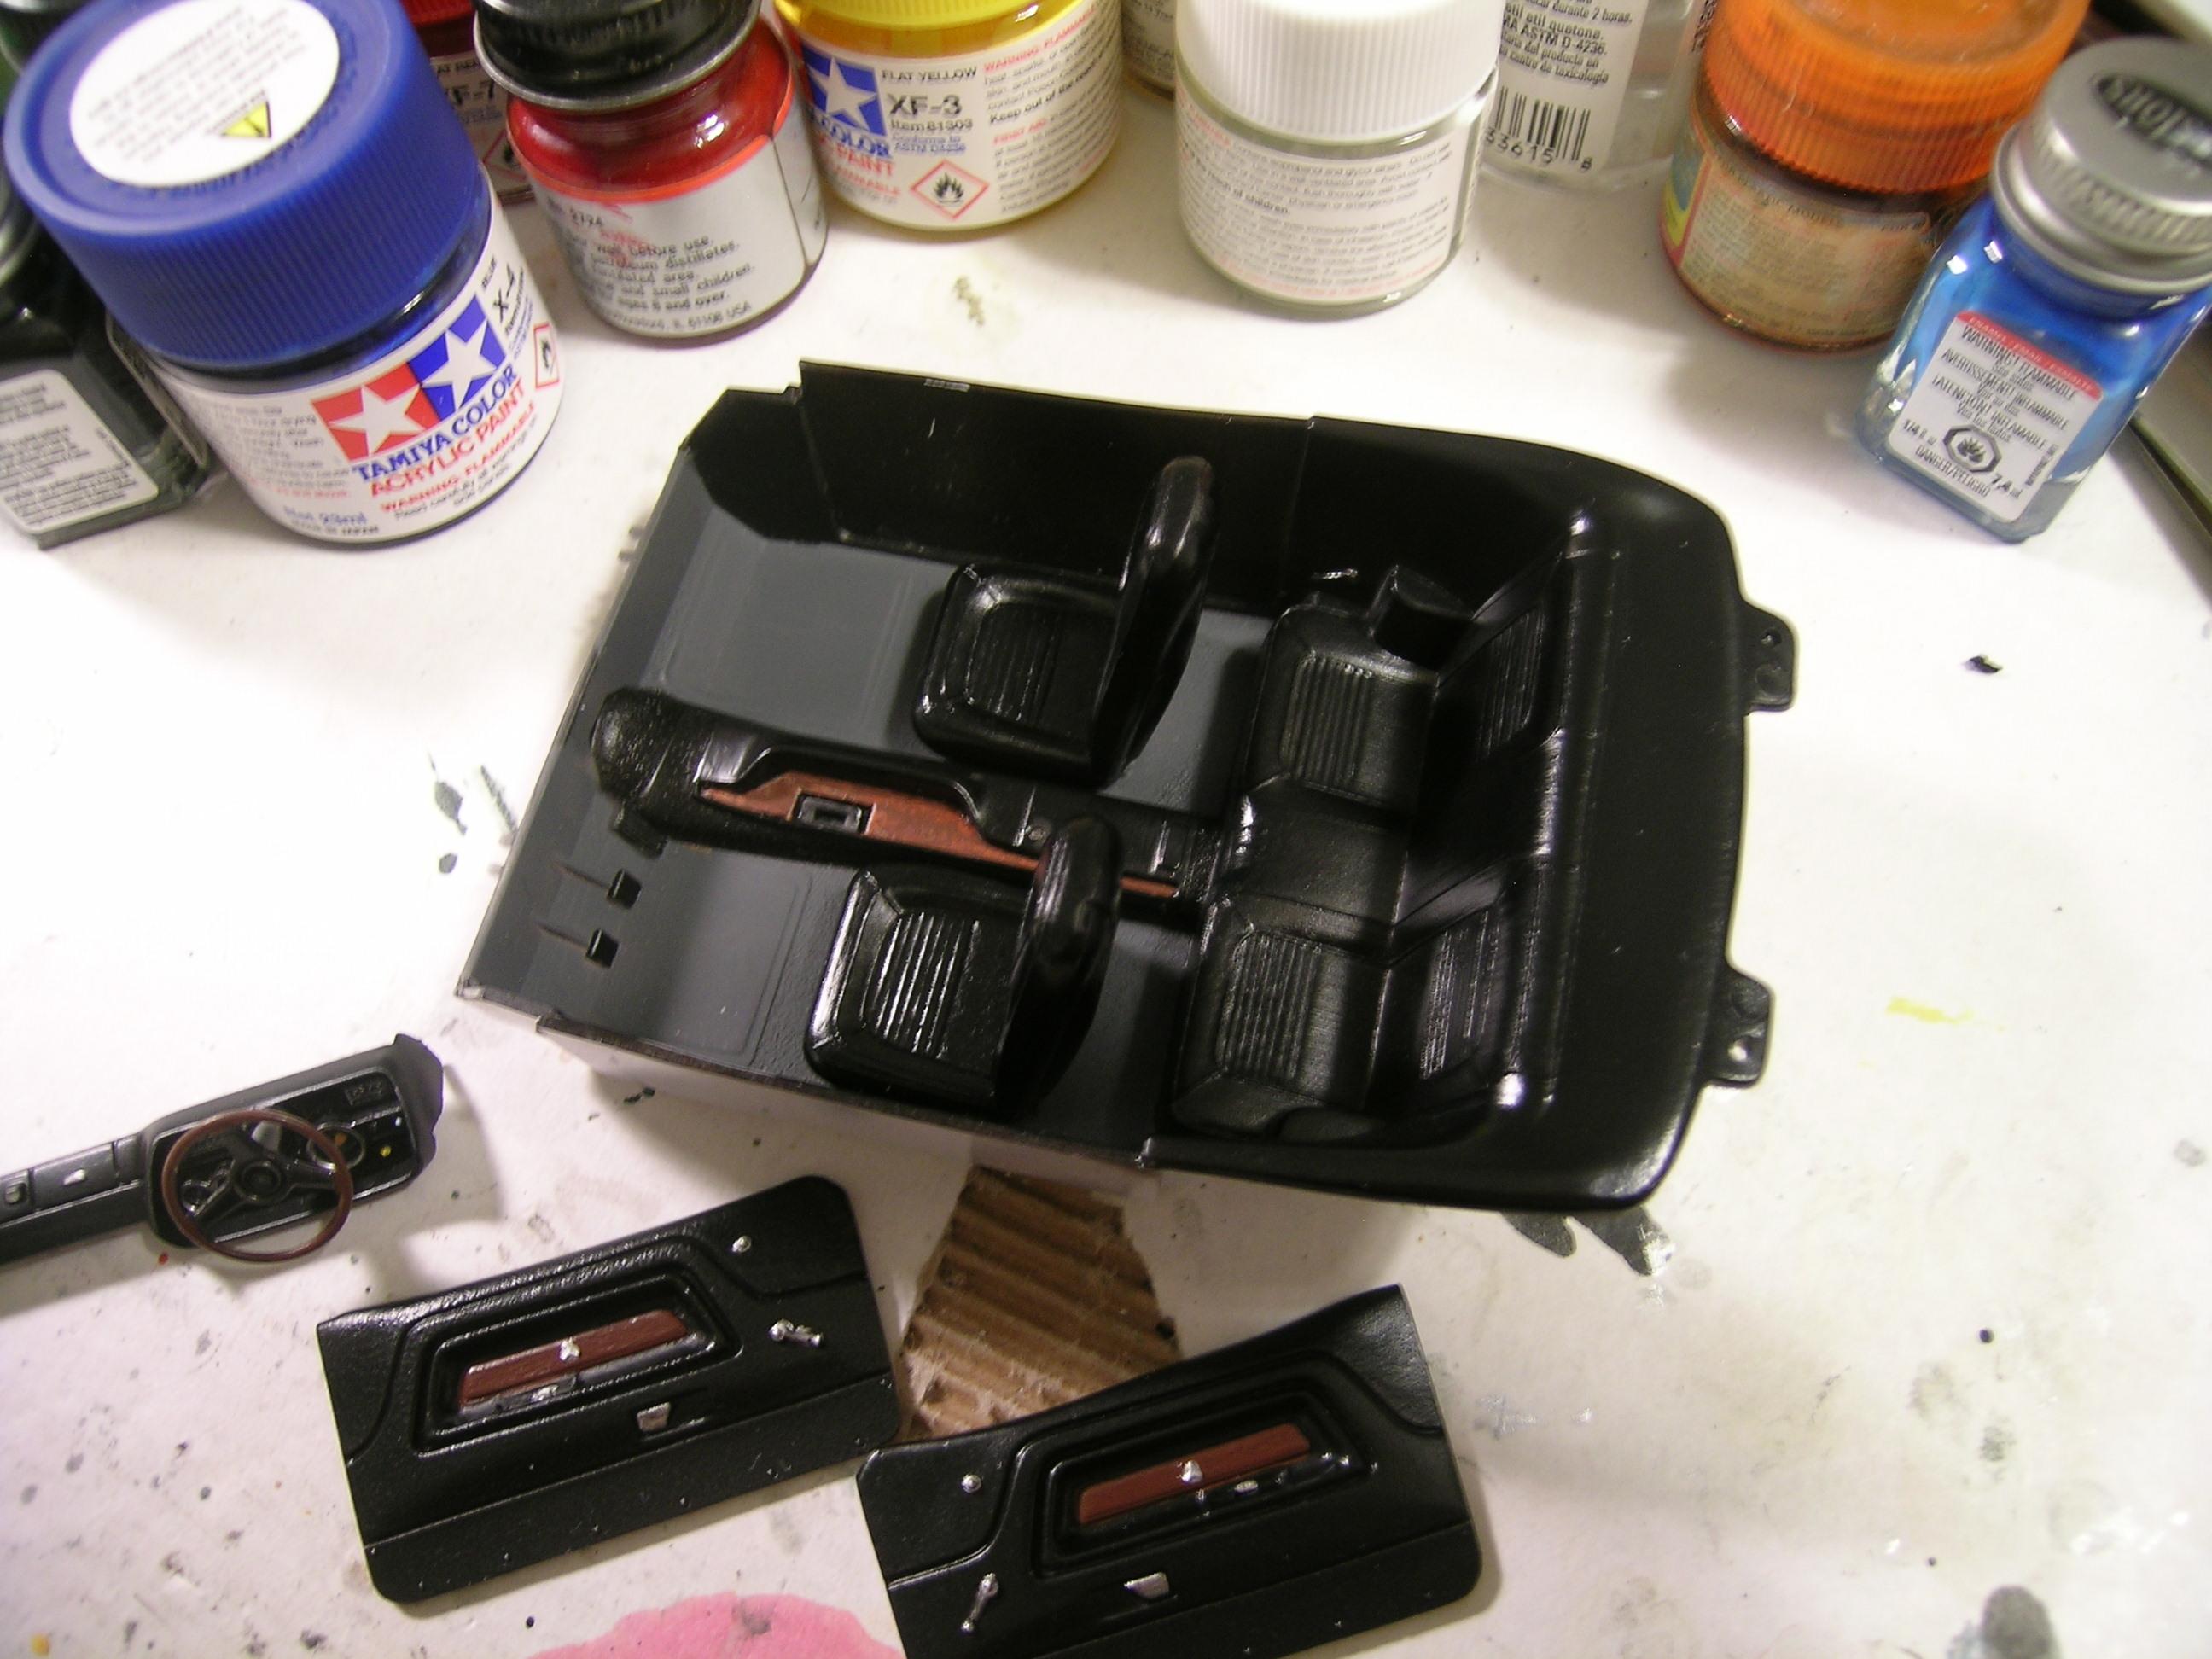
I’m now calling the interior finished, save for the installation of the shifter.
-
My first WIP here; '70 Dodge Challenger T/A, Parts
Roadrunner replied to Roadrunner's topic in WIP: Model Cars
Windshield now split into two pieces and all edges cleaned up. This provides a much better fit now, and that is definitely desired by me. Have no fear, they'll be cleaned and polished before actual installation, probably using clear Gorilla glue or similar.
-
My first WIP here; '70 Dodge Challenger T/A, Parts
Roadrunner replied to Roadrunner's topic in WIP: Model Cars
On my next T/A, which admittedly is a long ways off, I'll need to duplicate this in some manner. Molotow on the bare plastic headlight buckets looks just great, much better than when applied over the semi-gloss paint.
-
My first WIP here; '70 Dodge Challenger T/A, Parts
Roadrunner replied to Roadrunner's topic in WIP: Model Cars
Hood, now spritzed with Tamiya light grey primer and polished, looks OK, but still needs some work prior to the semi-gloss black lacquer.
-
My first WIP here; '70 Dodge Challenger T/A, Parts
Roadrunner replied to Roadrunner's topic in WIP: Model Cars
Thanks very much. I finally figured out a decent way to paint Molotow on the Dodge letters on the tail light too. I'll try to get a couple of photos of that in the next couple of days. -
My first WIP here; '70 Dodge Challenger T/A, Parts
Roadrunner replied to Roadrunner's topic in WIP: Model Cars
I still have over three weeks left, and that should be a snap. I've actually accomplished quite a lot, just not posted many photos.
.JPG.69a48e52f1f20f1978d743ca9ee1f260.JPG)


.JPG.4f831c6b11440a537286e46873ffa340.JPG)