Rotorbolt73
-
Posts
404 -
Joined
-
Last visited
Content Type
Profiles
Forums
Events
Gallery
Everything posted by Rotorbolt73
-
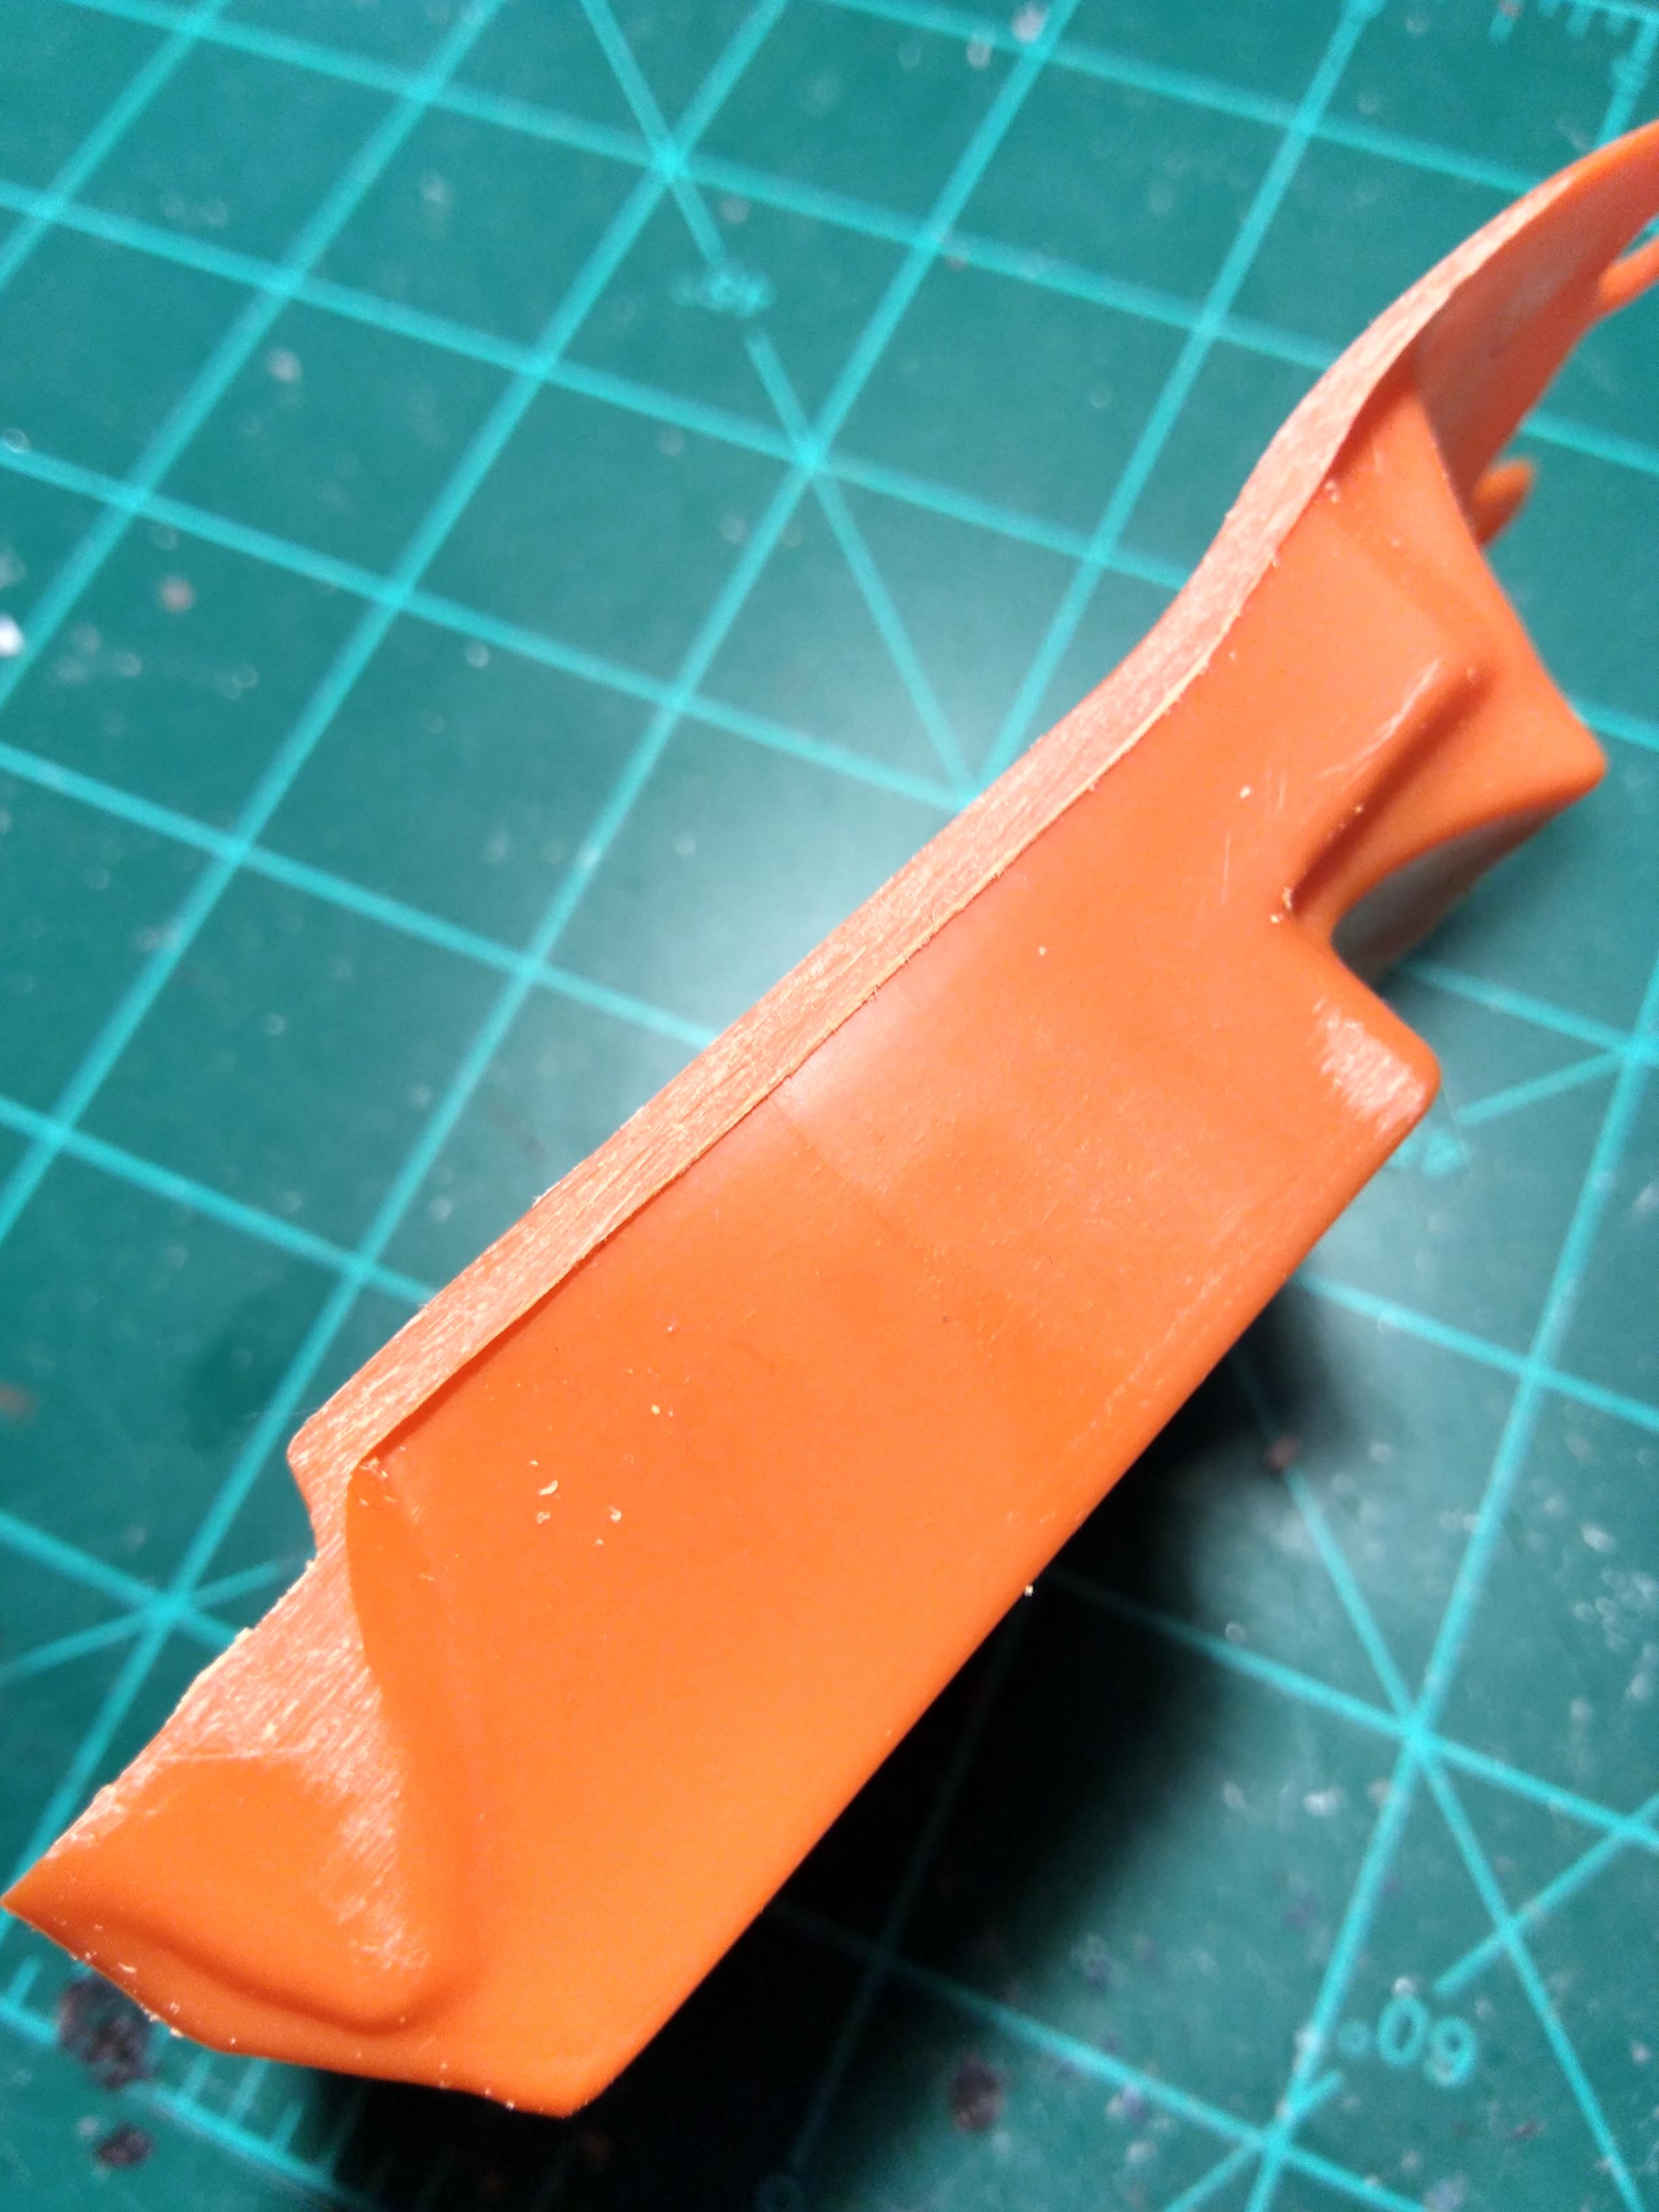
Now another item to be modified is the lower rear valance panel. Since the bumper is narrowed , the mount tabs do not line up to secure the valance to the bumper. Start by cutting off the tabs from the valance and glue them back on so they will line back up. Also trim fit the valance to fit between the lower quarter panels as it doesn't fit to well as is. Valance panel now fits the modified rear bumper.

-
Checking the fit to the body ..much better. Note the join seam in the middle. The licence plate will cover most of it.the little join line showing on top will have to be accepted as is.
-
Remove the plating from the back side and glue the halves back together. Using the removed hood brace piece used to make the chassis plate spacers earlier, cut a section to glue to the backside of the bumper halves to keep it straight and strengthen the joint.
-
First I make a center mark and then two more marks 1/16 on each side of center. These are the cut lines. Tricky part is keeping them parallel as you slowly cut. Once cut, you will have removed 1/8th from the center. Important note: do not forget to include the width of your razor saw in the total width removed. I forgot and ended up taking 1/32 extra out and thus it is a hair narrower than I expected . But oh well..?
-
After looking at several pics of the real cars, I noticed the kits bumper opening for the licence plate is wider than it need to be. Just like oldcarfan mentioned above.. So I decided to shorten it by removing a section right in the middle.
-
Wow oldcarfan, that's different way of correcting the body. Great work there ! Didn't know it was that far off correct proportions. But too late for me..Already narrowed the bumper to fit..much in the same way you did yours. It works and can be done by those that don't have the skills to modify a body like that. So continuing on.... Another well known issue with this kit is the rear bumper that is too wide. Which has already been mentioned here. Each side sticks out about 1/16th on each side . It is supposed to be flush to the body. It must be narrowed to fit the body better.
-
Thanks Carl , yeah I opened up the wheel backs with a 1/8 fill bit to fit over the Camaro axel tubes. Not sure yet how I'm gonna narrow the bumper. But I sure didn't know it was caused by the body being changed over different releases like Snake45 described above. I looked at the thread where guy widened the body by cutting the trunk seams open on each side and filling the gap. Not sure how much flex that would give or what it would change. I kinda want to keep the chrome on the bumper.
-
Yeah, it's a little wide. Only way I see to fix it , is to cut it into three sections. Left and right taillight sections and center licence plate section . You would have to remove just under 1/16 of material from each side of the center section. Then glue back together and the bumper should be flush on each side with the body . Would work great if the chrome was stripped and painted body color. More difficult to conceal the two join seams for chrome . I'm not sure yet if I'm going to do that . Not like the rest of the kit is " correct".
-
Quick check of the ride height and levelness to make sure all 4 wheels touch the ground. Which they do. Rear sits a little higher for that hot rod rake. Far as I can tell, the major issues with this kit have been remedied . Minus the parts box Camaro rear end , the problems were solved right out of the kit box. Rest of assembly should be pretty straight forward. Now the kit is buildable. Don't let the nay sayers tell you otherwise. Just takes a little skill to tackle the issues . Stay tuned.
-
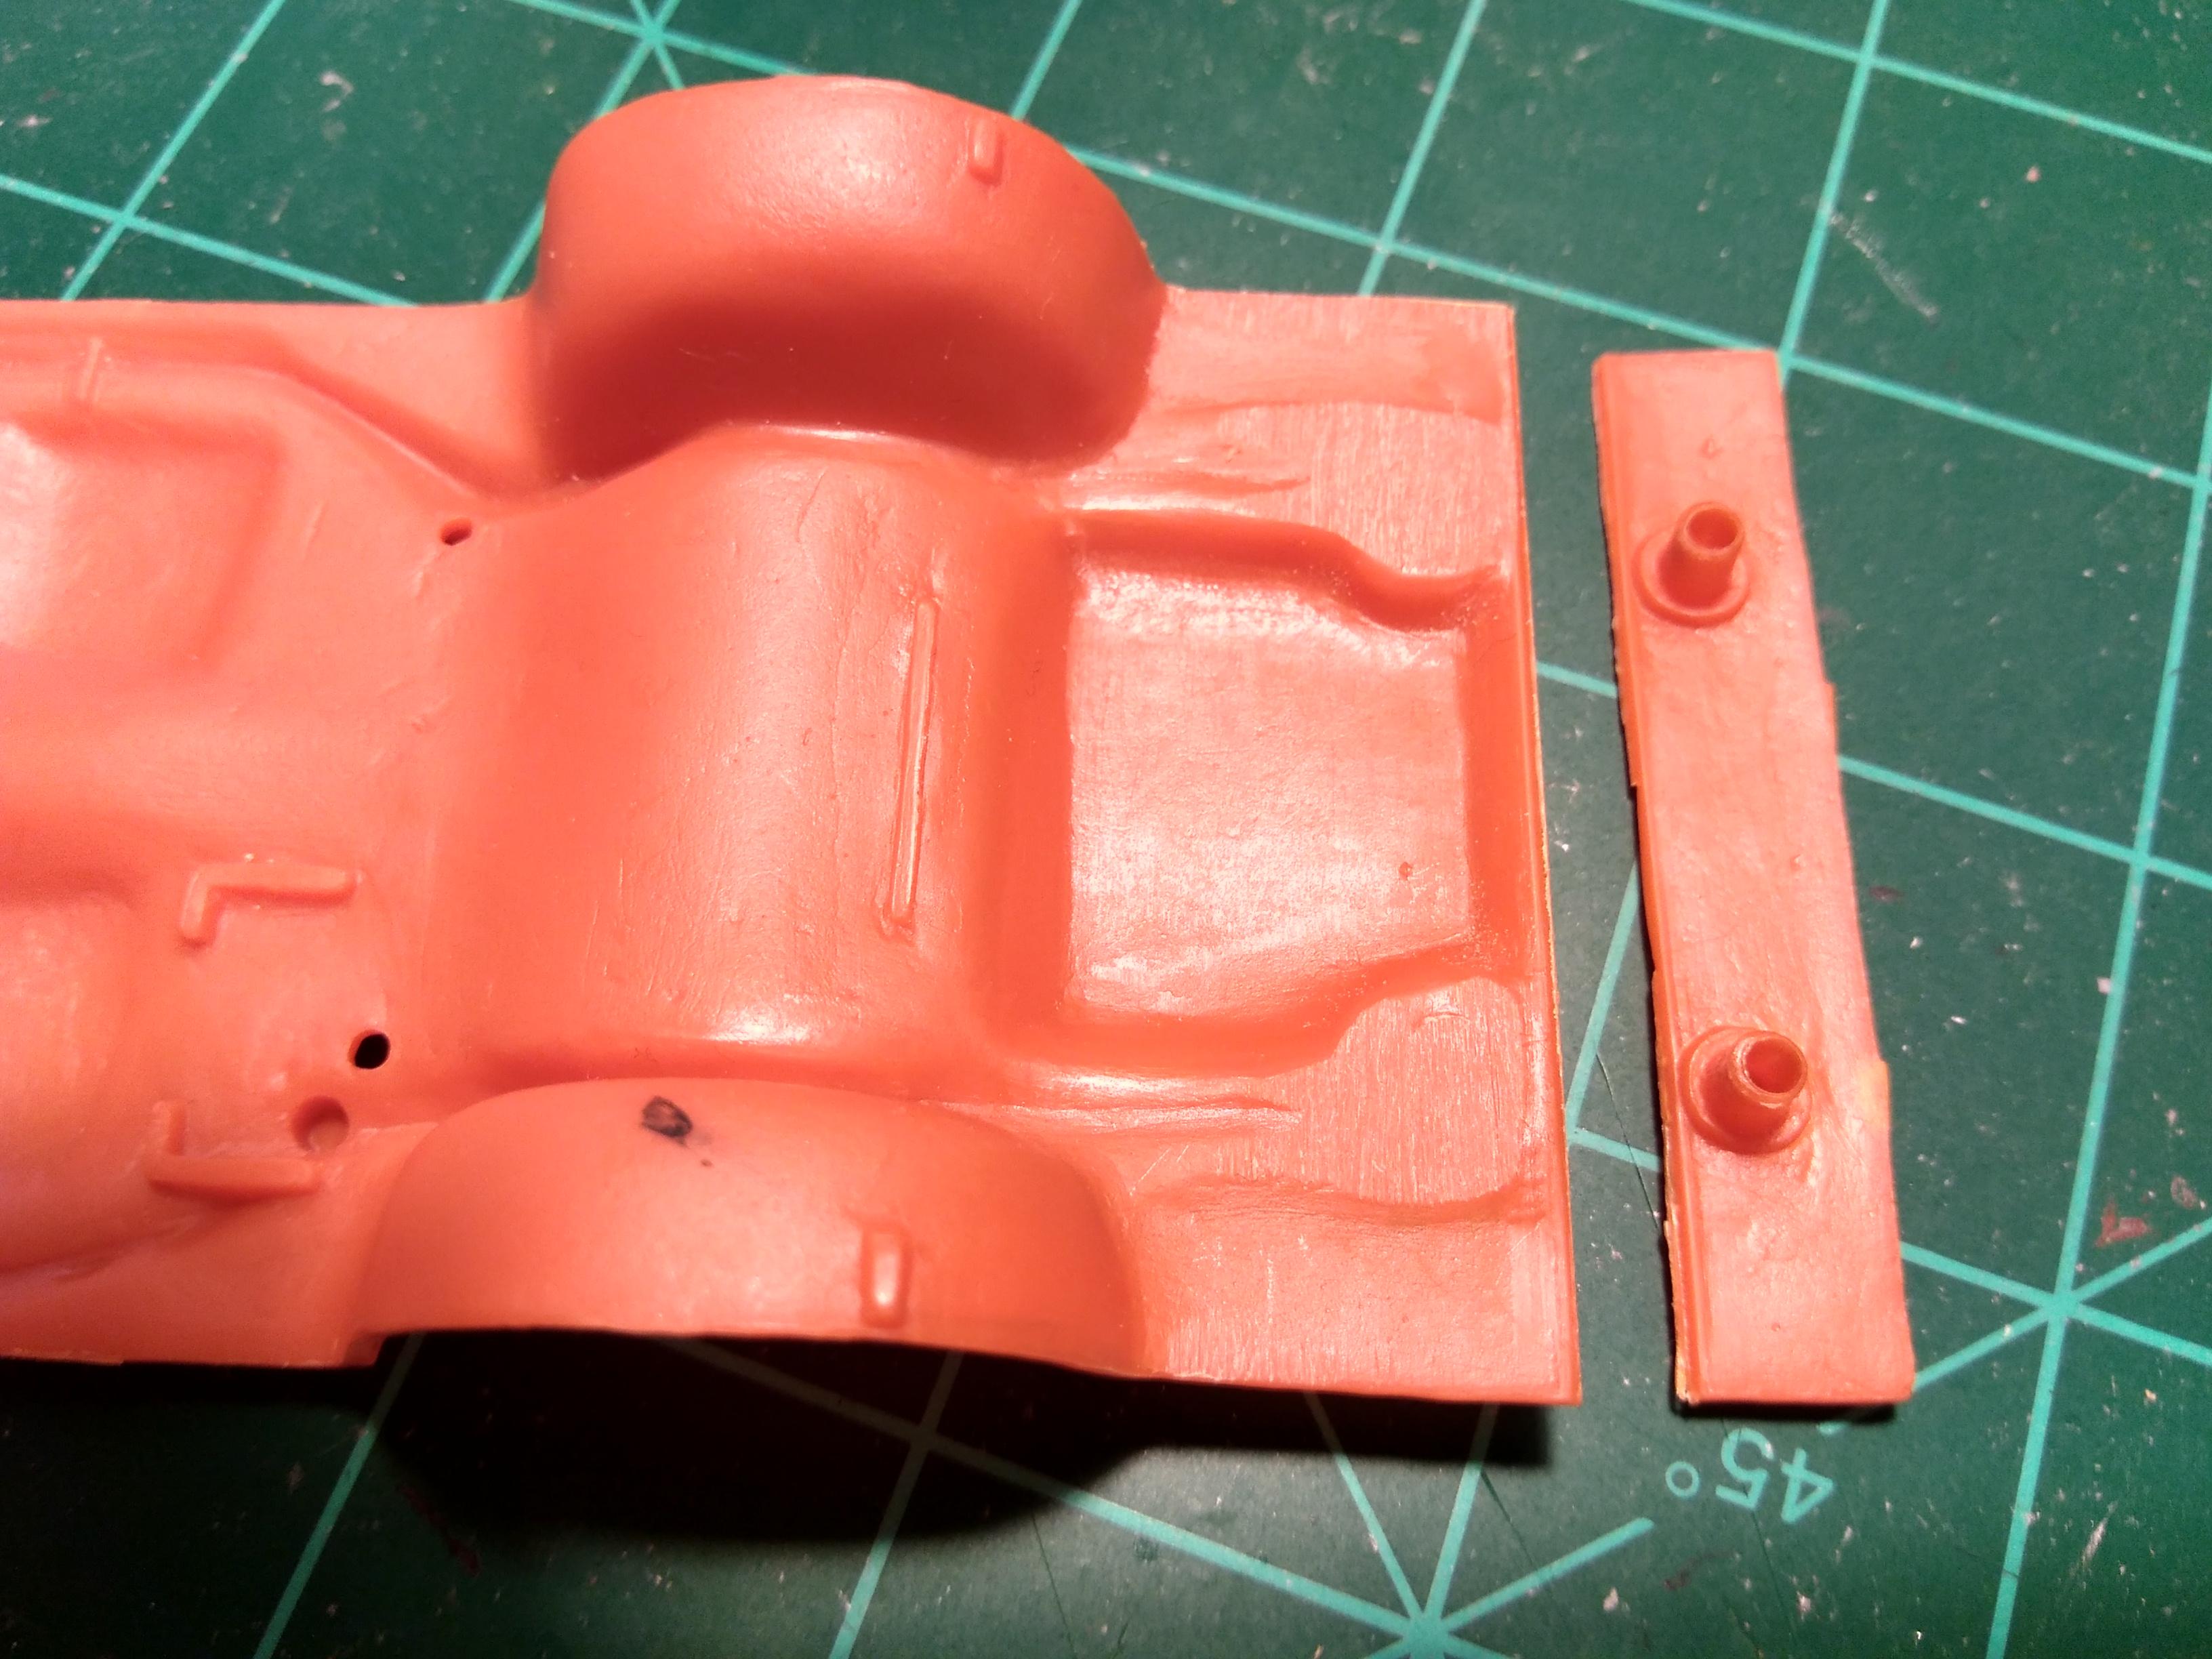
Ohh..that piece I cut off the rear of the chassis in the first pic above . You will need to use that to fill in the large open gap between the radiator core support and grille to better "look" like how the real cars do. Cut the two mounting posts off the back, trim some small notches on the edge and glue on the front edge of the kit radiator support. Engine bay showing the filled support gap in the front.
-
Mock up test fit check of the tire clearance and new corrected wheelbase. This is as close as I'm gonna get. Looks good.
-
The kit comes with a set of mismatched tires ( left 4) for the " big n little" look. The wide rear tires are actually smaller diameter than the fronts and I wanted all 4 to match. So I found two tires ( right ) in my parts that closely matched the fronts but just slightly smaller in diameter . So the kit fronts will become the rears and parts box tires for the front.
-
Cut off the outer axel plate ends of the Camaro rear and trim off the leaf spring mount nub. Take the kit inner wheel halves with the large hole and drill it out with a 1/8 bit to allow the Camaro axel tubes to press in. You can adjust your rear track width to whatever rims and tires you want . While I was at it, I glued in some parts box coil springs for better detail but not necessary.
-
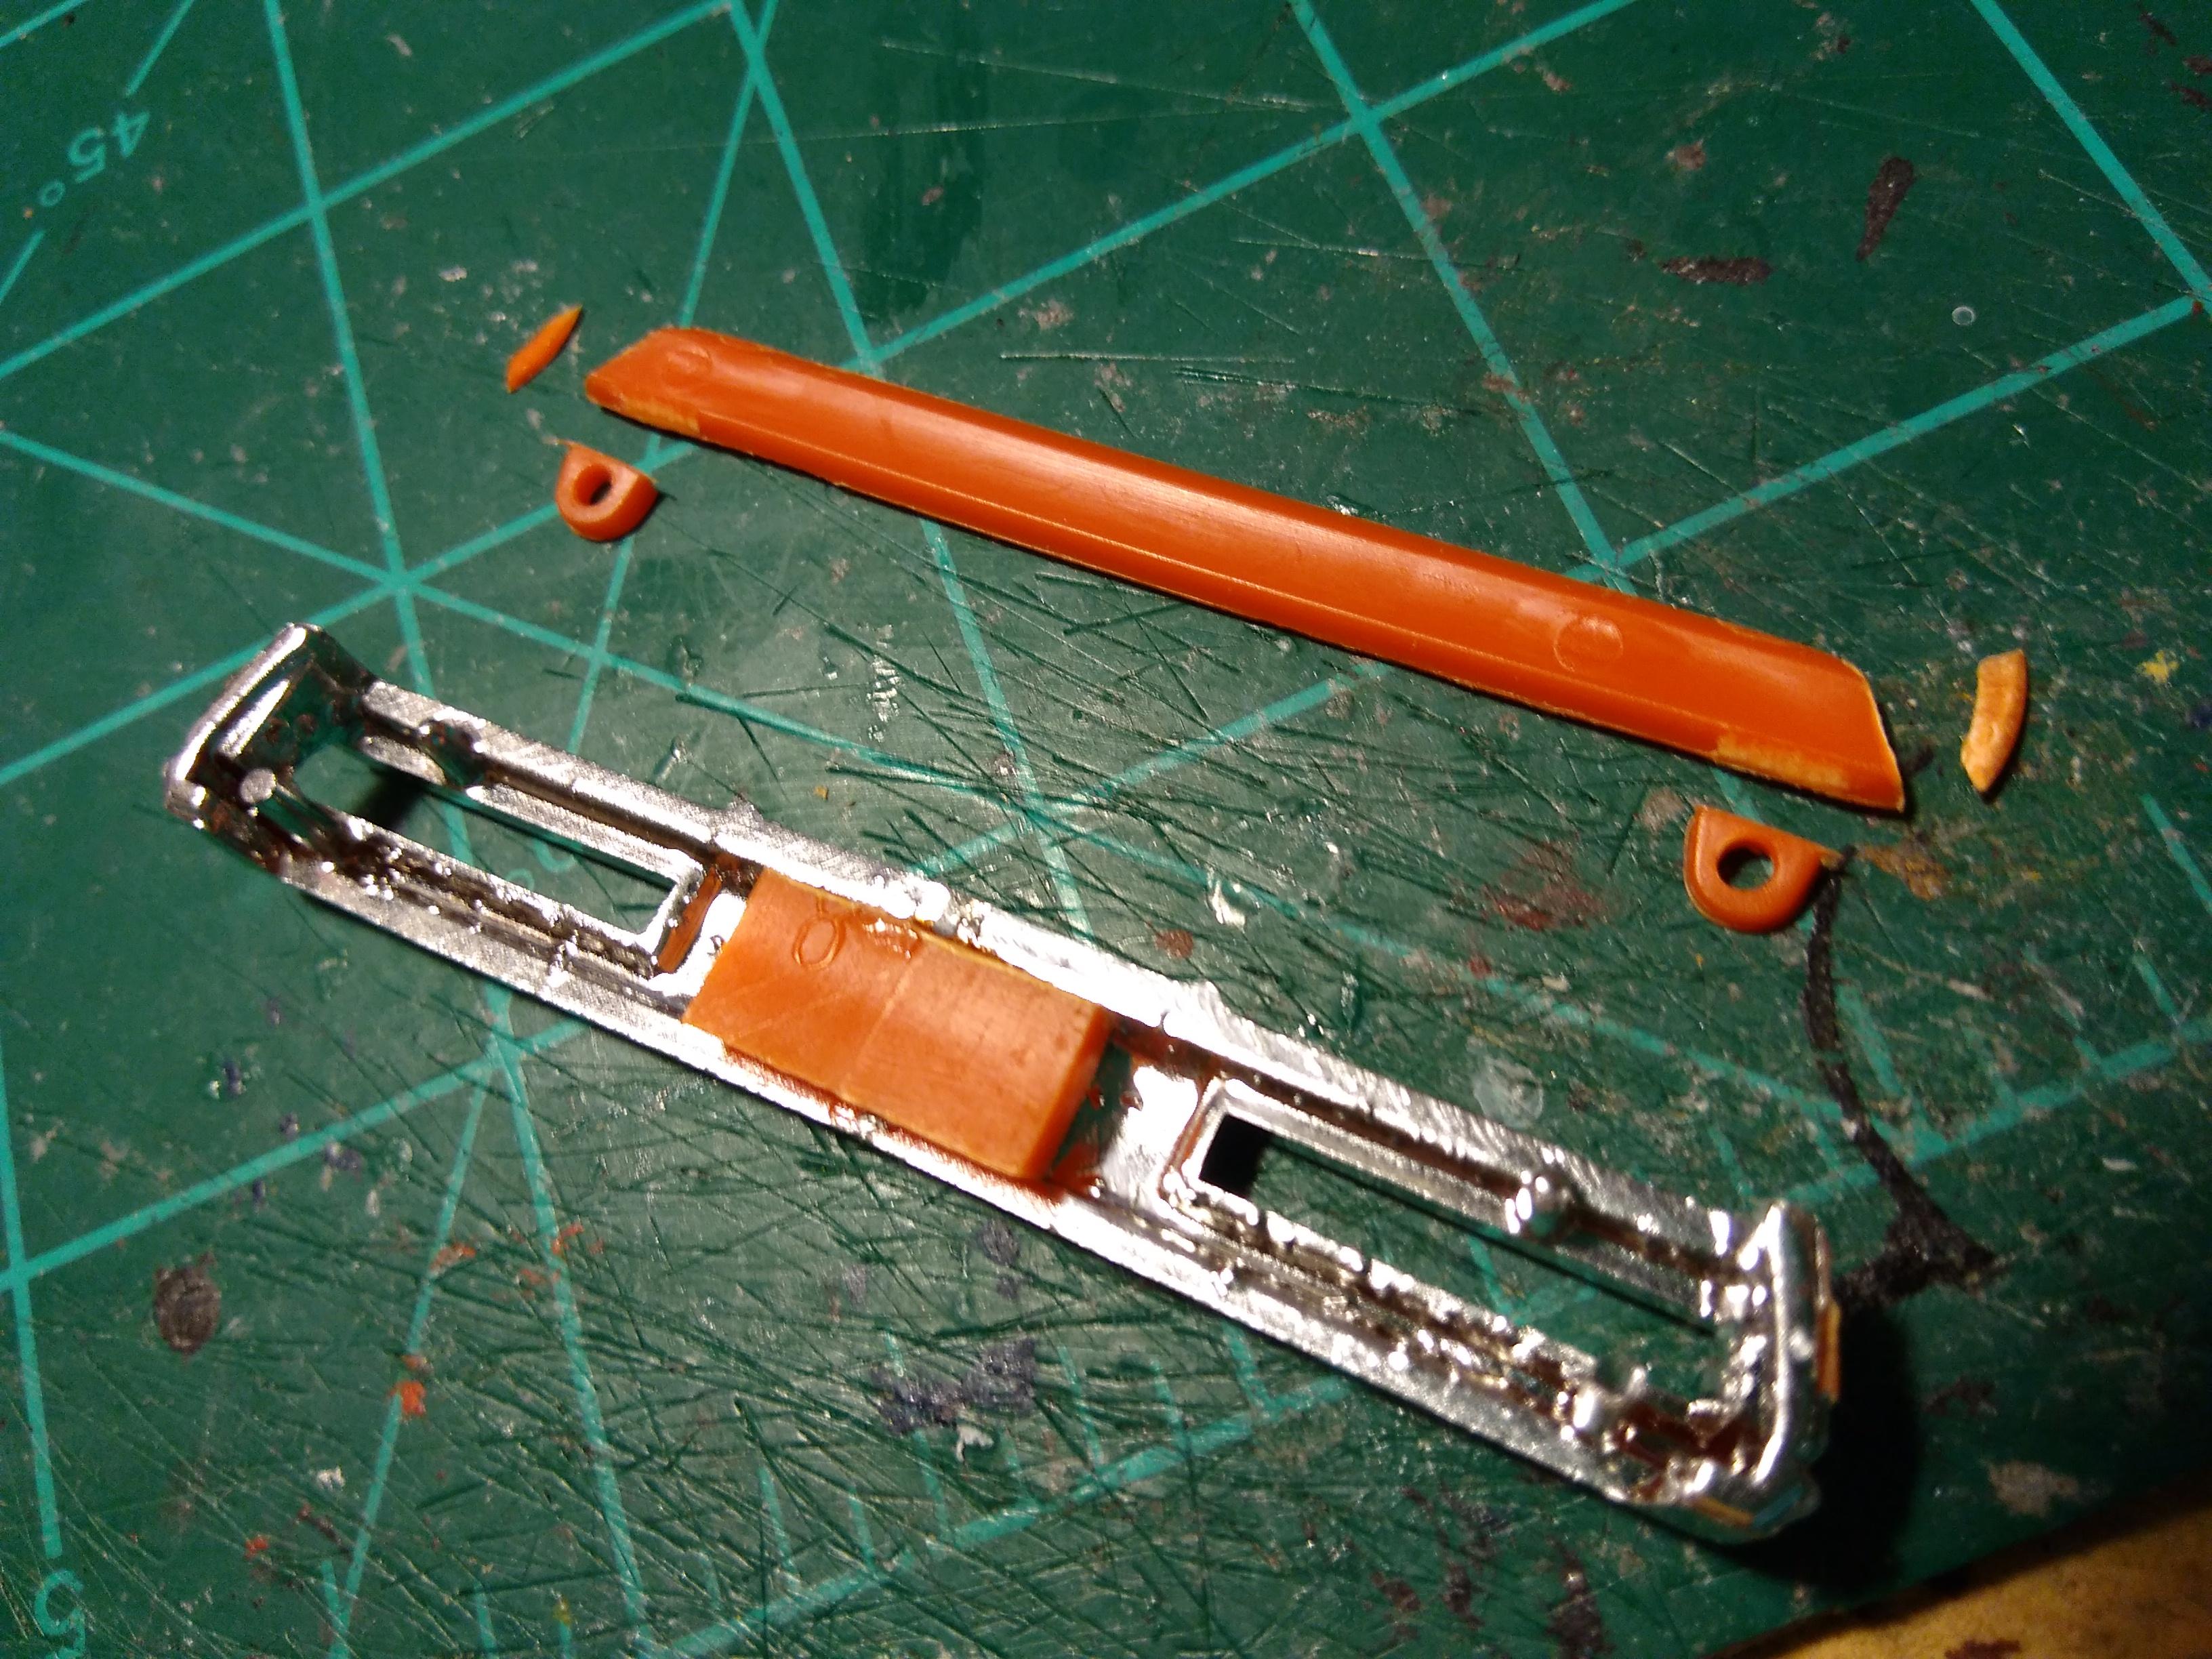
Moving to the front wheels , you have to drill new holes towards the rear, moving the wheels back to center them in the wheel openings. Using the front wheel mounts again , cut off pieces to fill in the old holes. Then glue the mounts to the inner wheel halves with the small mount holes, ( there are two different wheel backs).
-
Here is a shot of the chassis installed in a mock-up to check the fit. It snaps into place and the scratch built inner rockers hold everything together nicely!
-
Trim up the kit control arms and test fit everything. Looks much better!
-
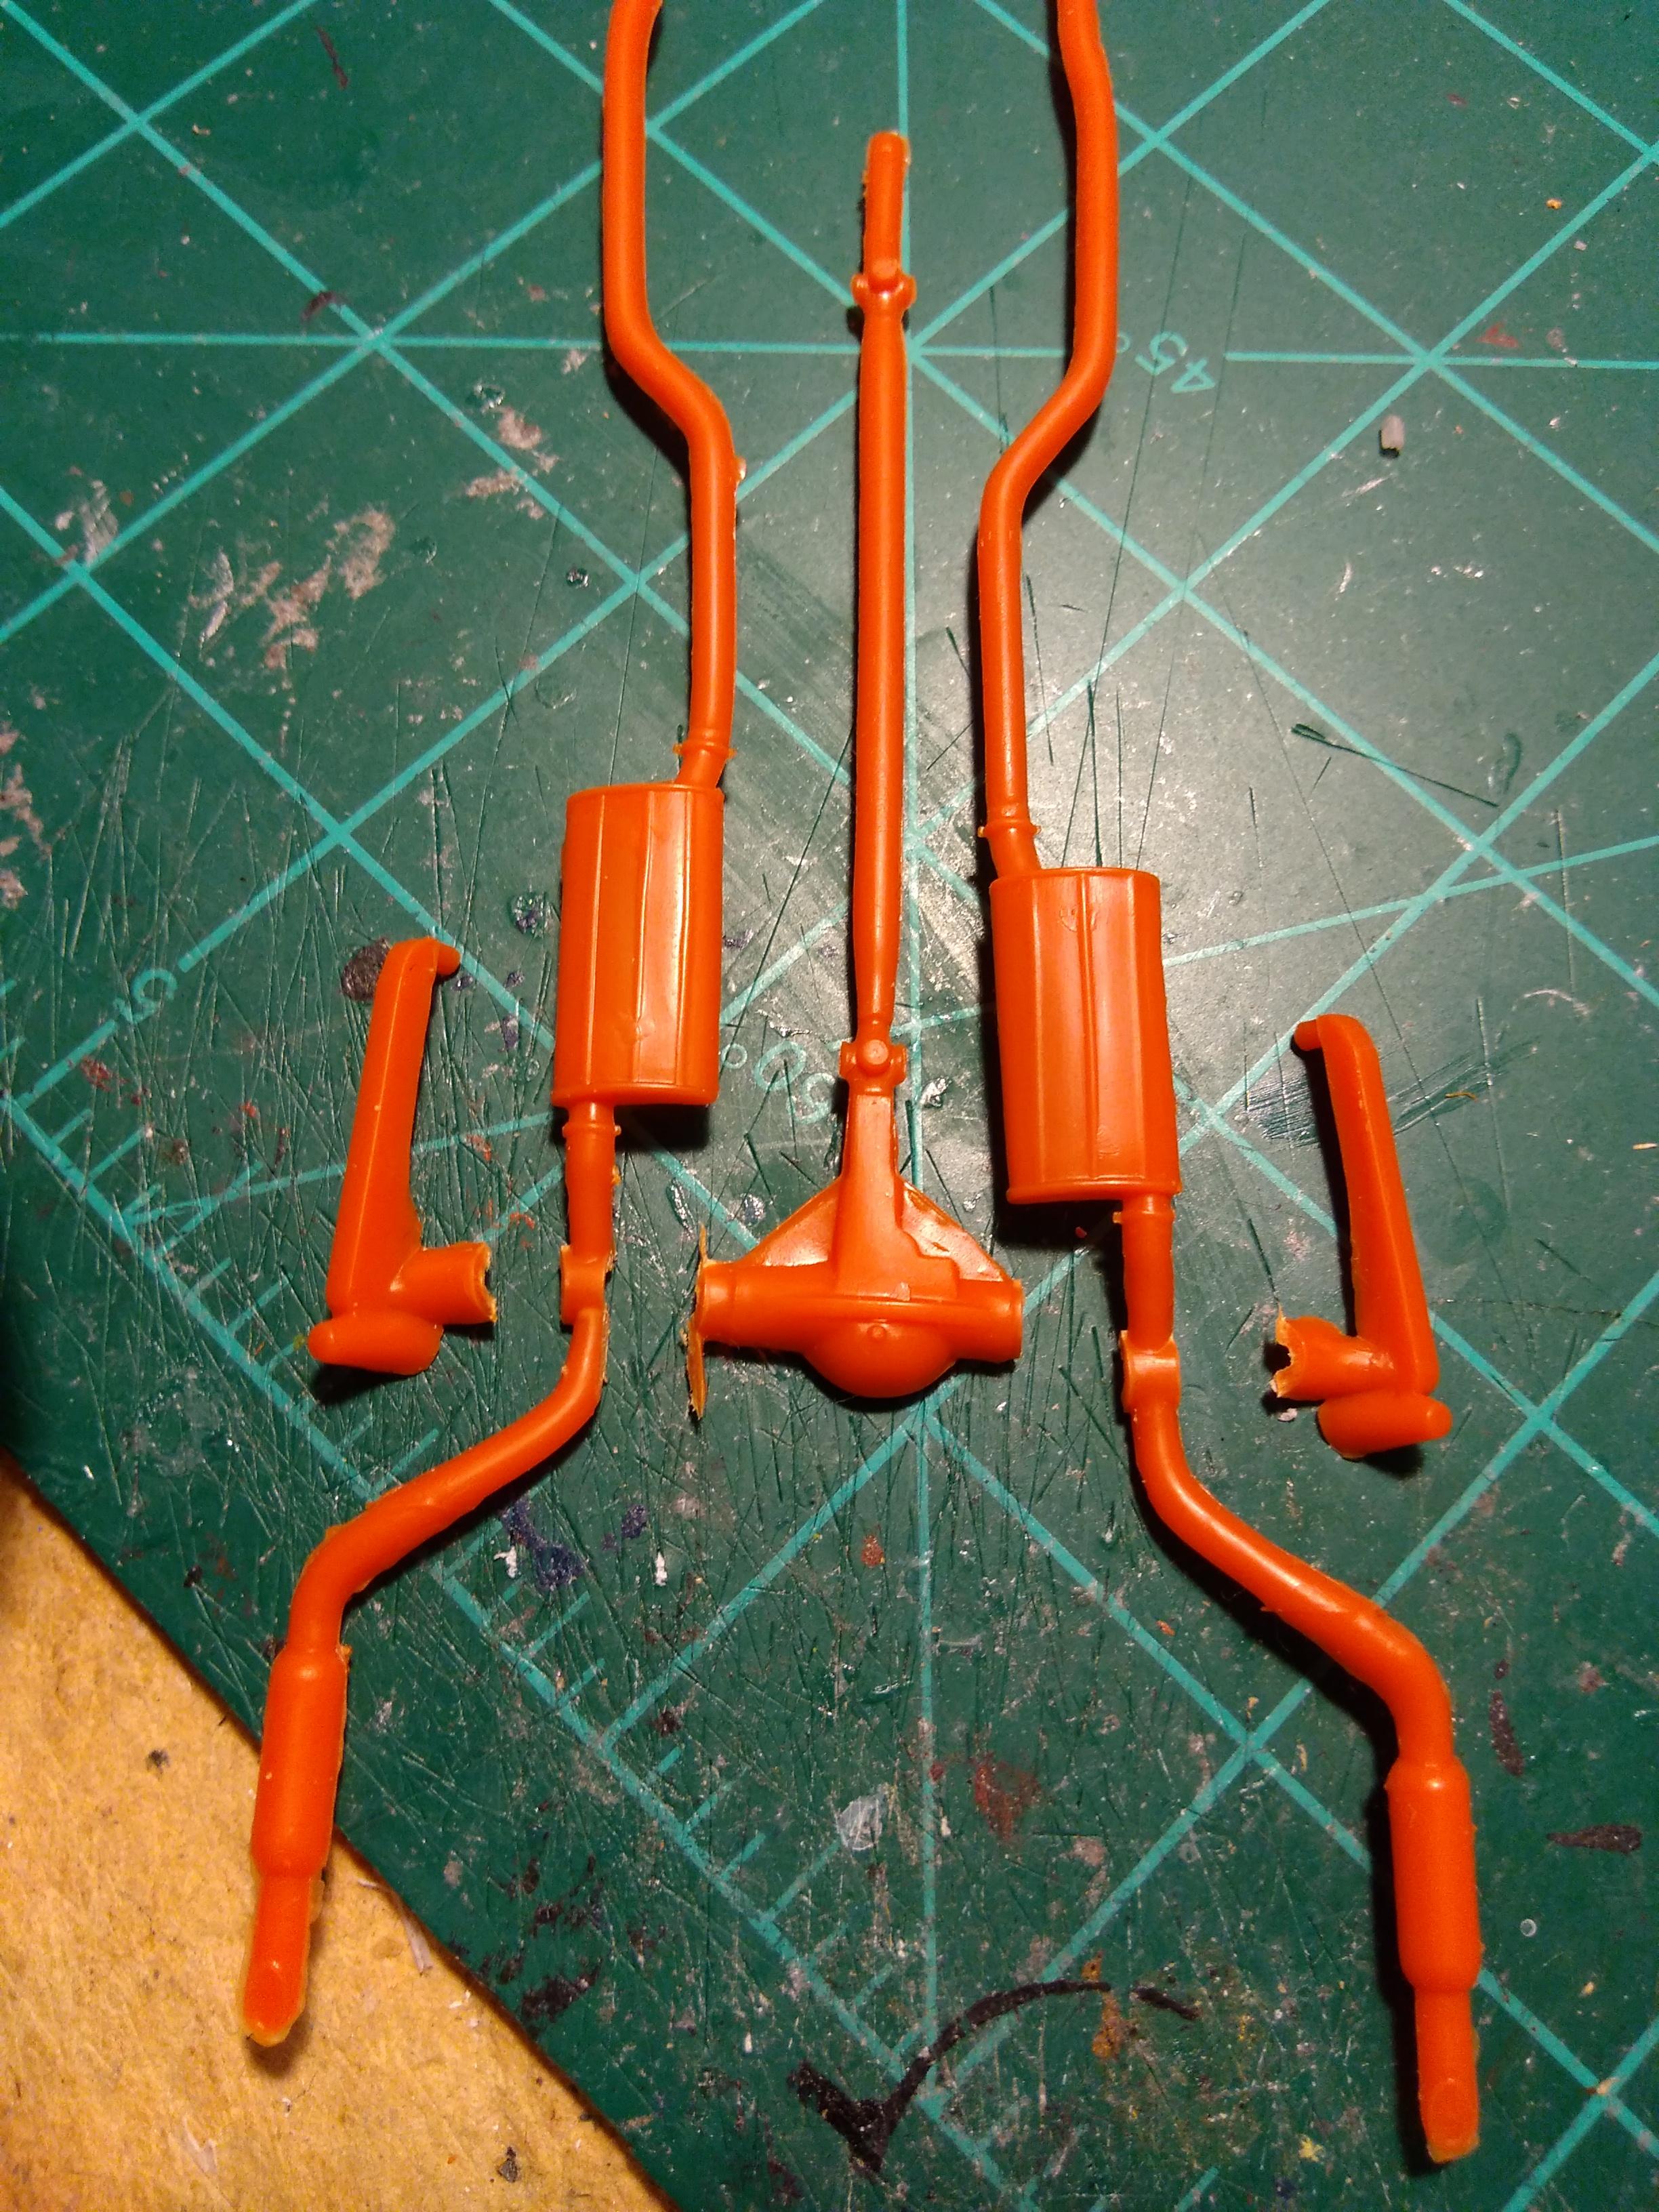
Since the kits rear differential is basically just one half and kinda looks incomplete, I opted to dig in my parts box and use a full solid rearend . This one happens to be from the Revell 69 Camaro kit. You can use the kit center section by cutting a length of sprue for the new axel tubes and glue the kit differential item on top. But I chose this route as it looks better. The rear axle sits in the C notches.
-
The rear end, driveshaft and exhaust are molded in one piece. This makes the tail pipes hang down way to low when installed in one piece. To fix it, cut it up into their individual sections. The tail pipe will have a notch . To strengthen it, cut a small piece of round tube from the kits front wheel mounts and glue into the notches. It's ok to cut from this cause you won't need the full length.
-
Now to fix the wheelbase problems. Start at the rear by drilling a 1/8 hole at this point. Drill though and cut off the outer edge to give you a C notch.
-
File down the back side of the front wheel tubs for more clearance and wiggle room for adjustments as things get kinda tight here.
-
Also note back side of firewall install in pic above. The fire wall sits too far back per the kit directions . There are two slots on the top sides. Fill these with flat tab plastic cut from the parts sprues. Then cut a length of sprue to brace the backside. Since it's moved forward to mount to the cowl edge like it's supposed to be , you will need to file a clearance on the heater box to clear the wheel tub and remove the molded in master cylinder also.
-
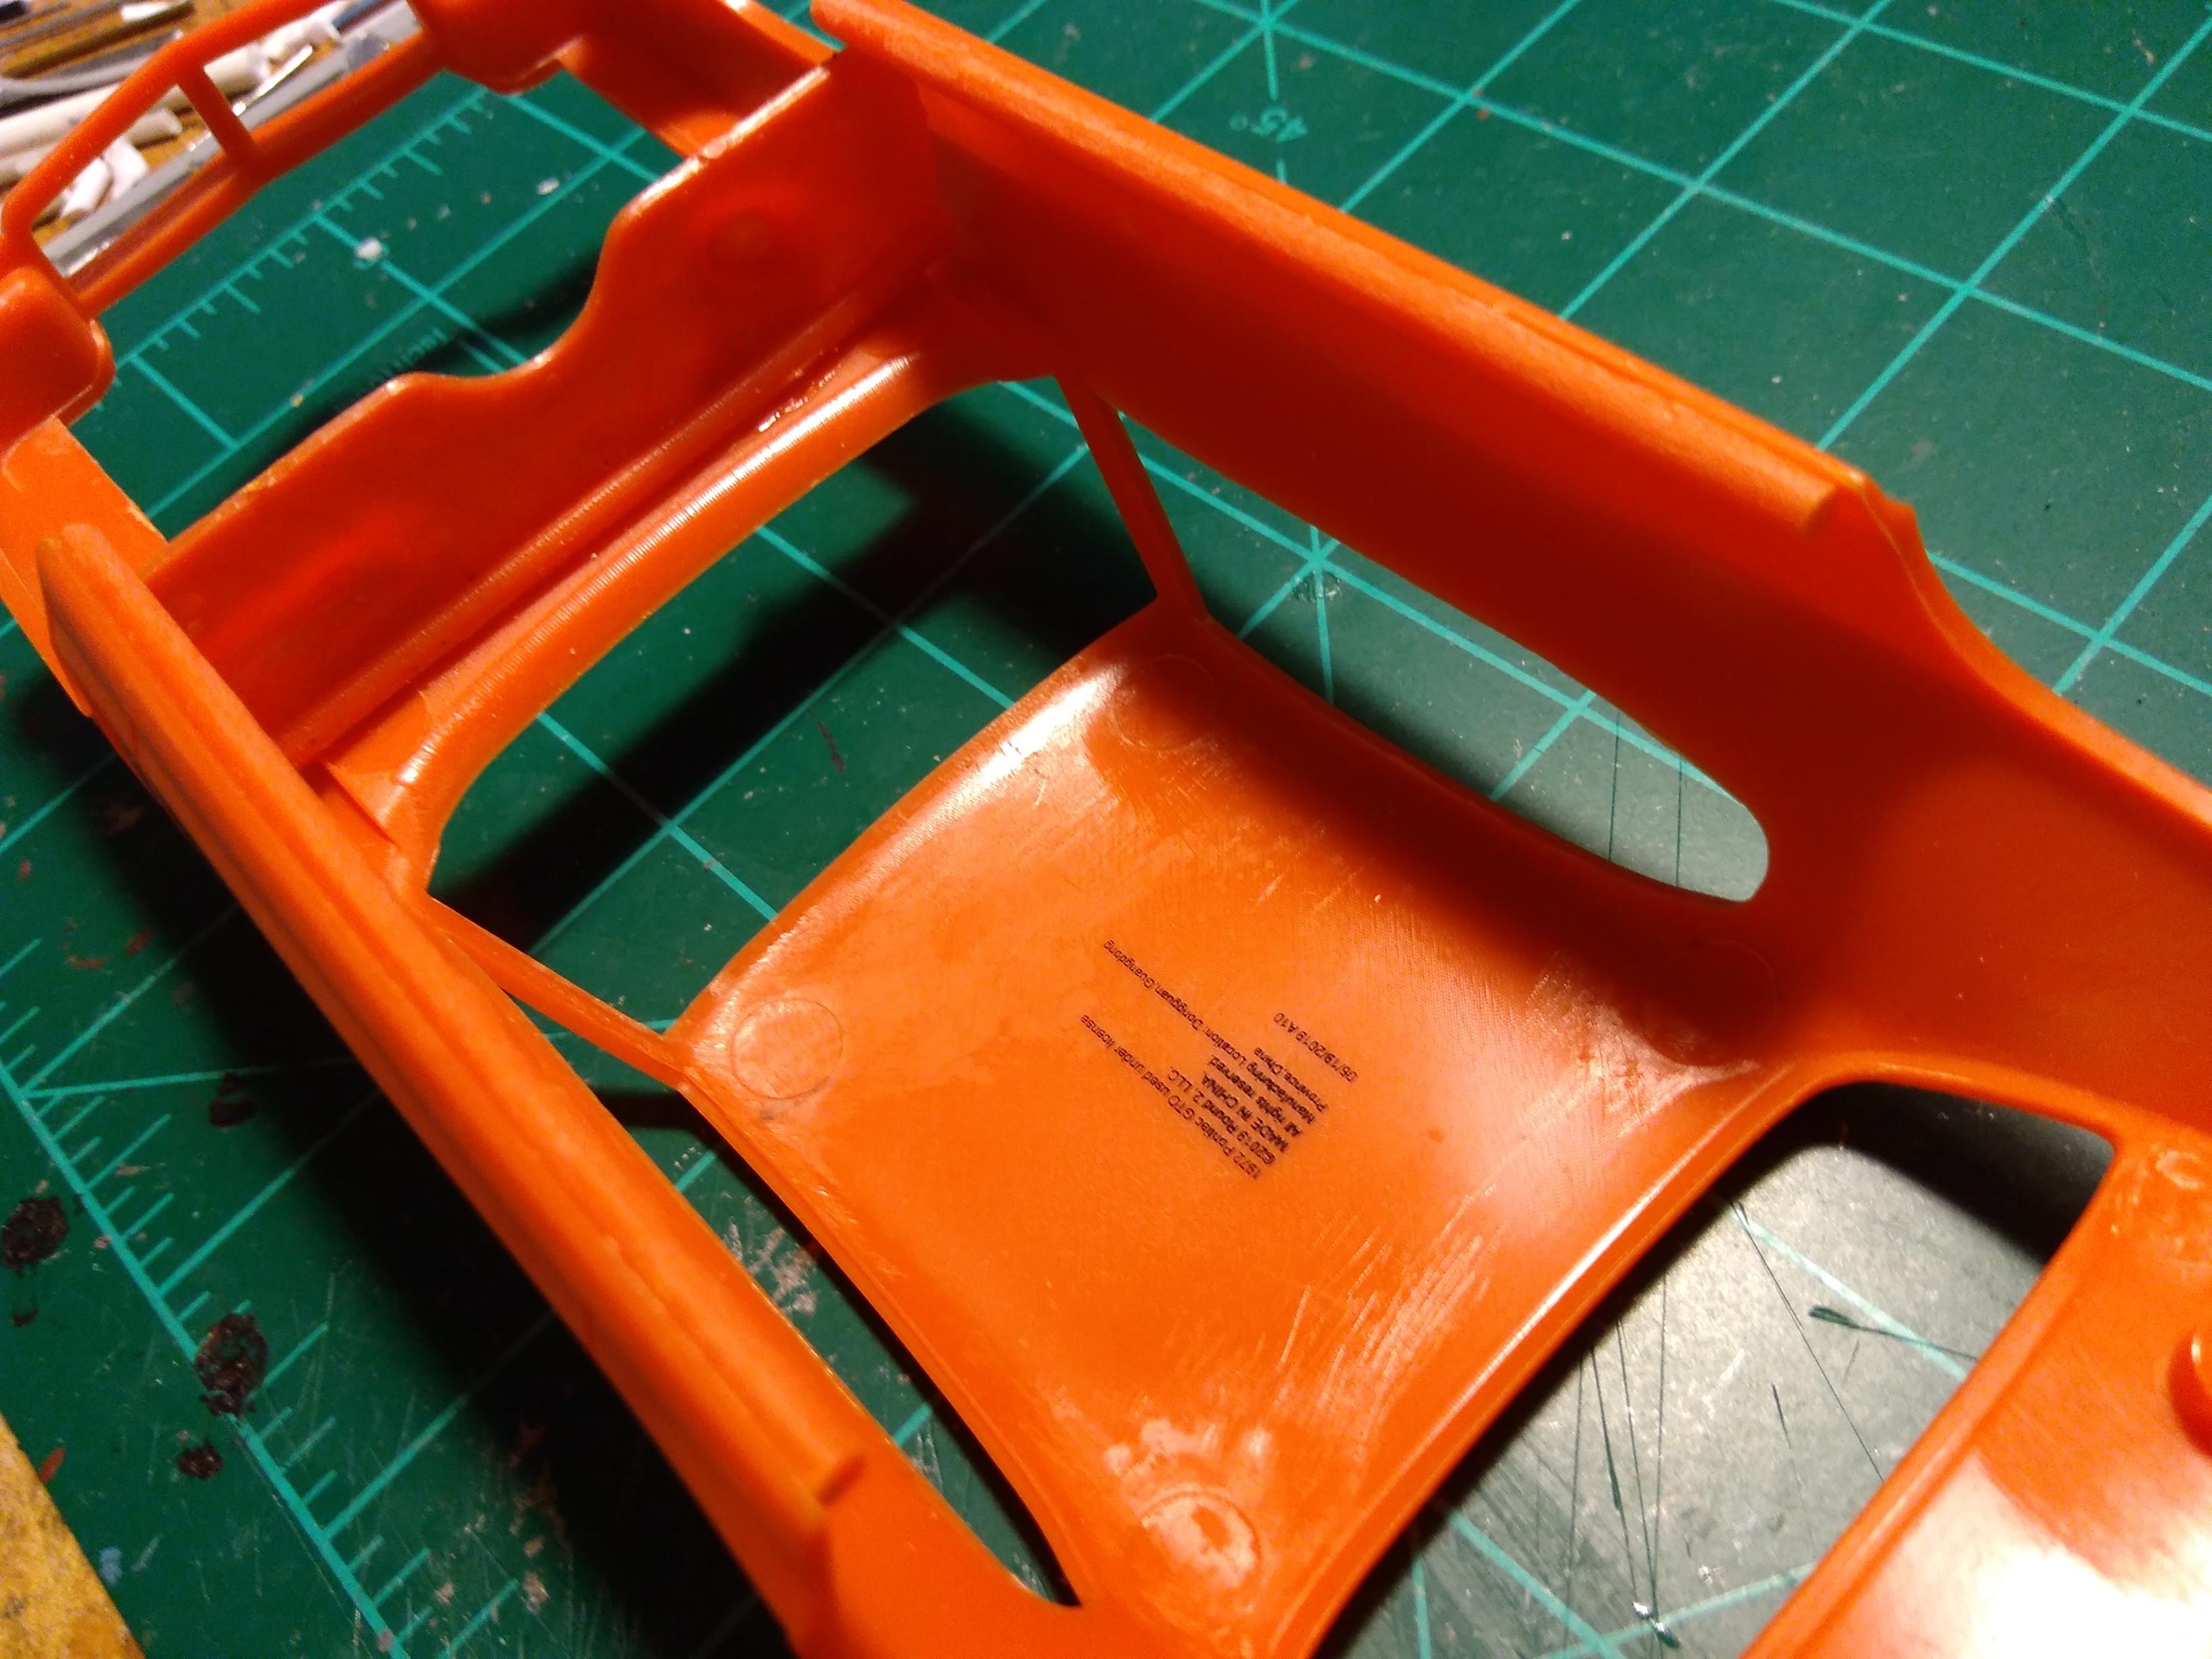
There is a gap on each side between the body and chassis plate . To fill this gap, cut out two section lengths from the parts tree sprue ( I used the engine parts tree) and clean them down with a file to remove all the little nubs. Glue these sprue sticks to the inside of the body edge to make the inner rocker panels. This takes up to gap and allows the chassis plate to snap into place and holds everything together quite nicely.
-
There is a molded in fender engine bay rectangular flat brace that is removed. Save that piece. You will need to cut sections from it to make spacers so the body and chassis plate solidly touch each other so to level up and stabilize everything and give you a good strong glue point. Put the spacer plates on the two inside trunk posts ( won't be using the kit screws) and spacers on top of the front inner wheel tubs.
-
Now start filing and sanding the 72 interior tub to better fit against the 67 chassis. Out of the box , the driveshaft tunnel is too narrow . Use a rat tail file to open it wider . Also file down the upper door edges and " firewall" top section flat to fit the body better at the sides and cowl.
-
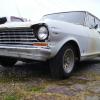
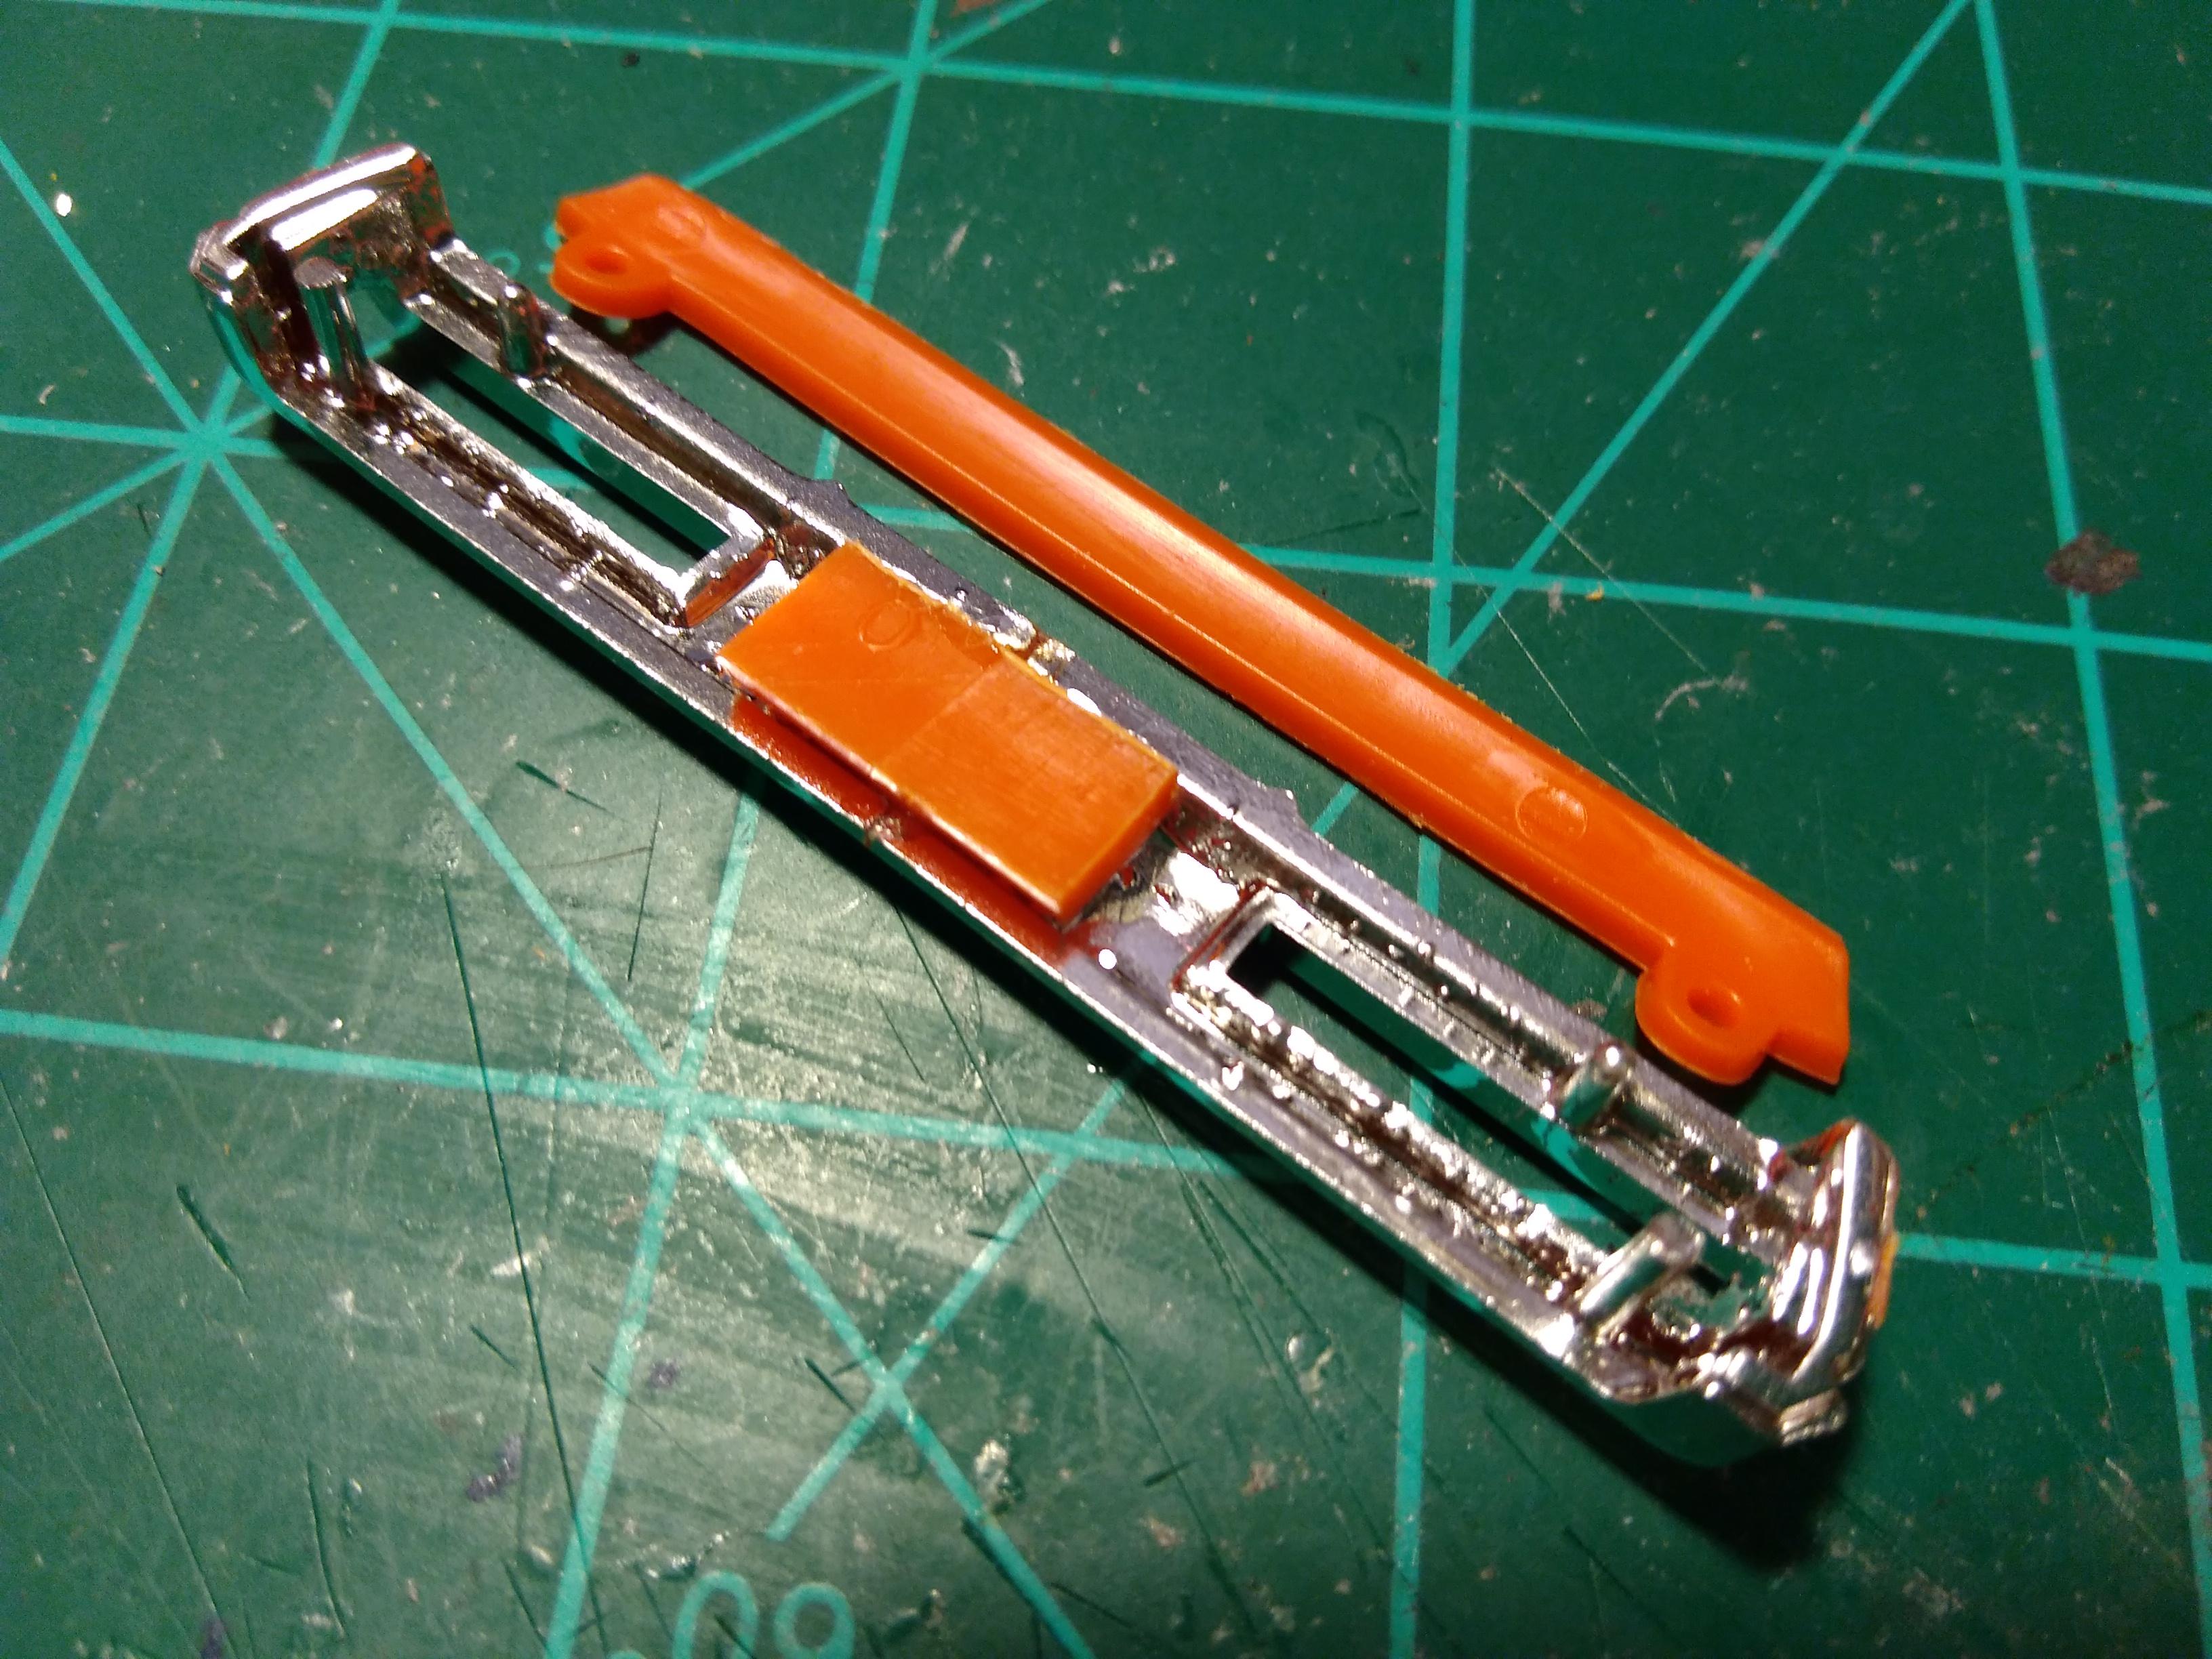
Ok, First order of business, shorten down the chassis plate. Easy since the back side already had a scribe mark molded in showing where to cut. Note: save this piece. You'll see why later.