Rotorbolt73
-
Posts
404 -
Joined
-
Last visited
Content Type
Profiles
Forums
Events
Gallery
Everything posted by Rotorbolt73
-
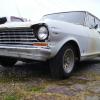
Build thread over in the workbench section that shows how to build this kit . Yes, as bad as this kit is..it can be built. This was the latest release. I built it to look like the box art. Enjoy

-
Well it's finished..proving this kit CAN be built.
-
Wired up the engine , added upper an lower radiator hoses, heater hoses and battery cables to make the engine bay a bit less bland.
-
Teaser pic.
-
Thanks, body chrome is done with good old fashioned testors 1146 argent silver bottle paint applied by brush in the old school way....my molotow pen is dead and nothing more than a silver marker now. Got the main sub assemblies together and now putting on all the small exterior and engine bay details. One thing I found out is you will have to notch the battery to fit as shown. Note the parts box radiator hose..kit does not come with one.
-
Painted the headliner area. Progress has been slow this week due to this craziness going on.
-
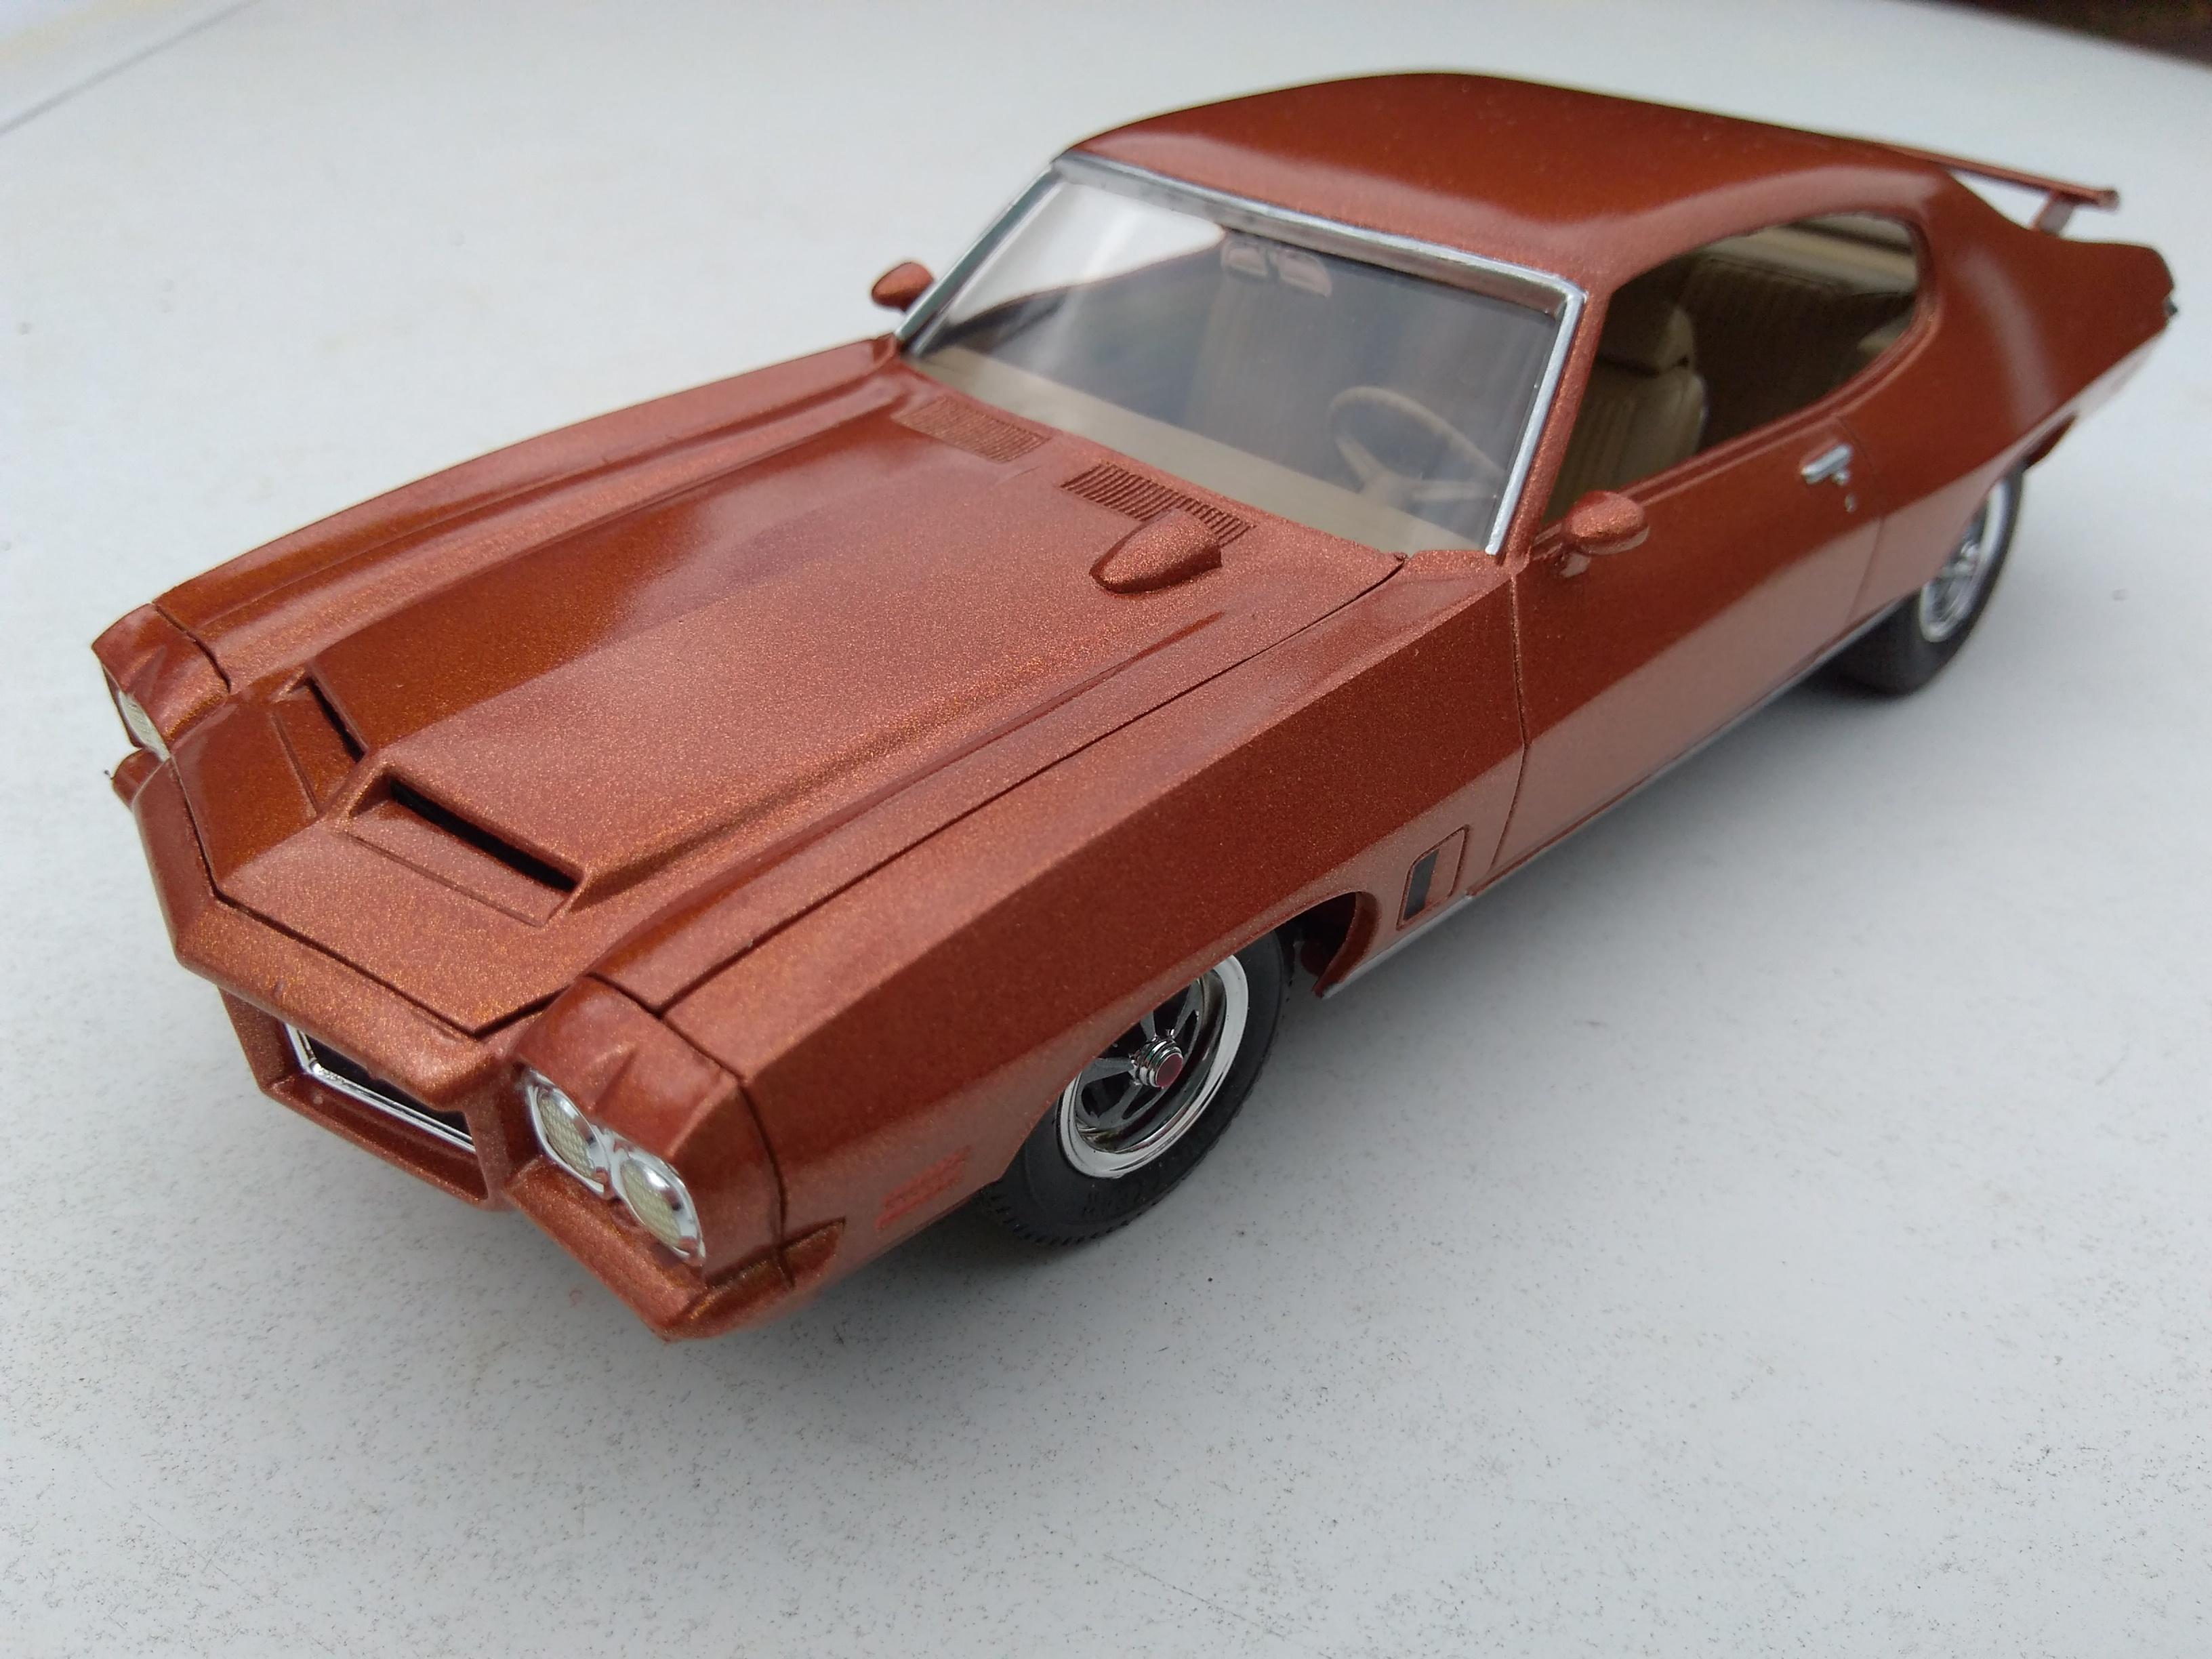
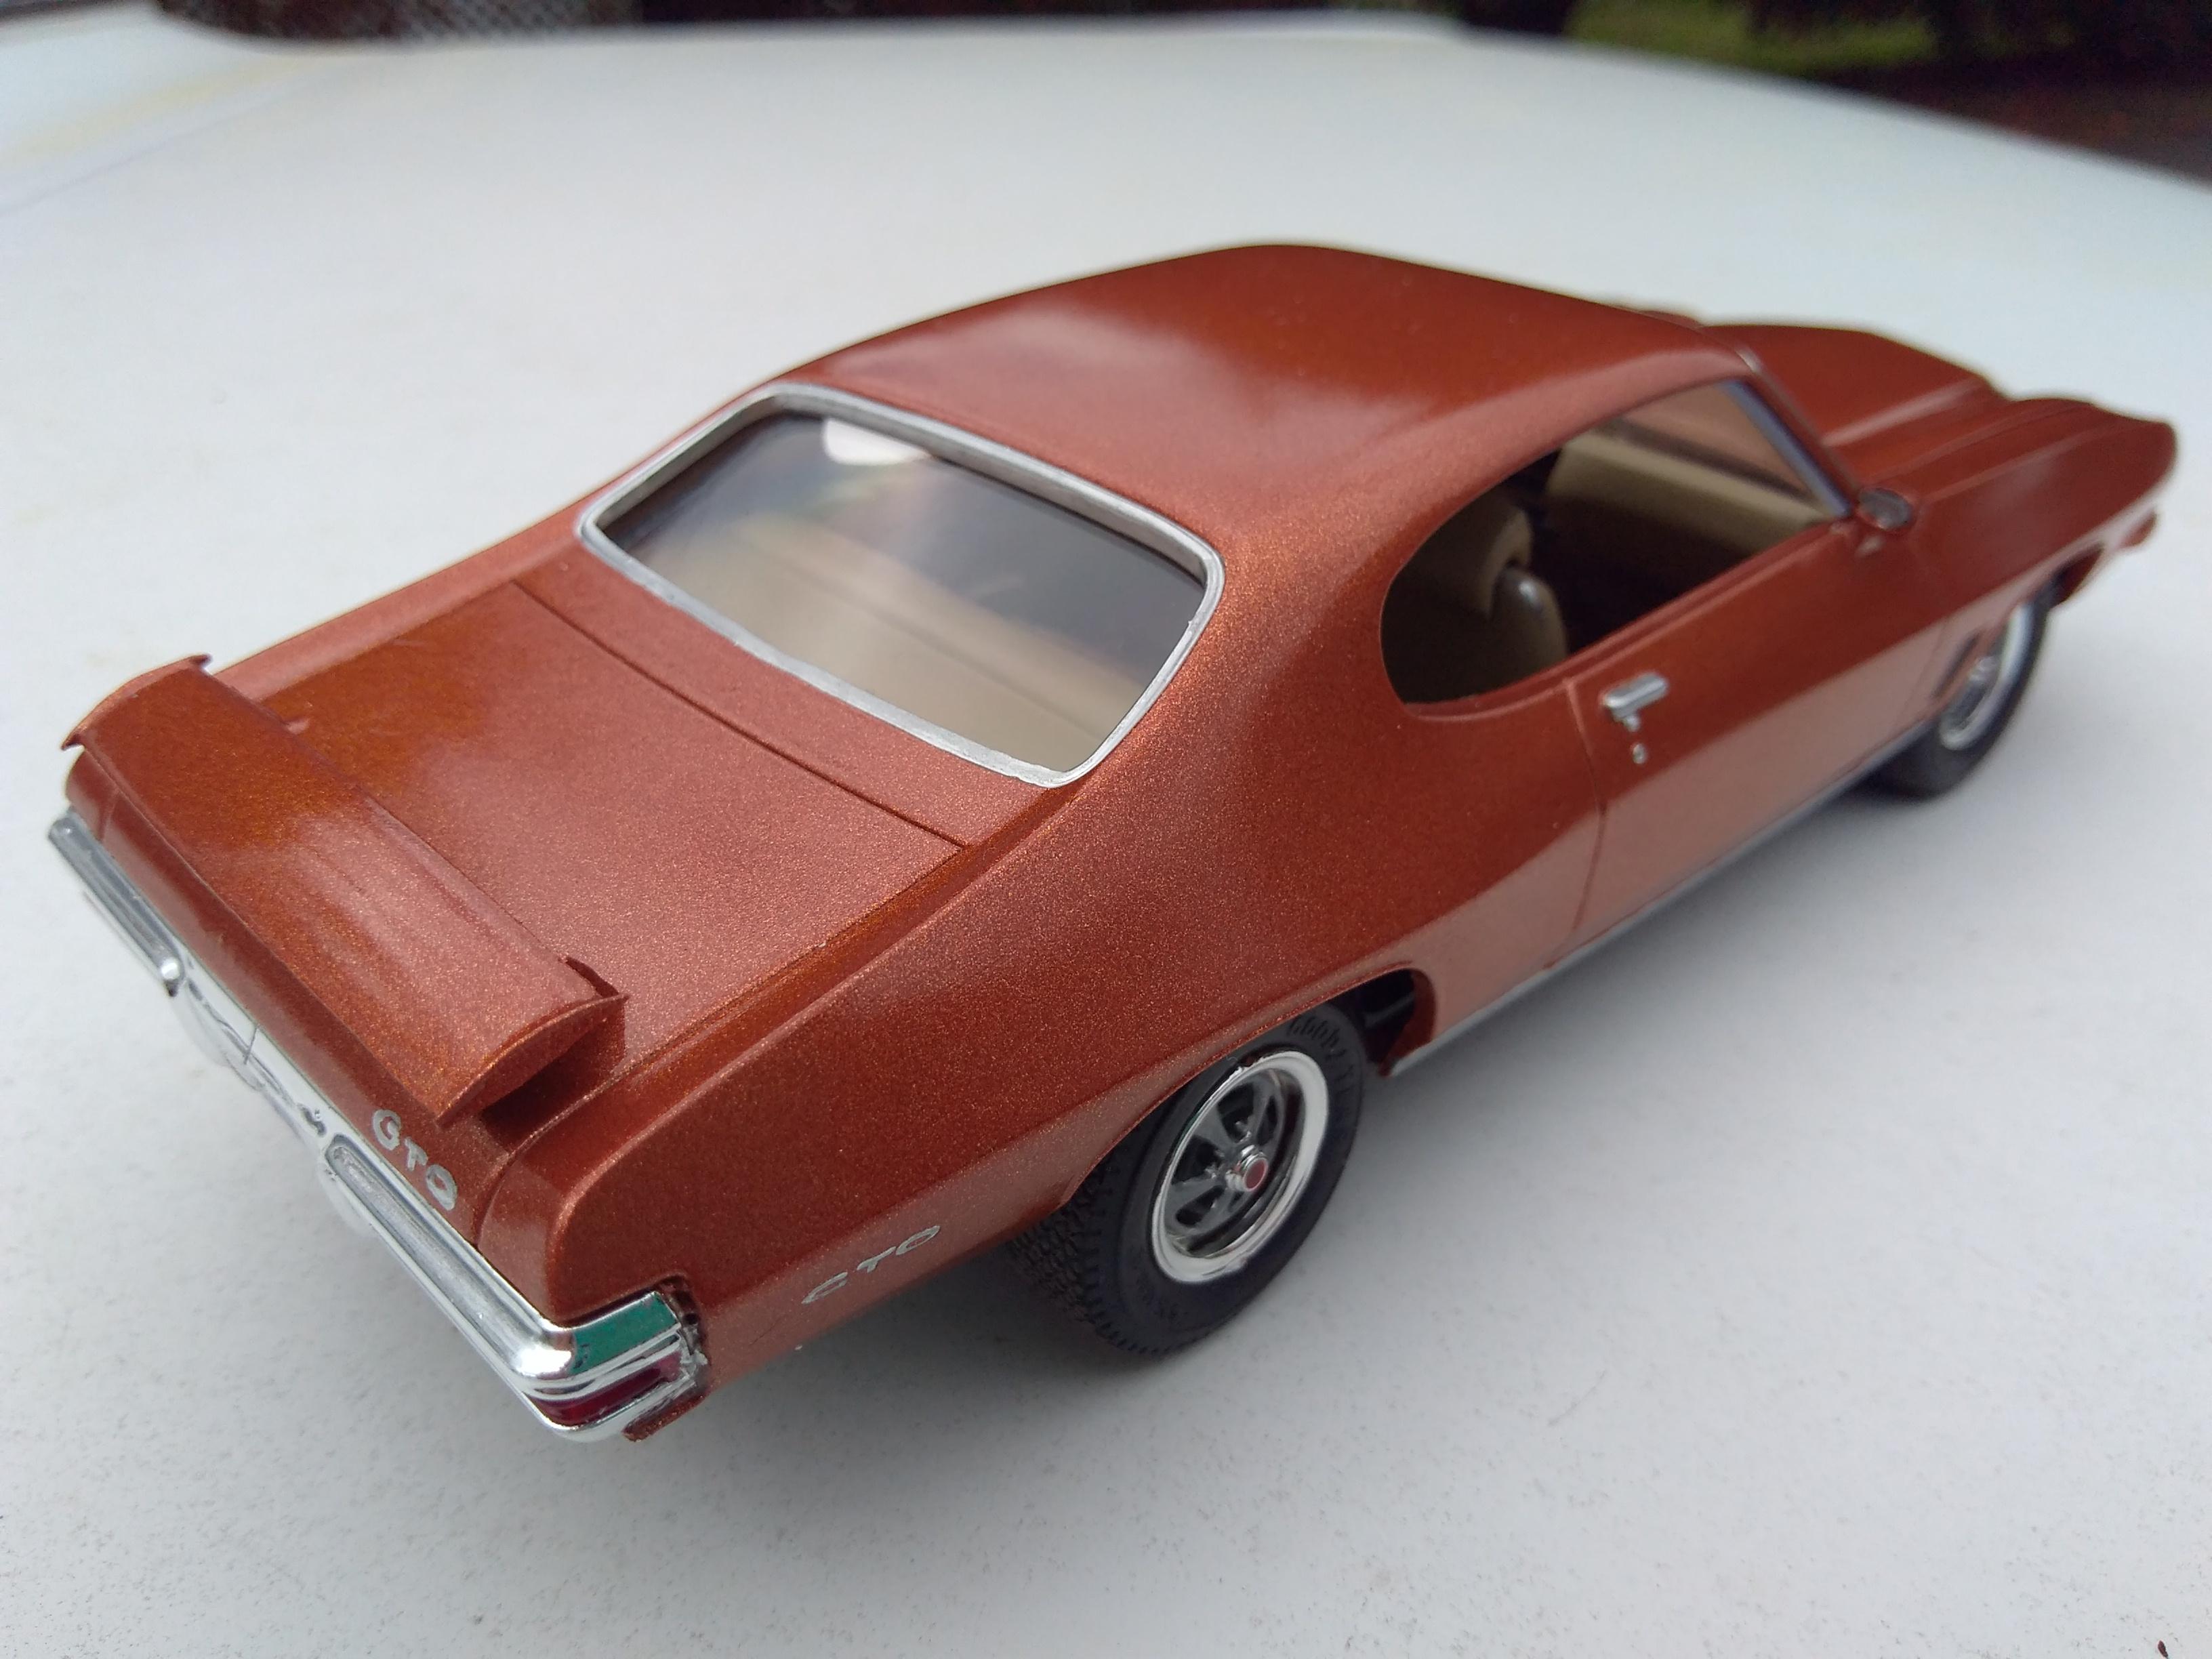
Thanks. Here's the painted body, hood and rear valance . Decided to build it like the box art. Primer used is Rust-Oleum red oxide , paint color is Testors 1831m fiery orange lacquer with Testors 2936 clear coat. Not the best pic cause it is still cloudy outside.
-
Thanks. Been working a bunch and fight this darn cold still..so progress is still slow. Couldn't make a meeting tonight so I took the time to paint some parts and detail the rims. The master cylinder is from the parts box since I cut off the molded in one on the firewall. Got the body painted but it's still raining here and I want to get some outside pics of it..
-
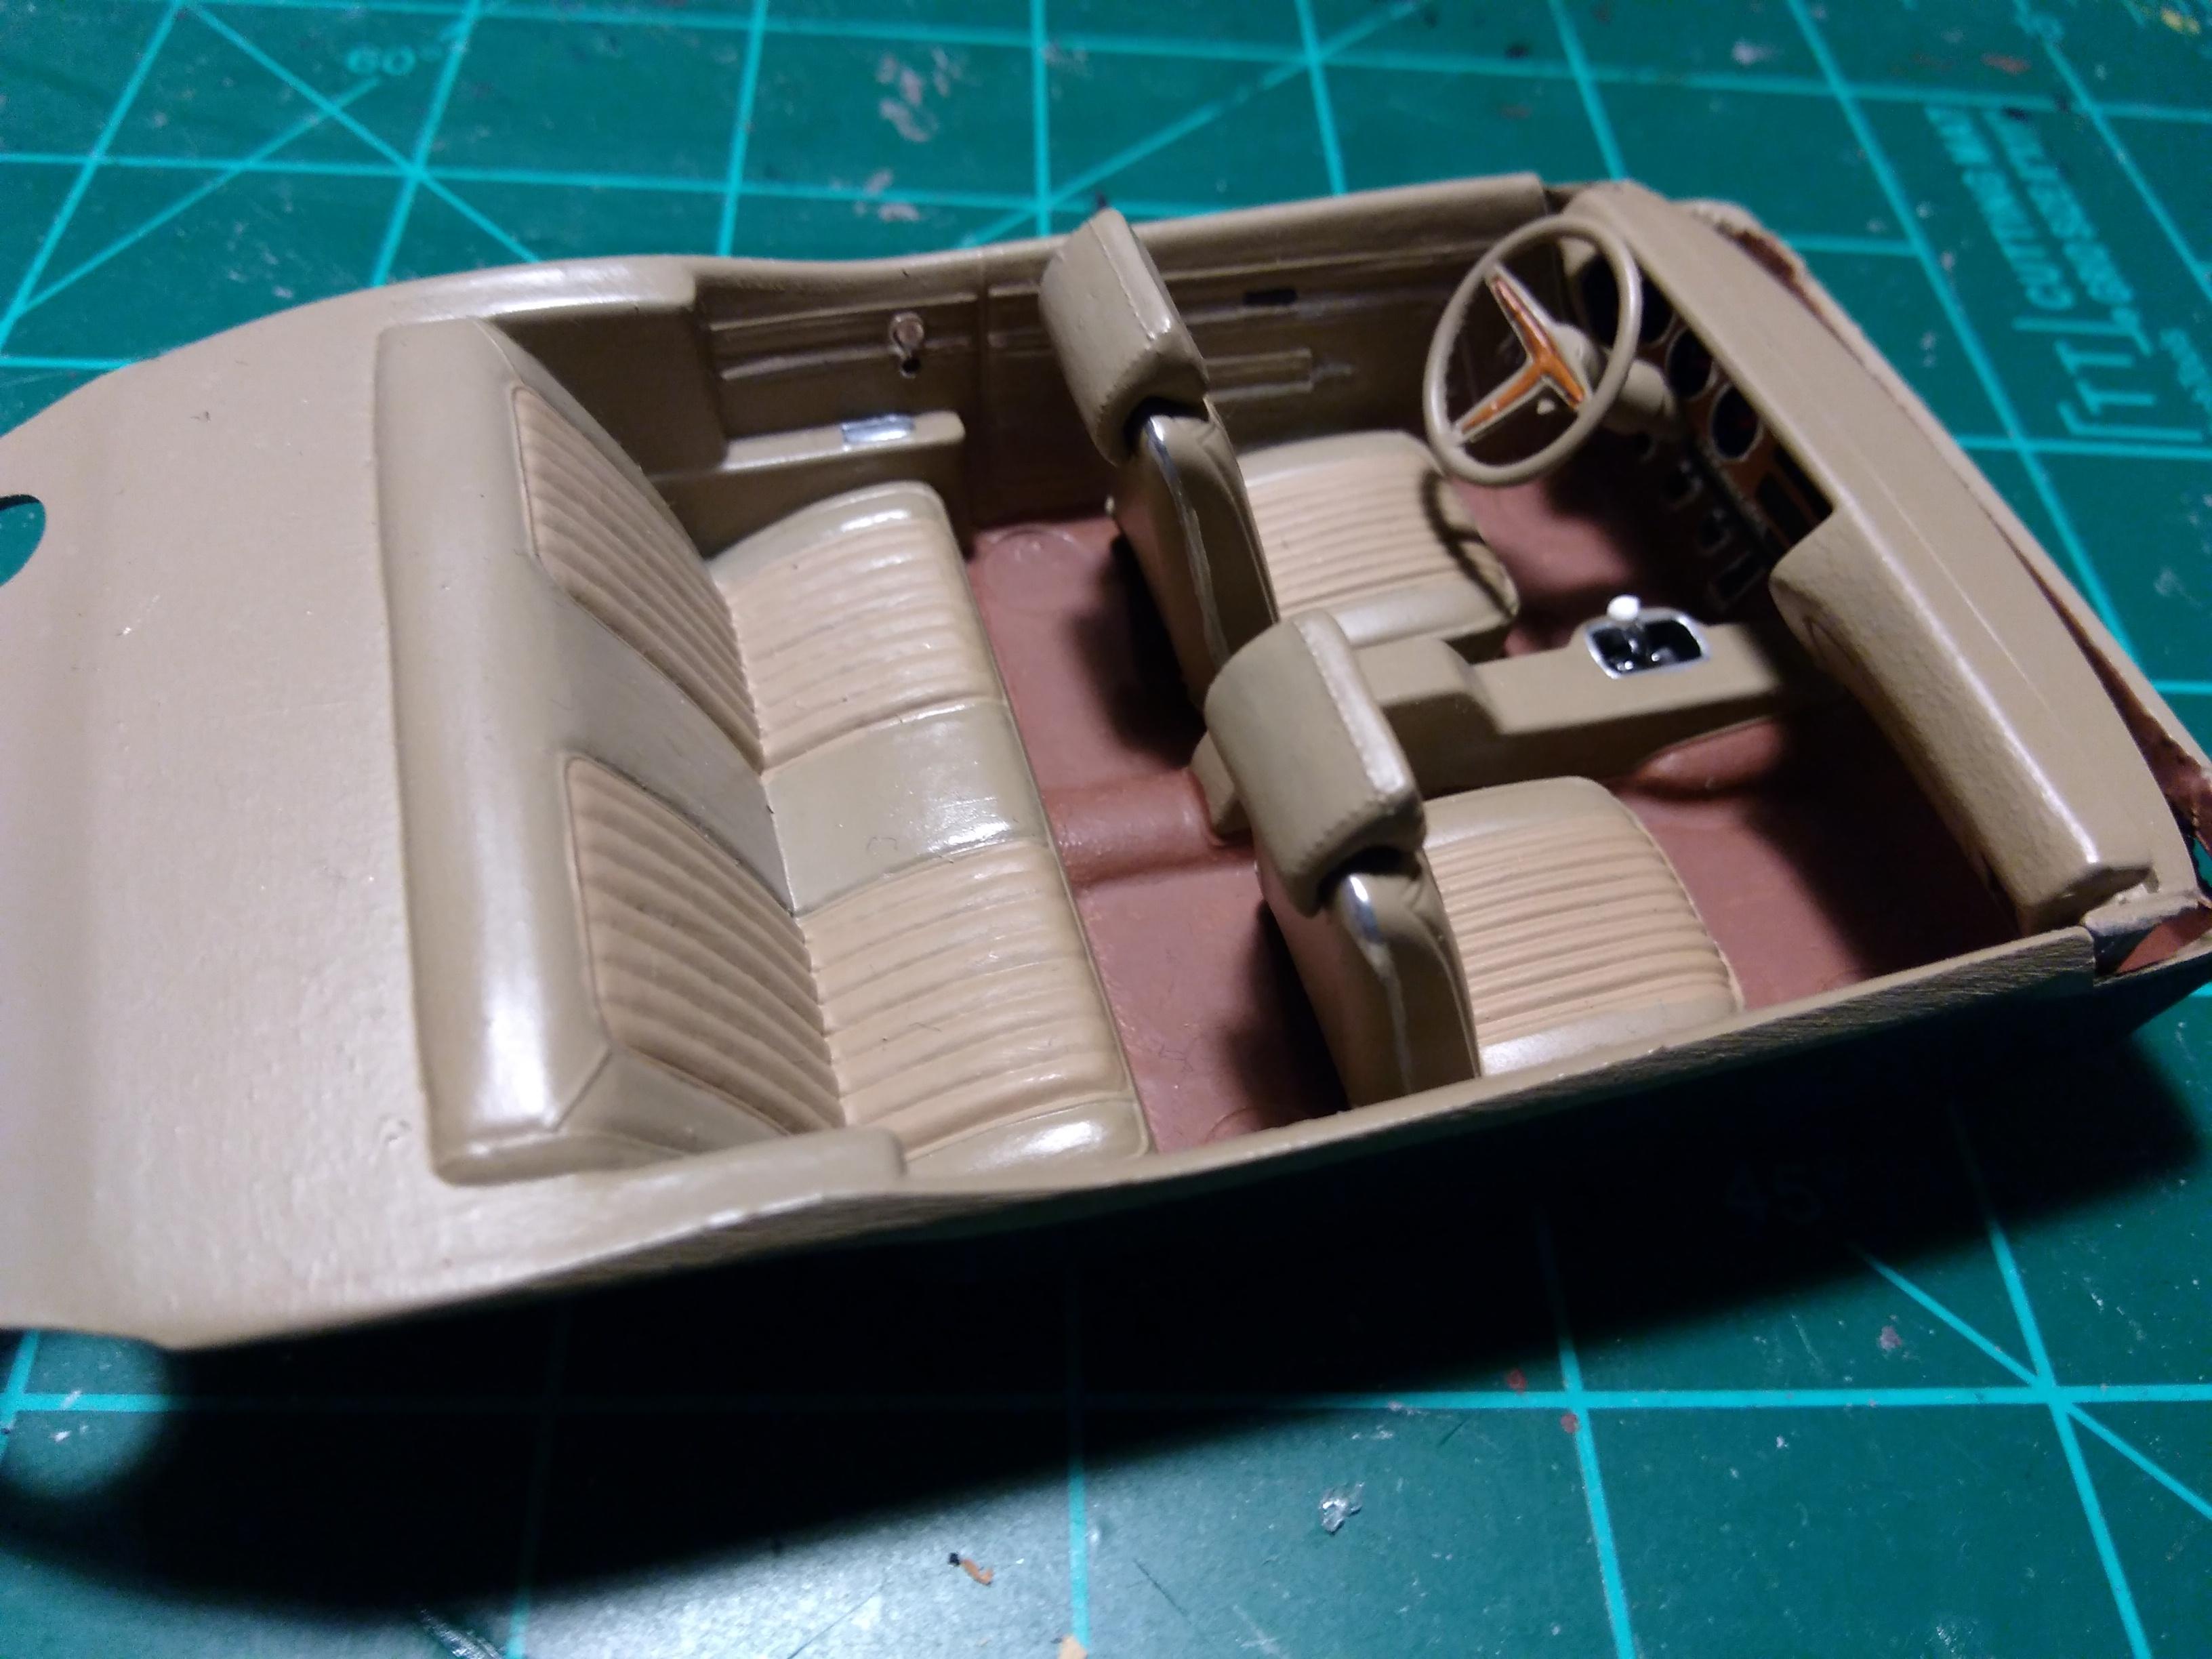
Finished up the interior, engine and chassis . Frame is painted Rust-Oleum hammered bronze. For the interior ,I had to trim down the bottom seat " tracks" and use a drill bit to angle the steering column hole in the dash. Otherwise ,the steering wheel will touch and sit right up against the seat causing a slight fitment problem..not to mention no leg room for a driver..the engine needed a couple small spacers for the pullys cause the alternator sits against the block. But don't space it out too much or the fan will hit against the radiator and lower chassis plate clearance cove under it..I went ahead and wired up the ignition with 26 guage floral wrapping wire and painted testors light yellow.
-
Did some painting on the interior and engine while finishing up updates on another build. Been fighting a cold at the same time so progress is slowed ..but it's moving forward. I decided to do a tan interior like the box art. Used valspar flat 84230 rugged beige for the seats, door panels, dash and steering wheel. The engine block is done in duplicolor light metallic blue.
-
Cool..I remember that one when it came out new...long time ago....still have it..or actually my dad has it now ....what color is that? ..too bad I converted the one I have into a 4dr!
-
Yeah. Almost went without doing that..but since you pointed it out and it's an easy add on..here ya go..made it from the parts tree flashing. Also primed the body and various parts over the weekend.
-
Got some time this morning to build on models. Moving on to the rear trunk wing..which is incorrect for a 72 from the pictures I've seen..so simple fix. Take the curved end stand pieces and cut the upper curved section off. I'll be using the lower straight section. Used a Dremel tool to carefully shape the cut end to match the curvature of the wing. Glue into place about a 1/4 inch in. Trim a little off the back edge at an angle to keep the wing stands from overhanging off the rear trunk curve into the bumper . Since the wing is going body color anyway, I went ahead and glued it to the trunk lid.
-
It's close enough . Another consideration is the roof and rear glass from the AMT 65 GTO. It's already a separate piece and pretty much the same as a Chevelle .
-
Nice project build. One day I plan to build a 67 4dr sedan . I'm going to use the 66 wagon for the doors section , 67 HT for the front cap and rear clip and the roof and backglass from the 65. The newer style 194ci 6 cyl replaced the older 50s era 216/ 235ci 6 cyl around 1962 .Displacement was bumped up to 230ci in 64 and then 250ci in 67. If I remember right.
-
Man that looks great . I read the build thread a while back cause I remember the trunk seem trick. I just took the plunge and cut the bumper..no fear..besides, I have three more of these in case it didn't come out right.. trying to build it with minimal parts box or extras so that others who might not have an extensive parts collection can have a pattern to go by. Just seems some common sense parts were overlooked and missing. No radiator hoses in this kit, for instance. I like your decals too. The kit decals seem to be similar from a earlier release but do not have the white inside the stripe lines. Just black lines..disappointing as the old red box art build looked cool with those stripes. Been busy at work this week and too tired to mess with it..but I still gotta modify the rear spoiler to match the pics of the real cars I've seen.
-
Thanks. I'm just wanting to show that this kit can be built. Just takes some skill to pull it off. Hopefully , my build here will help out on the problem areas for others to tackle in a similar fashion. Moving on, I kept noticing how the hood just sits on the body and slides off very easily when picked up or handled . Had to figure a way to hold it down better. Looking back on those hood notches I filled earlier , even though it's a 67 firewall , I figured those were put there for a reason..like hinges. Digging in my parts again , I found these hinges ( wish I knew what kit these are from) with long posts at the rear. I then drilled two holes in the firewall to match where the hinge posts line up. So that when glued to the hood bottom they would act as a clamp to keep the hood from constantly falling off.the interior bucket had slots on the firewall portion already that lined up so the hinge posts could slide all the way through. With these in place , the hood stays on. To remove it, Just lift the front and slide forward.
-
Thanks, its comming along kinda slow at the moment.. Front suspension is lacking. So I added a parts box steering linkage and swaybar.
-
Just regular old fashion testors orange.
-
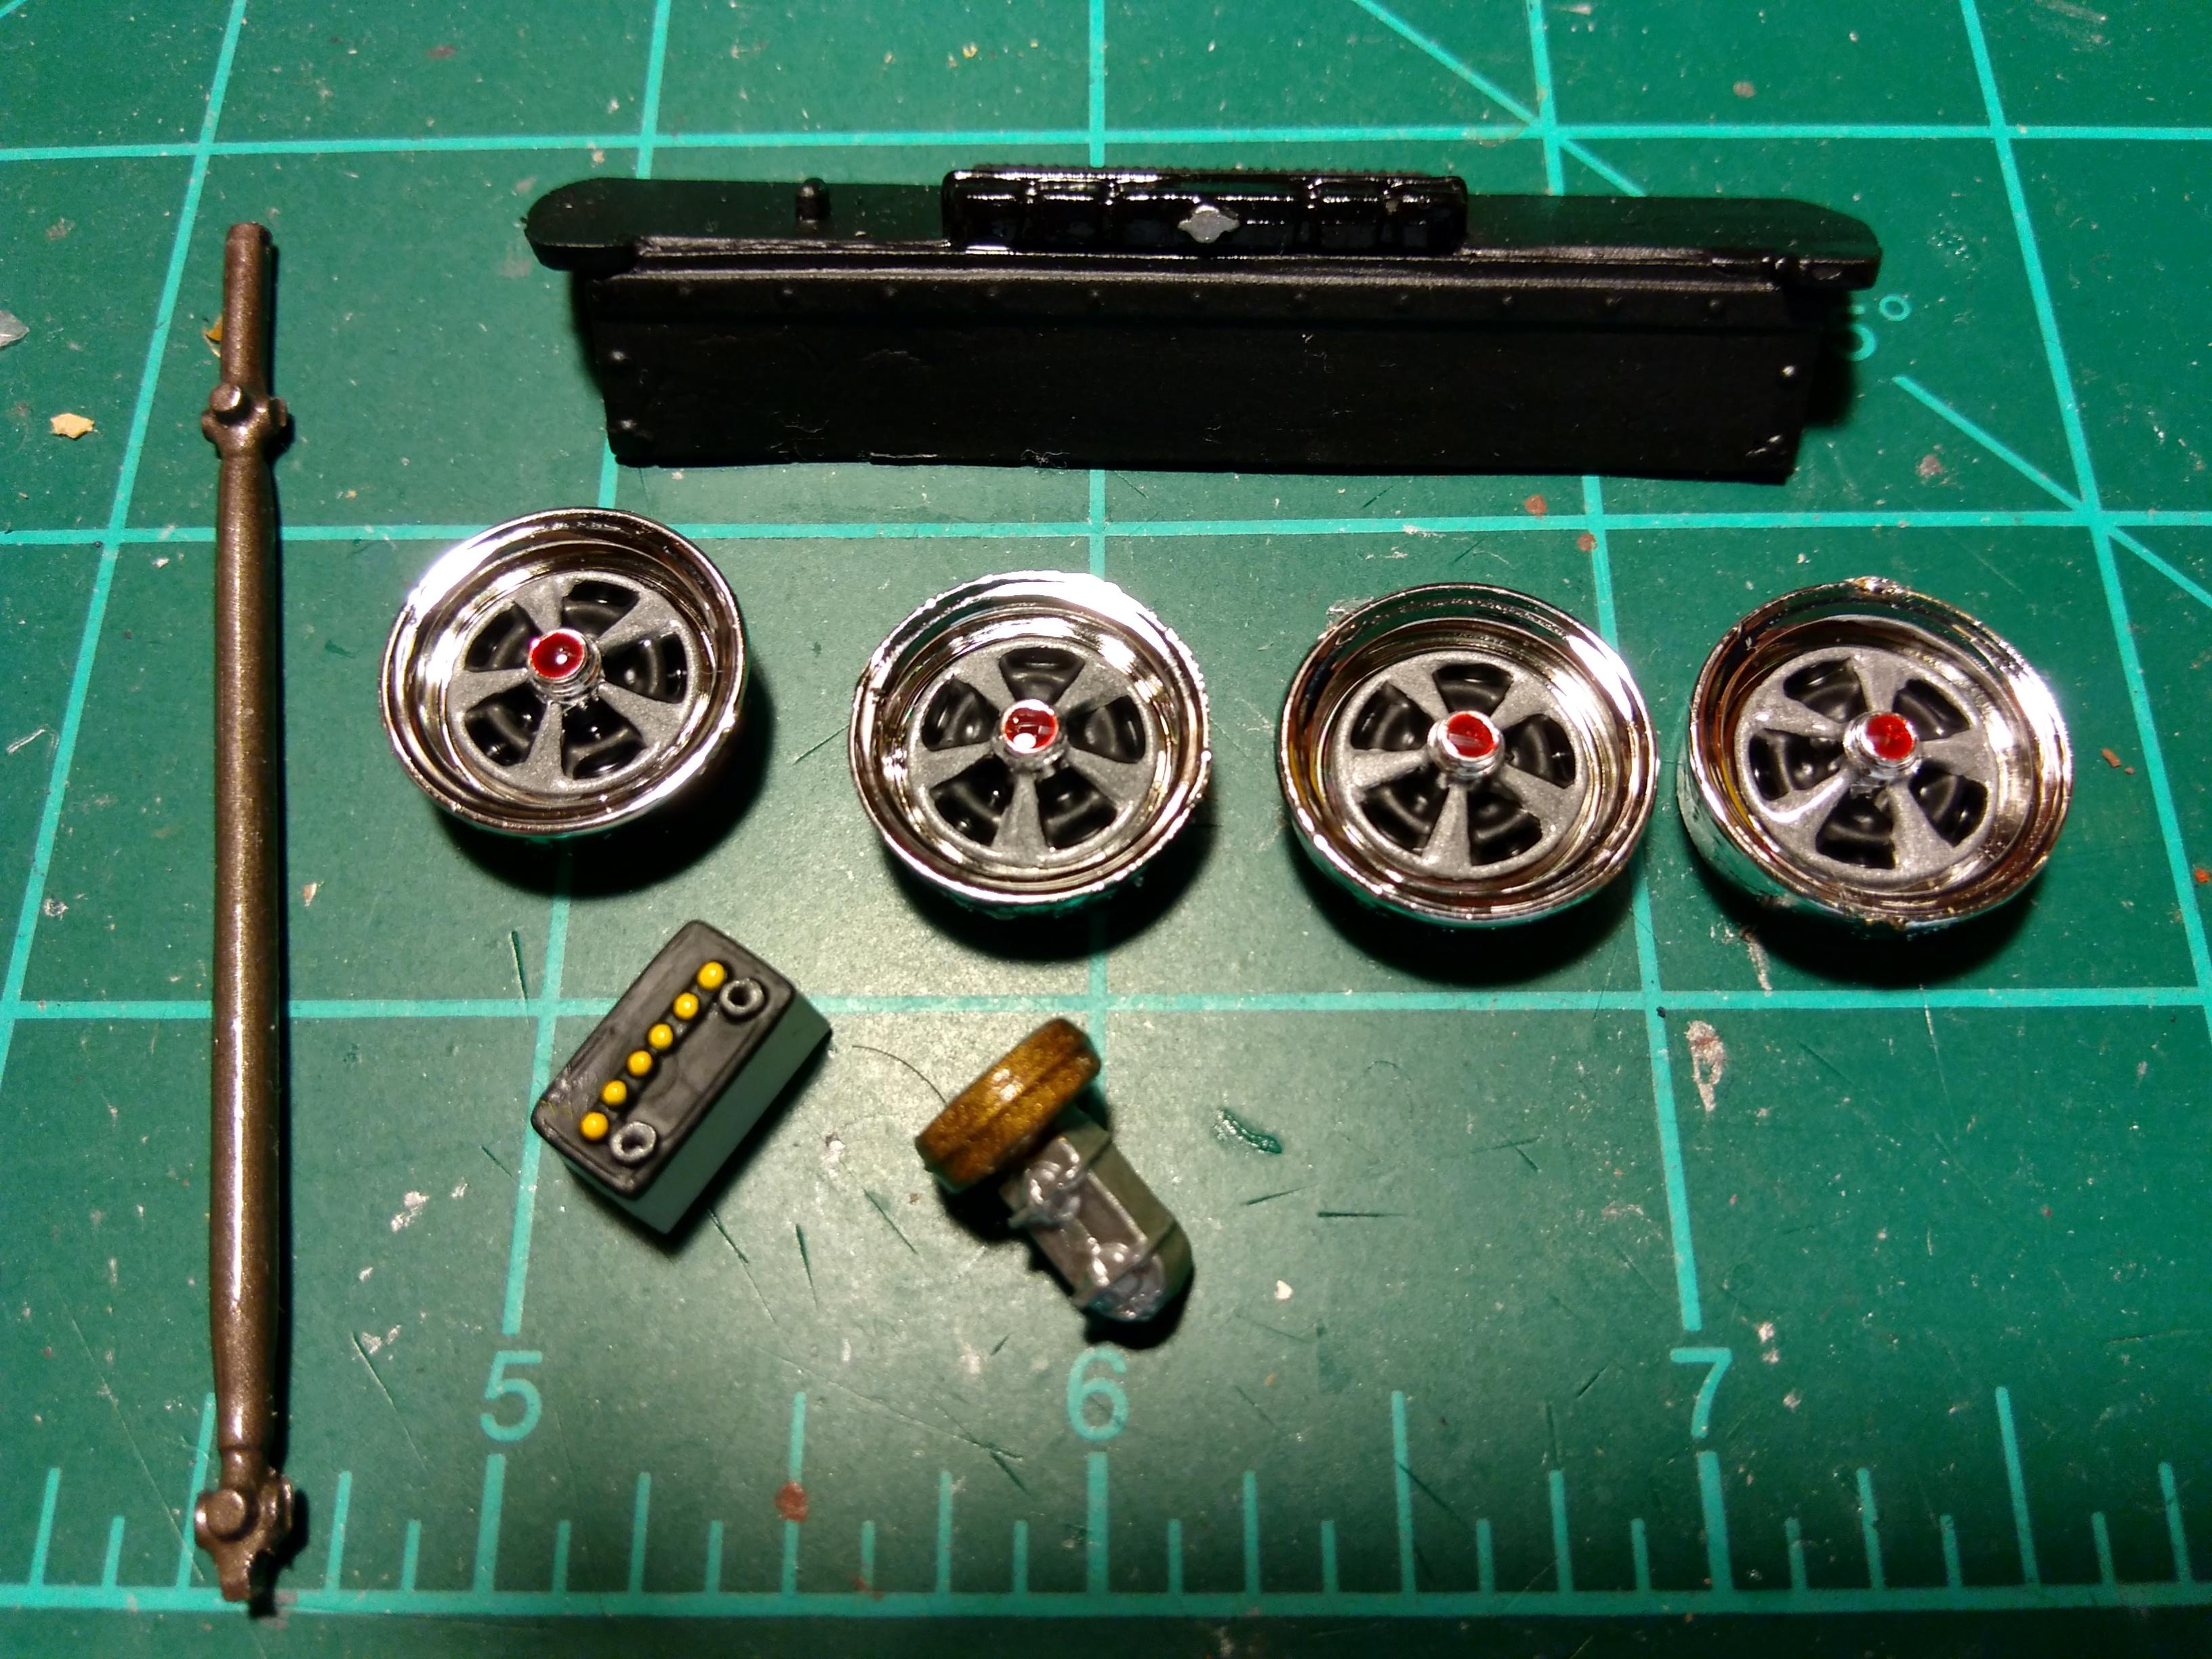
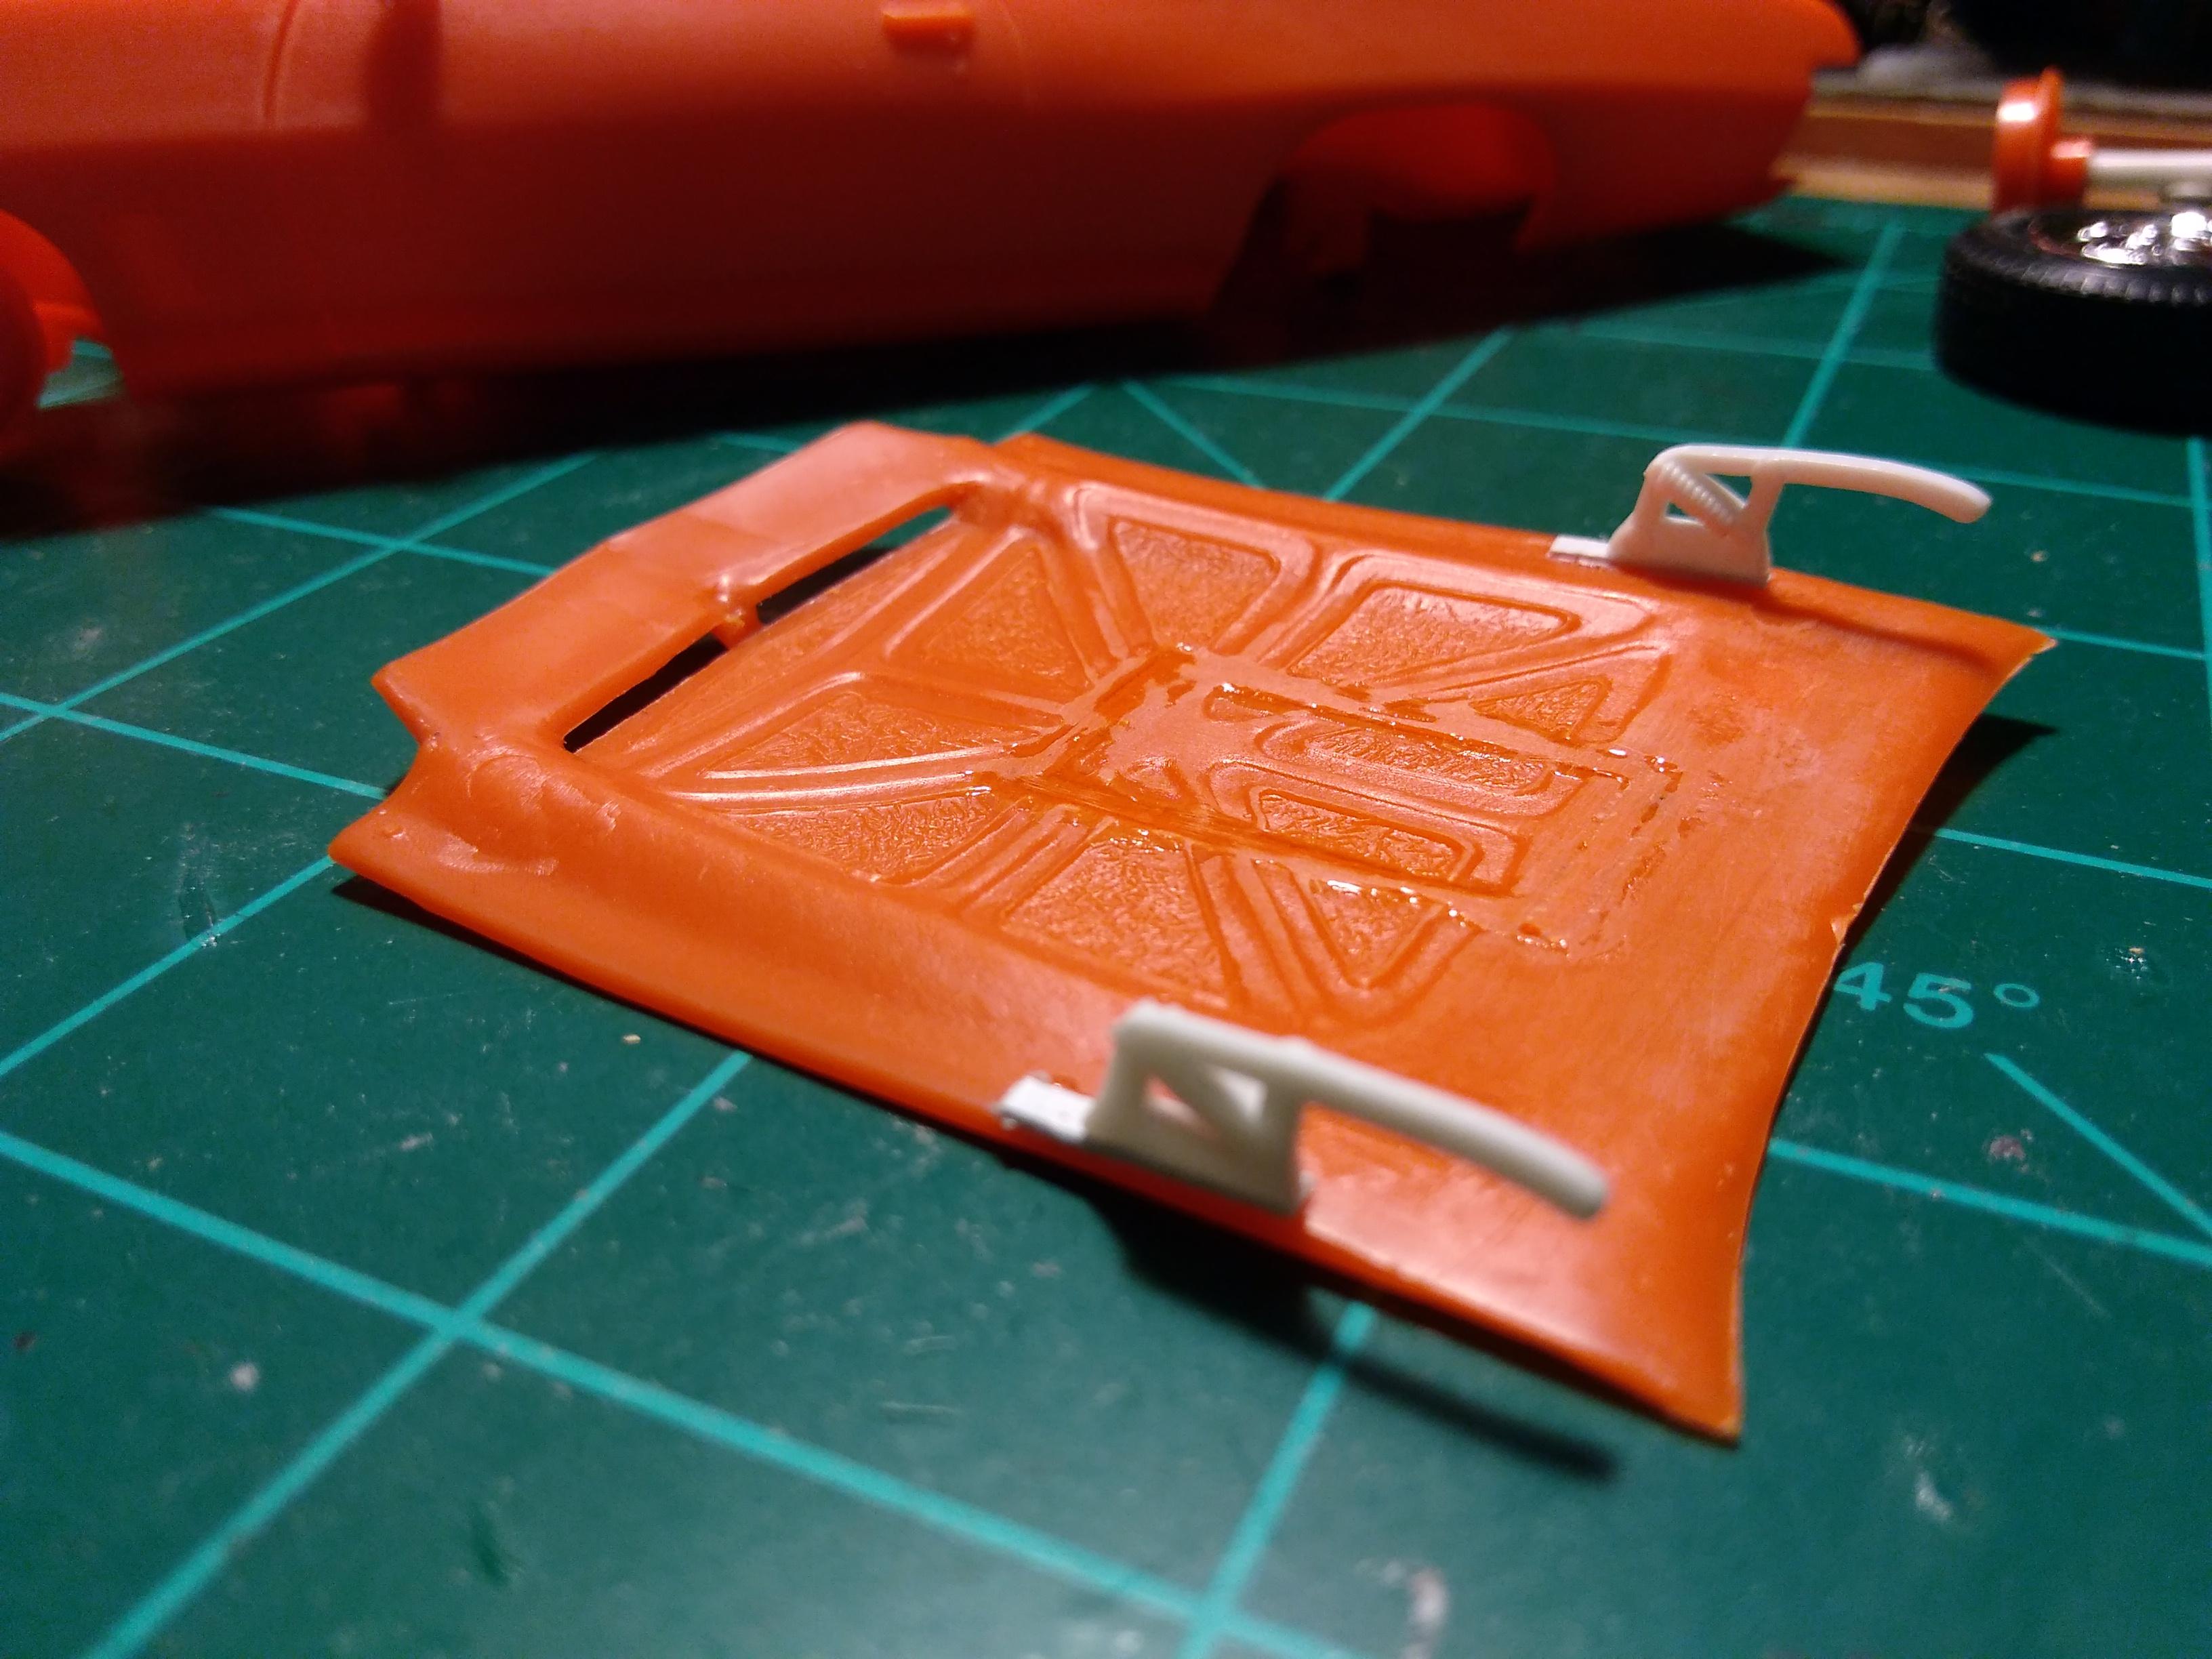
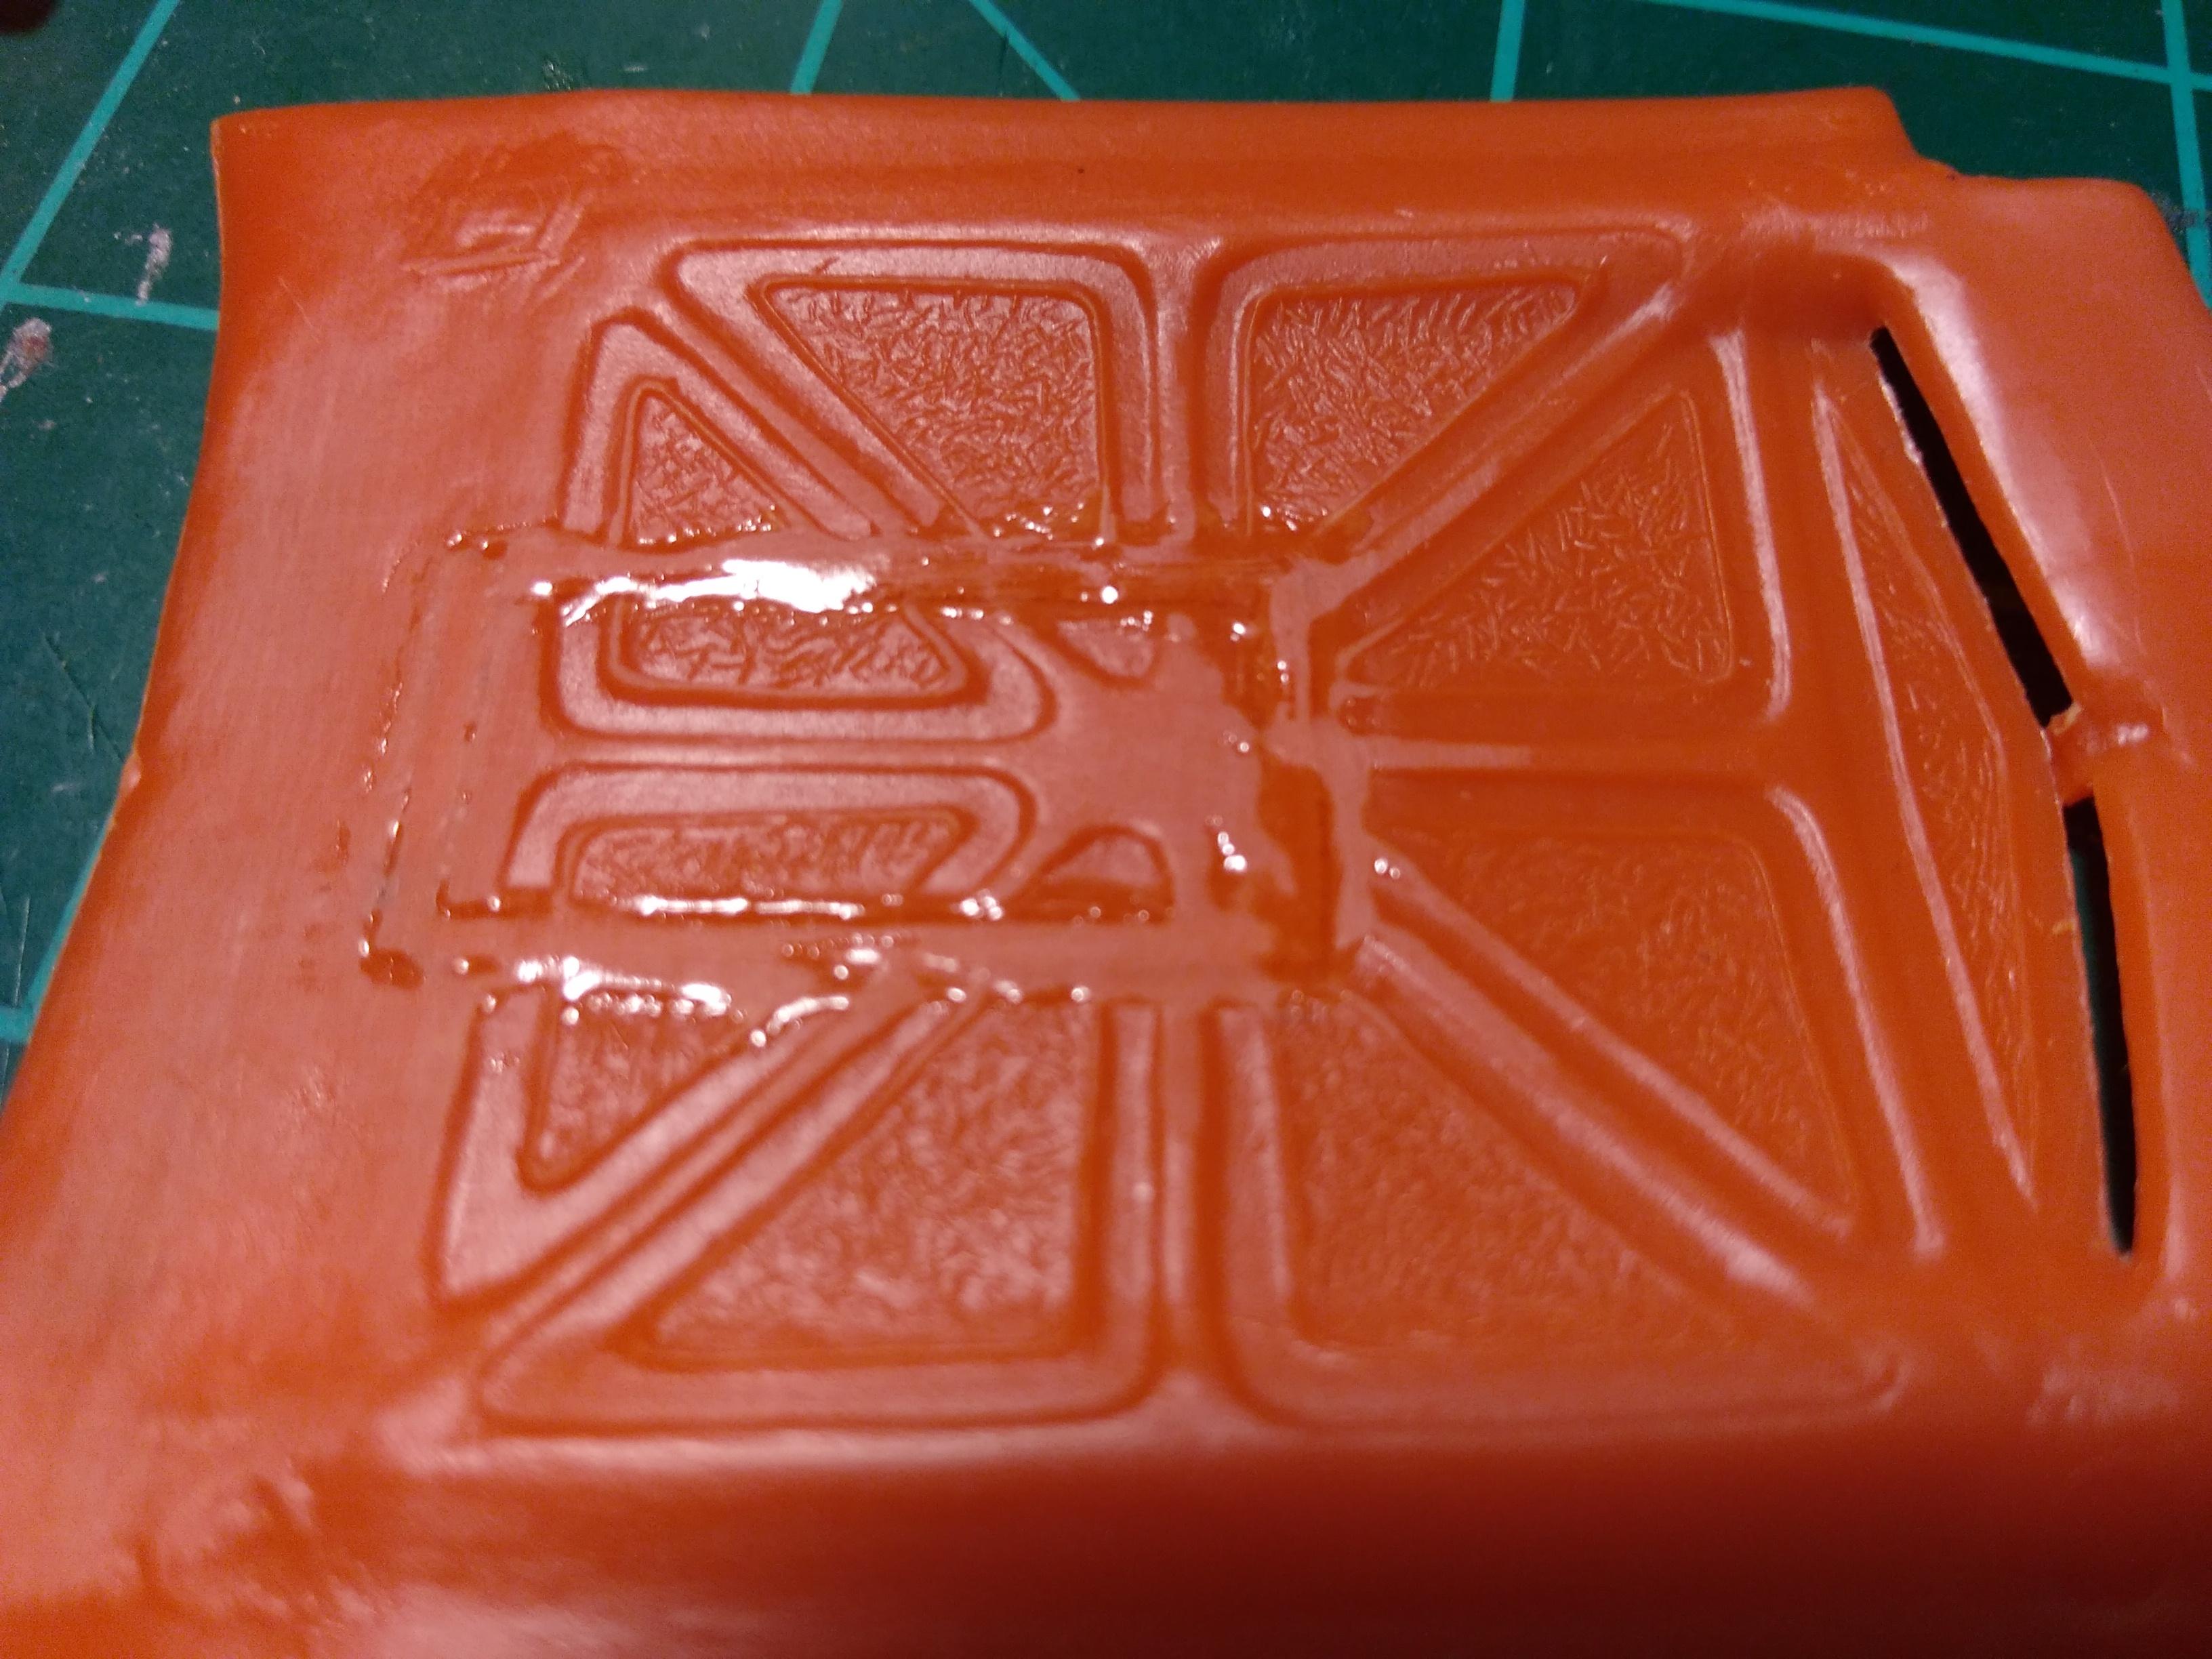
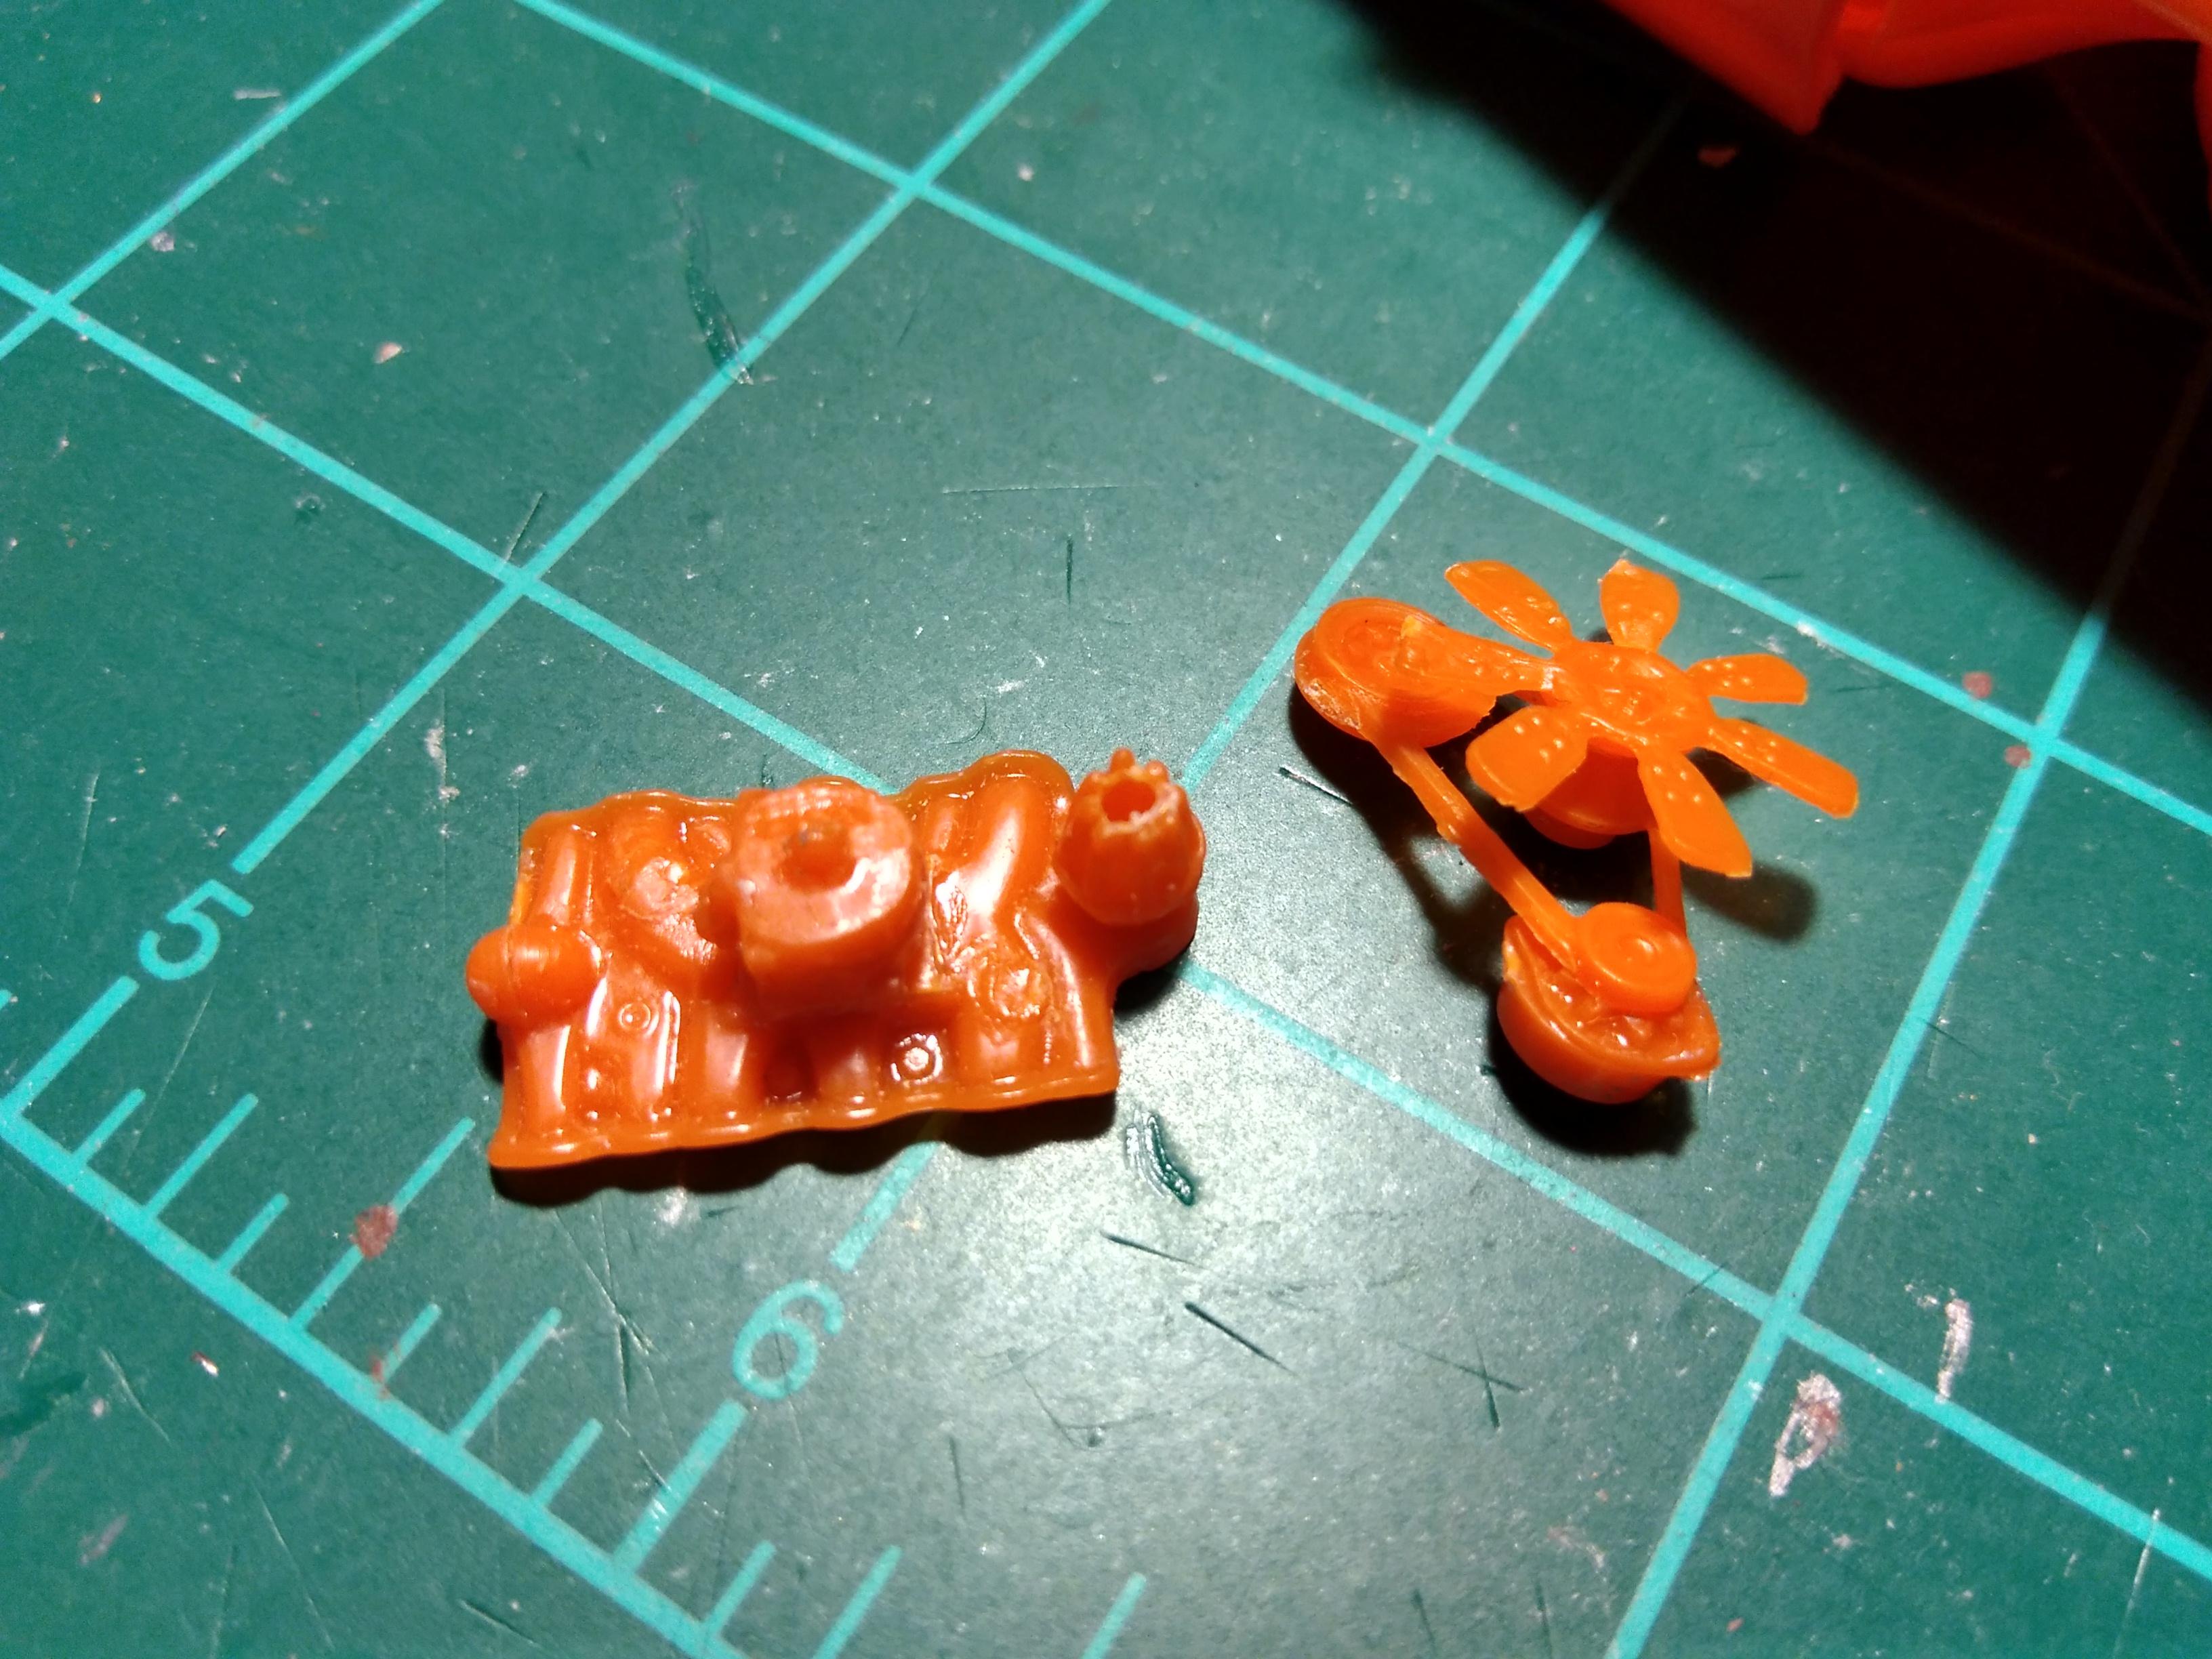
The backside of the hood has these deep recesses molded in for cutting a hole to clear the optional supercharger in older issues . I didn't like them showing so prominent , so I cut thin strips from the parts sprues and glued in to fill it in. I then sanded the obvious looking cut out area showing on top of the hood to hopefully flatten out that spot . I glued the hood tach in place as well. Also, the kit is missing door mirrors. So I found some in my parts and glued them on per reference pictures of the real cars. I mentioned earlier that I had stripped the chrome off the intake and carburator . It was some pretty tough chrome and took a couple days to come off. The intake had two wierd holes molded in the runners for some unknown reason, so I filled those in with small pieces cut from those wheel back rod posts . There is also no radiator hose in this kit..so I cut a piece of sprue to make a waterneck to connect a hose to later. I went ahead and glued the carb and distributor on. Drilled a hole in the distributor for wires. Also assembled up the fan and alternator on the belt pullies.
-
Been busy at work lately, do not much progress as Id like. The void in the engine bay on either side of the engine bothered me. So I used the last section of the square brace I had been cutting from along with some sprue flashing and more small slices of wheel back posts to make the section of missing frame rail and a arm dust flaps and arm mount posts. Looks better than nothing..
-
That looks good. Working on the mpc 72 GTO right now..practically the same kit different body.
-
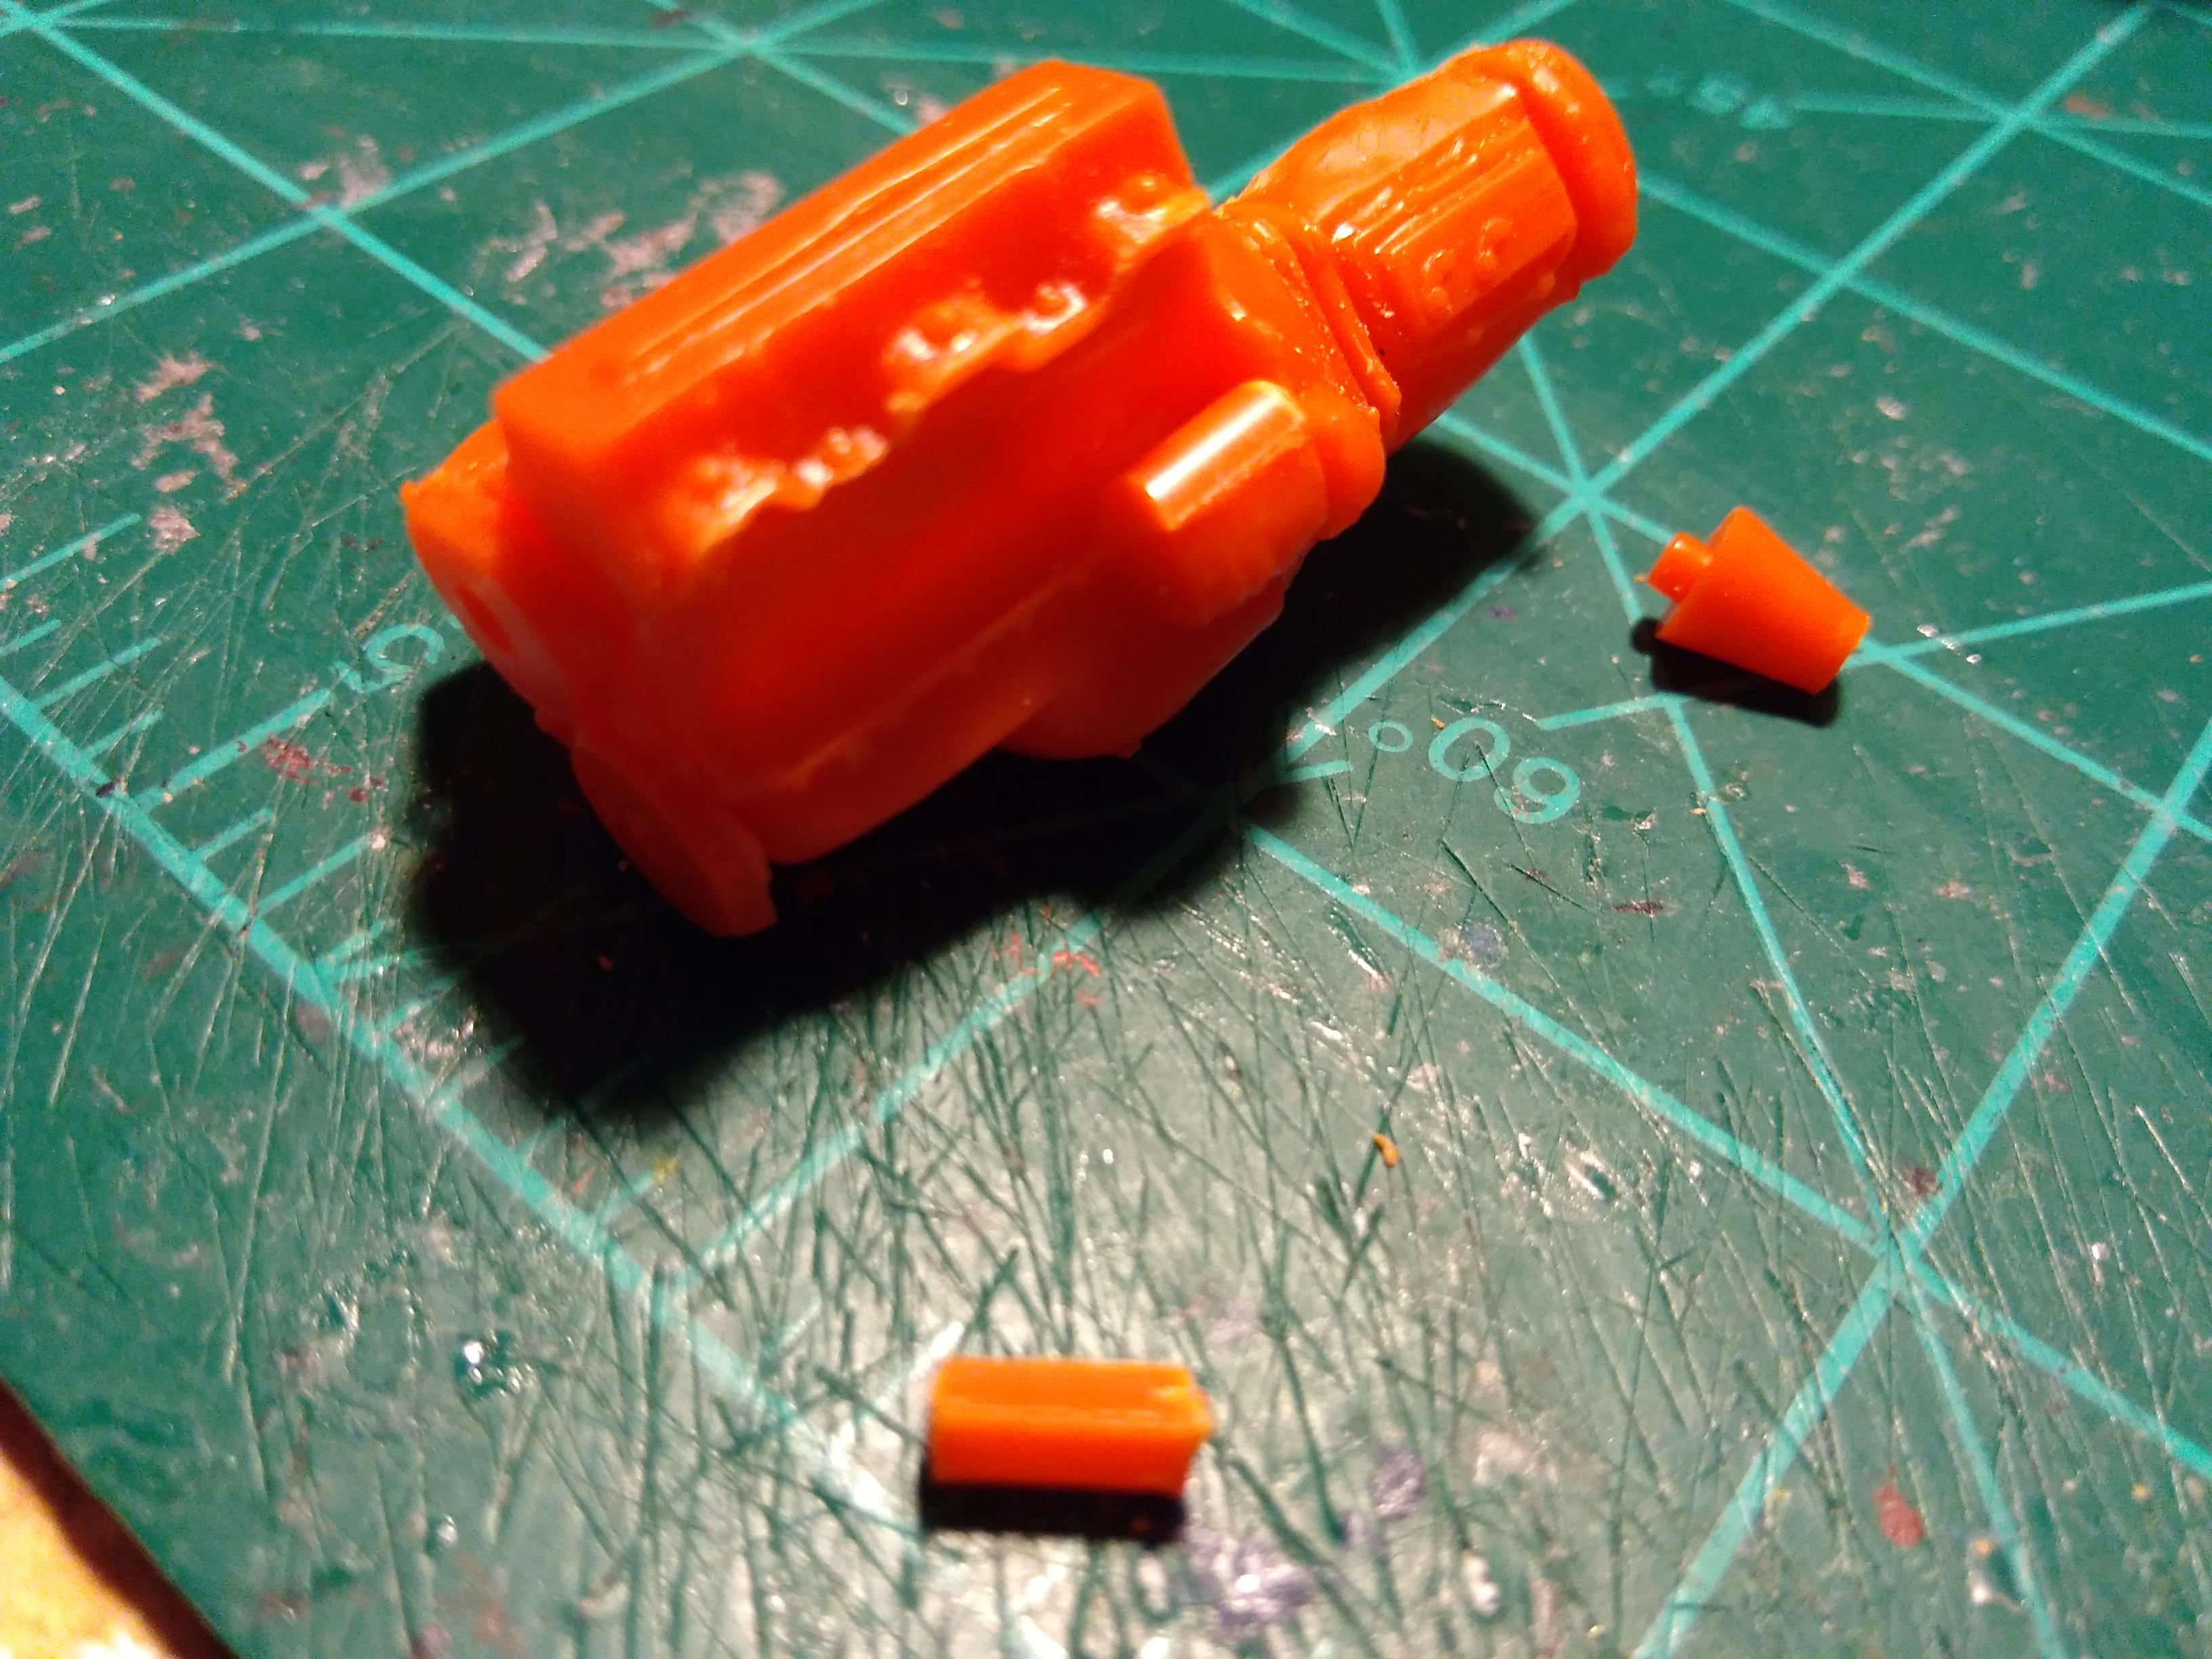
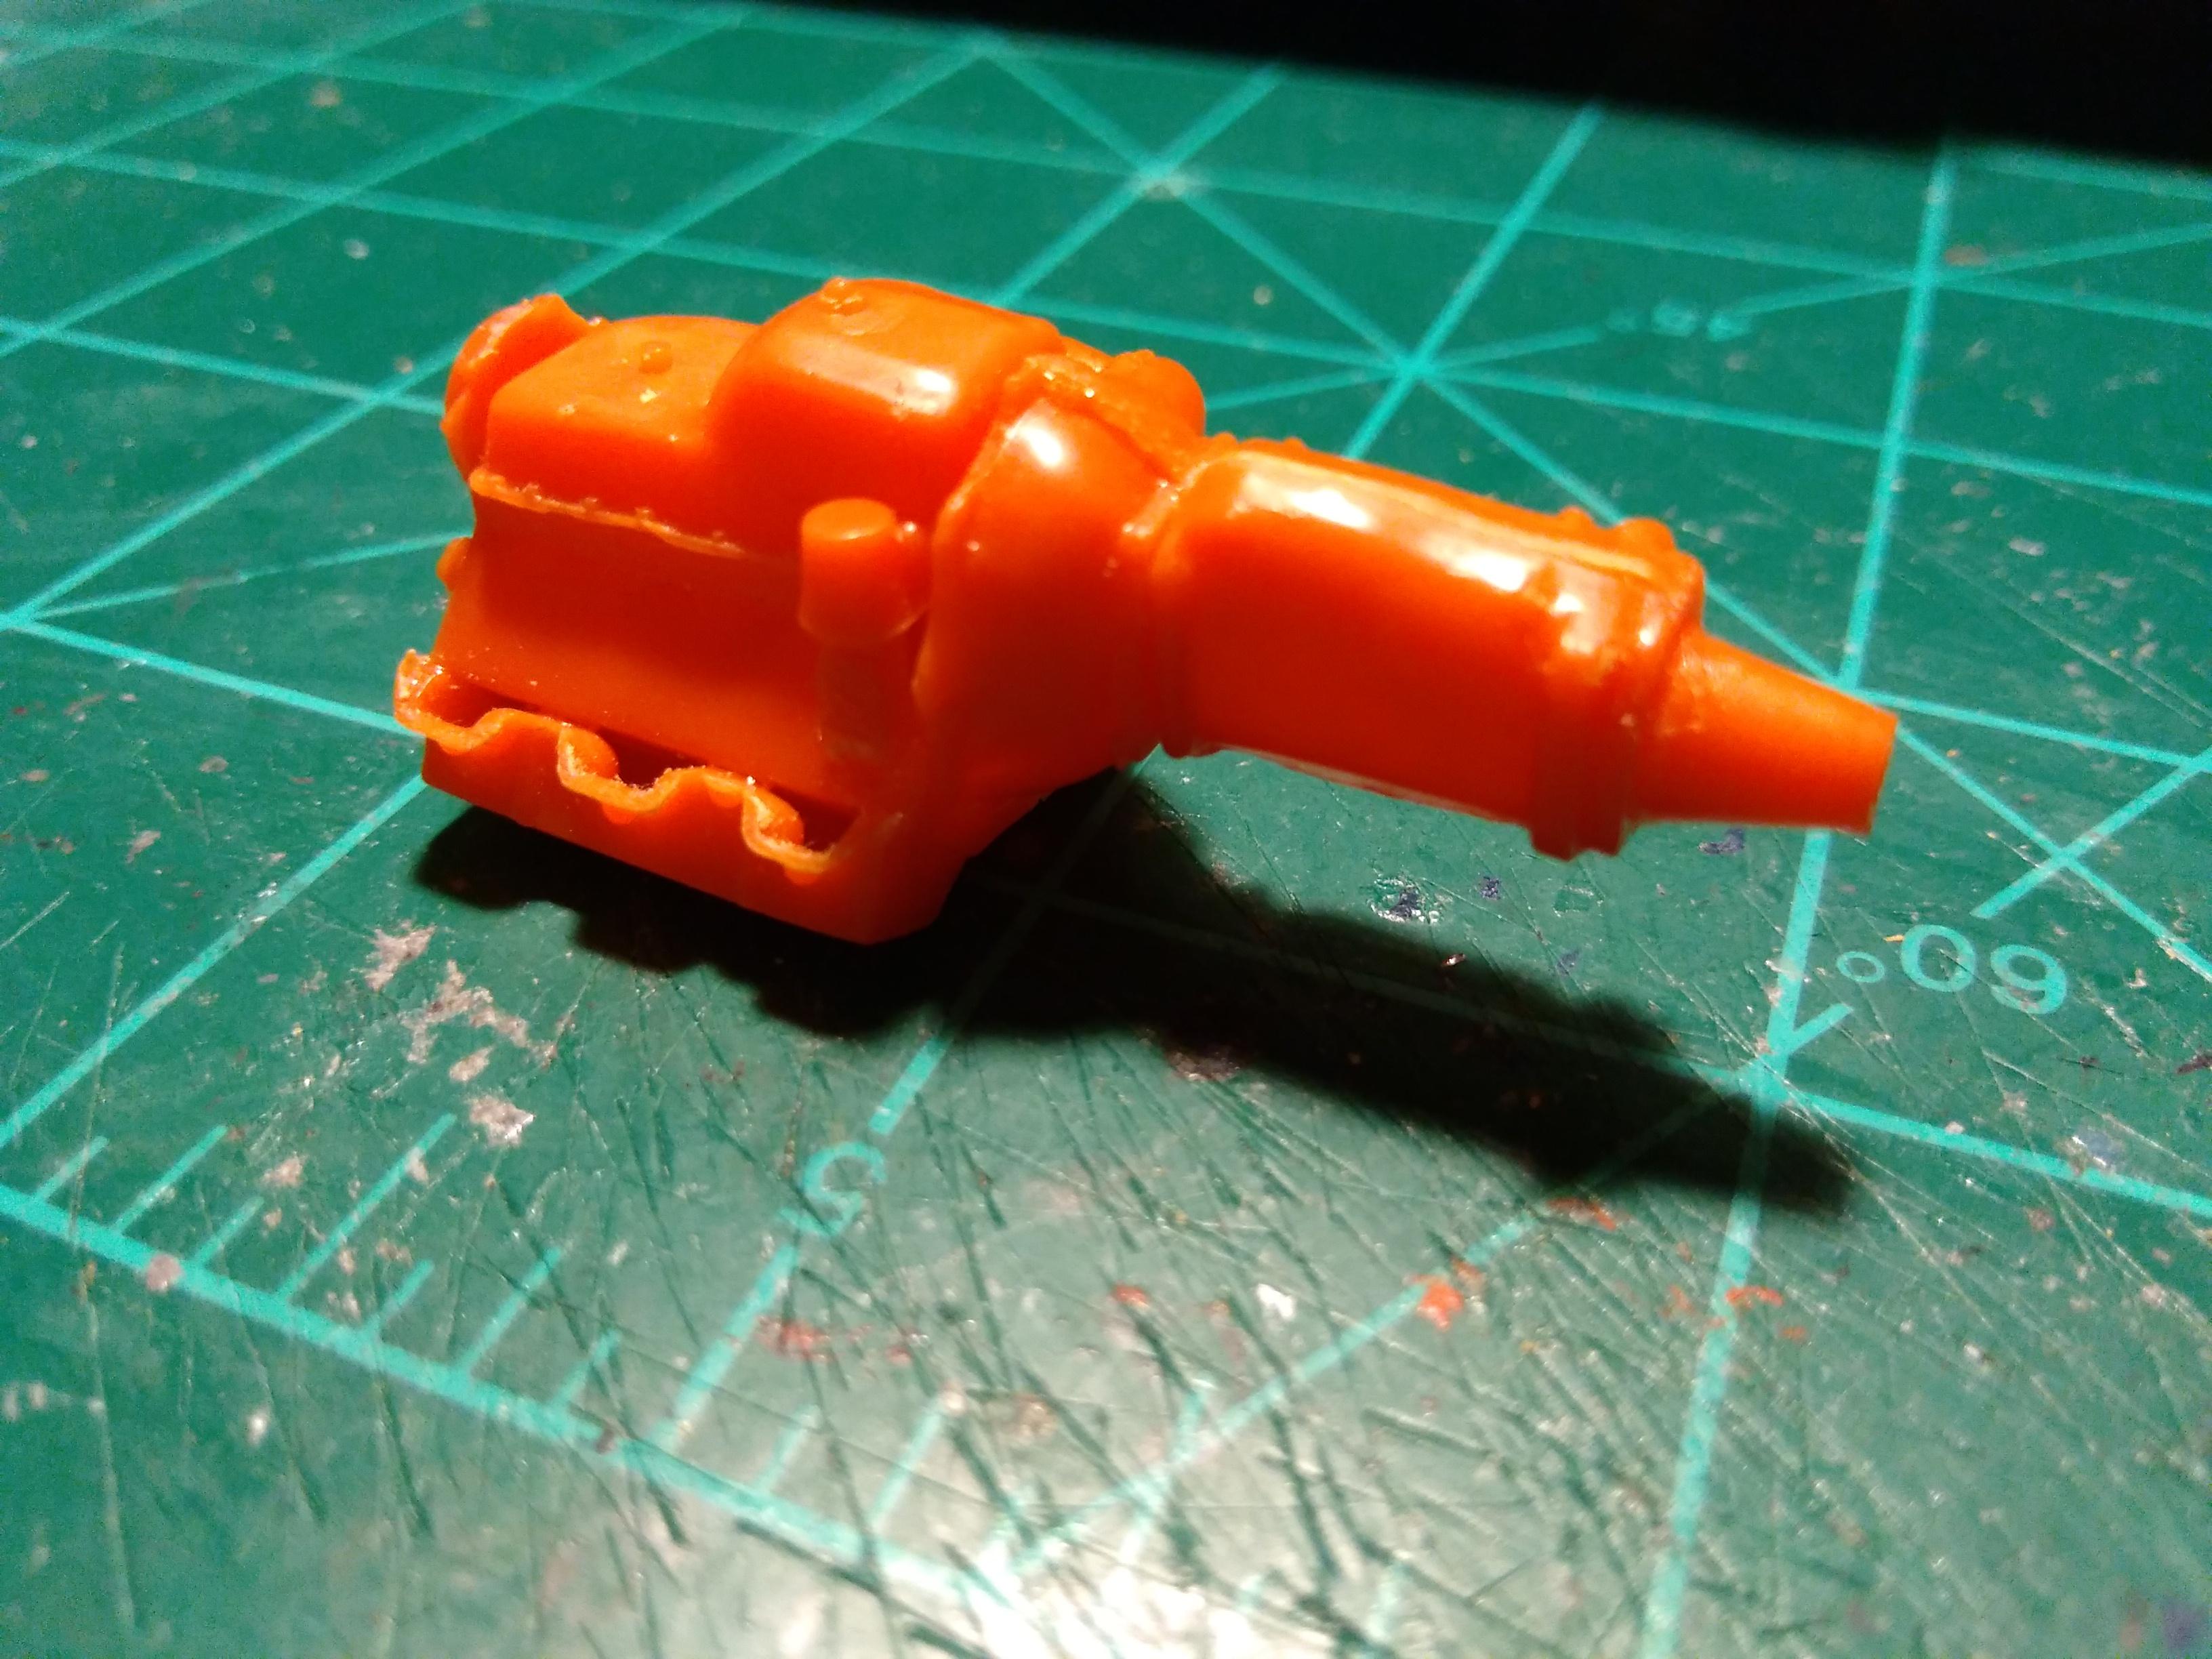
Might use a smaller one. Just have to dig around for something . Got the engine assembled up after trimming off flashing. Put the intake , carburator and alternator in a cup of LA awesome to strip the chrome off those parts. The transmission was missing the tail shaft and looked odd. There was this cone shaped part on one of the part trees . Instructions do not show or mention what it is or for. So I decided to use it as the missing transmission tail shaft as it works pretty good for the purpose.also, the starter and oil filter are molded in with the oil pan. When installed , there is a gap between the block and starter half..and the oil filter is just hanging there on the other side with nothing to mount to..I cut a section of tree sprue to make the upper half of the starter and made a block mount section above the oil filter. I had to do some minor trim grinding on the chassis plate trans tunnel to clear the trans tail shaft and to give some clearance for the drive shaft to attach to the transmission later. I also went ahead and glued the front valance panel to the body.
-
I thought about using a bumper sticker decal to cover it.
-
Test fit the assembly to the body. Much better now.