gator52
-
Posts
143 -
Joined
-
Last visited
Content Type
Profiles
Forums
Events
Gallery
Everything posted by gator52
-
Dodge Monaco to Plymouth Fury parts?
gator52 replied to iamsuperdan's topic in Car Aftermarket / Resin / 3D Printed
Regarding the Yodel NYPD Fury, from what I've seen I believe it's a 77, but I'm looking to clarify what it would take to make it a 76. Round headlights? I am no expert on 1970s car models, but it's clear that the experts are gathered in this thread! Thanks Jonah -
Meng F-350: Anything to watch out for?
gator52 replied to gator52's topic in General Automotive Talk (Trucks and Cars)
No, I missed those when I searched. Thanks! Jonah -
1988 - 1991 Ford LTD Crown Victoria Scratchbuild
gator52 replied to DEL's topic in Car Aftermarket / Resin / 3D Printed
Looks terrific, I'm in for 2 copies. Jonah -
Excellent collection, thanks for sharing. Which kit is the second to last model? Looking forward to seeing more. Jonah
-
Meng F-350: Anything to watch out for?
gator52 replied to gator52's topic in General Automotive Talk (Trucks and Cars)
Ok good to know, thanks Carl. Jonah -
About to start mine; is there anything that would be helpful to know as far as fit, assembly sequence, etc? Thanks Jonah
-
Aero Chief fire engine decals
gator52 replied to DanR's topic in General Automotive Talk (Trucks and Cars)
There are a couple of generic sets out there...Microscale did both O & HO scale ambulance/fire/police decals, and Chimneyville did a handful of door badge sheets in different colors. Try policecarmodels.com Jonah -
-
Jonah
-
1/24 Motor Max model with various details and improvements. Thanks for looking- Jonah
-
From the 1/24 Motor Max model, with various improvements and details added. Thanks for looking- Jonah

-
Looks sharp; is it the 1/24 Motor Max model? Jonah
-
After removing the mounting pins from the kit part, I cut a triangular shape from .01" styrene to create a completely flat underside for the main housing. You might be able to skip this step, but it provided more surface area to mount the scratchbuilt legs to. I cut two 2.4 mm x 16 mm strips from .01" styrene, then trimmed a corner off one end. Using the arrow stick portion as a reference, I butted the back end of each strip up against the arrow stick, with the outermost edges of the strip and arrow stick flush, and the trimmed corners at the front and faced inward. I then cut the feet themselves from .06" channel (Evergreen 261). The retaining hardware is a strip of BMF applied to the roof, then a chip of .01" styrene with a Grandt Line bolt (#5135) and a short length of unpainted .02" music wire. For the next one I build, I will add a small strip of styrene to the underside of the horizontal legs to give the music wire a better spot to adhere to. These mounting legs are a bit more squared off than the real thing, but it was fairly straight forward to build a symmetrical pair that looks better than the OOB Lindberg part. I originally tried cutting/shaping some thin sheet brass to more closely represent the shape of the real mounts, but couldn't quite get a matching pair that I was satisfied with. Thanks for looking- Jonah
-
Jonah
-
Looks really nice; which kit is it? Jonah
-
76-77 LeMans Enforcer 0r Smokey & Bandit Sheriff Justice Car
gator52 replied to DEL's topic in WIP: Model Cars
Looks great; I would love a '77 LeMans. Jonah -
Looks great! What color did you use for the seats & dash? Jonah
-
Ok thanks. Looks great! Jonah
-
Nice model; did those red lights come with that particular kit? Jonah
-
Thanks for the info, I see how it fits together now. Glad I asked before I got out the saw! Jonah
-
'92 CV from the Lindberg kit: '48 Revell Ford: Jonah
-
I'm working on a stock version of this kit...dry fitting seems to show a conflict between the front splash pan and the frame. If I'm looking at this correctly, the frame needs to be trimmed back (essentially removing the forward-most cross member) so that the front bumper, grill, and splash pan will all line up correctly with the body. The directions don't mention needing to make any cuts for stock vs custom, etc. Wanted to check here before I start hacking away. Thanks Jonah
-
Excellent work! Jonah
-
1991 Caprice 9C1 Interior Colours , etc.
gator52 replied to 1972coronet's topic in Model Building Questions and Answers
Some really great info in this thread that will help with the 91, 93, & 95 Caprices that I have planned. Does anyone have any info on interior colors that were offered for the 82-84 fleet Impalas? Thanks Jonah -
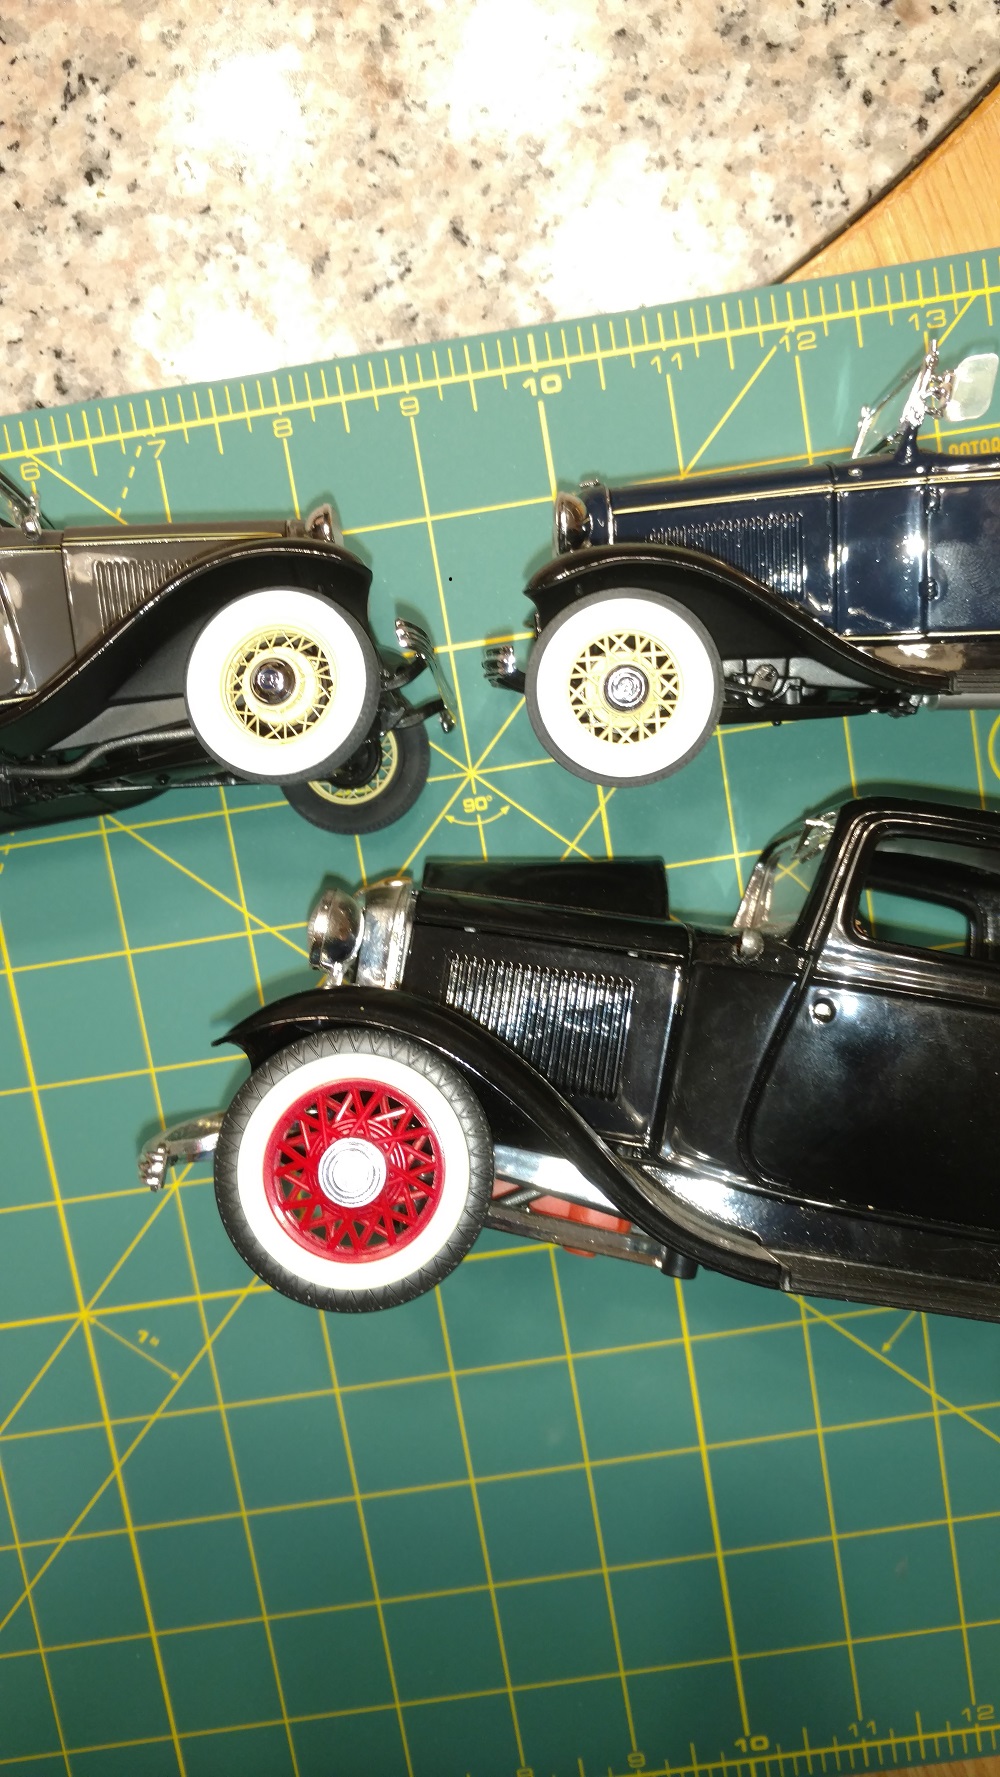
Just a couple...I'm more of a curbside guy these days, so not too much to see under the hood or underside! Jonah