Dann Tier
-
Posts
8,151 -
Joined
-
Last visited
Content Type
Profiles
Forums
Events
Gallery
Everything posted by Dann Tier
-
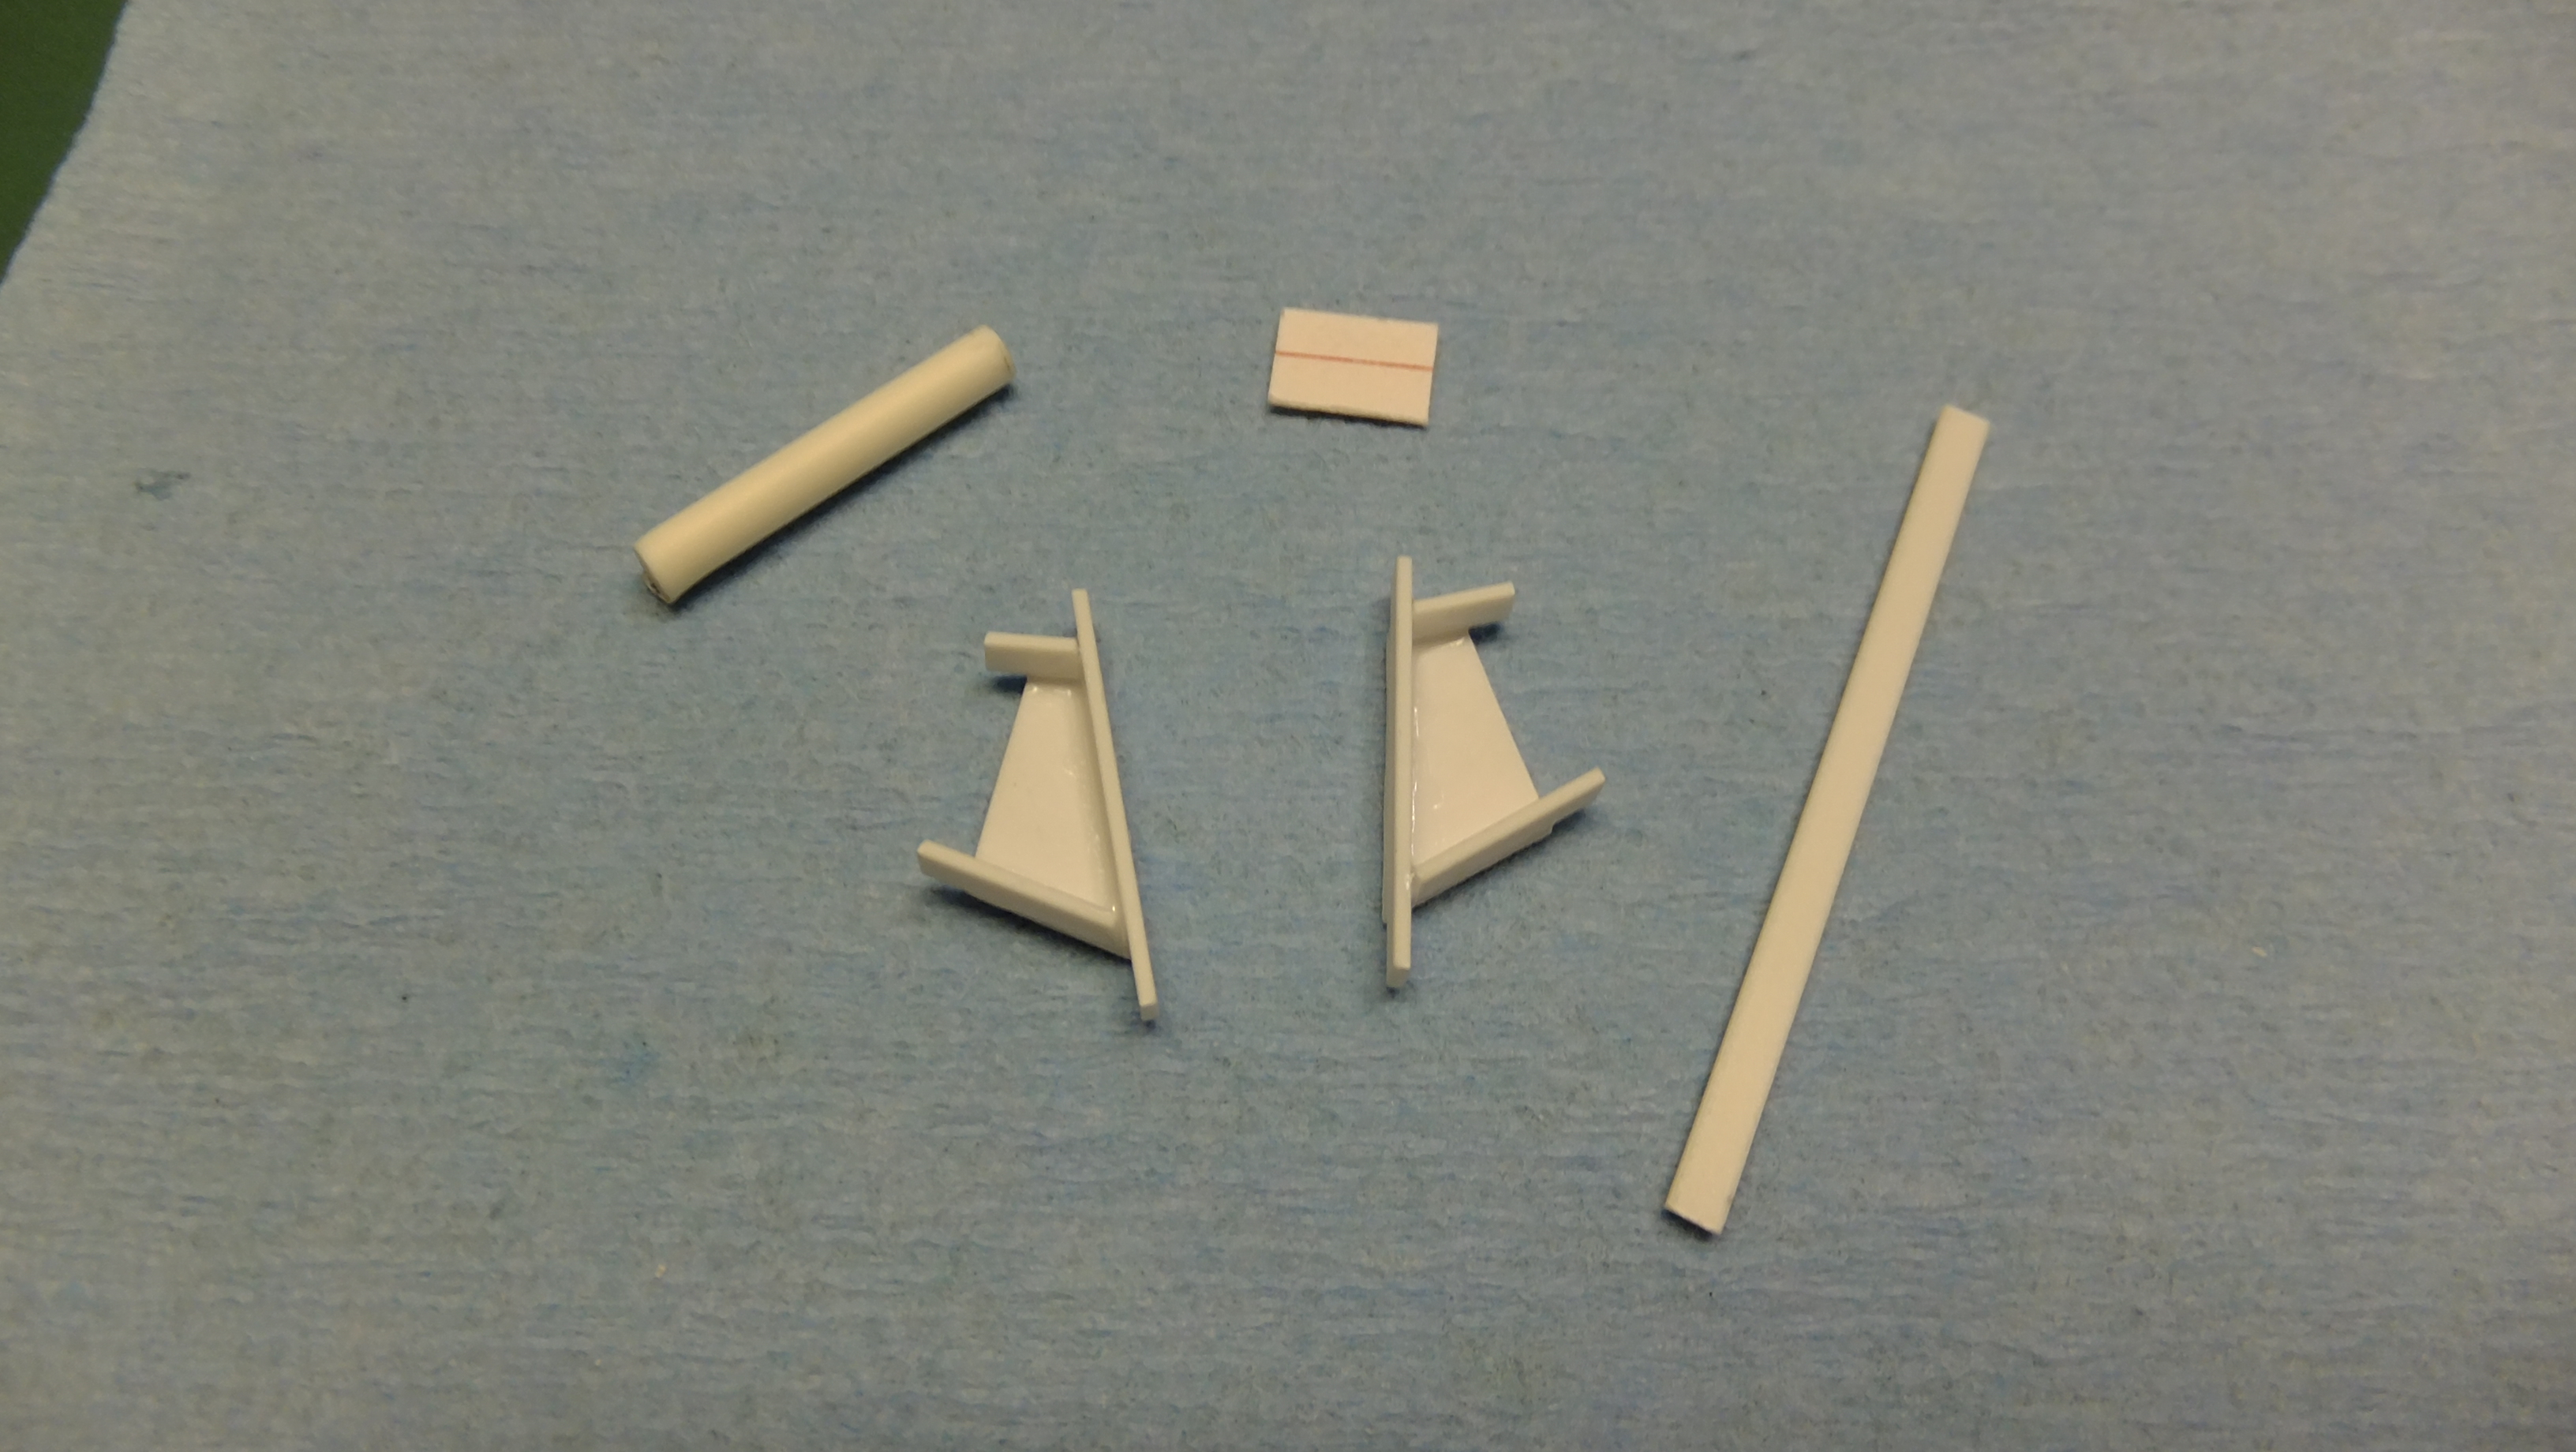
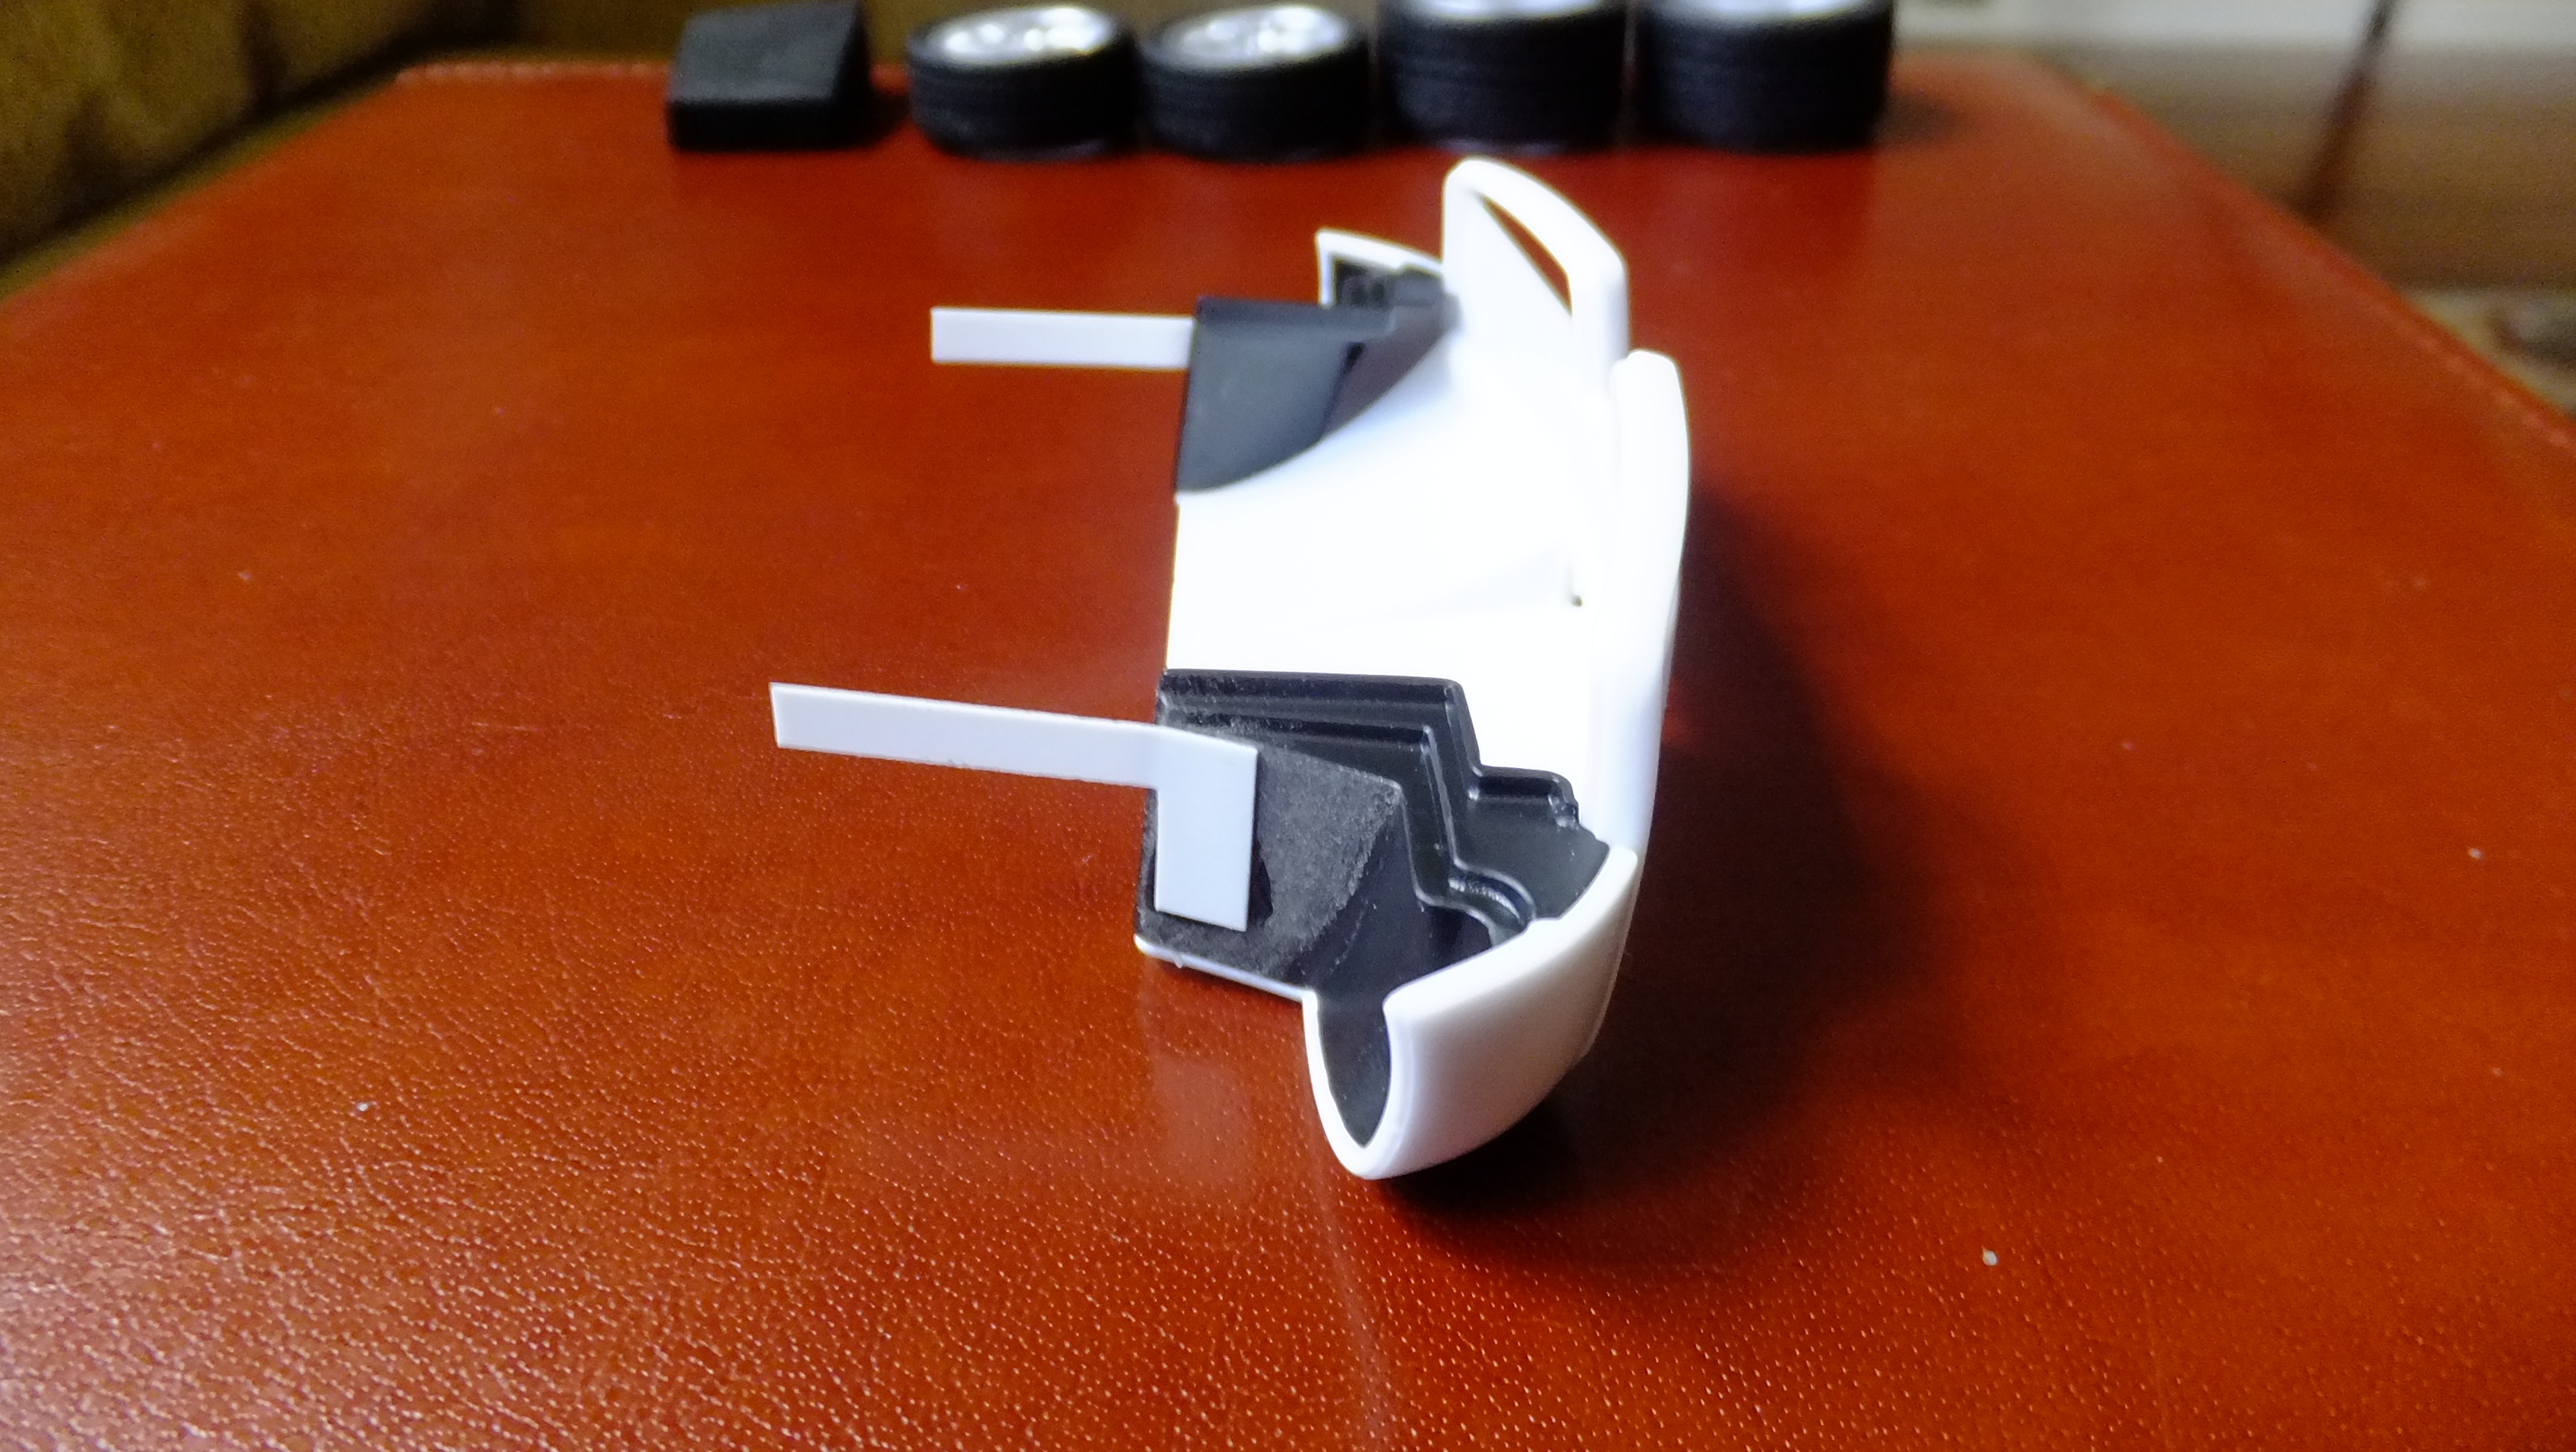
Thanks, Ben!!, always appreciate your comments! -I cant wait til its done either, lol.........I keep finding things to scratchbuild, that's slowing me down!, just got done scratchbuilding the air boxes, air filters, and these two parts that look like cool air ducts, or hot-air release ducts last night.
-
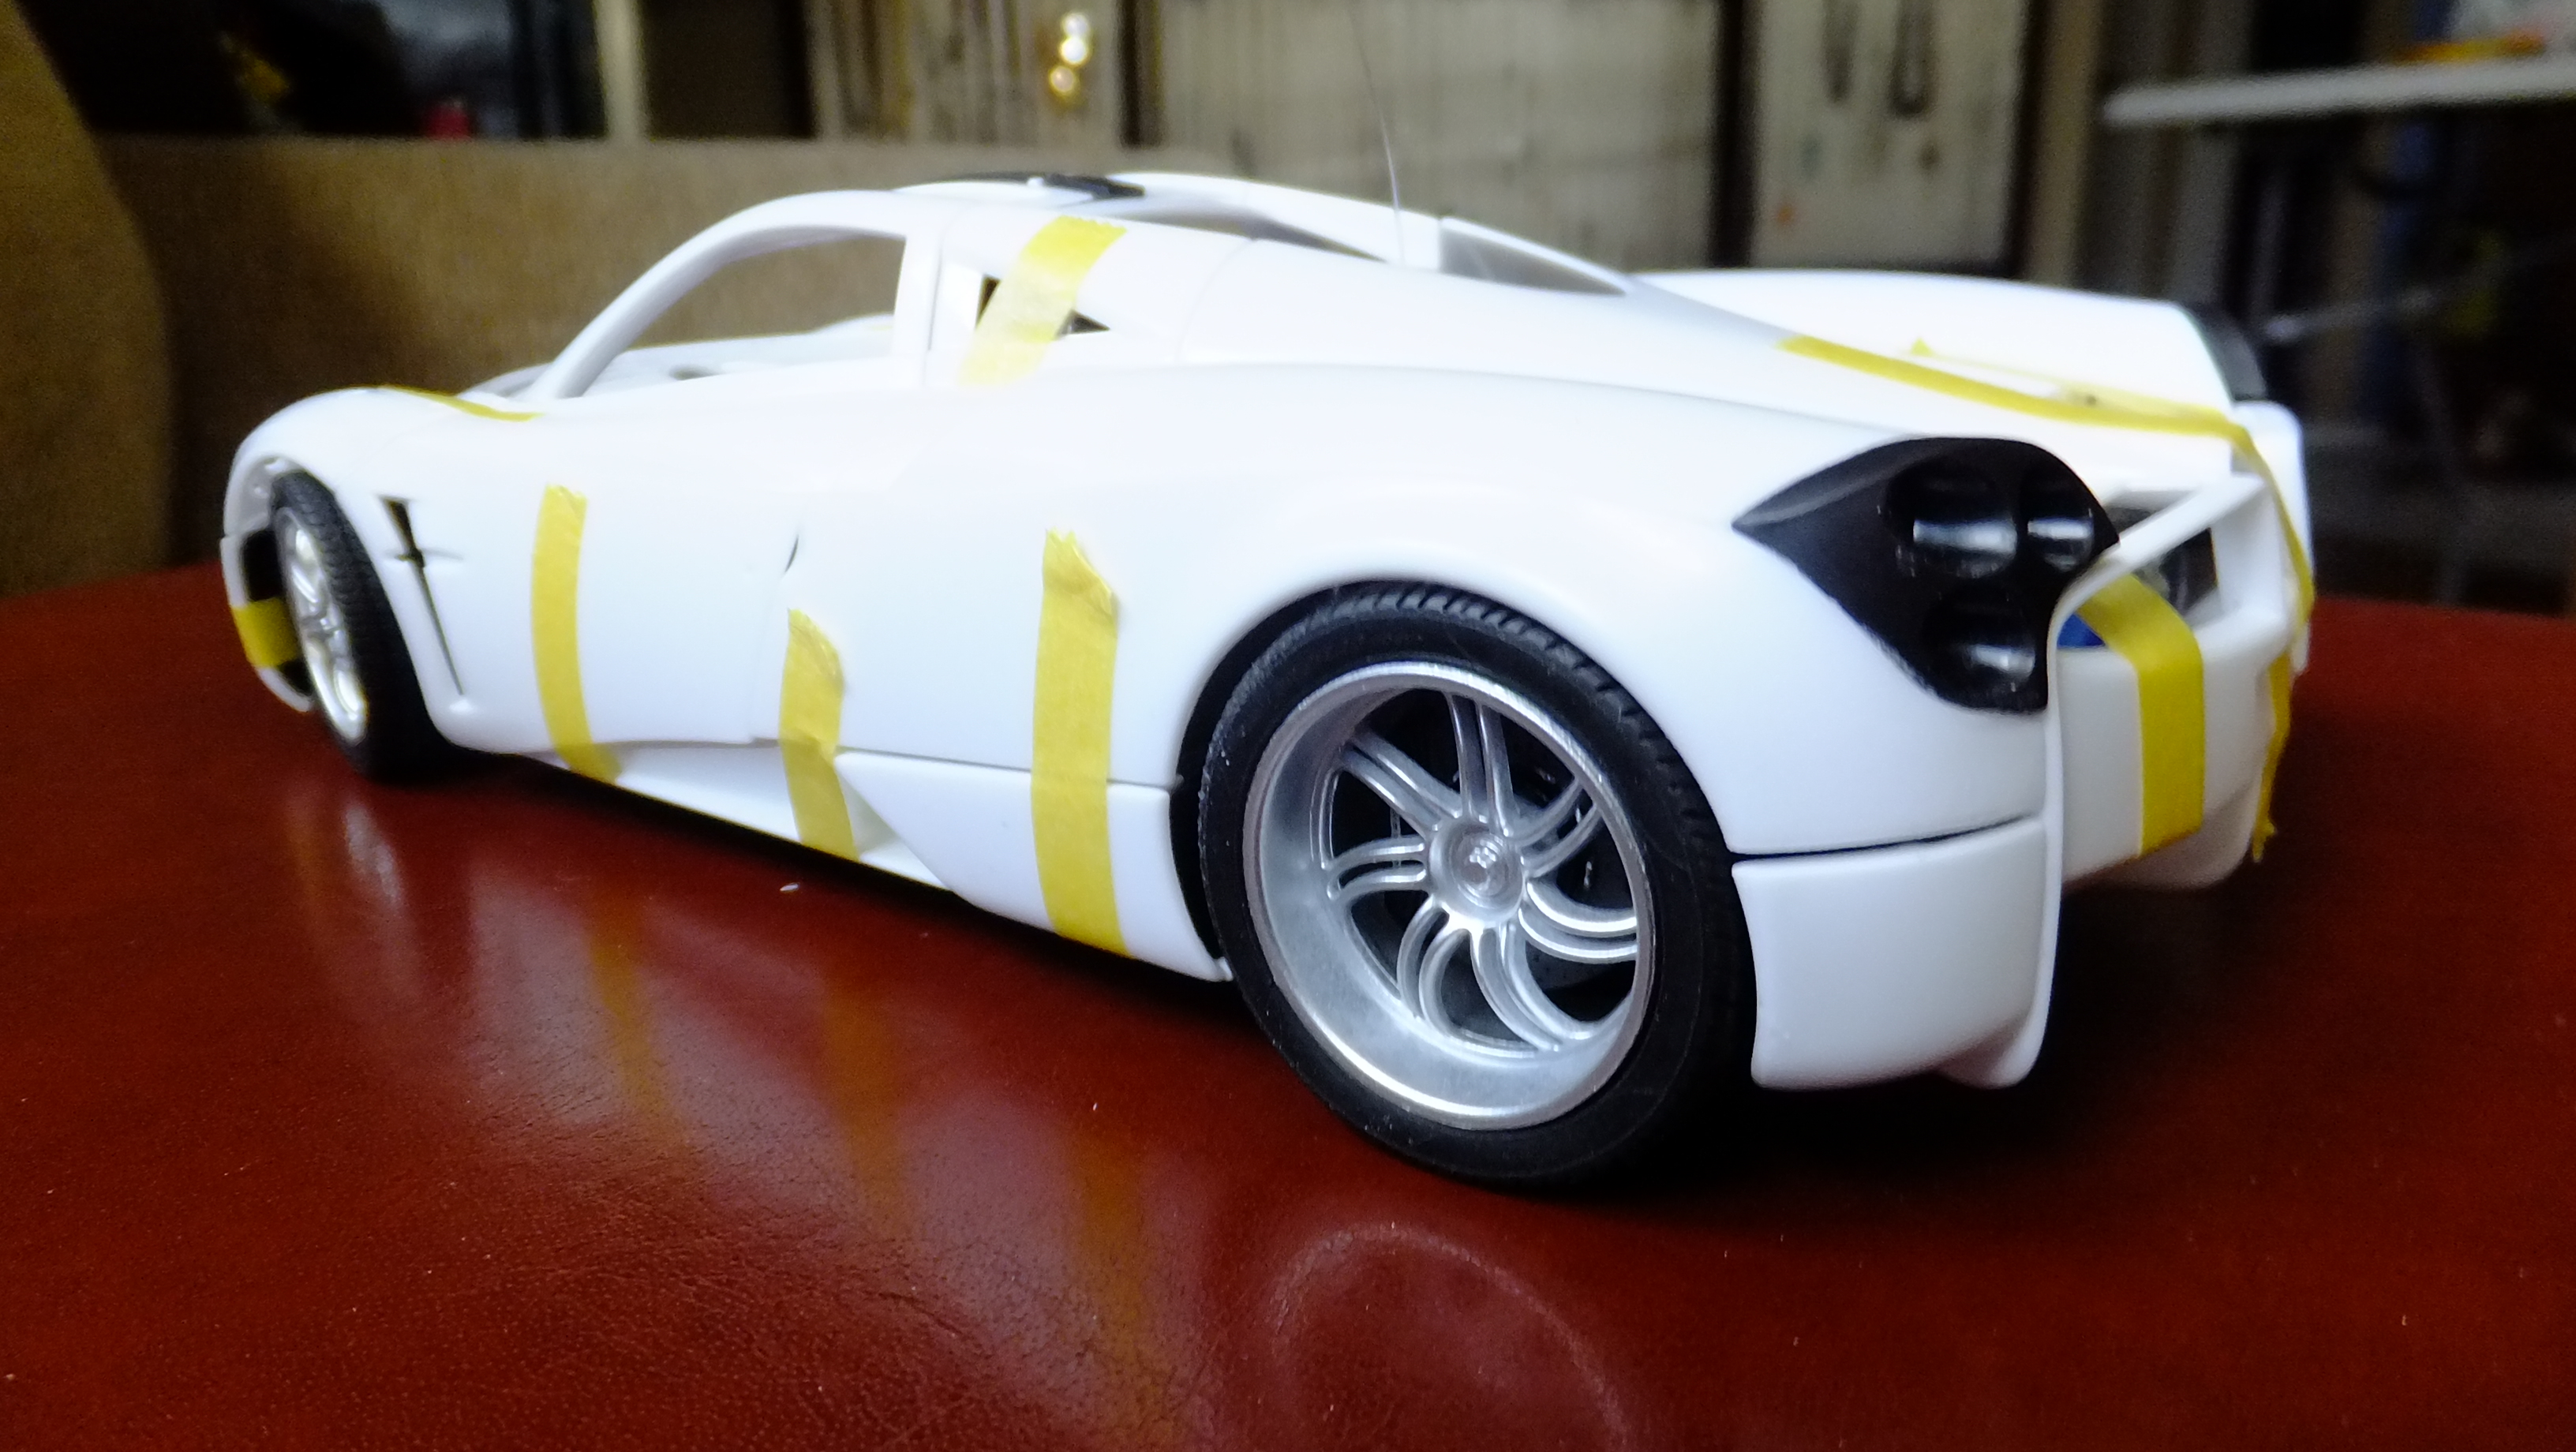
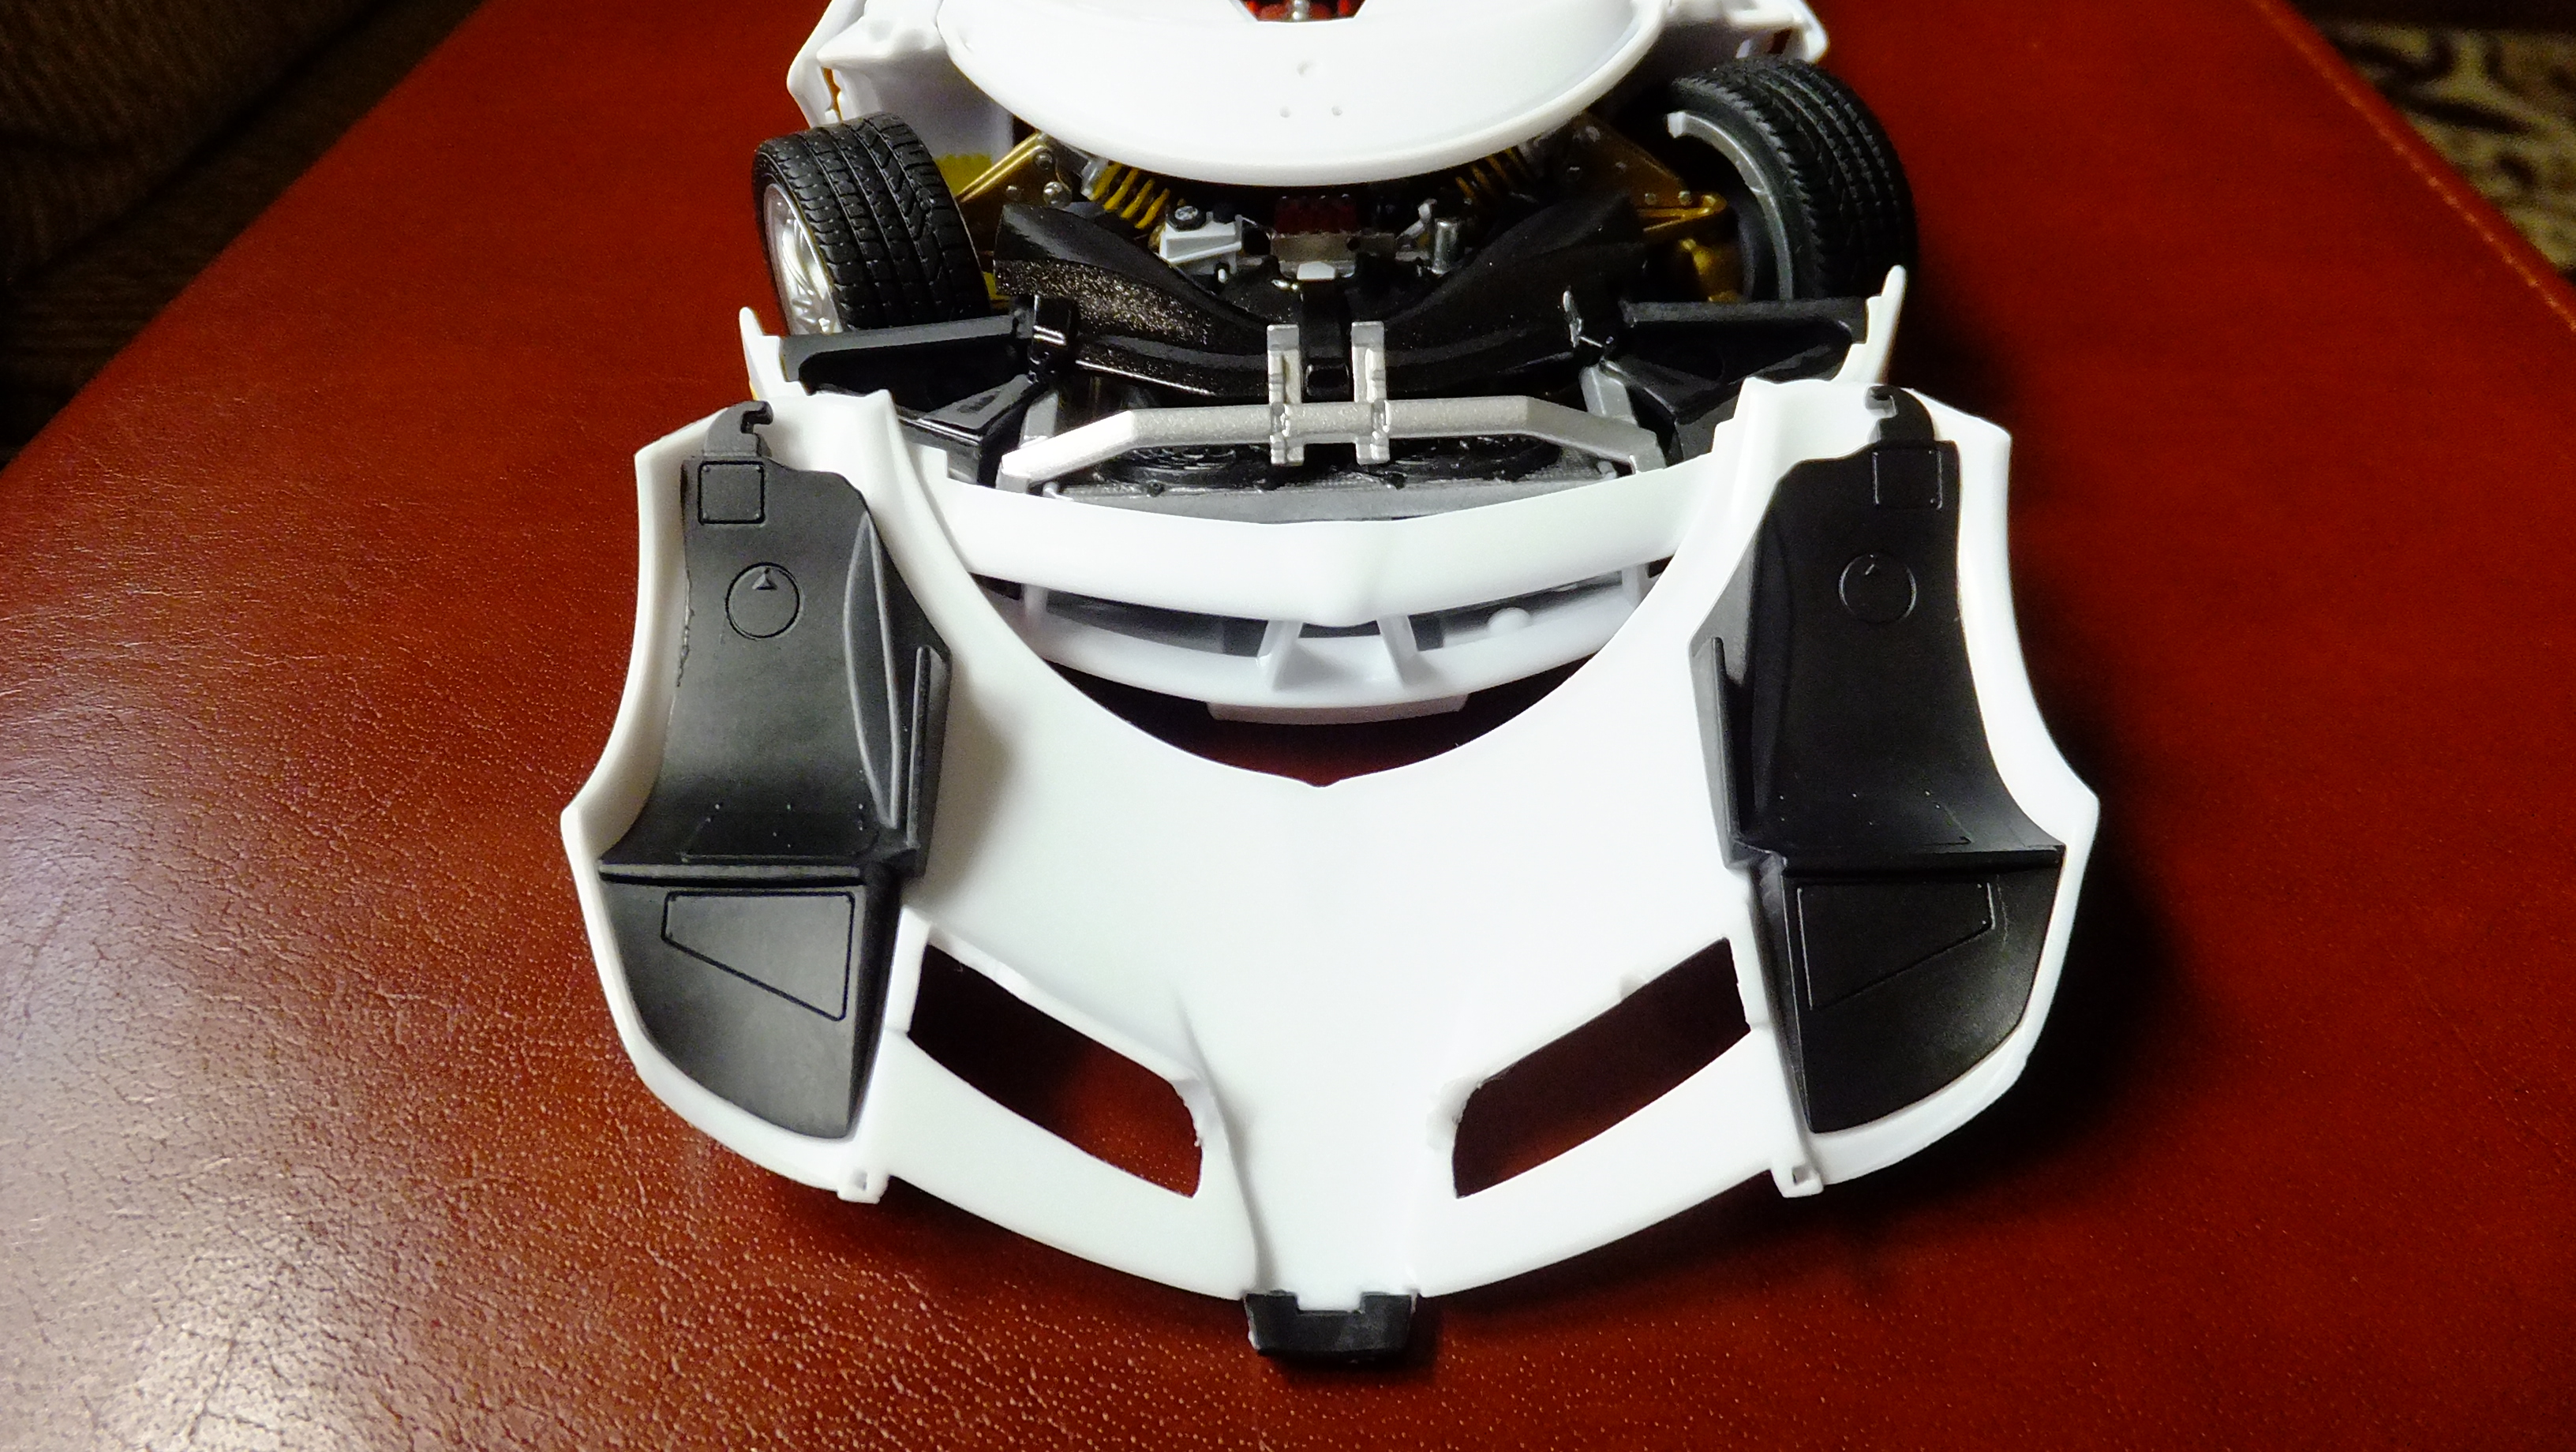
Small update here while things dry; working on the air boxes, and I have the trays done, just have to wait a bit before I make the tops , and air filter for them. Also the photo of the rear cowl shows where I need to slightly shave parts to fit. Without shaving them, things still fit perf, but there is absolutely NO room for paint thickness, so that's why i'm gonna shave them. Next I will test fit the inner fender wells.

-
Thank you also!!....I was hoping to help in some way or other!
-
Thanks!, i'm glad you like it, and that it motivates you too!!!
-
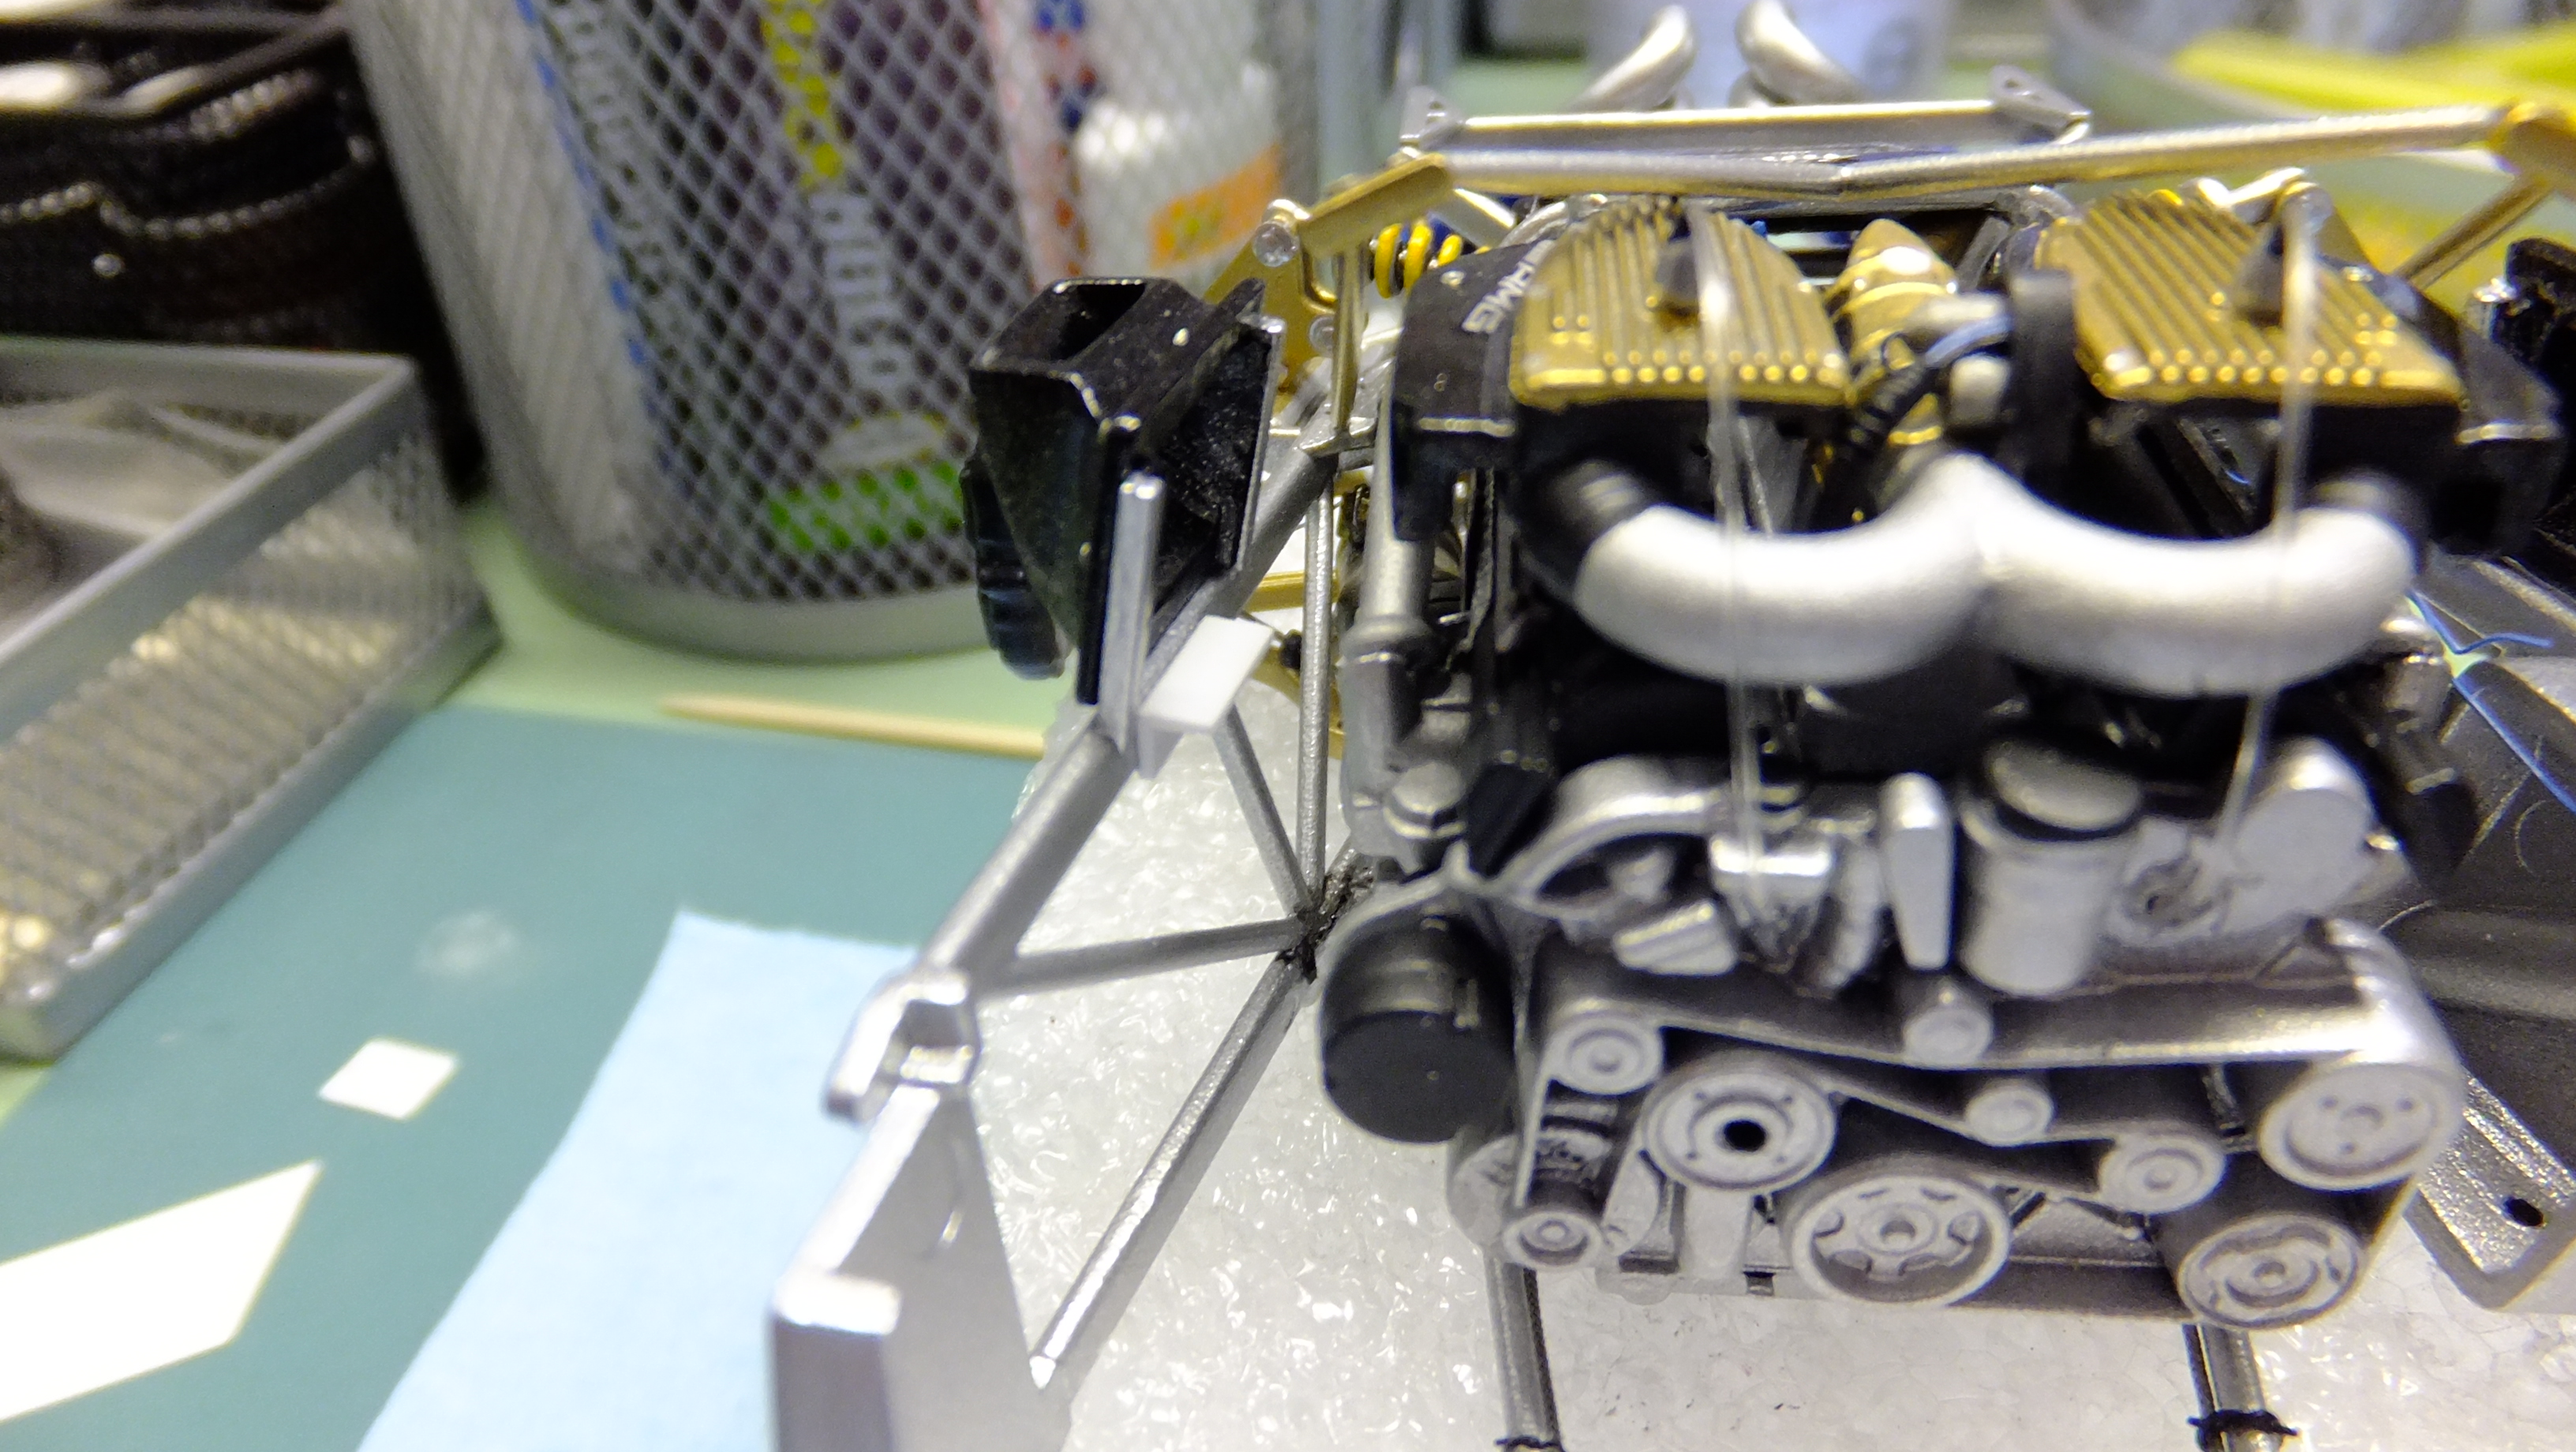
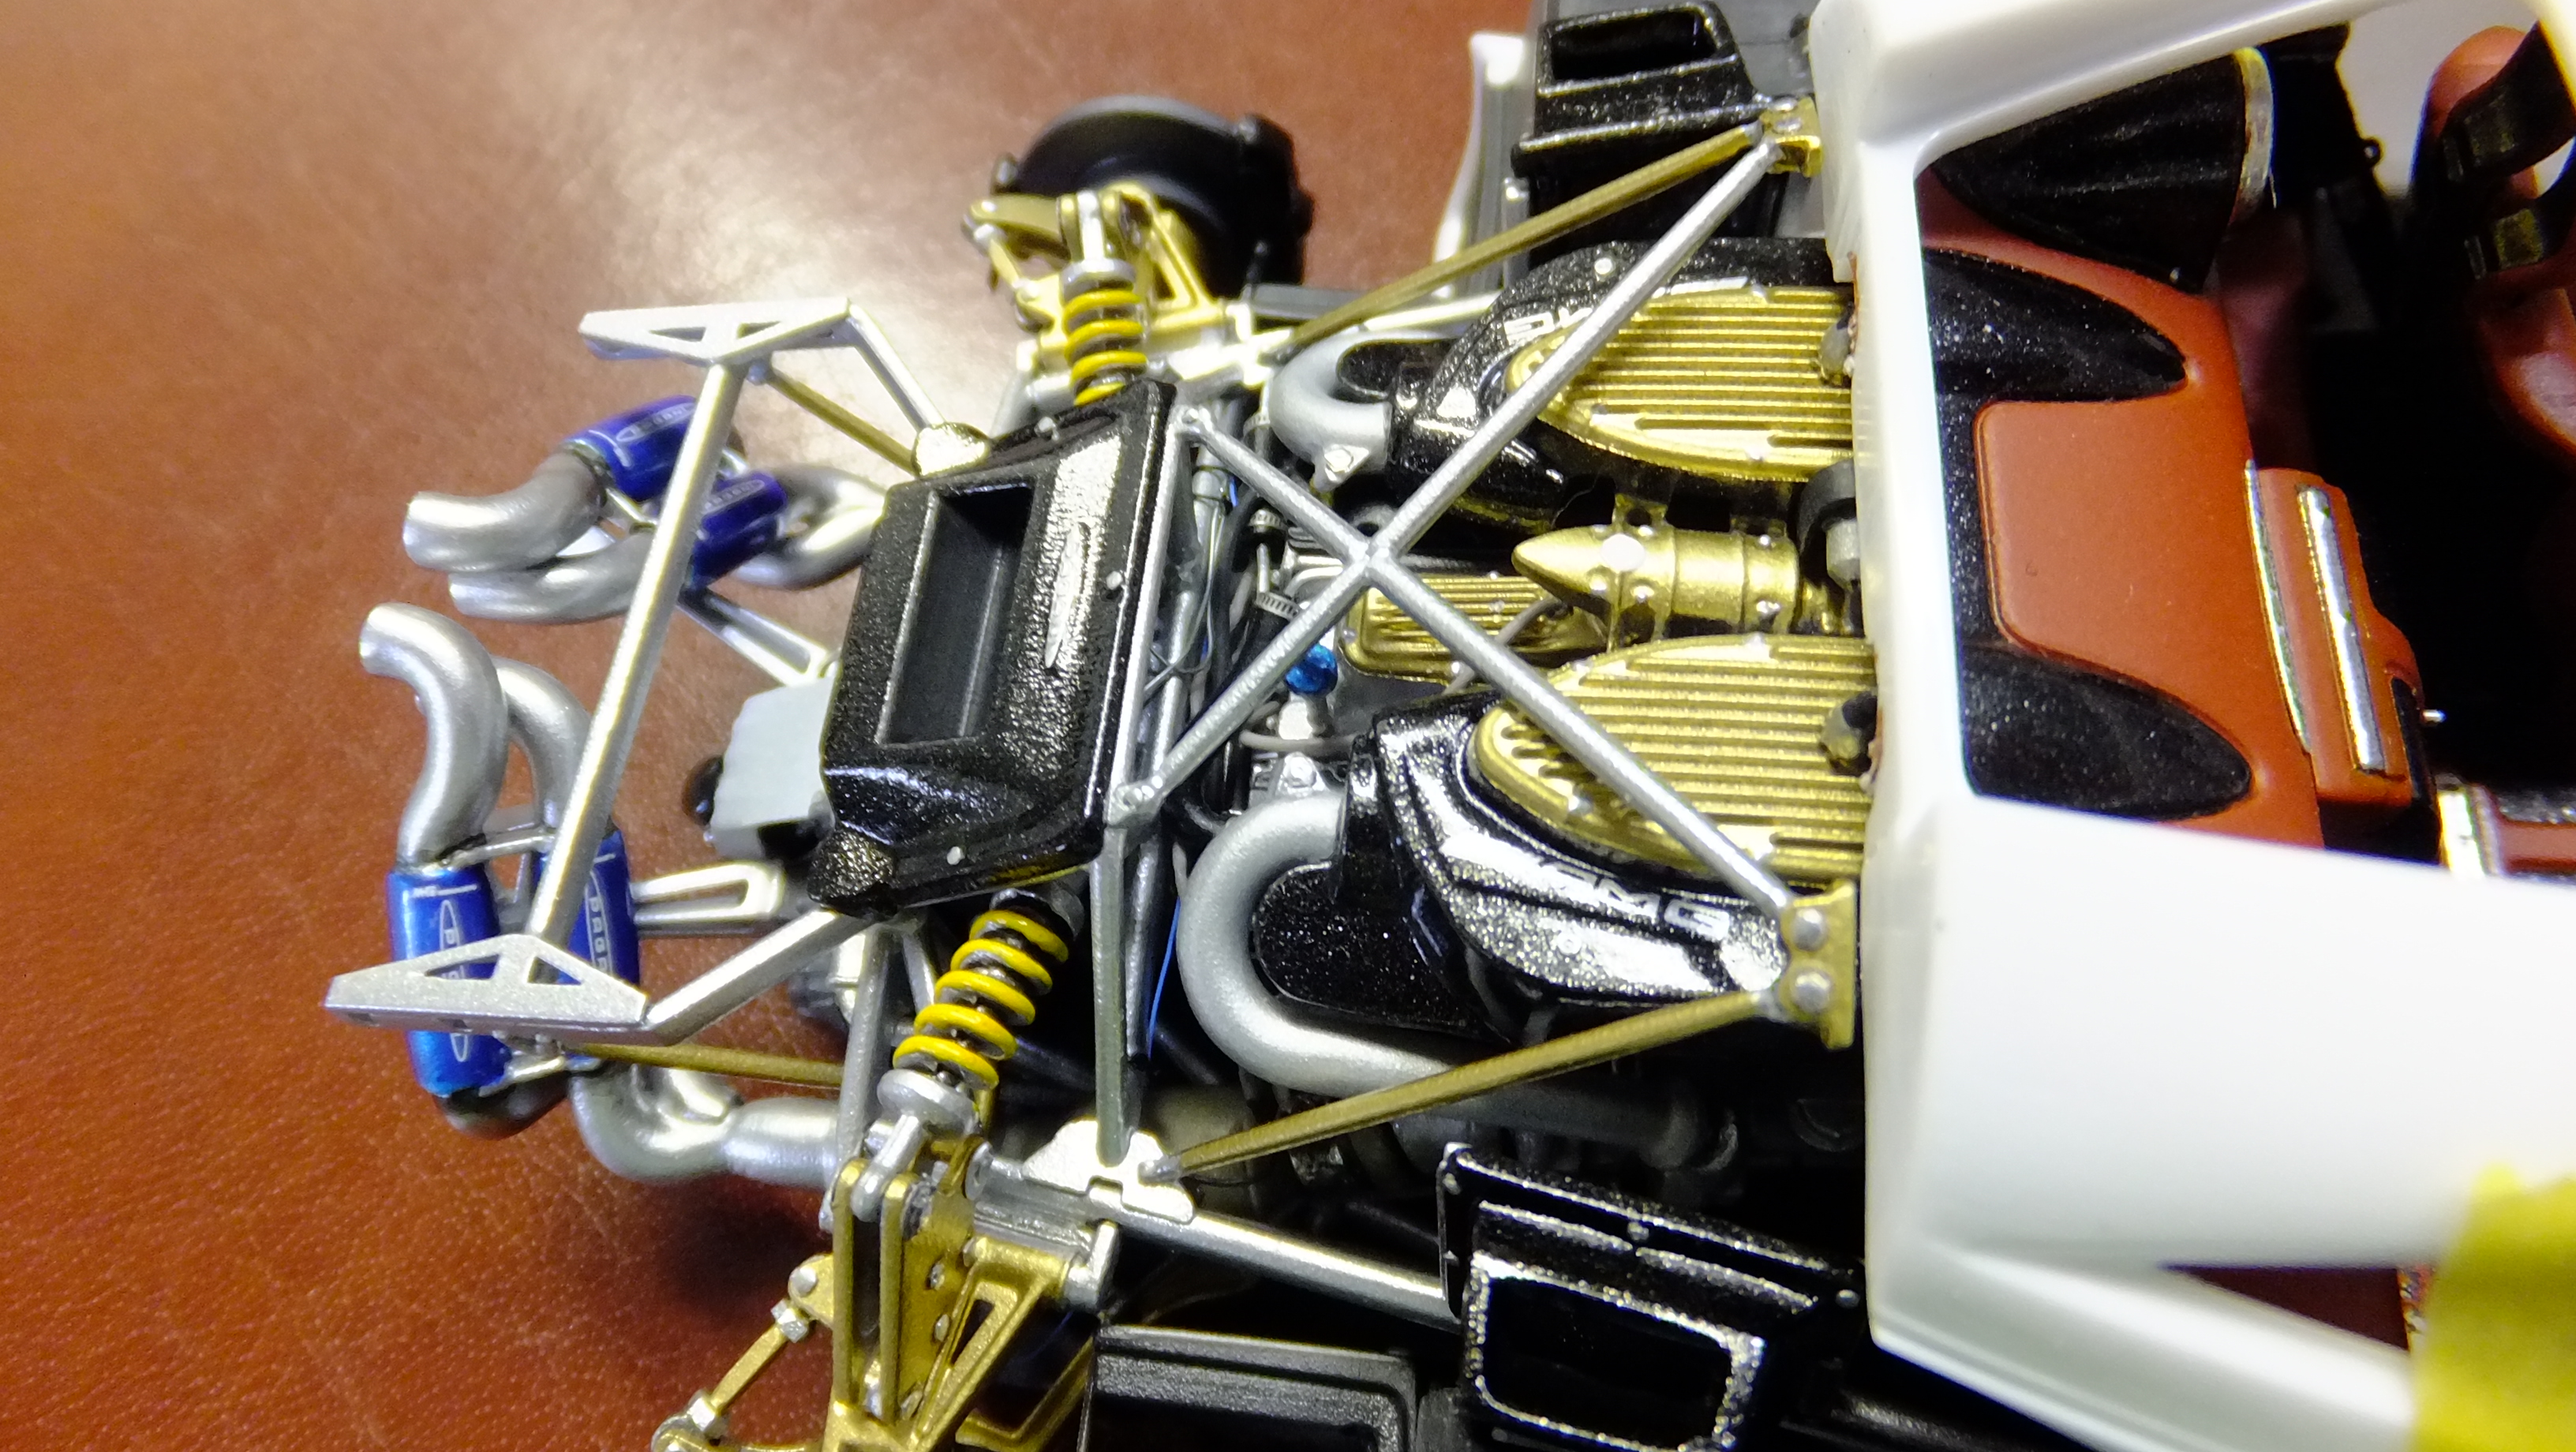
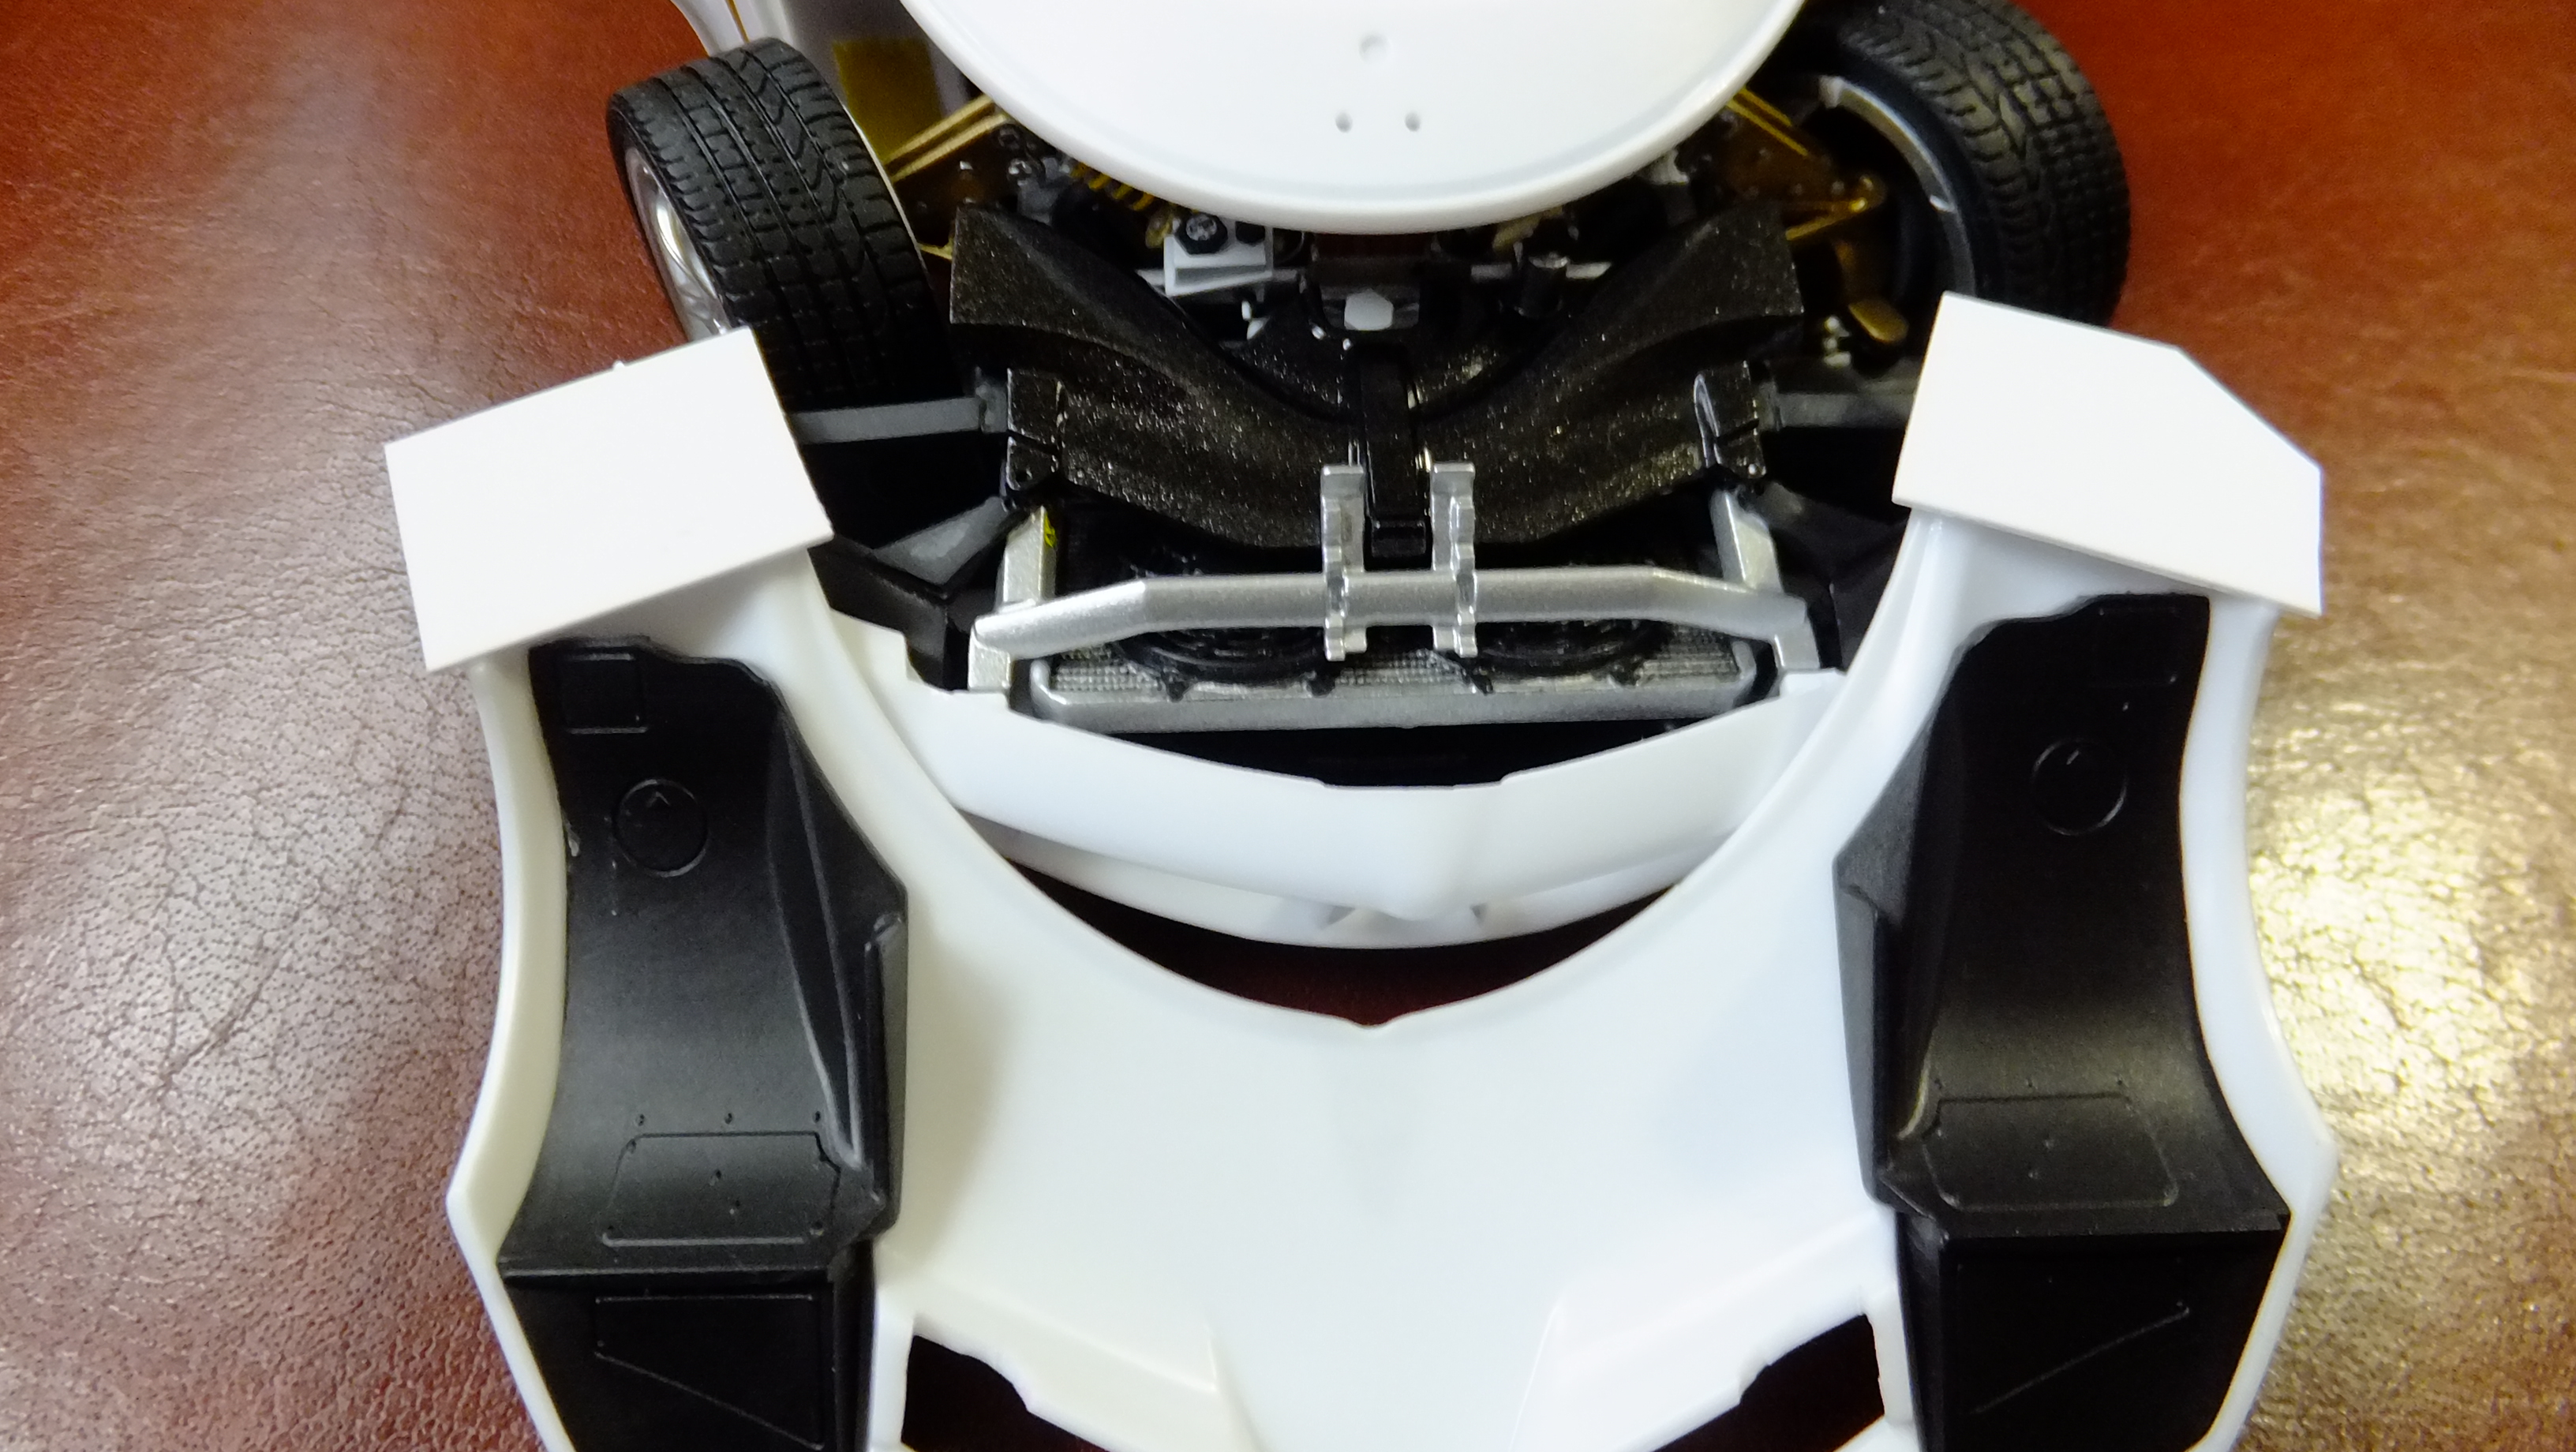
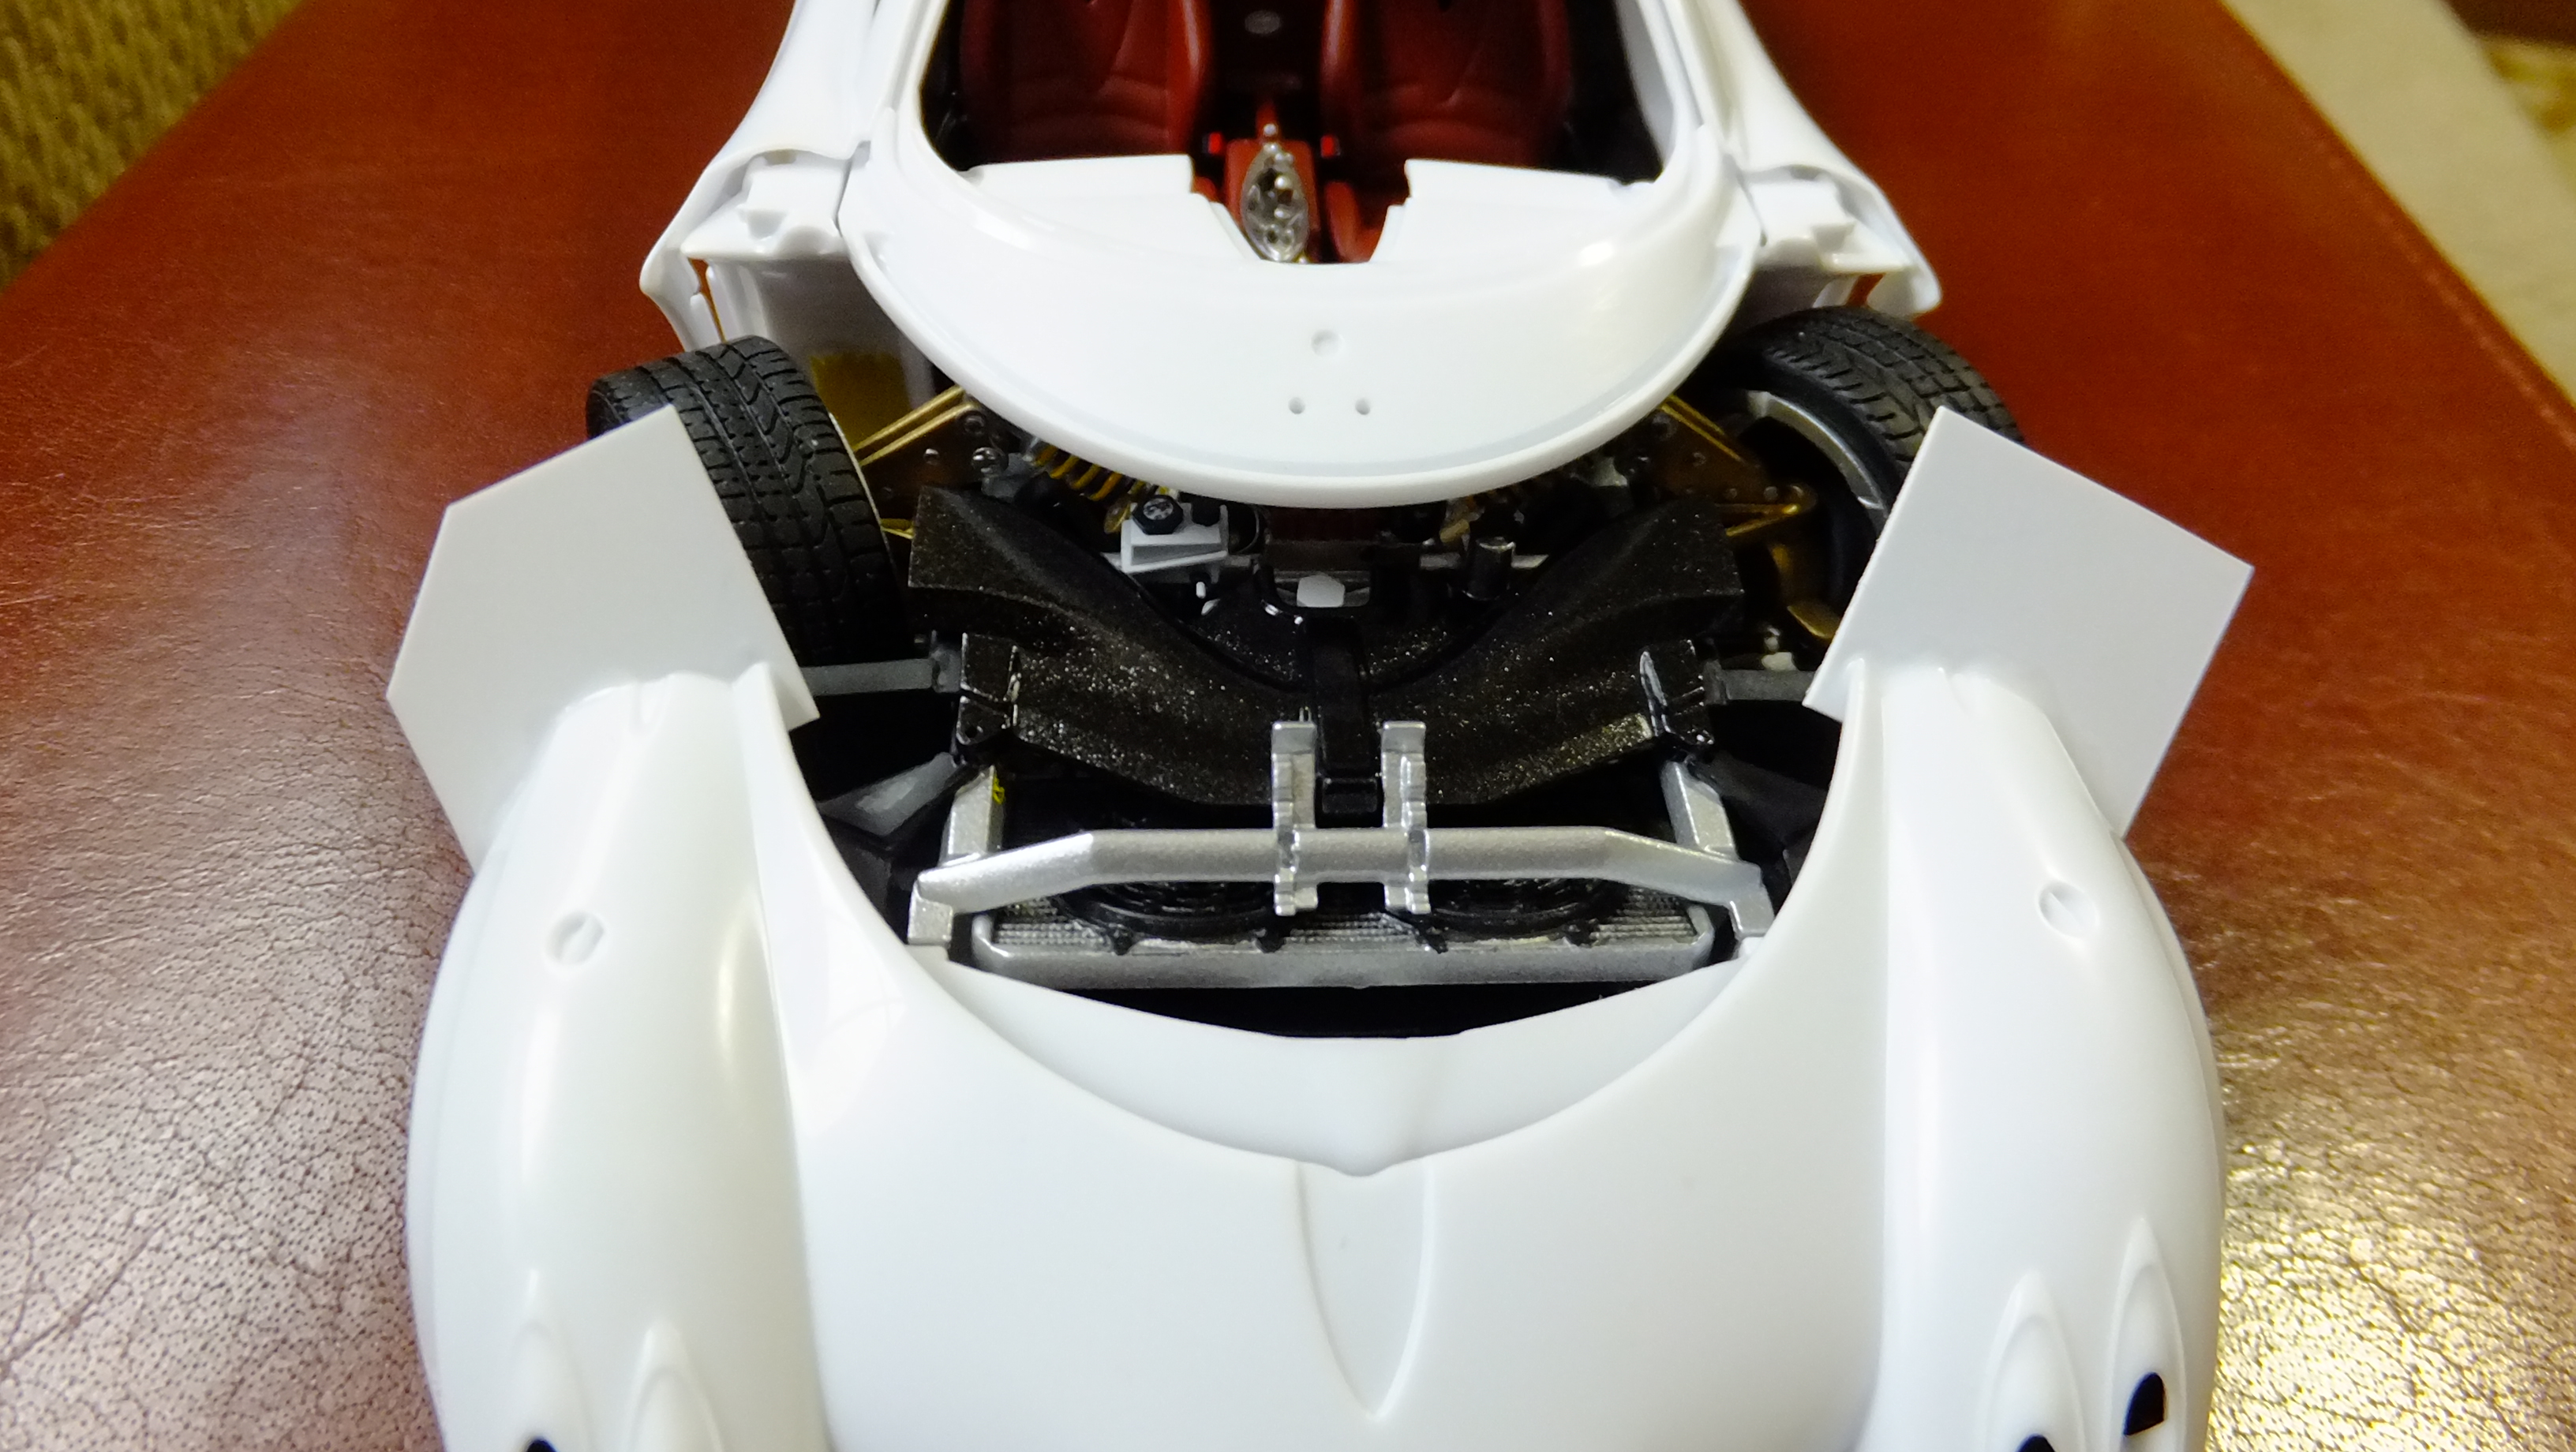
managed to finally get all those little bits I made glued on, and the control arm supports fit perfectly! Now I have to test fit the last two parts to make sure everything will fit before I paint.
-
Thanks, Mark!!.......sorry about that, bud, lol
-
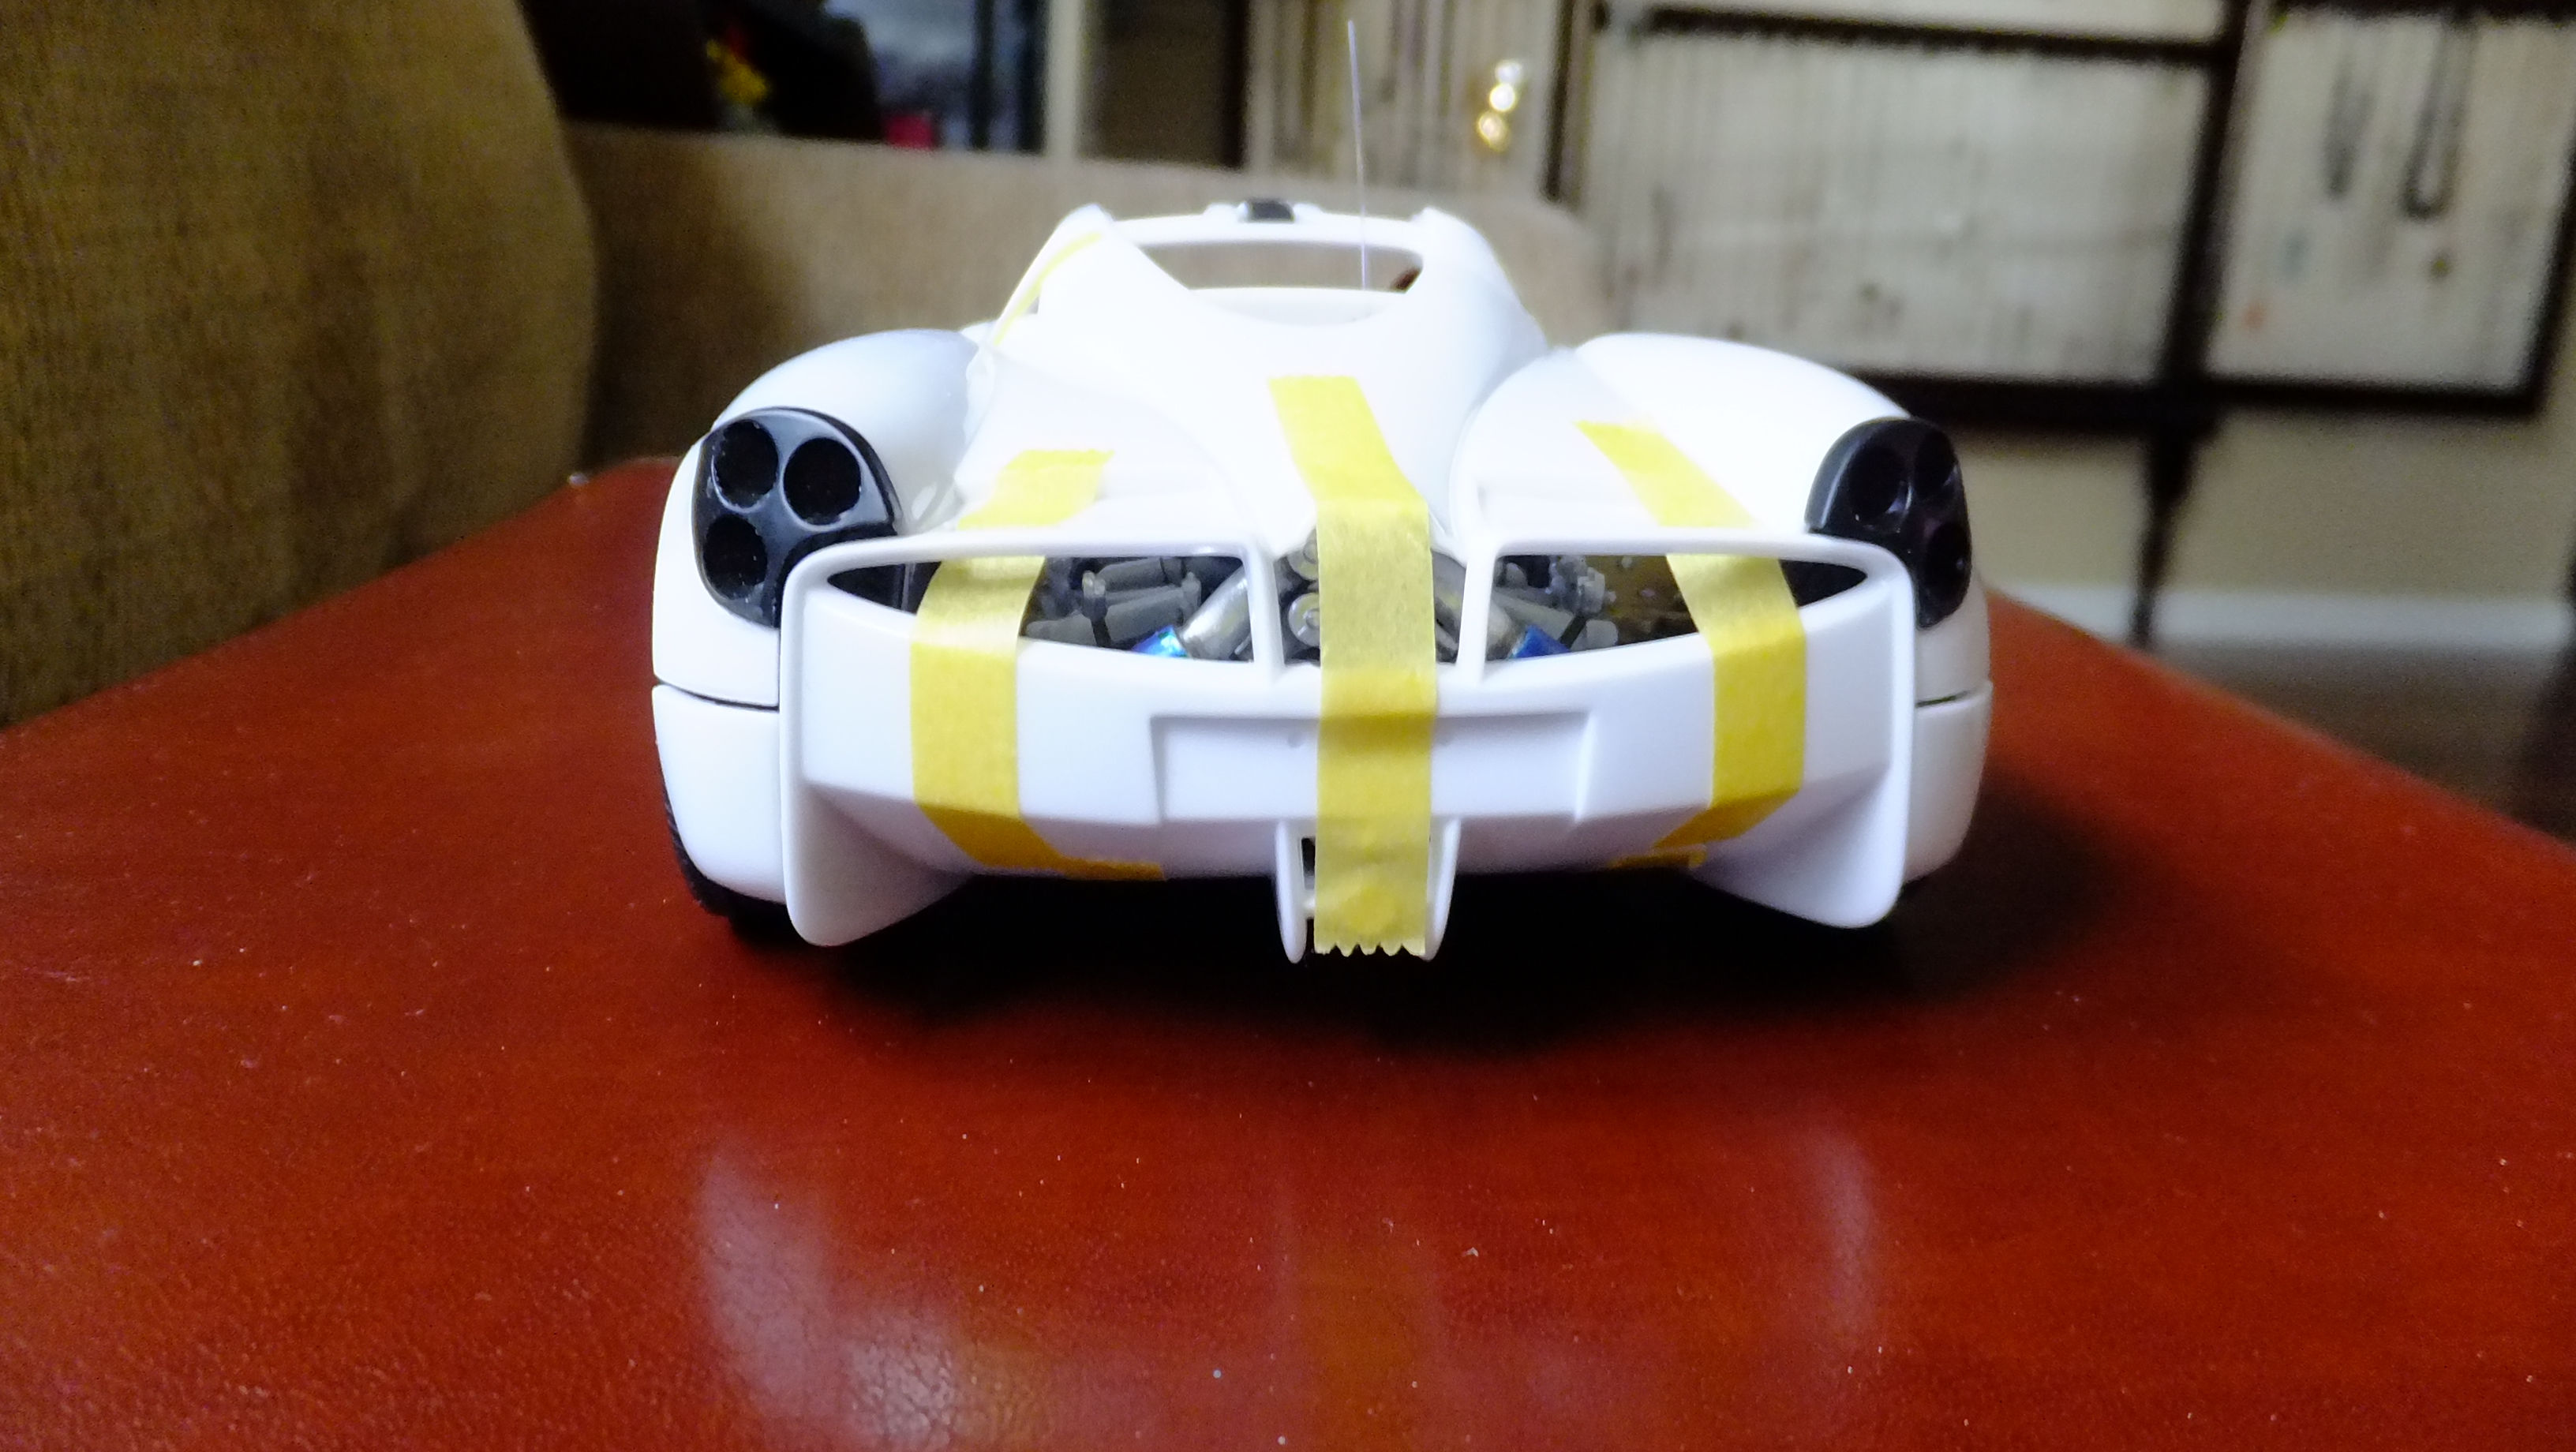
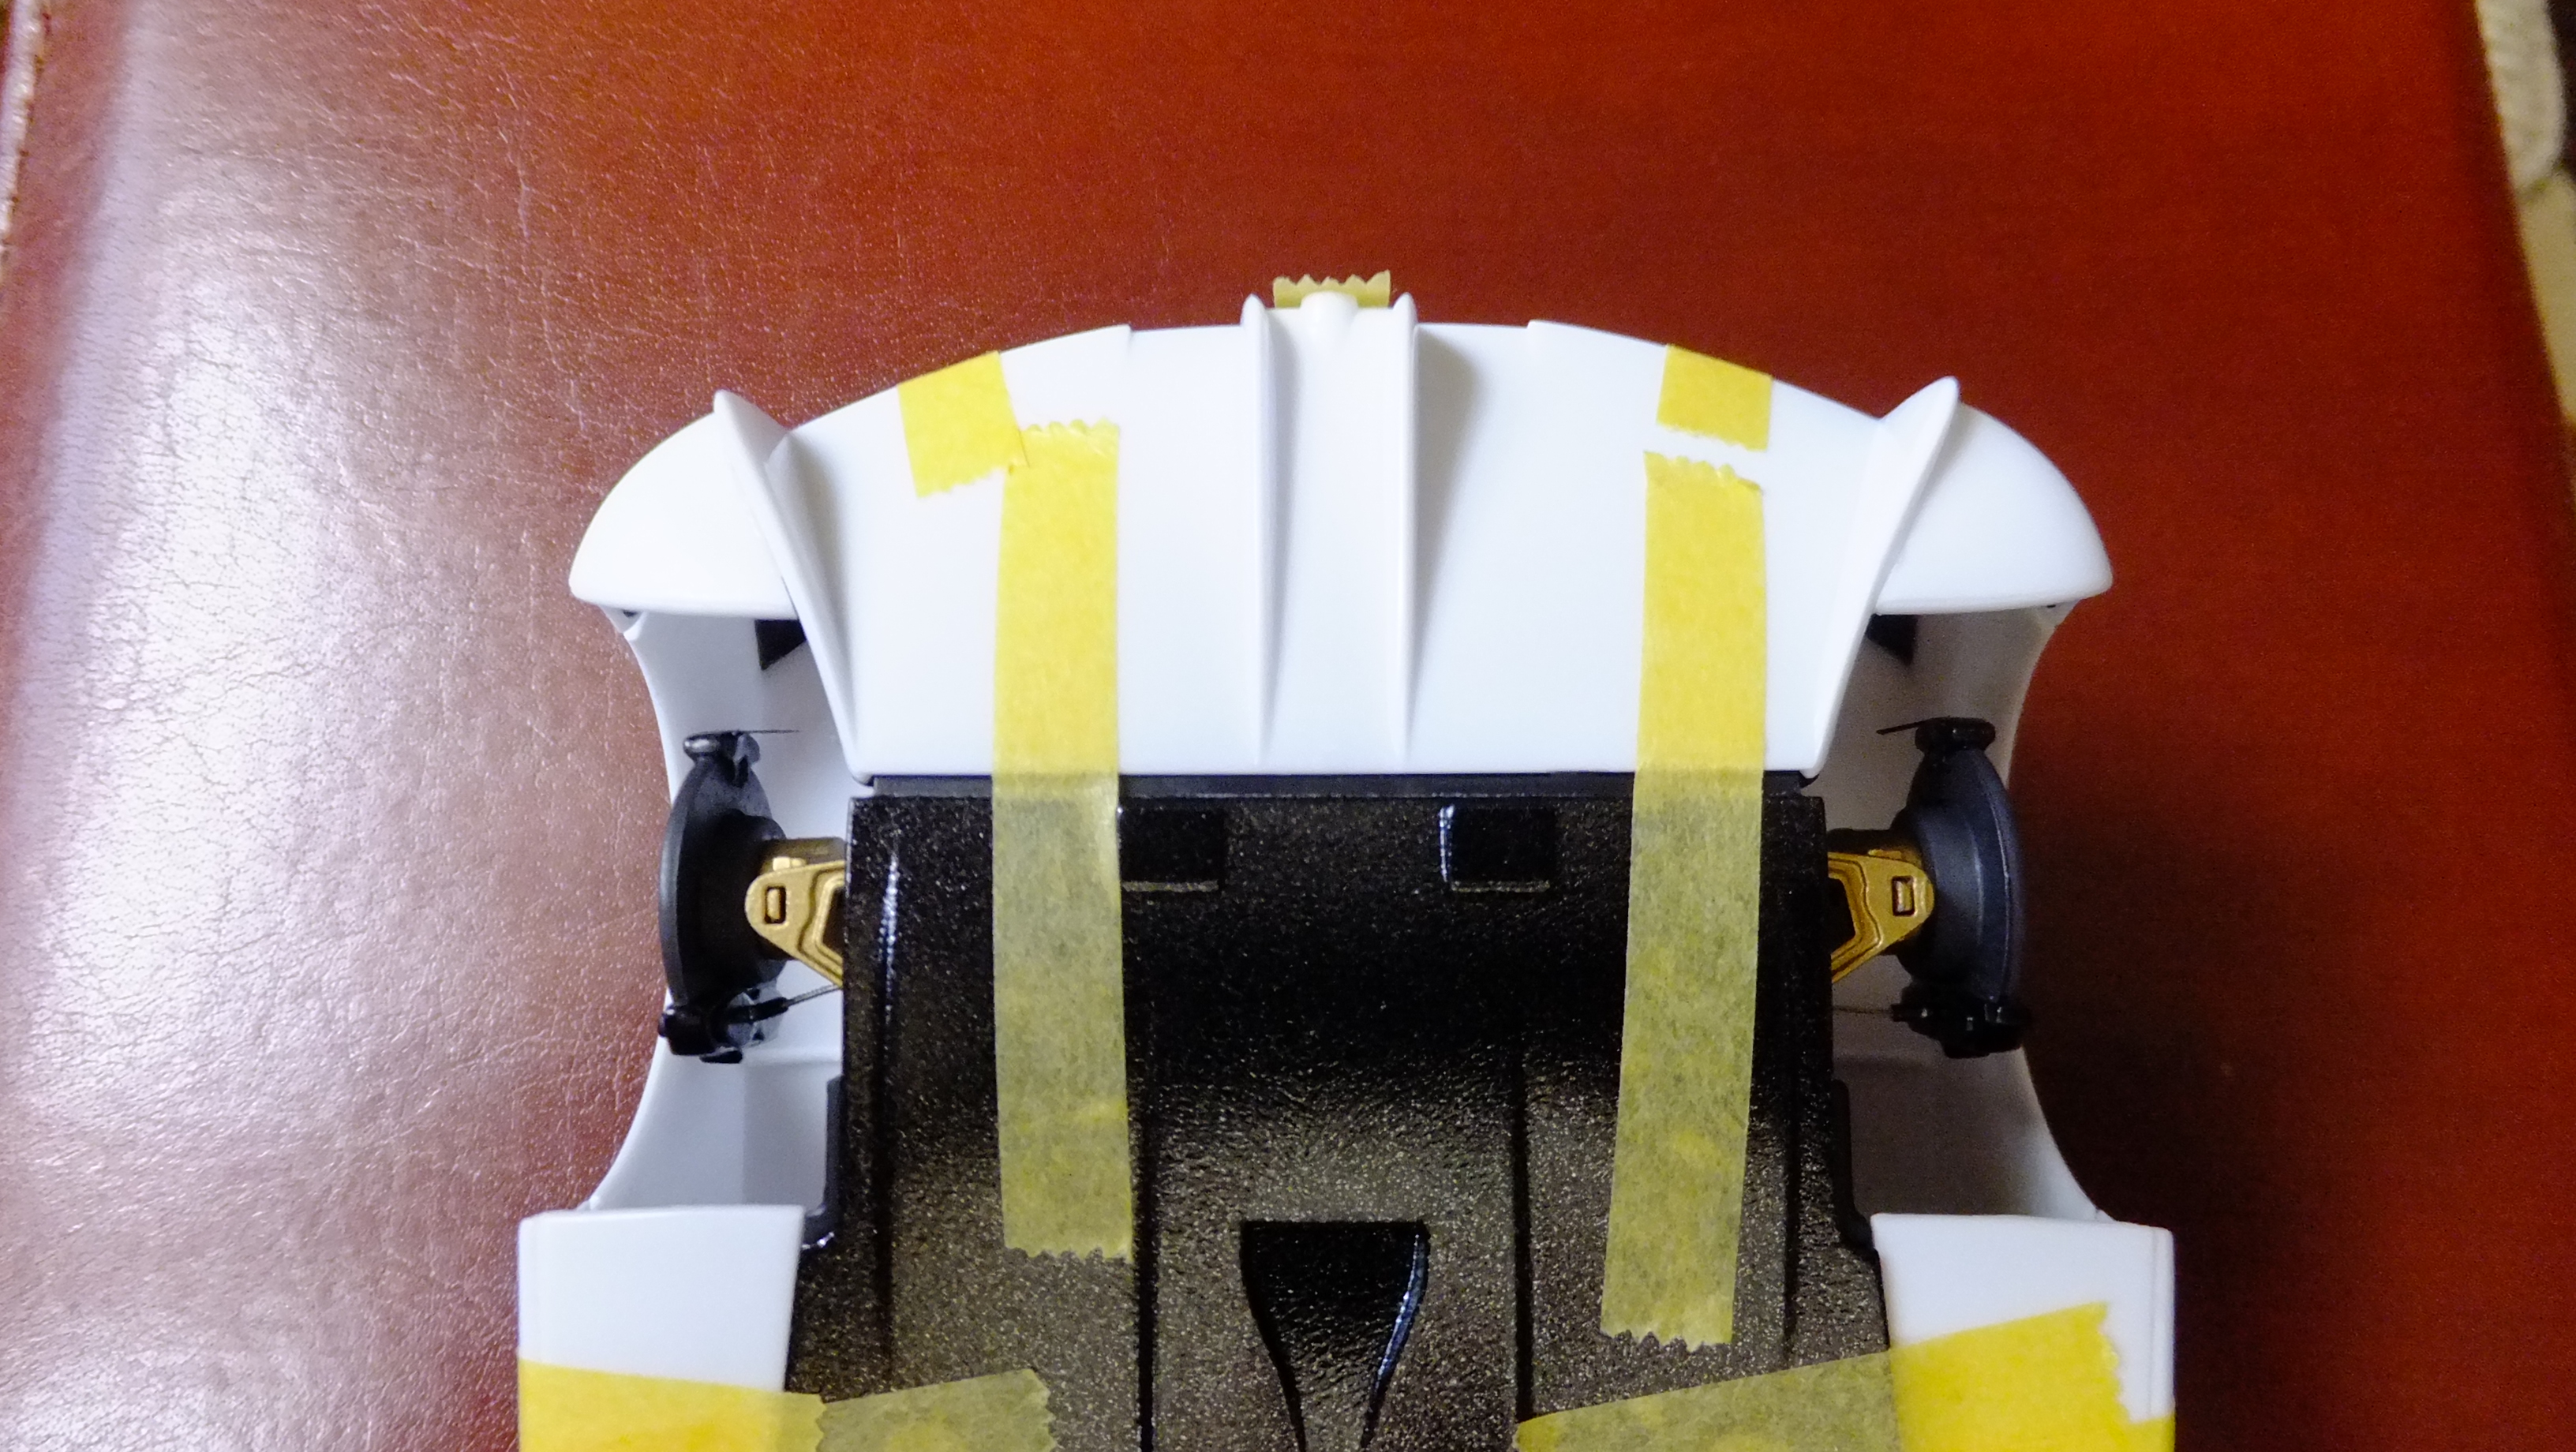
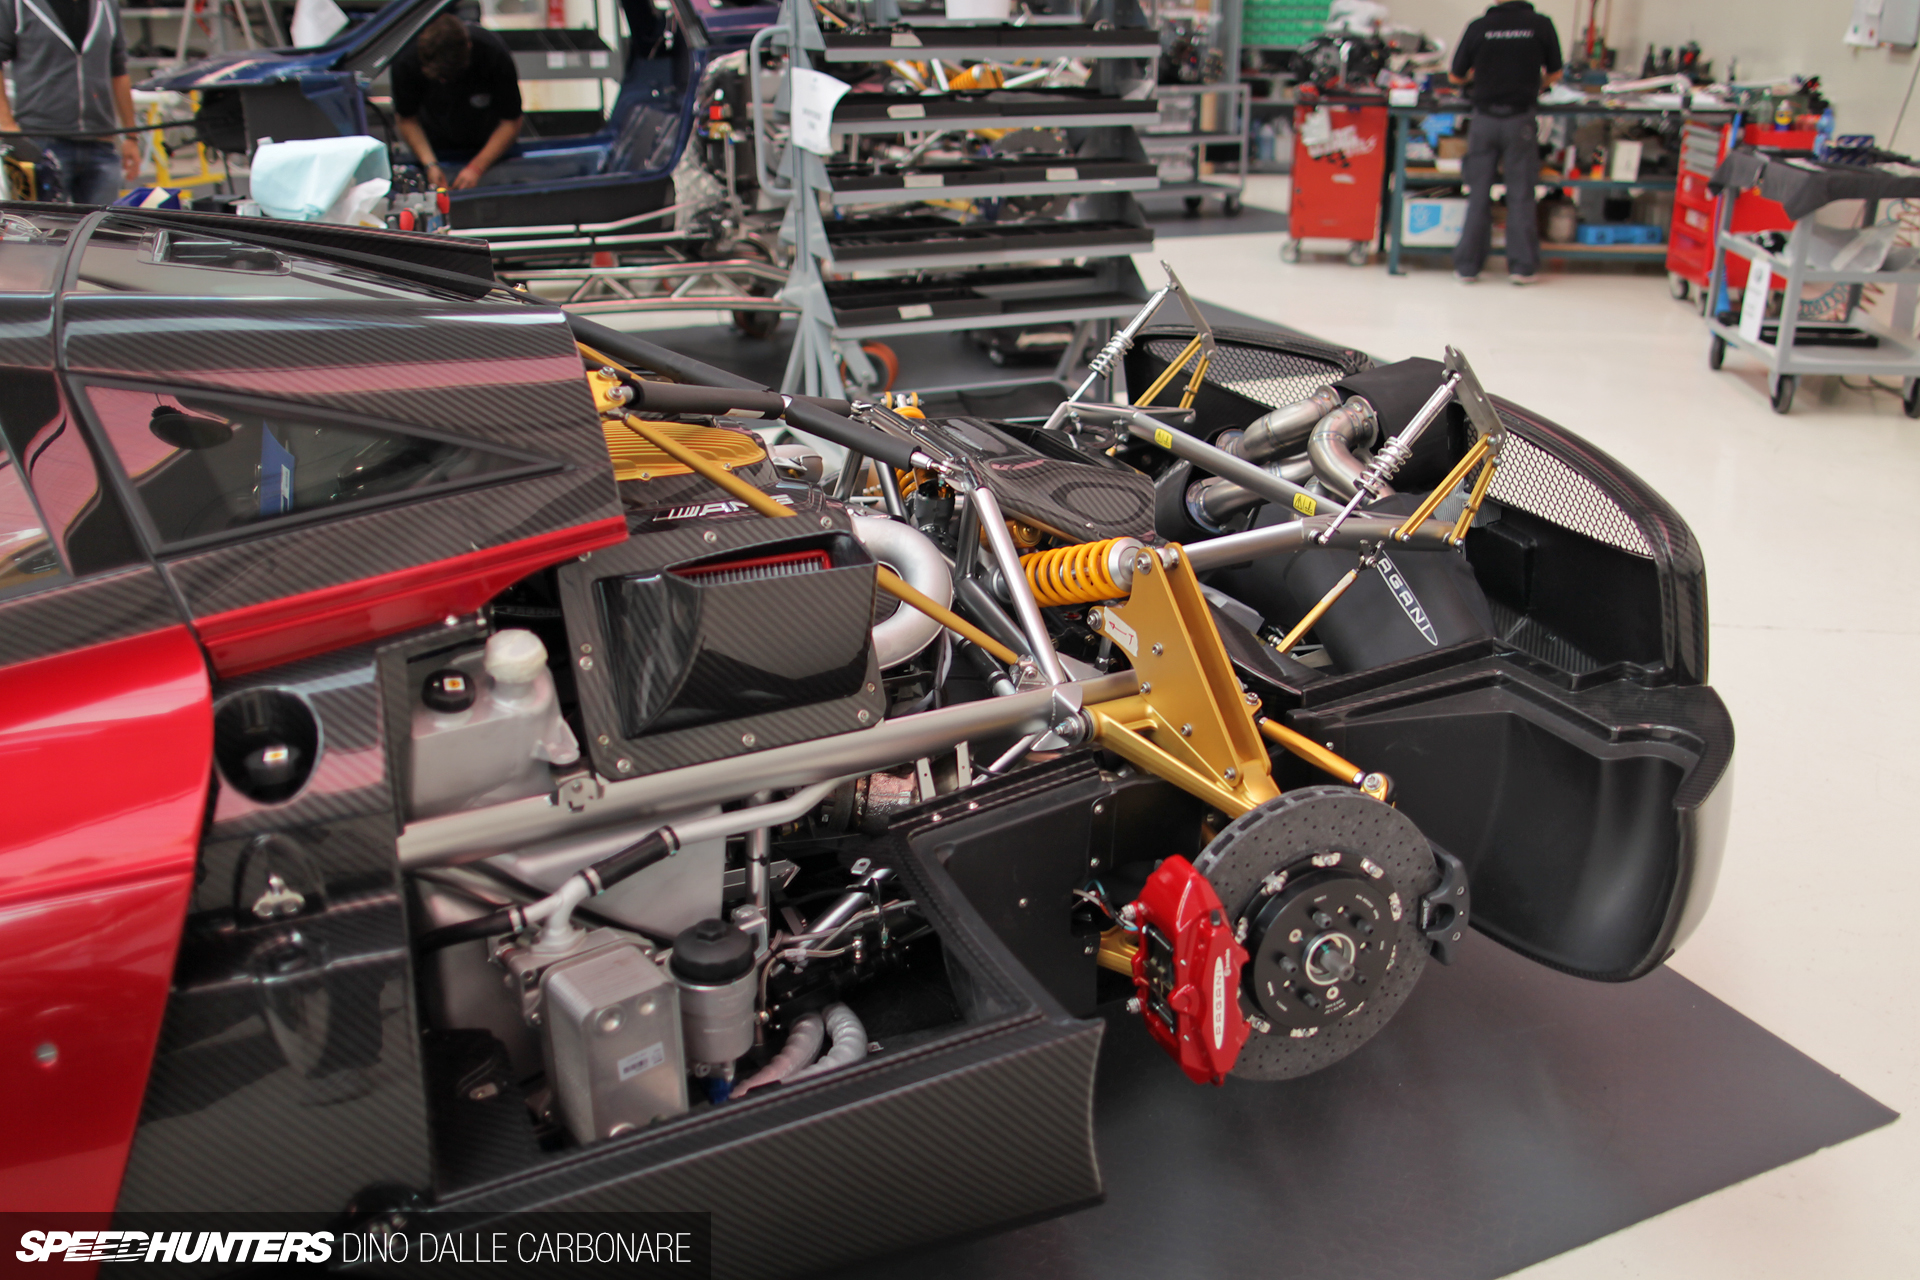
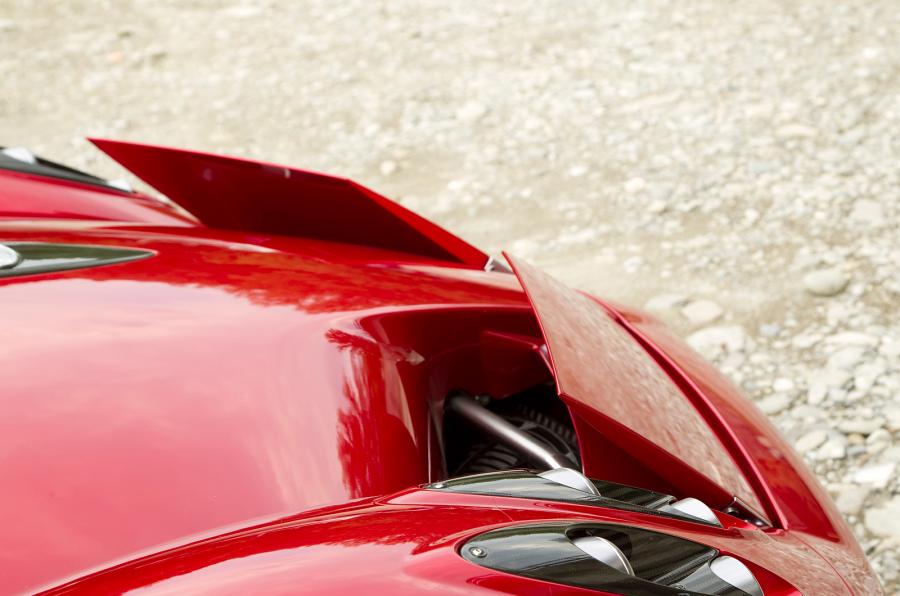
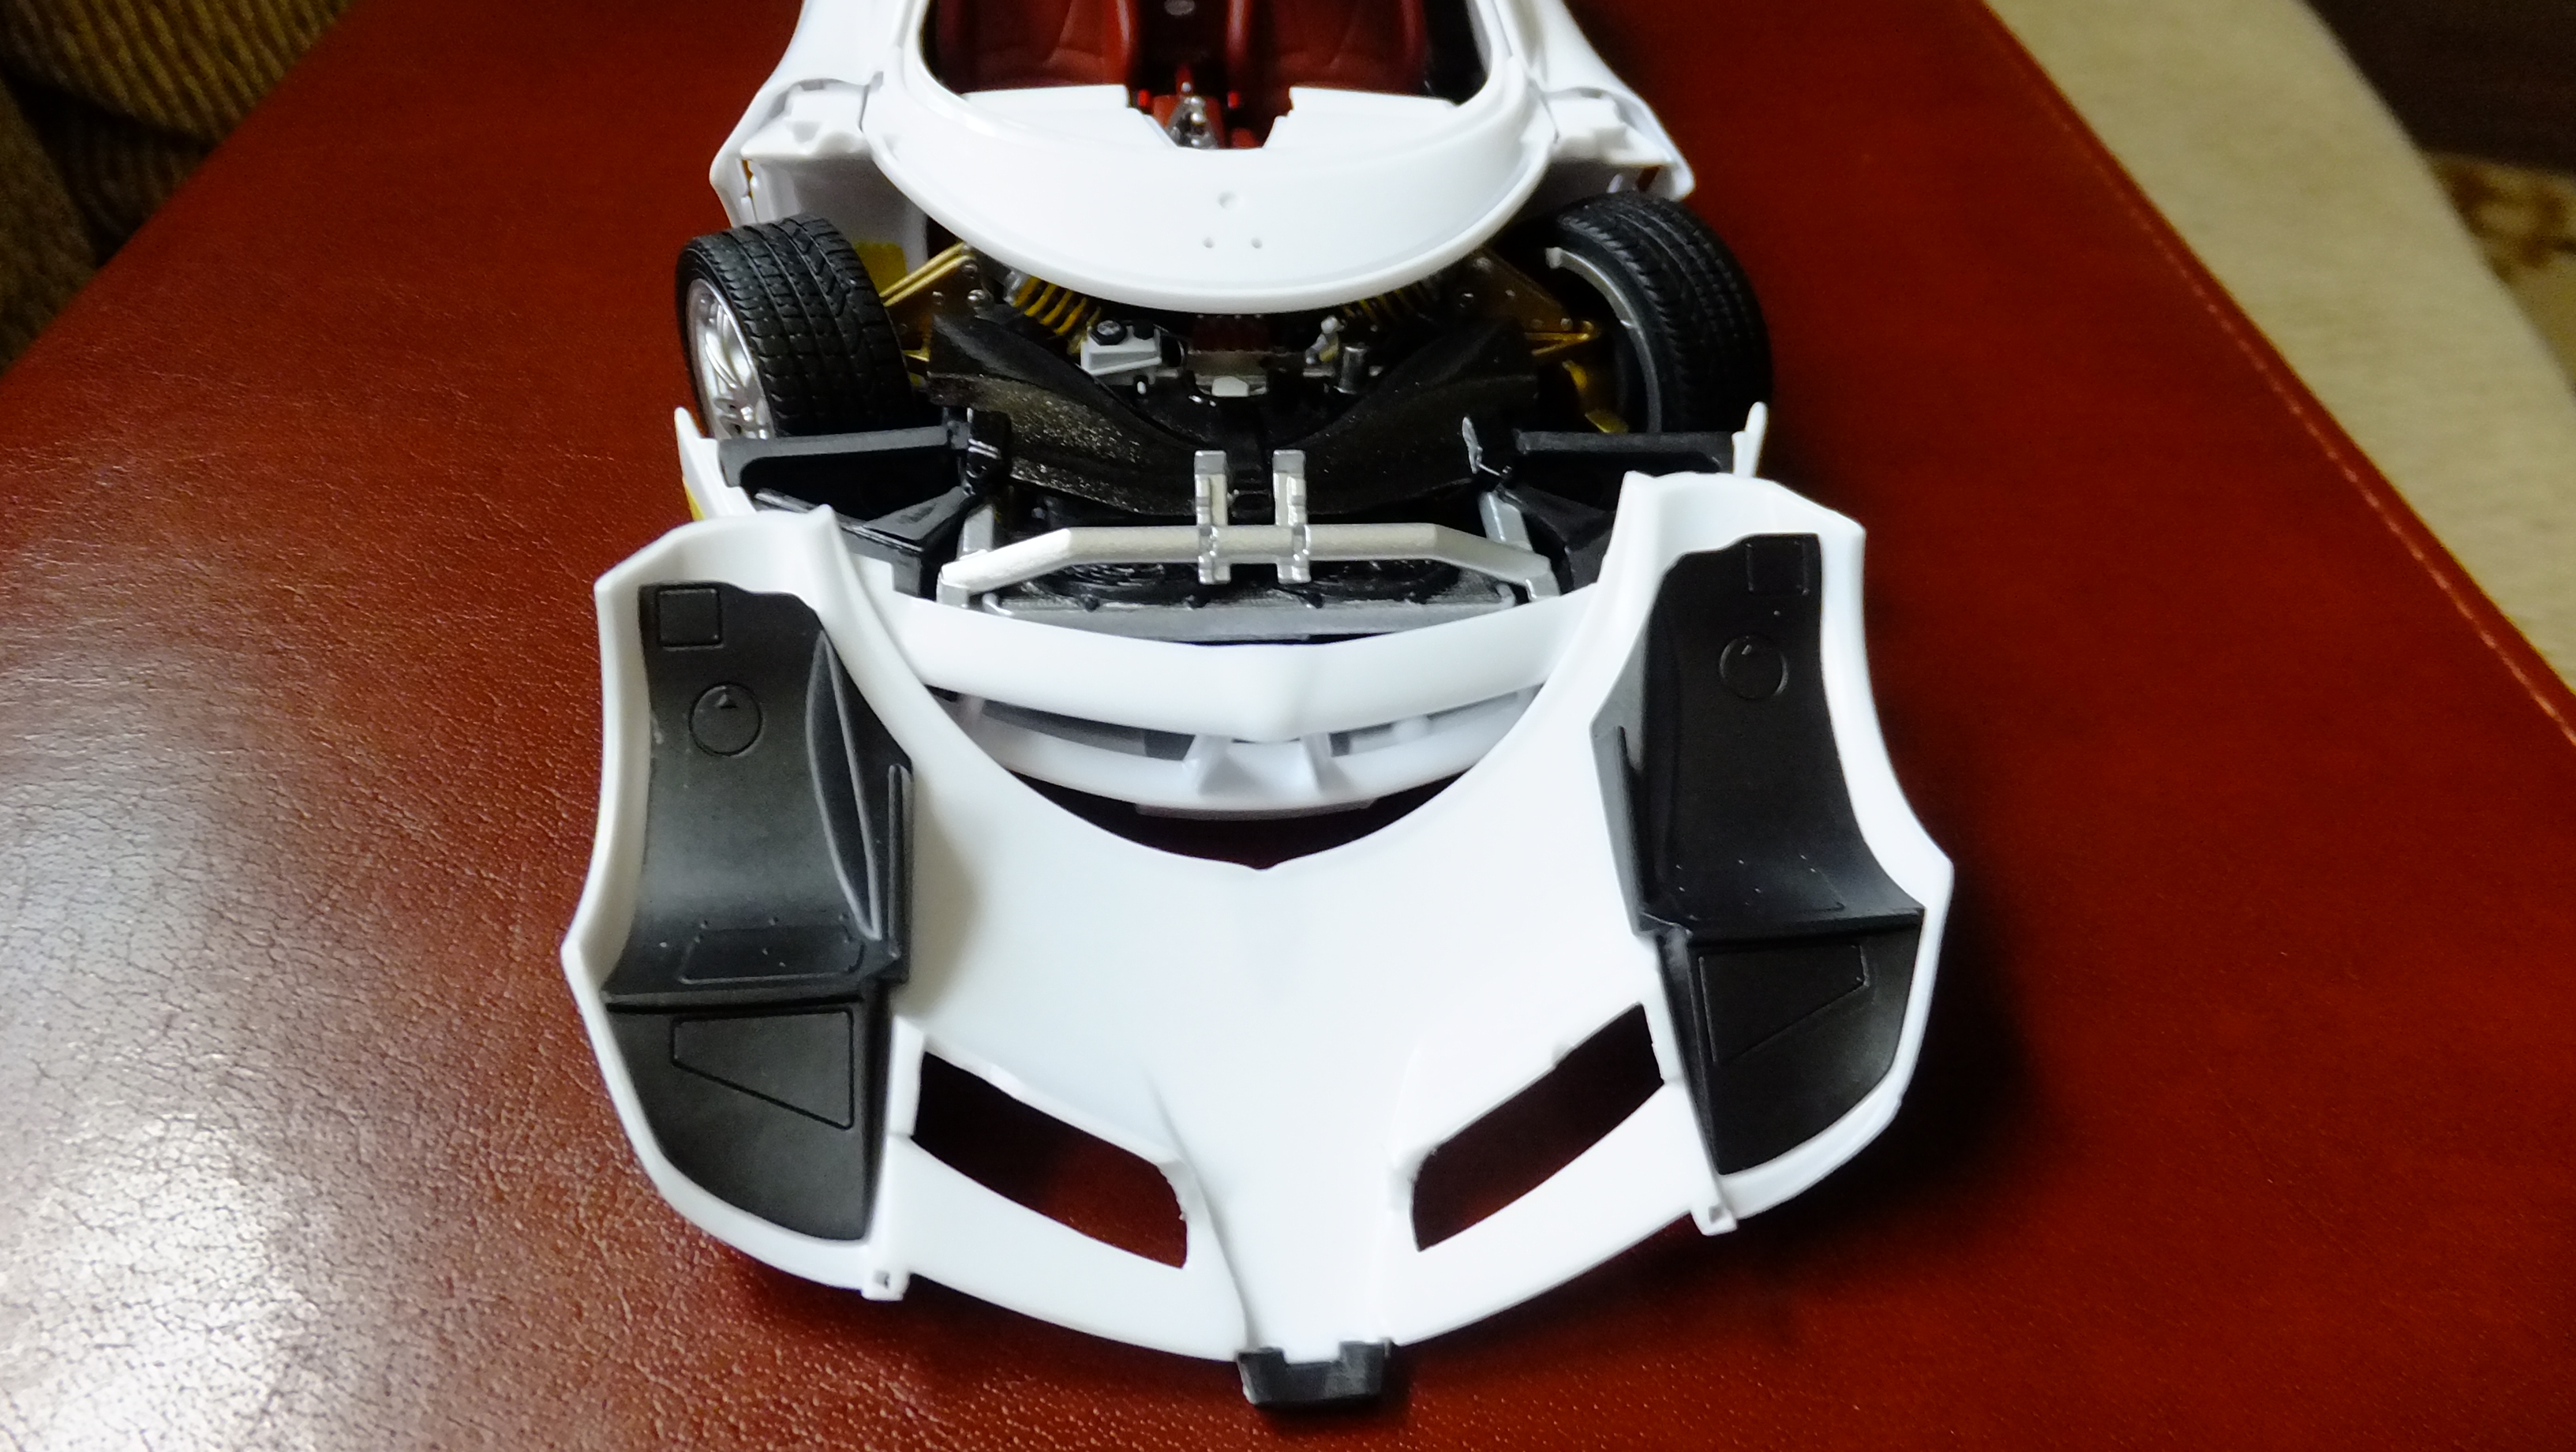
Now I have STRANGE news for everyone; after adding the styrene to fill the gap at the rear bumper/cowl, I began to sand, and noticed that I had sanded off ALL that I added!!, and that the bumper had slipped back to its factory contact spot on the belly pan........everything fit as it should!??!!, so now, scratching my head, I decided she's ready for paint. I also decided to add upper supports to the bumper since I don't trust the factory one. What came in handy for figuring where to put the braces, was the fact that the real car has a thin cover that bridges the drive axles, and this is how I did it. See reference photo...
-
Nice project, JC!!!....LOVE Porsche's!!!!!
-
I have OUTSTANDING news for everyone!!!, the rear bumper wasn't that bad at all to fix!!!!.....easier than the front cowl actually!! After staring at it for a few hours to see how I was going to have to "hack it up" just to make it right, I had Tina check it out. She helped me figure-out, that all you have to do is slide the bumper back off the factory belly-pan contact, and push the bumper up to meet the rear cowl........that was it!!!!!! -Man do I LOVE my Tina!!!! all I have to do is slightly close the gaps on the corners the same way I did on the front, and she's ready for paint!!!!
-
Thanks, Brian!!...take as many as you want!!!, by the way, I haven't forgotten about you, I will be sending you those wheels & tyres VERY soon!!!
-
Thanks, Tim!!
-
I tried to build one as soon as they were available, so I ordered mine from a local hobby shop....you know, to support them, but after a year went by with no call, I ordered my own, and got it from Japan in a week!....and they wonder why people are doing online sales........?
-
I will be painting it Duplicolor Pewter Metallic, with three coats of their clear, topped with 1-2 coats of Tamiya clear.
-
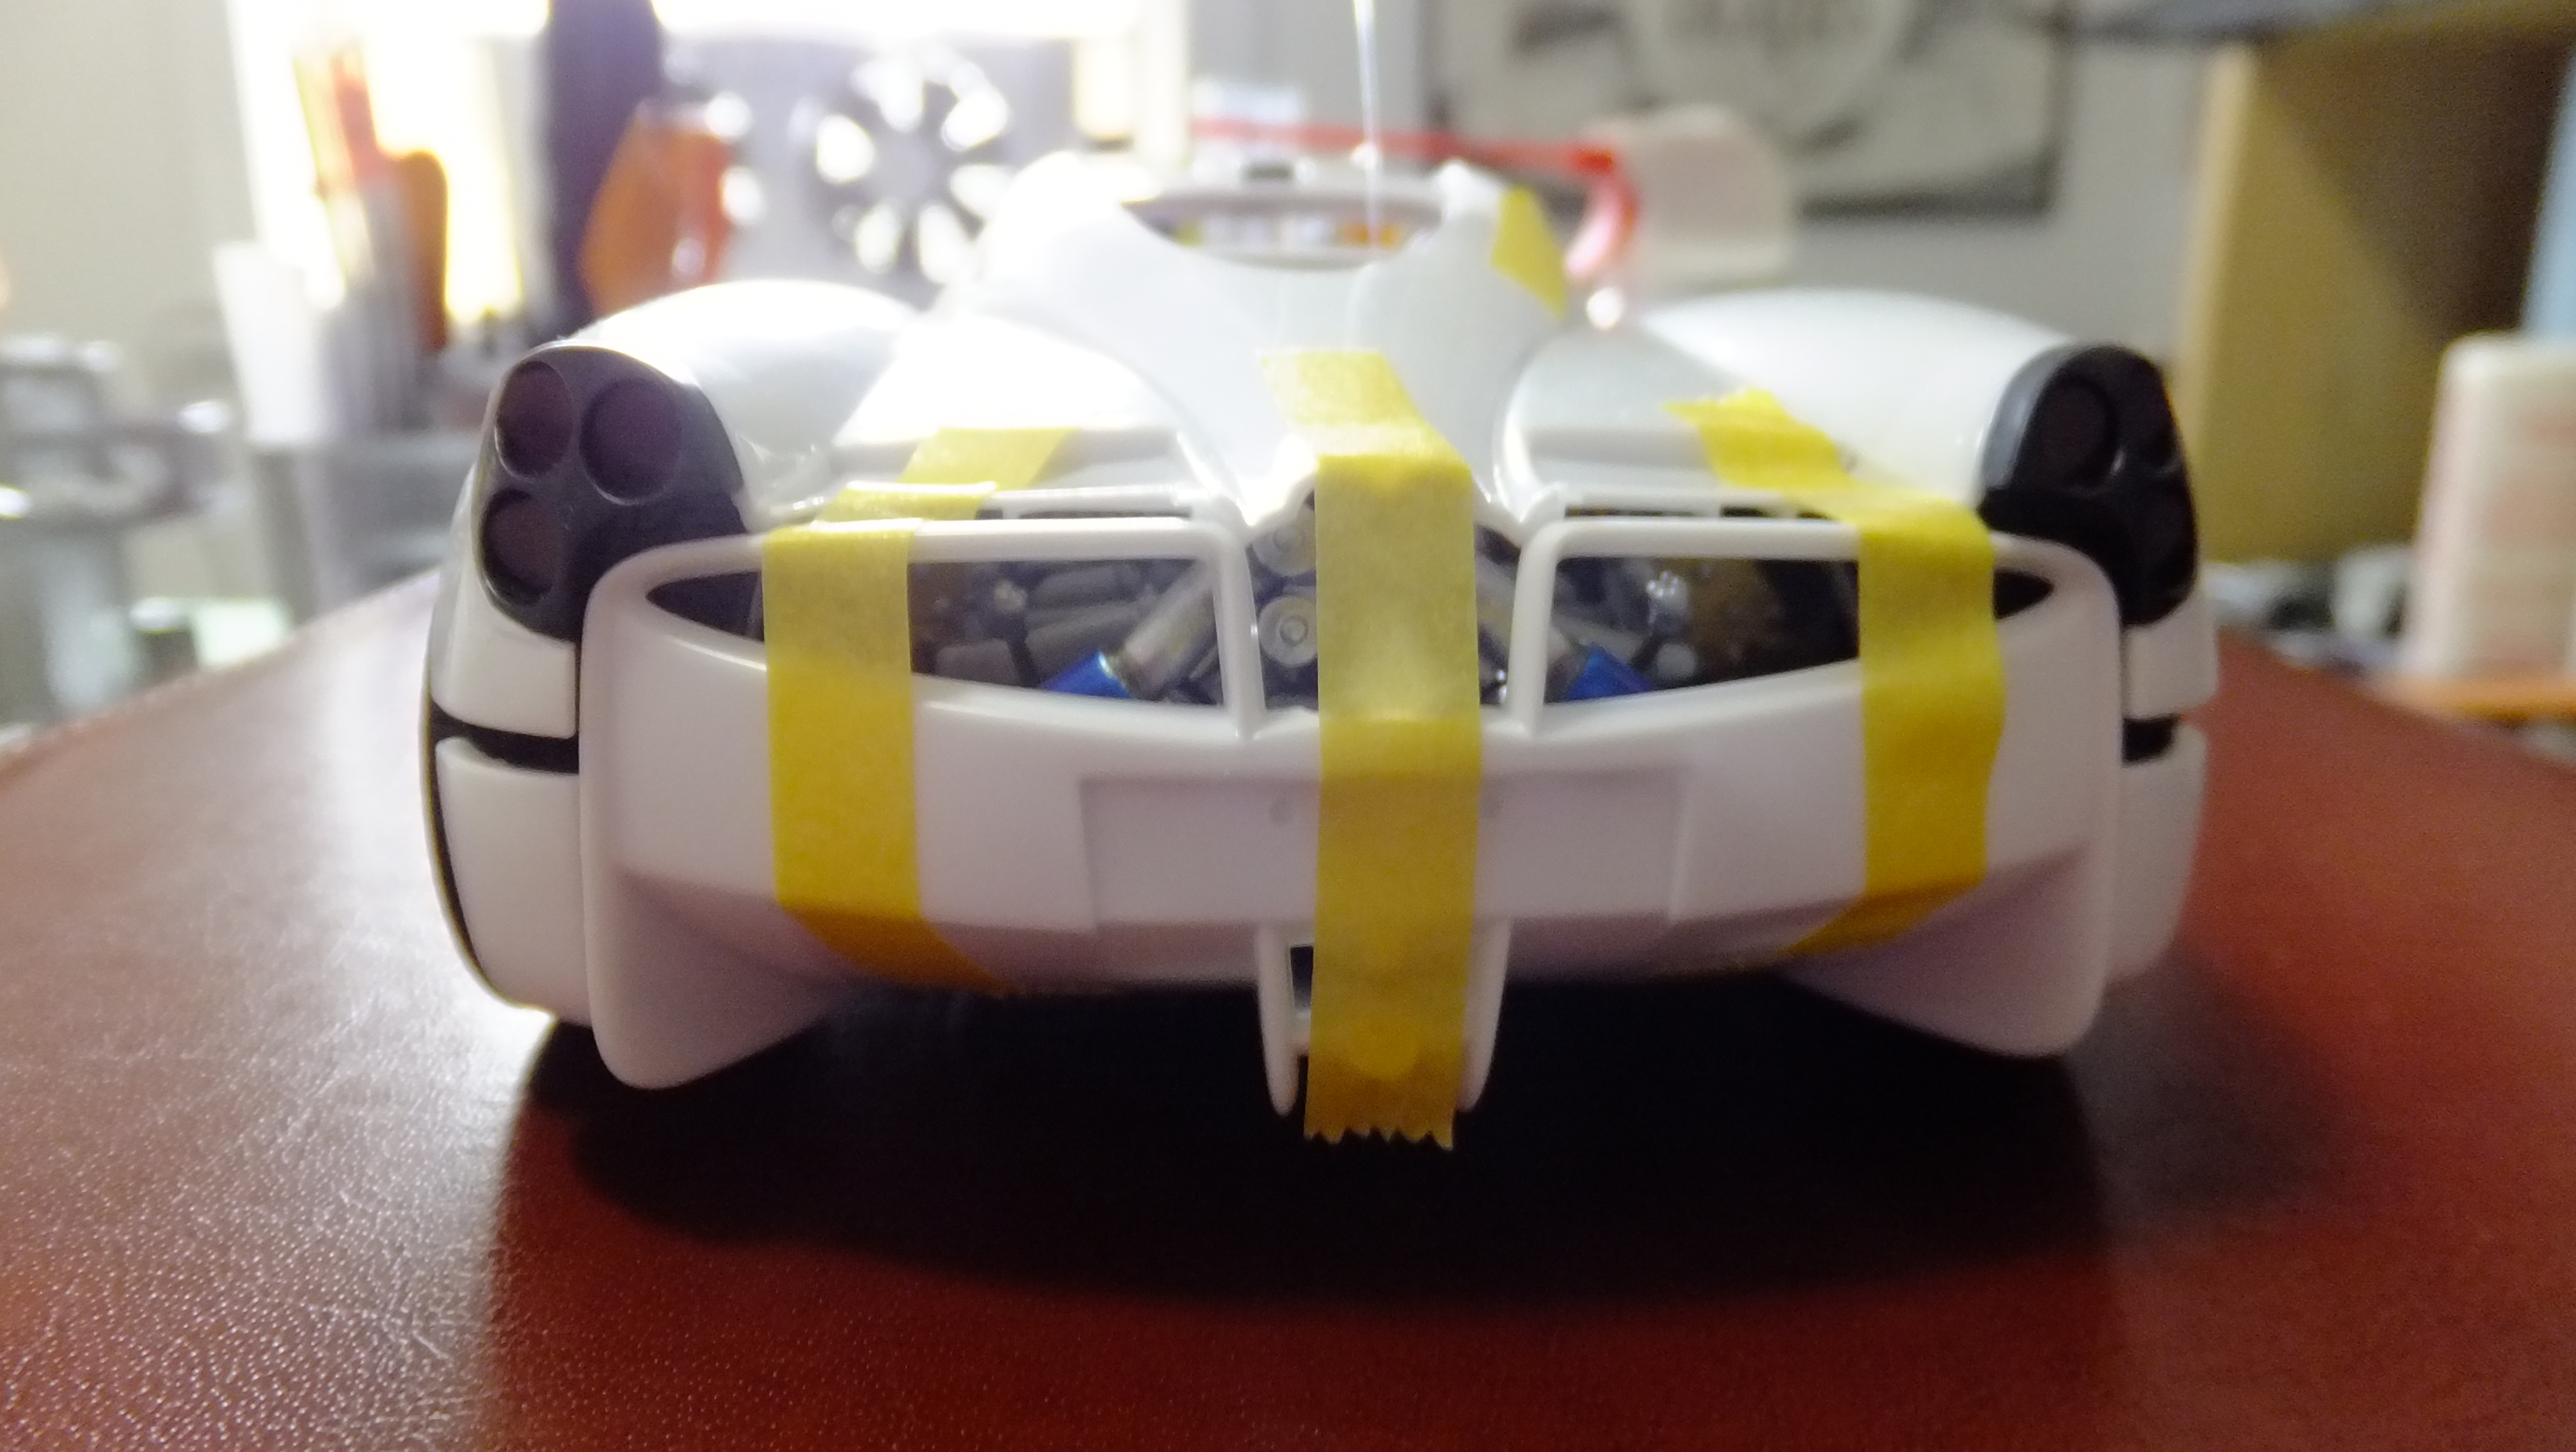
Got the gap with the front cowl fixed!!!!...it went GREAT!!, now its time for that HORRIBLE mess in the back end.......everything is EXACTLY where its suppose to be, and its a HORRIBLE gap!! There is only ONE option, and its gonna take a bit of work...doable though, but we SHOULDNT have too.
-
Here I show how i'm fixing that nasty gap, and its going really well!!
-
thanks, Jonathan!, After seeing ALL the built ones coming out with horrible fit problems, I decided to help people with it, so if can help, that's what i'm here for!!
-
Forgot to share these reference photos of the "notched-out" vents that allow the support bar to be there. The crazy thing is that if yiu look at the cowl to your kit, there is a mold seam EXACTLY where, and how this notch should be??!!! -Did they accidently fill it in, or were they messing with us?!....lol
-
Sorry, Scott, didn't mean to not reply back......yes it is!, and by the way, I was totally serious about your Ferrari build!!....I love it!!
-
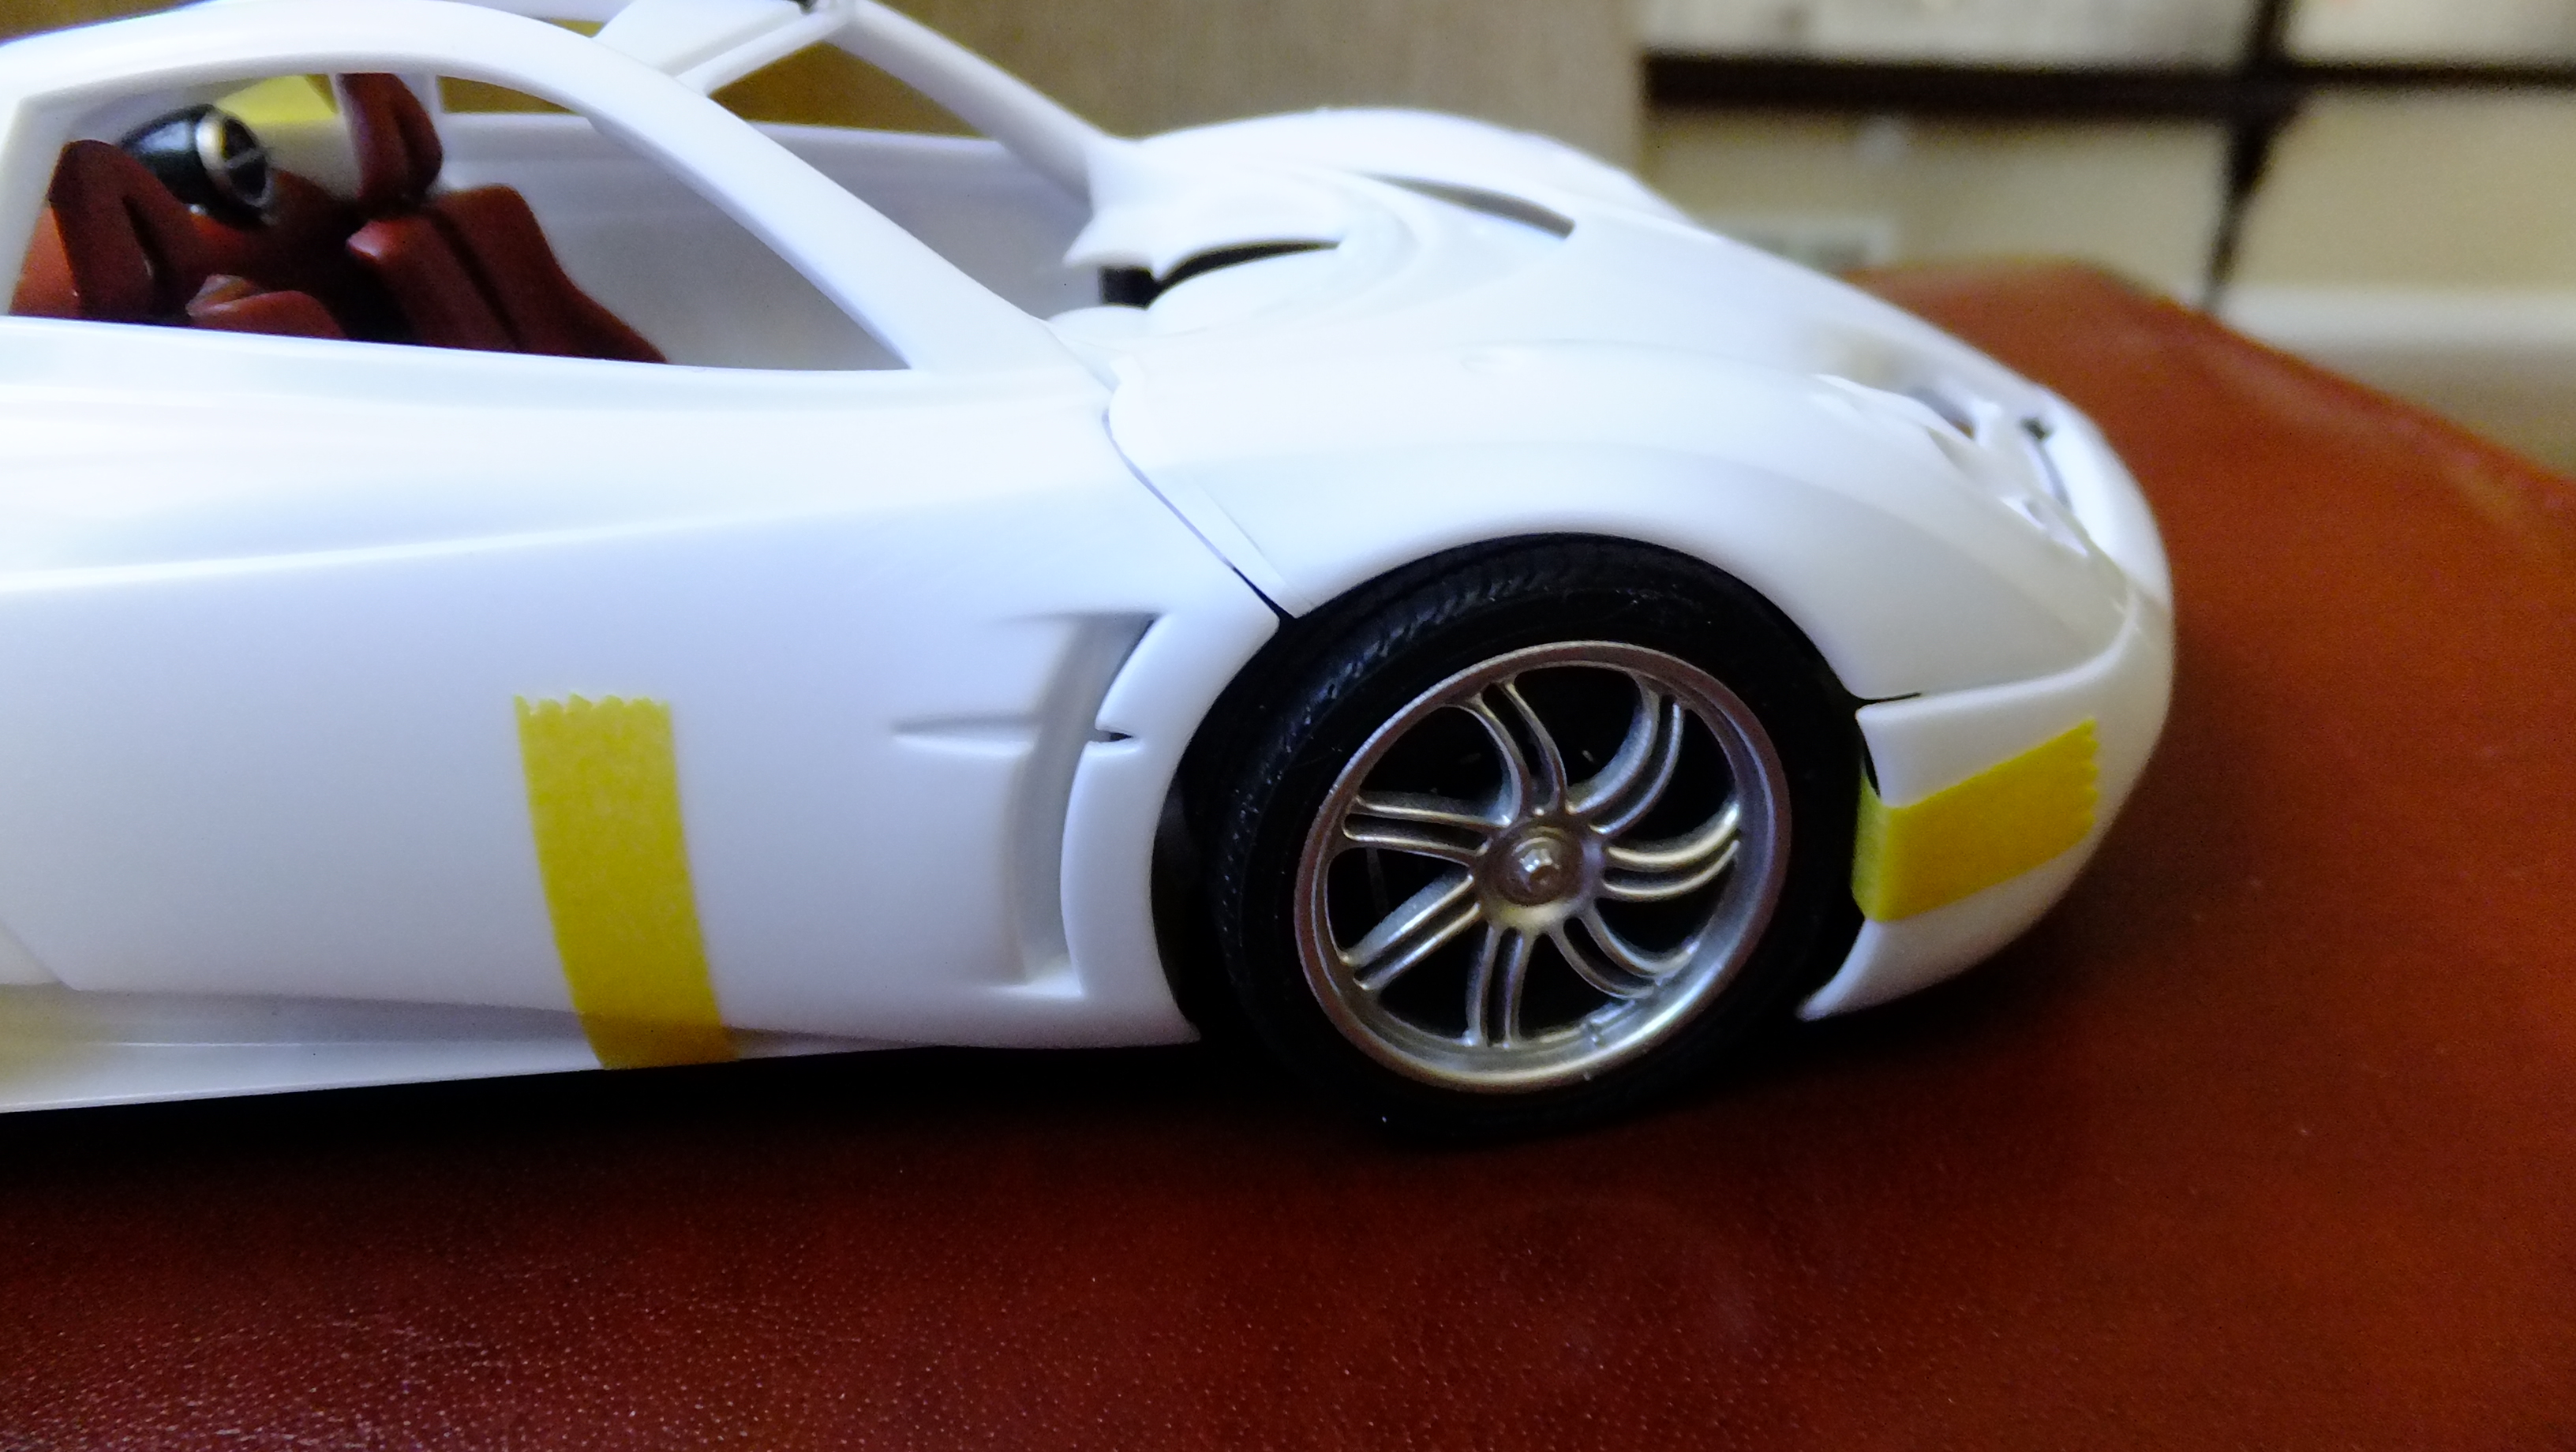
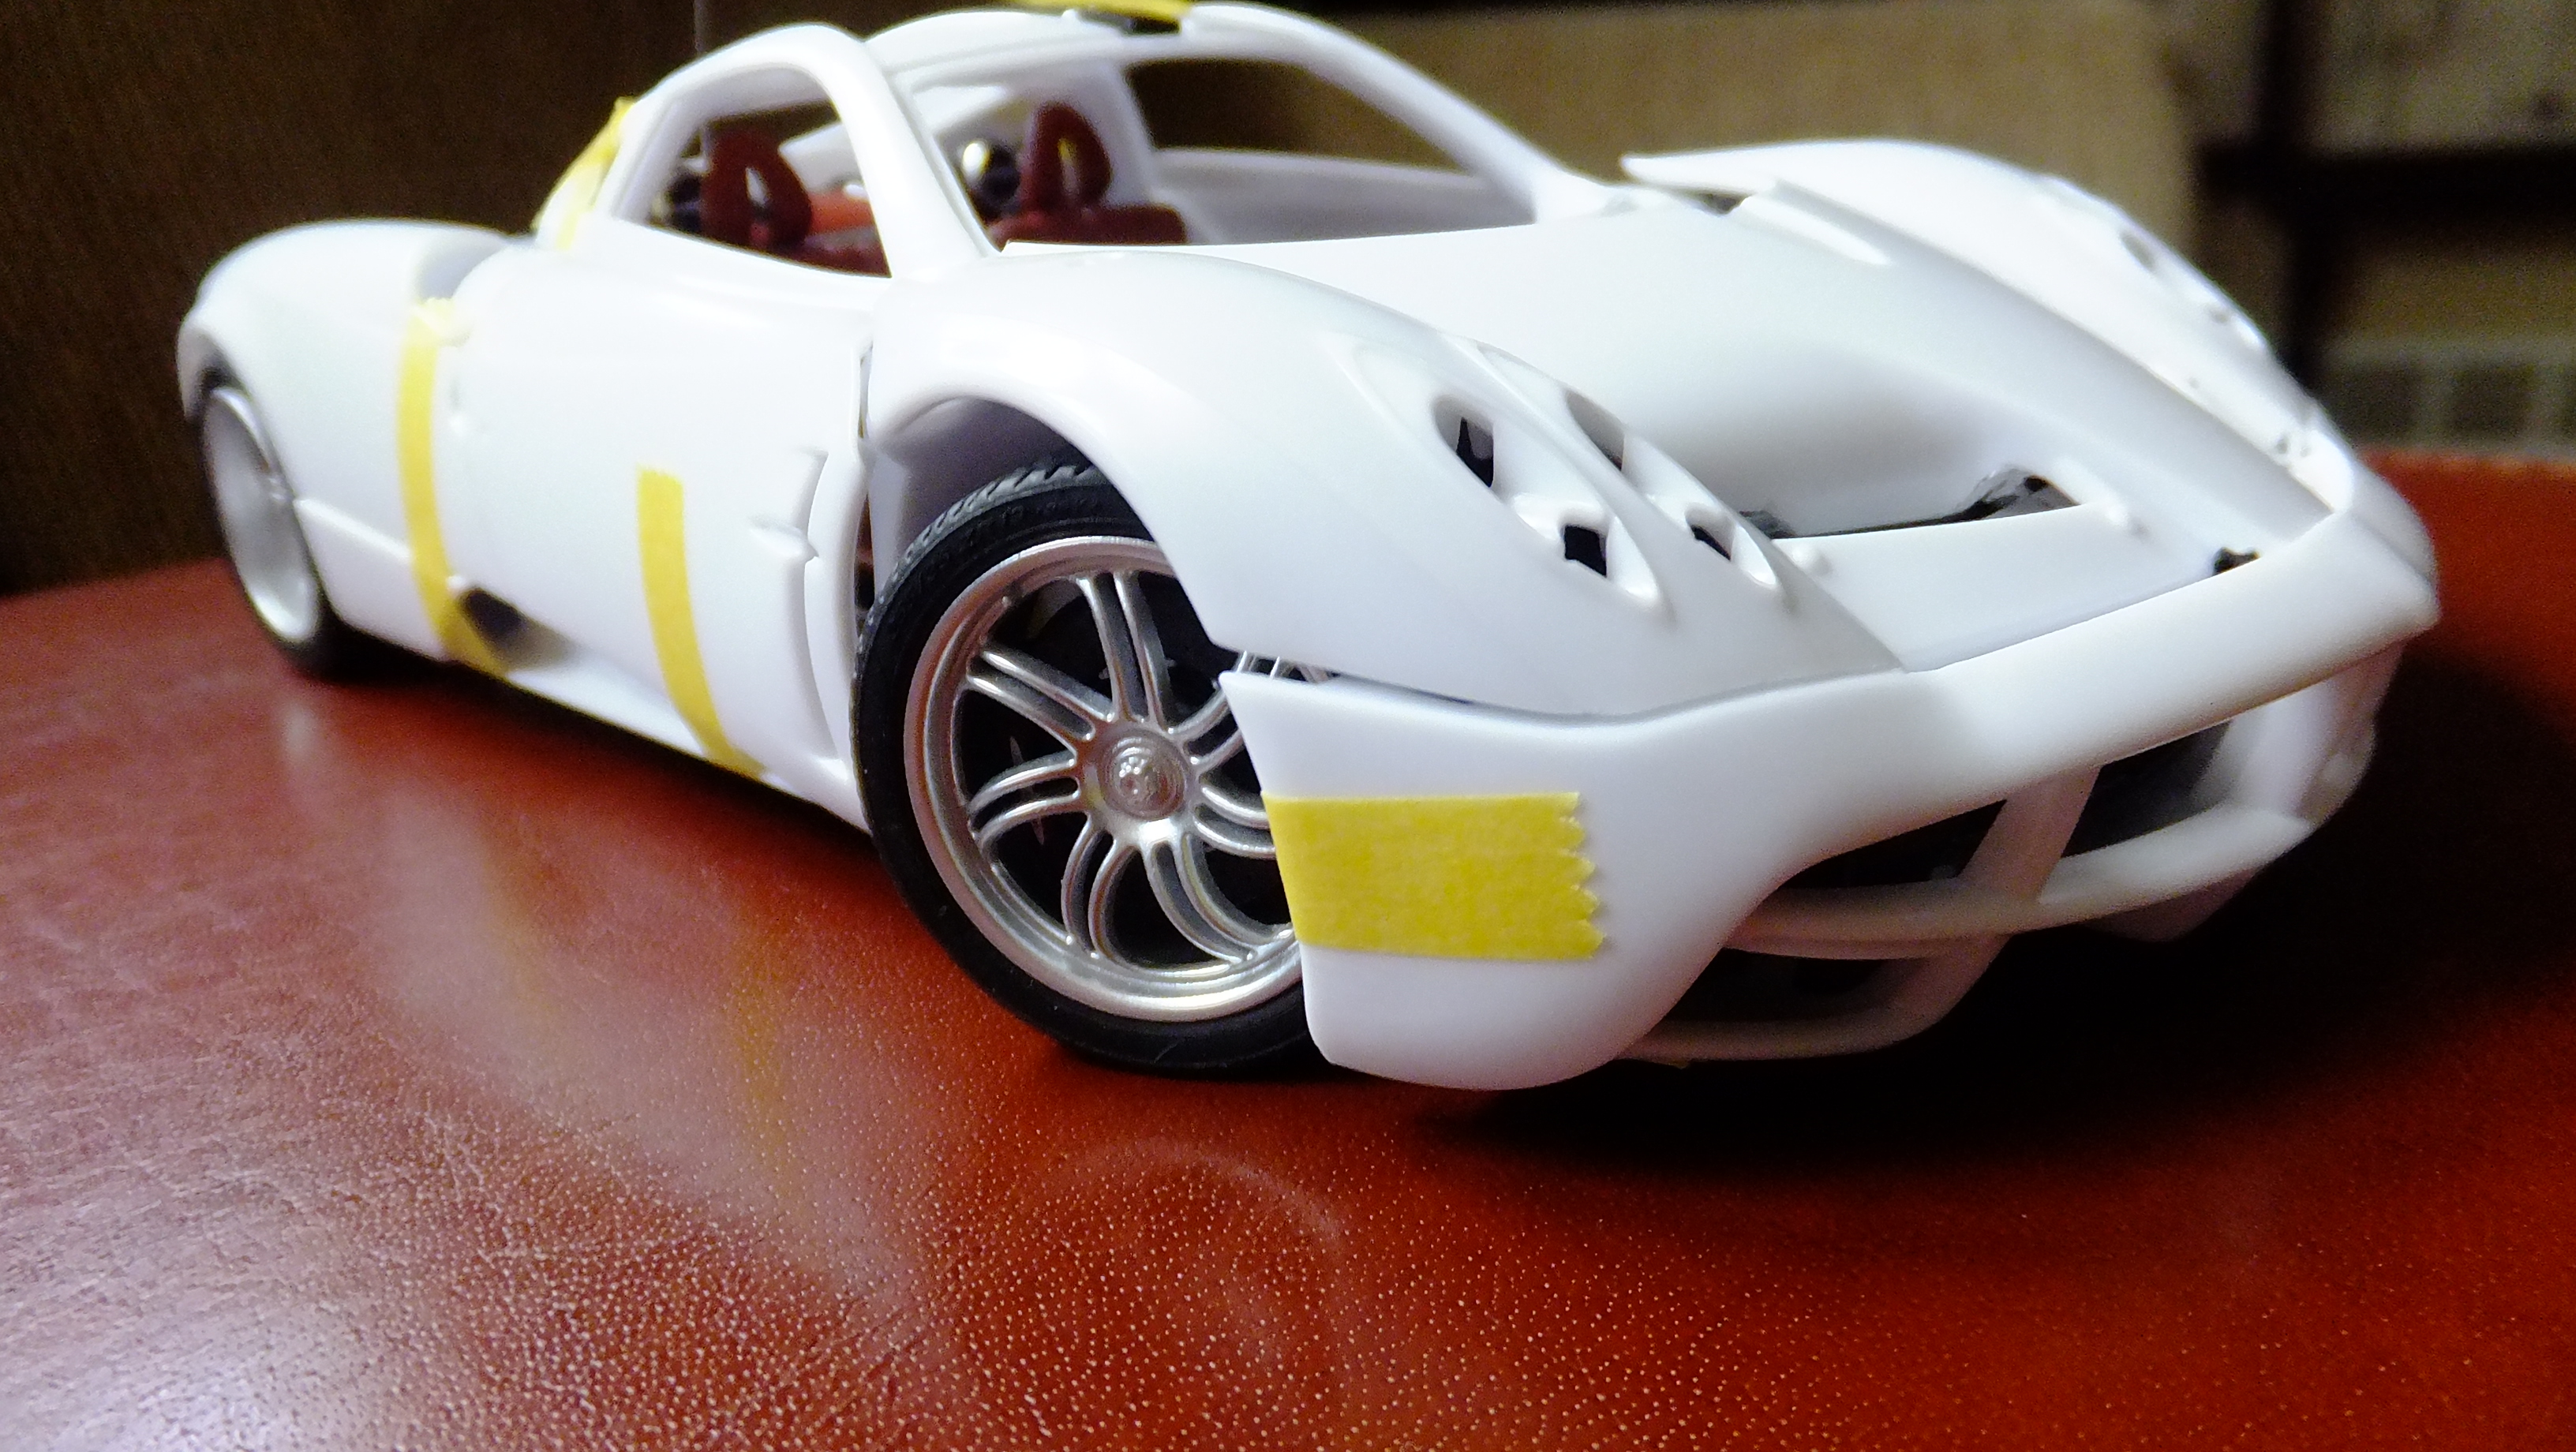
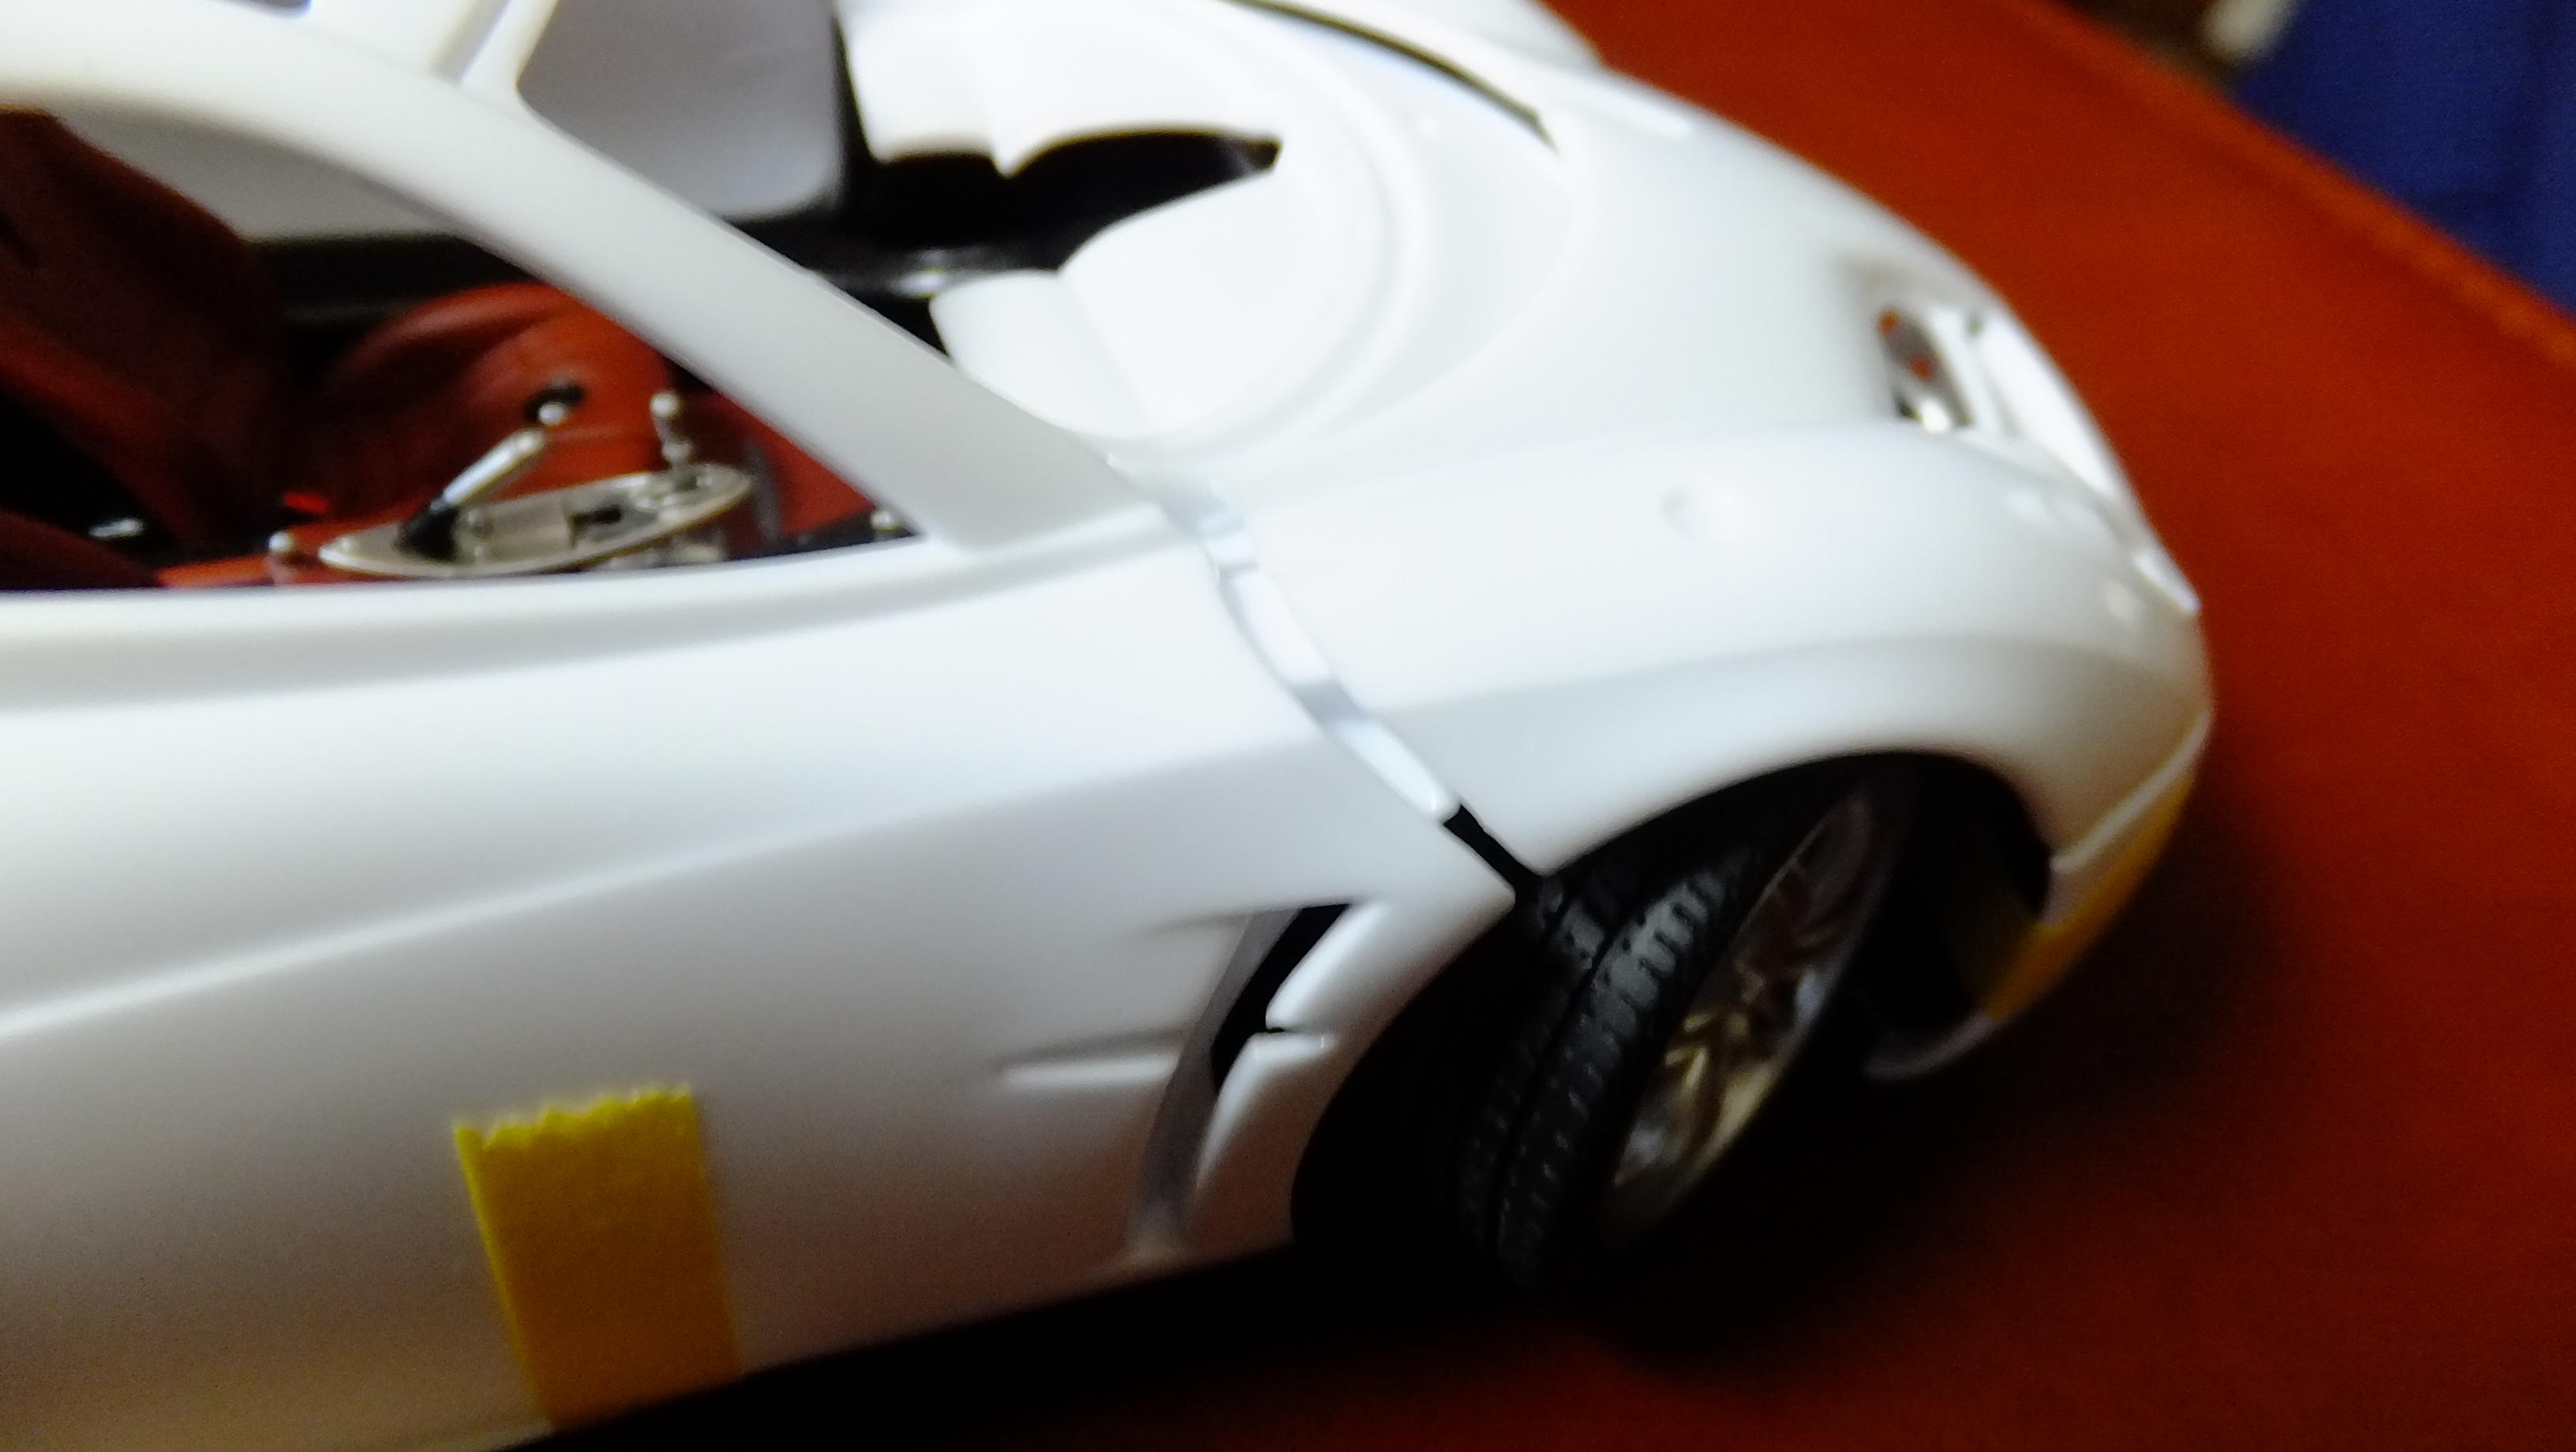
Another update here....i'm almost finished fitting the font cowl, I was even able to use the inner fender wells!, I only had to totally cut-off the "hooks" that connected it to the rest of the car.......don't need'em anyway. The cowl fits great, but now I have to fix the large gap between the cowl, and the doors.....I got a fix for that already!!...stay tuned, its going together fast now!!
-
Thanks, Bruce!!...much appreciated!...still have to scratchbuild the heater, and wiper motors to finish-off the front end.
-
Notice the "notches" I carved-out to fit the cowl down flush. I carved them like this to make it clearly obvious, but now I will taper them off to the centers.
-
-
-
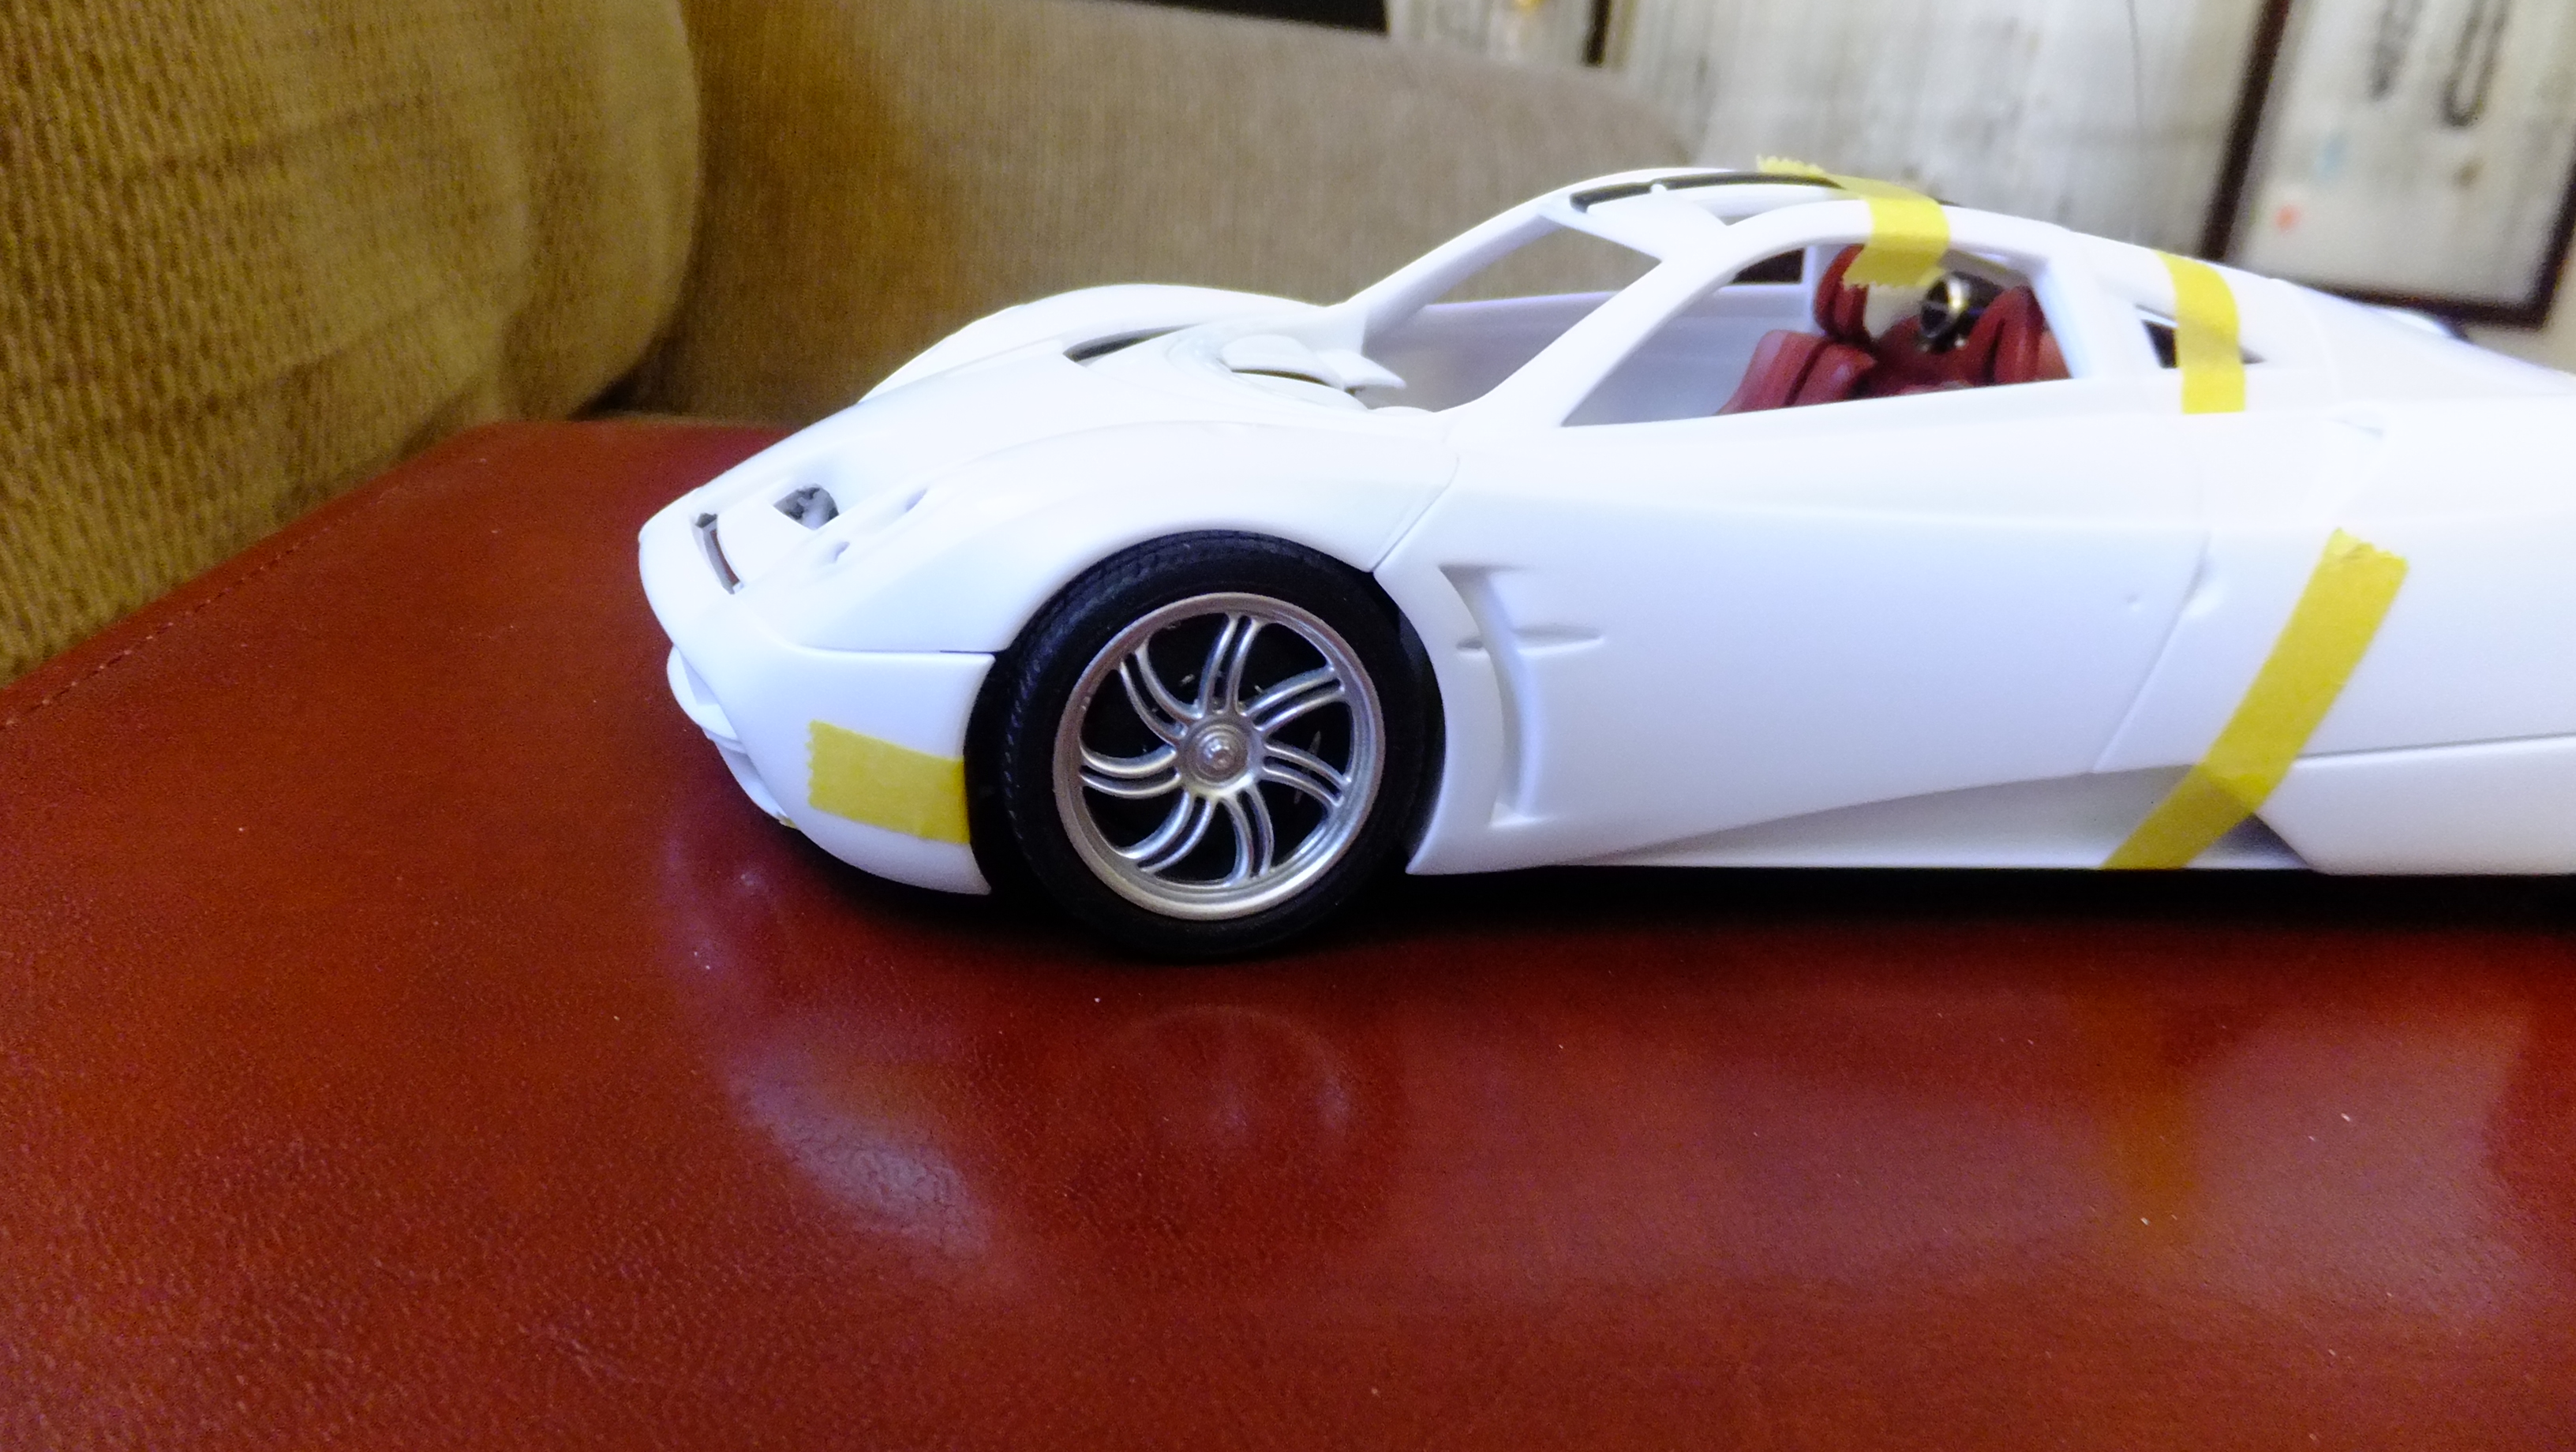
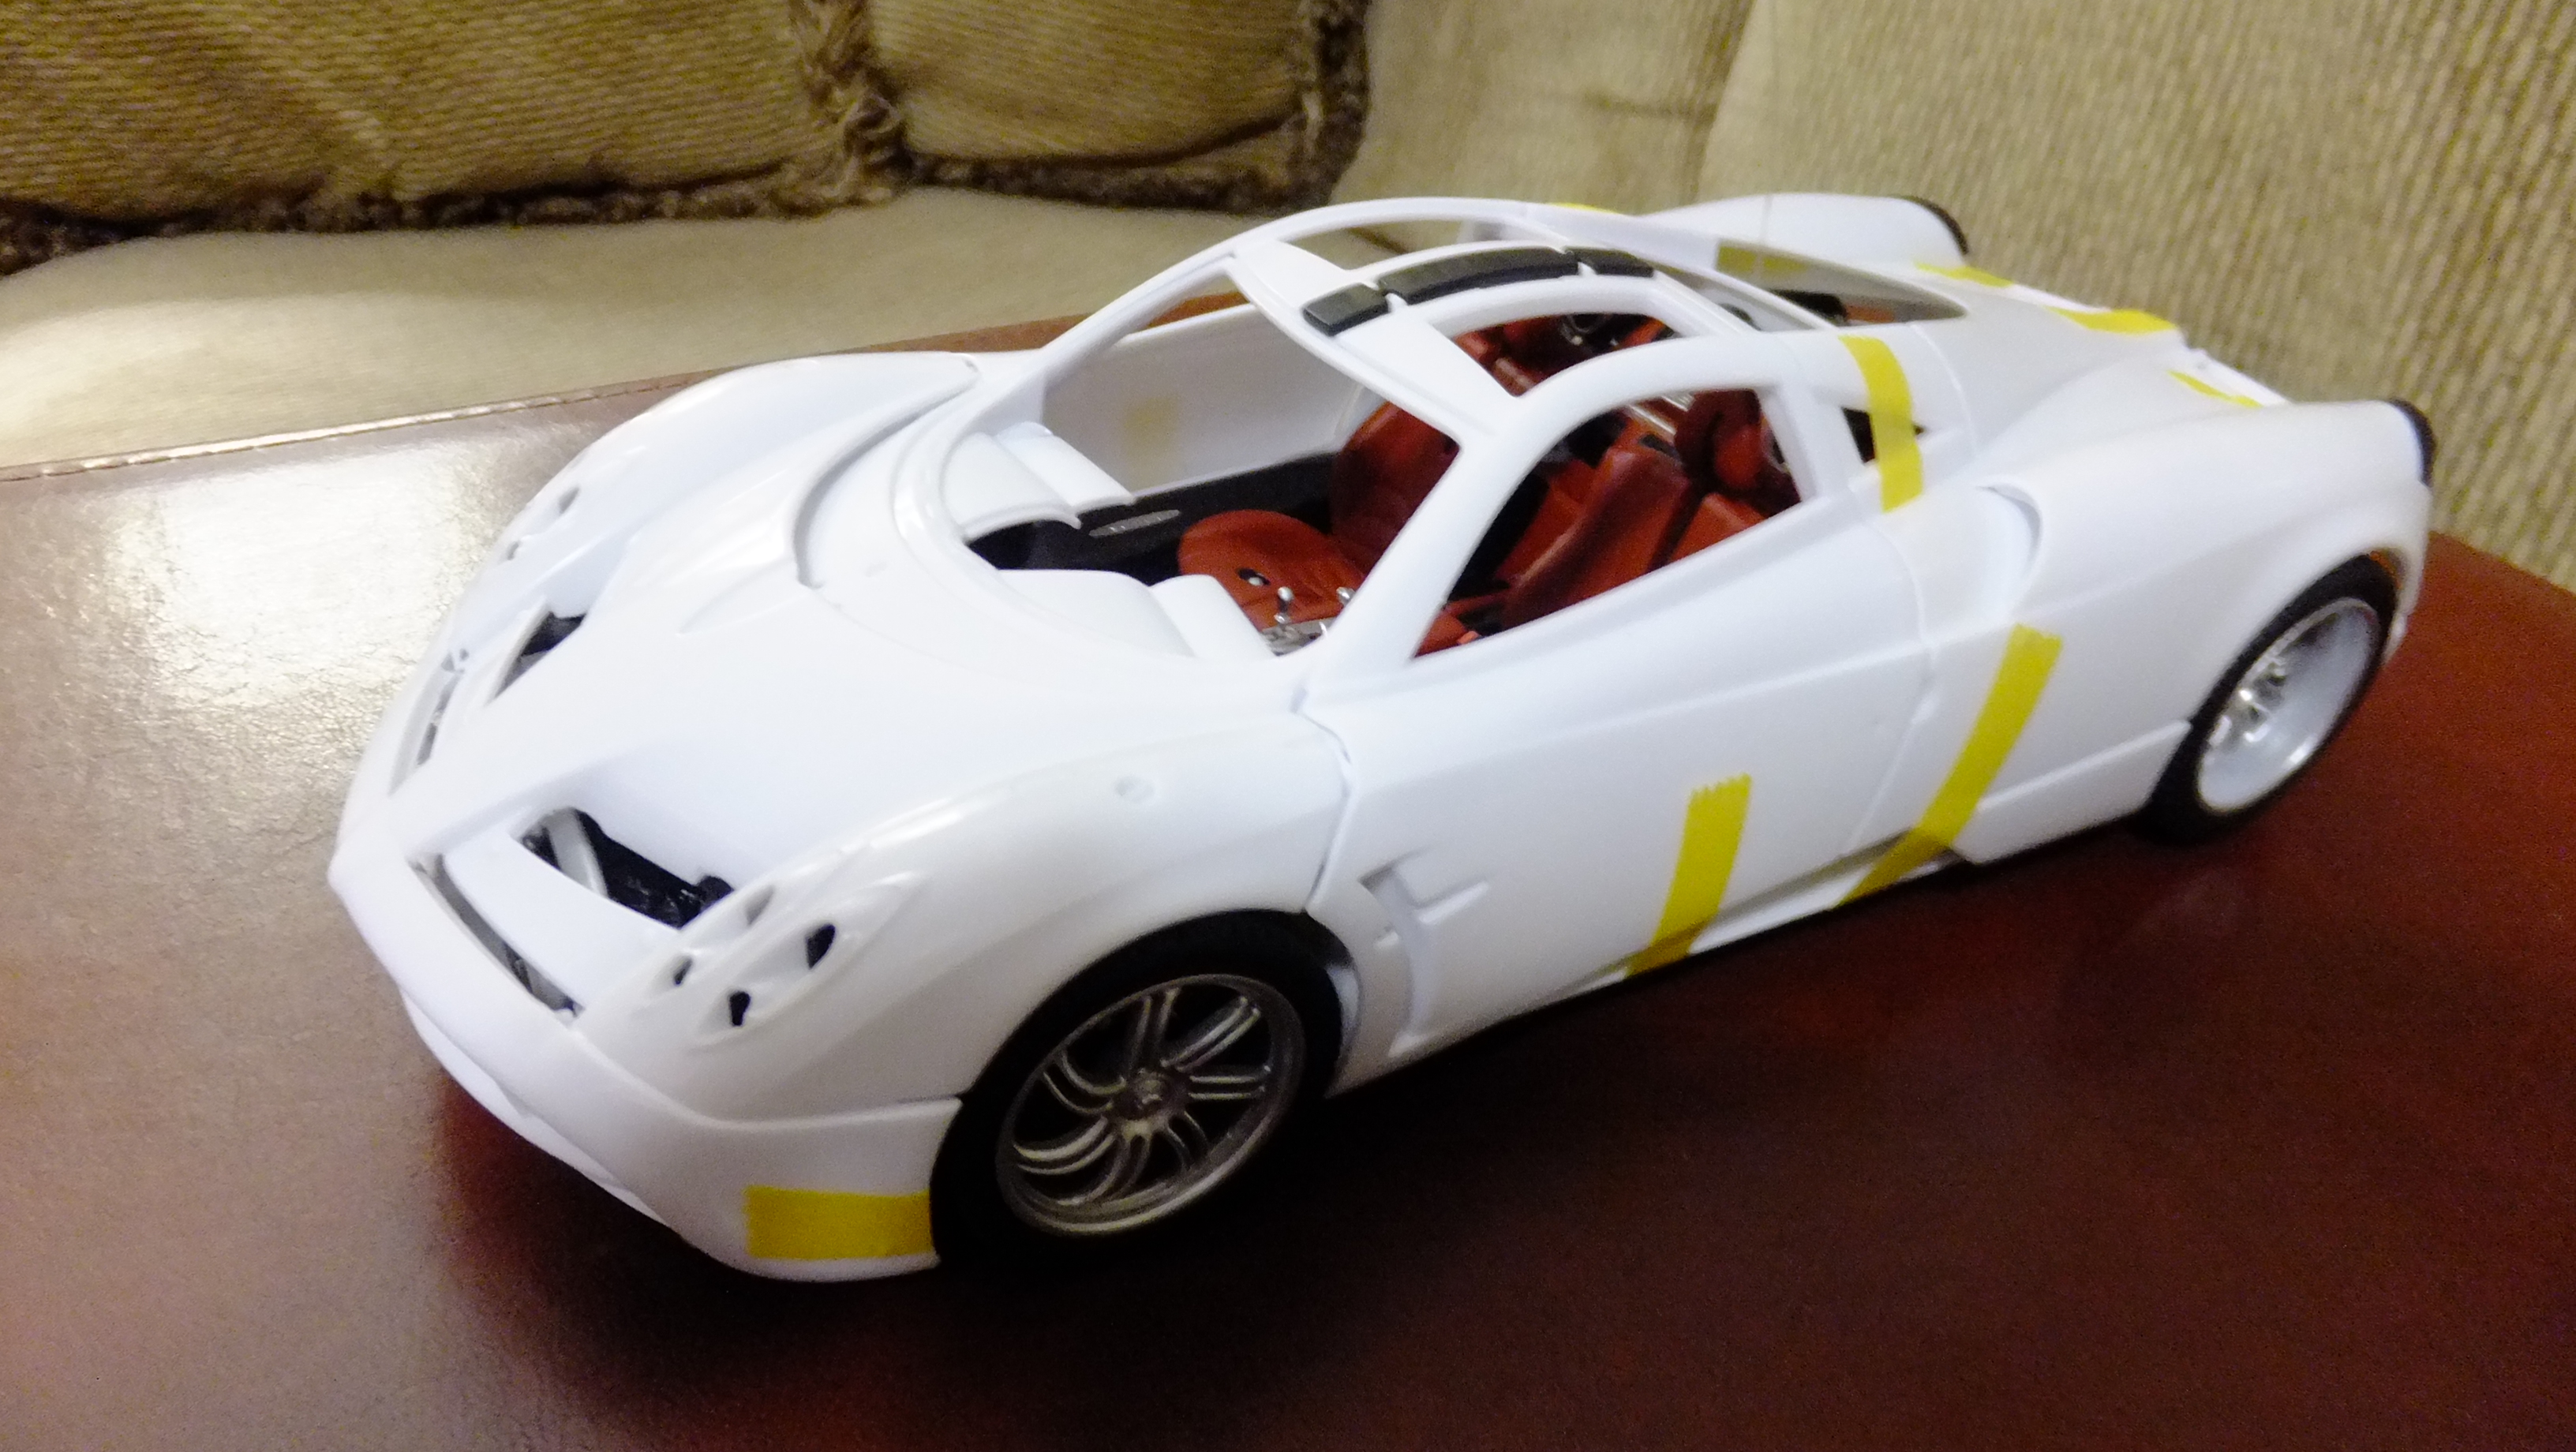
Thanks a lot, Scott!!!, here is a teaser photo!, everything is fitting Very nicely as planned!! as you can see, the bonnet got tweaked a bit, and fits perfectly even with all the extras I put in!!!
-
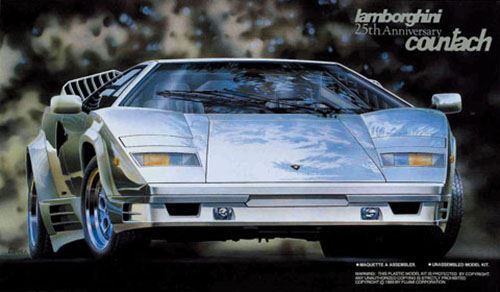
 Added this Fujimi kit to my stash, needed another "simple" kit to do in-between my detailed builds, and this one will take very little effort, but still look real when finished. -and the box art is Beautiful!!