bobss396
-
Posts
3,661 -
Joined
-
Last visited
Content Type
Profiles
Forums
Events
Gallery
Everything posted by bobss396
-

L*I*A*R*S Fall show cancelled
bobss396 replied to NYLIBUD's topic in Model Club News and Announcements
Thanks, things are looking up. We very recently had a change of president, someone that has been around the club as long as I have. One very long time member recently left and we have someone new doing the monthly newsletter. I have been talking to some former members and they may be coming back. -
I just picked up a few 3D printed ones from Pro-Tech on eBay, they look really nice.
-
Is Modelhaus finished?
bobss396 replied to Mike C.'s topic in Truck Aftermarket / Resin / 3D Printed
I will look later to see if there are any. It is definitely not Modelhaus. Don had some "masters" for sale at the past NNL East. -
Is Modelhaus finished?
bobss396 replied to Mike C.'s topic in Truck Aftermarket / Resin / 3D Printed
I have seen some of his old "masters" recently over on eBay, not cheap either. -
Post your truck mockups.
bobss396 replied to Mike C.'s topic in WIP: Model Trucks: Pickups, Vans, SUVs, Light Commercial
I like the wheels and tires, who made them? -
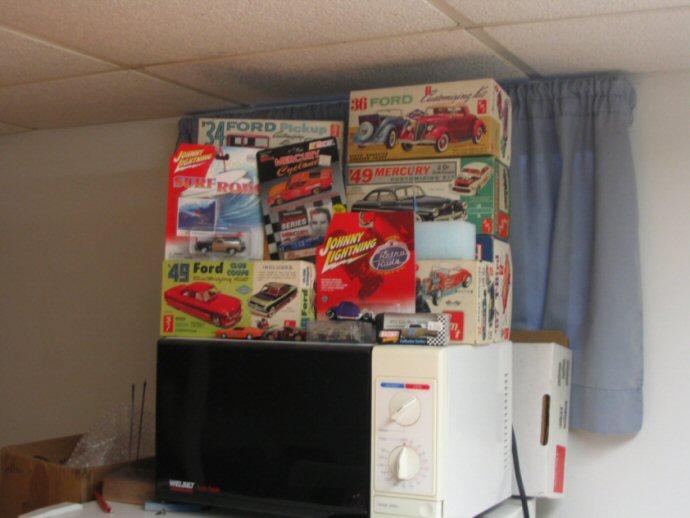
I have a bunch of the AMT and Monogram kits. An outlet store had the Monogram kits for $1.97... 40 will fill a shopping cart. I blew out a bunch on eBay some years back. I'm down to maybe a dozen and 6 of the AMT kits.
-
Where I have had carbs hidden by an air cleaner, I have used a simple square block made from styrene stock. Paint it silver of gold, add a little plumbing and it was done. Sort of on the style of a Predator piece.
-
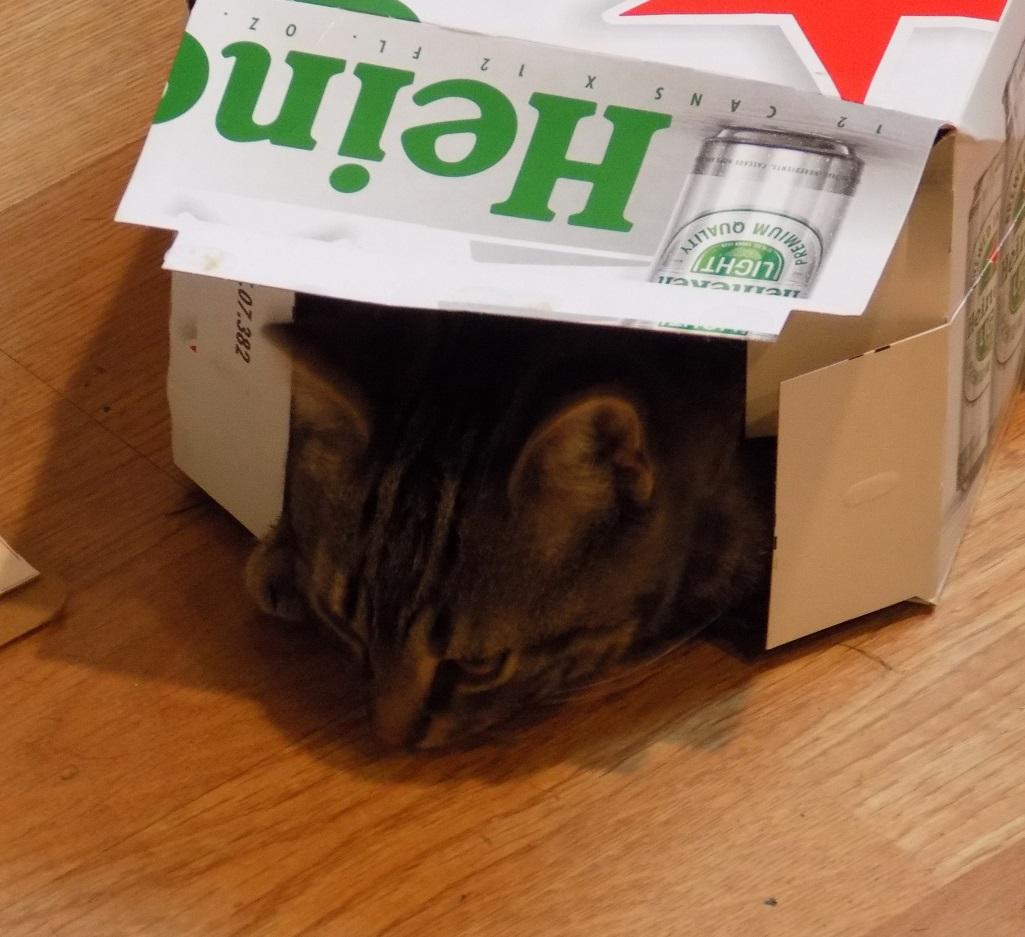
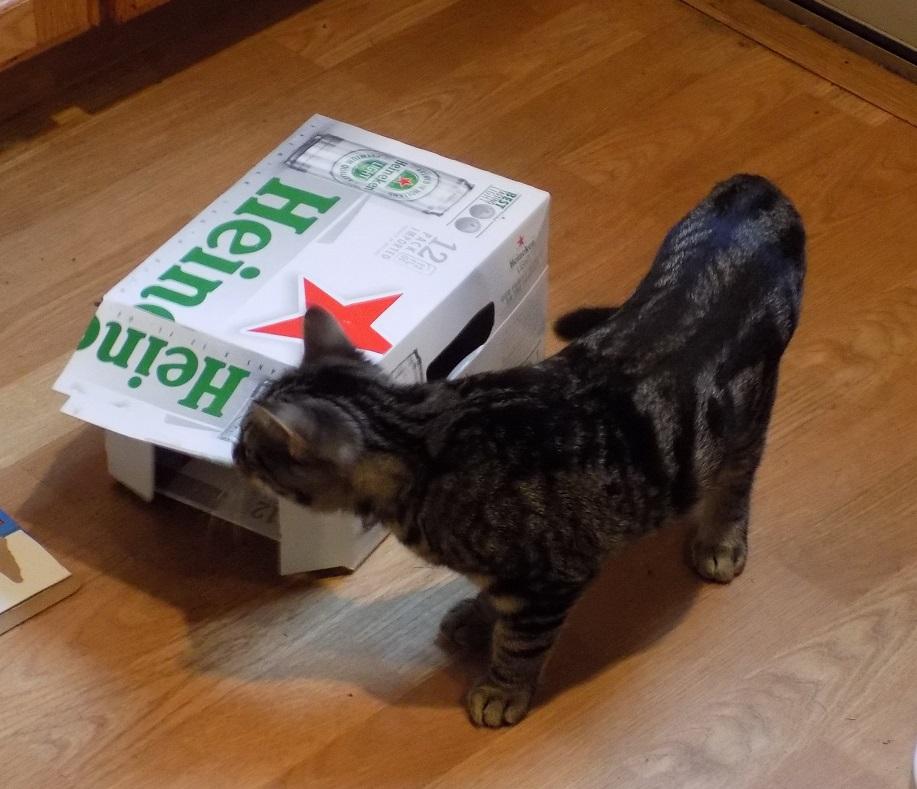
Ivan about 3 months old. He soon graduated to 24-pack beer boxes.

-
Please help! Before I rage quit this build.
bobss396 replied to Dpate's topic in Model Building Questions and Answers
I have old stalled builds languishing in boxes for 20 years. I just took one out of hibernation. Fit quality is something I struggle with. Now I go through the assembly in the primer state, before I get to the finish paint and have little options. I look at the glass closely. I fit the interior tub less the dash to see if the tub hits the glass. Then pop the dash in, try it again. I also make positive mounting interfaces for almost any major part, so they go back together the same way all through the build. I make sure that the interior tub sits the same. I make up hidden features to aid this. Chassis to the body, I do the same thing. Everything is pinned with 1/32" brass rod or small dowel pins. Plastic rod works too. -
I have been using Bondo 1-part filler from Ace Hardware. I use so little that most sands off after it cures.
-
Dupli Color and blushing
bobss396 replied to atomicholiday's topic in Model Building Questions and Answers
I believe it has something to do with the recent formulation of the bigger cans. I have used the older small cans I have had around... no blush even at low temperatures. I did a '62 Ford back in the spring with one of their red pearls. I shot it outside in about 50-degrees, low humidity. Instant blush as soon as I came inside. I let it dry and scuffed it up, wet sanded with a DM 2400 cloth to break down most of the blush. I gave it another coat, in my warm laundry room... again... blush. I let that dry for a day and color sanded it from 1500 to around 3600 grit DM cloths. I followed that up with clear lacquer, SEM 1K HS clear, P/N 40903. That was the answer. -
Cutting Styrene Round
bobss396 replied to Horrorshow's topic in Model Building Questions and Answers
I save unused kit headlights. I have sanded off the texture and used that as covers. When I worked for a living, I was going past the punch press scrap bin, I found a bunch of round blanks that measures around .270", perfect for old NASCAR builds. -
Will dark green plastic bleed through?
bobss396 replied to av405's topic in Model Building Questions and Answers
I'm doing a white build right now. It is something I started years ago. I have lately been using Tamiya Fine Surface Primer, I have white and gray. Another I fould at Hobby Lobby is Mr. Surfacer 1000 in gray, P/N B-519Y. These cans spray very well and leaves a very smooth finish, highly recommended. I have used these under car lacquers with no problems. Tamiya white should be no problem. -
The old Maxx Rat Chevelle from Revell had a decent set. I also have bought a slew of resin ones over the years. But the new 3D printed ones are the bee's knees in comparison. VCG Resins has some nice ones. Look around on eBay, I have seen some nice 3D printed ones there.
-
Resin Cast in rubber tires sticky
bobss396 replied to Len Woodruff's topic in Model Building Questions and Answers
I agree with Mark. Maybe it wasn't cured completely. I had some tires from MCW in an old build I had in a box. They were fine when I put them on, they have sat for about 15 years and I found them to be sticky when I opened the box recently. -
Black Gold spray paint still available?
bobss396 replied to bobss396's topic in Model Building Questions and Answers
Thanks for the replies, just as I suspected. I have maybe a dozen cans around, new. Their Orion Silver was a great base spray. I just cracked open a can of their Nova Orange metallic. -
I have a bunch of AMT versions. Some of the custom parts vary, but the stock-build options are there. I have the OG version from 1961 (?), another from around 1965, the Dick Tracy one too. I may have more in my stash.
-
My '49 Ford was shot at the NNL East, I have to look for the issue locally. I hope the car is in there.
-
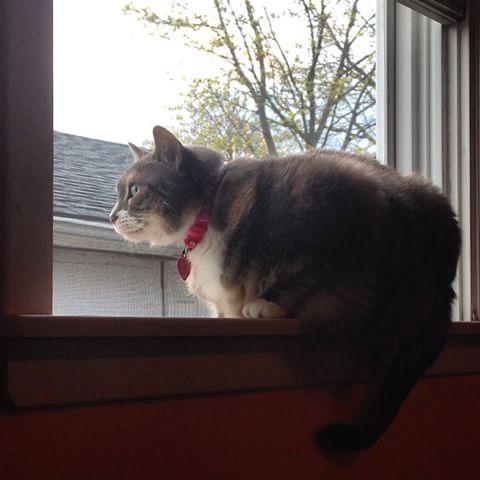
The first is Chloe, we lost her to cancer last April. This cat was more human than most people I know. The little guy is Ivan, about 1.5 years old in the picture, he is now 7. He came to us as a feral rescue at about 6 weeks old.
-
I saw him at Westbury NY around 1983 or so, He put on a great act.
-
I would substitute their Aleve stash with Viagra.
-
I have a couple that come into my yard to snack on clover. I used to have more, but the fox keeps their numbers down.
-
We just lost former LIARS president Rich Argus a couple of weeks back, he had been in declining health for a while. He was exposed to Agent Orange during his Vietnam War deployment. Rich was known for his dioramas and was working on some recently on his good days. At the past NNL East I had learned that we lost Barry Fadden from the Classic Plastic NH club and Tommy Kortman from NJ.
-
L*I*A*R*S Fall show cancelled
bobss396 replied to NYLIBUD's topic in Model Club News and Announcements
The show is on for November 2023, in Freeport NY, same date, 2nd Saturday in November. Check the LIARS site for updates. Vendors are being contacted, trophies are on order. There have been some personnel changes in the club as of late, all for the better. The 2022 show was canceled at the last minute due to concerns that there were not enough people to put on the show. This was done outside of a club meeting and a vote was not taken. https://www.liarsmodelcarbuilders.com/ -
70s Era Asphalt Modified
bobss396 replied to OldNYJim's topic in WIP: Stock Cars (NASCAR, Super Stock, Late Model, etc.)
Very nice build. I finished one early this year, got way too carried away. I have to post some pictures of it. I relocated the engine back, cut out the X cross member and moved that too. I ditched the coil overs and made my own, again, way out of hand. I didn't like how the body sides curled at the bottom, made taking the body off and on a chore. I cut the sides at the door handle level, grafted on straighter-sides from a Craftsman truck kit.