Justin Porter
-
Posts
1,291 -
Joined
-
Last visited
Content Type
Profiles
Forums
Events
Gallery
Everything posted by Justin Porter
-
Moebius 1946/7/8 Chevy Announcements
Justin Porter replied to Erik Solie's topic in Car Kit News & Reviews
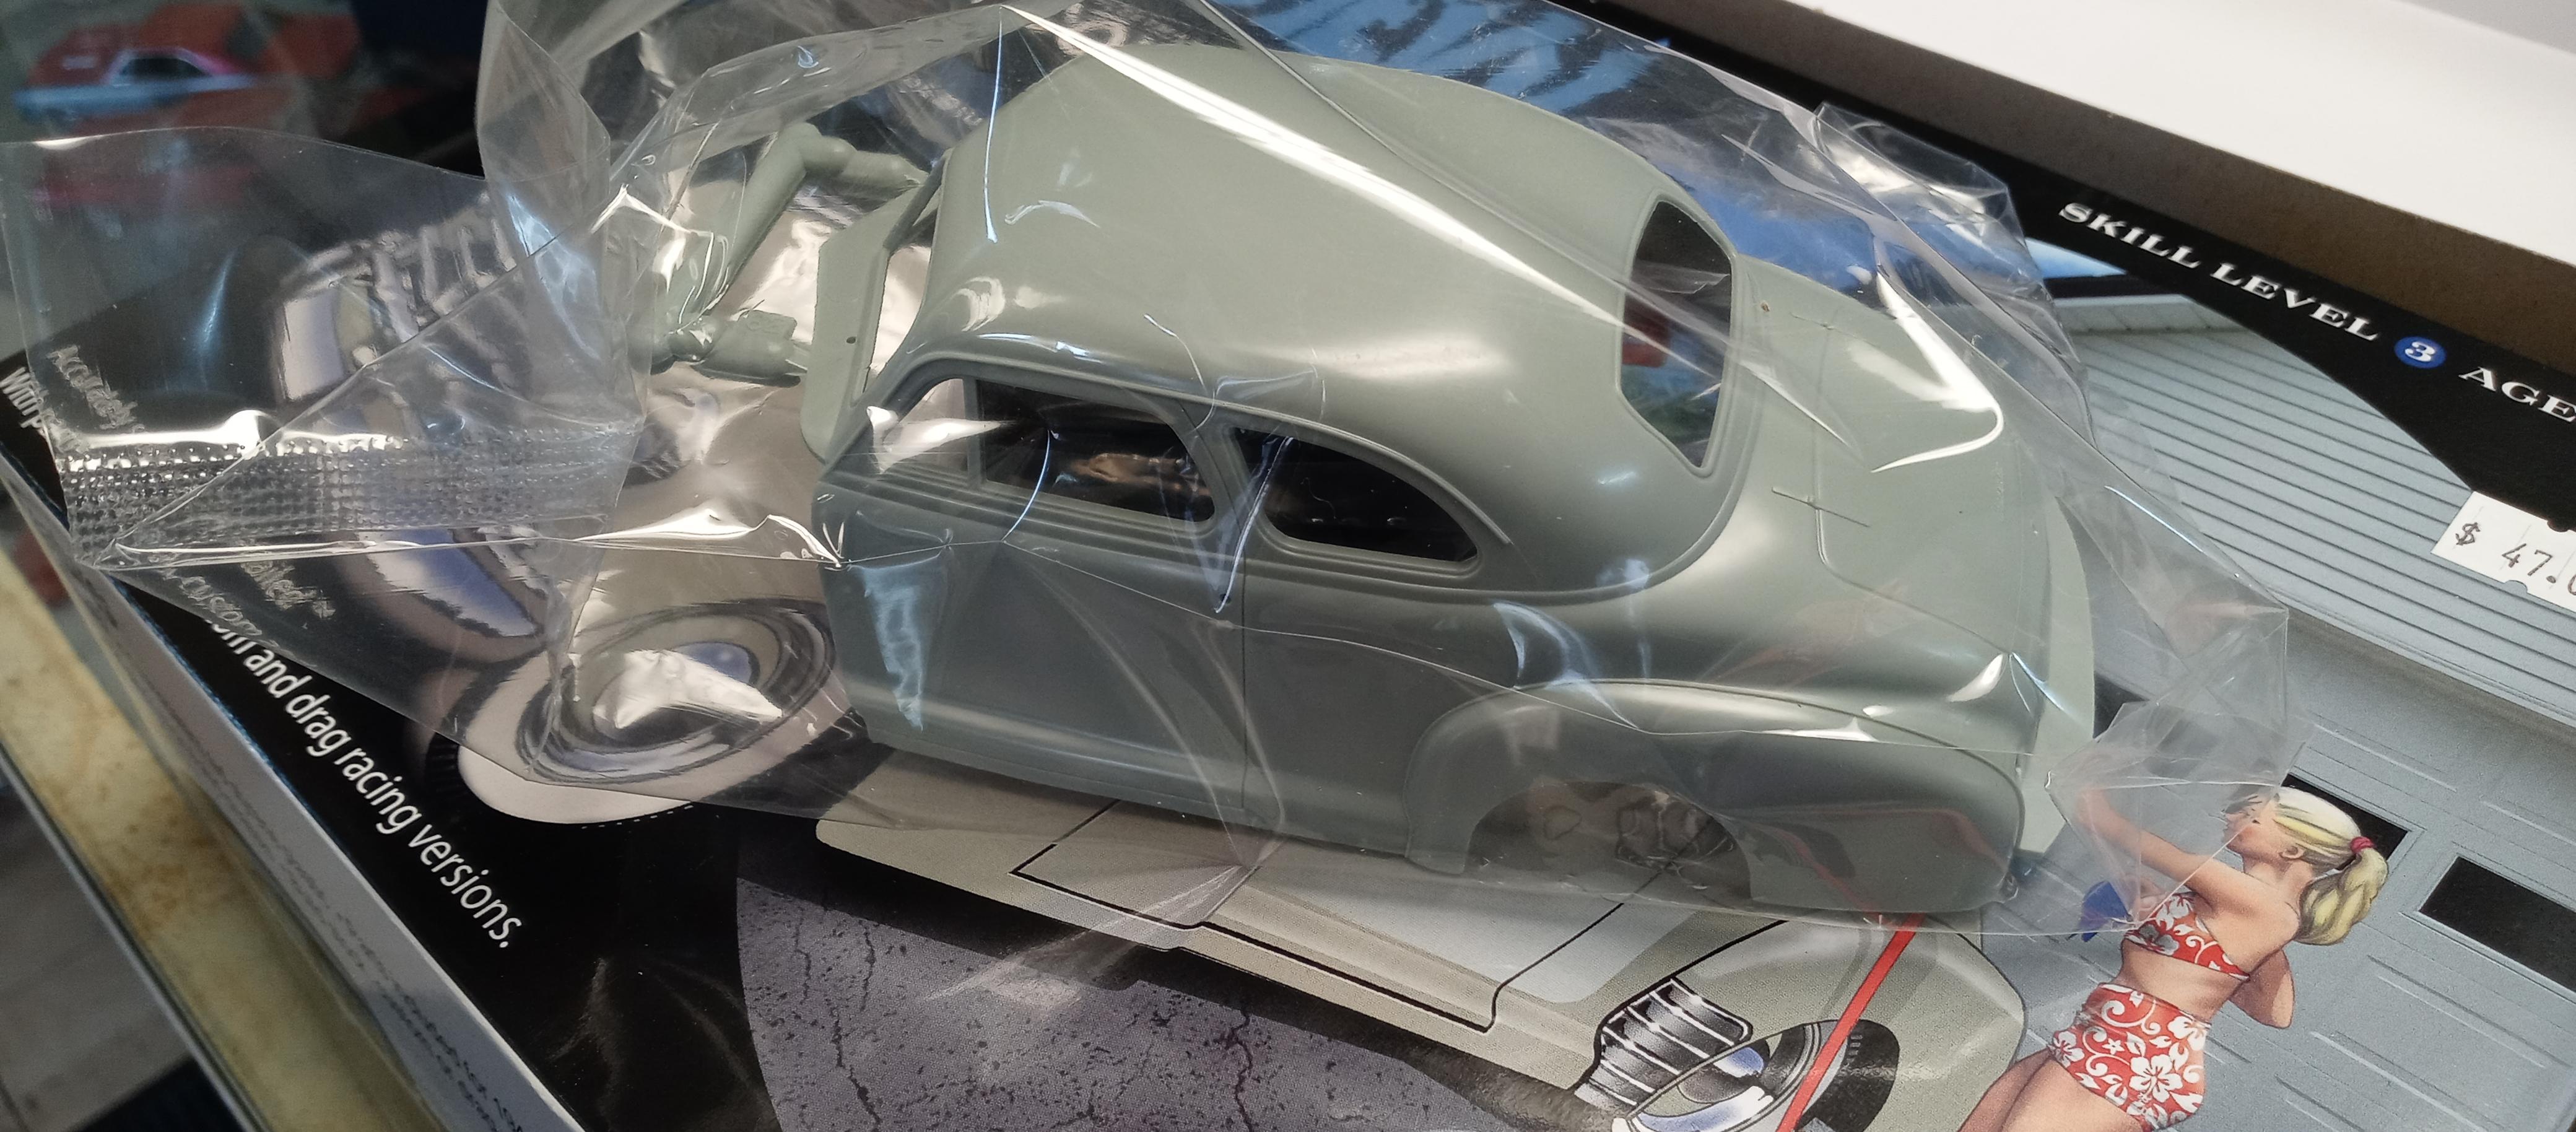
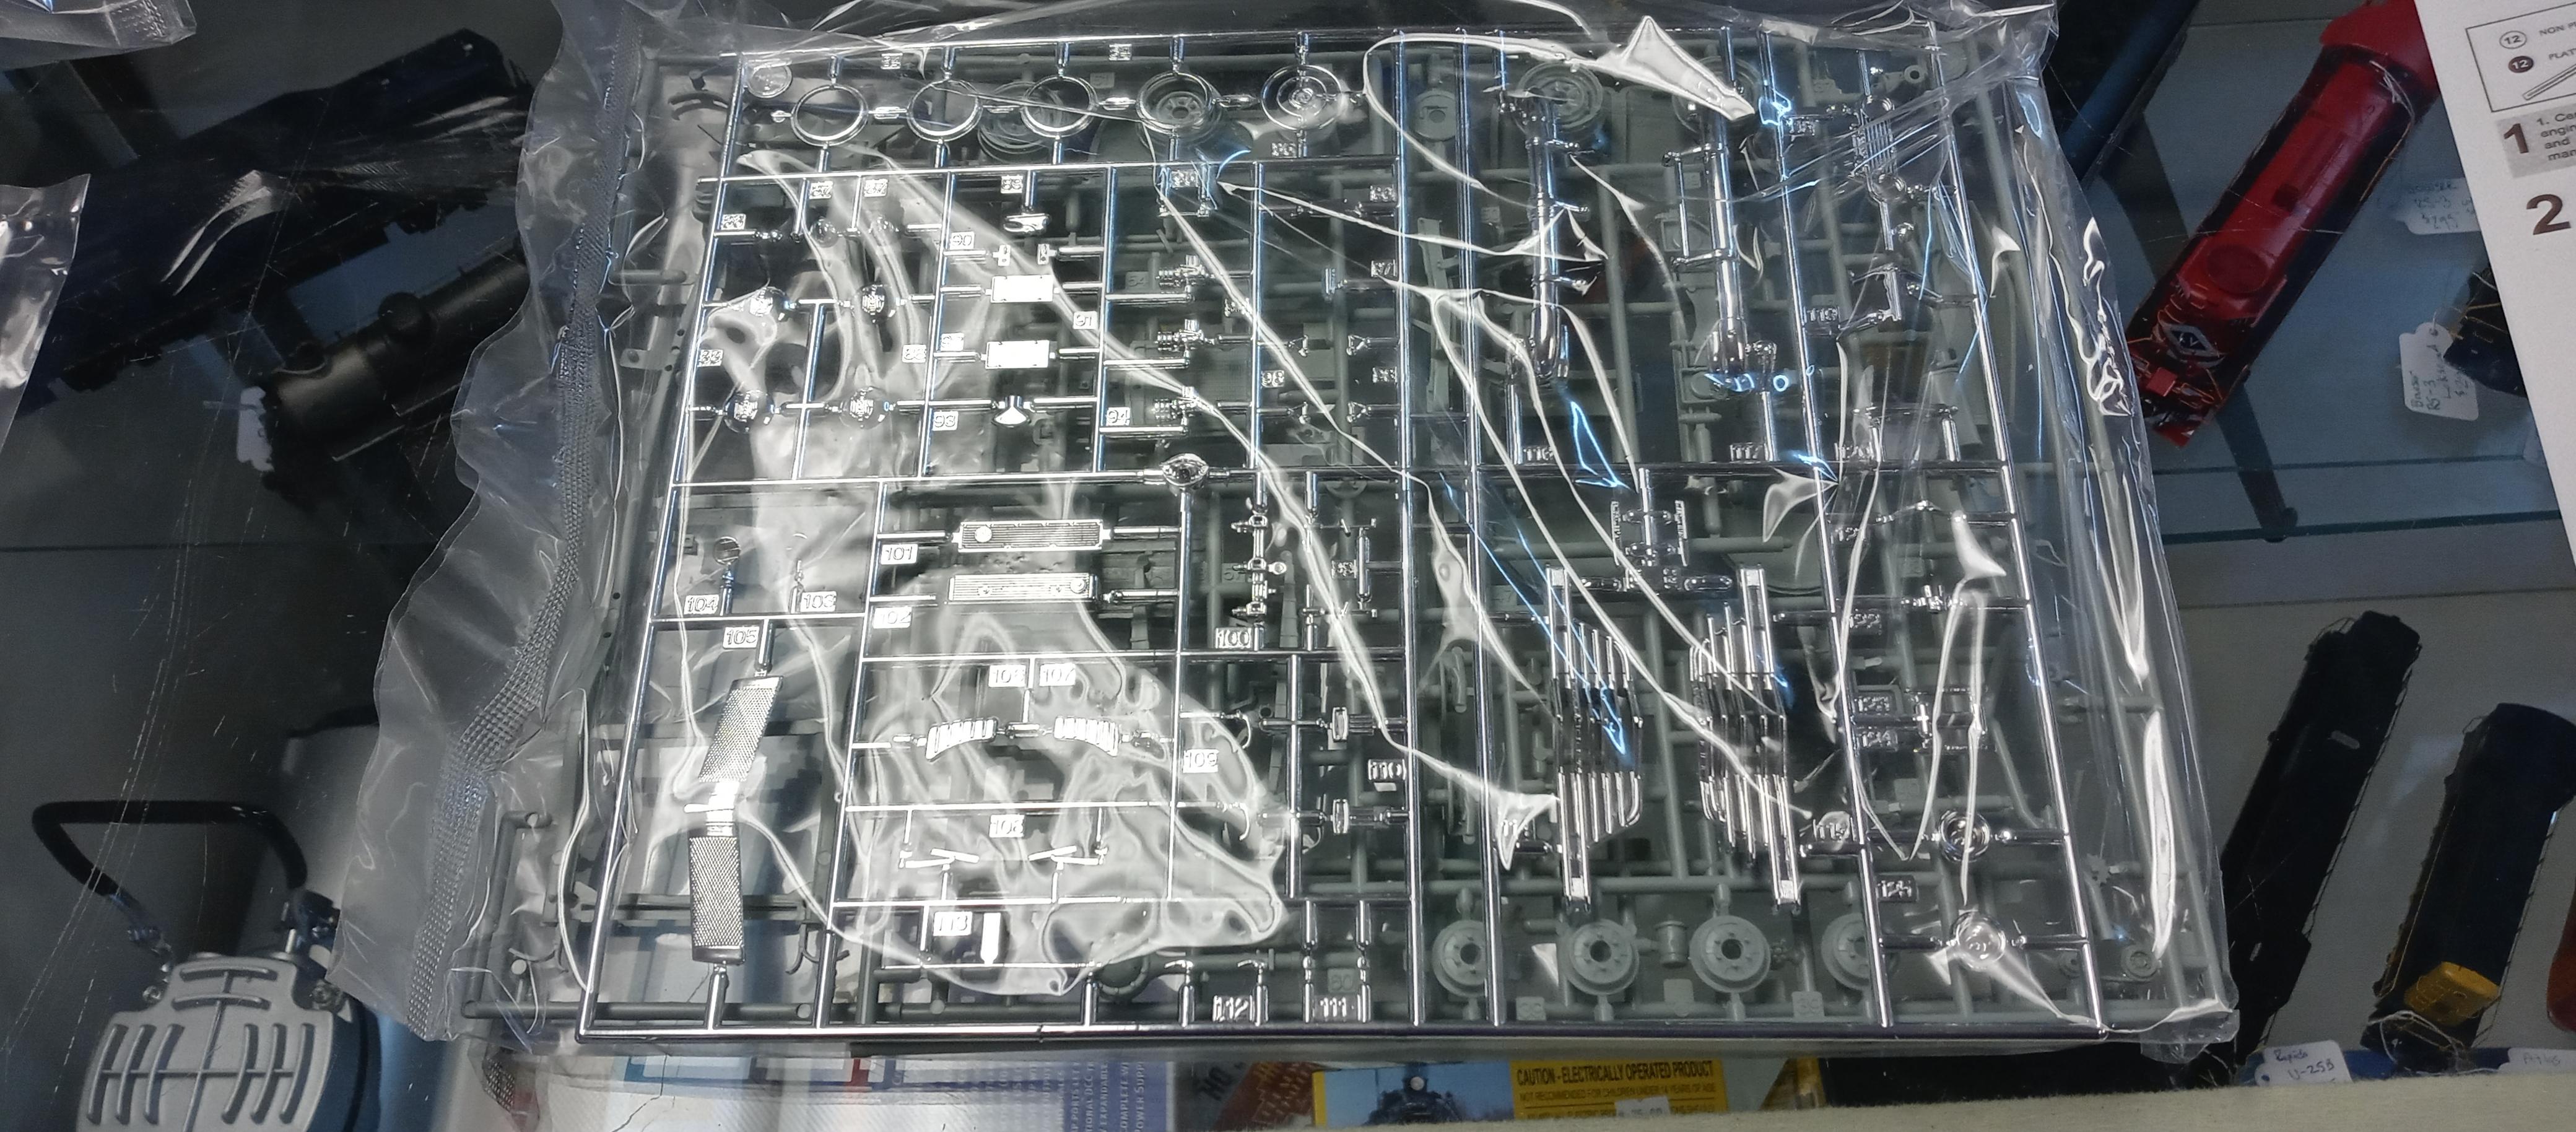
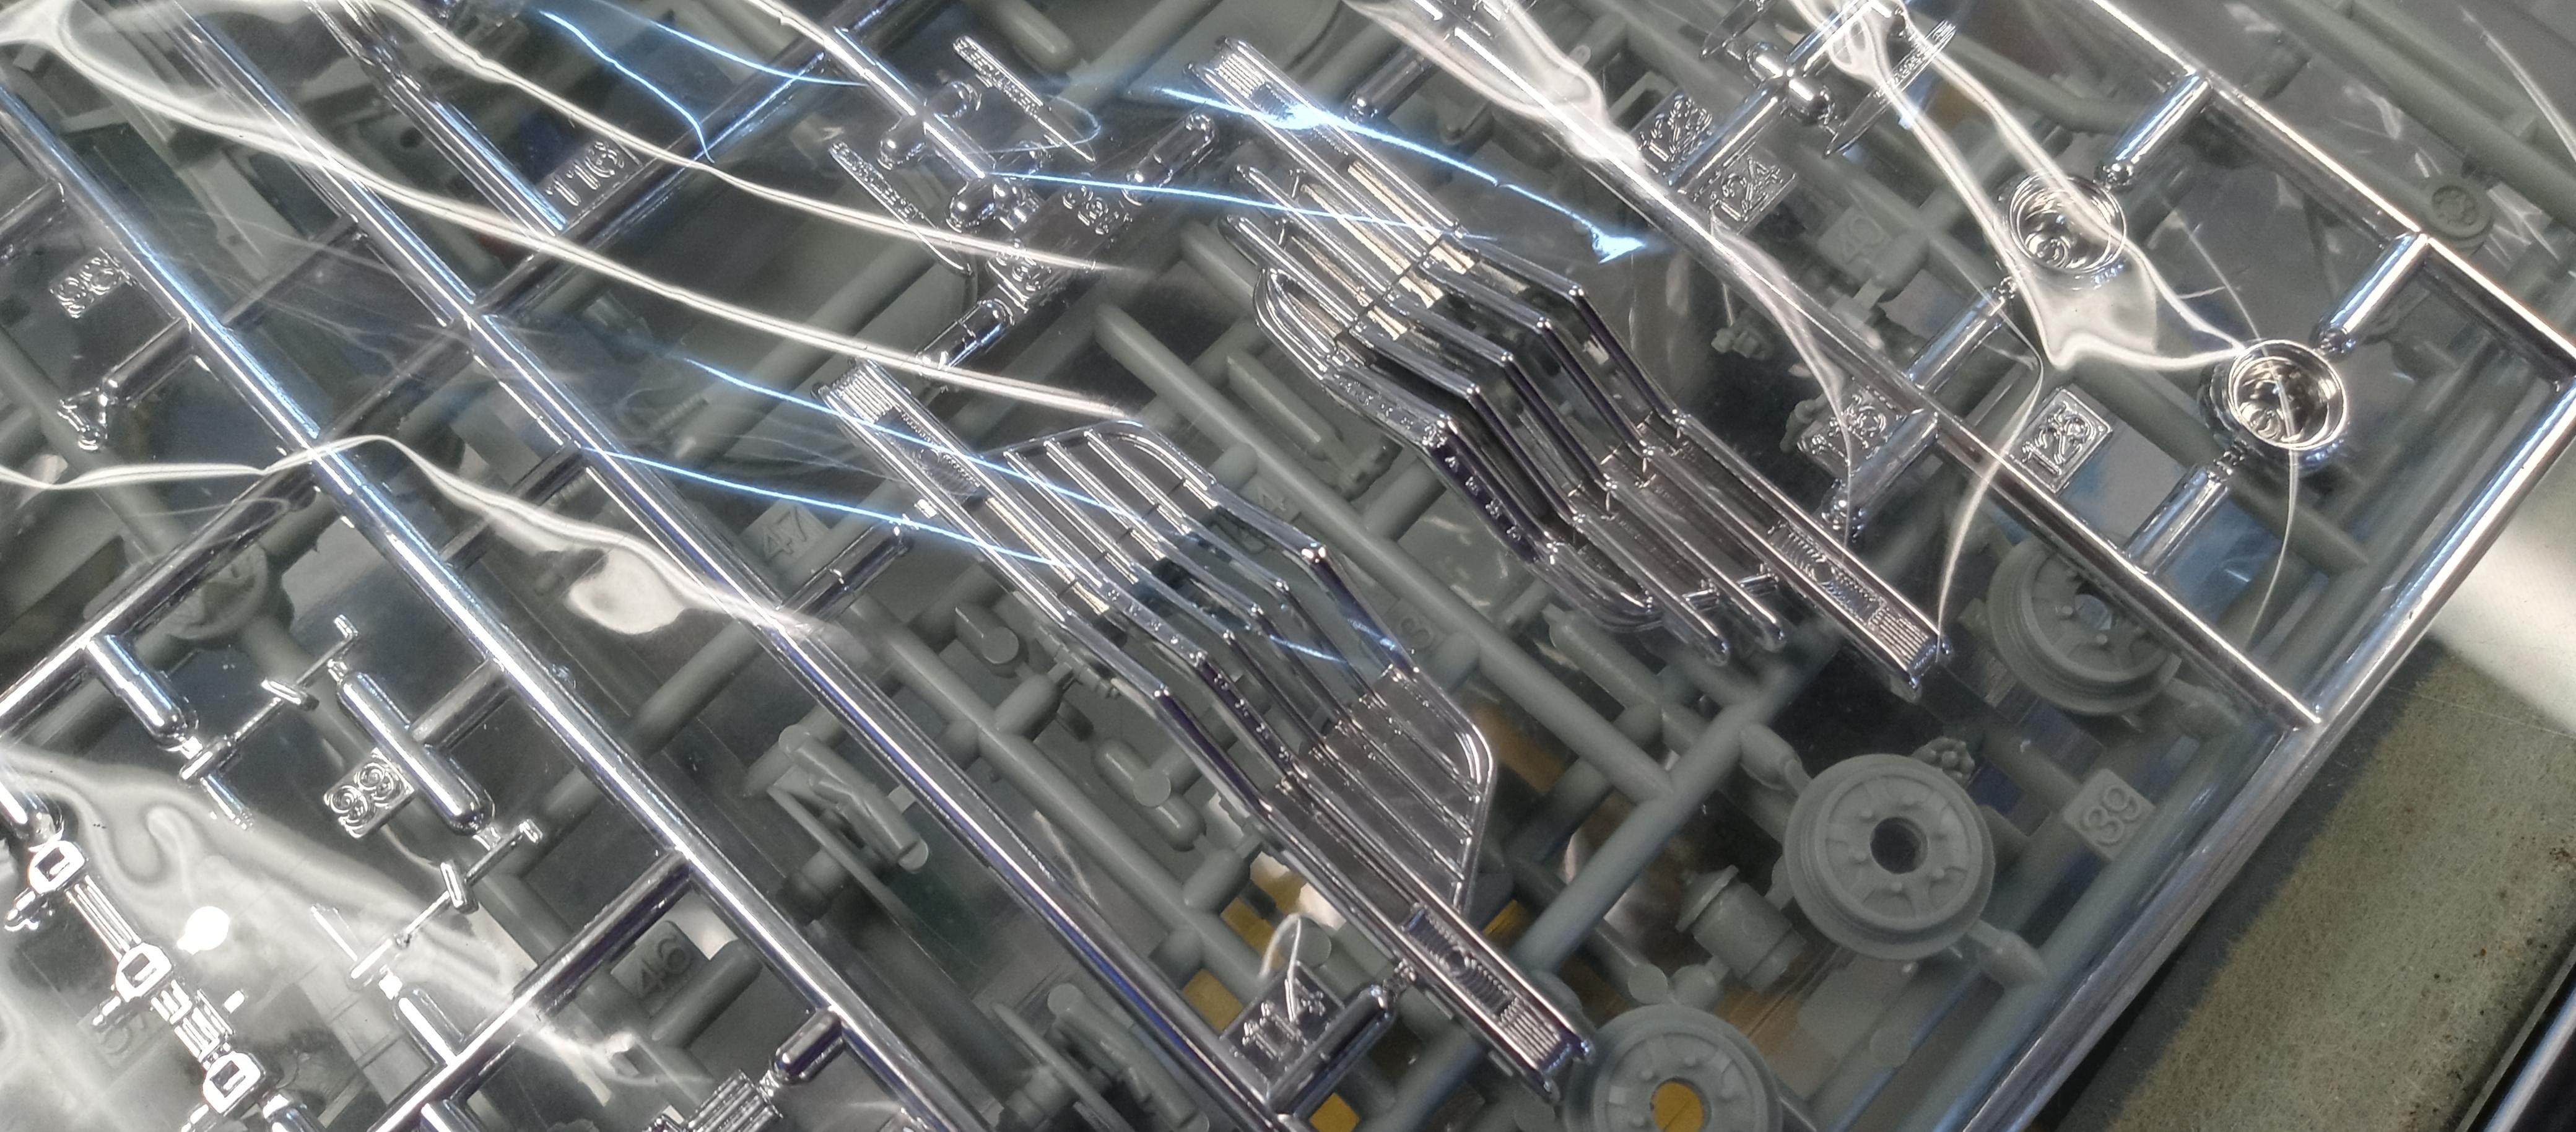
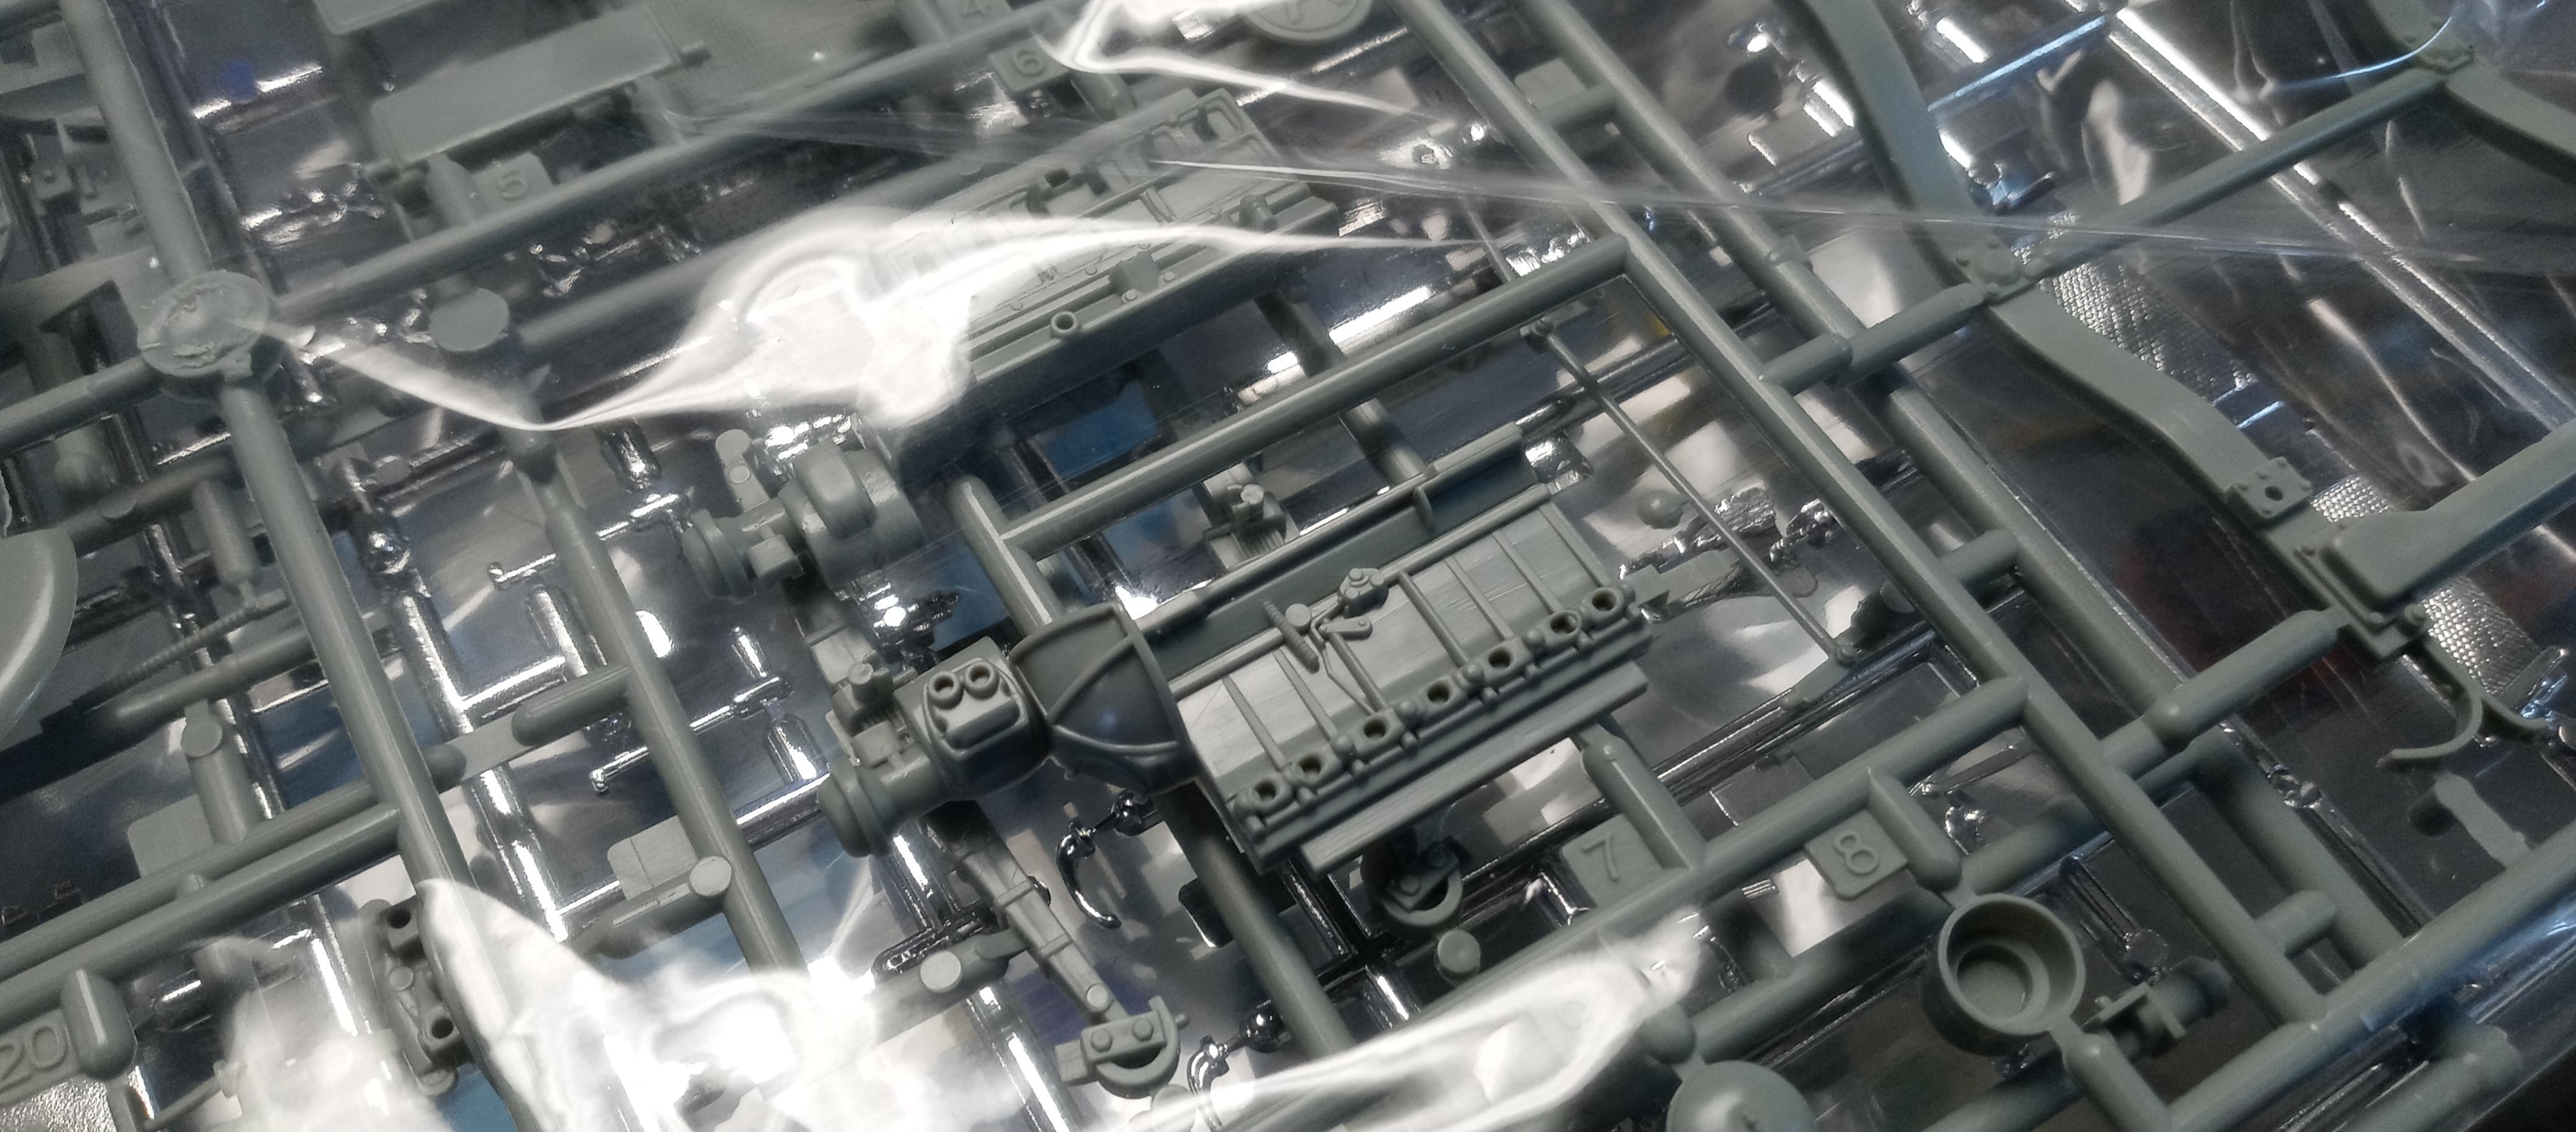
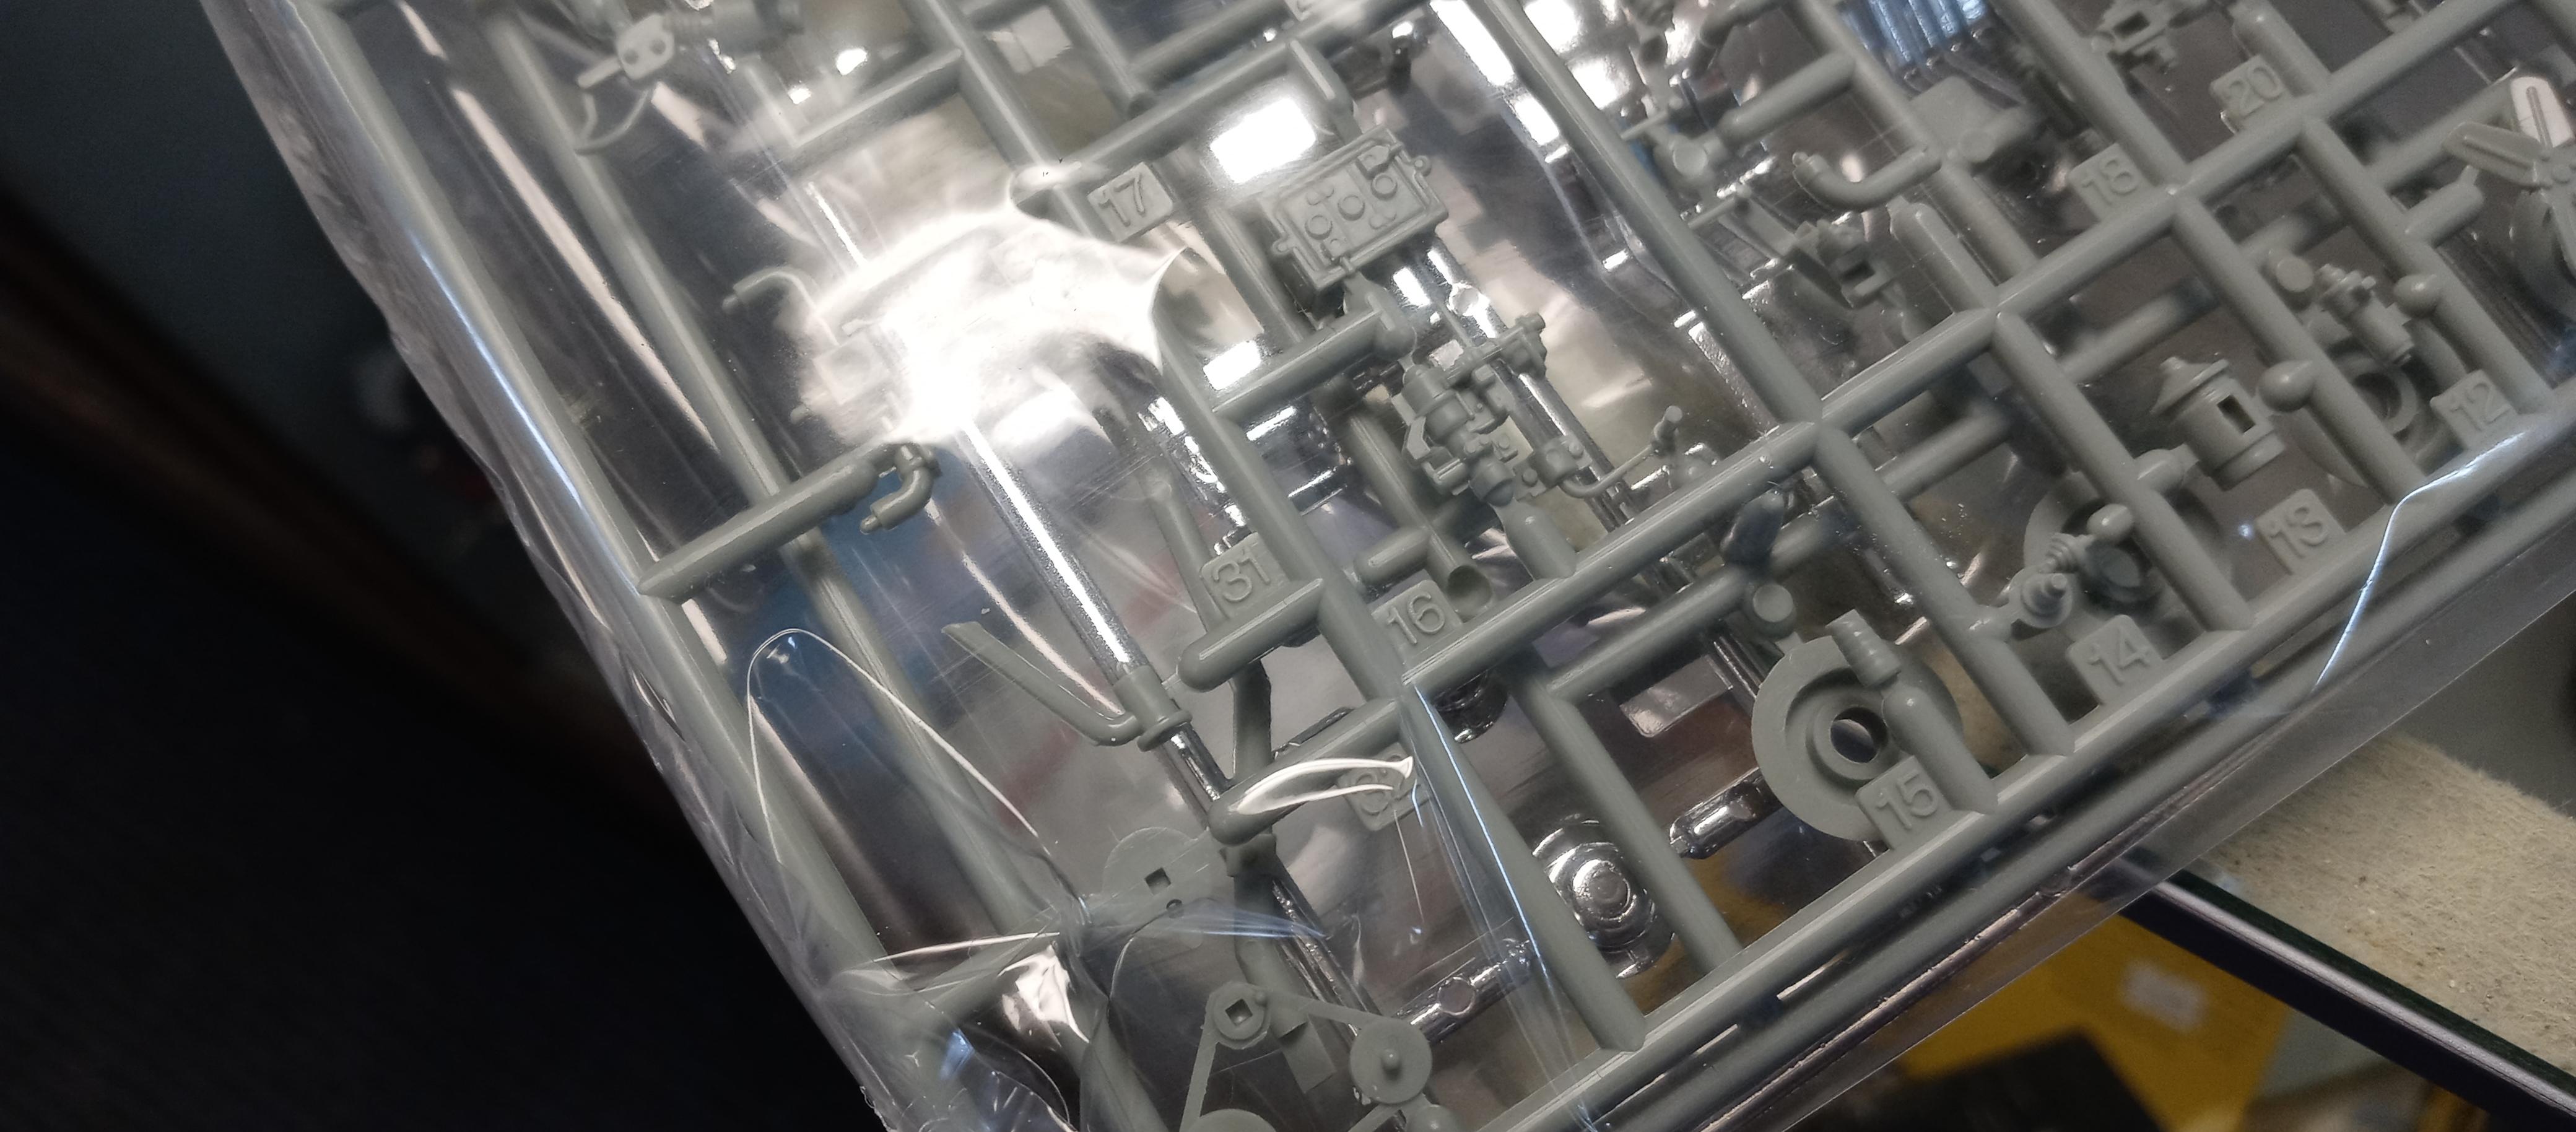
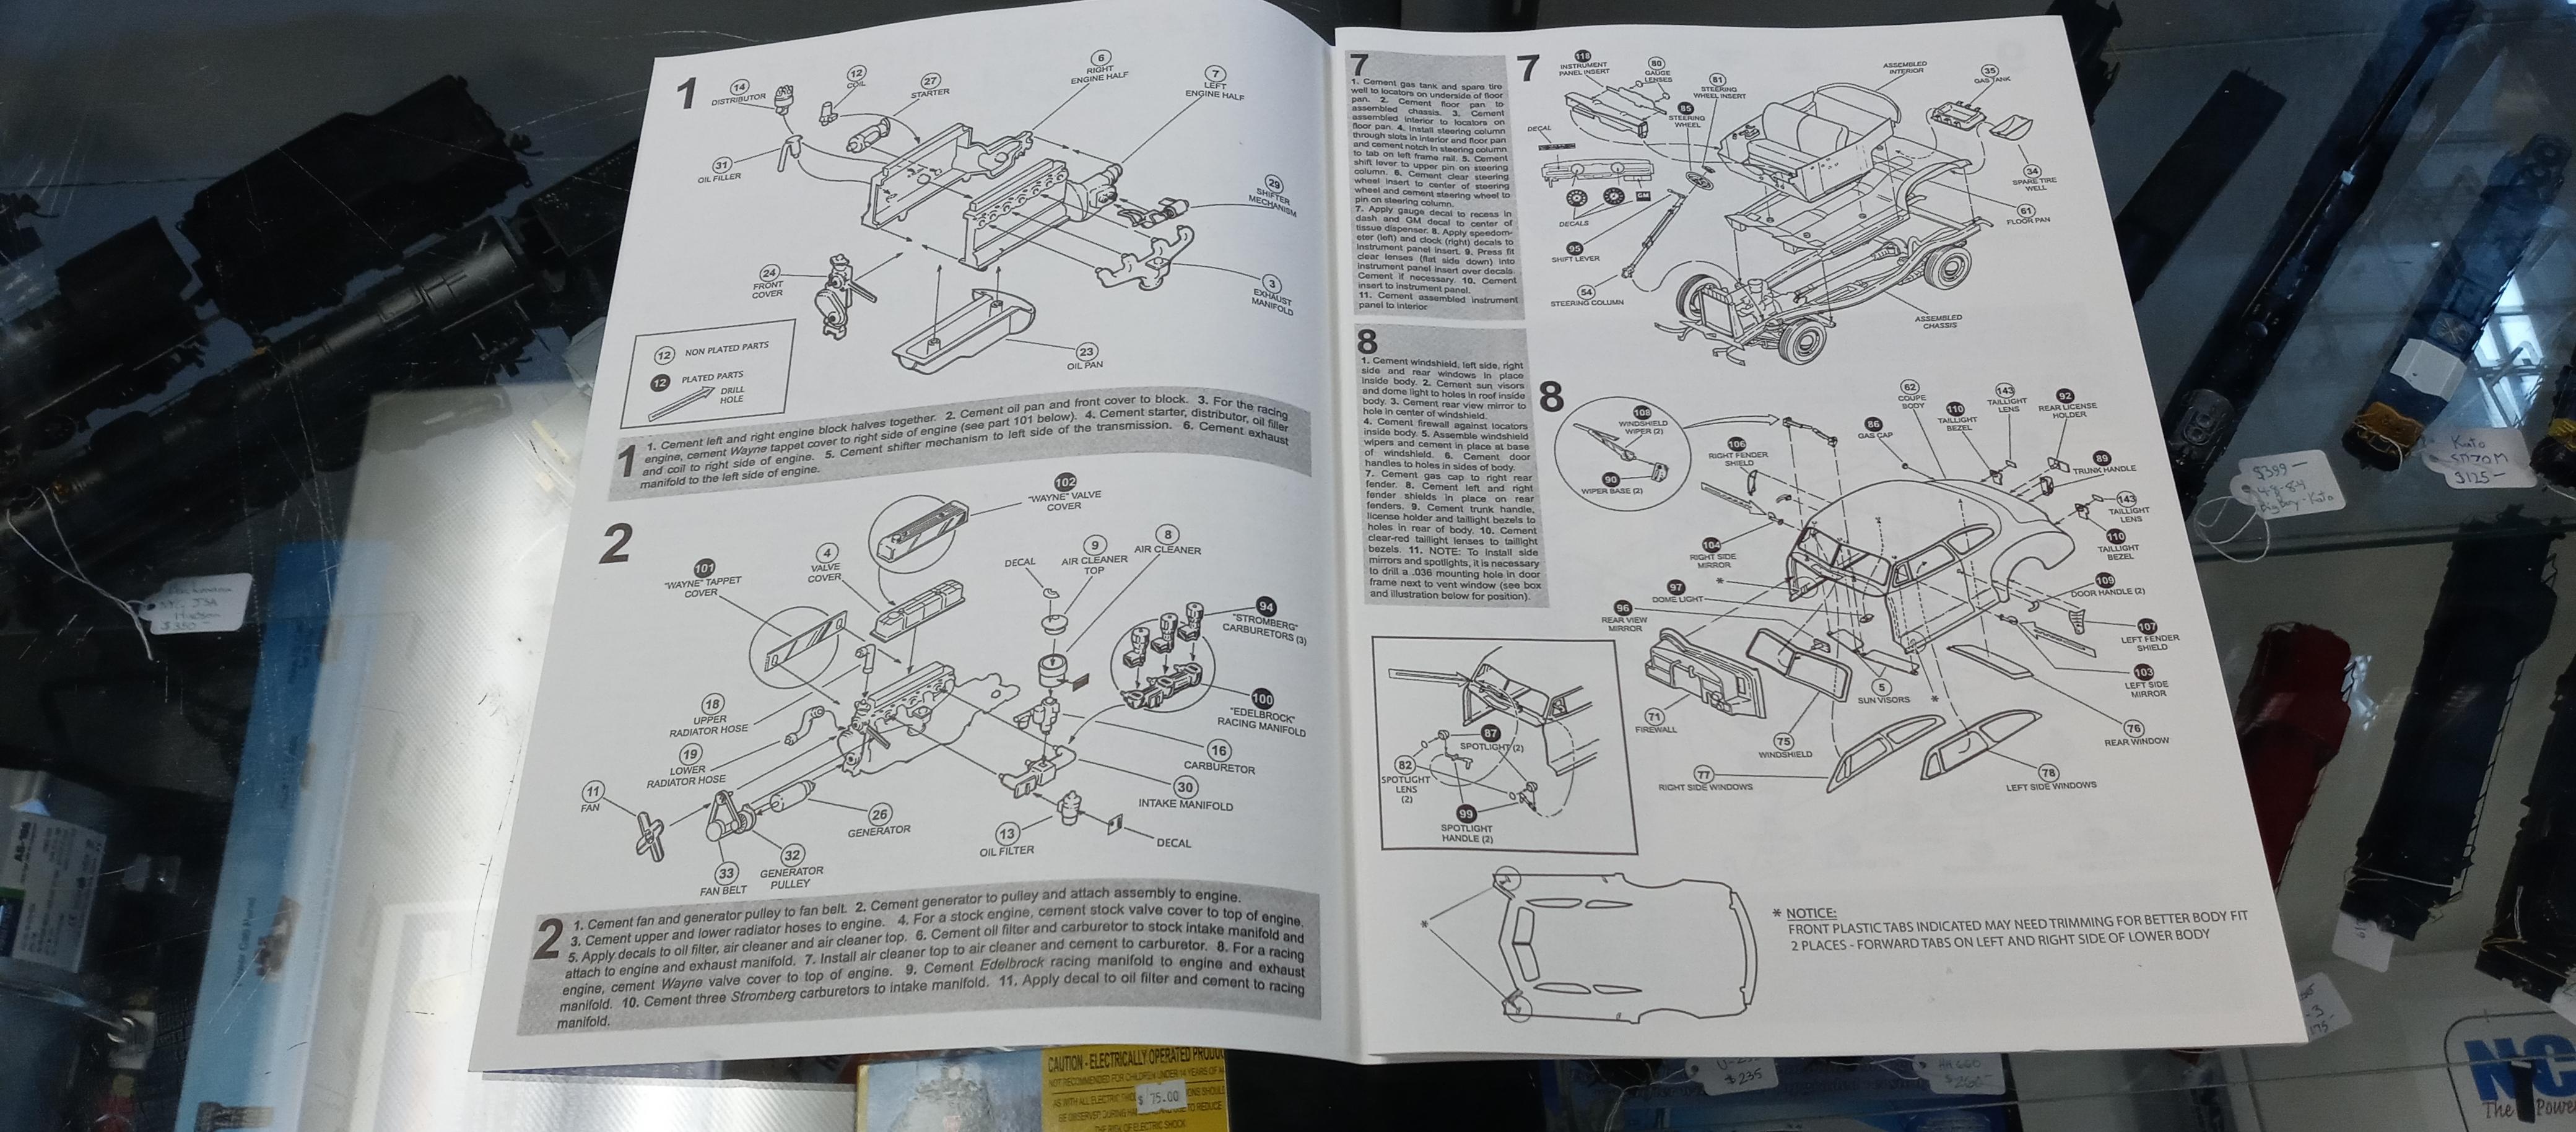
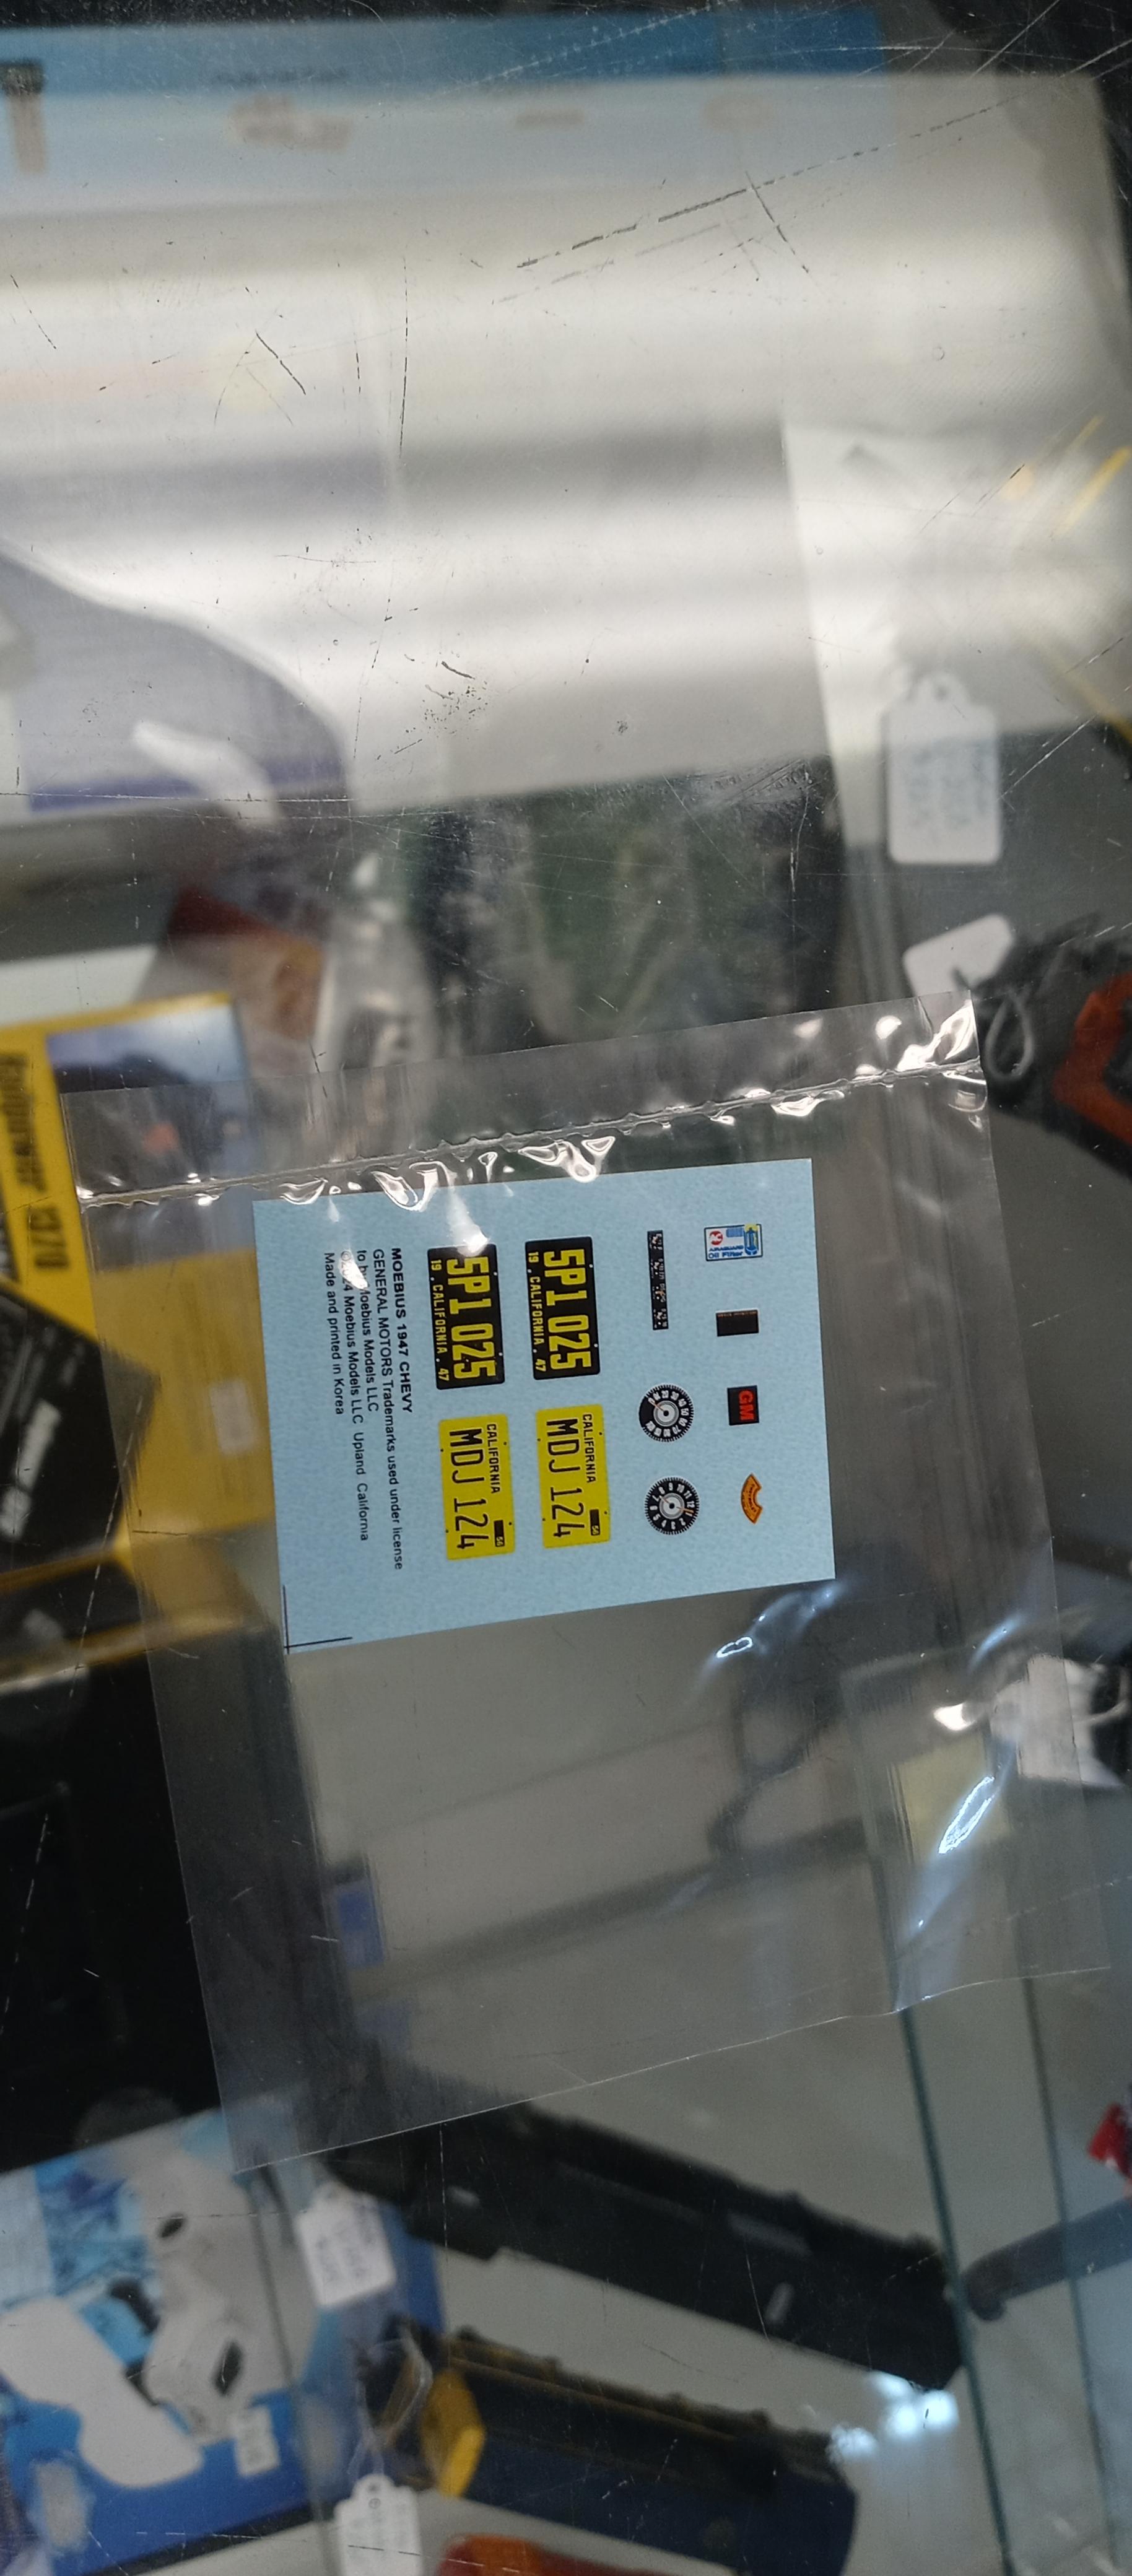
Well, just as I said, they arrived this week. Unusually, Moebius has followed suit with European and Asian kit manufacturers in that these kits were NOT shrink-wrapped as delivered from the distributor. This also, of course, meant I had the opportunity to photograph kit contents. I elected to snap some pictures for everyone of the Fleetmaster Coupe to show how this reissue has turned out and it is a sharp one!
-
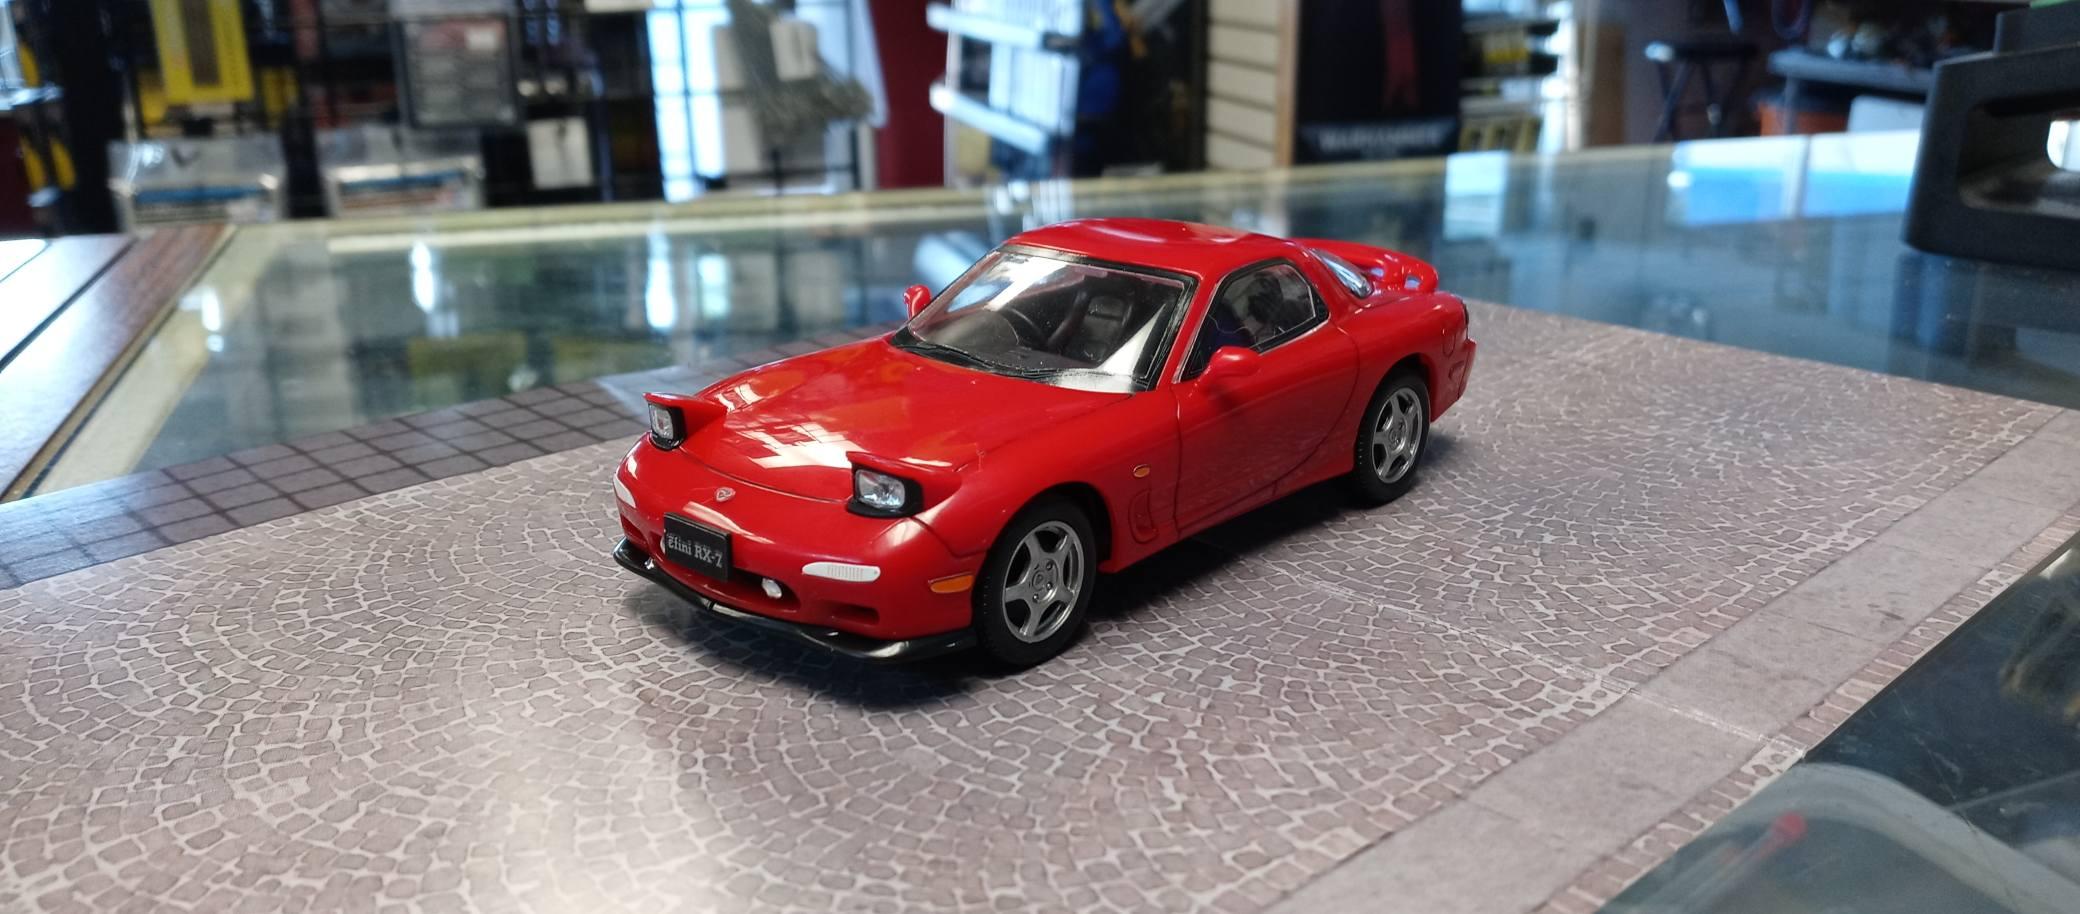
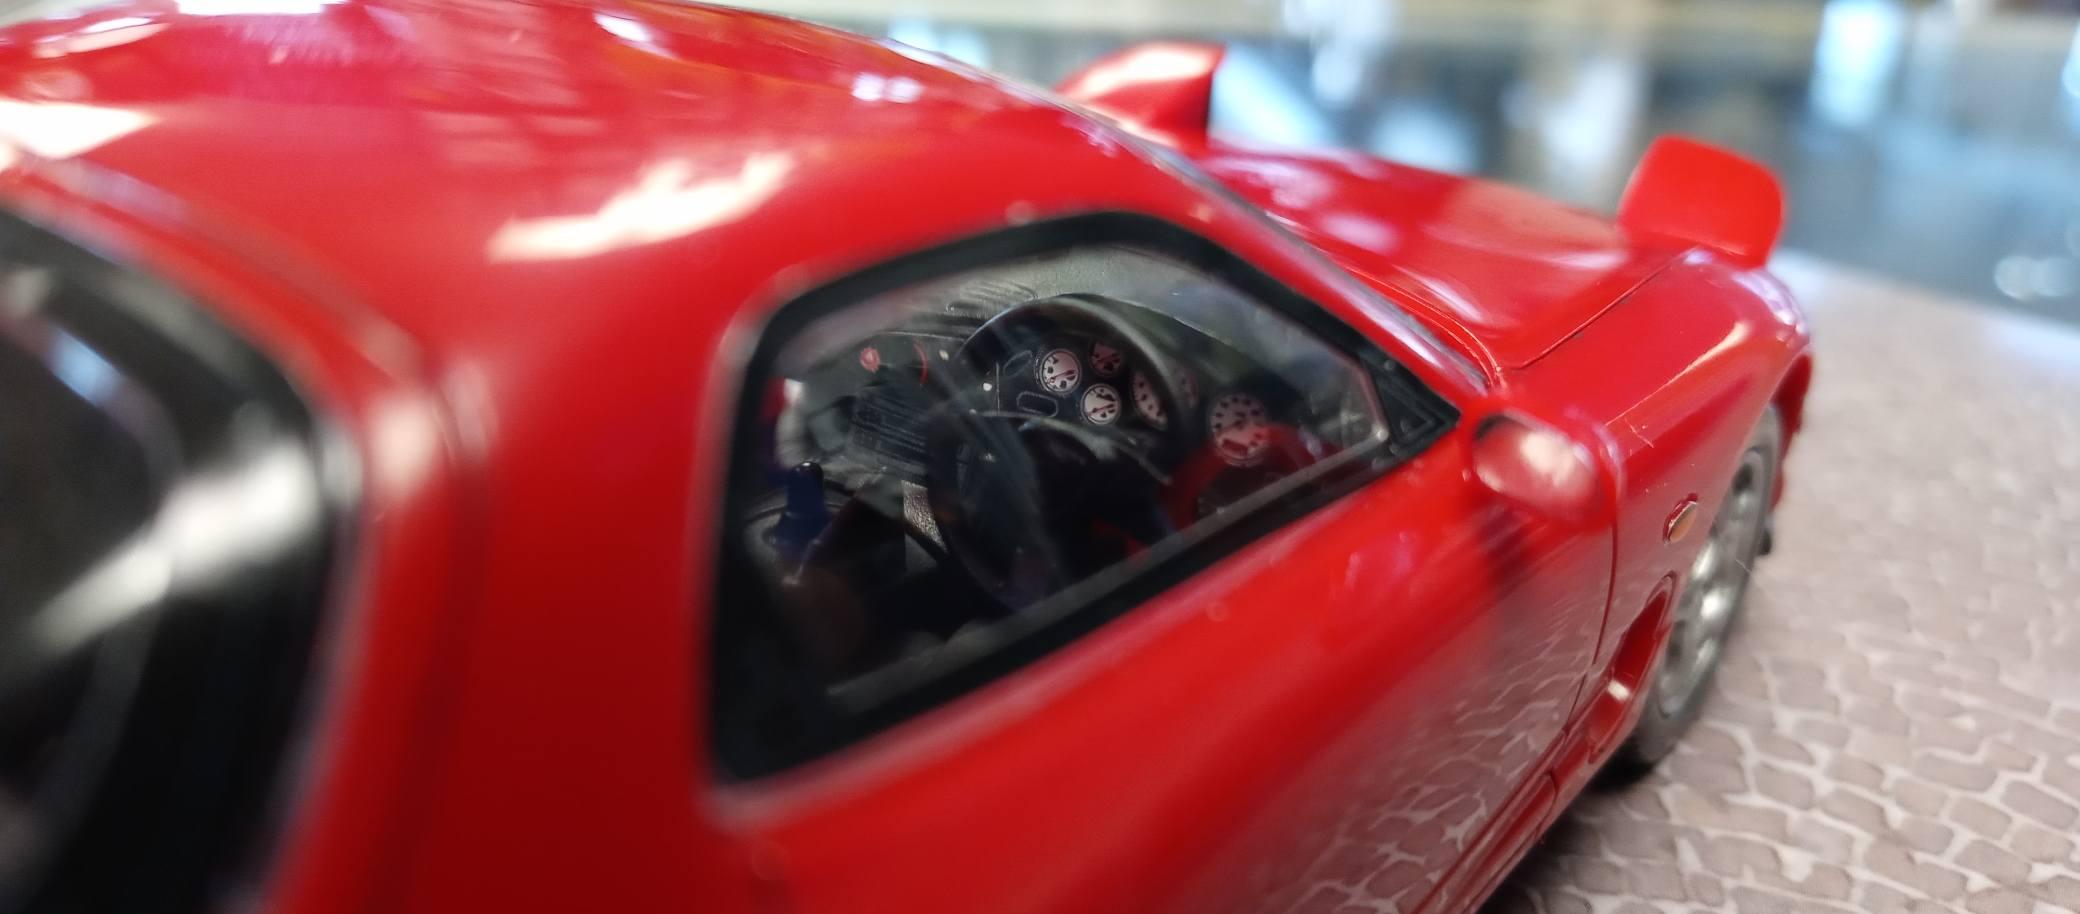
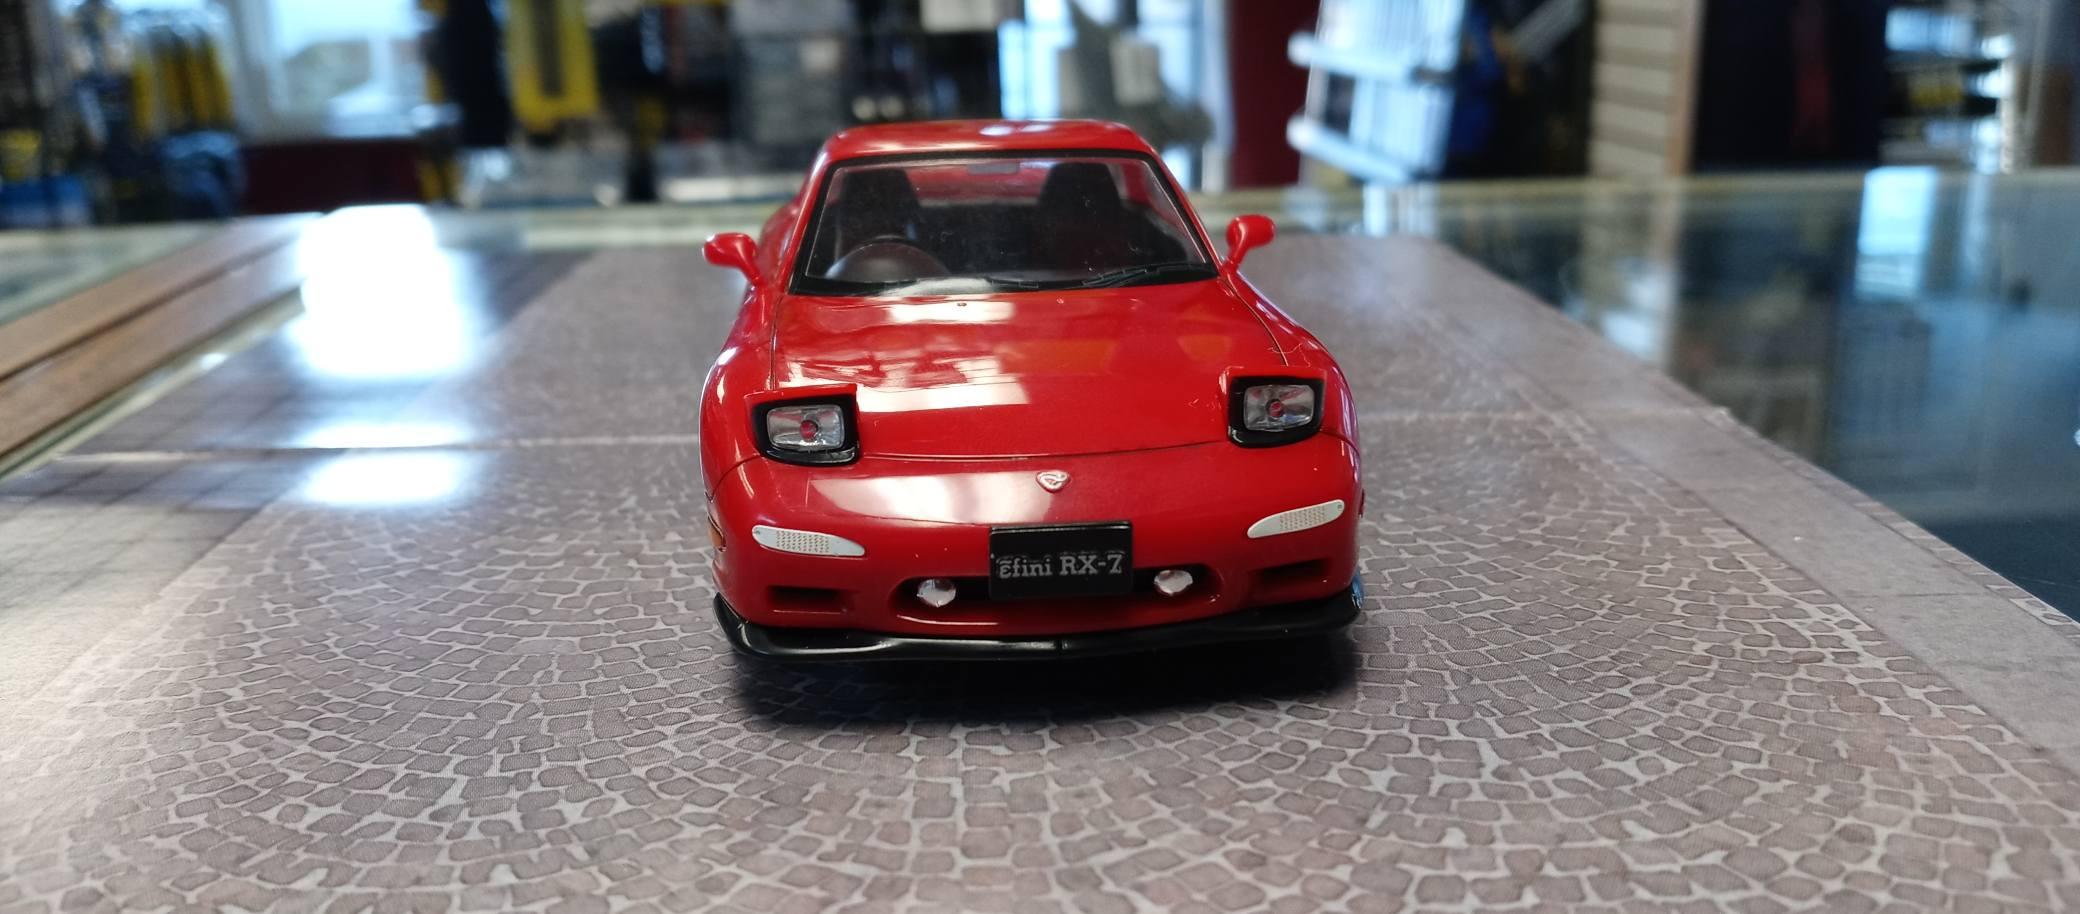
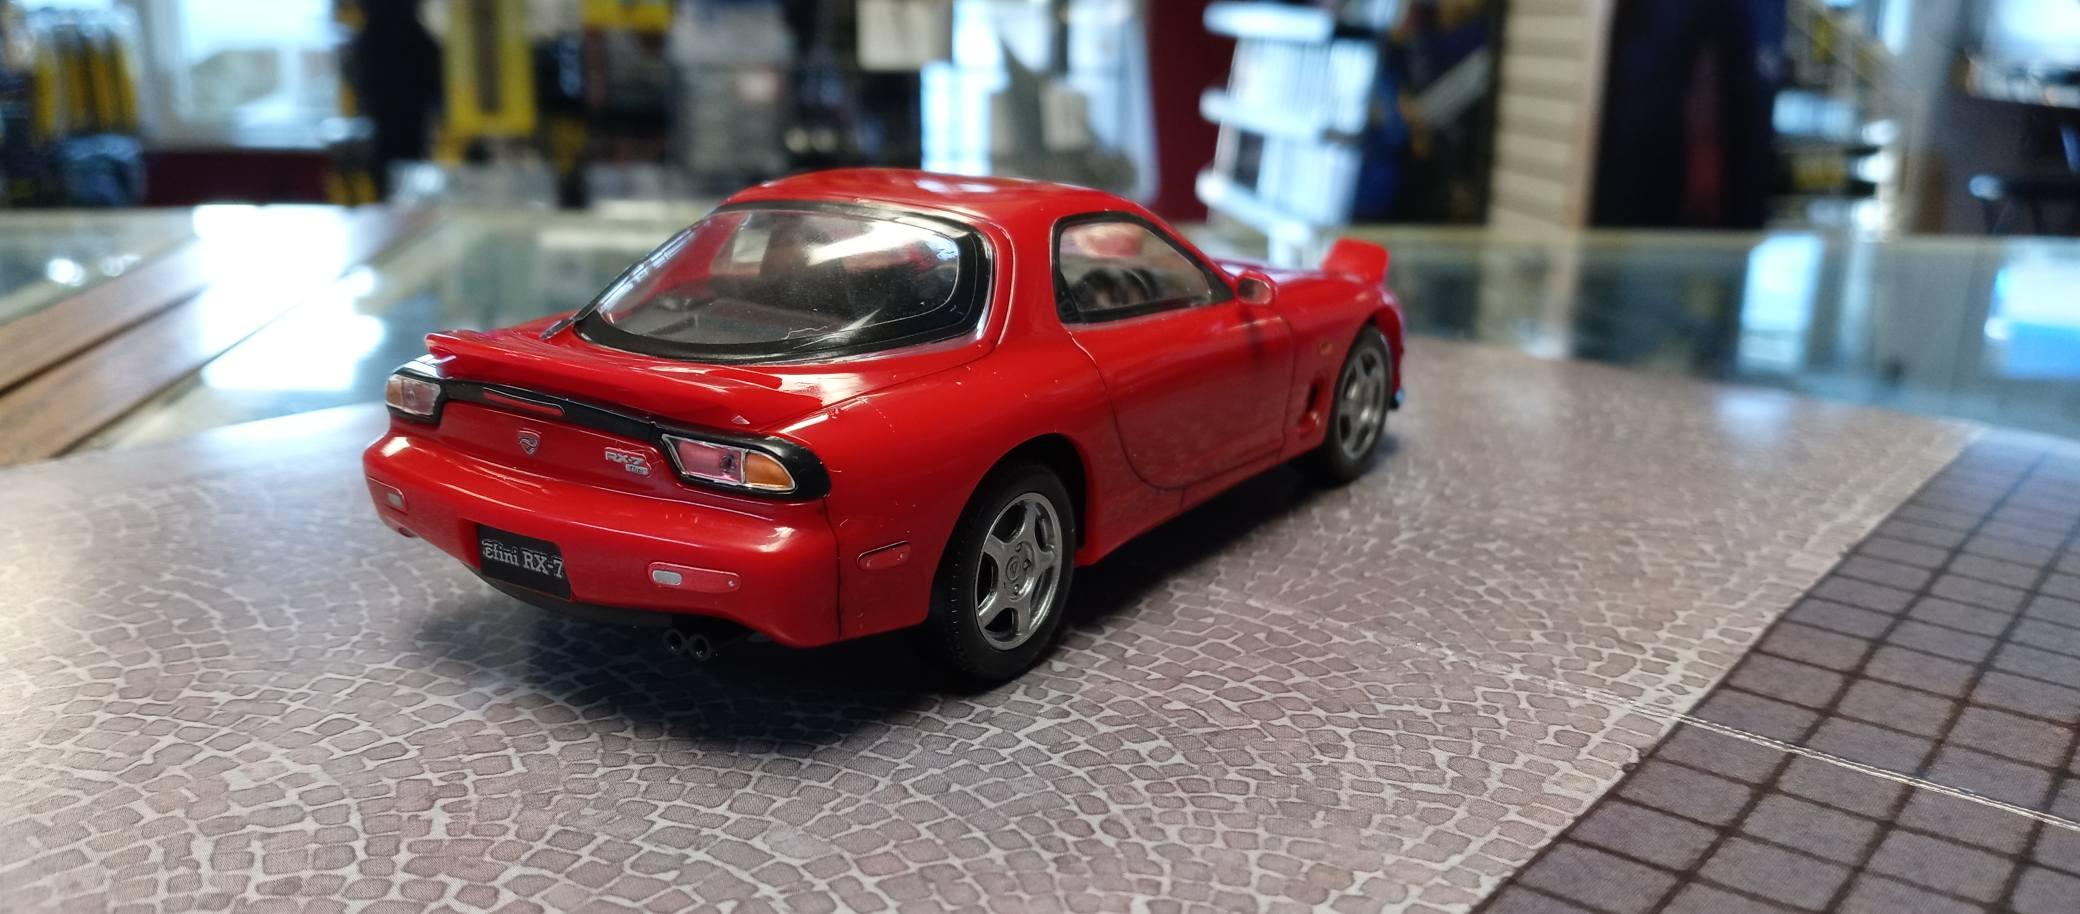
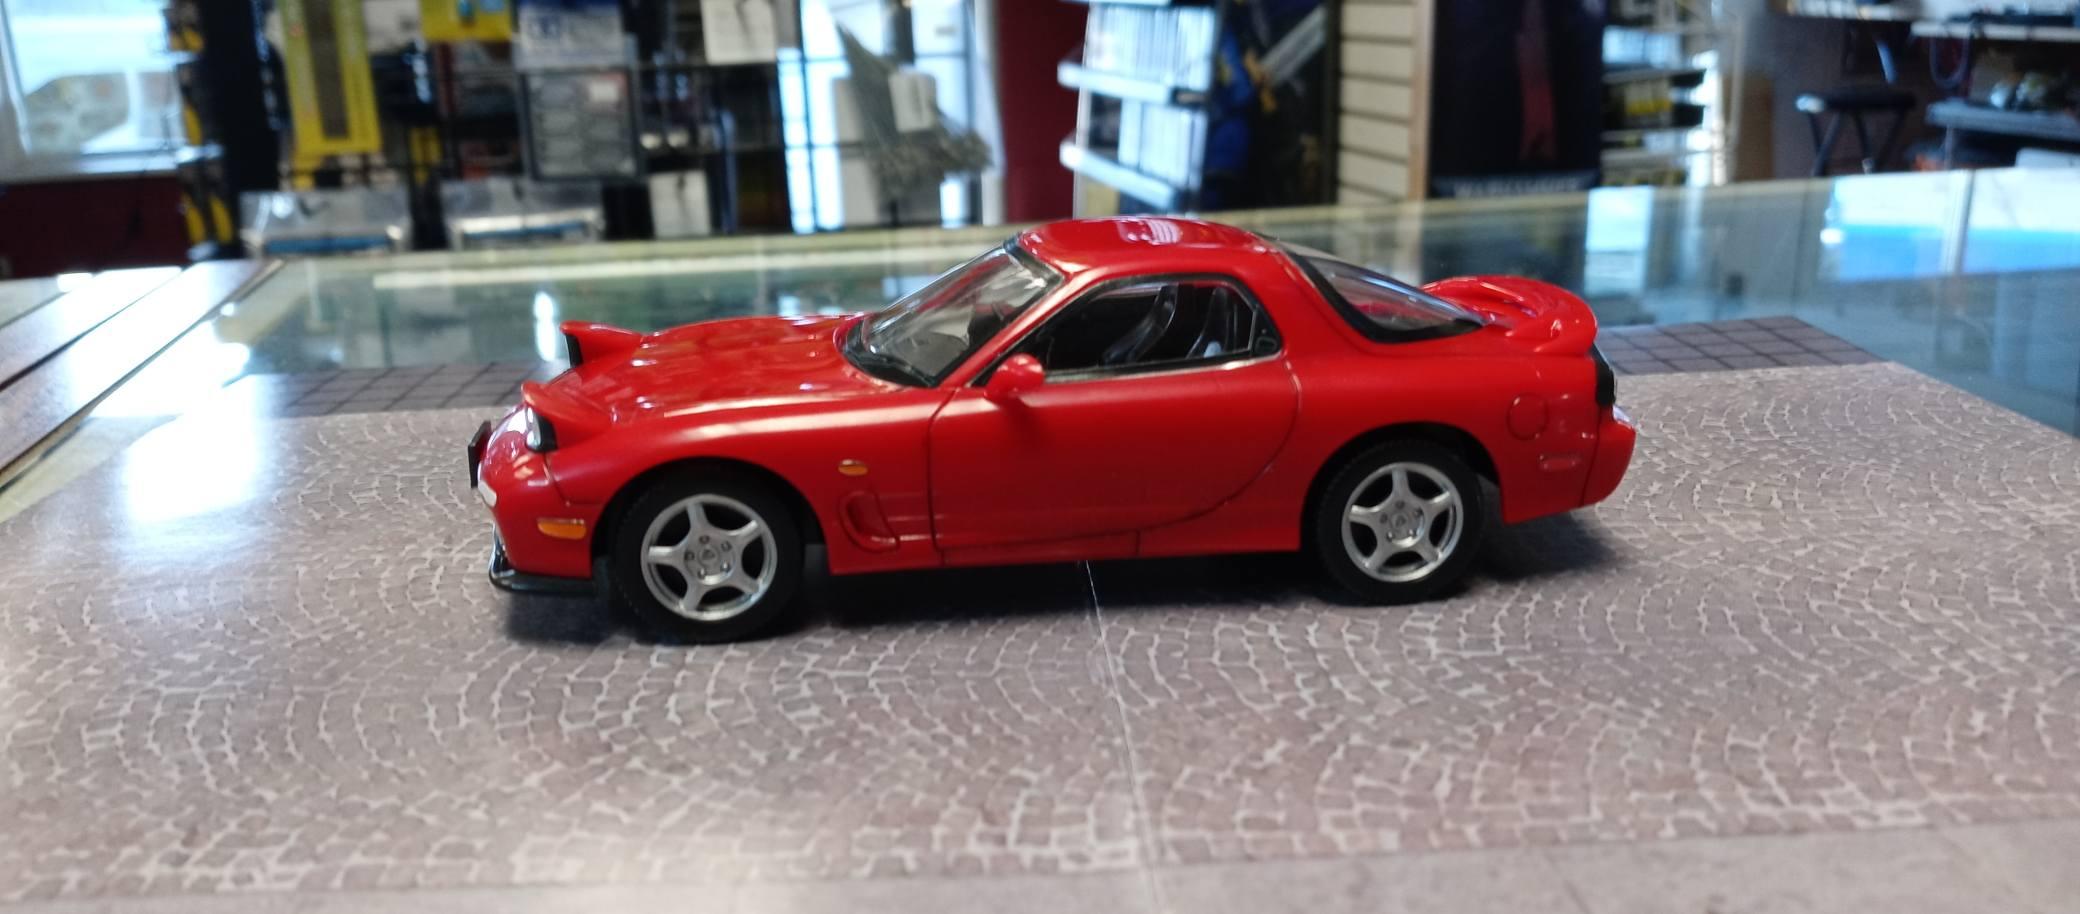
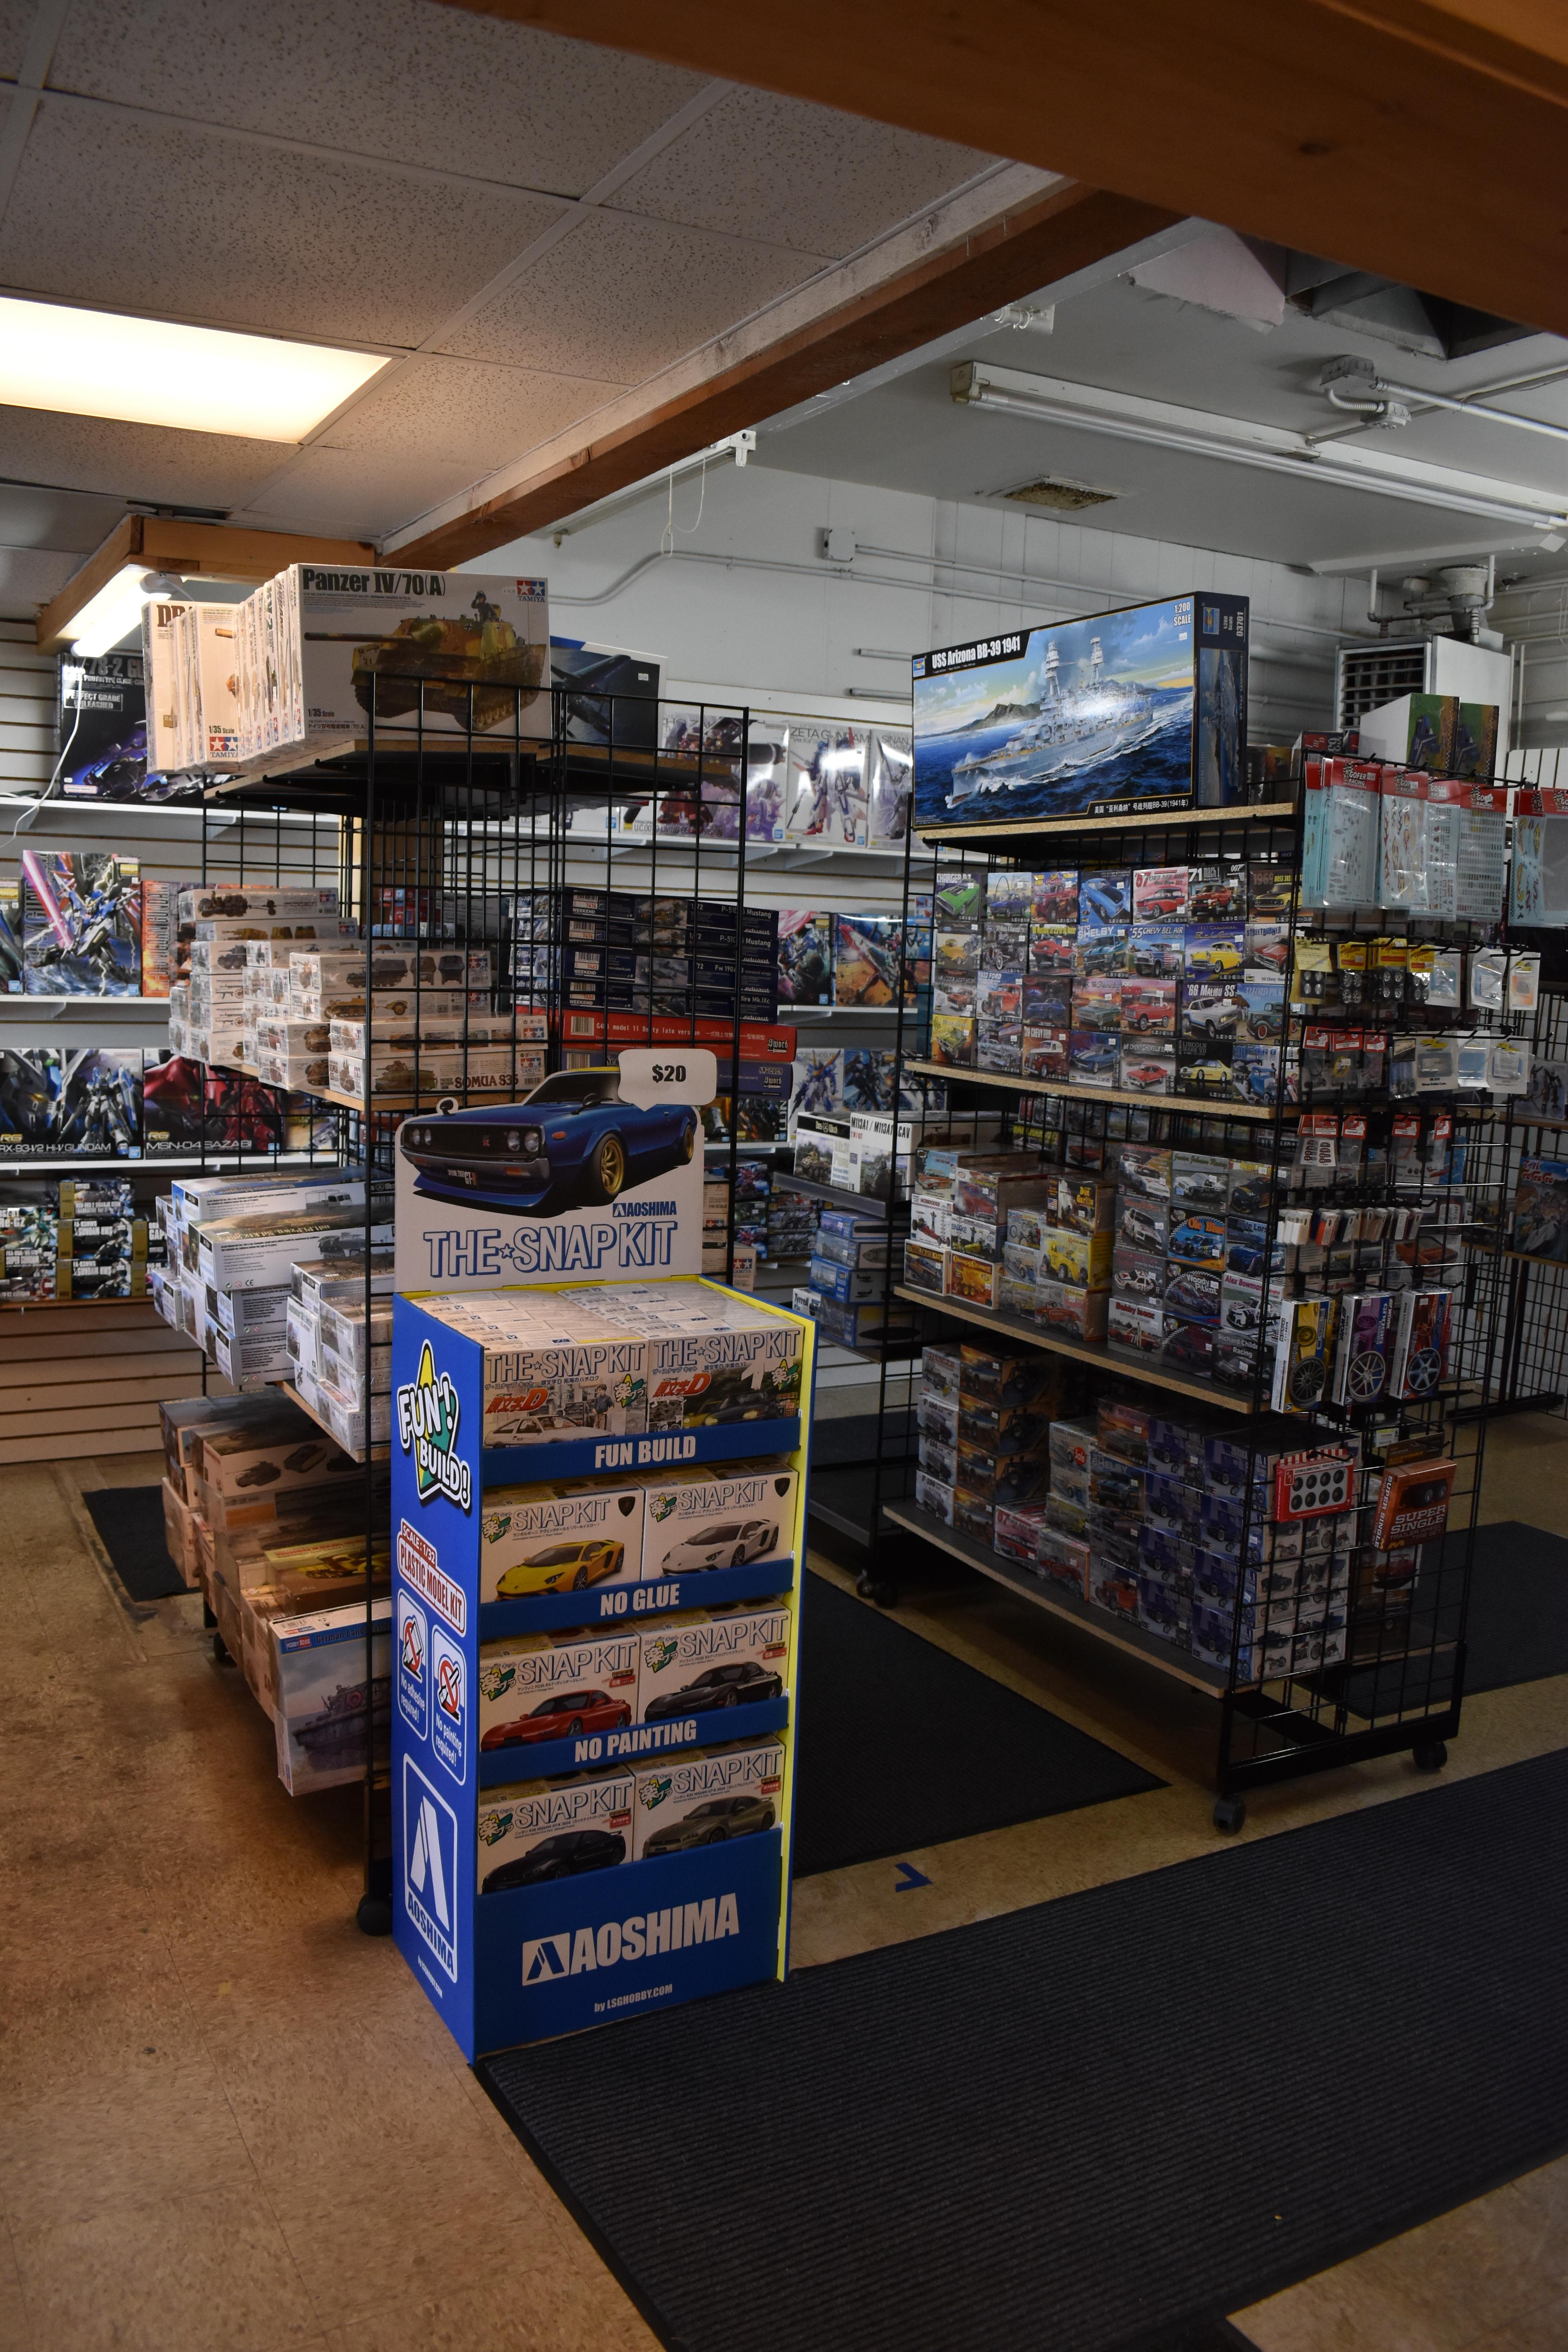
Decided to do something quick just as a slump buster. This is a 1/32nd scale snap kit by Aoshima of a Mazda RX-7. Aoshima has this whole line of $20 snap car kits that we've started stocking at Haven. I figured what the heck, give one a try, and it was actually a really fun little build. The only thing I added was a bit of Tamiya Black Panel Liner.
-
Moebius 1946/7/8 Chevy Announcements
Justin Porter replied to Erik Solie's topic in Car Kit News & Reviews
Happy to be able to say that these have landed at distributors and I have my stock in-bound. Really excited to be able to put these on my shelves. -
Mc Laren M16 AMT 1/25
Justin Porter replied to lascar's topic in Other Racing: Road Racing, Salt Flat Racers
The AMT 70's Indy kits are definitely pretty rough but workable. Yours really does look great. -
Moebius 1/25 1964 Mercury Comet K-code
Justin Porter replied to Justin Porter's topic in Car Kit News & Reviews
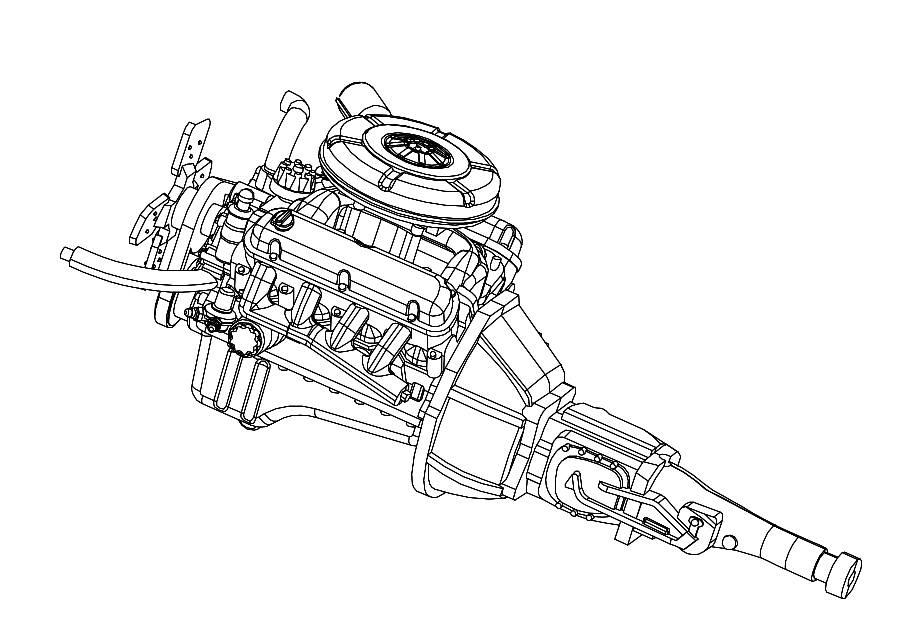
Chris Svensden at Sven's World of Wheels has posted additional CAD renders and drawings for the stock 1964 Comet. Needless to say, it's looking like it's going to be a very nice kit!
-
Moebius 1964 Mercury Comet Pro Touring
Justin Porter replied to Justin Porter's topic in Car Kit News & Reviews
I already have a customer who's earmarked his second buy of this kit as a donor to go under the AMT '61 Ranchero. -
Moebius 1964 Mercury Comet Pro Touring
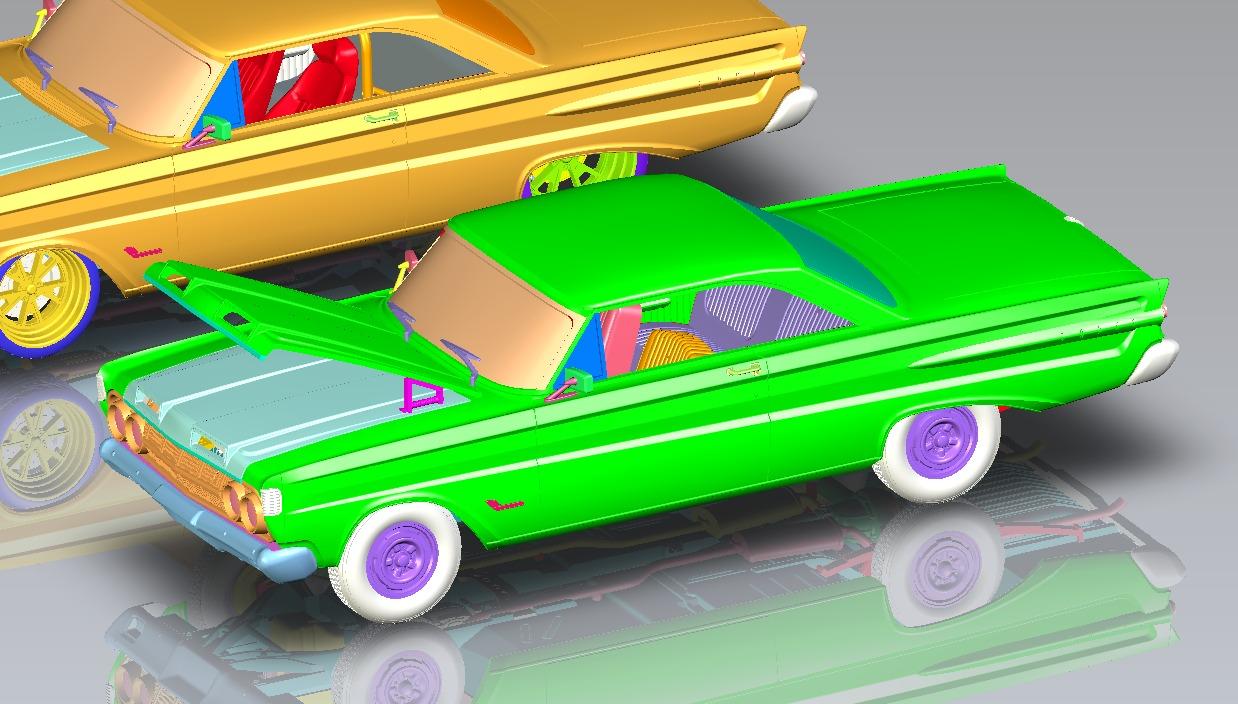
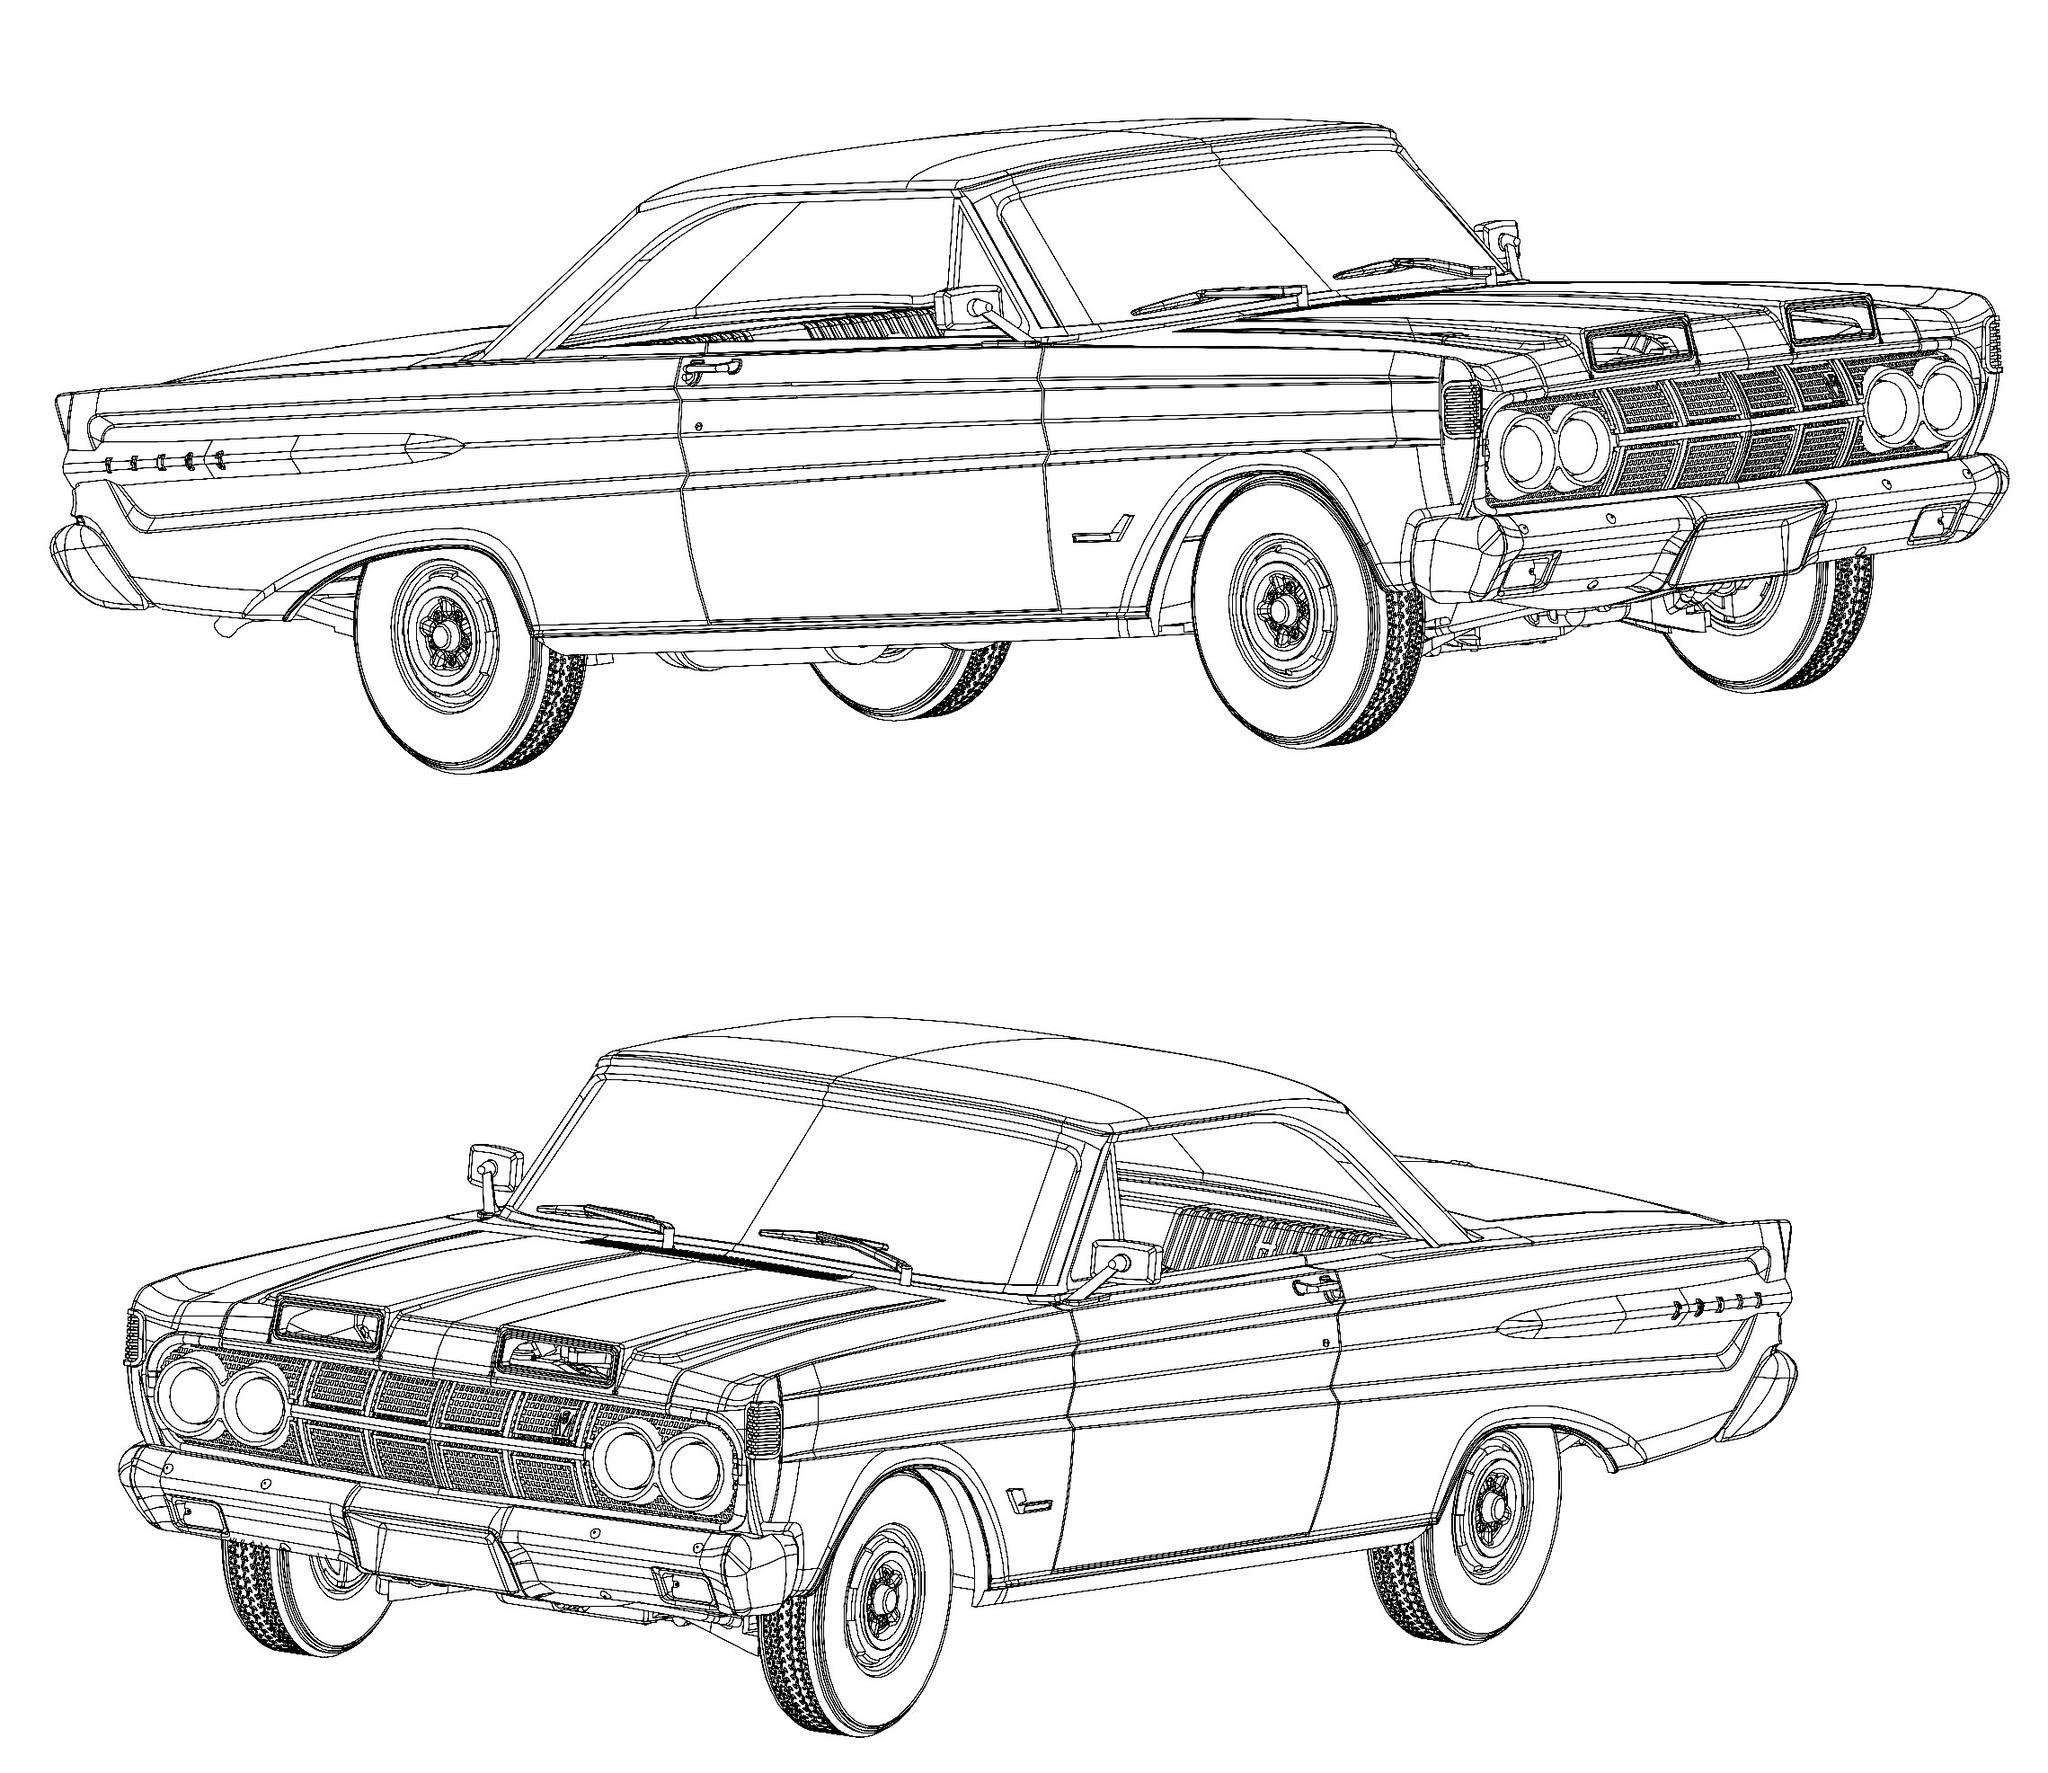
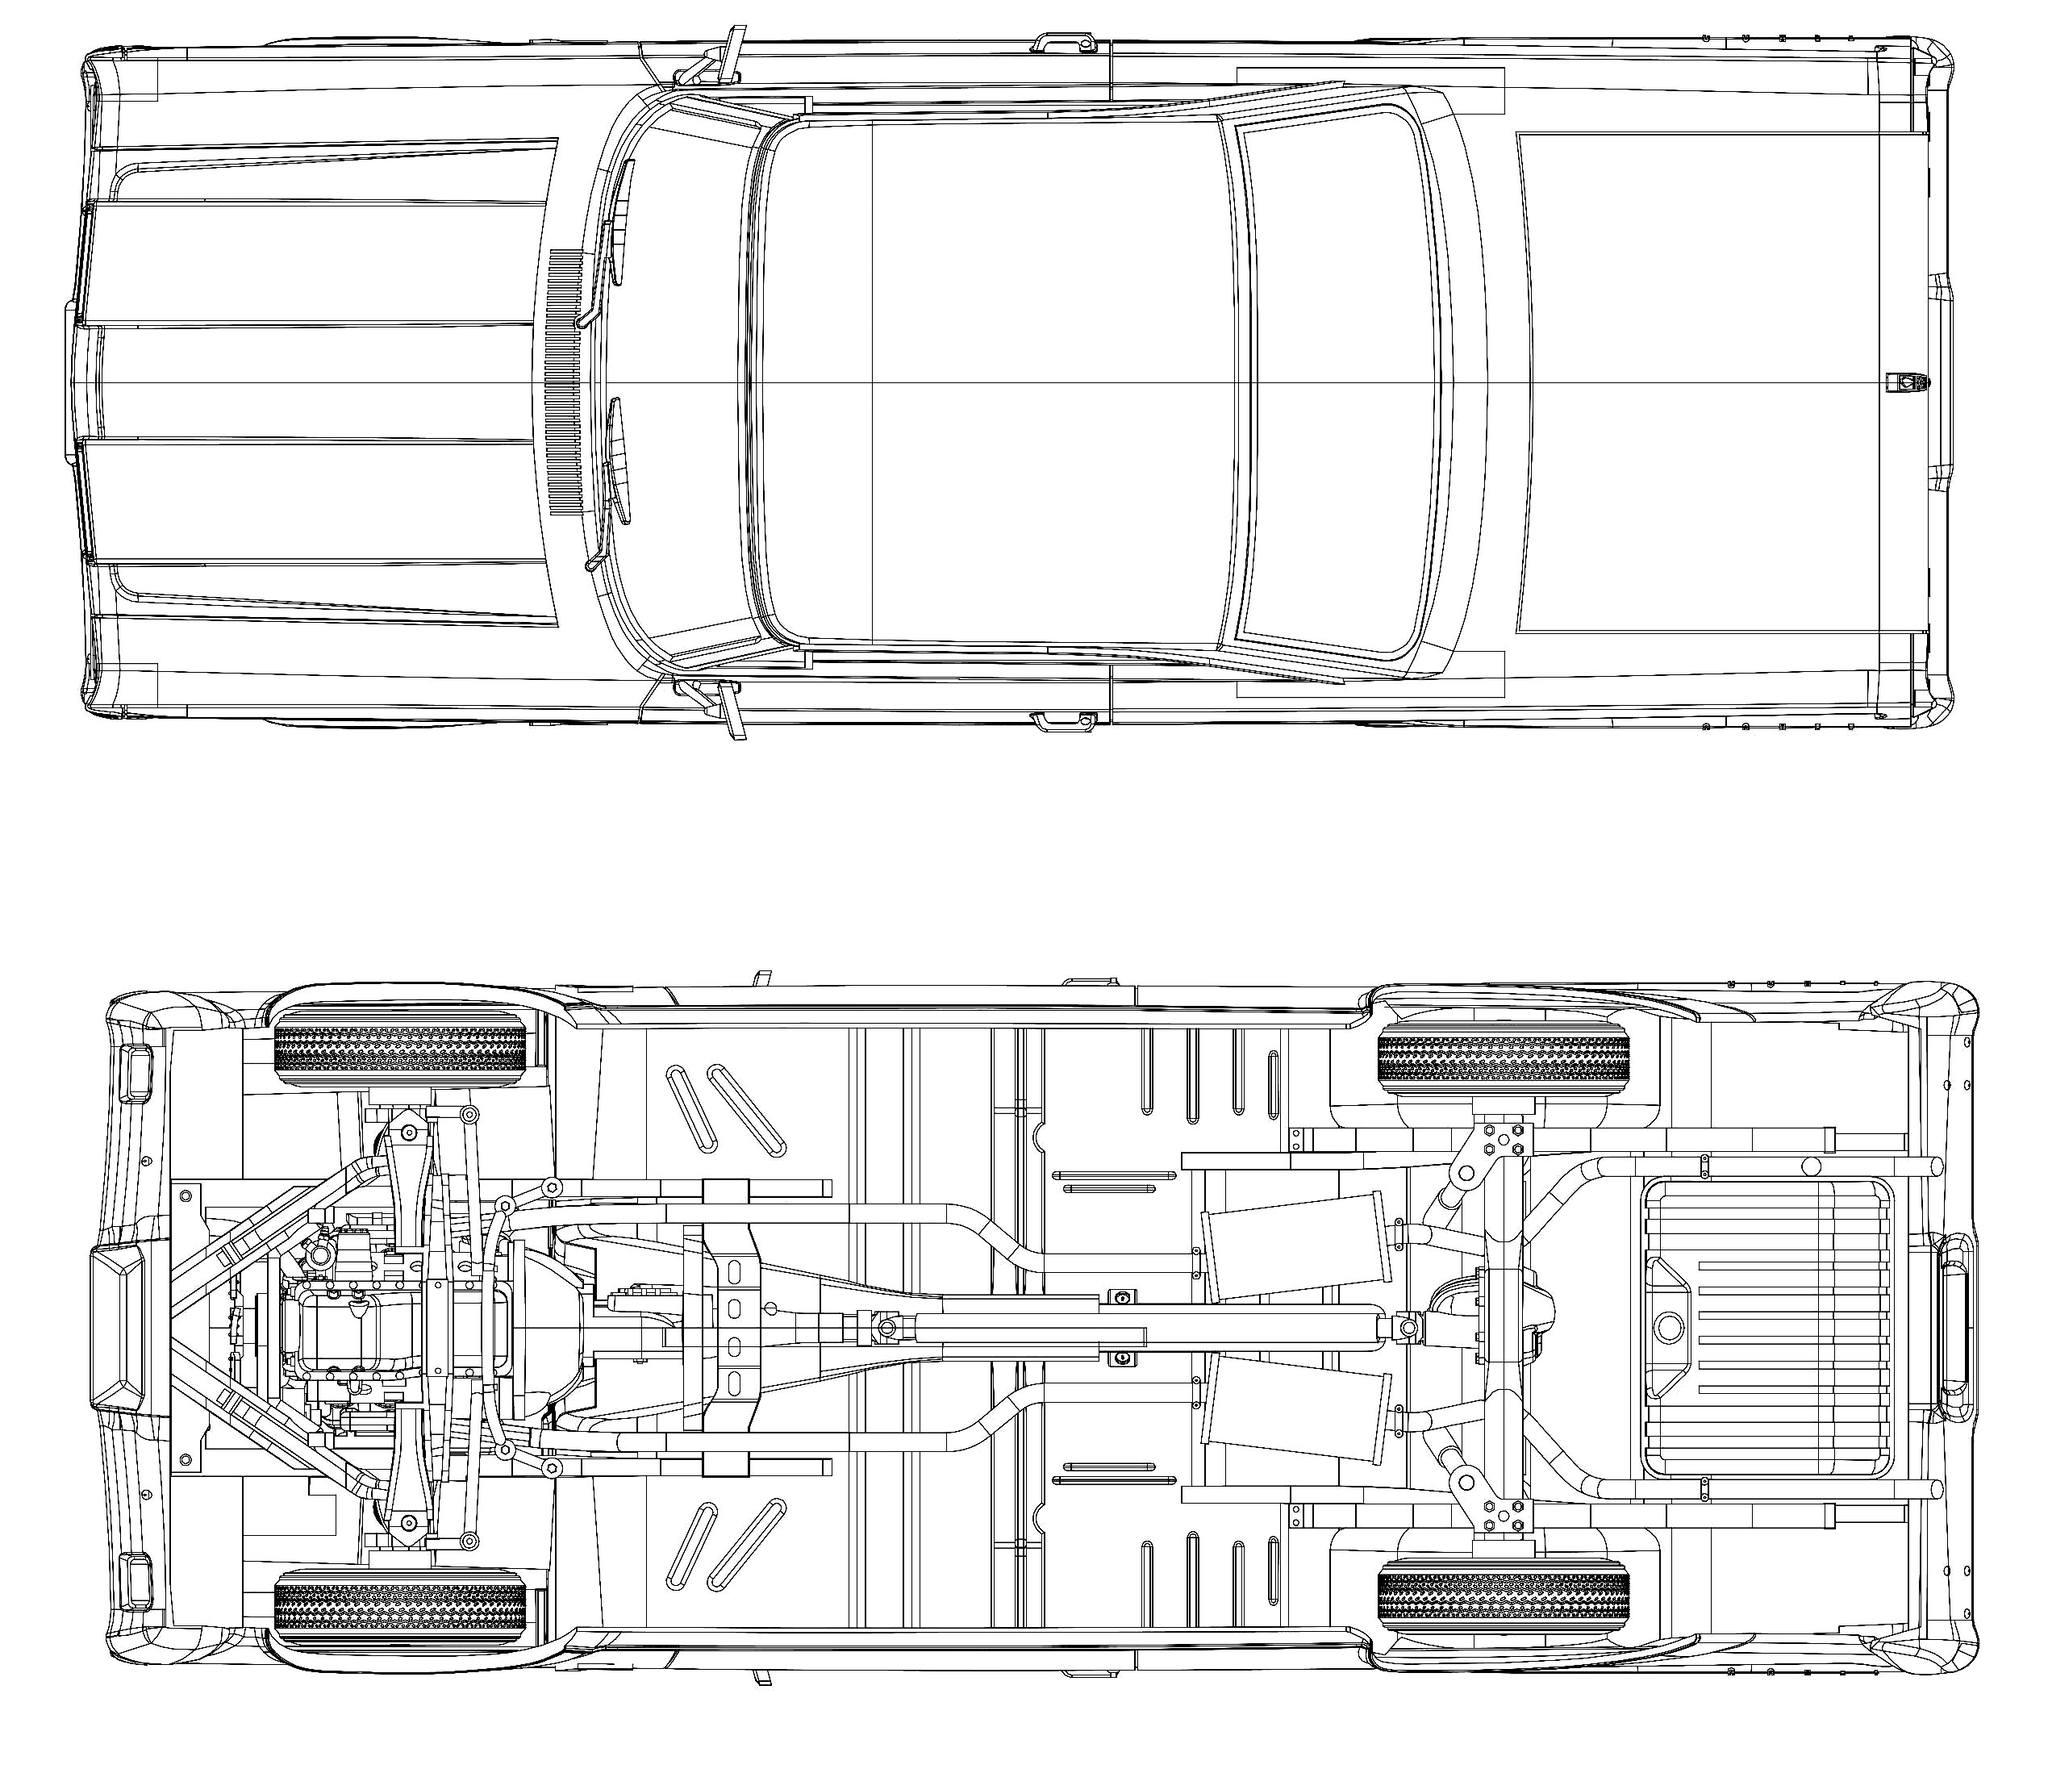
Justin Porter replied to Justin Porter's topic in Car Kit News & Reviews
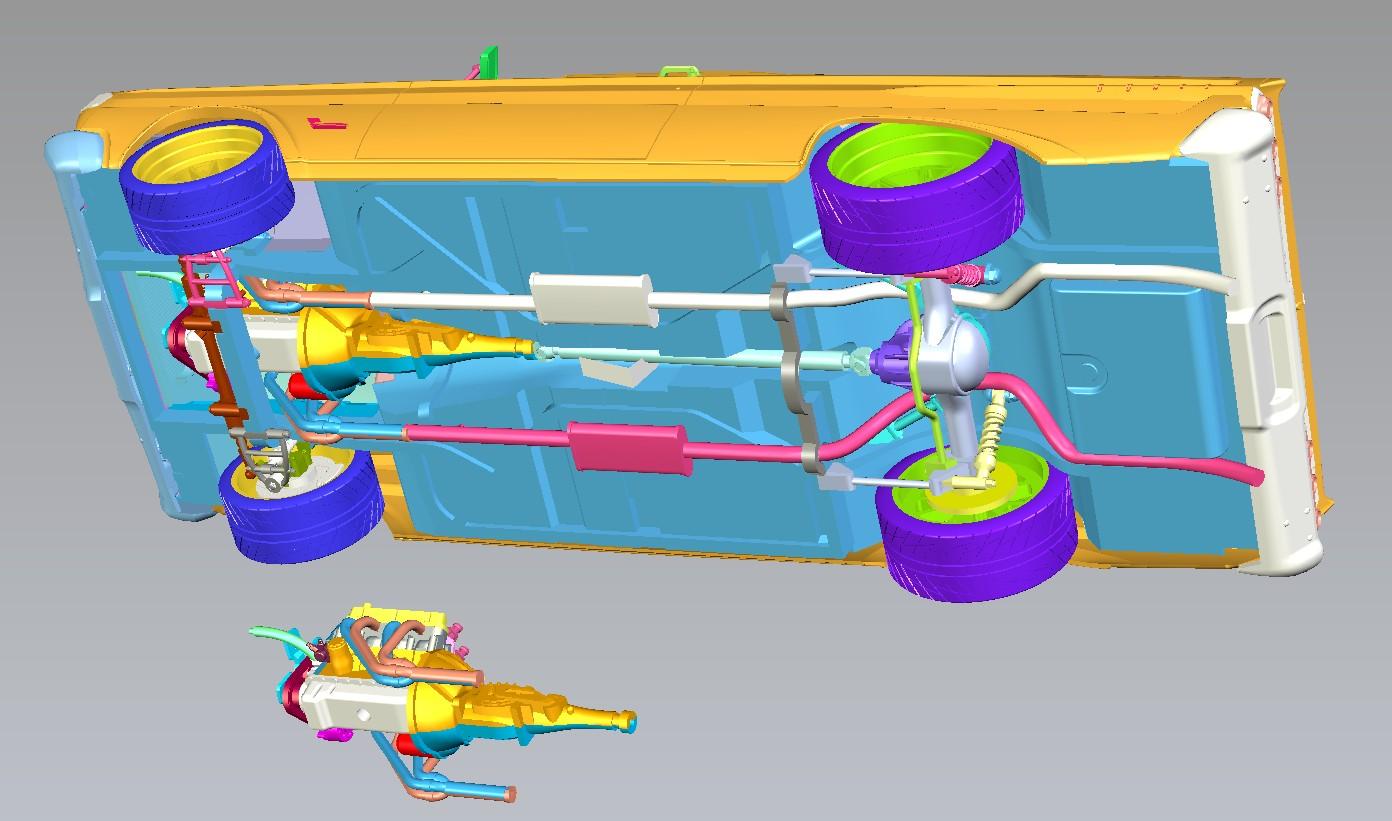
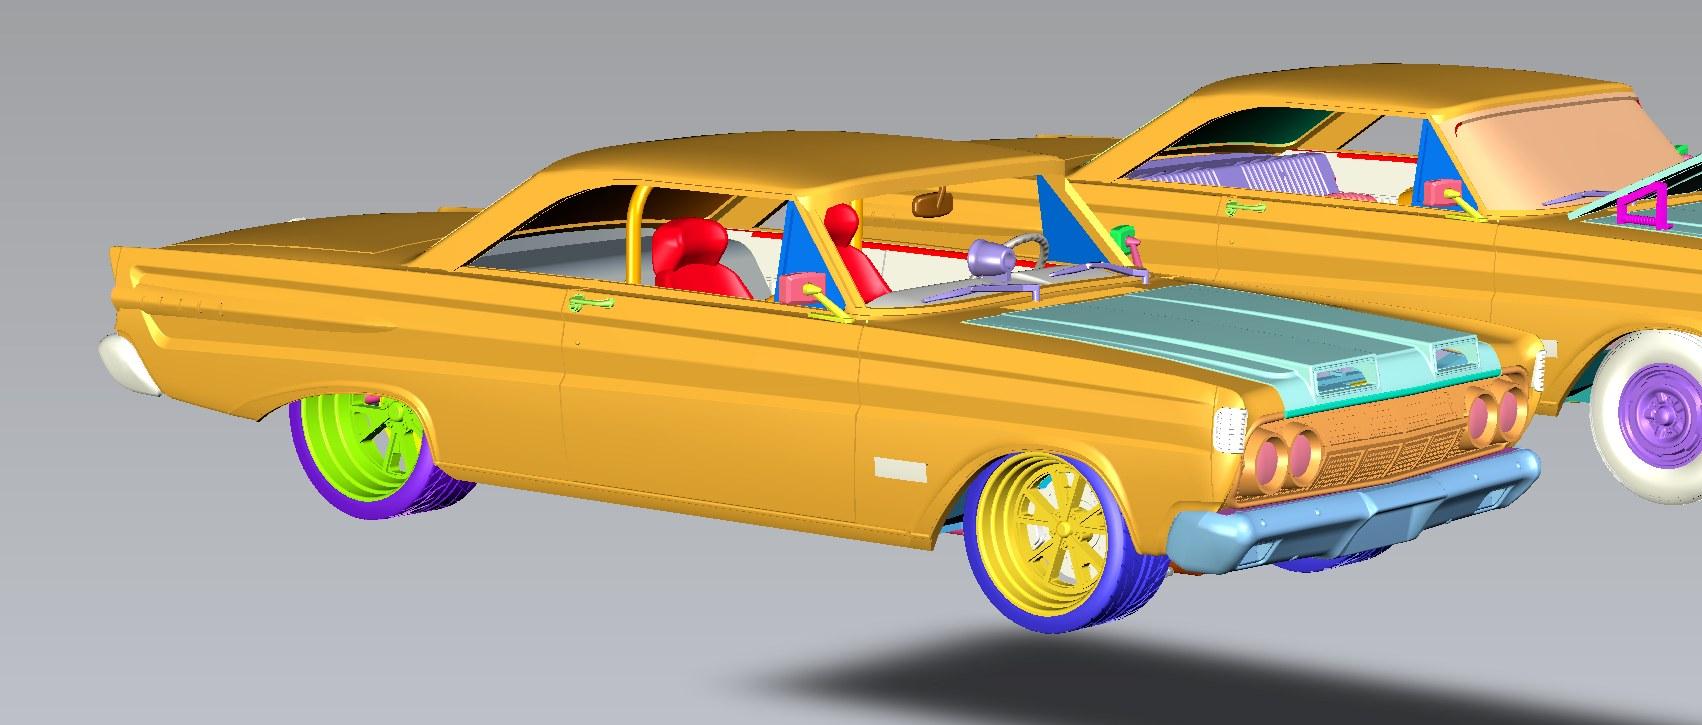
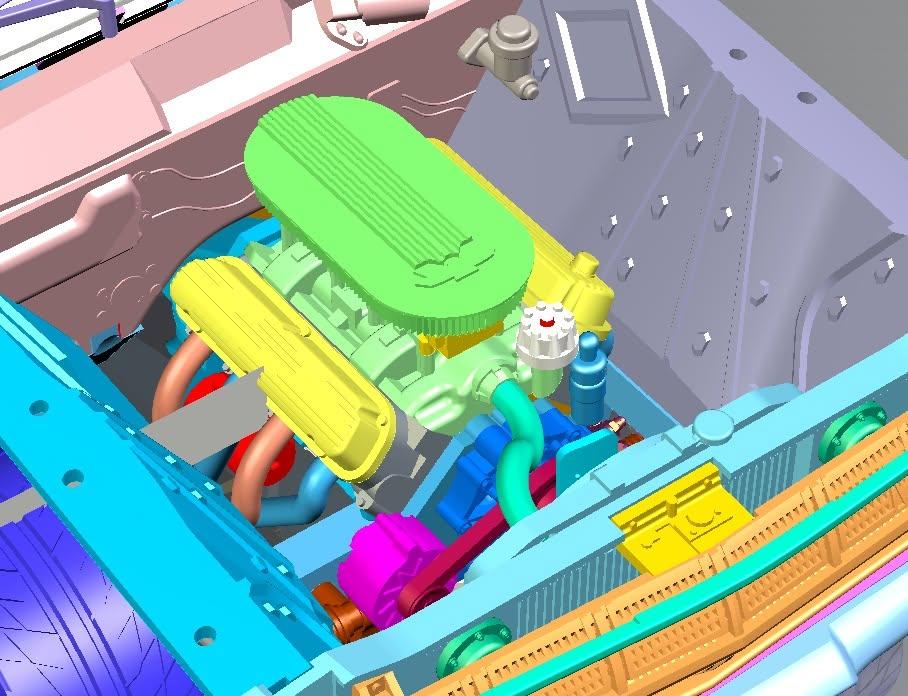
More pictures from Sean Svensden. Now we have the CAD images of the Pro Touring Comet showing the overall model, the chassis, and the engine bay!
-
Moebius 1964 Mercury Comet Pro Touring
Justin Porter replied to Justin Porter's topic in Car Kit News & Reviews
AMT/Ertl was getting a LOT right in terms of trying to push in more contemporary ways with their non-stock versions of the Mueller era kits. Only the '71 Charger could really be called a misstep and that's mostly down to the tragic wheel & tire package. The El Camino is a personal favorite, the '72 Corvette is highly underrated, the Bel Air is brilliant, and the Duster was even pretty cool with its "mini Viper" aesthetic and intake. That's also coupled with the excellent lowrider versions of the Monte Carlo and Riviera, and the 60's custom versions of the '62 Pontiac and '57 300C. It still makes me so sad we never got to see that bullet-nose Studebaker. -
Coming Soon from Atomic City's JoHan line of new kits
Justin Porter replied to thatz4u's topic in Car Kit News & Reviews
I don't feel builders have to defend why they like building certain kits at all. I don't even necessarily feel that these kits don't have a place on the market. What I do see is an immutable truth that new tooling makes my register go ding (Moebius Novas, Revell '71 Mustang) and clone tooling doesn't. There have been - I will grant - a small handful of Craftsman Plus releases that haven't held this as true. The Nova Wagon, the '68 GTO, and the '64 Malibu have genuinely been winners. I don't at all disregard that there is a market for these kits, nor do I feel that Round 2 shouldn't be fulfilling that market. Further, we also have Atlantis fulfilling the nostalgia release market with their acquisition of the Revell and Monogram back catalogs. Do I think there's necessarily room in the market for a third nostalgia brand marketing to nostalgia oriented customers? Not especially. My sales data tells me that the market is already slim for the two we have. A third one, operating from entirely new tooling (reverse engineered or otherwise) with an even smaller catalog of subjects than the first and second, slices up an already thin market. That being said, I can't tell nostalgia oriented customers NOT to want what they want. That's not my place. However, my JOB is trying to understand what casual builders buy. Casual builders are the ones who don't have basements full of previous releases of vintage kits, and aren't necessarily going to track down a Racing Champions era or Ertl era reissue of an AMT kit at a show because they know it can be grabbed for half the going MSRP of a Round 2 release (and I do mean that when we're staring down the barrel of $41.99 sticker price on the Trophy Series '49 Mercury). They're the ones who plunk down their money for a kit of a subject they like and get to play roulette with tooling ages. In an instance where Jo-Han came back as an injection molded plastic kit company, in regular distribution channels, it is LIKELY that they would carry a premium MSRP. That's a pretty common sense statement. That hypothetical Jo-Han would likely be even higher in price than Round 2, potentially crowding a $45-$50 price point. Whether or not they're comparable subject matter, that's still new-tool Tamiya sports car money. And I have no doubt there are likely casual builders who would still gladly plunk down $50 for a Heavenly Hearse or a '70 Rebel Machine without any idea of who Jo-Han was or what they did just because it's cool subject matter. BUT THAT IS THE PROBLEM! As the MSRP's continue to climb and the base of casual builders continues to get younger as Gundam builders and racing sim players and other such hobbyists give model car building a try, they're increasingly finding that they're not getting their money's worth out of those boxes. I want the hobby to continue to grow, and expand, and evolve. I don't even necessarily want wonder kits. Think about a common as crabgrass subject like the 1970 Dodge Challenger. Now recall that we have three positively mediocre kits of it (Monogram 1/24th T/A, Lesney AMT 1/25th, Revell ex-diecast 1/25th). A decently modular 1/25th scale 1970/71 Challenger R/T, tooled to no higher an expectation of detail and fidelity than say the AMT/Ertl '62 Bel Air, with a target MSRP of $35.95, would be a product that would sell by the caseload and that I would happily applaud regardless if it were wearing a Revell or Fujimi or MPC or Jo-Han label on the box. That is literally ALL that I recommend instead of the nostalgia releases for the sake of the hobby at large. Give EVERYONE their money's worth and the sales will come. It's not that bizarre a concept. -
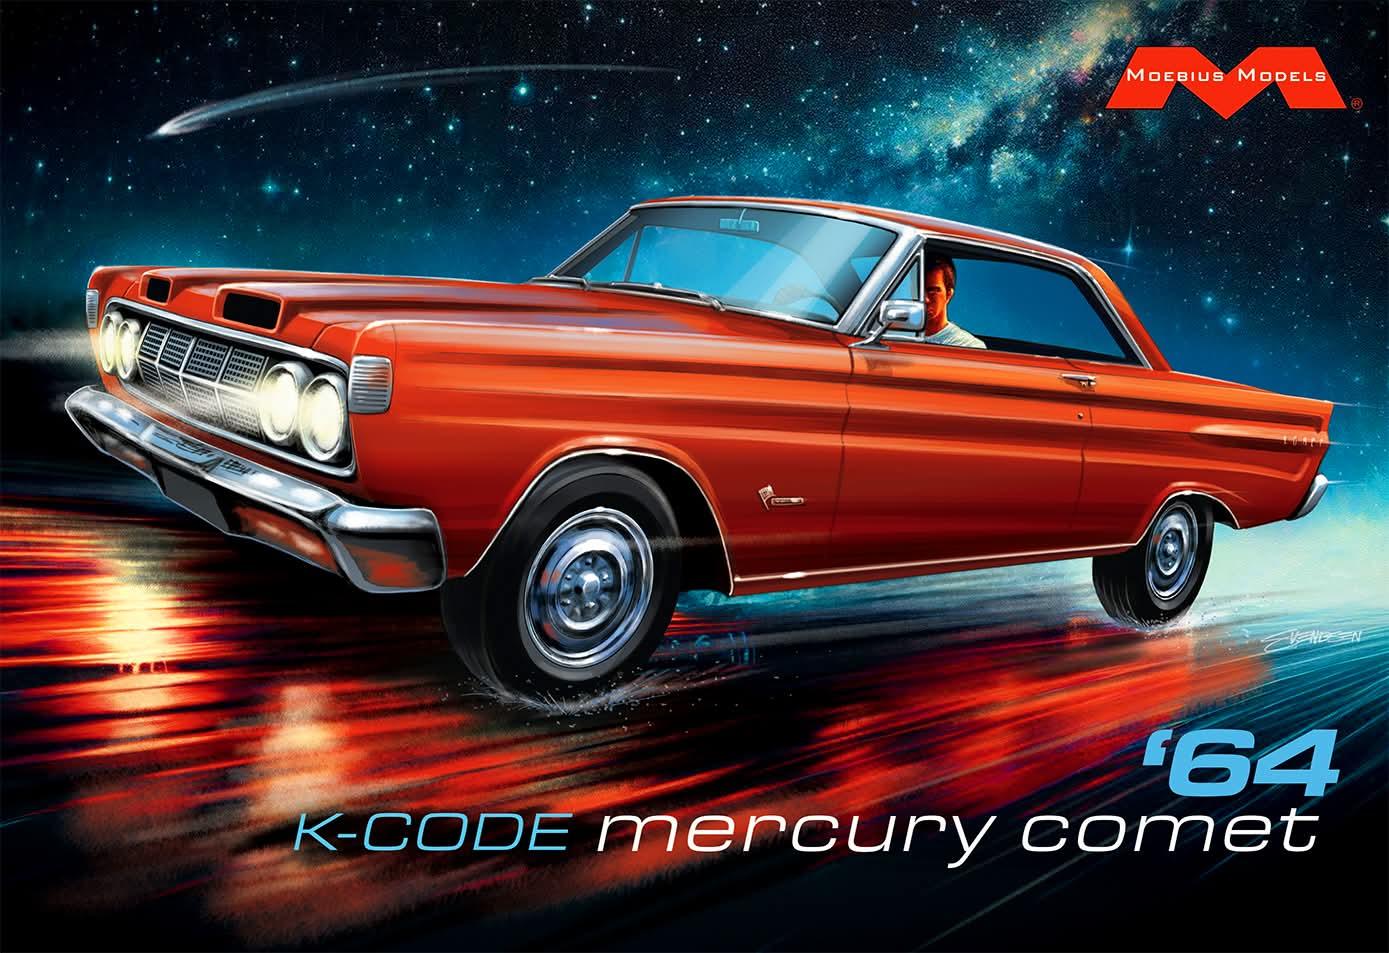
Another post from Sven's World of Wheels confirming the stock Comet. "Here is the artwork I created for the upcoming all new Moebius 1964 K-Code Mercury Comet. This version will be stock and have an accurate stock K-Code dual 4-barrel 289 engine and full detail chassis. No release date yet, but tooling is finished and production is being scheduled."
- 82 replies
-
- 19
-

-

-
Hobby Shops Closing ?
Justin Porter replied to Jon Haigwood's topic in General Automotive Talk (Trucks and Cars)
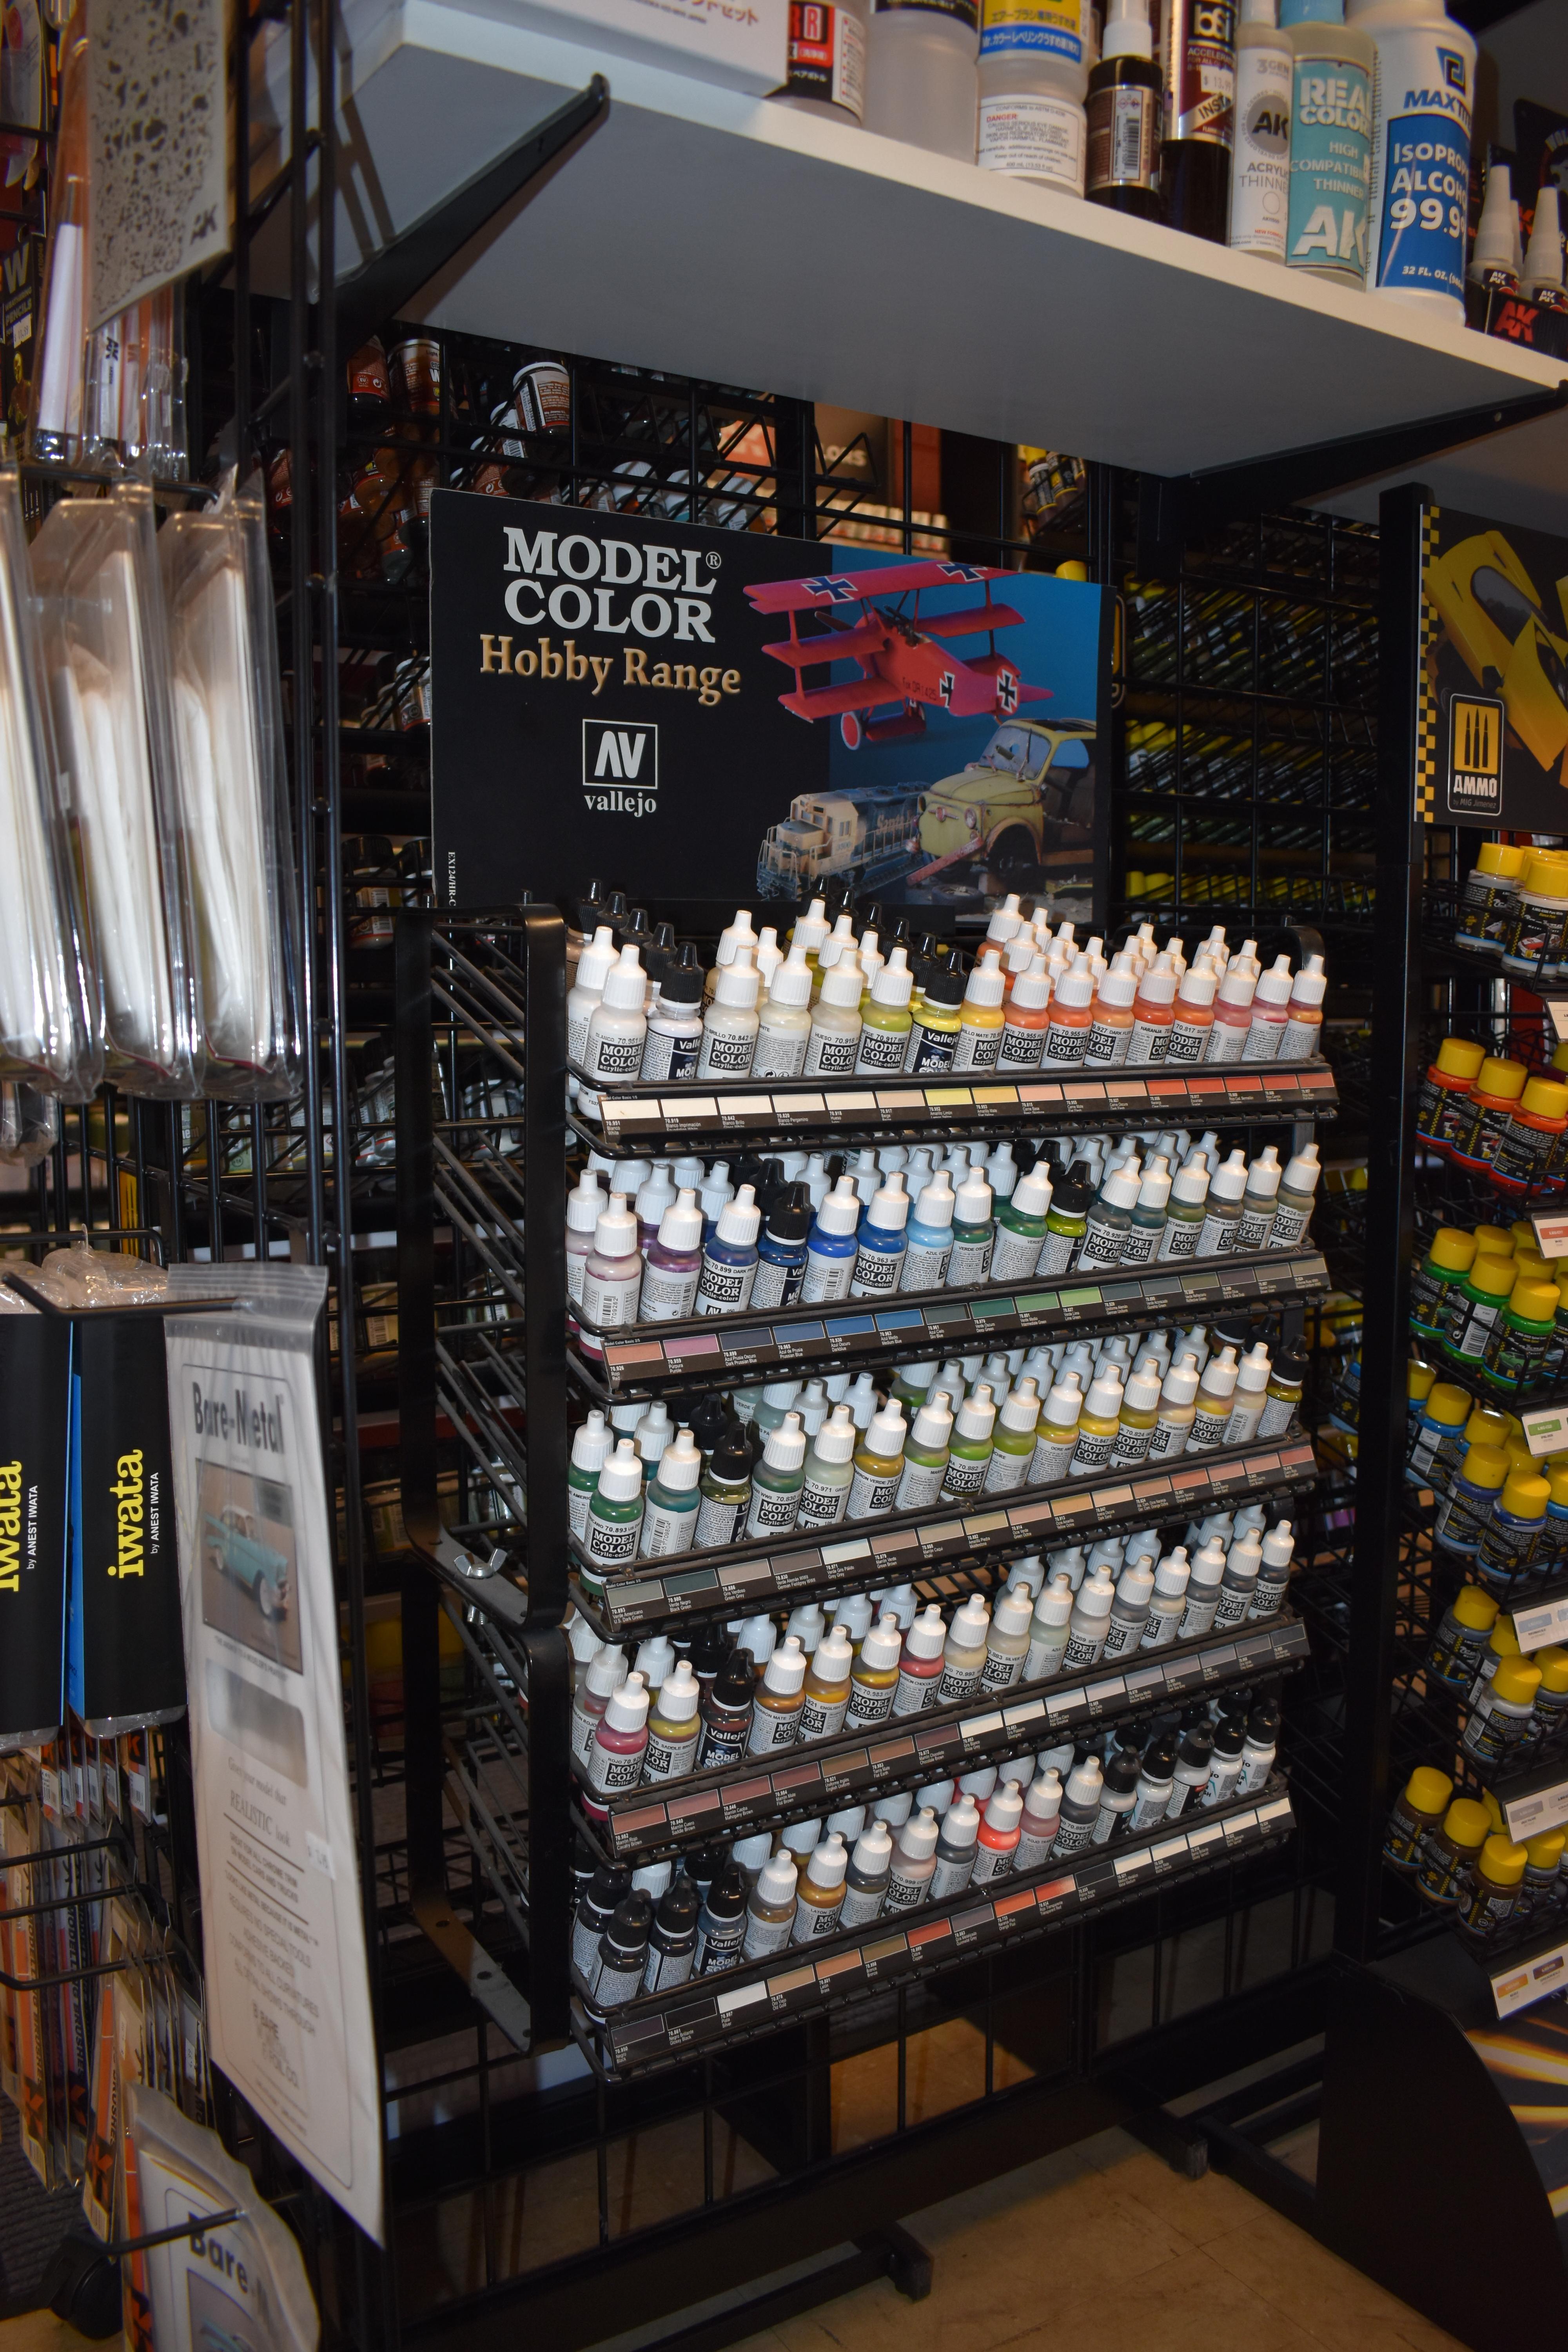
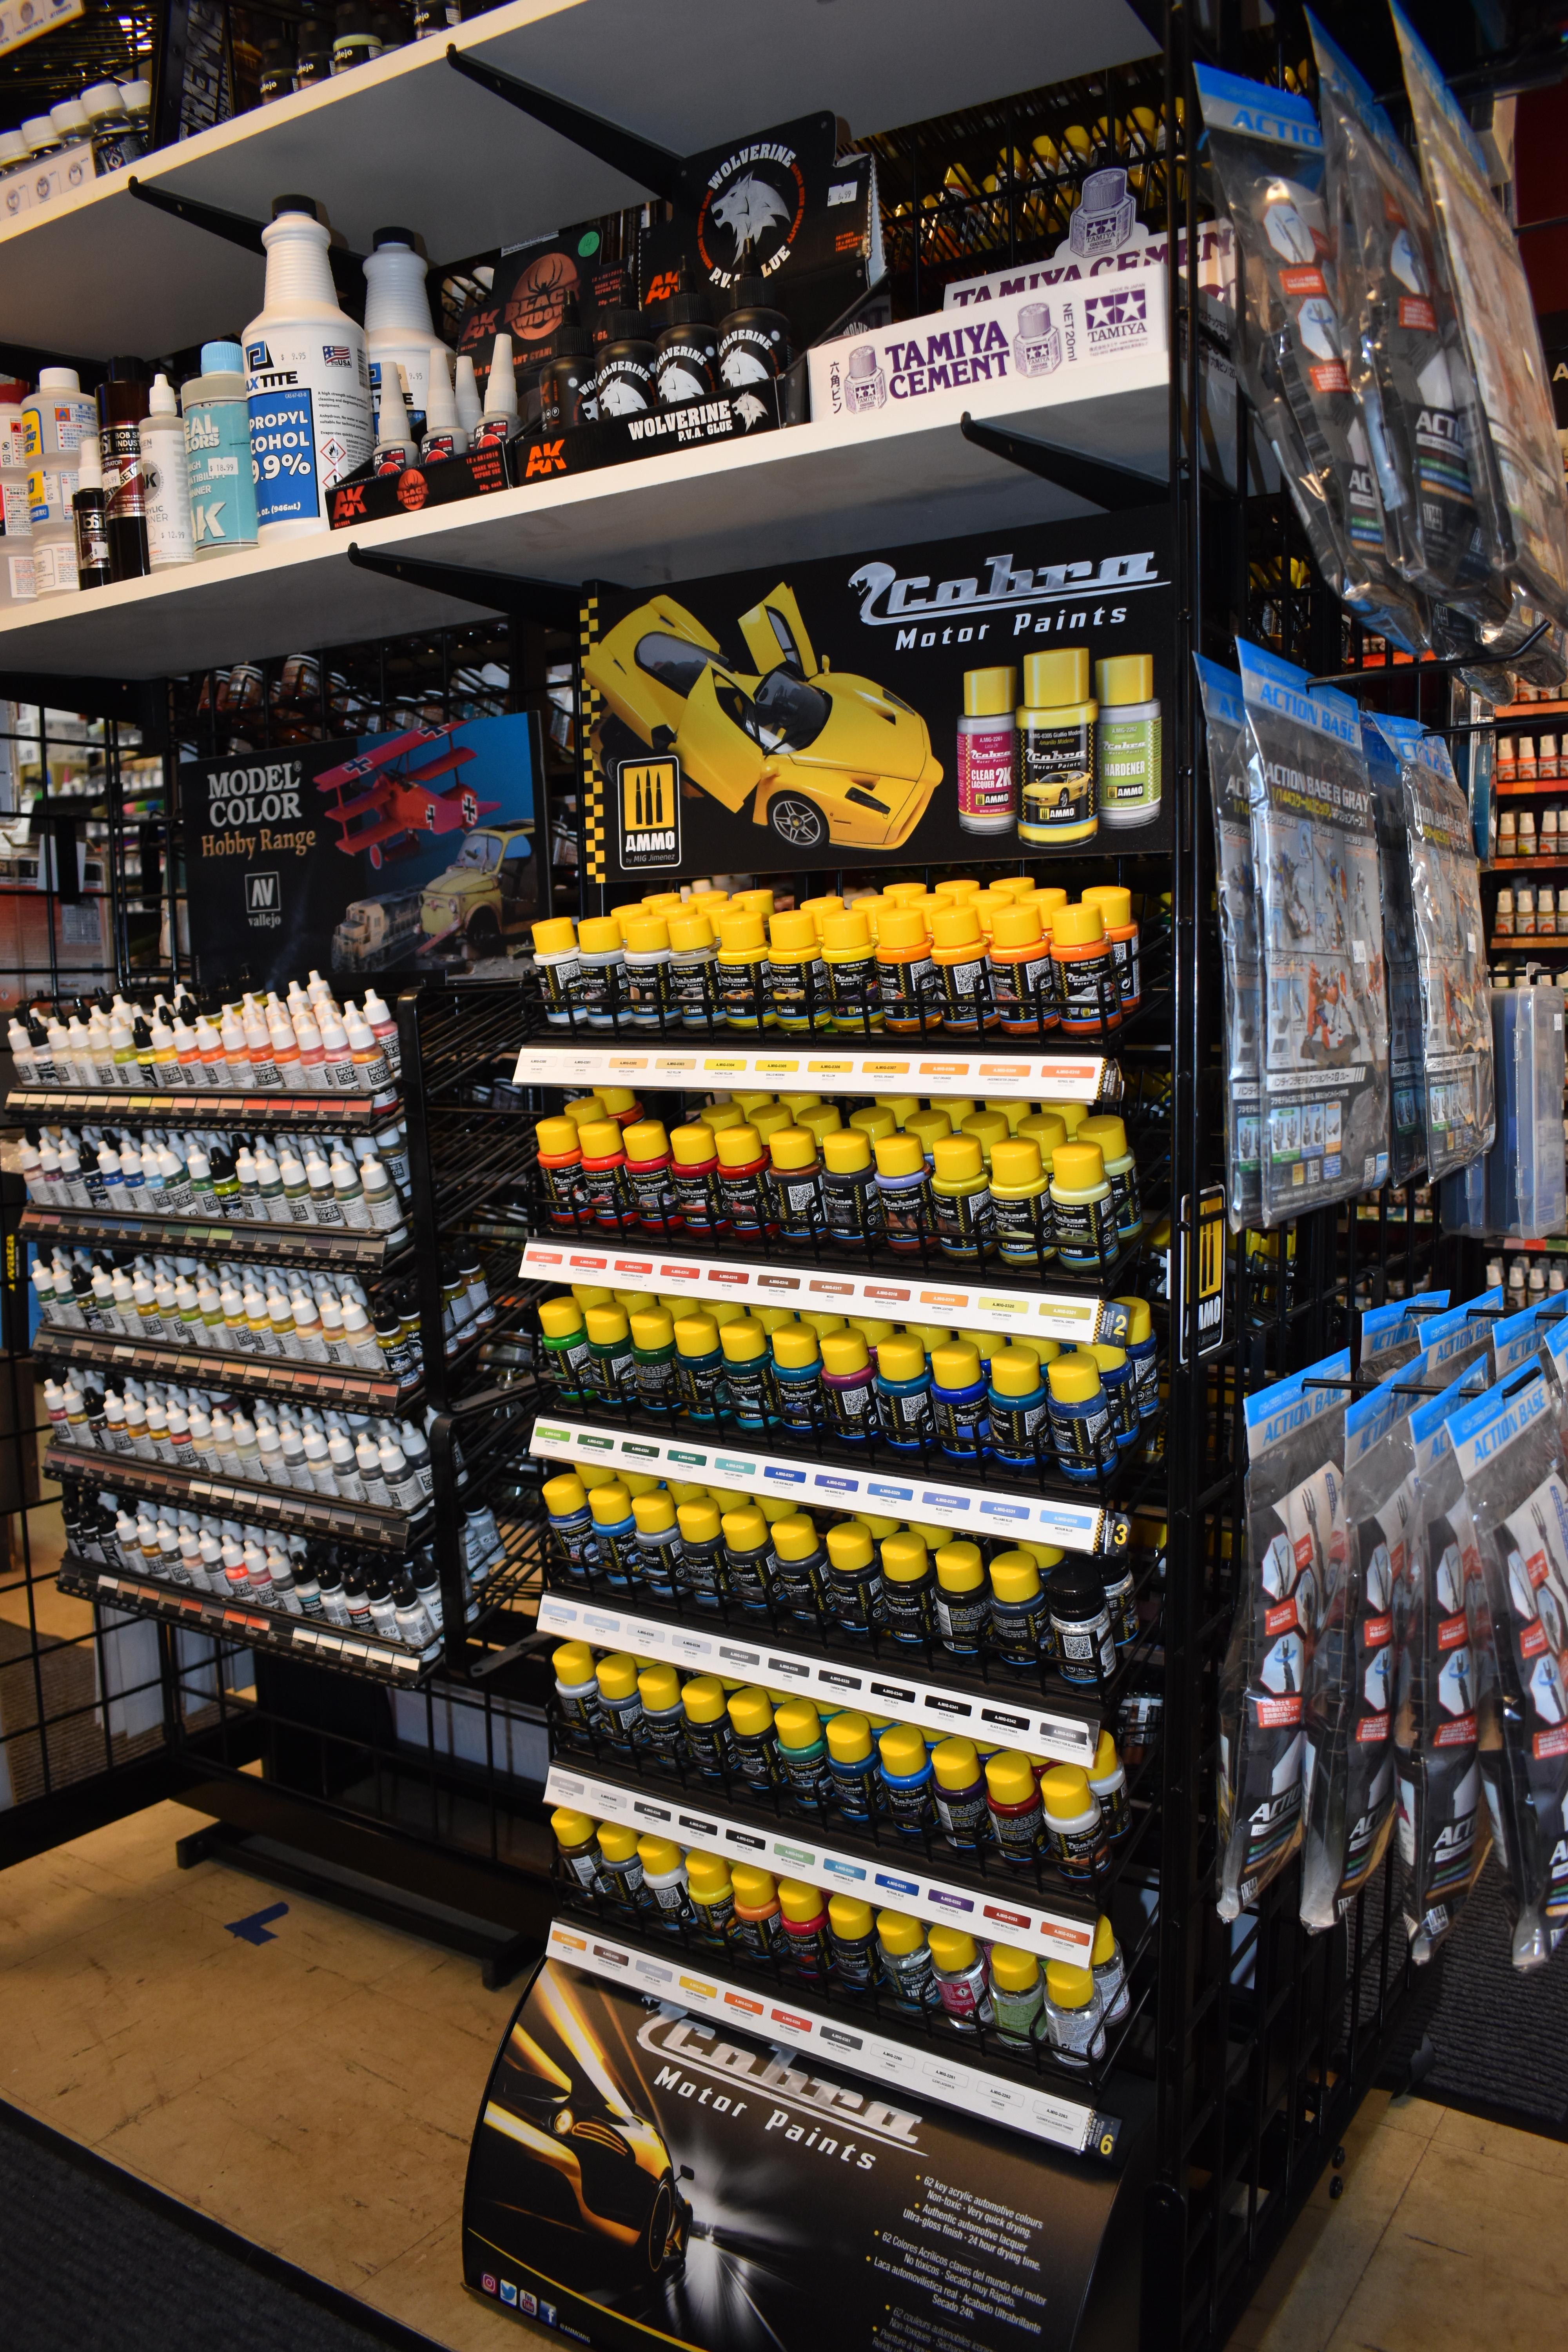
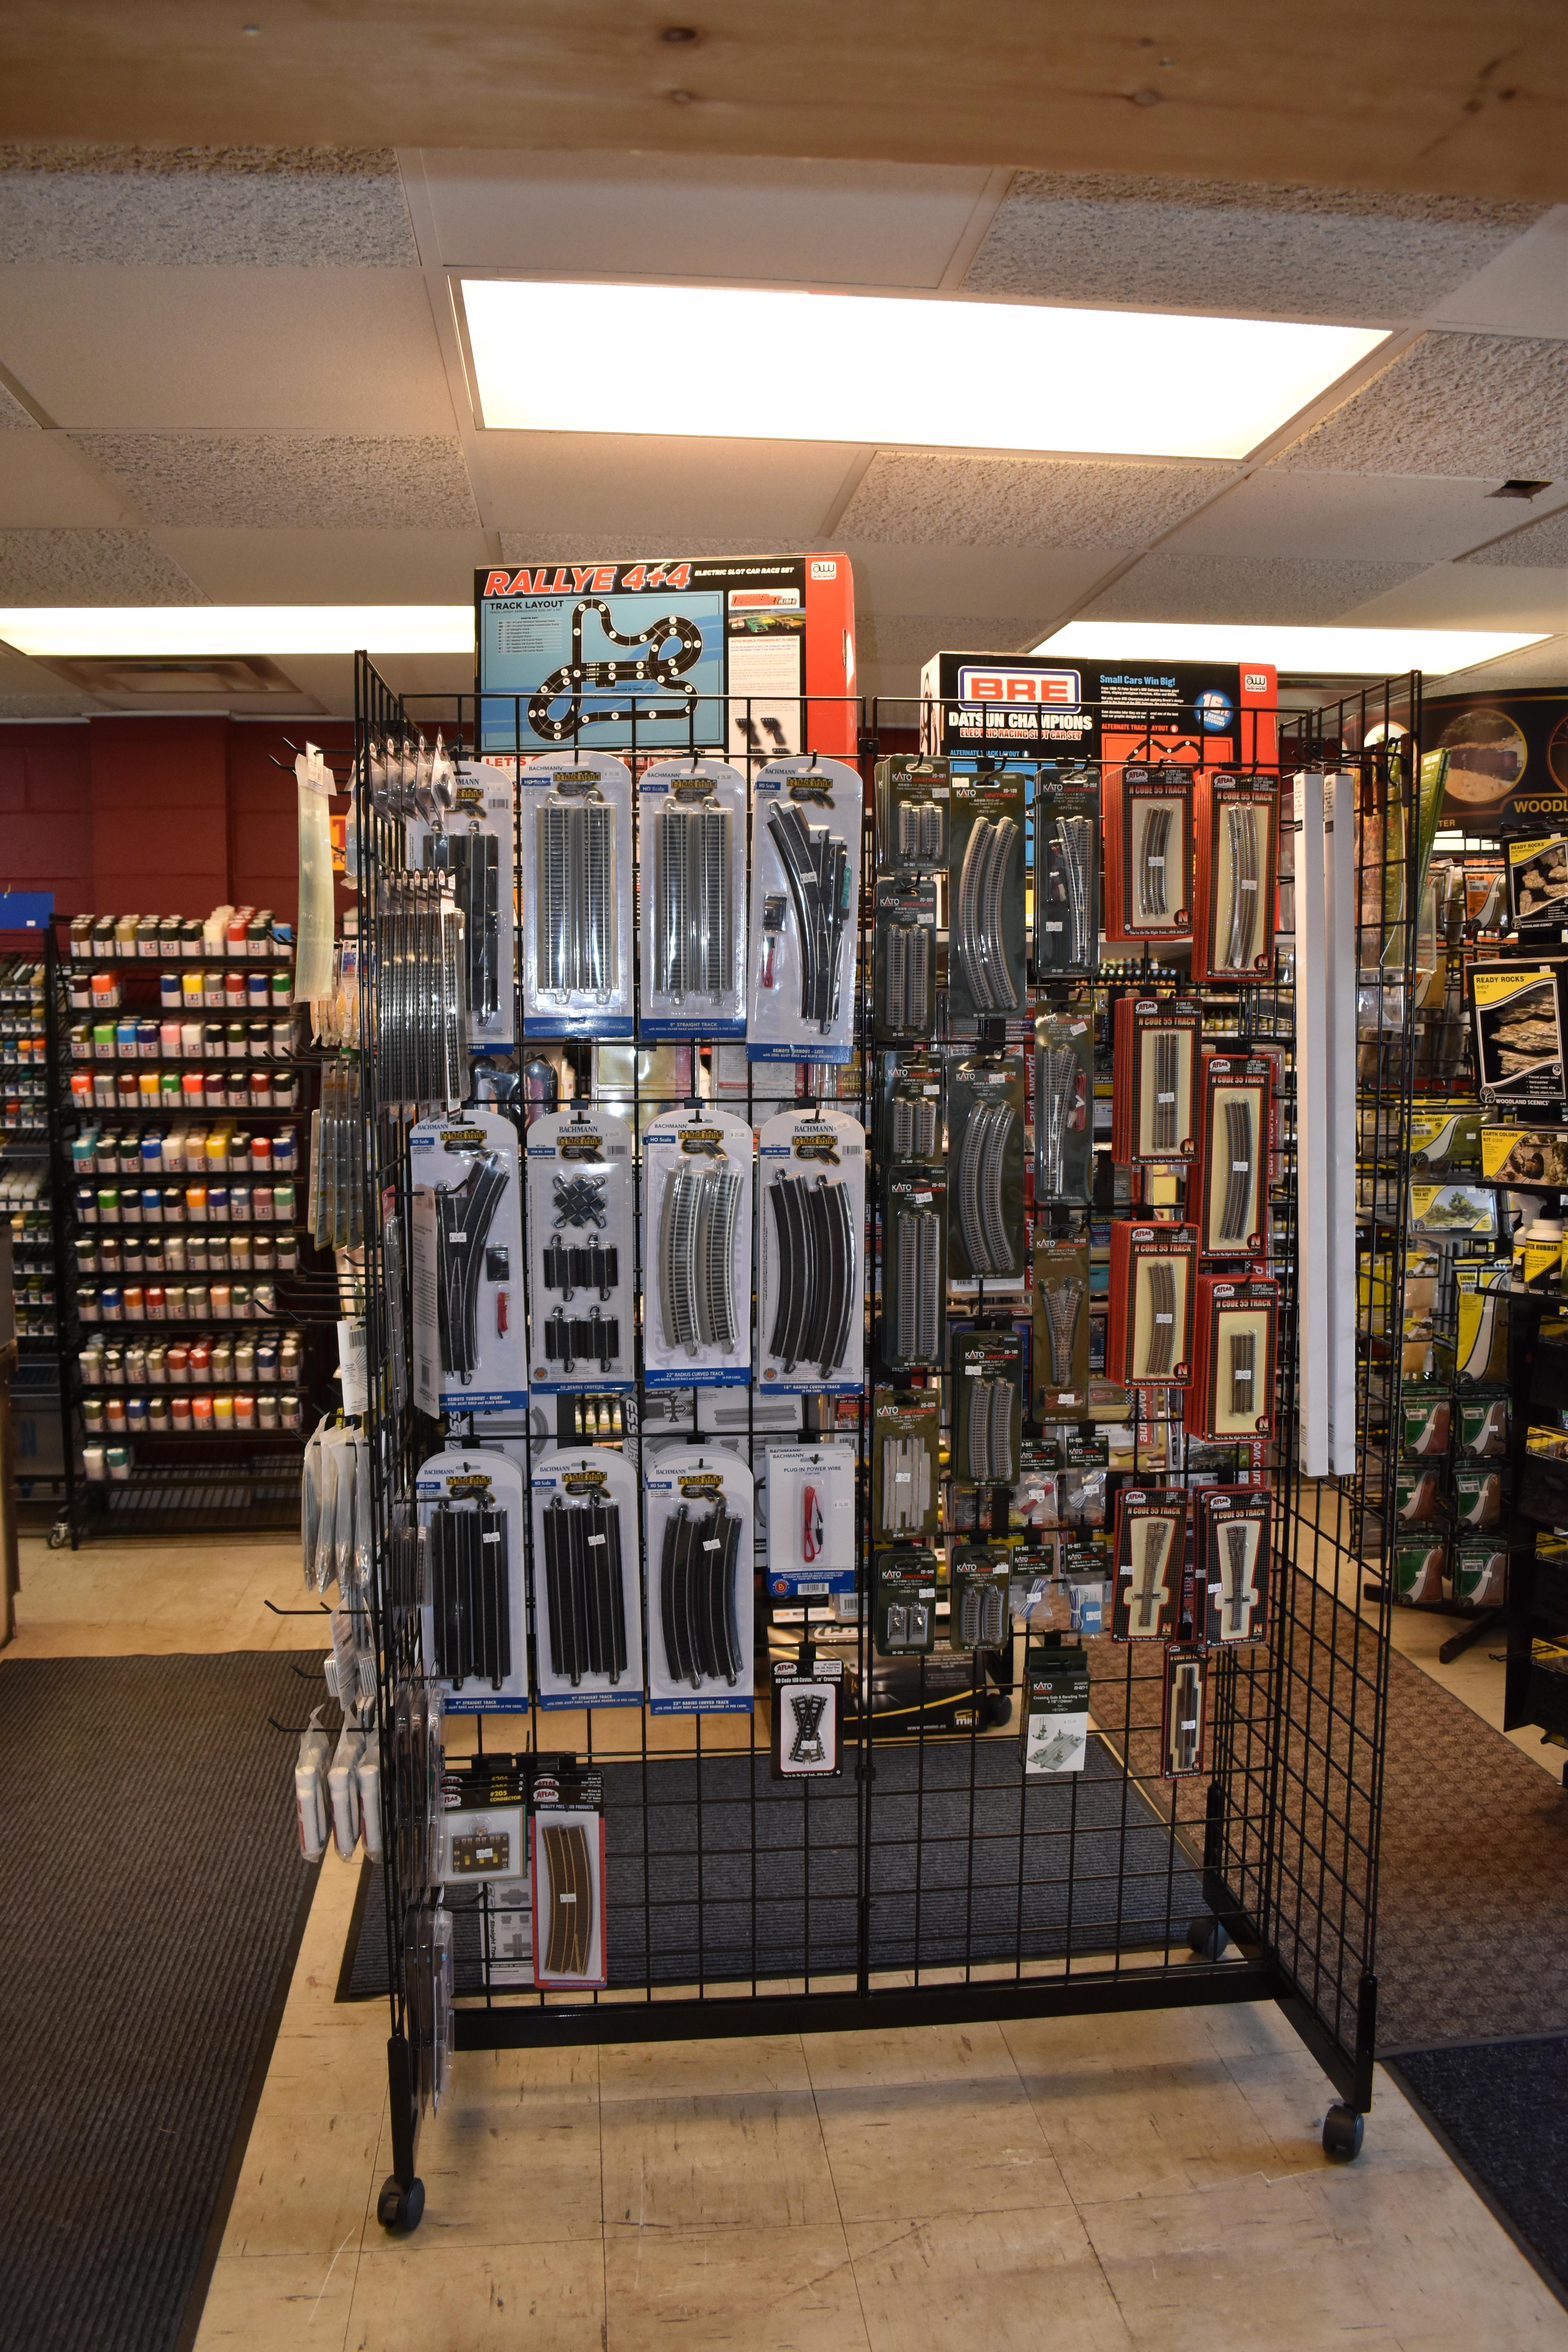
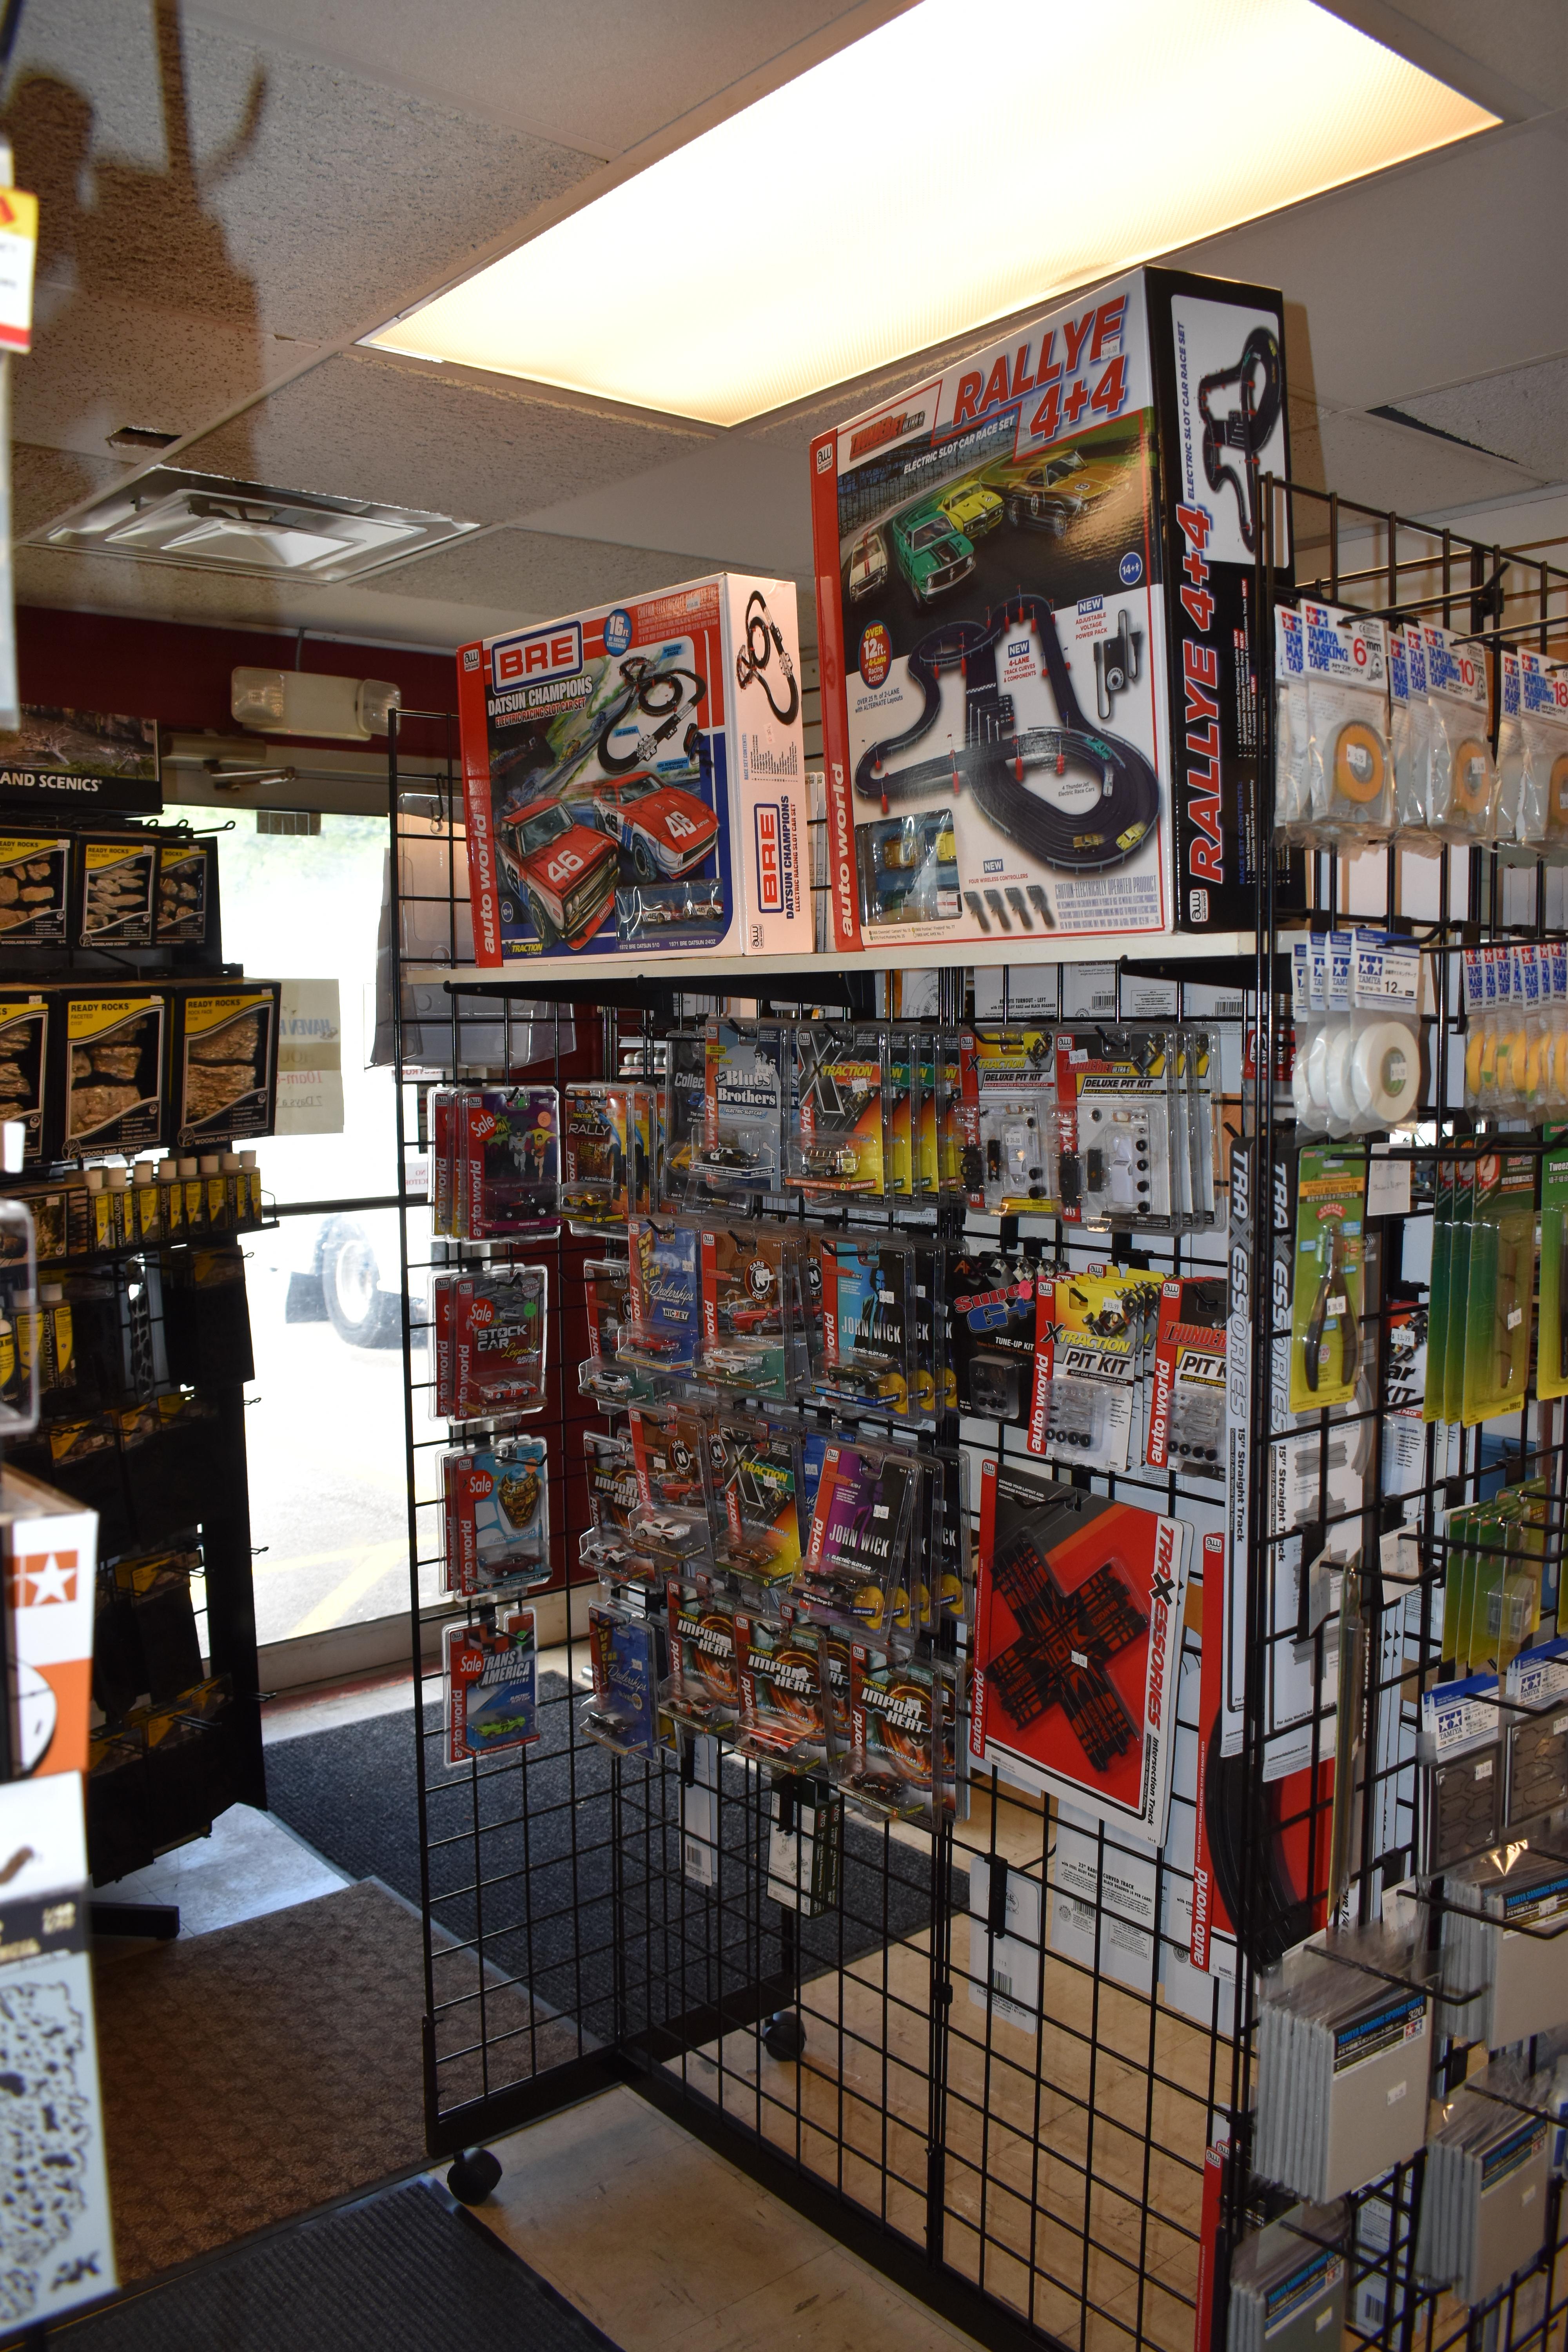
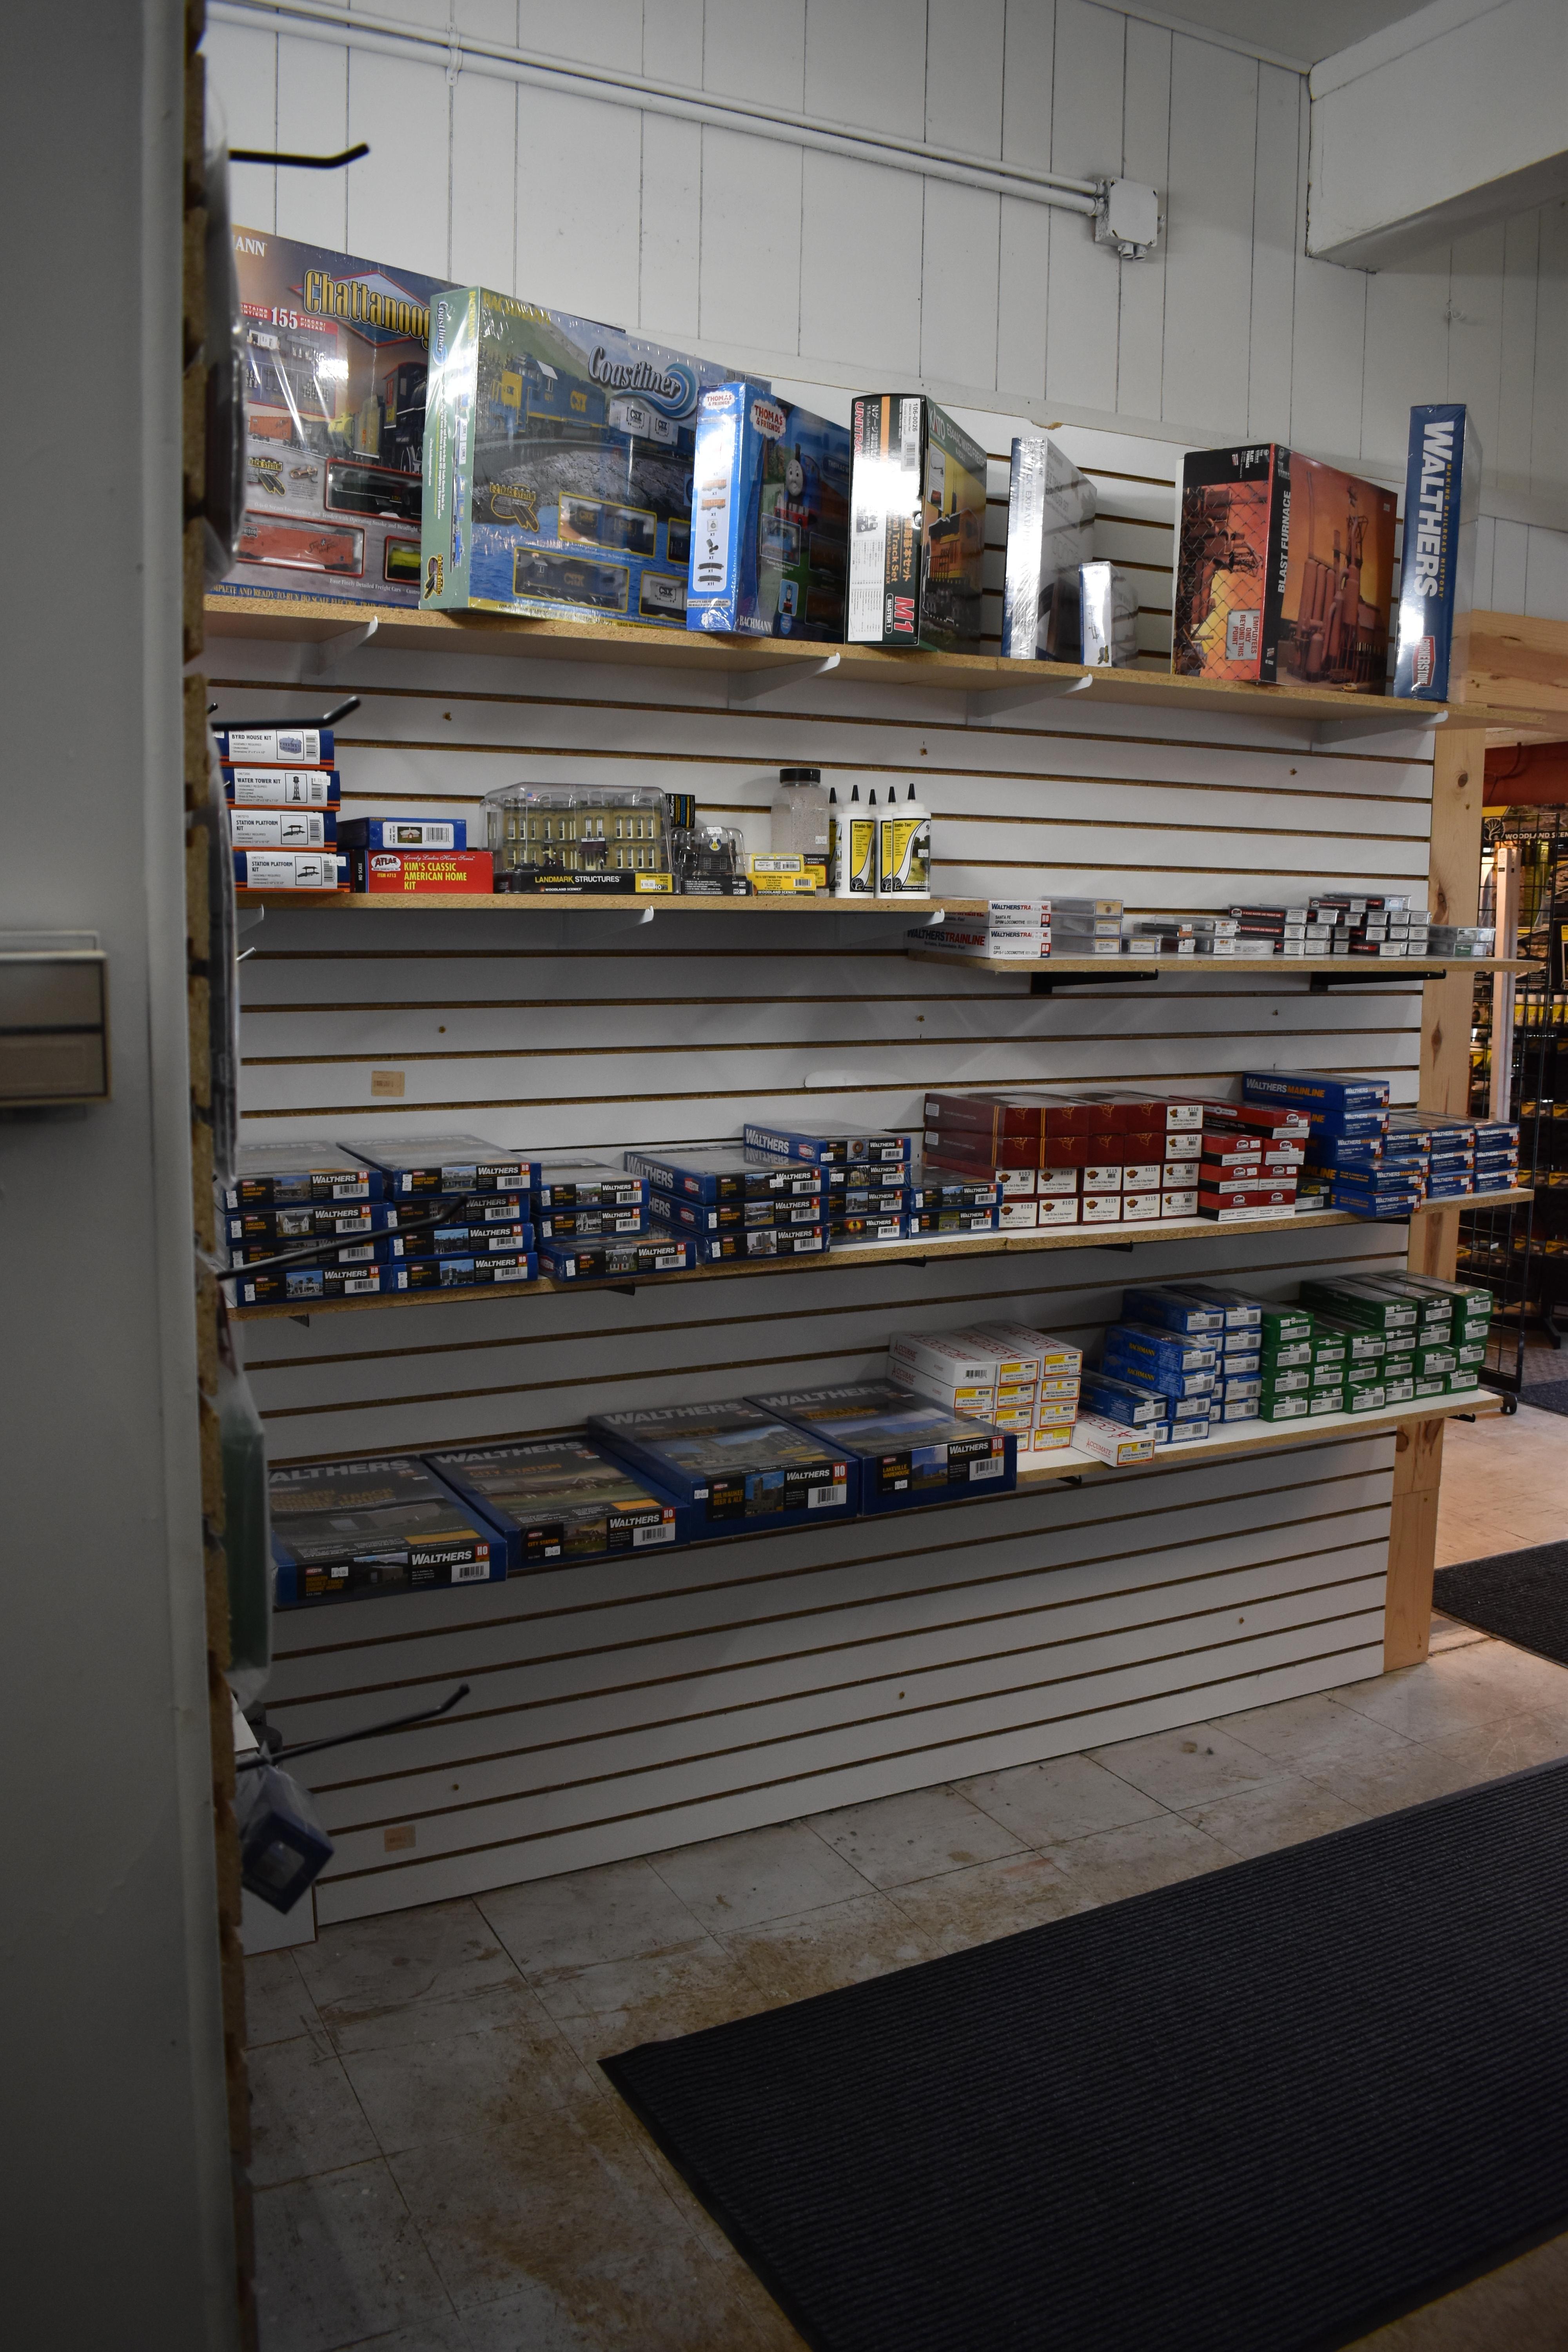
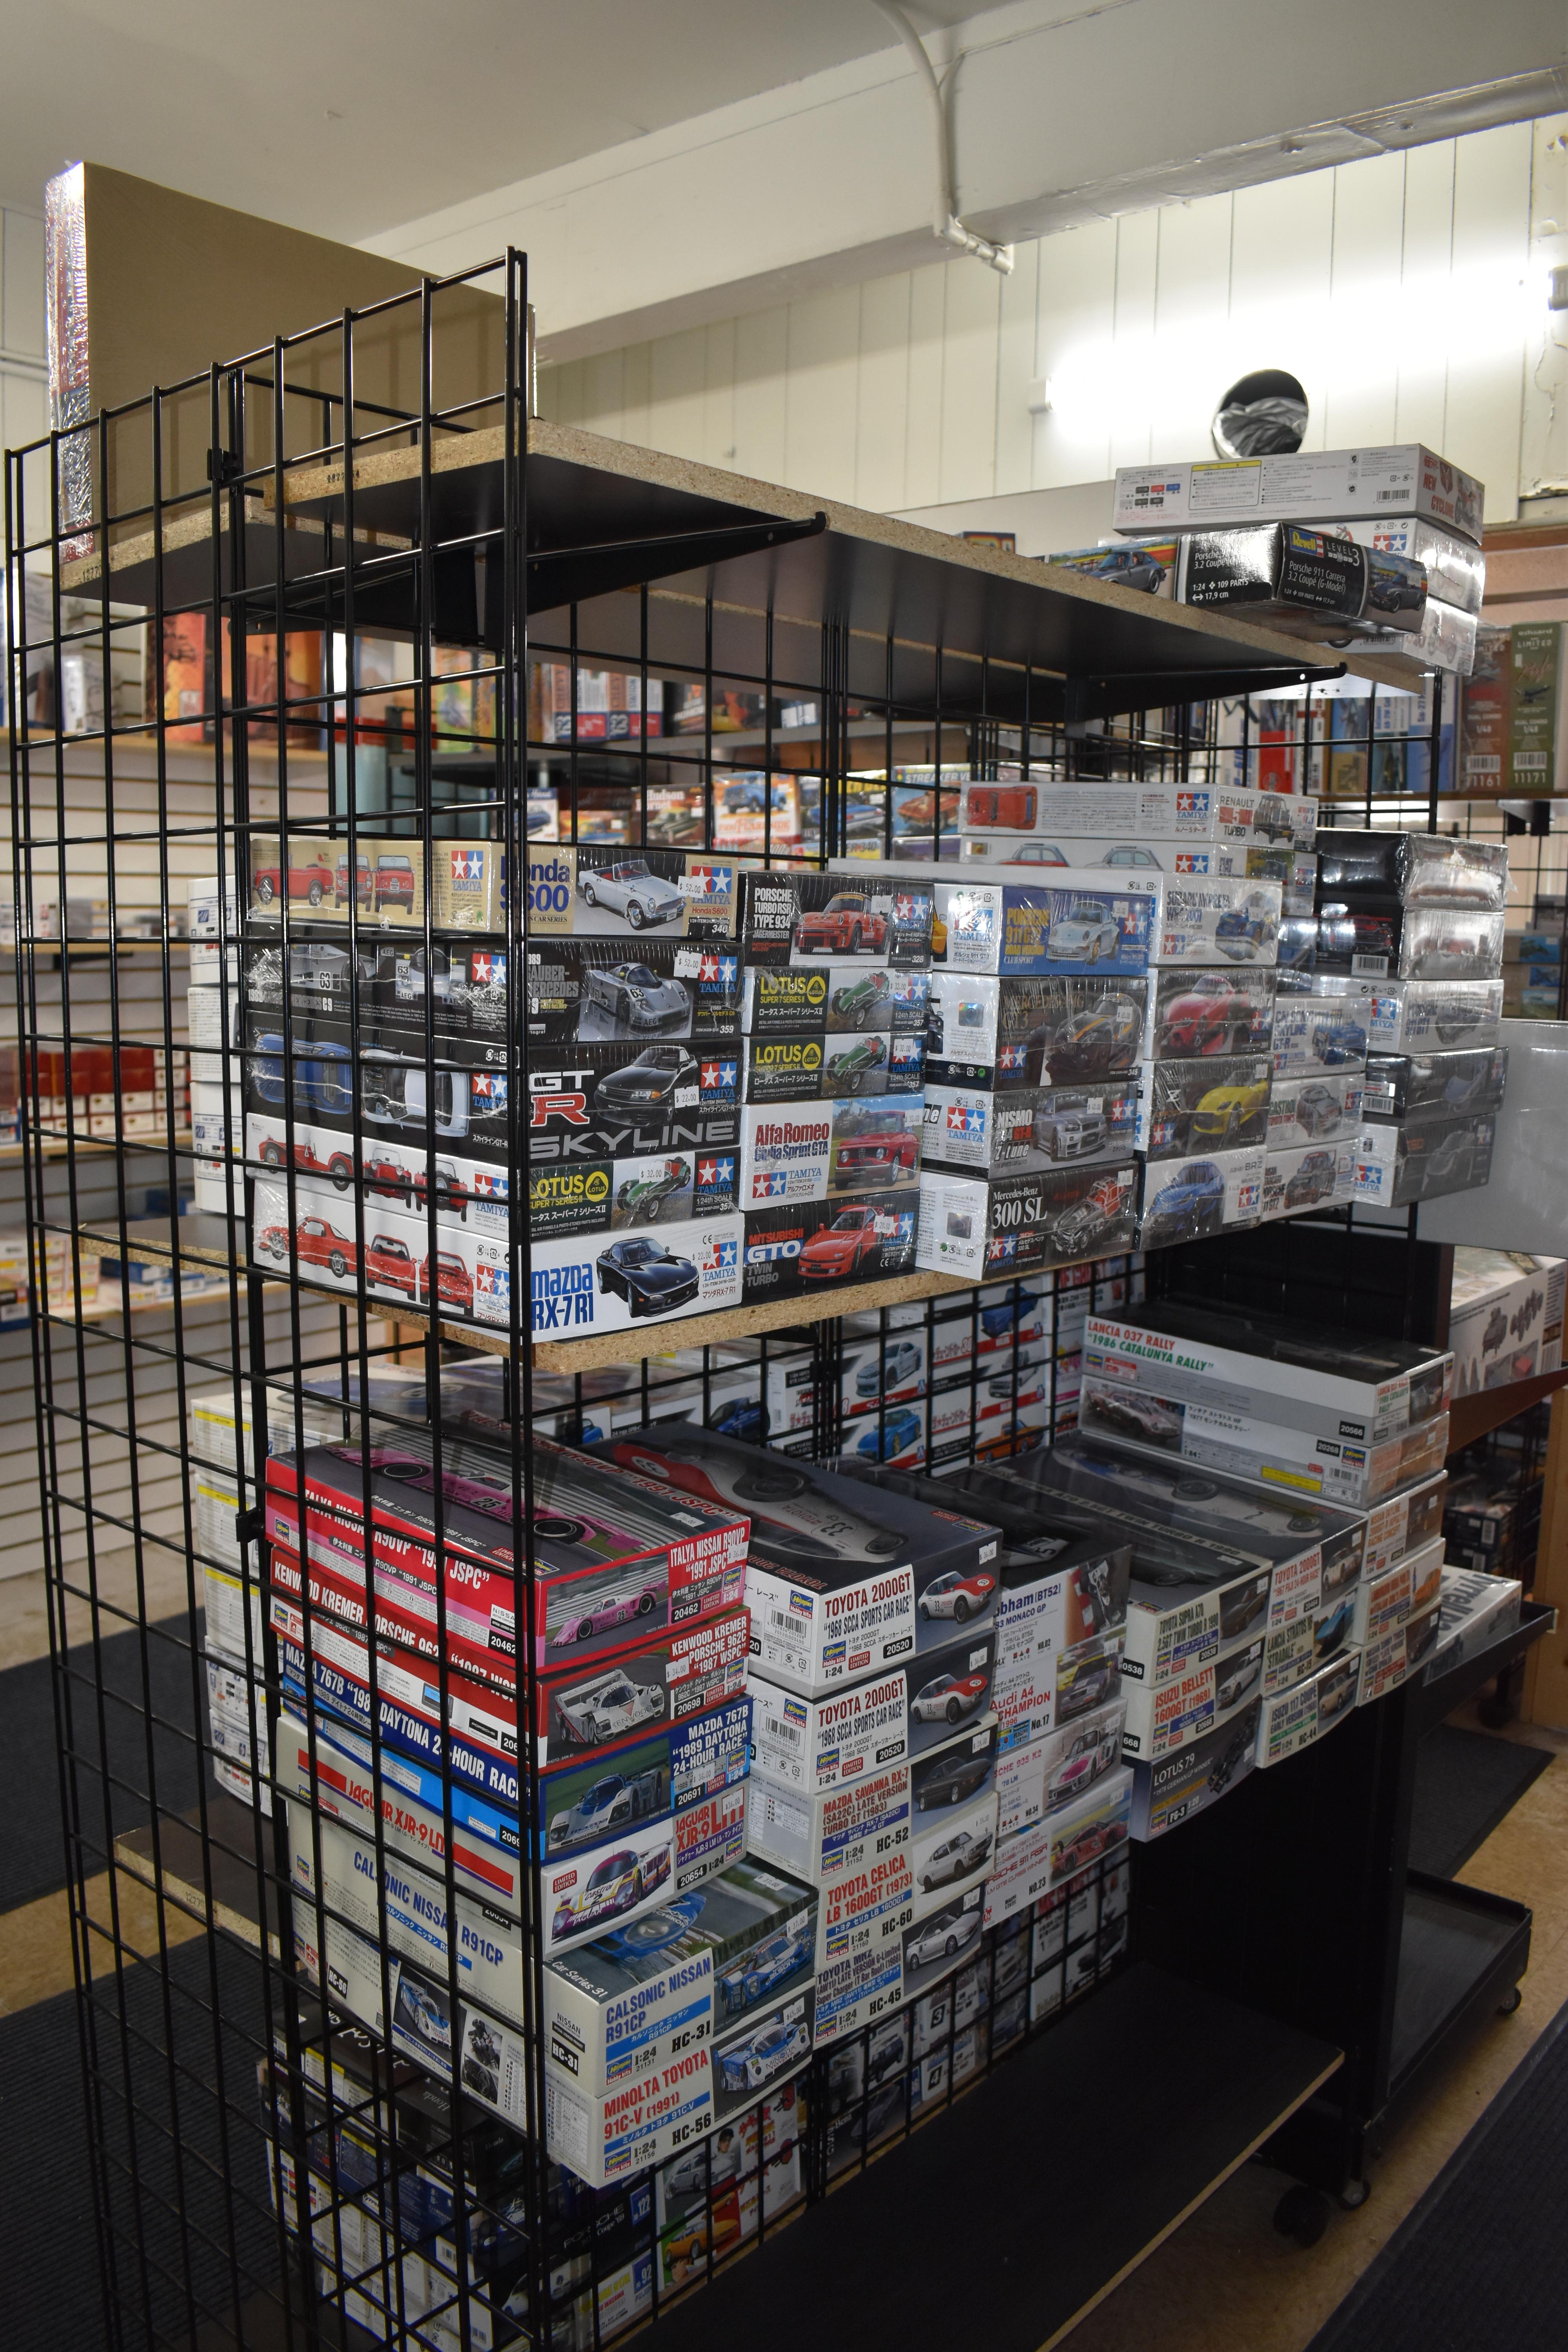
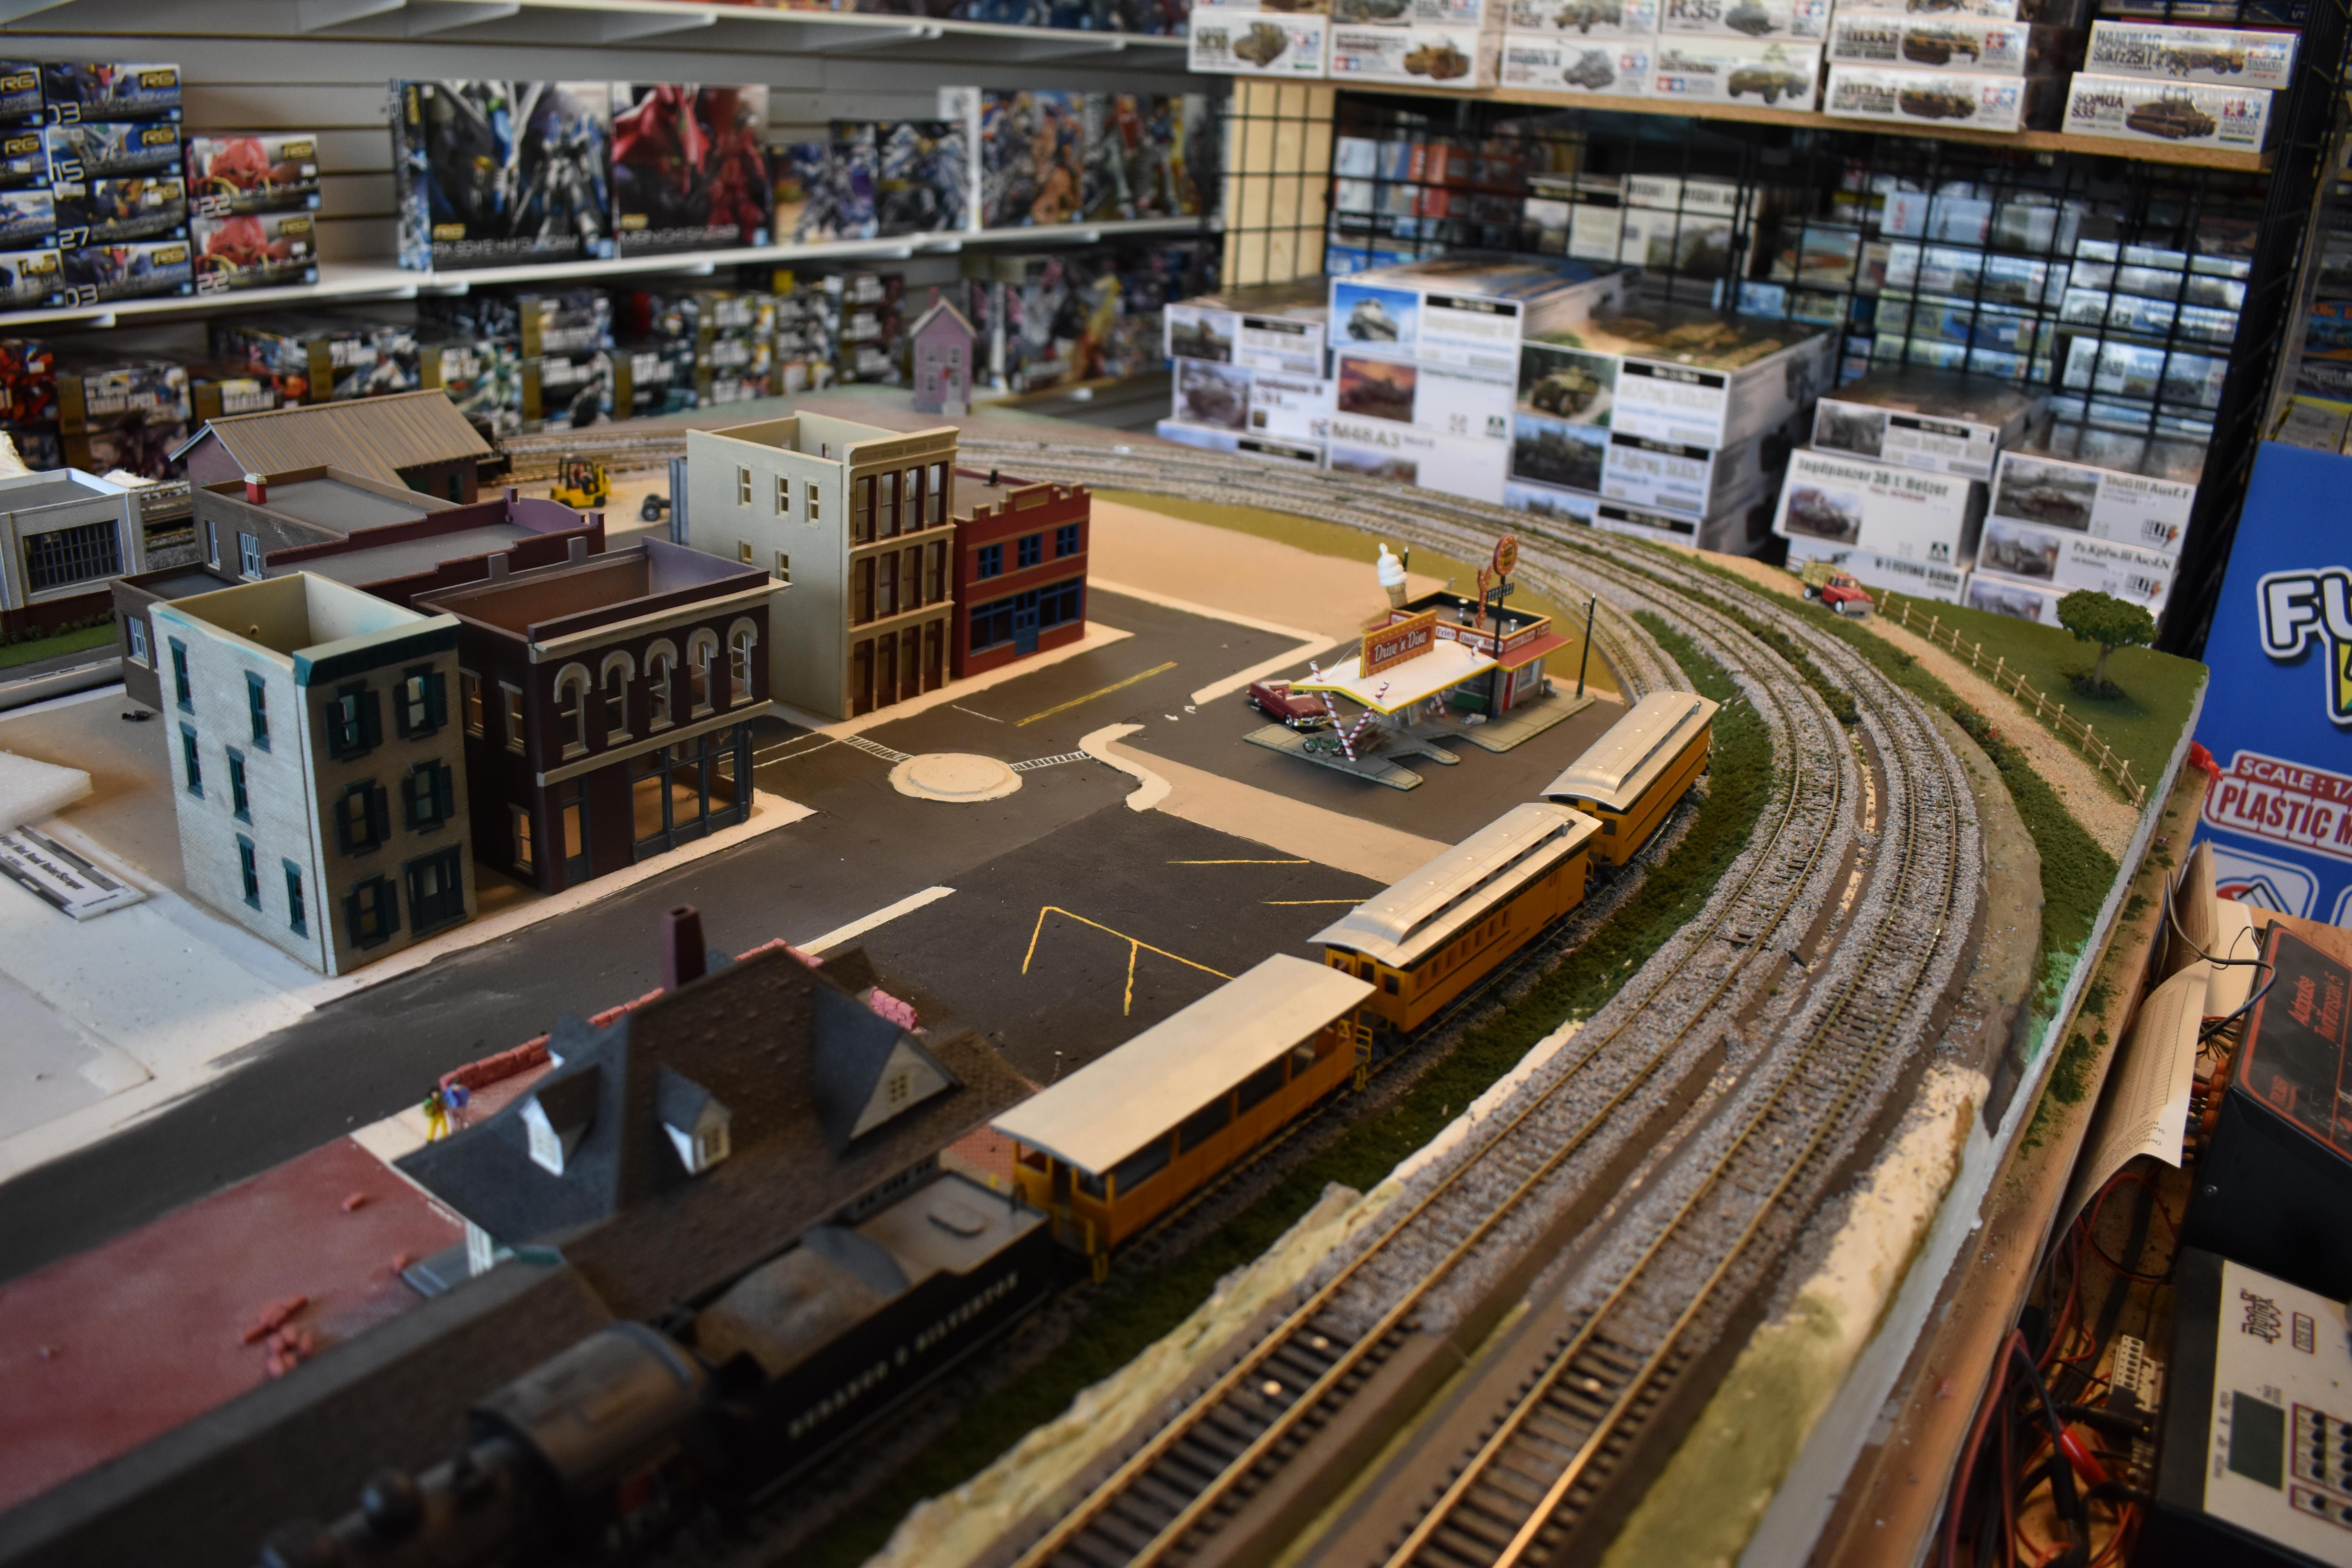
There are several things that can and will kill a hobby shop in the current climate. Here's the five biggest pitfalls that I see entirely too often. 5 - Narrow Focus Even the shops that are primarily RC or primarily railroad are taking a beating right now with escalating costs of merchandise, growing overhead, and reduced discretionary/leisure spending. It's a bad time to "stay in your lane." 4 - Aging Inventory This is slightly different from narrow focus in that shops that aren't turning shelves are shops that are letting rot sink in. I've gone so far as to start date tagging inventory on my shelves so that I know when it's time to give long-time residents the boot in favor of something fresh. 3 - Presentation Matters While there's a lot of charm to the classic hobby shop vibe that feels one part hardware store, one part best friend's basement, it's DEVASTATING to actual retail sales. Shops that are neat, orderly, departmented, artworked, planogrammed, and otherwise INVITING to first-time shoppers create second-time shoppers. 2 - Going Quiet You absolutely cannot afford to shut up about your business. Social media in particular offers multiple avenues to promote products, sales, and services. Don't have something to talk about? Share someone else's news as many manufacturers in the hobby space have highly effective social media channels creating weekly or even daily content. If you aren't in front of potential customers' eyes, then you're not even at the back of their mind. 1 - Every Dollar Counts It's a very easy trap to fall into to start to disregard smaller items and smaller sales, but you HAVE to treat customers who just need a bottle of paint or a roll of tape or pack of #11 blades with the same encouragement, enthusiasm, and dignity as you do your high rollers. Treating every customer with value and decency, remembering that their positive experience will keep them coming through your door and ringing your register, will ultimately keep the lights on, the shelves stocked, and the hobby thriving. At least, that's one Hobby Shop owner's take on the business.
-
Coming Soon from Atomic City's JoHan line of new kits
Justin Porter replied to thatz4u's topic in Car Kit News & Reviews
Anyone who claims video games offer instant gratification never actually attempted to beat one. Have you ever engaged with the speed-running community? Or guilds of online RPG players who sink years of time into co-ordinated campaigns with other players? Or tournament fighting game players? Or are you just basing that off of "I put a quarter into Space Invaders this one time and it wasn't my thing." More to the point, frankly, the "modelers not assemblers" line is about as tired as they come. Yes, our hobby has had its Augie Hiscanos and its Gerald Wingroves and other true artisans. But choosing a badly engineered kit as the basis for your build doesn't automatically make you the Bernini of polystyrene. It's a weird WEIRD behavior to naysay people who say "You know, this product makes the hobby more enjoyable and more accessible for more people. Why don't we do products like this more often?" on the grounds of "Because if they don't do the work I do they aren't as good at enjoying themselves as me." -
MPC Super Charger - 1974 Charger rundown
Justin Porter replied to CapSat 6's topic in Car Kit News & Reviews
The fly in the ointment of your theory is Revell. The new-tool Revell 1971 Mustang Mach 1, kit #4555, carries at it's absolute steepest (distributor Stevens International) an MSRP of $28.95. This is a kit that very neatly fits in with your "state of the art" definition, being an exceptionally detailed kit that was 100% new from the ground up. The immediate comparison would be AMT's upcoming 1966 Shelby Mustang. This is one of AMT's "cloned" kits, which is to say that it's derived from and/or engineered to replicate a vintage kit. Nearly the same age of tooling (regardless of cloning), from the same distributor (that is to say, Stevens International), and the MSRP on the Shelby is an eye-watering $41.99. That's a full $13.04 MORE than the Revell and in a strange moment of serendipity, $13.04 less than the equally state-of-the-art Tamiya kit of the modern racing GT4 Mustang. I think there is an exceptionally valid question to be answered as to WHY we give Round 2 the leeway to "save money" on intentionally retro kit design while remaining at a consistently higher MSRP than Revell and Moebius and only being beaten for the top MSRP spot by Salvinos JR; a company with a truly niche product that's entirely USA produced. -
MPC Super Charger - 1974 Charger rundown
Justin Porter replied to CapSat 6's topic in Car Kit News & Reviews
There are certainly quite a few underserved categories that you would think are in the wheelhouse of the domestic label kit manufacturers. Full and midsize personal luxury coupes - malaise era or not - are certainly among them. A good example of the potential success can be found in Revell's recent G-body Cutlass. That being said, Moebius currently is neck deep in new-tool projects, Round 2 isn't terribly interested in cutting all-new tooling, and Revell has gone all-but silent when it comes to communicating future domestic auto projects, leaning more heavily on marketing their upcoming 1/32nd scale military aircraft kits. -
Moebius 1964 Mercury Comet Pro Touring
Justin Porter replied to Justin Porter's topic in Car Kit News & Reviews
So, the Street Machine El Camino has some anticipation around it for its reissue but it hasn't hit my distributors just yet. That means I don't really have sales data to back up the anticipation. What I have heard from customers is that most of them want to rob parts from it rather than build it. It helps having a build of my own that has parts from the kit - my '67 Chevelle - that's drummed up interest particularly in the EFI supercharger setup. It tells me that if some enterprising kit company did a modified reissue of one of their muscle car kits that had a modern Procharger setup it'd sell quite swiftly. -
Moebius 1946/7/8 Chevy Announcements
Justin Porter replied to Erik Solie's topic in Car Kit News & Reviews
Sounds about right. Stevens International and Hobbytyme both give me an MSRP of $49.99 which makes a $43 shelf price pretty much a going rate. -
Moebius 1964 Mercury Comet Pro Touring
Justin Porter replied to Justin Porter's topic in Car Kit News & Reviews
I've had a little bit of criticism of the "Restomod" Novas over my counter that the engines and the wheels weren't exciting enough. It's also worth noting that while Revell's marketing tie-in with Chip Foose plus the California Wheels series of kits DID give us large diameter wheels with low profile tires, and even occasionally some disc brakes to go behind those wheels, the lowered suspension options were just unrealistically lower versions of the stock suspension. With the notable exceptions of the AMT Street Machine '57 Chevy and the complete from the ground up Foose F100, there haven't been kits that offer Pro Touring builders up to date suspensions in the same way that Pro Street builders have scores of "go-to" kits for parts donors. Seeing Moebius court a more contemporary market is a good sign for the company regardless. They produce an excellent product, but they must be aware that an excellent product simply isn't enough to stay relevant in the model kit marketplace if you're not seeking out a broader base of customers. -
Taken from a post from Sean Svendsen's "Sven's World of Wheels" page. "Box art I created for Moebius Models. This will be an all new 1/25th scale 1964 Mercury Comet kit. Two versions are coming. This art is for the Pro Touring version which will get a unique chassis with a modern multi-link suspension and 18"/20" modern wheels. No release date yet, but likely should be on shelves before the end of this year.
- 85 replies
-
- 11
-
-
-
Thinkful Wishing about Round2 Models, future Kits.
Justin Porter replied to stavanzer's topic in Car Kit News & Reviews
I do have a few kits that would be in Round 2's vault that I'd like to see re-released. #5 - MPC 1971 Roadrunner Superbird One of American racing's biggest "what-if" cars that if combined with current Round 2 decals, box art, and pad-printed tires would likely be a hit. #4 - AMT Watson Roadster An icon of Indianapolis and would make an excellent companion to the (admittedly slow selling) Indy Lotus reissue. #3 - AMT 1972 Corvette Street Machine A good candidate for the current "Kustom Kruisers" series, this kit was another whose Ertl era box art just didn't tell the story of the kit which had a neat back-half chassis with four link rear suspension and a well done LT1 small block. #2 - AMT Stock 1934 Ford 5 window coupe A terminally underrated kit that still represents an excellent rendition of a factory stock pre-war American car. The mind does race with the potential of a 2n1 reissue with period speed parts and wheels for a full TROG vibe, but that's hardly necessary. #1 - AMT NEW TOOL 1957 Chevy Bel Air Under no circumstances should the Trophy Series '57 or the MPC '57 find their way back into the Round 2 catalog so long as this gem exists. -
Coming Soon from Atomic City's JoHan line of new kits
Justin Porter replied to thatz4u's topic in Car Kit News & Reviews
Sure. I'll bite. I'm that element. My point of sale system tells me that if I want to put dollars in my register, then I don't want legacy reissues. Even primped and polished 3D scanned retools of legacy reissues are not what I want. I look at my best-sellers list and it's NOT 1960's tooling. Thus far into 2025 what has been moving out of my door in model car kits? Moebius' tow trucks. Revell's Stranger Things Blazer. Tamiya's Porsche 911GT3RS. The only two vintage reissues that I can genuinely say are selling in comparable numbers are the AMT Streaker Olds F-85 AWB funny car and the Revell '29 Model A Pickup. If someone wanted to revive the Johan name but wanted to put the name on Hasegawa-level quality MODERN kits of Johan's vintage subject matter, then I'd be all for it. But the last thing I need is more 1960's styrene backwash that disappoints FAR more modelers than it makes happy. -
Those really REALLY do look amazing. I have to wonder if he could be tempted to fix the Fujimi 365GTB/4 Daytona five spokes? The tires aren't bad, but the spokes are missing the curve to the rim ESPECIALLY on the rear so they look more like undersized F40 wheels.
-
I get a lot more sales out of nicely engineered snap kits of robots to people under the age of 30 than I do out of sales of badly engineered glue kits of old muscle cars to people over the age of 30. I give credit to Round 2 that they're finding the kits their market segment wants and throwing in more features and restored components and improved decals and even fixing known problem children like the '65 GTO. But if we want to talk about bringing kids into the model car company, that's Aoshima's gig, not Round 2.
-
Round 2's limited budget and need to sell in reasonable volume meant that whatever evaluation they performed on a factory stock release of the MPC '71-'72 Plymouth Roadrunner led them to believe other projects were better investments at this point in time. I will say that the Mueller-era '71 Charger reissue has been a mild success in my shop BUT that's a highly detailed kit from AMT's best era and an MPC clone isn't likely to be comparable. I can genuinely point to the Mueller-era Plymouth Duster outselling the MPC Dodge Demon clone in my shop as indication that the Roadrunner would likely be a similar situation.
-
I'm glad you're excited by and satisfied with the Powell. I'm deeply, DEEPLY, unimpressed by it. Frankly, it doesn't quite seem to measure up to late 90's/early 00's cast resin kits like from Etzels, Modelhaus, Fisher, or Mini Exotics. It certainly in no way compares to 3D printed kits/transkits from sources like C1, Red Wheel, MiniRetro, or the several sources currently printing kits designed by Andrey Bezrodny. And frankly, thanks to Andrey, now I certainly have ZERO reason to be interested in Johan's plastic input as he's given us an AMX that isn't laughably terrible.
-
Not entirely sure! Hasegawa is a staple of my stocking across many genres - auto, air, and sci-fi. They hit a nice price point and their kits tend to be excellently detailed.