Bills72sj
-
Posts
4,604 -
Joined
-
Last visited
7 Followers


.thumb.png.e64ca4fead948adbdf6a111229b6cf2f.png)
Recent Profile Visitors
9,624 profile views


Bills72sj's Achievements
MCM Ohana (6/6)
-

cannonball 2025 Cannonball Run - Finished builds thread
Bills72sj replied to Mattilacken's topic in Community Builds
Great builds gentlemen. Is there to be a poll eventually when all the entries have posted? -
I like your mods to the Chassis. I have a few of these kits as donors for future ProStreet projects of other models. A '66 GTO in particular is actually in the queue.
-
Resin to Plastic glue options???
Bills72sj replied to WillyBilly's topic in Model Building Questions and Answers
I am following this. I have spliced semi truck frames. I have not attempted a body yet. -
1976 Kenworth Aerodyne COE
Bills72sj replied to J.B. Customs's topic in WIP: Model Trucks: Big Rigs and Heavy Equipment
Following. I have one of these kits as well. I have vague plan to kitbash it as I am not likely to build it box stock. -
I do field service work. I have to write what I did, and the parts I need or used etc etc. Anyway, our software has an AI summary function. I takes my notes, and the answers to some questions in the form and generates a summary. This "Summary" leaves out important tasks I did, makes up ones I did not do and scrambles the chronological order so that it no longer makes sense. Fortunately, I can skip it so I do not have to read then edit the gibberish it produces.
-
I agree with you on the power consumption to a point. One AI does not necessarily need the whole grid. I also agree on the human interaction required to maintain the grid. The scariest version is not that AI would take us out with physical damage/weapons but will do so through a biological one. AI is being used to speed medical research. It could just as well be used to develop very specific biological weapons by persons motivated to do so. It is not too much of a leap to imagine a bioweapon based very specific DNA charateristics such as race.
-
I am in for the ride.
-
We are toast within one generation. Maybe sooner. AI is a WAY faster thinker than us, it is VERY goal oriented and has NO MORALS. The moral people working in AI will eventually lose control even if they are the ONLY ones working on it. The IMMORAL people working on AI WILL definitely inflict harm on humanity. Enjoy life while you can. Civilization is very fragile. I want you to imagine life with the electrical and communication grid down PERMANENTLY. I give the best "Preppers" less than a year. Most everyone else will be dead in less than 2 months. The most likely survivors will be a small group of strong males with lots of ammunition.
-
While you have had a couple of mishaps, do not let it discourage you. It has happened to ALL of us at one point or another. I am glad you have the willingness to learn. Because this is the best place to get an education in modeling. After awhile you will be doing much more "trial" and way less "error".
-
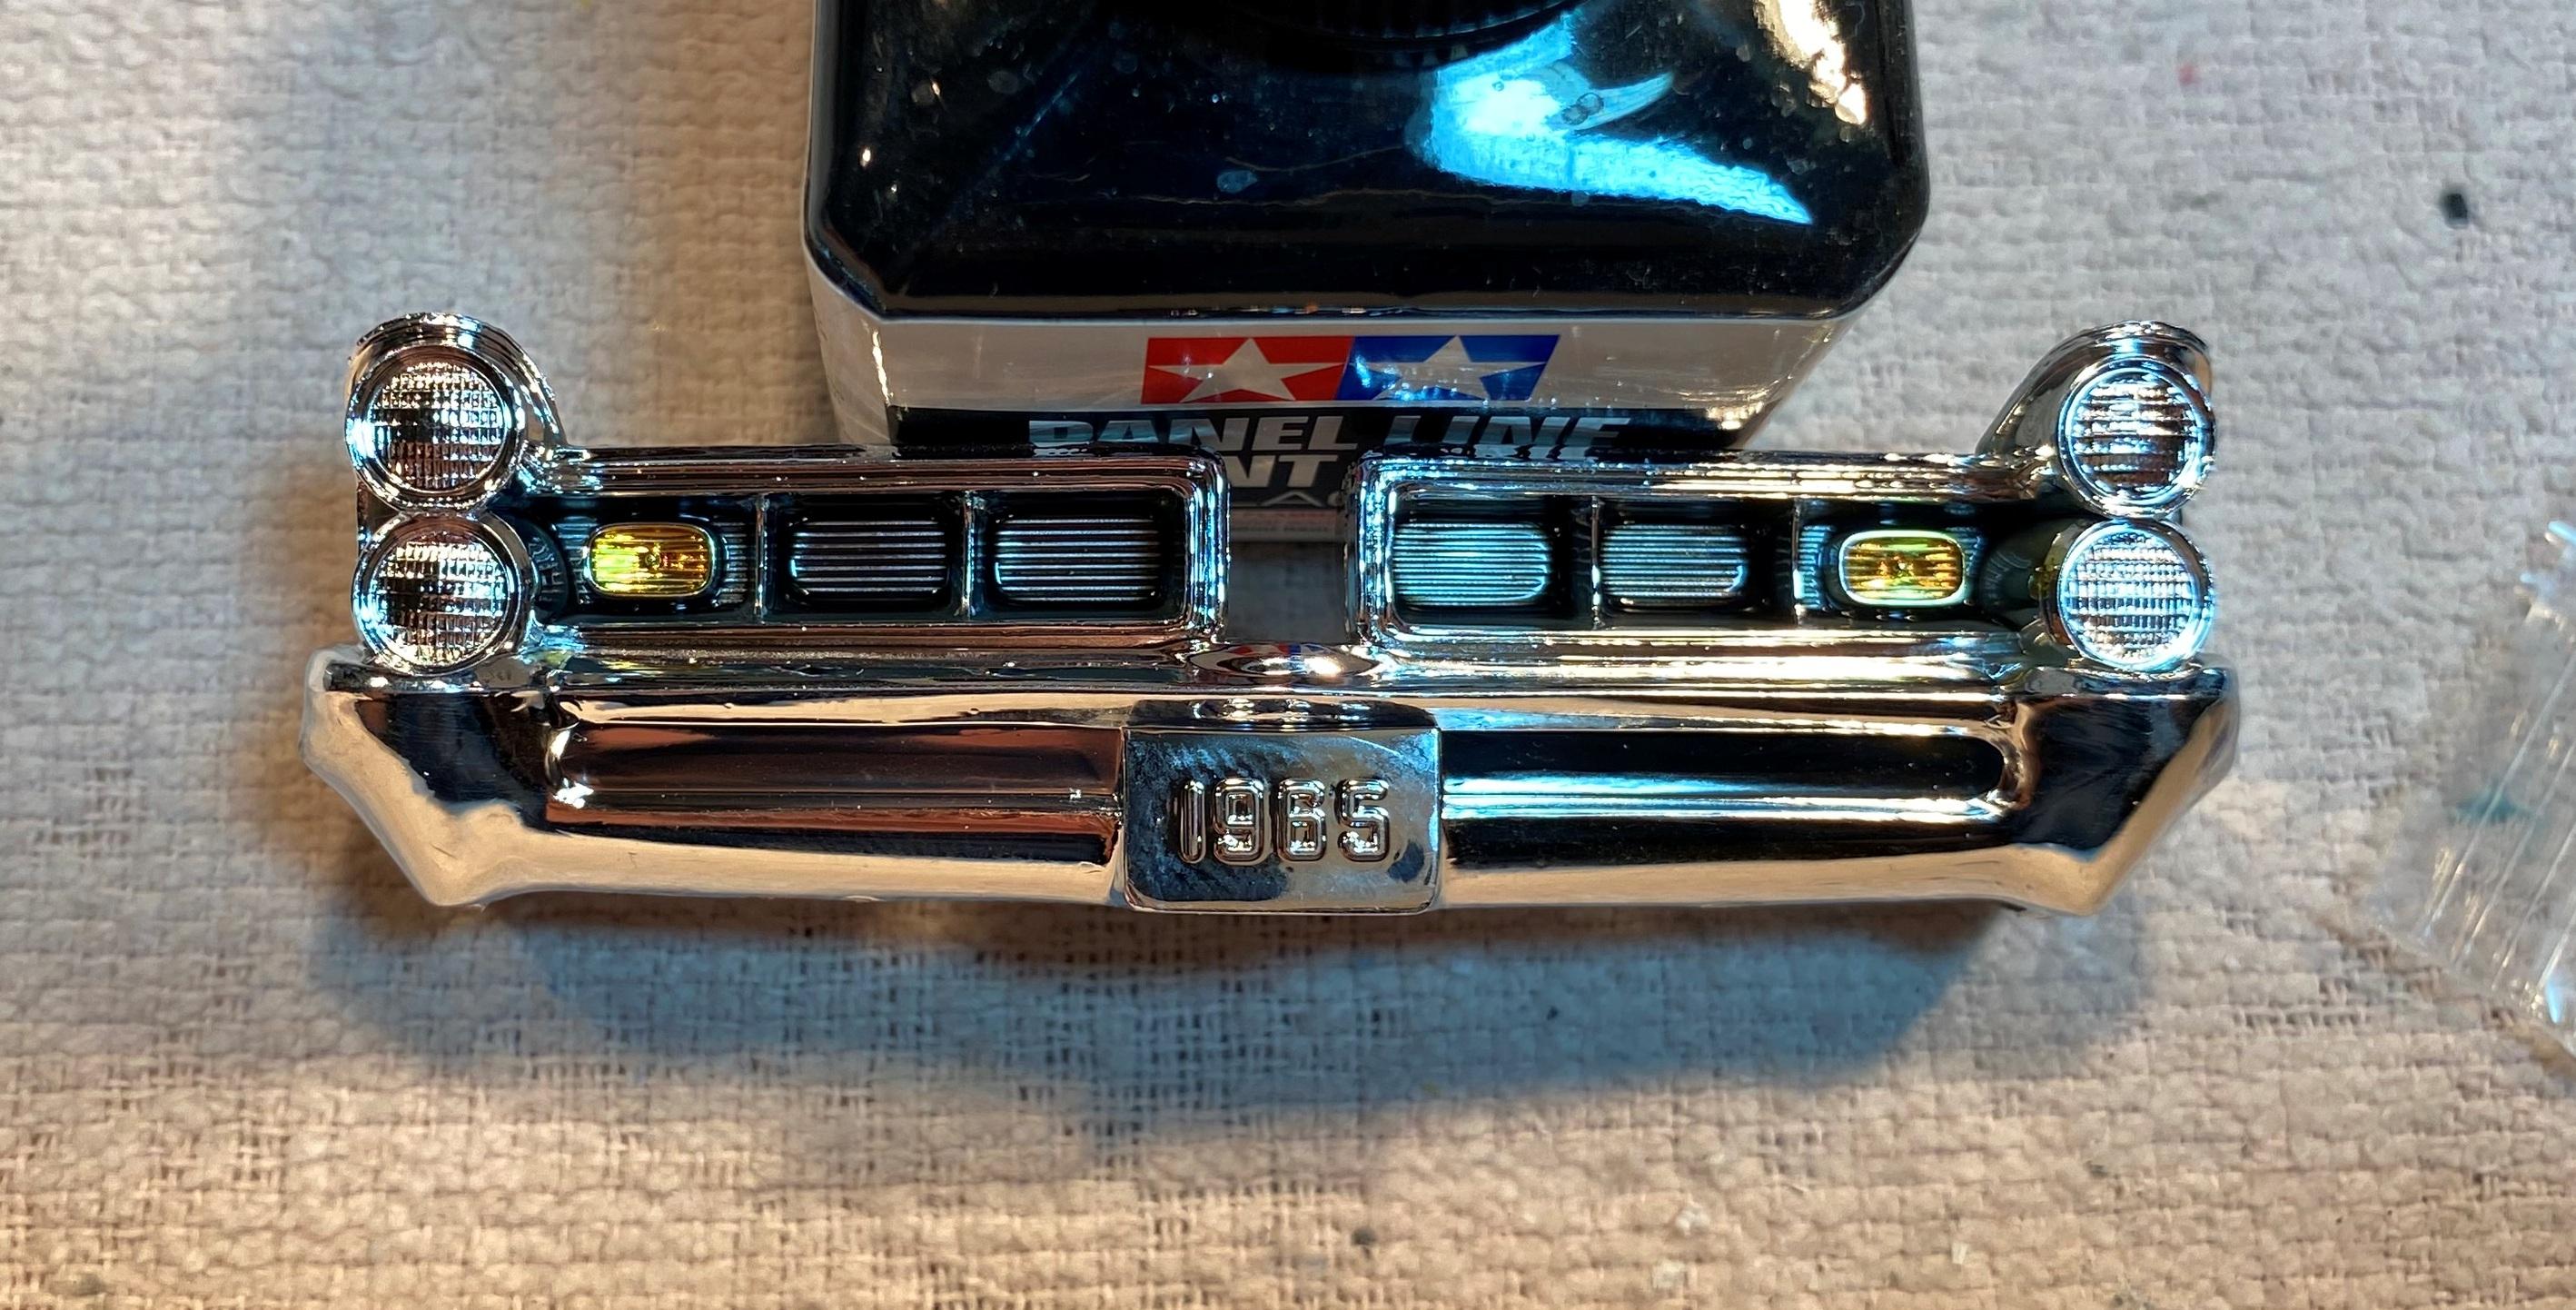
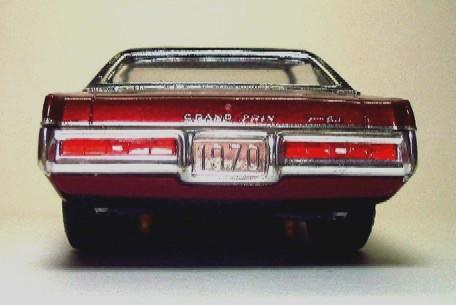
Is that an AMT 67 Chevelle piece? If that is all you need. I can send you one, no charge to help you out. An alternate method to a flat low area such as that is to apply Tamiya panel liner many times over several days to fill in the area until it is blacked out. The fluid will naturally wick into the corners at first so it will take some time to get it all filled in. The nice thing is it will be even and can be done in spite of shaky hands because once you dip the applicator brush in the general area, the thinness of the liquid will take care of the rest. I used this method on my 65 Grand Prix.

-
'F O R D ' hood lettering ?
Bills72sj replied to jdcar32's topic in Model Building Questions and Answers
I too have used the foil UNDER paint method.
-
MCACN 2025
Bills72sj replied to Rocketman455's topic in 1:1 Reference Photos: Auto Shows, Personal vehicles (Cars and Trucks)
Those Pontiac Rallys look good on that Banshee. It makes me think some Chevelle Magnum 500s would look good on a C3 Vette. -
Being thankful for this forum.....
Bills72sj replied to Sledsel's topic in General Automotive Talk (Trucks and Cars)
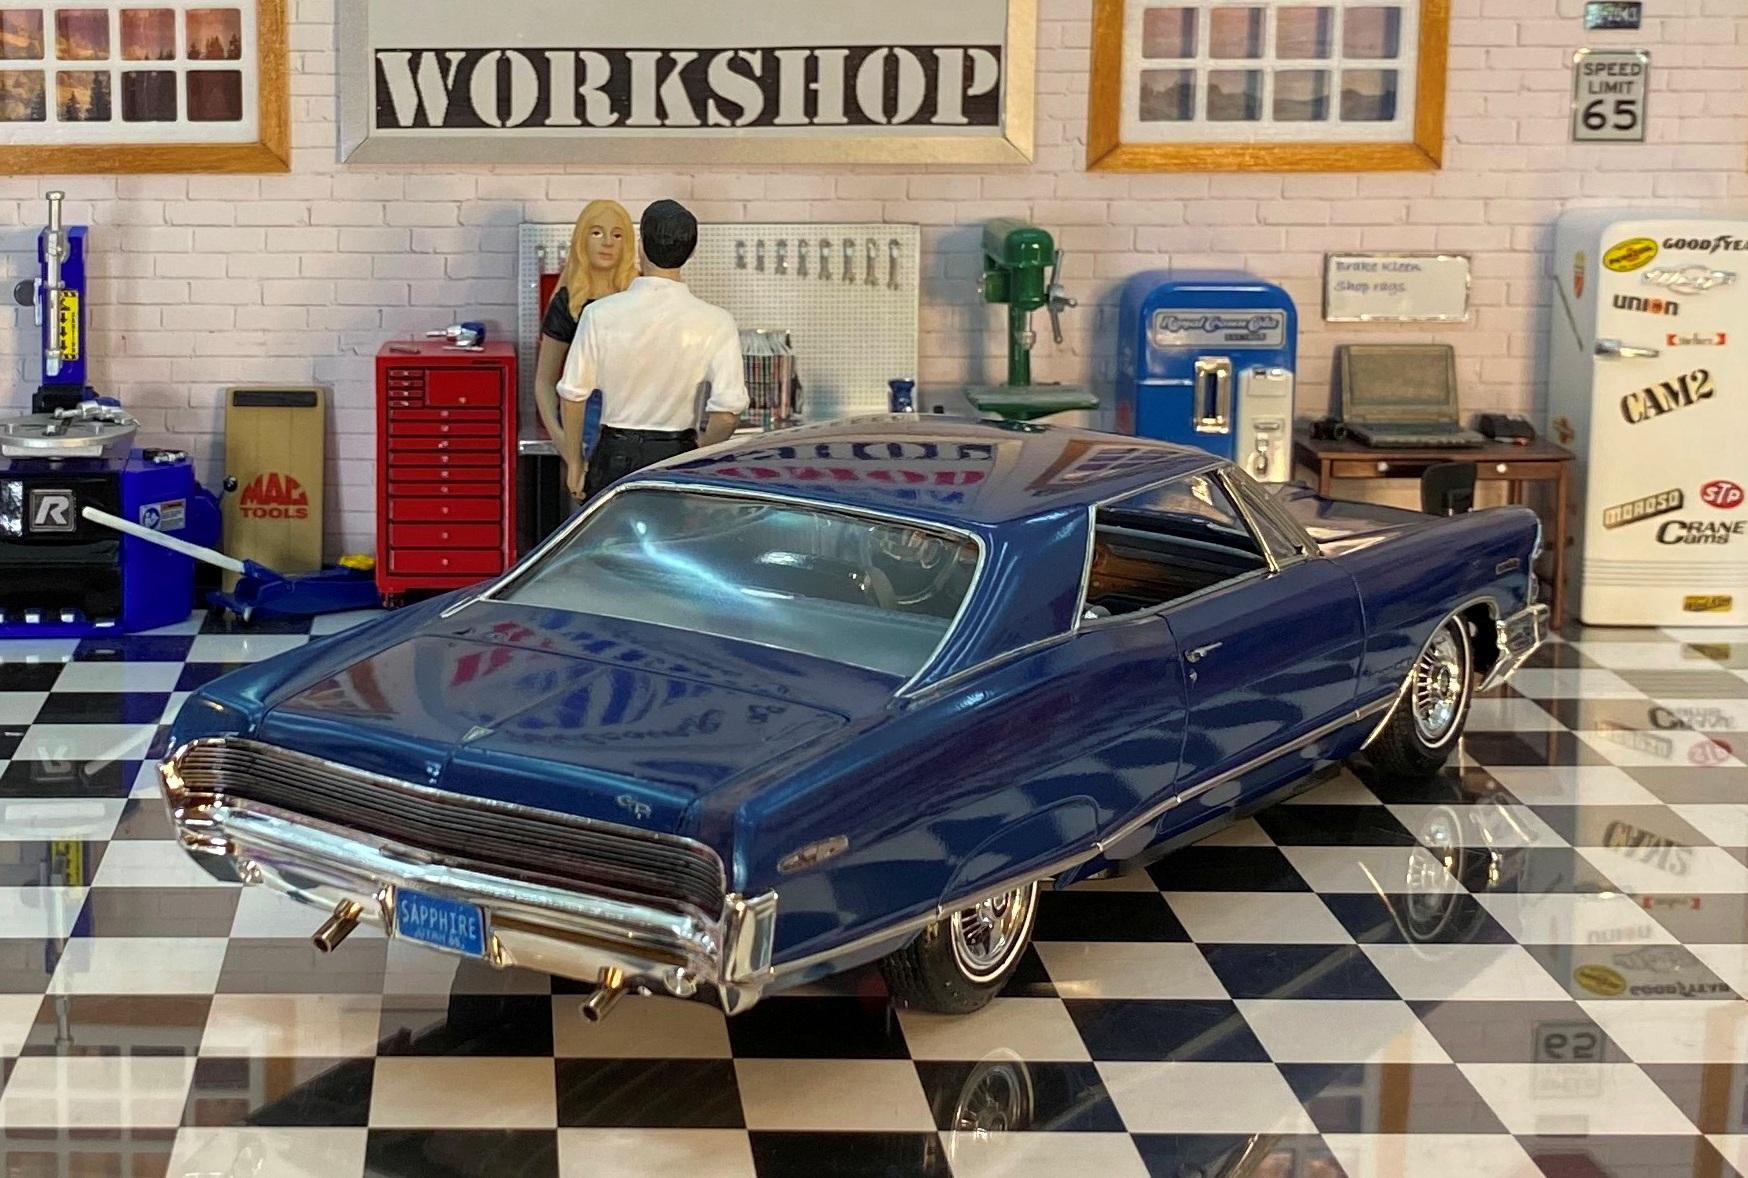
I too love this forum. I have visited everyday since I found it (except when on vacation). I enjoy encouraging others and being encouraged. I consider myself slightly above average but only if I put forth the effort. The better builders here show results and details that I really admire so I incorporate them into my builds. I have tackled new skills and succeeded at them. When I have a completed a build, I share it here to get a little boost to carry on to the next build. Thanks to one and all. Bill N. American Restomod Workshop. -
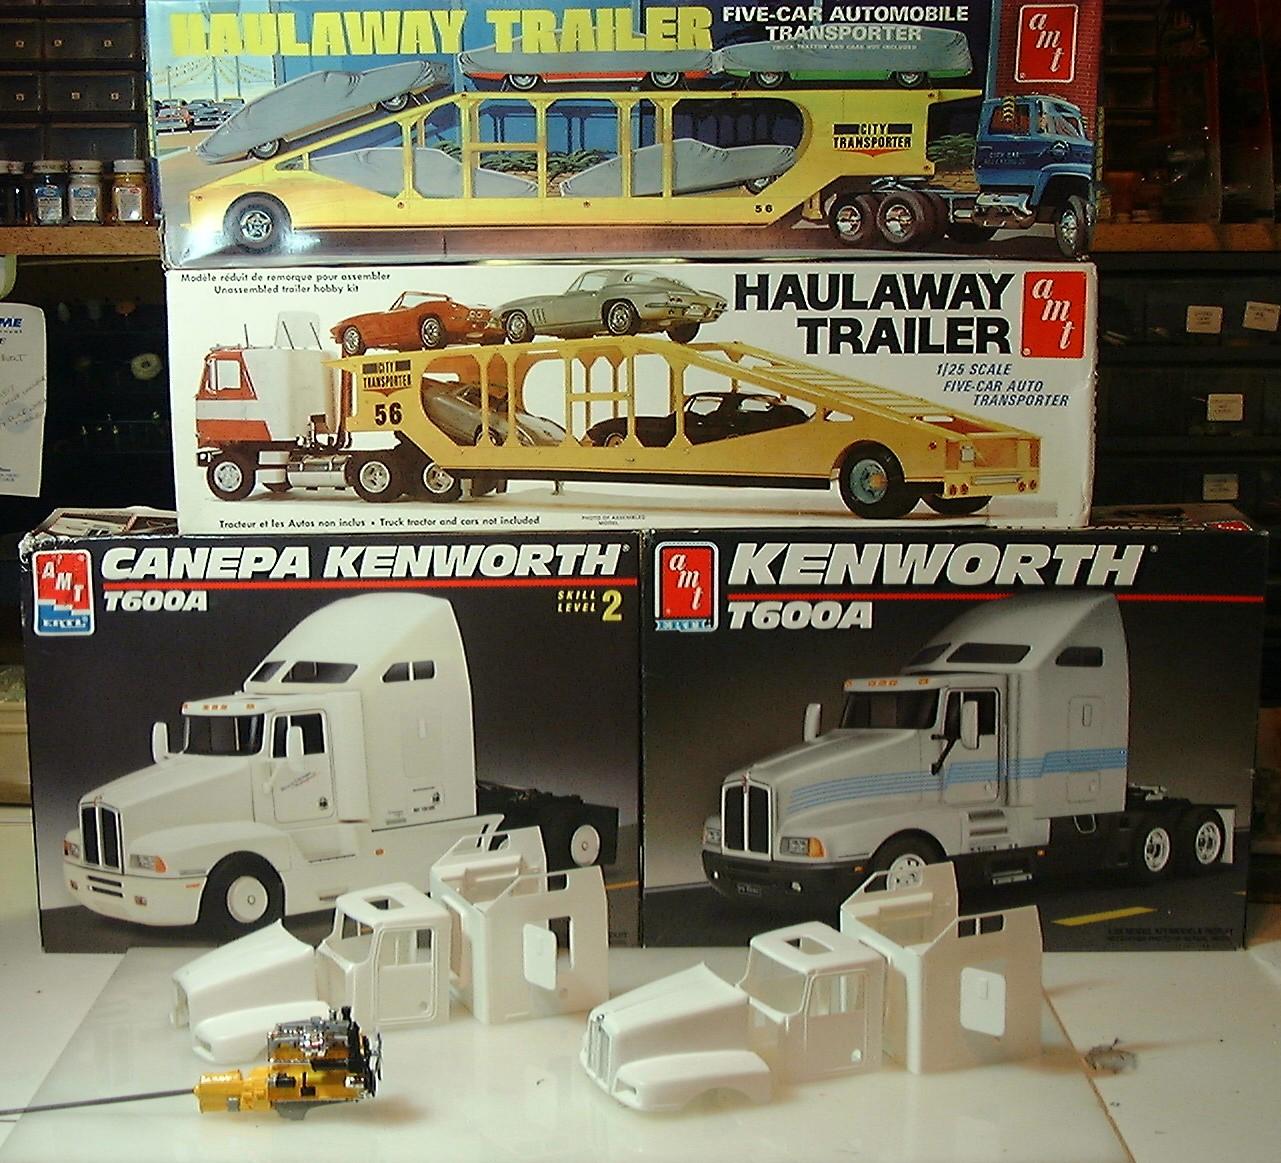
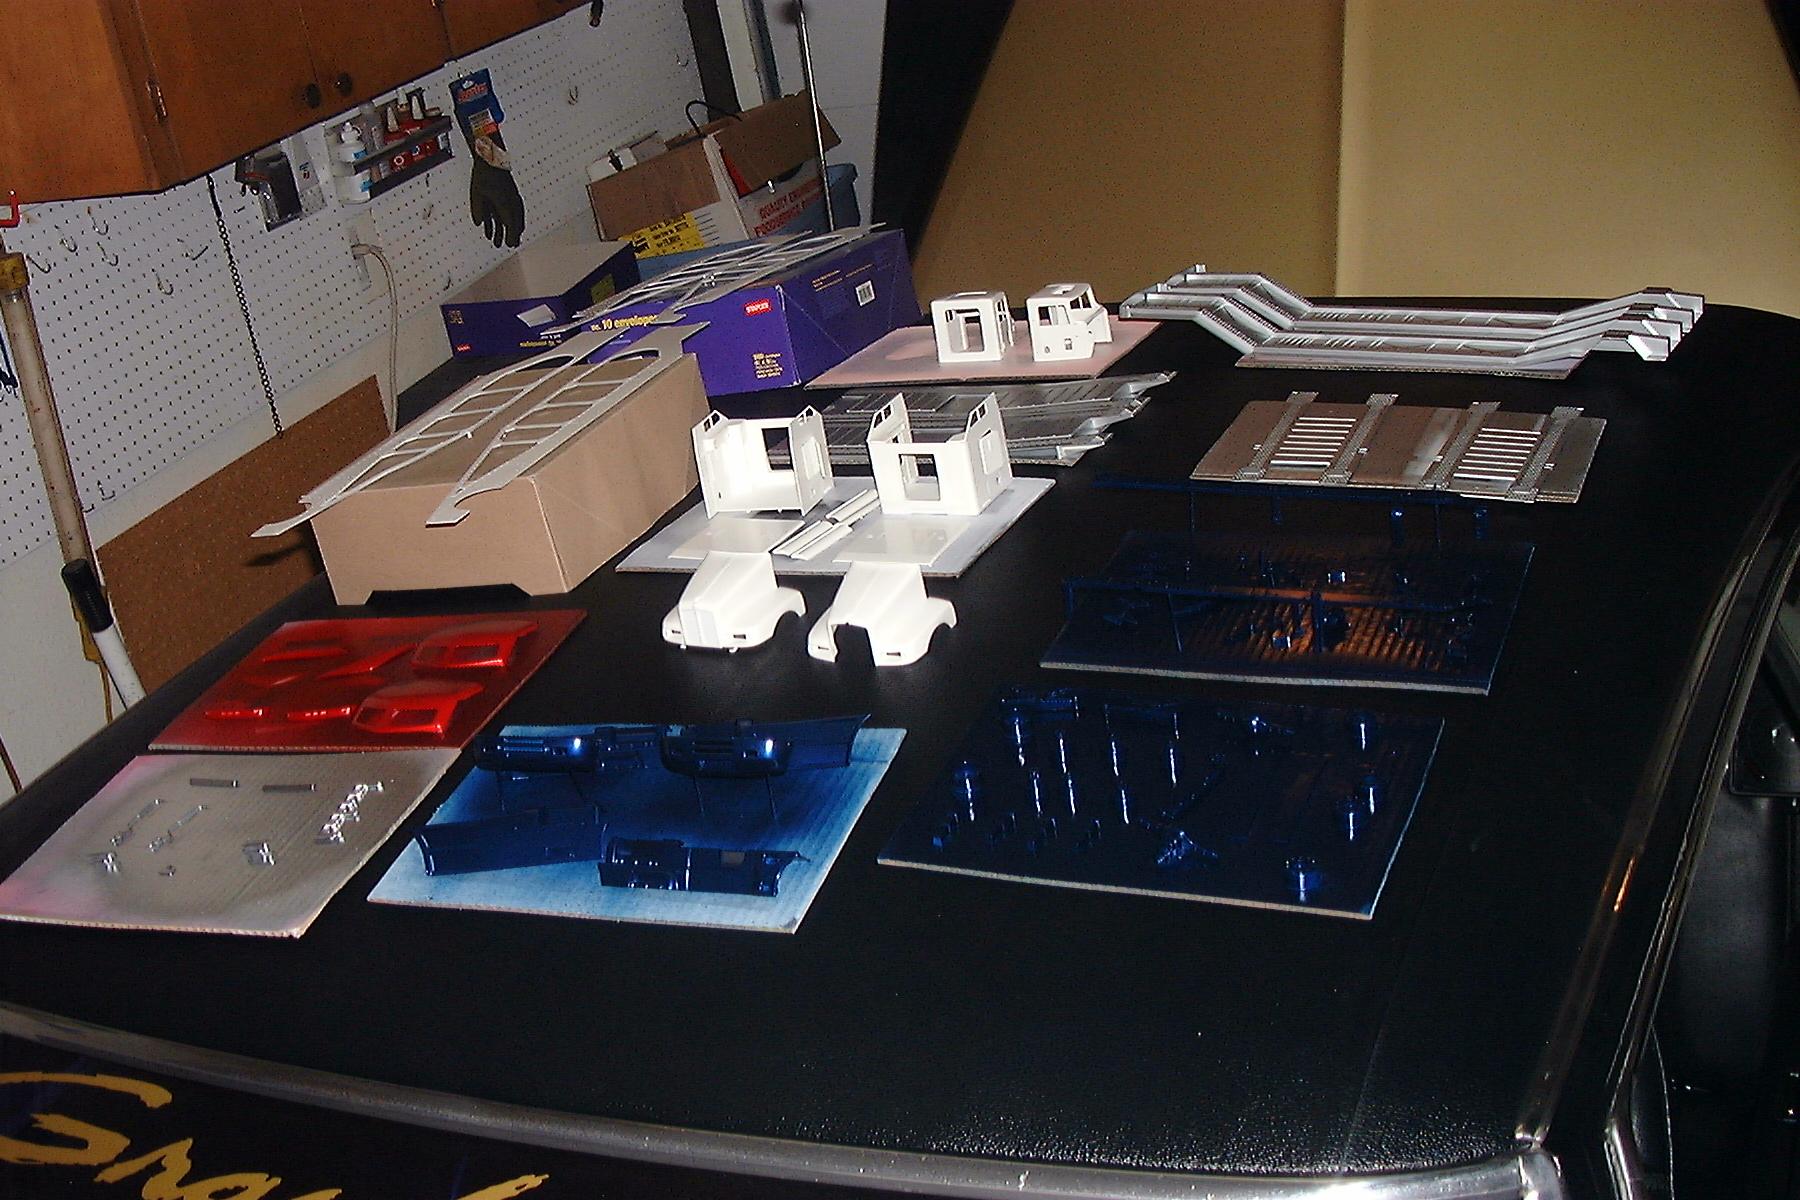
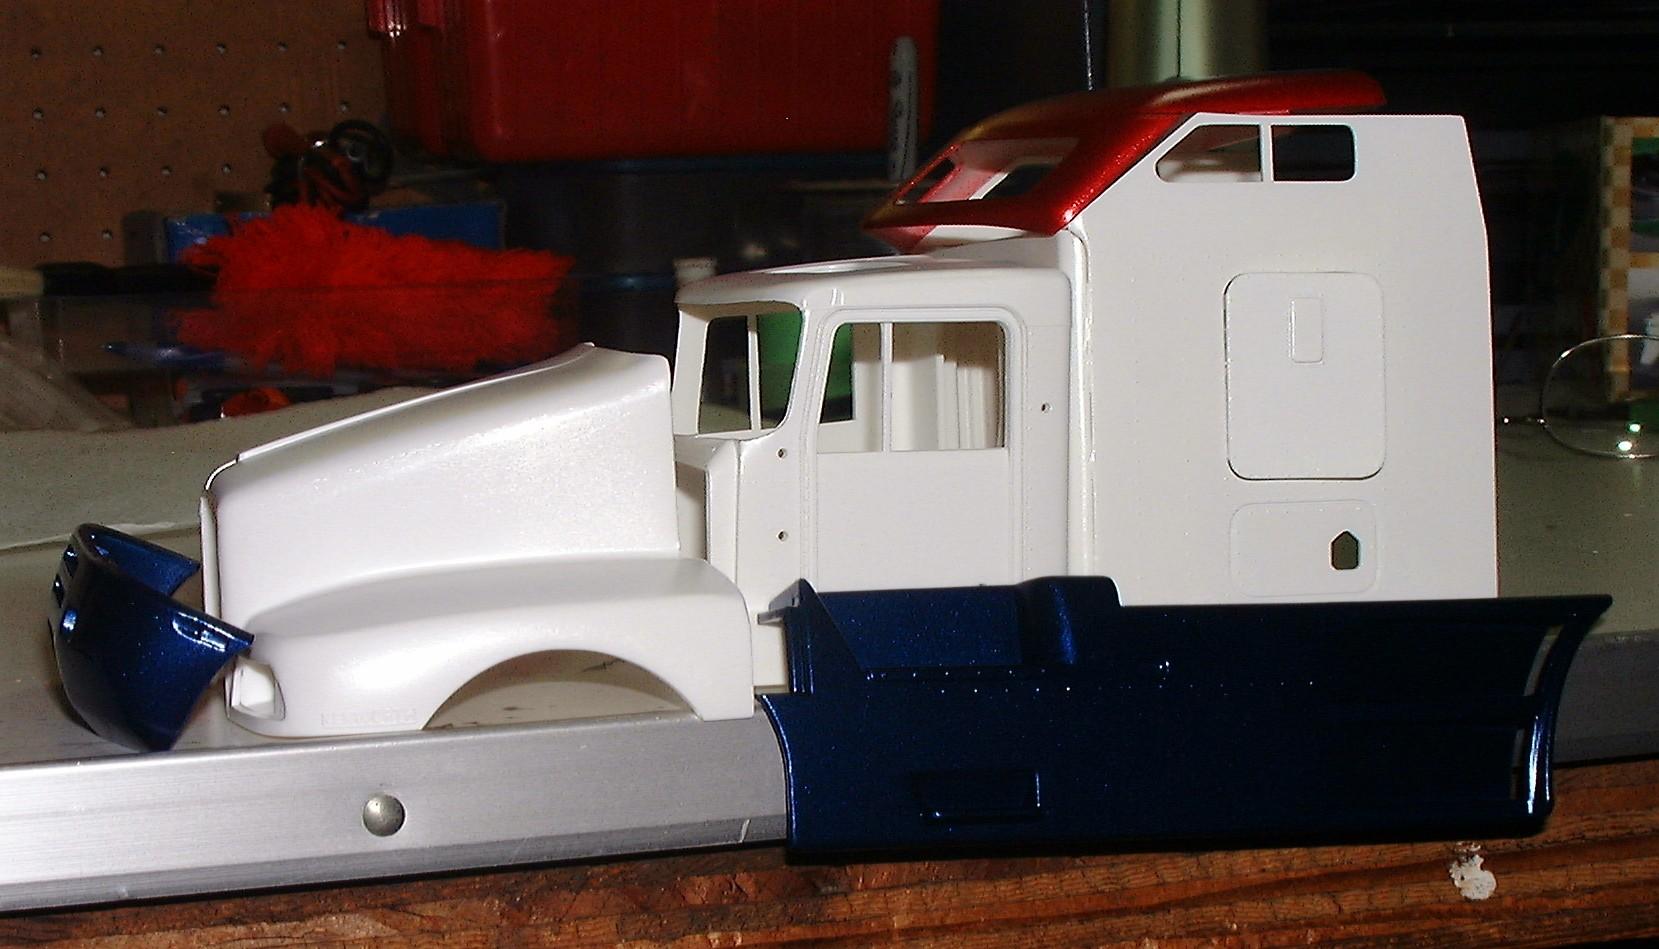
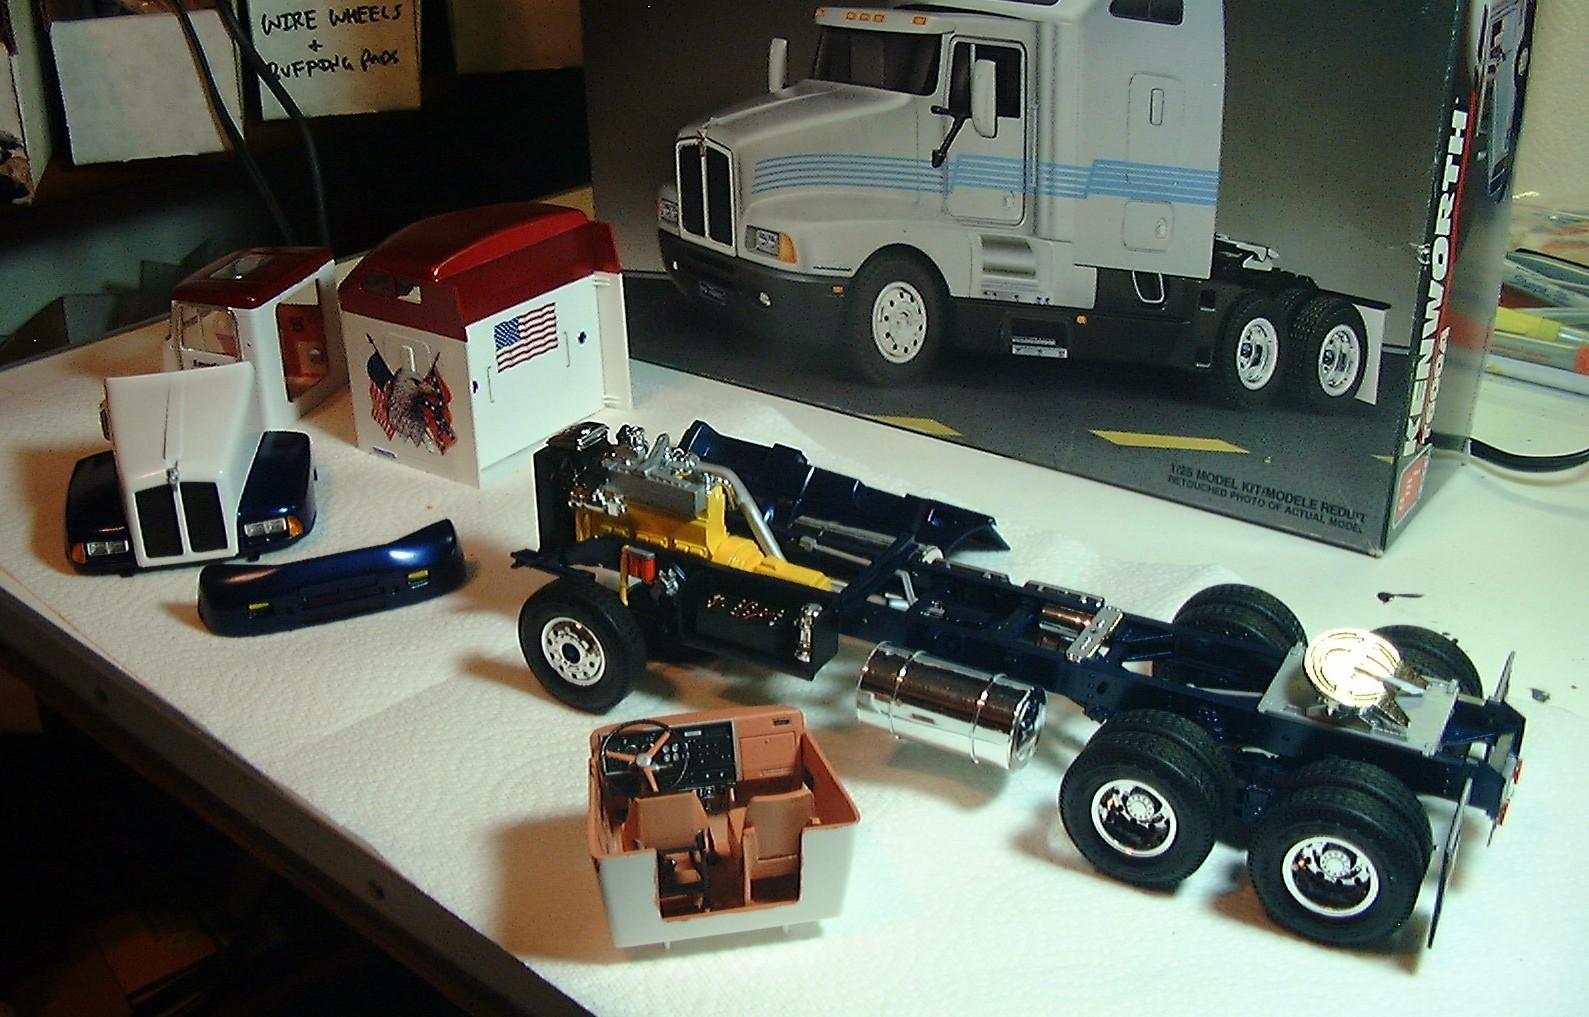
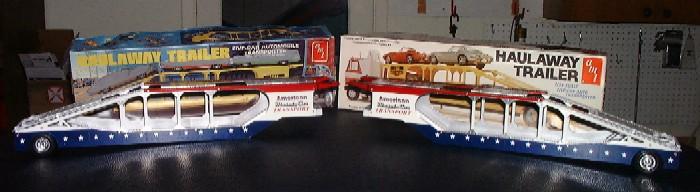
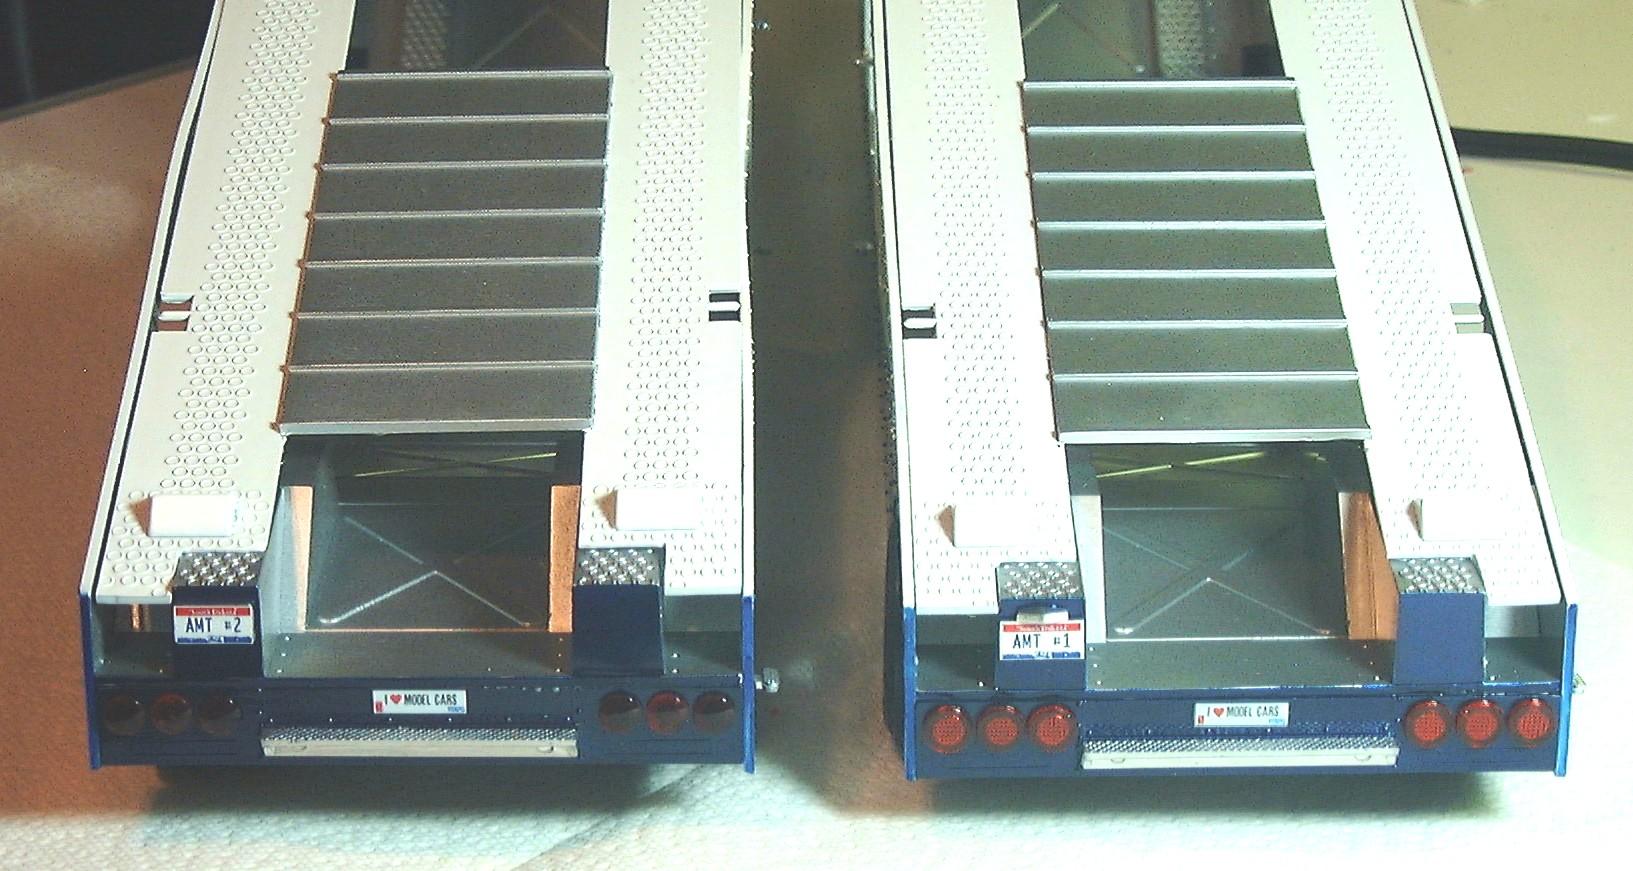
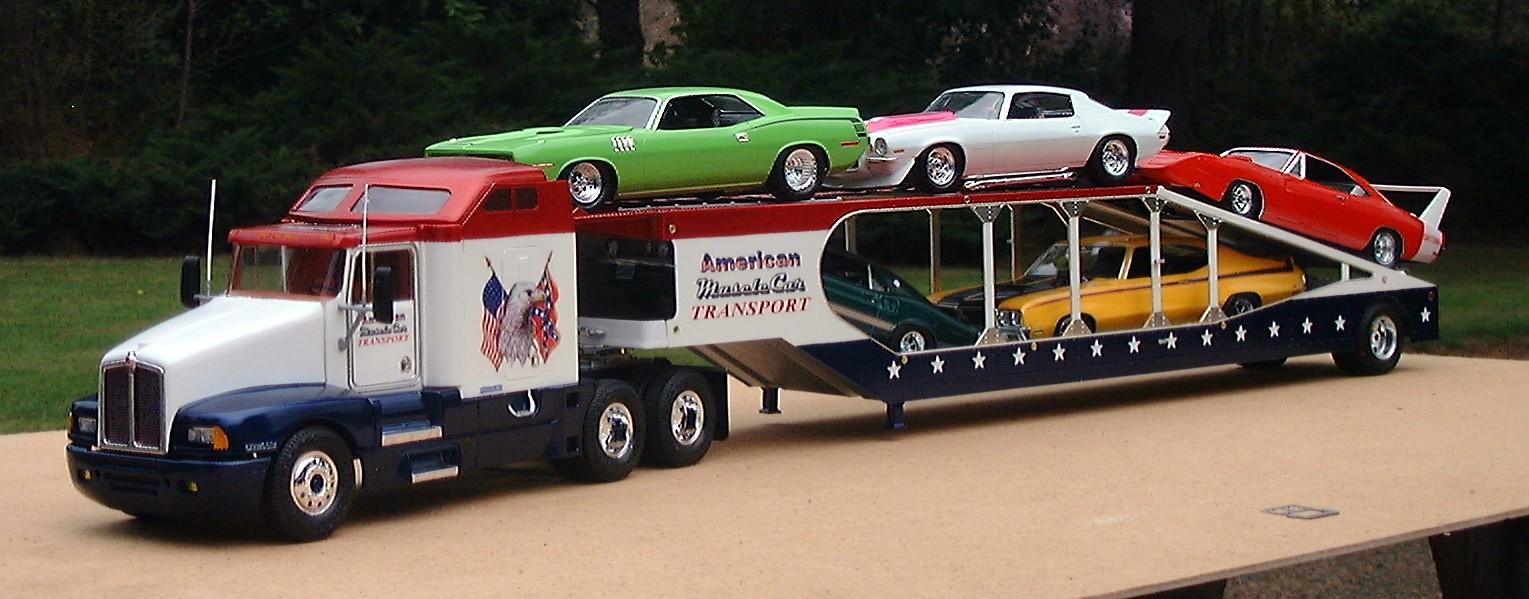
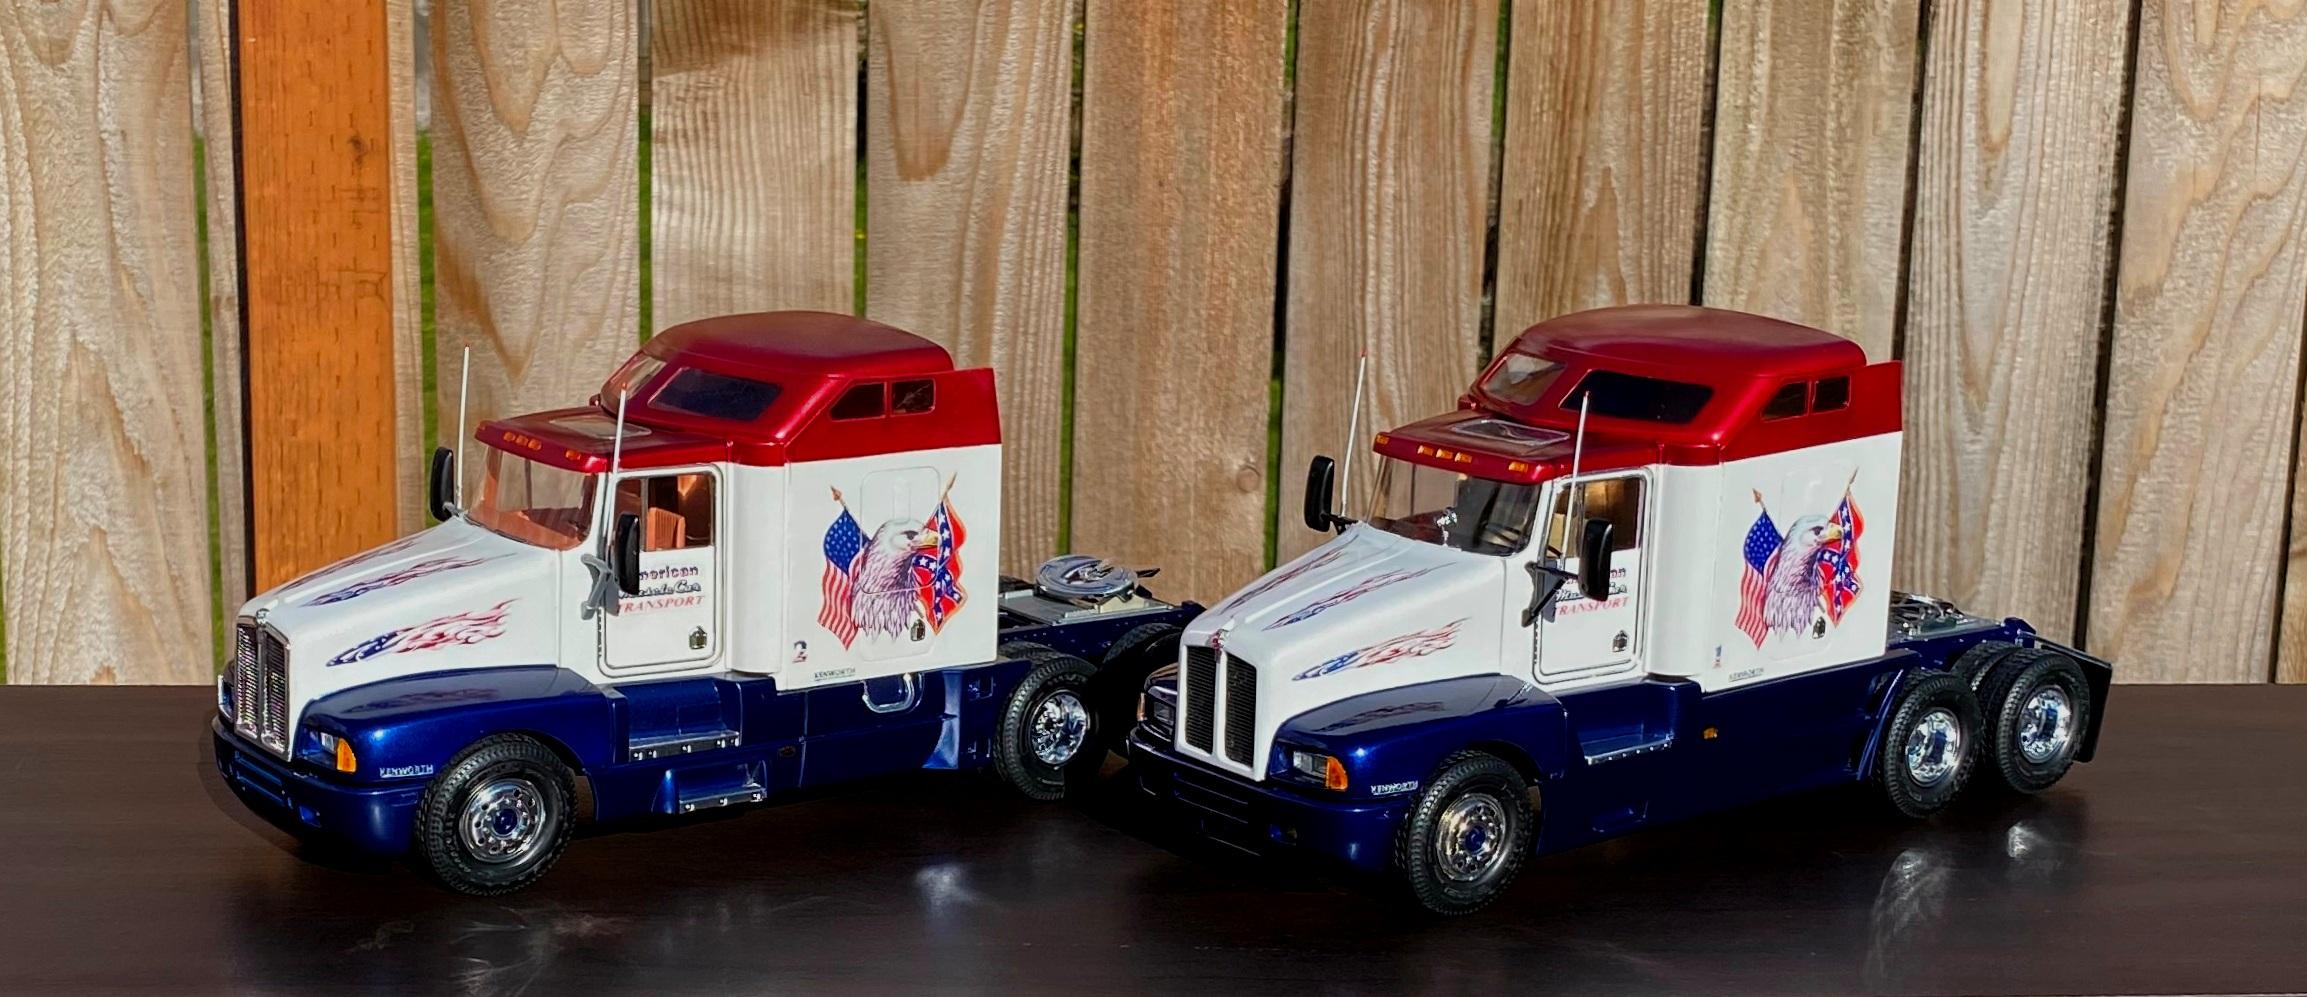
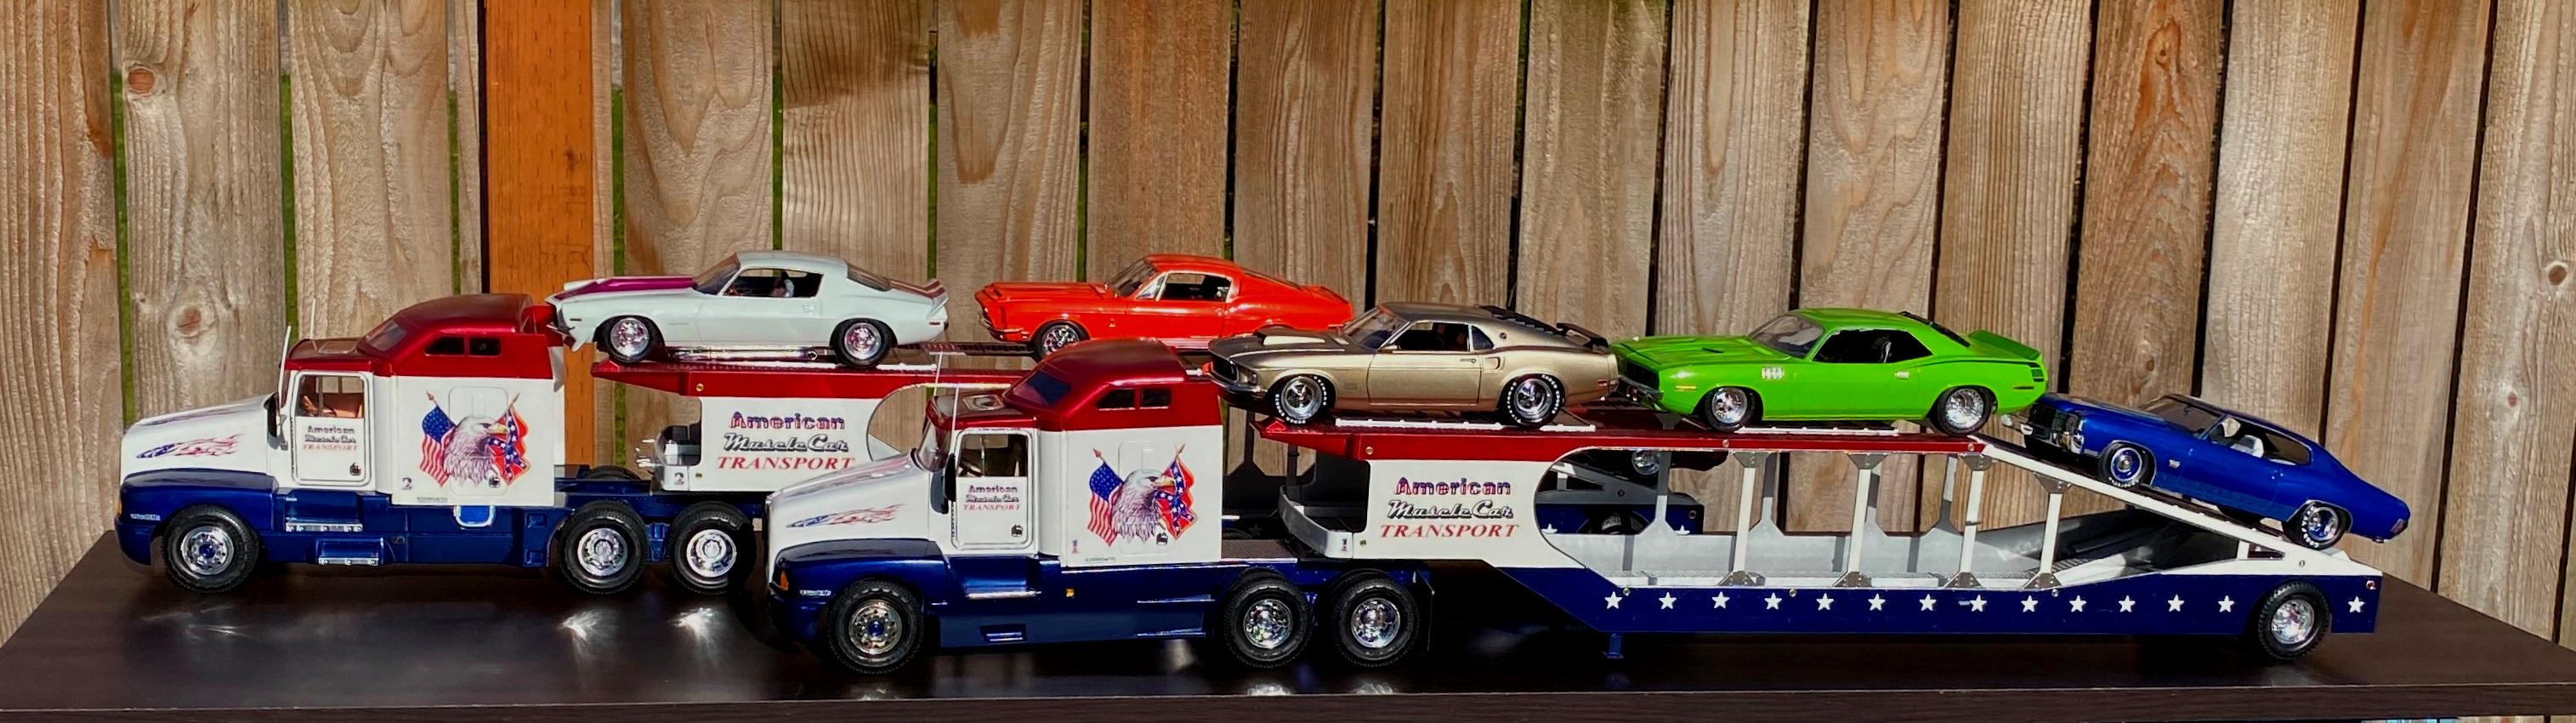
I am generally pretty good at finishing what I started even with running 4-5 builds simultaneously. However this project took From August 2006 to April 2022 to finish. I painted both tractors and both trailers the same week. I built both trailers and one tractor within the first year. I got a wild hair and decided to attempt LEDs with working flashers into an already painted body. Consequently, it stalled. Not for lack of materials or skill. Simply for the apprehension in carving in lights with a paint job with paint that was no longer available. I finally decided to bail on the lights because, I grew weary of an incomplete set of custom car haulers. Below is a mini progression of the result.
-
I would like to assist you in unburdening that Shelf of Pontiacs. I has virtually all of my Holy Grails.