Caballero_ScaleModel
-
Posts
30 -
Joined
-
Last visited
Content Type
Profiles
Forums
Events
Gallery
Everything posted by Caballero_ScaleModel
-
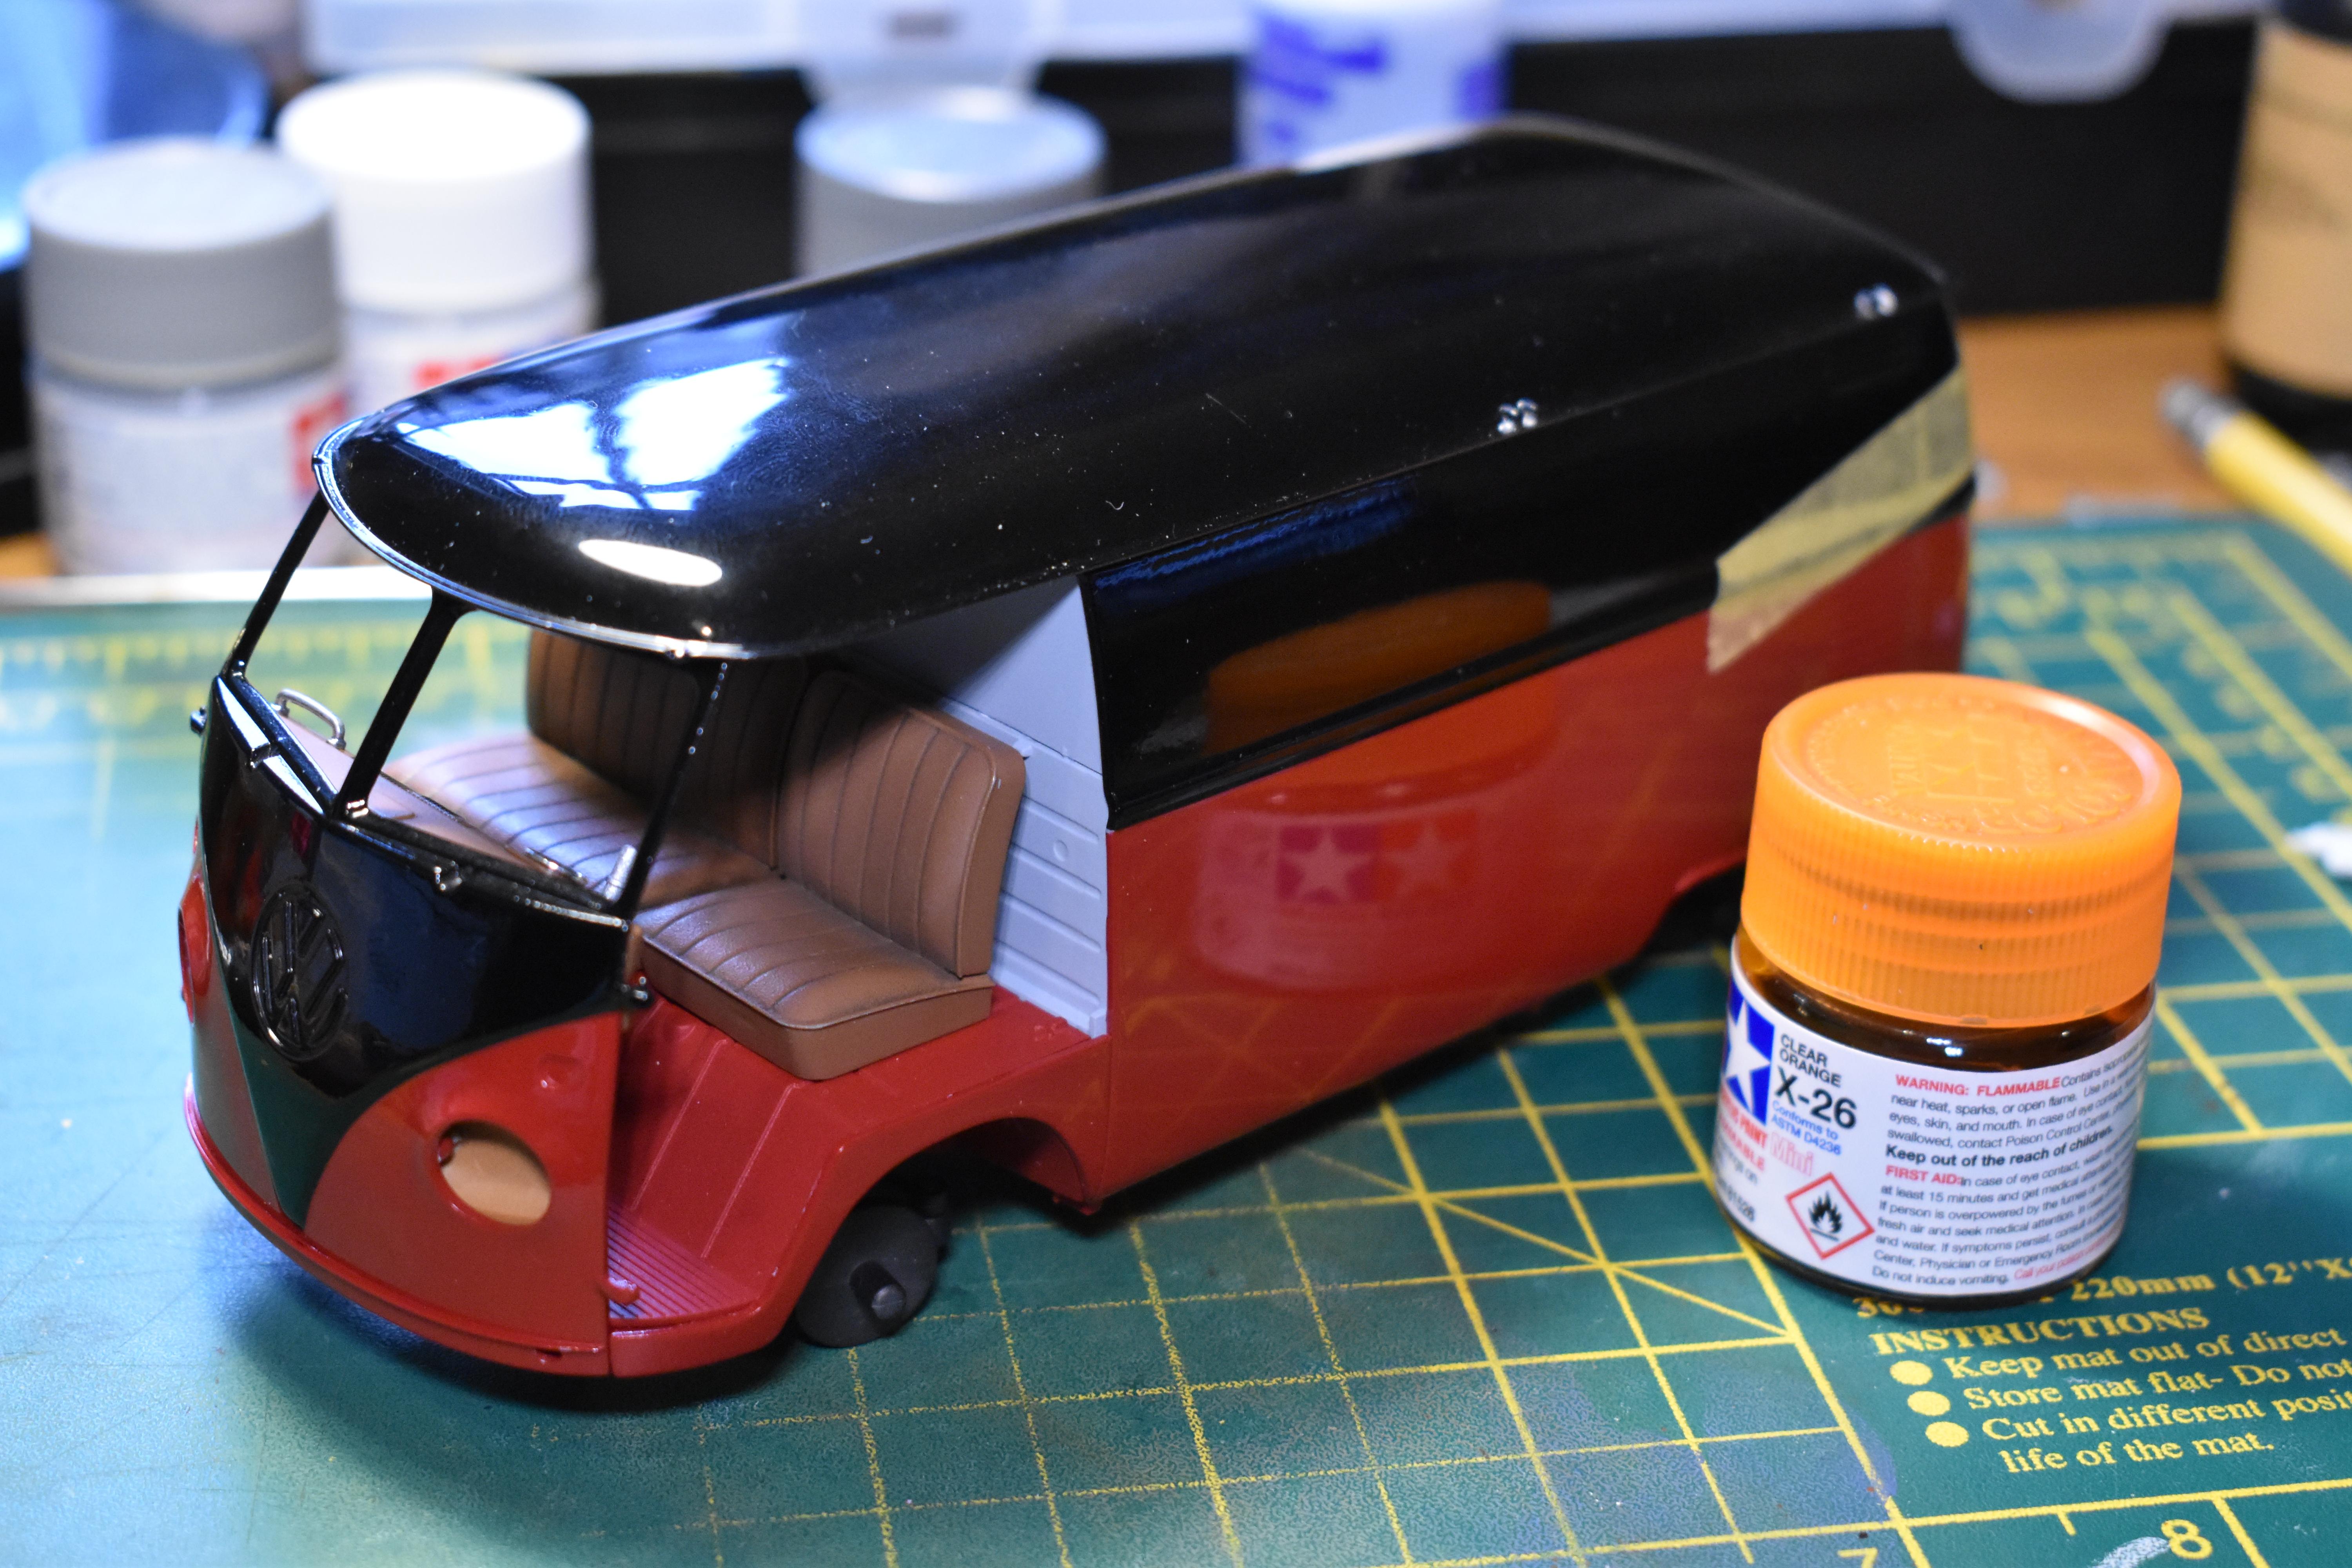
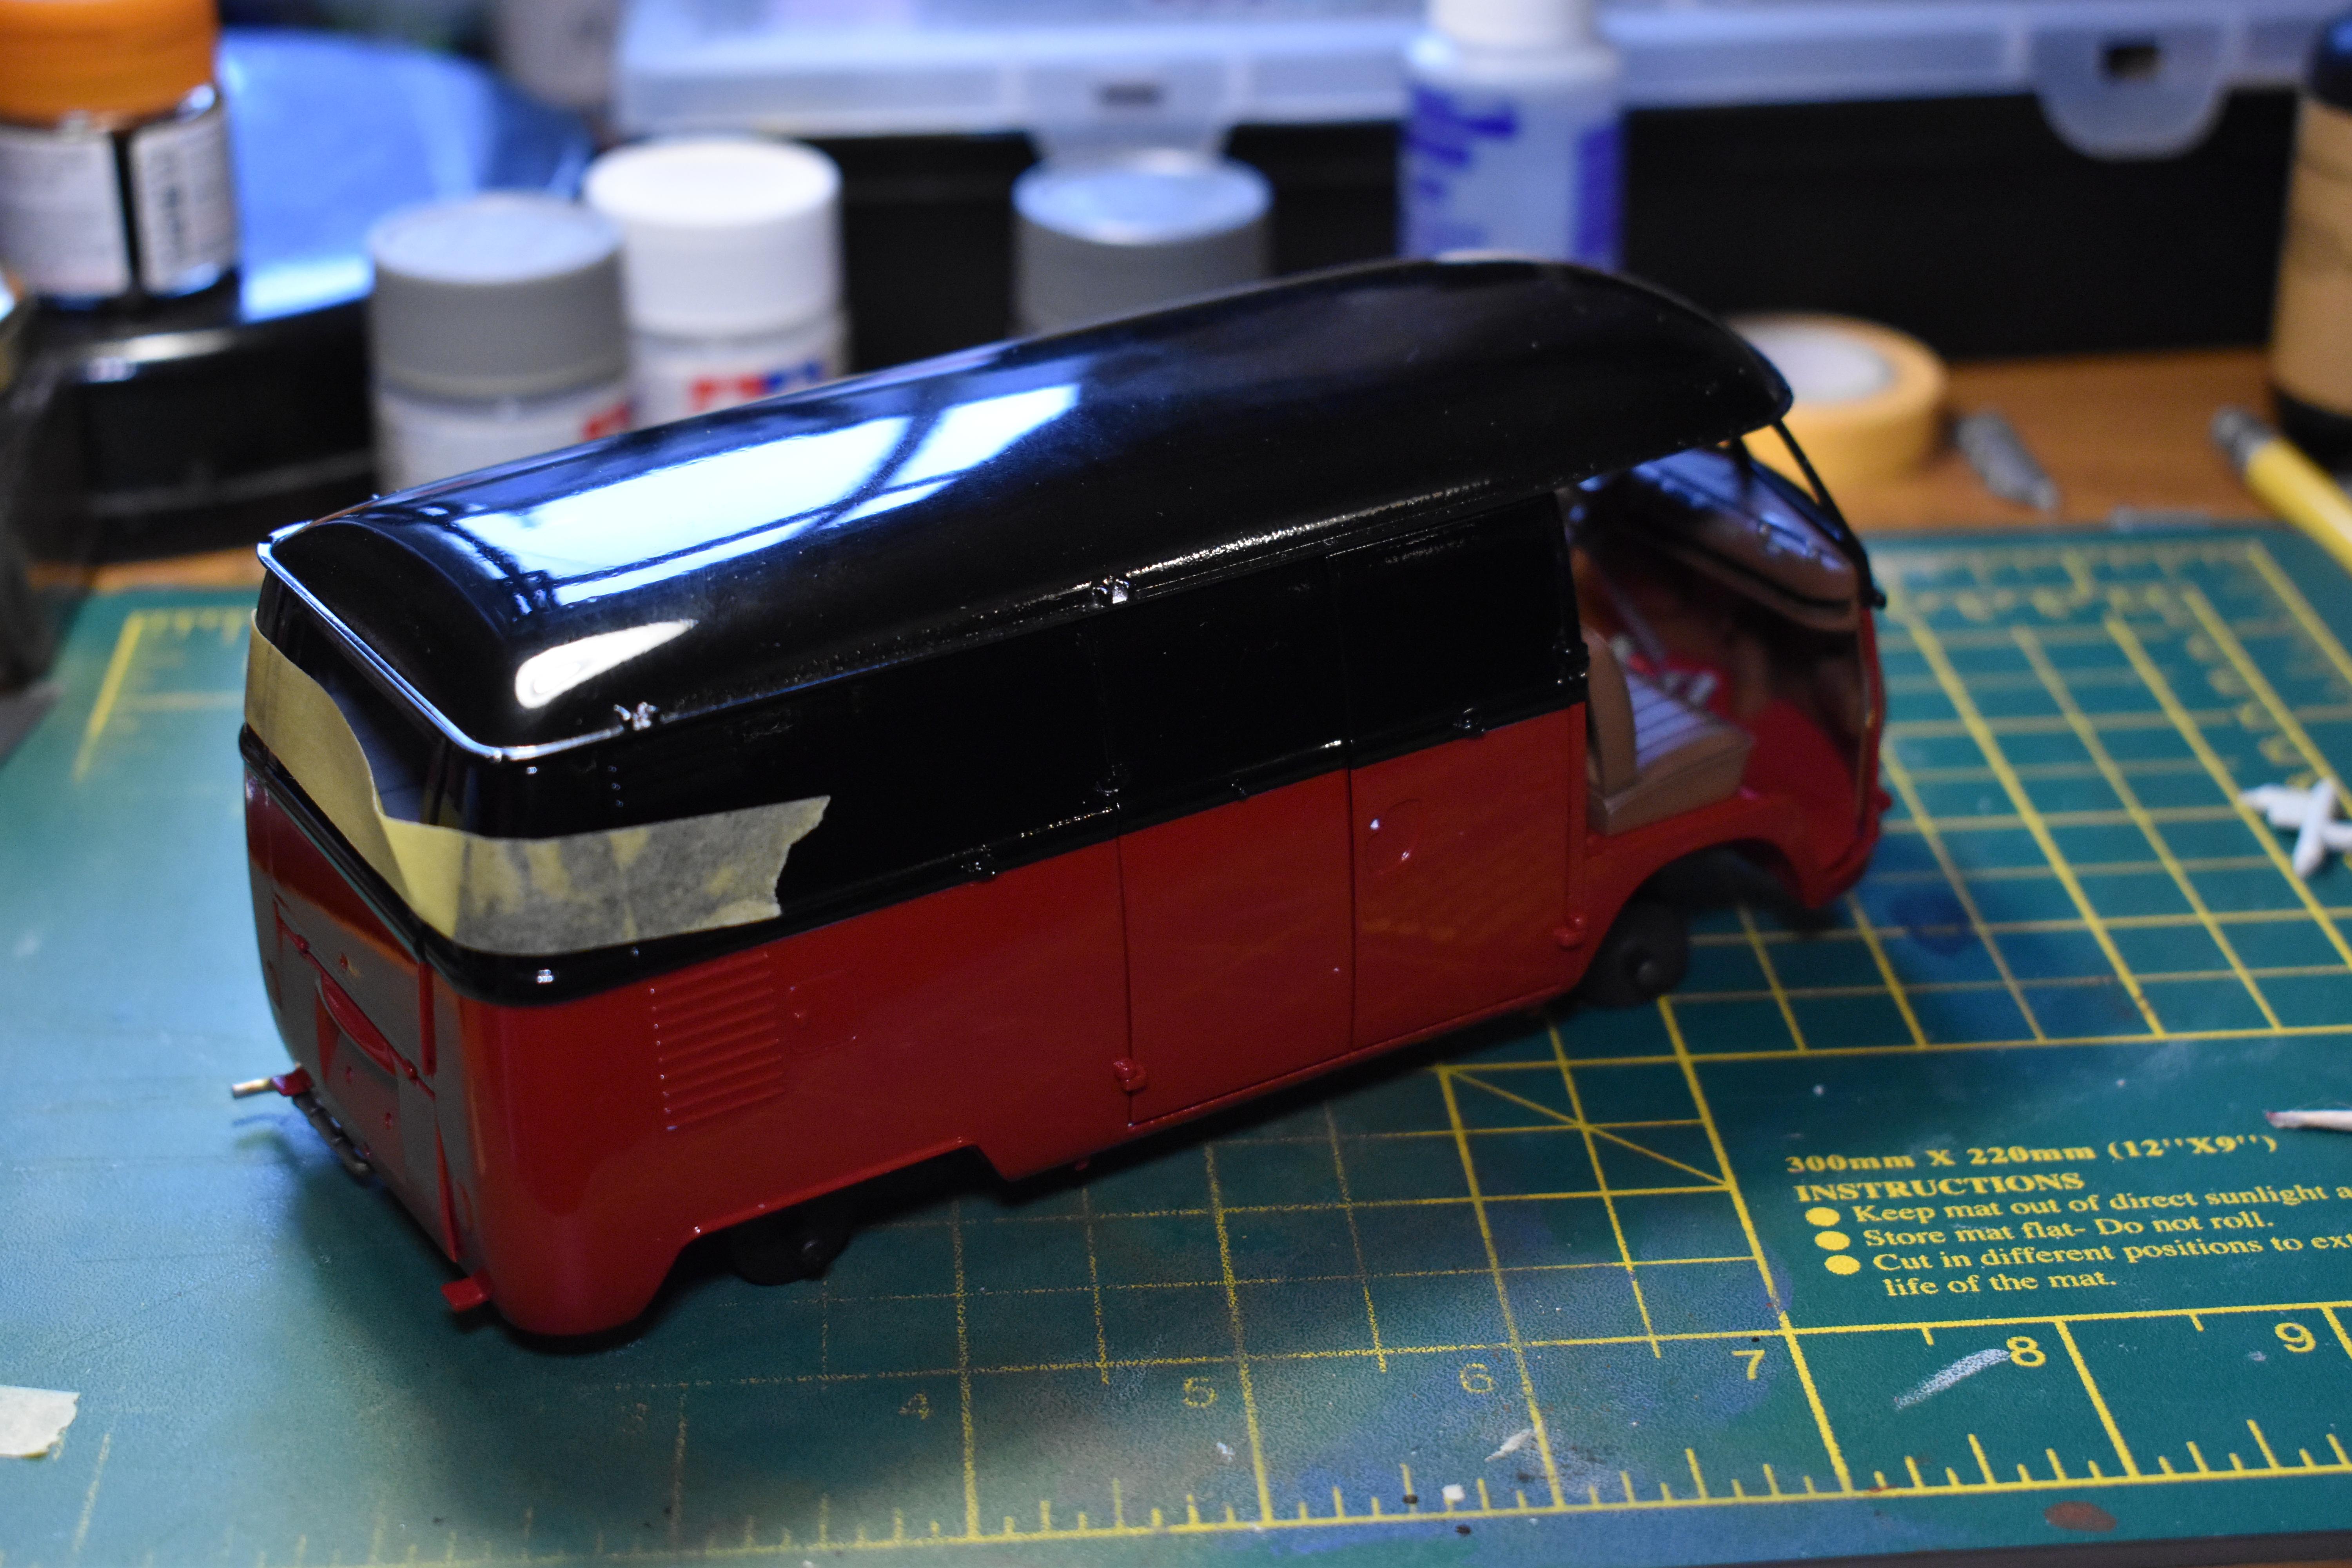
 Hello guys, just an update on this build I sanded the 2K clear coat with micromesh (6000-12000) and then polished the body panels with the "ultimate polish system". The assembly of the body is done now. You can also see a tool rack and kind of a tool box that I scratch built for the interior. I only need to add the windows and a few more details and this build will be done.
-
50 Oldsmobile custom... cool photos!!!
Caballero_ScaleModel replied to Caballero_ScaleModel's topic in Model Cars
Thnak you Andy Thanks Bernard much appreciated Wow...thanks Greg..actually photography is my other hobby after model building...but I'm still a beginner -
50 Oldsmobile custom... cool photos!!!
Caballero_ScaleModel replied to Caballero_ScaleModel's topic in Model Cars
Thank you Francis! I'm happy that you like the body-interior colour combo -
Modelhaus Resincast 1960 Dodge Dart Phoenix
Caballero_ScaleModel replied to THarrison351's topic in Model Cars
Really nice build Tim and I really enjoyed reading the story behind it -
Subaru Impresa WRX STI 2006 (AUTOart 1/18)
Caballero_ScaleModel replied to Ermiloff's topic in Model Cars
You are the ultimate master on model car photography Sergey ? -
50 Oldsmobile custom... cool photos!!!
Caballero_ScaleModel replied to Caballero_ScaleModel's topic in Model Cars
Thank you David -
50 Oldsmobile custom... cool photos!!!
Caballero_ScaleModel replied to Caballero_ScaleModel's topic in Model Cars
Thank you Larry...glad you like it!! -
50 Oldsmobile custom... cool photos!!!
Caballero_ScaleModel replied to Caballero_ScaleModel's topic in Model Cars
Thnaks! -
Hahahaha thanks for the warning and the advice Jim...I will watch out for those
-
Hi again David, I have done a bit of scratch building to add a toolbox in the loading area. I have also made some tools. I will post some pictures of those soon.
-
Hey Phil, I'm happy to see that my post motivated you to have a look to your old kit. You should definitely give it a go. It is a very nice kit for sure.
-
Thank you Joe. I still want to grind and polish the paint job to make it more even but still waiting for the compounds and micromesh. Some deliveries are taking forever these days for obvious reasons. Once I get it I will posting some updates.
-
Thank you Geoff!
-
That sound really cool David, I really like the 48 Chevrolet body, that low cut on the back is sexy. I'm sure looking forward to see the outcome...have fun building it.
-
Really nicely done...I love the colour and very nice job with the antenna!
-
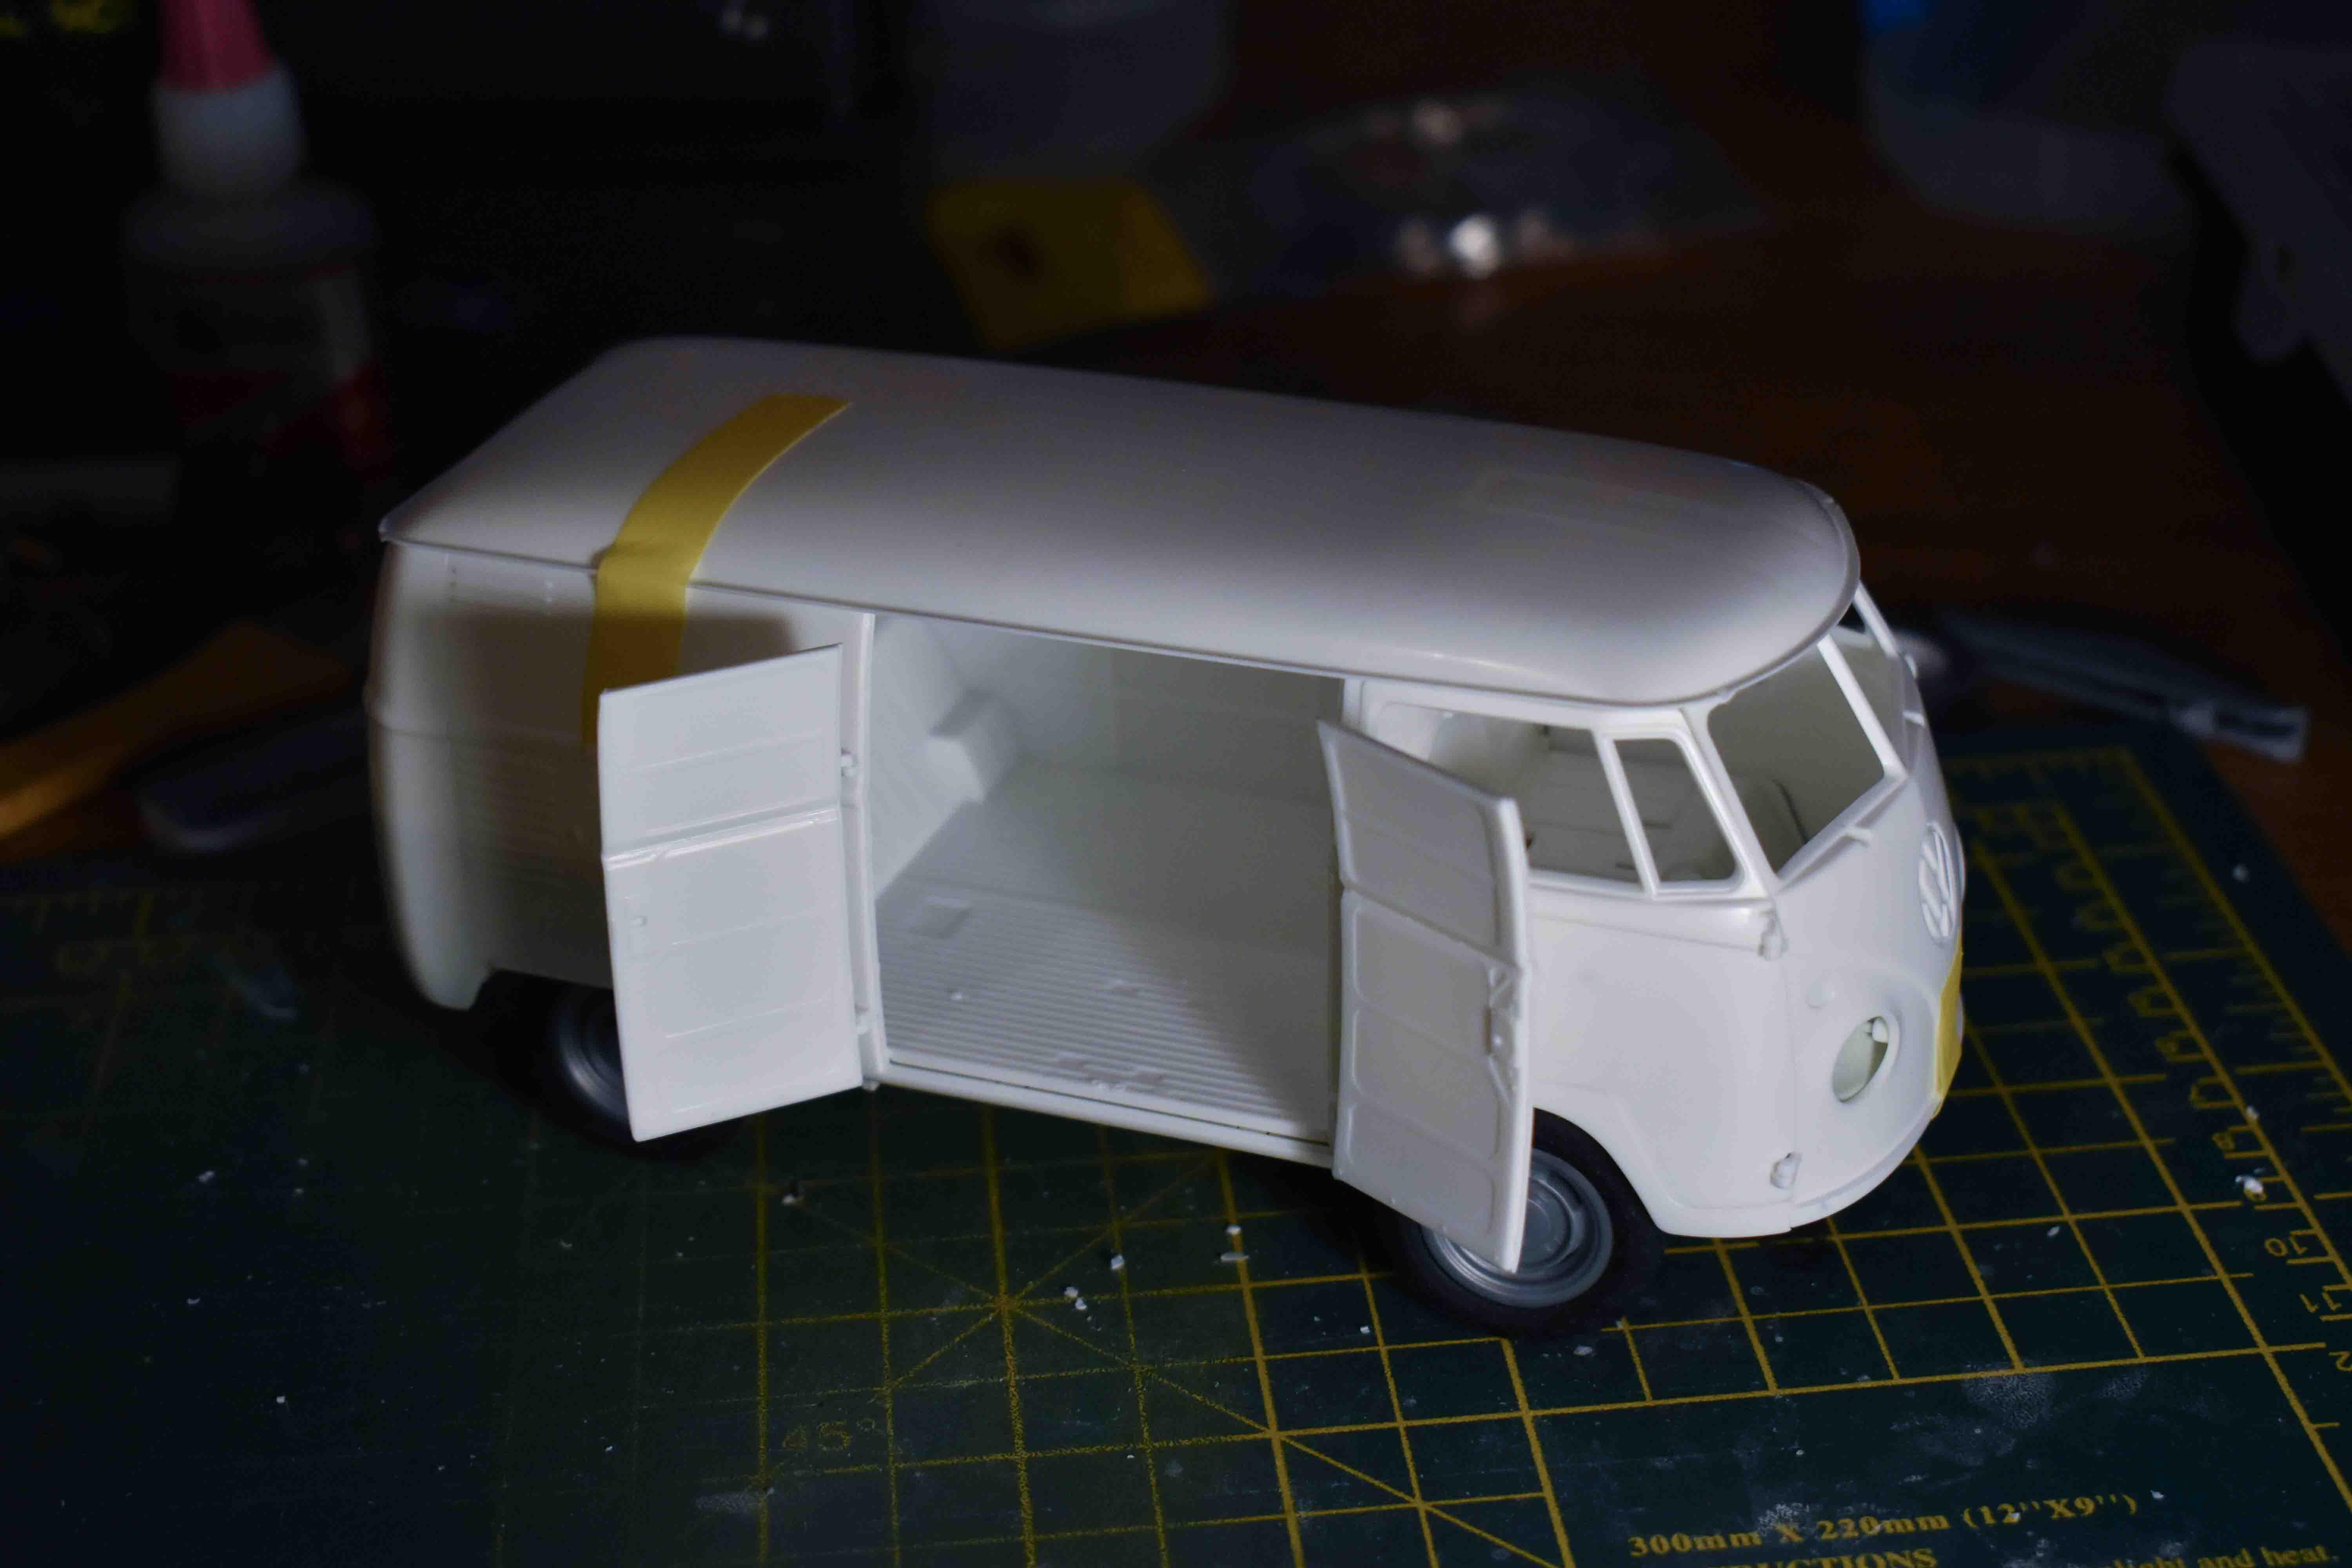
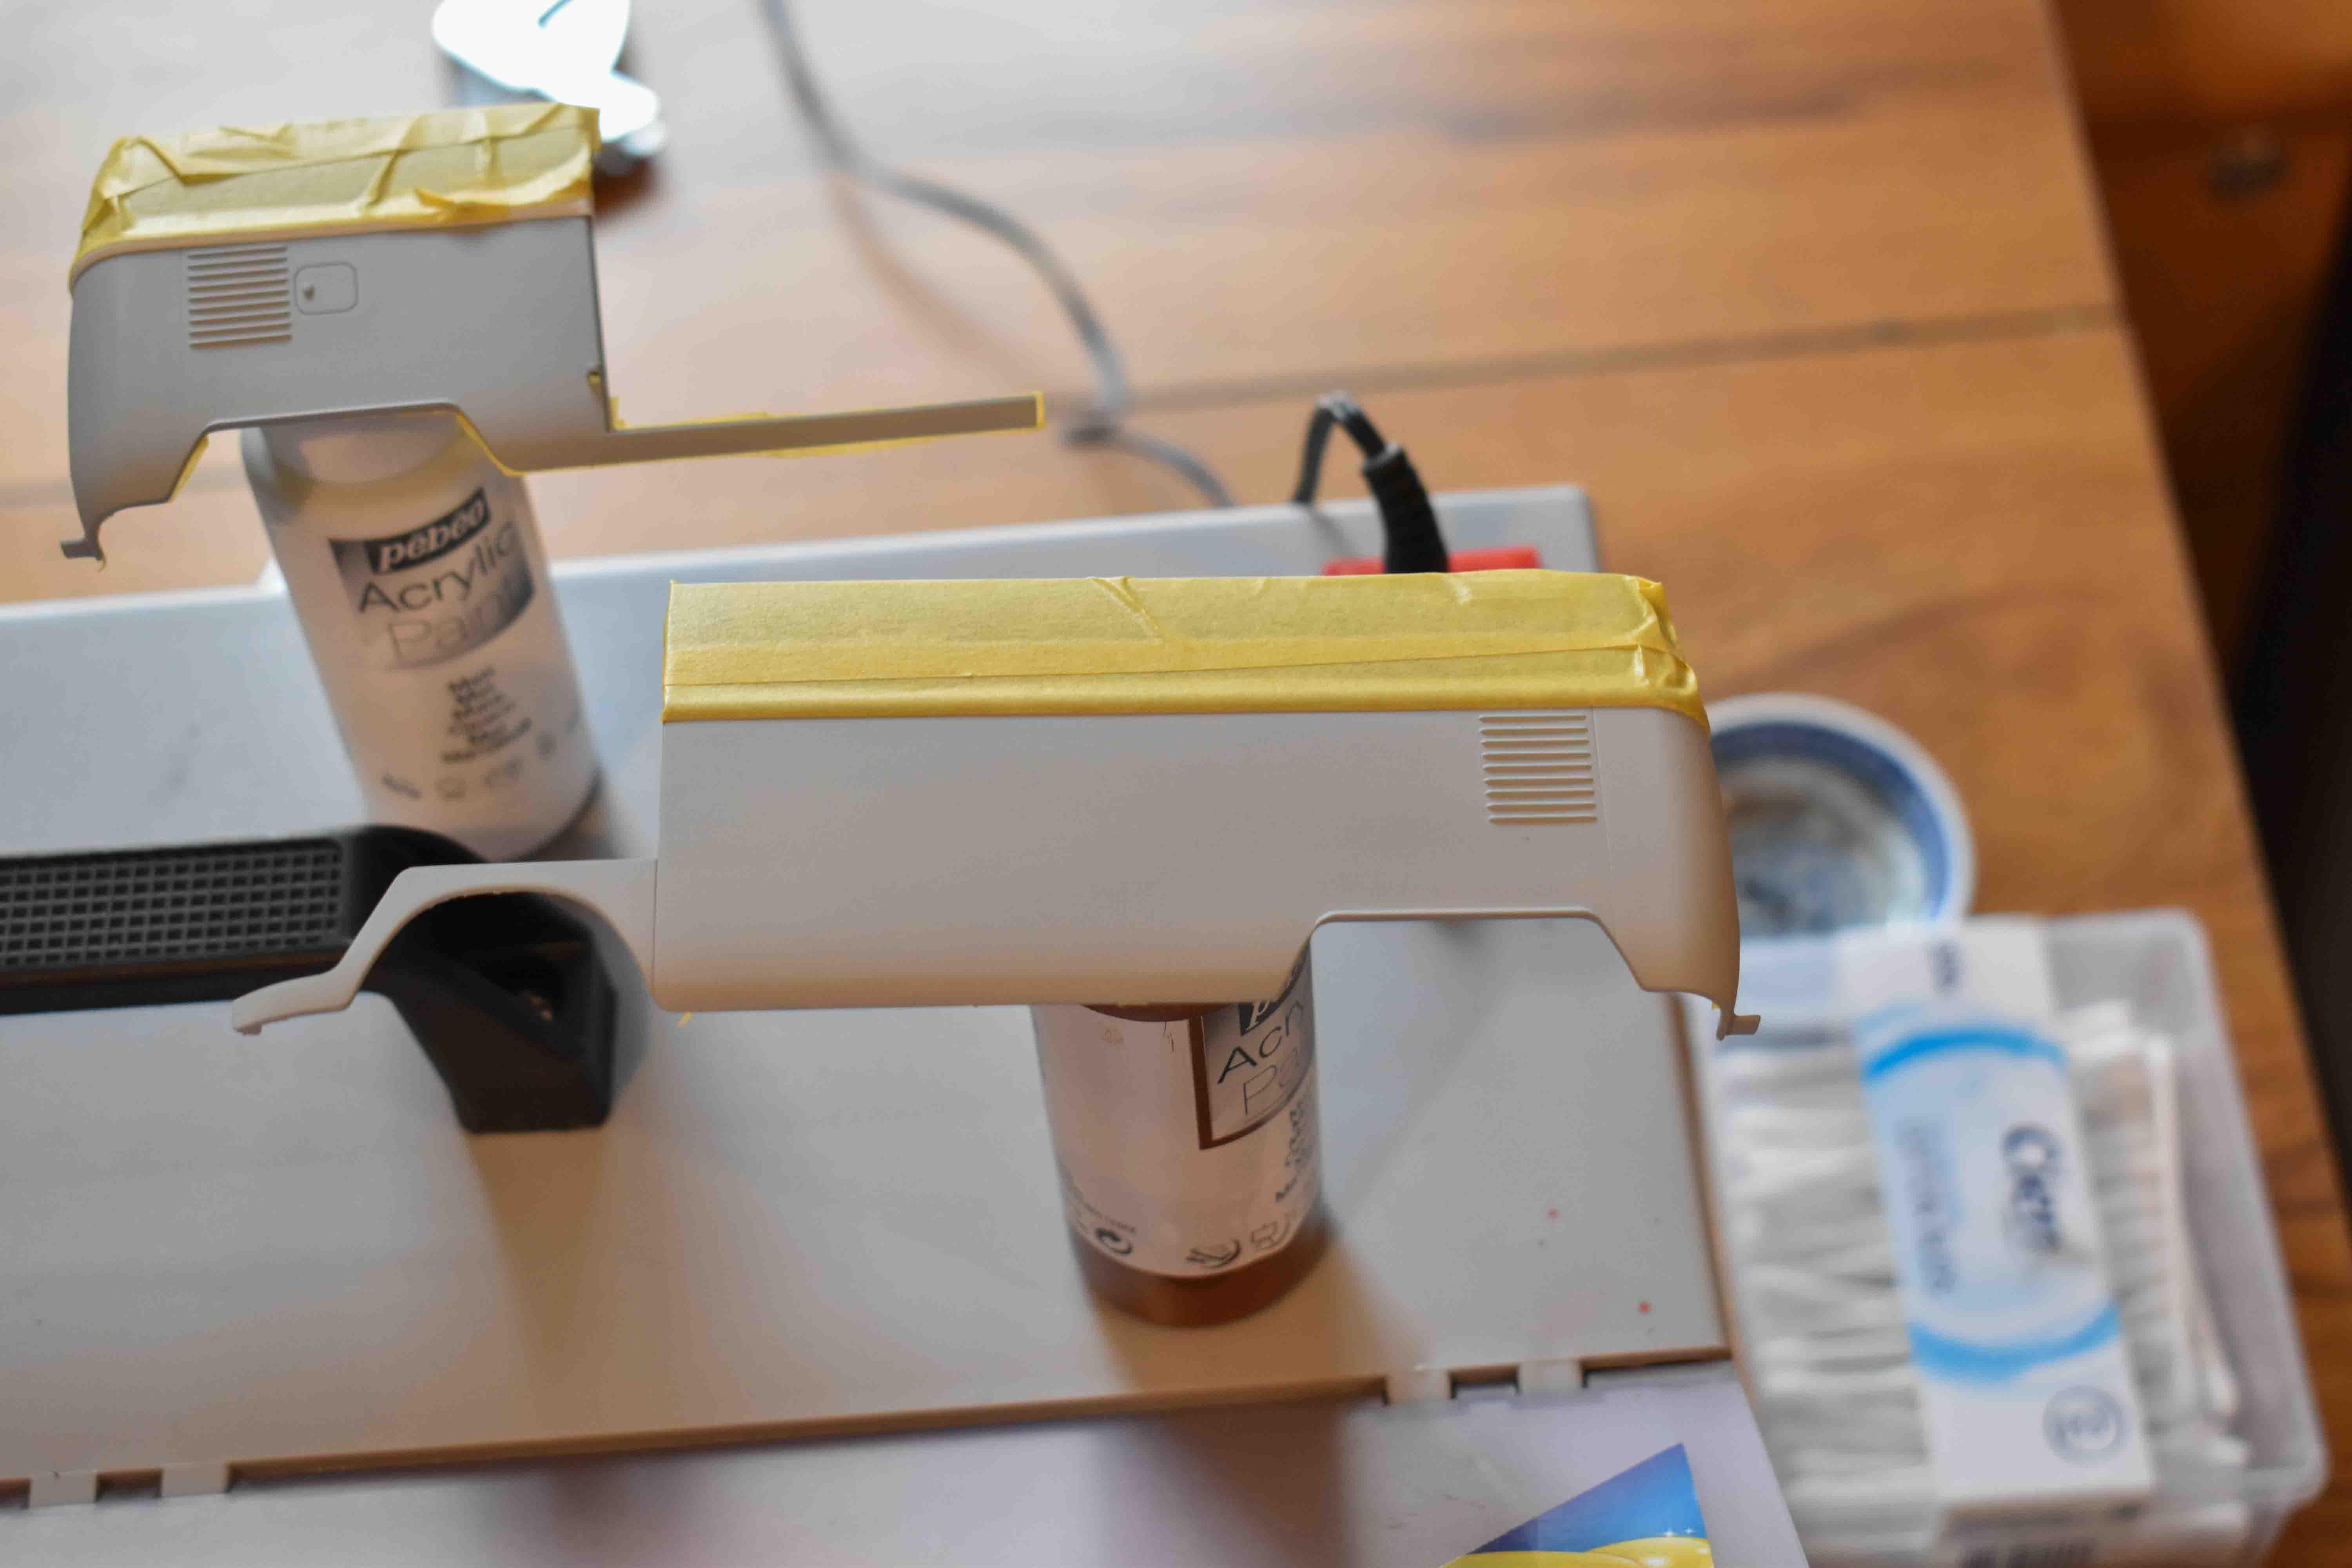
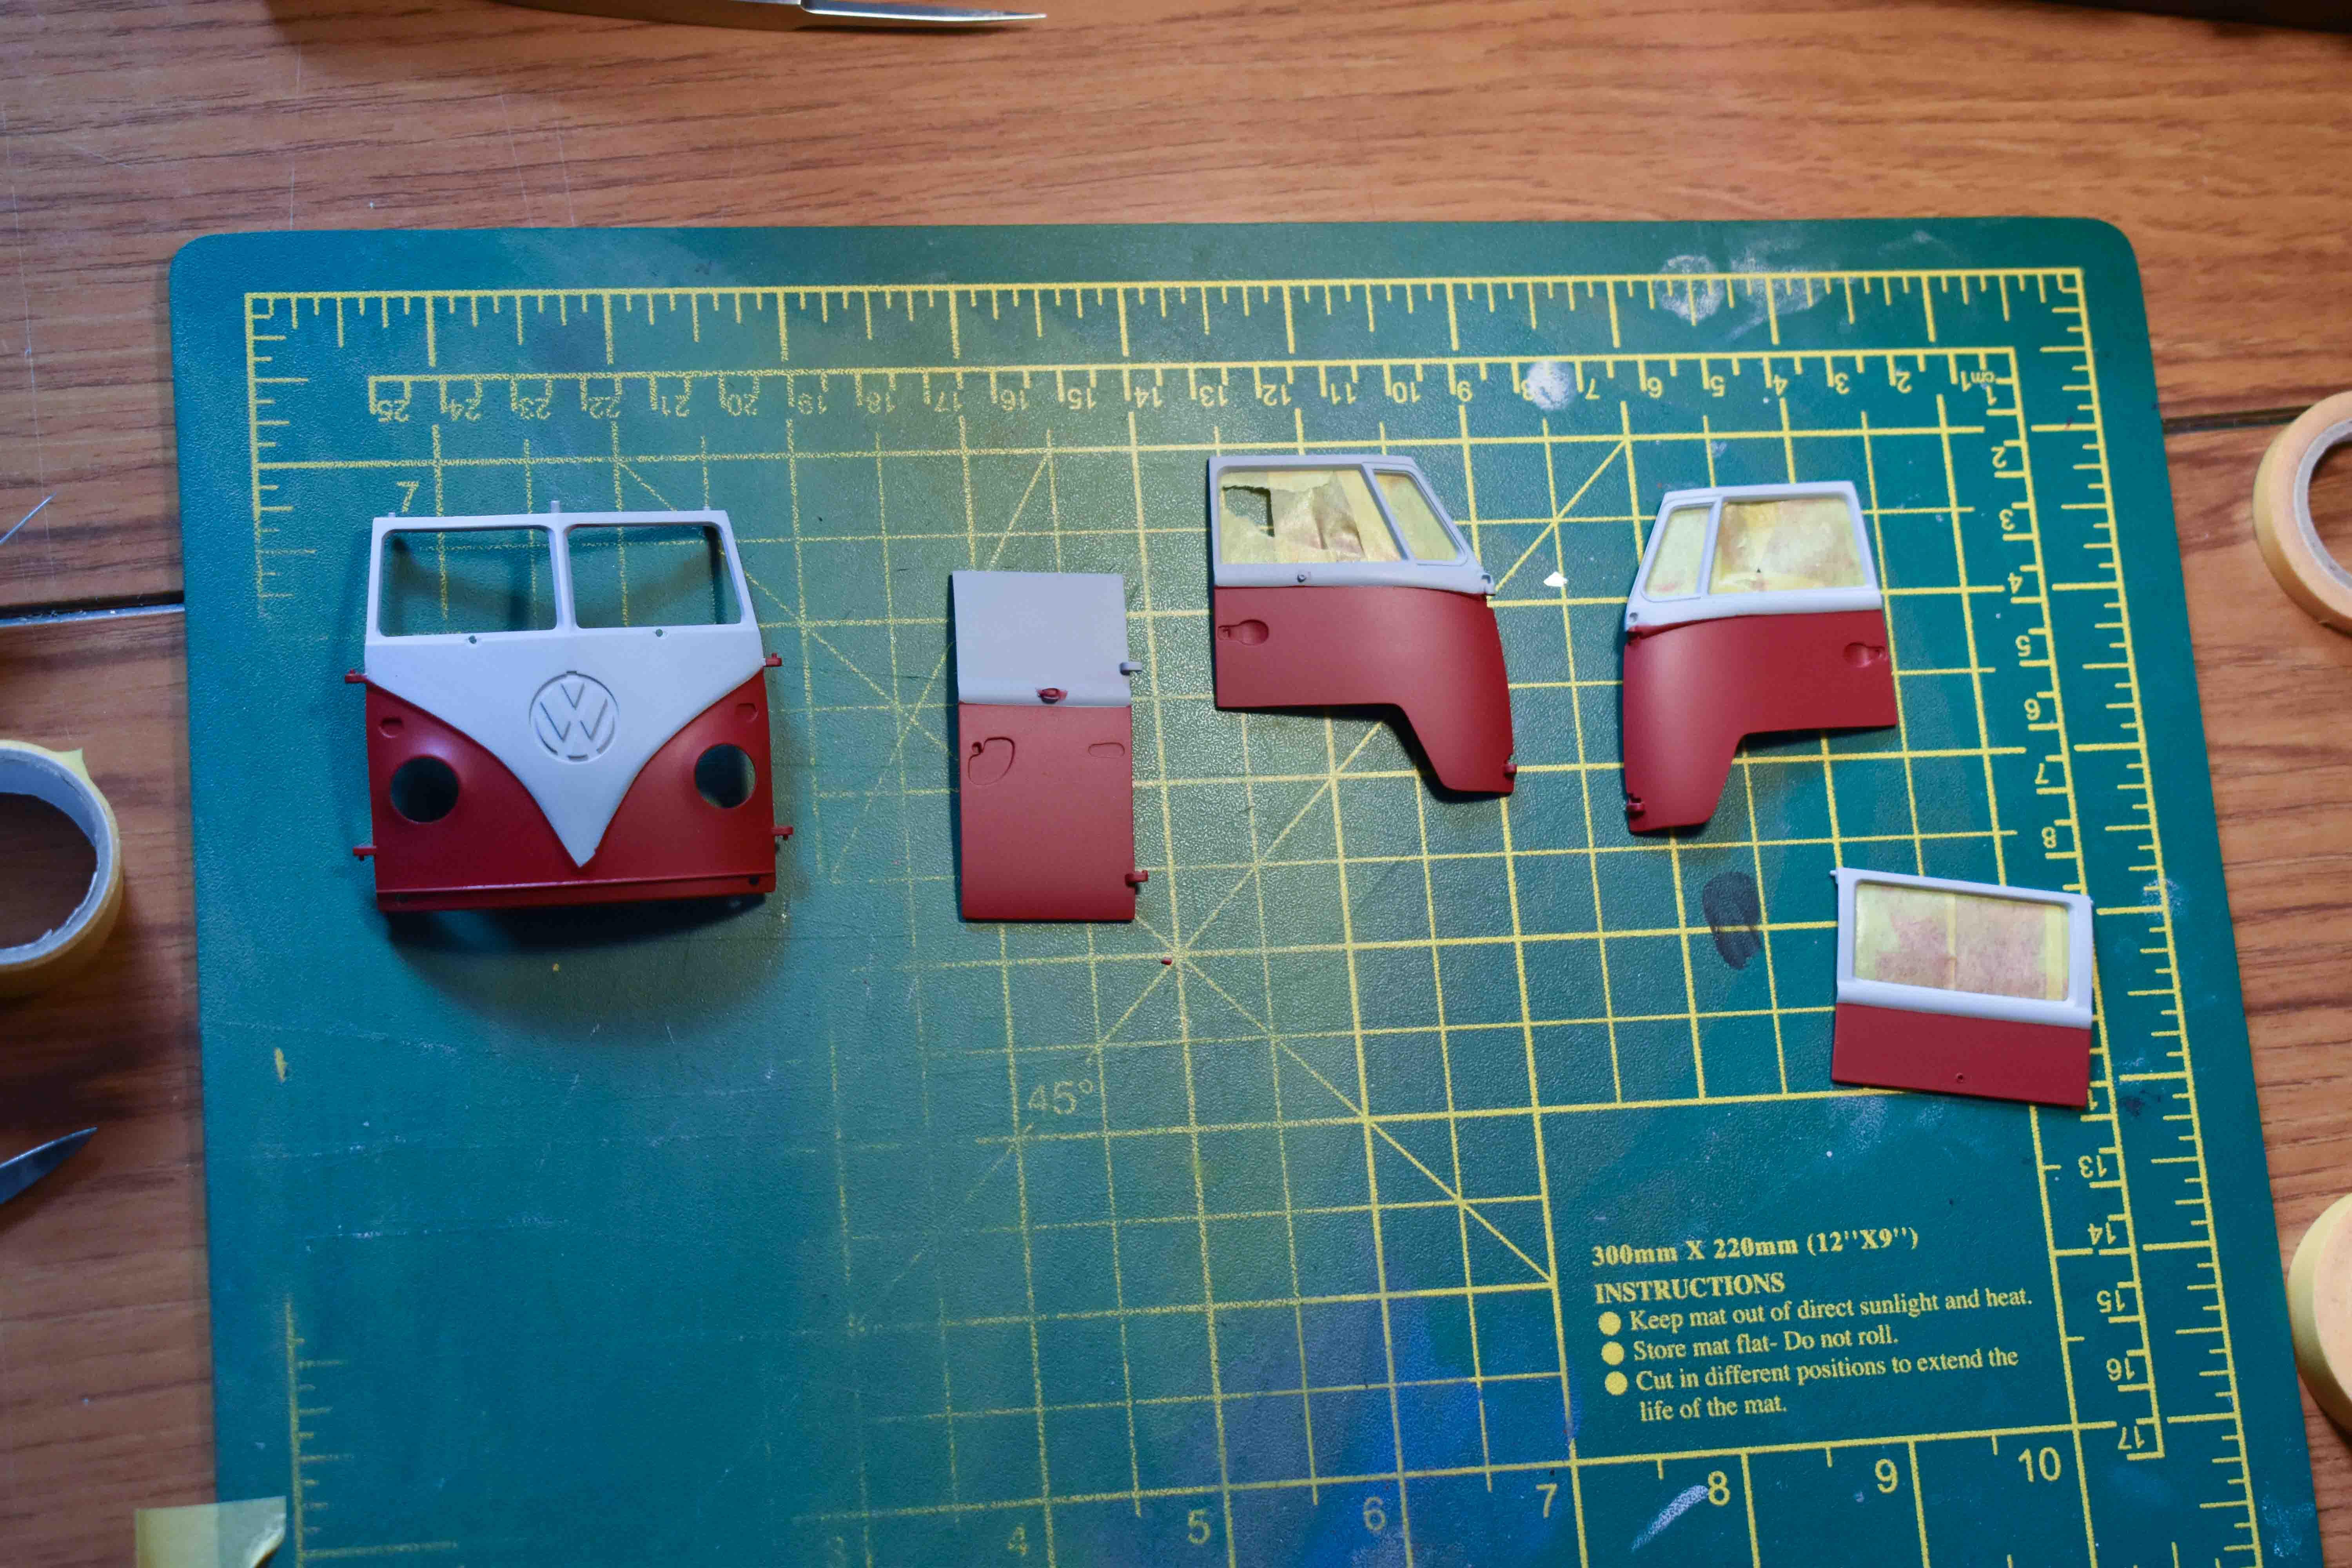
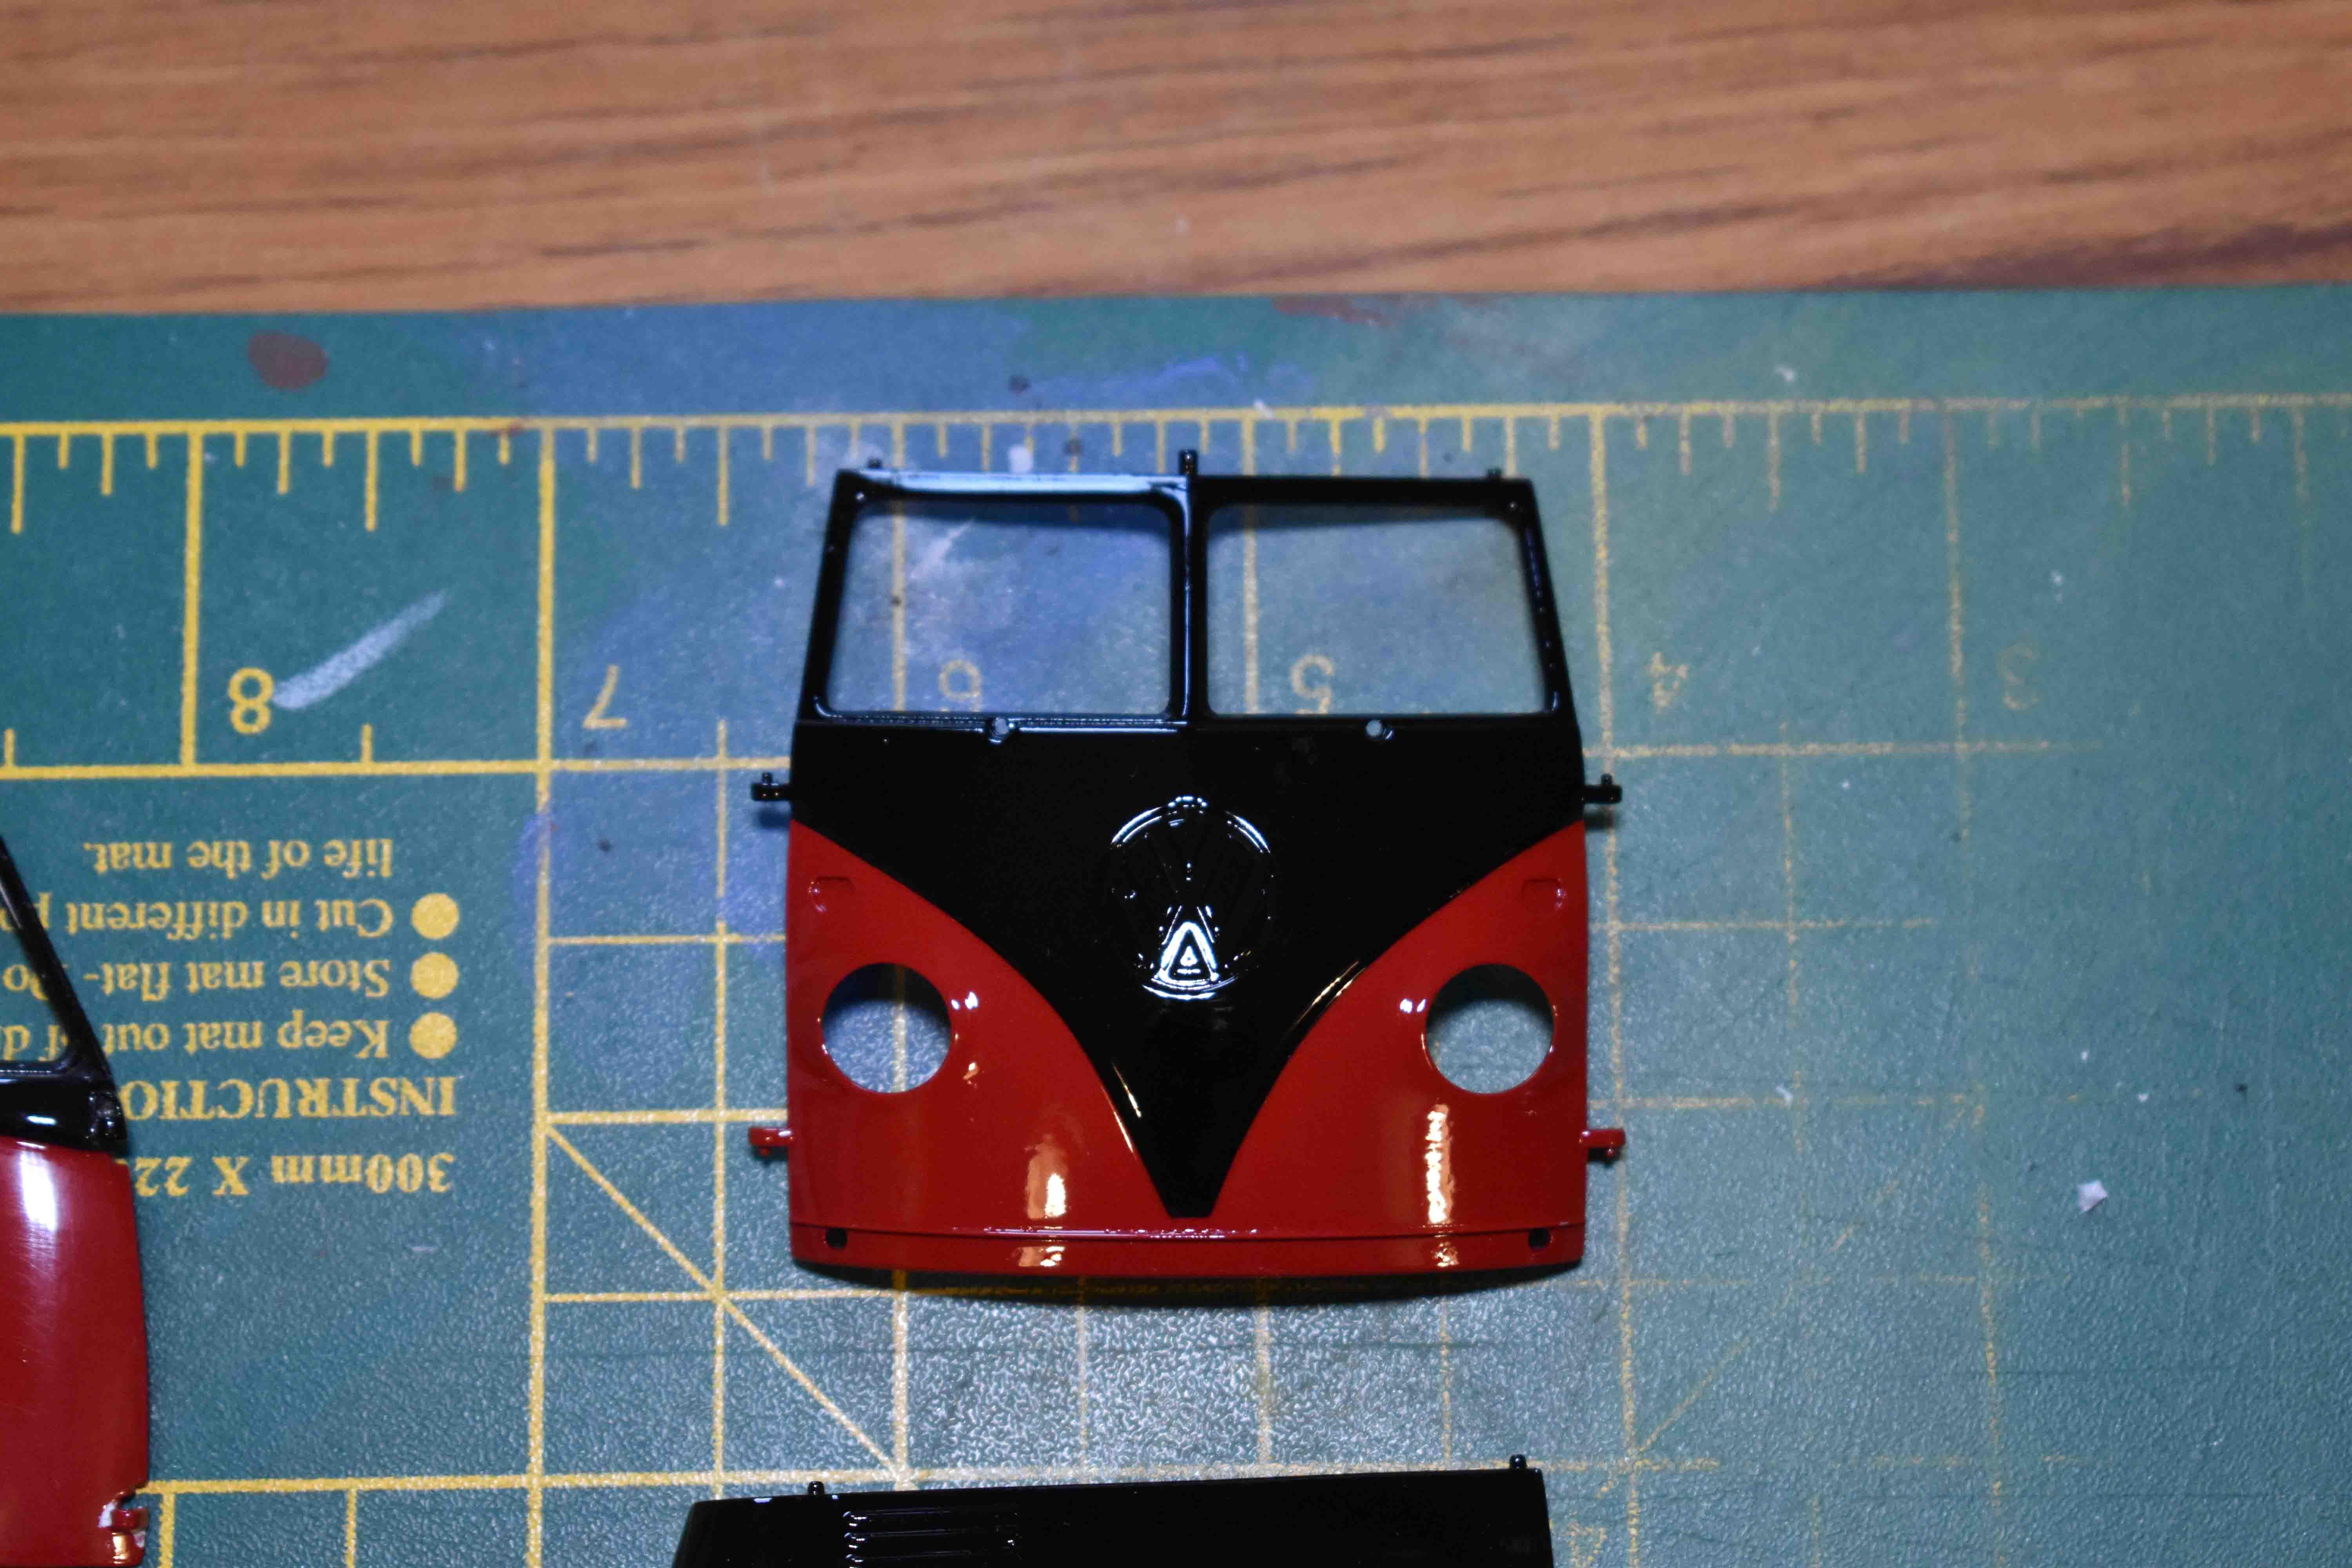
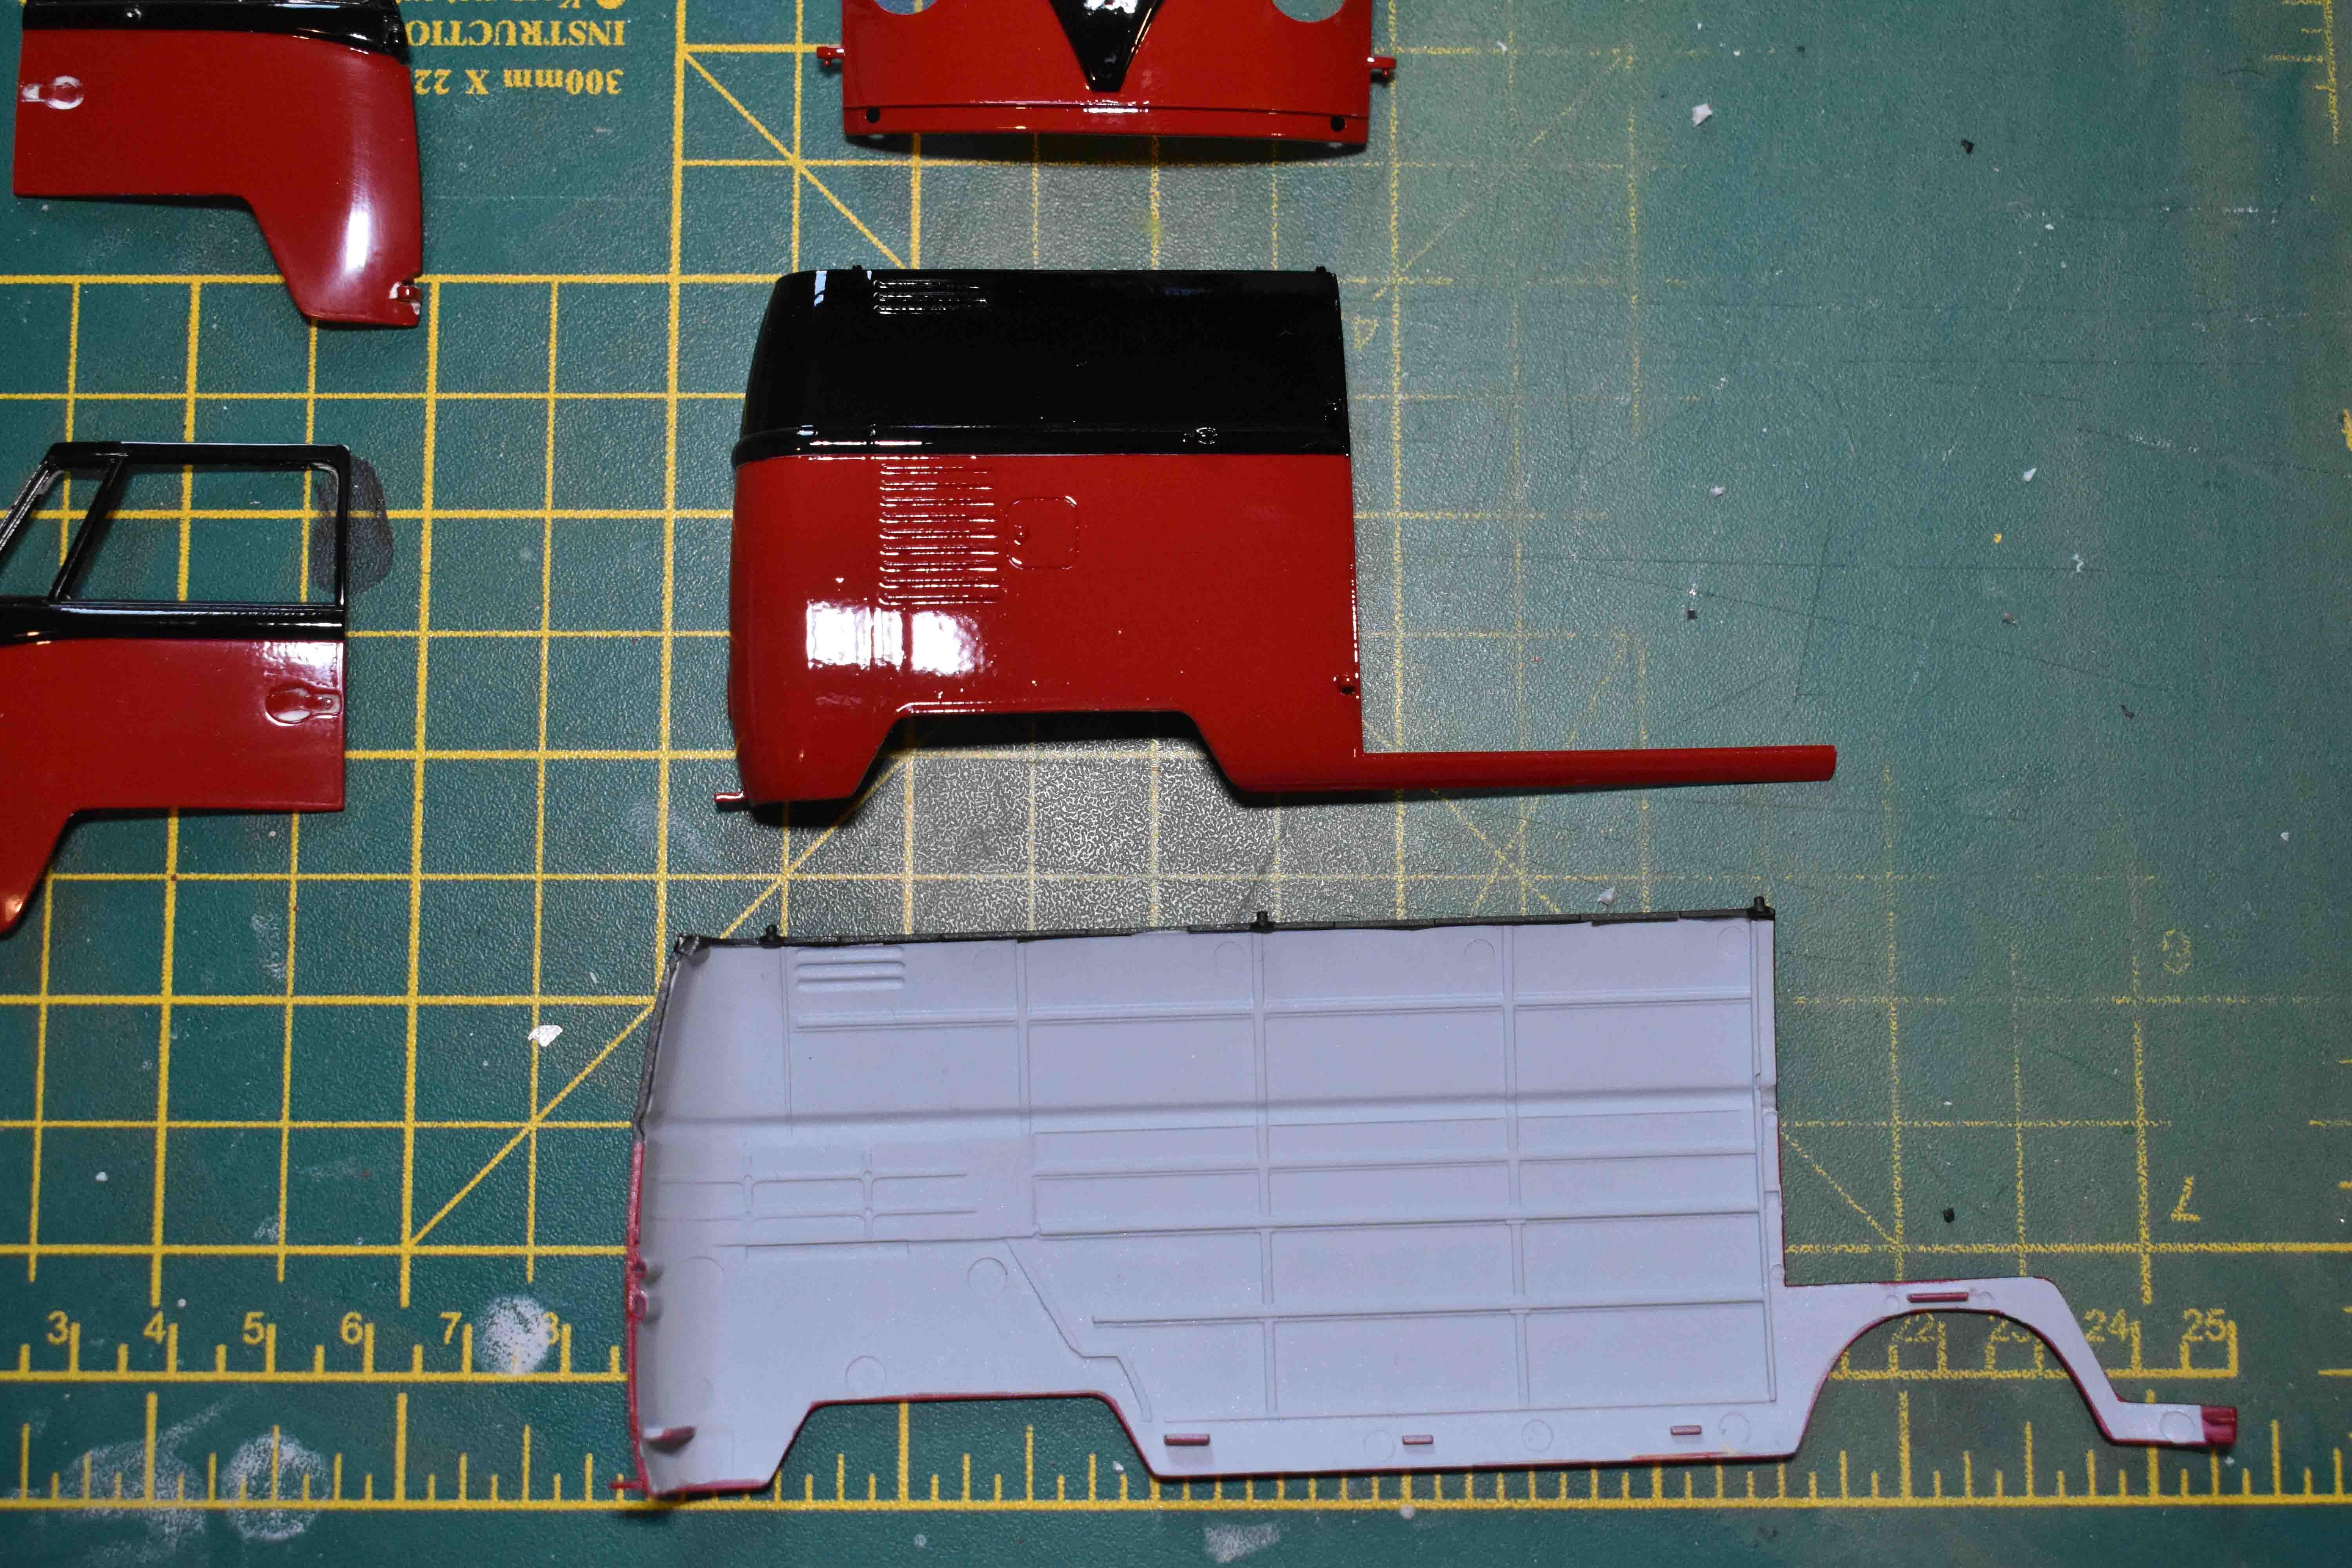
Hello, This is the model I'm working on at the moment. I'm adding a scratch built roof rack and some tools inside to make look like a carpenter's van. I will post some of those photos later. Photo 1: kit Photo 2-6: since this kit has loads of opening doors I'm just doing a fitting test. I tend do o this with all my build anyways. Everything fits quite nicely on this kit. I just had to sand a bit the front doors. Photo 7 and 8: after applying the primer and some masking to paint the red half Phto 9-11: after the base coats and clear have been applied. I still feel like I have to improve my 2K clear application. I'm still getting some orange peel. Hopefully I can get rid of it doing some micromesh sanding and polishing.
-
50 Oldsmobile custom... cool photos!!!
Caballero_ScaleModel replied to Caballero_ScaleModel's topic in Model Cars
Thank you Atin! ? -
Tamiya 1/24 Alfa Romeo GTV (1996) Twin Spark 16V
Caballero_ScaleModel replied to Italianhorses's topic in Model Cars
Wow that's really cool. One can see your knowledge and experience with real cars reflected in your scale models. Keep up the excellent work. -
Really nice interior details David, I like the addition of the 2 way radio very much. The engine compartment looks great, it happened the same to me with my Oldsmobile, after the effort on wiring the engine you can hardly see it when finished ? What model are you working on right now?
-
Tamiya 1/24 Alfa Romeo GTV (1996) Twin Spark 16V
Caballero_ScaleModel replied to Italianhorses's topic in Model Cars
Hi Again Alex, I just had a look to your Flickr gallery. You are an amazing modeller...I got mesmerised by your photo gallery, it is very pleasant to see all those photos of perfect models lol. Your paint jobs are spotless. I'm curious about your car background, some of your old photos are from real cars. Do you work with them? -
Tamiya 1/24 Alfa Romeo GTV (1996) Twin Spark 16V
Caballero_ScaleModel replied to Italianhorses's topic in Model Cars
Beautiful paint job Alex, you can see the "depth" of the finish...superb -
Mitsubishi Lancer EVO VI TME (AUTOart 1/18)
Caballero_ScaleModel replied to Ermiloff's topic in Model Cars
Hi Sergey! Amazing model and that paint job is magnificent. As you said, sanding and polishing the varnish does add the depth to the paint job that makes it look so realistic. Very well done. Needless to say, you photography is amazing, specially the background of the firs two photos. -
Hi again David I just found this post after you comment on mine! Really really nice build, the paint job is superb, really clean. It is nice for sure to see this car with the original emblems. Would love to see some photos of the interior and engine bay
-
50 Oldsmobile custom... cool photos!!!
Caballero_ScaleModel replied to Caballero_ScaleModel's topic in Model Cars
Thanks a lot Scott You are very right, the colour is actually "Candy Red" by Zero Paints lol. I love applying BM, is one of my favourite stages of a build. -
50 Oldsmobile custom... cool photos!!!
Caballero_ScaleModel replied to Caballero_ScaleModel's topic in Model Cars
Thanks David, I'm happy that you liked the photos and colours. I will be posting my future builds for sure I will check for yours too!!!