Rakentaja
-
Posts
119 -
Joined
-
Last visited
Content Type
Profiles
Forums
Events
Gallery
Everything posted by Rakentaja
-
Looking good, keep it going.
-
260/5000 Very familiar with the content of that video. I worked for about 20 years in a factory that made a variety of plastic products. I still remember very well the operation of injection molding machines and molds, because I installed molds on machines every day. Adjusting the machines was also part of my job.
-
That's looking good to me. Keep it going.
-
I have no secrets. At least three coats of paint with the widest flat brush I found (10mm). The paint, of course, should be thinned to about 8: 2 (8 paints and 2 thinners). Then just paint and hope for the best result. A clear varnish will, of course, come on top of that paint.
-
Many thanks to all of you. I try my best and always hope to achieve a good result.
-
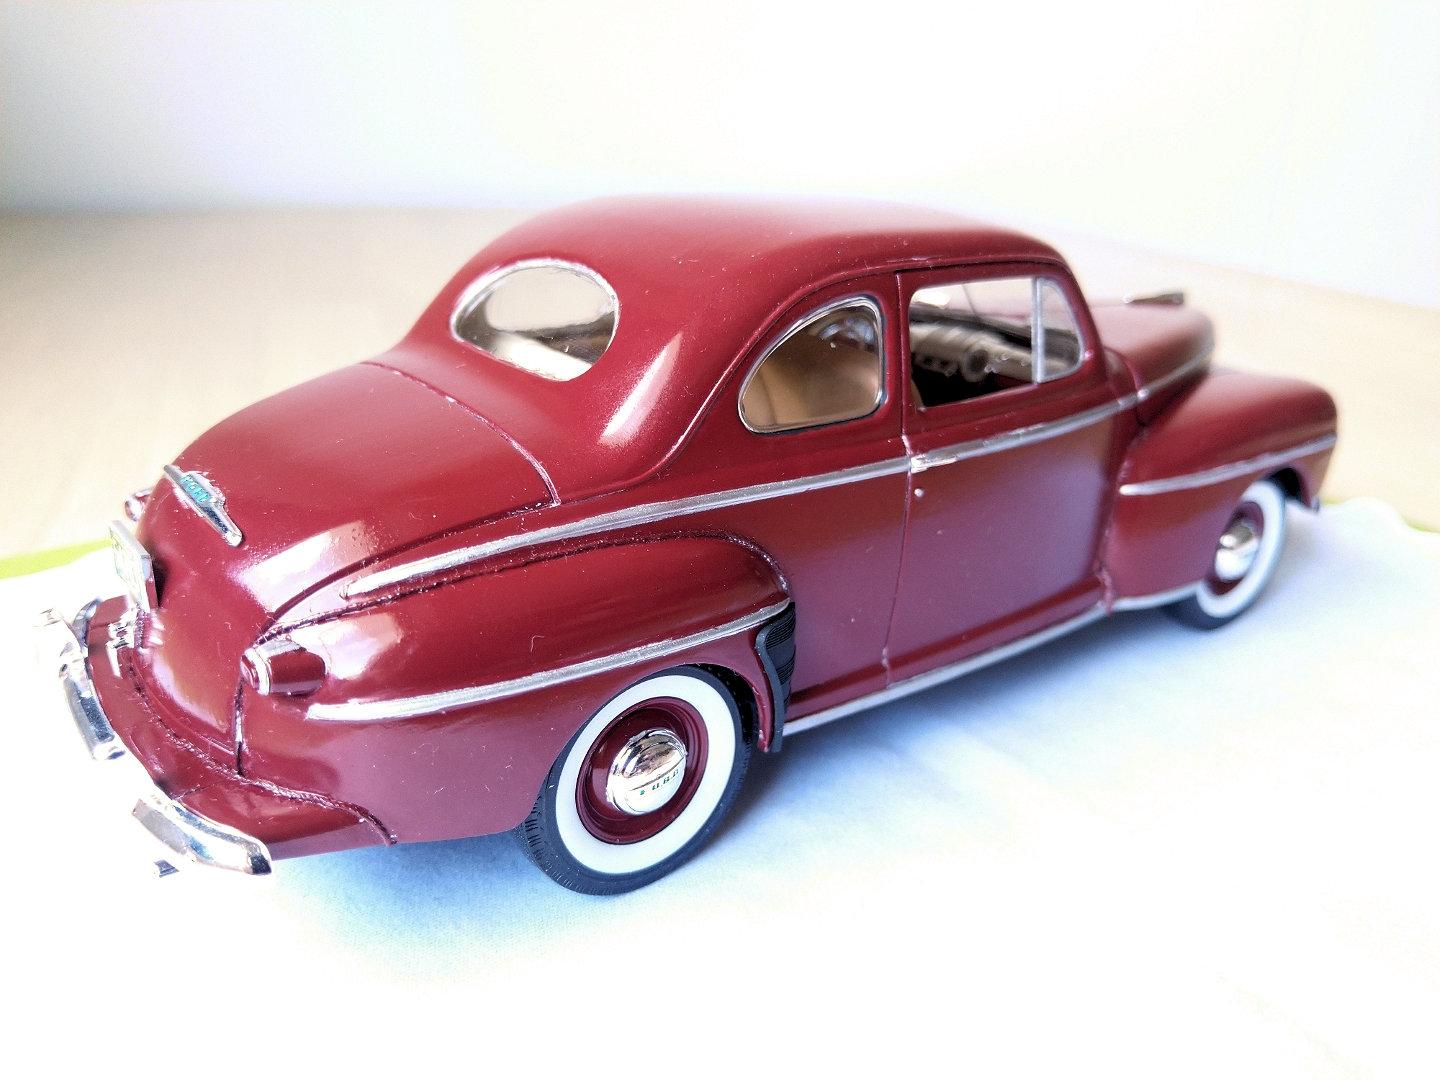
Now it's done. It was pretty easy to build, the painting went pretty well with a brush, although some traces can be seen. This was the first non-European car I have built.

-
Thanks!
-
Thank you.
-
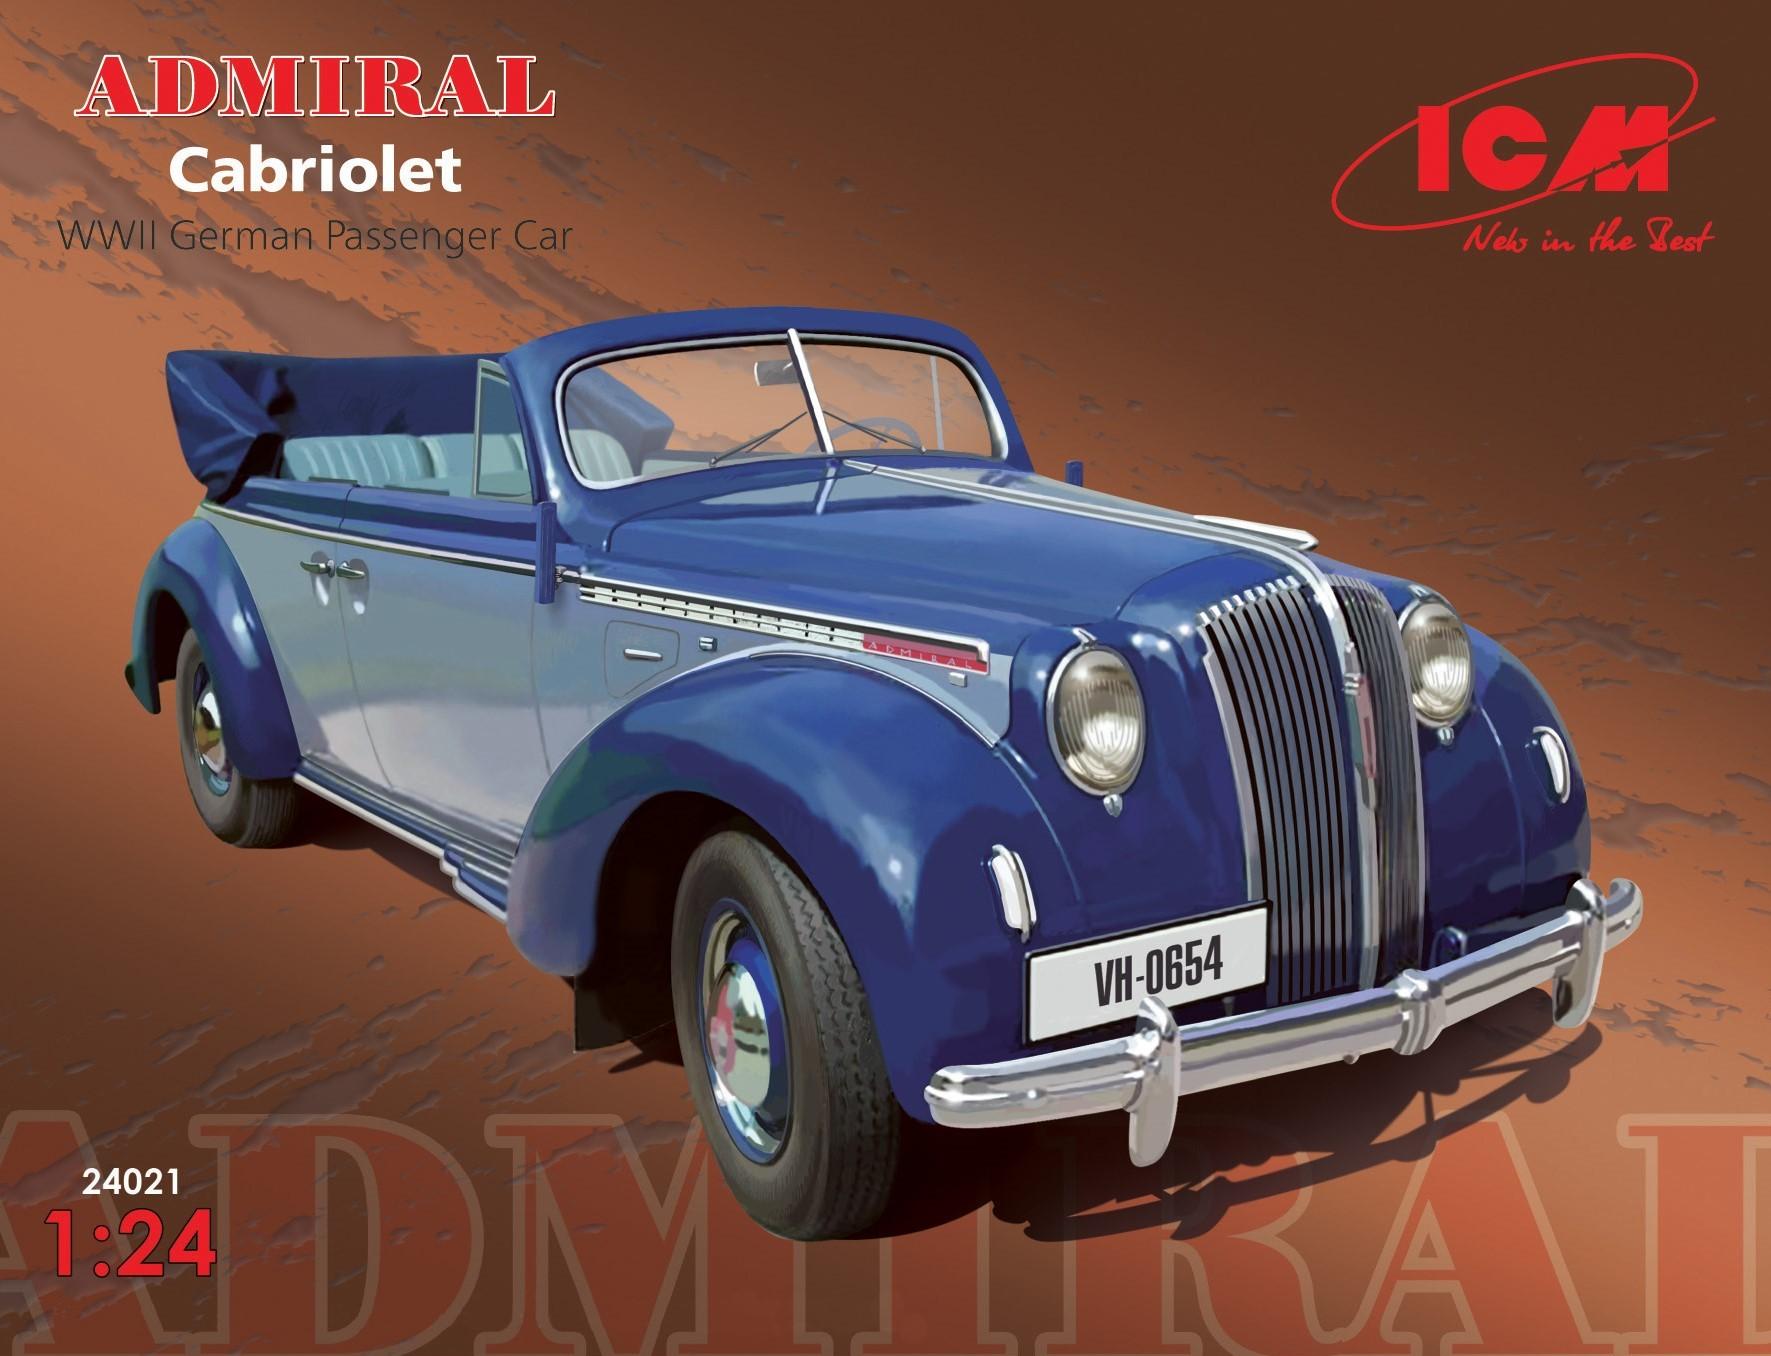
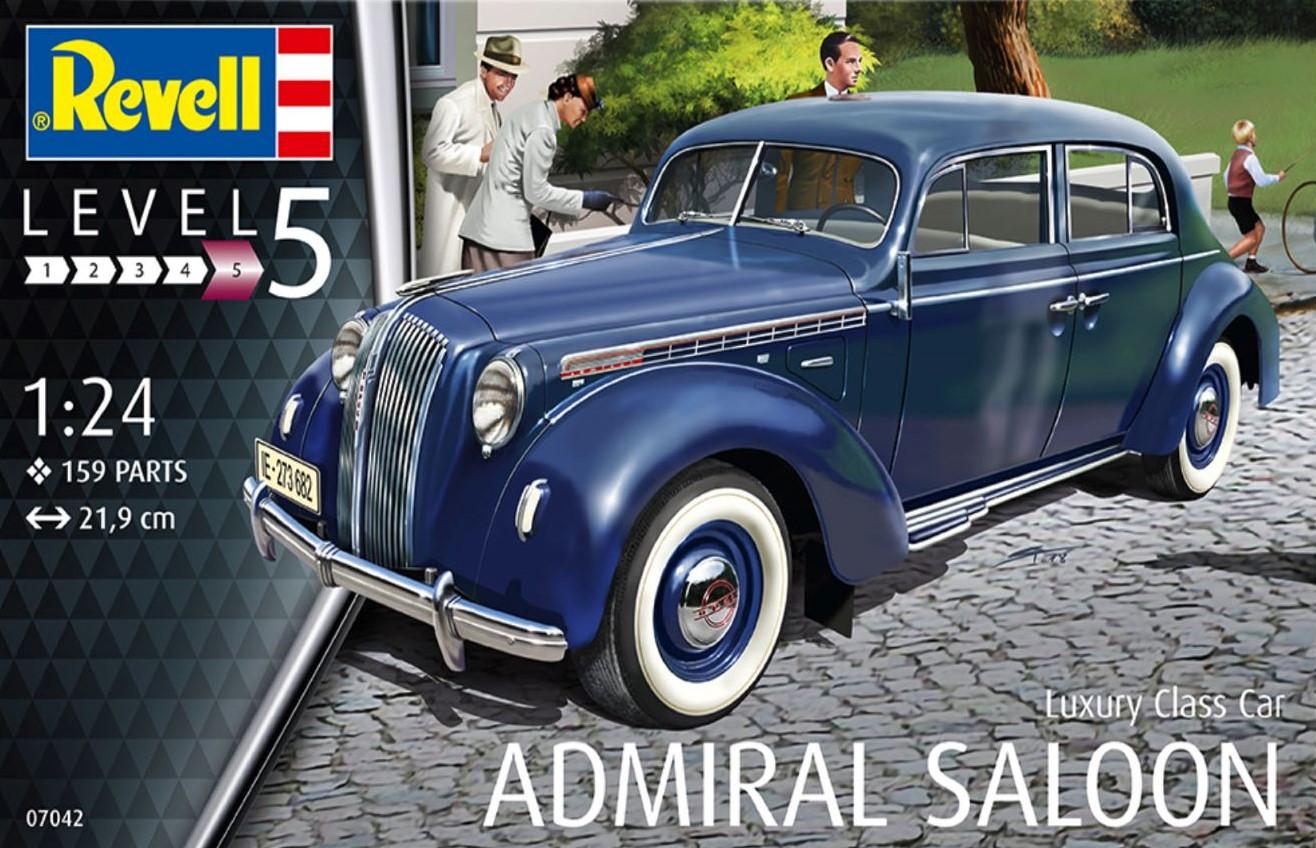
It's strange. If you have an ICM box, as in the picture below, then there should be chrome parts as in the second picture. I have had all three different versions of the ICM from that car (Sedan, Cabriolet with open cover and Cabriolet with closed cover) and all have chrome parts included. There are no chrome parts in the box packed by Revell, third picture.
-
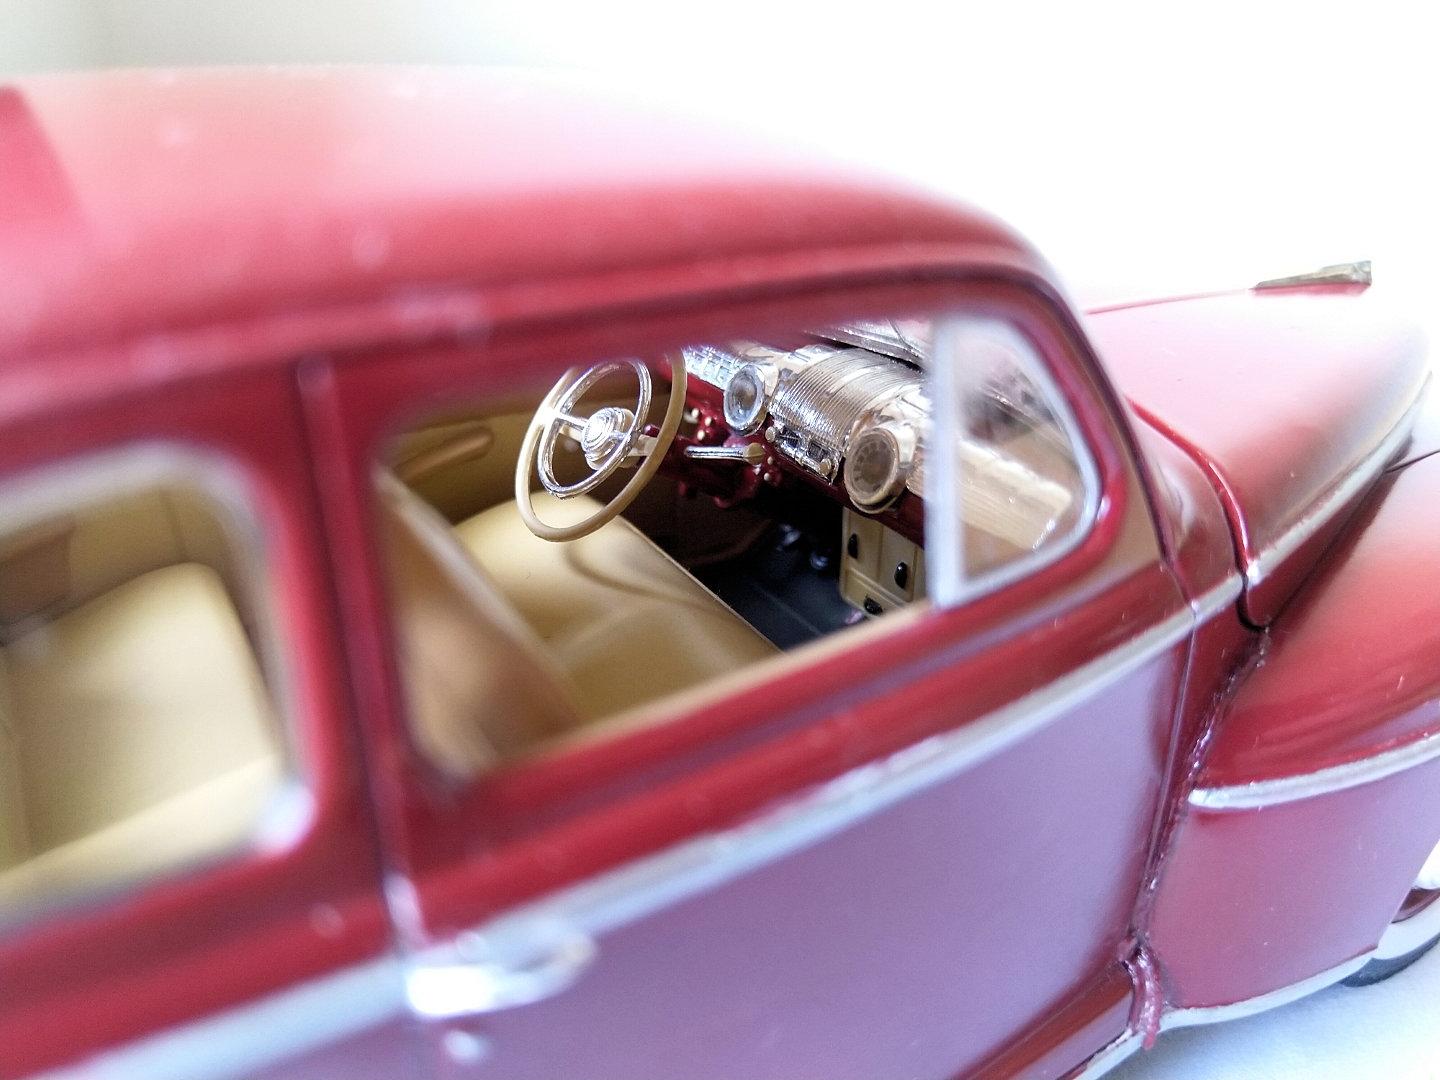
Thank you. Just minor problems with small and fragile parts like steering wheel, etc. It's easier to build a cabriolet than a sedan.
-
I think the best way to make this model is to do it like I did. The roof, back and windshield frame must be glued together before painting. Otherwise, the seams will remain visible. The base plate and sides can also be lightly glued together before painting. Lightly because when installing the roof and others, there must be some space to get the parts properly in place. There must be no gaps. In ICM box there are chromed parts, so I used them. Because these are the same parts there is no problem to do so. All pictures can be found on my blog. The language is finnish but you can use Google Translator like I do when reading something I don't understand.
-
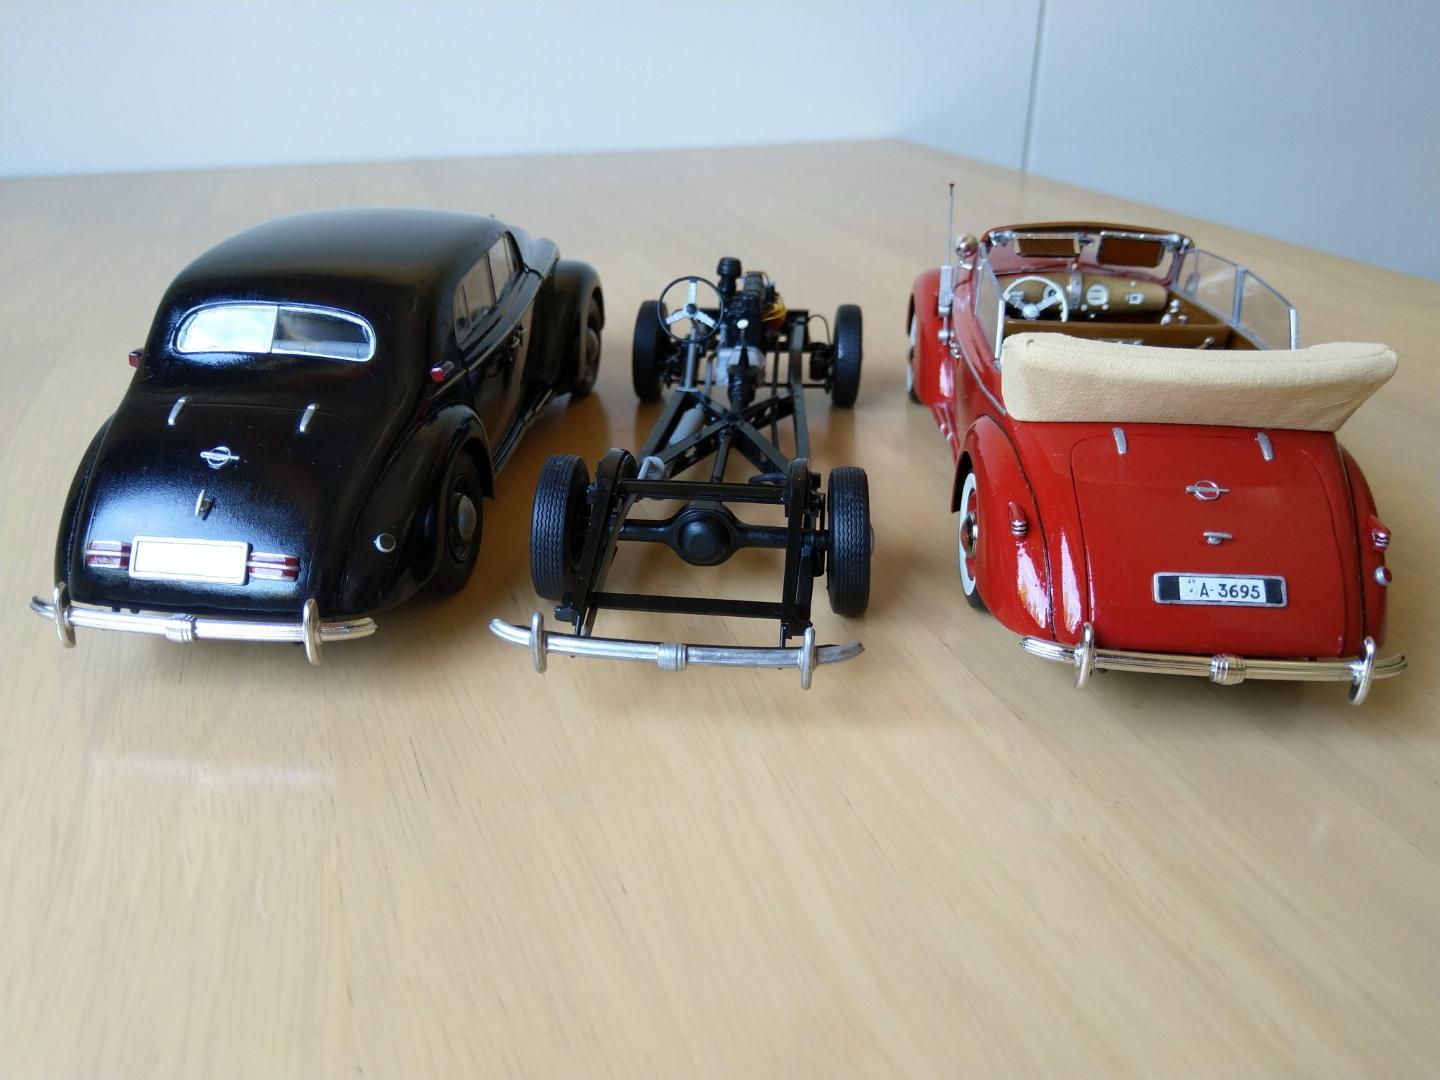
These models are originally made by ICM and the sedan the model has been repackaged by Revell Germany. ICM number is 24021 and Revell number is 07042. The scale is 1:24 I've made these in this year, between April and July. The black one is sedan model that was seen in International Car Show in Berlin in 1937. The red one is cabriolet model from year 1939. It was in Finnish movie called SF-Paraati and it was filmed in 1939. The licence plate is the same as in the movie. https://www.imdb.com/title/tt0033007/ The third one is for special bodies made by Hebmüller, Gläser etc.
-
Shiny Body.
-
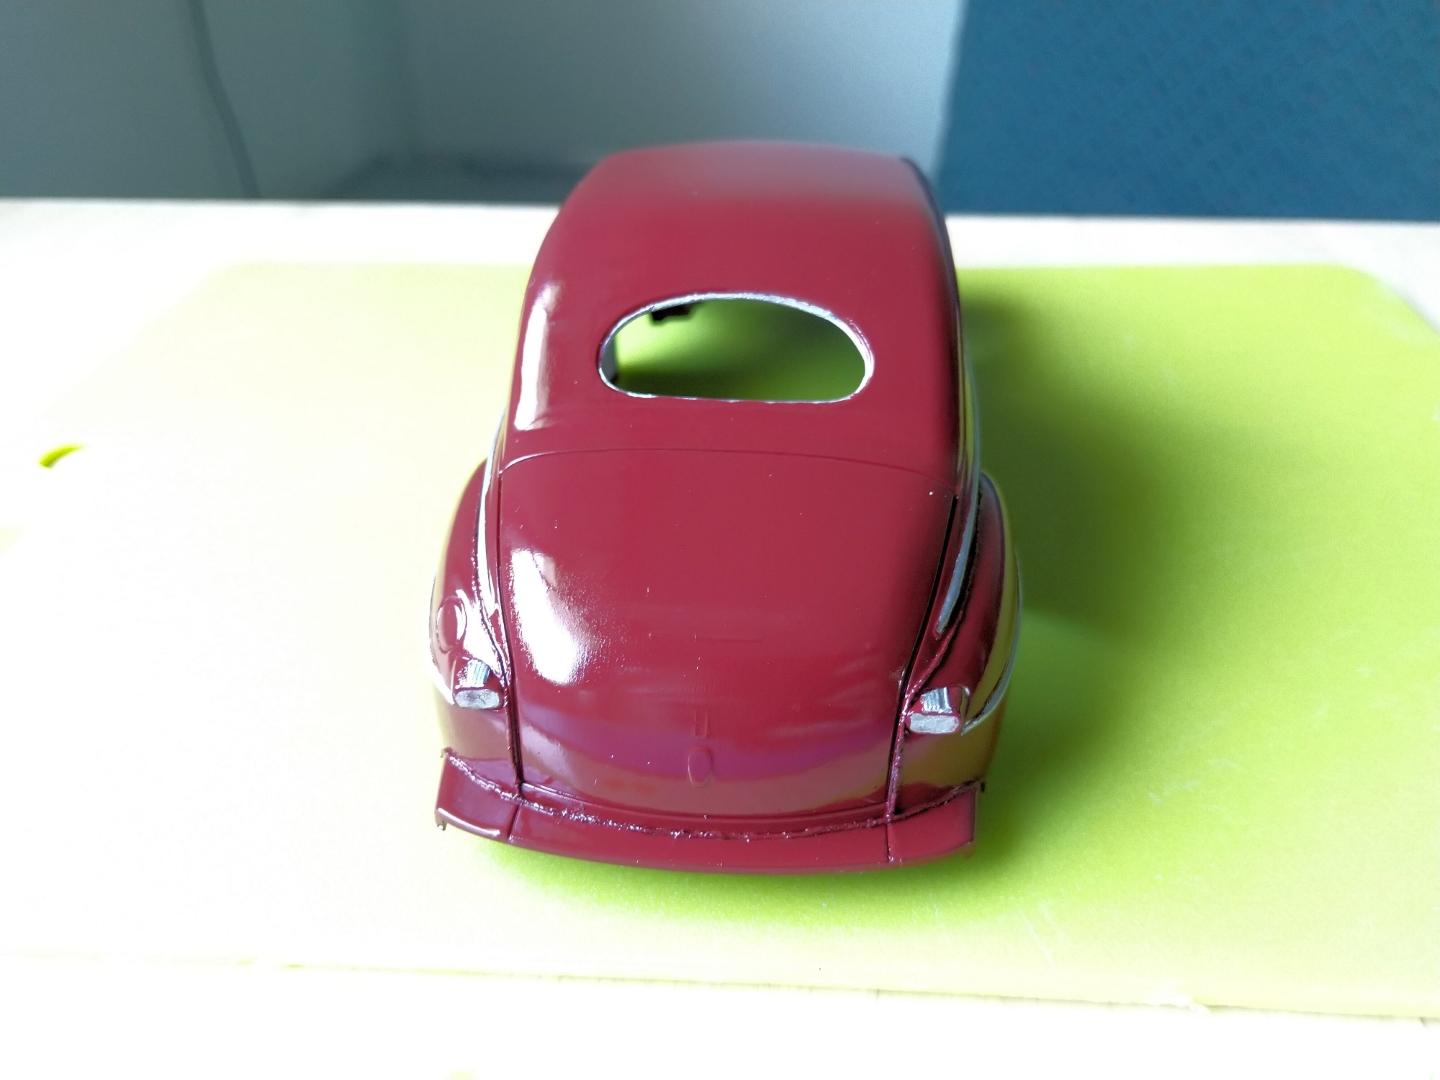
A little progress. Only the body is missing. It got its first layer of clear lacquer on top of red paint today and is now drying up.
-
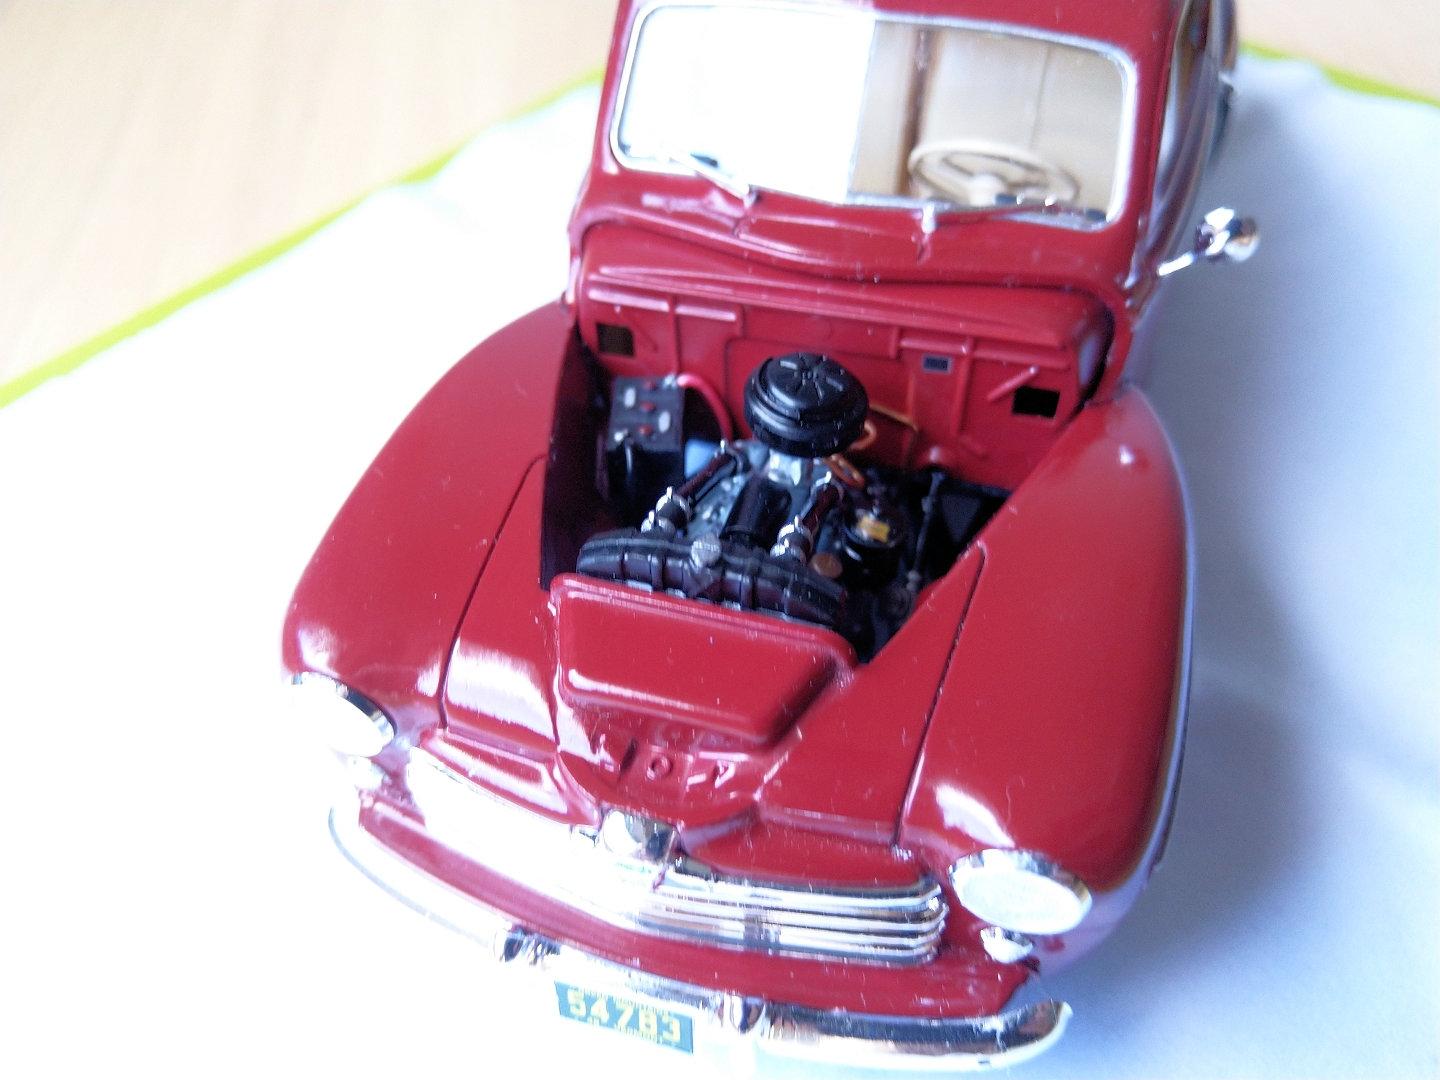
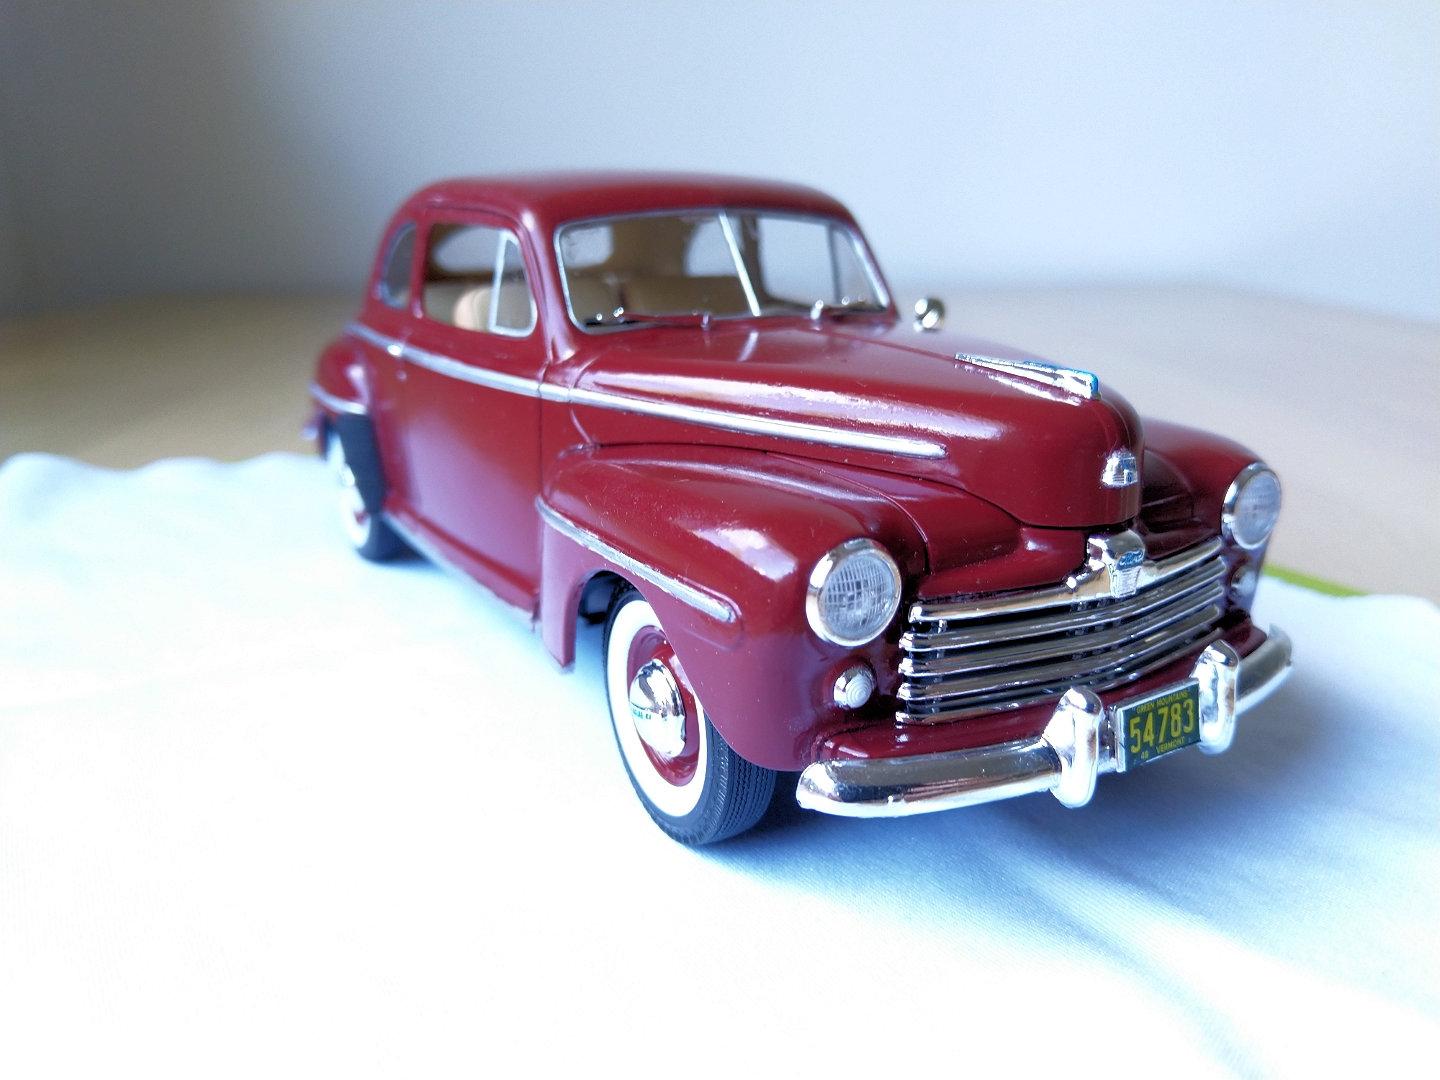
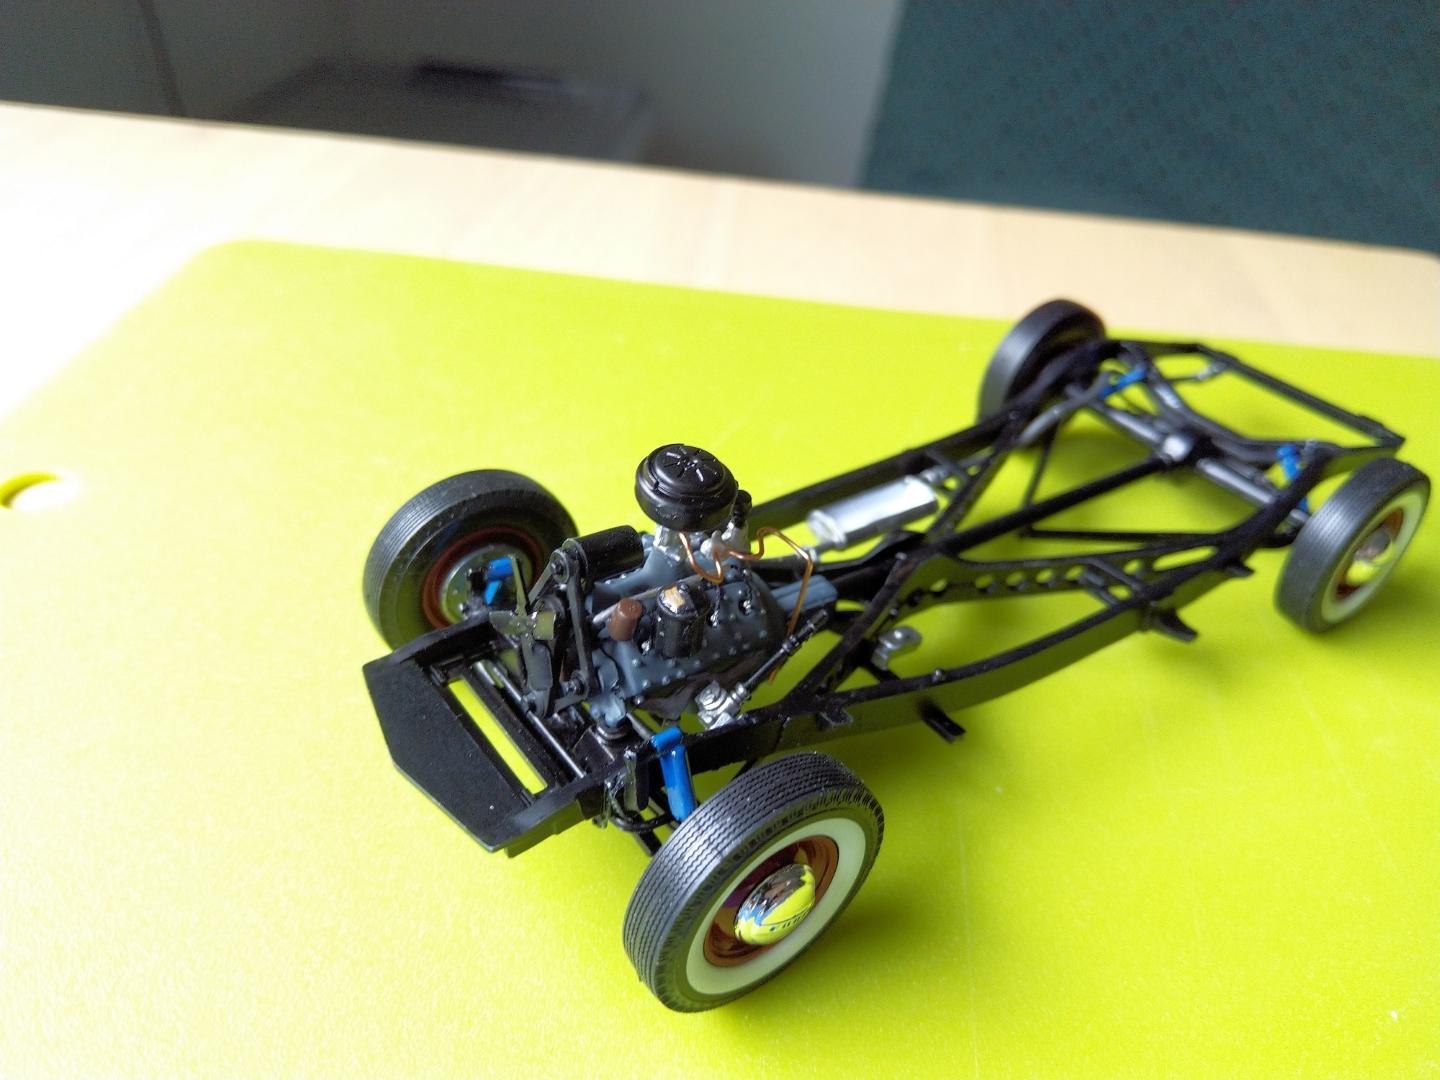
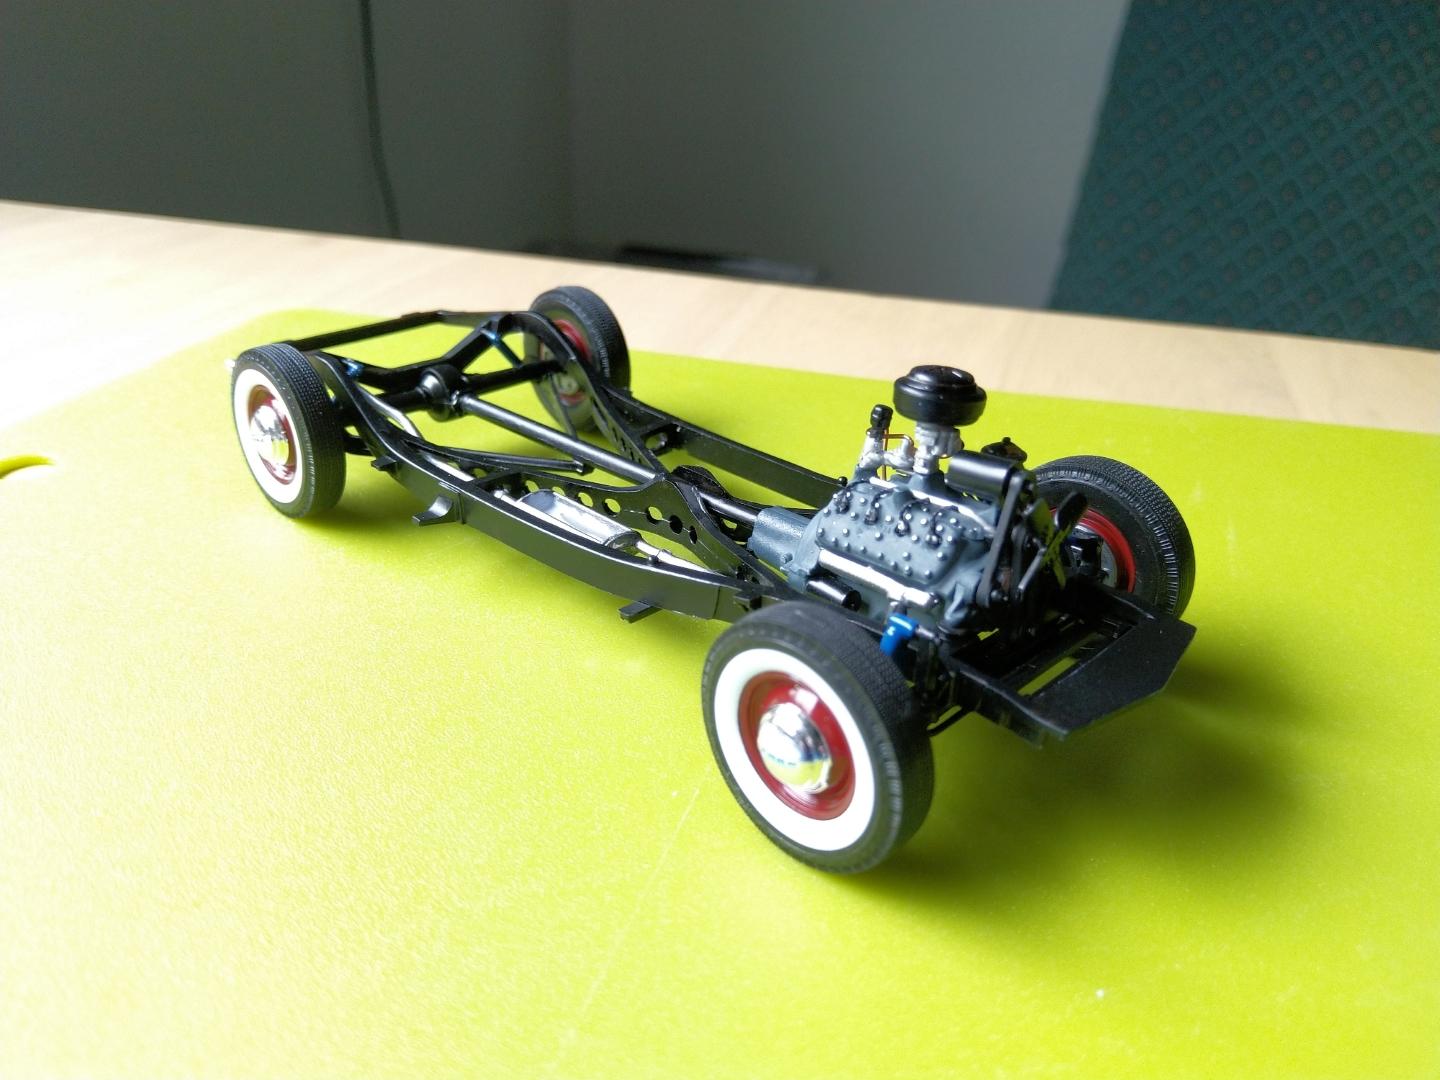
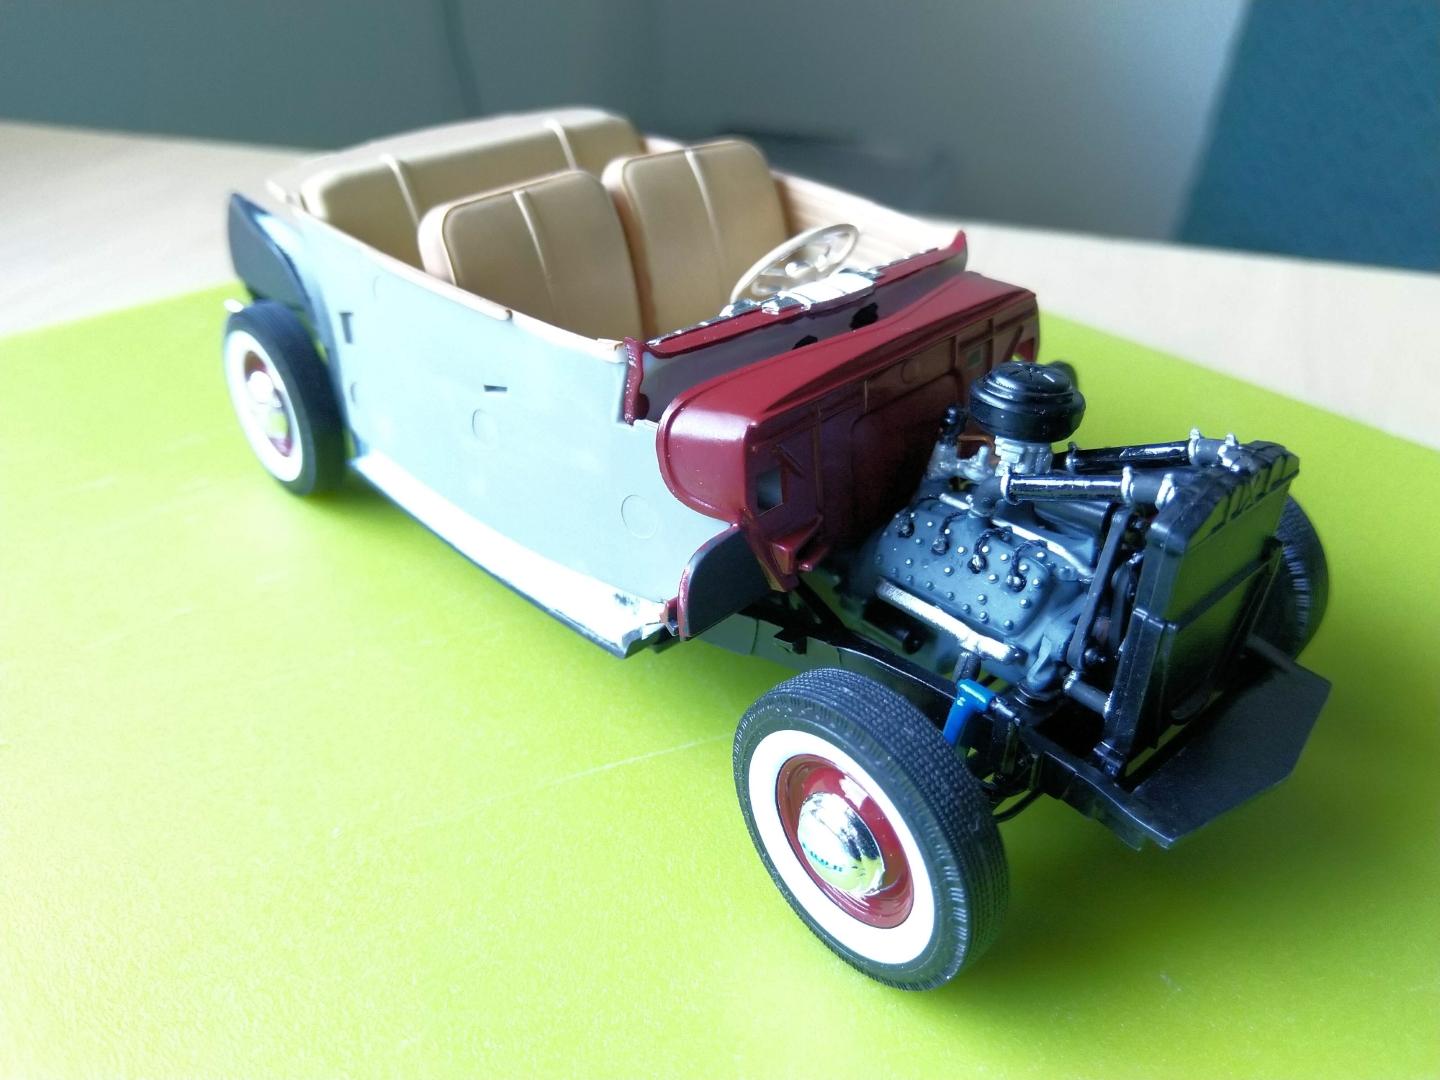
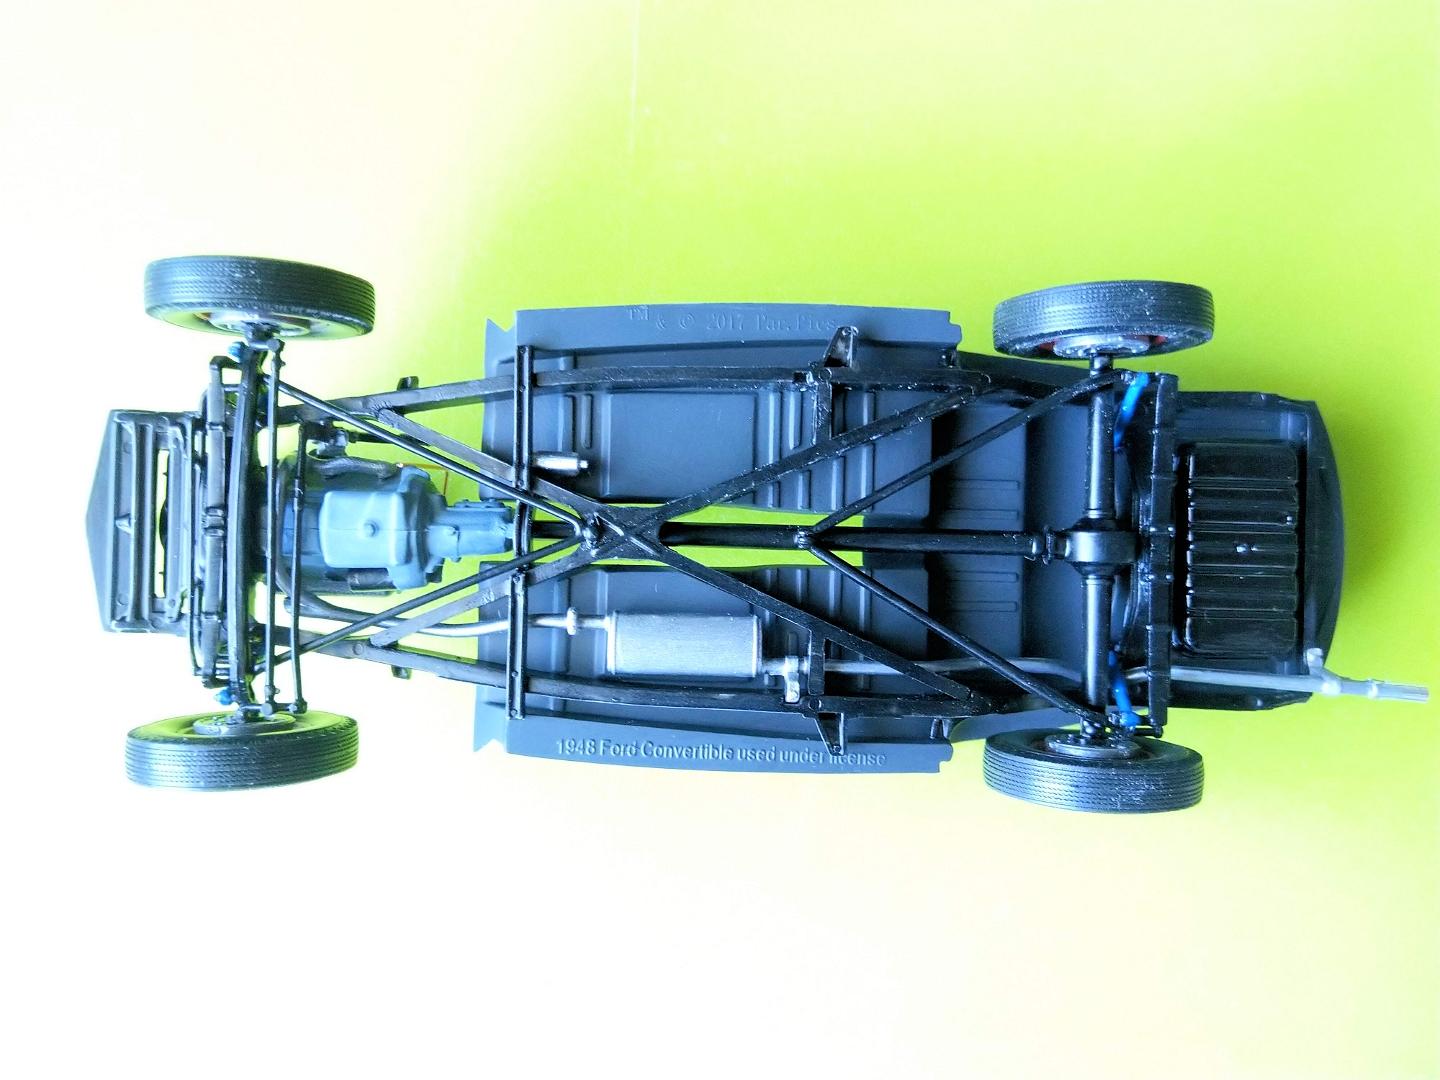
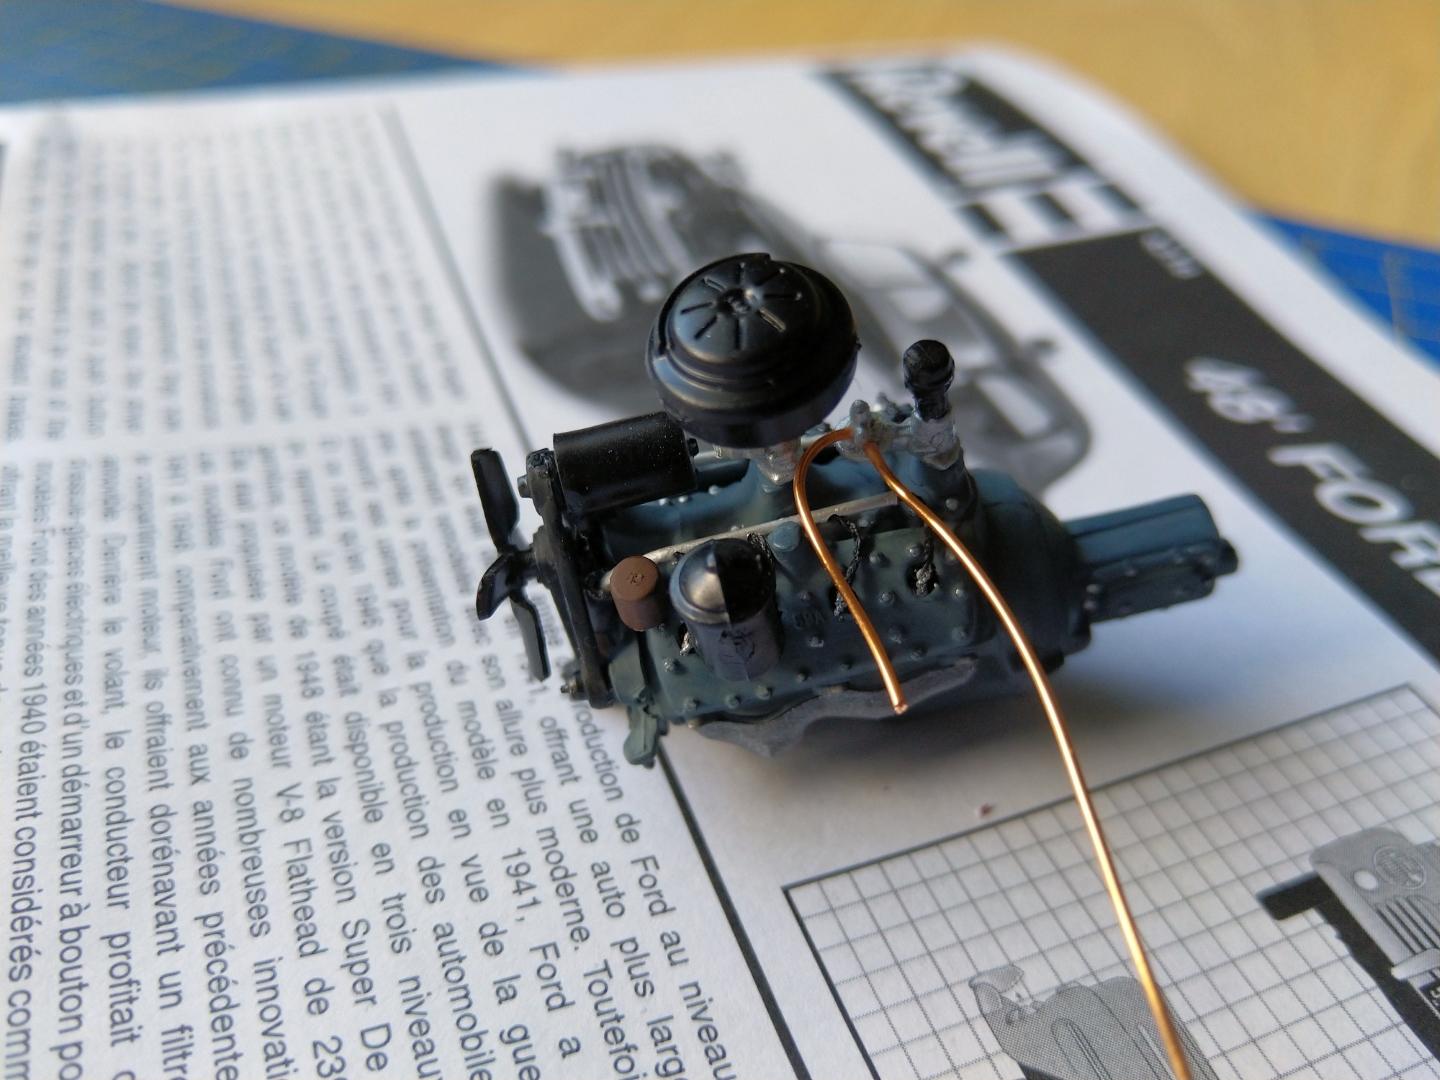
Hello, This is my version of the Revell Ford Coupé. It will be painted in dark red (Burgundy). The copper wires in the engine pictures are for fuel lines. One from tank to the fuel pump and the other one from the pump to the carburetor. I have added the ignition cables from the distributor to thespark plugs. They are in protective tubes as in real car. Also added the ingnition coil that is not in the kit. More to come later.
-
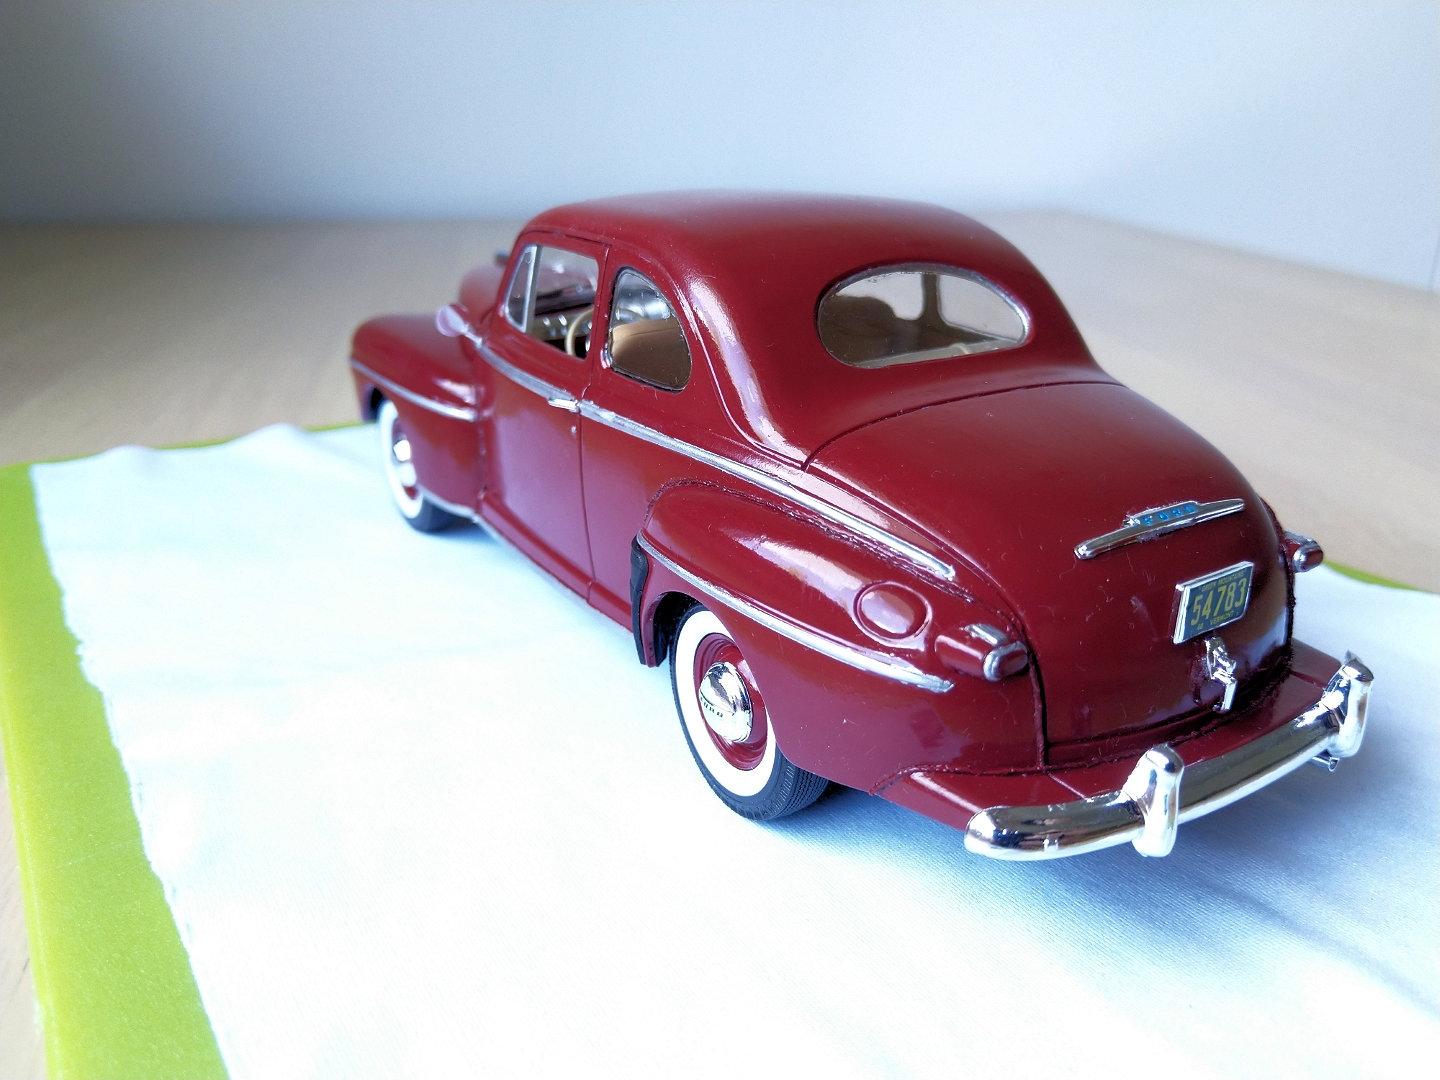
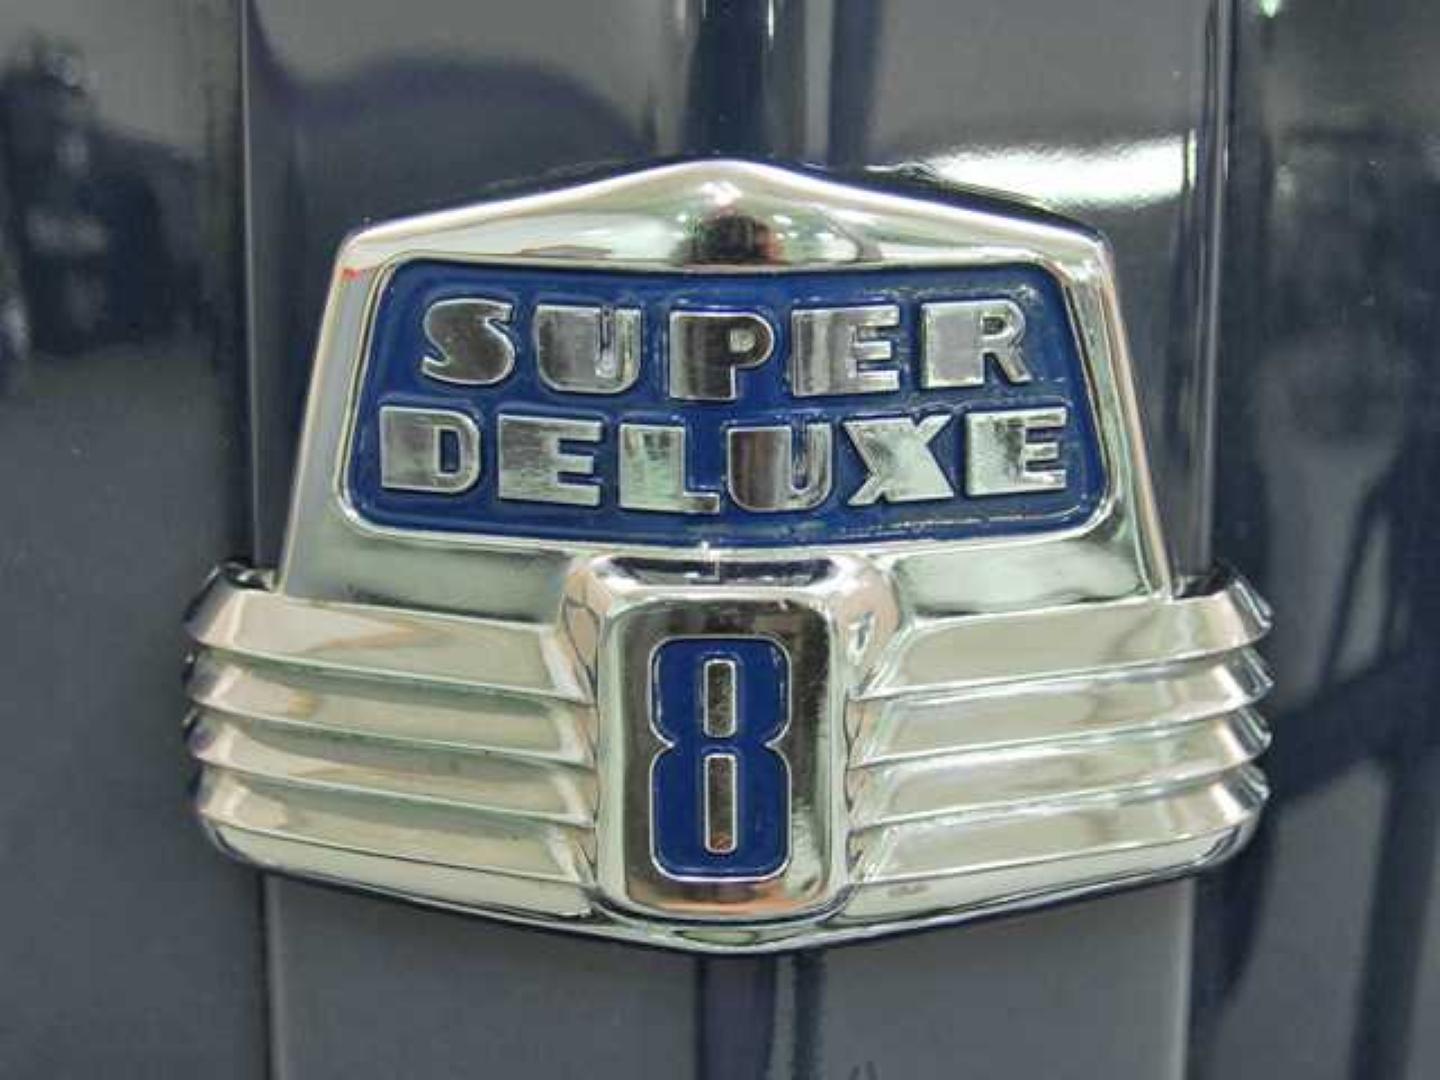
Rob, it's almost impossible to get a good photo about that emblem. I tried but this is a best I can get. In the assembly instructions it is drawed wrong. The text in original car is in blue, so I painted it blue. I'm making the same car so I know.
-
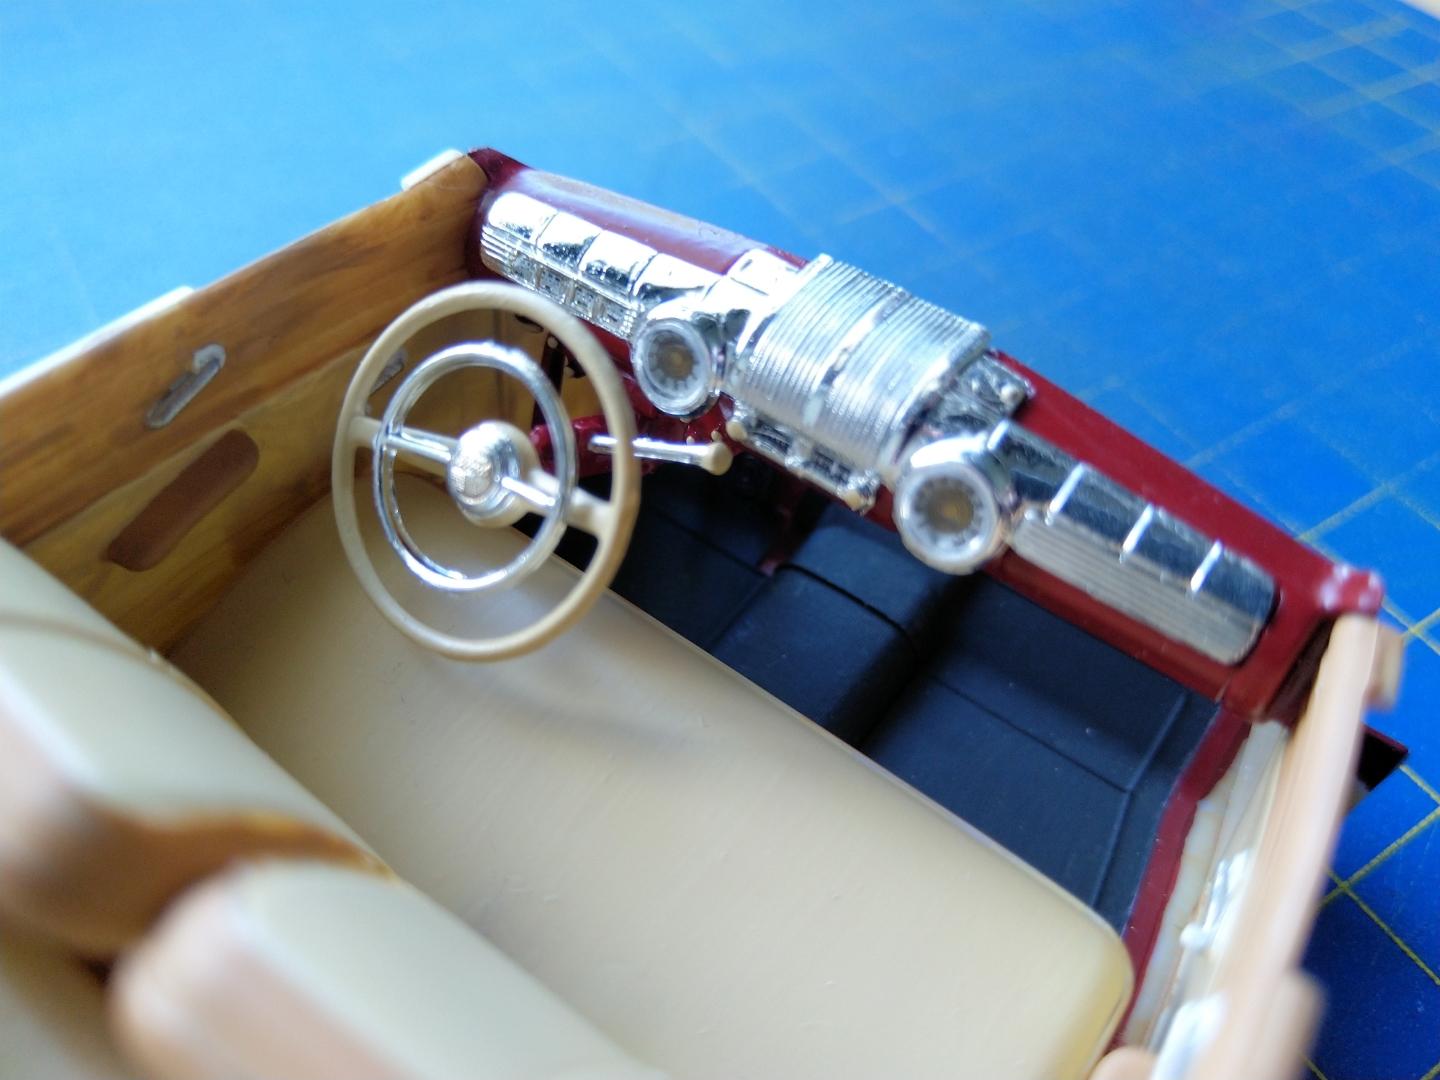
Like the colour. But where are the parts #294 and #295, Lt. Vent Window and Rt. Vent Window? I don't see them. Also, why the part #6 Hood Emblem is upside down. Now the text Super Deluxe and 8 in it is also upside down.