Pierre Rivard
-
Posts
2,622 -
Joined
-
Last visited
12 Followers


.jpg.b9265433dc8c3b550370b1d0e4e4d2fc.thumb.jpg.915f5b46e3c9402eeaa6972073121c87.jpg)


Pierre Rivard's Achievements
MCM Ohana (6/6)
-
Thank you Jim Thank you Bruce. Weathering a white car is challenging, the shift from too little to too much can happen so fast. Thank you Bruce. I think taking the risk to add weathering does add interest... and helps hiding the so so paint job. Thank you sir! I like that I survived it. Full admiration for you and others achieving impeccable body and paint finishes with resin as the starting point. Thank you Philip. I took extra time with the wheels and tires and I'd say it contributes a lot to the realism of the build.
-
Merci Claude, a quick 95% OOB to get me back in the groove. Next one will be a return to my new love... the salt! Thank you David. I posted my simple weathering method in the w.i.p. thread. I like the results it produced using just brushes and pigments. Thank you friend. Fernando has been very supportive in replacing many parts for this kit and I thanked him and attached photos of the build, which he immediately posted on his site. He really supports his customers. Thank you sir. I am back in the game. I already have parts on the table. Lots of head scratching as most of it will need... scratch building.
-
Everything I've heard or read is that Airfix is the one that got the shape right. New Revell is just bad, the roof shape is completely wrong. Cobra club racer gets my vote!
-
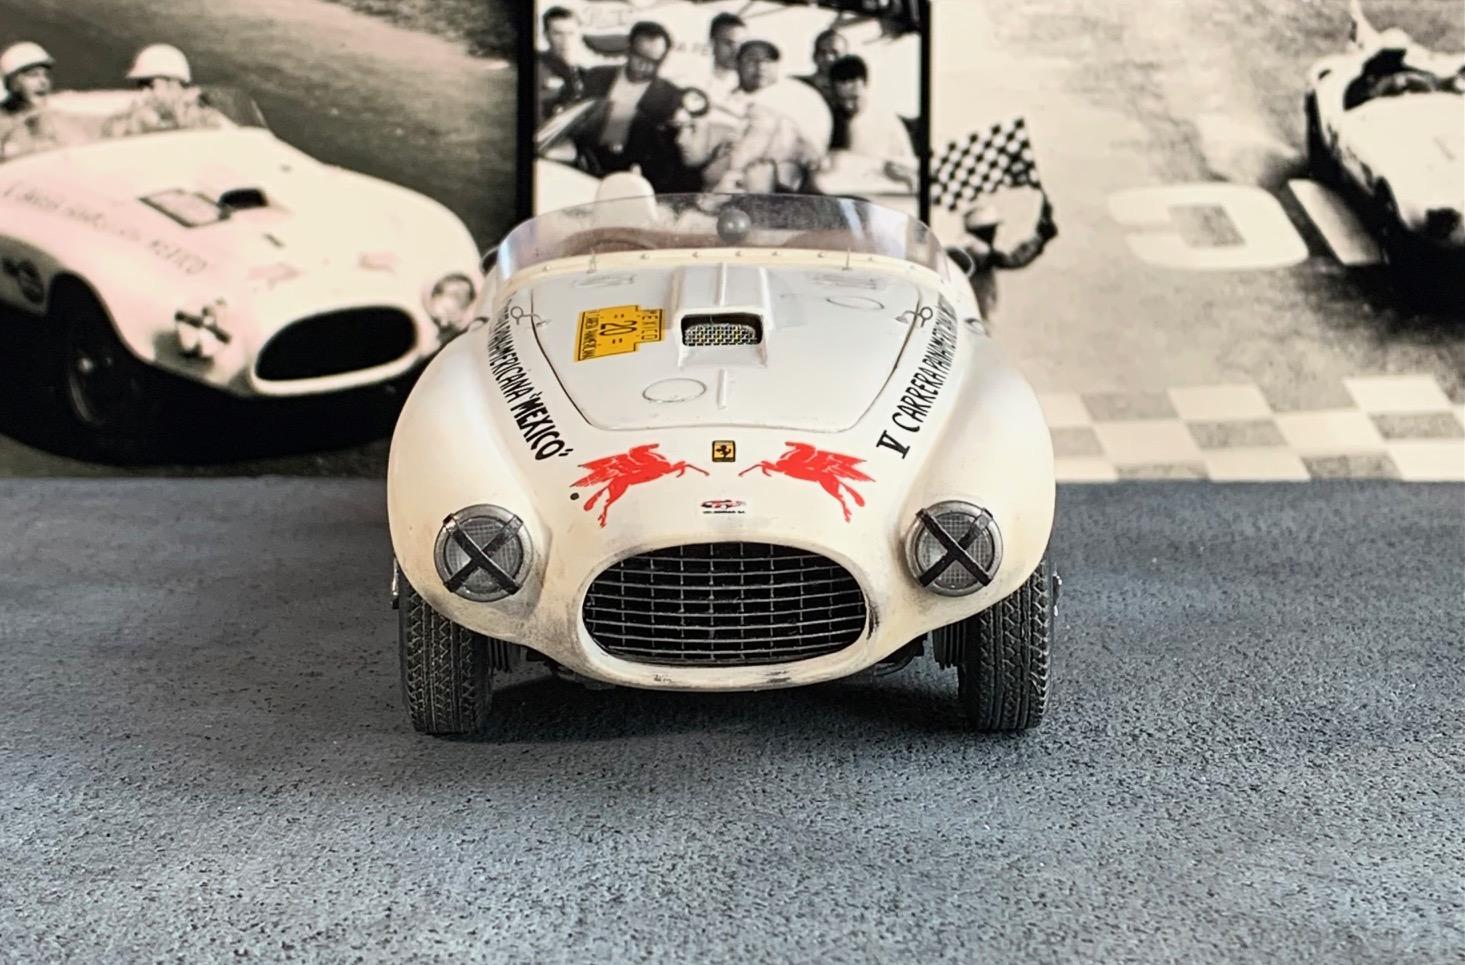
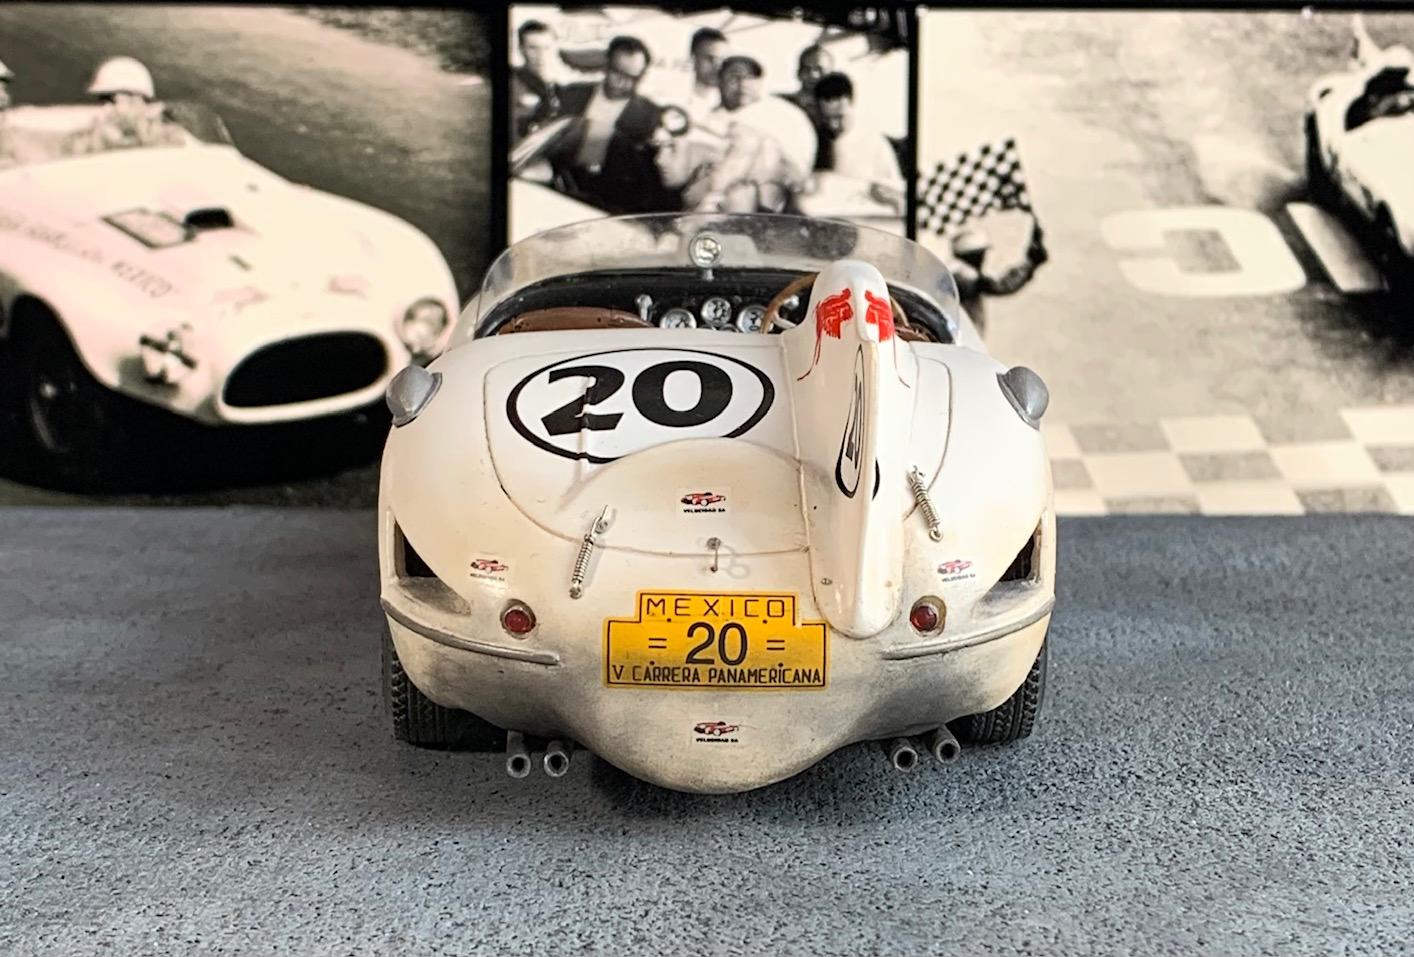
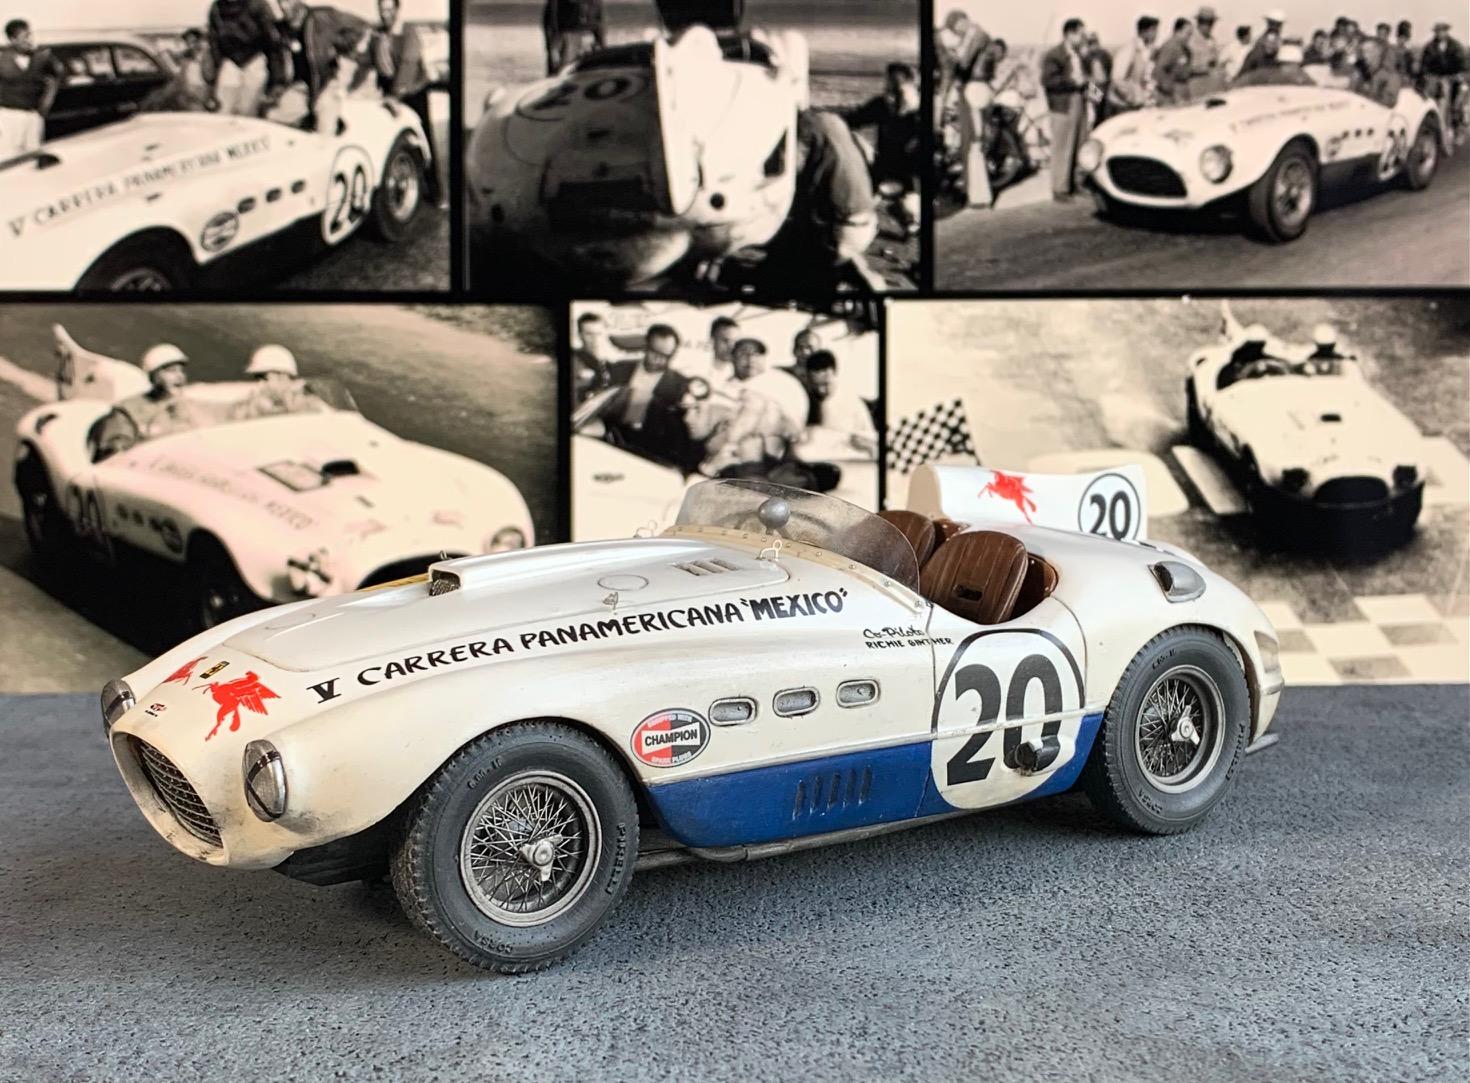
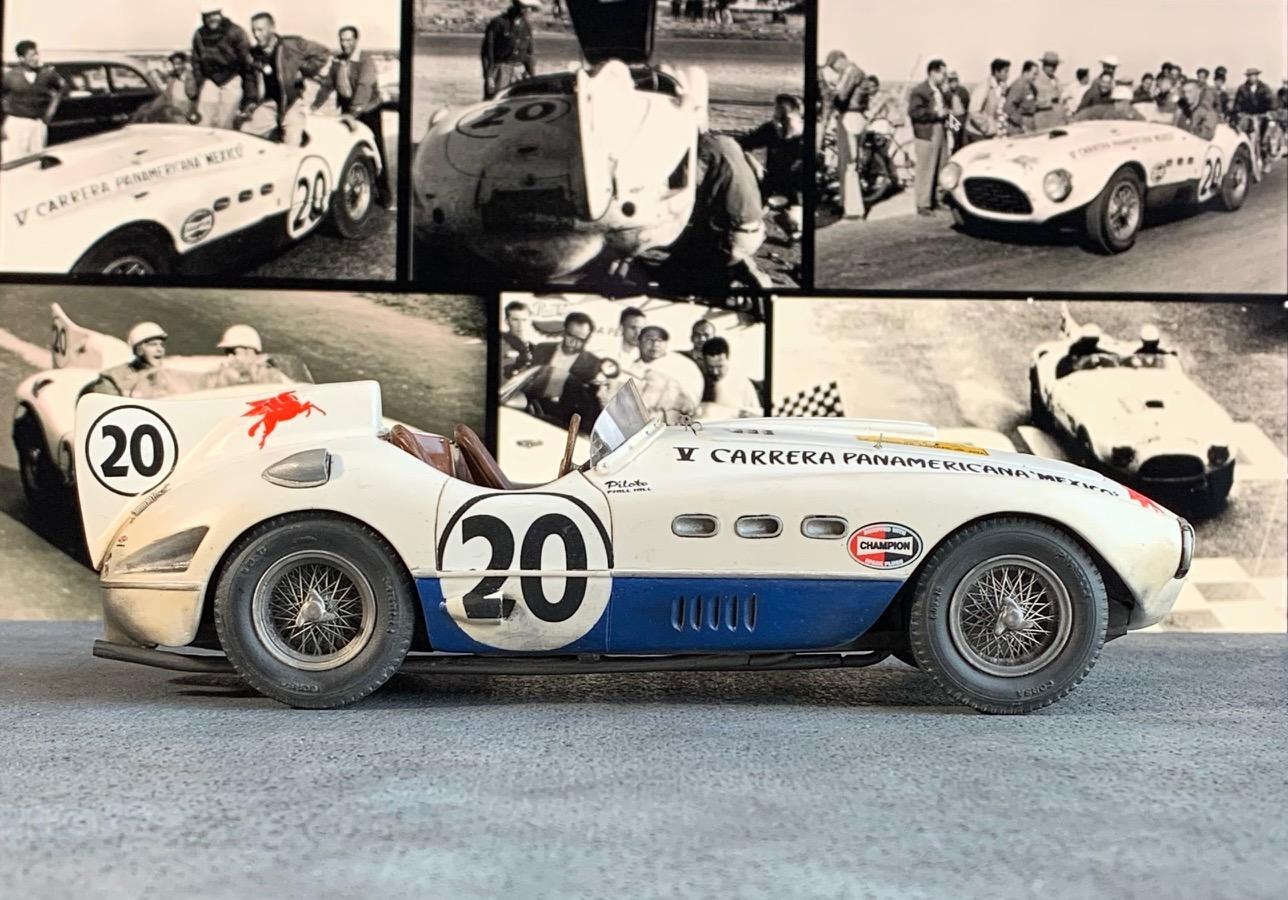
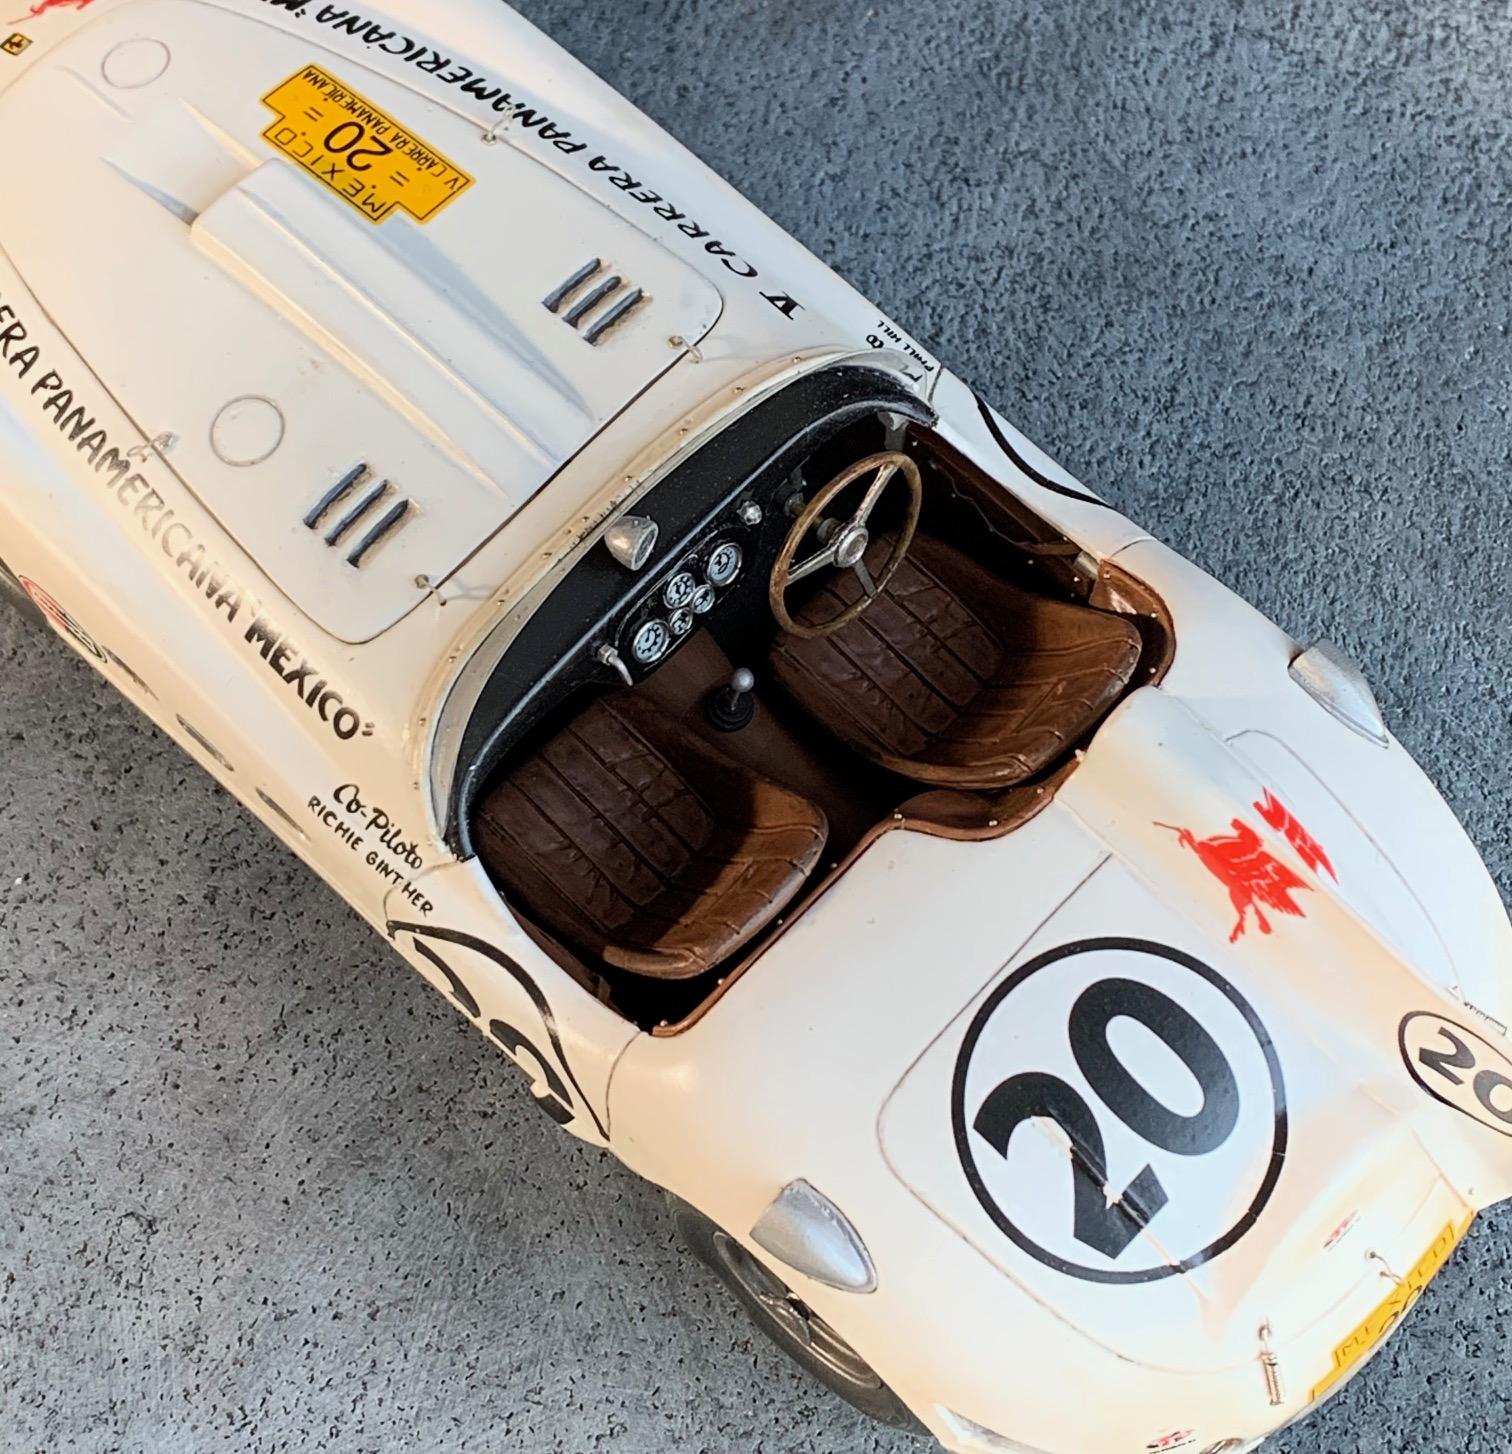
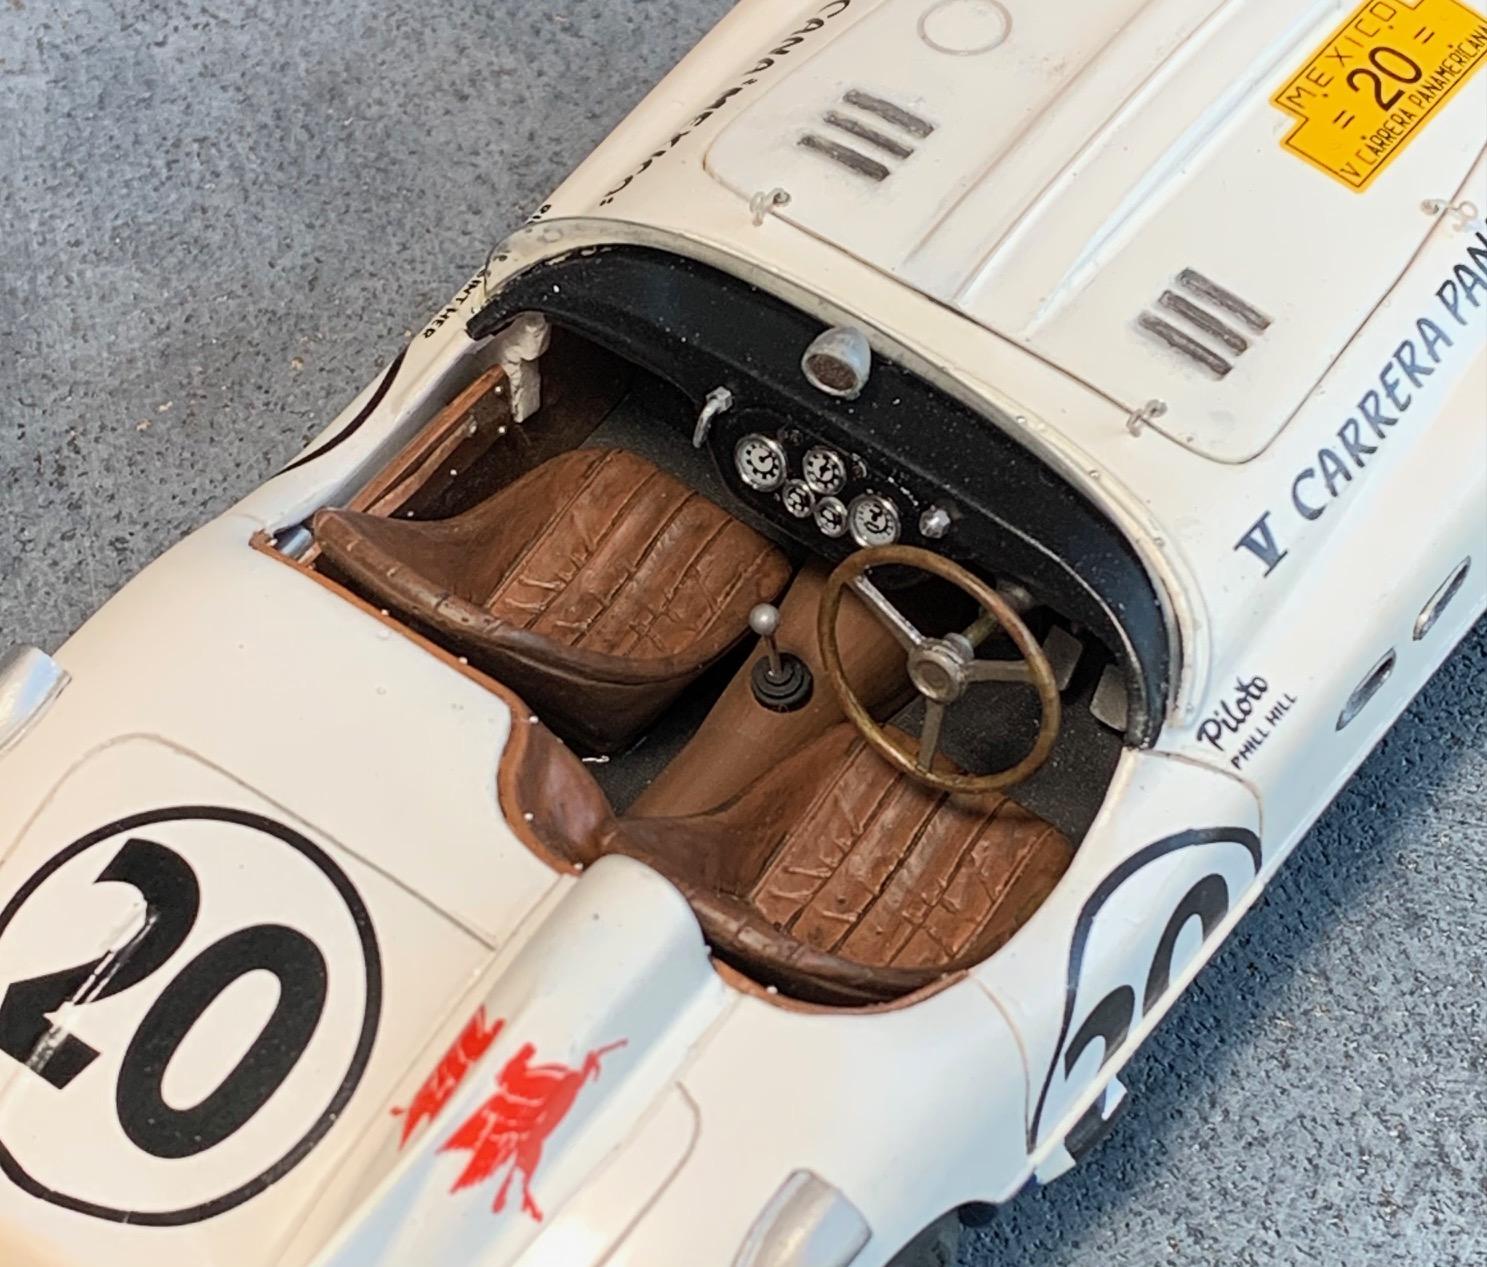
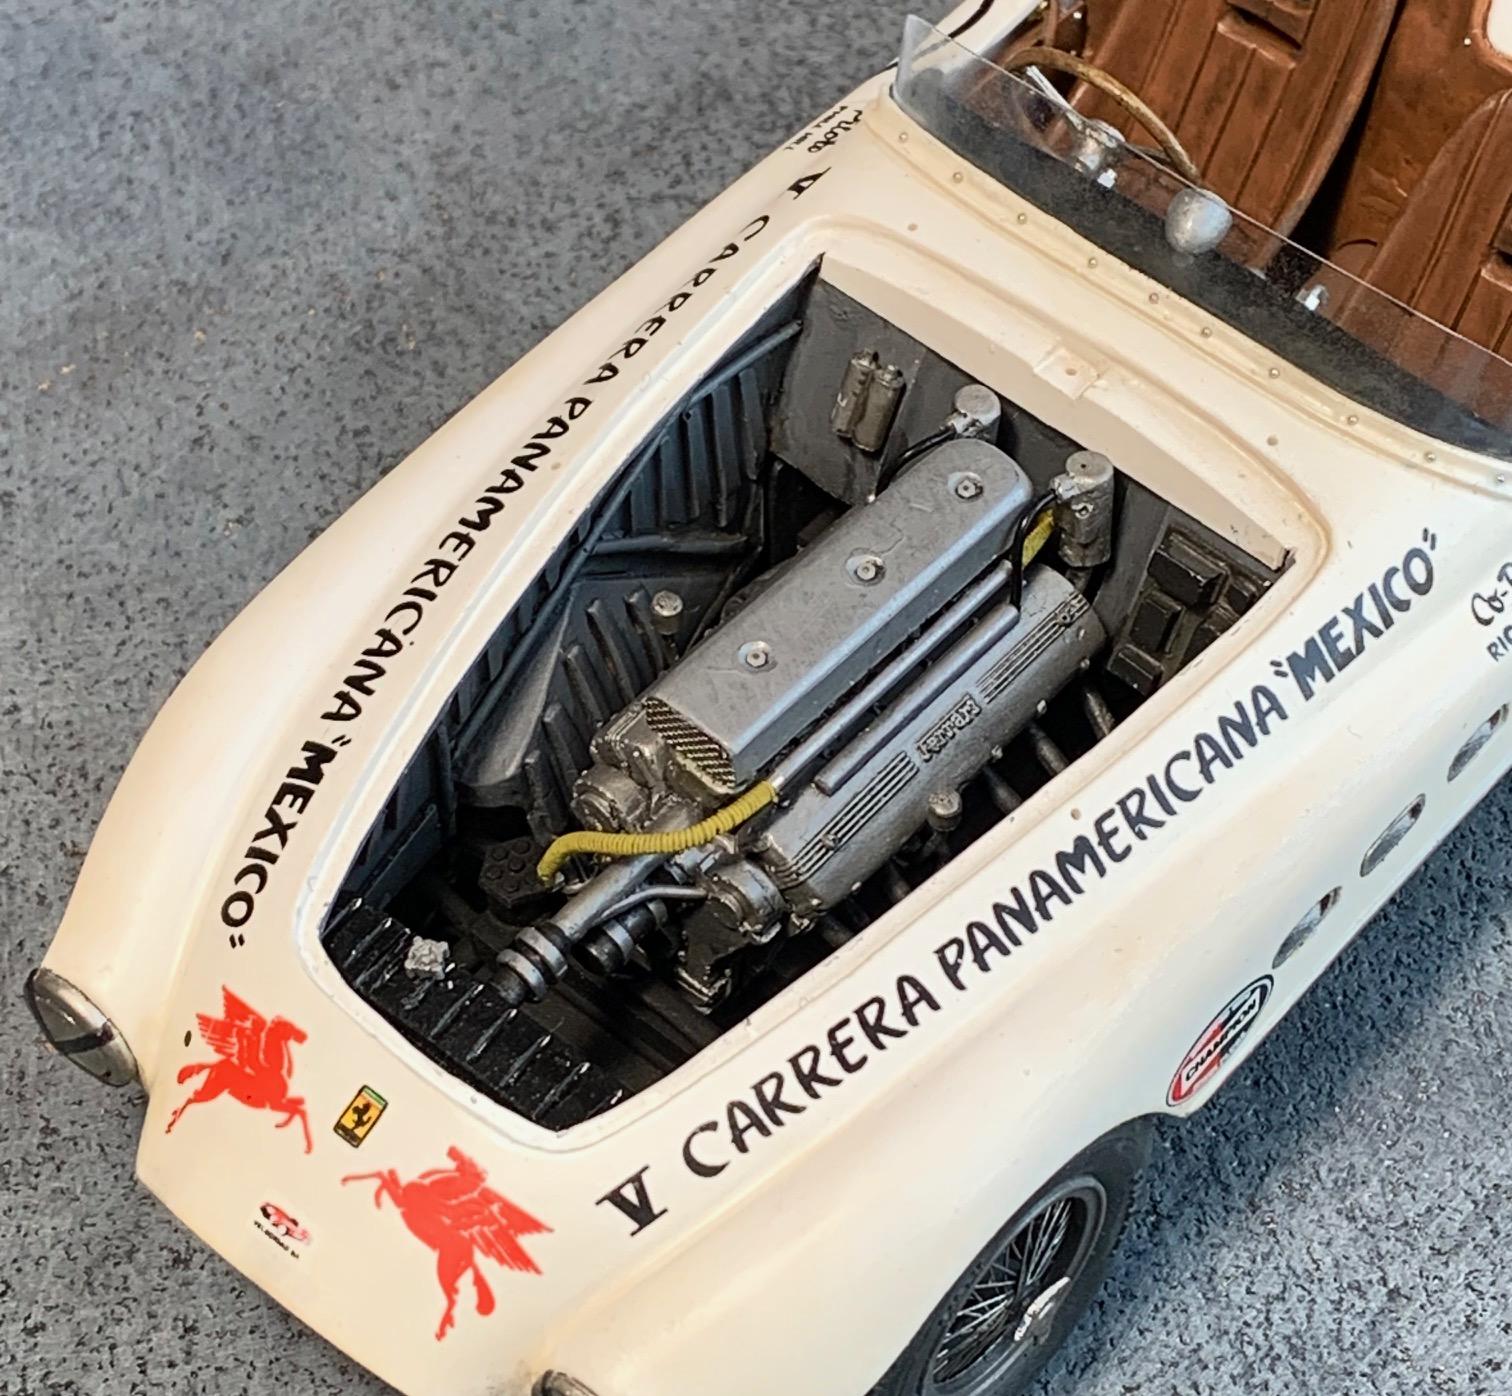
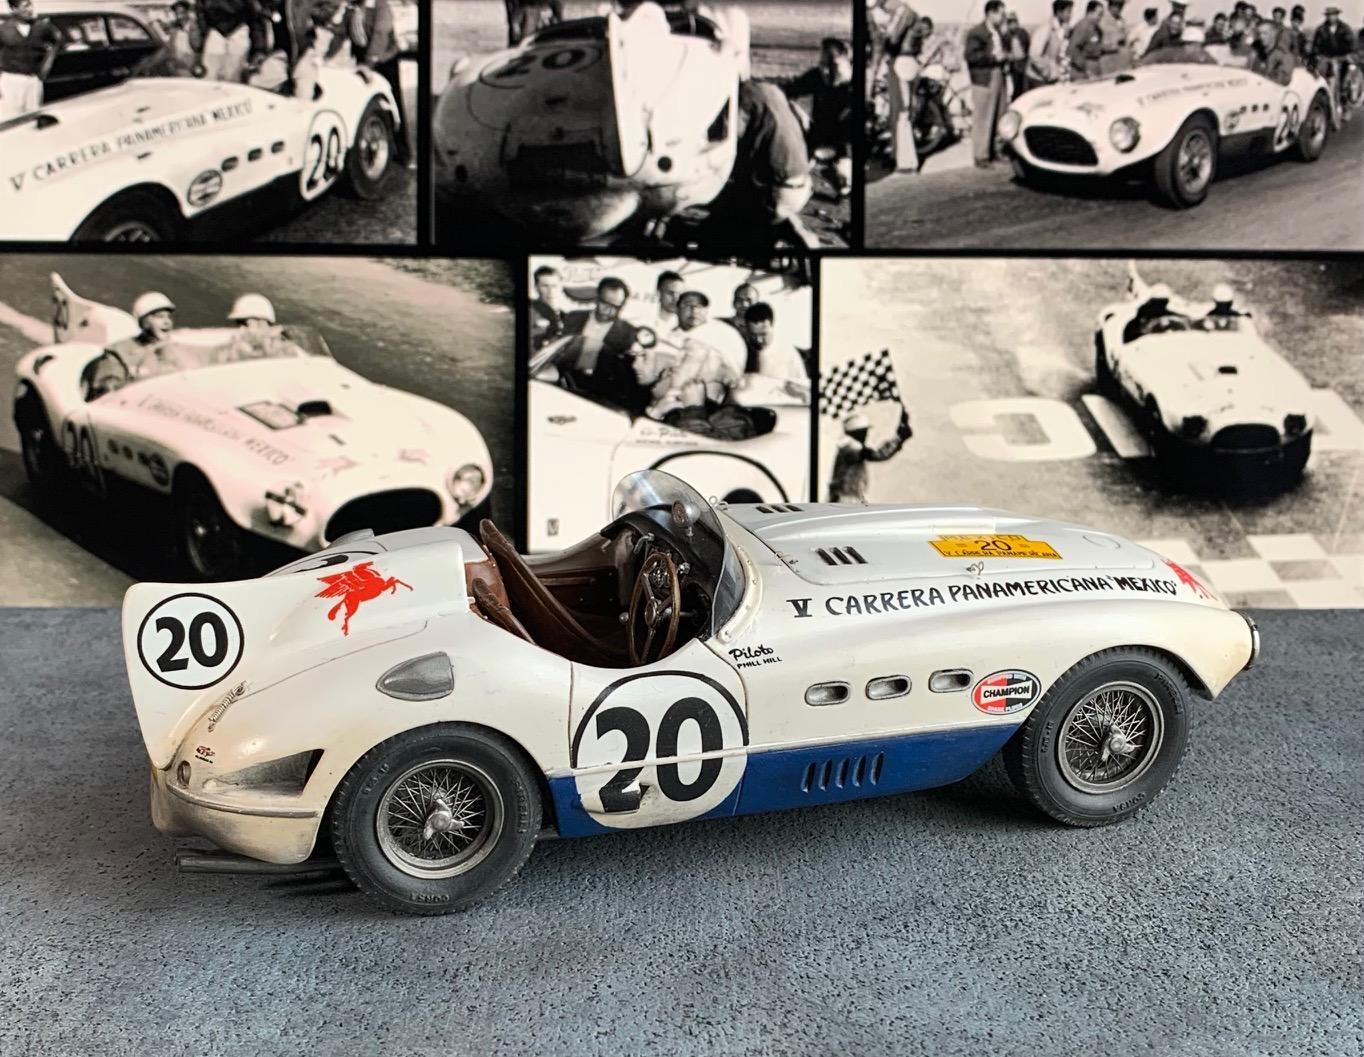
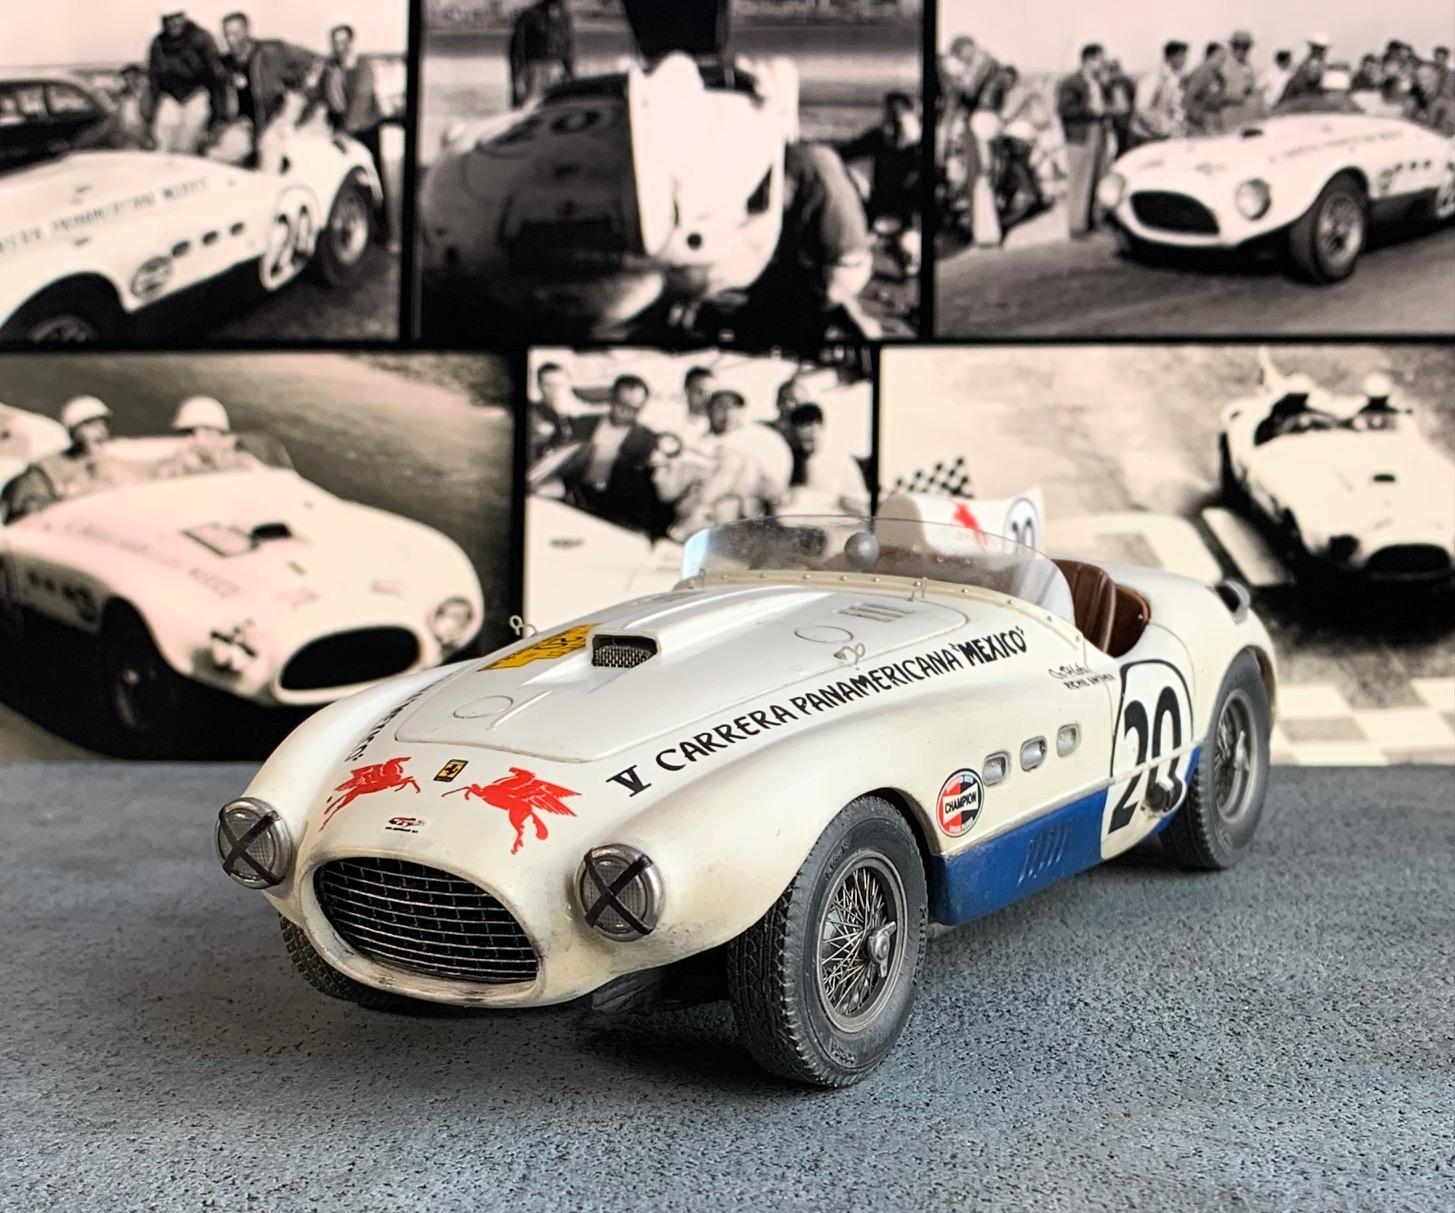
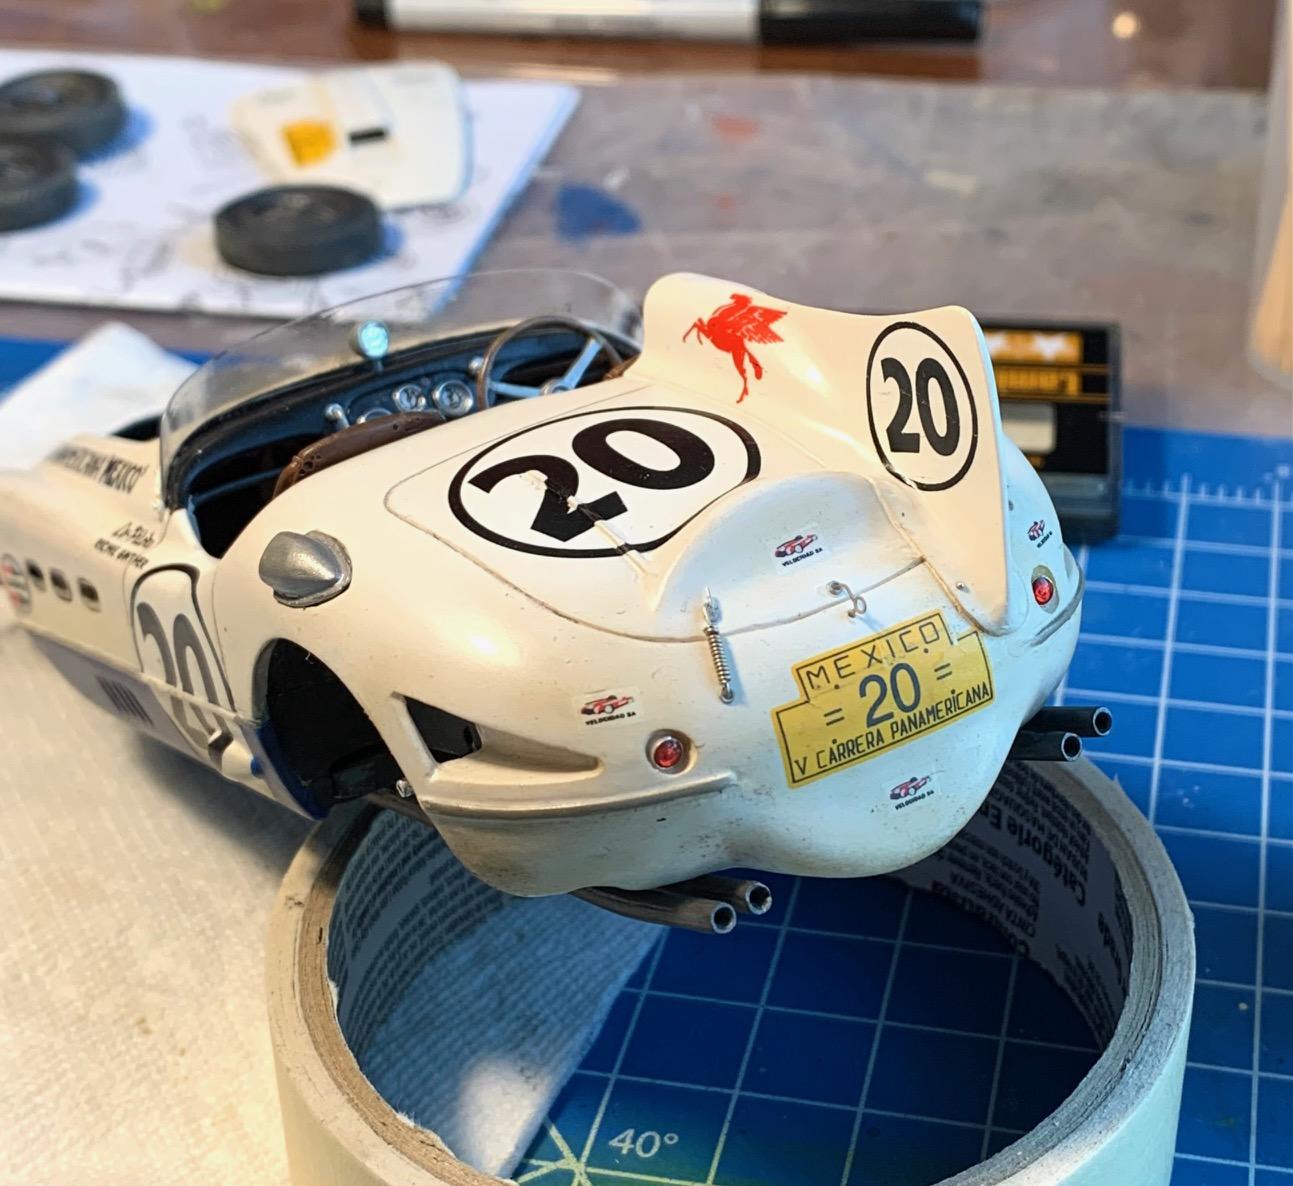
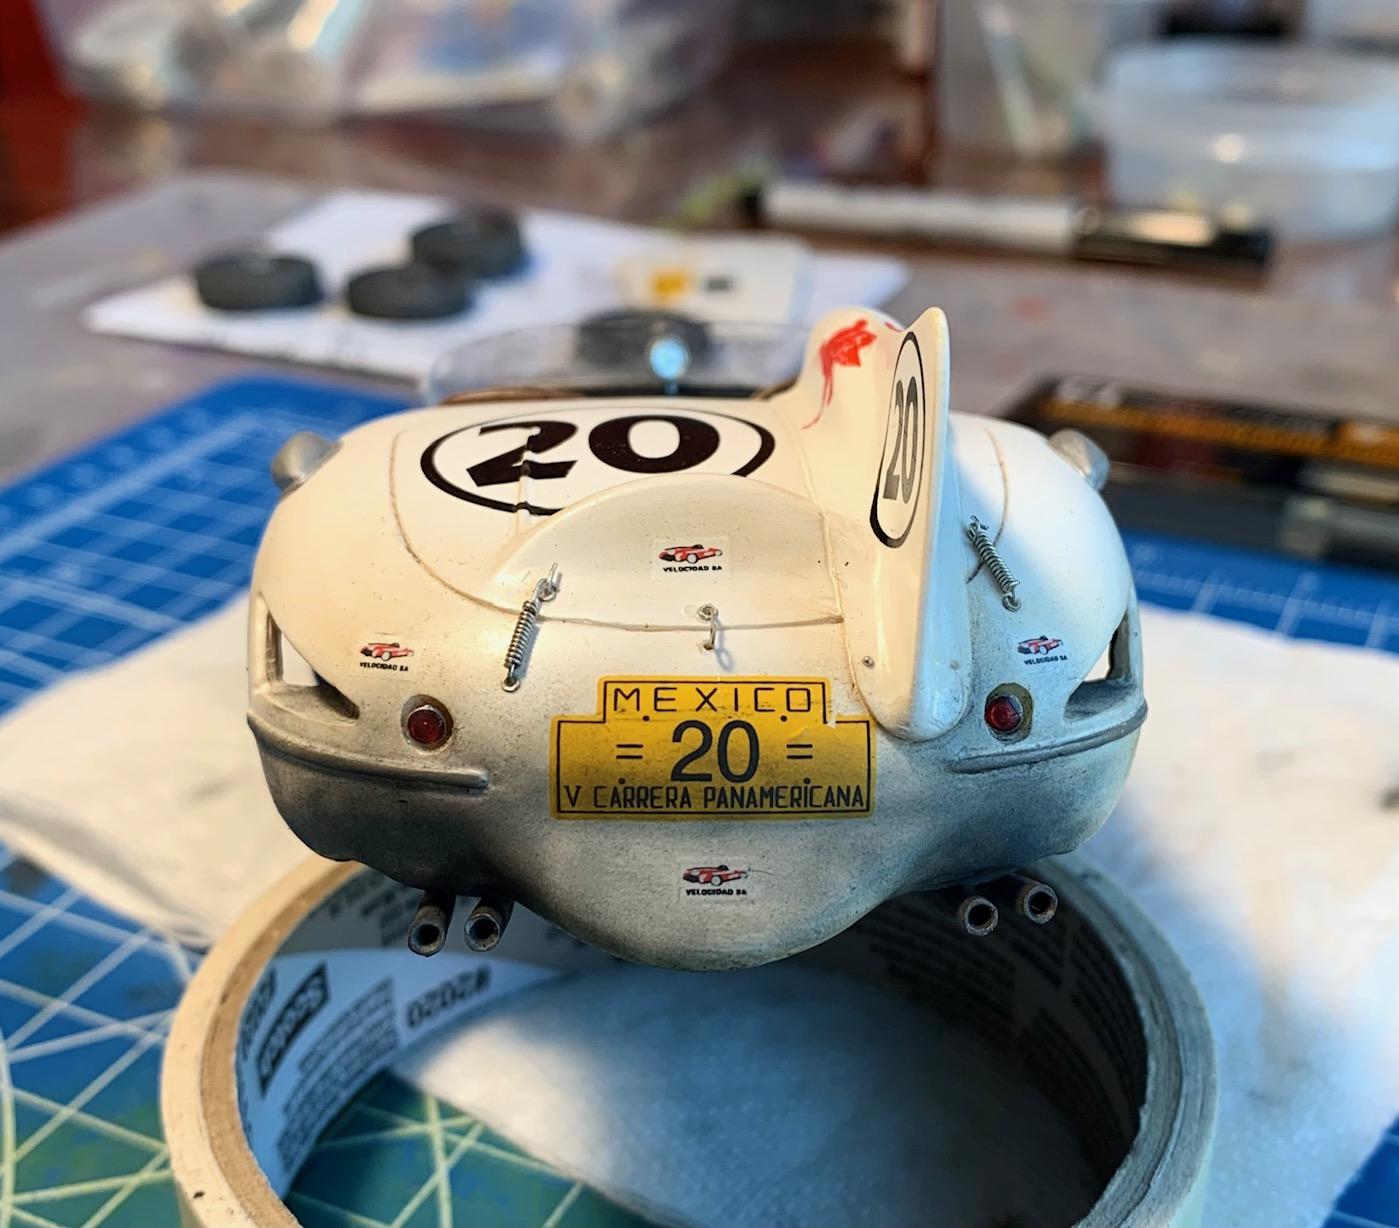
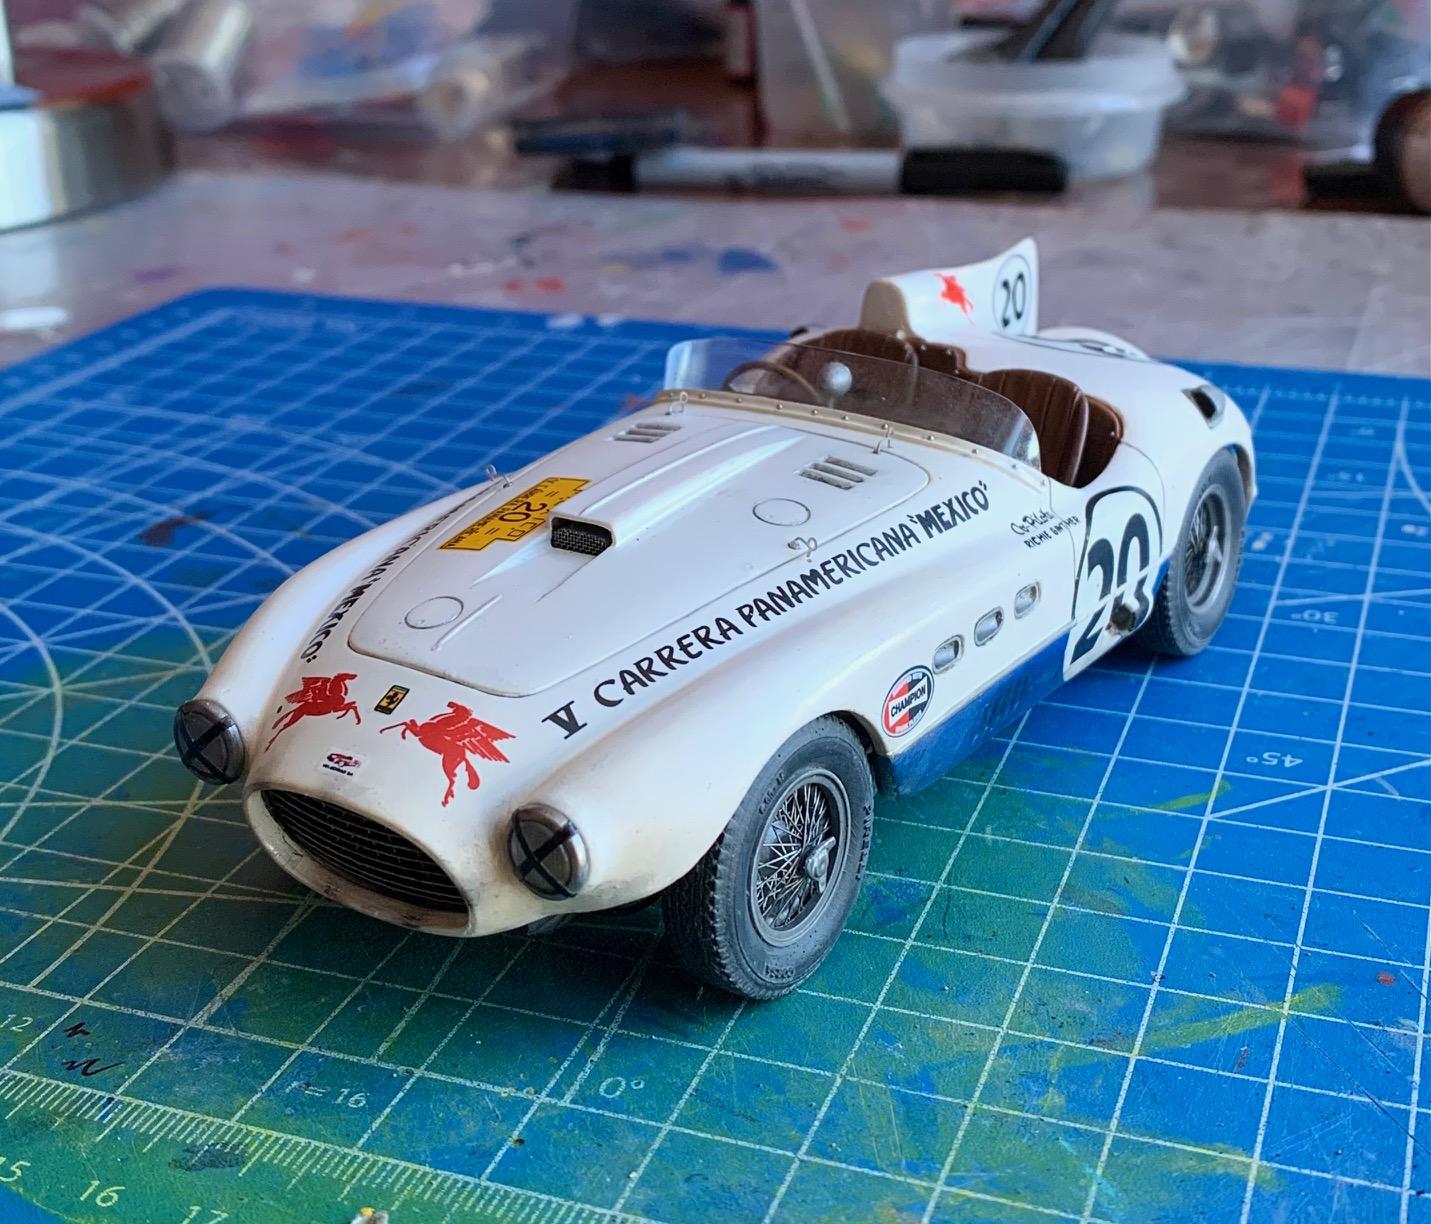
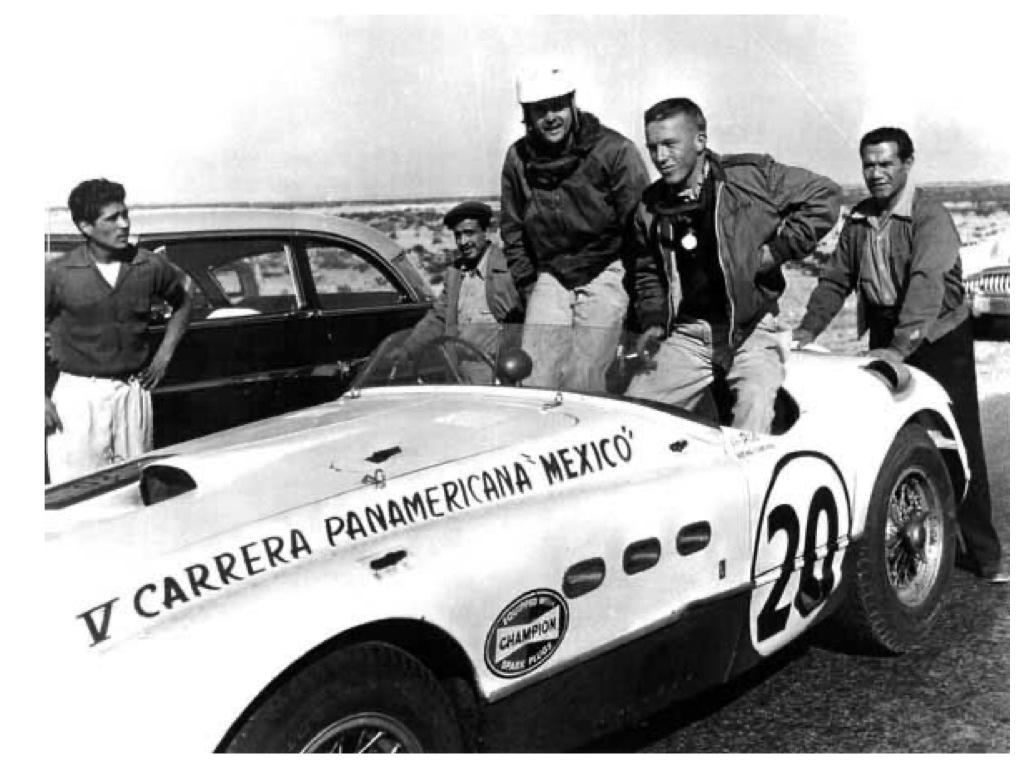
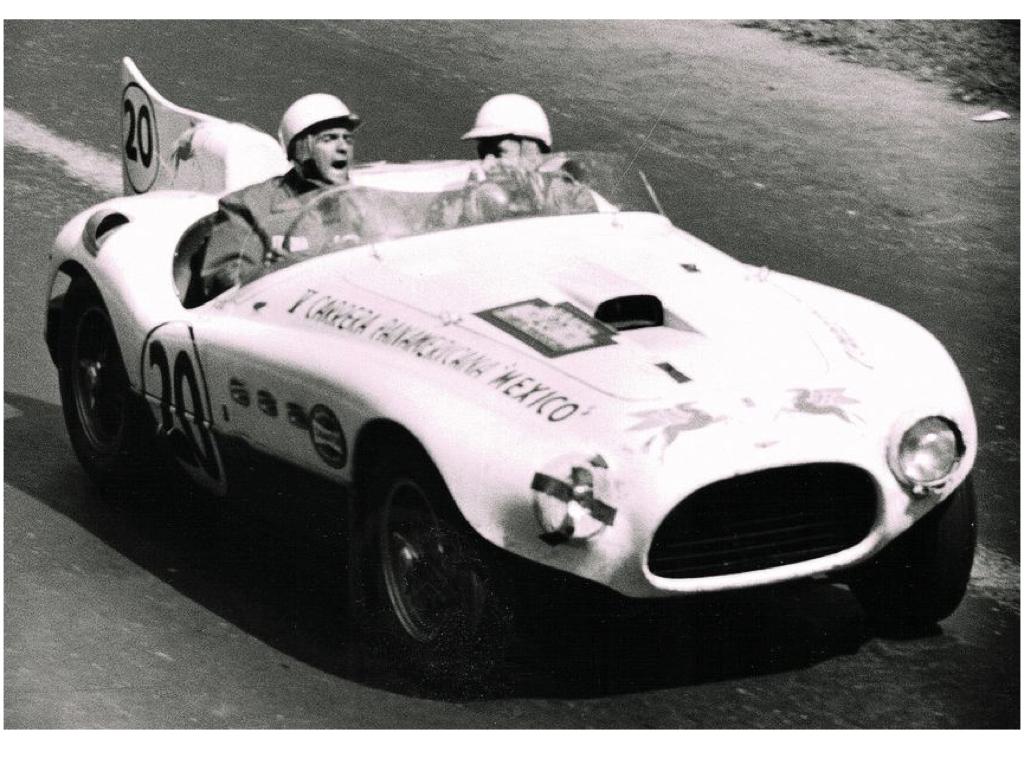
Vignale bodied Ferrai 375MM driven by Phil Hill (Richie Ginther co-pilot) to a second place finish at the last (1954) edition of the very dangerous Carrera Panamericana. Fernando Pinto resin kit. I built it close to OOB save for some engine and instrument panel detailing. Primer was spray can applied but all other finishes were brush painted. I chose to finish the vehicle in a satin finish and add weathering to reflect the car at the end of a long day of racing on dusty roads.

-
Thank you Mark. It is a beautiful car. I took a risk with weathering but it came out pretty good. An alternative for those of us who can't use an airbrush... or too scared of using it.
-
Thank you sir. I'm not sure what Mr Pinto thinks of the race weathered treatment. Might send him a few of the beauty (?!) pics. Will do Mark. Working a new method with my MacBook screen as the backdrop. Testing it this morning.
-
The body prep looks impeccable. See over pink primer, that will really pop. Aston in the back... Revell kit? Roof shape needs help...
-
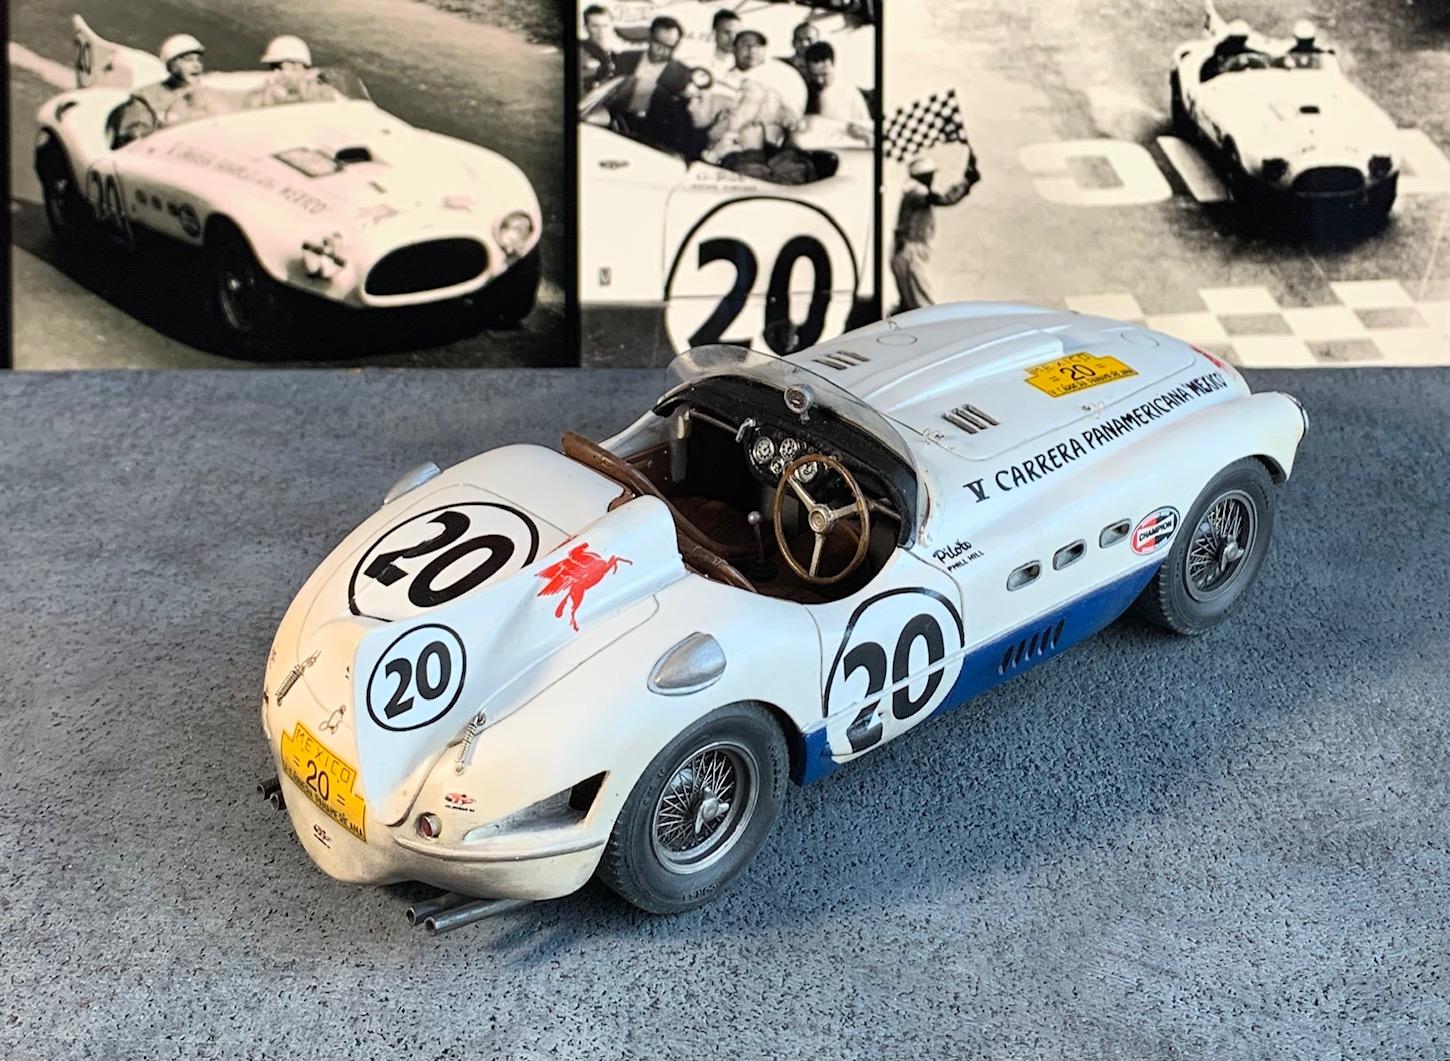
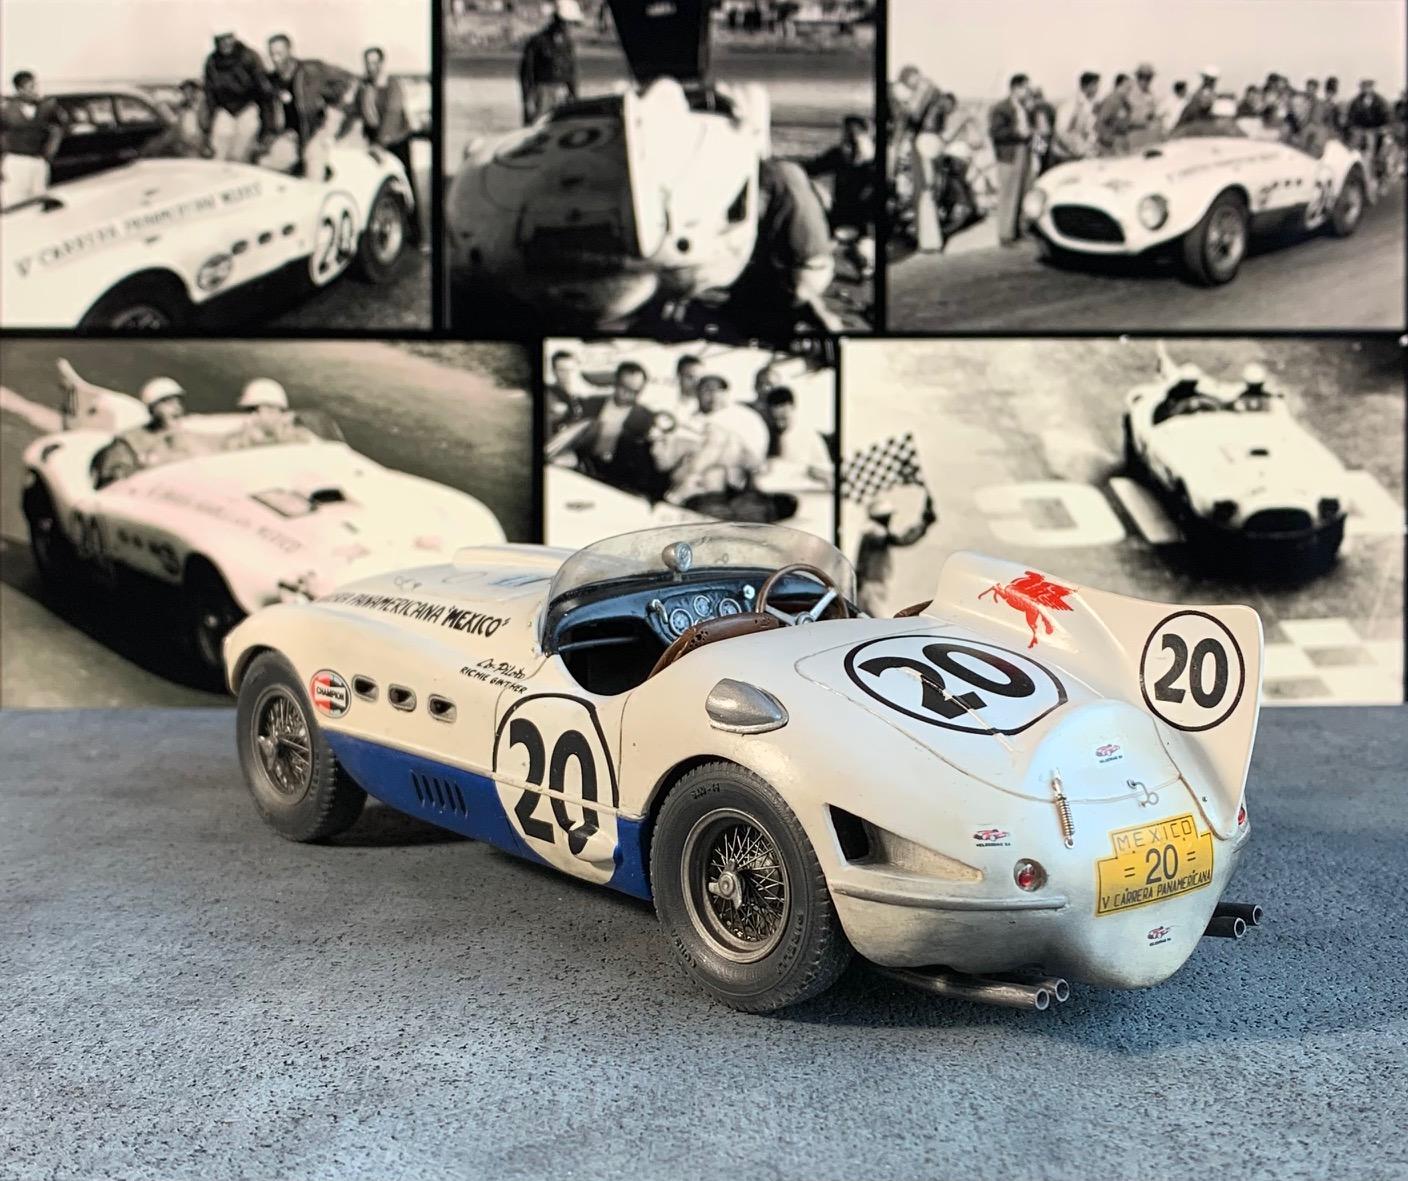
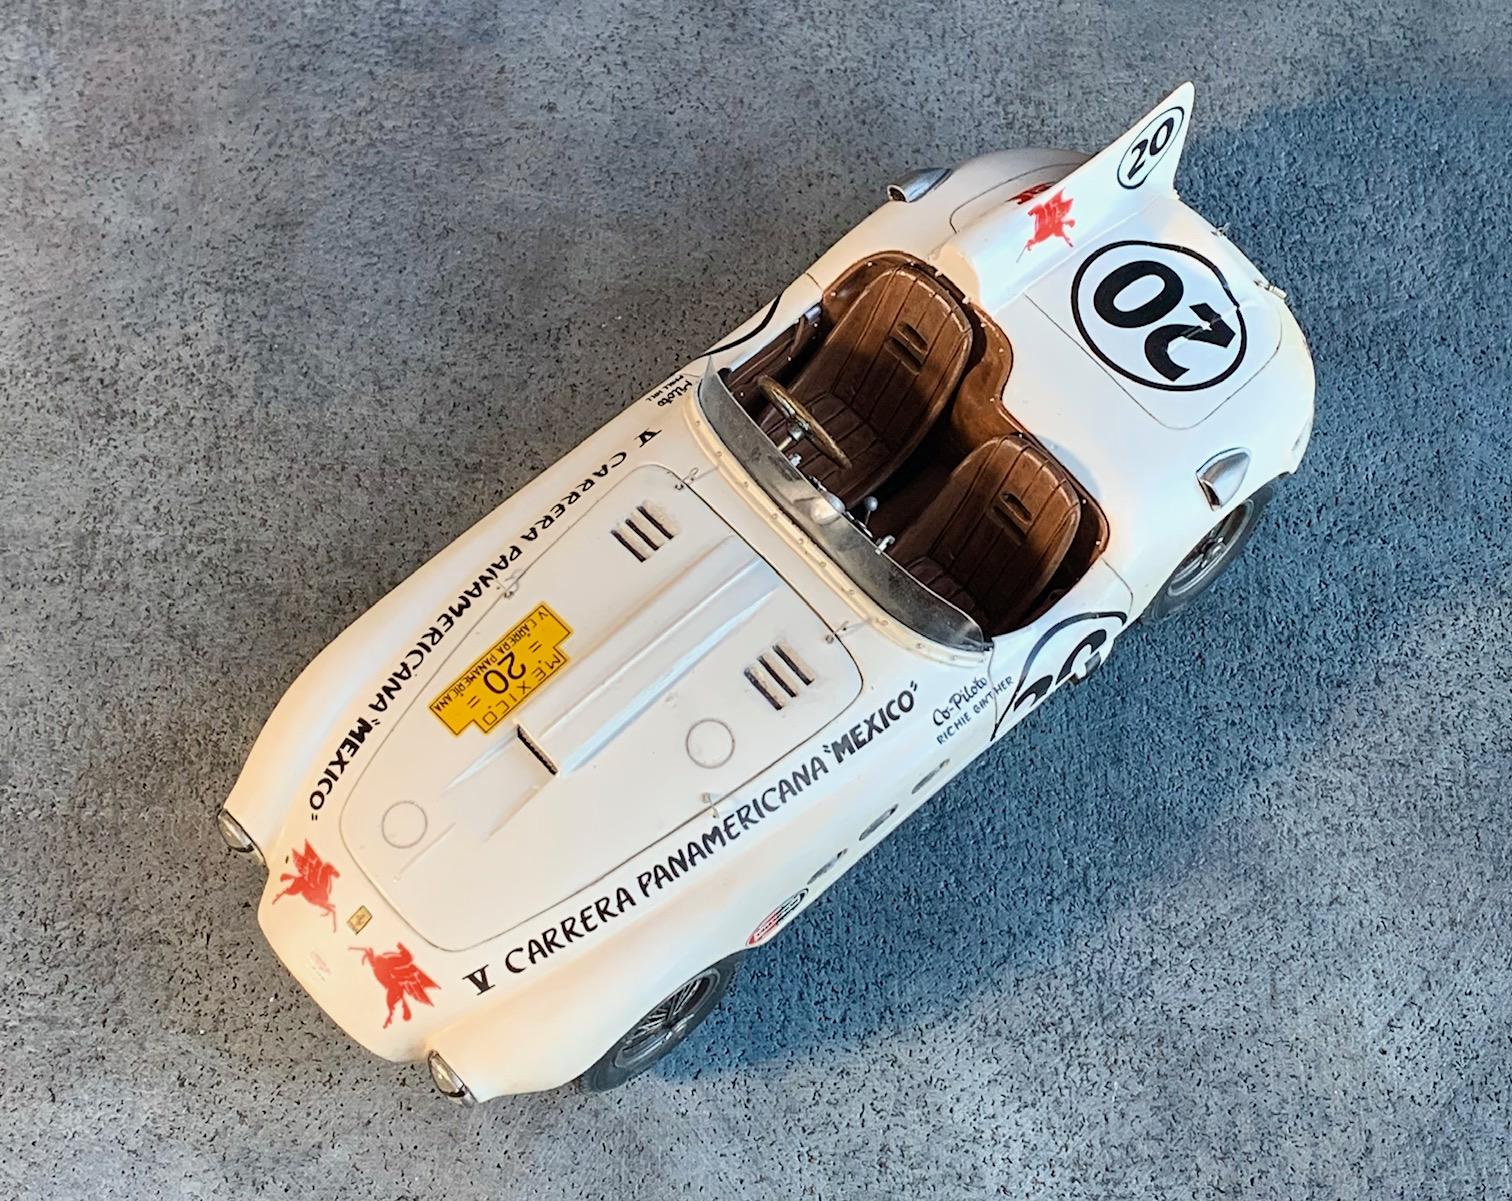
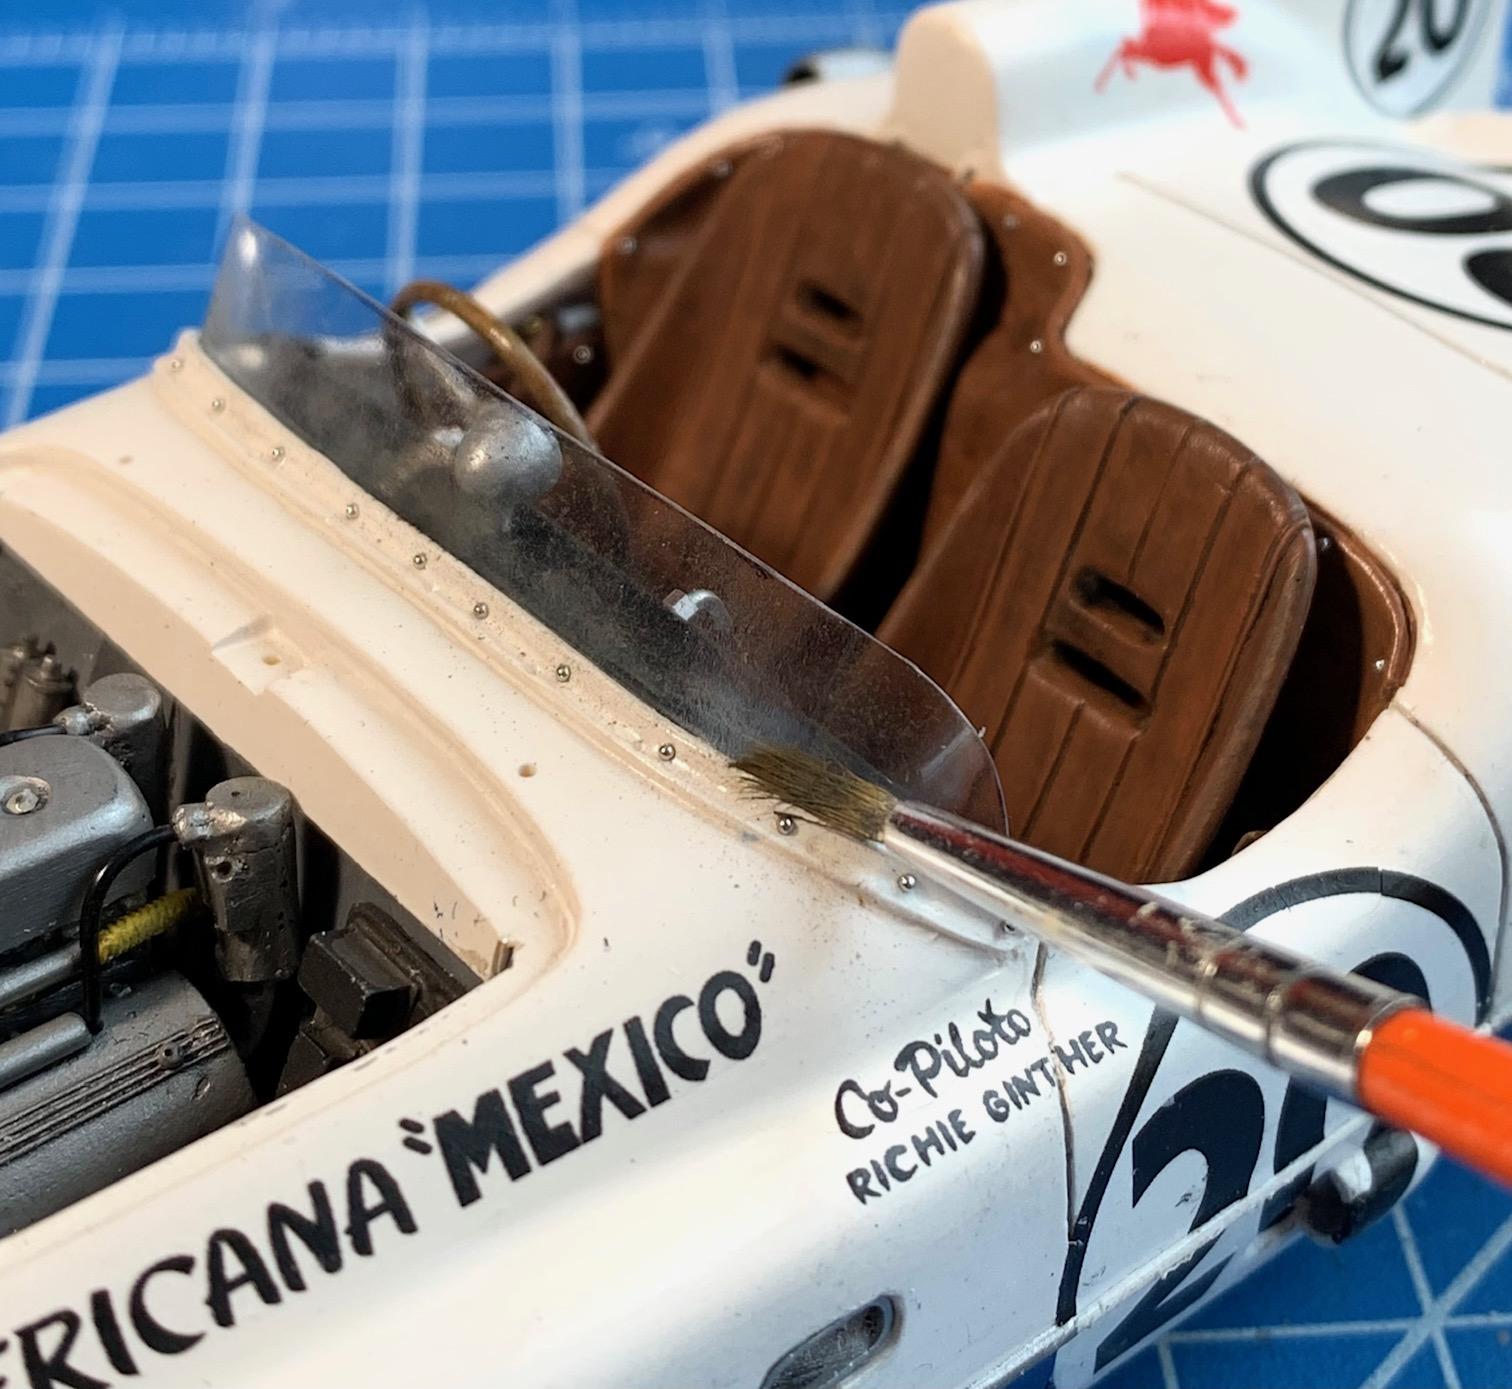
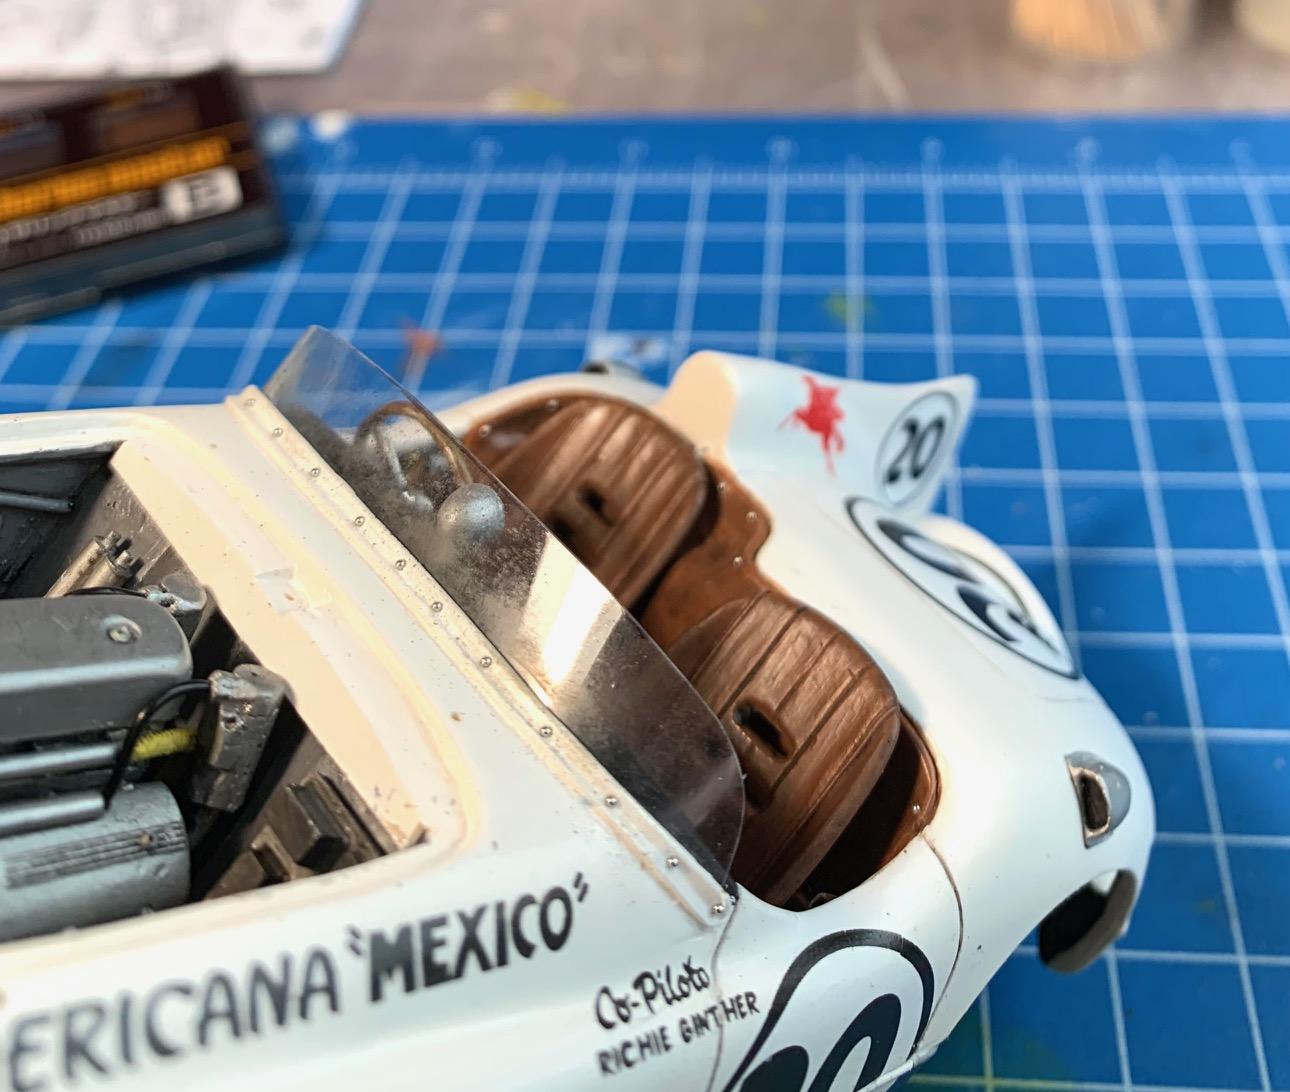
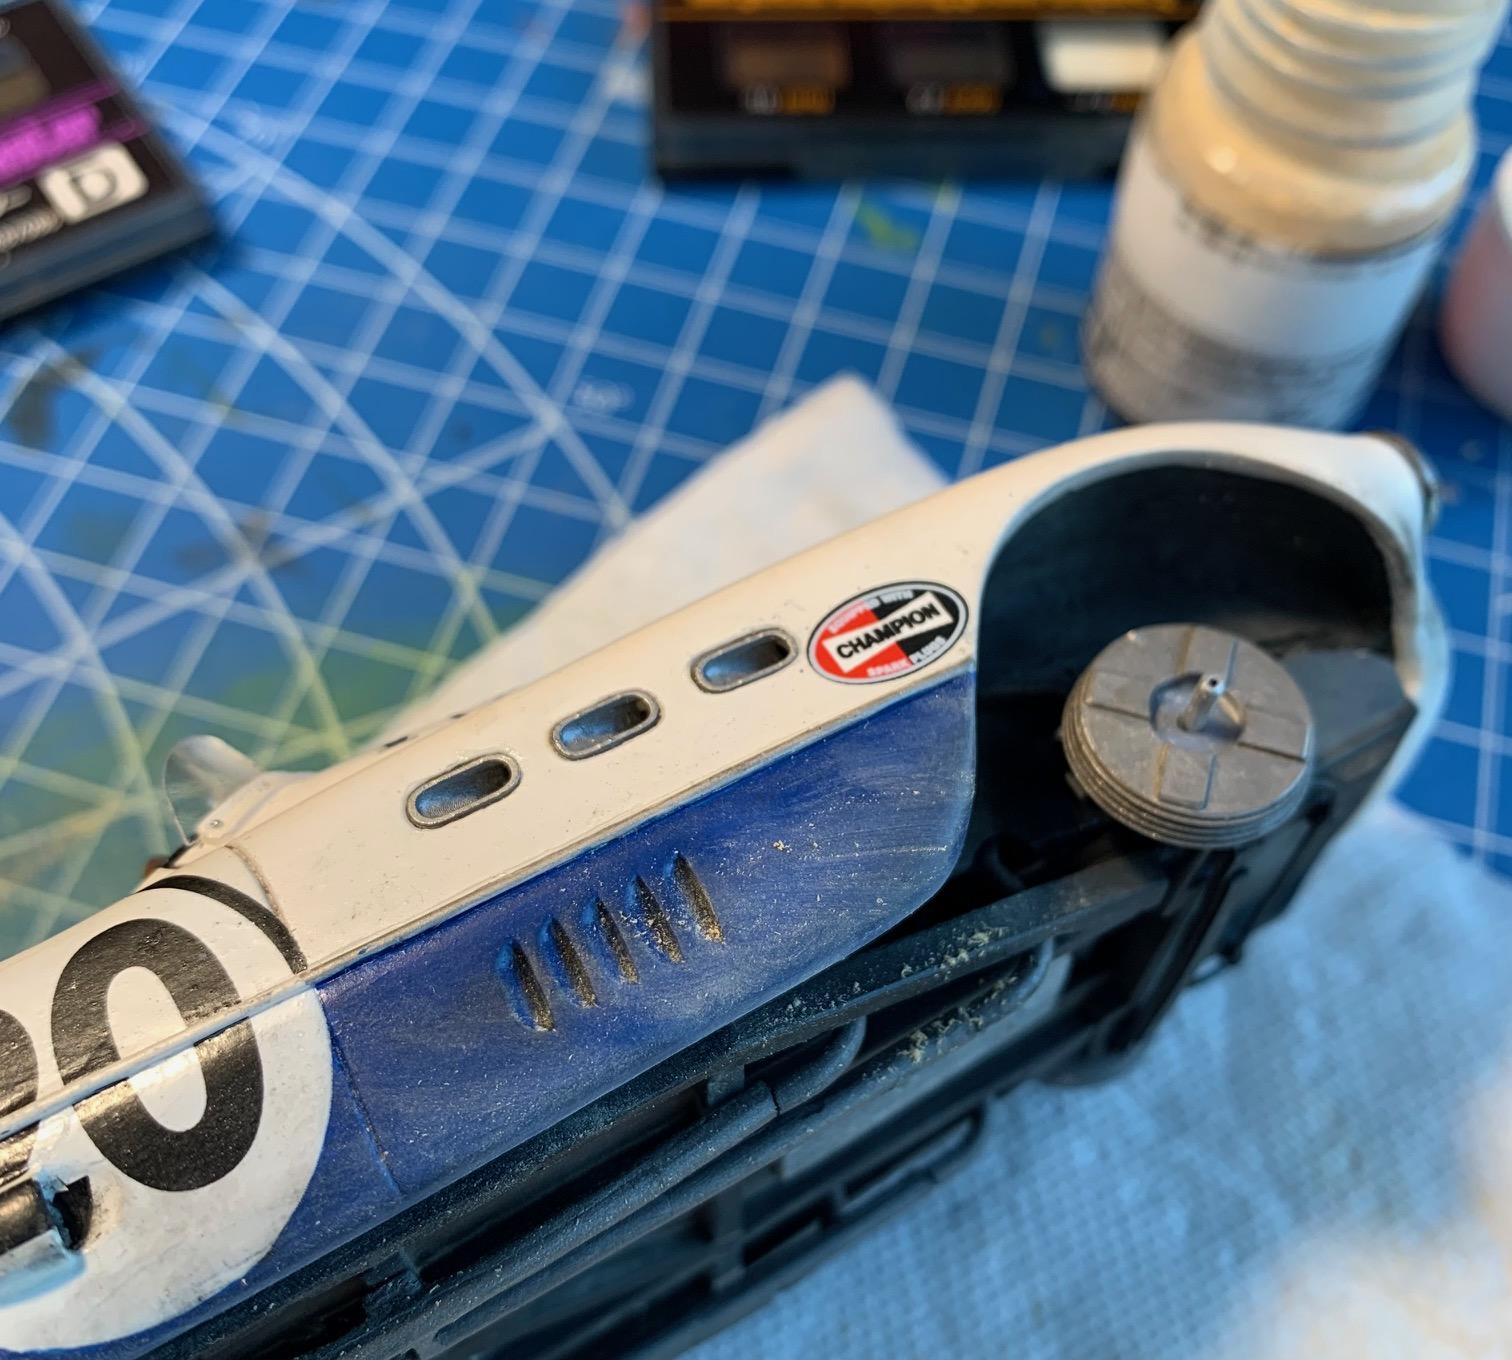
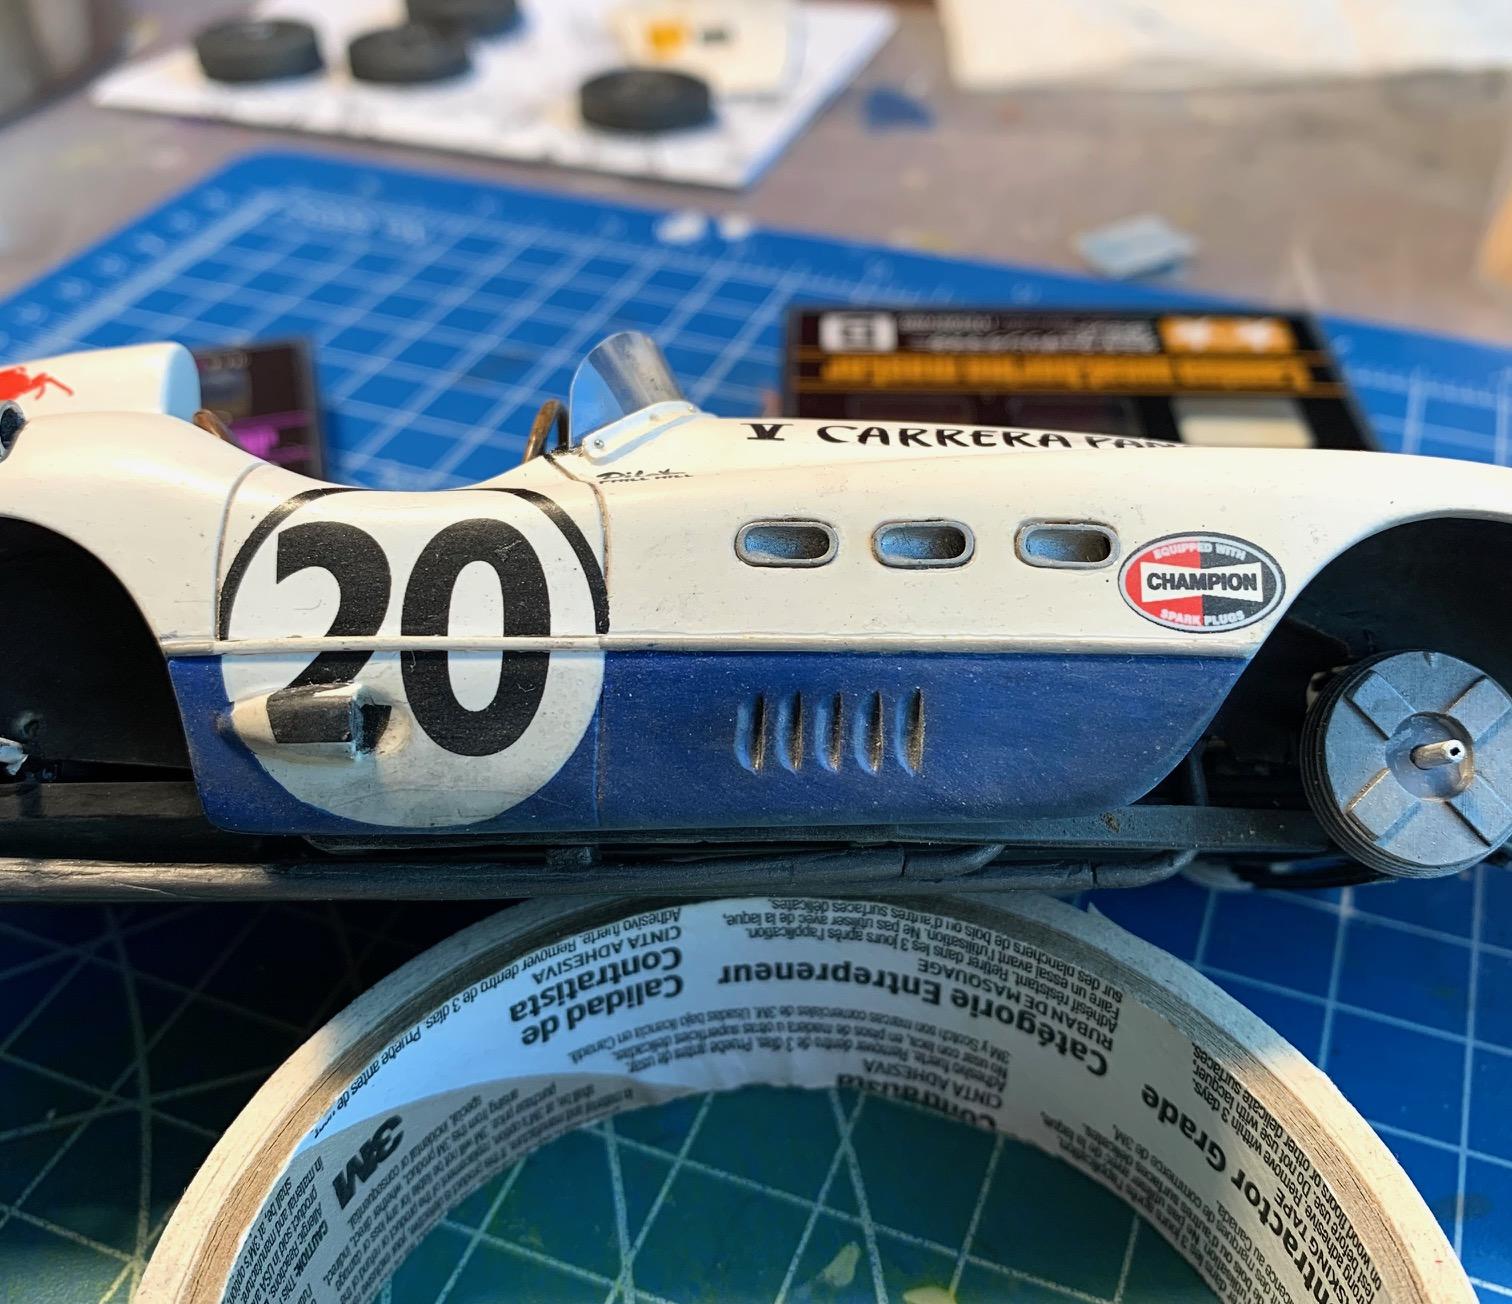
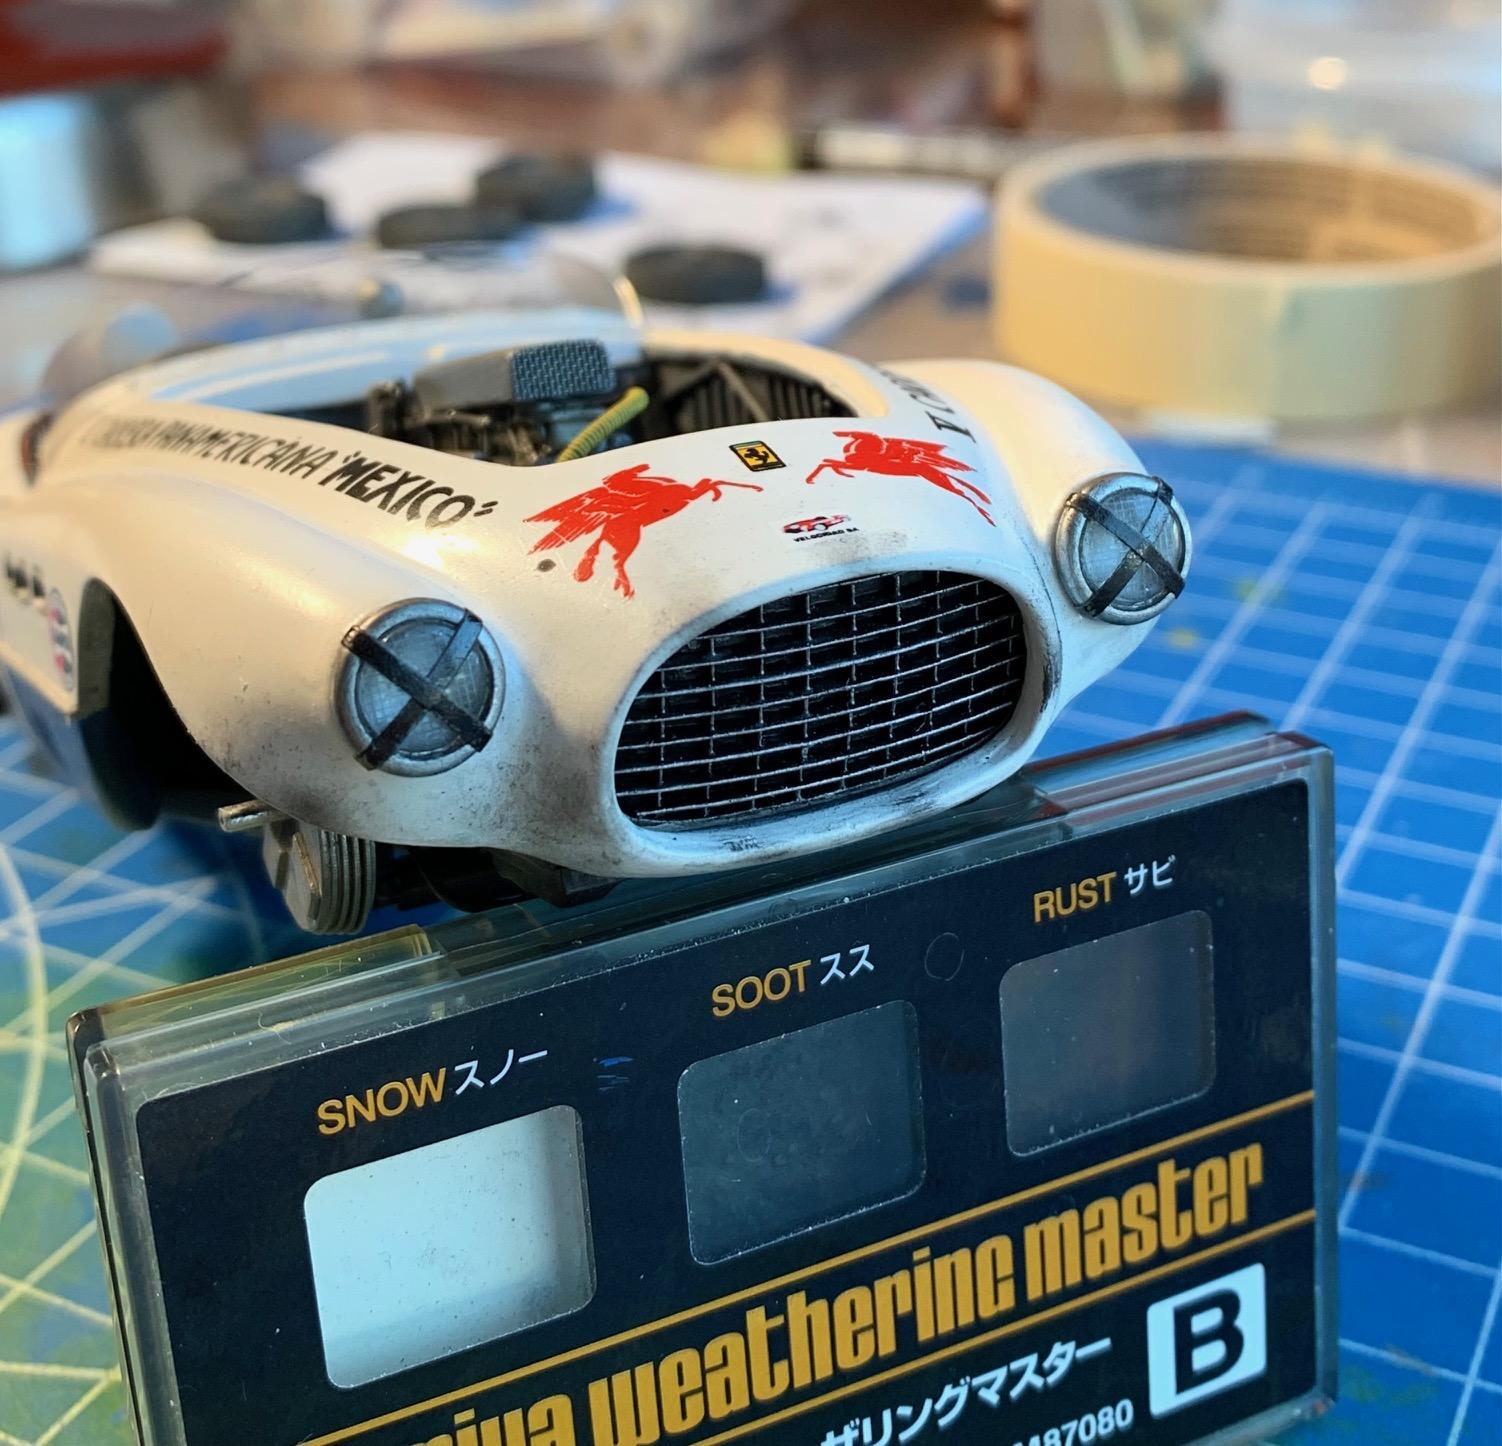
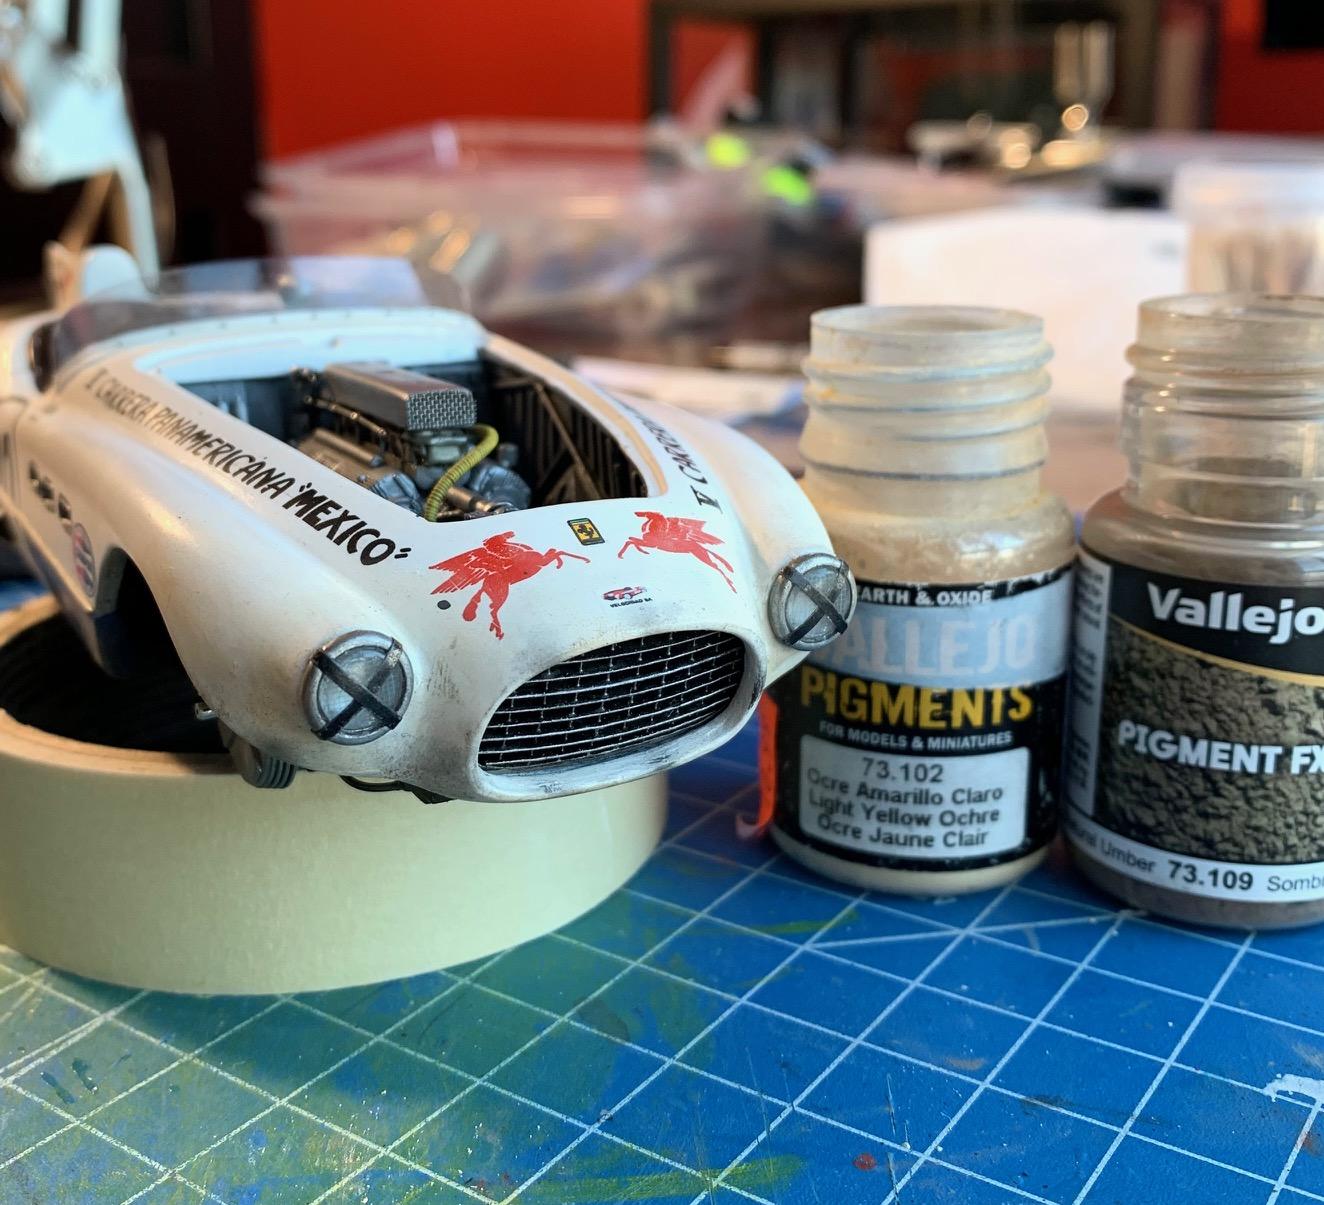
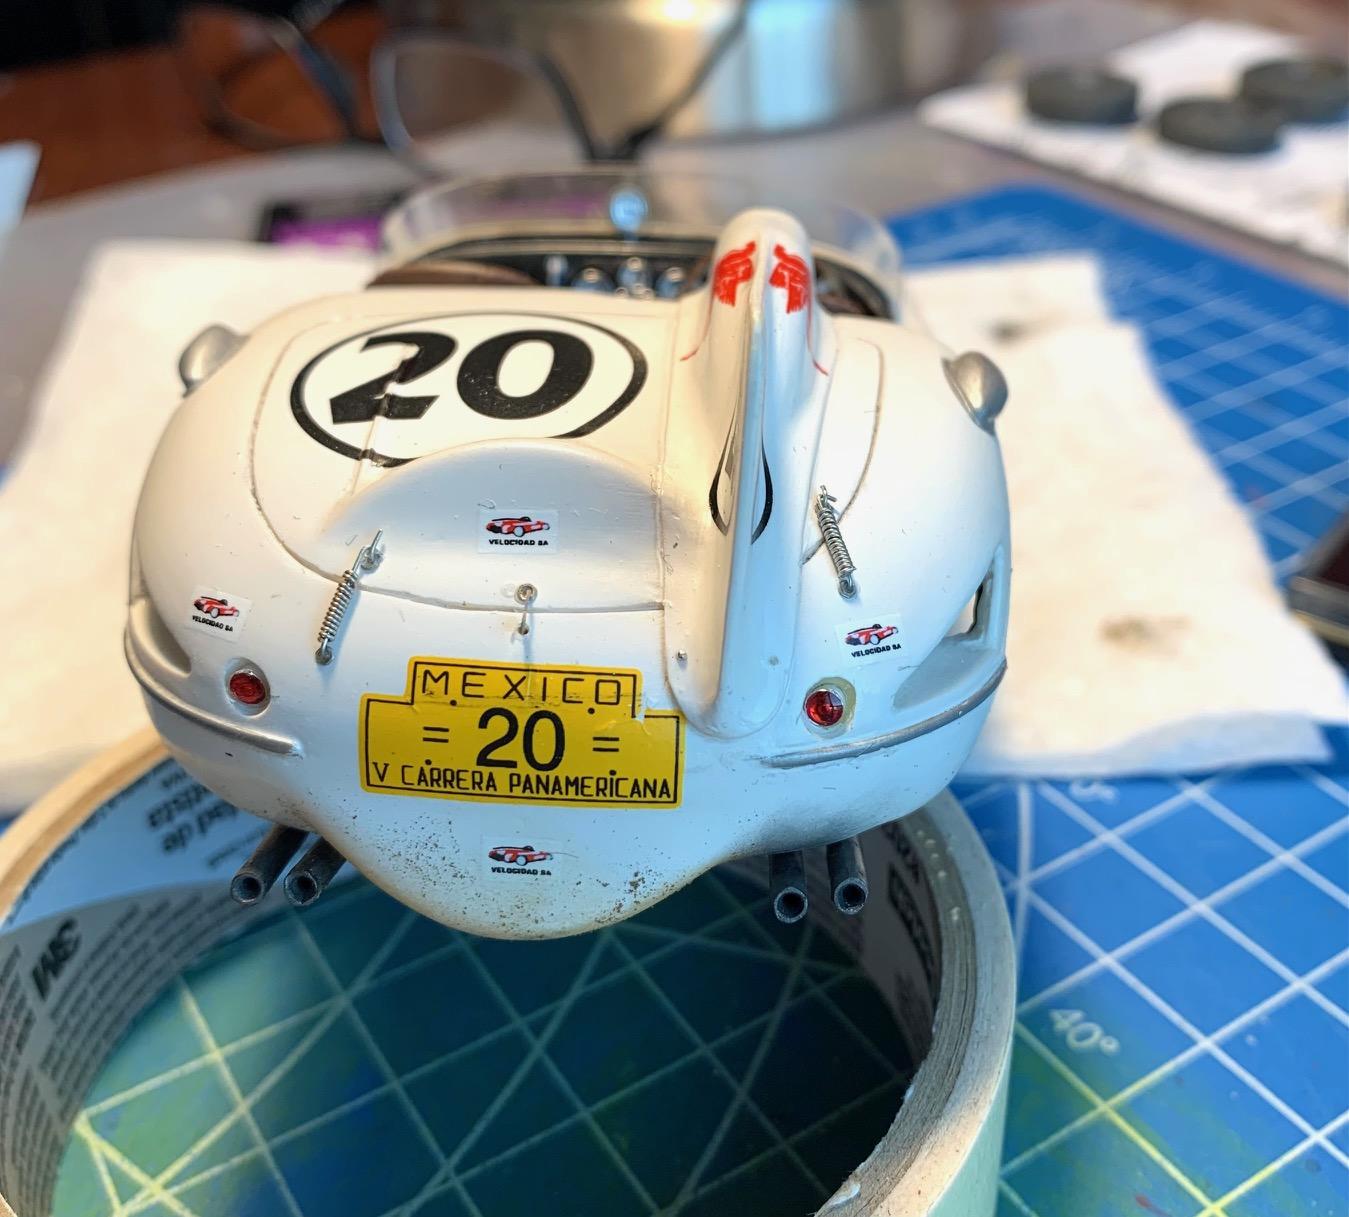
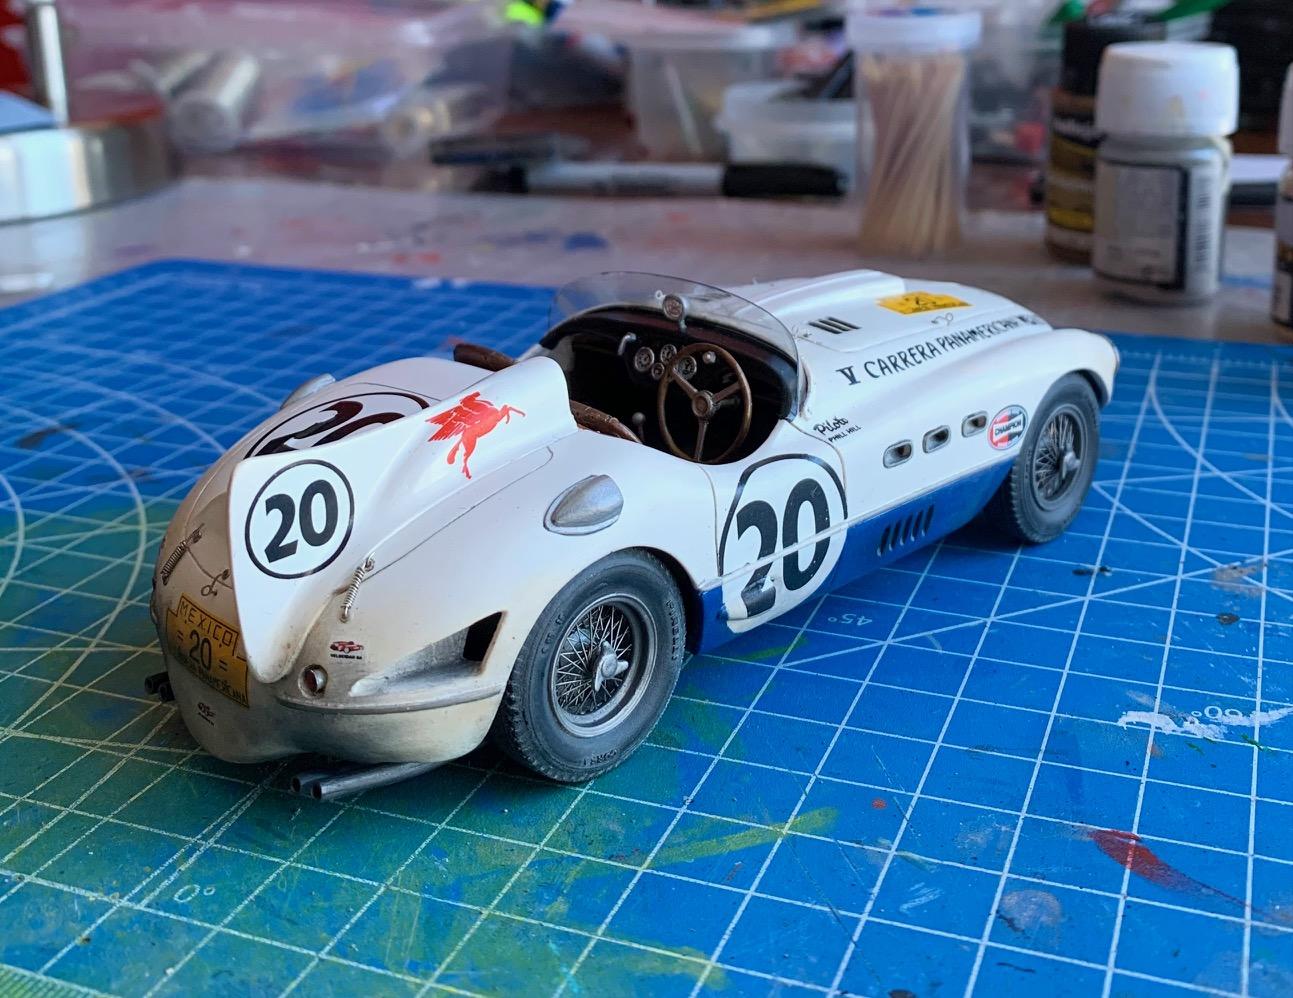
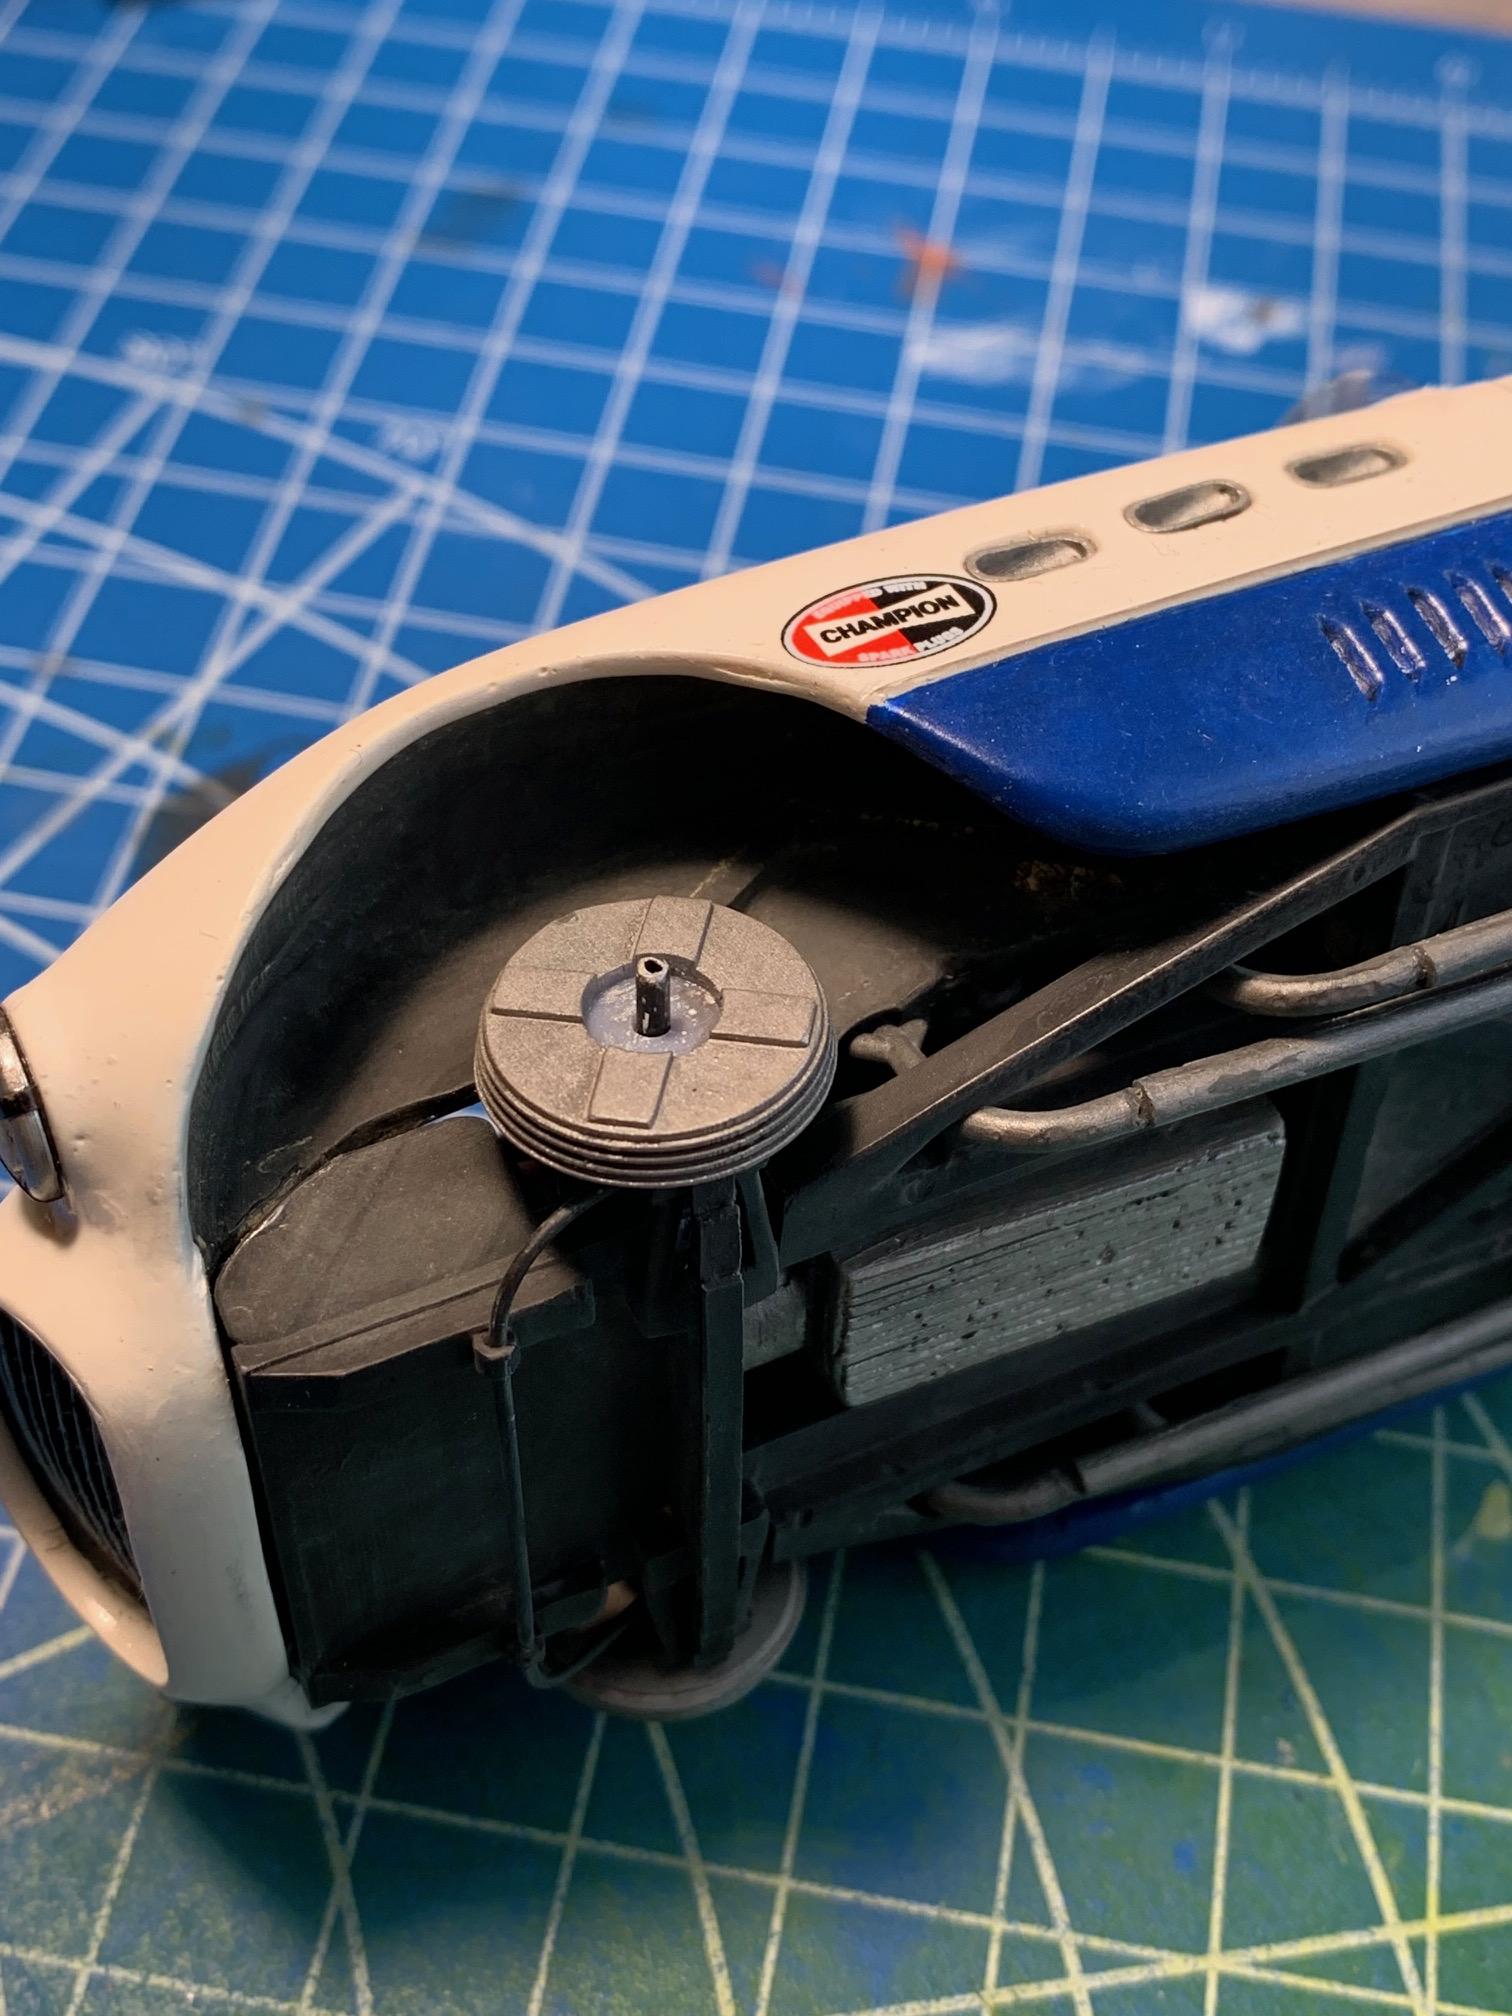
Final update for this build. Weathering of the body Windshield done with Tamiya oil stain weathering master and a small brush... trying to replicate road grime and bug splats Sides of body, started with dark weathering master to stain lower side number rounders and louvers, then using a variety of light coloured pigments to replicate dust pick up. More on lower part and gradually less moving into white section. Front nose, a few random bits of oil stain Tamiya weathering and then the same blends of light pigments Rear end received gradual applications of light and medium pigments and finishing with some dark steel to replicate exhaust soot Wheels installed and voila! This one is done.
-
Maserati A6GCS Spyder
Pierre Rivard replied to absmiami's topic in WIP: Other Racing: Road Racing, Land Speed Racers
I really like the result achieved with silver solder for exhaust manifolds. So the low temp solder does not melt the silver solder but still blends in and fuses in? Must be a delicate operation. -
Guess what it is.
Pierre Rivard replied to MarkJ's topic in WIP: Other Racing: Road Racing, Land Speed Racers
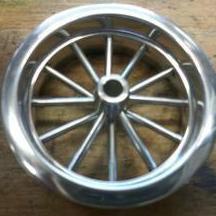
Yes, typically 1950's wheels had 72 spokes. British cars usually had a 2 rows. 24 spokes from front of hub to back inner rim and 48 going the inner side of the hub to the forward part of the rim. Italian cars had a 24/24/24 setup... I think... Good luck making these. Comforting knowing there is someone crazier than me out there...😃 -
Don't go away Ken, I can really use your advice. Tried to add a bit more. Perhaps making a pigment paste to go there and wiping off the excess would be better but I've never tried that before. Might be a bridge too far for my skill set...
-
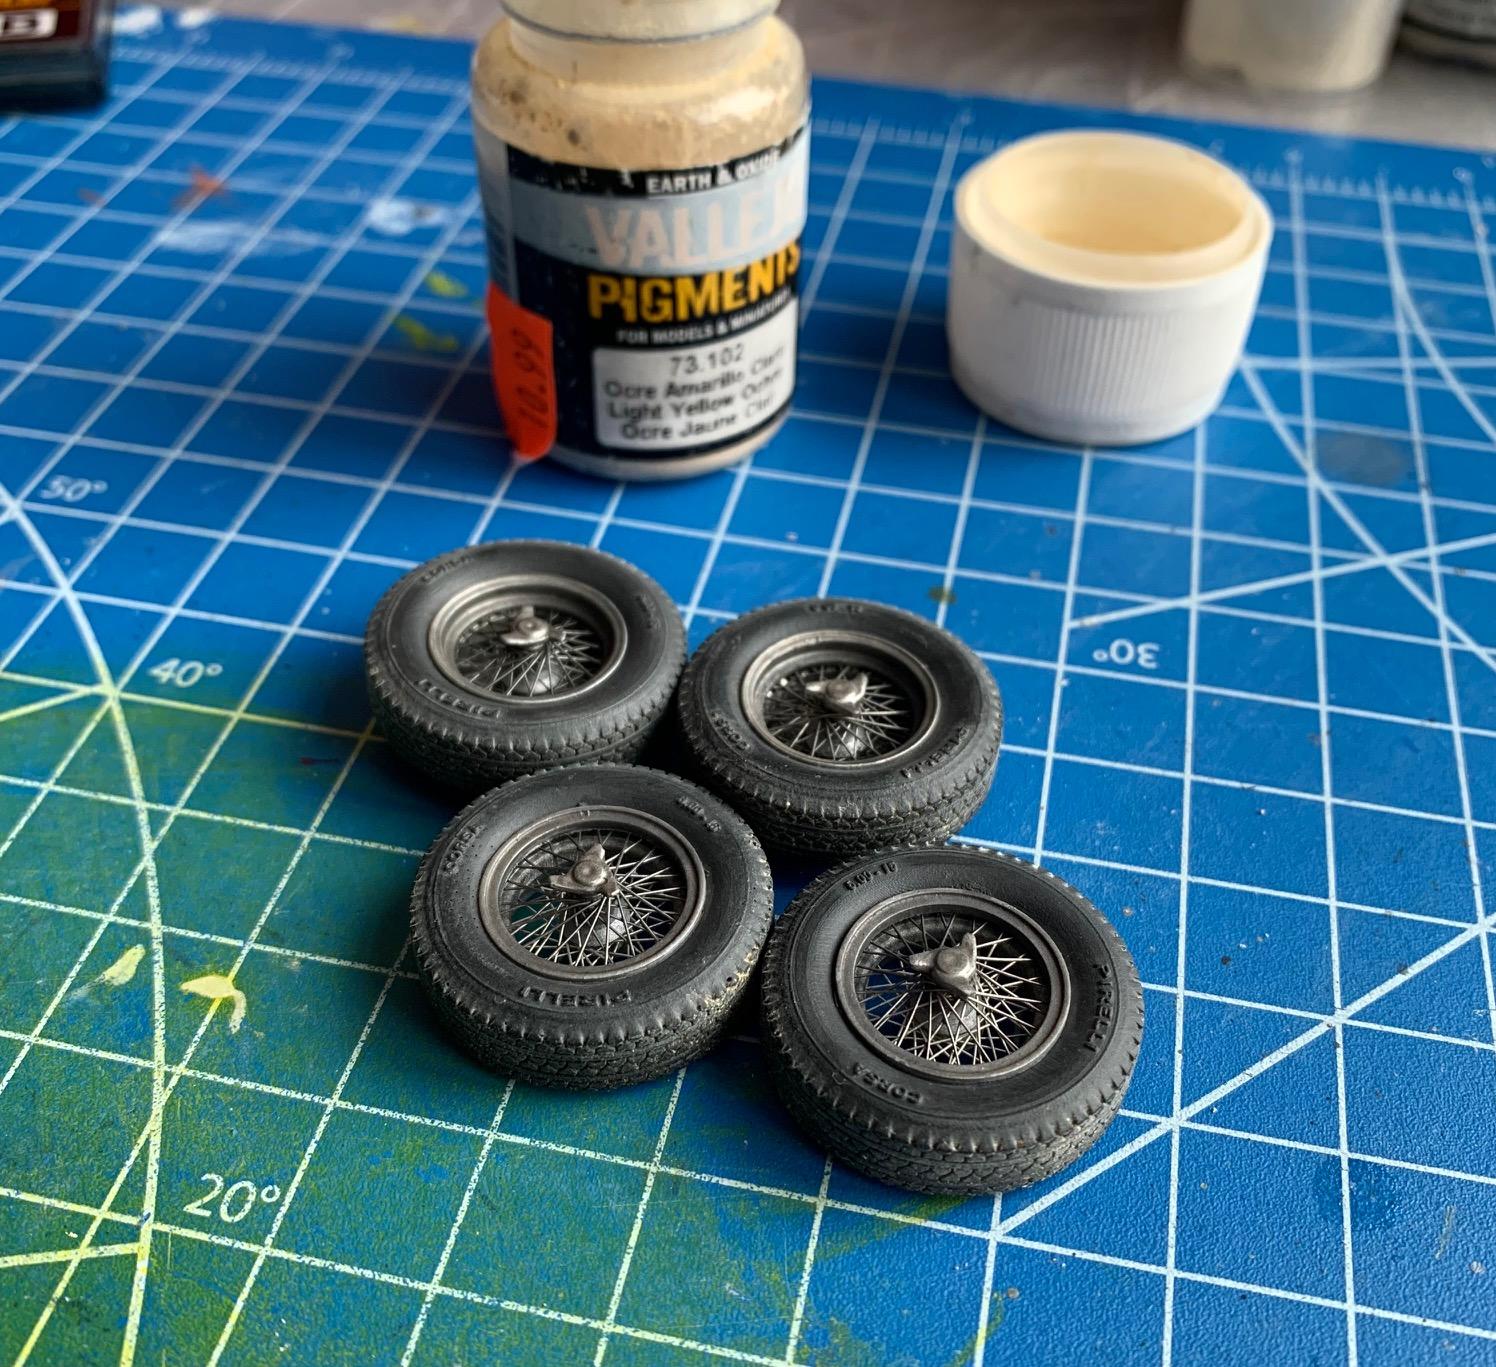
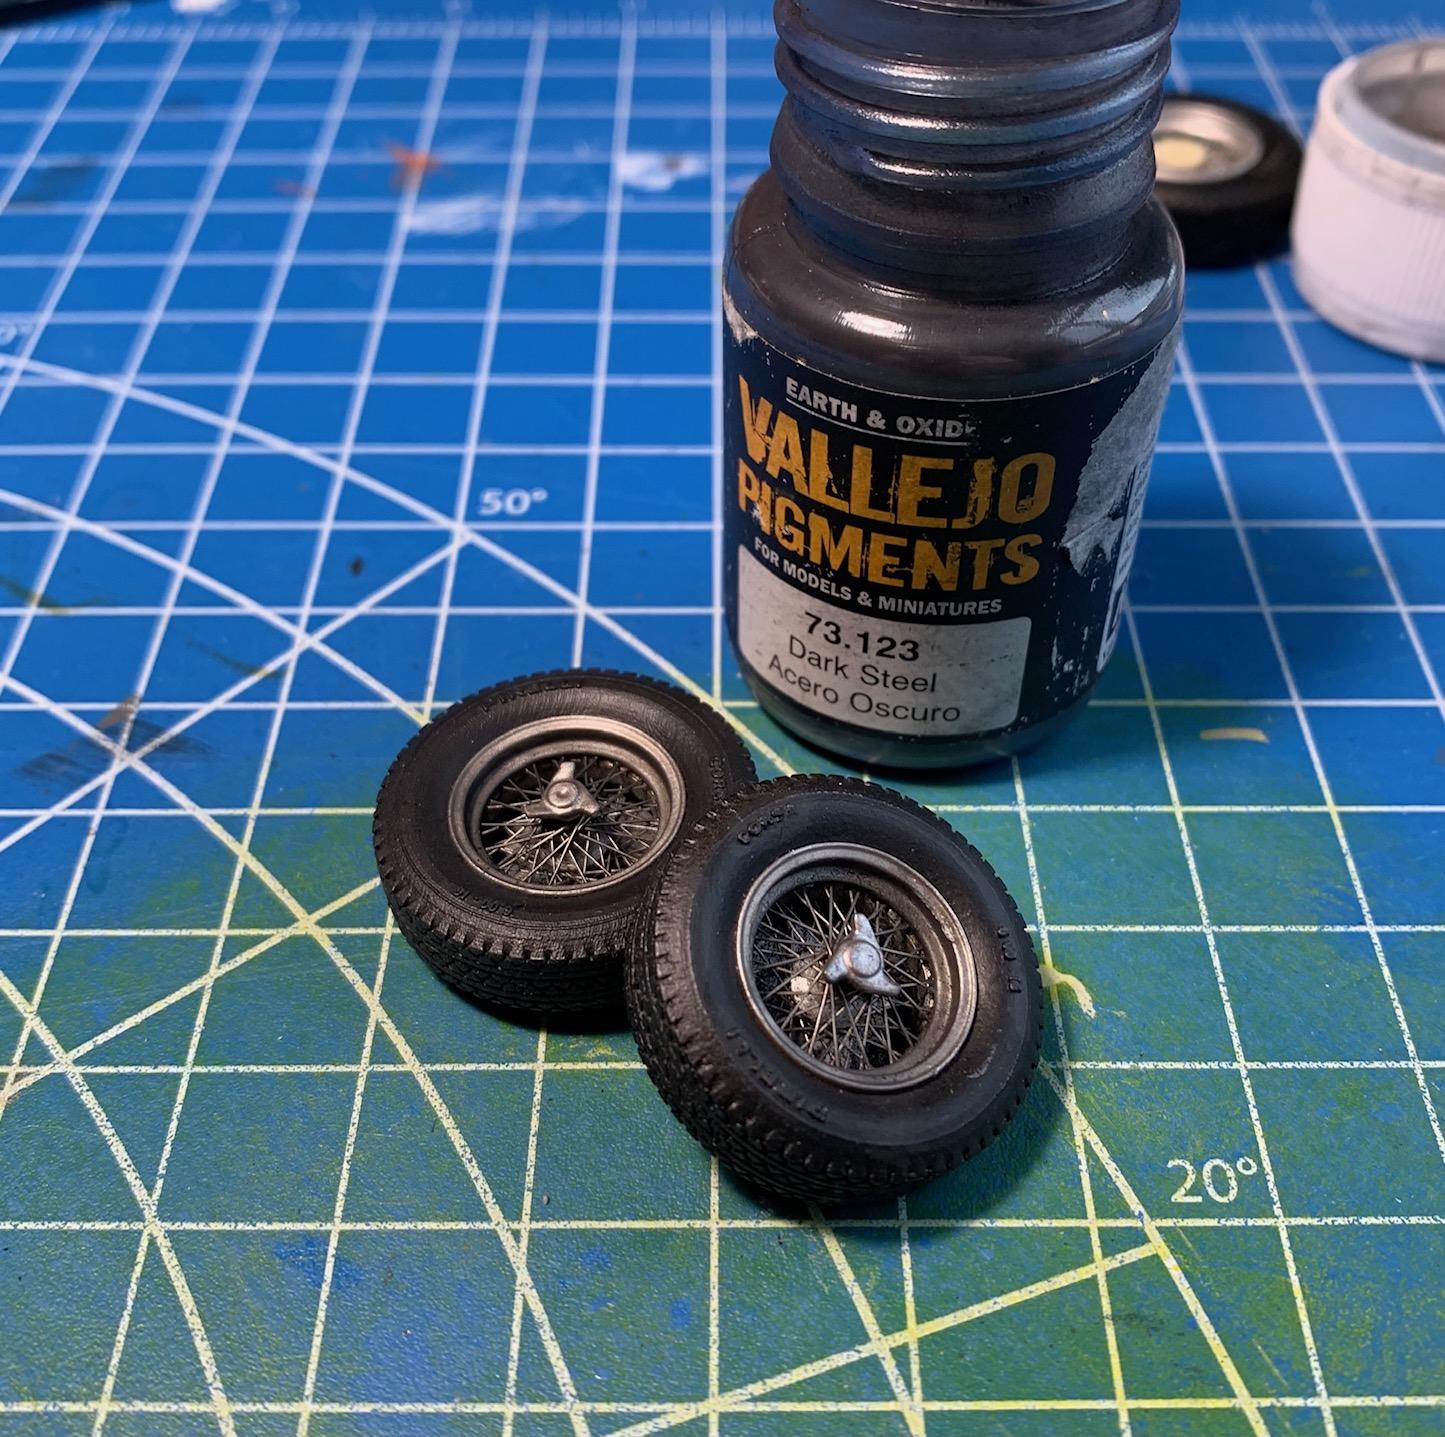
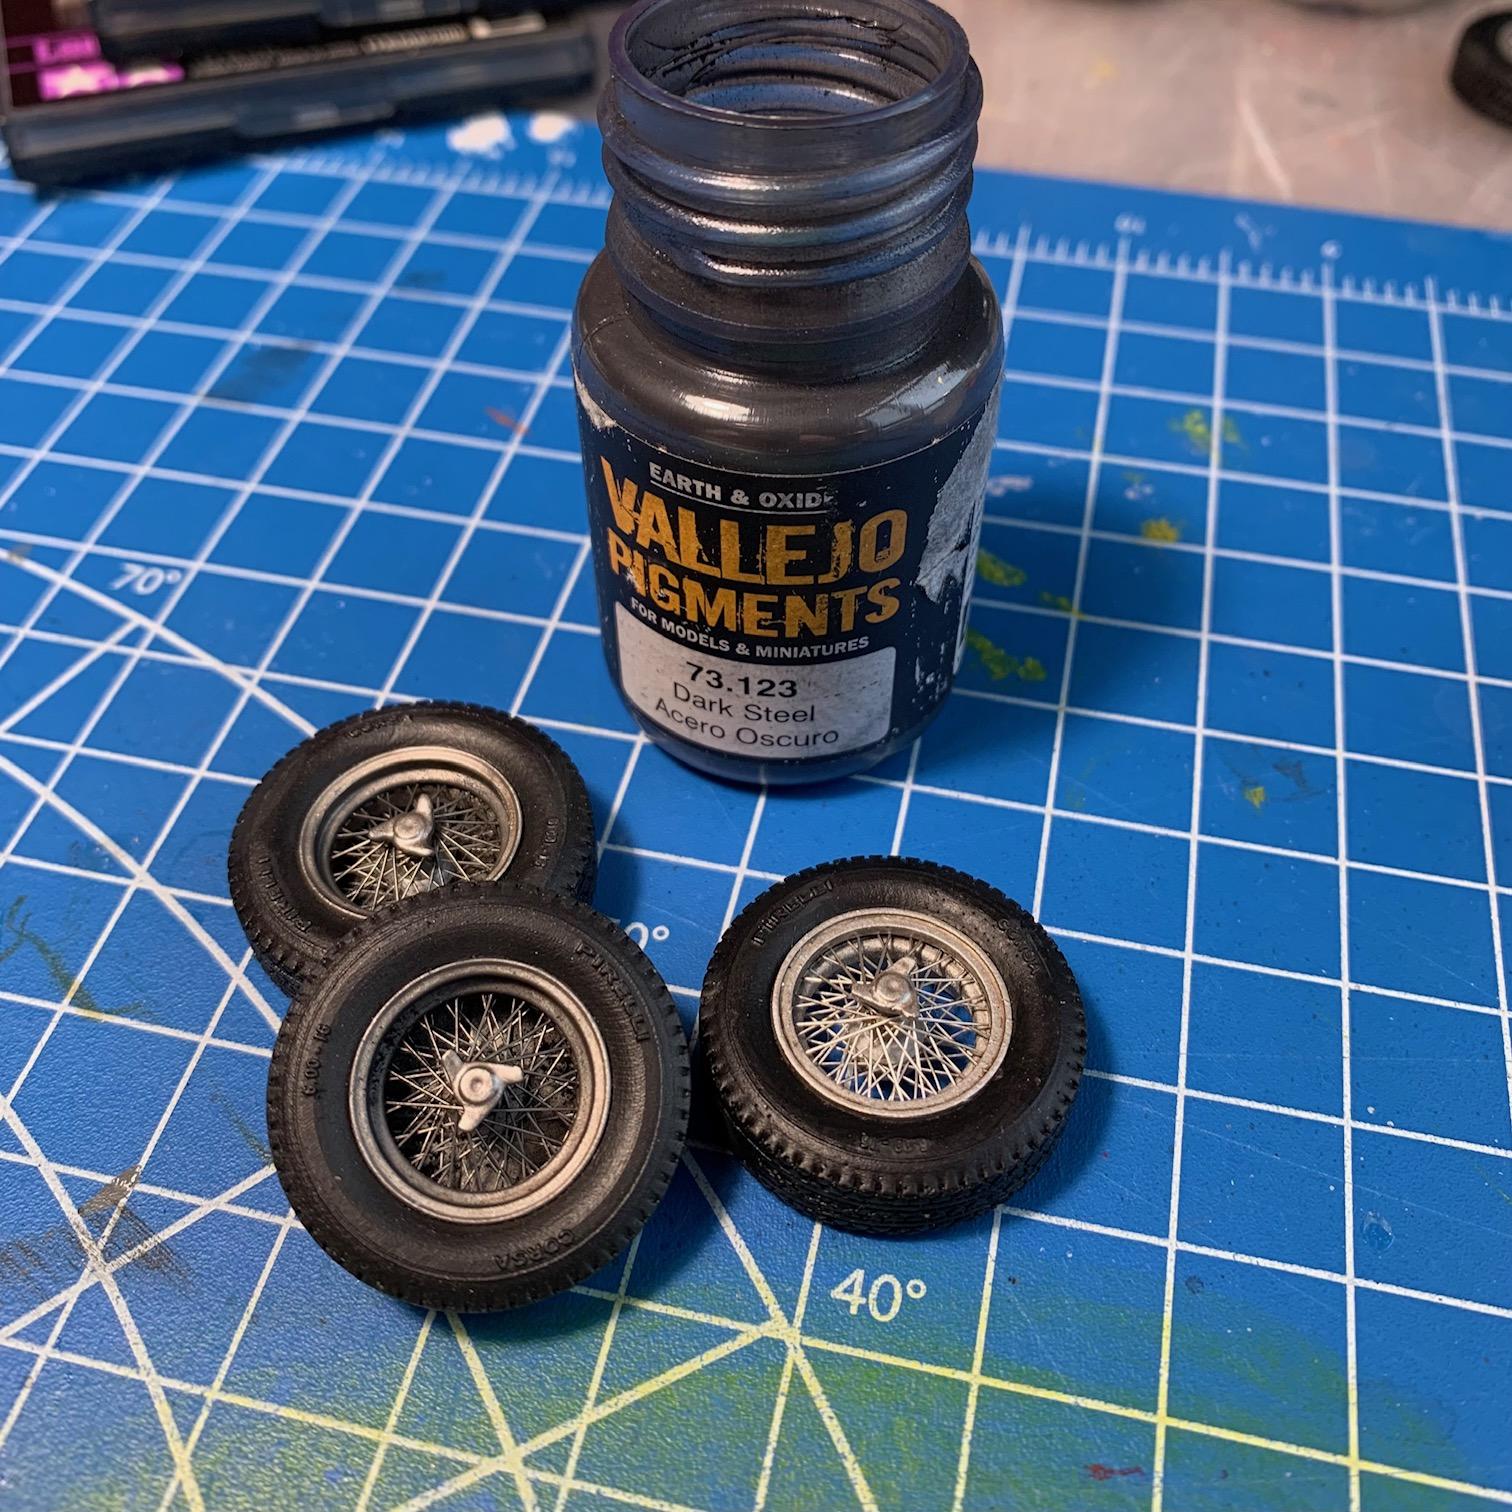
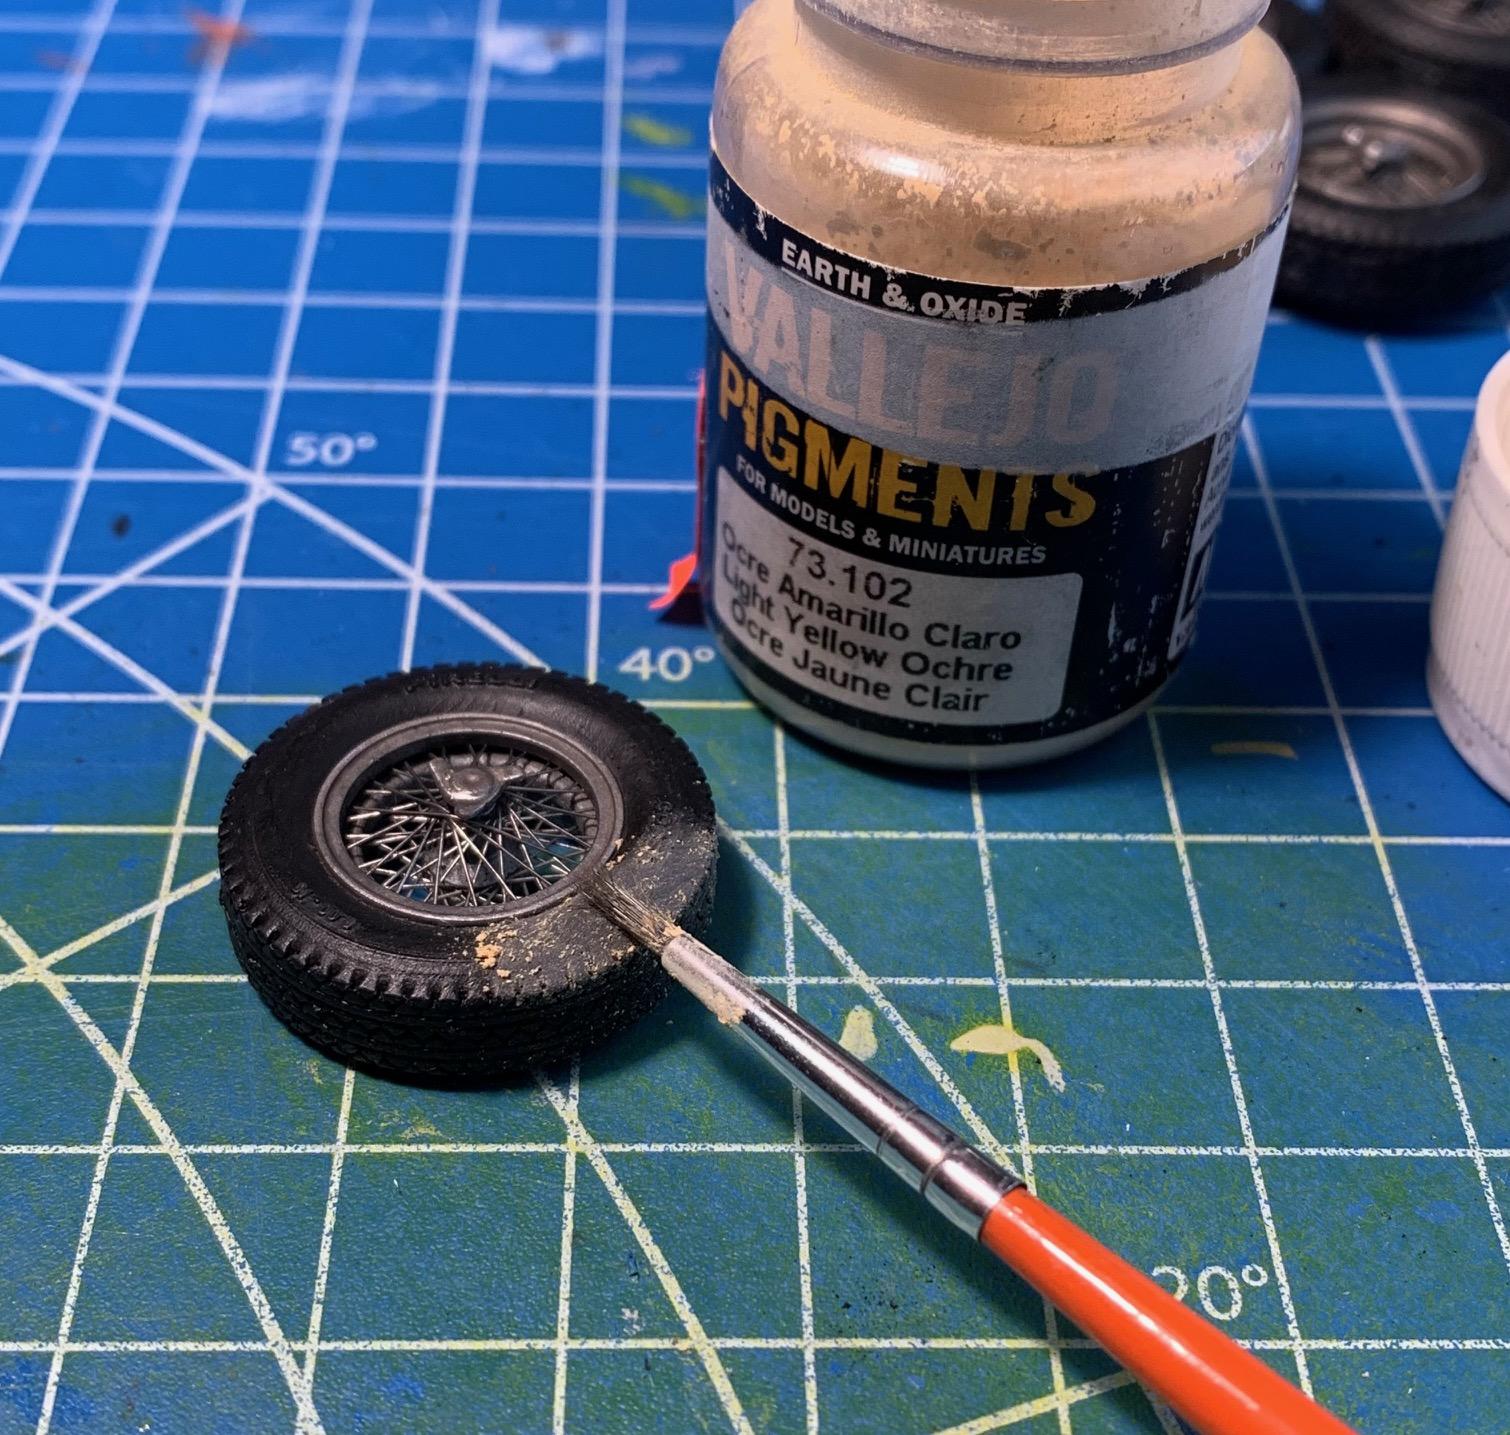
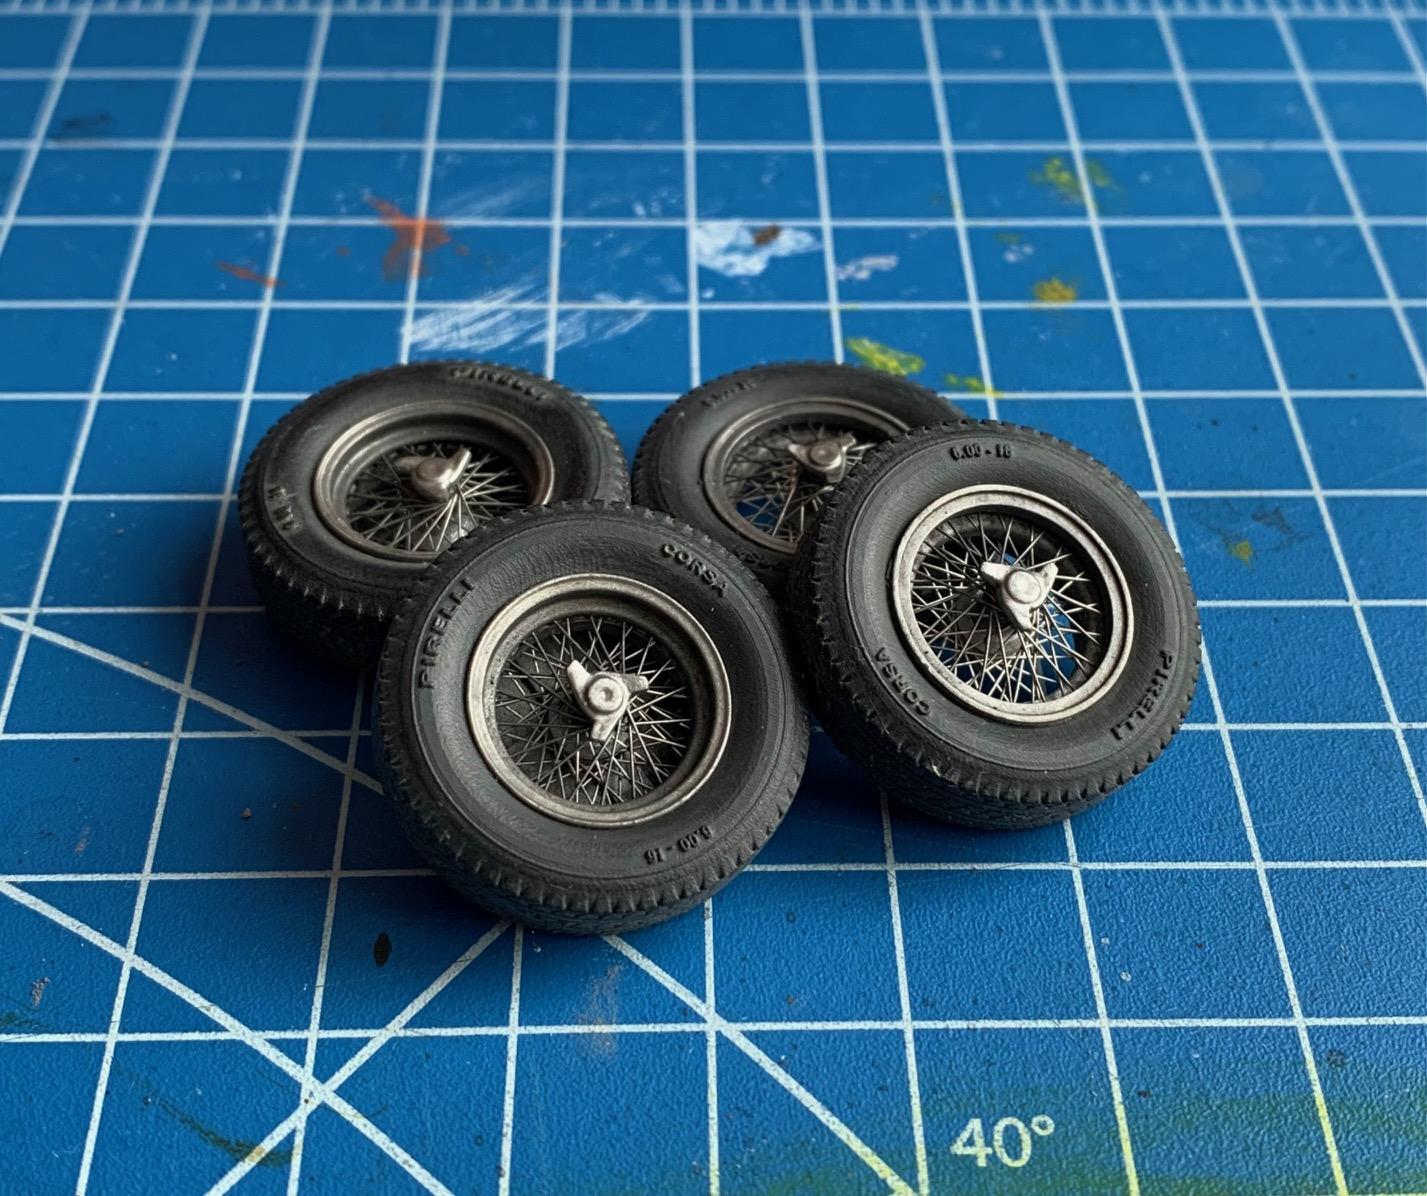
Moving on to the second easiest, wheels and tires. Apologies to those offended with my messing up of beautiful Pinto hand laced wheels but I like the grimed up race weathered look. The idea is to replicate grime and brake dust on the wheels and road debris/dust pick up on the tires. Again the wheels were initially sprayed with a metal clear primer, then a flat clear, then on to the pigment application. Wheels get the dark steel pigment and the tires the light ochre. On the second photo I show one of the wheels without pigments to highlight the difference.
-
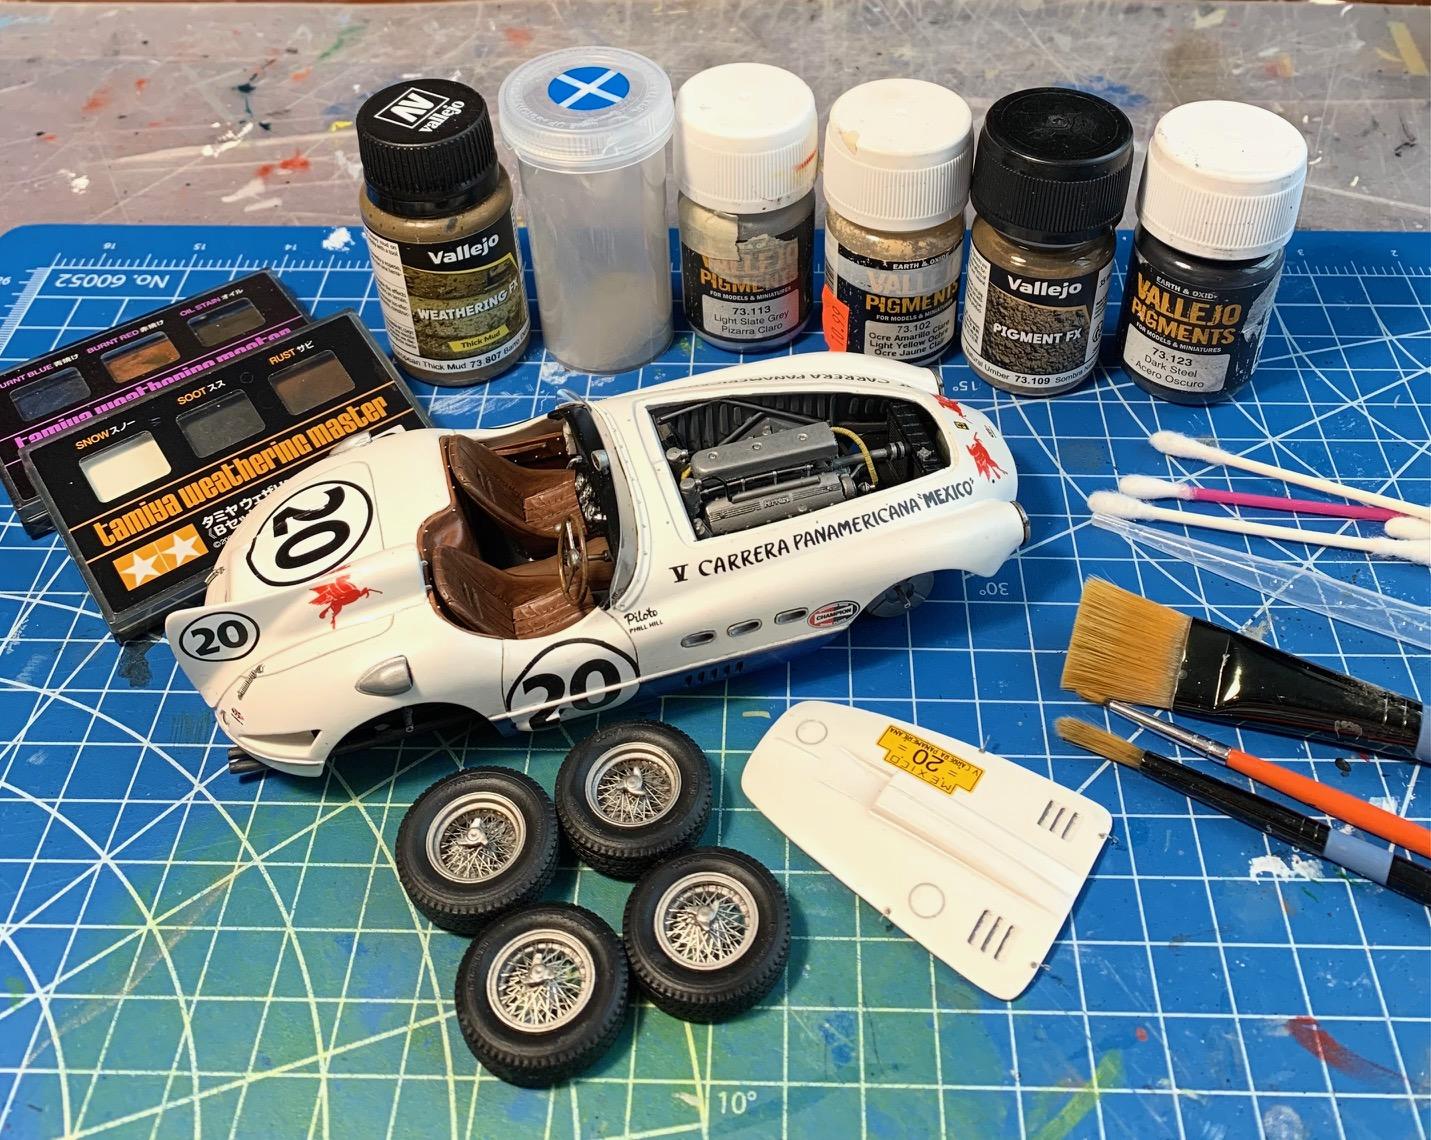
Pictures of the tools and materials, then starting slow with chassis and wheel wells. Everything was pre painted with a flat clear to allow the pigments to hold on to the surface. Any excess is brushed off or rubbed with a finger.
-
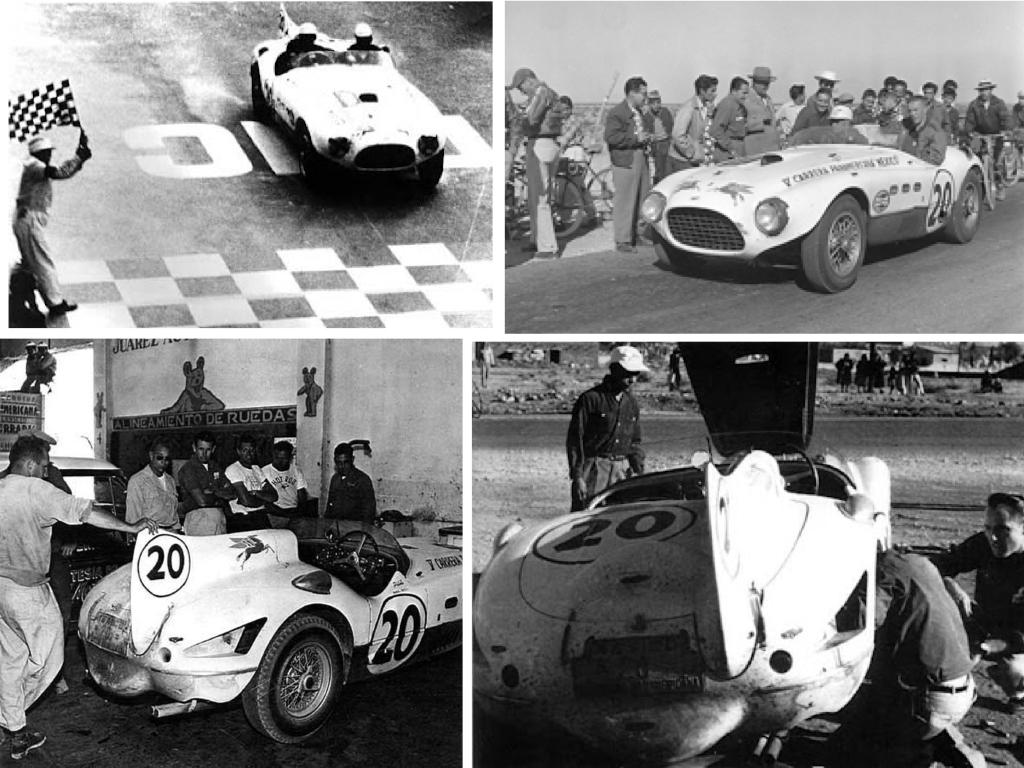
The process of race weathering starts. This being a white car a little bit can easily appear to be too much. My unsophisticated method relies on washes, dry pigments and Tamiya weathering sets (pigments with some binder) and the tools are brushes and sponges. Sharing first are a few period photos. The car constantly changes as the event was run over 5 days and perhaps daily cleanups were done. The car appeared to pick up a fair share of dust, some bug spatters (nose & windscreen) and exhaust soot to the back end.