-
Posts
118 -
Joined
-
Last visited
Previous Fields
-
Are You Human?
yes
-
Scale I Build
1/24 1/25
Profile Information
-
Full Name
Chris Brew
Recent Profile Visitors
4,611 profile views
Chris B's Achievements

MCM Friend (4/6)
-
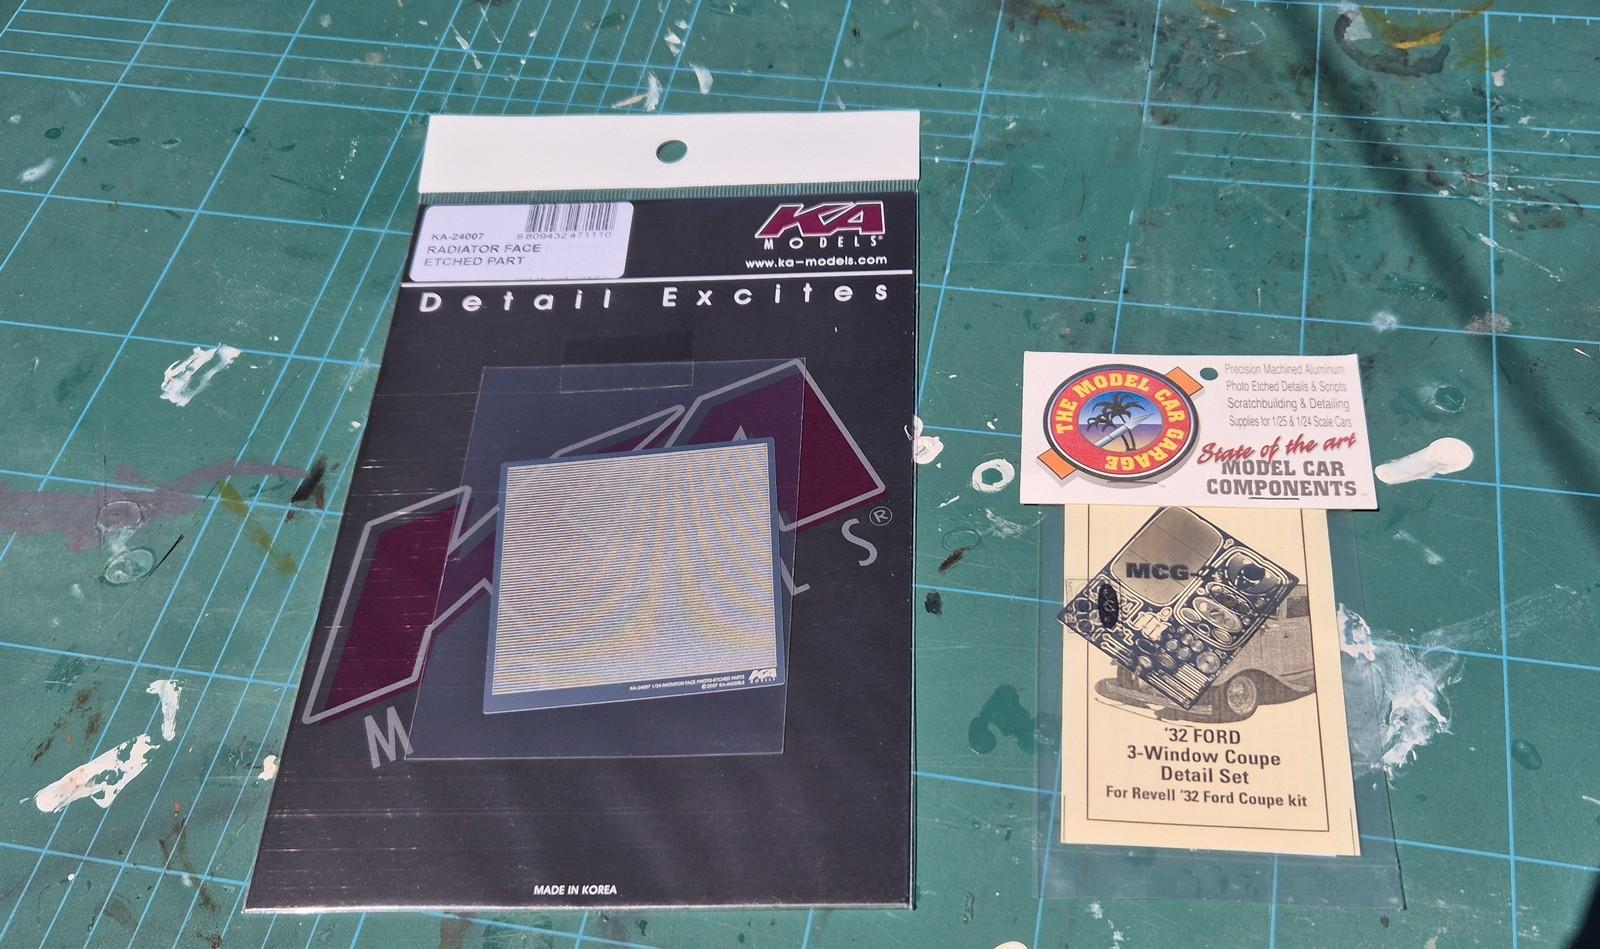
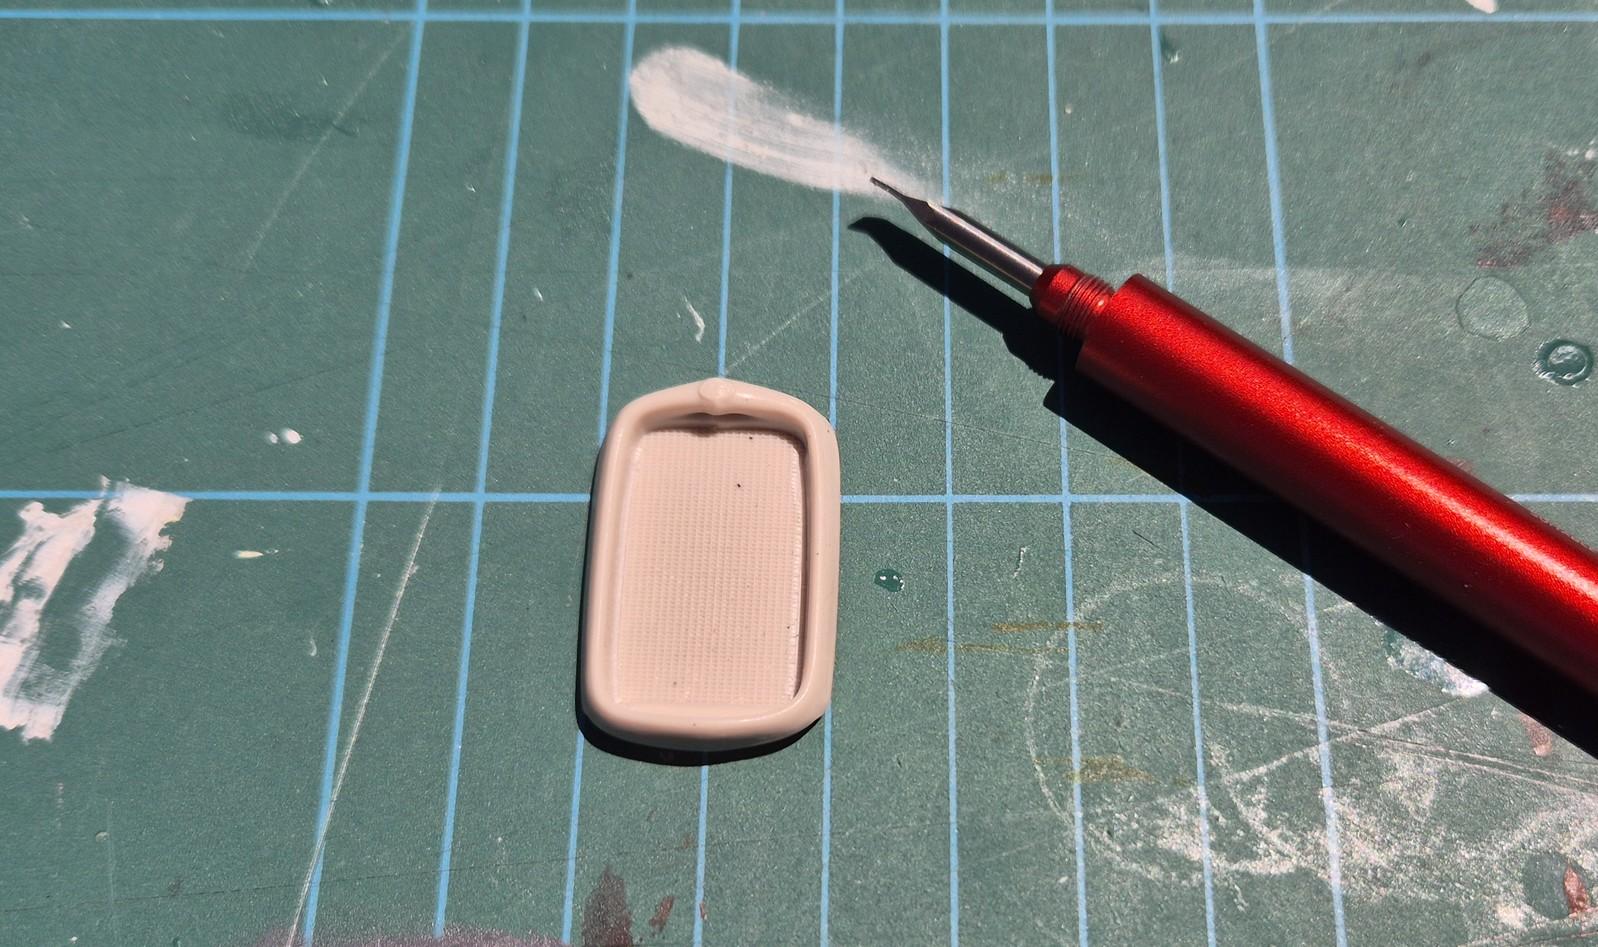
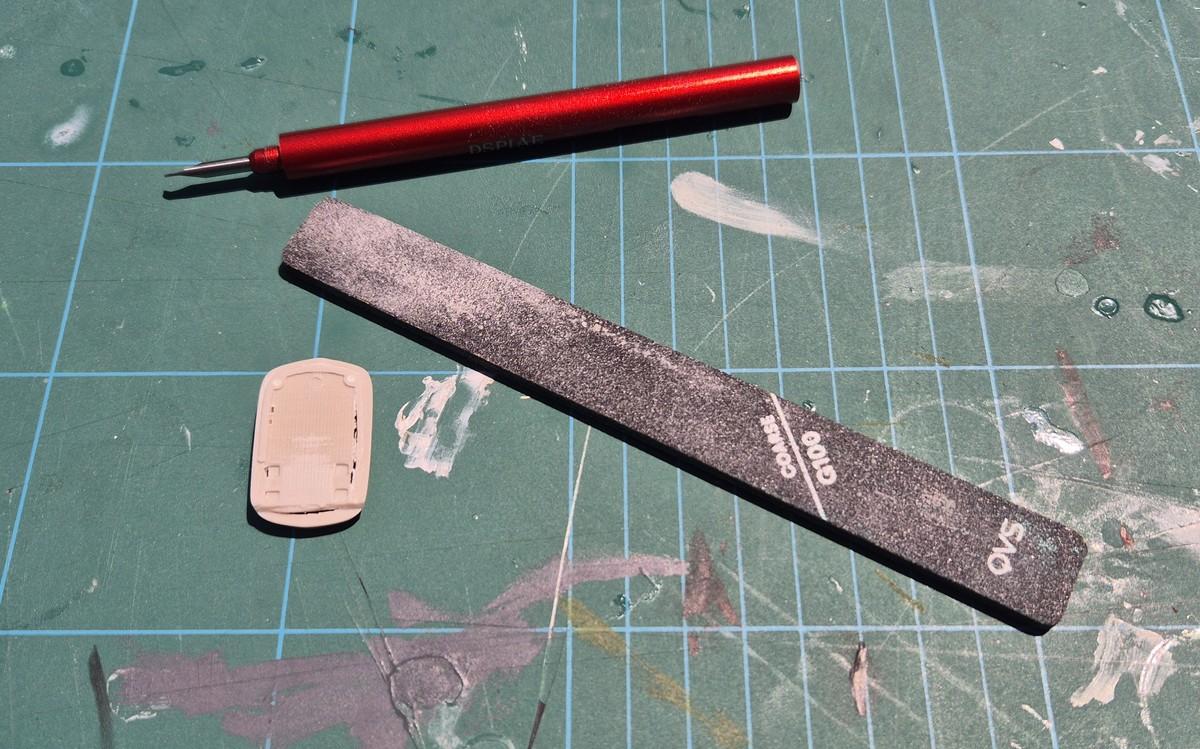
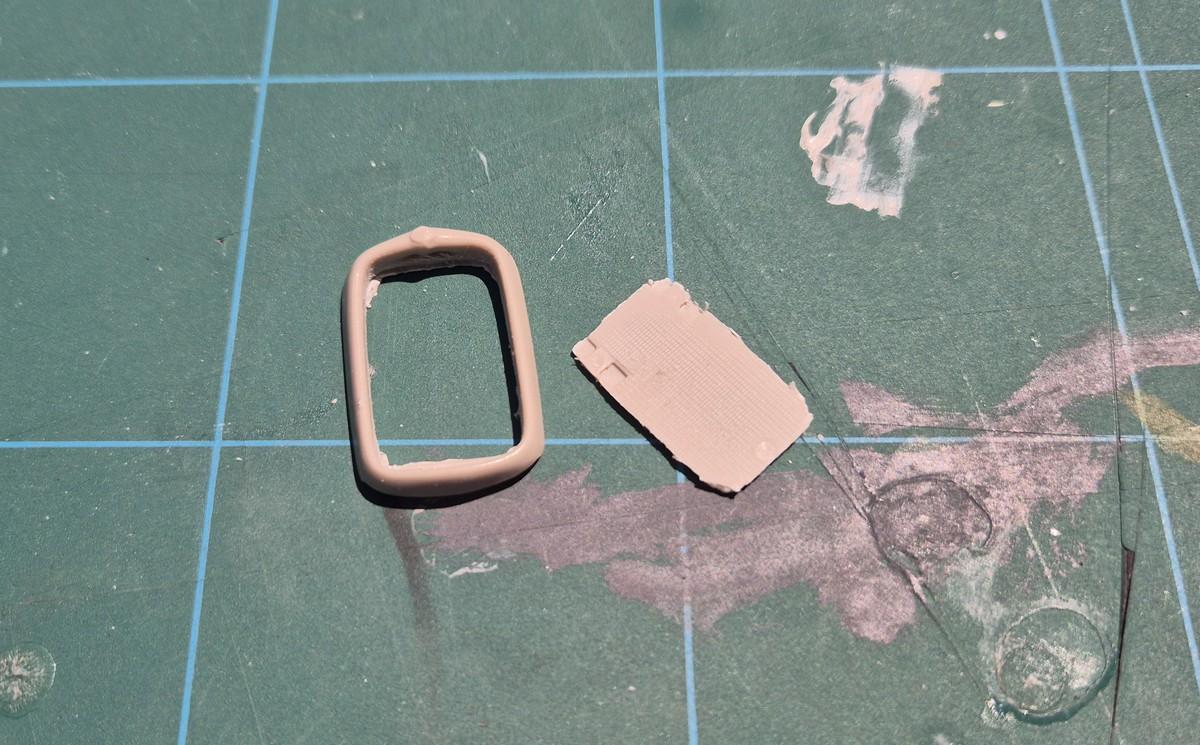
Well while I've been of work recovering I ordered a few goodies for this and another model namely a photo etched radiator face and I already had a grille put aside. The radiator is molded as part of the grille surround on this kit so I got out the scriber and scribed around the inside of the grille shell. And sanded down the back until I reached the scribe With a little bit of smoothing and some more material removed from the top back to more simulate a better surround thickness this should be good
-
And they wear out with time
-
My dehydrator is a good size, I did think of that and checked before I got too far to check that it would fit
-
-
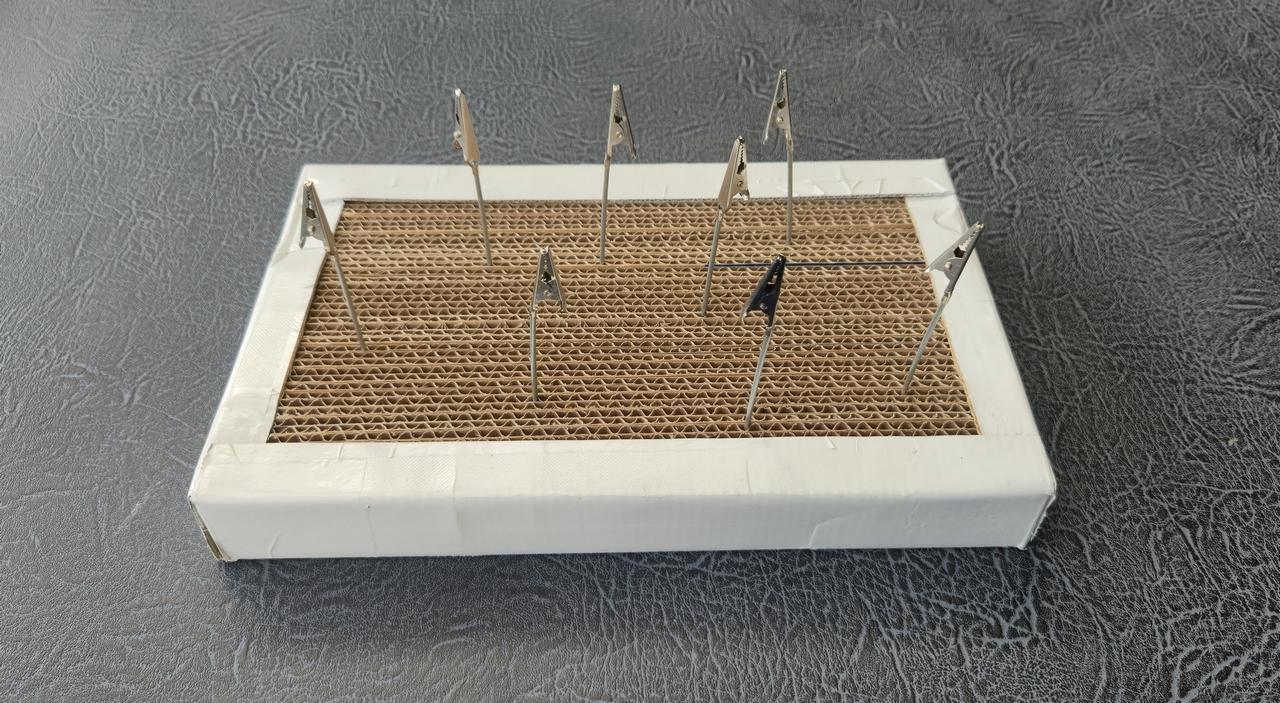
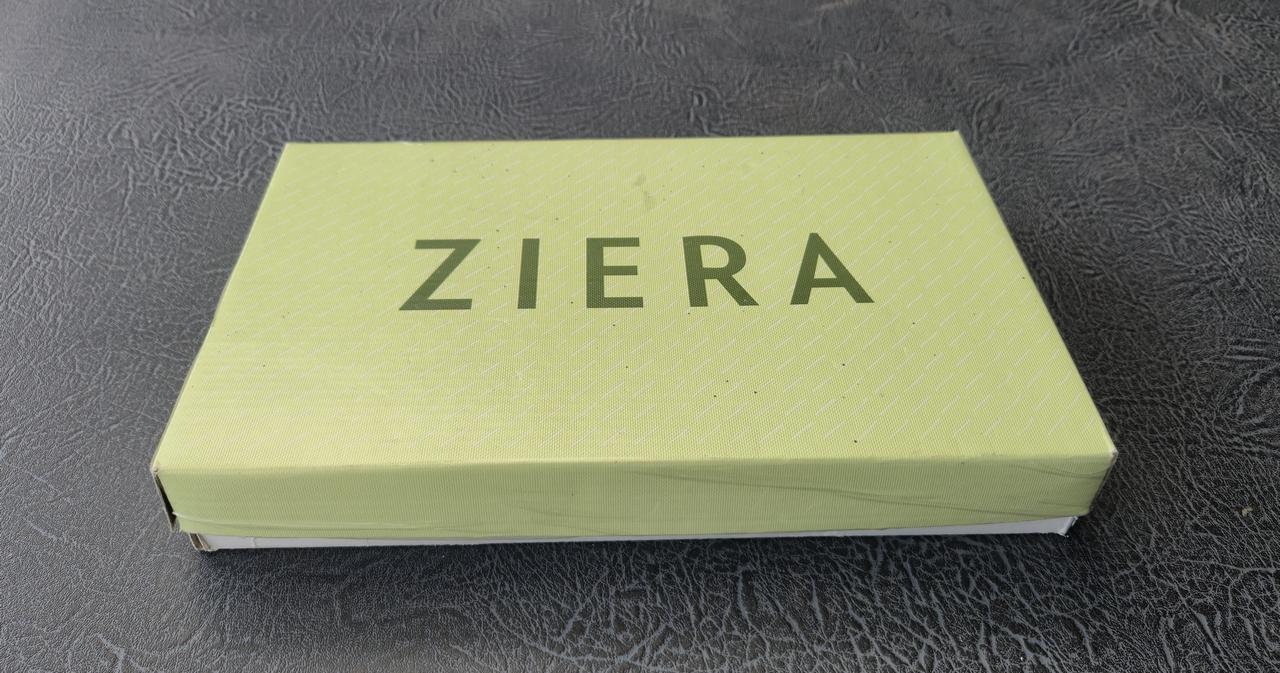
I saw something like this on a YouTube clip the other day and it got me thinking. I rummaged through the local supermarket cardboard box pile looking for a suitable corrugated cardboard box with suitable sized coronations (With there permission of coarse) I cut strips using the width of a steel ruler to get all of the strips the same with an hobby knife cut them all the same length to fit into an old shoe box that a model kit came packaged in that I had brought online. Once I had enough of them I glued them all together with PVA glue. I cut the shoe box down to the desired height and then glued the stack of cardboard into the box and folded the top of the box down to form a frame. The lid still fits the box to protect the coronations when not in use I think I have got a pretty good useful clip holder for next to nothing the only thing that cost me anything was the PVA glue and I brought that over 20 years ago
-
Chris B started following '57 Ford Pickup Conversion Started and Monogram Quicksilver rebuild / mod
-
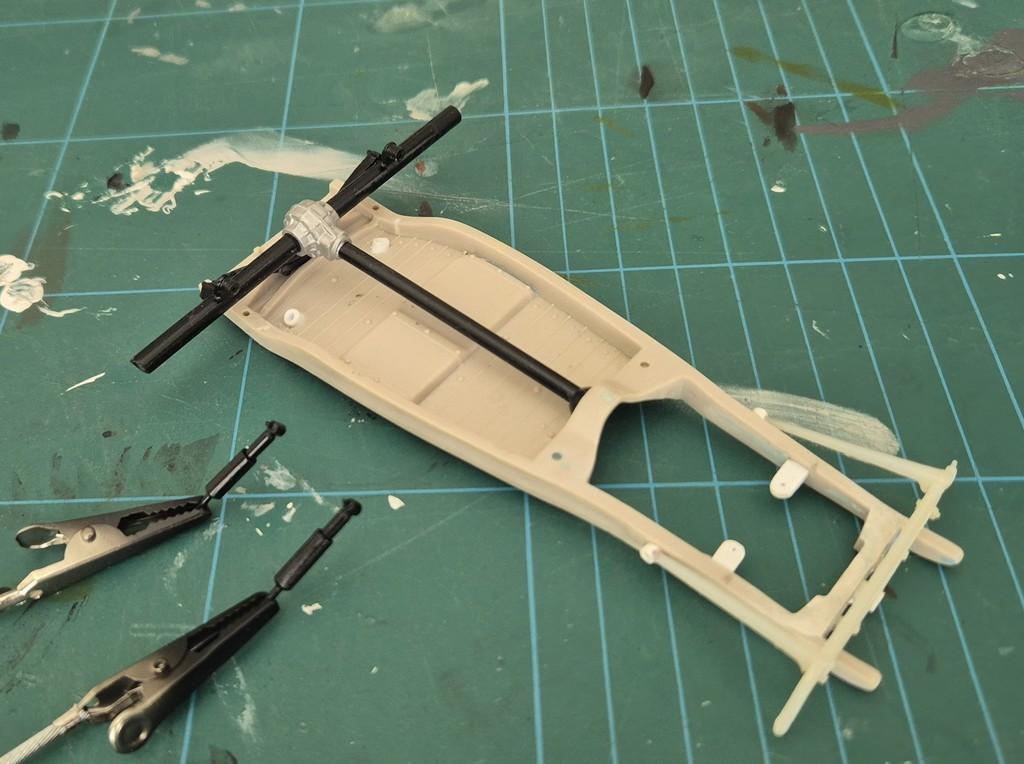
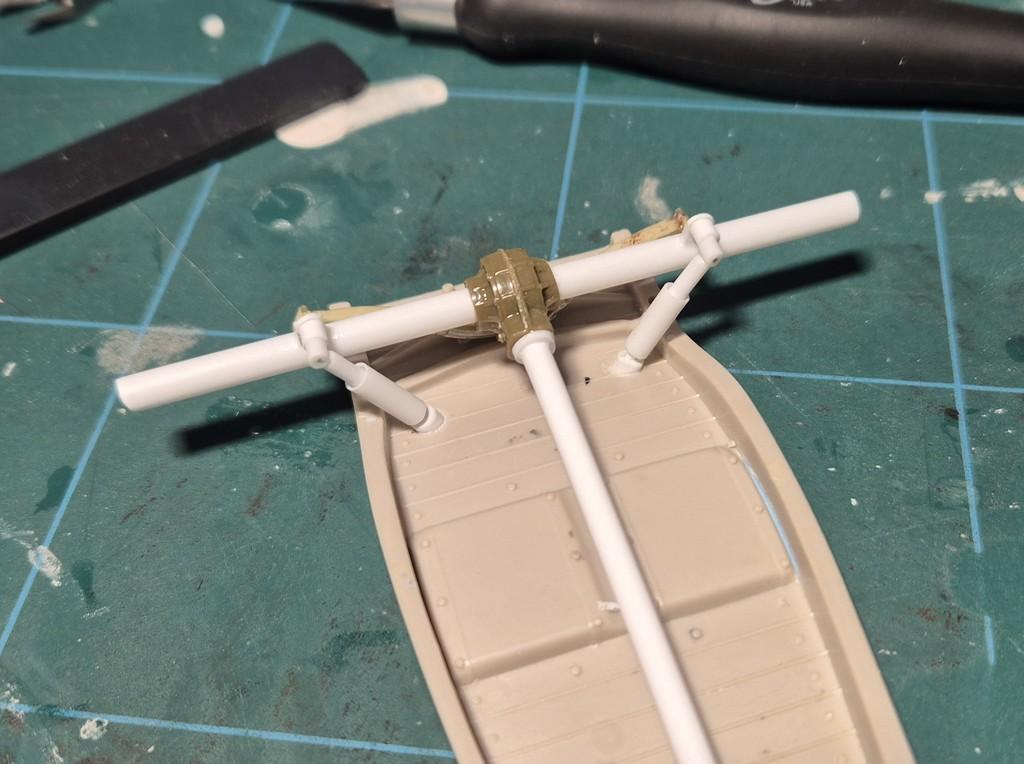
Thanks David Yes some early vehicle did have leather boots on the driveshaft. I originally planed on painting the driveshaft tube (Bear in mind it is only a tube not the driveshaft as the driveshaft runs inside the external tube which acts as a locating device and is attached to the end of the gearbox with a ball and socket arrangement) aluminum color and then I saw a full sized vehicle with a similar diff arrangement and the nugget was the only aluminum part, Now I'm not sure how I want it to look.
-
Well it's been 3 weeks today since I had surgery to replace my right hip joint, all has gone well and today I felt like I could sit at the bench long enough to do something. it's not much but I got a bit of color on the rear axle and shocks. I'm contemplating whether I should paint he driveshaft tube aluminum also, what do you think?
-
Thank you all for your wishes, much appreciated
-
Looks nice. Should be a sweet build when finished
-
Well it looks like I may not be getting too much done on this build in the very near future. I have finally got my appointment for my total hip replacement and it is only a couple of weeks away baring any issues. About a month ago I had to have a CT scan with contrast die added and the next day I broke out in a total body rash that has mostly healed up because of the cream they gave me to smother myself in but unfortunately there are two spots where it has not completely heal one being on the hip right on the site that the incision will be. When I had my pre-opp appointment yesterday they were not happy with this and have insisted that I see a GP Nurse at my Dr surgery everyday for the next week to monitor the rash, photograph and measure it and do everything possible to get it to heal in one week so that at the end of that week they can decide if they are going to proceed with the opp I have also purchased a new PC that I am currently transferring everything from my old PC to the new one so I will not have too much time spare to work on the model between now and surgery. I am hoping to finish painting the rear diff and shock absorbers however. I will then pack it away until I am sufficiently healed enough to sit back at the building bench
-
Thanks David I really appreciate it
-
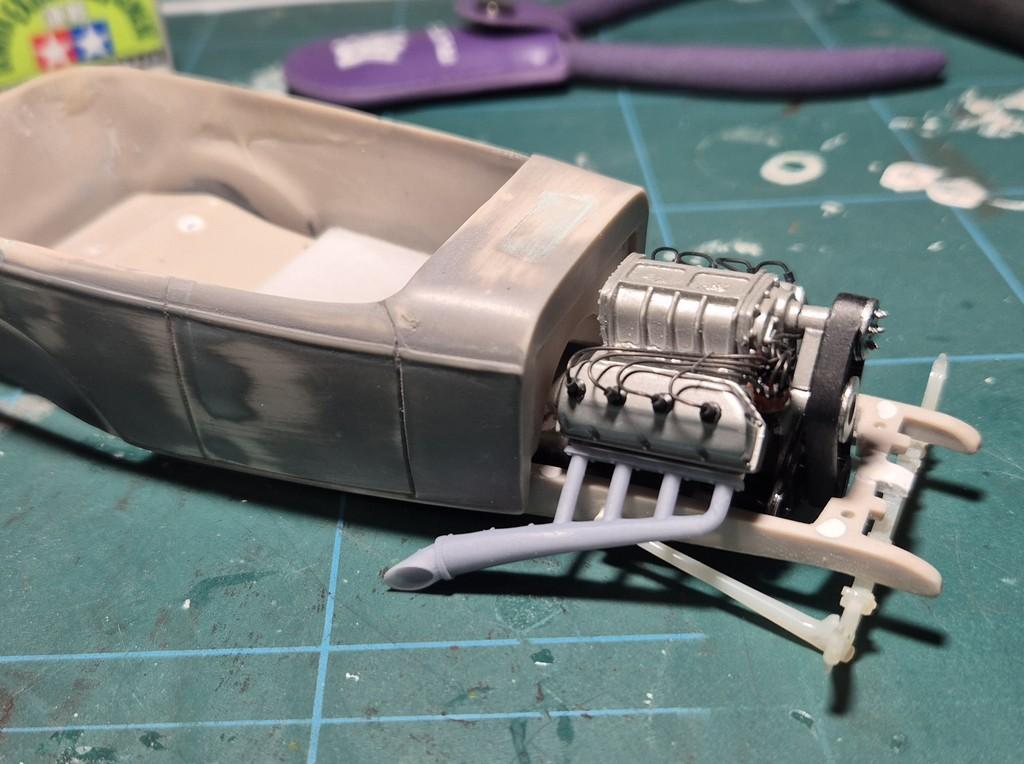
With the rear end finished I threw some color on it and while waiting for it to dry I moved on to tackling the exhaust starting with the Lakester style headers. I had to make a wedged shape piece of styrene to glue between the head and header flange to raise the angle of the primaries up so that they would not interfere with the chassis rail/ I took this opportunity to drill some holes and super glue styrene locating pins to the header flanges. It is my intention to run an exhaust pipe out of the back of the headers under the vehicle some how.
-
Chris B started following Rocking Rodney Rat
-
Beautiful model. What do you use to paint the exhaust/trans etc?
-

