-
Posts
107 -
Joined
-
Last visited
Content Type
Profiles
Forums
Events
Gallery
Everything posted by smartdriver
-
? Hello Mates First Paintcoat is drying, so i added some more tiny Details. First the Penelope Pitlane Steeringwheel gets a bigger Hub and the 2 levers for ignition and mixture adjustment . Also added the 3pointed Star on the Pewter Knockoffs Next was the Rear View Mirror, that is only good visible on the Studio Shots same Car after the Nürburgring Race. The MM Pics are retoched to death or simply bad Quality. Only on one frontshot you can see clearly there was a Mirror. Here on the mille Miglia Same car and Driver oon the Nürburgring And then 2 Carjacks, if I am not wrong, on the Sideboard. On the Photos not really identifiable, i found on ebay a Jack from that era. I think its not far away from the real thing. First Pic show the Real ones vs the Amalgam Model. The later looks a bit odd..... This is the Ebay One And my Tryout Jerrycan and the Hood got etched Buckles and some paint I hope i got it ?
-
Hello Mates, since the SSKL is still in the Body-and Paintshop ? i post a Video , how far i gone until now. Hope you enjoy it a little Bit ? Datei von filehorst.de laden or on YT https://youtu.be/MxX0yINpnj8
-
The last Details done, new Toolbox, a "Jerry"can from Miniart, both with Tamiyatape "Belt" and etched Buckles. New Quickreleases for the Fuelfiller and the Sparetires with Copper, Brass and the cutdown Kitparts, and of Course the Figures. These are a Mix of immense Miniatures Feets & Heads, Bodies from Penelope & MRRC,and Arms from the Crapbox. To blend the Codriver in, i use putty from Greenstuff. The belt, Buckle and small handles on the Enginecover i will mounted after Painting. Funny Fact, not a Single Manafacturer , no Matter if its a Diecast or a Kit, got this well documented Car right. Even the 19.000 € Amalgammodel is Wrong and incomplete, all made too much holes in the frame, wrong or simply not there Details. So i try my best to get as close i can. Some Parts are a Compromise, such as the Tires, with a 3D Printer this would be simple, but i don't have one :shock: Greetings ? ? ? ?
-
Hello one more Time ? First testing the Lights.....Then i added the last Details. The Quickrelease Gascap, pimped the Kitpart with small Copper and Brass Wire/Tube,scratched the Licenseplate and Nationalityplate, Mudguard "Extensions" and the Stoneguard before the Radiator. Not entirly 100% correct, but i think it looks not bad. Regards from Vienna ?
-
Just another fiddling Pimp Up...the Softtop and Linkage are only rudimentary plasticblobs. So i cut it down, add on each Side 3 small Brasstubes, 0.7 mm flat pressed on one end, and a Small Part U-Profile, with a Pinhead i simulate the Hinge. The remind of the Softtop covered with some Fabrictape to add a bit of Surfacedetai. And then i added 2 Strips of Etchframe and etched Buckles. ? a bit of refinement and then i hope to get paint on this little Monster....
-
Hello M ? ates a small Update on the SSKL. First i added a bit Plasticcard over the nice Detail on the Gastank, Matchbox made this good, but on the Originalcar there was a Sheetmetal installed. Recreate with Plasticcard the Sheetmetal under the 3 Exhaustpipes in the Bonnet. They must me flush with the Bonnet. The Exhaust was made out of a bit brasstube, slightly bend and on the End pressed Flat.Also added the body piping with thin Aluminiumwire. I rebuild the Mudguardmountings with Brassrod and T Profile. not 100% but way better than Matchbox. Also with Brasstube , 0.9 mm and 1.4 mm created the Headlight Mounting. The lights self are from ELF, not entirly correct but i want to install lights, you know.... This was a Pain in the Axx....fiddling Work, last thing Today was the Registrationlighting also Brasstube. The Lights are once again SMD LED , around 0.5 mm "big"....... Next is the Licebseplate and hopefully all Parts stood where they are, the Airbrush come out ?
-
Thank You Paul ! After all this very tiny Parts, i added one more and also very very small but clearly visible. The front Crossmember with integrated Lamppost and starter crank support. Matchbox done this as a Rod witha crude ring on it, simple and wrong. So one more Time done with 2 Parts from a tank, Brasstube/Rod and a bit Plastic. Left one is the new Build, right the original matchbox. regards Harry
-
And another detail is nearly done, the Geralever and the handbrake. Matchbox made two crude Plasticsticks,that comes out of the Floorpan. On the real Cars, the Gerarboxtop isn't covered , you can see this relativly clear. I build this Feature witha small Plasticplate, some Nuts from aTankkit, the underside of Matchbox' Gearlever, Evergreen profile, my "loved" Clothpins , Brasstube and Rod, and a bitTinfoil. The later is a bit too big, i will cut this down a bit. Here is a Studioshot , around 1931 and two pics how it looks on a restaurated SSK/SSKL. And that is my Try, think its look okay. ?
-
Today i added some Nuts, 3D Decals, and Screwheads, cut from a Tankkit, on the Front Dampers and Brakes, added the Brakinglines and detailed the Steering with cutdown Tanktowing eyes.Hope you like it a bit ? Thats it for now, iam thinking how to wire it invisible
-
Hello and happy new Year to All ! I started with the last Car, Matchbox Mercedes benz SSKL. Its a nice little Kit, but it has serveral Flaws and Errors. first for the MM Car there are too much Holes in the Frame. the Box on the Passenger Side is way too small, and the 3 Tubes ? are completly worthless. The real Car has a 3poninted Jerrycan and 2 Carjacks there. Also the Frontaxle is wrongshaped, the Brakedrums lack any Details, the rear ones are Part of the Rims also. So first i get out the greenstuff Putty to close the uneccessary Holes. the i put on a thin Wire around the front Leaf Springs and also a bit putty . this is to imitate the Fabric that was around them on the real Car. Then i made new Brakedrums with a circular cutter and out of brasstube and a bit Plastic the newe Dampers. Also scratche the whole Steering with parts from a Tank and thin soldering wire. Now my Eyes hurt.....?
-
Hi David, try Preiser or Pola figures for Gauge g Railroad. Also there are Companies for 3d Print like MB Model.https://mb-model.com/ Regards Harry
-
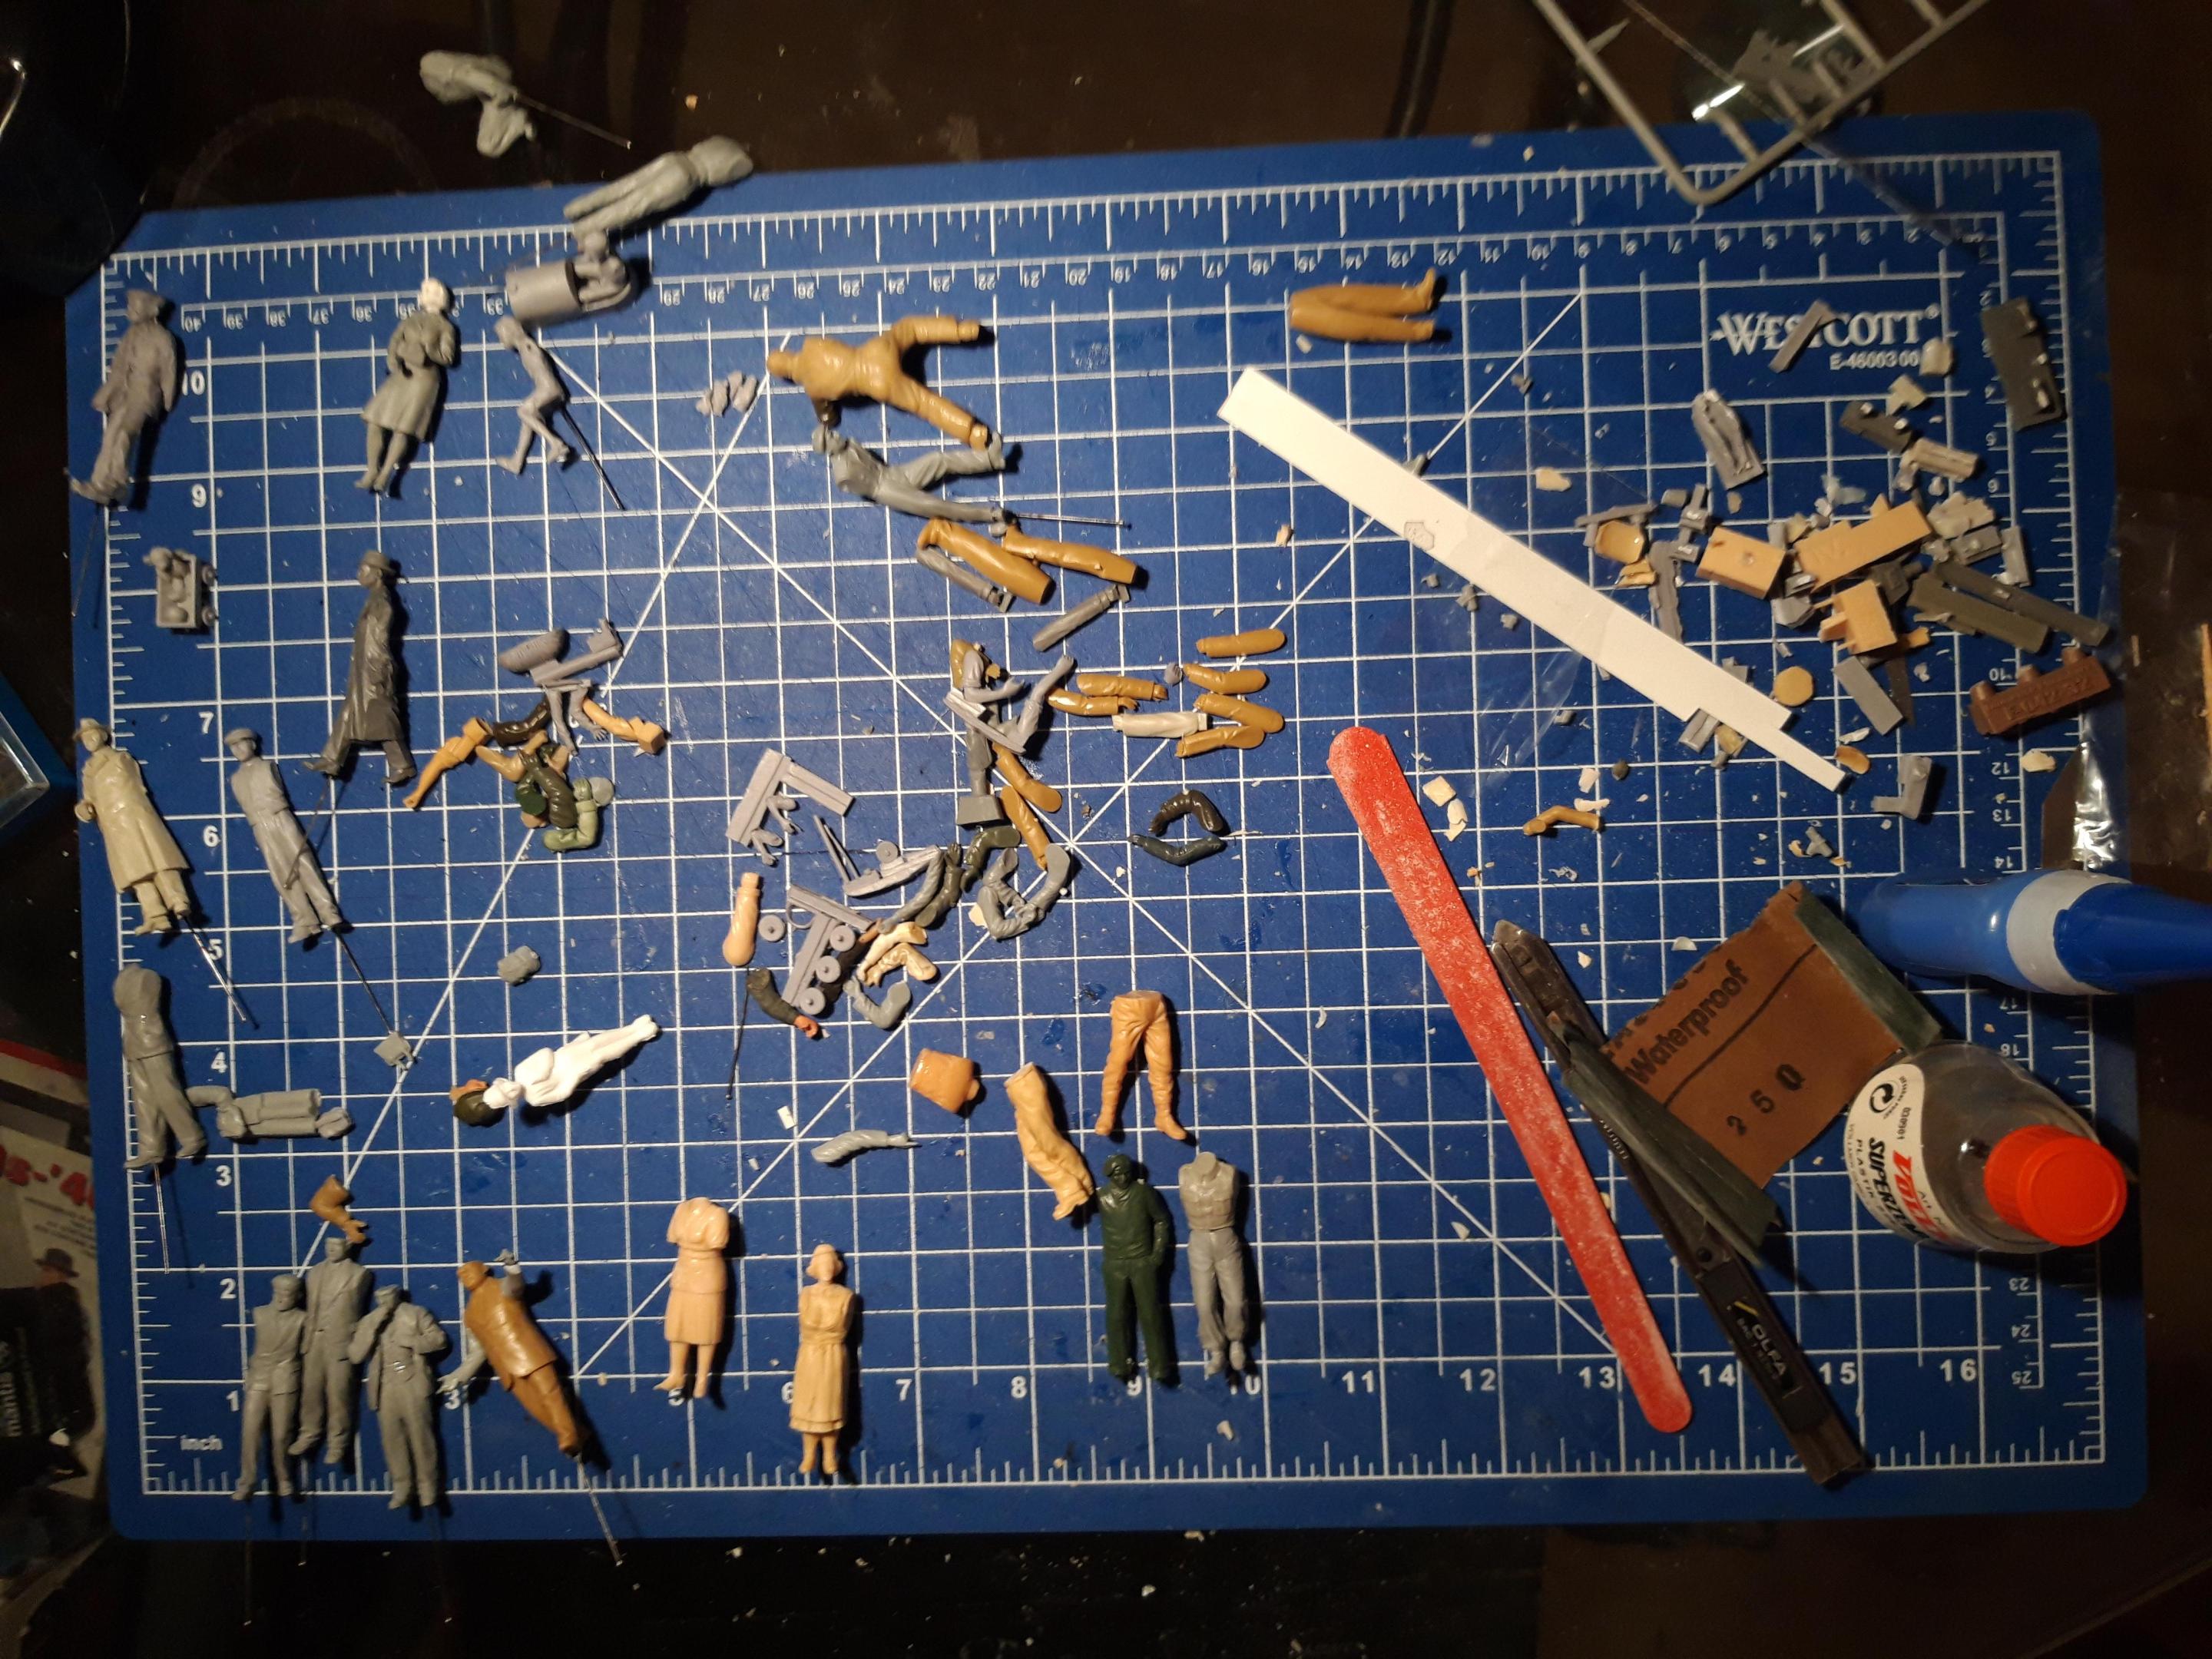
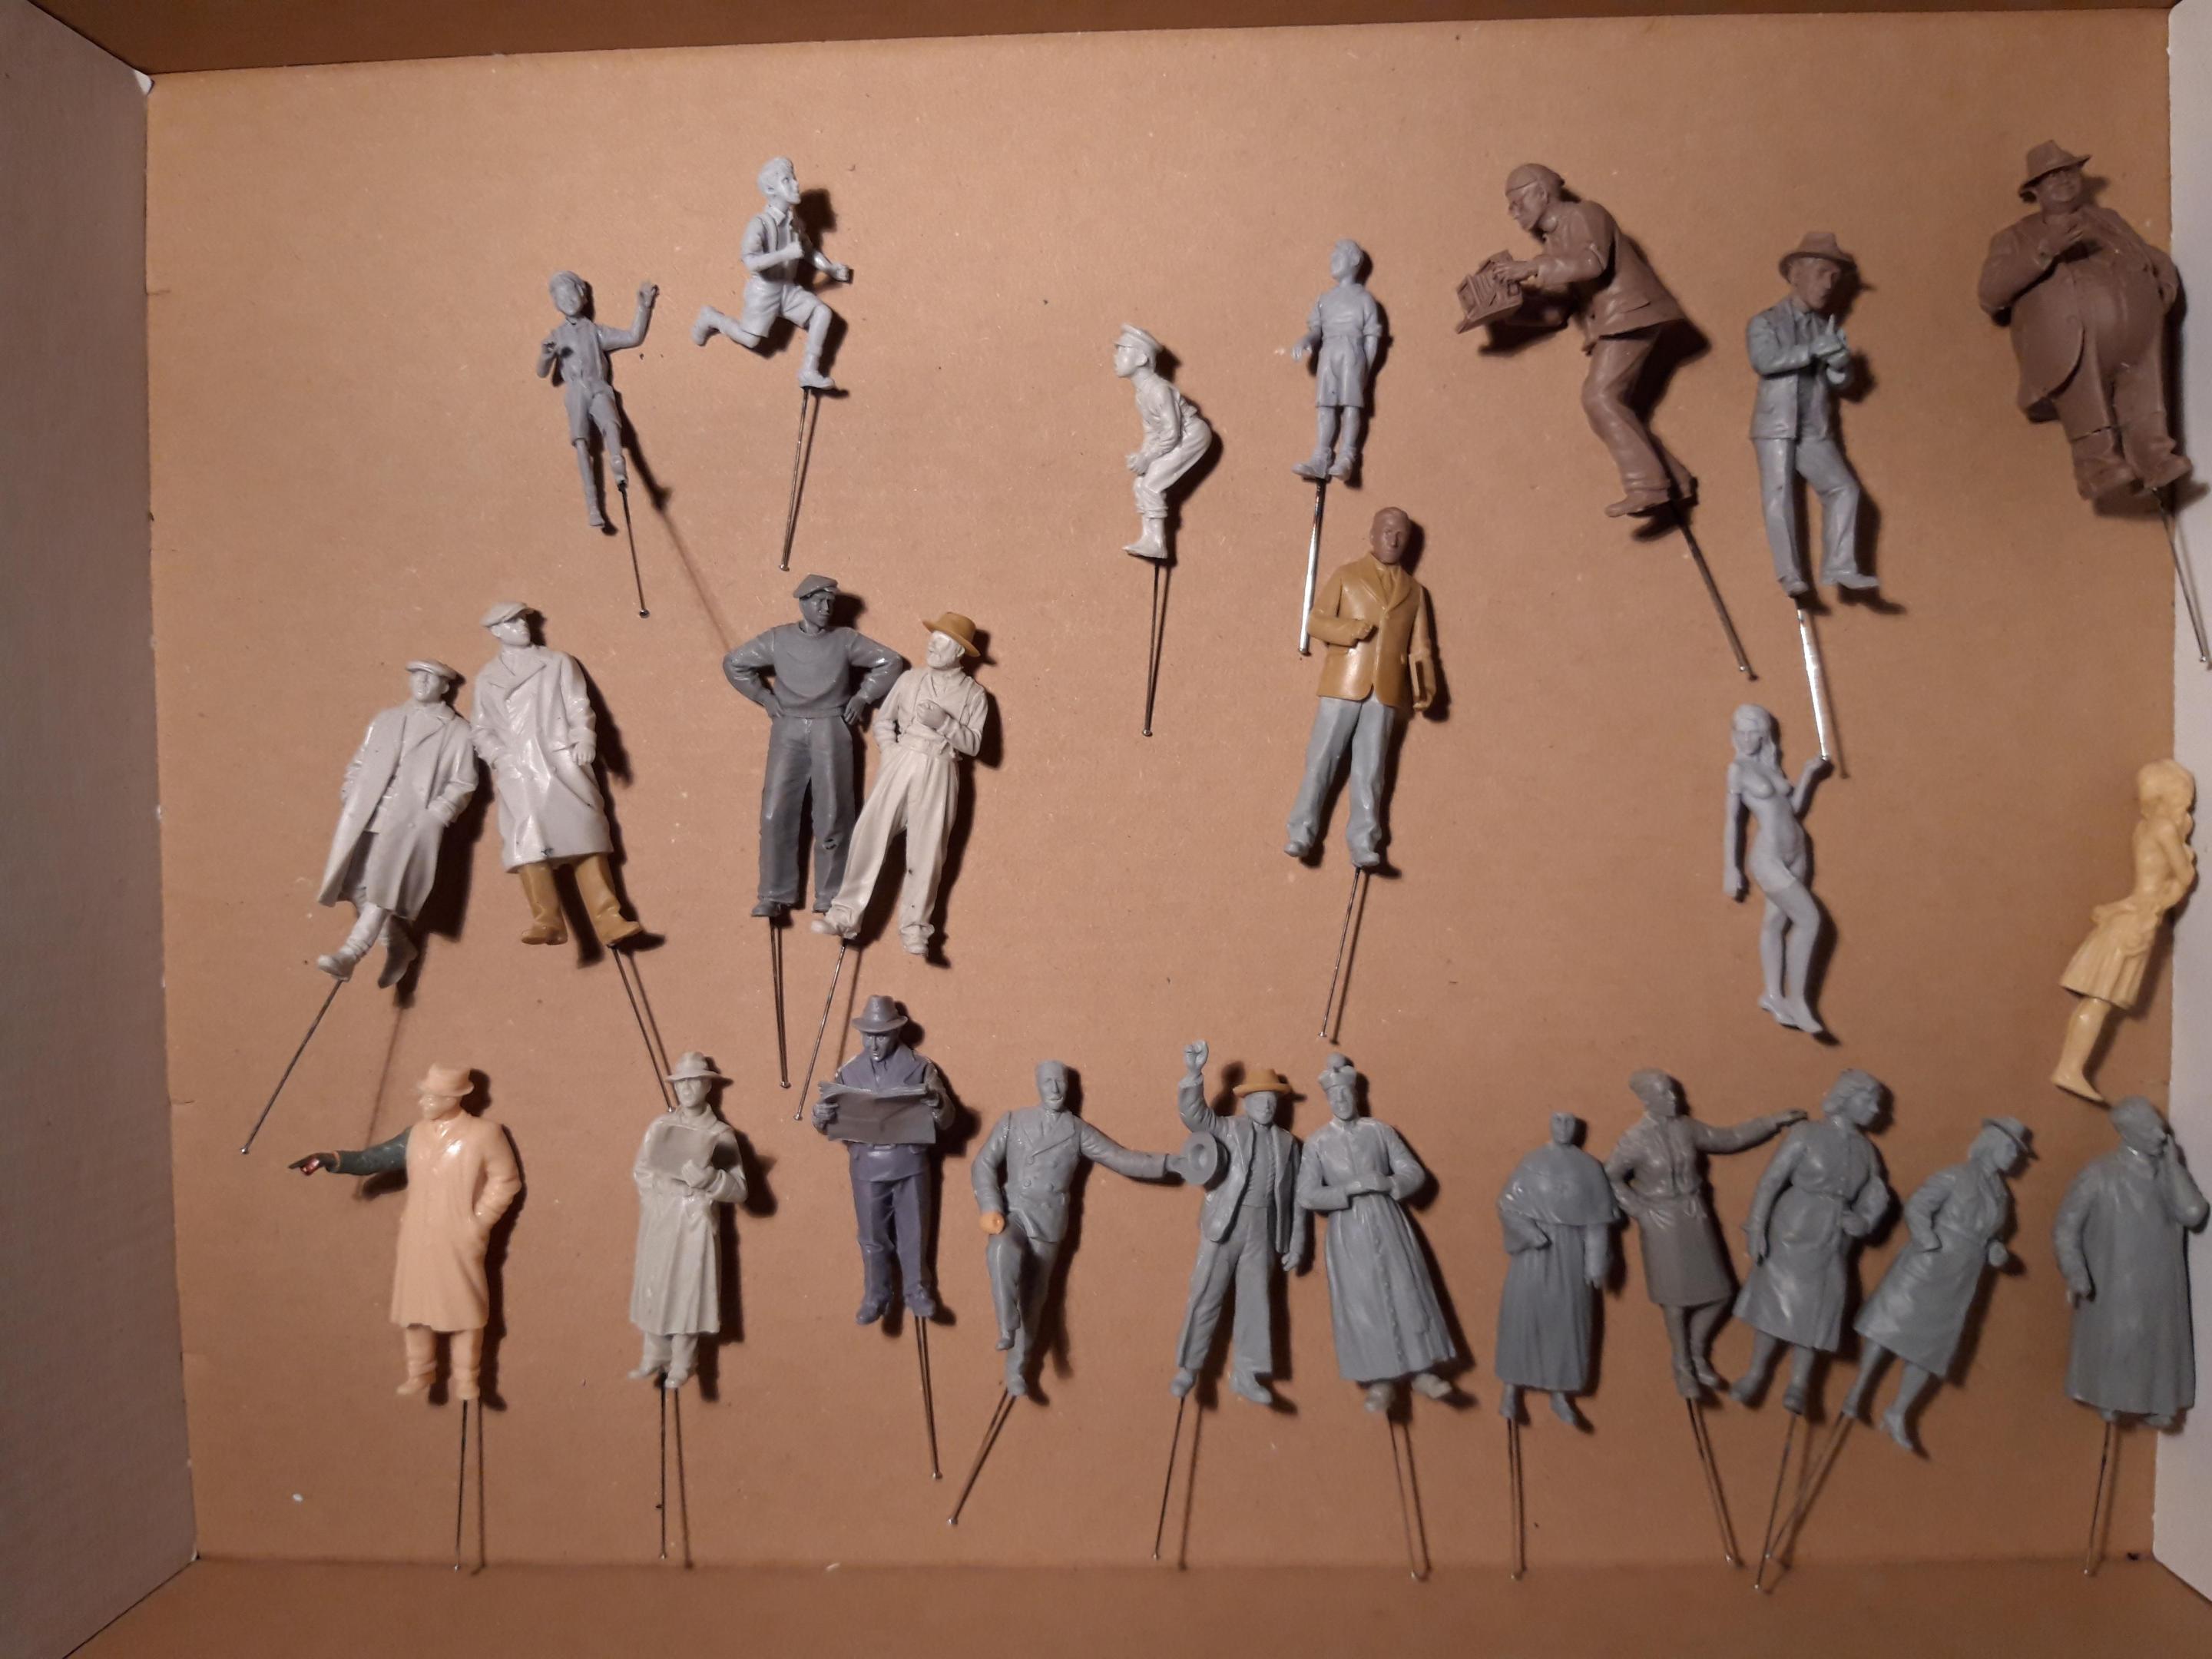
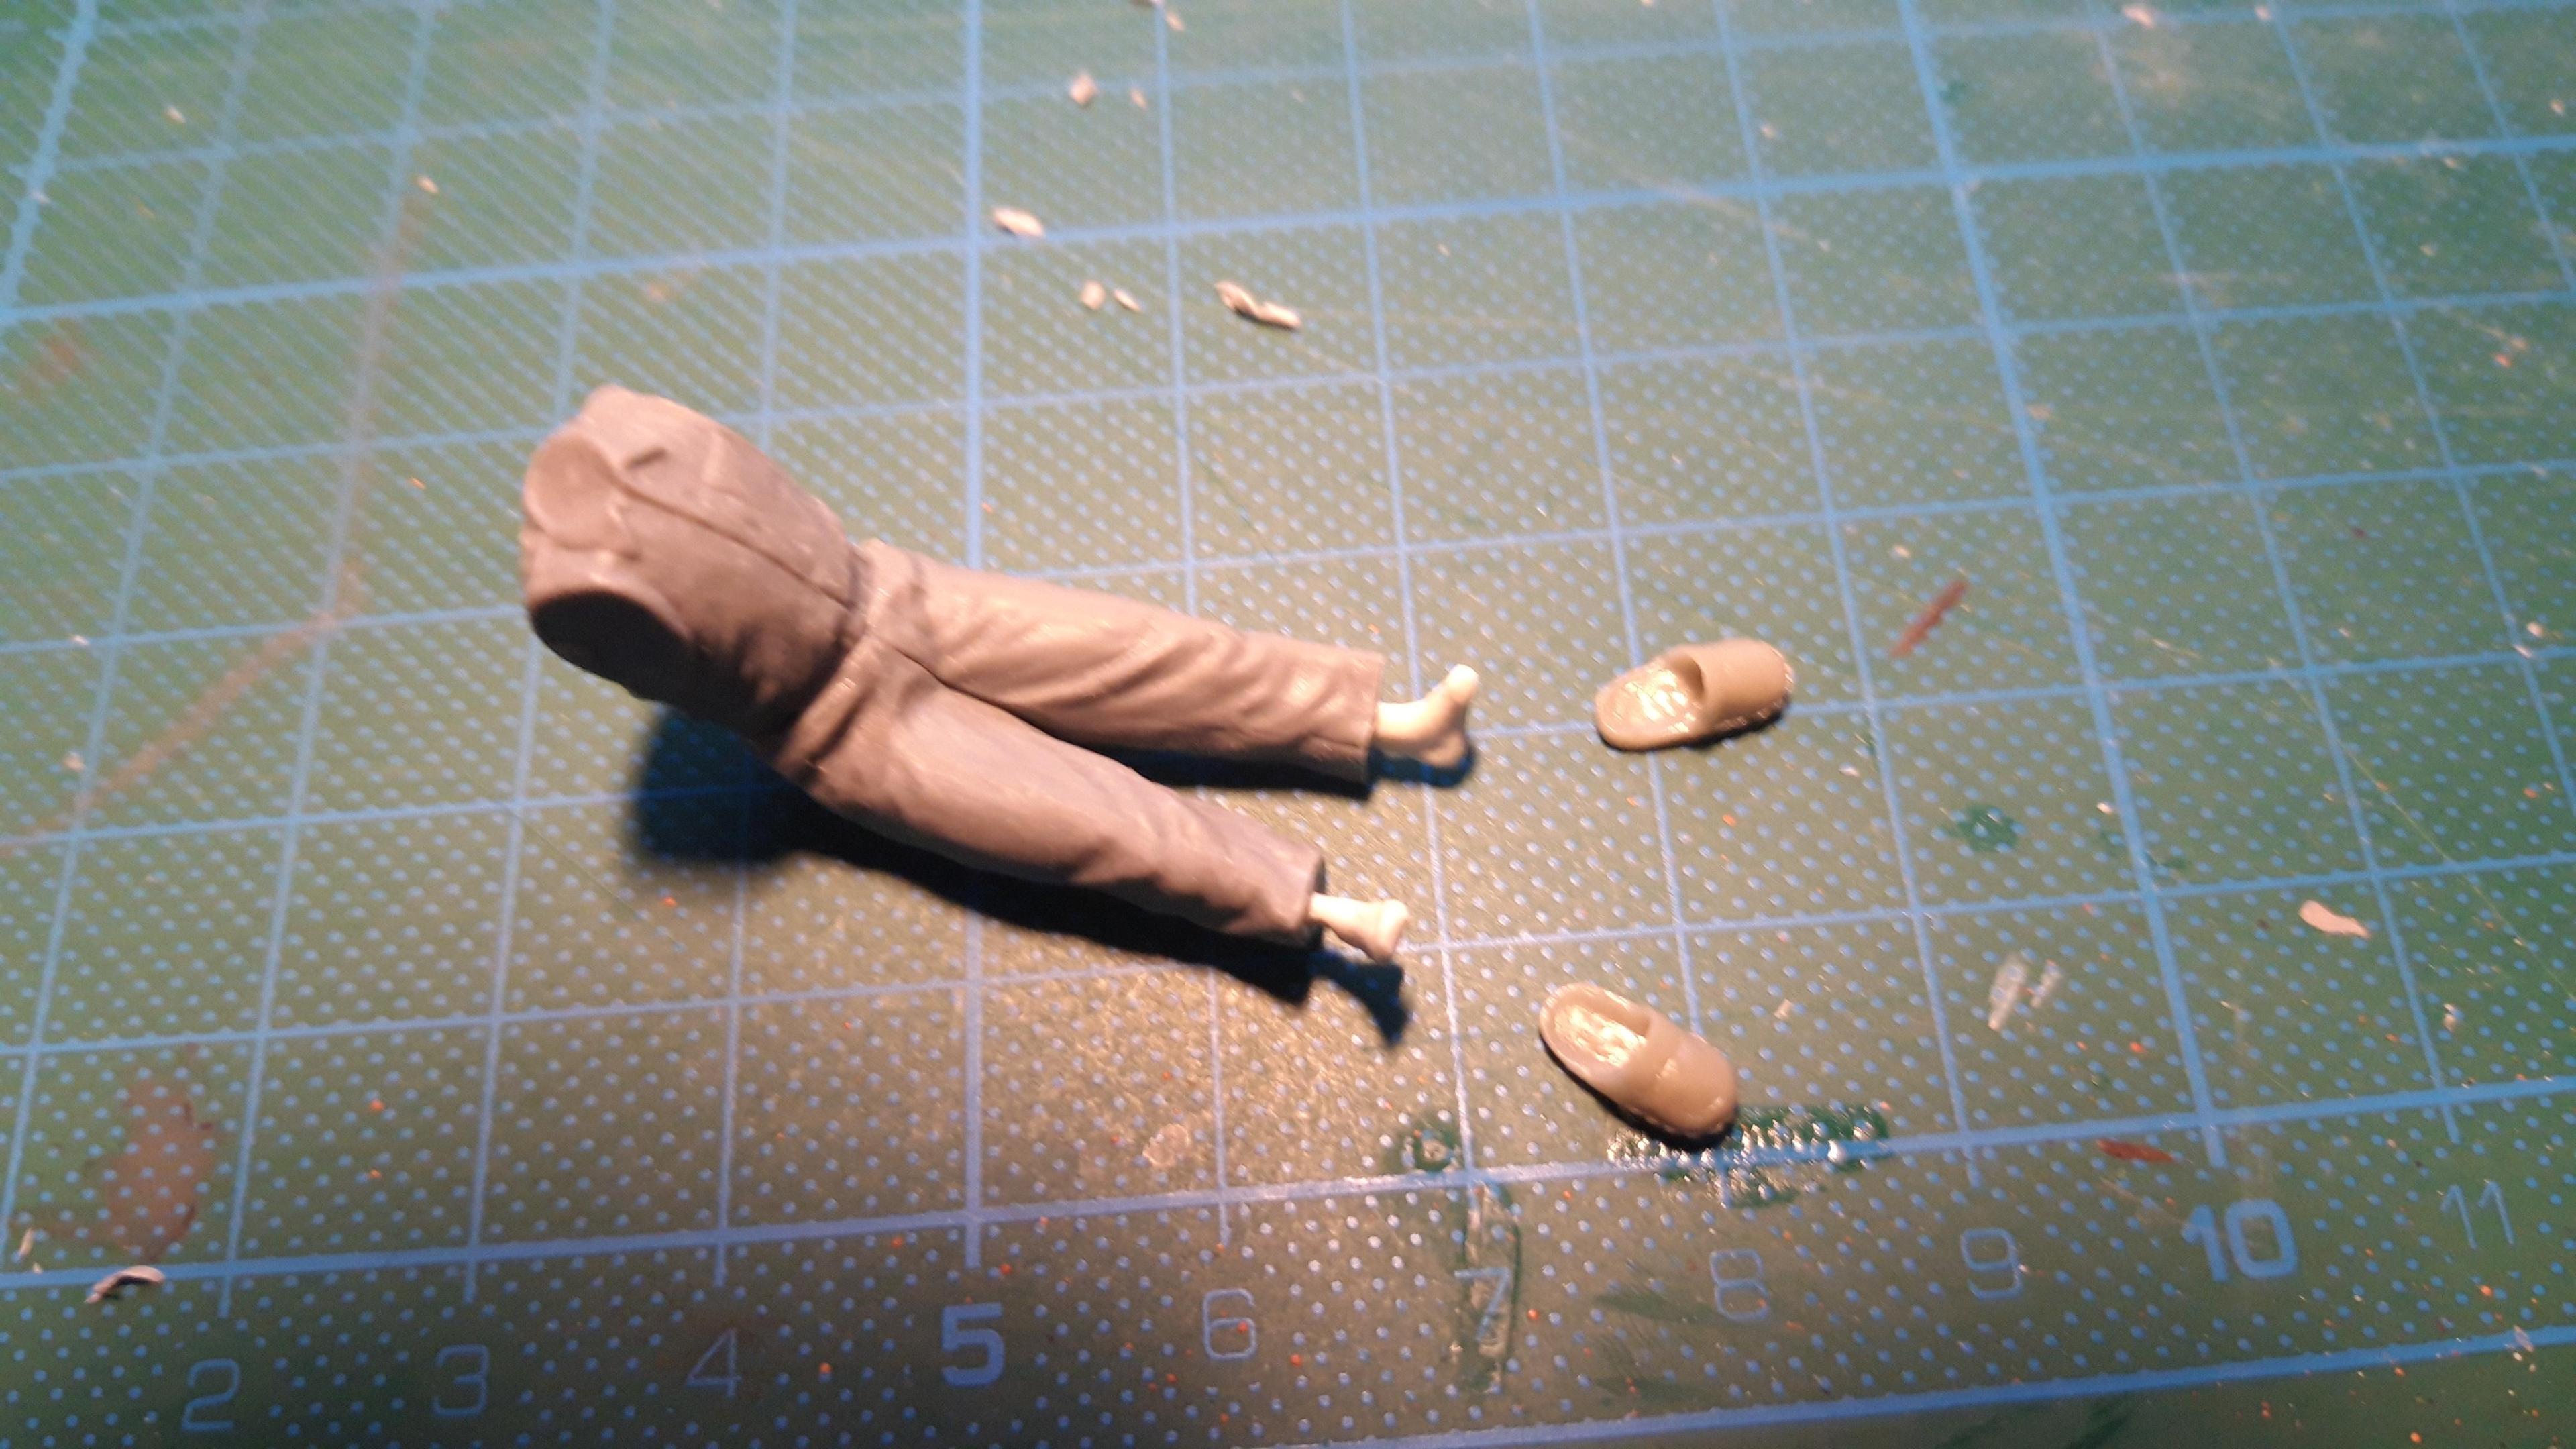
Hi David, nothing Special . i use what ever fill the Bill, such kits like Dragons German Army in the Ardennes or US Army Drivers and so on. Its a bit of "Frankenstein" with parts from different manufacteres on the Table....? As Example the Man in the Attic. Build it with Legs and head from Miniart, Barefeet from Preiser, Plusmodels gives me the Slippers, the Torso is from a german Armyset, also the Arms, well and a "bit" of Magic Sculp for the Gown. Also Resinfigures from Verlinden , MK35, Plusmodel , Mantis and ( too bad that cutoms is so high in Europe) cheap Copies from Aliexpress. The Priest is OOB Miniart from the Set "French Cicvilians + Resin Heads" , the Nun is Part of Broncos Fiat Topolino Kit. I also used other Miniartsets and ICMs Set "Stalin and generals" . Some Parts of MRRC Sets ( https://slot32.de/wbc.php?tpl=produktliste2.html&rid=457 ) for Slotcars . For tazio Nuvolarim i use the Body of a standing MRRC Driver and the head of immense Miniatures.The Photographer is a Immense Miniatures Figure like the Drivers and Alfred Neubauer. I bouhgth this in England >>>> http://www.rsslotracing.com/Immense.htm , the Maker sits in USA.This Minis are real 1/32, so i cut down the Legs to get it a bit smaller.otherwise they are really good sculpted, especially the Camera. Clearly visible its a Graflex. I added only a Fast Rangefinder with thin Wire and some Whiteglue for the Lens and the Glasses. Kind Regards from Vienna !
-
Thank you mates ! Before i start the Matchboxkit Mercedes SSKL, i add a few Pics with 3 more Figures added. The Photographer, reminds me of the famous Julius Weitmann, Sister Maria and Don Camillo ? Kind Regards from Vienna !
-
Added 2 more Mechanics and a "Manager", here are a few pics with all Figures and Accesoirs in this Scene. Regards from Vienna ?
-
Daunkschee ? hoff i werd bald fertig, Artikel fürs "Modell Panorama " ist nämlich schon beauftragt....ggg
-
Hello David First Thank you ! I played a bit around with Sepia / Brown toned Photos. But nothing to post herer. I will try this , when iam finished with this Project. at least i need some good Pics, because i should write an Article for our Printmagazine "Modell Panorama". Regards Harry
-
Hello one more time ? A few Pics how it looks on the Dio, a few Figures around the Car will follow. A Photographer , another manager and mechanics. First one of the "Managers".... Lets get 'em back in the Race ! Sorry for the Blury Pics, just Mobilephone....try to get better ones the next days. Regards from Vienna ?
-
Thank xou david 1 This Car was a bit of Nightmare. All Conversions just failed.I build nearly all 2 times.....so iam really glad, that it iss done. Now that it sits on his Place, iam pleased.
-
And finally its ready for the Dio, Tazio Nuvolari standing beside the car, his co Batista Guidotti reaches over the Hood. Now i try to find the right angle on the Dio. Happy Modelling to all ?
-
Well...sometimes ...and sometimes my Neighbor know that something wrent wrong...??️??
-
Hello Mates ? After 2 Exhibitions, aand a Covid Infection , at last i added a few Details. First the Hood fasteners. build from 2 Etchparts each :shock: a othe Part simulate the strut for the Middle Headlight. remodelling the Runningboards with carved Thin plasticparts. And one more Time i use Furniture Door Stoppers for the Red Dustcovers. The Left would be removed by a Mechanic. Paint them with Tamiya Clear Red, for the Chromeparts i use grennstuff Chrome for brushes, this is fantastic ! Glued the Frontwheels with a slight Angle, so its not mentonied that they are a bit too Big or the Fenders too shallow. Lights are all ok, so the next and last step is weathering . Kind Regards Harry[
-
Yeah Siena and the Mille Miglia....i was 4 Times there, also see the Parc Ferme in Brescia and the Pre Start at the MM Museo where they start. That was the Intention for this Megabuild. I will write an Article for our Printmagazin "Modell Panorama" , the official IPMS Austria Magazine. Sstart with such Lines " ... a sunny Morning in Brescia, the Air spells like Coffee, oil and Gasoline. The Sun reflected in Chromed Hoods and glossy Paint, Hundreds of Voices and Laughing reflected from the old Walls and the a SSKL starts its Engine....and iam on the Track wit Carrachiaola, Nuvolari, Campari, Fangio, ....." and so on
-
hello, i think it was the Oil Tank.,but iam not sure.On later Cars this Tank was located on the Passengers Side. Regards Harry
-
After a not so fine Spring and bad Summer, my Mother passed away in Peace, i managed to go on with the second Alfa. This represents the Works Alfa 8C 2300, on his first Outing in the Hands of Tazio Nuvolari and Luigi Arcangeli, who did not finish. Nuvolari leads at first, but he had 9 Tirechanges, because the also new Pirellis didnt stand up to the Powerful 8C. I found in one of my Books a Pic that inspired me and so i t goes on....... One of the many Tirechanges. So i began a Monthlong search for the only known Plasticmodel , the Long Wheelbase Alfa 8c from Airfix. A very old Kit. After i catch one, i was a bit surprised by some very good Details and on the other Hand some crude Simplifications. But the first Step was to shorten the Chassis, this was very Easy , because Airfix get it right with the Beams. So you can cut it whre it was on the real Car.A bit difficult was the Body. Here i cut a Stripe out, set the Moulding for the Sparewheels a bit back and down. Then begins the funny Part, Putty and Sanding, Putty and Sanding,....and so and so on. Here you can see the Difference between the Long/Short Wheelbase Then i scratched or better copy with a Mould from the Pyro 6C the Mudguards. The Airfix Kit comes with the correct 4 seperate Guards.Also scratched a Oiltank in Front of the Cooler and Sidevents. I also norrowed the Oilpan, Airfix made it way to wide. And i added a bit of a Tankkit to simulate the seeable Part of the Gearbox. After testing the Headlightphalanx, Carjack and the Figure , i found out that my Mudguards are way too flat and . I used the smaller Wheels from the 6C as a Reference...AAARRRGGGHHHH :sweatdrop: .....back to the Start..... For the new Mudguars i use the Casted Rearends, Cut-to-Fit Miniart Merceds 170 Pars, Plasticcard...and yes a Ton of Putty and sanding and putty..... After this Desastercorrection, i detailed the Chassis. The Kitpart for the Frontaxle is a crude Square Rod without any Detail. I add small Halfround Evergreenparts on the Ends, Pins and small Plasicparts for the Brakelines, the Steeringparts and the Sabilizers. Also for the Rearaxle . This i reinforced with a Wire , because the Brakedrums are real Aluminiumparts . They come in one more Set of Wheels from Peter Saeger Thomas, The Wheelset The Frontaxle And yes this Car is also Lighted ? Also build a Carjack out of Brasstube and Wire with Wheels from a 1/72 Tankkit. Throug this the thin Wires go under the Diorama to the Powersupply. Before i paint this little Thing, i added 3d "Nuts" Decals in Lines on the Bonnett. For the Paint I go with Vallejo Firered , this is a bit Brownish and dark. I think it matches the Old Alfared , described sometimes " a Color like Oxblood.." relativly good. Decals are once again from Brentair Custommade. A complete Windshield is Also made with the Kits lower Part, some L Profile, Brasstube, quick release from a Italerie Tankkit and a Miniart Wiper., Hope you enjoy it ! regards from Vienna Harry
-
Hello again, now it sits in his natural enviroment ? Kind Regards from Vienna !


