

4knflyin
-
Posts
135 -
Joined
-
Last visited
Content Type
Profiles
Forums
Events
Gallery
Everything posted by 4knflyin
-
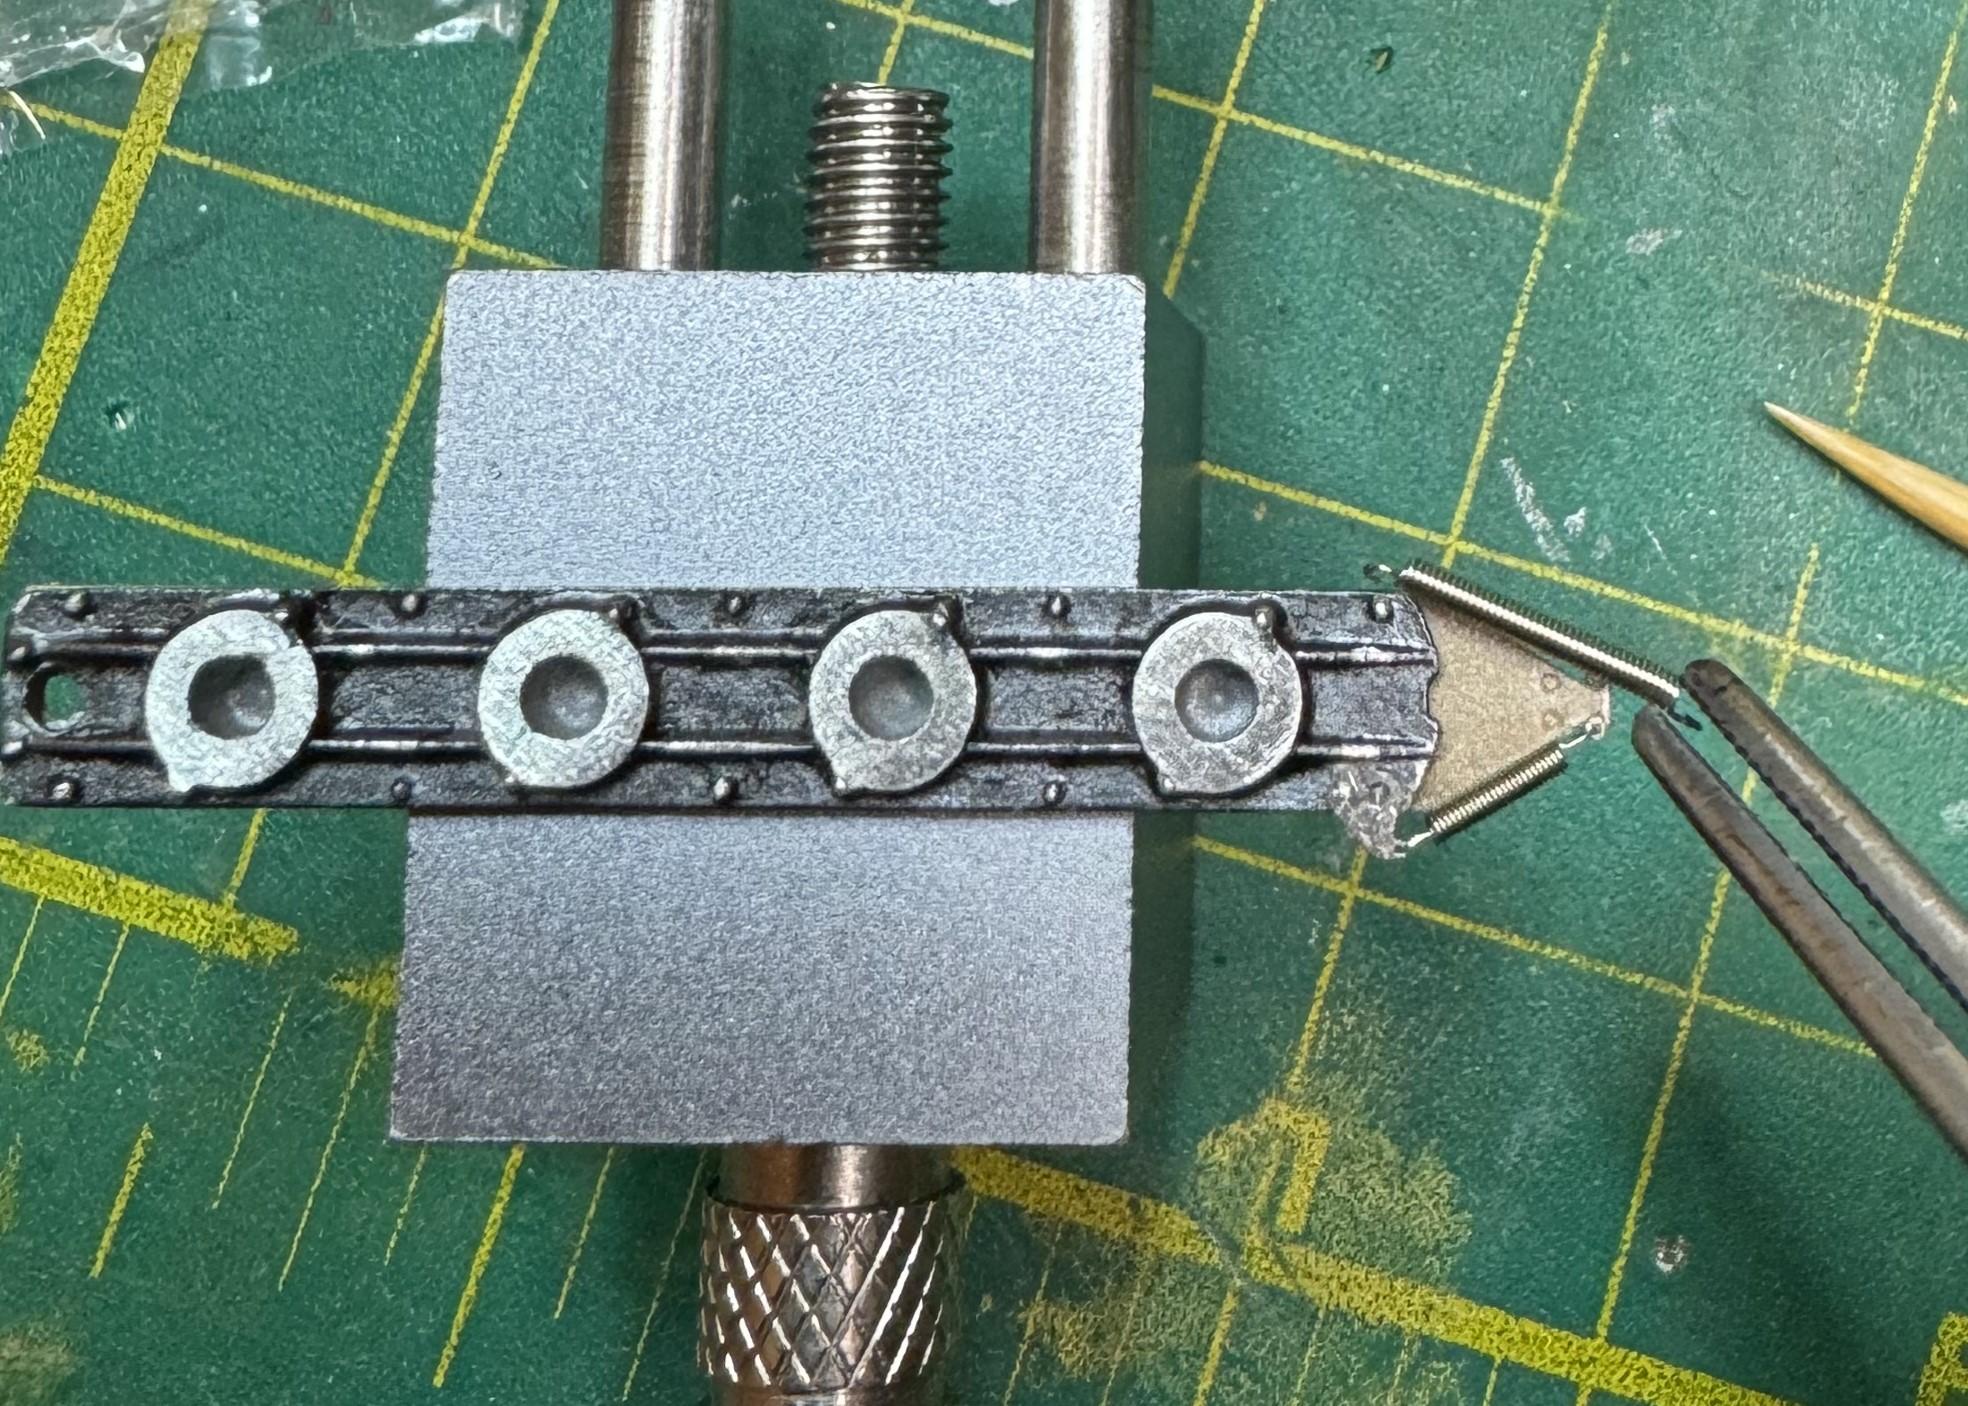
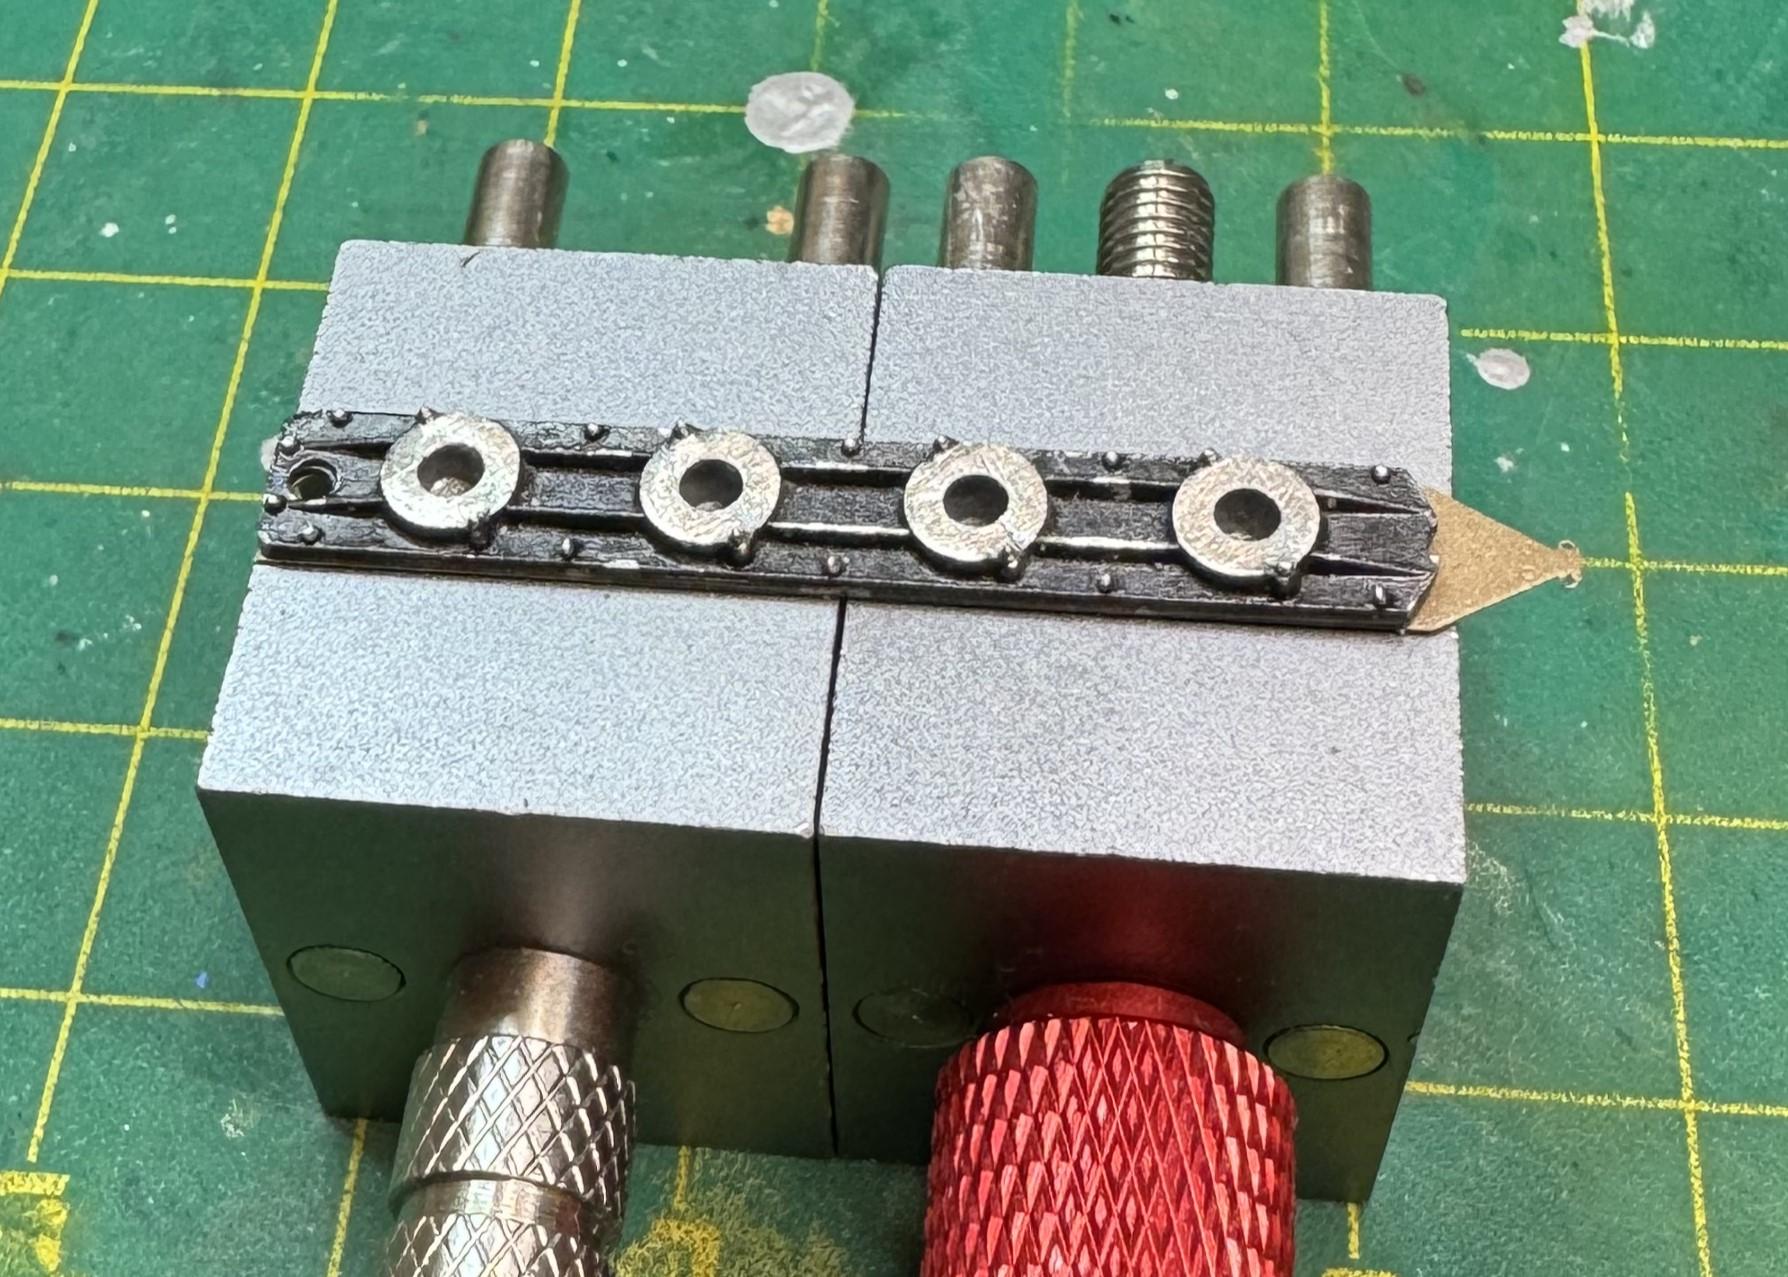
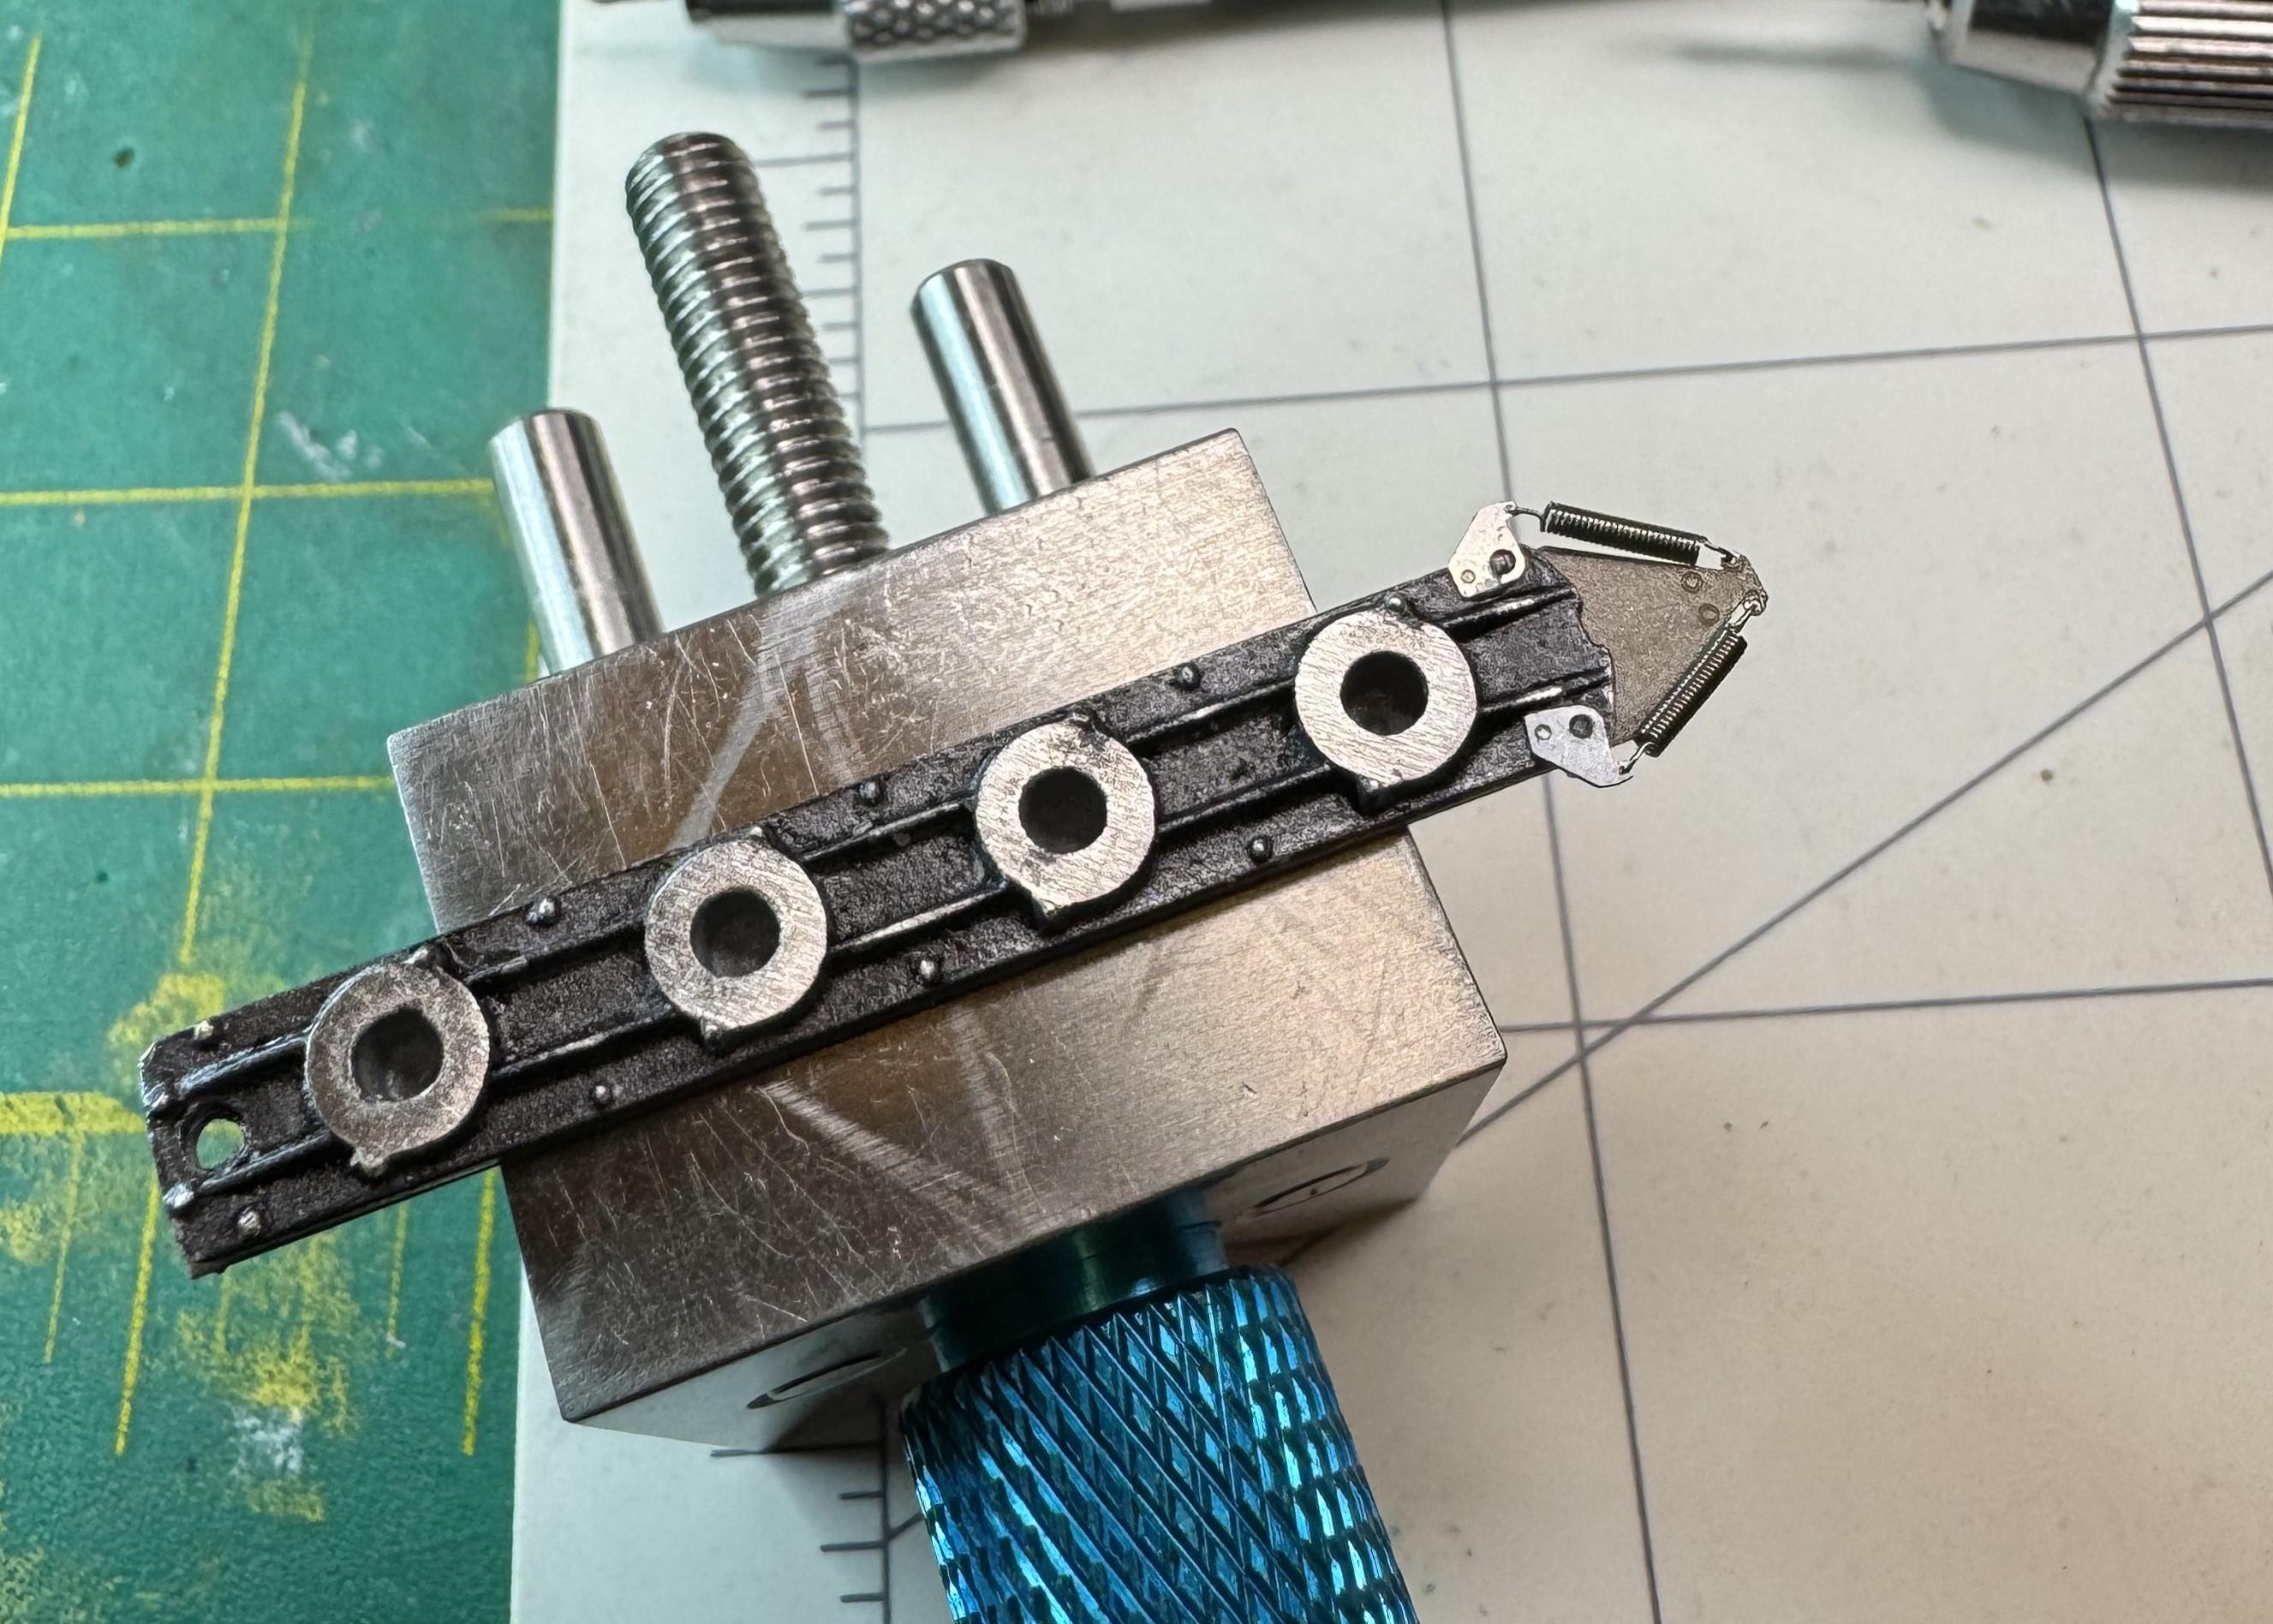
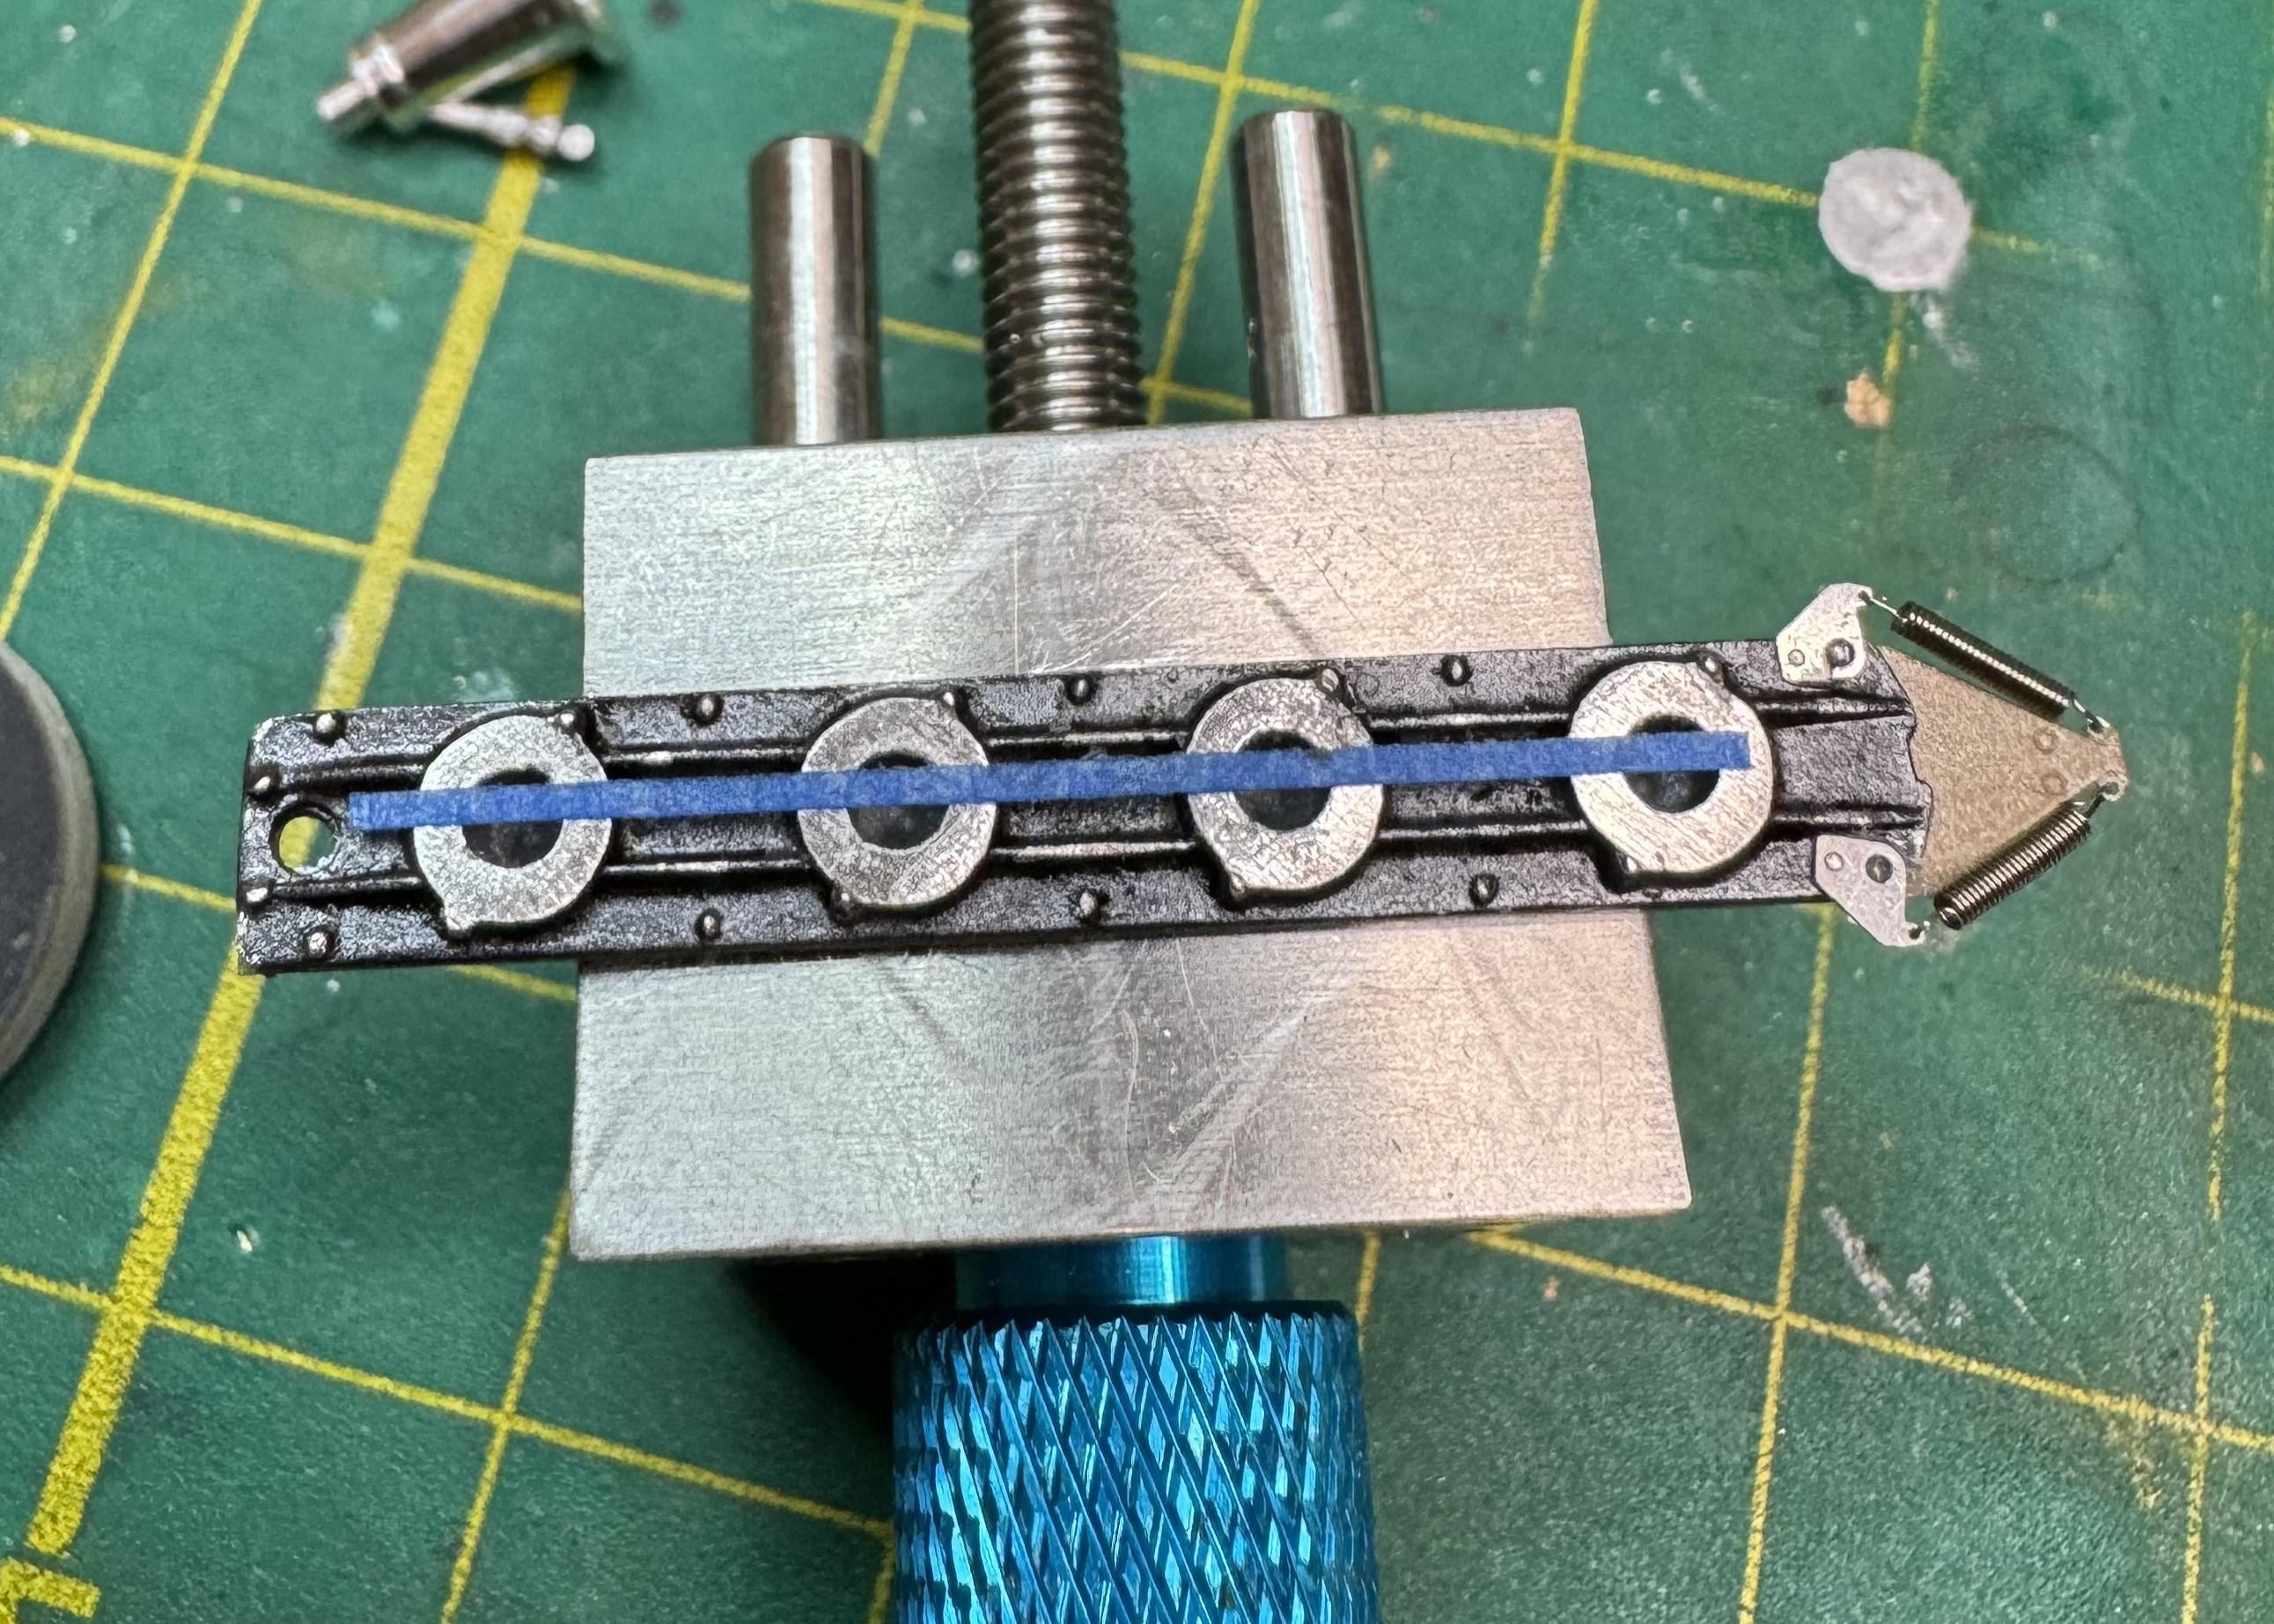
OMG, I mistakenly swiped left and lost an hour of writing.????? I apologize to those who would wish for a better description of what's going on, but I can't. I can't. Edit: but I did. I don't think I left anything out. To avoid the mistakes I've seen in other applications of the MHV hardware, where the two plate have an uneven gap between them, I placed the lower plate over a gap in the vices. Then applied glue on either side of the attachment points, dropped the upper plate in and pressed like hell. In this pic, you can see how ridiculous the MHV spring size is. The attached one is a TS 6 mm exhaust spring. Before gluing the tine PE bit and the lower plate, I drilled out all the holes, 0.7 mm for the alignment pin and 0.2 for the spring points. I modified the upper spring to reduce the amount of wire between the coil and attachment points. Fail. There's just enough tension in the coil to undo do it. A half-hour lost. Next step was to cut the fuel lines to length. My first attempt to temporarily attach the trumpets with UV resin, almost always a reliable method, didn't work. Next was to think that the tape would close the gaps enough to make a tight fit. Nope. This worked. Regular old, thin and weak, double-sided Scotch tape. Time will tell if it holds long enough to finish the task. One thing I already know... I regret giving in to the temptation to see if my limitations would make me bail on the attaching spring, because one of the tiny PE attachment points on the other side came off when the assembly fell into the gap between the cylinder heads. That's a whopping, what, 1/4 inch? Does this side, with the springs already attached stand a chance, my fear it is it won't survive my inevitable ham-handed handling. The slits were to make it easier to push through the trumpet attachment points. So, this is where I'm at. Turns out, I think just stretching the lines and snipping them will not please me in the end, so I need to put in the 0.4 mm pipe I'll use to attach the lines when I glue them into place. Oh, and again giving in to temptation, I wanted to see if the paint would stretch without cracking during the bending when I put the two PE parts together. It's not the most elegant, but so far, so good. (The mesh parts are just sitting on top of the trumpets.) I'm glad to say there's more on other parts, like the tire seams, but the earlier fail means I'm tapped out. Til next time. I appreciate your tips and critiques.

-
Before my updates, I need to say that the original intent was simply as the title of this thread states. Then, using the Google "site:modelcarsmag.com" approach to searching this site, I looked up a topic I've been searching on for, oh, 20 years?: What is the proper way to plumb (no, not level) the late 70's DFV? And I found this, the first fully documented answer to my question, both ends of every line clearly visible: It's an extraordinary build by John Brolin using minimal third-party parts. It's the identical kit as the one in this thread, which is where, including that both were gifts, the similarities end. I built mine in a matter of days, his was attended to over a period of a decade. I only decaled one side for expedience, he soldered brass pipe to add authenticity. Mine is a demonstration of disinterested model building, his is a work of art and dedication. I'm glad I have the opportunity to return to modeling and redeem myself, starting by finishing and updating two kits, this one and the B192, as a way of learning how to do things I never before did. And it's fitting that the first thorough description of the plumbing for this kit is from John, one of the people who have taken the time to help me learn. (I find it amusing that my first pic of this kit was the finished product and John never posted the final product... all but. ?♂️)
- 35 replies
-
- 1
-

-
- lotus 78
- mfh detail kit
- (and 2 more)
-
1973 Porsche 917/10 Can Am
4knflyin replied to Scale-Master's topic in WIP: Other Racing: Road Racing, Land Speed Racers
It's coming along really nice. At what point did you cut the decal, as in right after applying, fully dry, etc., and what tool did you use? This has been defying me even after 10 decal cuts on the same model, experimenting as I went along. I saw a video by Plasmo where he cut a decal into thee pieces, and then removed the center piece, which revealed that the decal was still entirely wet and pliable. When I try cutting a wet decal, the whole thing wants to slide into the gap. Grr. -
We are both arguing our points, and there's wrong with that. I don't take it as belligerent. I think in the case of this quote of yours, you read my post too quickly. I agreed with you: Piece.
-
Agreed, clear paint is shinier. But on the outside, it still dulls the appearance. Important for anybody considering the UV resin method, Sharpies dull the surface from a glass-like sheen, but they're still pretty shiny... just look at the pics of the airliner. Give it test, I think you'll find it useful in some of your craftwork.
-
Glad you brought it up since I hadn't thought of that... because I don't build models with protrusions like that. lol. Actually it will work. The coloring can be on the outside and work just as well. No noticeable difference. None, save a loss of sheen. Shaping of the resin can be done with a mold or a combo of filing, sanding, and polishing. Polishing can be eliminated by sanding to 12000 grit. It's very flexible and hard as a rock (a true oxymoron). I've even used this method on a store-bought, five or six piece, snap together, airliner model for the ID and nav lights (small red/green lights on wingtips), which are akin to what you're talking about. When coloring on the outside, I still use foil for its reflectivity. The pics I included weren't the final product. So that the layer of resin could easily be identified, I didn't use pics with the edges colored. For the final product, I used a red Sharpie on its edges... and also on its face in pin-point sized spots to correct the base layer where it didn't get colored, or where the coloring got dislodged during the curing process. Another important thing I'll mention concerns optics. If rounded, it's a convex lens, so in cases less severe than you described (not protruding to such an extreme), you would need to be at well over a 45° angle before you would notice that the coloring is only underneath the lens. But again, red Sharpie (and green, for that matter) works extremely well. The only disadvantage to using them on the outside, besides the obvious that it can be removed, is that it dulls the glass-like appearance of the finely polished resin. However, in the case of car lenses, you don't want them to be glass-like... except maybe for those cars made before plastic was invented. The following were all done without shaping or polishing, and colored with a Sharpie (you can see the foil underneath the blobs of resin if you look closely):
-
I don't know when Ford started delivering as stock, seat belts. But I can attest that my 64 1/2 didn't have seatbelts, not even when I bought it in 1975. (I had them installed to keep my butt planted in corners... true story.) Car was stolen in '78.
-
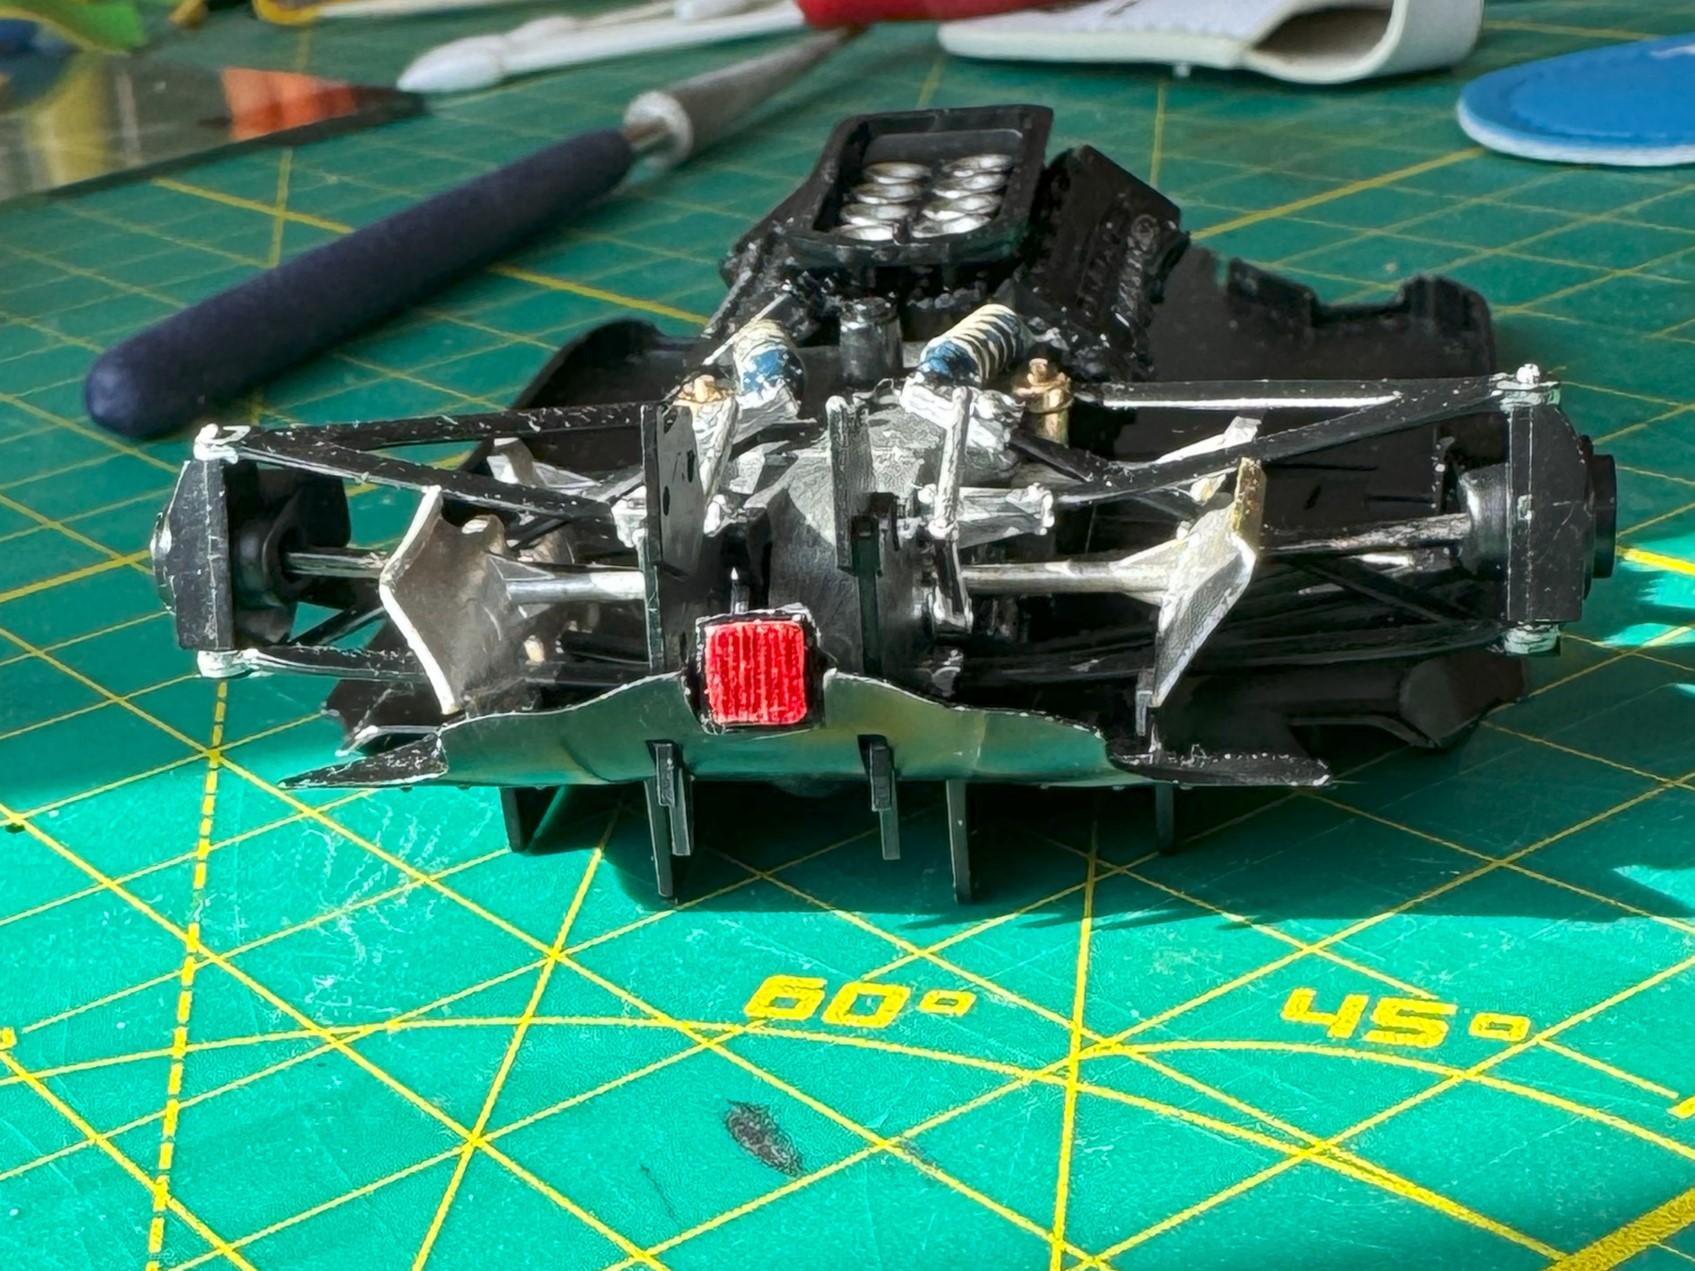
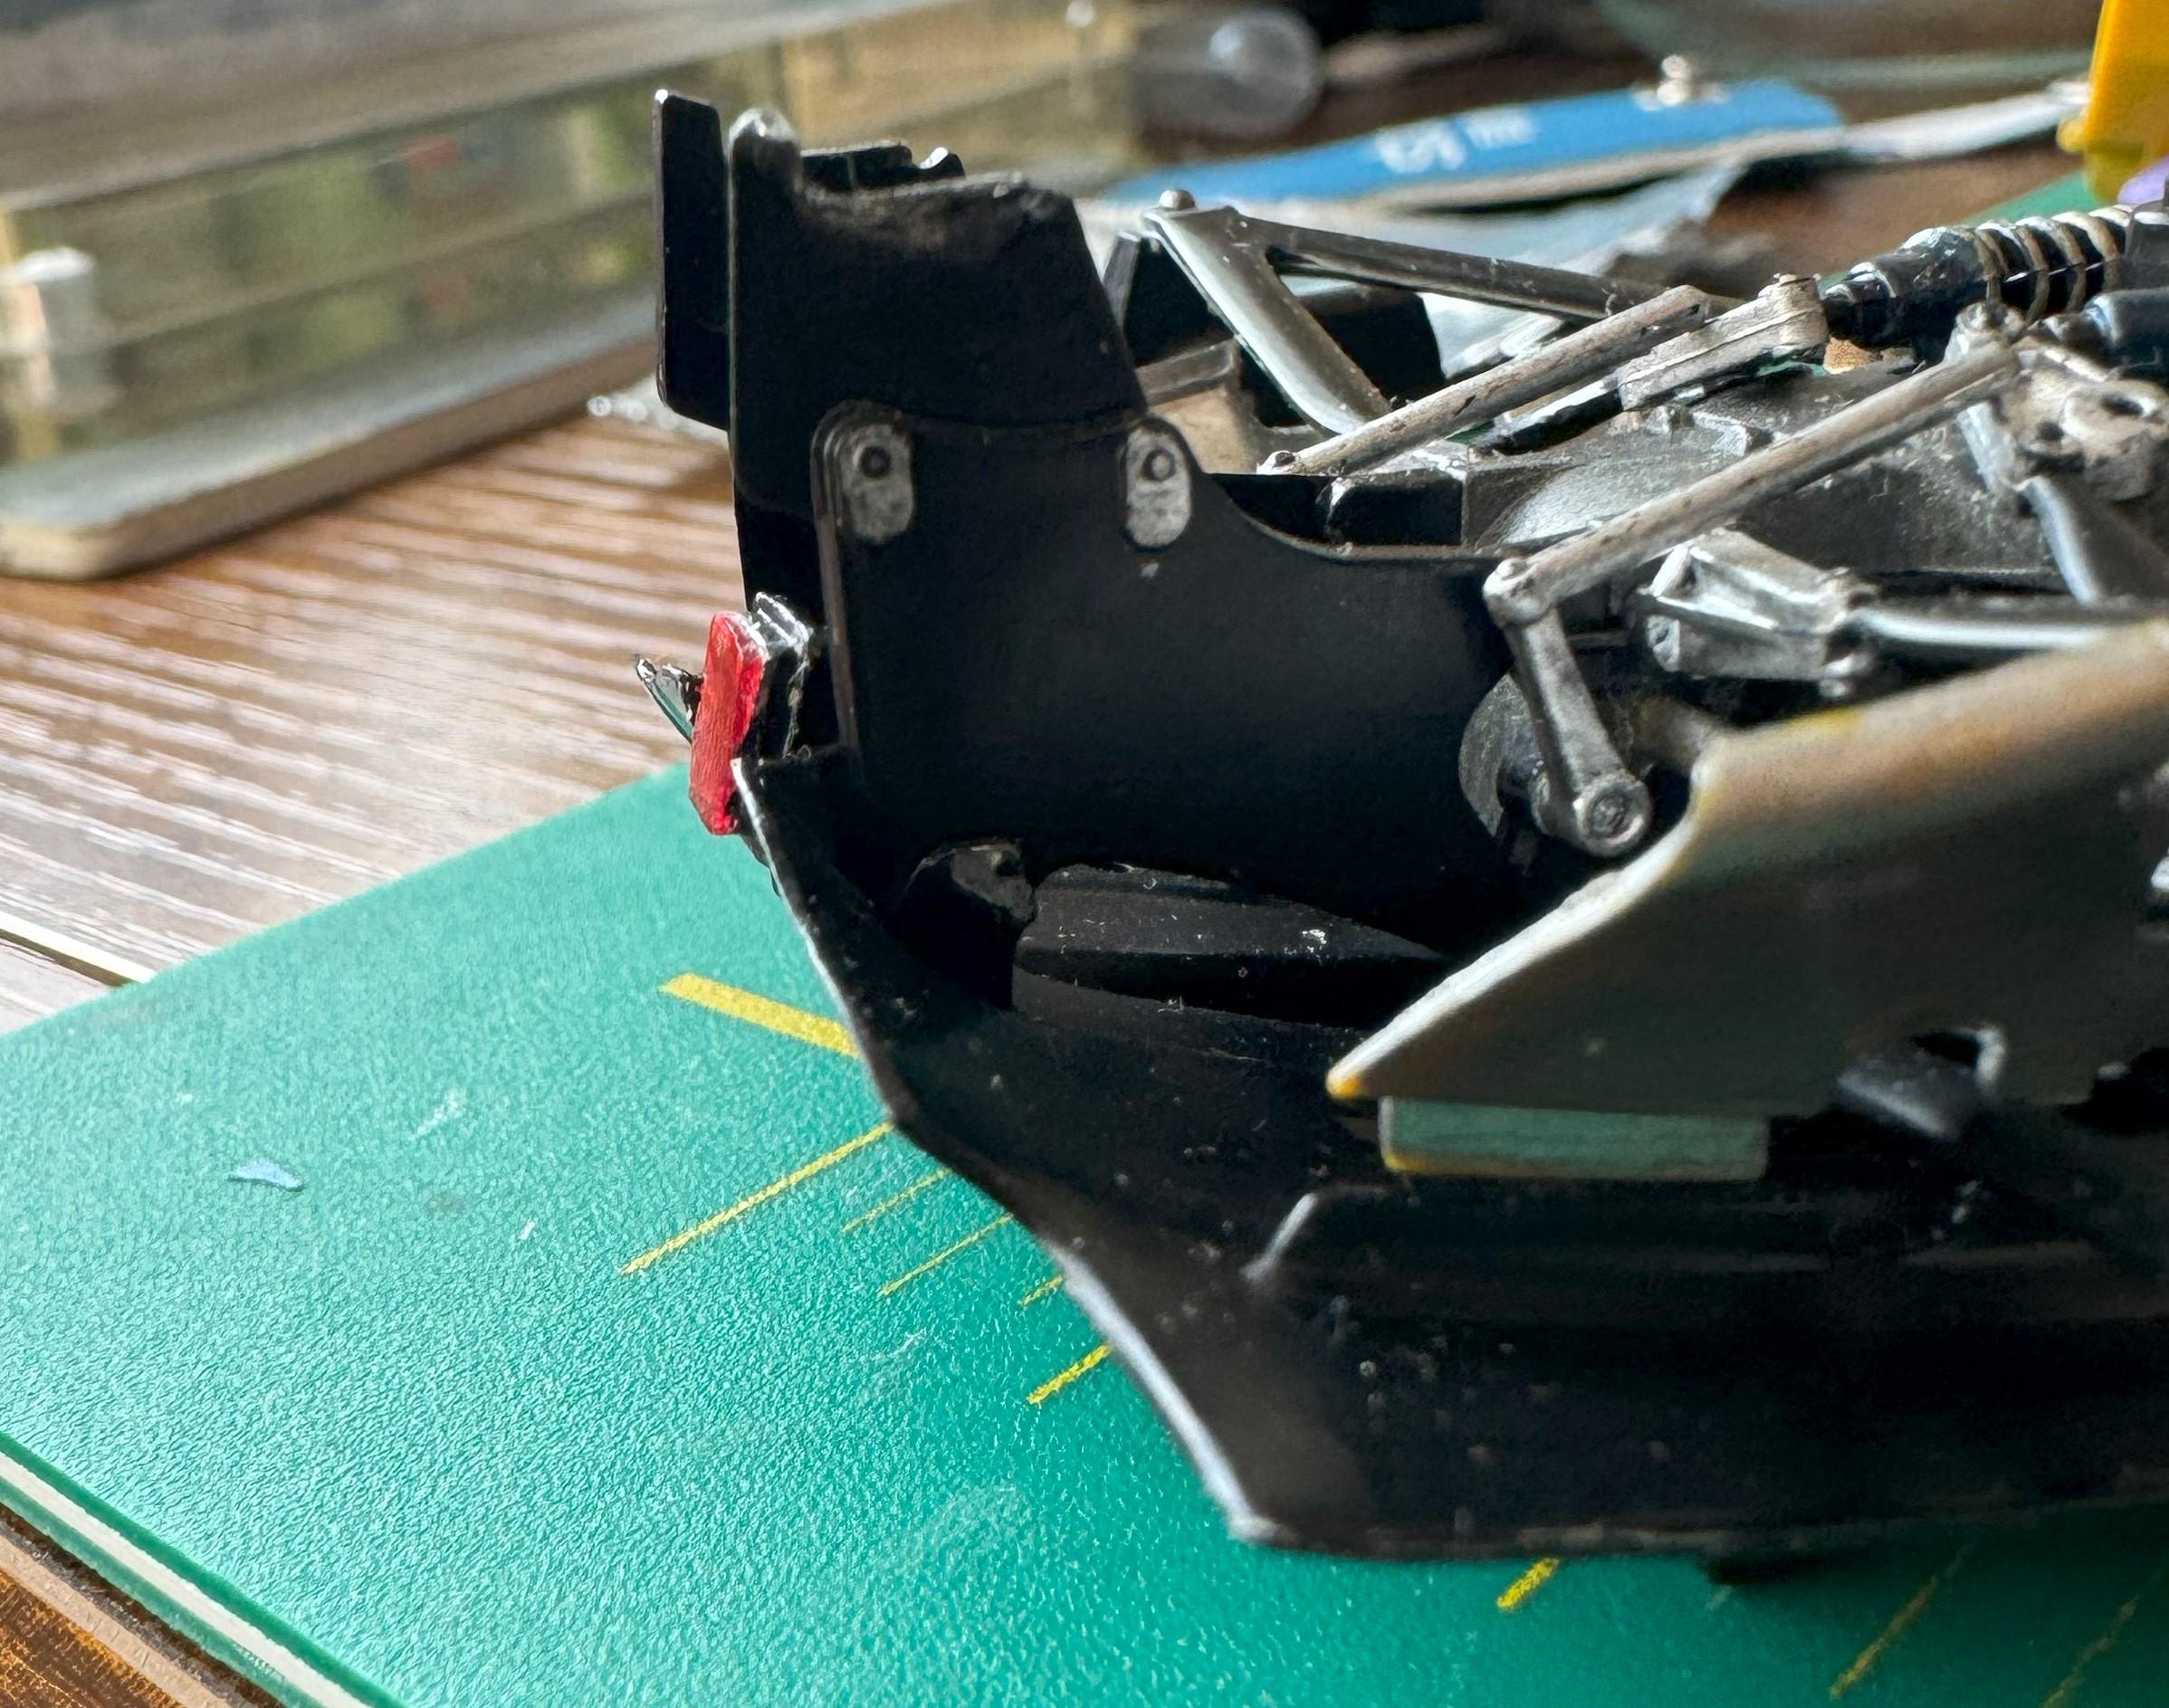
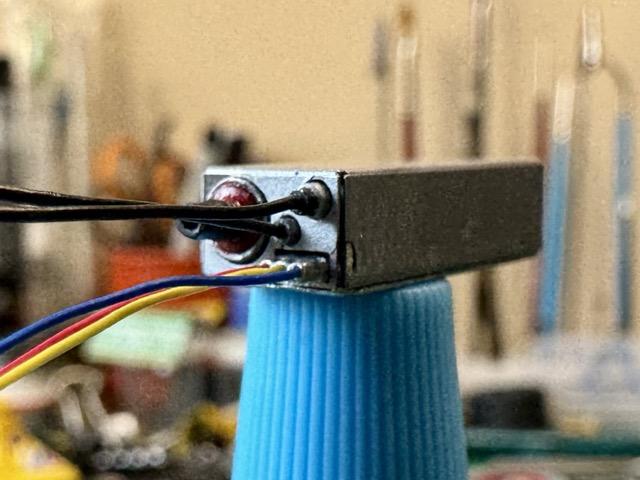
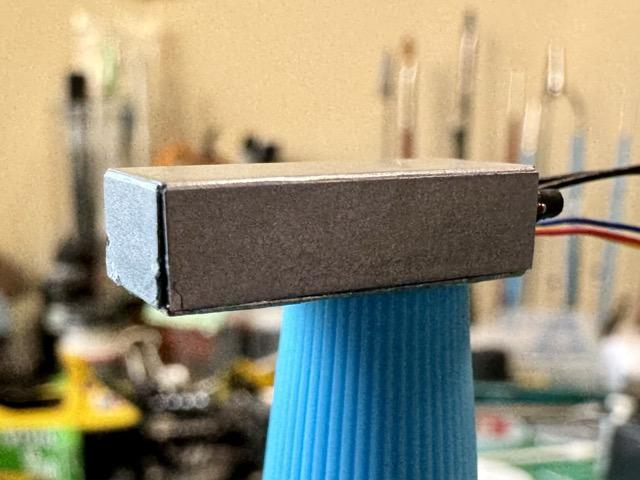
I was, and still may, post a Tips thread on this: UV resin over painted or magic marker colored foil. In this example, it's Tamiya Clear Red, X-27. The 1:20 scale model was positioned to catch the sunlight (on a F1 rain light), but it's not an unfair representation, lol. Okay, maybe a little unfair. The corrugation is in the part mold, I just used a fingernail to press the foil to follow the lines.
-
Tyrrell 003 - tamiya 1/12
4knflyin replied to JET.'s topic in WIP: Other Racing: Road Racing, Land Speed Racers
Looking good. I have the 003 kit with the bullnose because that was the car that was pushed past me back to the pits, Stewart sans helmet at the wheel, after the last practice at Zandvoort — my first F1 race (he wrecked early in the rain-soaked race). What coating products/colors did you use. I have the Zero Paints "Tyrell Blue," but after my experience with my B192 using their paint, I'm questioning whether it's a wise choice. (Full disclosure: it was my first experience with an airbrush, much less spray paint in general.) -
Ferrari F 2003 GA
4knflyin replied to Chris Smith's topic in WIP: Other Racing: Road Racing, Land Speed Racers
Meh. Cripes, that's without clear? I can't get that with clear. -
Of all the things, it was in my mailbox when I went out this morning — with all sorts of crazy interesting postage stamps. That means it was in there when I posted my reply. He apologized for the delay. I don't know if you've ever spoken to him, it sounds as though you have, but he's sounds like a solid, decent guy. We had to work through a PP error that resulted in the cancelling of my order. I didn't lose my place in the queue he wanted to eat the PP fee. The parts are beautiful.
-
1/12 Tamiya Williams FW14B
4knflyin replied to okazaki0511's topic in WIP: Other Racing: Road Racing, Land Speed Racers
I don't have a FB account, but I think I'll get one to benefit from your chronicle of events. Sequence is important, and even in the three months since I started doing this, often I've discovered the only practical sequence after failing on two or three attempts to put some seemingly simple parts together. These pics are of the MFH 1/12 ignition from their their little DFV detail kit. I still think I got the painting and assembly sequences wrong. I practically tore my hair out to get it to this state. It took over an hour and multiple sequences, including which part to apply the cement to, just to get it to where I was willing to accept the defects (I'm actually satisfied with it's glaring defects and very relieved that it's over). As I mentioned, much of my difficulty comes from a loss of steadiness in my hands, and there's no way to compensate for that, except to accept otherwise infuriating errors.
-
Ferrari F 2003 GA
4knflyin replied to Chris Smith's topic in WIP: Other Racing: Road Racing, Land Speed Racers
Yes, thanks, it definitely helps. You answered things I didn't want to impose on you by asking. Using graphite powder (from a pencil?) so subtly created a great effect. But, and not atypically, I wasn't specific enough. What I really wanted to know is: Did you use a hand brush for body and lettering both/neither/split? Which did you apply first, body color or lettering? How did you use clear coat to assist, if you did, or any other techniques I may not even know about? It could not have been done better. I should mention that, for all practical purposes, I'm a newbie, which is why my questions are so basic. I didn't use spray paint or an airbrush until December... three months ago! ? As a matter of fact, it was only last week that I think I finally "cracked the code" for using an airbrush effectively — it finally became natural for me the understanding and use of the relationship between compressor psi, nozzle distance from subject, and use of the trigger to vary the amount of paint. Putting those three together in a useful way somehow escaped me until now, three months later! -
Now I know why my order from rbmotion is almost a distant memory. I need to call Bob and find out what's what. But believe me, I don't mind being bumped for artist/craftsmen like you. Perhaps I shouldn't have told him that the last time we talked? I just sat here and read all you posts and, with even more amazement, looked at each photo, most enlarged, in one sitting. I couldn't stop. What hasn't been said... thanks!
-
Because that dude is, well, different. It may be a case of the thin line between genius and madness. I'll sure never forget dealing with him.
-
Ferrari F 2003 GA
4knflyin replied to Chris Smith's topic in WIP: Other Racing: Road Racing, Land Speed Racers
OK, how did you paint those calipers? I mean, how did you do that?? I'm thinking I will cancel that "preorder" of mine. I was looking over the pictures again and realized that's not a caliper, it's a, um, I have no idea what it is. But I still want to know how you painted it. -
Ferrari F 2003 GA
4knflyin replied to Chris Smith's topic in WIP: Other Racing: Road Racing, Land Speed Racers
Could I get you to take a couple minutes and describe the methods and material used on the just the metal head of the arm and the bolts and other metal materials it's connected to. I'm especially fascinated by the "metal" tags at the very top of the arm, before it narrow. Man, you are good. Thanks for the input on my humble project, lol! -
Ferrari F 2003 GA
4knflyin replied to Chris Smith's topic in WIP: Other Racing: Road Racing, Land Speed Racers
Hold on, what?! I've stopped ordering any chemical products from outside the NA continent. Just add a 10 ml bottle of paint and the shippers slap a $60 hazards materials surcharge on the order. Are you using Spot Model? Good to see you again. MS11?? -
Ferrari F 2003 GA
4knflyin replied to Chris Smith's topic in WIP: Other Racing: Road Racing, Land Speed Racers
Because he's not. The prognosis is that he won't. Wow, life. What a trip. -
Ferrari F 2003 GA
4knflyin replied to Chris Smith's topic in WIP: Other Racing: Road Racing, Land Speed Racers
I just realized that's what's happened to me. Chris commented on one of my threads and said he was building this car... after I had just said that I think I need to cancel my preorder. I know outlets list ordering an item that is being restocked as a preorder. But it's usually obvious. In both our cases it clearly was not. Actually, in your case, you actually saw the status change, so there's something more to this. I'm glad you posted this. -
Model factory hiro Porsche 917/30
4knflyin replied to Brudda's topic in WIP: Other Racing: Road Racing, Land Speed Racers
You're saluting the "Can-Am Killer?!" Kind of hard not to. -
1973 Porsche 917/10 Can Am
4knflyin replied to Scale-Master's topic in WIP: Other Racing: Road Racing, Land Speed Racers
I remember the car, but I don't remember knowing it was a 917. This is so far from what I would build... it's great. The level of detail painting I think you're going to show us is way beyond what I would contemplate. I even cheat and use less contrasty colors when hand painting to conceal any mistakes. True story. Yes, I'm ashamed. -
1/12 Tamiya Williams FW14B
4knflyin replied to okazaki0511's topic in WIP: Other Racing: Road Racing, Land Speed Racers
This is sick (an English expression for really good). I have the kit and the TS Master Detail set. After seeing this, it's questionable whether I will create a WIP thread when I feel ready to begin assembling it. I quoted your text because it's very helpful to know about your choices and methods. Even this little bit is very interesting to me. I no longer have the steadiness for most of this, but I sincerely hope to see your work accompanied by as much explanation as you're willing to document for us. This is masterful work. I have many questions, but I'll limit myself to two: What adhesive do you use for the wiring and piping? And, is that MFH carbon fiber decal? It has that heavy MFH look that I would have thought would interfere with the fitment of those parts. If so, I'm surprised to see how well it worked. -
Excellent info. Thanks. That's the first ever I've heard of somebody using 3M automotive putty. Makes sense.
-
While I was at it, I noticed the outlines for the Dzus on the side pods and the front end. In anticipation for a day when I built a model of a car that used them, I bought some nice NiAg PE ones and a decal sheet. Unfortunately, the PE ones are probably 1:20 scale. But I was still glad to apply the decals. In fact, there are actually eight Dzus on the body of this car in every historical, and not-so historical, photo I've found of a Mk. III. For the fasteners that had 3D outlines, I experimented by decaling over one of them and removing the other before decaling. The results for the one that I didn't remove convinced me that you either remove them, or at least file them down to nubs. Filing them is what I did on the one on the front. The other problem with the decal over the 3D outline on the sidepod was that the decal is too small. I noticed that before proceeding and actually expected the contorted result. I may leave it, I may redo it. 3D: No 3D. This one gets my vote: And here's all eight: Also, while I was at it; I bought exhaust springs a while back in anticipation of this moment (I didn't notice the cockeyed washer until I saw the photo. No way I'm going to fix that. No way.):
.jpg.03704ad9dfa3173c5341de7d78405d40.jpg)


.jpeg.d73868f2fc7dd9a13ea3817a892ba02c.jpeg)
.jpeg.e6ed99136bdf61c6659513fd1c07f317.jpeg)
.jpeg.495fc714b452628237cffed28634b8b4.jpeg)
.jpeg.2f9d06f1b99614c3dd908d25d1f3b721.jpeg)
.jpeg.4f80adbce07710272e3b62098c130c64.jpeg)