Evan_N
-
Posts
38 -
Joined
-
Last visited
Content Type
Profiles
Forums
Events
Gallery
Everything posted by Evan_N
-
Same here. I like to model cars that I could see in my neighborhood. The show cars look great, but just aren't what I'm after.
-
Looking very good. I really like your weathering.
-
Top shelf build! Looks great.
-
Following this one. My dad had a 69 Chevelle when I was a little kid. I loved that car
-
Excellent Colour choice! I've got a '49 Mercury in the stash and I think I'll go with the Bermuda Cream.
-
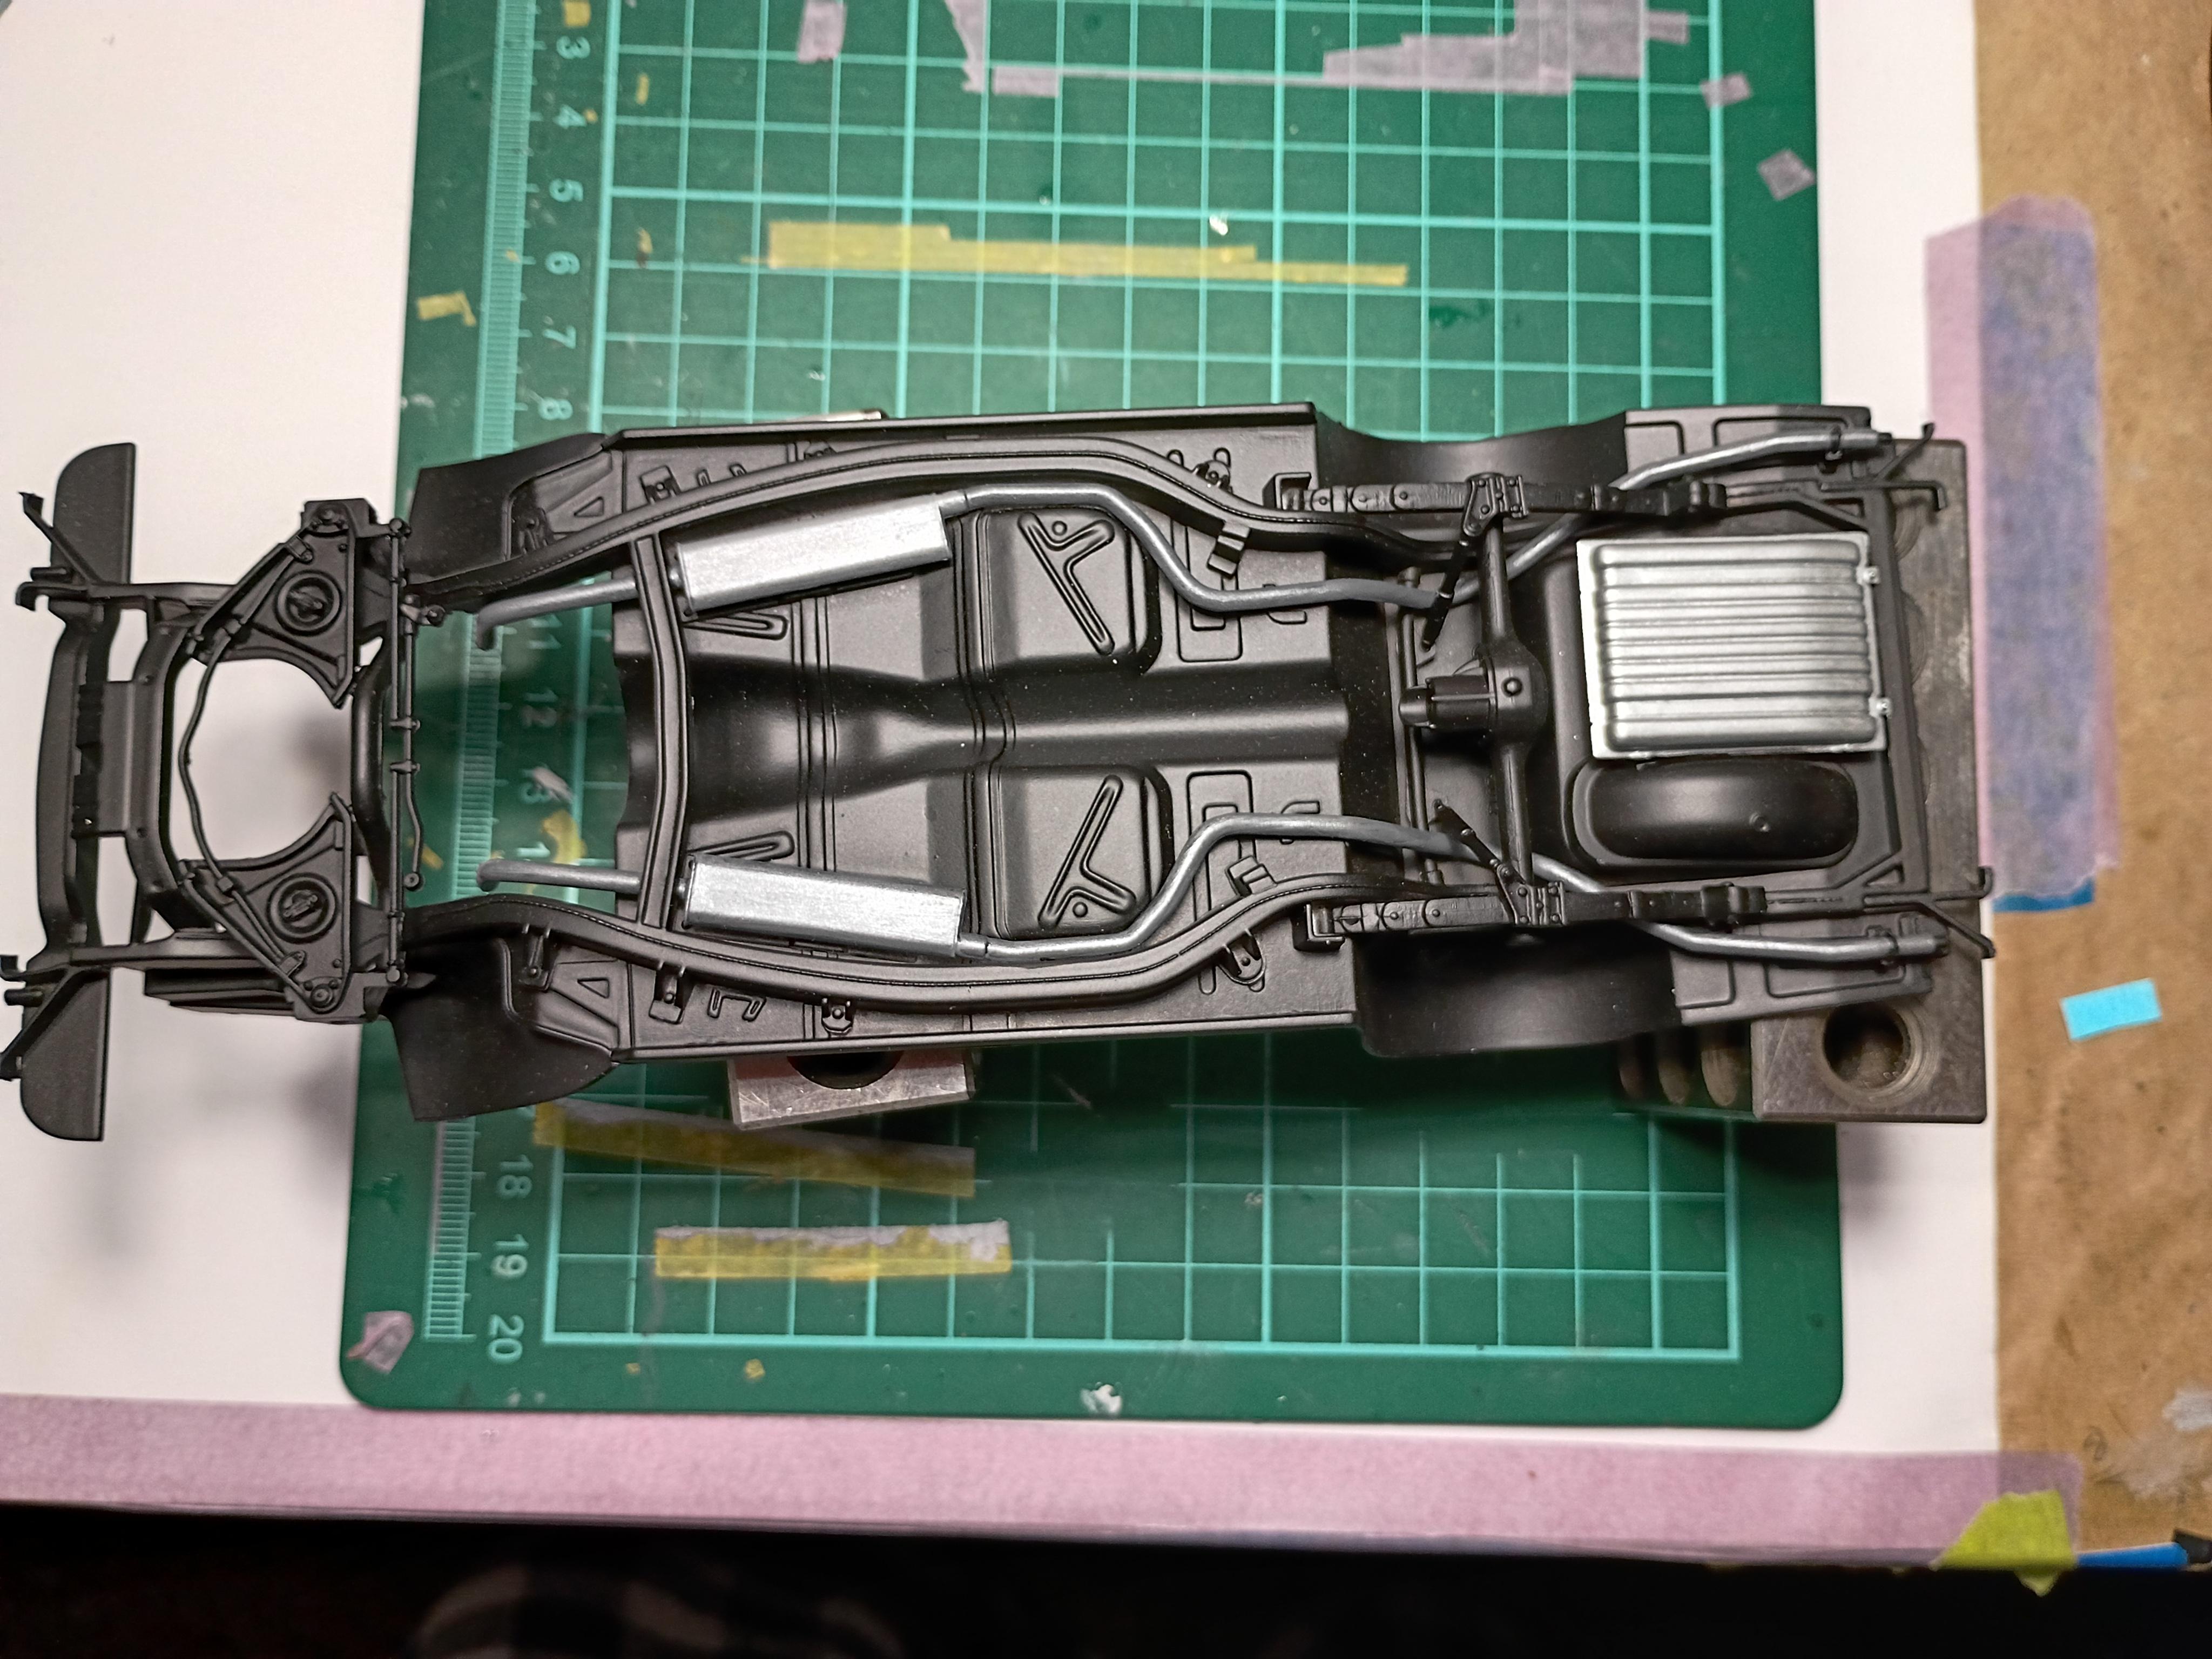
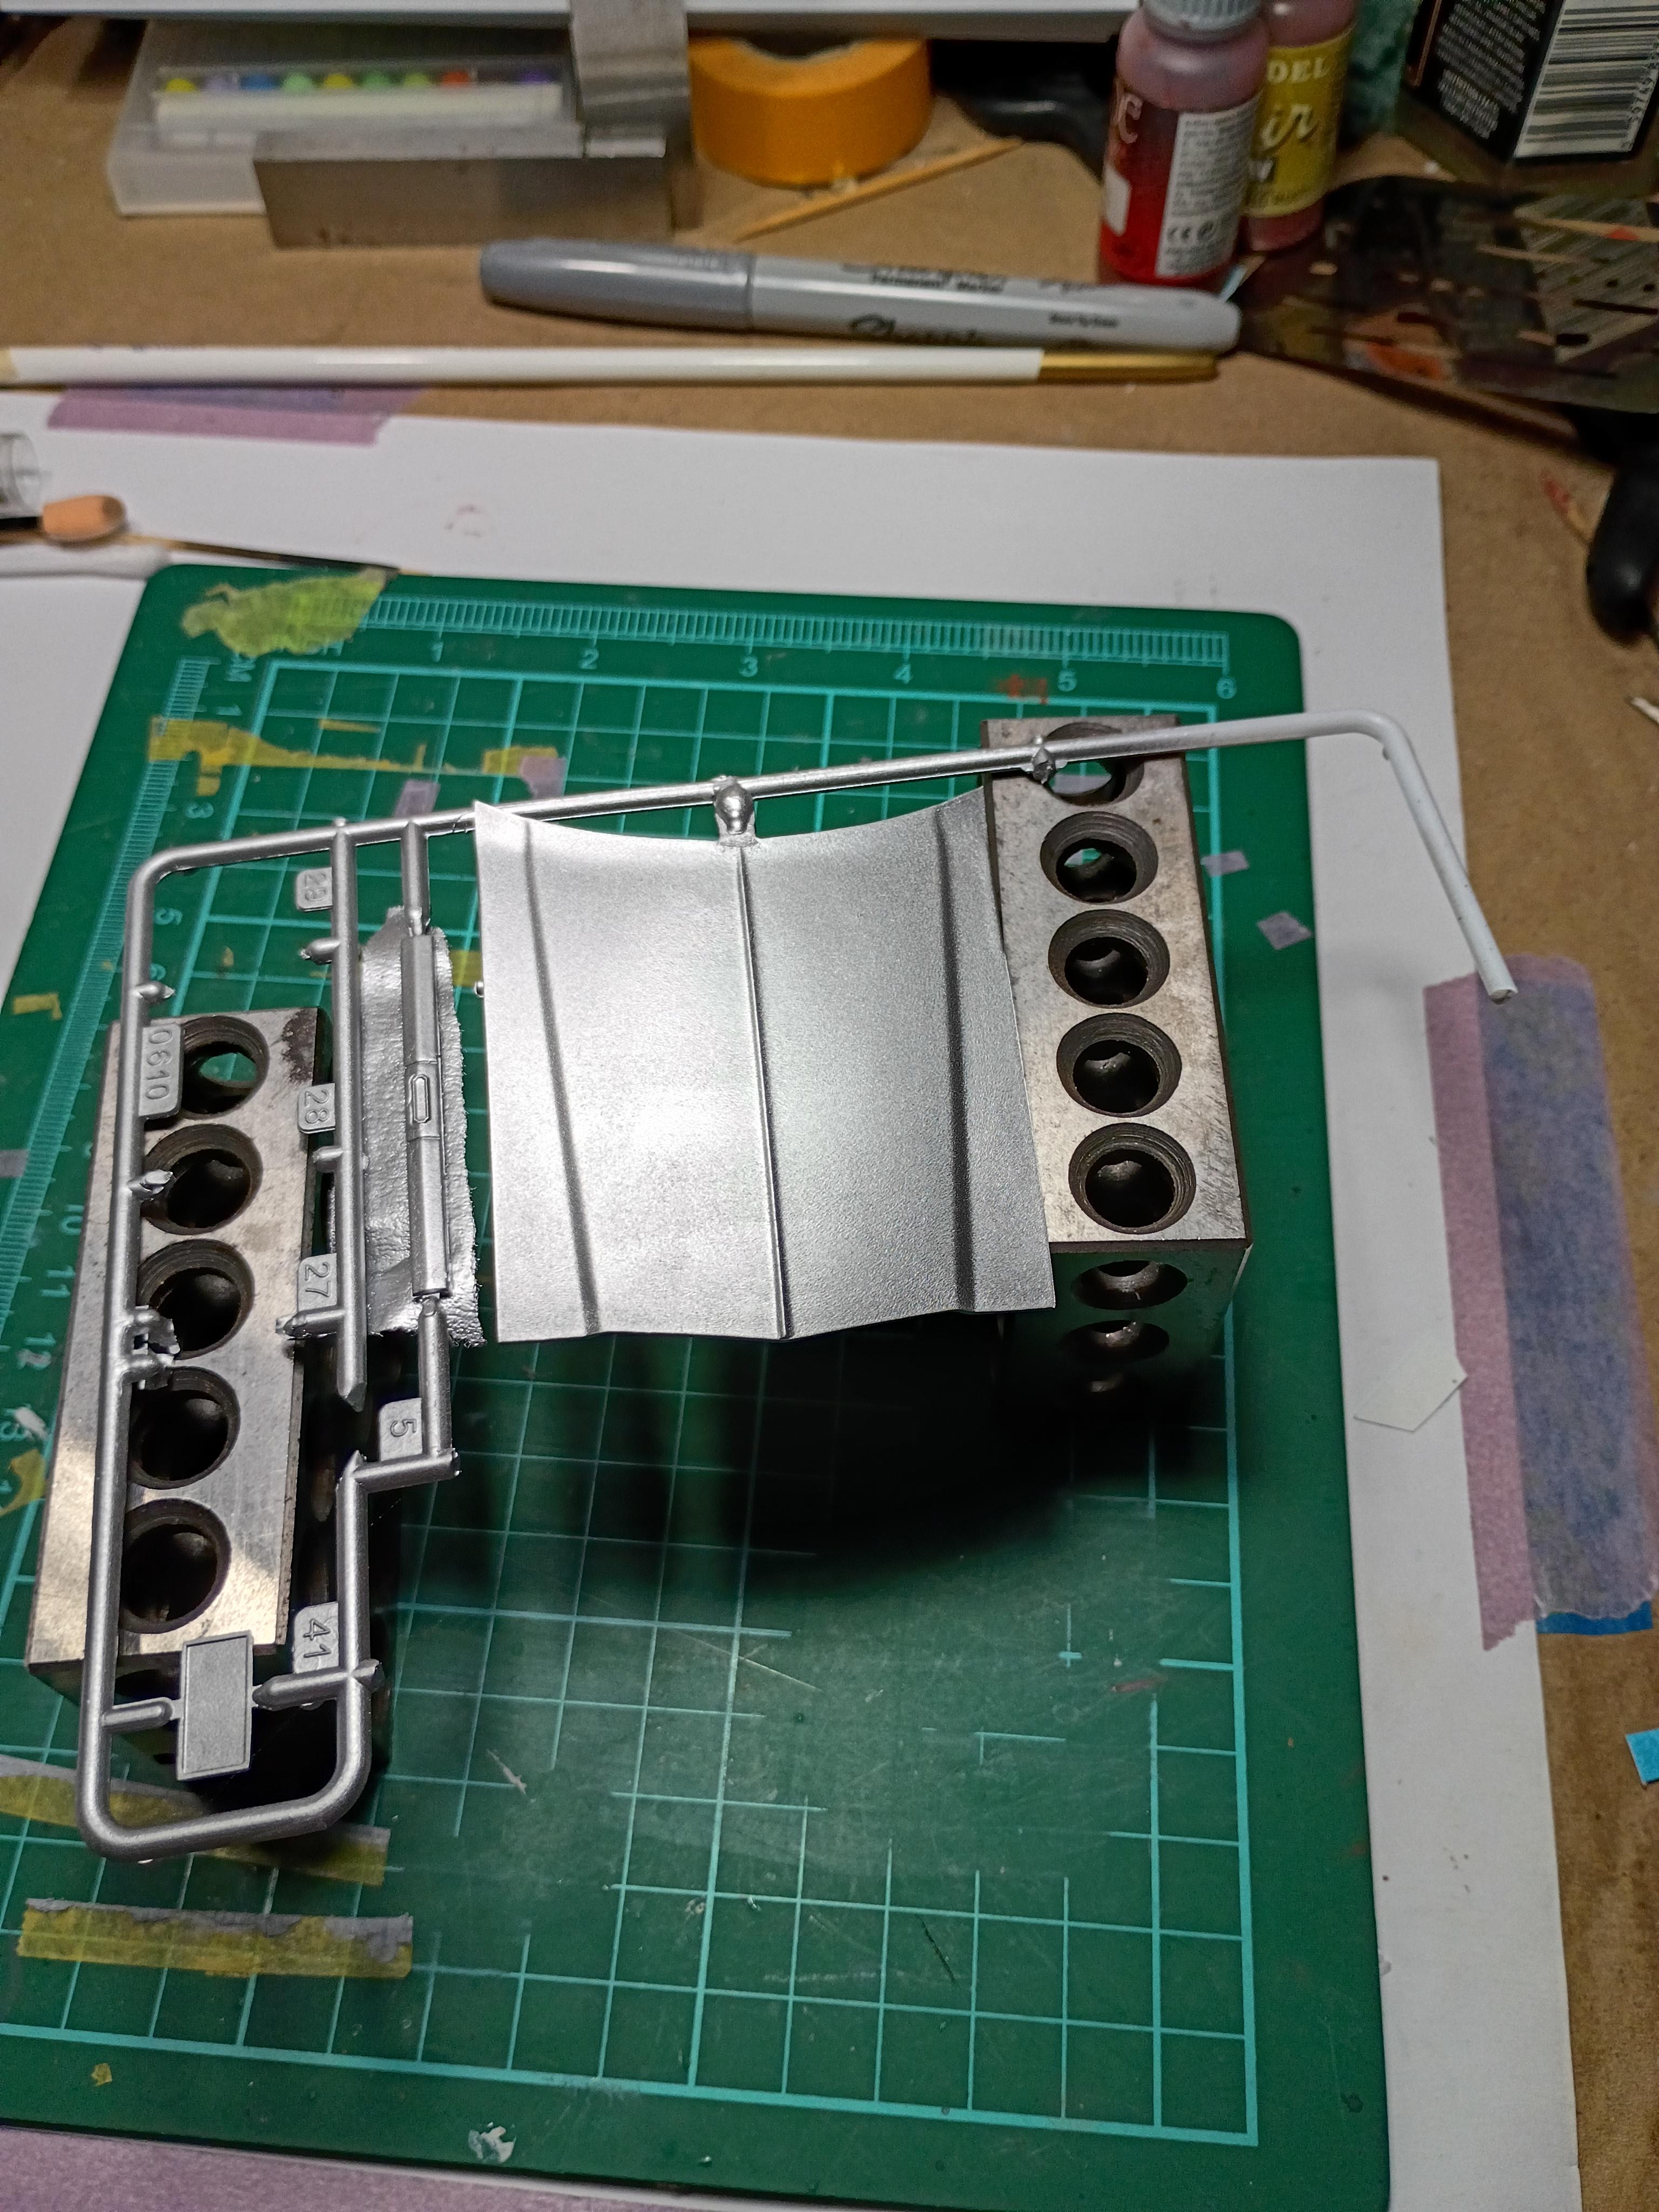
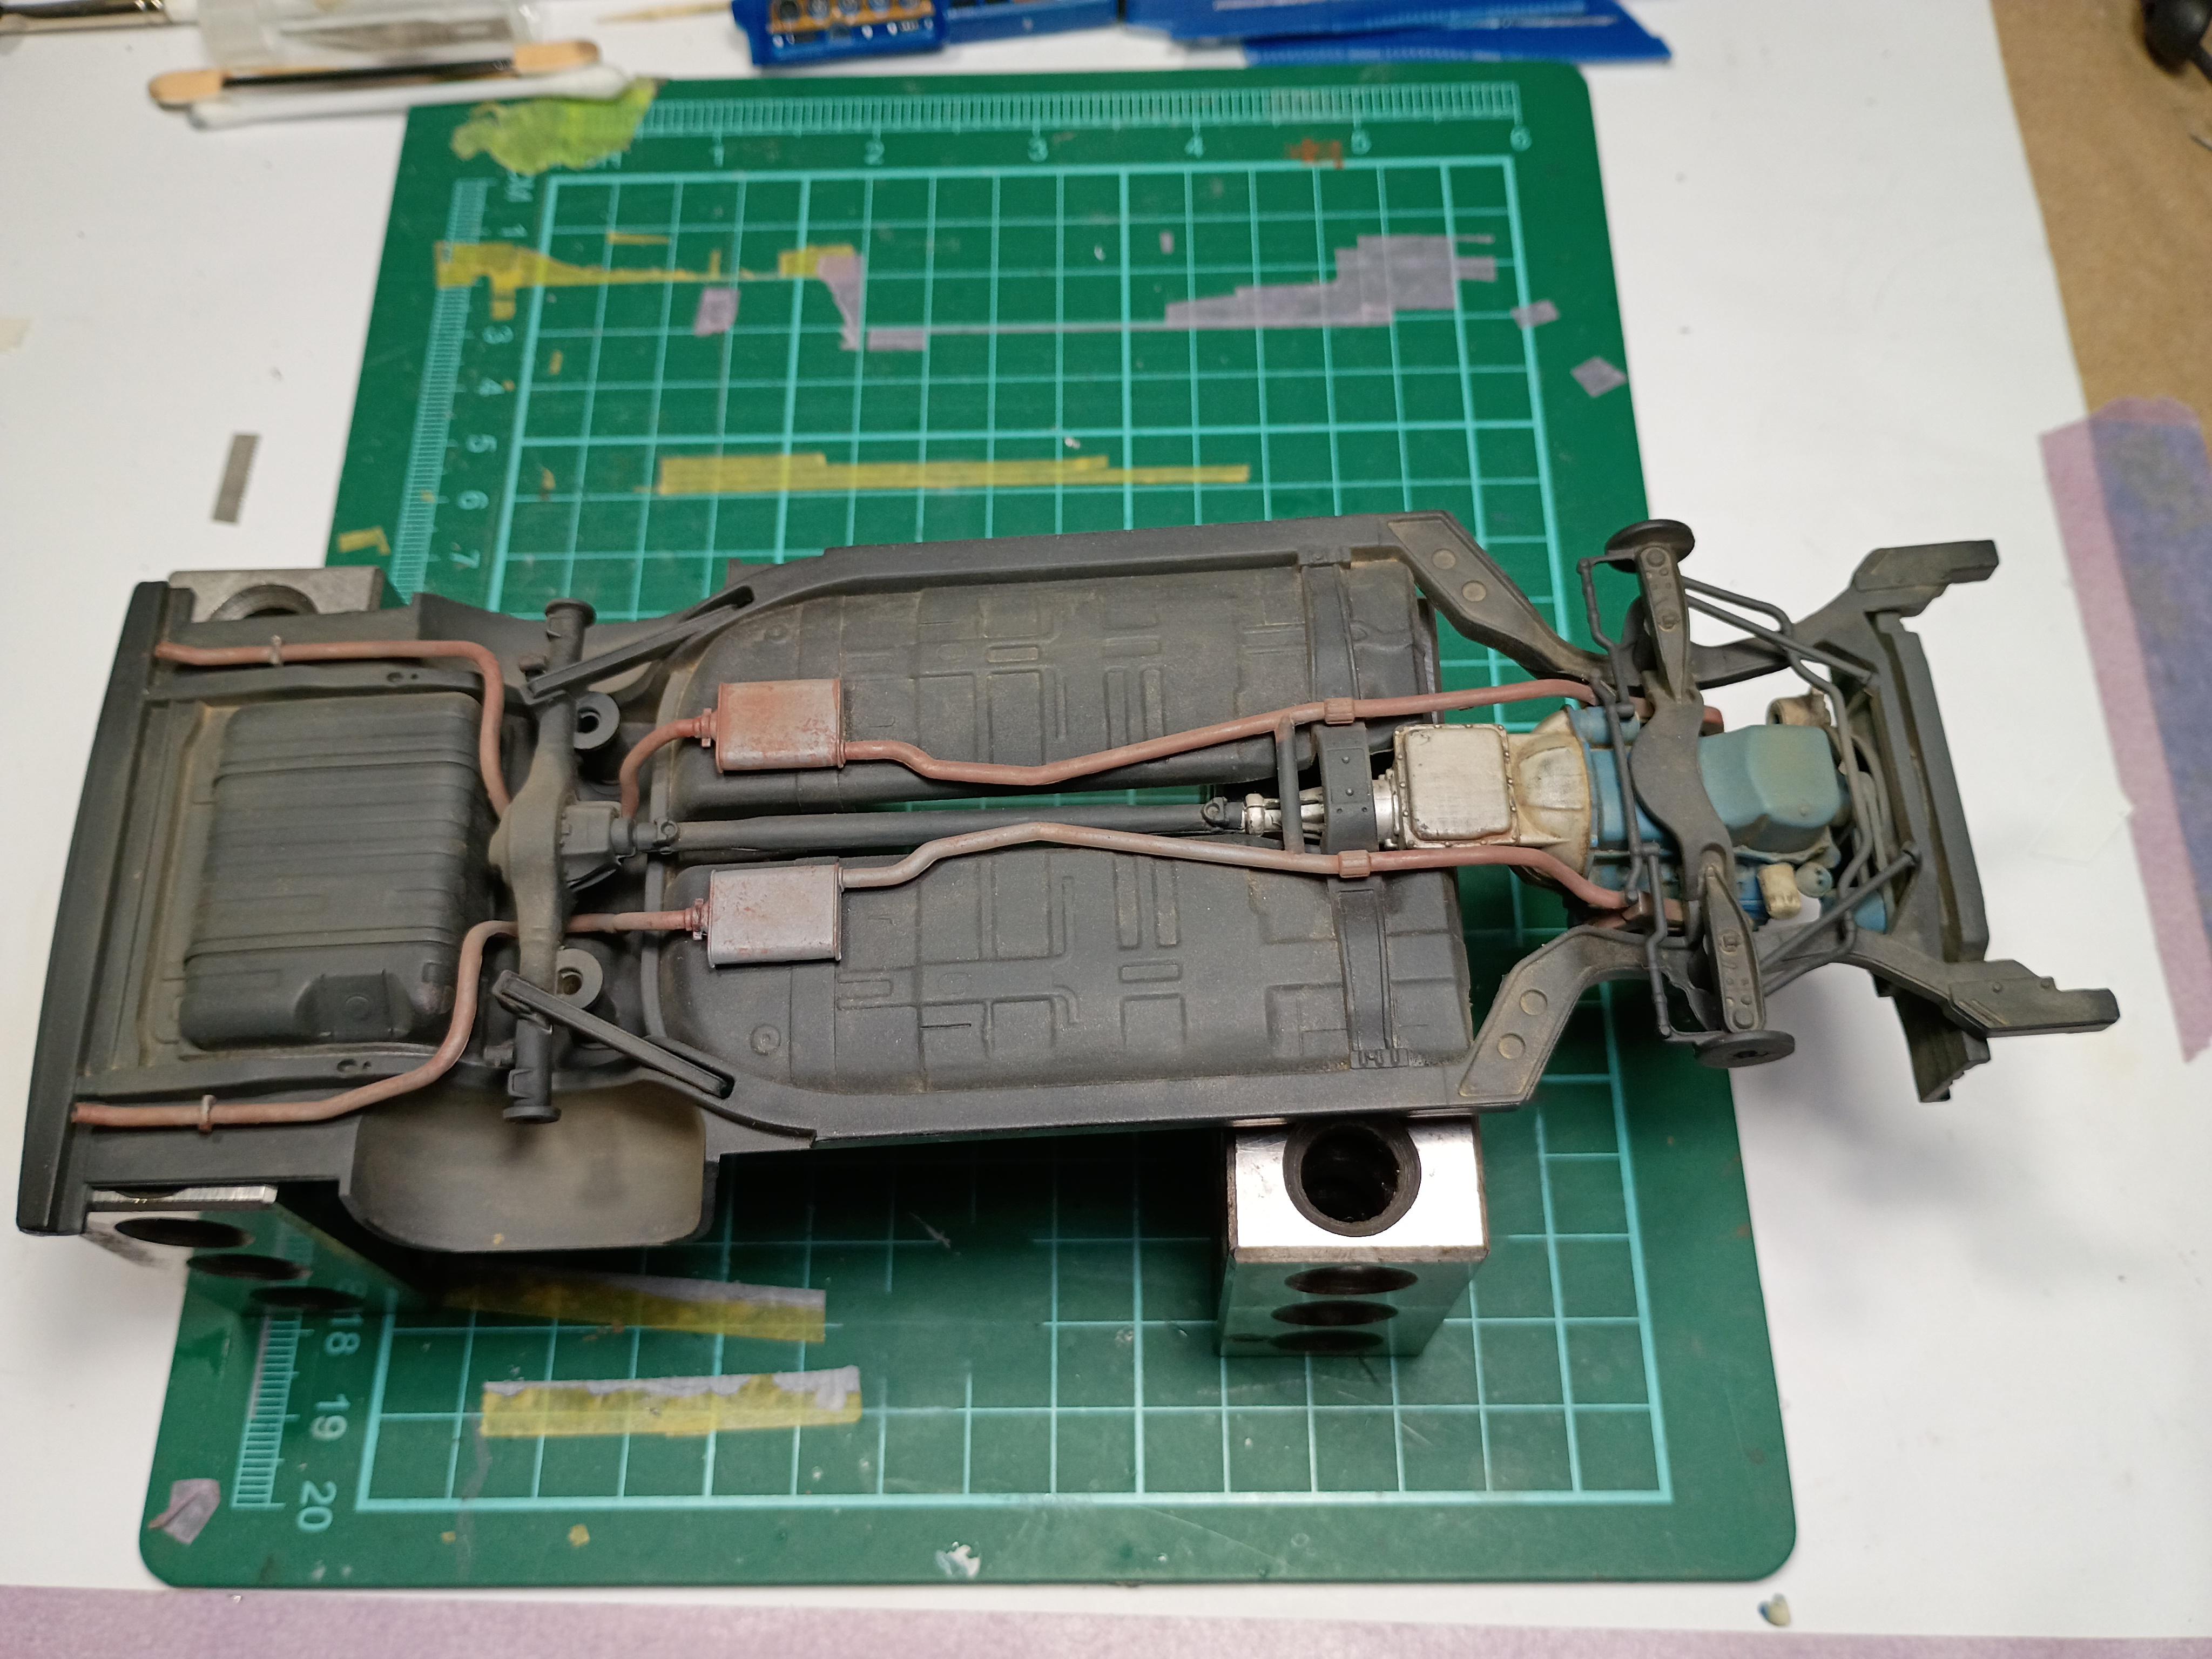
Did a bit of work on the chassis this weekend - mufflers, exhaust and gas tank. I'll jump on this one in the next day, while my Gran Torino is drying.

-
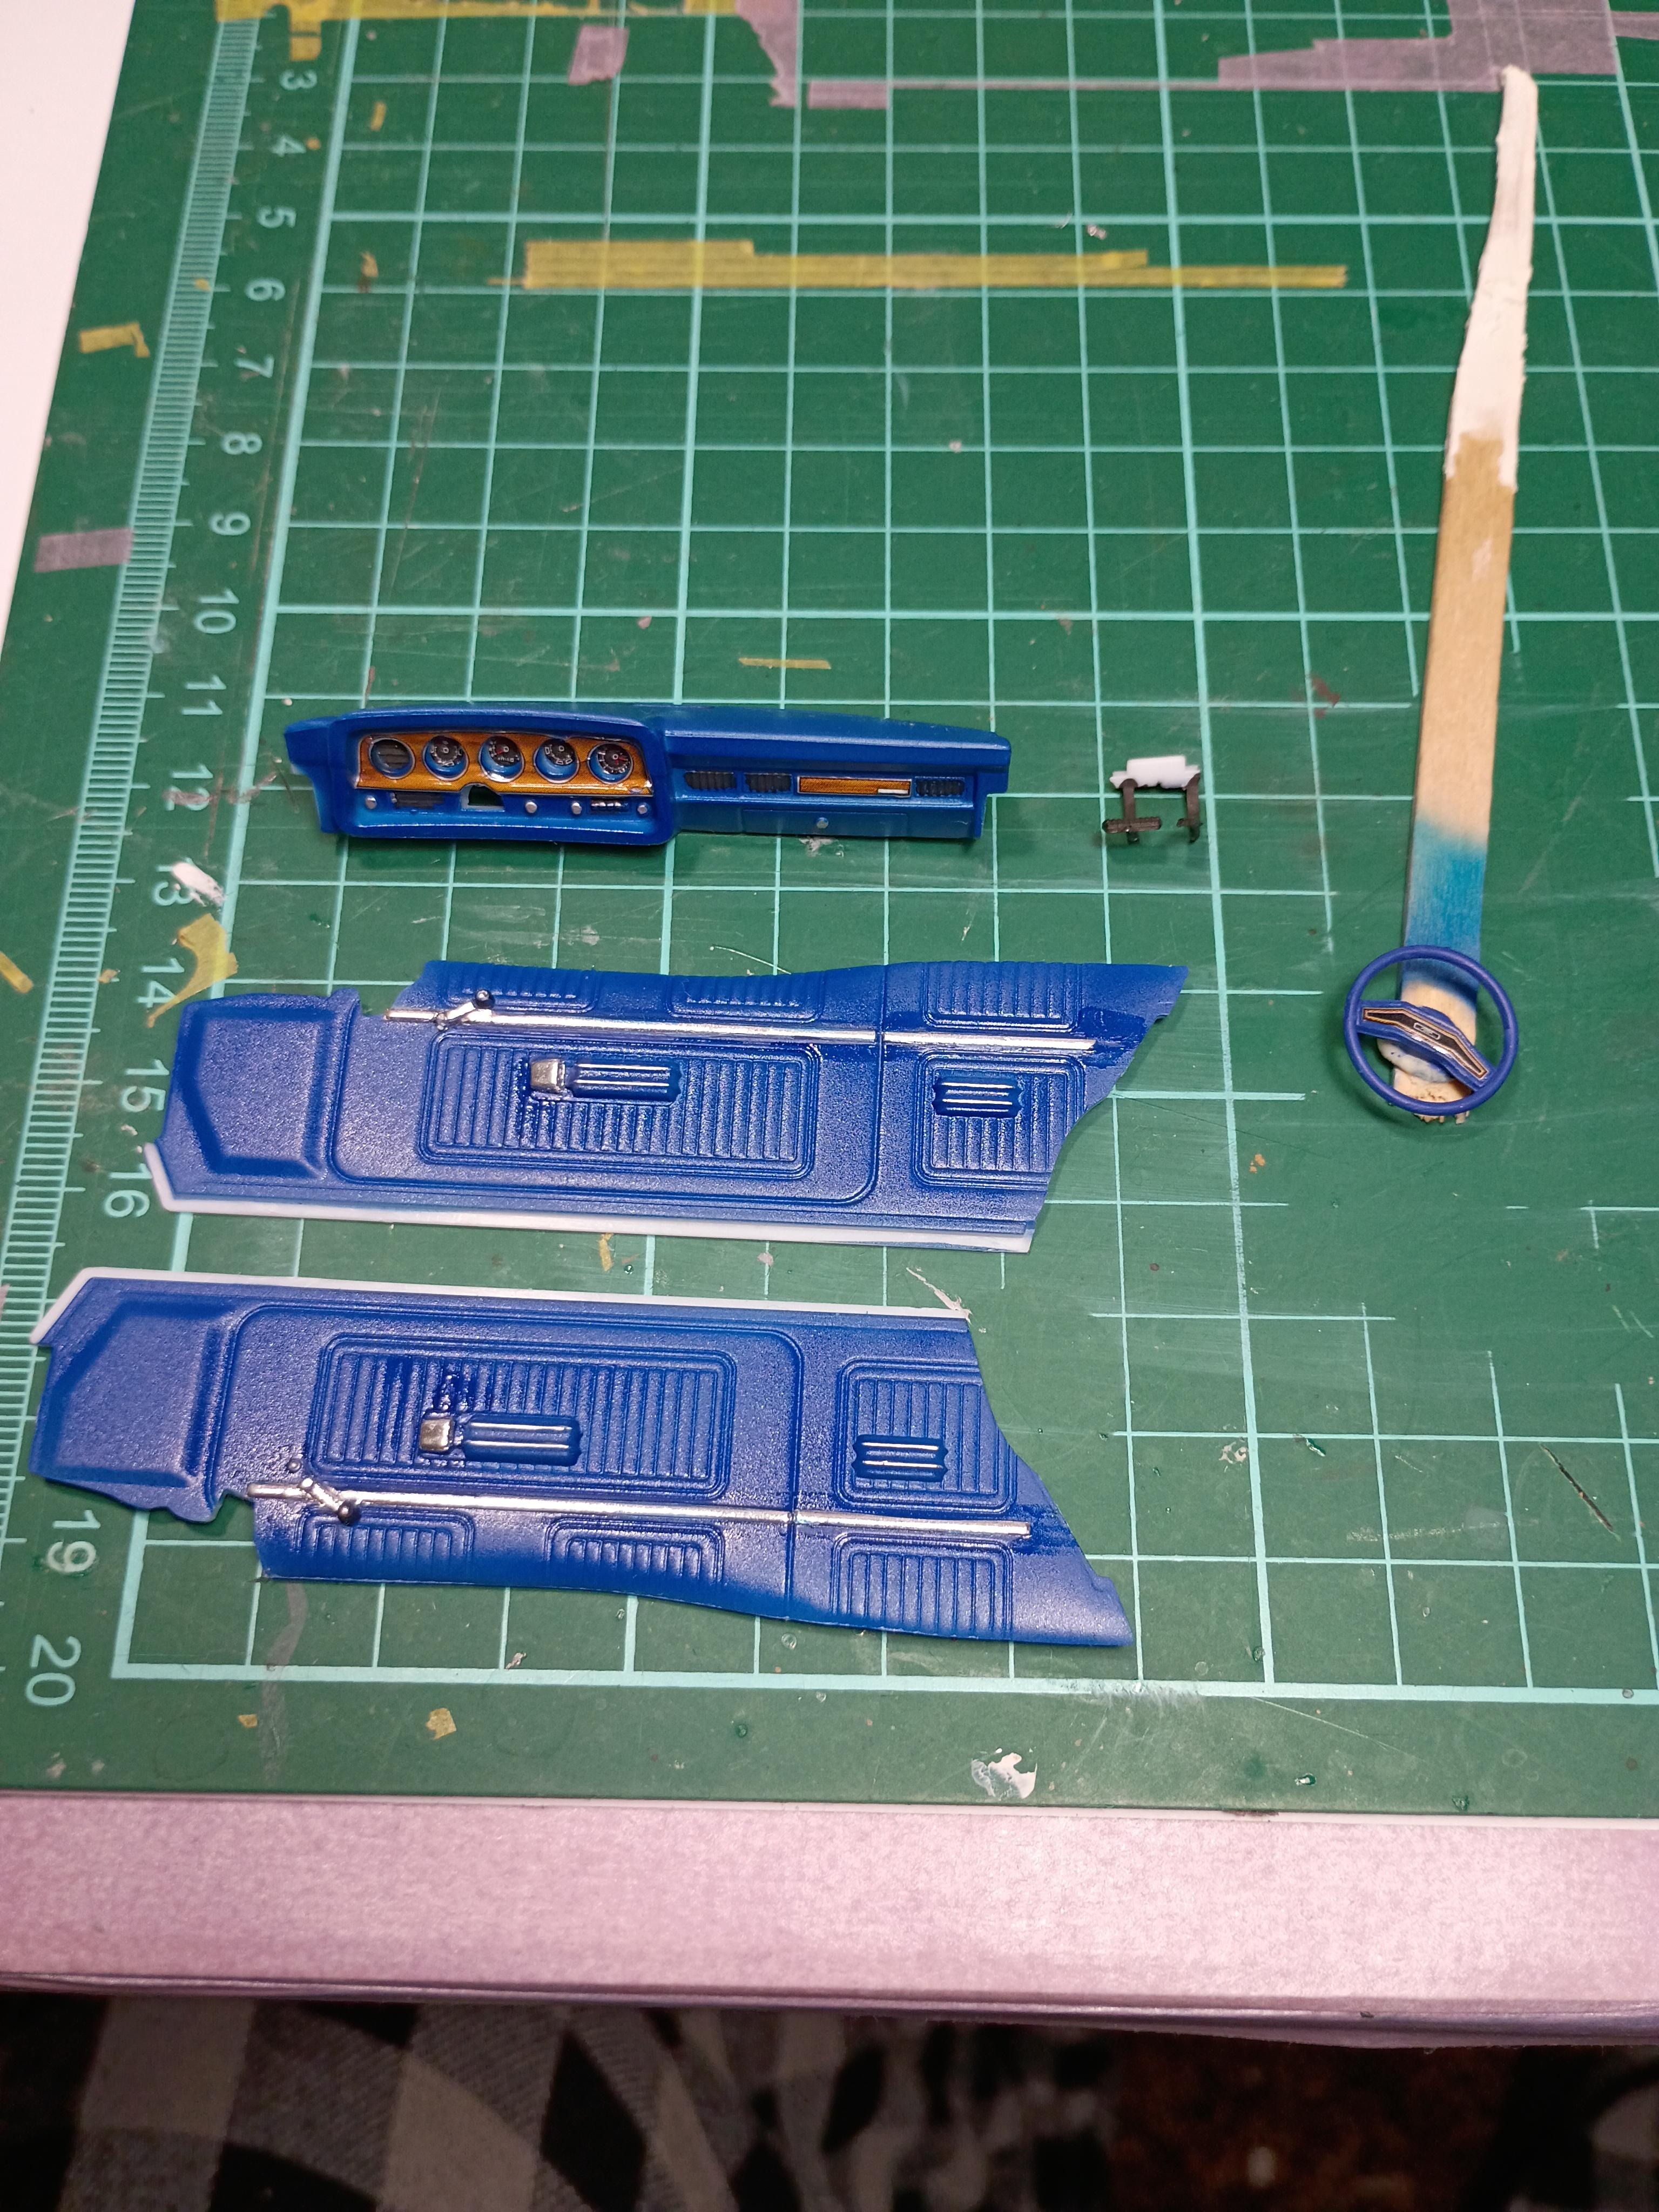
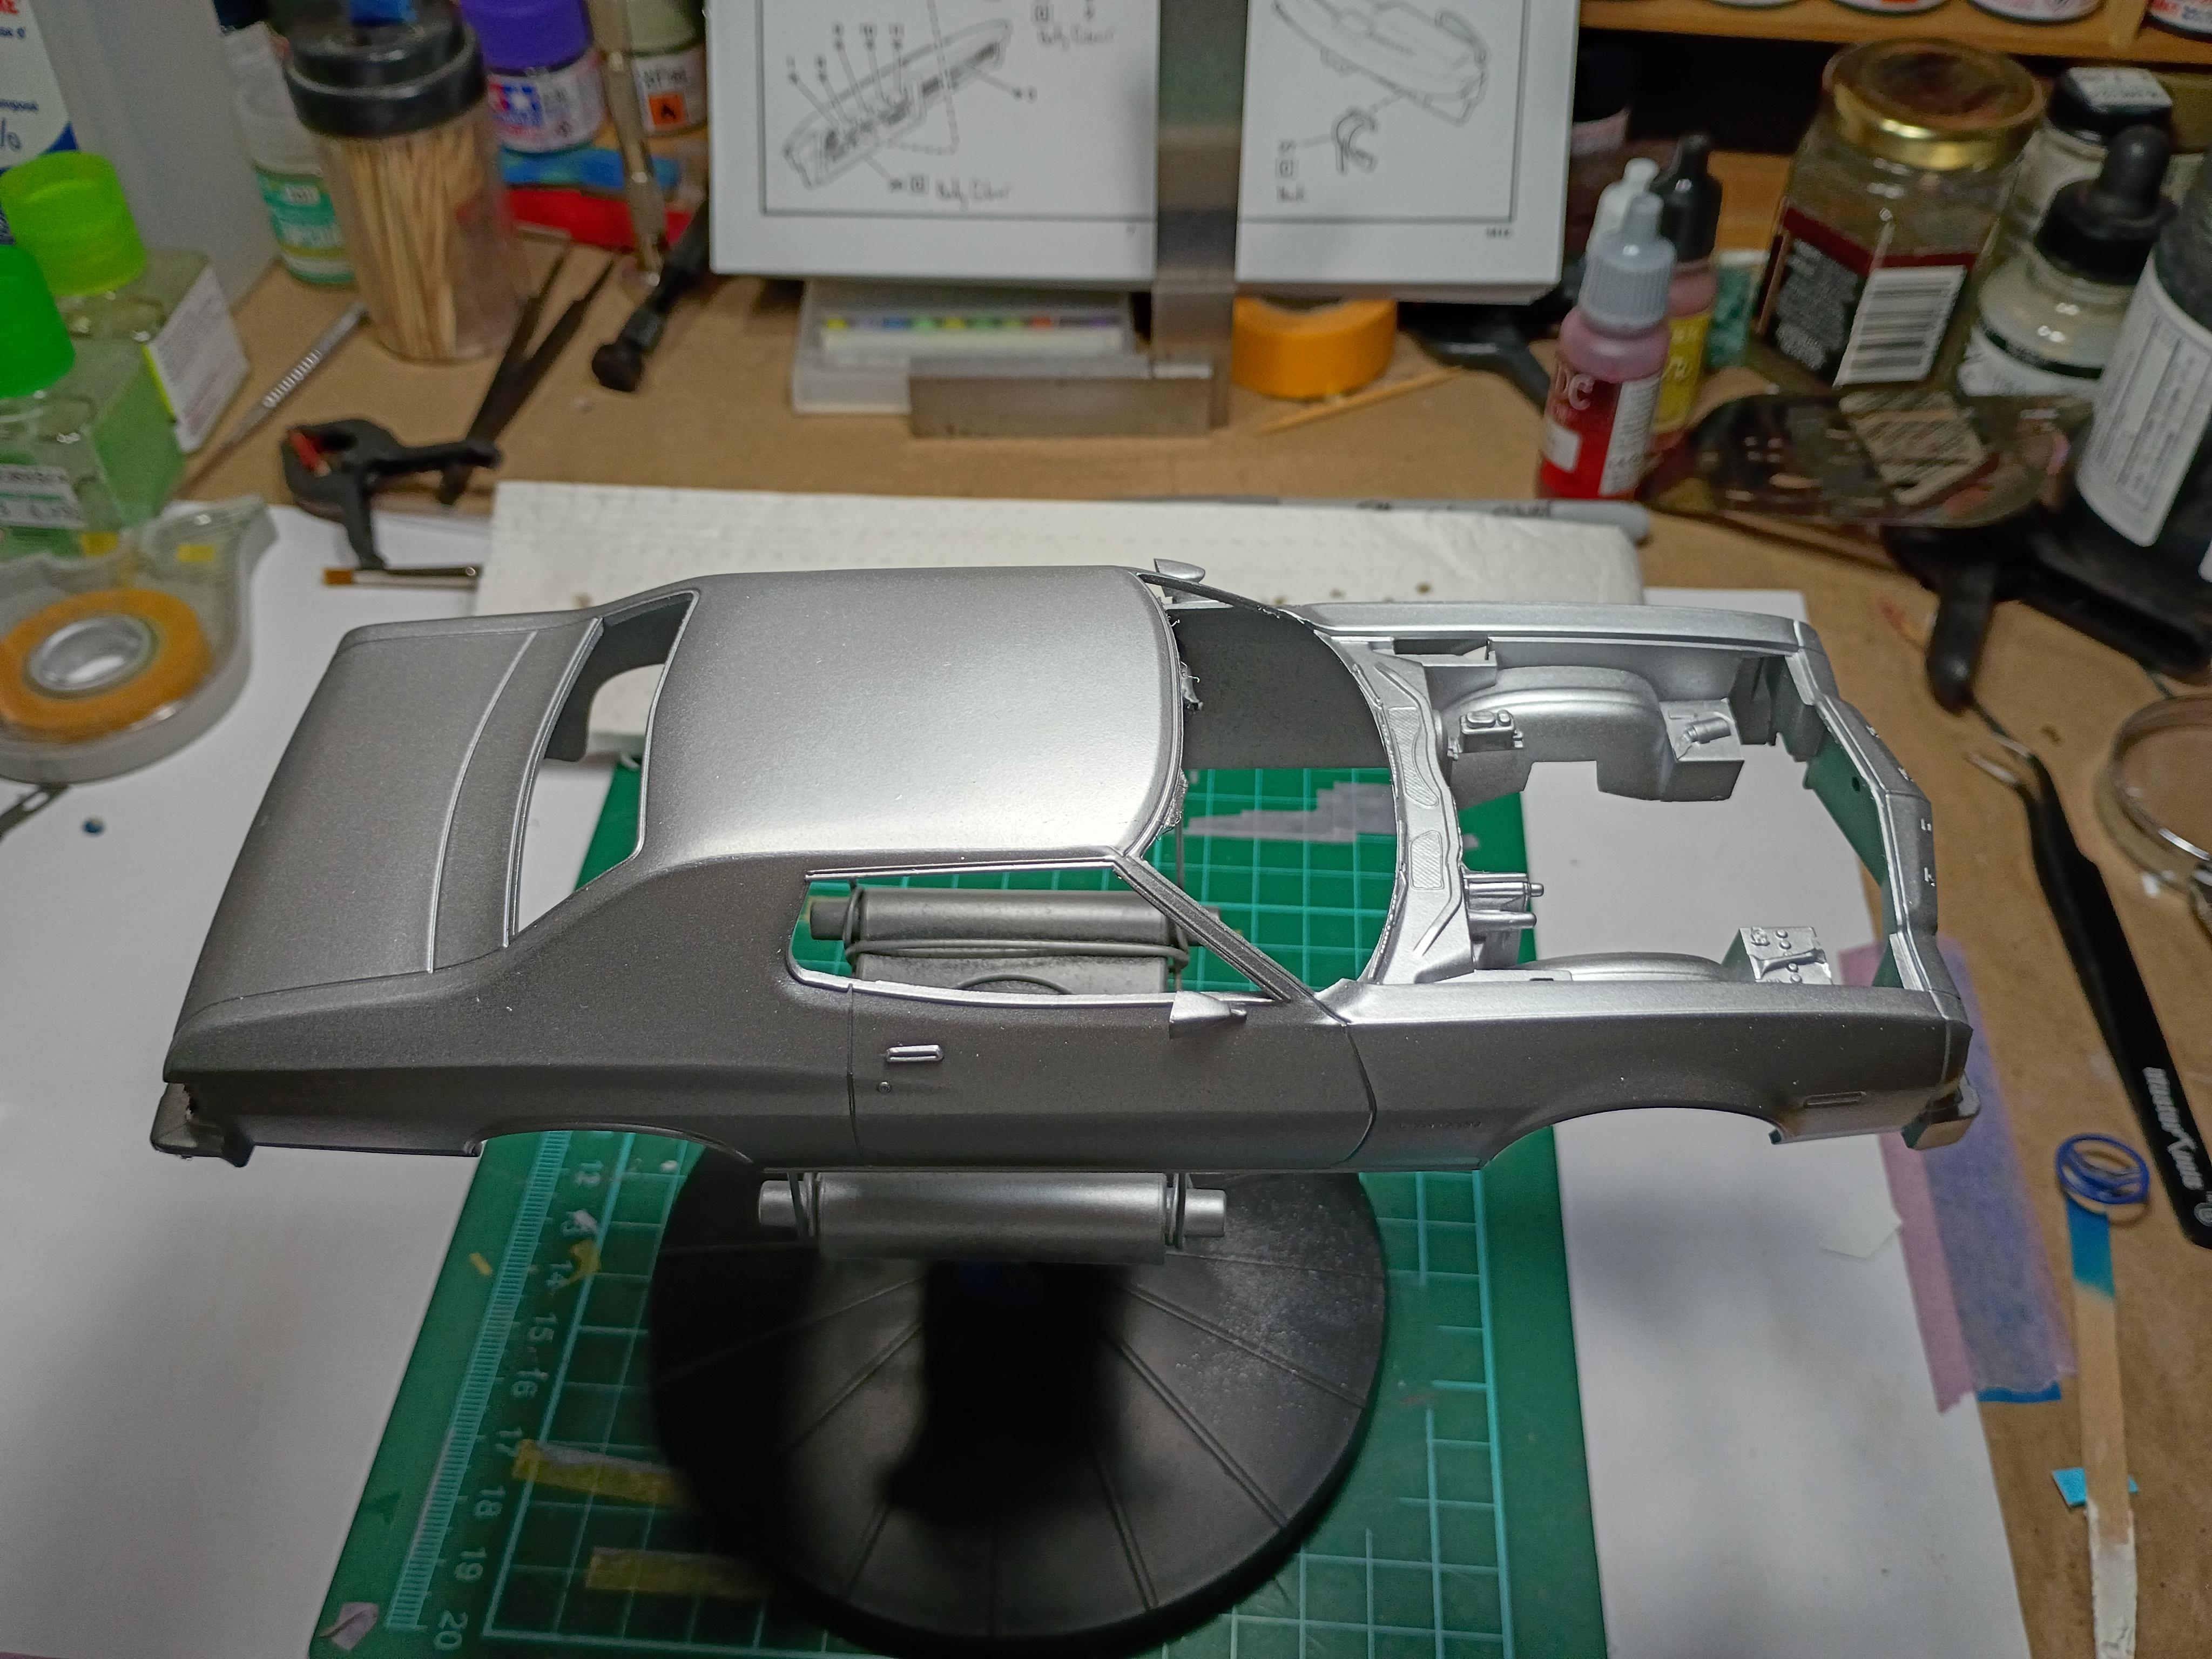
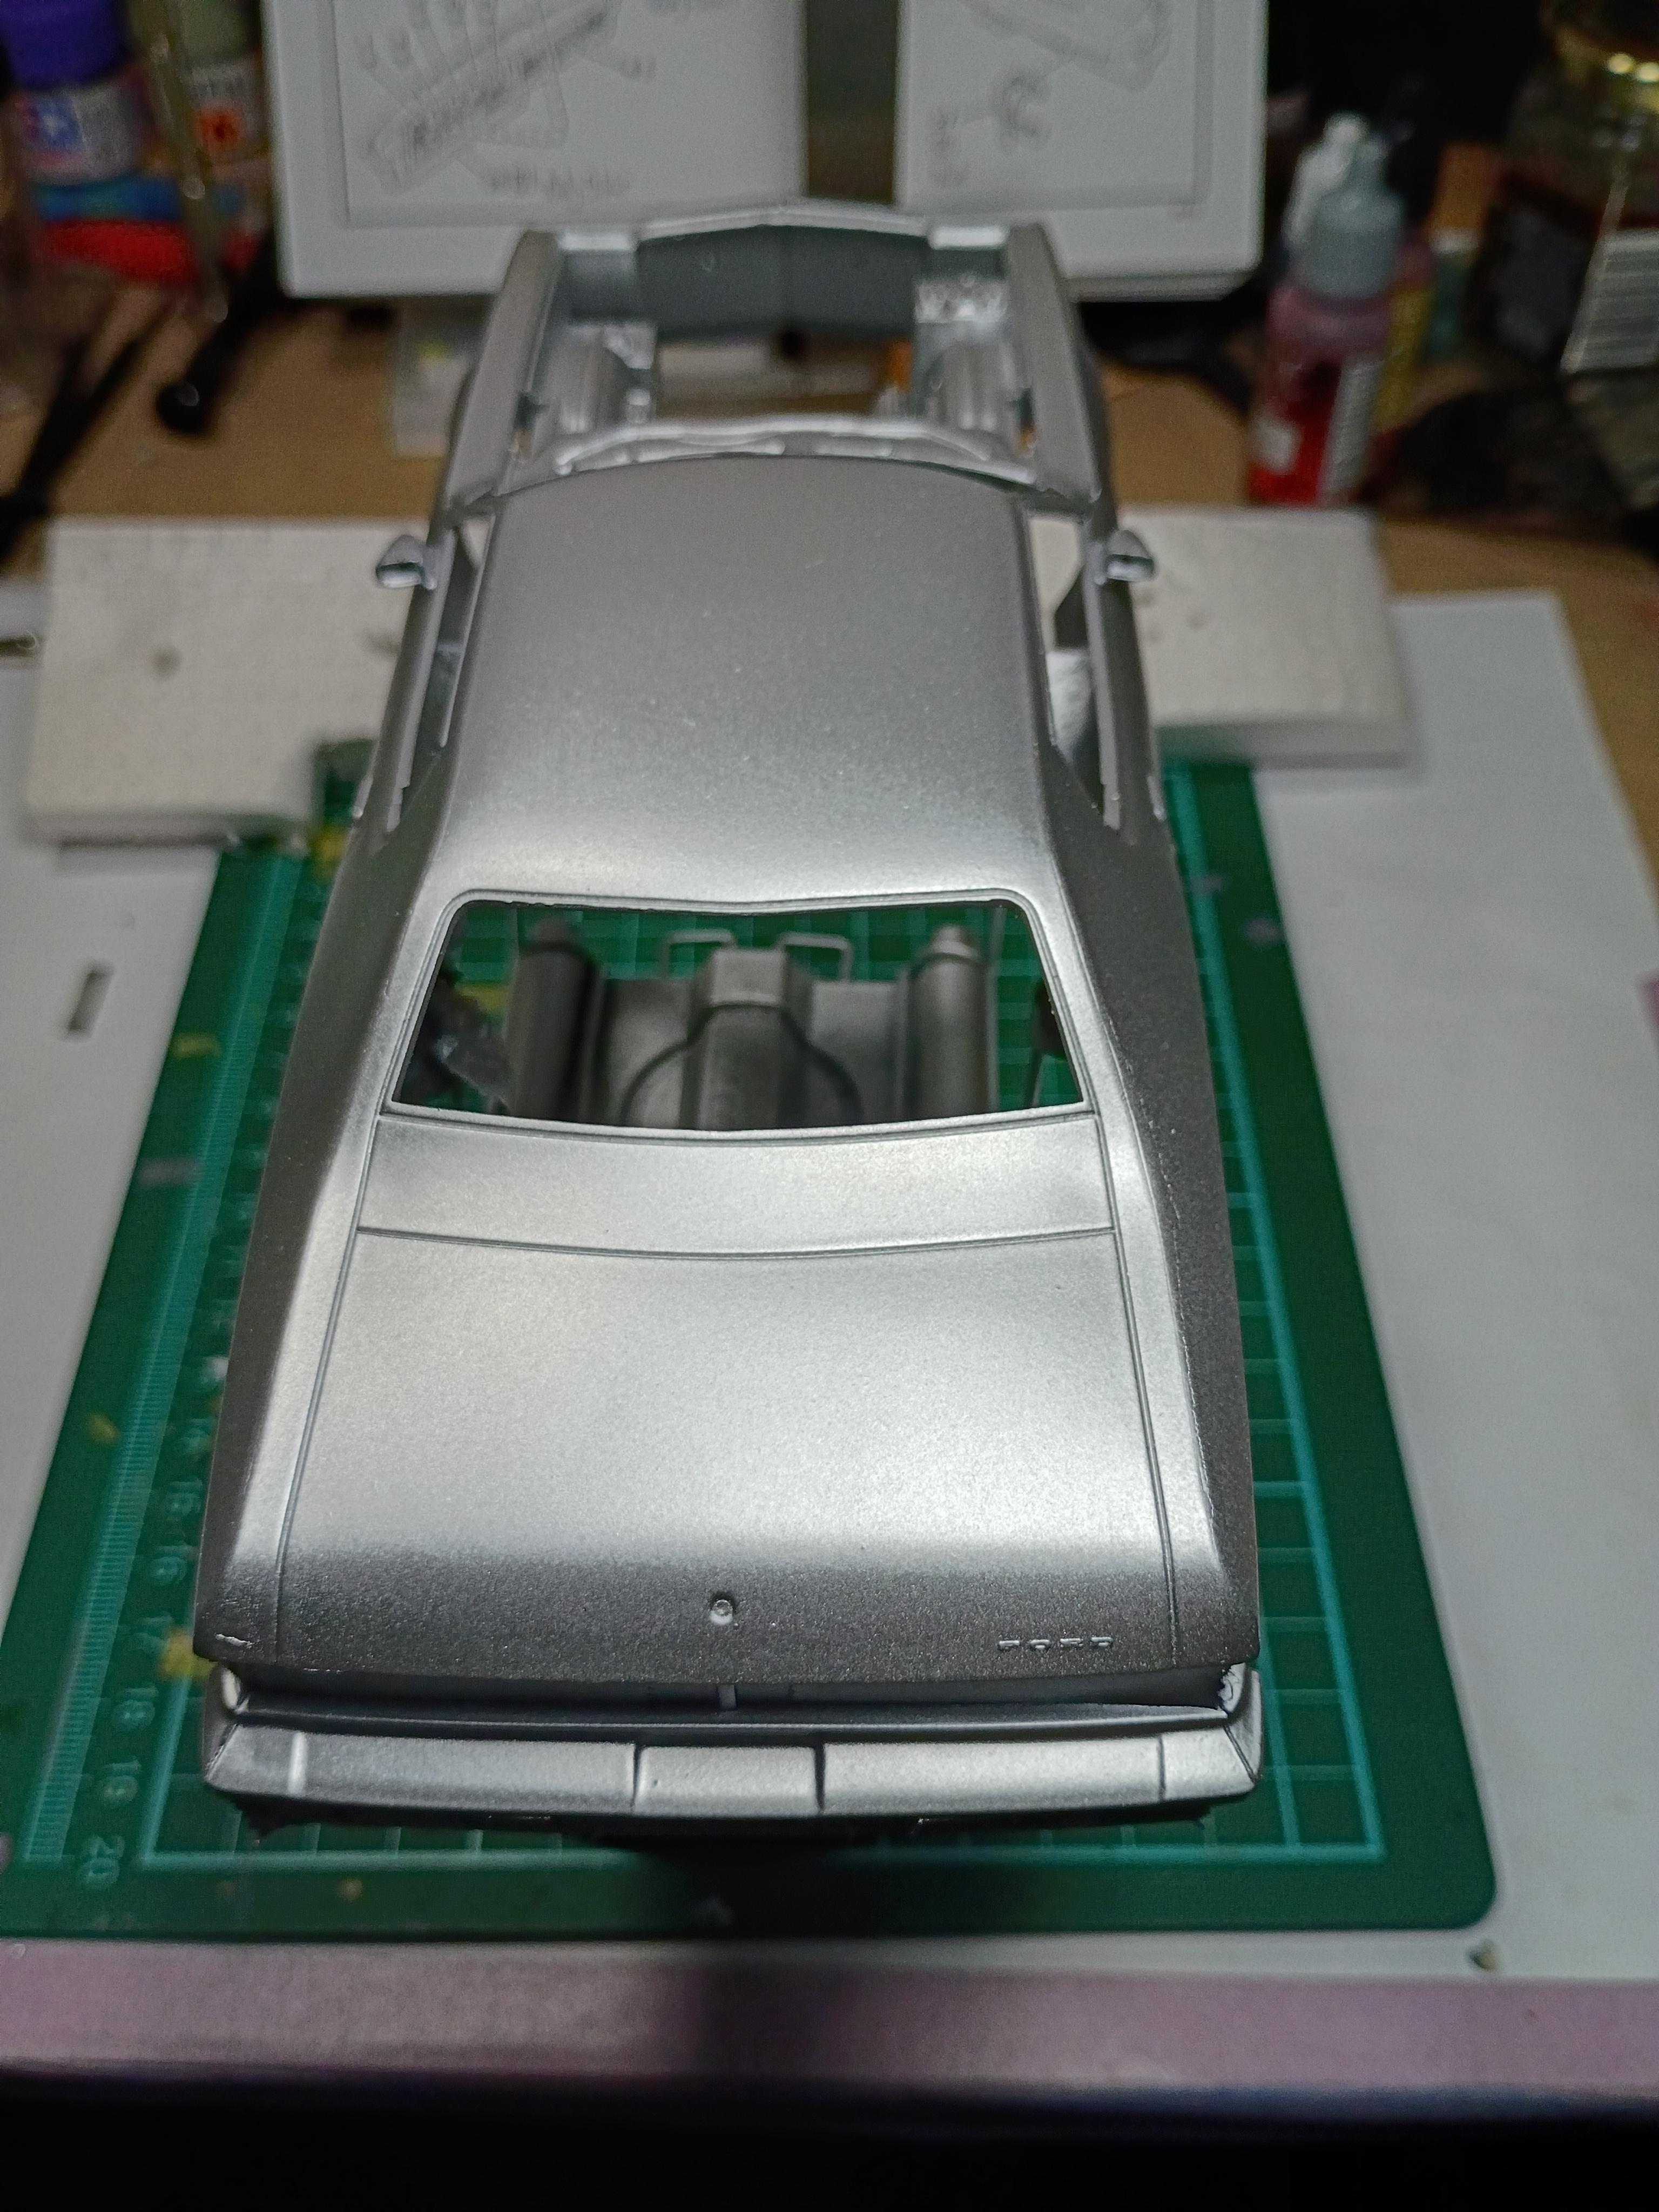
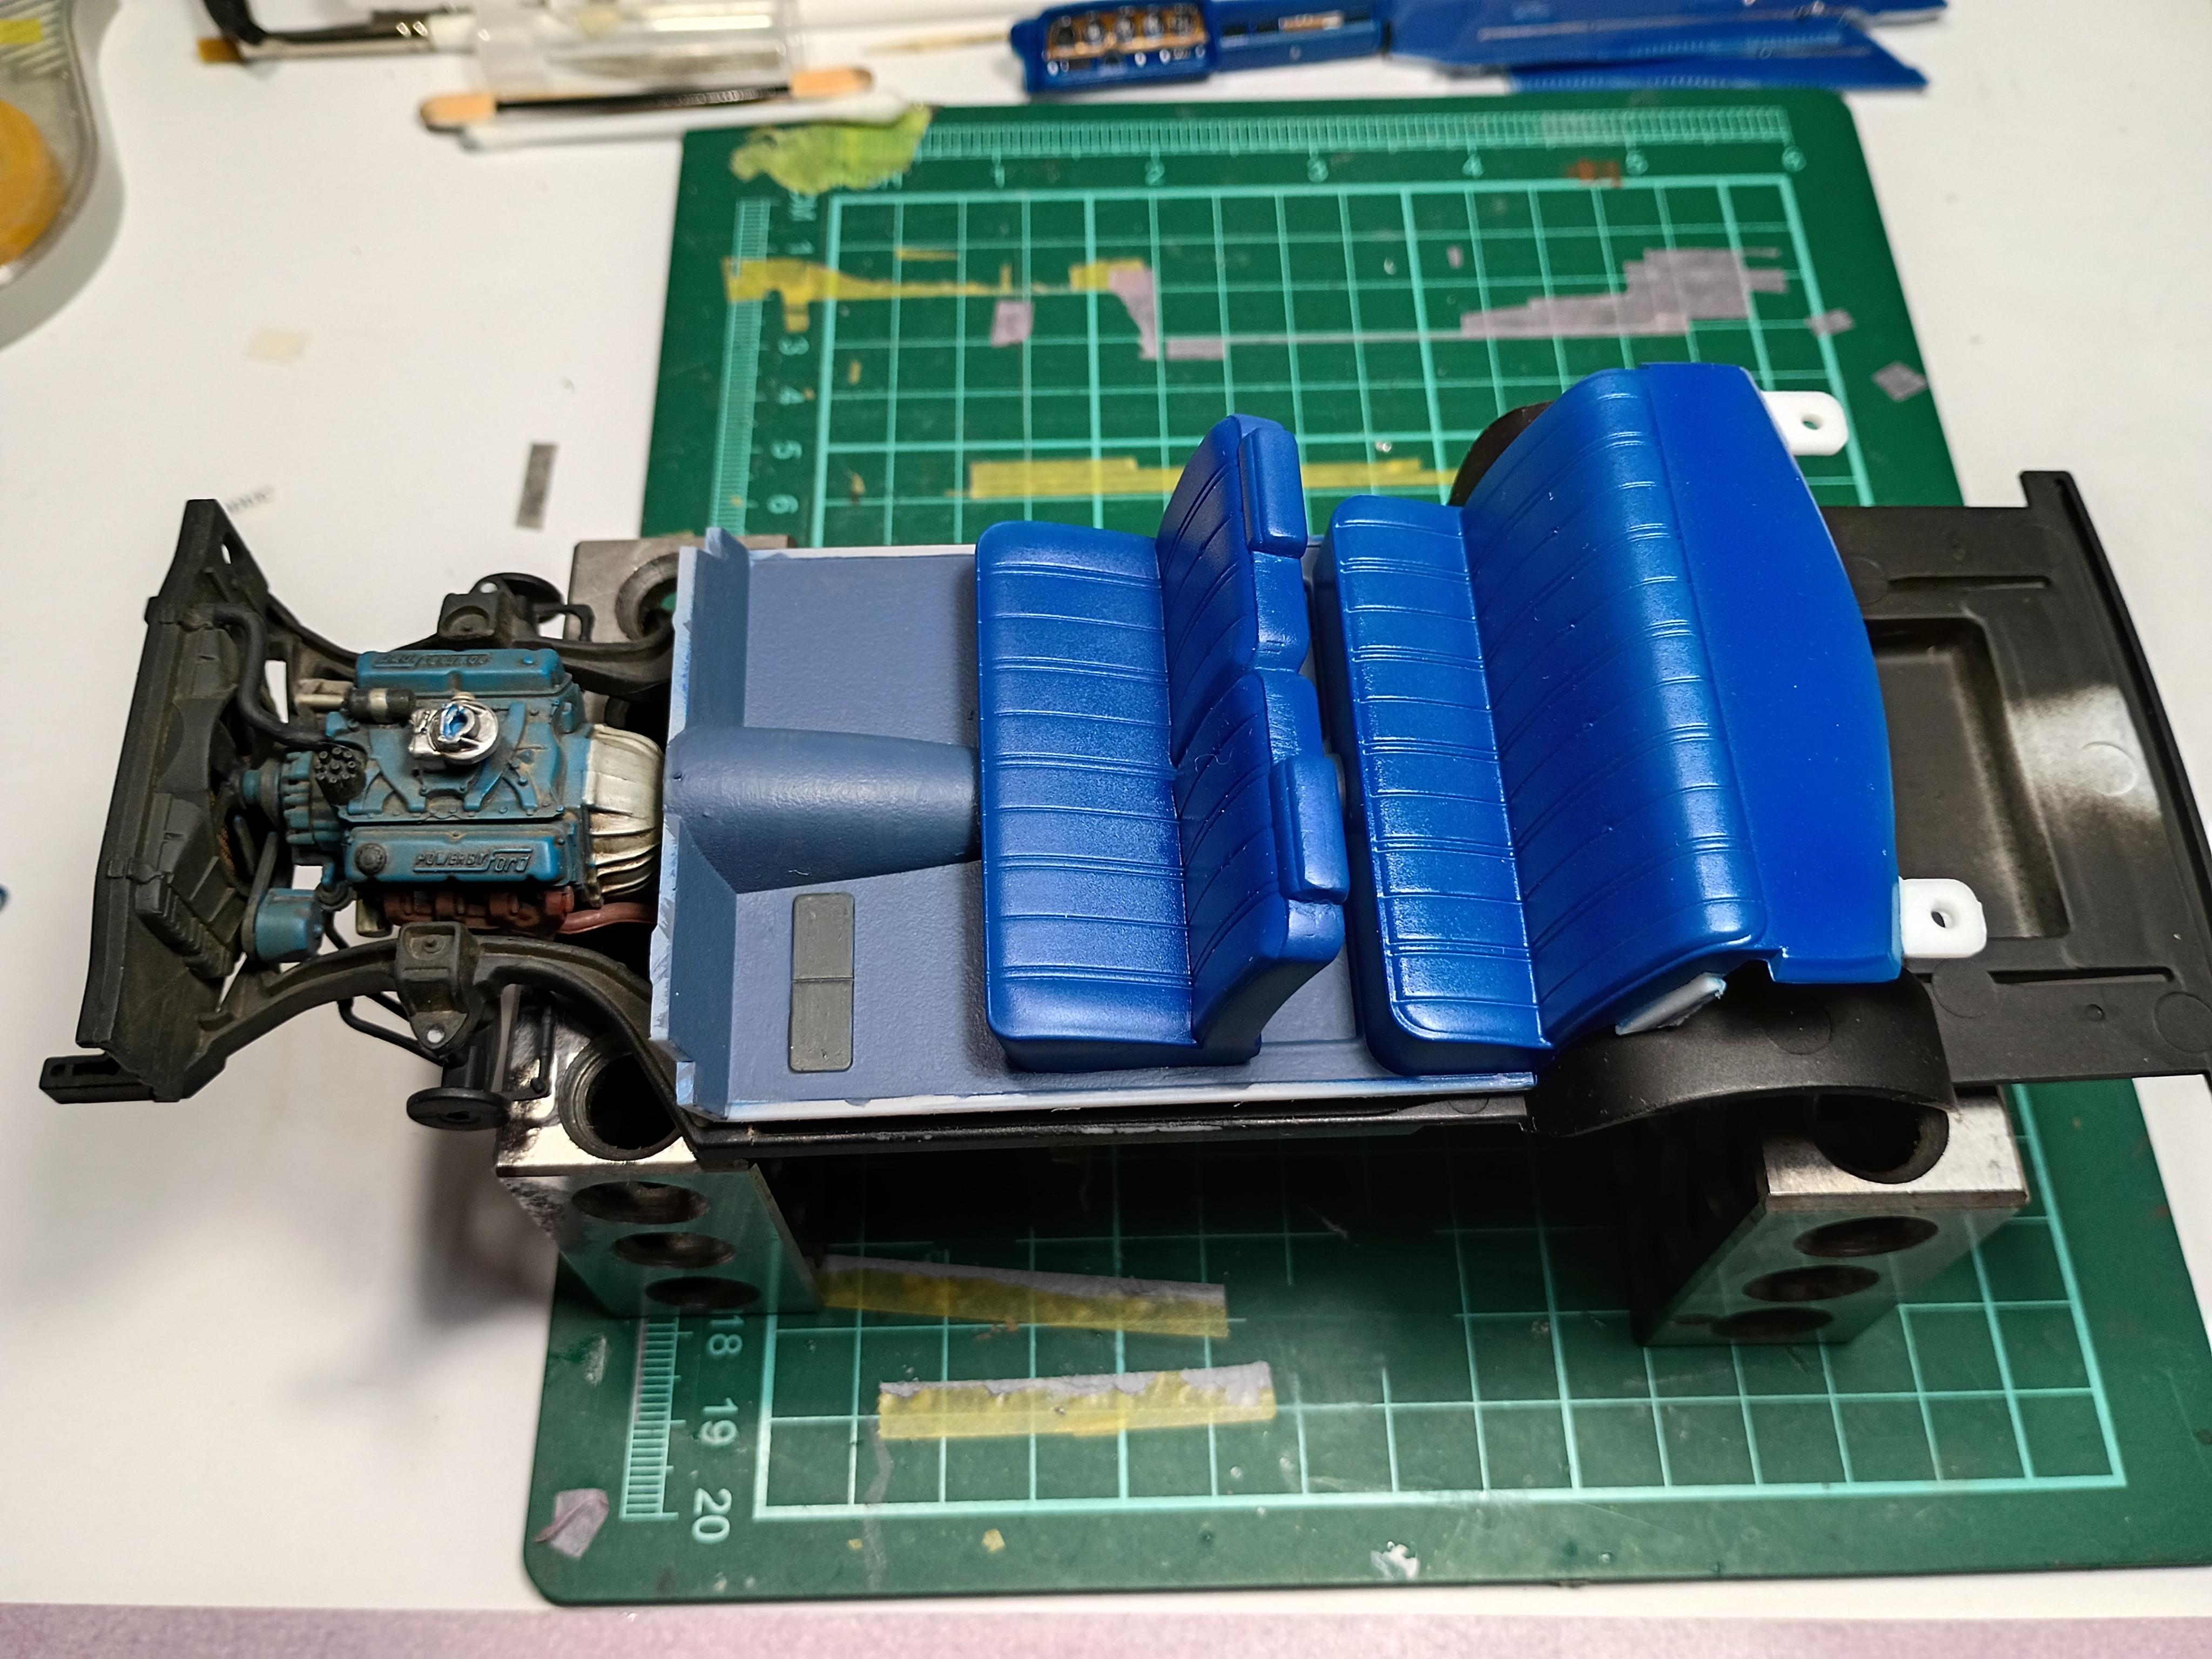
Made some progress this weekend. It"s Thanksgiving up here, so lots of spare time to work on the car. Learning lots of new things on this build. Plenty of mistakes, but still making progress. The chassis is done and weathered. Used a combination of paints and pigments. I varied the rust on the exhausts as if maybe one side had a new one put in. I'm not sure if the gas tank colour is correct. When I did my Google search I got back that they could be steel or painted black. I might do some stains around the oil pan drain plug. I'm still debating whether or not to do some wiring. I might wait on this and get a few more builds under my belt first. I'm happy with how the seats came out. Not sure if I'm going to "weather" them... Dash board and door panels are ready to be assembled. My first attempt at BMF. Pretty good learning curve, but I know what I did wrong - need to keep a sharp blade! I messed up the dash decals, but I'm not sure how visible they will be once everything is in place. I'm really happy with the body colour. Not the best photos, the colour came out just how I was hoping. I'm going to let it sit for a couple of days before I hit it with the 4000 grit. I might do another coat after sanding. There's a bit of orange peel on the driver's side rear and the hood will need another blast for sure. Funny thing is, even though the paint looks rough in the pictures, it's actually really smooth in person. only a couple of bumps.
-
The brown and tan looks a lot better. Good call.
-
Yes, my "primer" coat was the flat black, and it stayed tacky to the touch.
-
I think my problem might be that I used straight Flat Black as a primer, instead using an actual primer paint. I've used Rustoleum primers before and they didn't give me any issues.
-
Hey all, Has anyone had any issues with Rustoleum Painter's Touch Flat Black, spray paint? I recently used it to prime a frame and chasis, and I noticed that it still felt tacky weeks after application.
-
That's some top shelf work! Amazing build.
-
Very nice, and clean build. Looks great.
-
1960 Lincoln Continental Mark V Hardtop
Evan_N replied to RACINE ISHRAQUR RAZA's topic in Model Cars
Excellent job! That black finish looks perfect . -
Sweet!!
-
That looks great. What are the problems with the kit that people are complaining about?
-
Great build! Very nice.
-
AMT 1950 CHEVROLET 3100 PICKUP
Evan_N replied to BKF's topic in Model Trucks: Pickups, Vans, SUVs, Light Commercial
Excellent build! -
1964 Chevy Fleetside...
Evan_N replied to Matt87's topic in Model Trucks: Pickups, Vans, SUVs, Light Commercial
That looks great! Very nice finish. What paint did you use for the blue? -
1967 Ford F-100 Service bed
Evan_N replied to nyguy's topic in Model Trucks: Pickups, Vans, SUVs, Light Commercial
Looks great! You really nailed it. What paint did you use for the yellow? -
Fantastic finish, and great collection! Very nice indeed.
-
AMT 1960 Apache Kustom Kruiser
Evan_N replied to Stt226's topic in Model Trucks: Pickups, Vans, SUVs, Light Commercial
Excellent finish! I've got one of those on my "to get" list. -
I'm pretty sure there was a guy that lived in my neighbourhood that had a light blue one as well.
-
My dad's 69 Chevelle had black vinyl seats. I know exactly what you mean. 😂 And in the winter those seats were like ice blocks until the car warmed up.