
my66s55
-
Posts
1,352 -
Joined
-
Last visited
Content Type
Profiles
Forums
Events
Gallery
Posts posted by my66s55
-
-
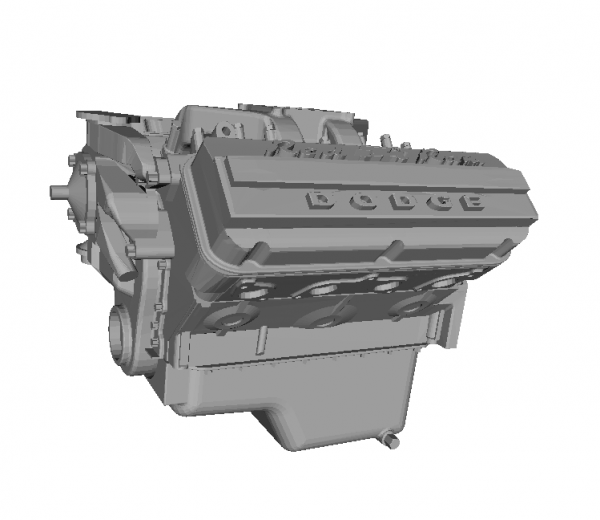
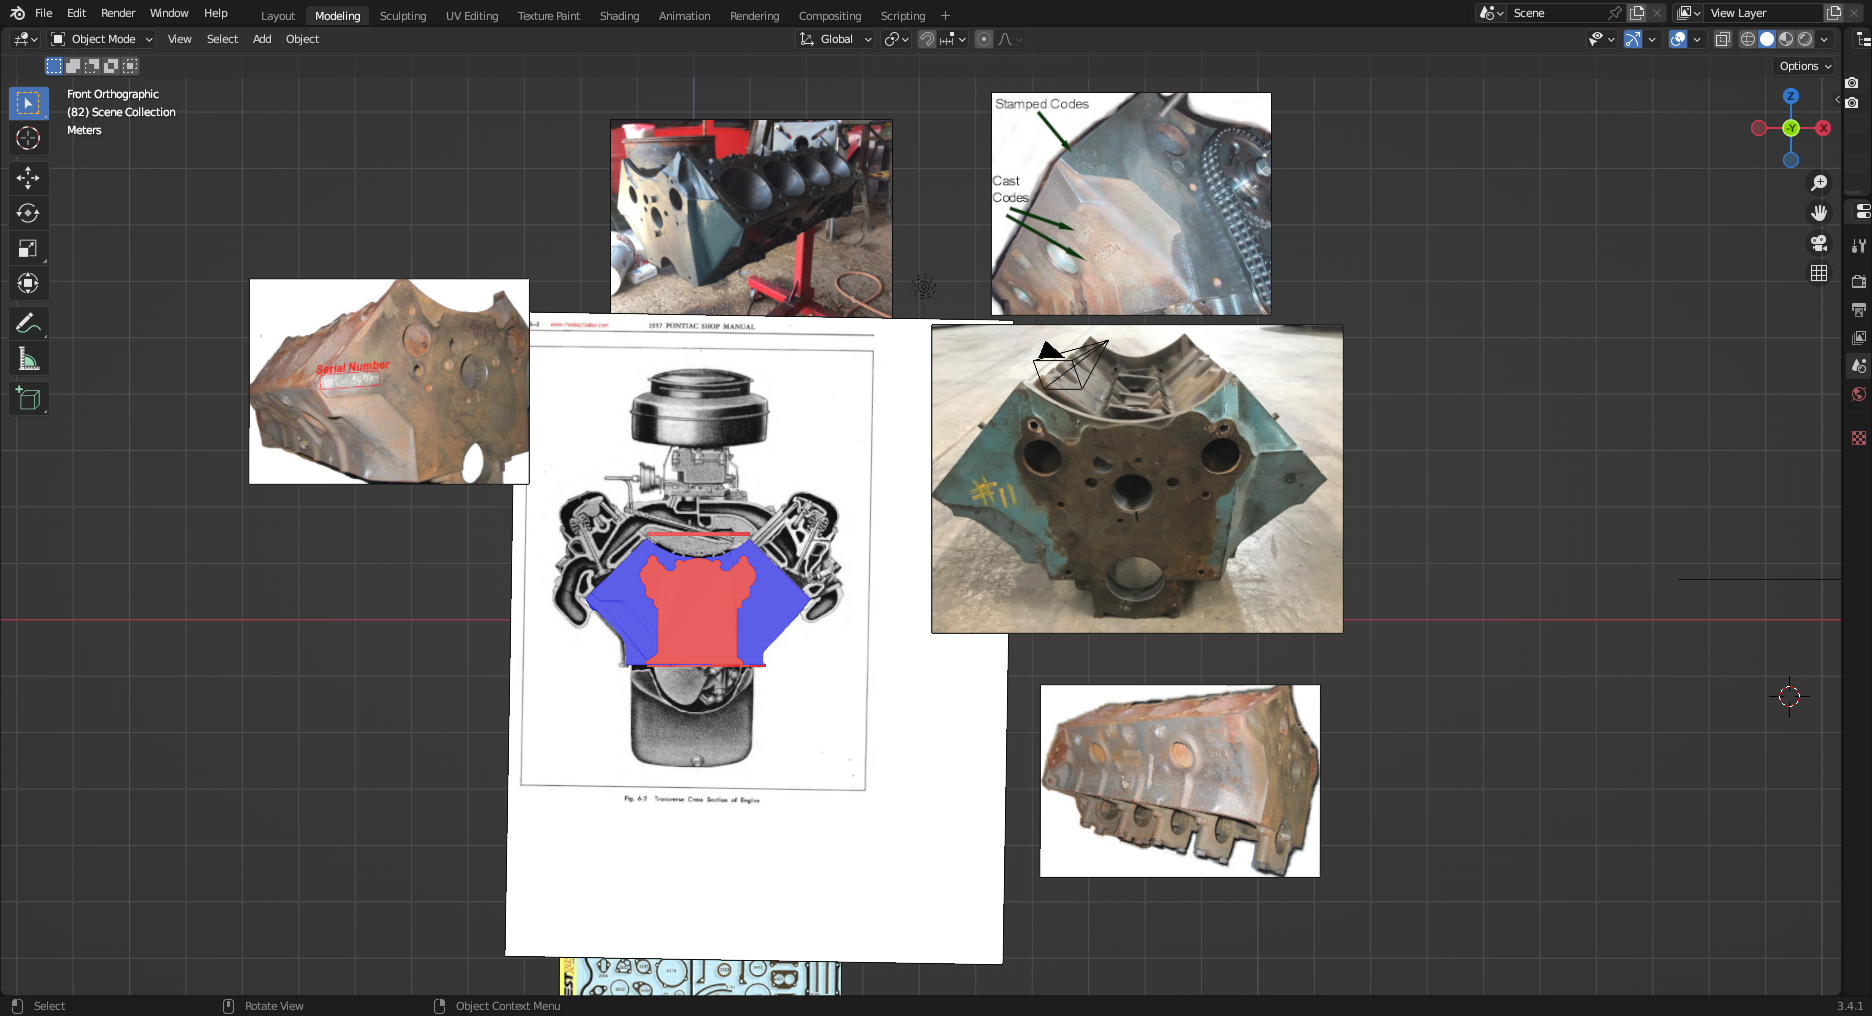
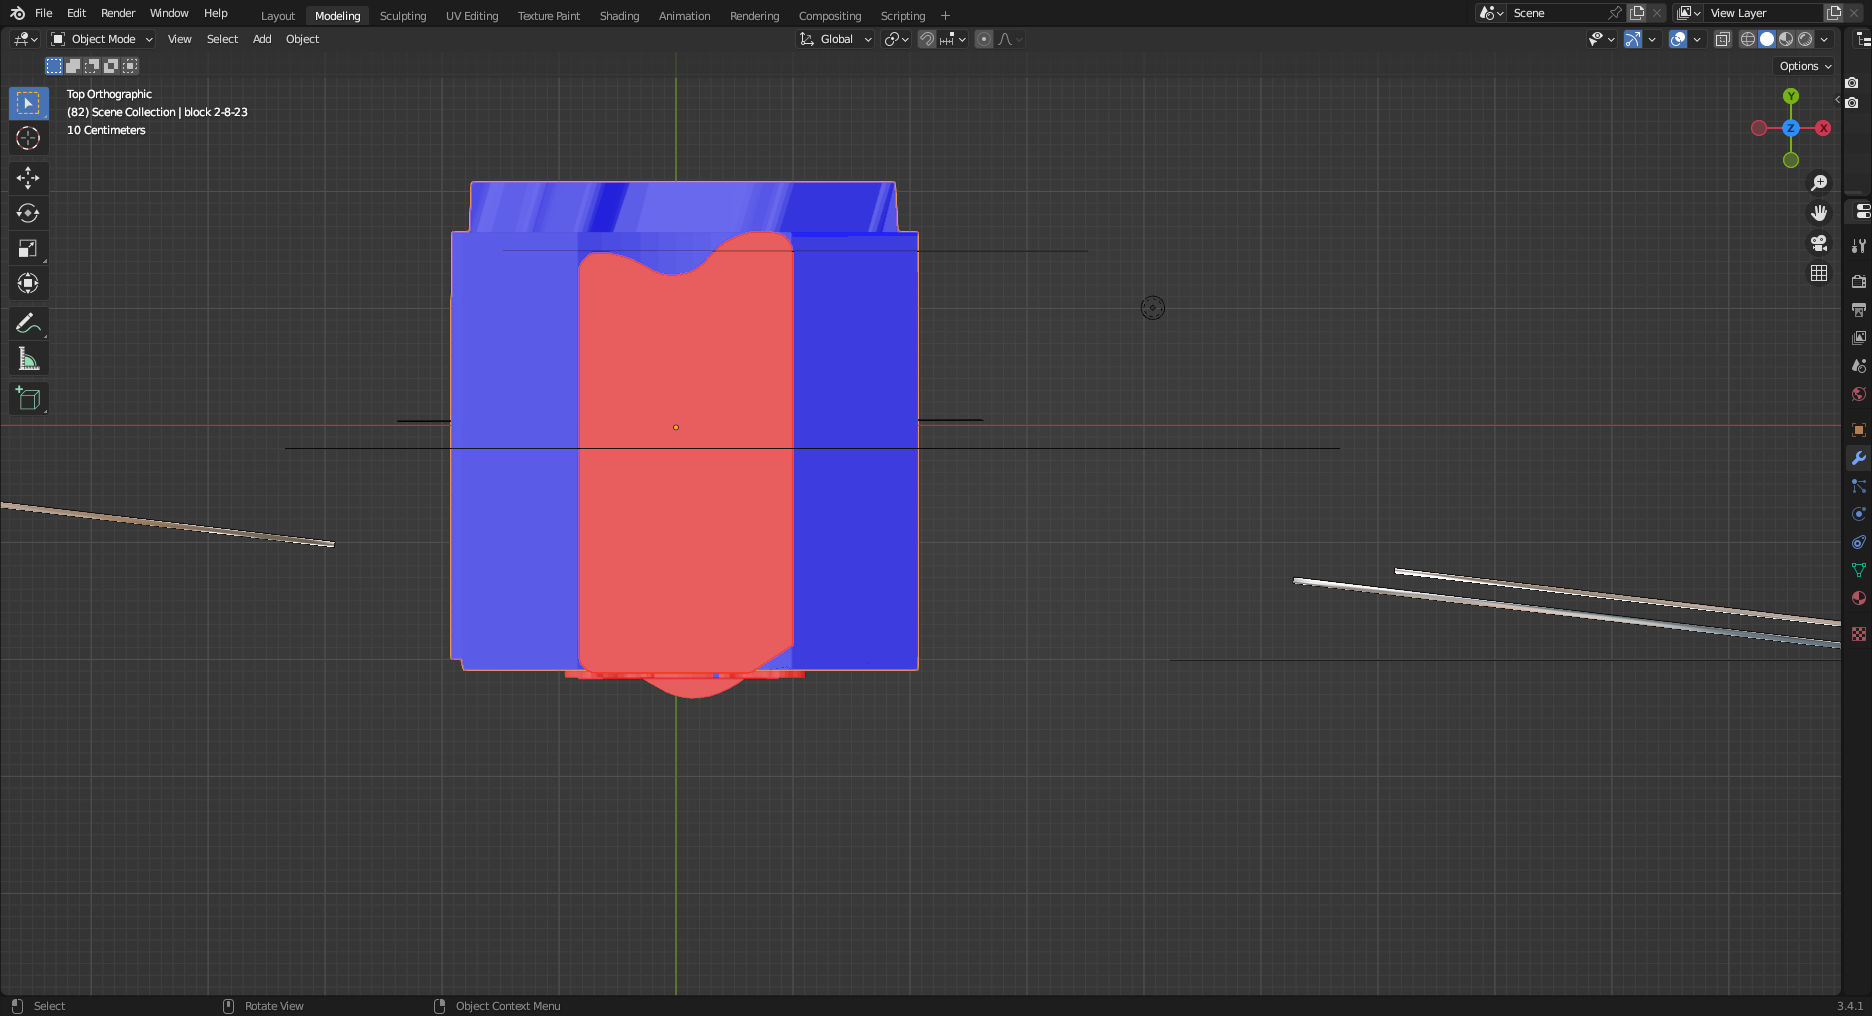
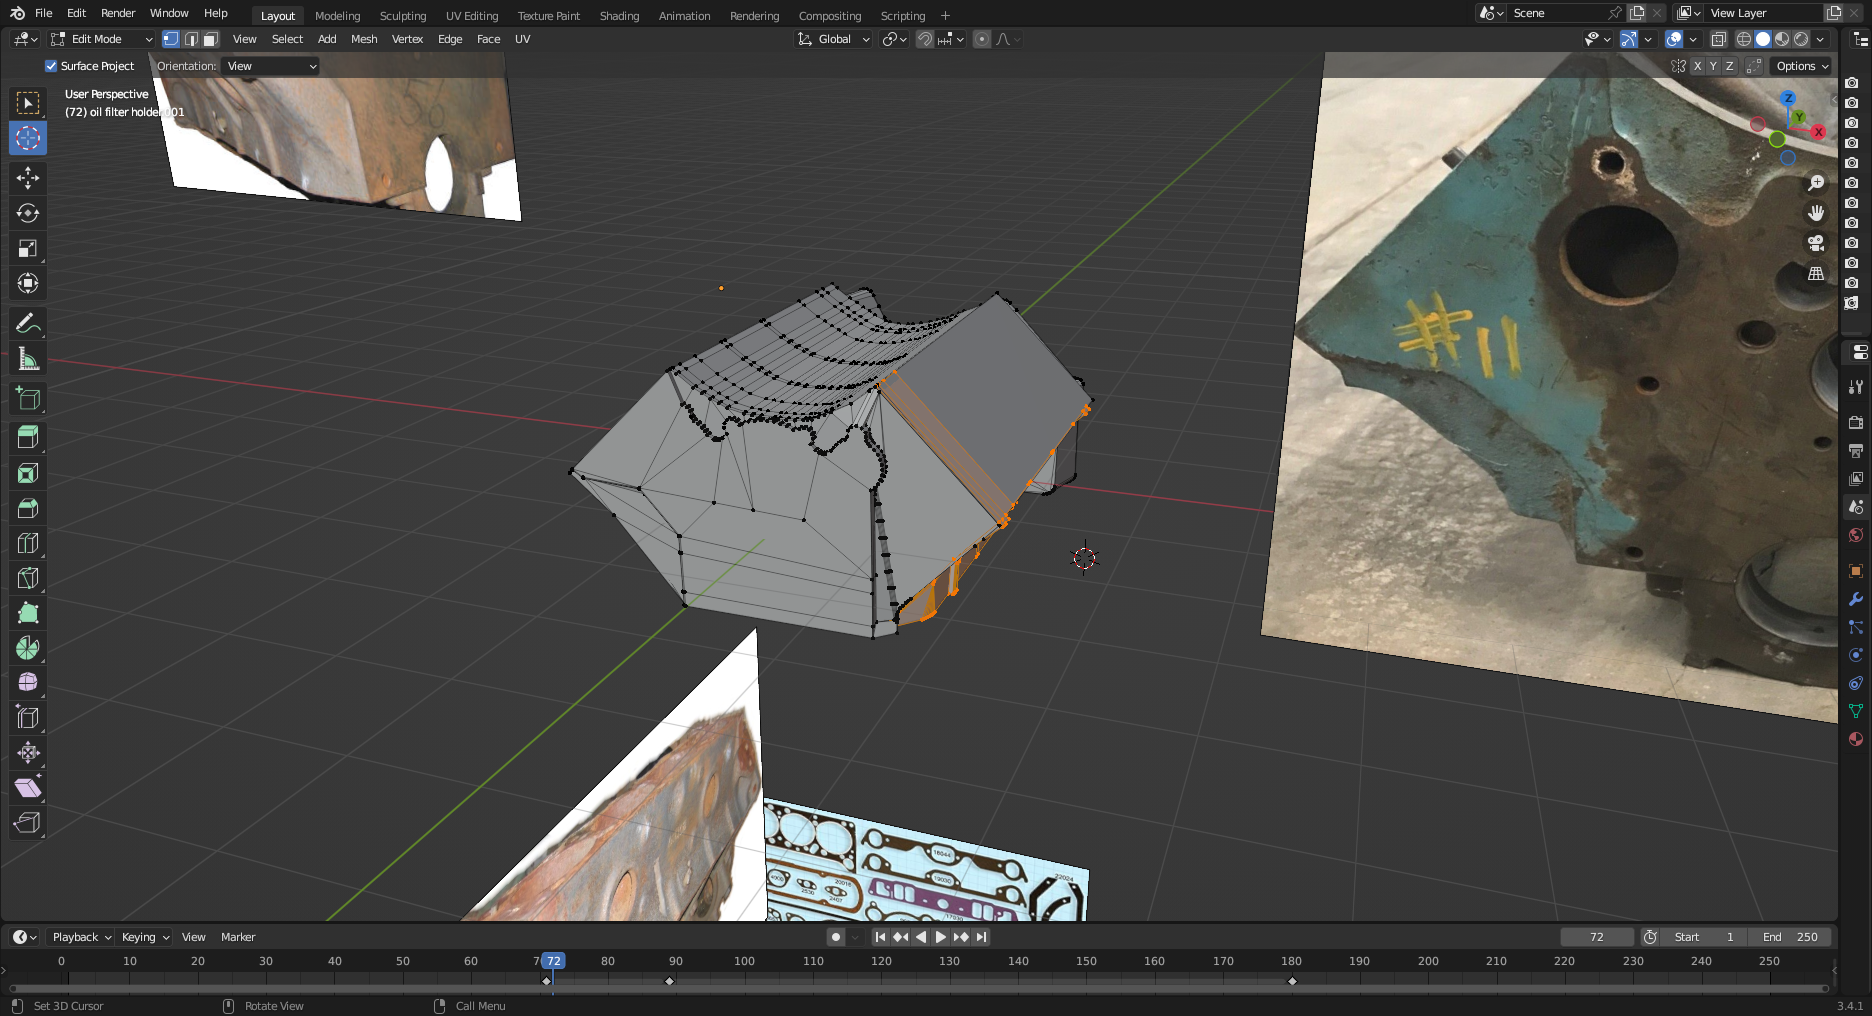
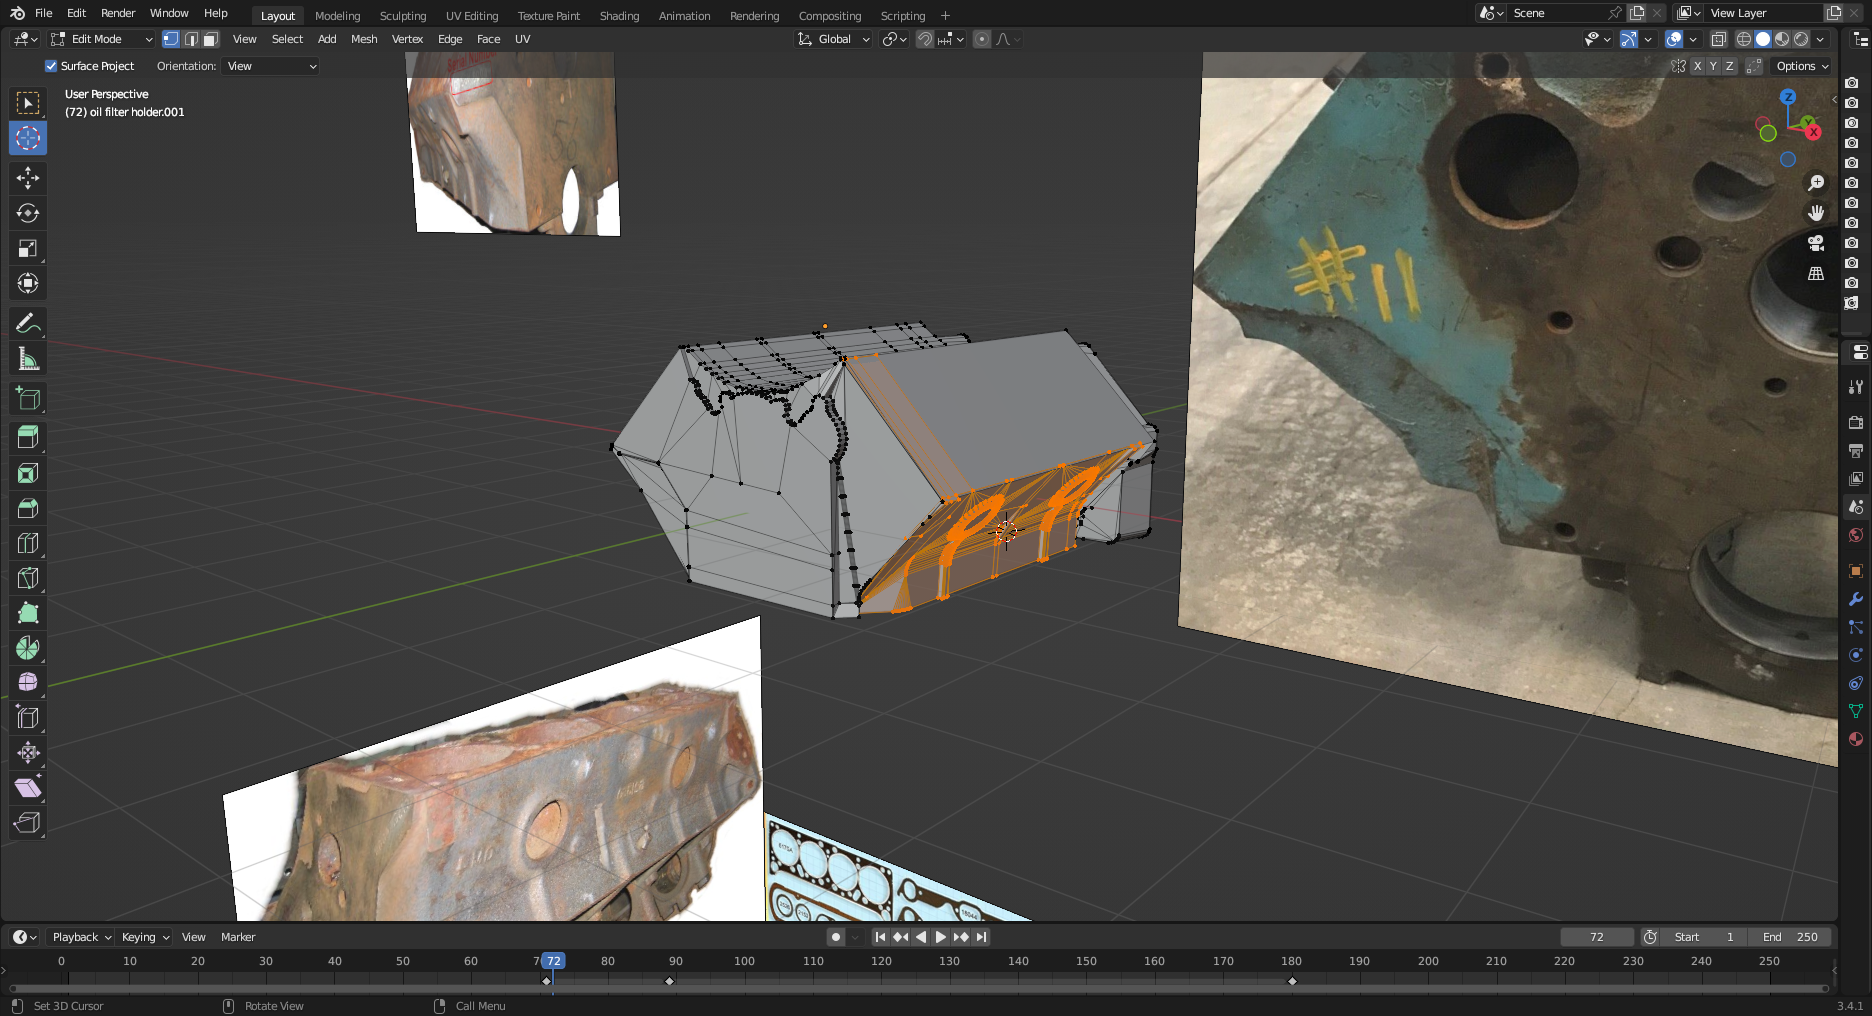
I have a lot that I'm working on right now, but I'll post some pic when I'm done with them. I don't post every time I do something to a file, create some thing or print some thing because It would take up time that I can use doing those things. In this post I'll show you how and what I use to create new parts. I'm creating a Pontiac first generation that covers 1955-1960. I need this engine as I have a 56, 57 and 59 convertibles. First, I search the web for anything I can use to create what I need. I place images I've found as background for what I'm creating. Below you will see it's the engine block. There's not a lot that I found on this engine for these years. What I found will get me by. I download a gasket series for the engine and use that to create wheres the part that goes on the engine. What you see in red is where the timing chain/water pump goes, and the intake manifold goes. The intake manifold gasket helps to determine the offset. What didn't show is the oil pan gaskets that show the how the bottom of the block is. I need to finish the back end.

-
 1
1
-
-
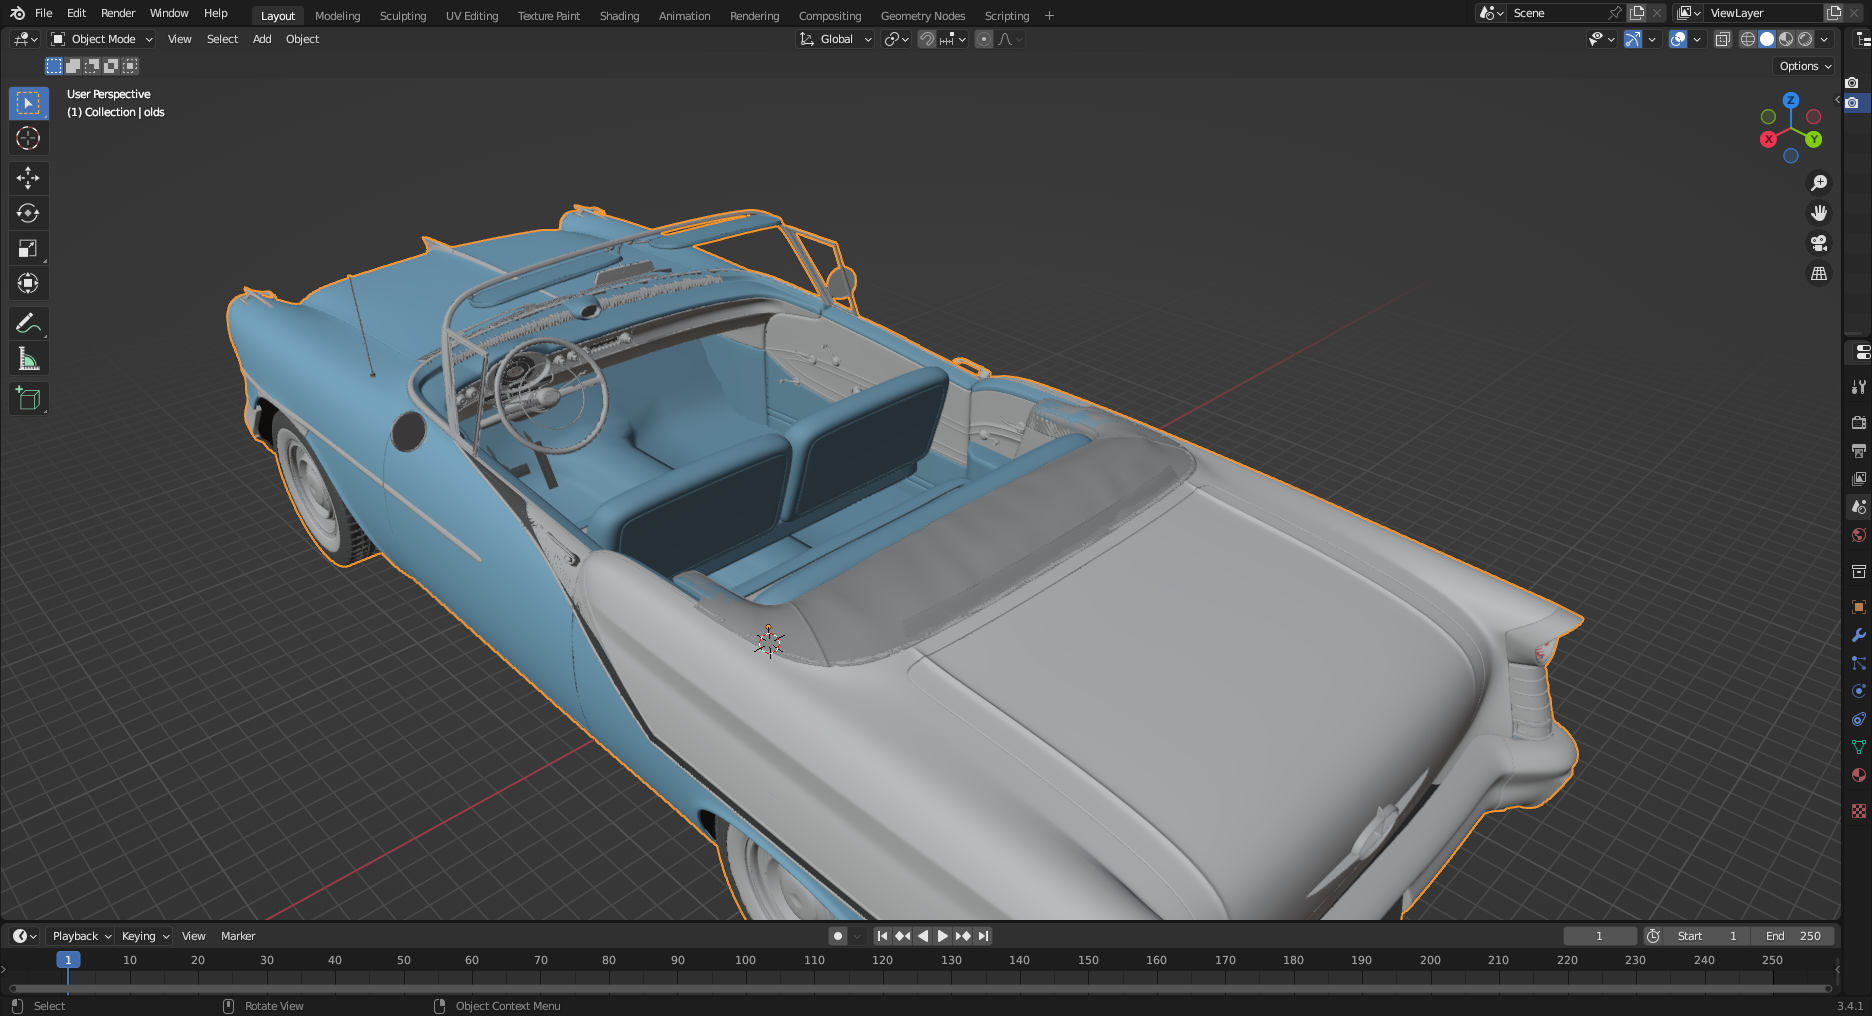
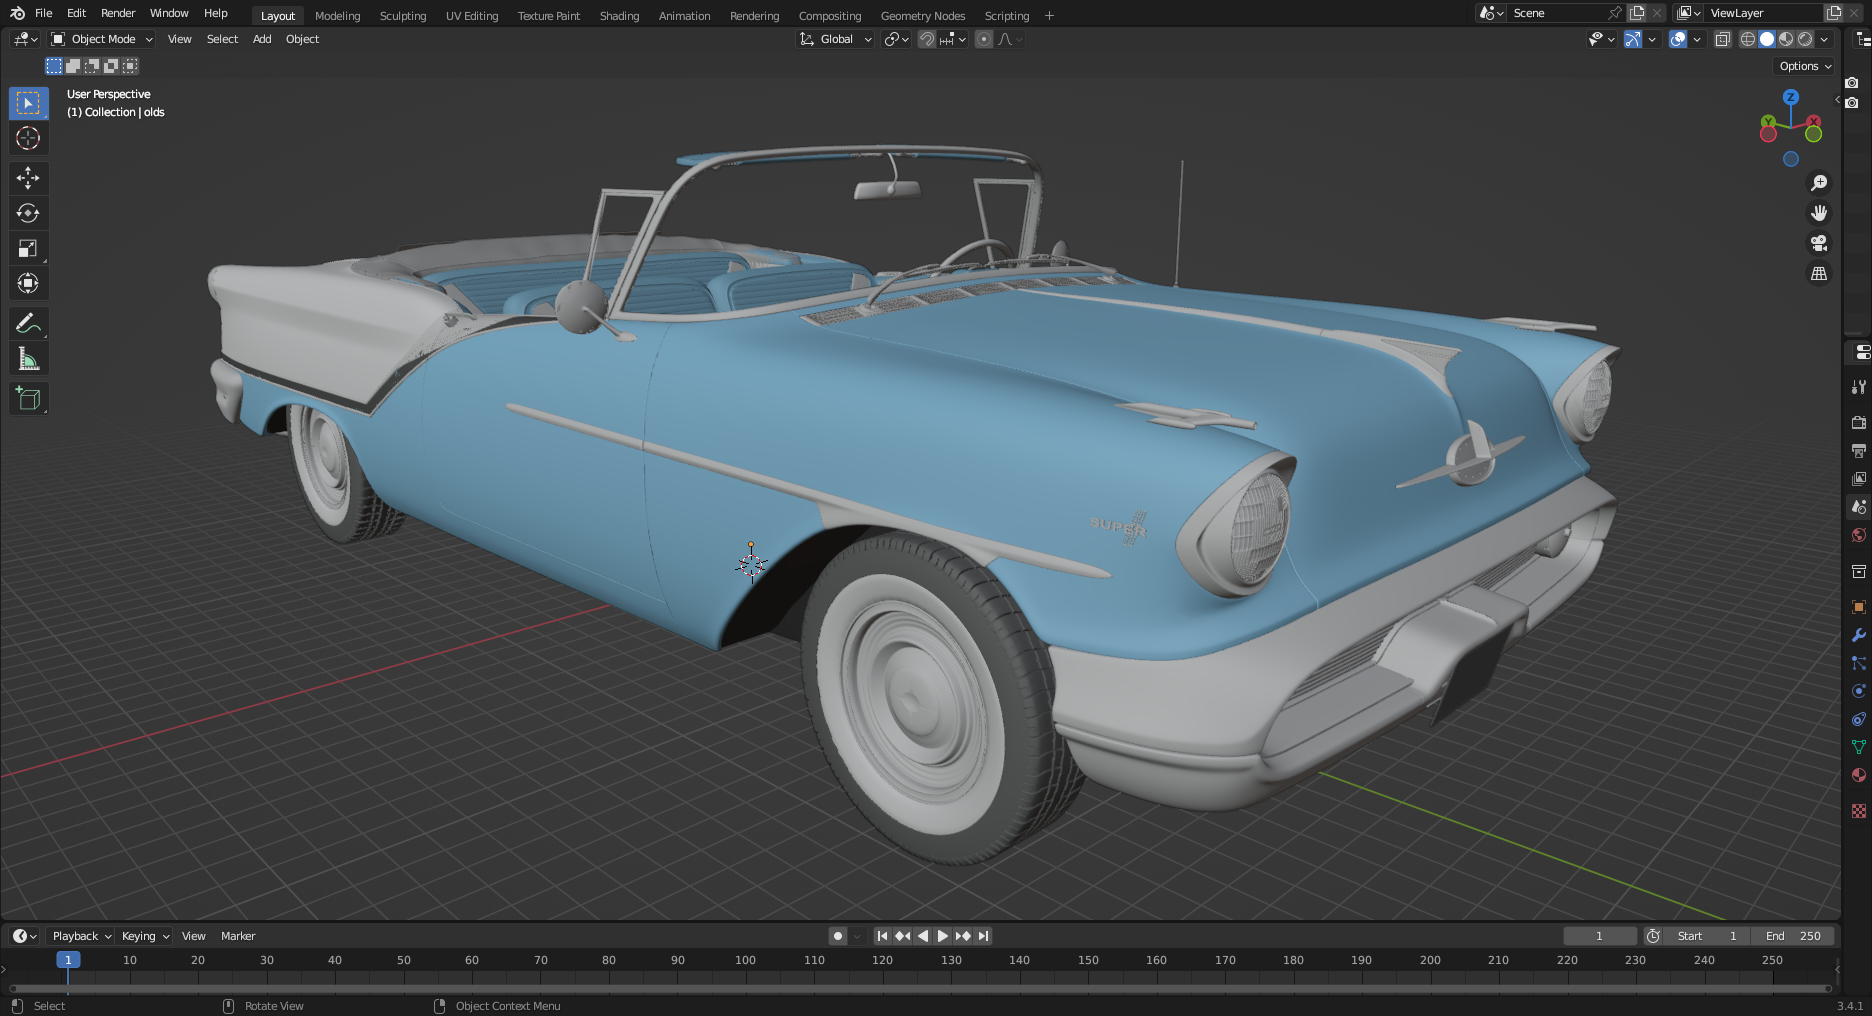
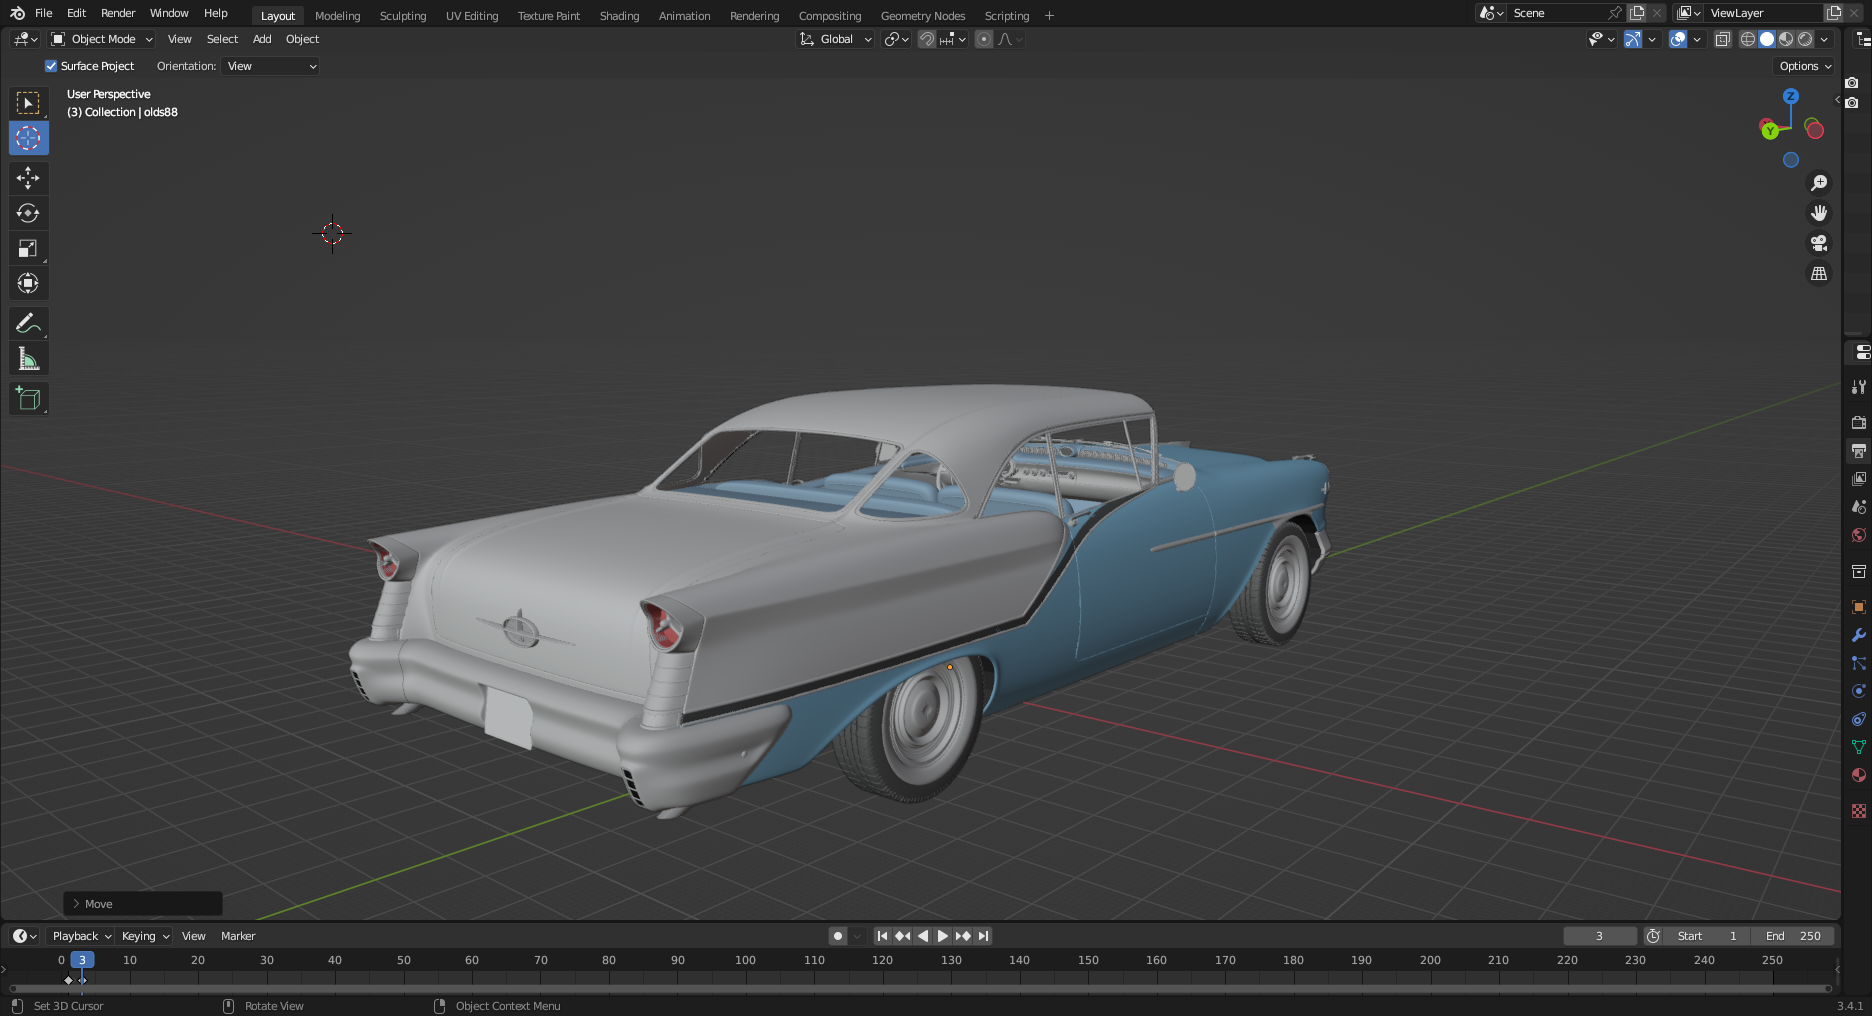
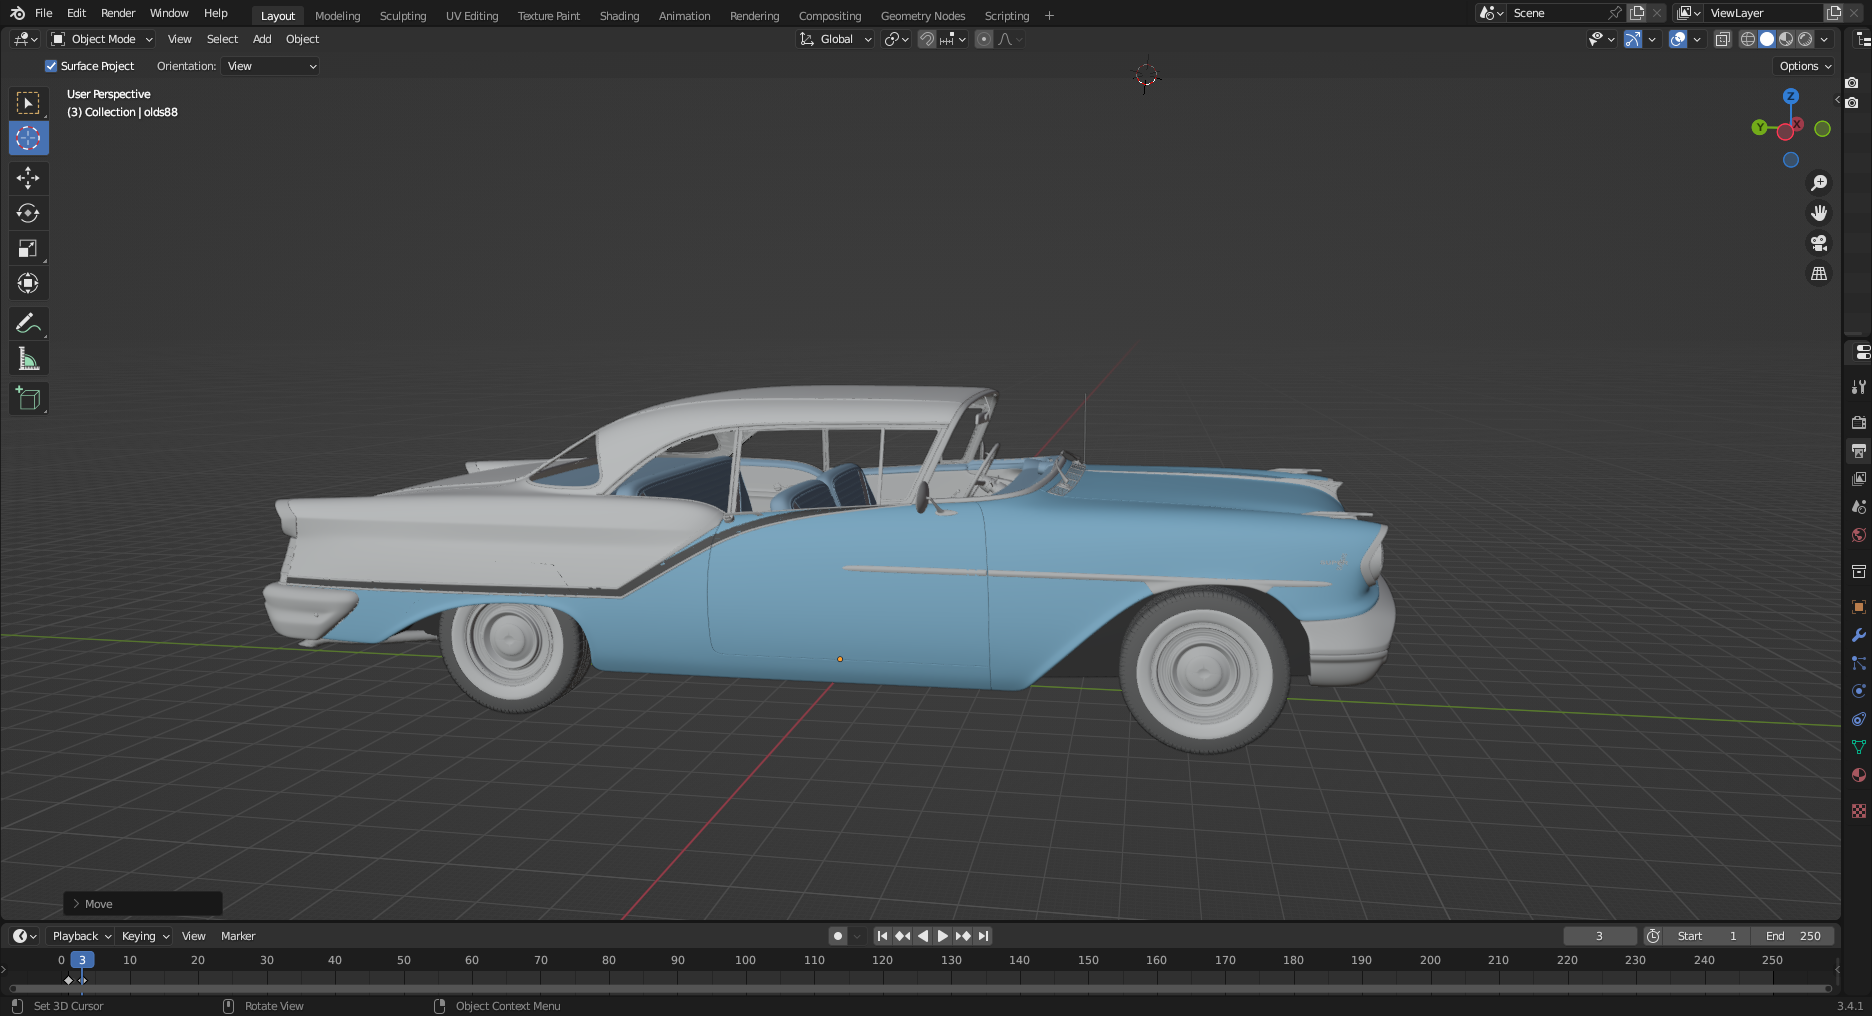
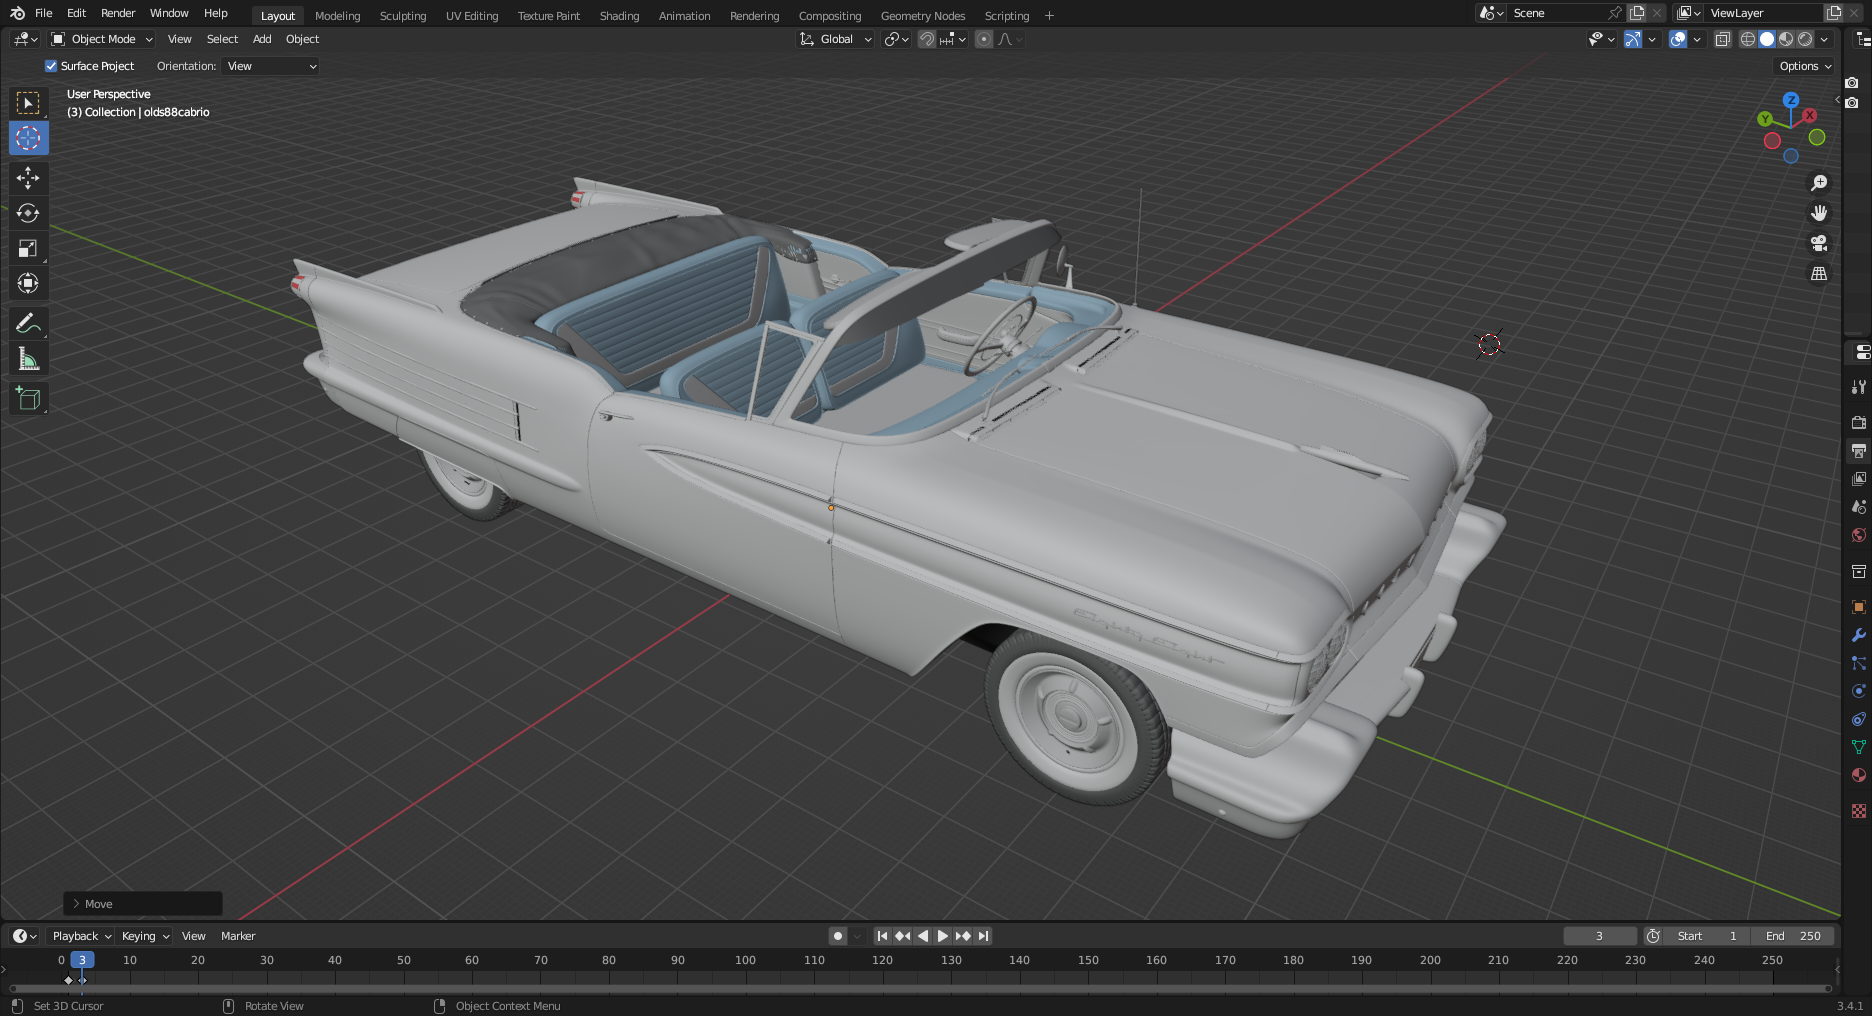
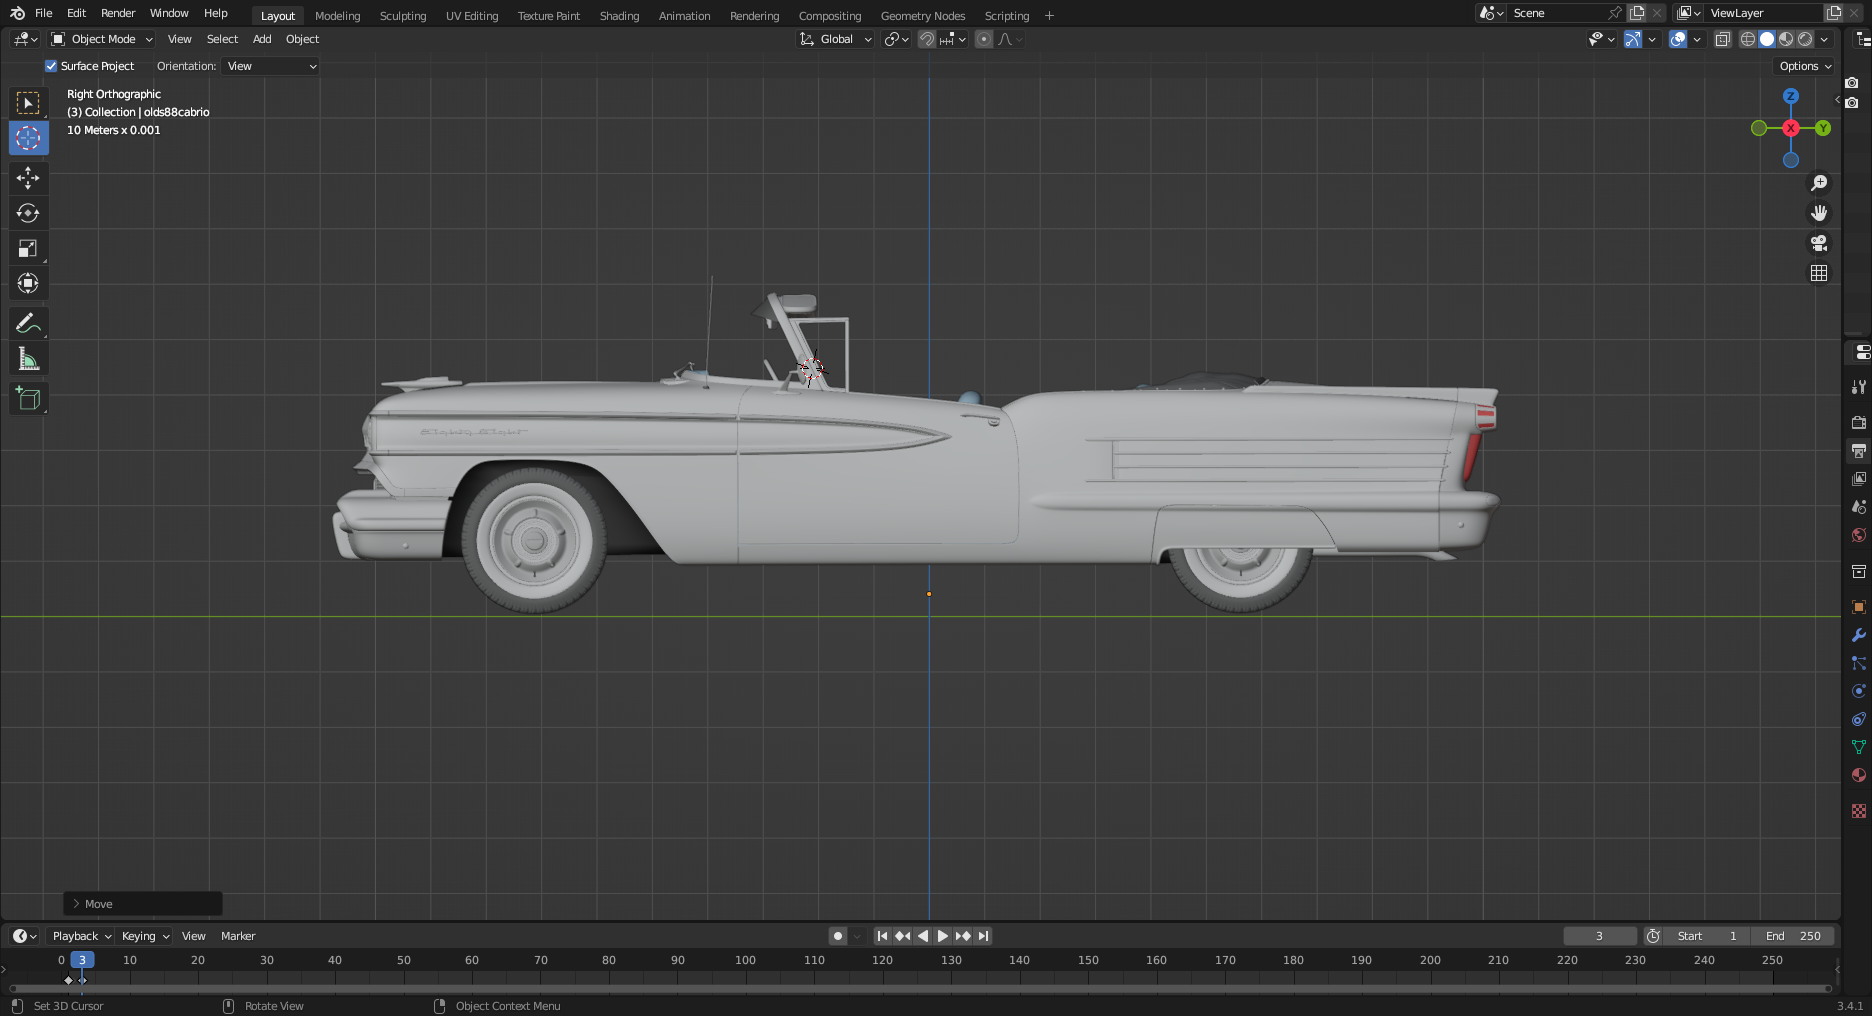
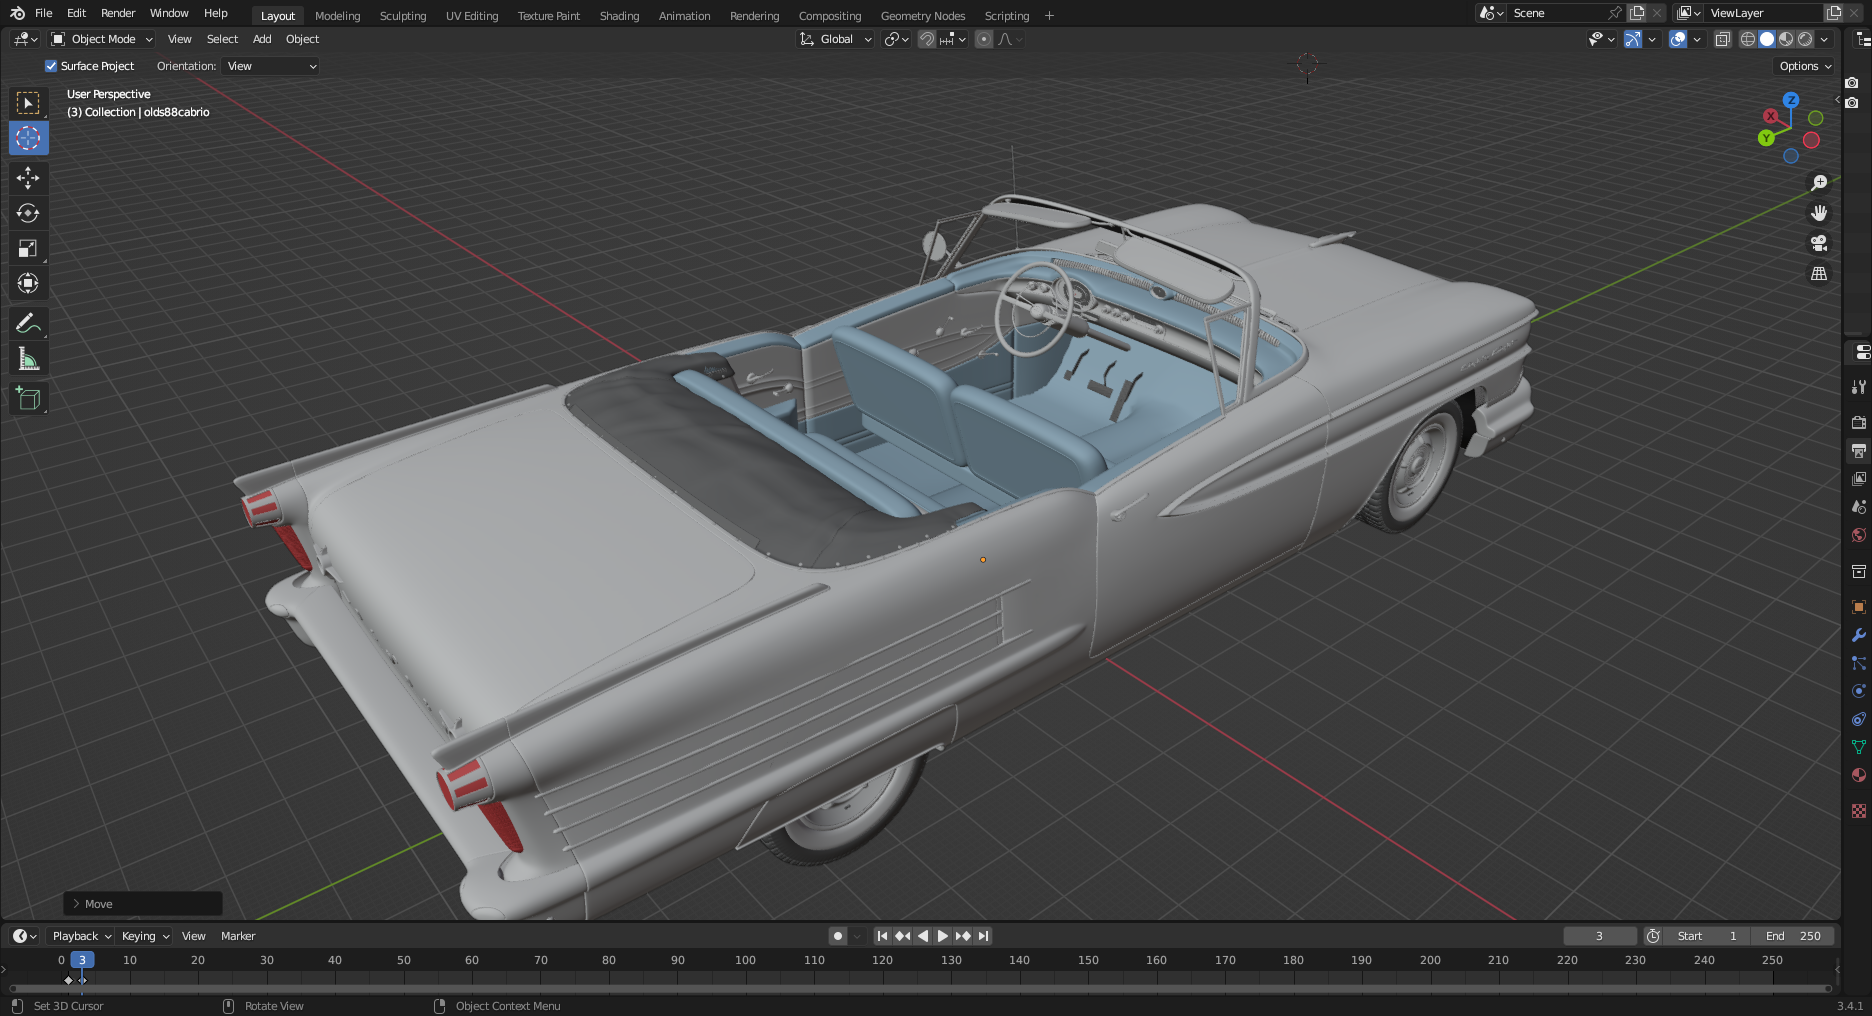
Of all of the cars of the 50's era, I think I like Olds the most. My latest additions. This gives my a 54 88, 57 98 convertible, 57 88 convertible, 57 2 dr hardtop and 58 convertible and a 59 convertible. I'll convert the 54 into a 56 at a later date. The 57 88 also gives me a dash for the 57 98 plus, I can use it as a starting for the 54 and 59.

-
1
-
-
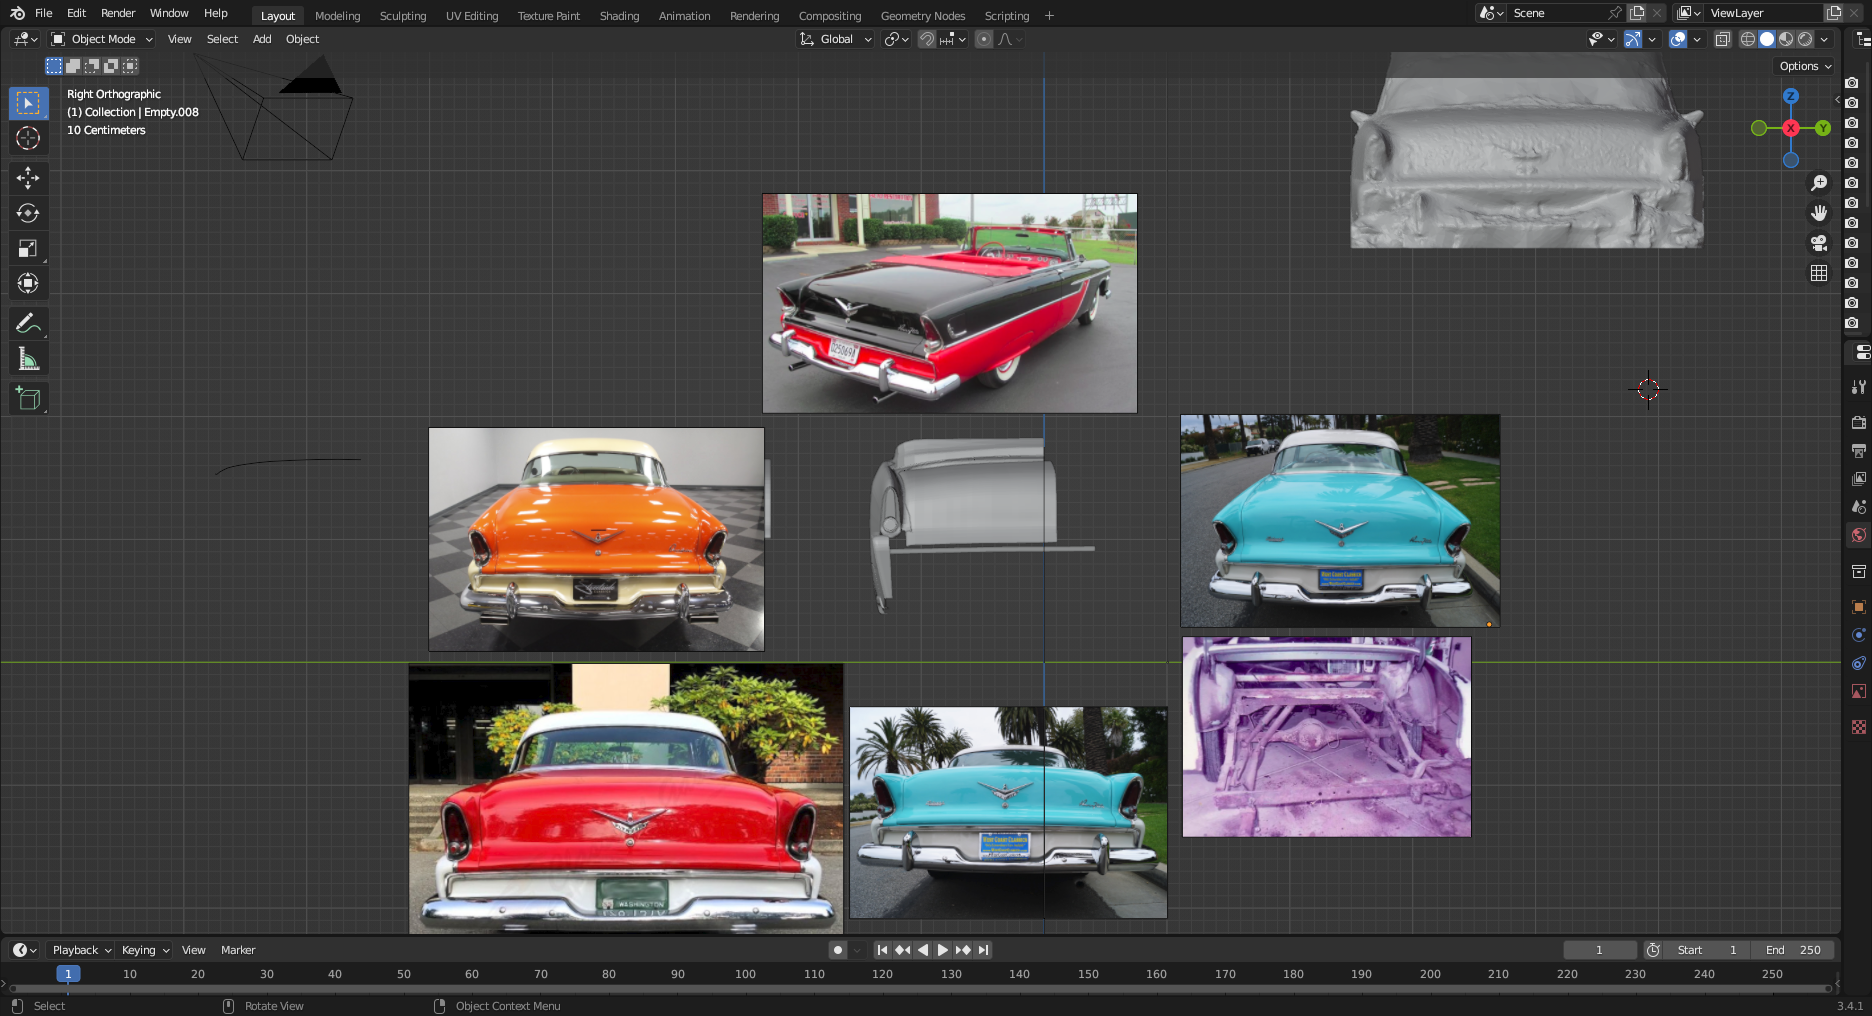
Update on the 56 Dodge 215 hemi and Plymouth 260 poly engines. A little more work to be done to complete. Note the difference in th driver side exhaust manifold. The generator was mounted on it. Even the passenger side had a slight difference.Work has continued on correcting the back end of the 55 Plymouth file. F you look closely at the reference photos I'm using, you can see that the trunk deck is almost flat. There were other problems with it so I selected it with the rest of the lower parts to start over. I had started to do this file back in 2018, but opted to use Dan to speed up the process. In the upper right hand corner of the rear end photos, you can see a brough scan of a real 55 Plymouth. I also have a rough scan that's a little better than the 55 scan. I had used it to create the trunk image in 2019. I ha taken it and using it to correct the trunk.
-
My current project is creating the 55 Plymouth 301 semi hemi poly head and Dodge 325 poly head engines. The Plymouth engine is the same as the Dodge poly's but has different exhaust manifolds which have the generator mounted on the exhaust manifold. It's mounted on the intake manifold and timing chain cover on all other semi hemi poly engines. I haven't gotten to the 2 details yet. I have the poly heads and valve covers done. Also, the 57-58-59 325 simi hemi poly engine has a different timing chain cover. I need all three of these engines. The 301 Plymouth, 55 315, and 325 Dodge. All 3 have differences. I do already have the 270, 315 Dodge hemi that I did 4 years ago done. Since I am doing the 56-57 Dodges as D-500's, I'm going to create the bell housing for the stick shift trans. I'll also put it in the 55 Plymouth. The exhaust manifolds pictured are from my A block Plymouth 318 poly engine and not the Dodge hemi. I'm working on replacing these as they are similar to the semi hemi poly with with a few changes.
-
3
-
-
6 hours ago, iamsuperdan said:
So here's a question.
Sometimes when printing bodies, especially multi-piece bodies, the parts print perfectly, and then after washing and curing, they start to change shape slightly. The edges will twist out, and flat panels will develop a curve.
What's the best way to stop this from happening?
Bodies can be difficult at times. Make sure that the thickness is at least 1.5 mm thick. I print flat parts on the build plate. When cleaning, make sure it is completely clean. It should feel and look as it would after uv curing. Leave flat pieces on the build plate to clean and uv cure. Leave supported pieces on the supports until completely cured. I run tubular rods between between body panels to keep them straight. Leave them on until the body is cleaned and completely cured. Cut them with off when done and sand the stubs off.
-
I finally got around to working on the 55 Belvedere convertible. Unfortunately I didn't look closely at it as it has major flaws on the side, trunk, tail light and the whole back end in general. I've got the door, some of the rear fender outside, the piece to extend the outside fender bottom and tail light lens fixed. The side of the car had been curved out too much. I can't really fault Dan for the errors as this is a difficult car to create the file for. Pictures of the back end do show the parts though. I have an advantage as I have a promo of this car that shows me everything. It has the usual warping that squats the rear end I'll just take a lot of work.
I've also started working on the poly heads and valve covers to covert my Dodge hemi in my avatar to the right engine to go in this car.
-
1
-
-
The solidify in Blender doesn't work that well on most cars. You would have to break it down into parts first. The big problem is that it's a low poly model. There is an add on to Blender which would correct this problem.
-
The 1937 Delehaye 135 F&F in nearing completion. As I mentioned before, it will be a curbside without an engine. I created the fin on the back deck, front grill bars, interior door panels, window cranks, seat, firewall, back of the interior, frame and floor. The steering wheel that came with it needs some refinement. I will need to create a real axle and rear springs.
-
1
-
-
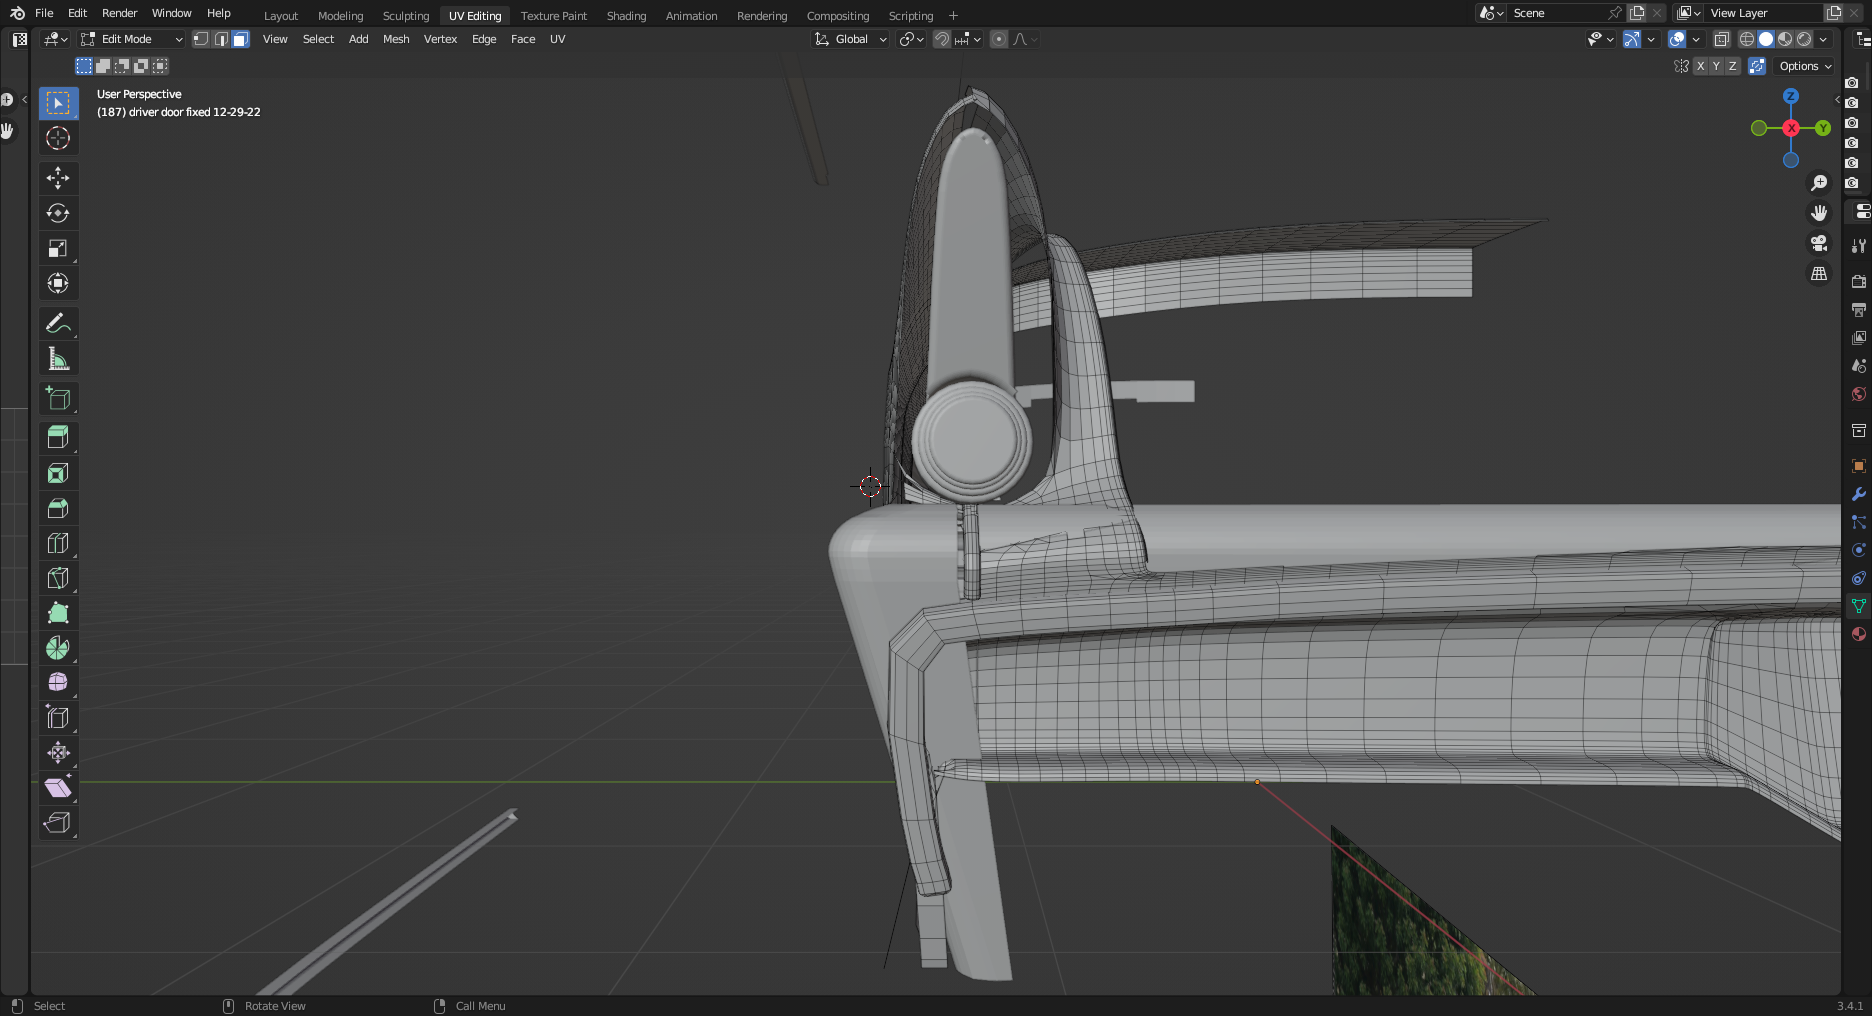
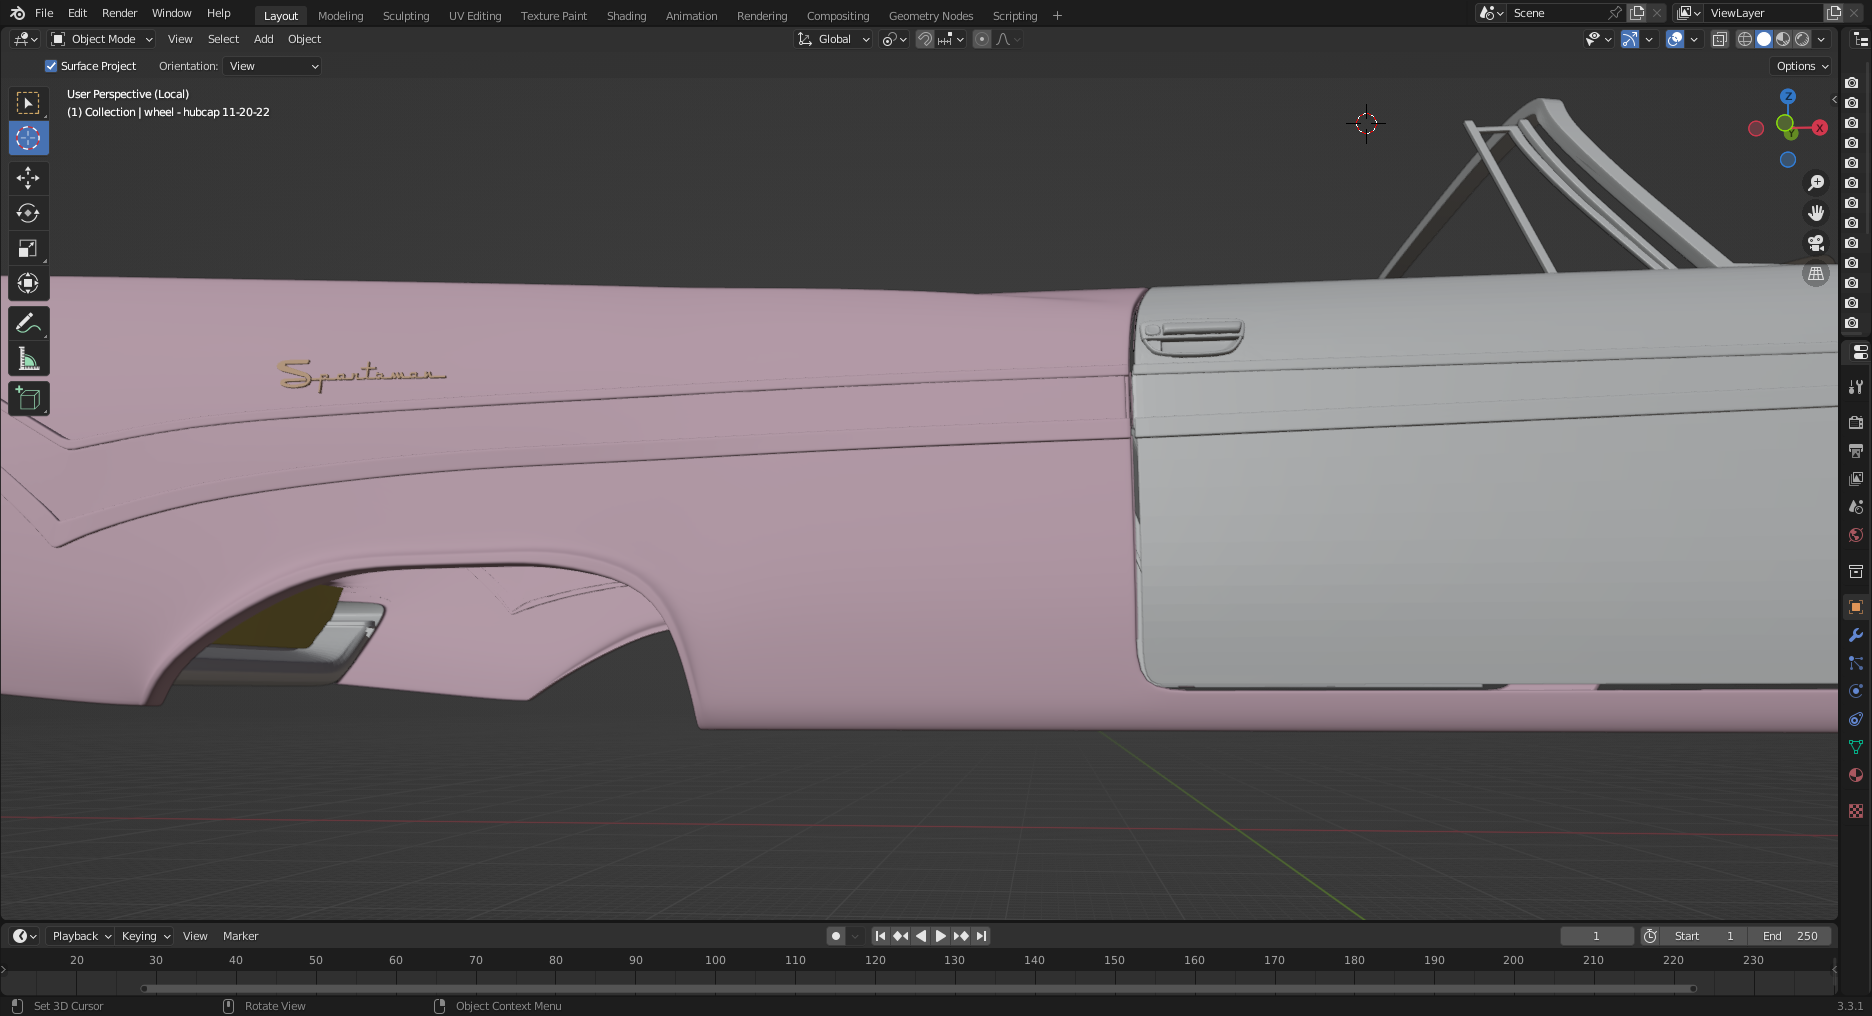
I was checking Dan Palatnik's Facebook page a couple weeks ago and found a new file for one of the cars I want to do. He's accuracy is beyond good. The 1959 Desoto Firedome Sportsman. I never thought I would find one. It is originally a hard top which I converted into a convertible. His files don't come with separate parts so I have to take it apart myself. It' very time consuming project, but worth the effort. While doing this, I noticed that the bottom rear corner didn't comply with the curve of that body section. I checked it out and found that he was right. Here's what it looks like. The rest of the pics are the sectioned car.
-
1
-
-
Getting the 53 Eldorado Cadillac into the finishing stage. The 55 Plymouth has been dissected into it's individual parts. The 37 Delahaye F & F roadster will be a curb side. It's nearing completion. I reprinted the 35 LaSalle body on the new 8k printer and it came out so much better. It's in the build process. The 56 Dodge has had it's defects corrected. I'm in the process of creating the Poweflite trans to go behind the hemi in my avatar.
-
1
-
-
Spex84 Chris Drysdale of Mapleleaf mentioned in a thread that he has the Olds in a 3d print. I think he is on Shapeways.
-
1
-
-
Click on my facebook link below and message me.
-
I not only have the air cleaner, but the whole correct A block engine and trans. I created the 3d files for it in 2017. Over 20 of them in duel and single quad form are in the hands of members on this forum. The engine that comes in the AMT 58 Plymouth is screwed up. Mr Obsessive posted the fact on here and has 2 of them.
-
Warm the bottle of resin.
-
I have 8gb of RAM on my laptop. I've had Blender 2.91.2 crash on me a couple of times while working on very large files. Blender 2.82a does not crash. Chitubox slicer 9.4 will crash when trying to save large sliced files. Version 9.3 doesn't. I switched my operation system to Linux in 2010 and never looked back. Linux is much less labor intensive than windows. The other thing you need to do in Blender is to constantly save you file. I date the file I'm working on and sometimes will add a 1 or letter like A. I can always go back to a previous file if necessary.
-
1
-
-
1 hour ago, Curt said:
I’ll have to look at that. The 4K I saw was $420.k
4k can't do what thus can. For $120 you gain a lot. Read my last post on "my 3d projects" thread in W.I.P.
-
2 hours ago, Curt said:
Bill, what is your larger printer? I'm looking at a Phrozen Sonic Mighty 4K.
Thanks!
Right now on Amazon has the best printer you can get in this price range. Twice as good as the 4k.
-
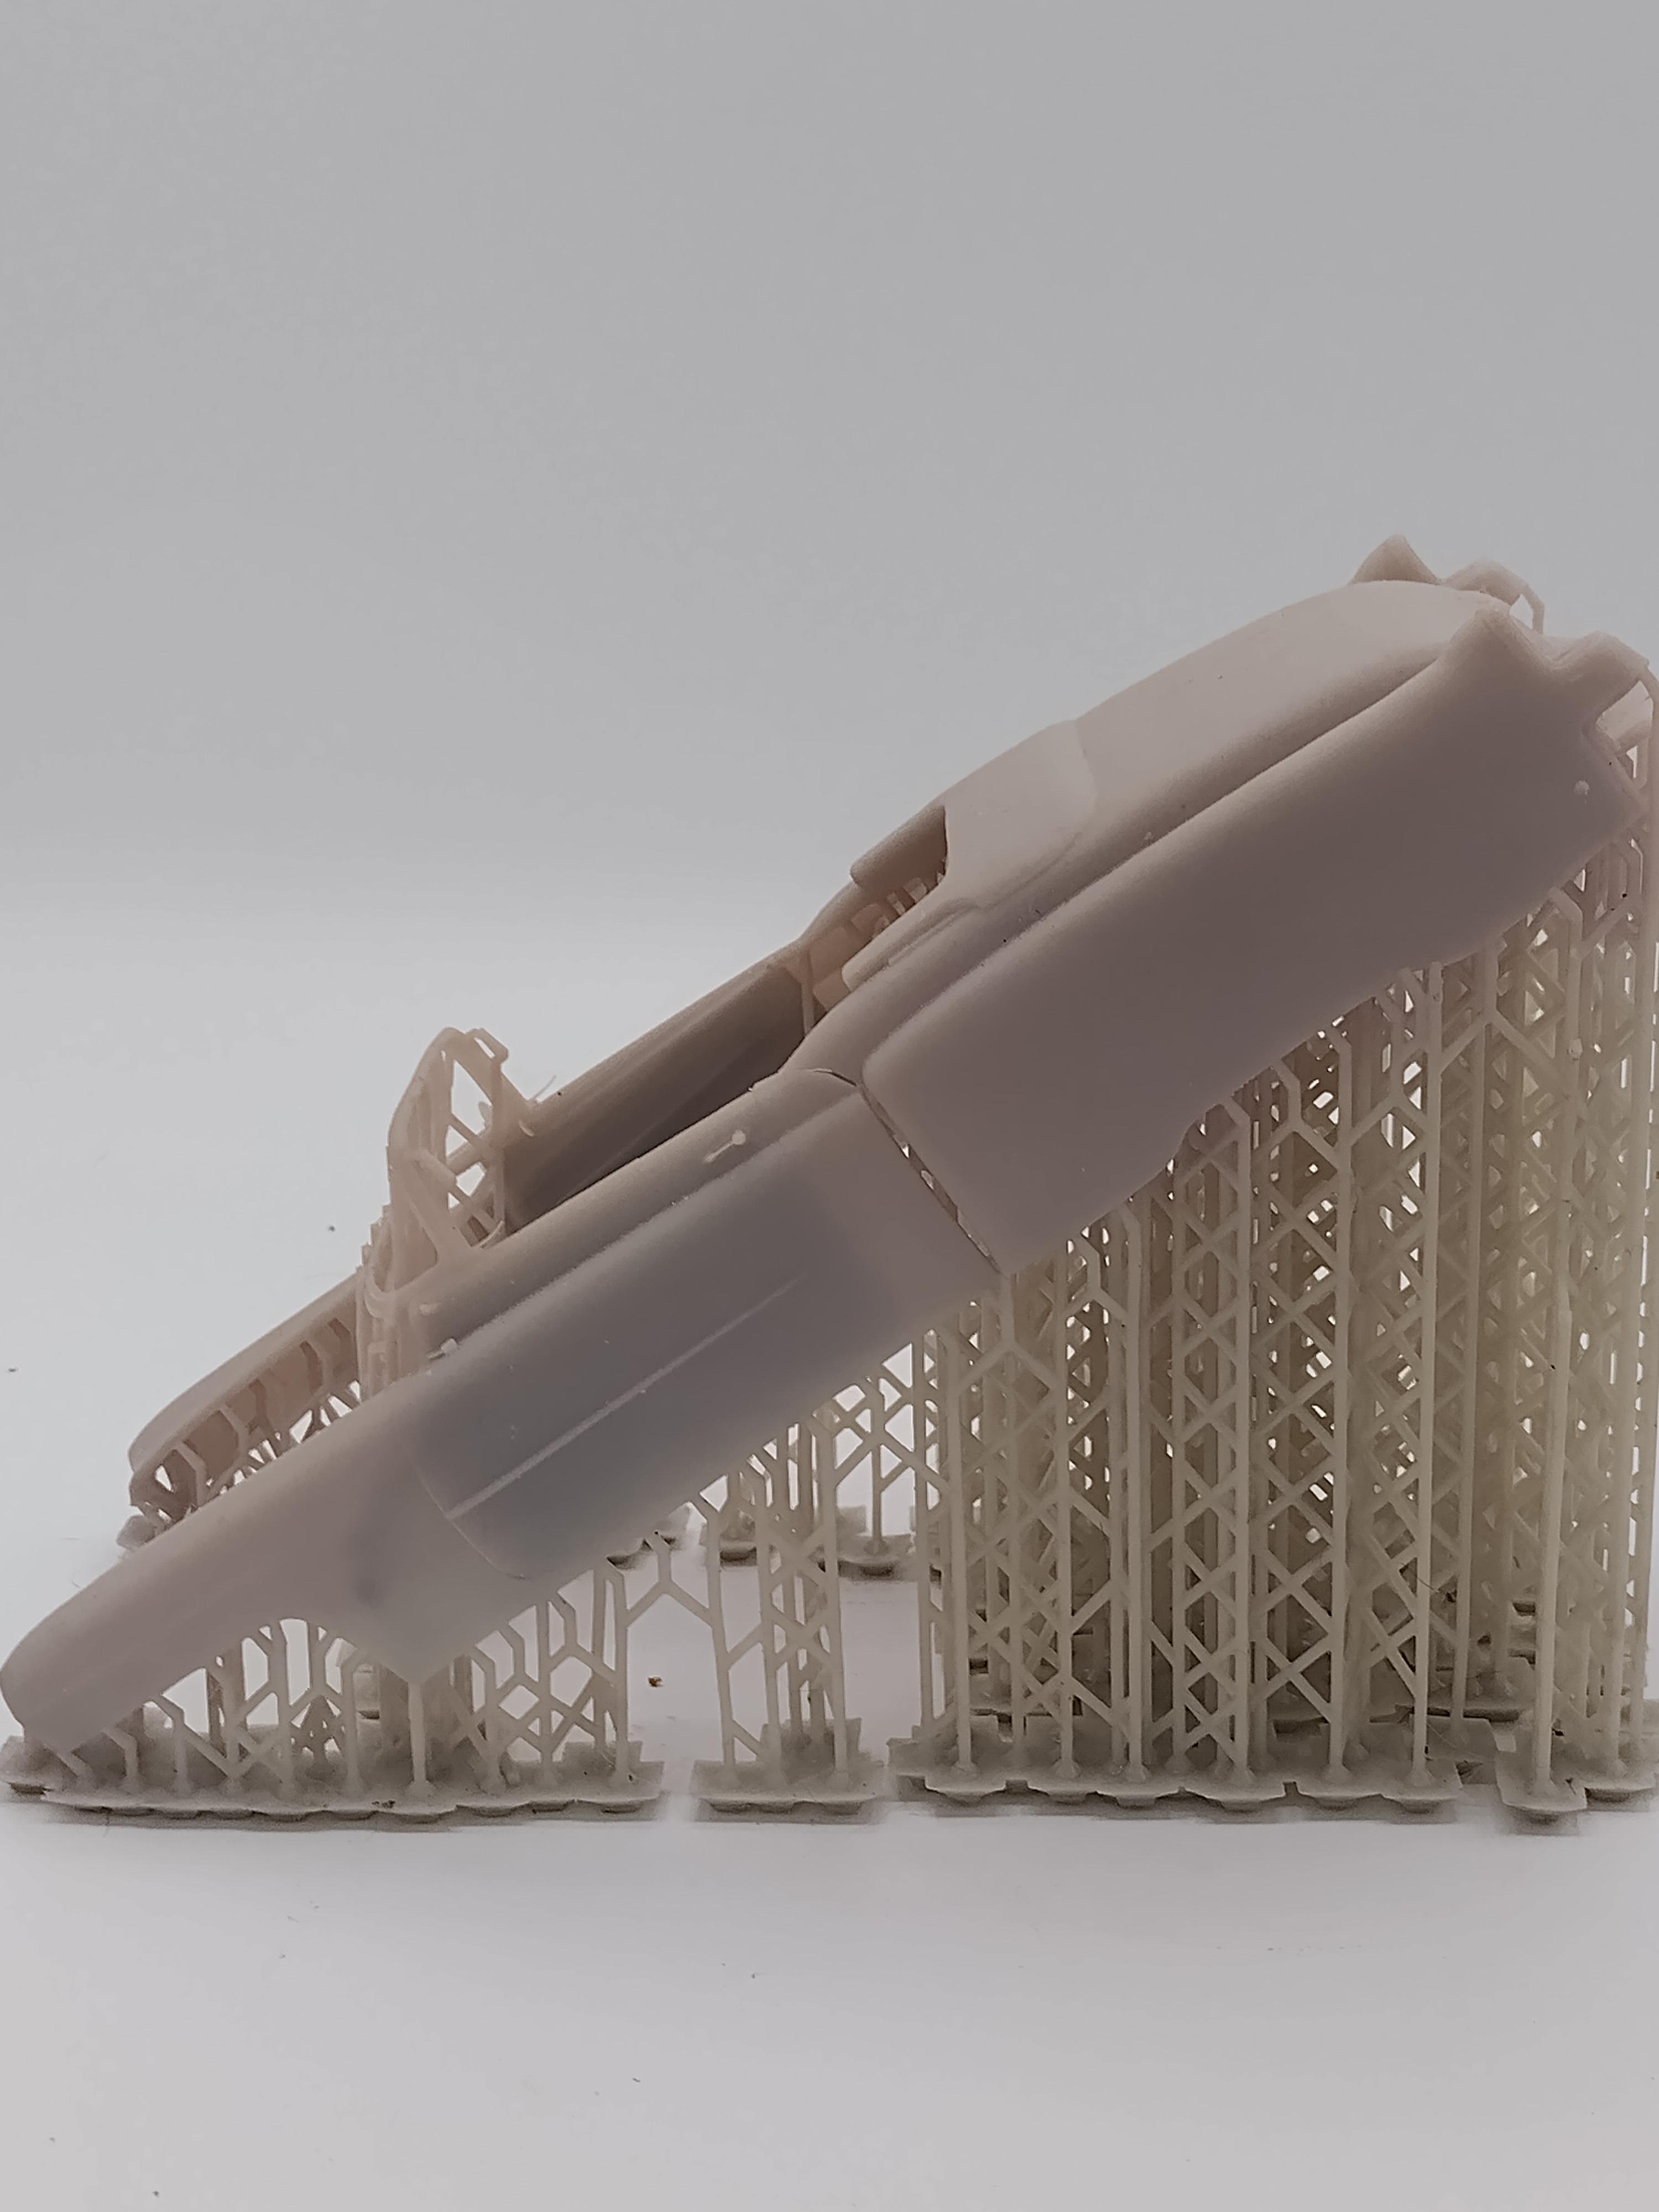
I received the new 8k printer I've been waiting for on October 1st. It's everything the reviewer said it was. Here's some of my results. The wire wheel for the 53 Caddy.
This is the wire wheel for the 37 Delehaye F&F roadster. I ran water through and blew on them before they were u.v. cured. I'm going to print them again and not do that to see if none of the spokes break.
The print bed on this printer is 218 mm long 123 mm wide and 224 mm high. It's xy is 28 um. The small printers used by many is 35 um. The printer Mrobsessive, i.e. Bill Geary is using prints at 50 um. The lower the um xy, the greater the detail. This size enables me to print most car bodies flawlessly at 50 um layers flawlessly. This 53 Caddy was printed at 50 um layers on my 4k machine that was faster than this one, but took 11+ hrs to print.
This one was printed at 50 um on the new 8k machine and took exactly 6 hrs 22 minutes and it prints slower.
I printed the 35 LaSalle body at 36 degrees slope and 30 um and it took 22 hrs. I printed the same body flat at 50 um and it took exactly 7 hr. There is no difference in the quality of the print.
-
If you get a body shell, how are you going to get the rest of it?
-
Finally got my new printer yesterday and the 55 Plymouth Belvedere convertible file Dan did for me.
-
4
-
-
Here's the frame chart. https://www.ebay.com/itm/233195233885 I have no idea how you are going to do this. I have the earlier torqueflite trans used until 1962.
-
If they don't have a face and are just lines they won't print. I use the Meshlab program to check my files for correctness. It will show you what the file will print.
-
I don't have any problem thickening files, Bill. You are doing fairly well so far, but you will get better as you gain more experience and learn how to solve your problems. I have found that experience is the best teacher.
-
1
-
-
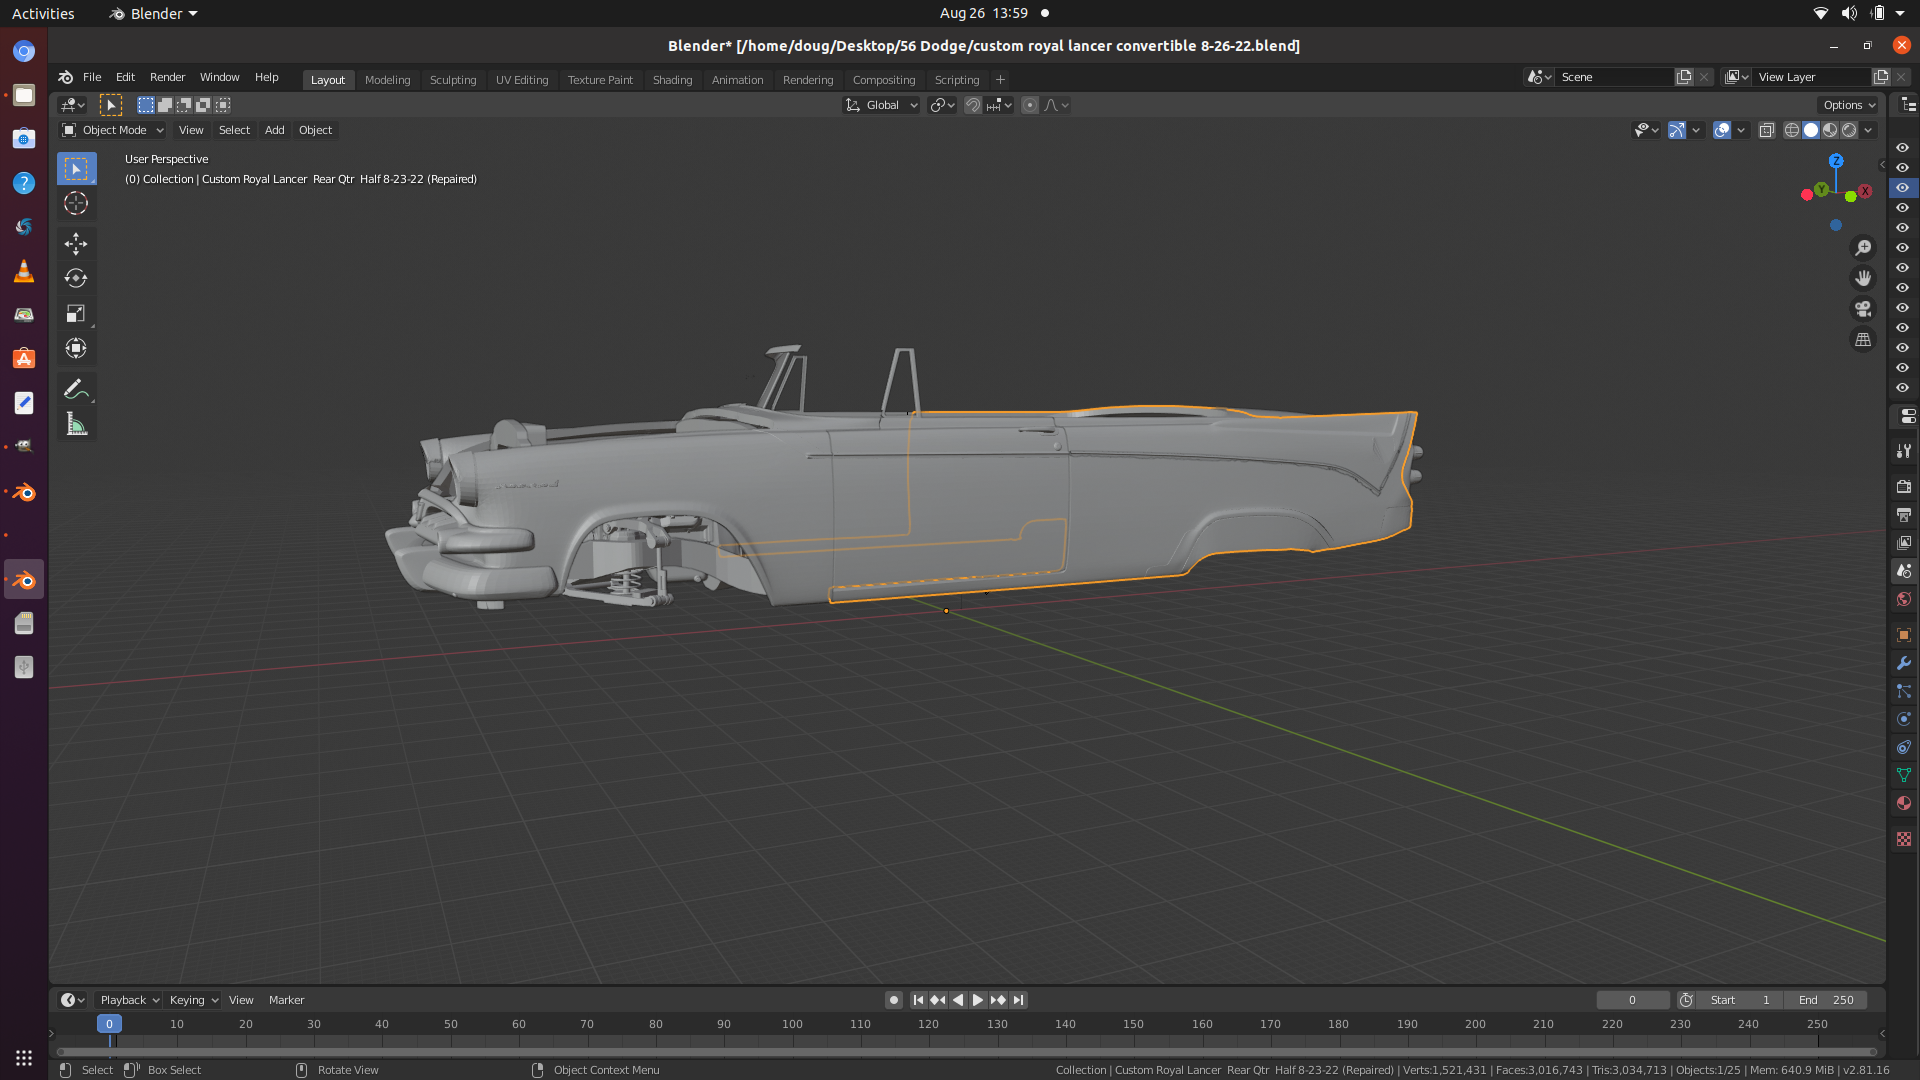
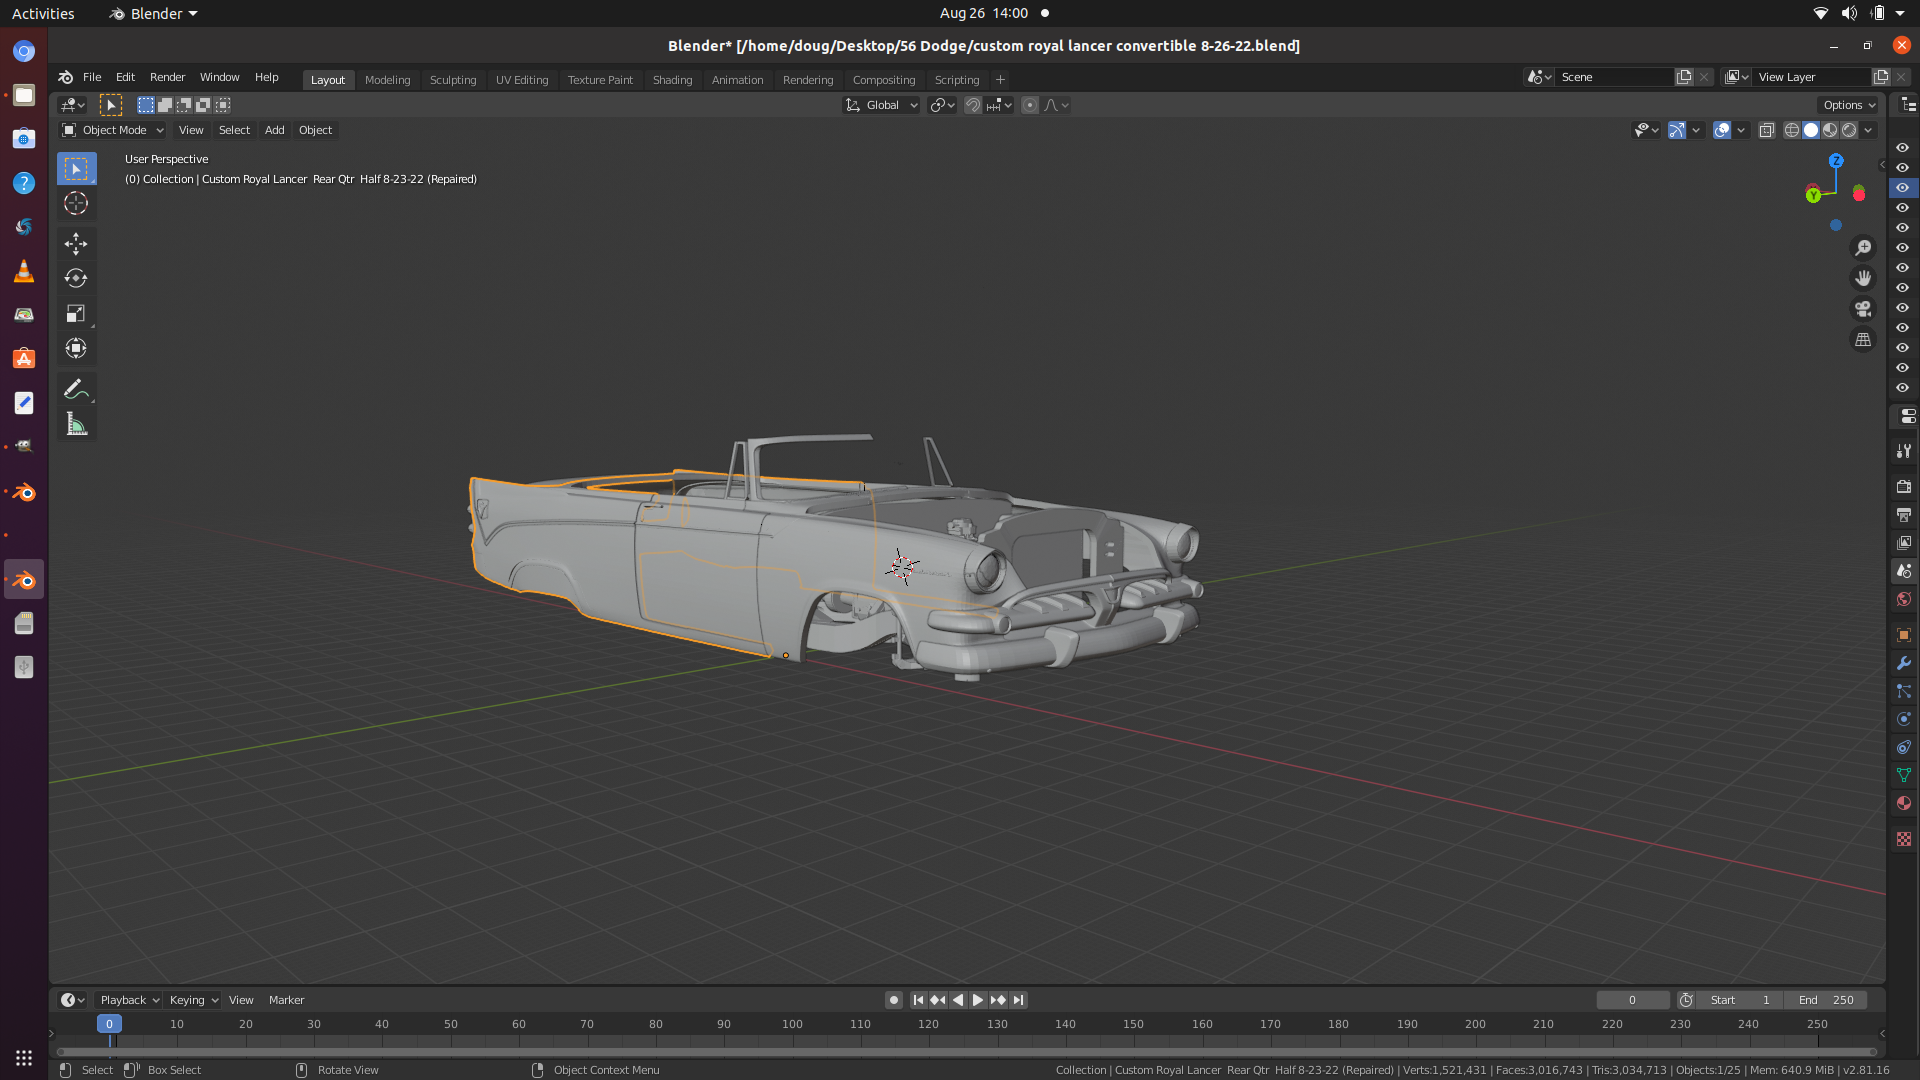
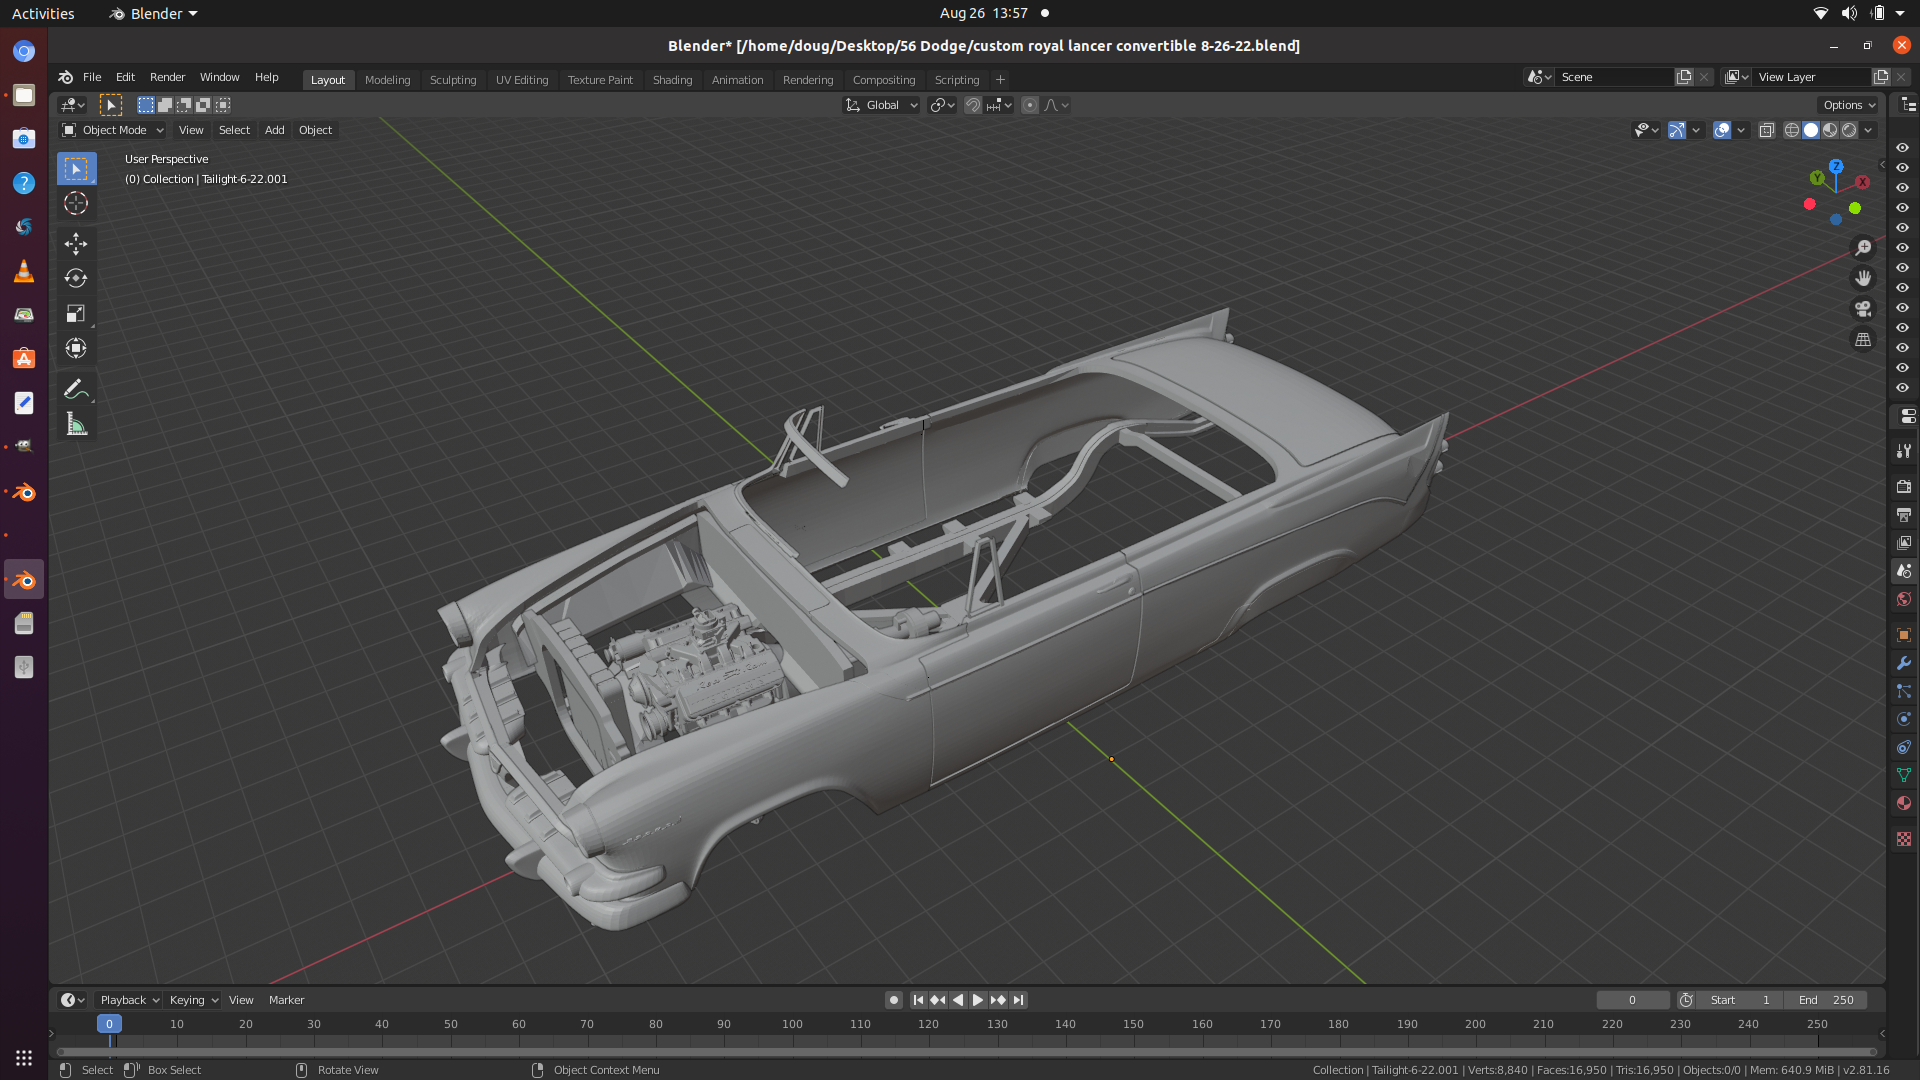
I've been working on the 56 Dodge and have all but the windshield ready for a test print. Of coarse it's a Coronet Royal Lancer Convertible. I've included the files from my 55
Dodge in the pics, but they will need some adjusting to fit this body.
-
1
-


.png.8b71fb1c6606e5614c051928c67fee81.png)
.png.4a2f5f4e3315e2617c46abe581fd5ce1.png)
.png.b2bad4aa7ad96c51b1236af16e8dd864.png)
.png.7e5b8d777a52406c8d90d2be5d9067ed.png)
.png.bc80e6a8858e72960fa12913a1fd58d8.png)
.png.0189a1dfd42c7c36d81ffa4c74b719c8.png)


.png.669414e6f450135f46ec31a552d98686.png)
.png.1539bf383d4959fd14a2a822f4afa975.png)
.png.8205fea9e7d786893209ed405136c2bc.png)
.png.0950654b7933d511f406ad32da2283c1.png)
.png.9f875744d8896316d29a6d596f2e74af.png)
.png.44deb566891aebcea2c98a32bbaf9aae.png)
.png.cd79fef9fbefb01616e10ee5aee5632f.png)
.png.c716a66d08d0efaa40bc6f80018c7c12.png)


.png.cdd29ff8ed1358ee8b5ad55507b0c3dc.png)
.png.6f0e944a242cfa82cdea6a7560b2648d.png)
.png.ede676e369983ece4776f5beb1851bc4.png)
.png.549ec6b10a1151e65b197afe9e958907.png)
.png.5279c66430c4ba3c0e986b684f54e646.png)
.jpeg.4234d41e111765d4c781981891c3245c.jpeg)


 Dodge in the pics, but they will need some adjusting to fit this body.
The Official 3D Printing Discussion Thread
in General Automotive Talk (Trucks and Cars)
Posted
I have Printed many bodies, but I do more than bodies. Check out "my 3d printed projects" in the W. I. P.